
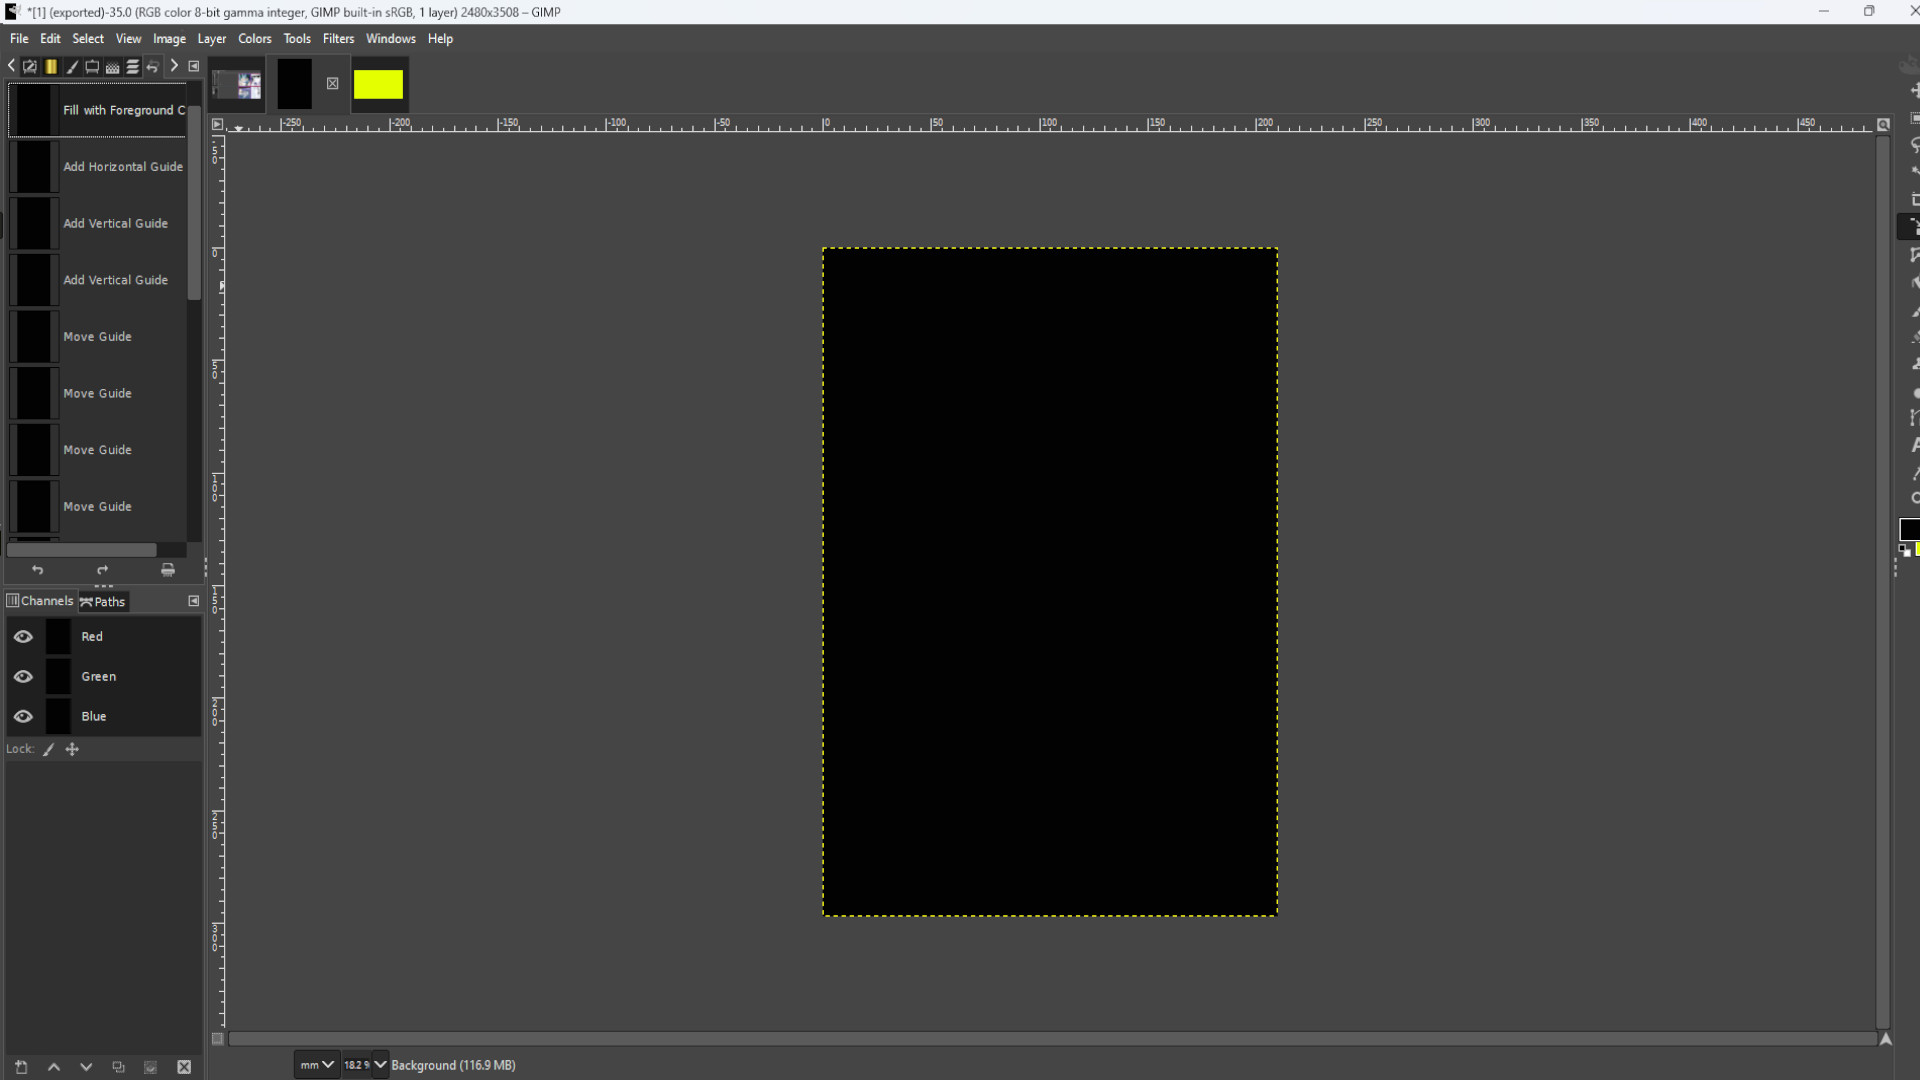
Open up Gimp and go to >>>FILE>>>NEW>>>TEMPLATE and pick the>>>A4 SIZE;
209.97 Width,
297.01 Height
in mm.
2480 Width
3508 Height
in px
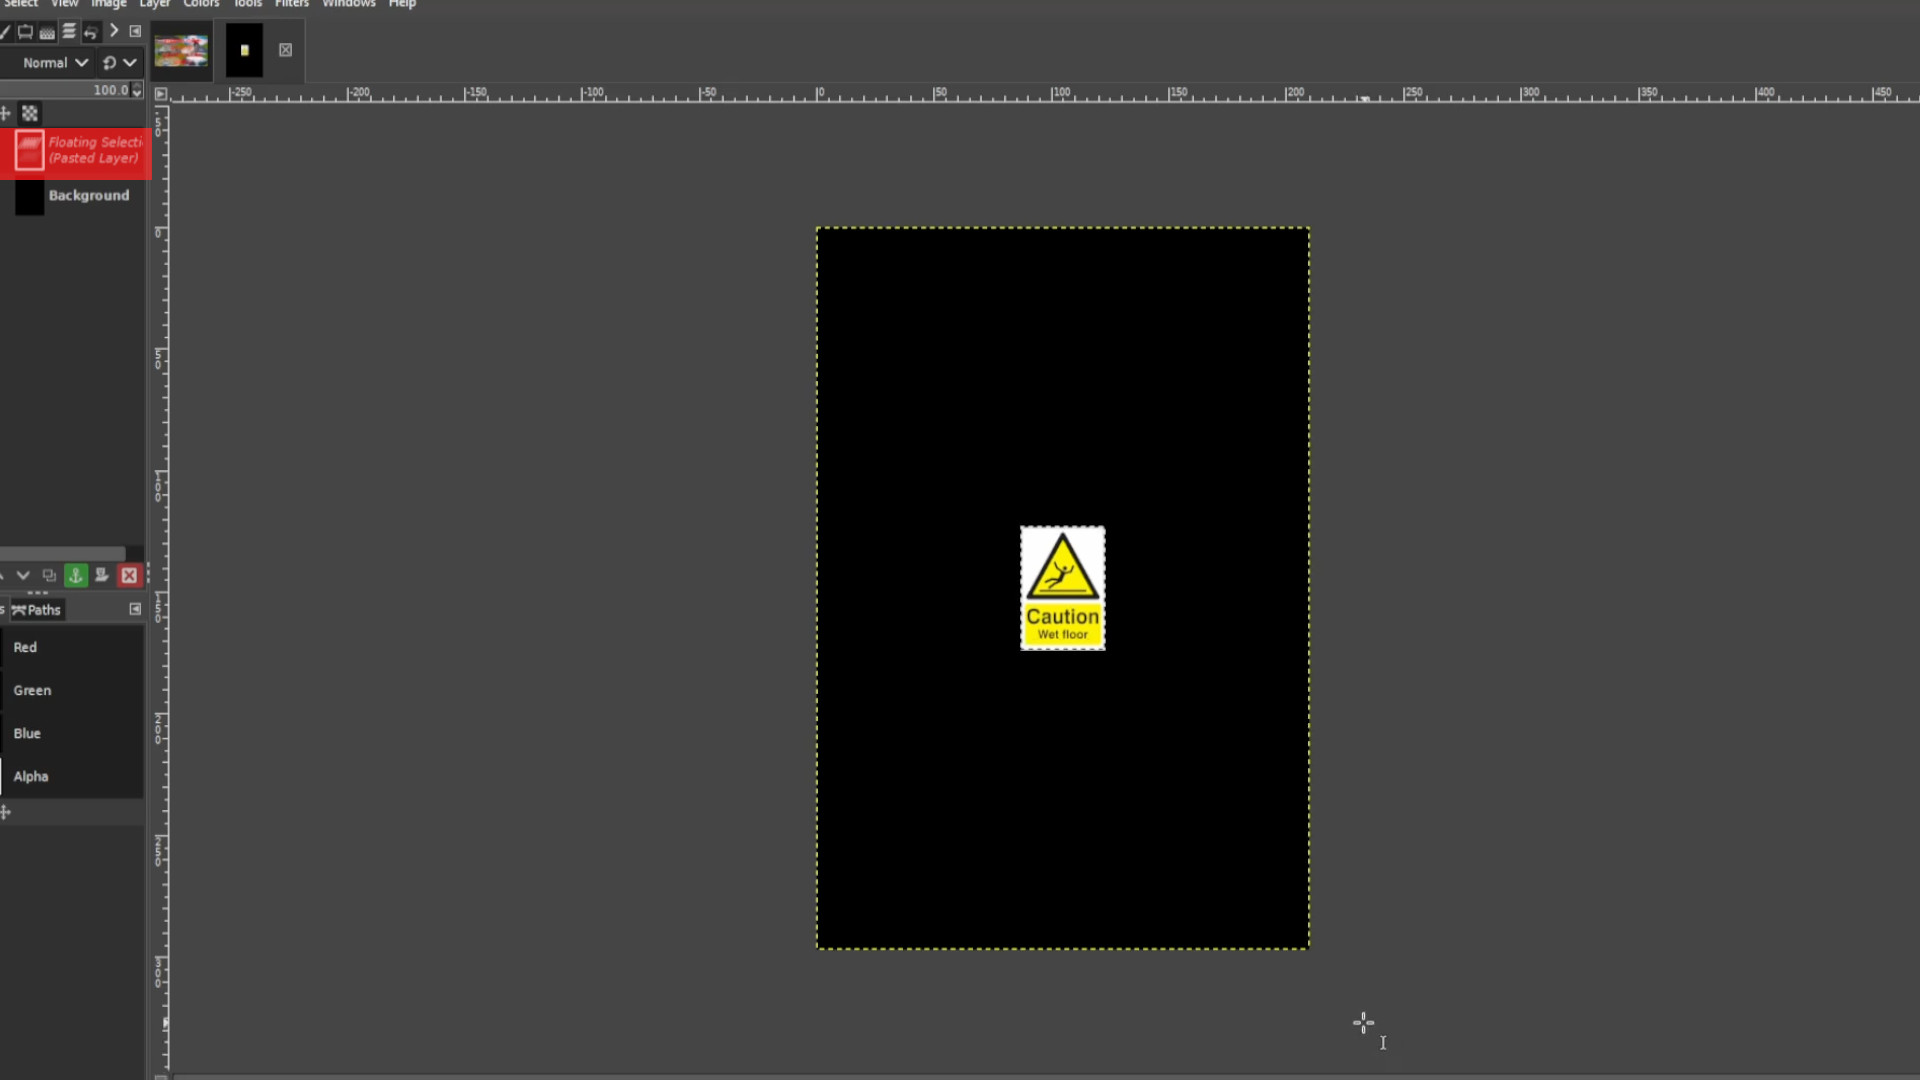
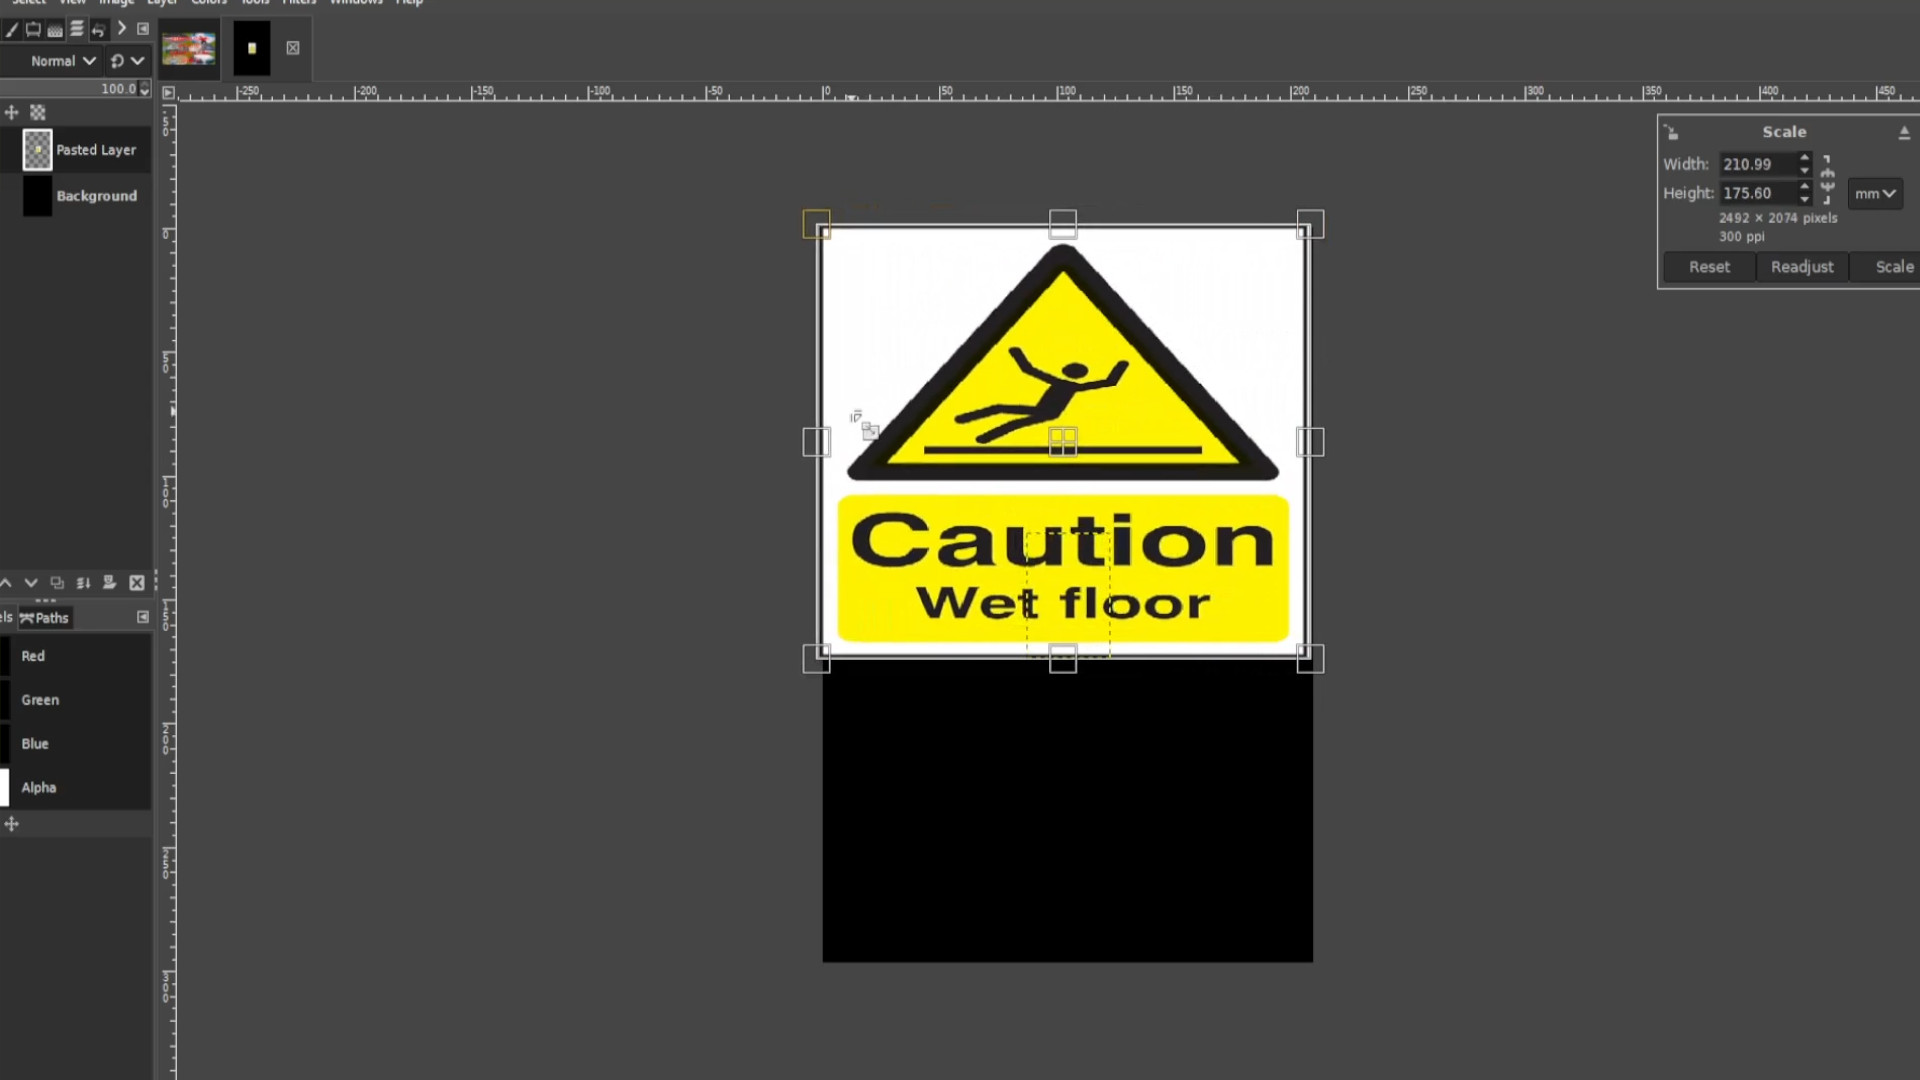
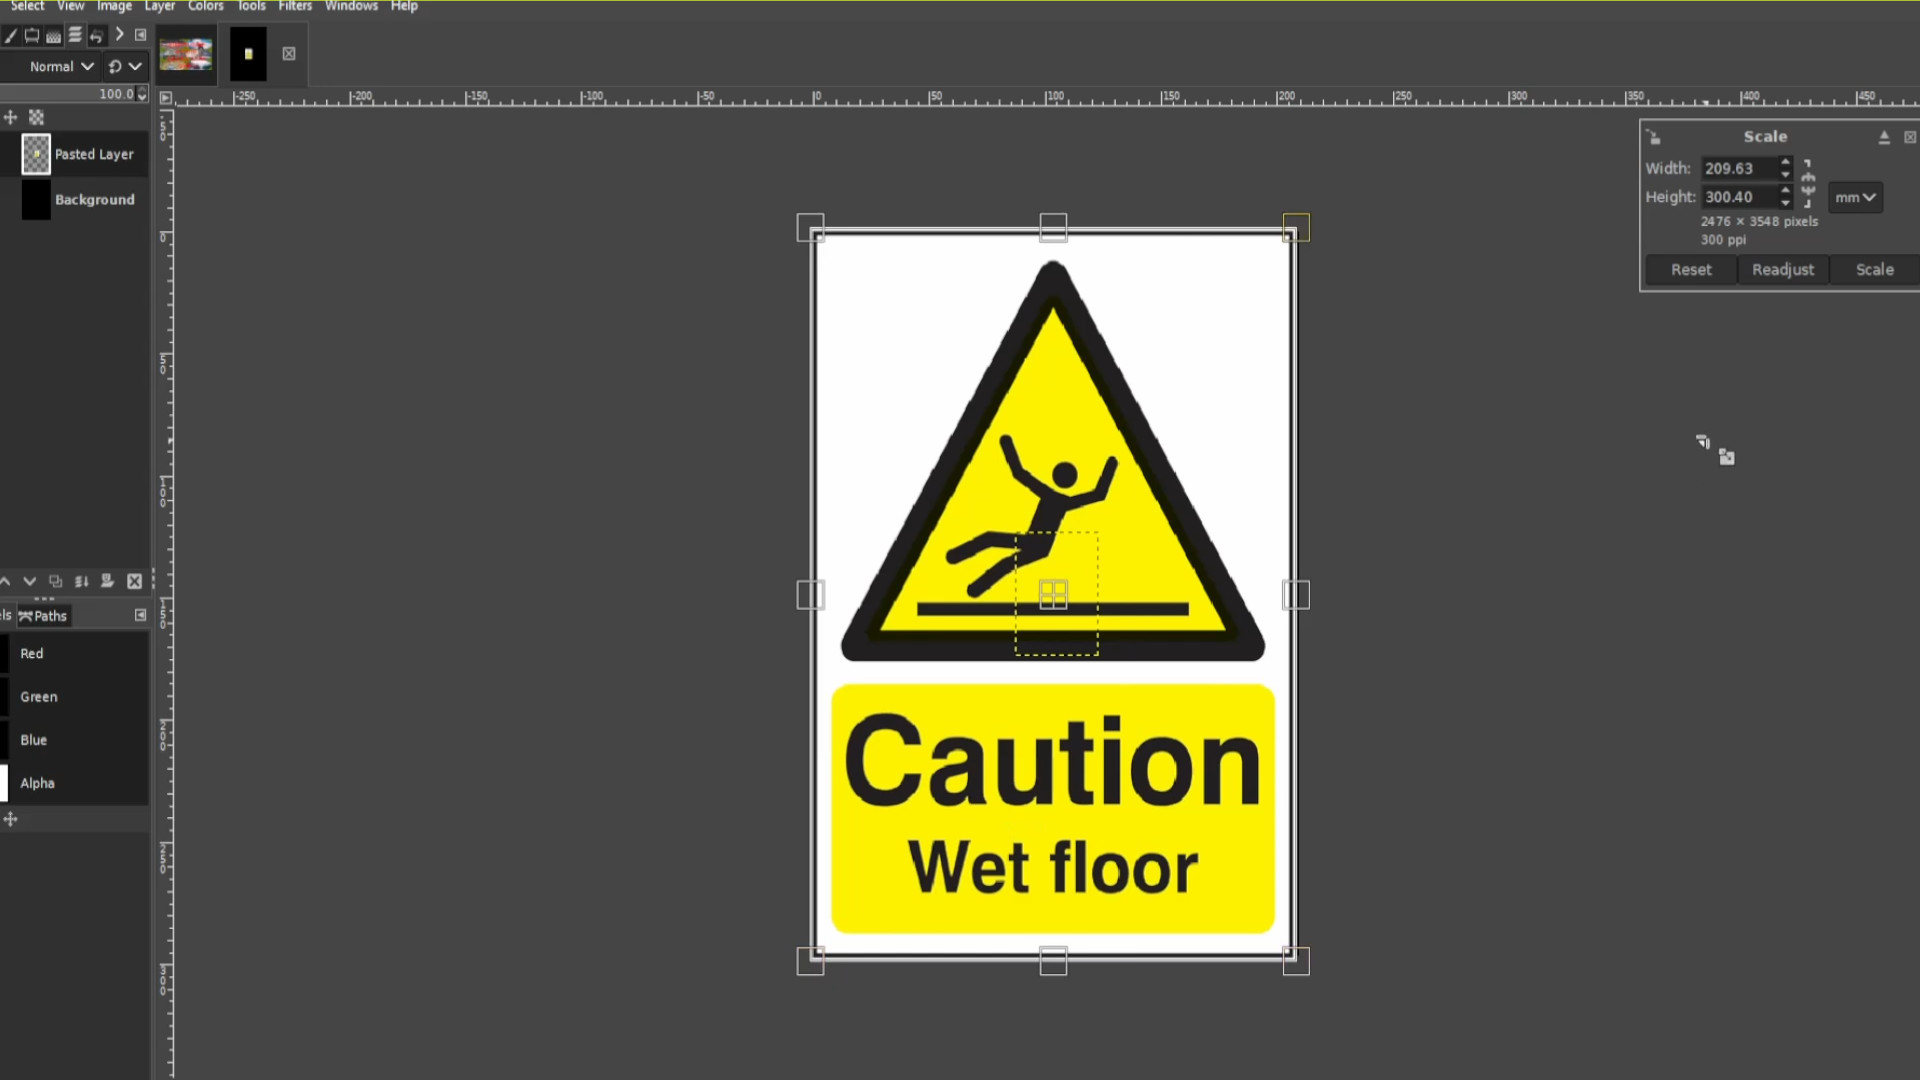
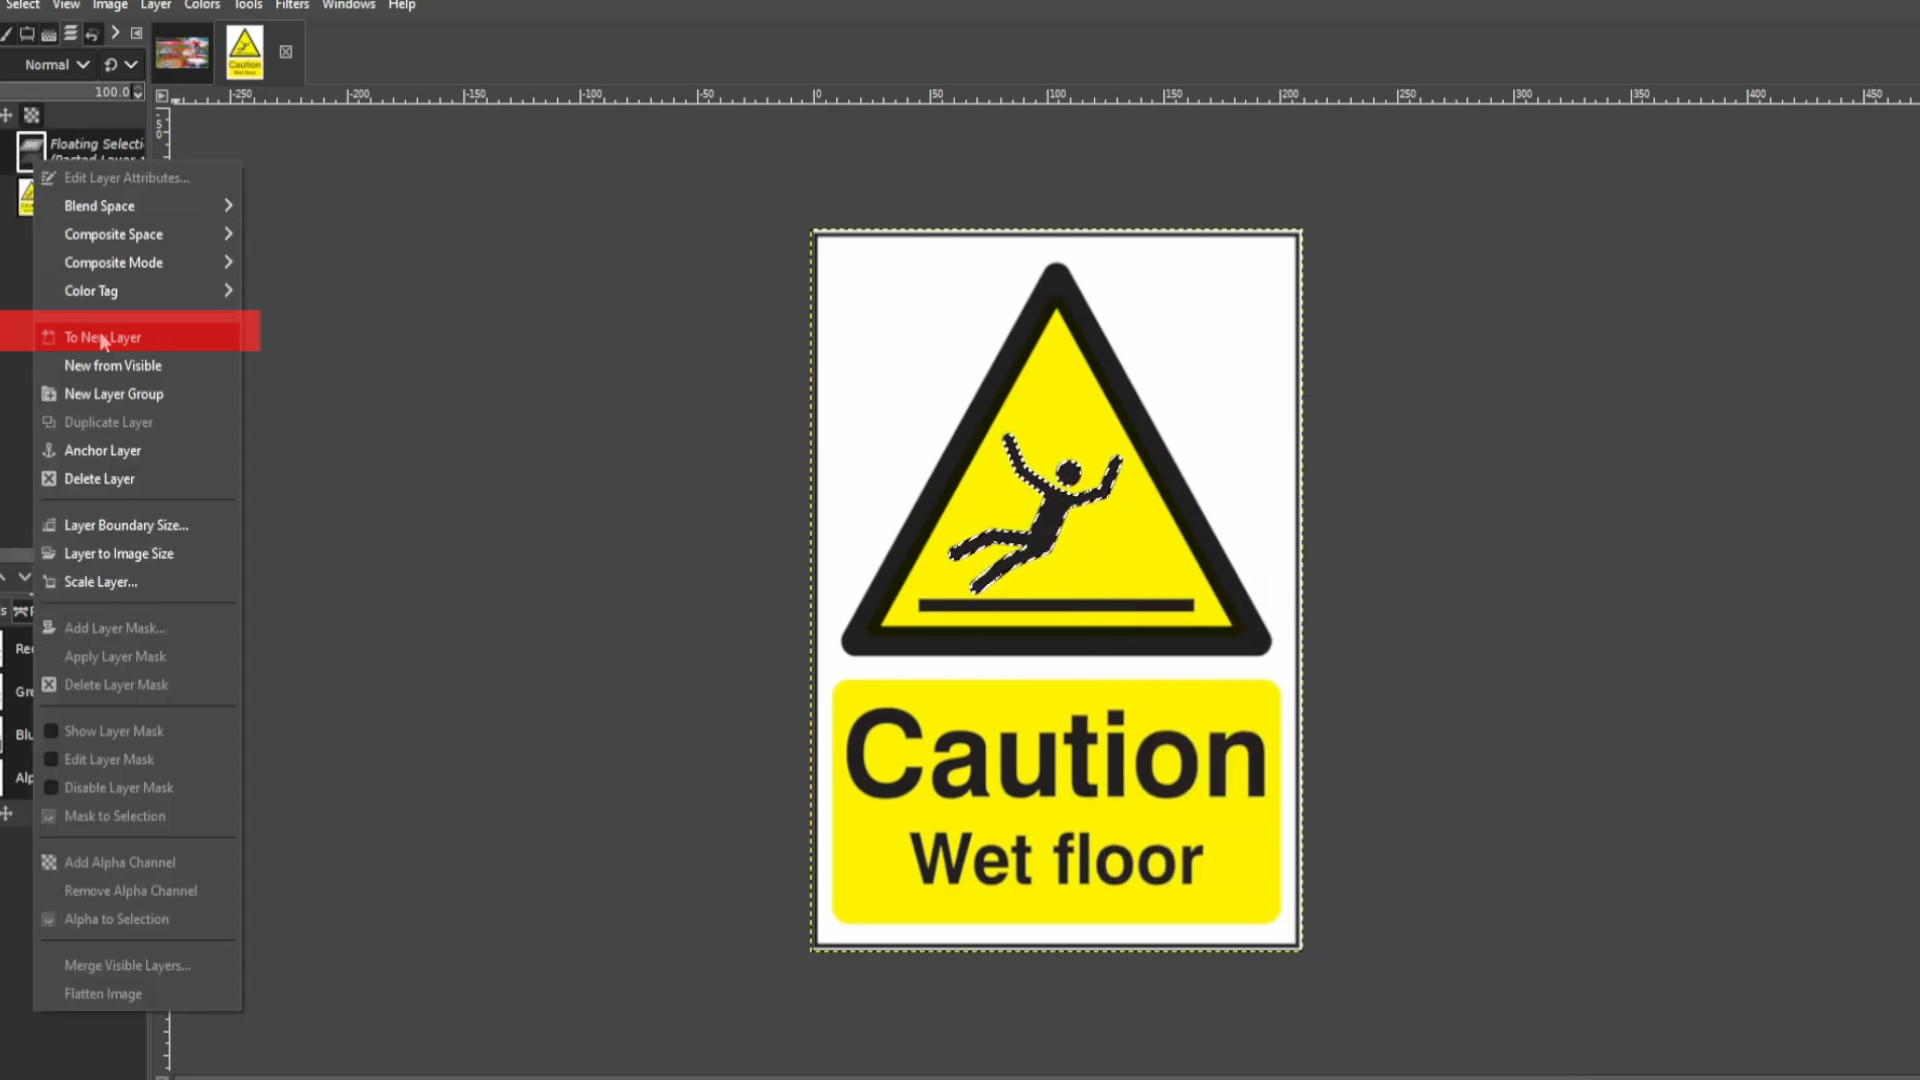
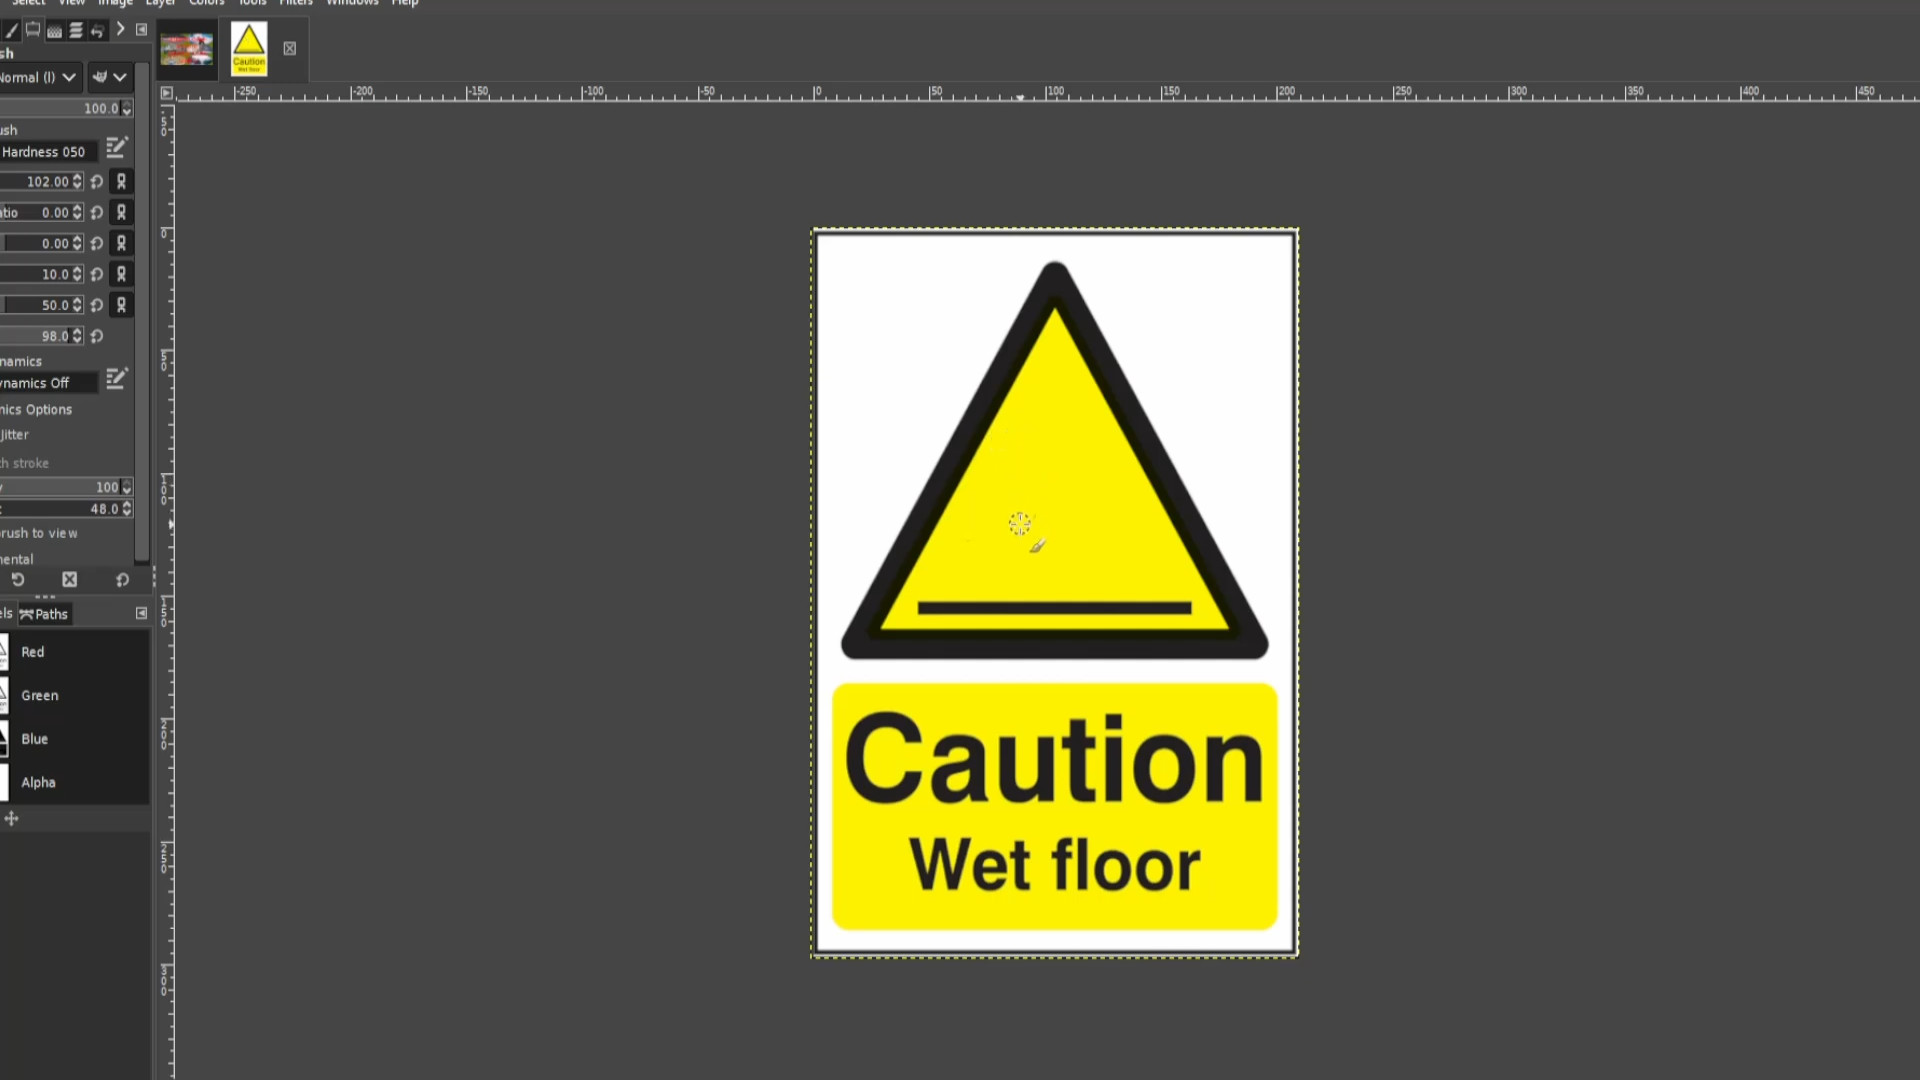
>>LOAD FILE or >>>DRAG AND DROP file into Gimp. You can use the resize tool or use shortcut>>>HOLD SHIFT and PRESS R to resize the picture. You might see on the left hand side in the layers panel it says>>>FLOATING SELECTION. >>>RIGHT CLICK on the>>>LAYER and select>>>NEW LAYER now you can resize the picture.
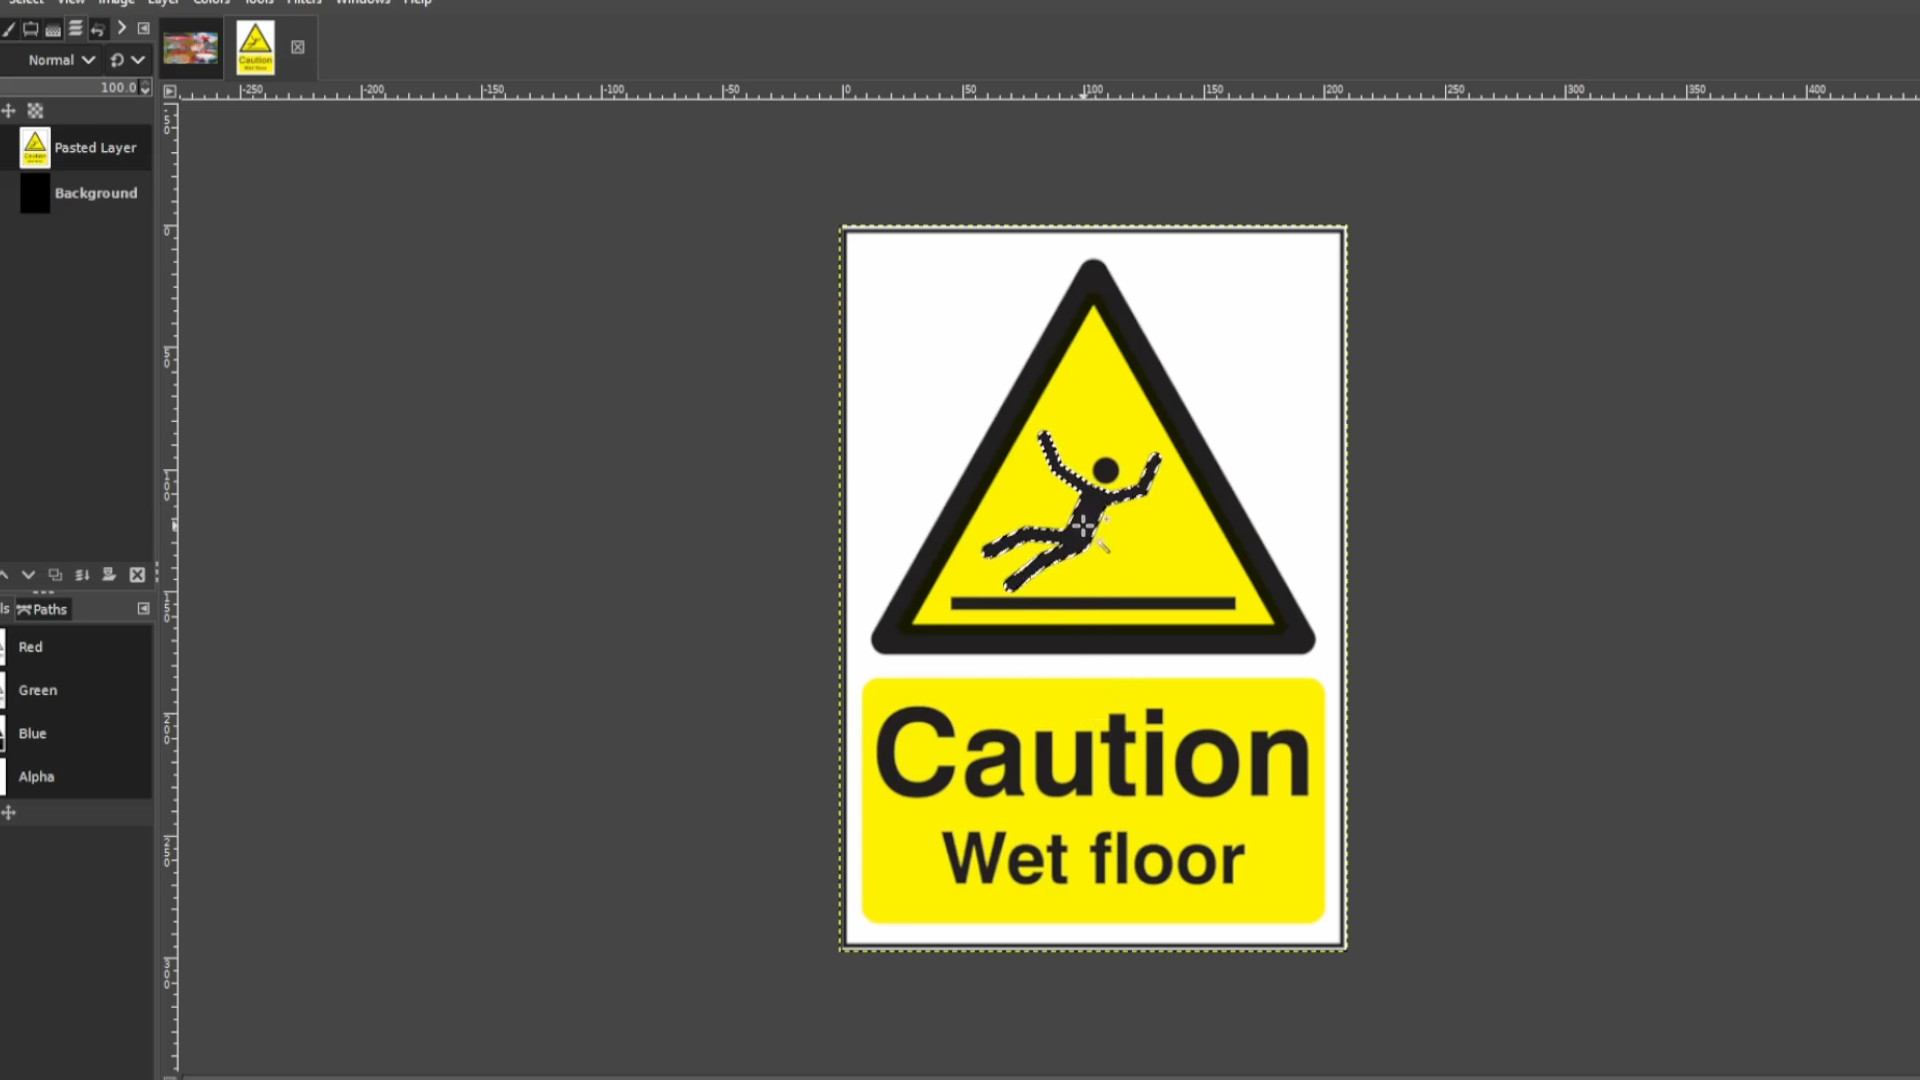
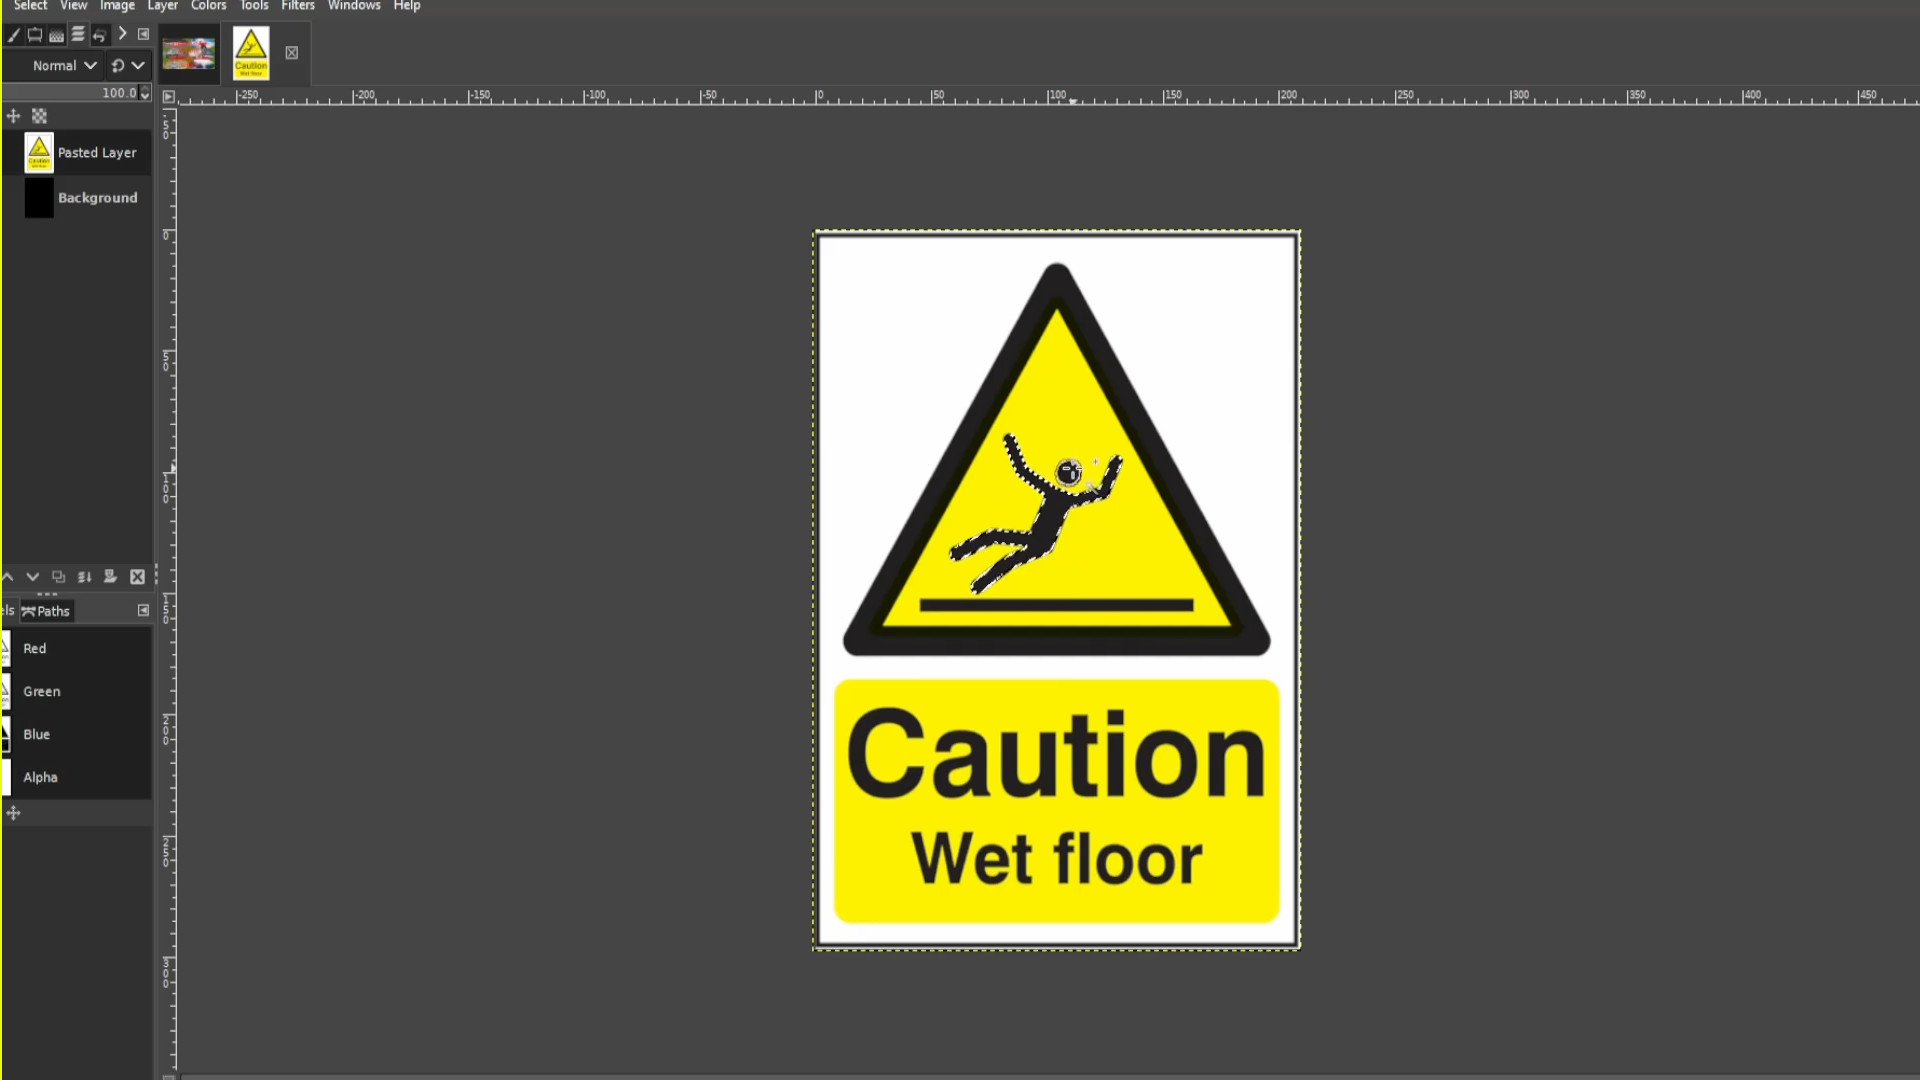
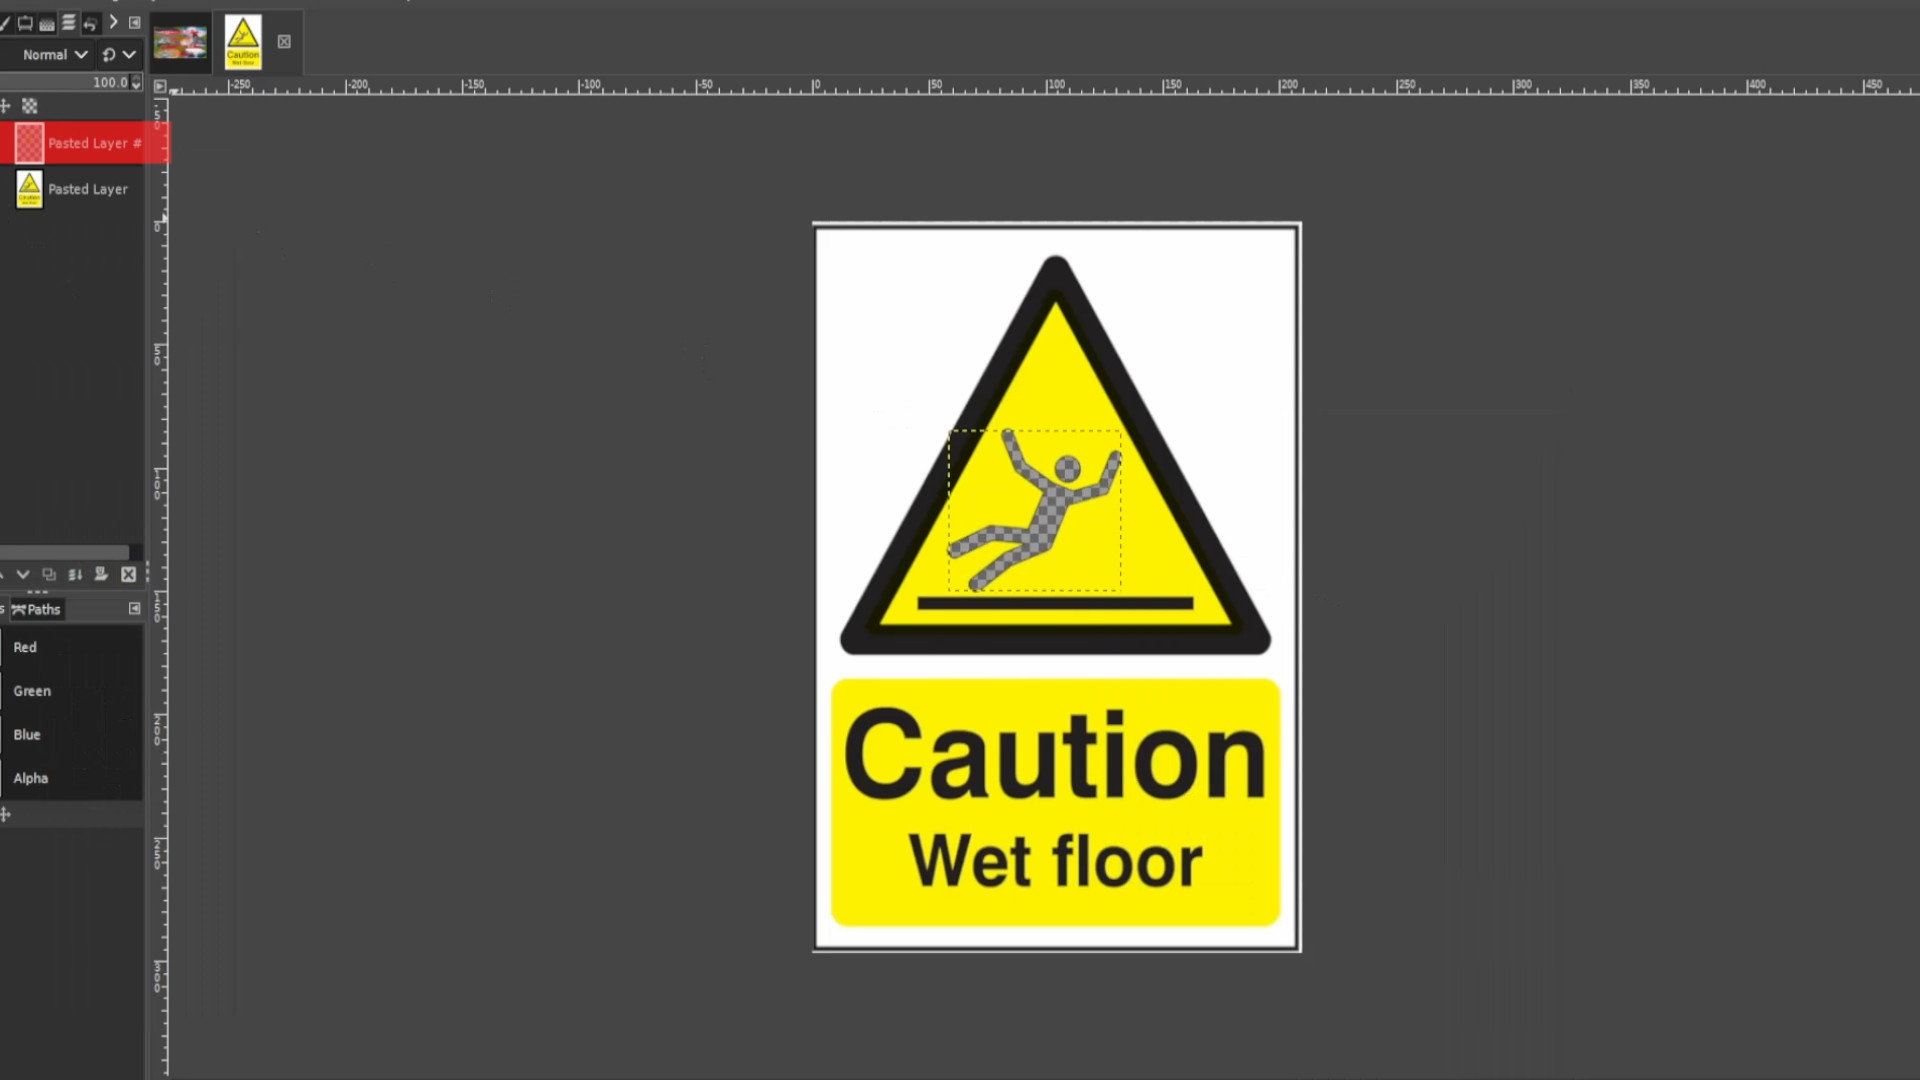
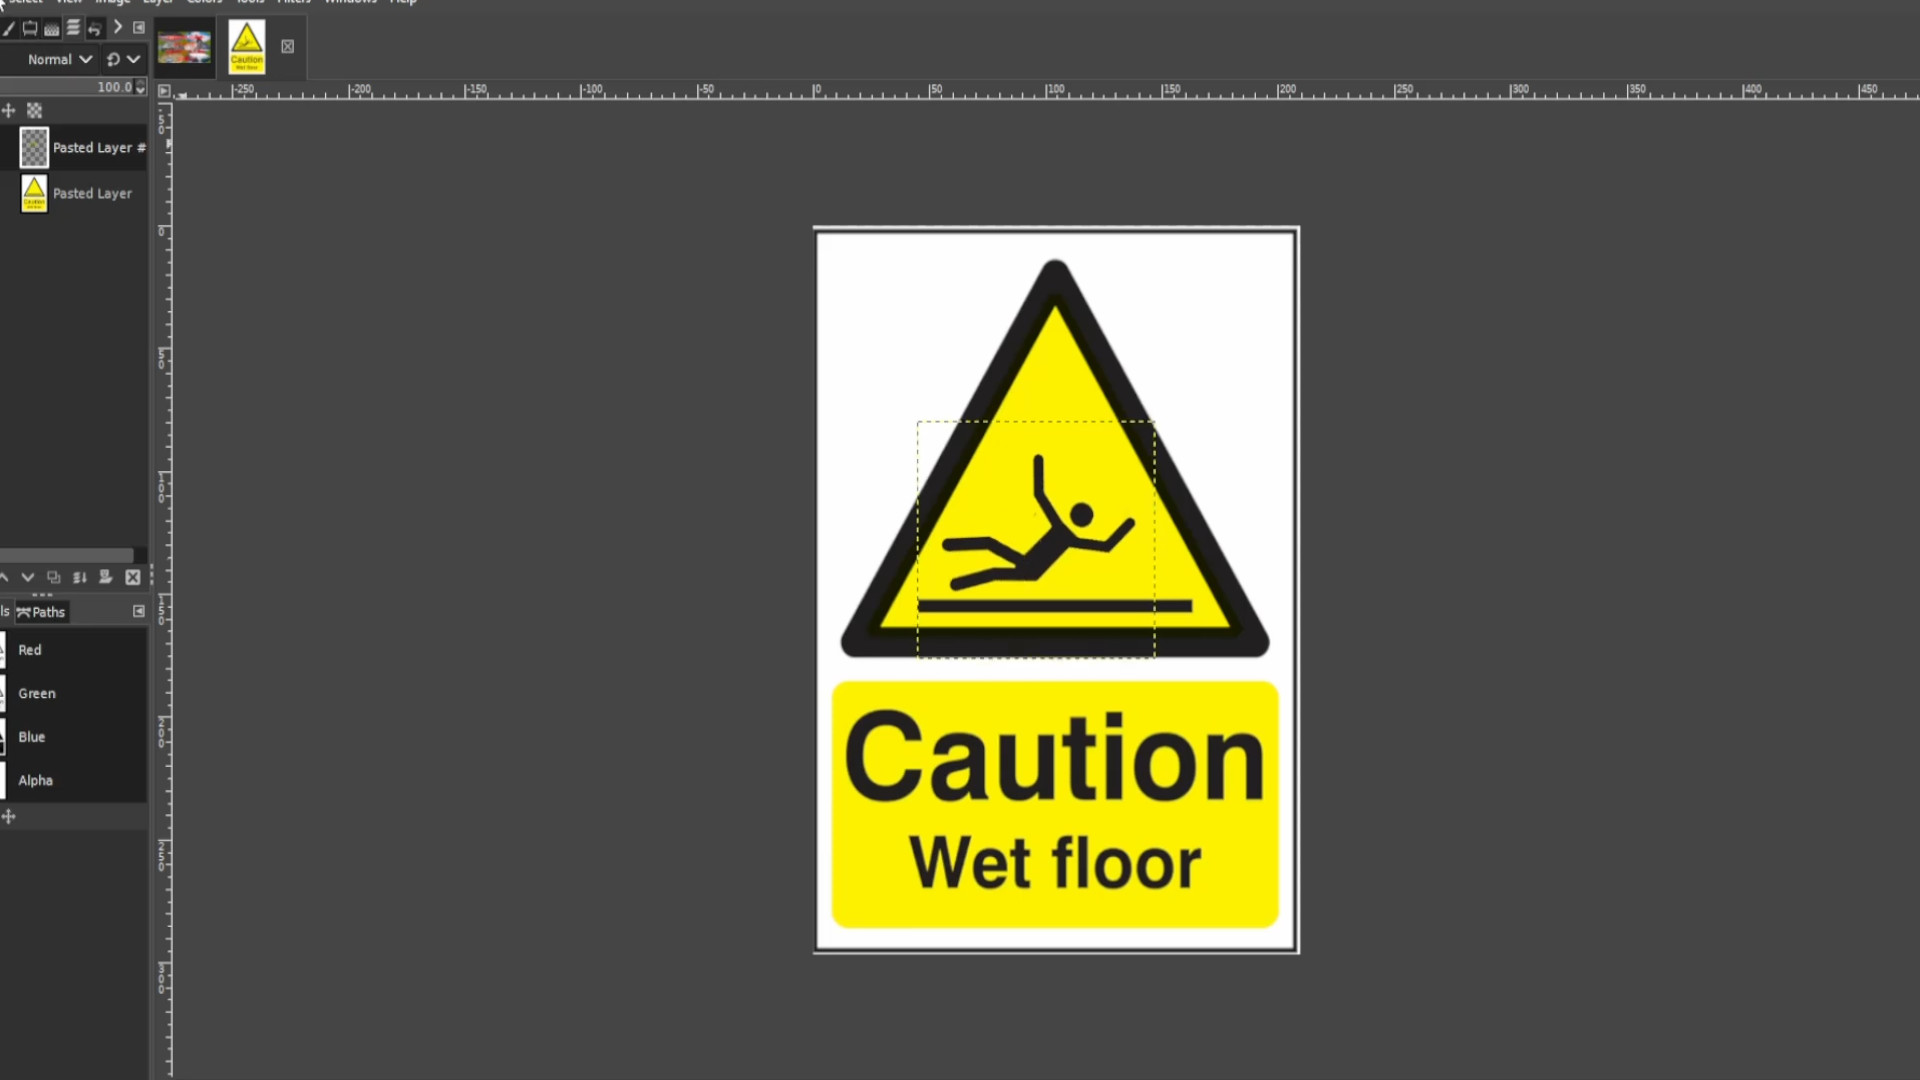
Use the>>>FUZZY SELECT TOOL to select in this case the stickman. You can >>>HOLD>>>SHIFT and>>>CLICK on the>>>LEFT BUTTON of the>>>MOUSE to select more than one bit.
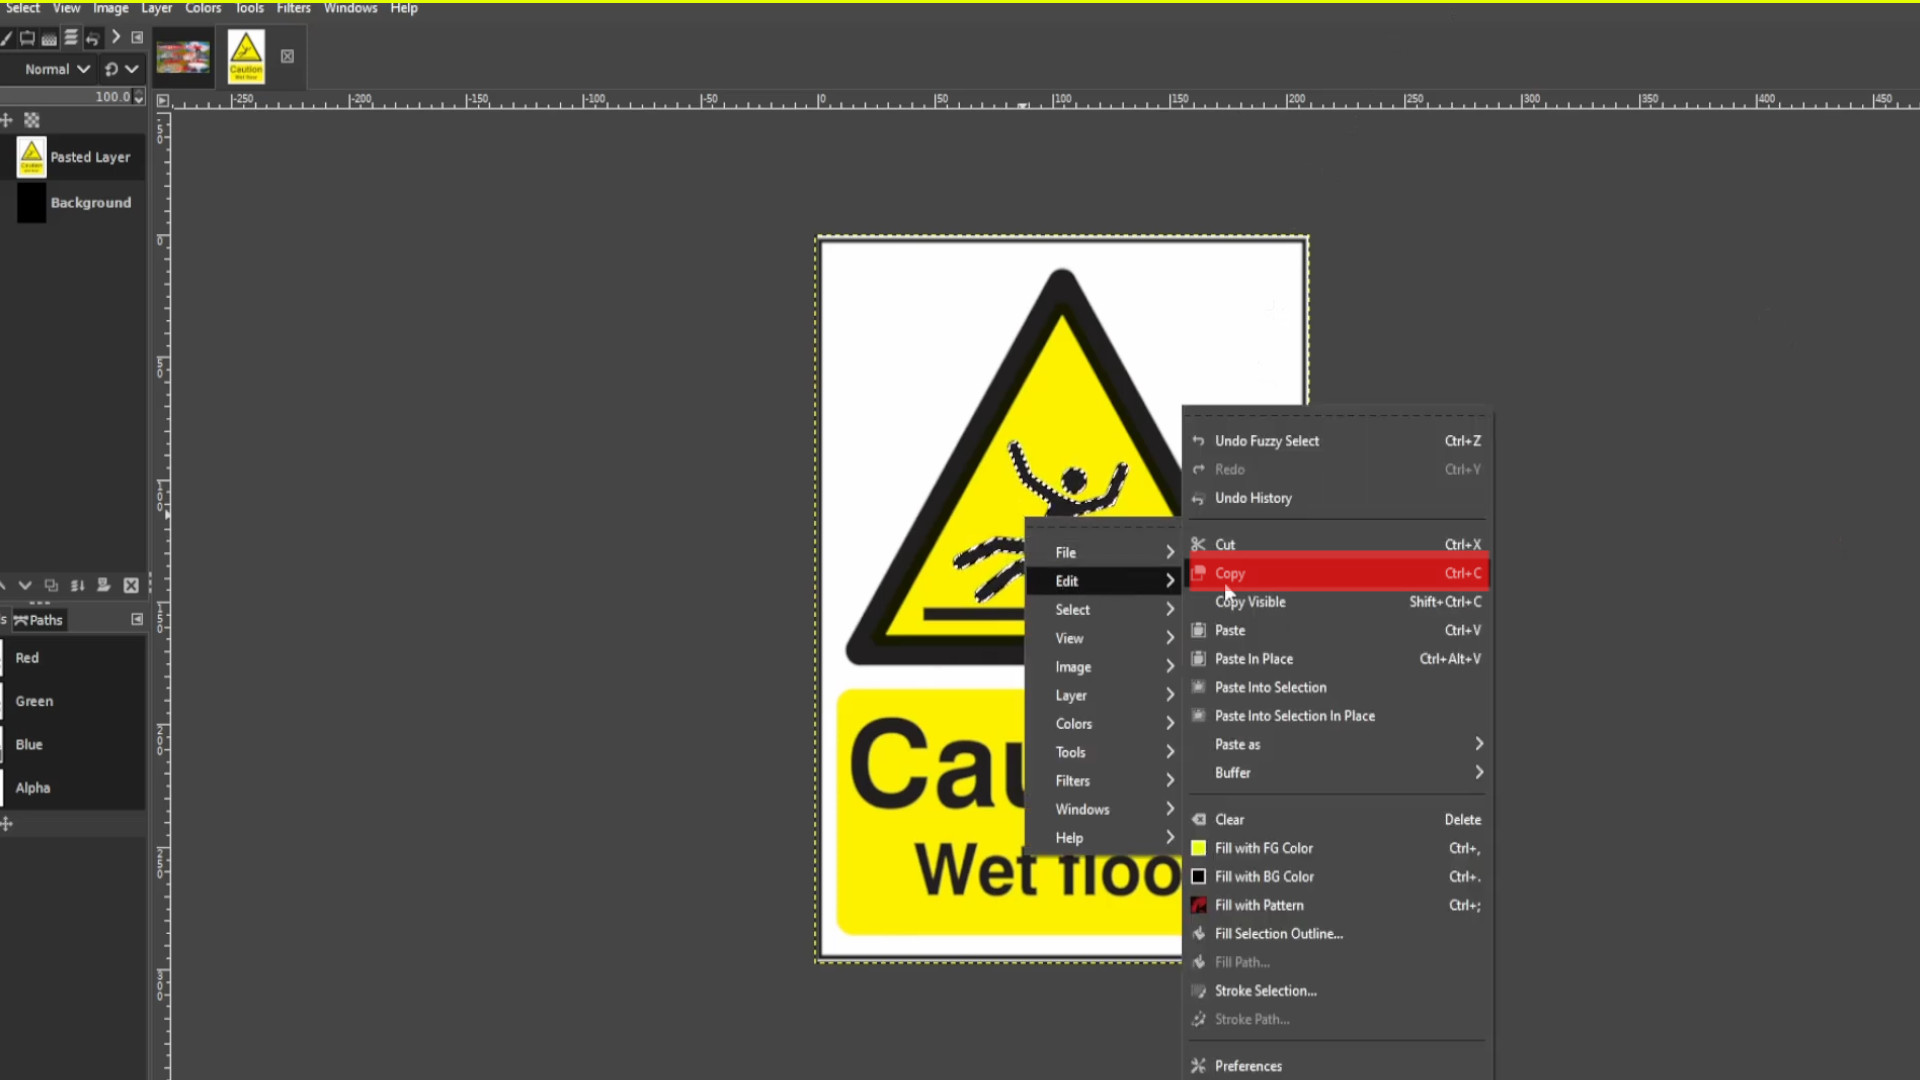
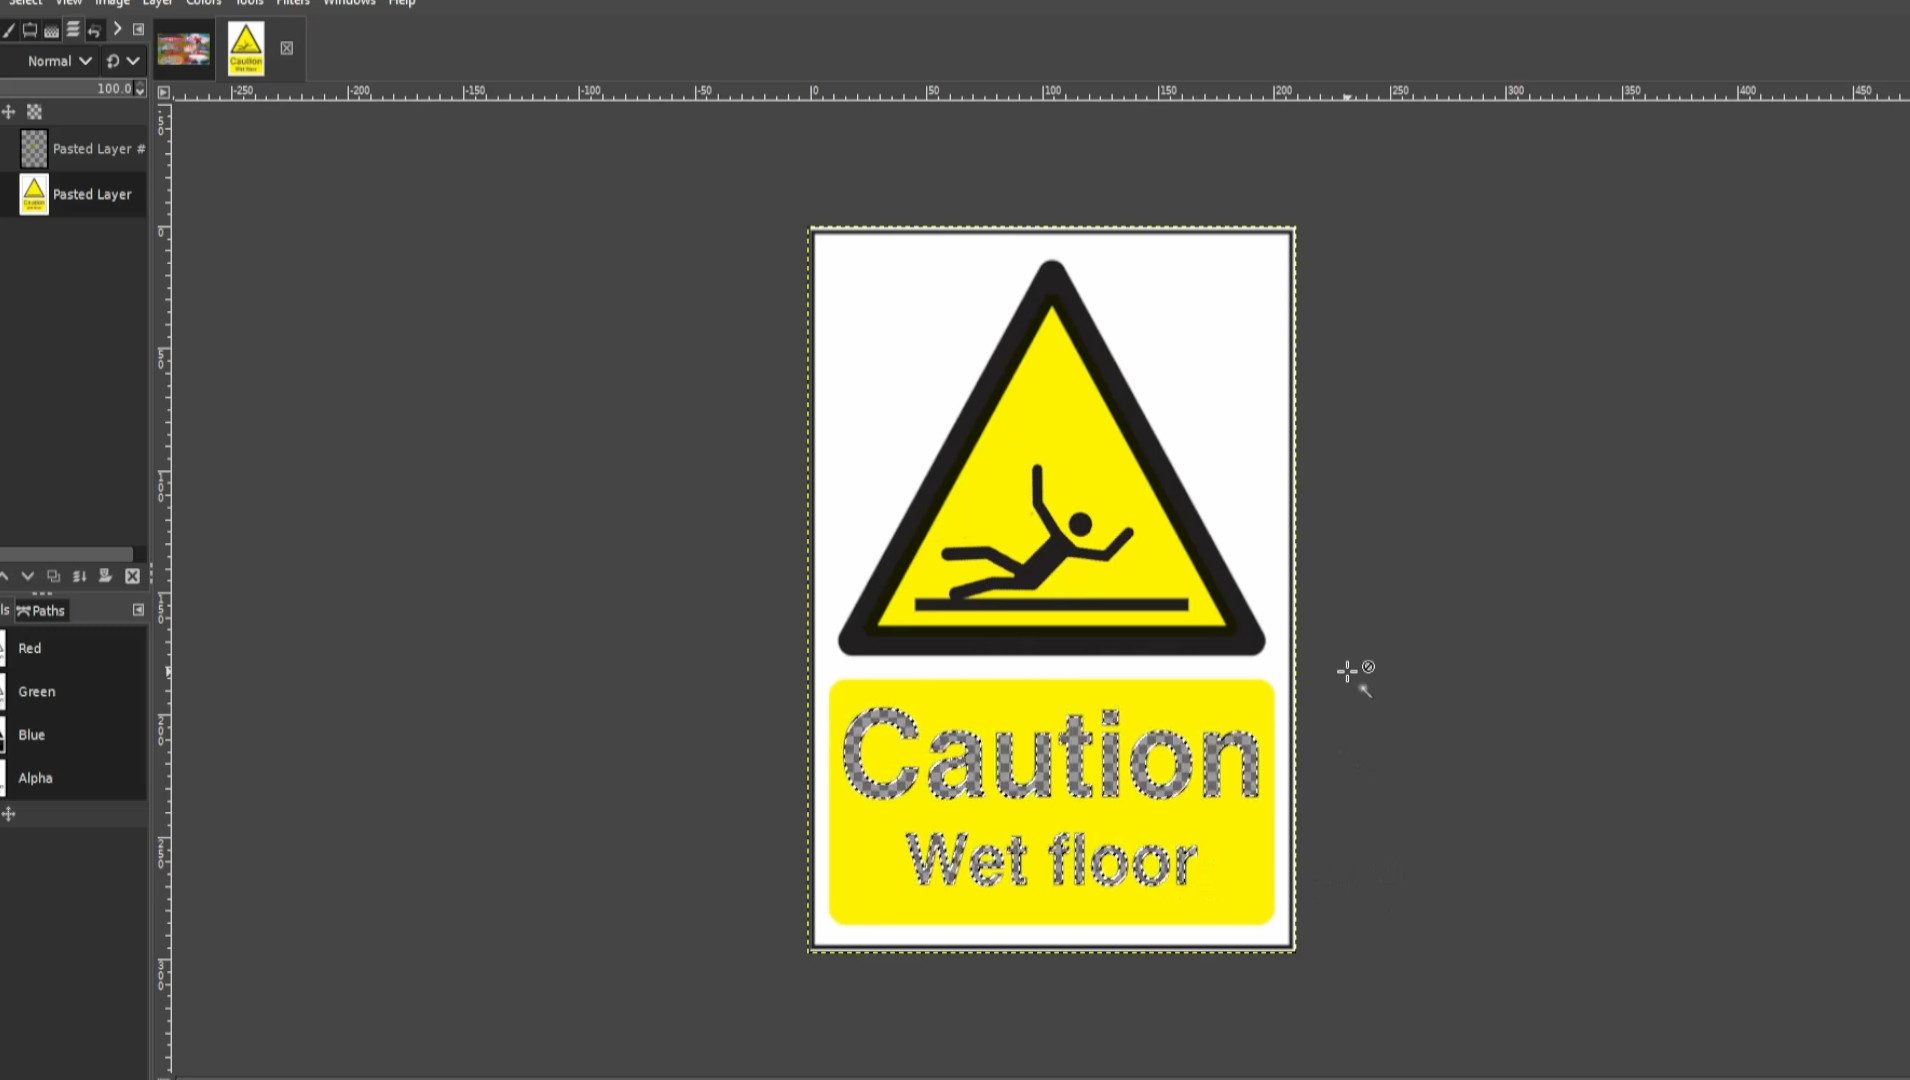
With the first layer selected>>>RIGHT CLICK on the picture and hover your cursor over>>>EDIT and>>>PRESS>>>COPY or use shortcut>>>HOLD>>>CTRL and>>>PRESS C to copy the selected bit.
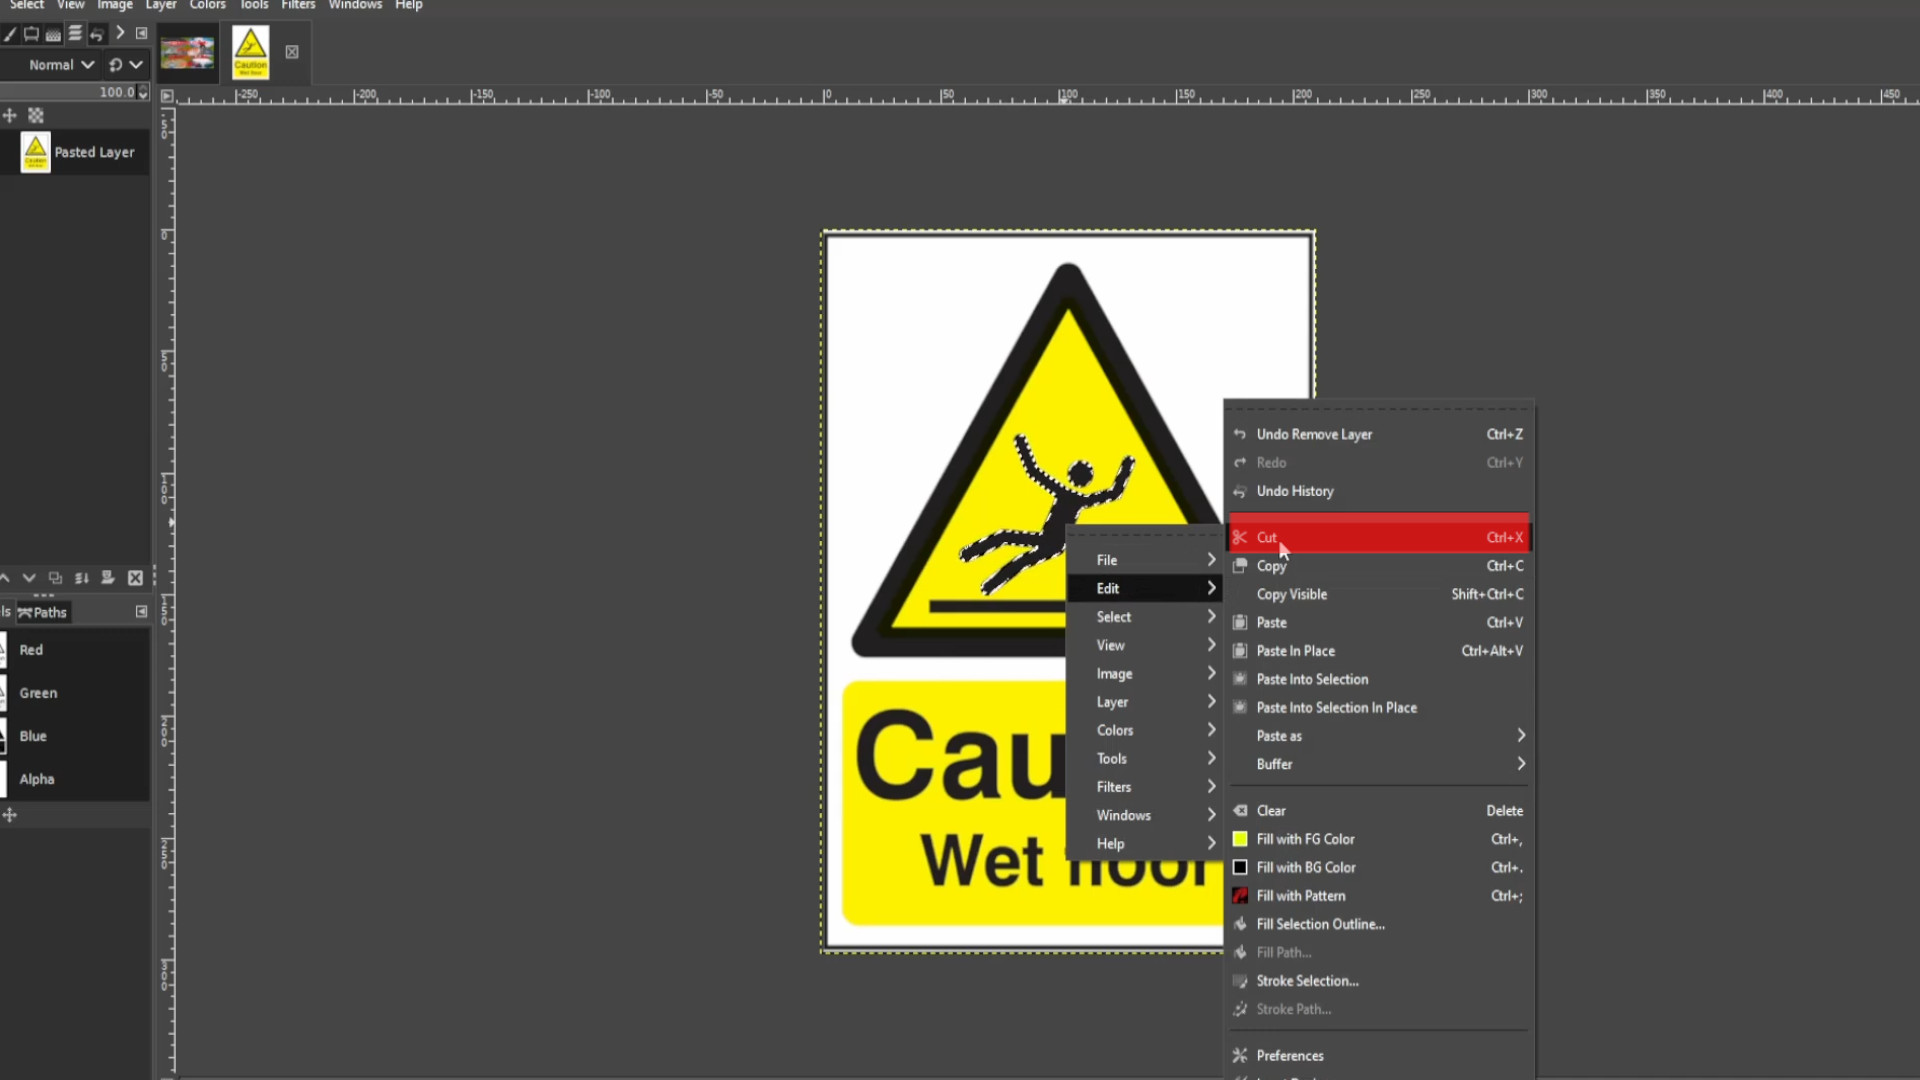
With the first layer selected>>>RIGHT CLICK on the picture and hover your cursor over>>>EDIT and>>>PRESS>>>CUT or use shortcut>>>HOLD>>>CTRL and>>>PRESS X to cut the selected bits.

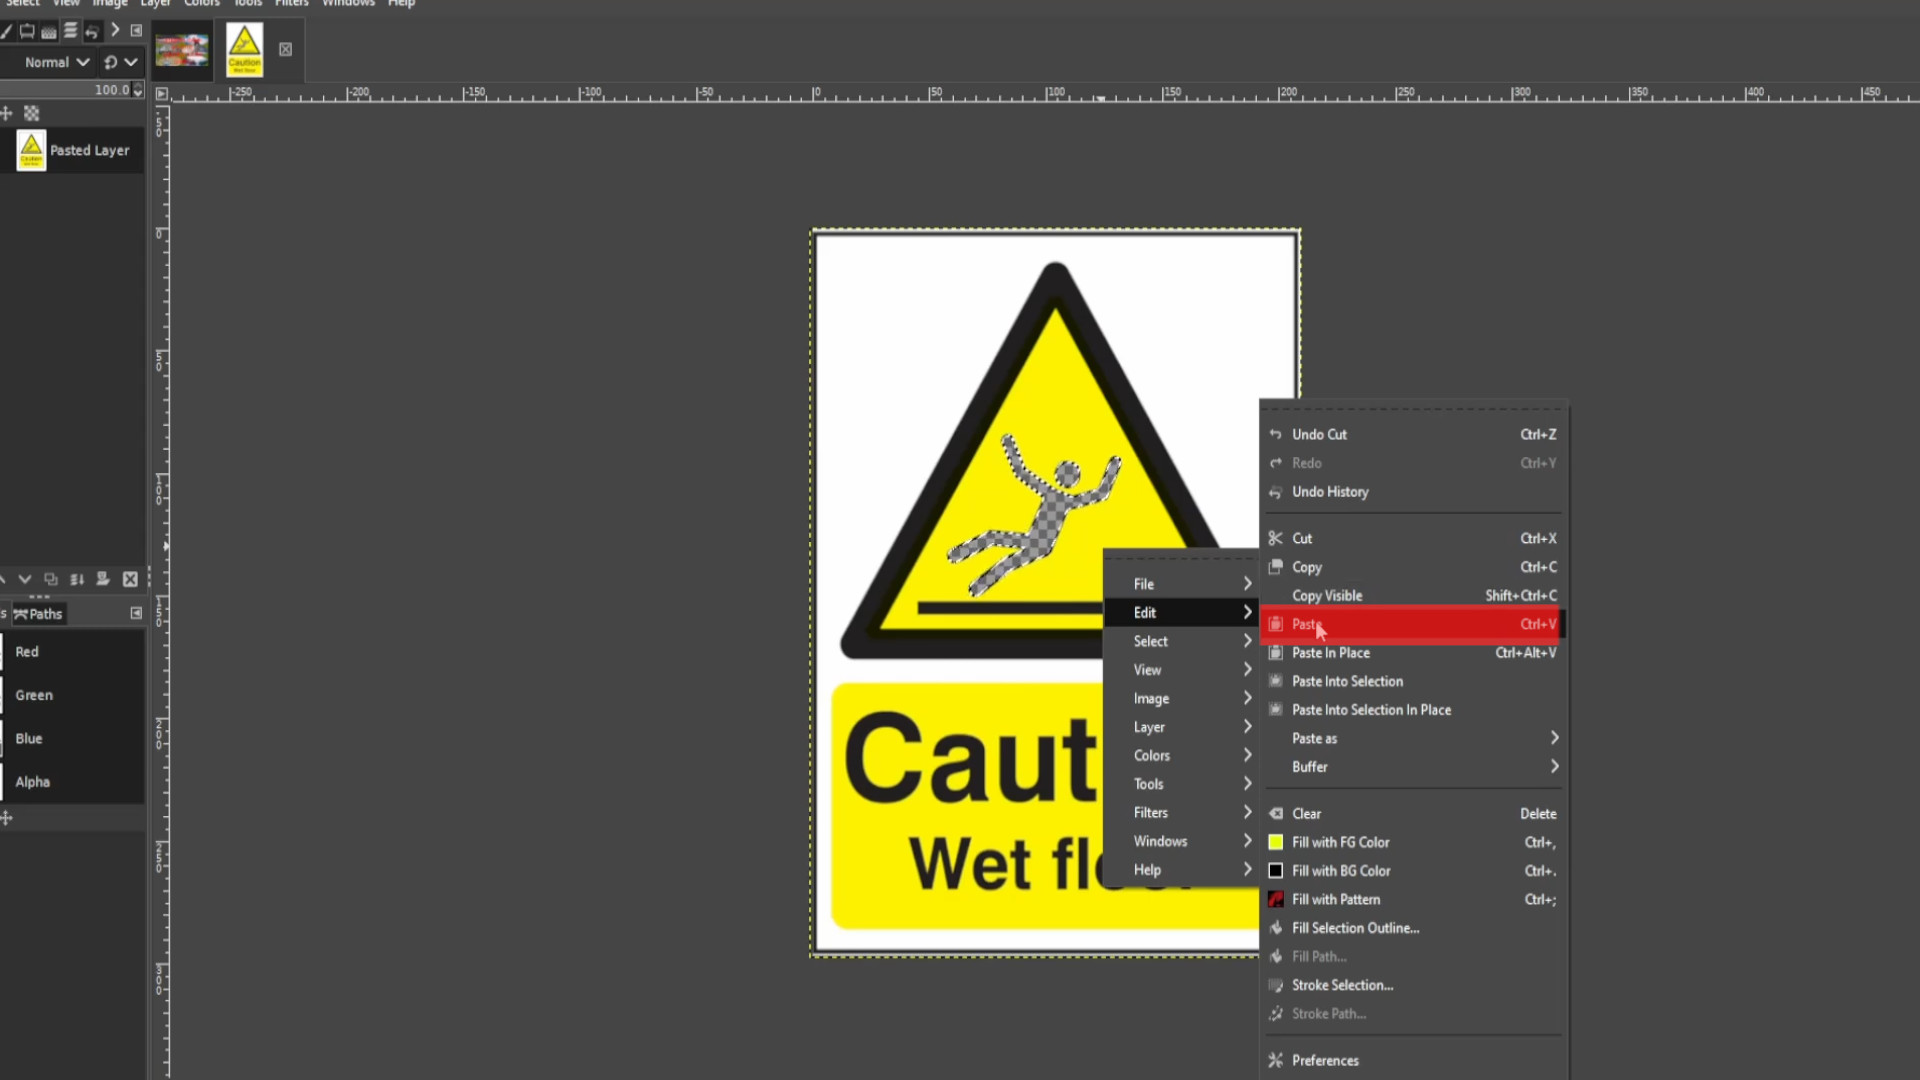
With the first layer selected>>>RIGHT CLICK on the picture and hover your cursor over>>>EDIT and>>>PRESS>>>PASTE or use shortcut>>>HOLD>>>CTRL and>>>PRESS V to paste the selected bits.
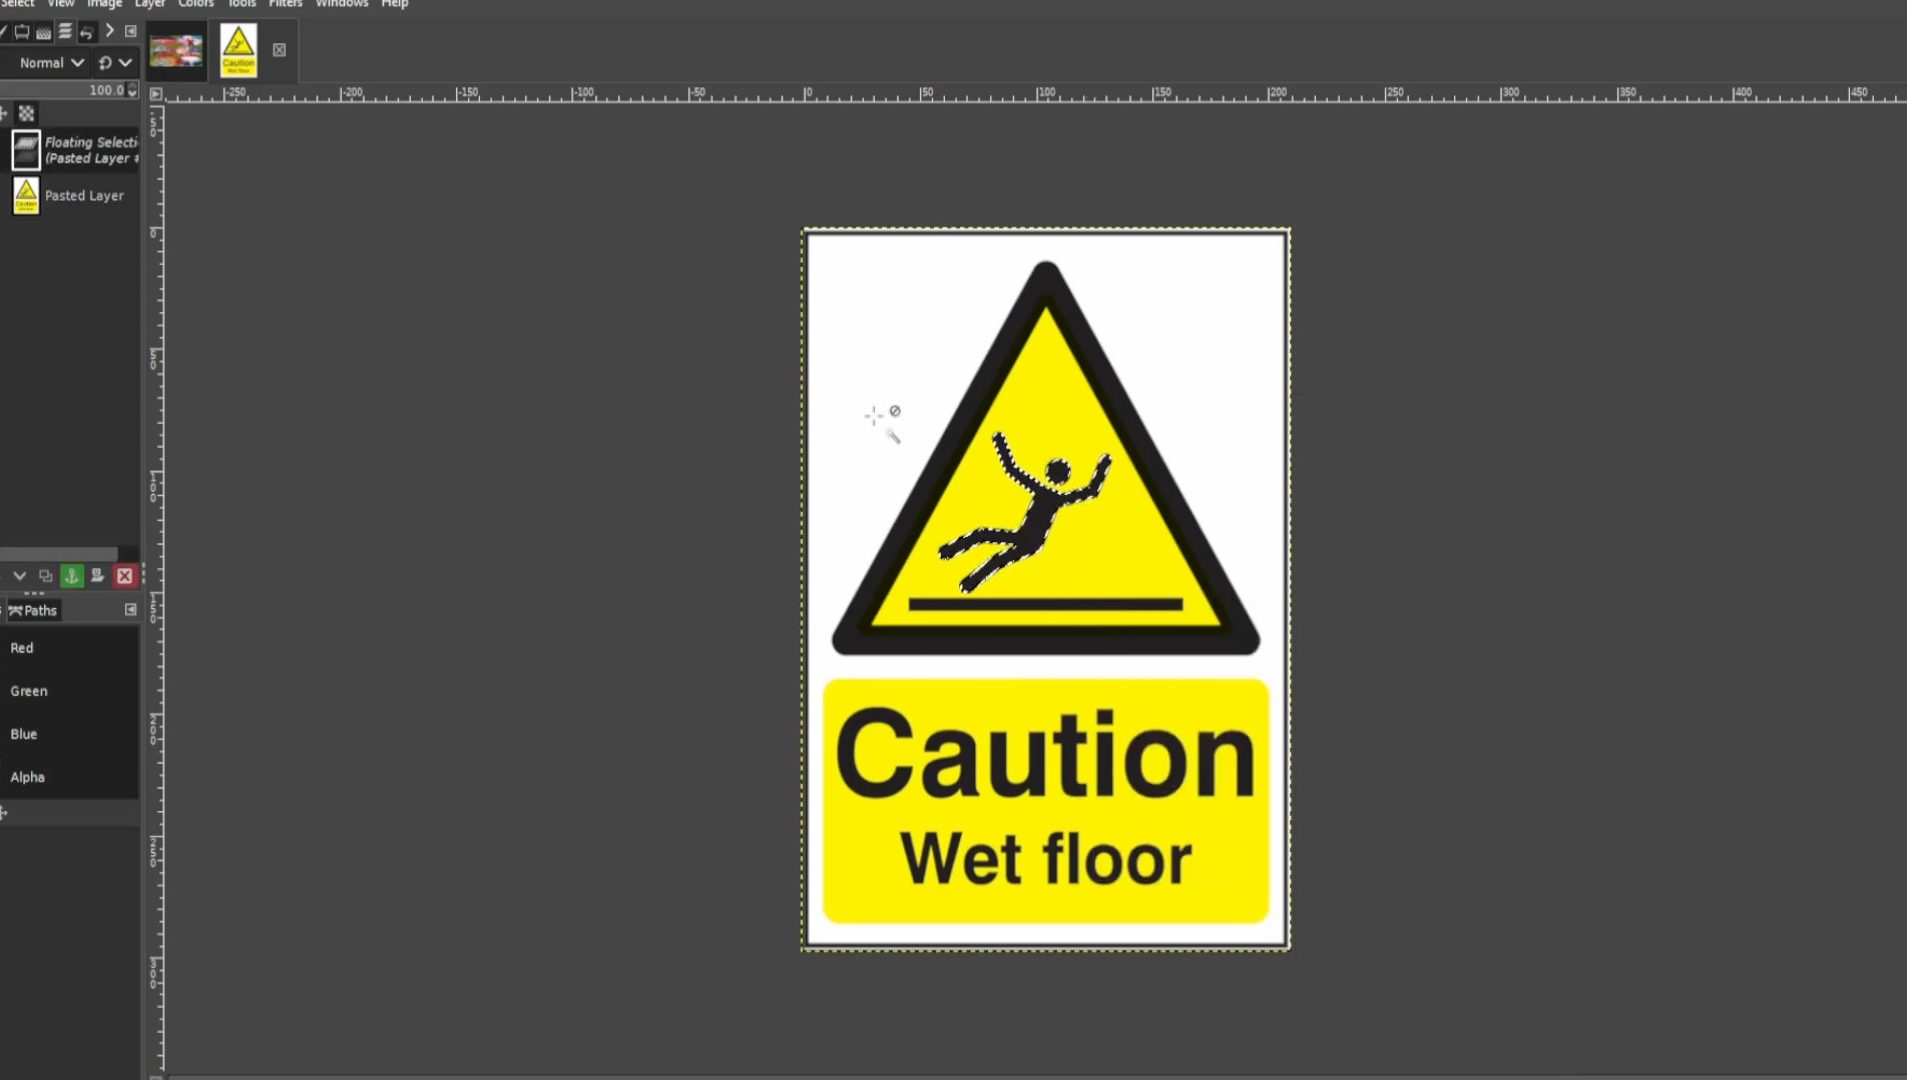
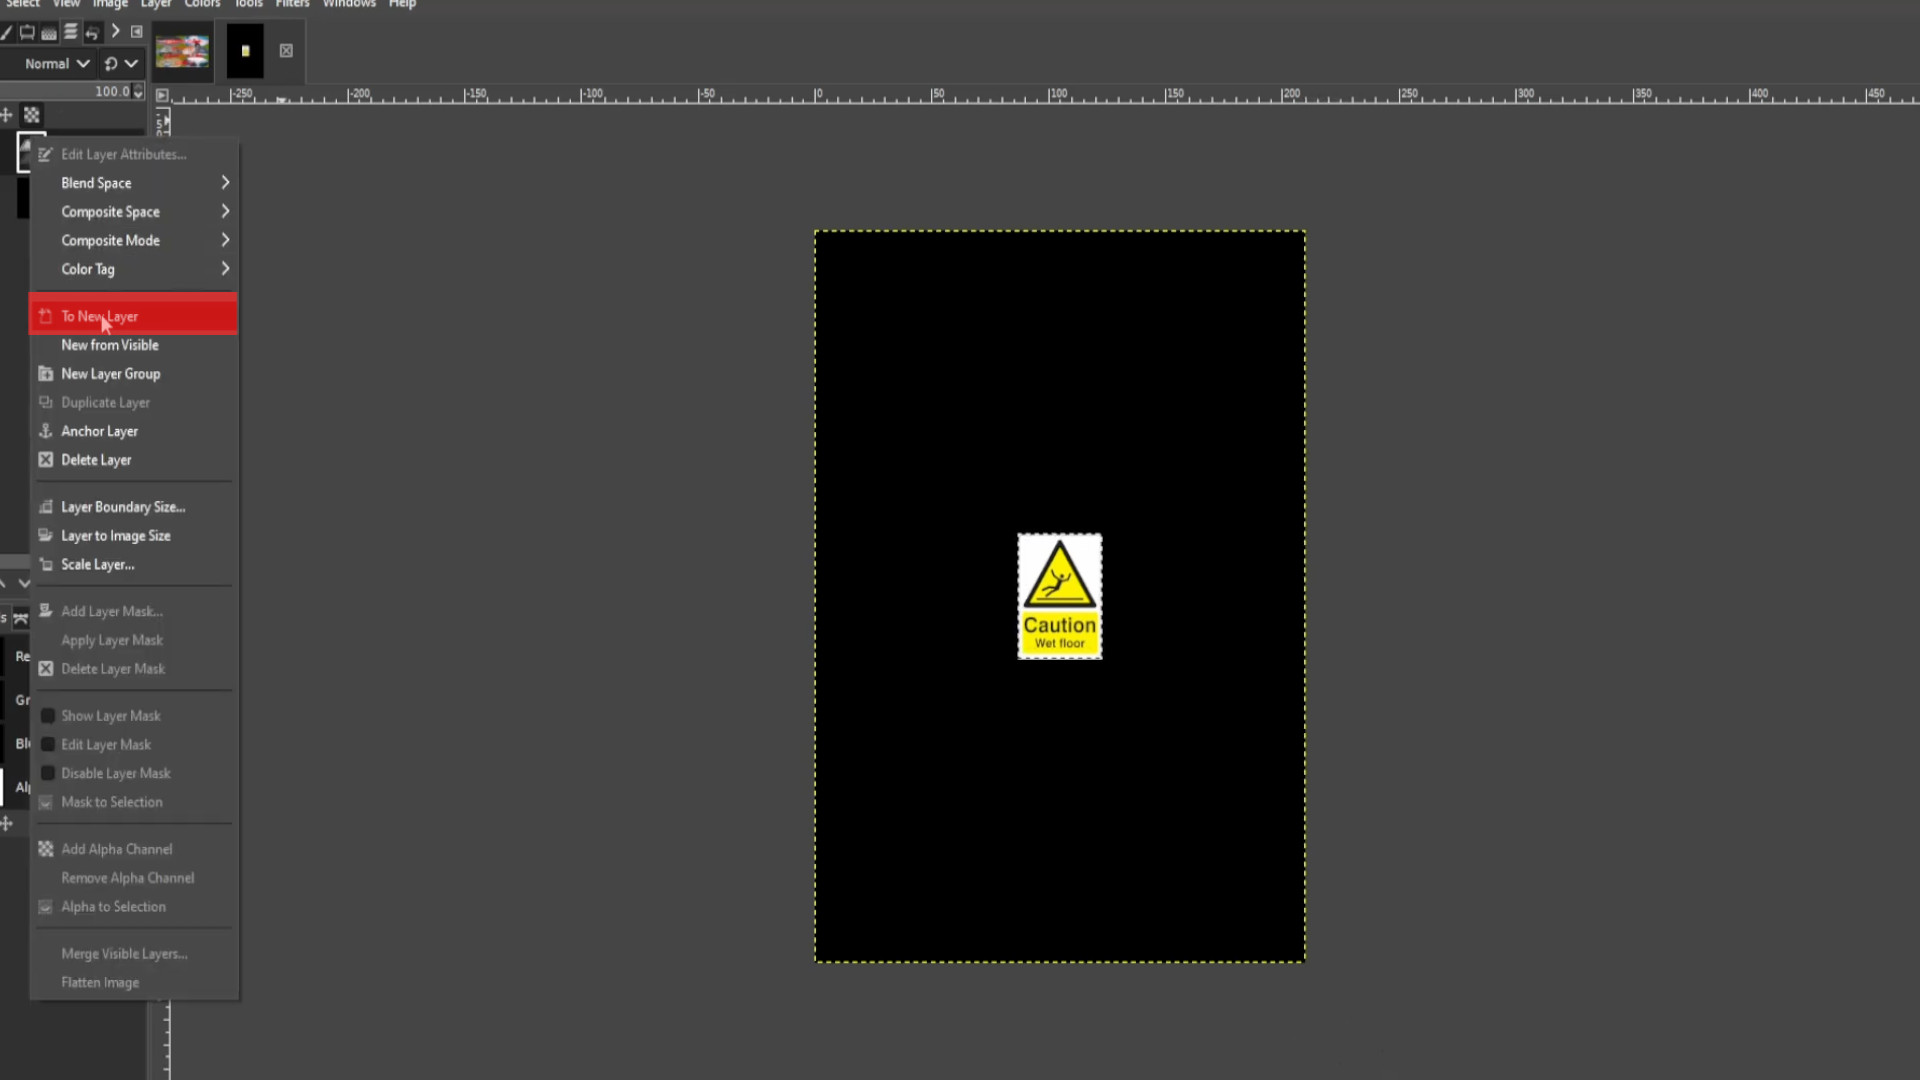
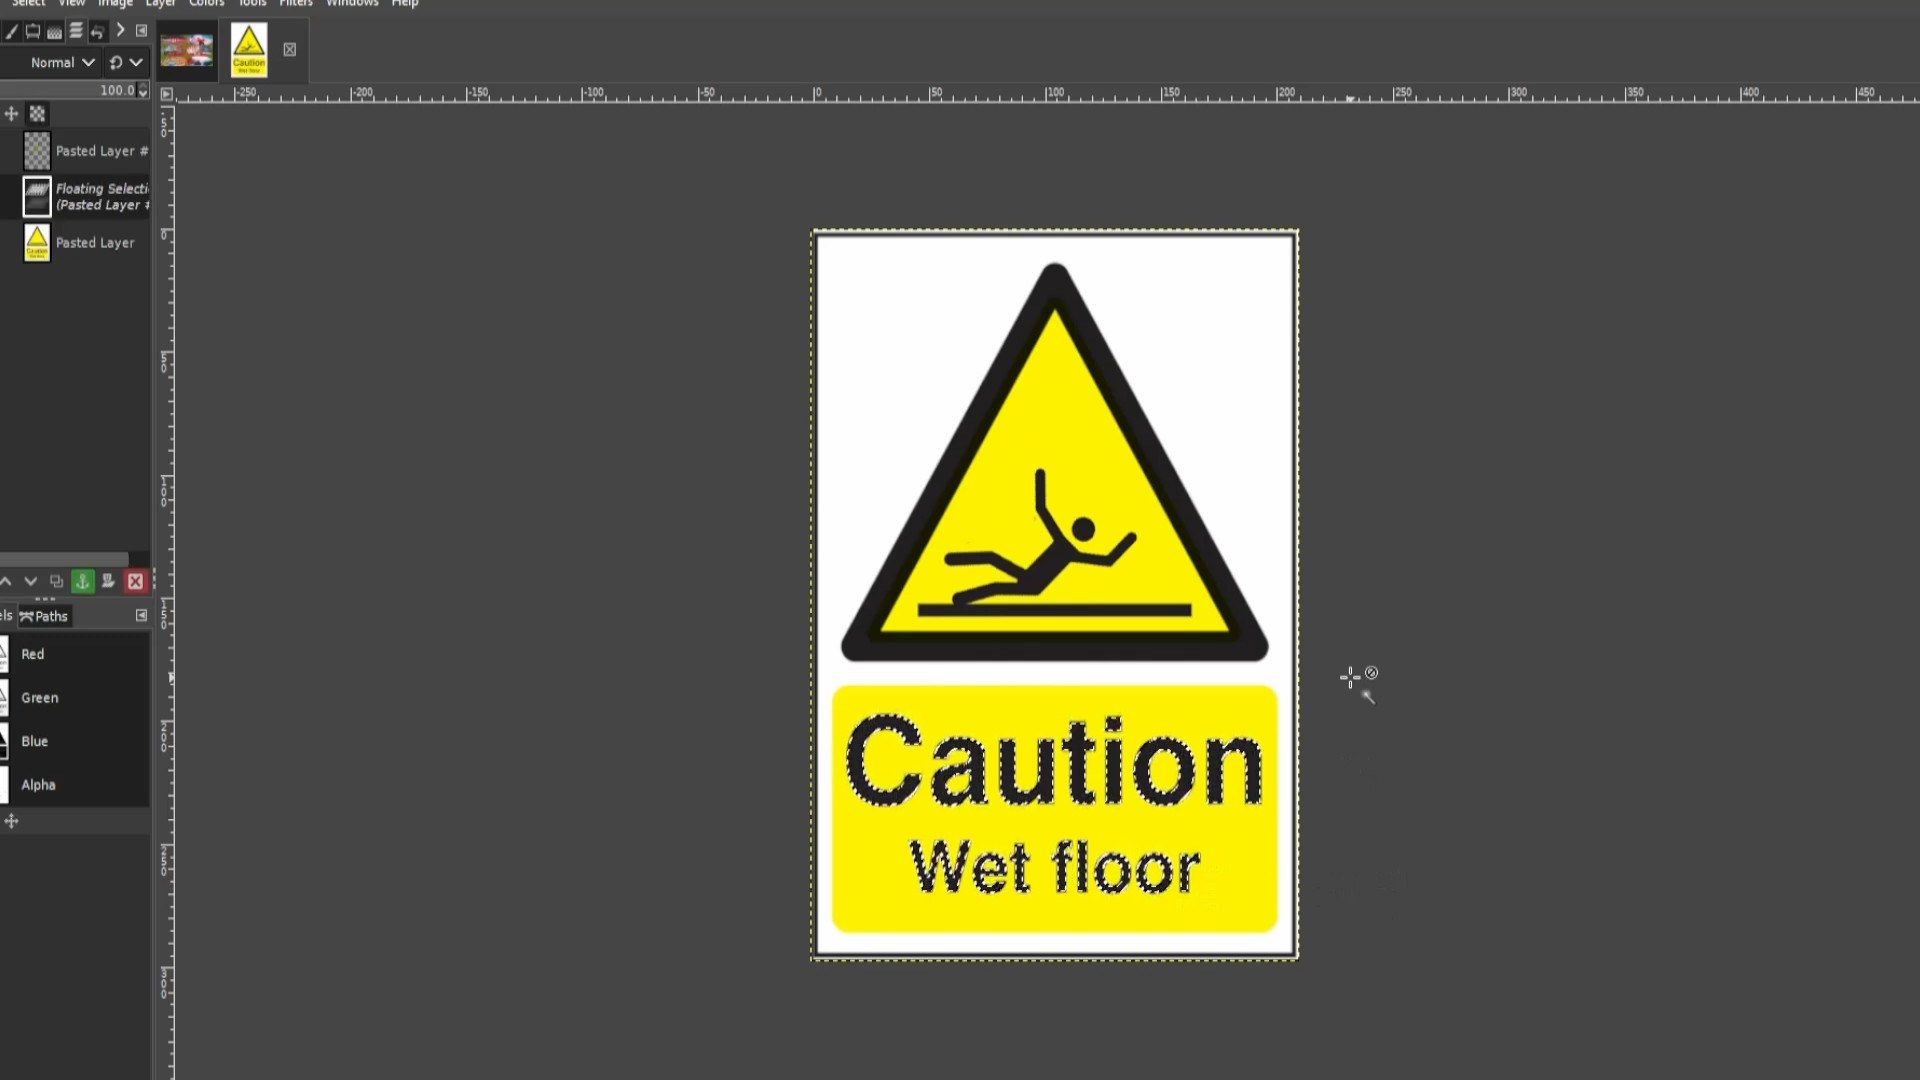
If you see on the left hand side panel in the layers panel>>>FLOATING SELECTION>>>RIGHT CLICK on the layer and select>>>NEW LAYER
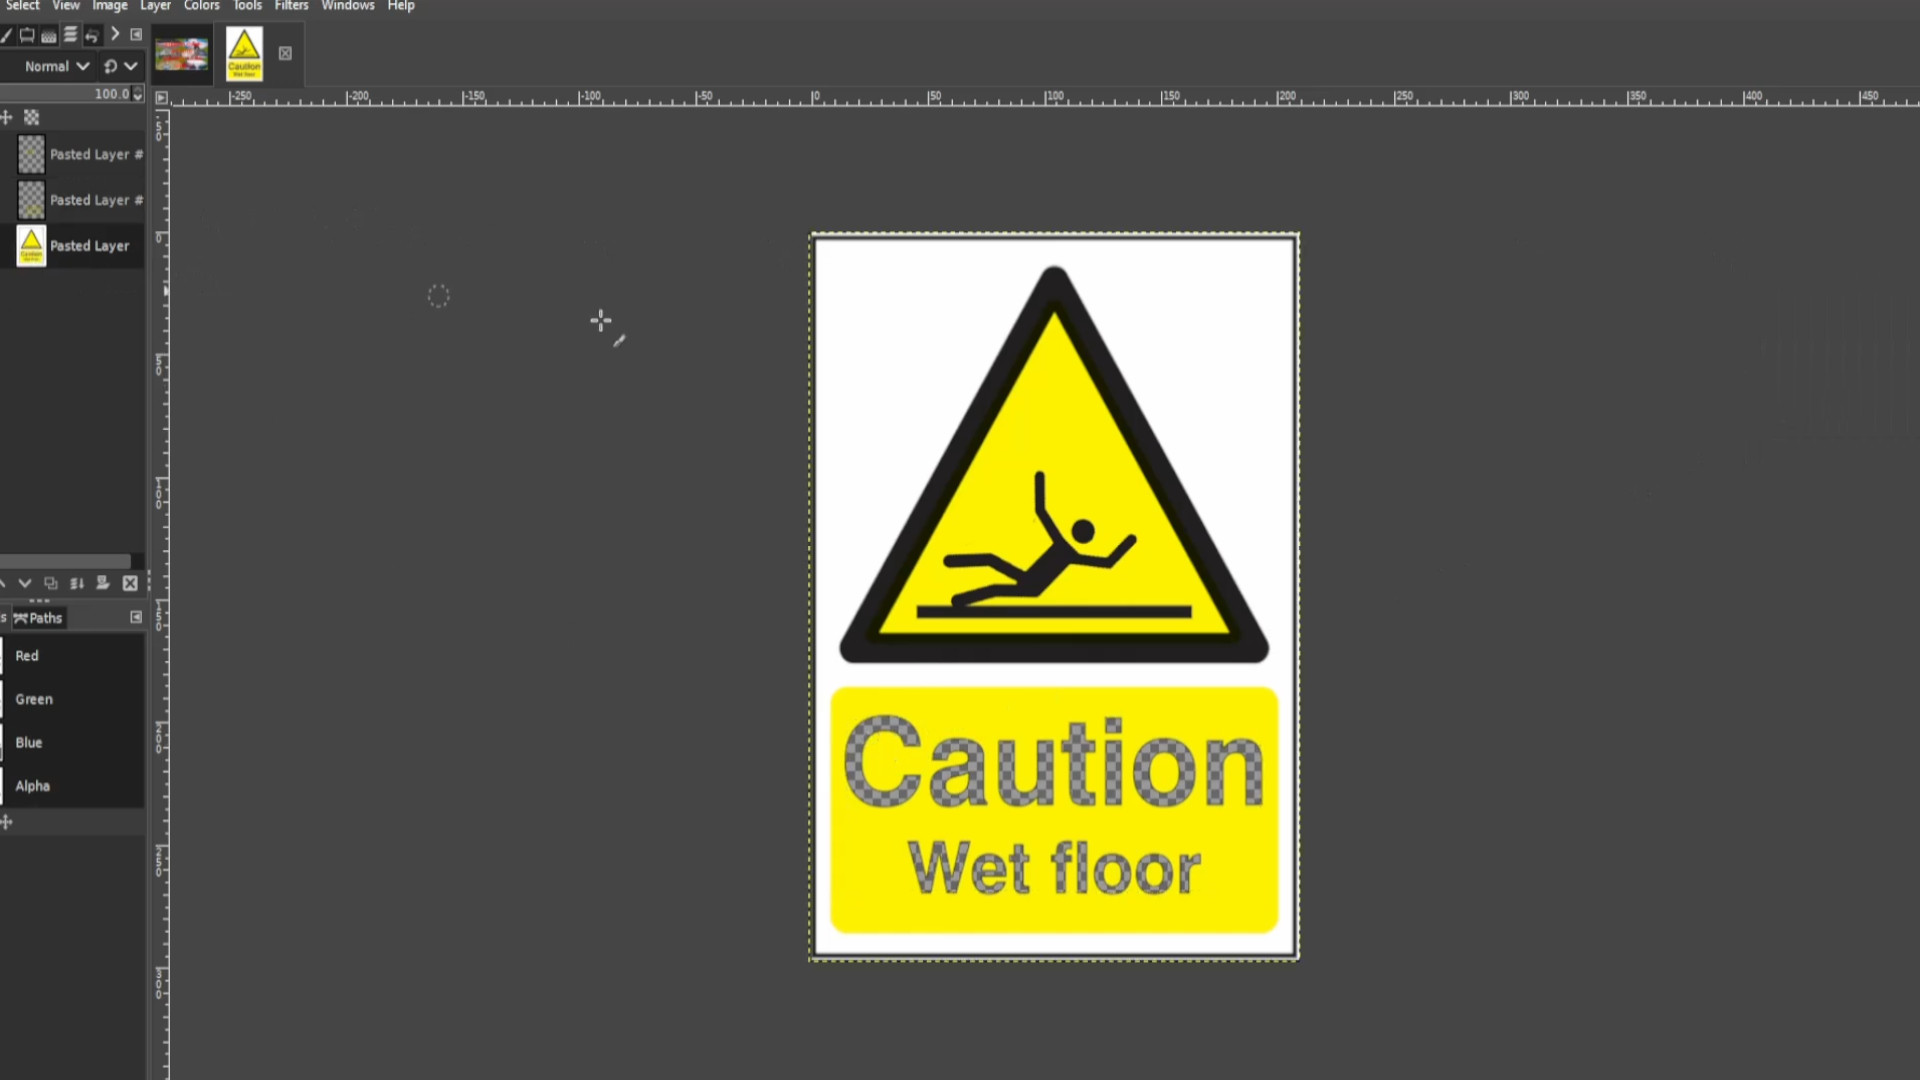
With the first layer selected PRESS the FIRST>>>EYE to hide the layer it should be transparent. If it’s not >>>DELETE the last >>>LAYER in the left hand side>>>LAYERS PANEL and go to >>>LAYER>>>TRANSPARENCY>>>ADD ALPHA CHANNEL.
With the bottom layer selected and using the>>>COLOUR PICKER select in this case any yellow bit that’s not transparent. 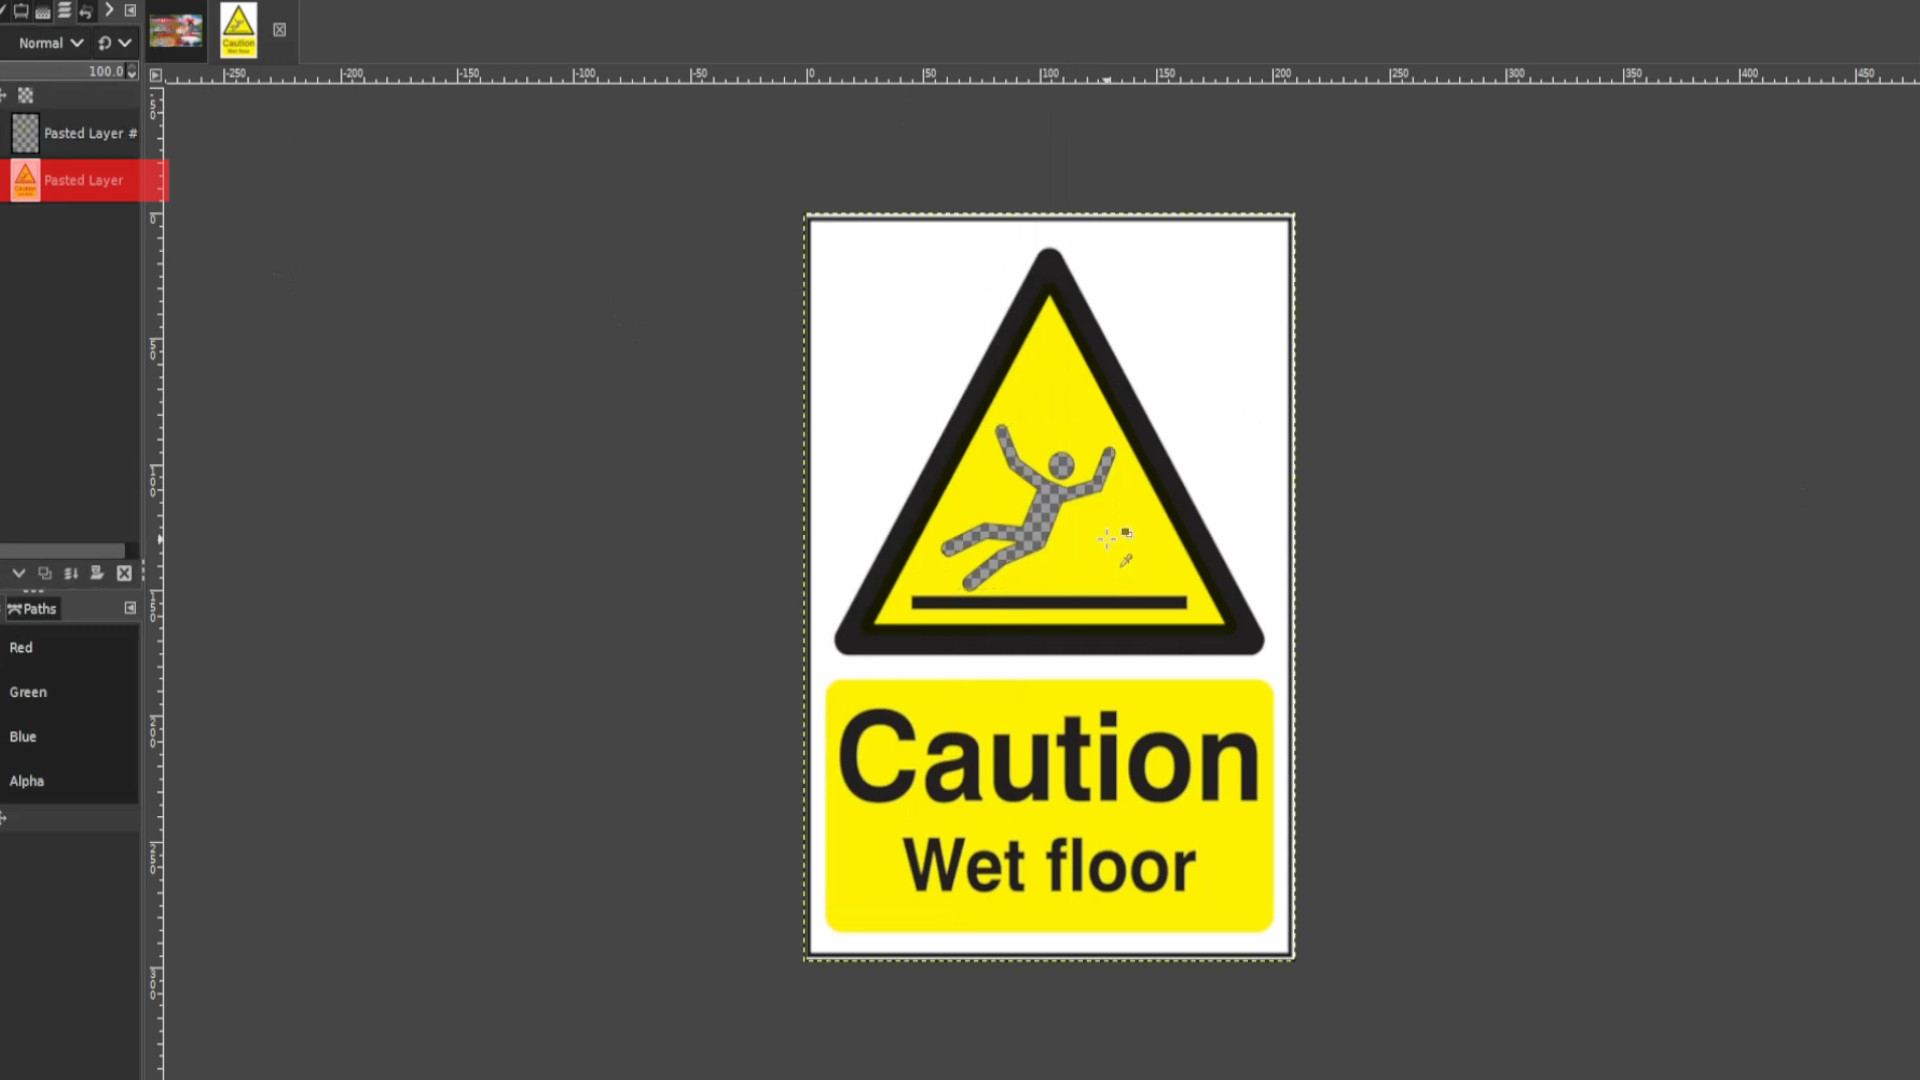
With the bottom layer selected Use the>>>PAINT BRUSH to fill in the transparent bit leaving in this case the triangle completely yellow. 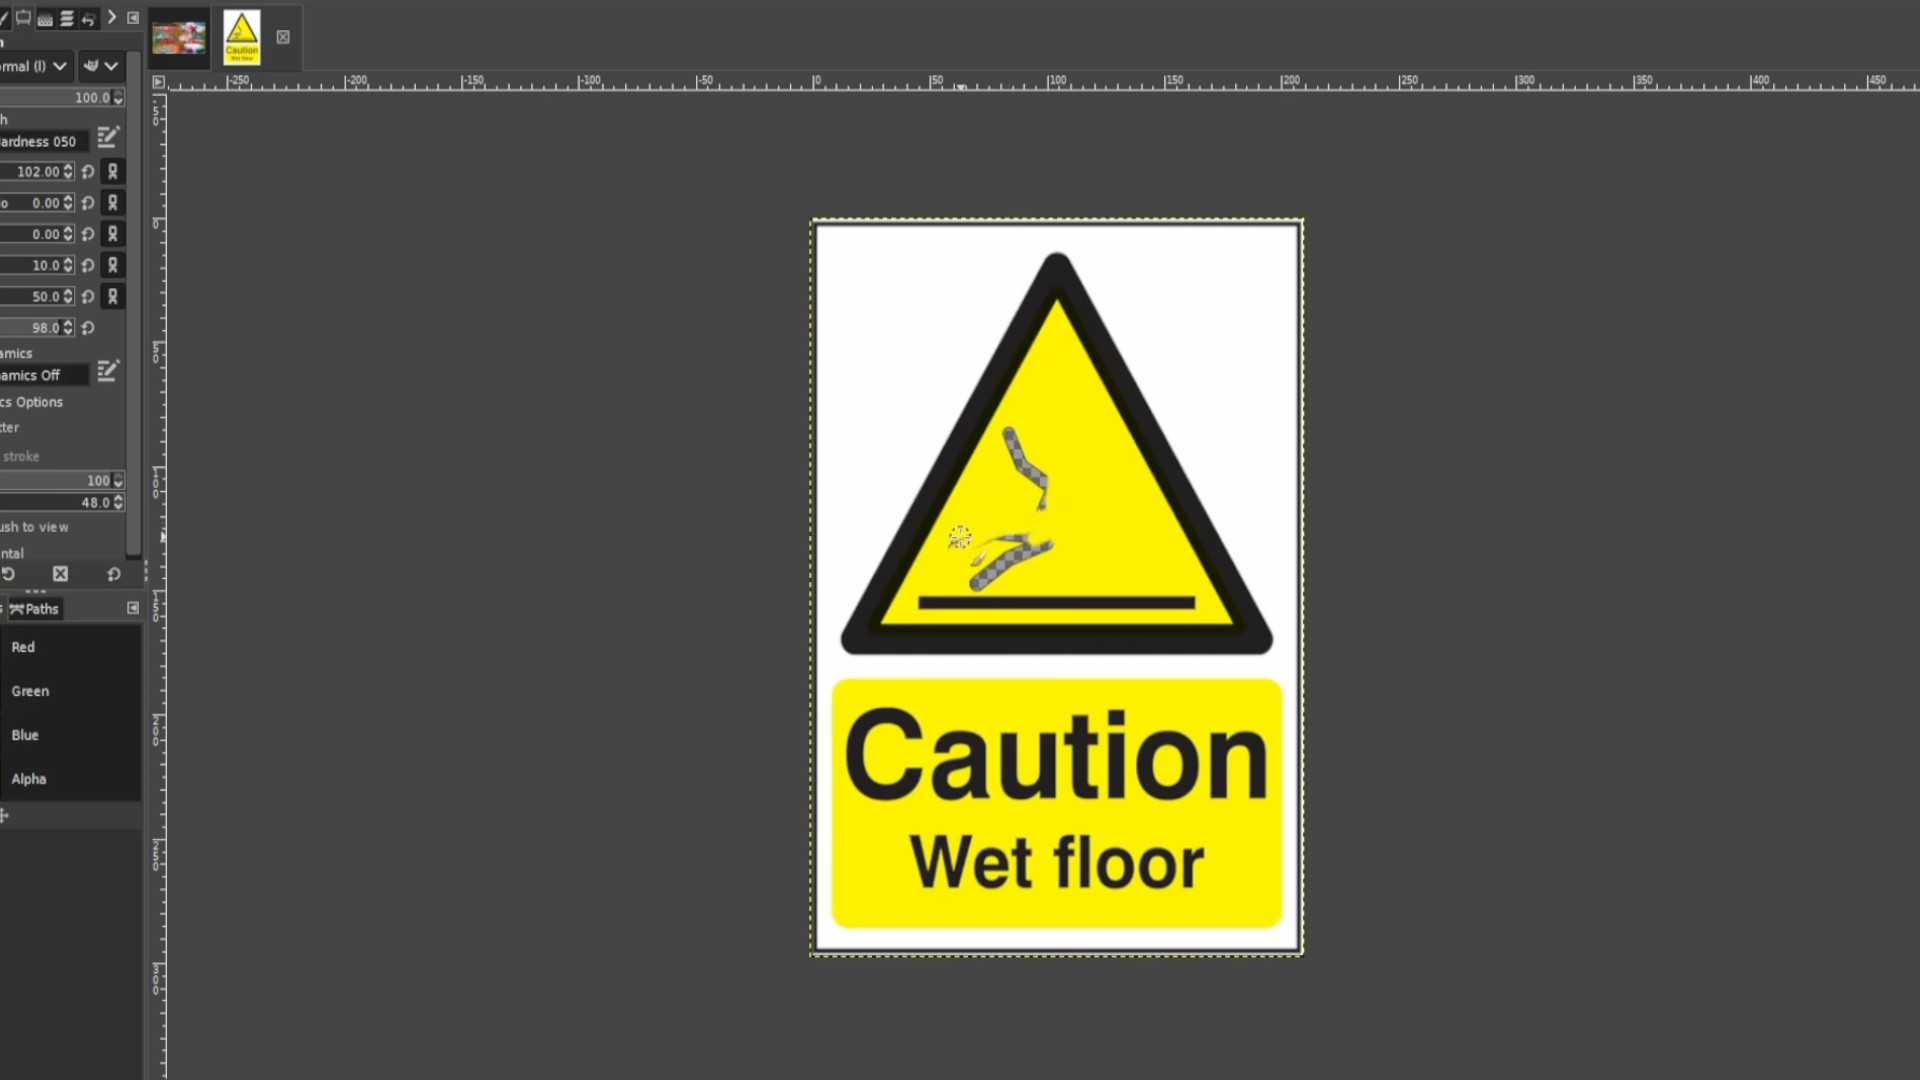
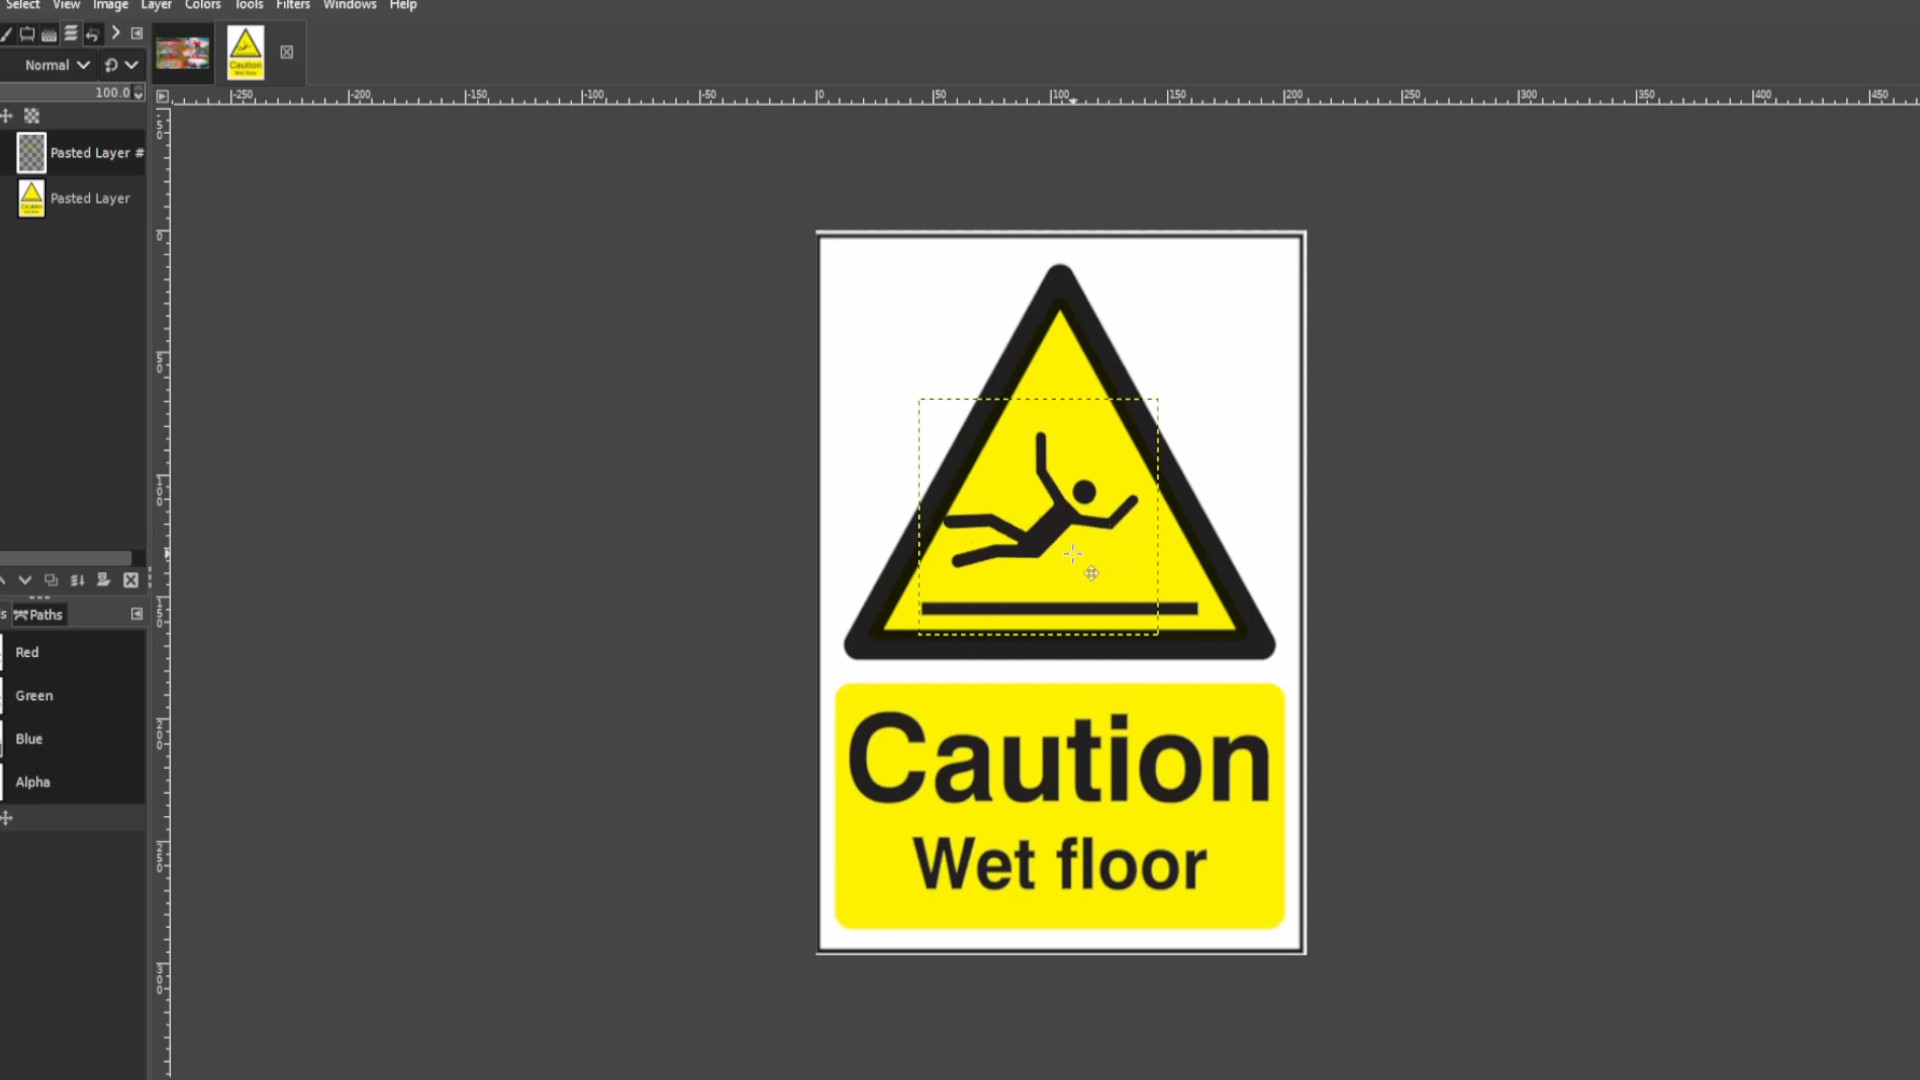
>>>UNHIDE the LAYER by clicking on the on the first layer eye section to unhide the layer. 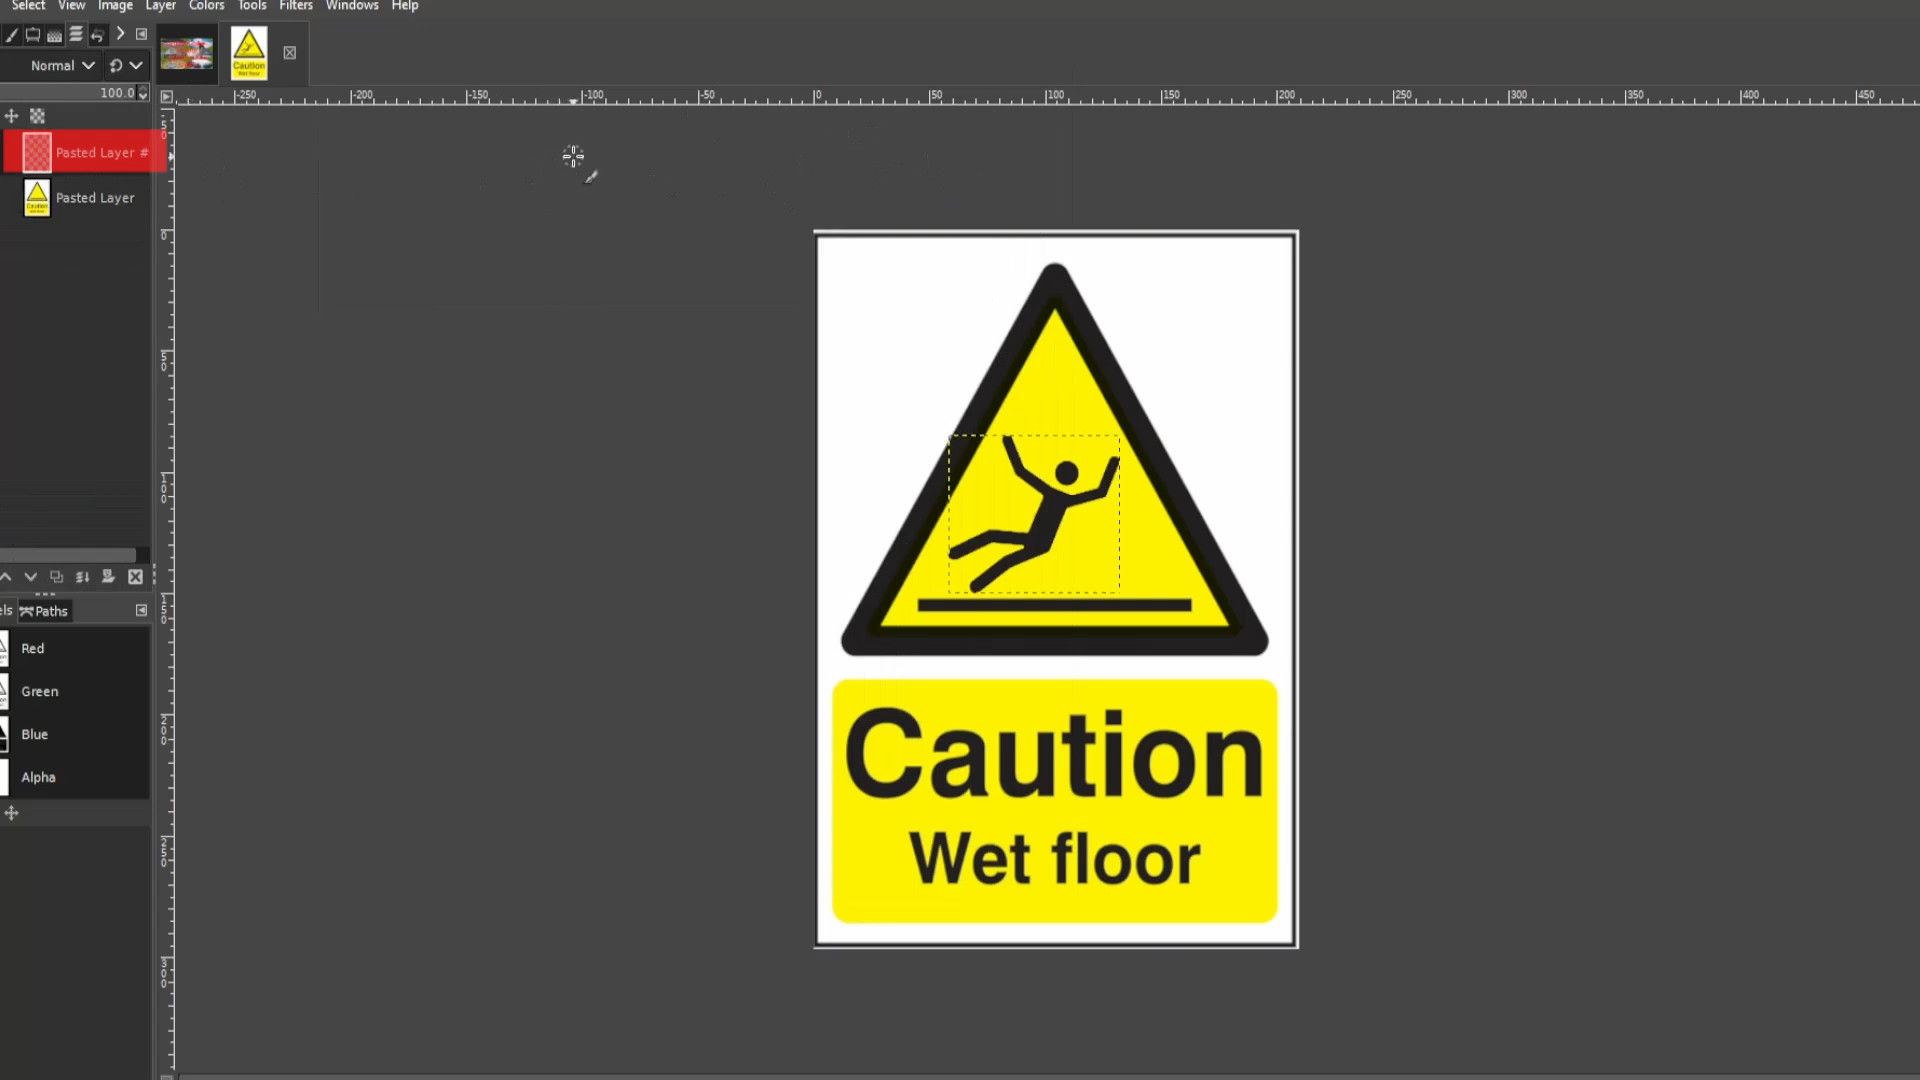
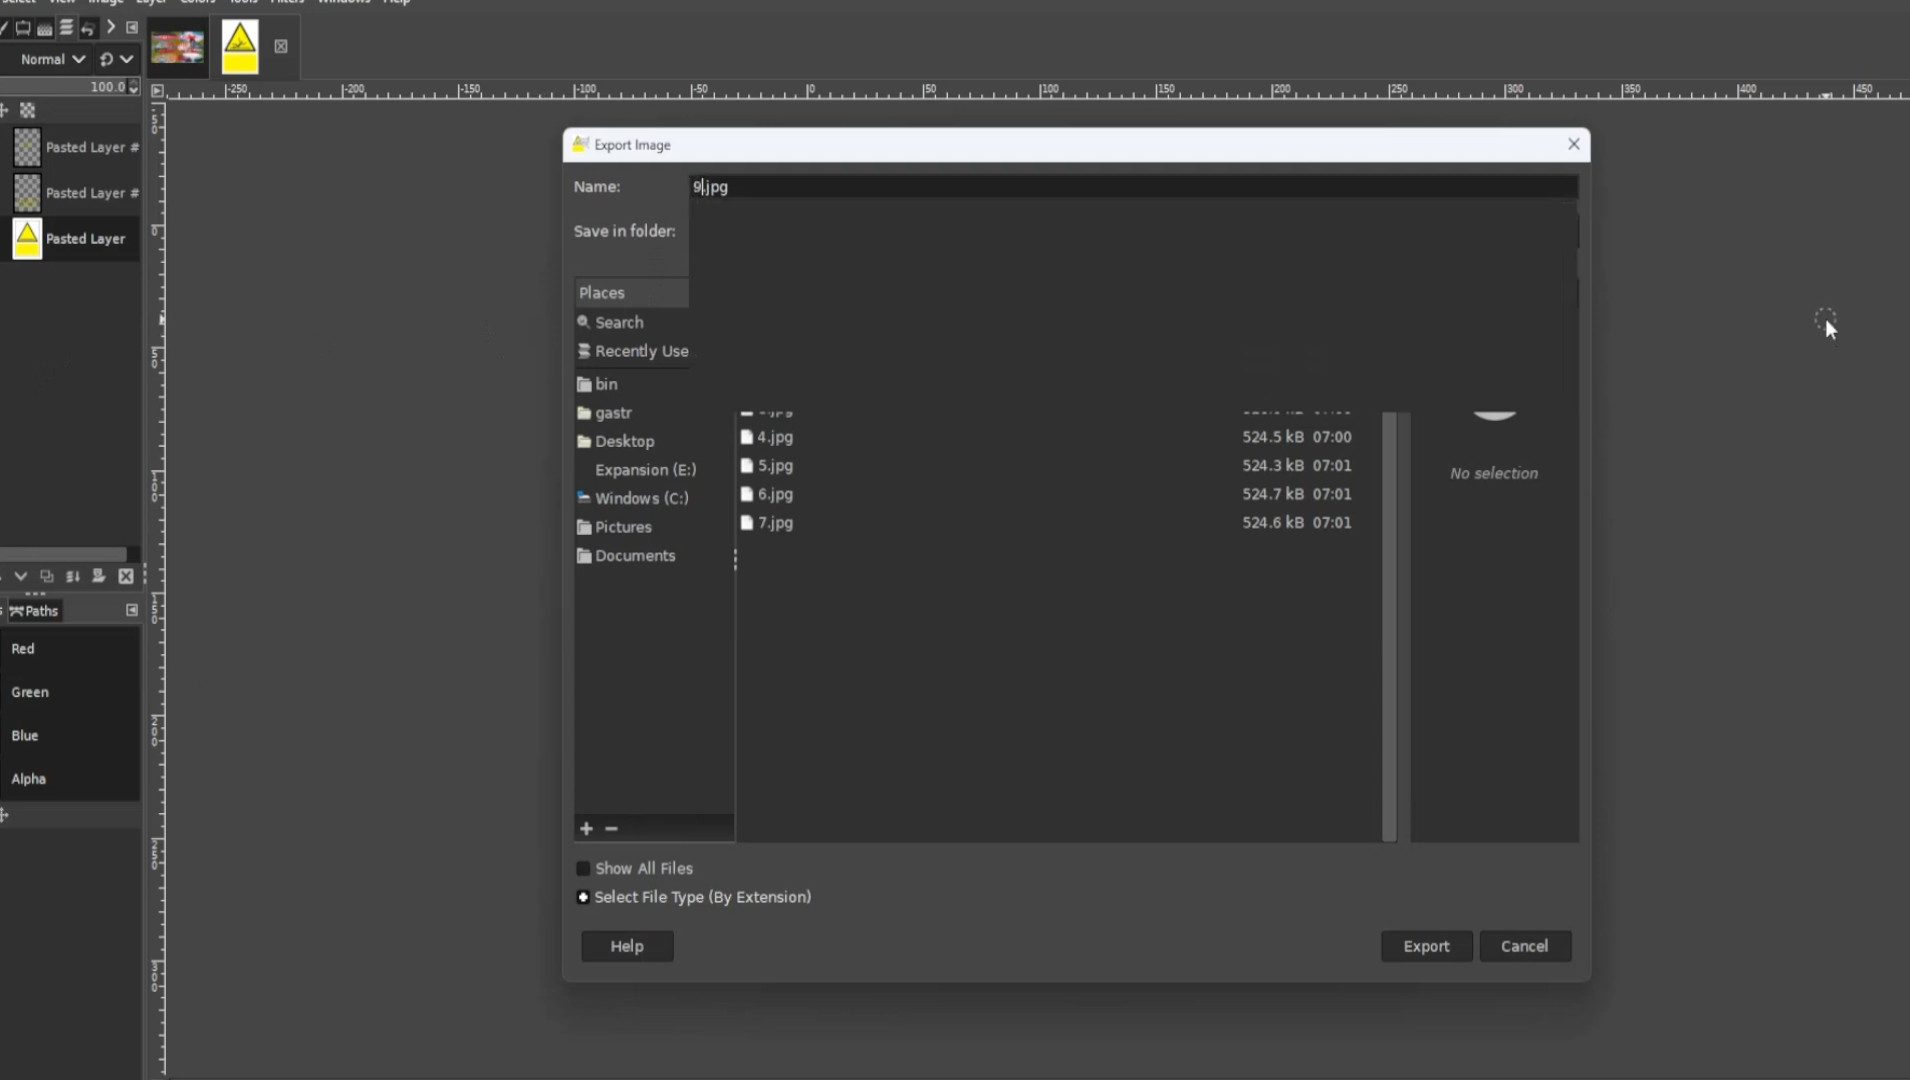
Use the>>>ROTATE TOOL to move it slightly. In this case I’m going to make it look like he’s falling so move it just slightly and>>>EXPORT the frame with a >>>JPG or>>>PNG extension at the end of the file name for example>>>0.jpg or>>>0.png. For shortcuts you can HOLD>>>SHIFT and >>>PRESS>>>R to rotate the stickman. 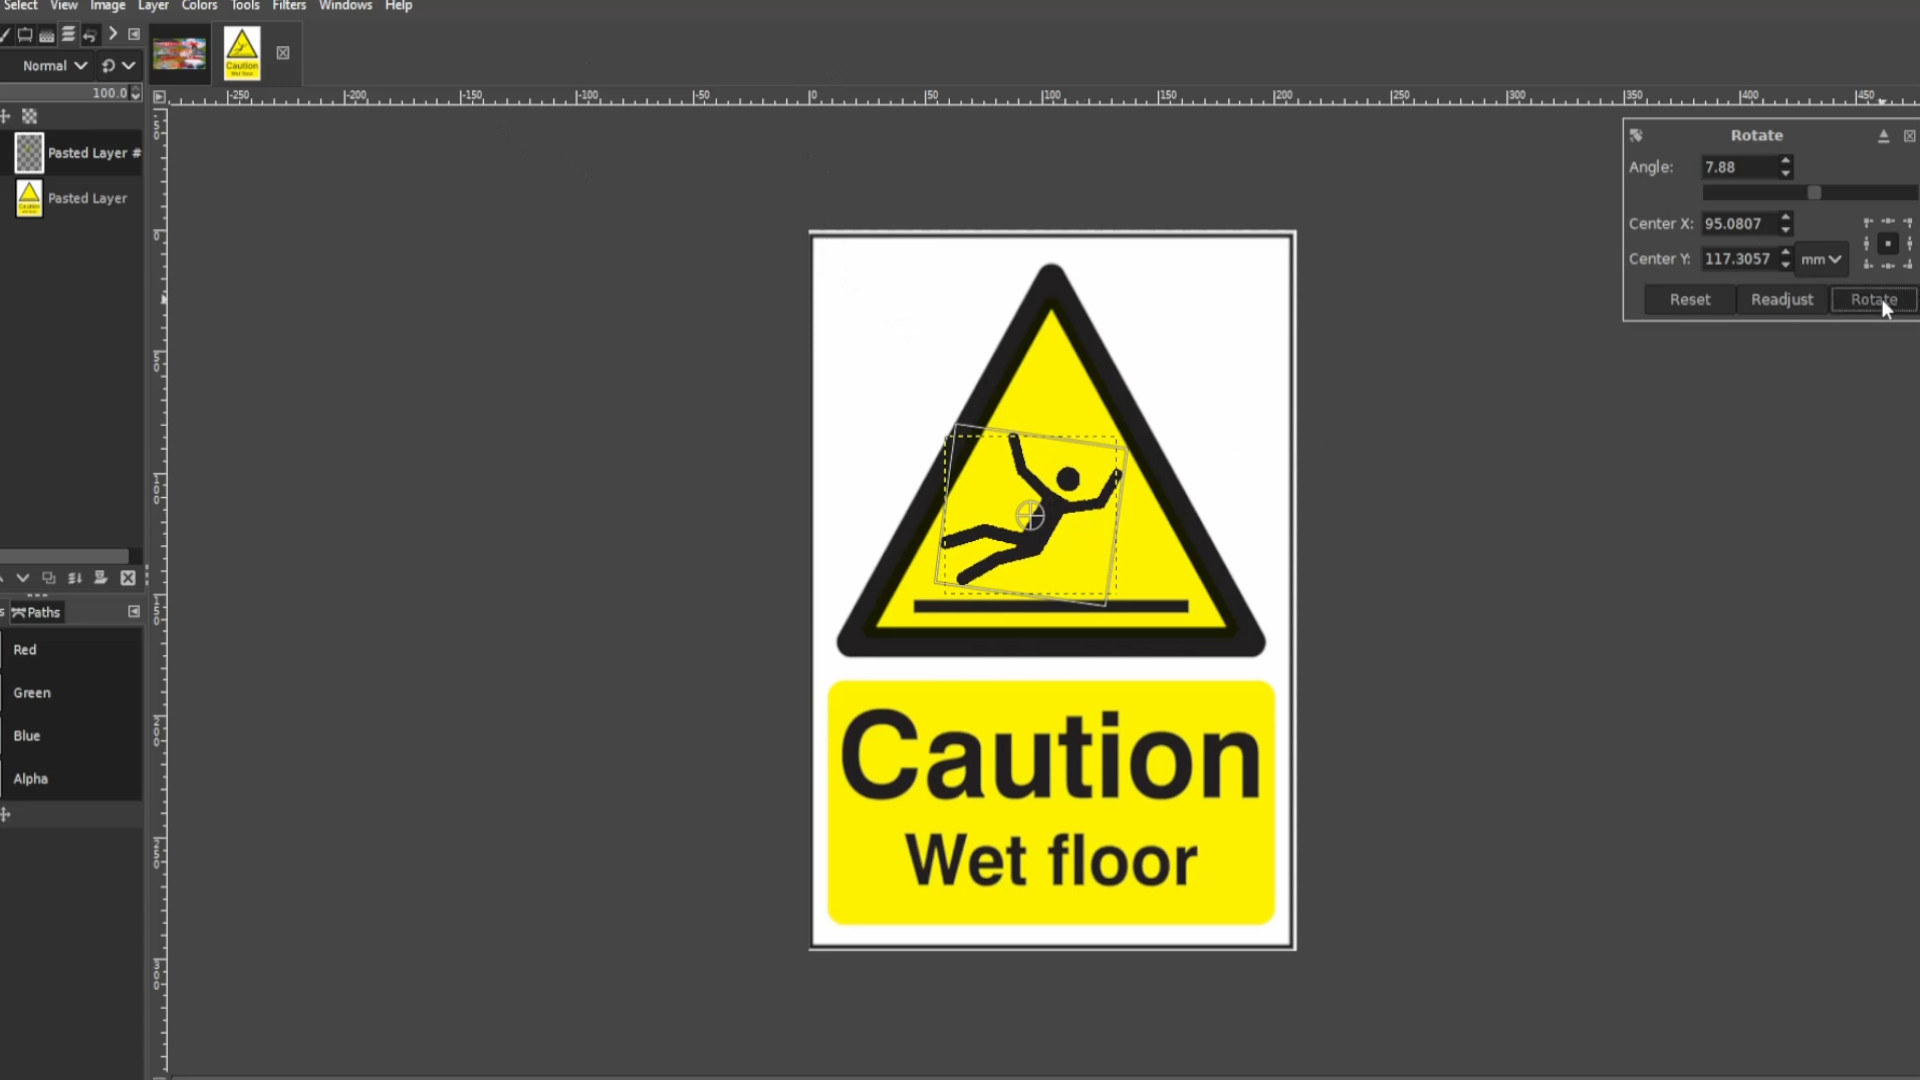
Repeat step 12 >>>EXPORTING AS each time you move it slightly and don’t forget to rename the file I did numbers so this one will be >>>1.jpg or >>>1.png and so forth. Do this until you finished animating the sign.


Repeat step >>>3-7 to do the letters if you want to animate them or don’t to leave the bottom half still.


>>>TURN OFF THE LAYER by>>>CLICKING ON THE FIRST EYE in>>>THE LAYERS TAB on the>>>LEFT HAND SIDE. >>>and EXPORT the file.

Repeat>>>>STEP 15 5-10 times>>>EXPORTING AS each time you turn on and off the layer.
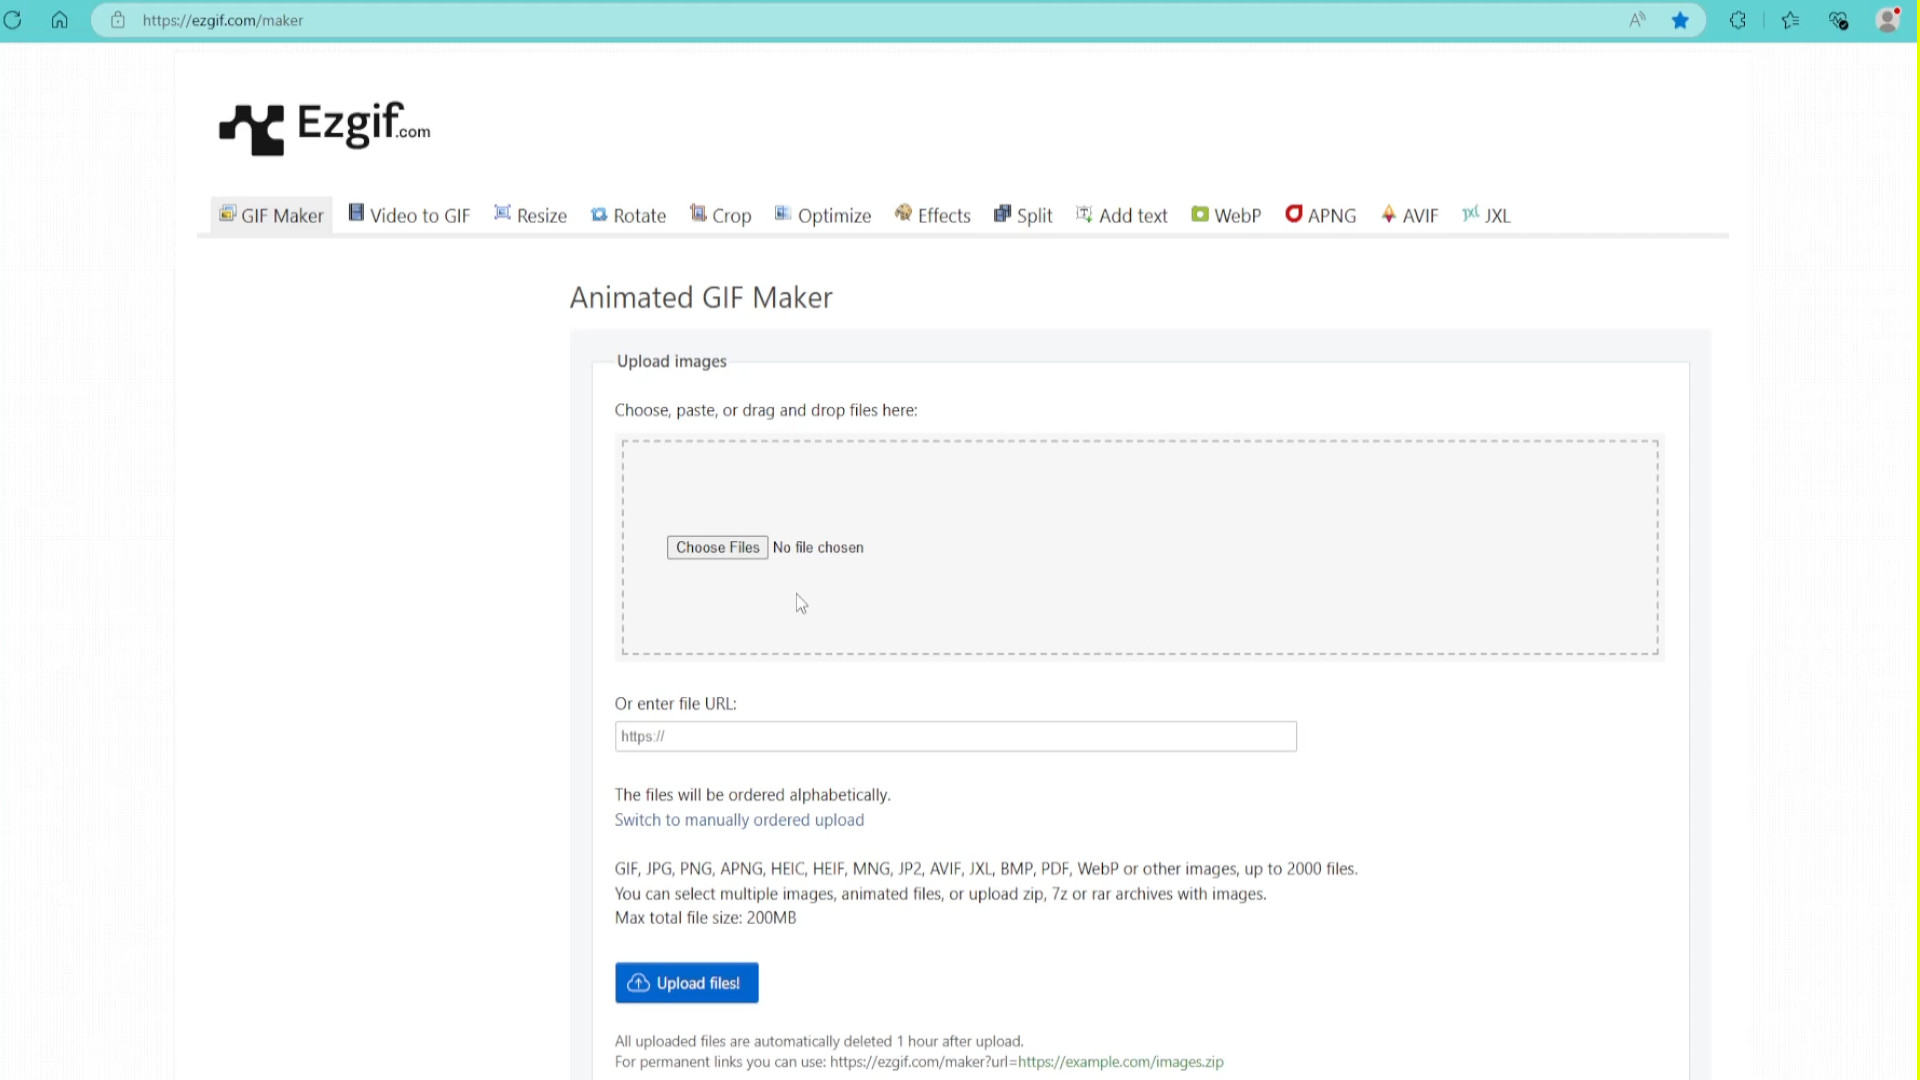
You can use a gif maker like EGIF.com to put the gif together and save as a>>>gif or>>>MP4 file.
Add a Comment