
Open up Gimp and go to >>>FILE>>>NEW>>>TEMPLATE and pick the>>>A4 SIZE;
1080 in Width,
1920 in Height
in px

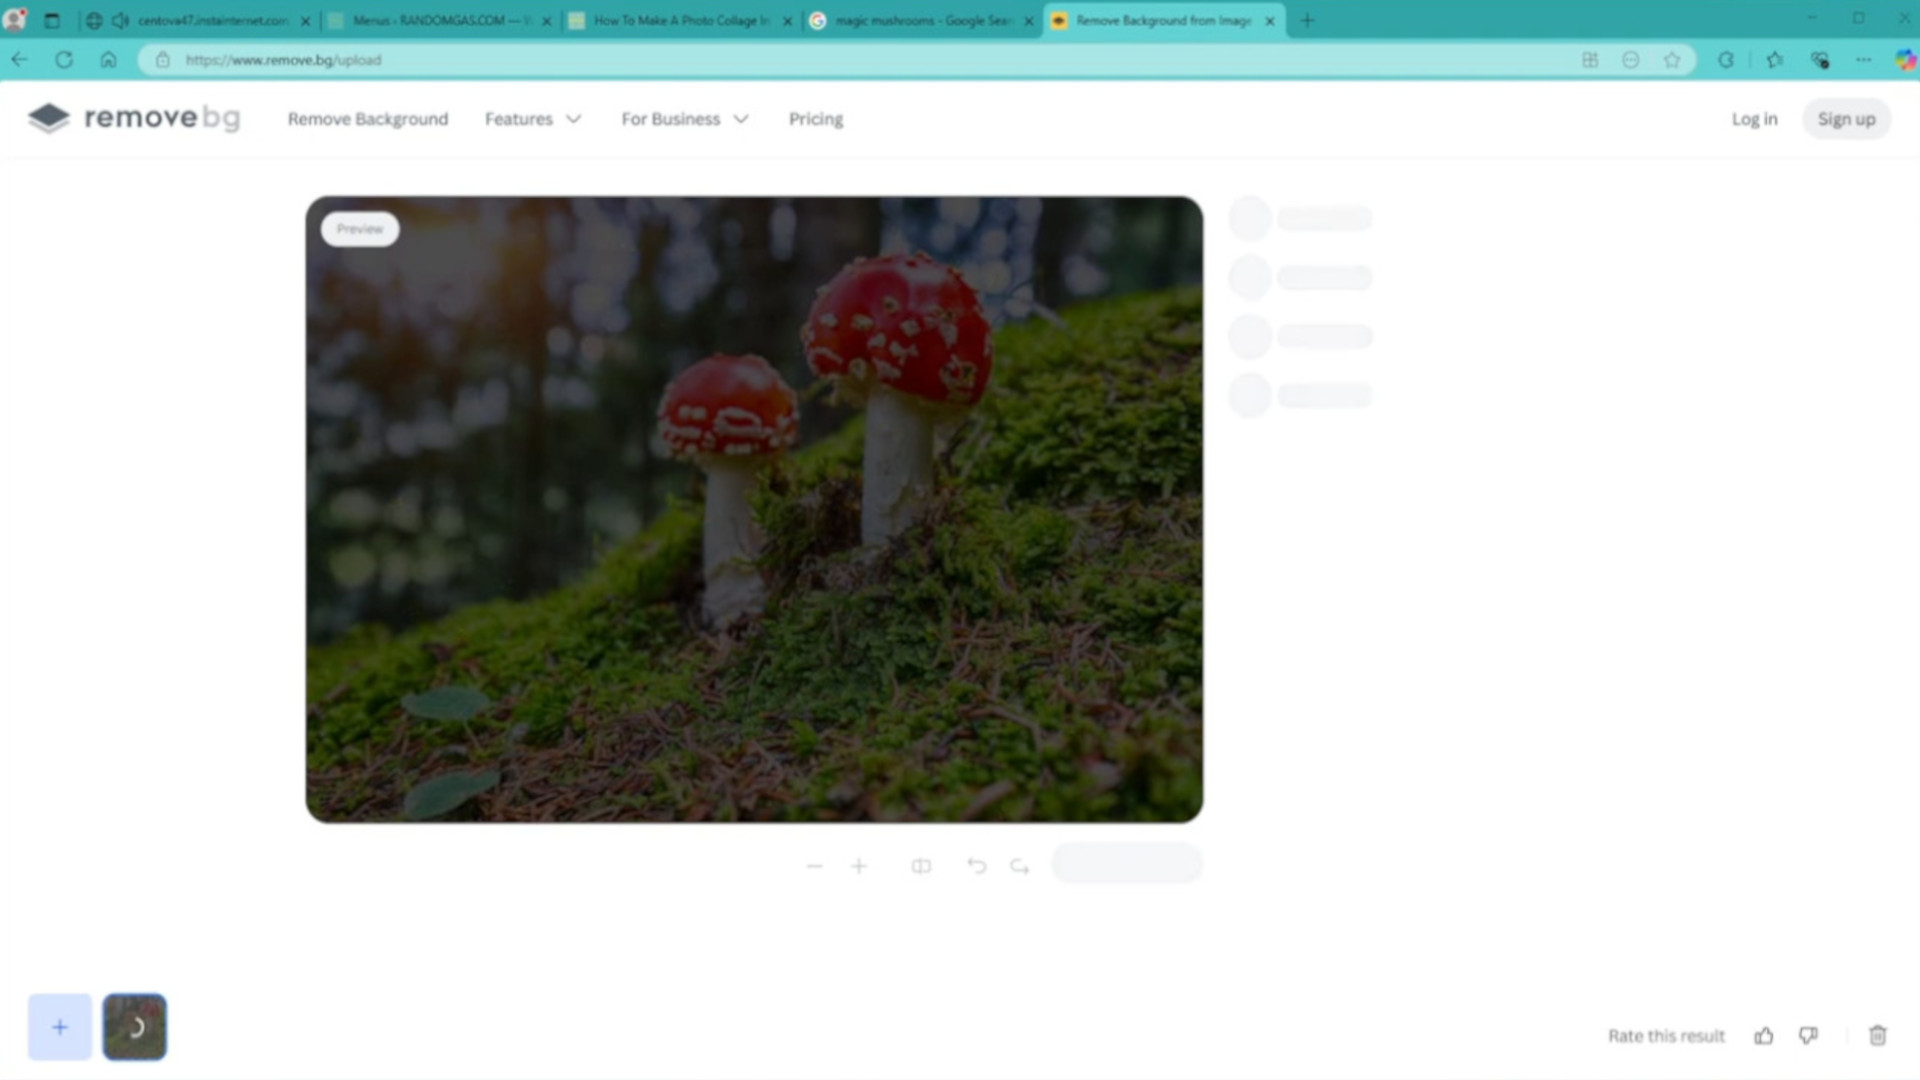
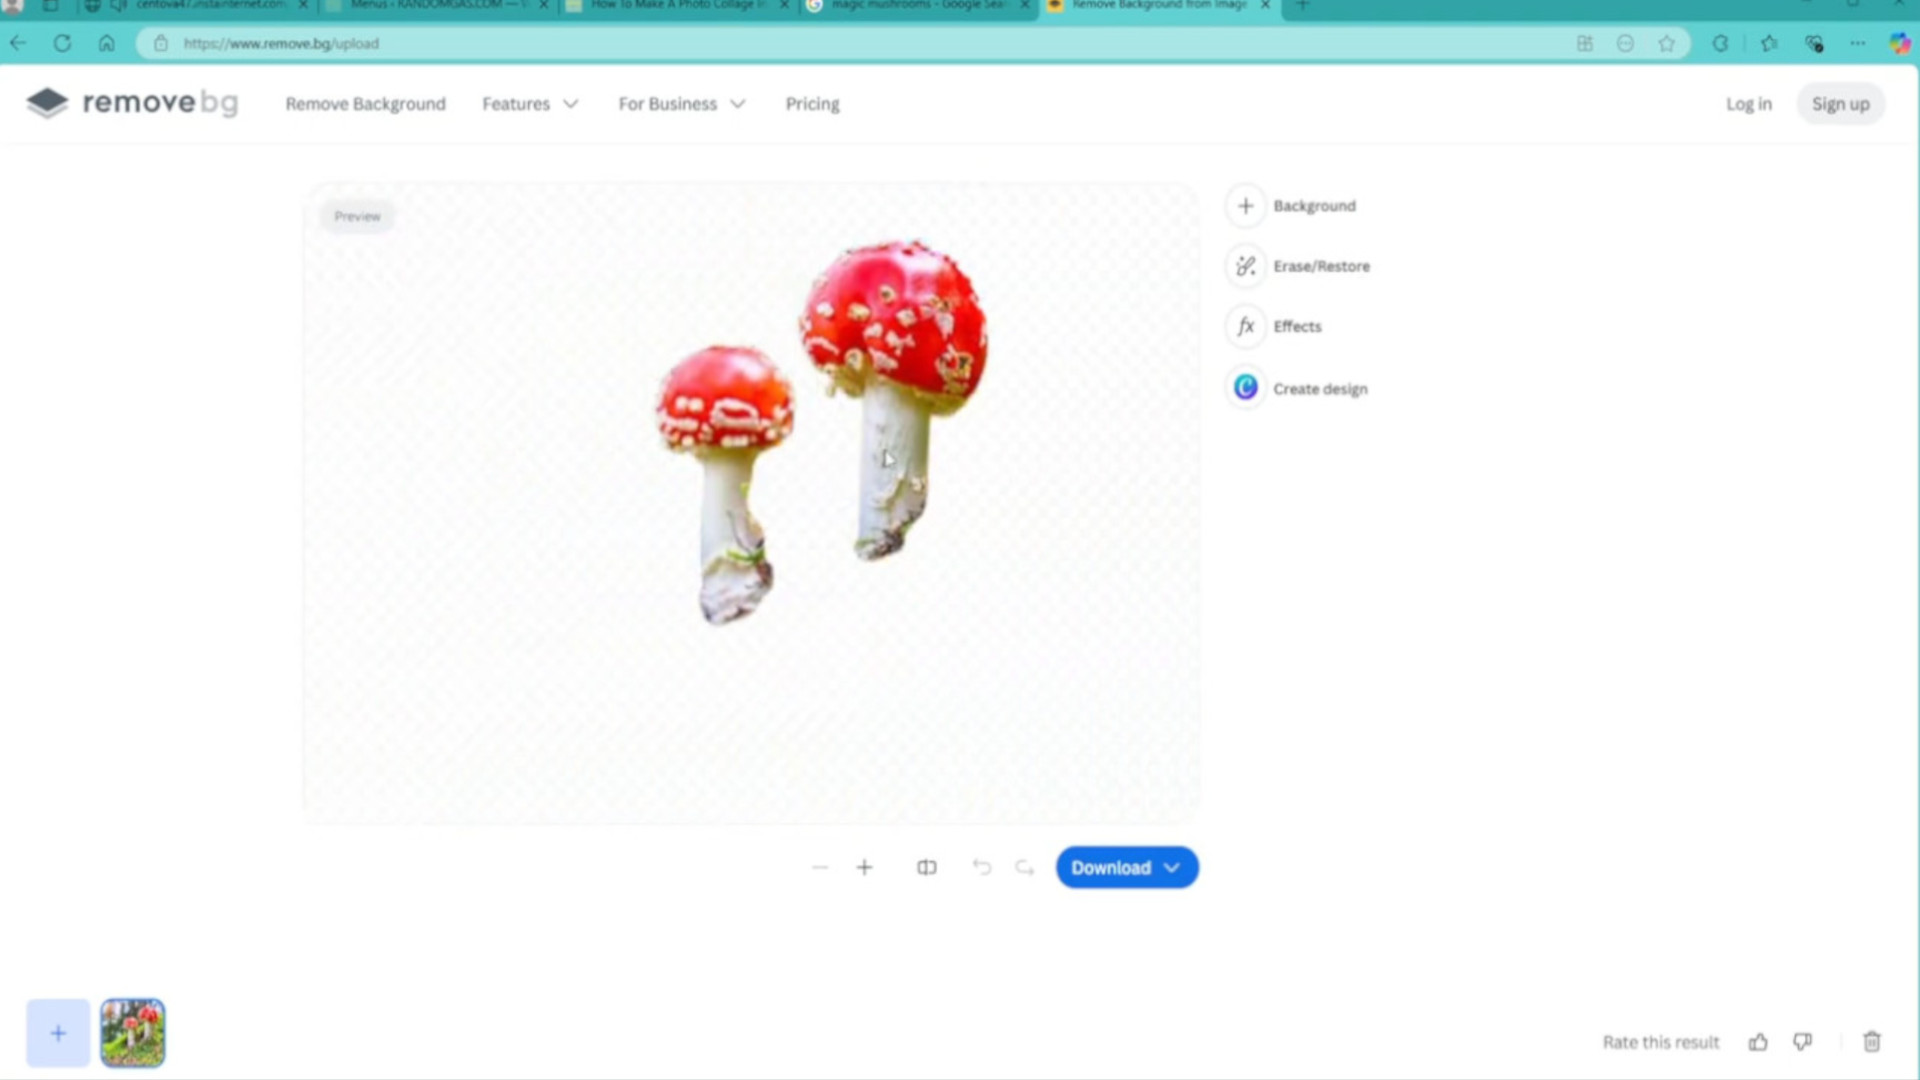
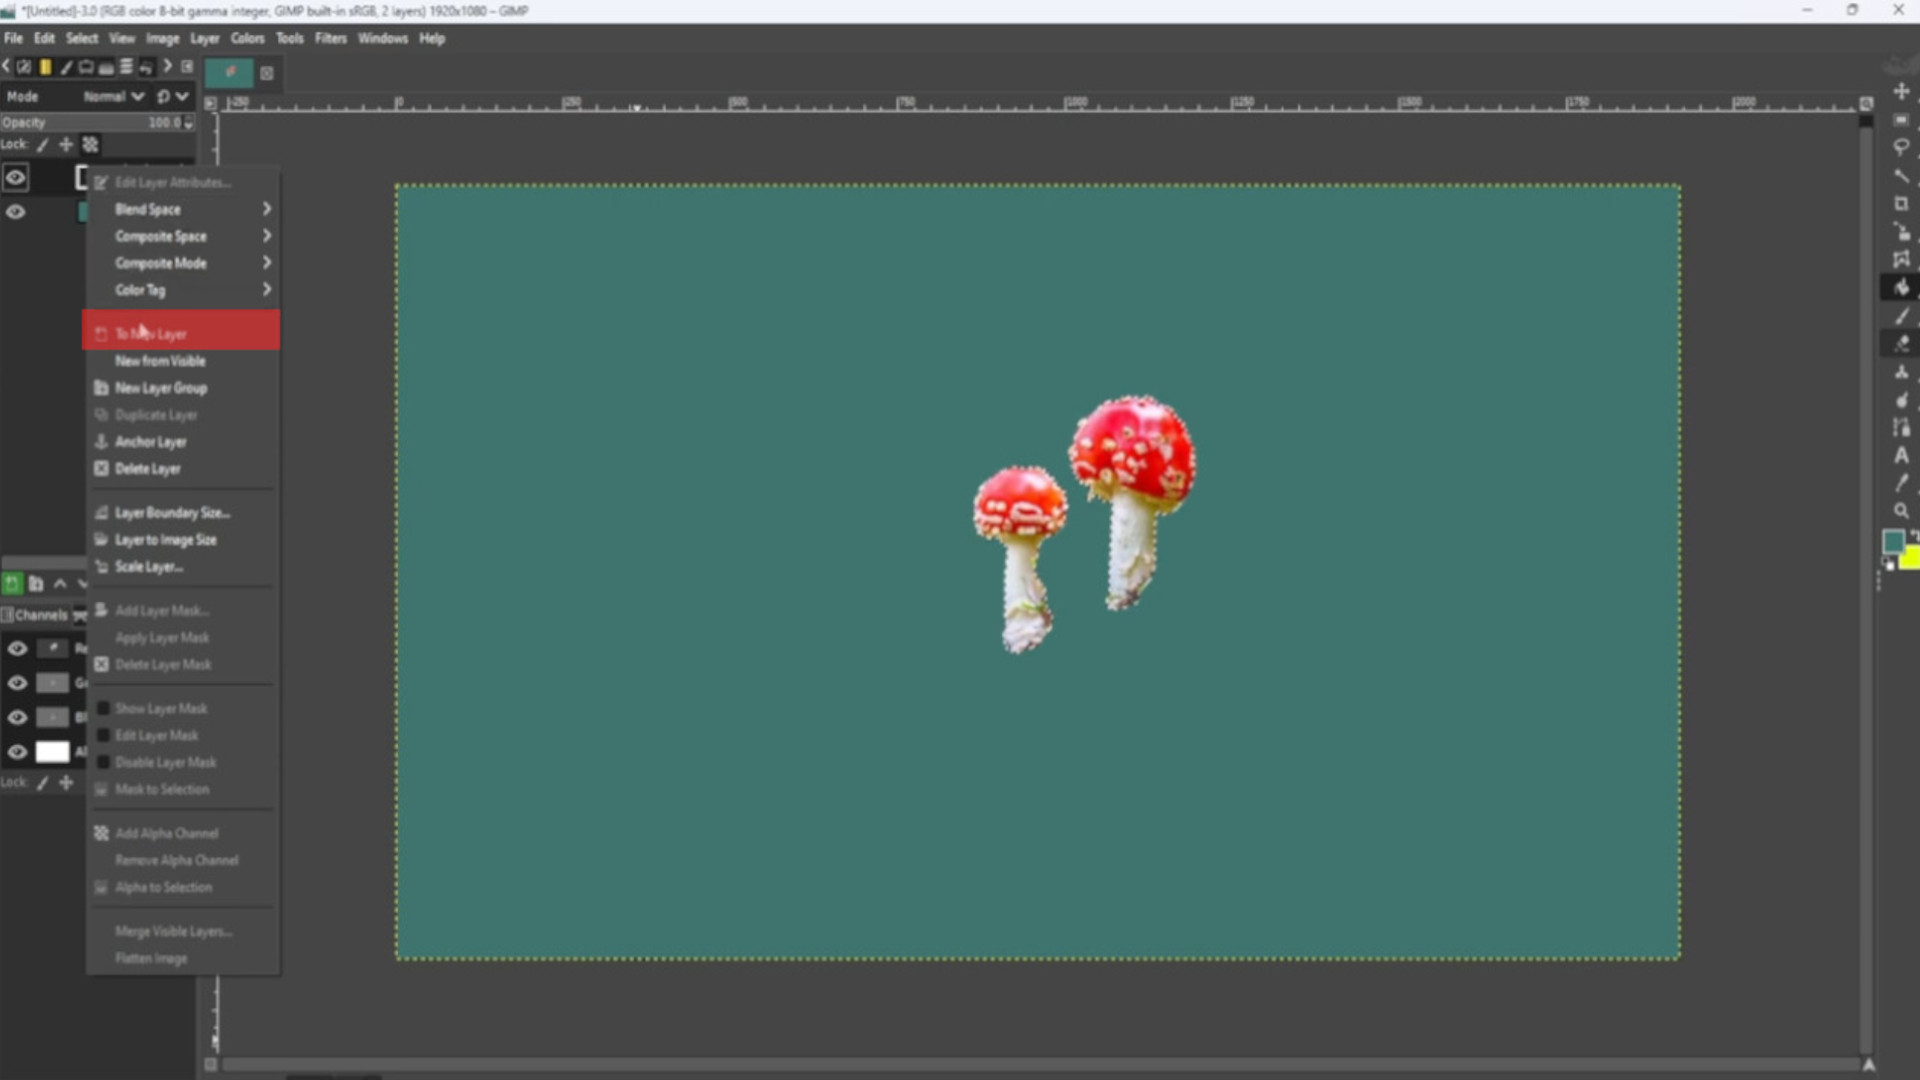
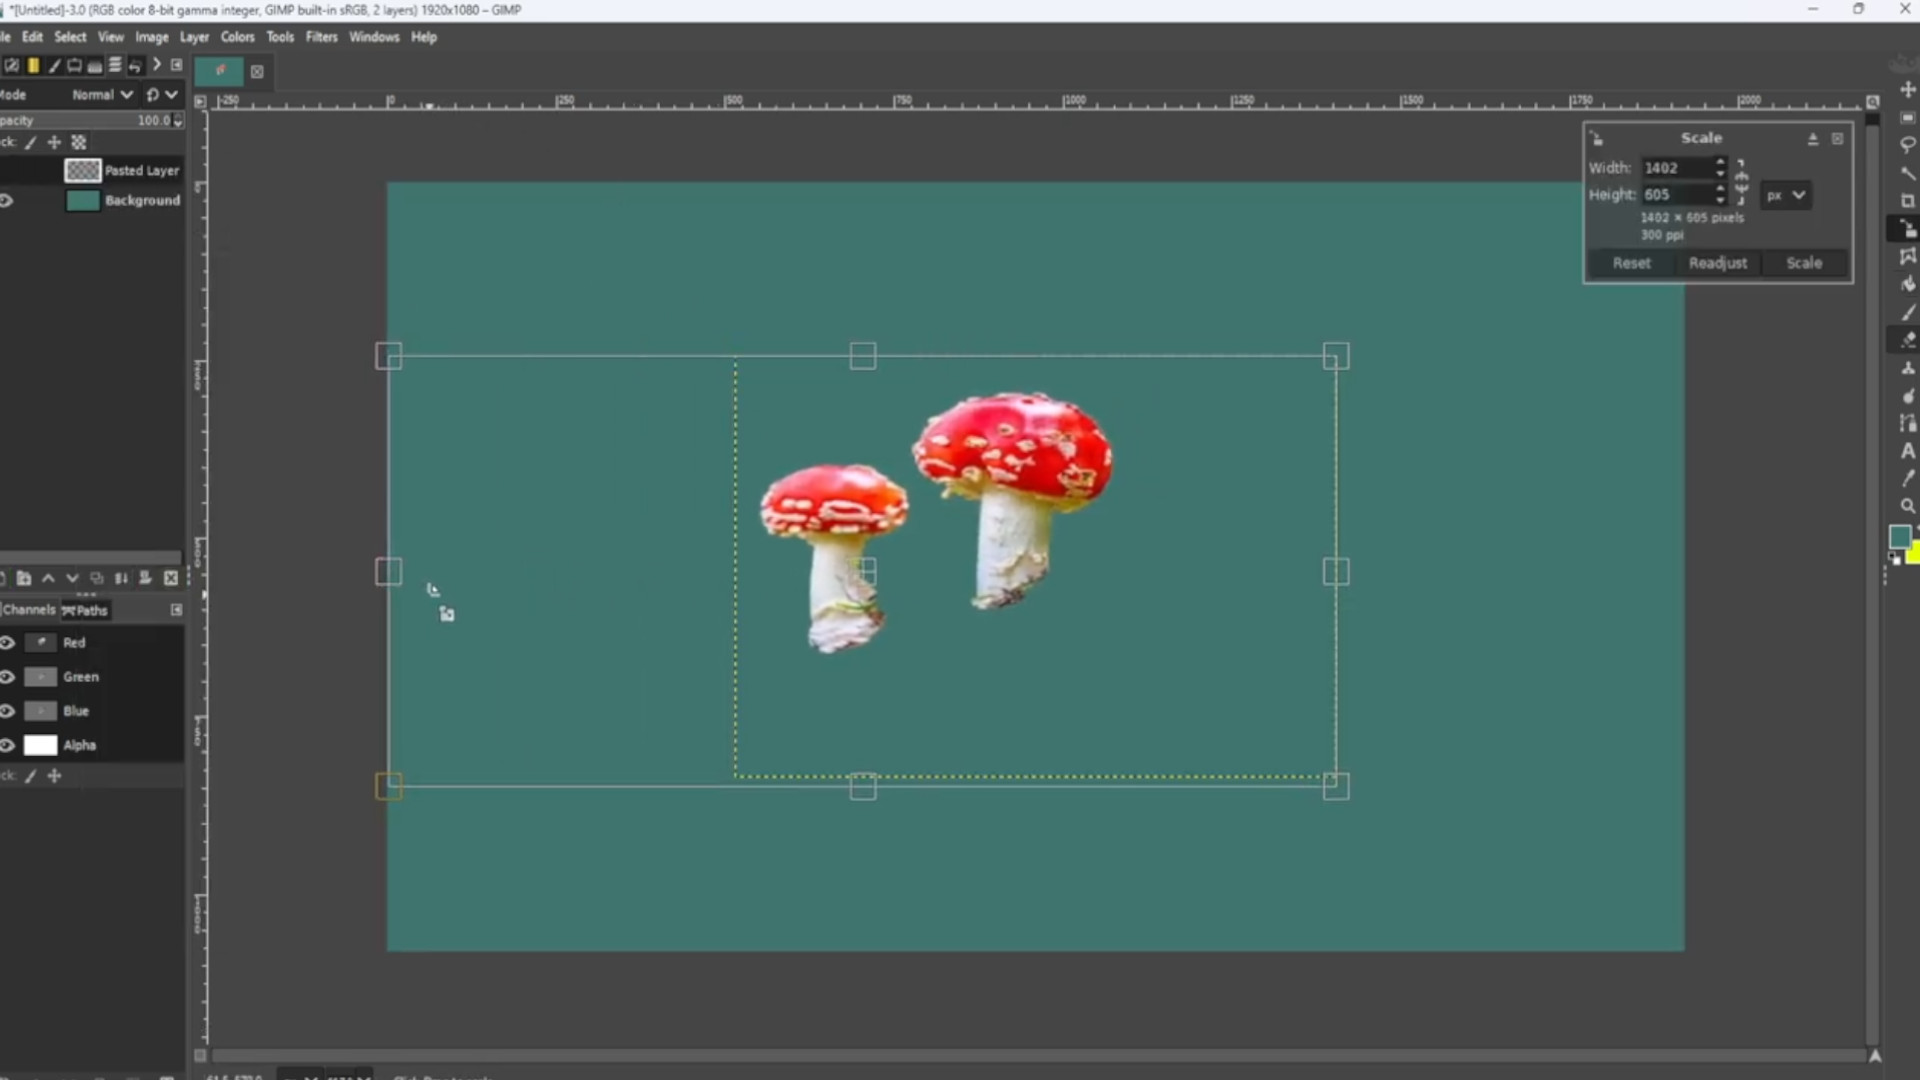
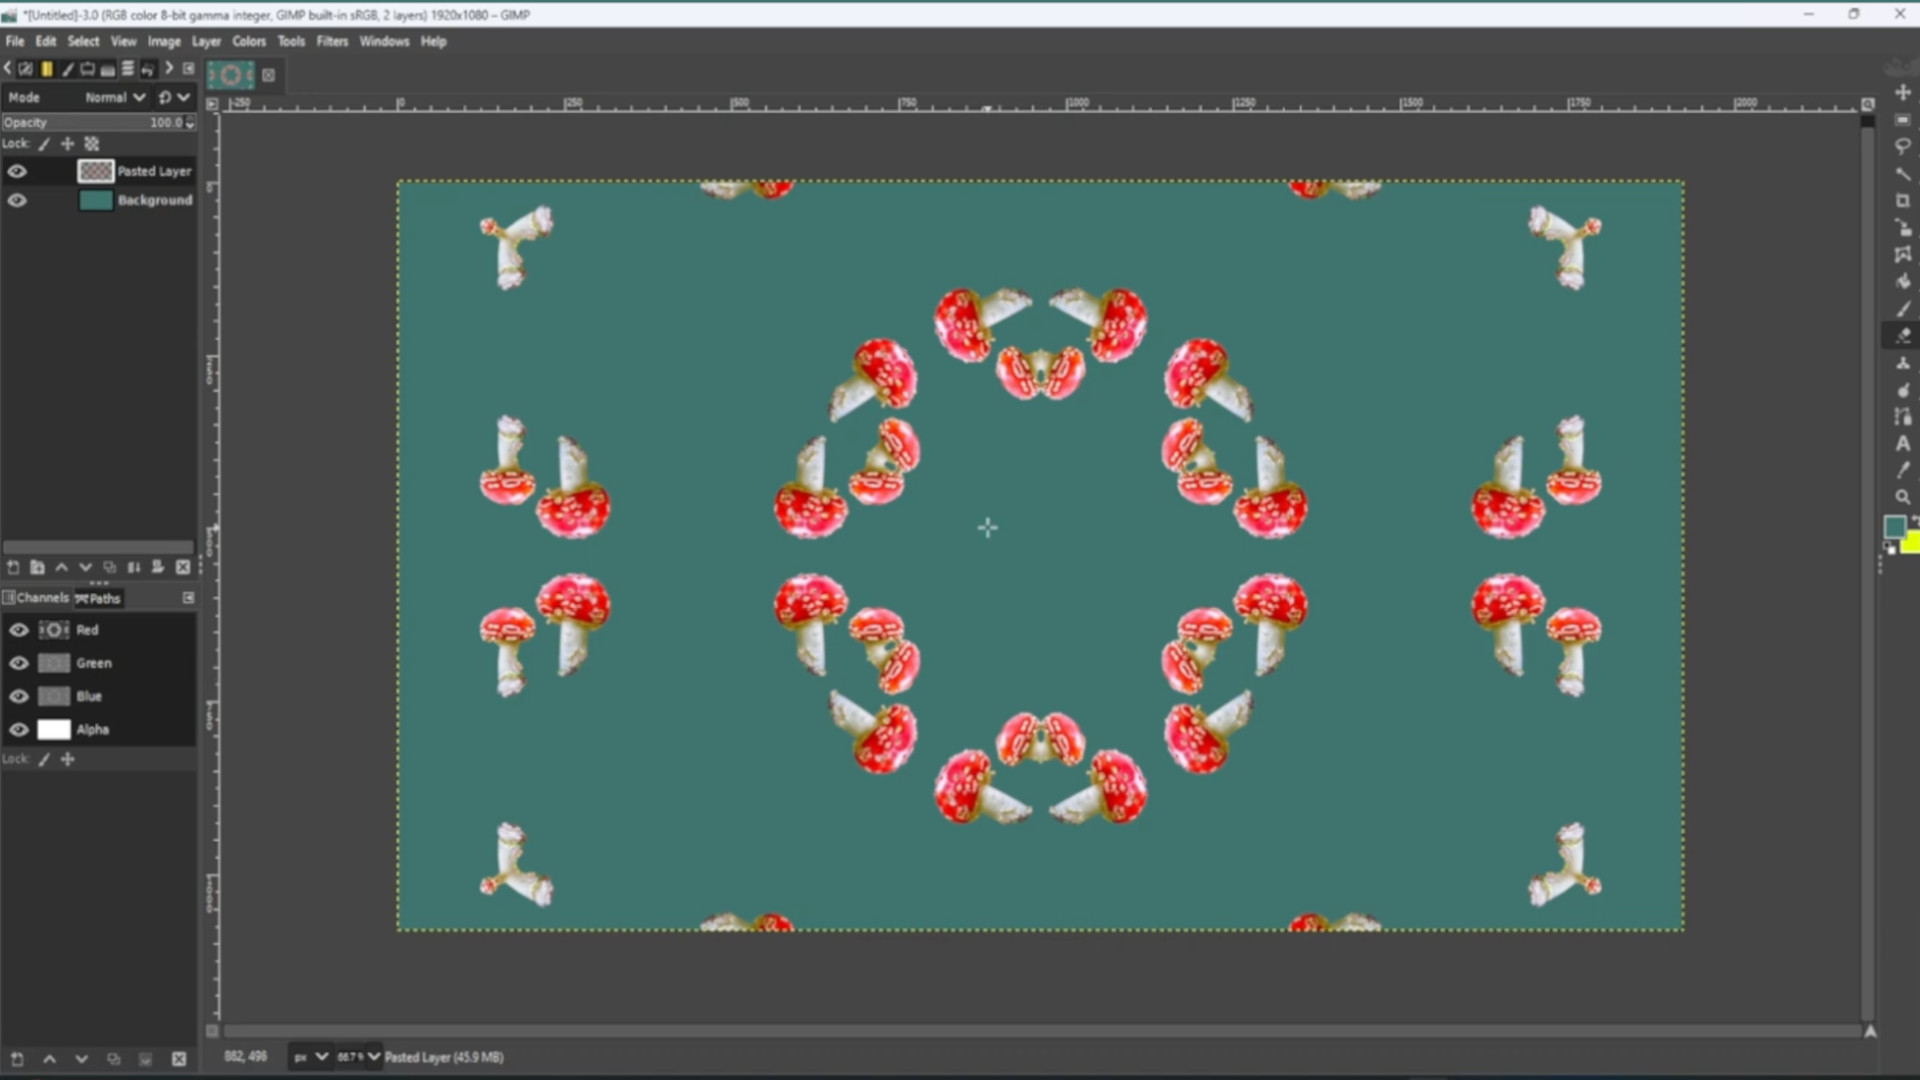
>>>OPEN up>>>FILE or>>>DRAG AND DROP into Gimp making sure it has a transparent background if not there are plenty of free sites online that will remove the background I used Removebg.com. If you see in the left hand side layers panel>>>FLOATING SELECTION>>>RIGHT CLICK on the>>>LAYER and SELECT>>>TO NEW LAYER.
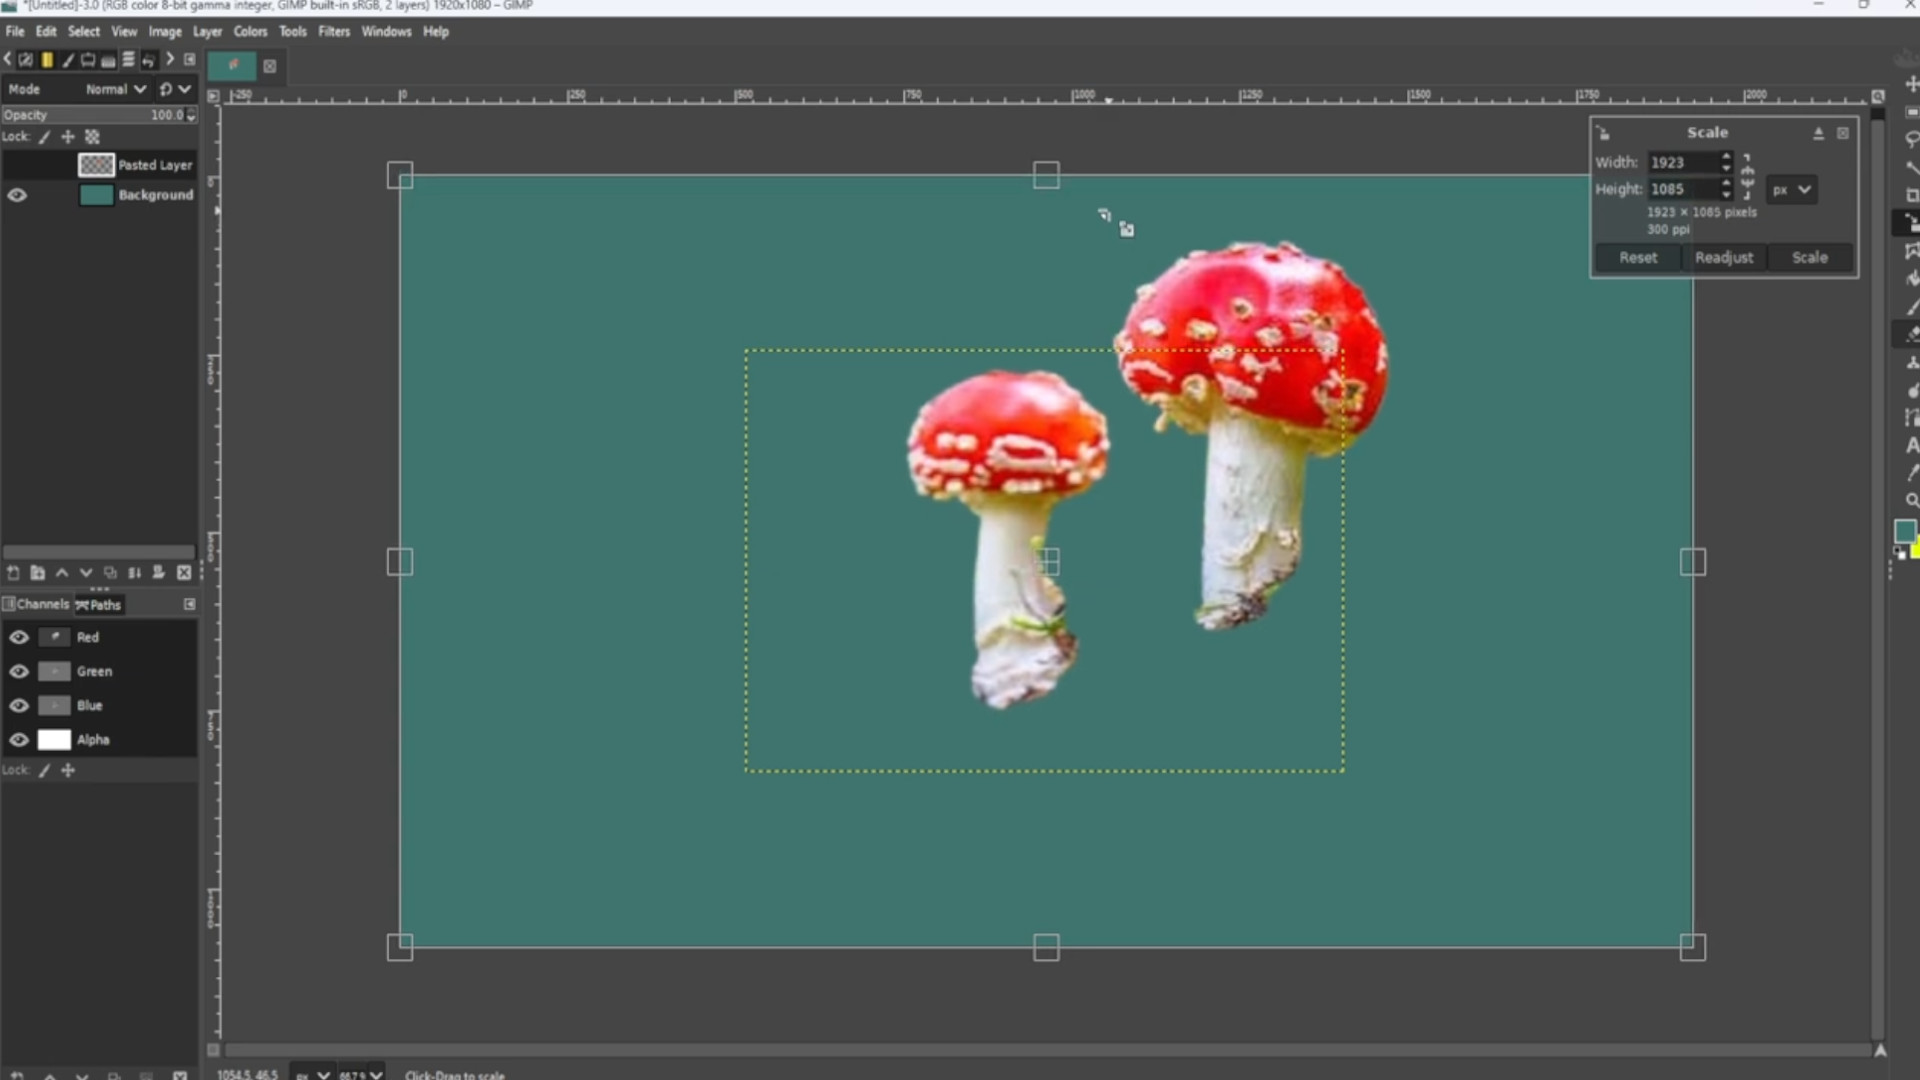
Use the>>>SCALE TOOL to>>>SCALE the image so it fits the canvas or use shortcut>>>HOLD>>>SHIFT and>>>PRESS>>>S to get the scale options to come up.
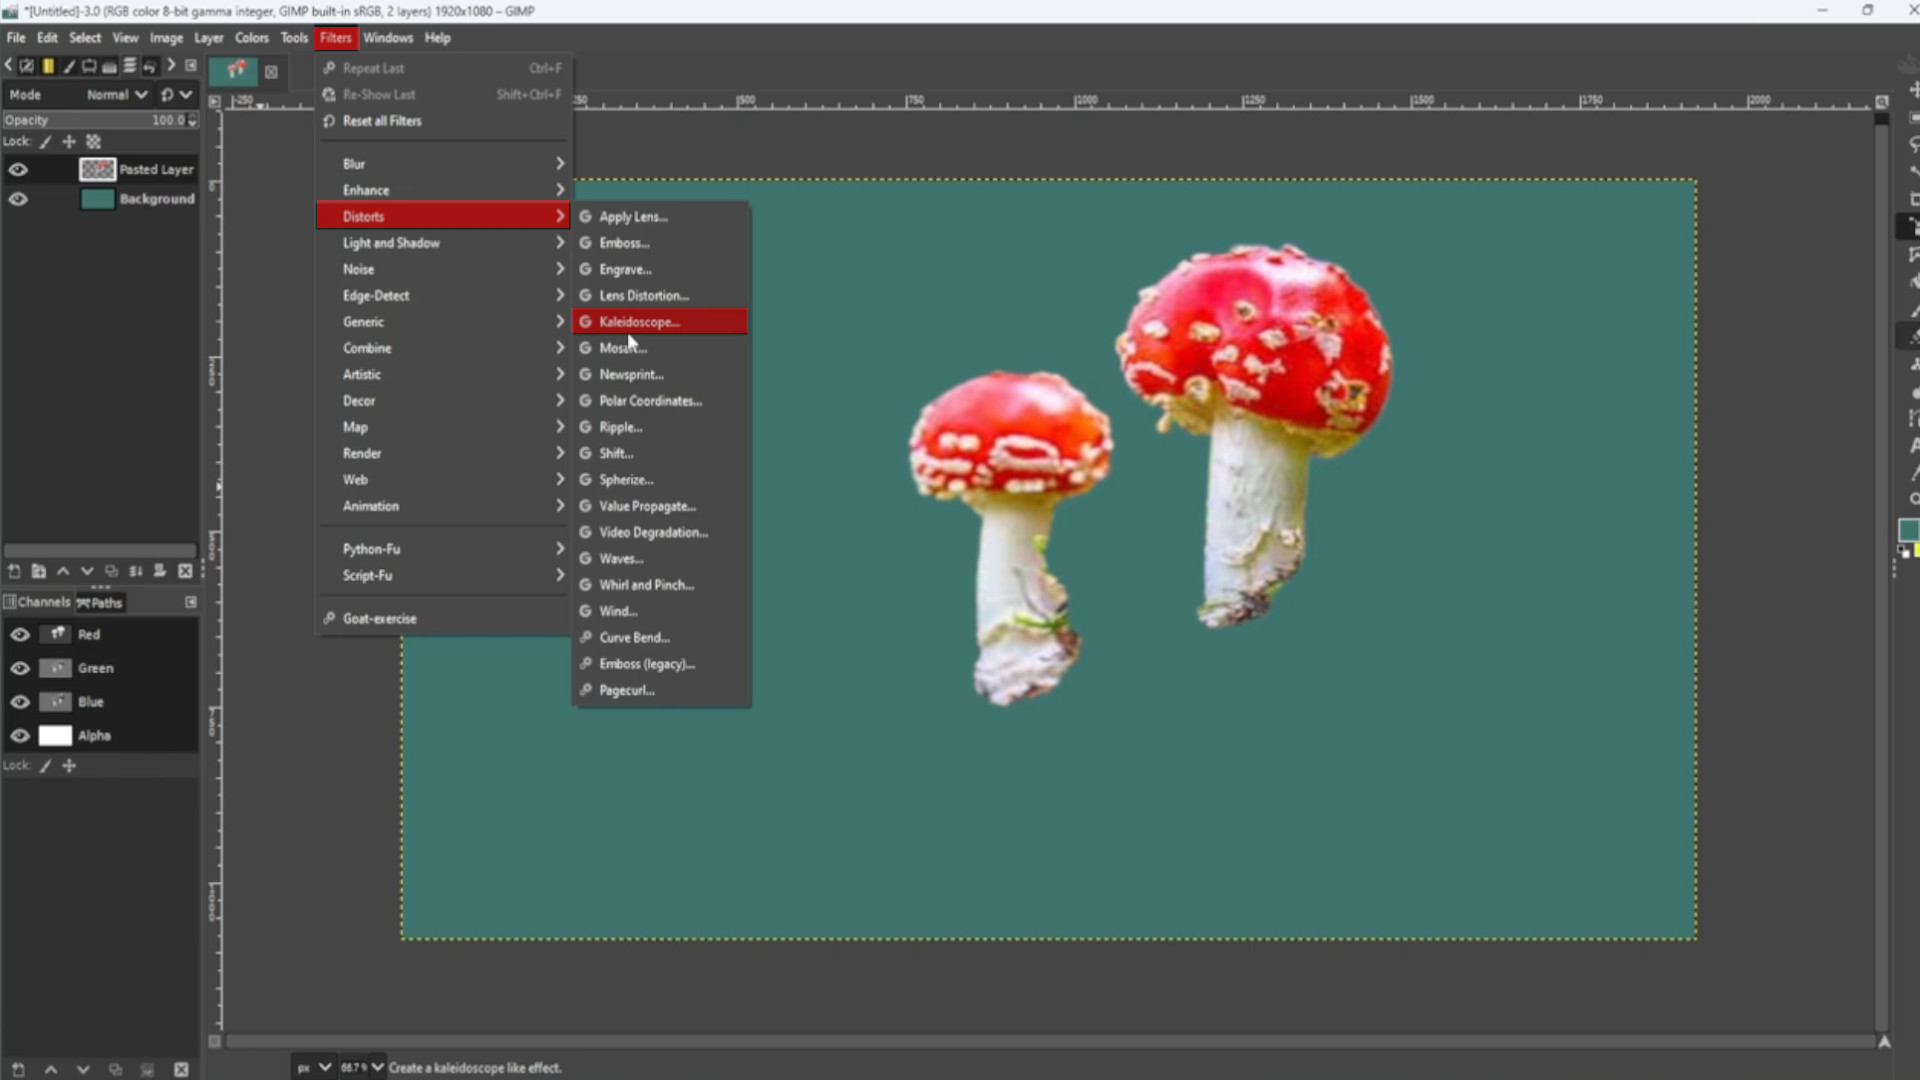
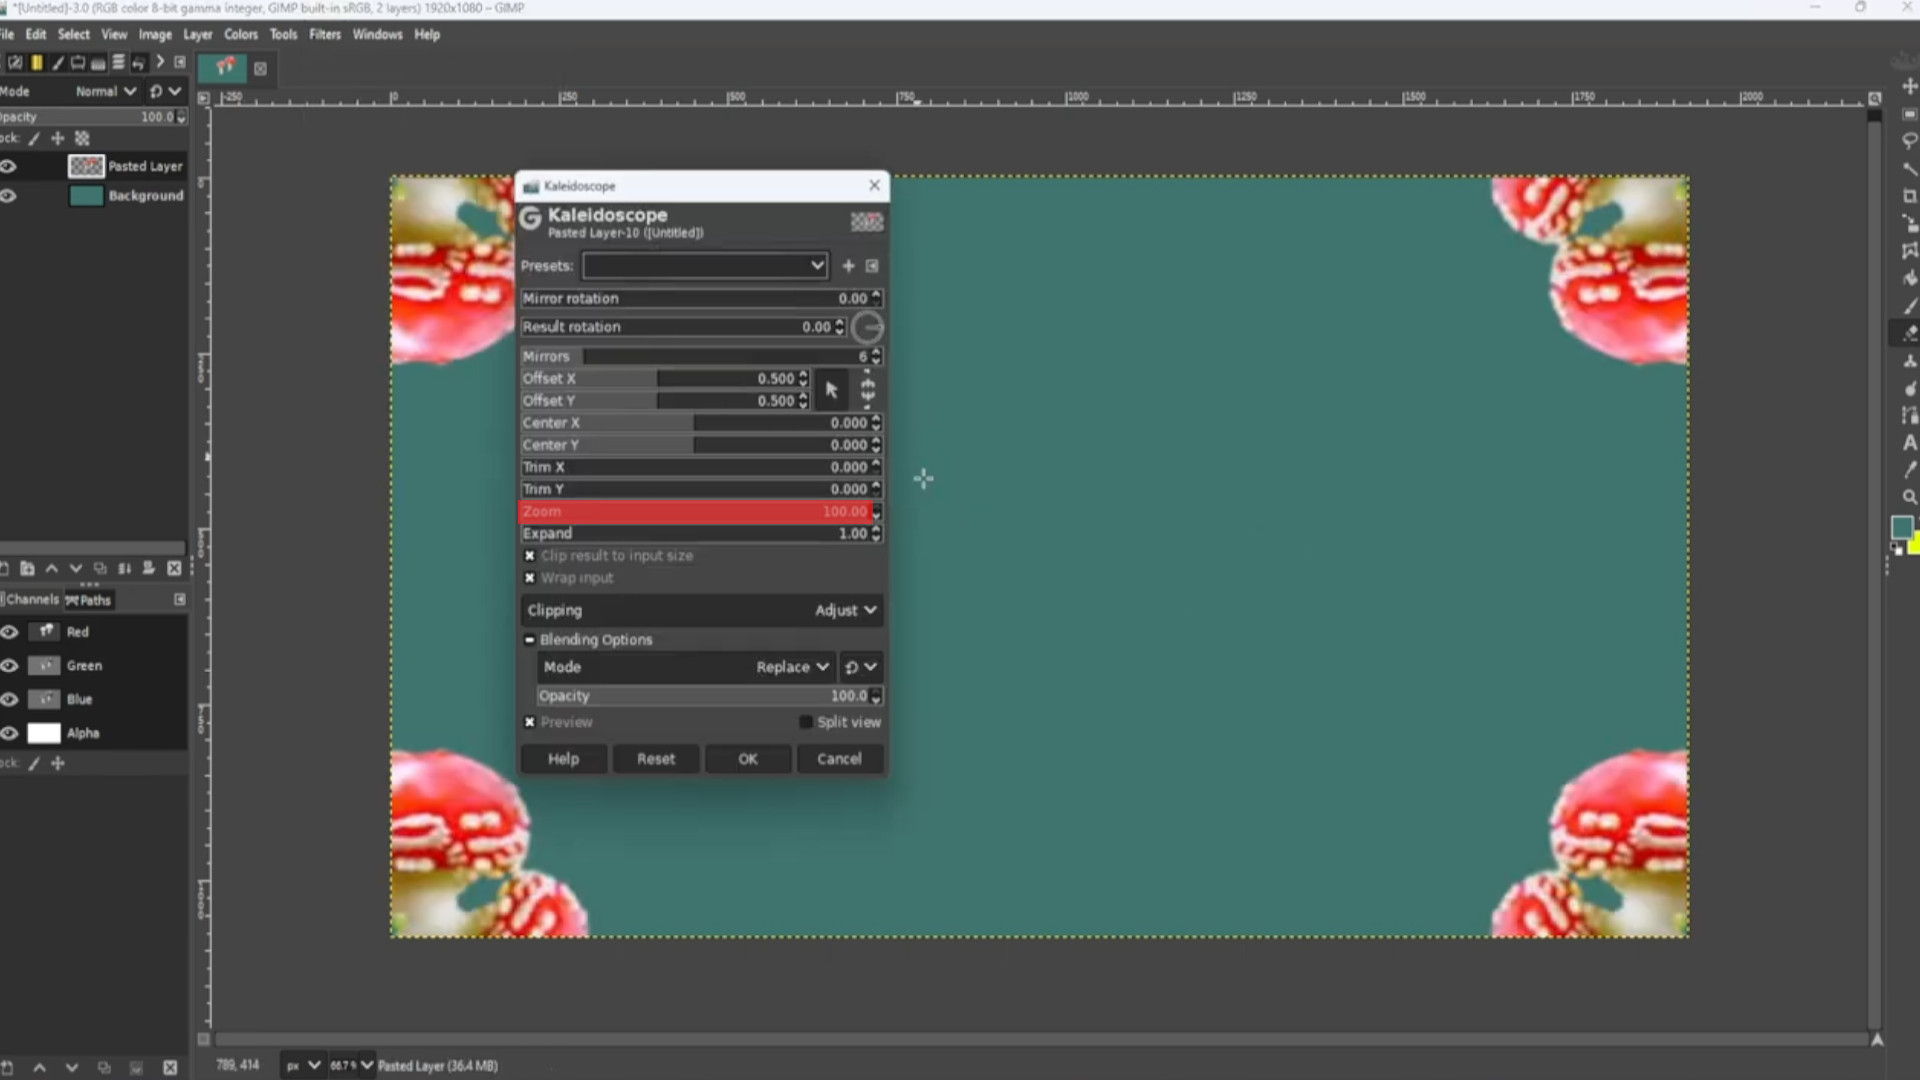
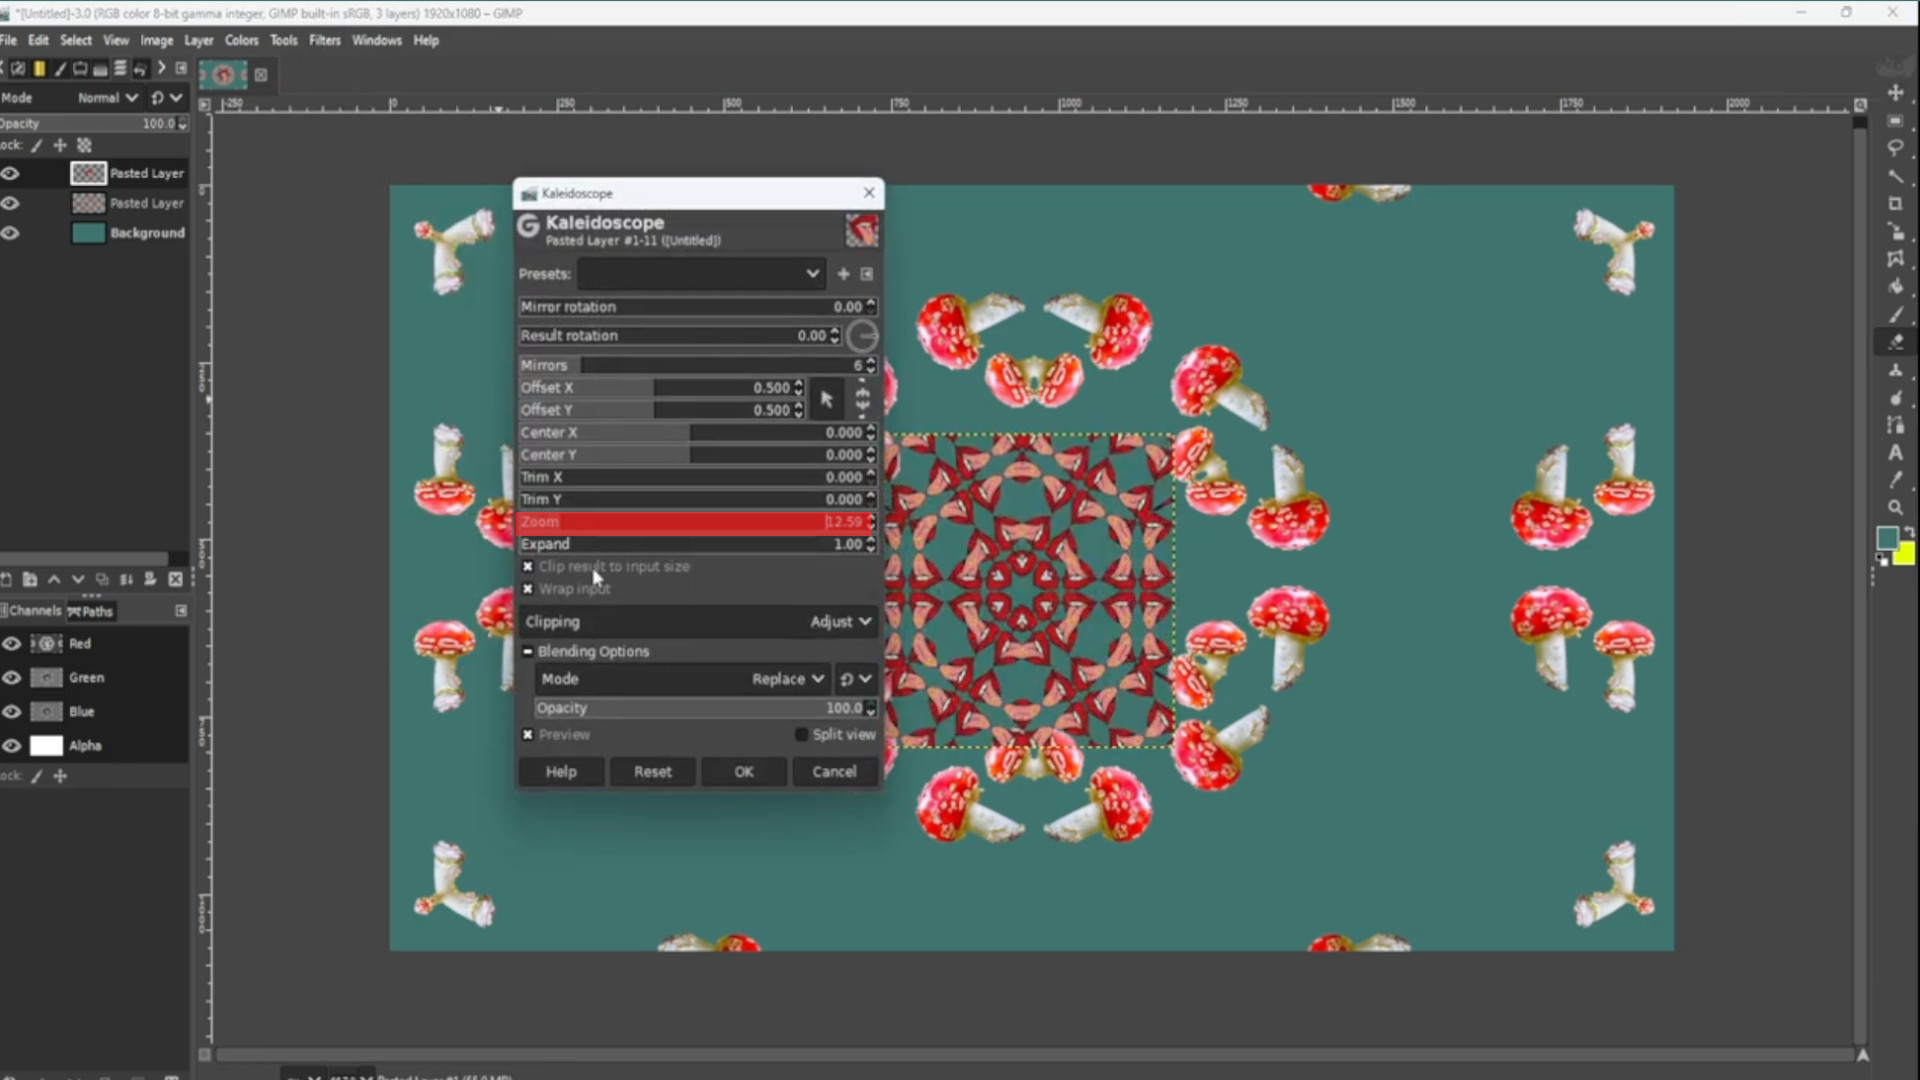
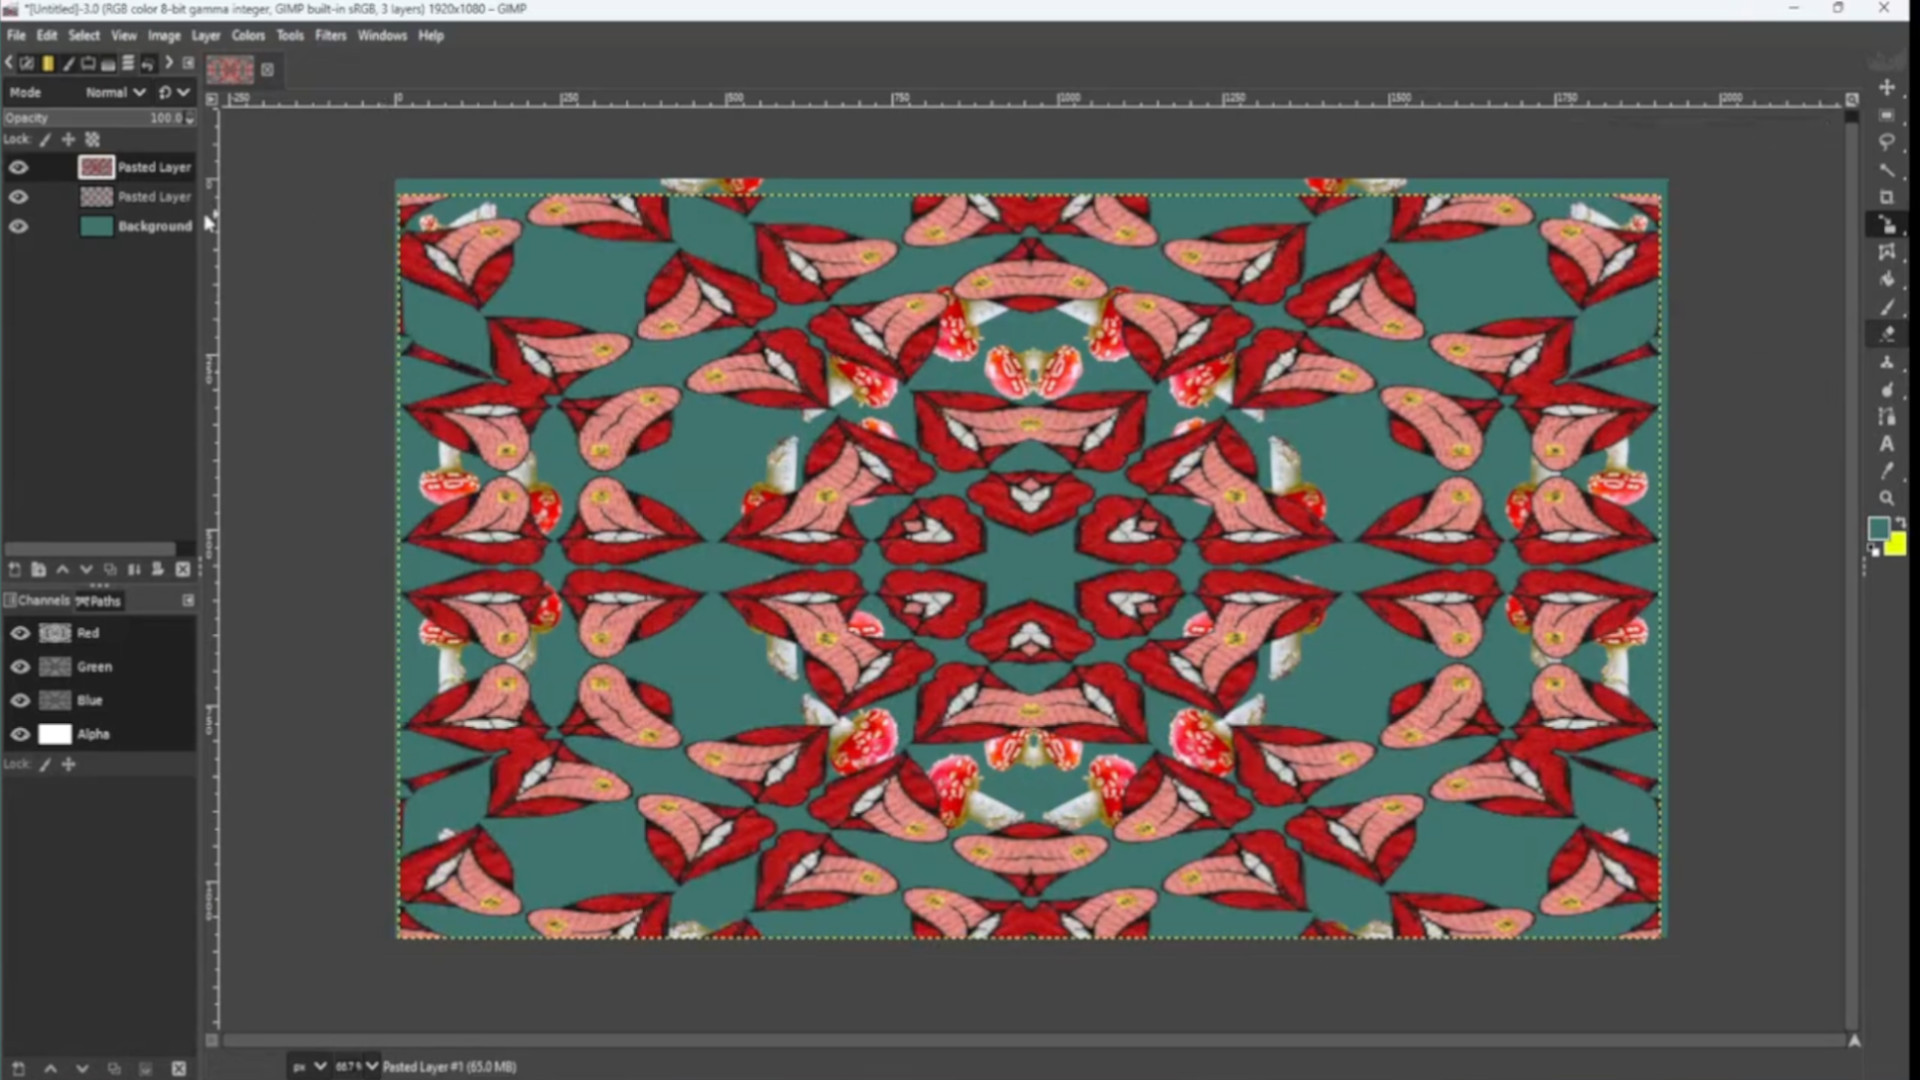
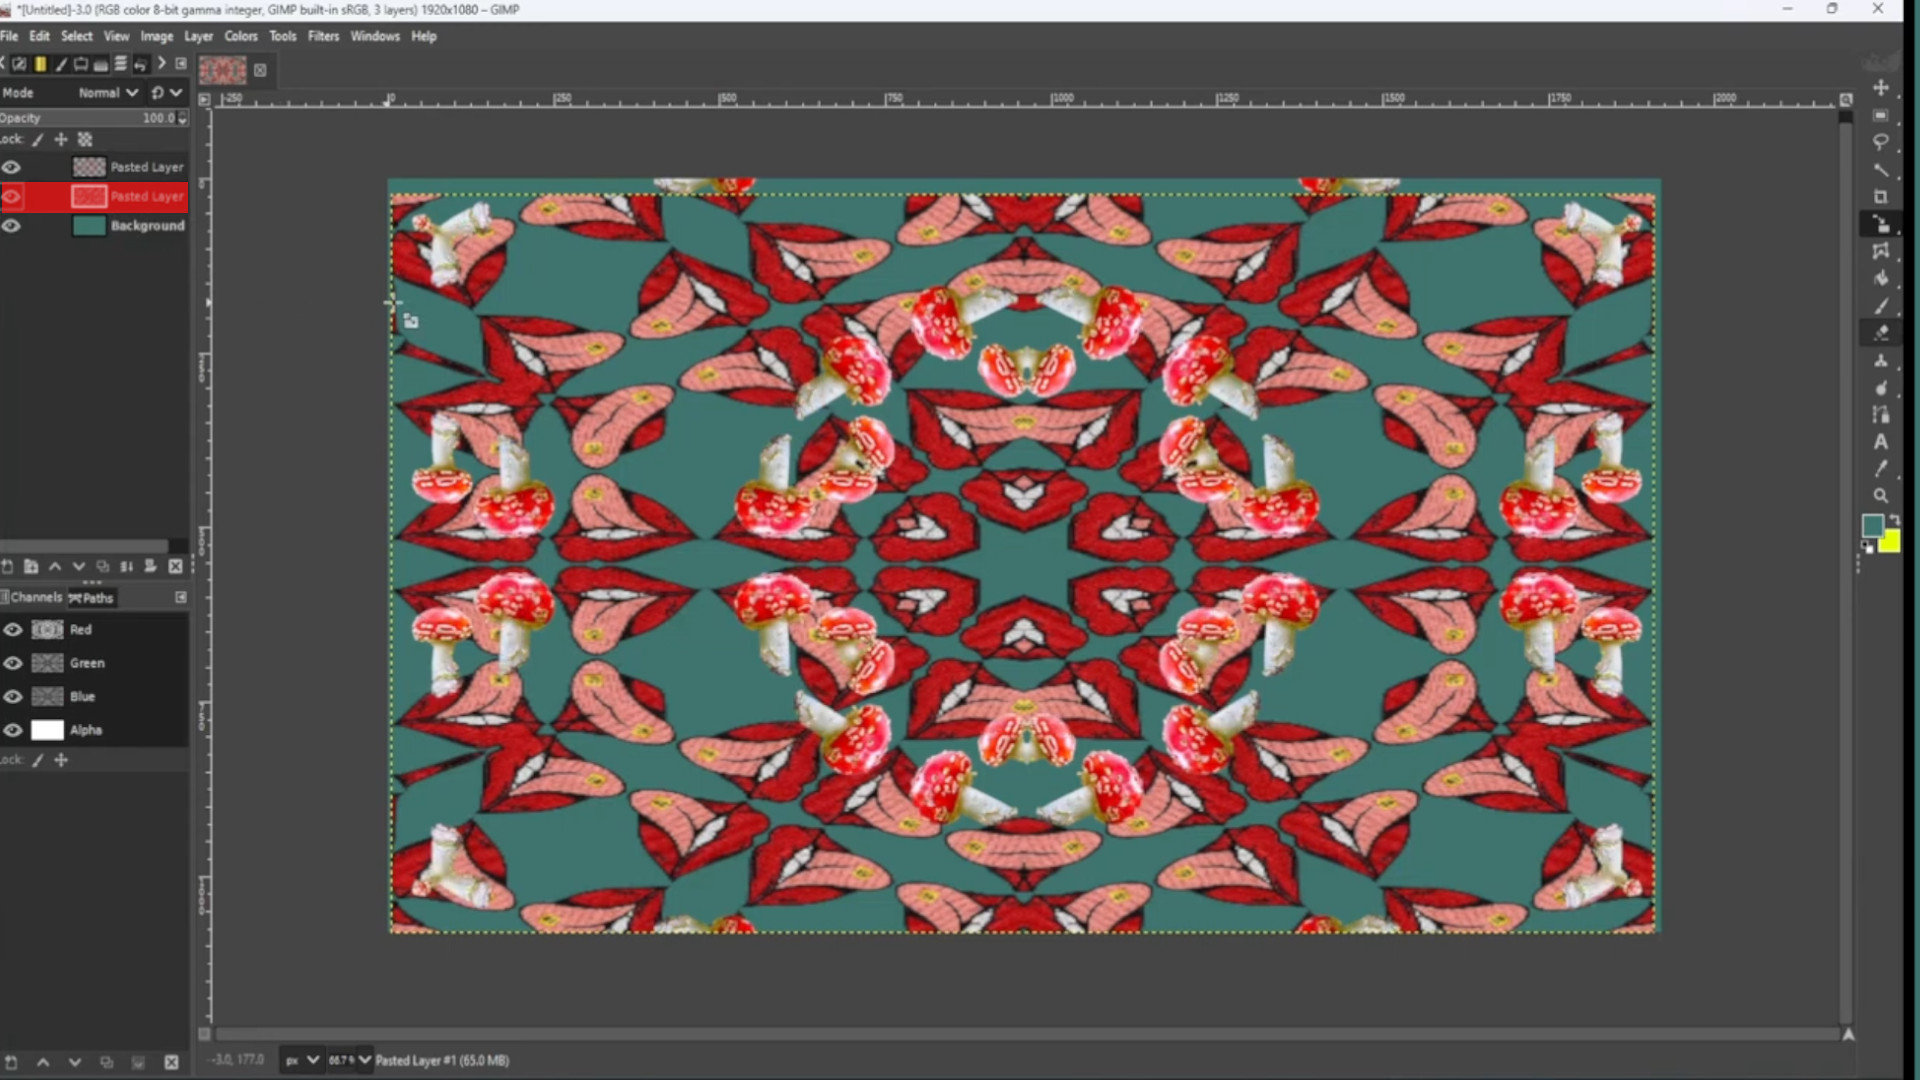
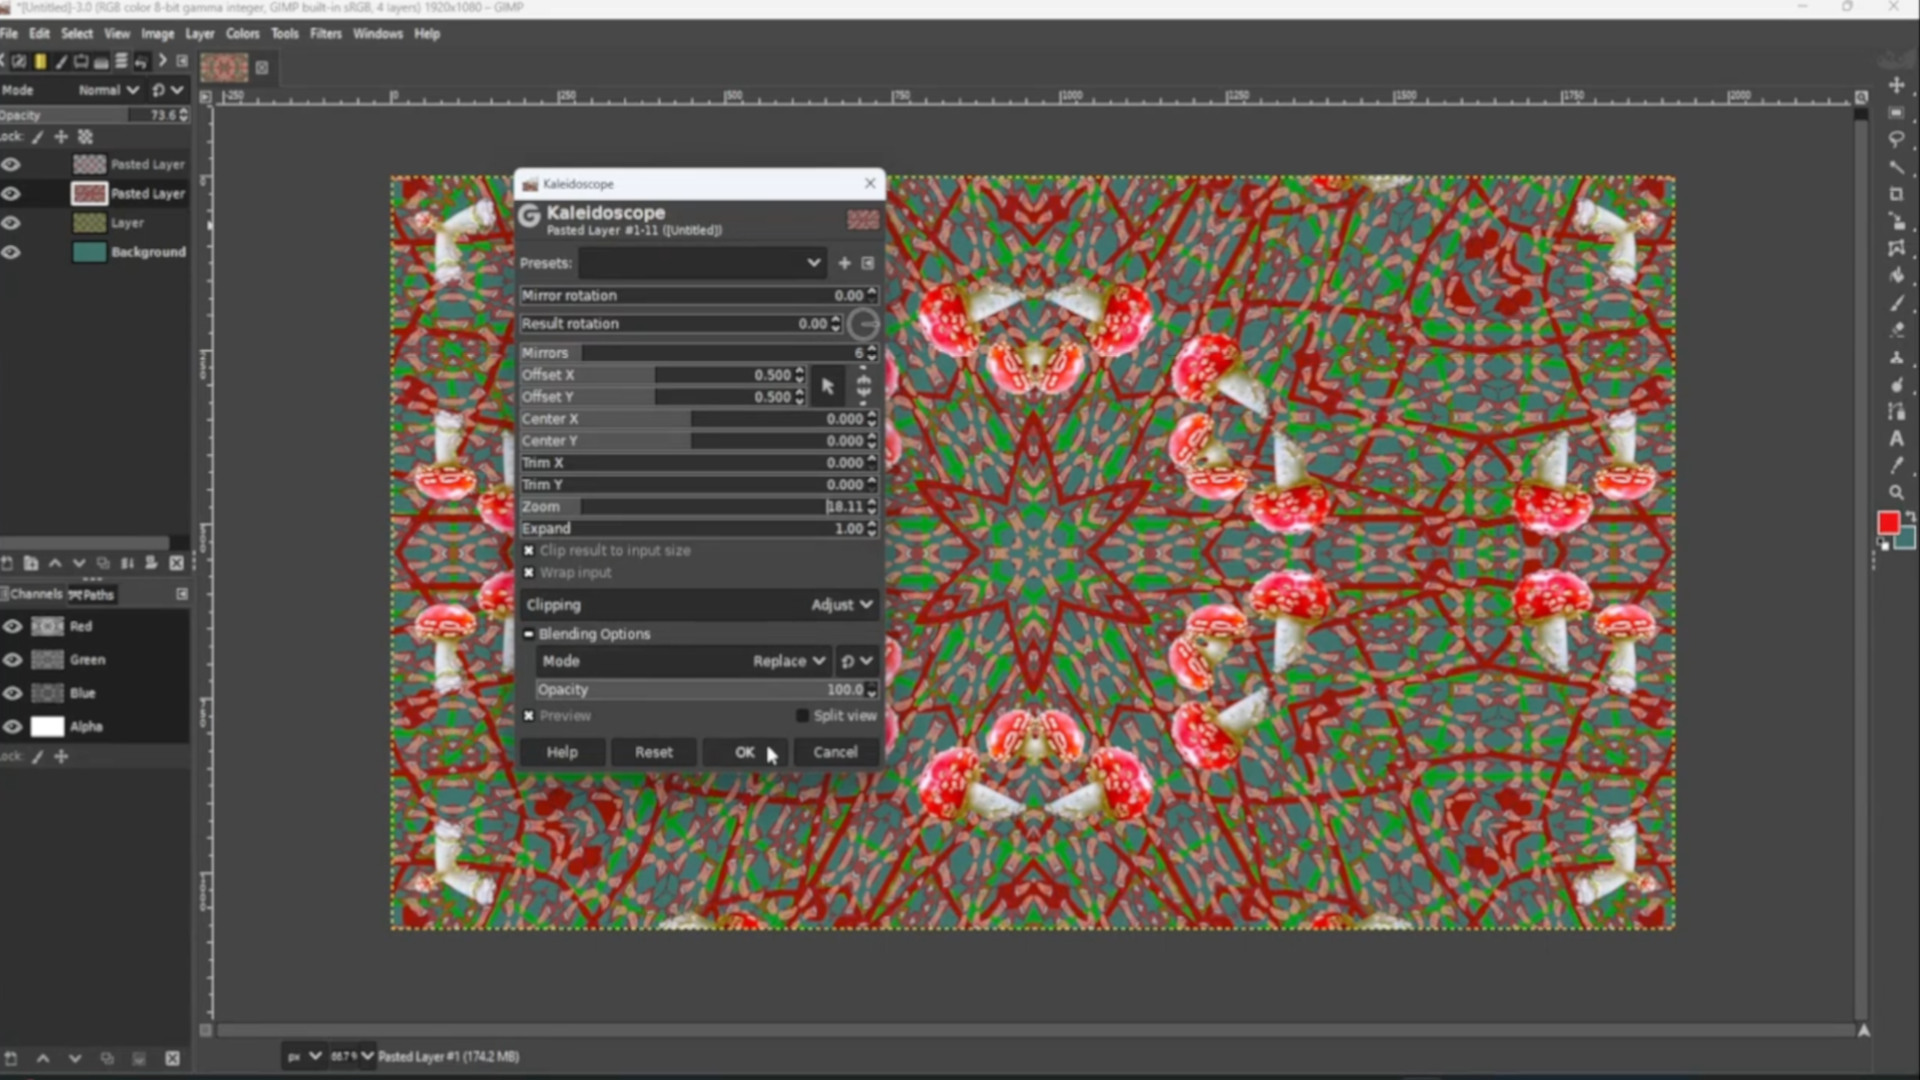
With the TOP>>>LAYER>>>SELECTED go to>>>FILTERS>>>DISTORT>>>KALEIIDOSCOPE and mess about with the options. You can use the>>>ZOOM OPTION to zoom out to taste.
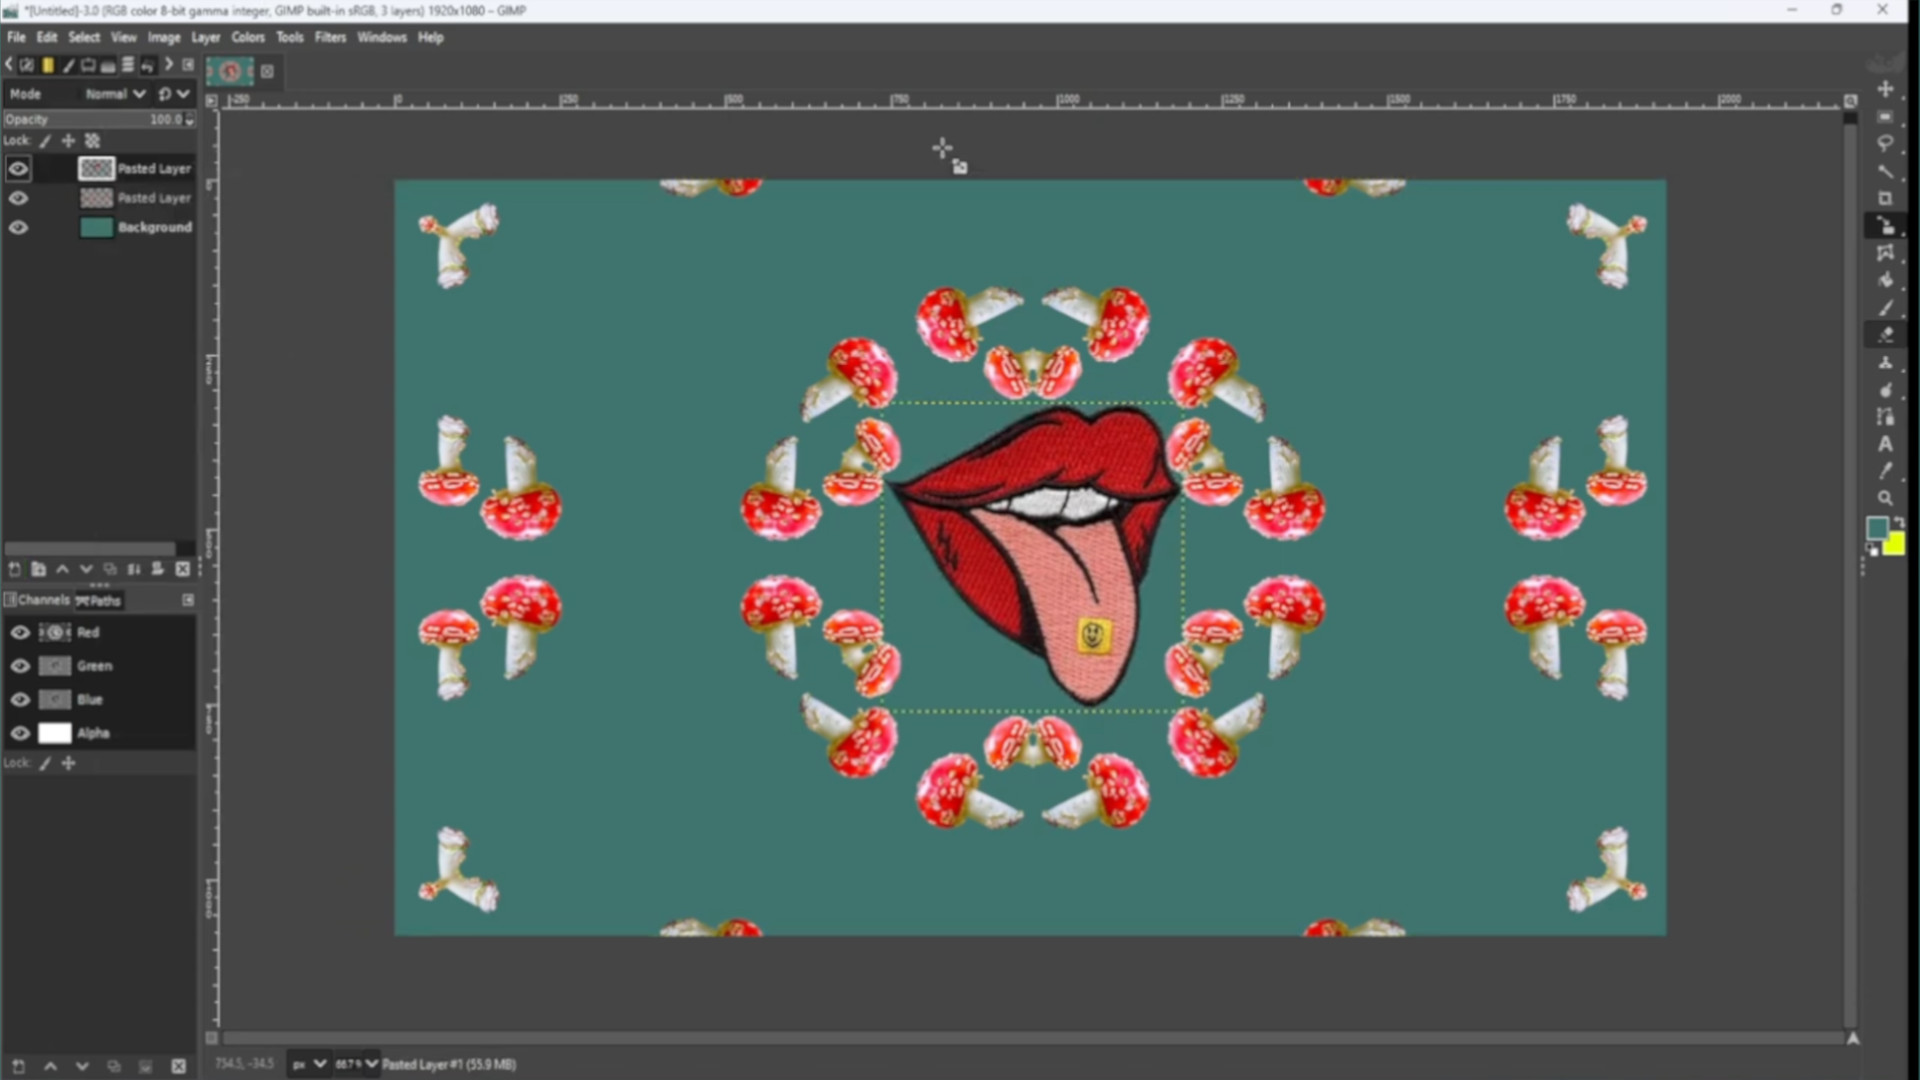
>>REPEAT>>>STEP>>>3-5 if you want to add more photos or ignore and carry on with the next step. Remember to use the>>>ZOOM OPTION to zoom in more and get a repeated pattern. If you need to>>>SCALE the image so it fits the canvas use the>>>SCALE TOOL to scale the image or use shortcut>>>HOLD>>>SHIFT and>>>PRESS>>>S to get the scale options to come up.
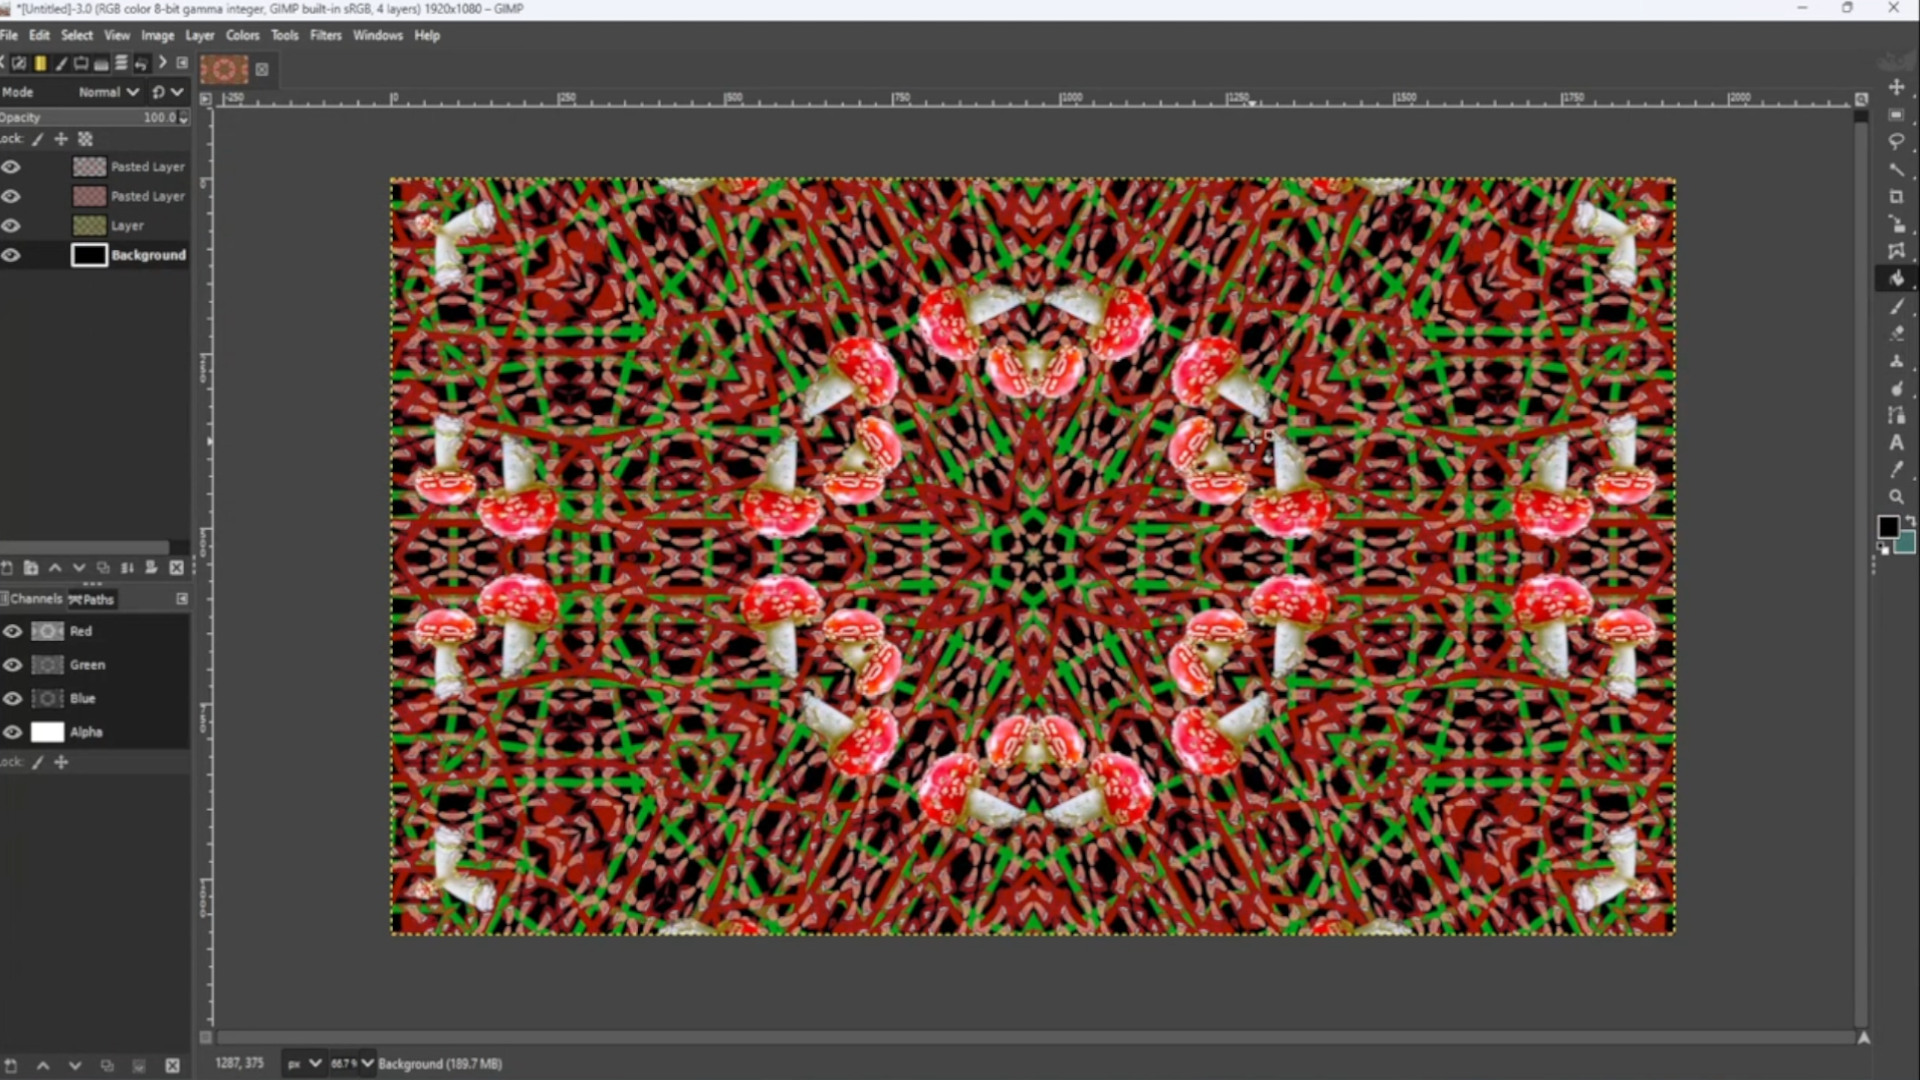
Now with the>>>TOP LAYER SELECTED>>>in the>>>LEFT HAND SIDE LAYERS TAB>>>MOVE THE LAYER to the>>>SECOND to the>>>BOTTOM underneath the background.
>>>TURN OFF the>>>TOP TWO LAYERS in the>>>LEFT HAND SIDE LAYERS PANEL use>>>the>>>EYE to turn off layer.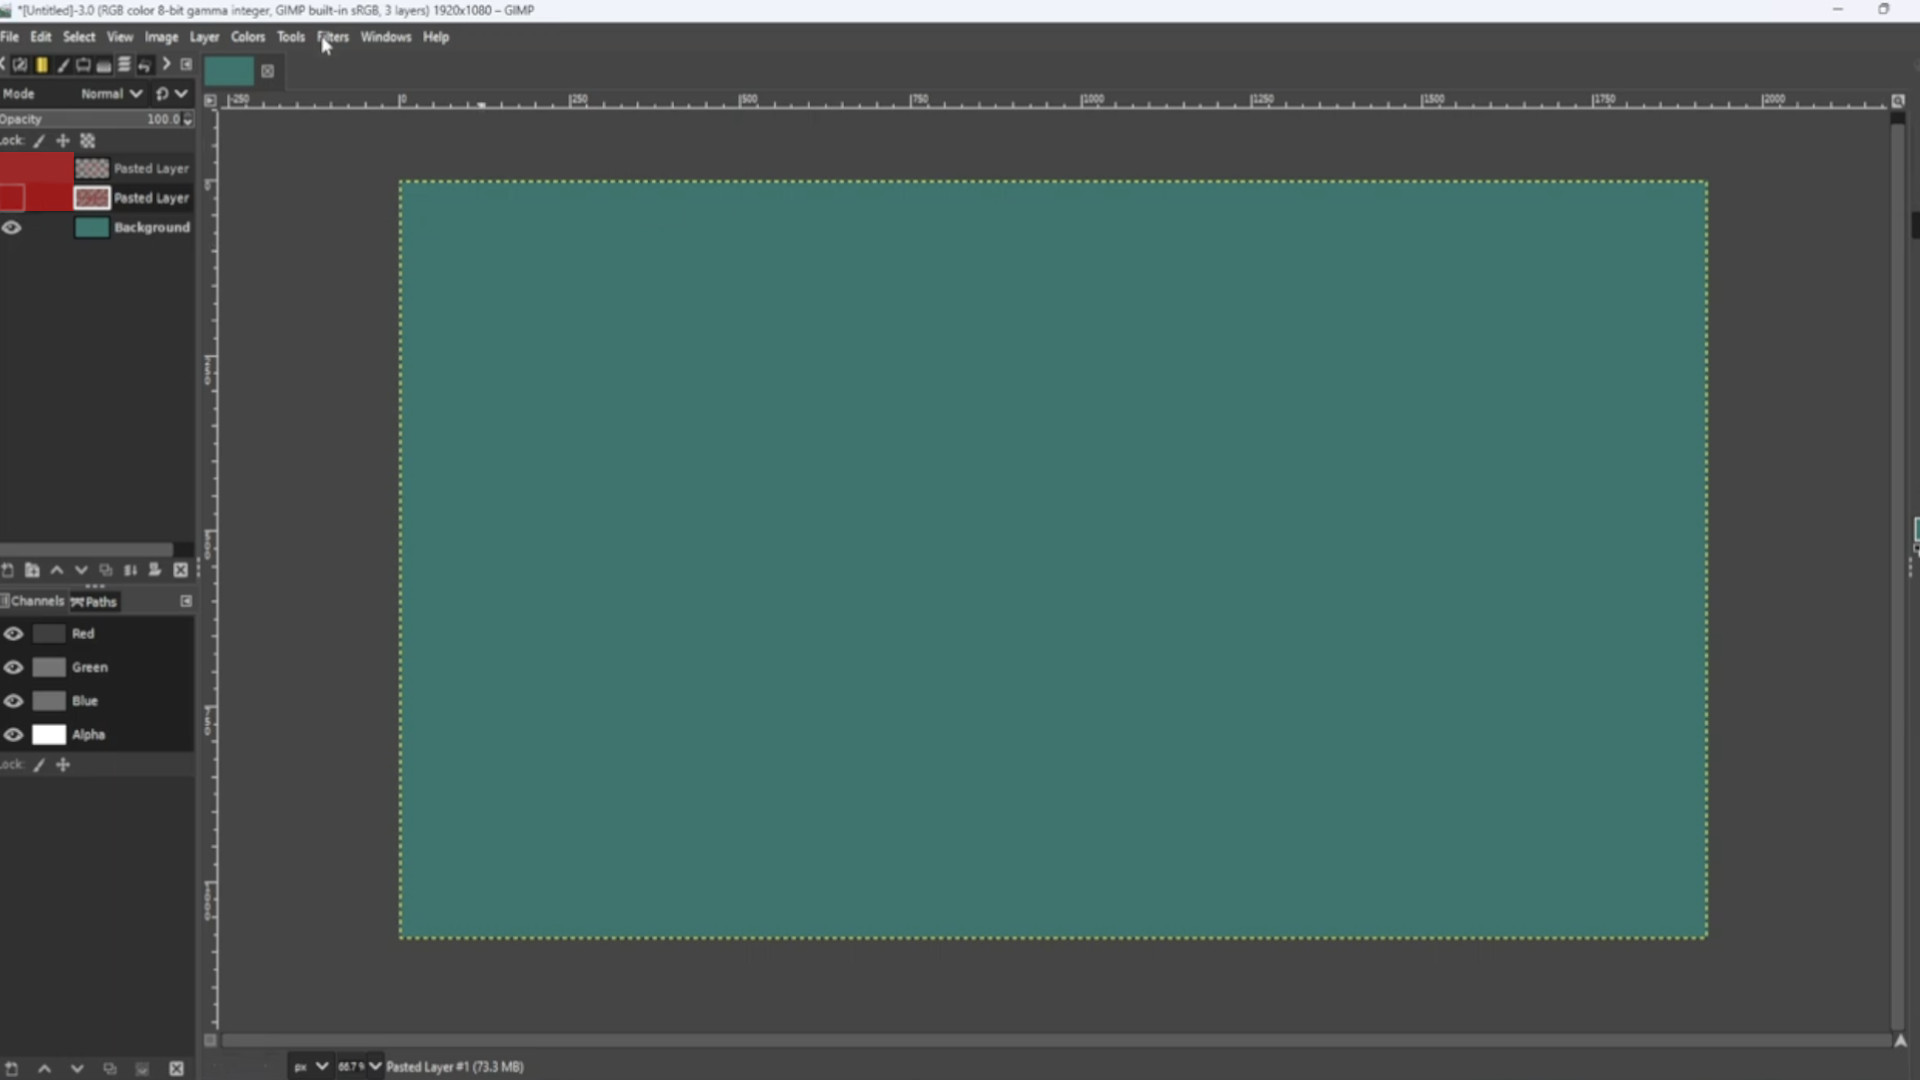
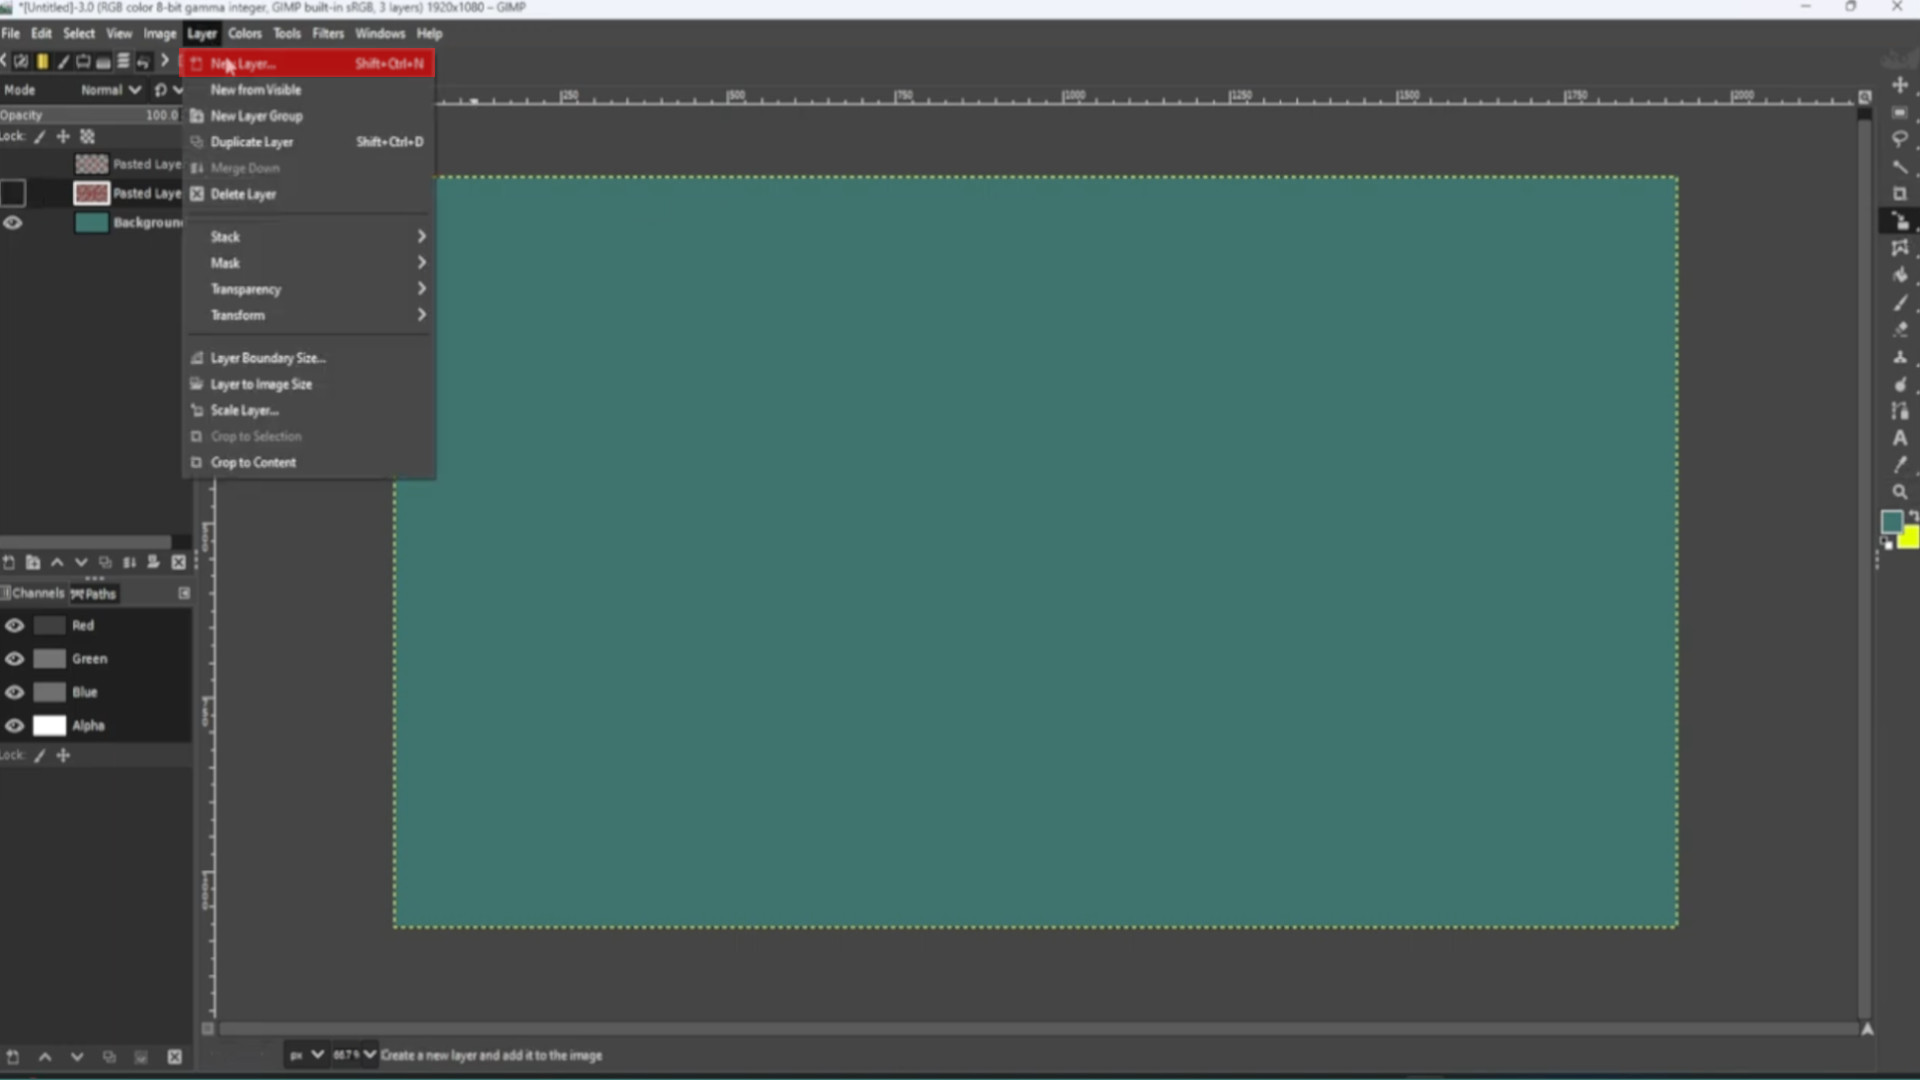
Selecting the>>>TOP LAYER on the left hand side panel go to>>>LAYER>>>ADD LAYER and>>>PLACE>>>LAYER>>>SECOND TO BOTTOM.
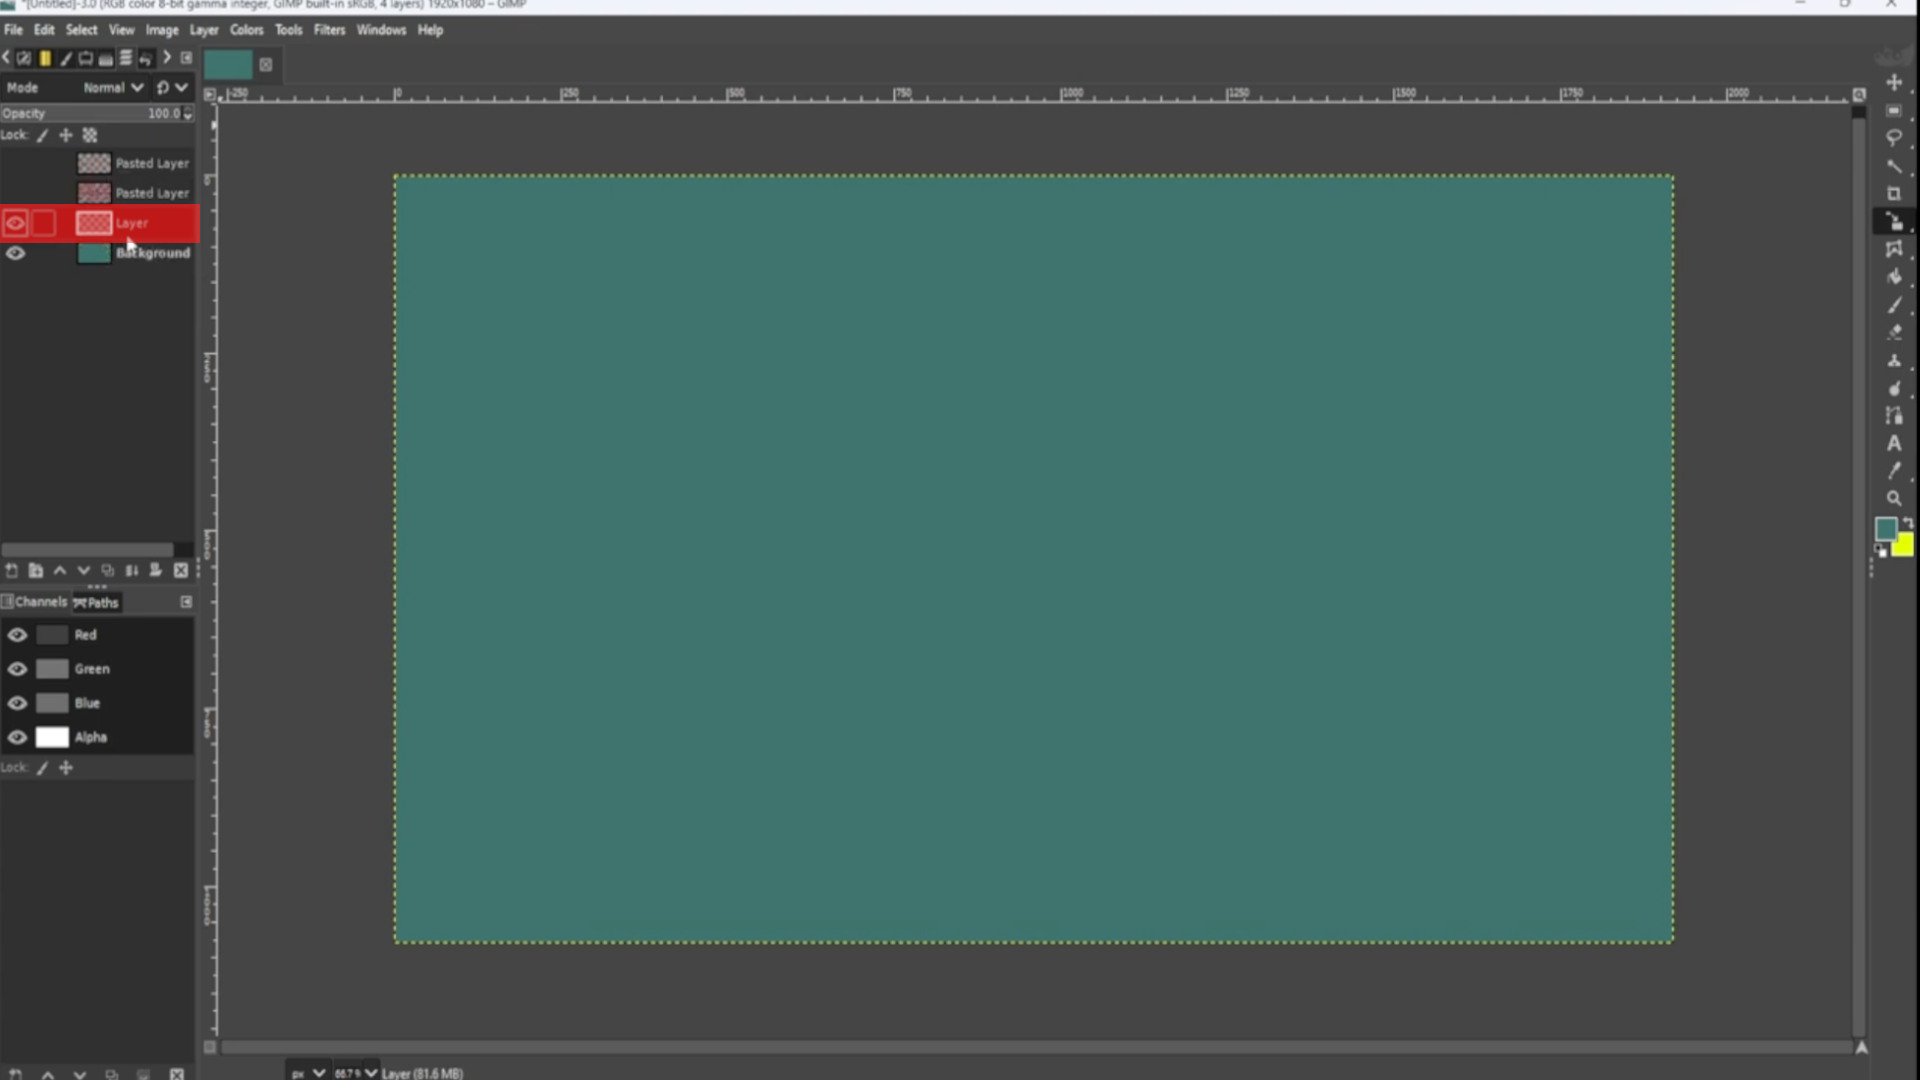
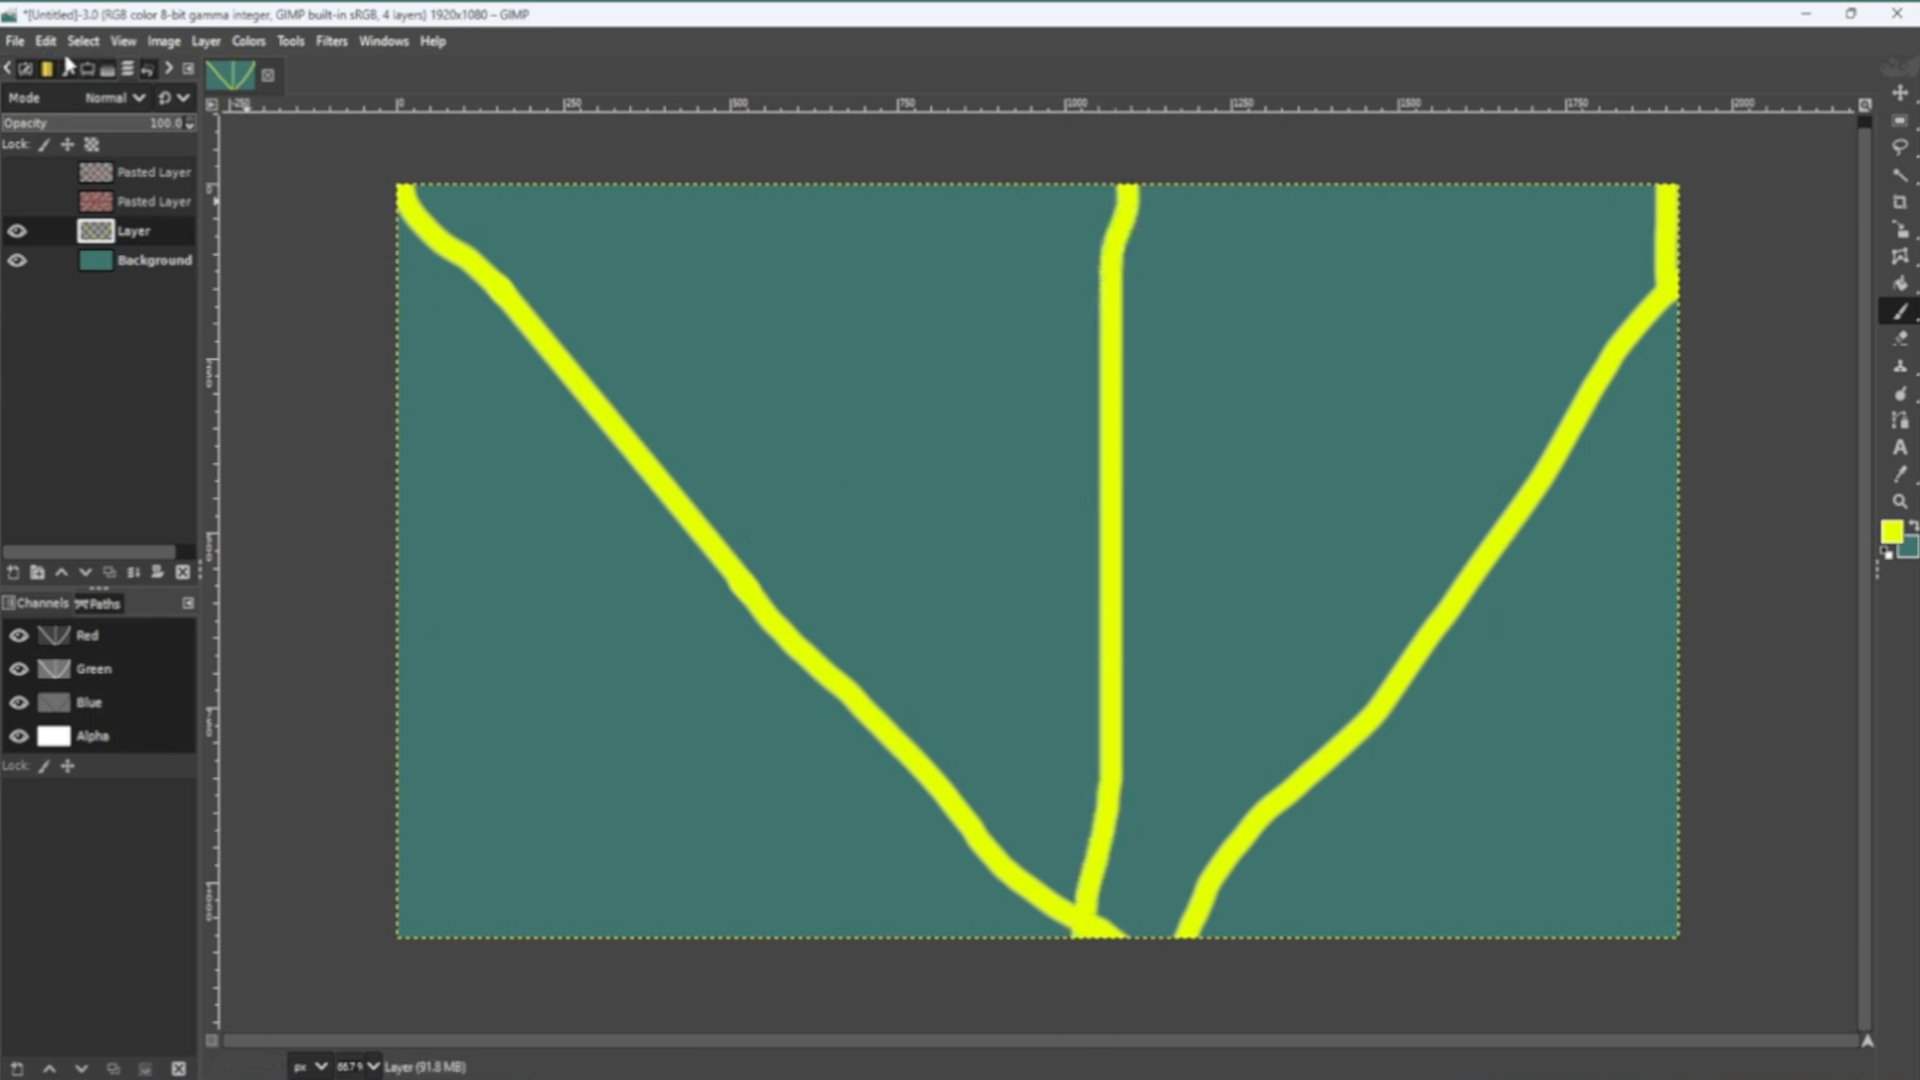
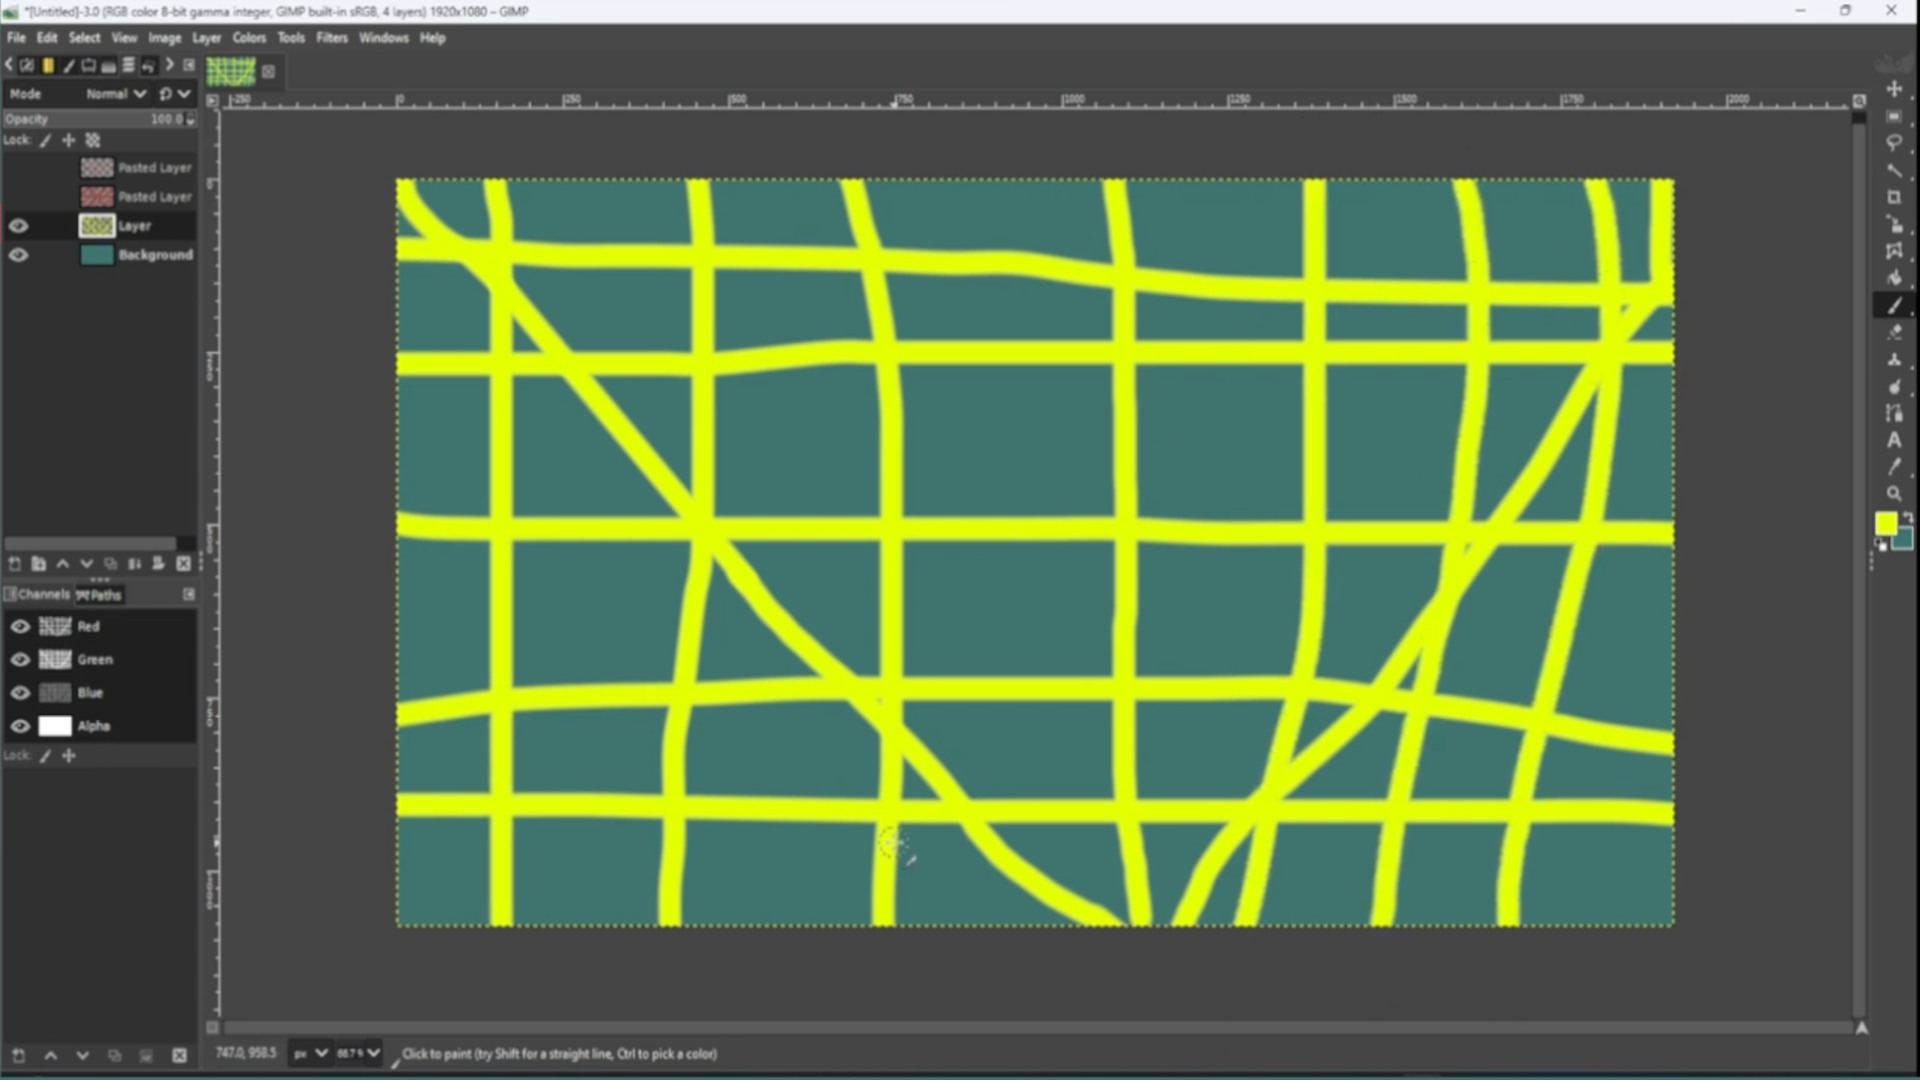
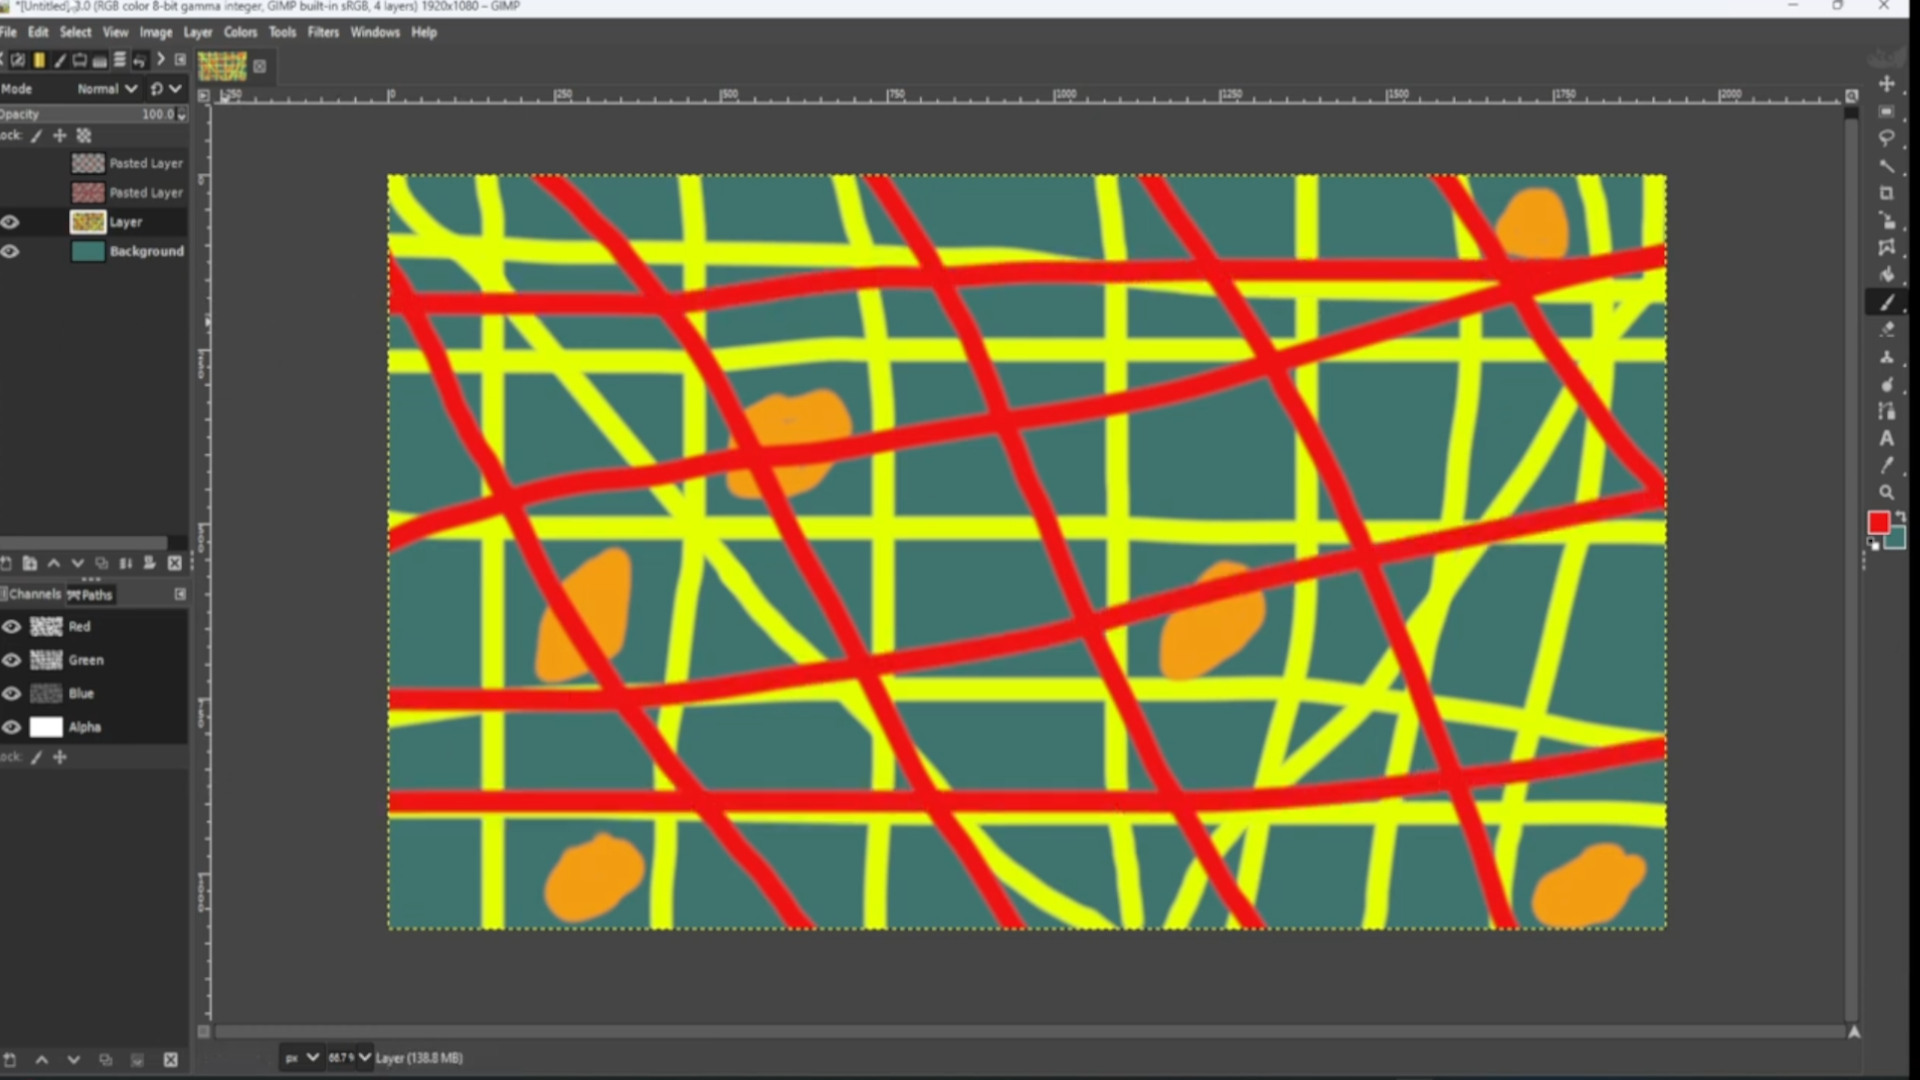
Use the>>>PAINT BRUSH or>>>PENCIL to>>>DRAW LINES. and>>>SHAPES. Do this for a couple of colours or as many as you like.
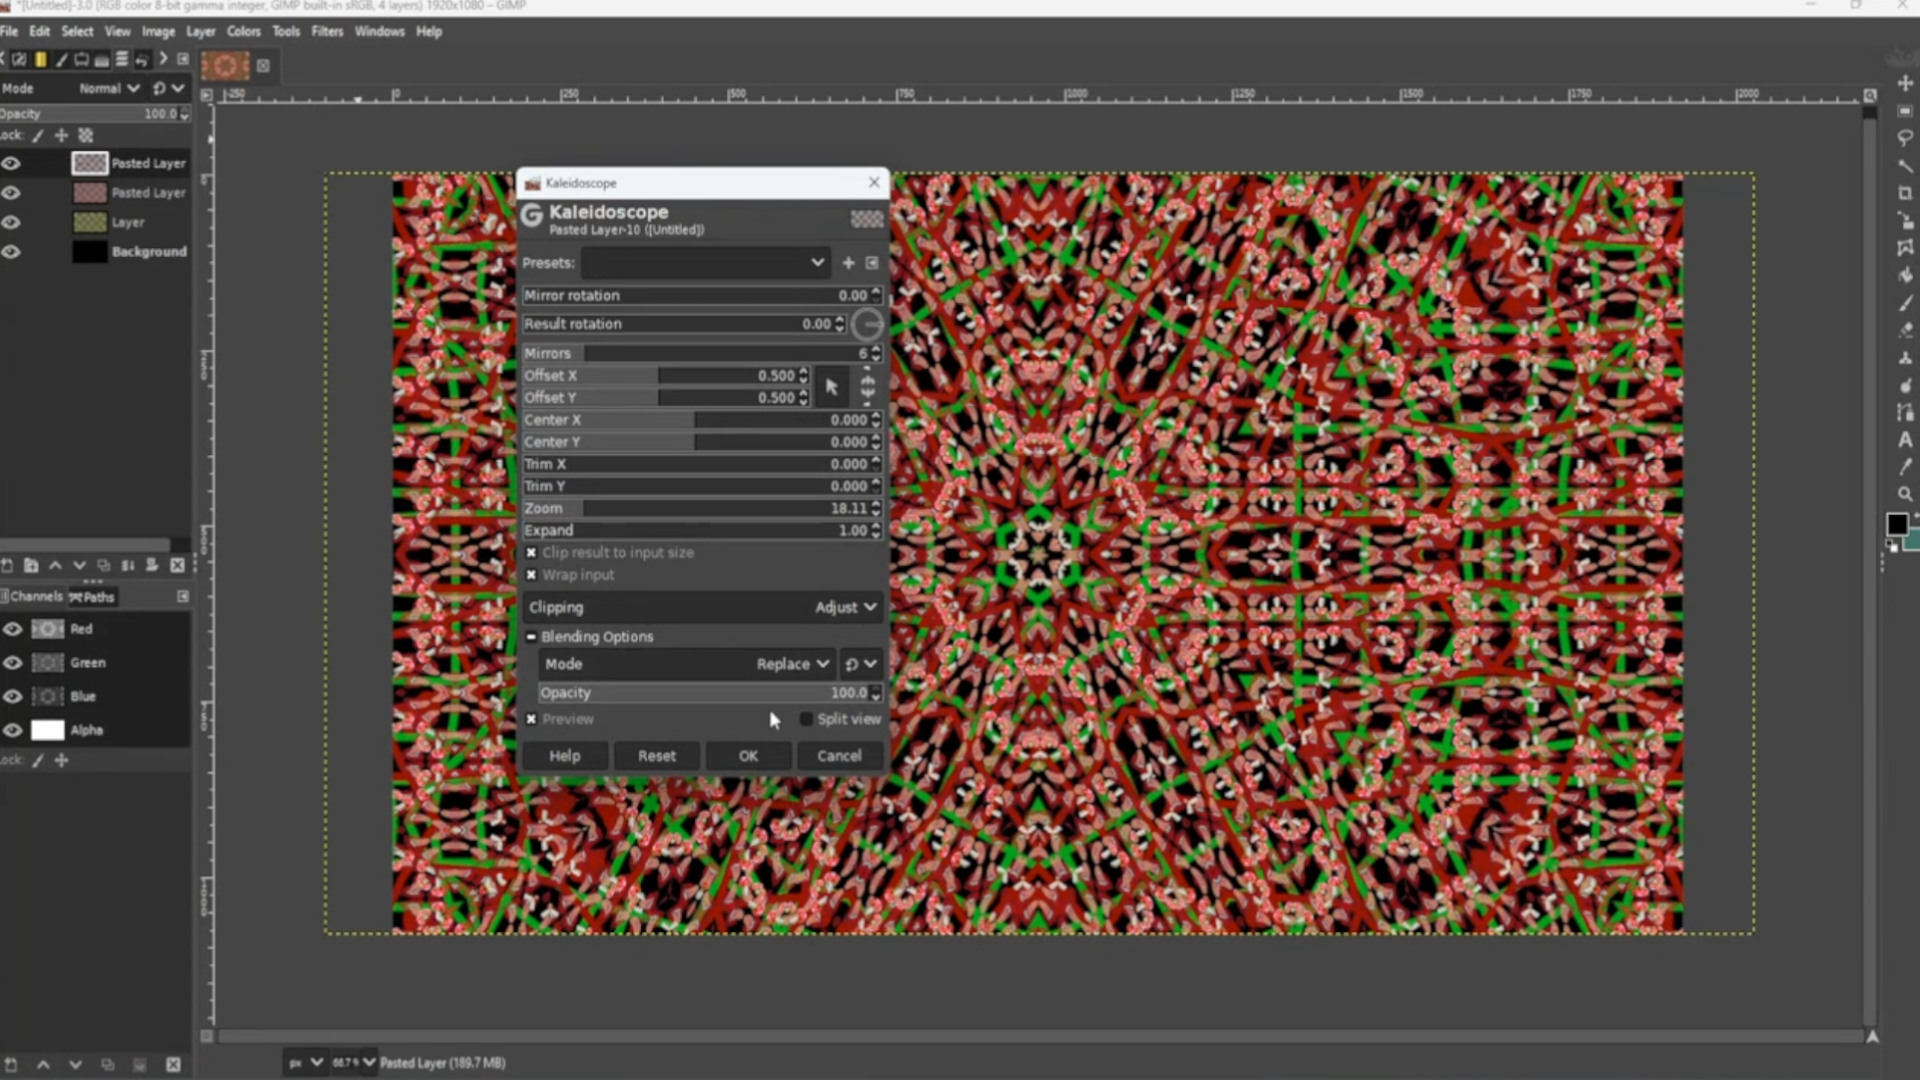
With the SECOND TO BOTTOM>>>LAYER>>>SELECTED go to>>>FILTERS>>>DISTORT>>>KALEIIDOSCOPE and mess about with the options. You can use the>>>ZOOM OPTION to zoom out to taste.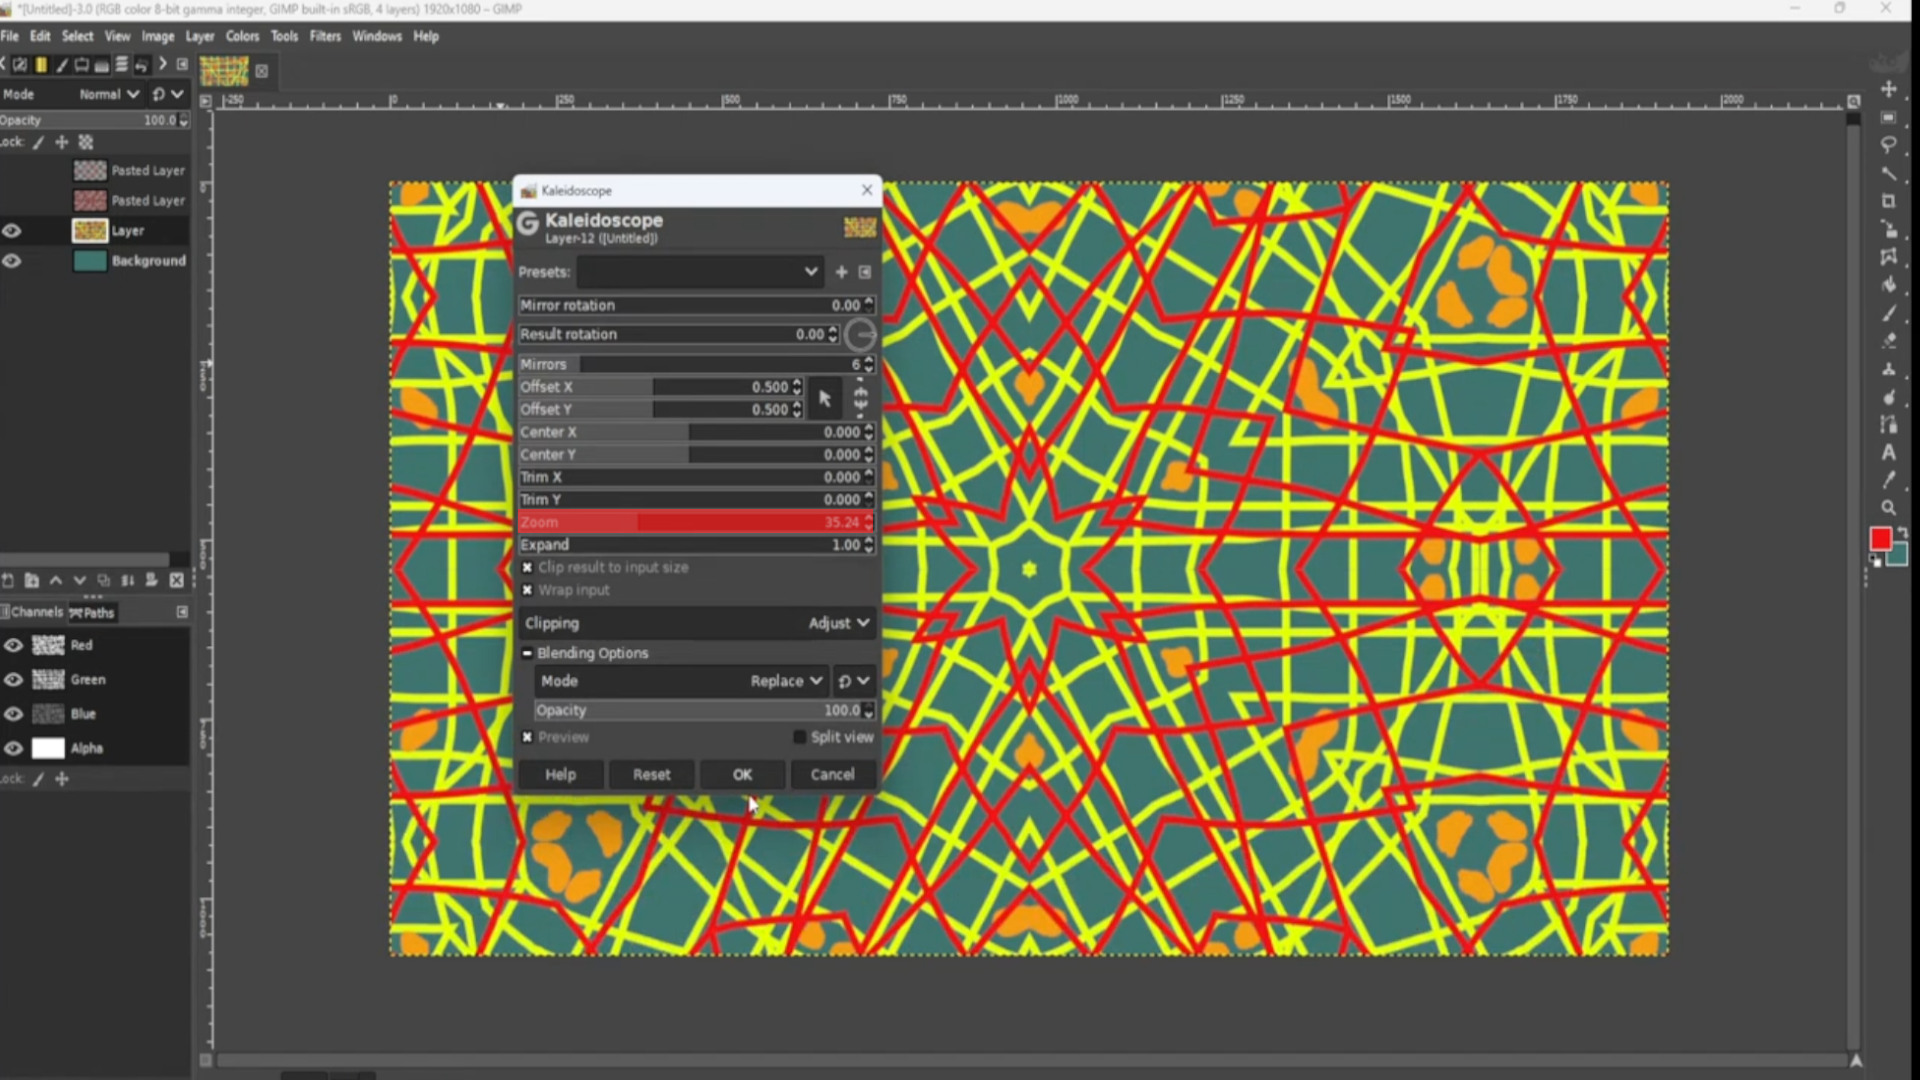
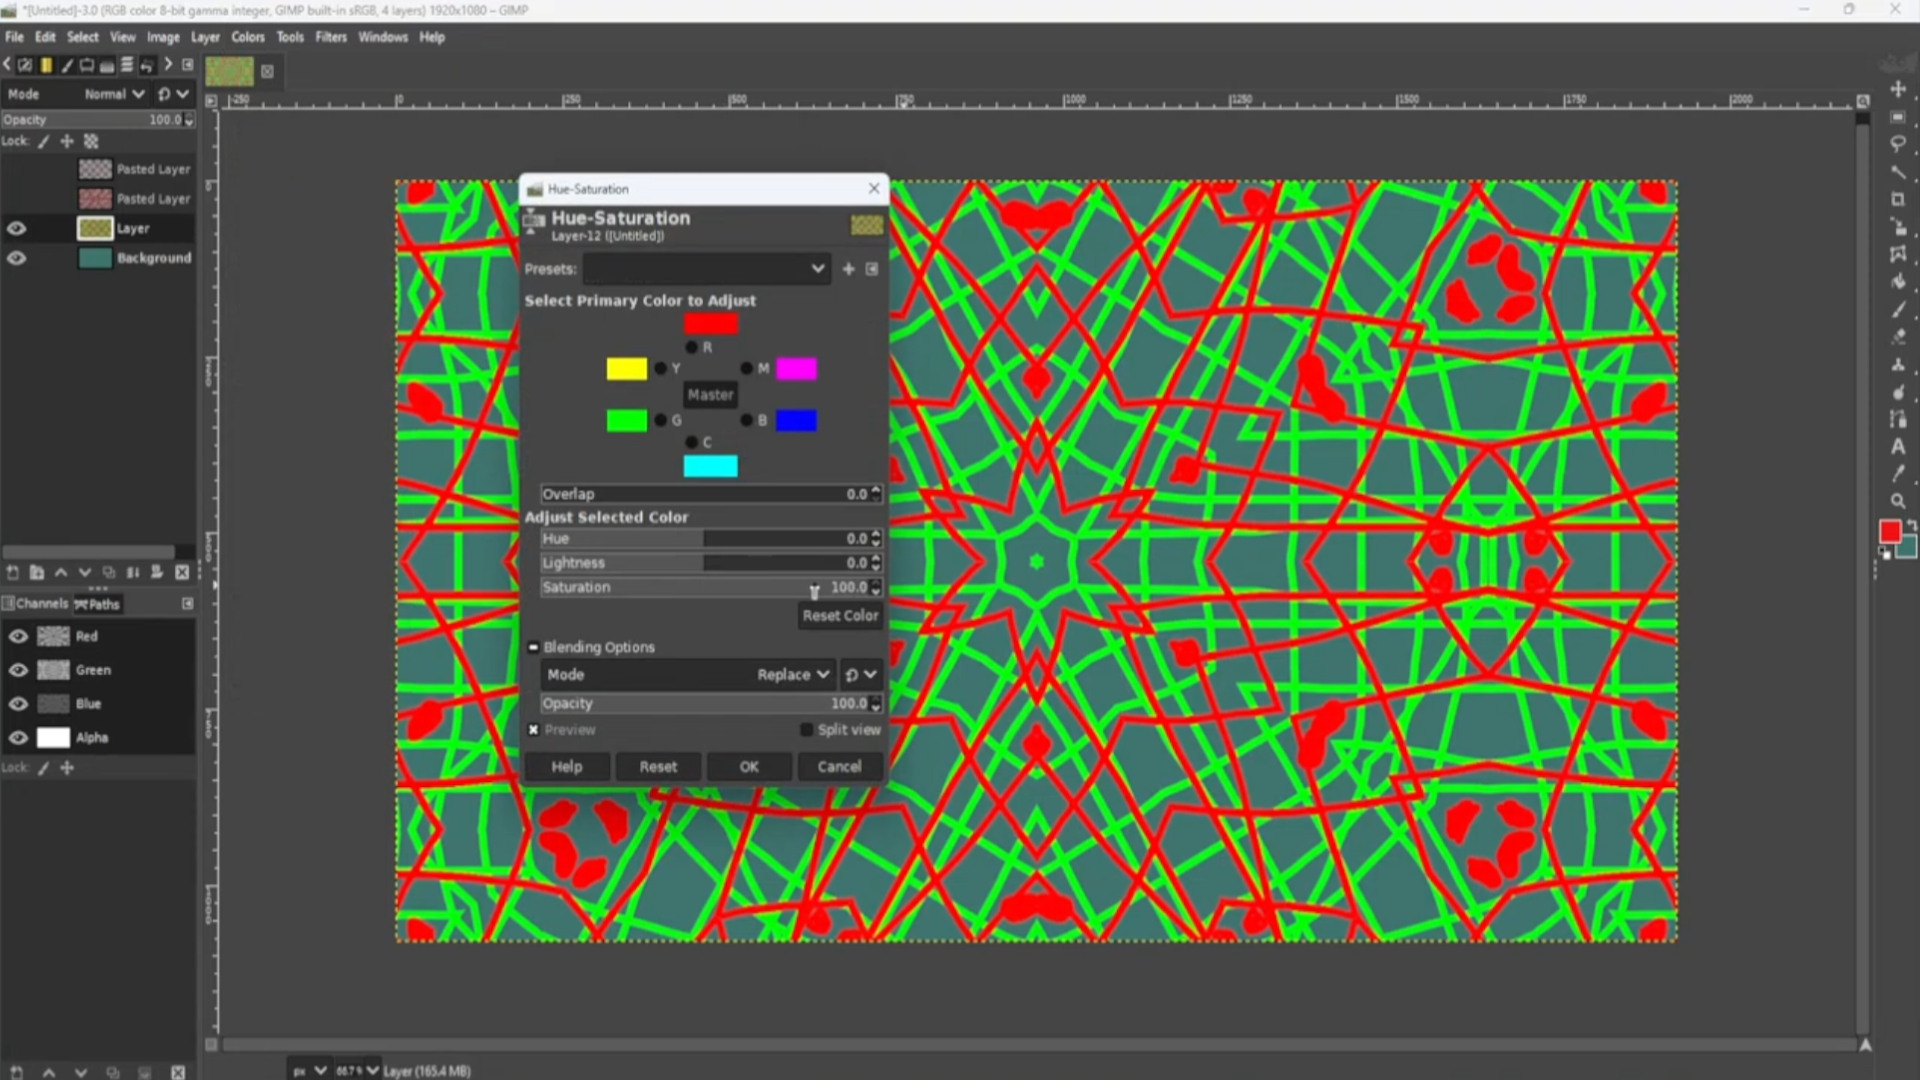
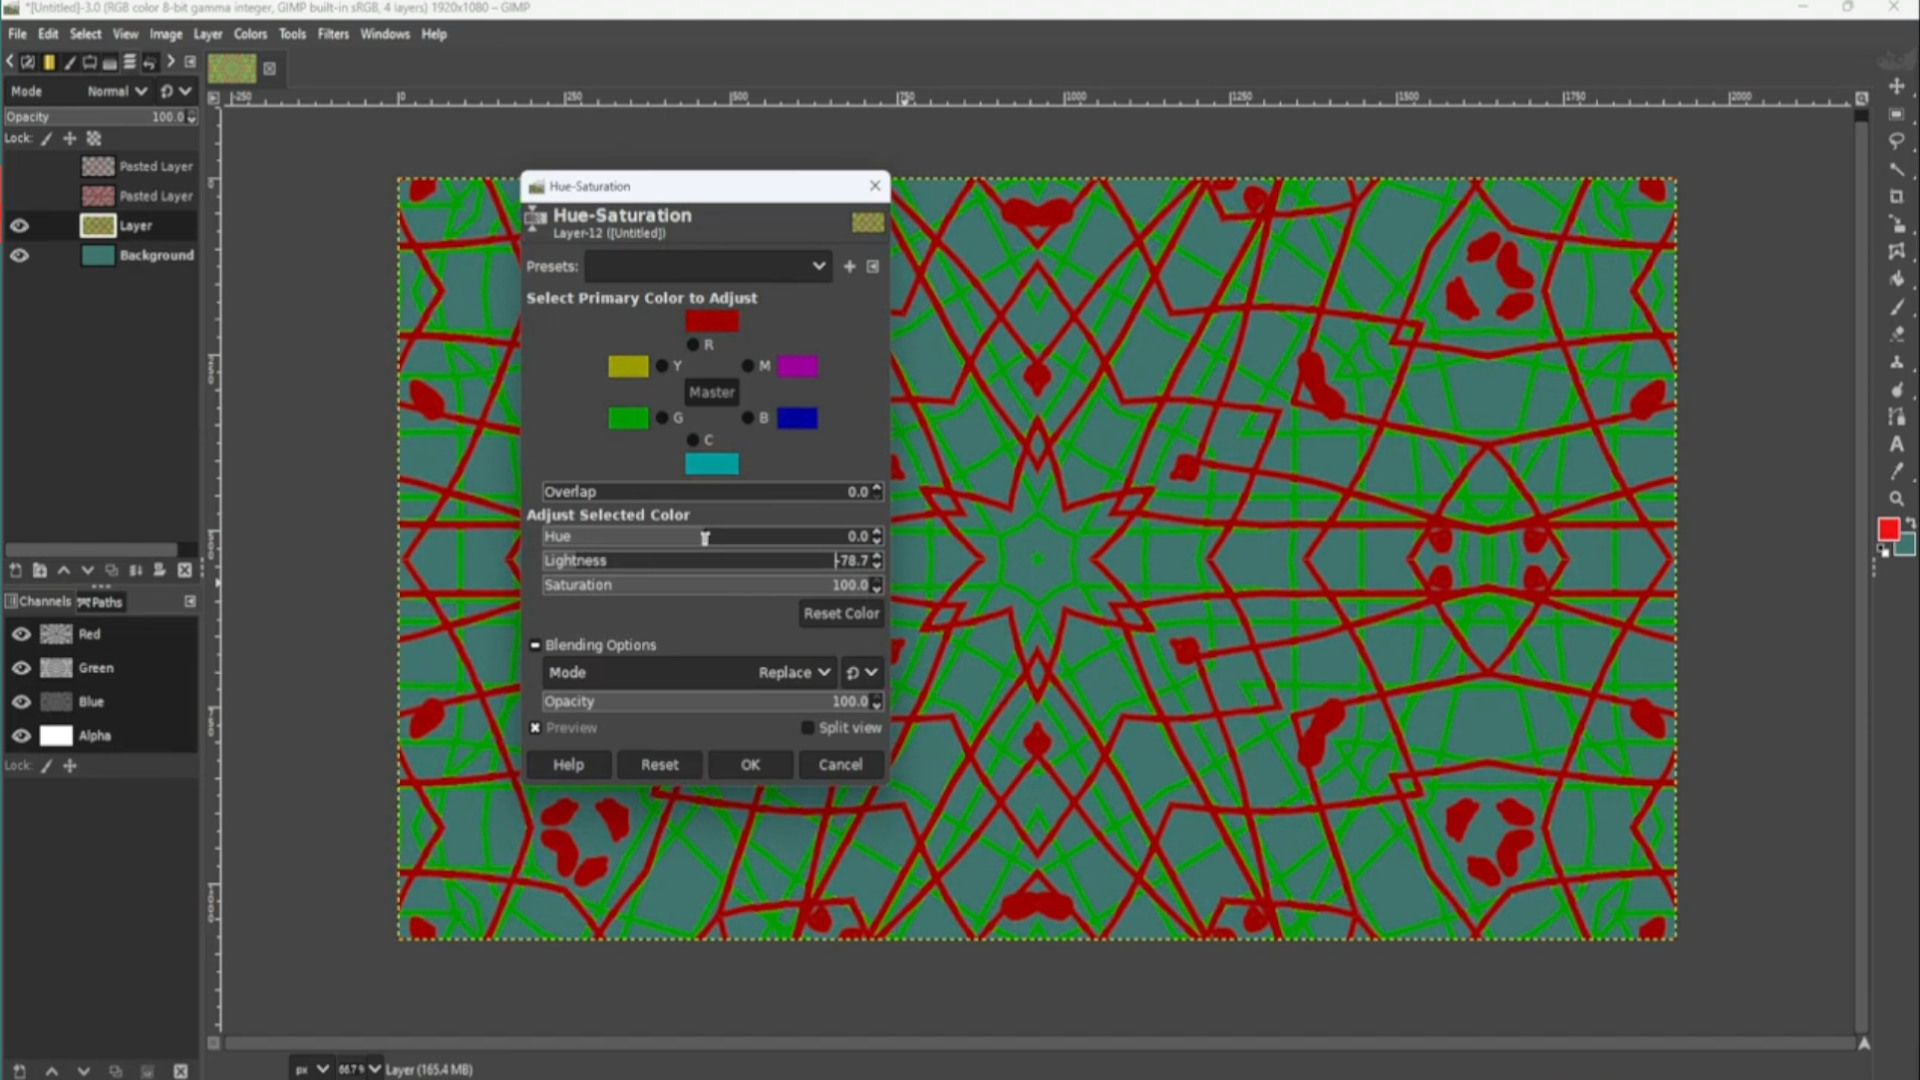
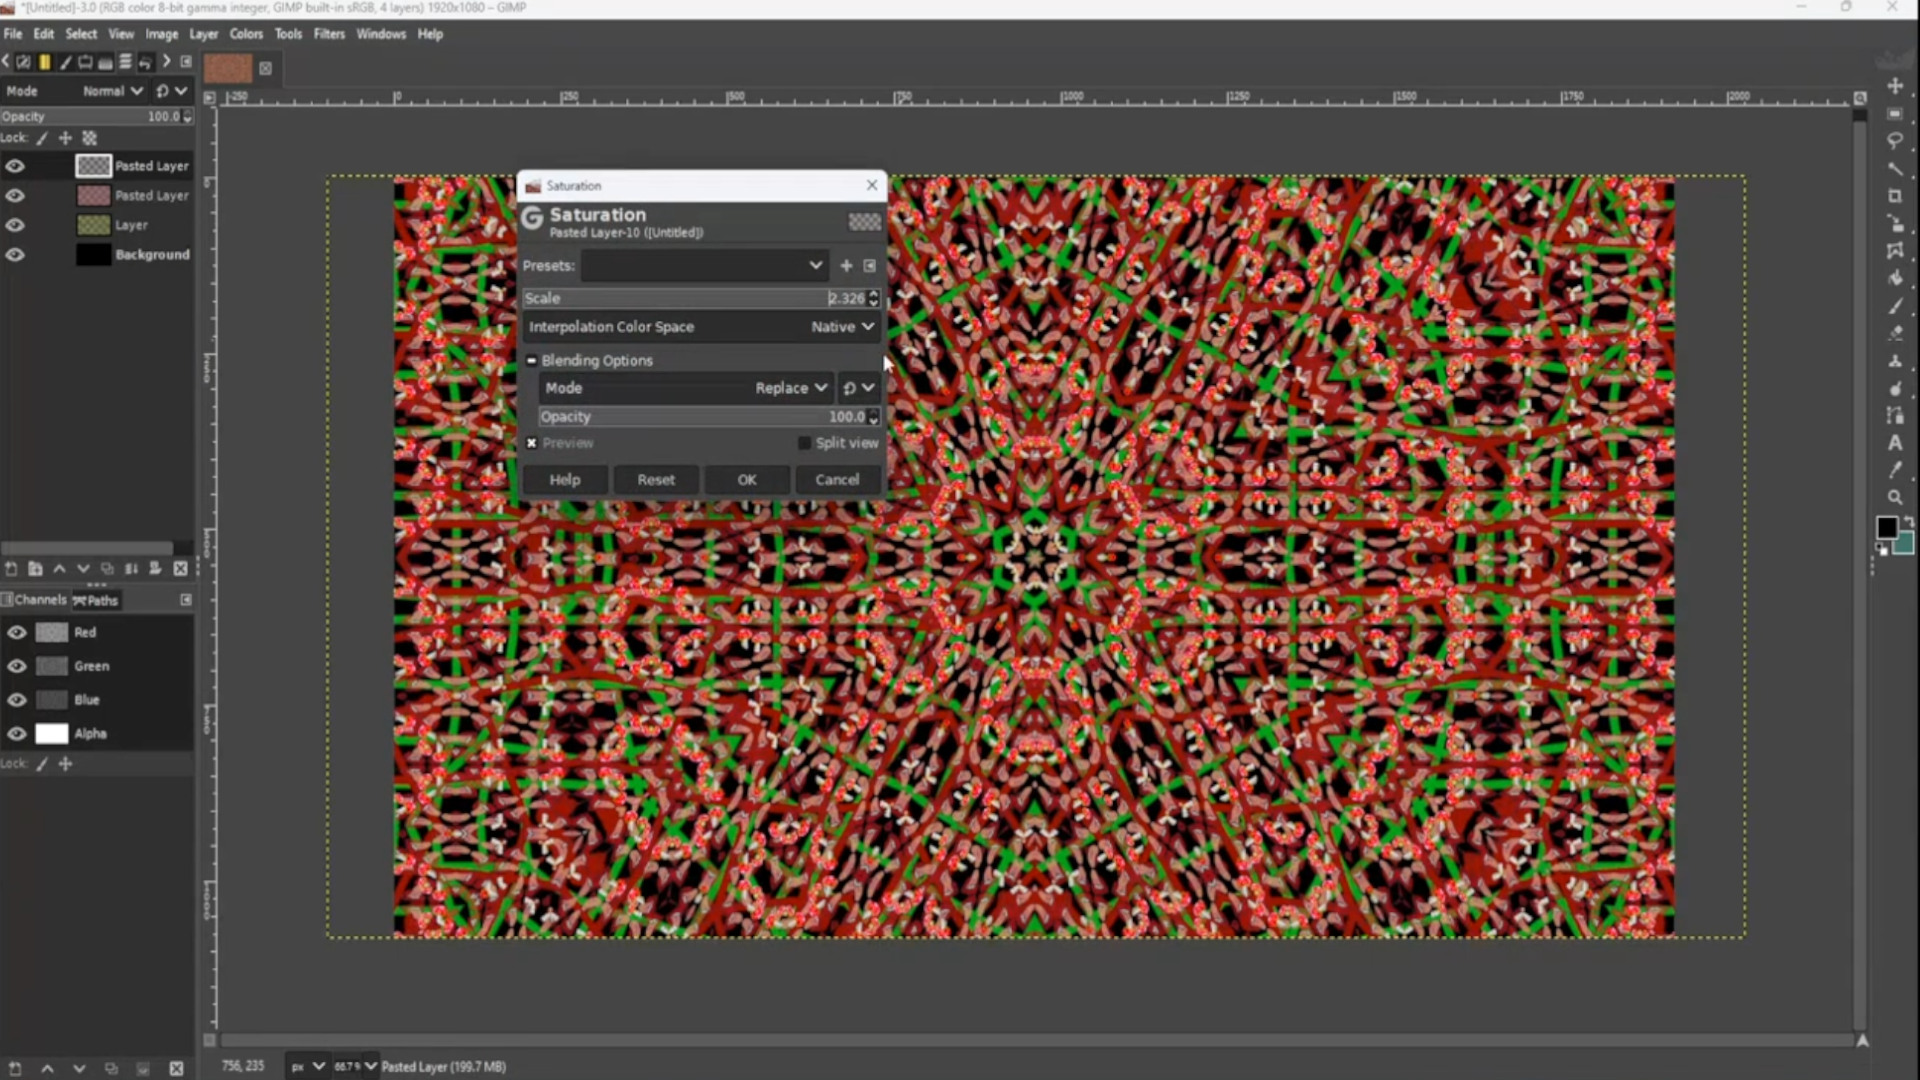
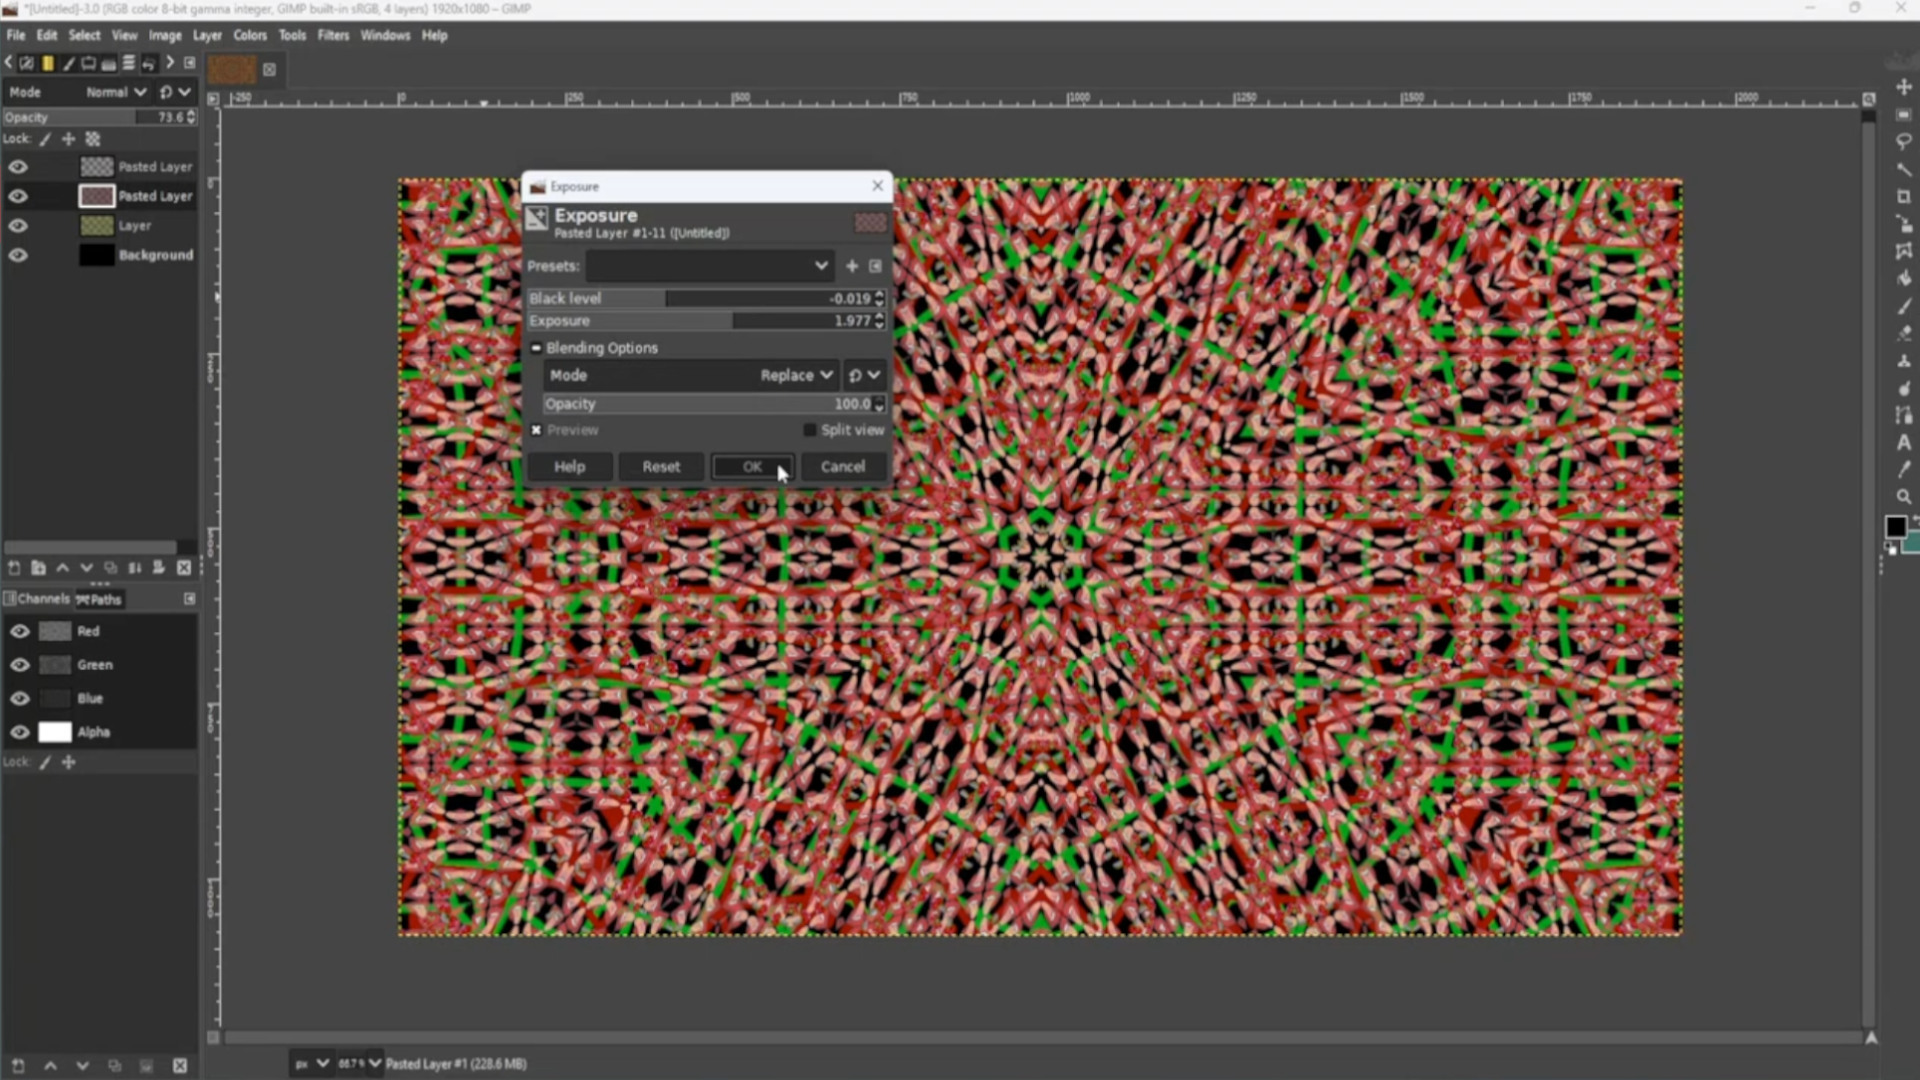
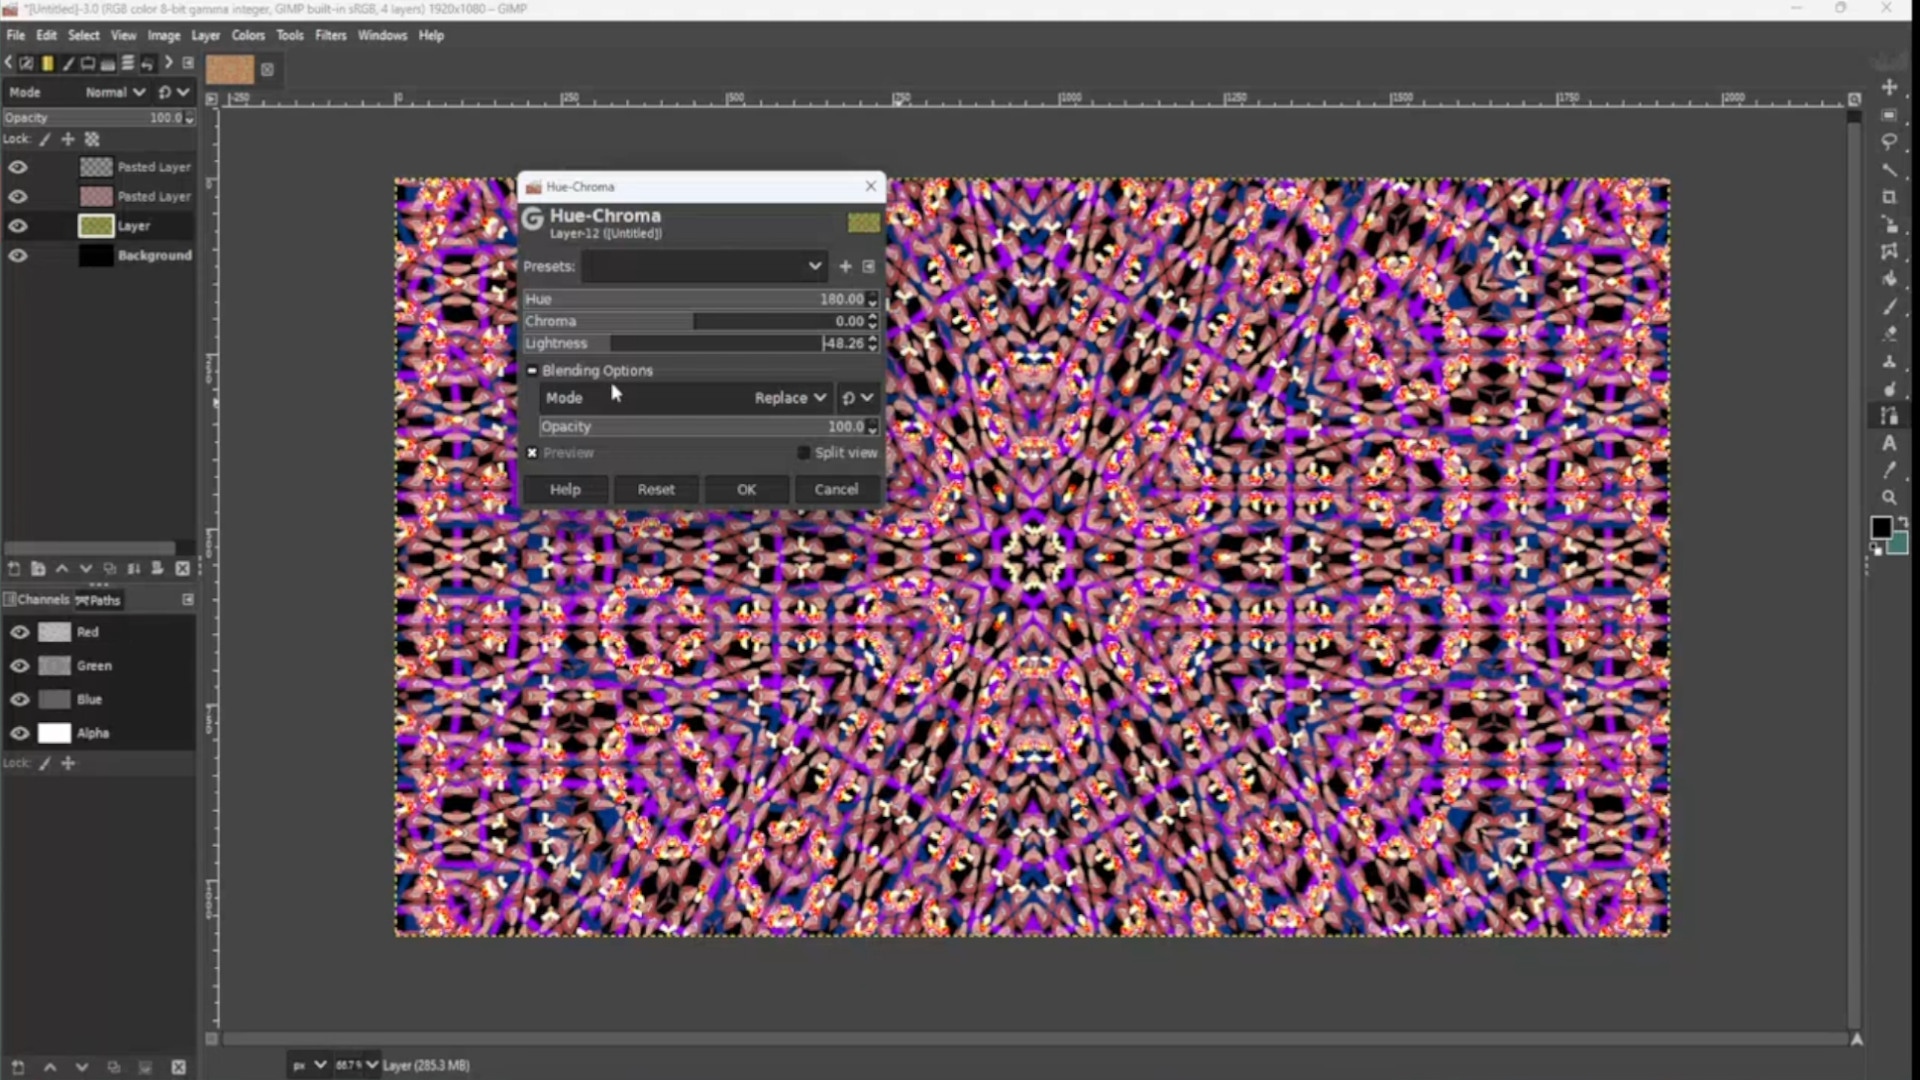
>>>TURN OFF BOTH TOP LAYERS by using the EYE in the>>>LEFT HAND SIDE LAYERS PANEL so that the eye is now now not showing and same with the layers and go to>>>COLOURS>>>COLOUR BALANCE and mess about with the colours to taste you can also use>>>HUE CHROMA and>>>HUE SATURATION for the same effect.
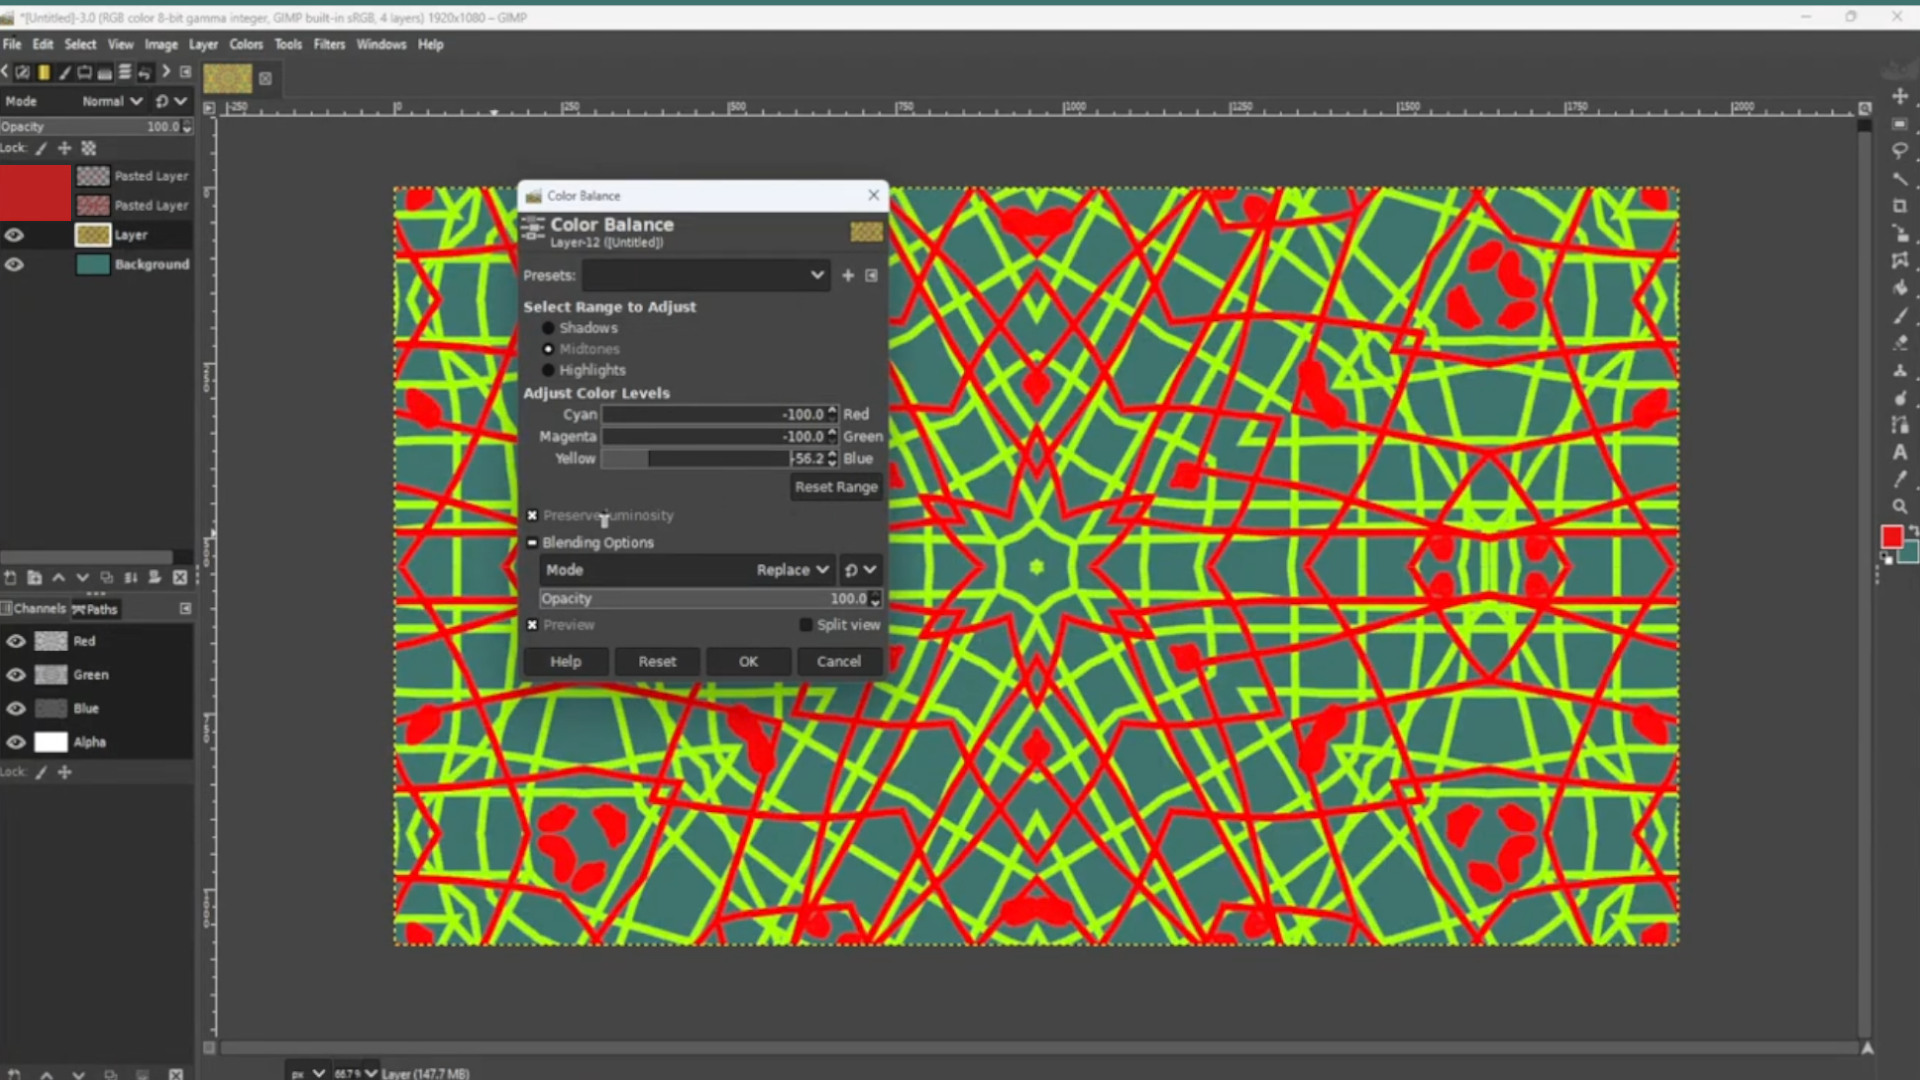
Now experiment with the>>>COLOURS OPTIONS TO TASTE.
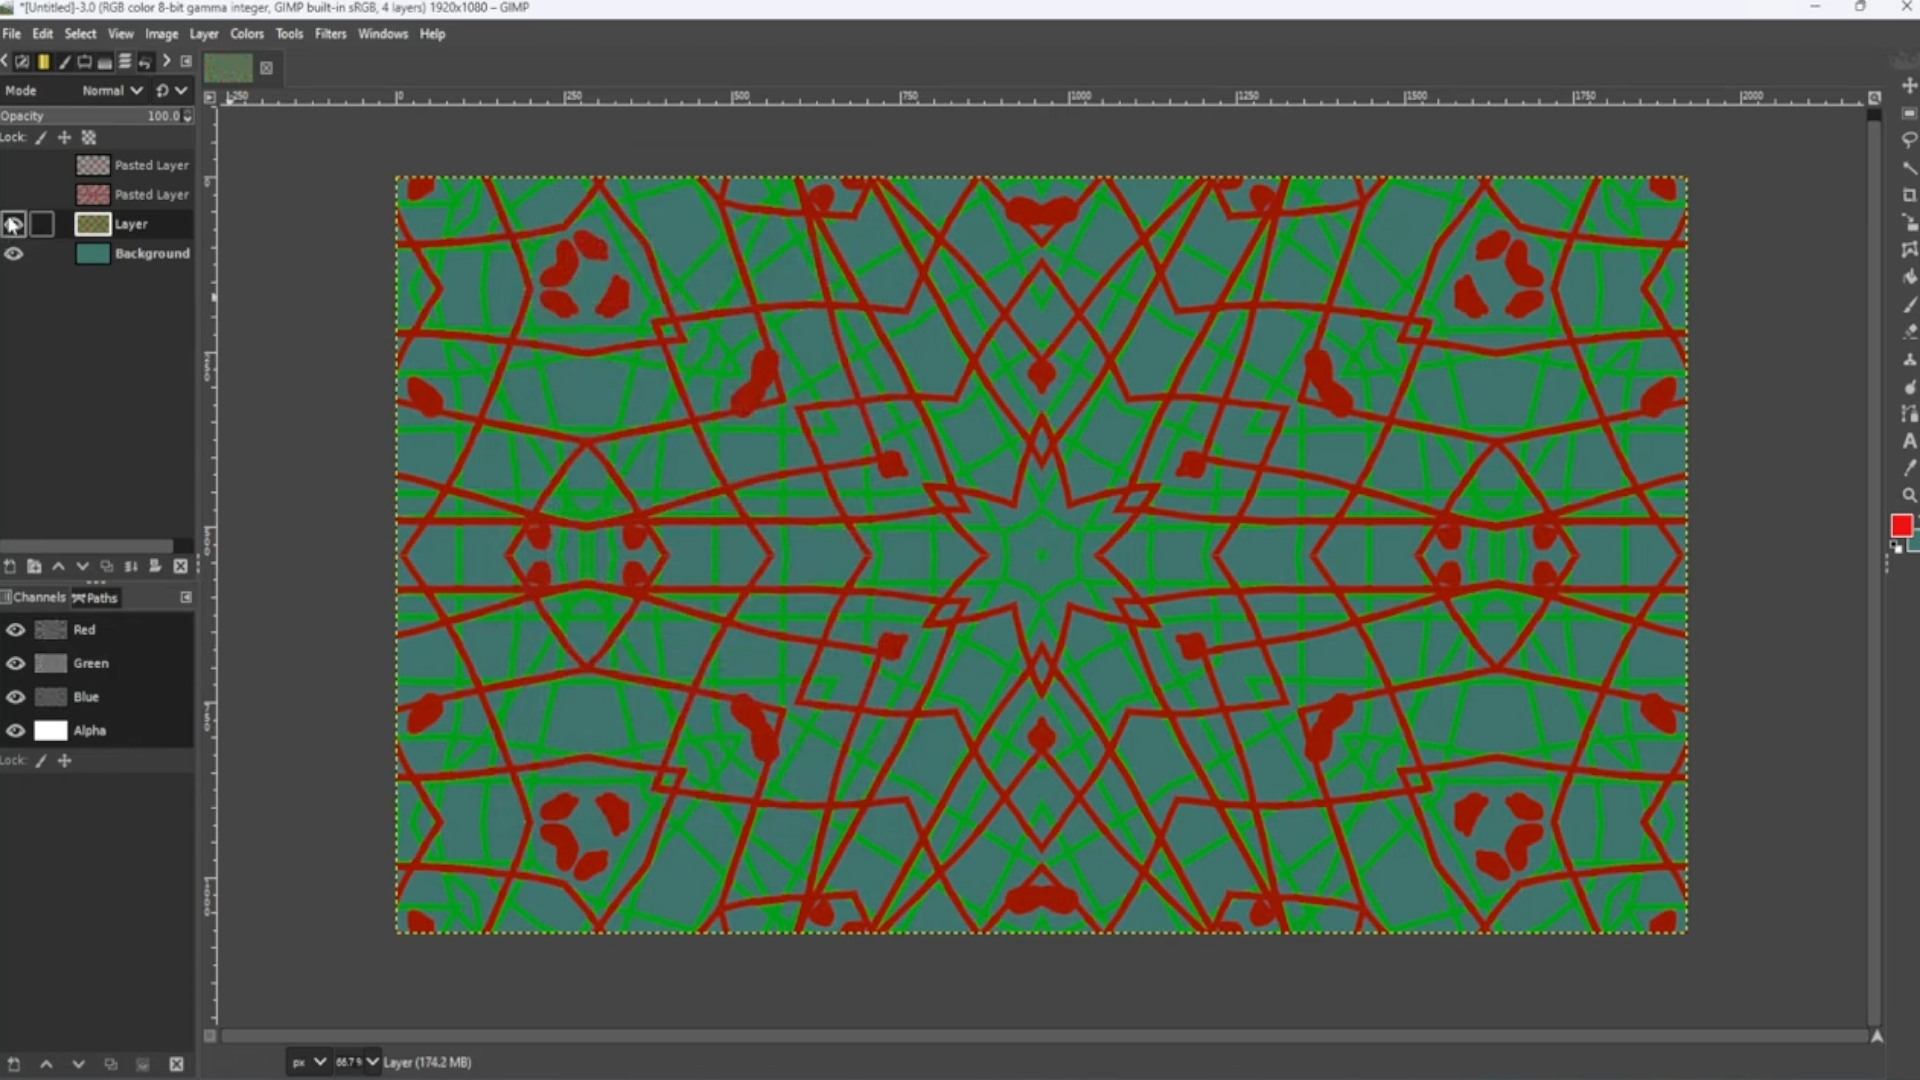
You may want to repeat>>>STEP>>>11-13 using the other options in>>>COLOURS and you can mess about with>>>FILTERS too.
Selecting>>>THE BOTTOM LAYER use the>>>BUCKET FILL to>>>FILL IN the background it’s best to use dark colours for a dramatic effect.
>>>REPEAT STEPS 11-13 until you are happy with the results.

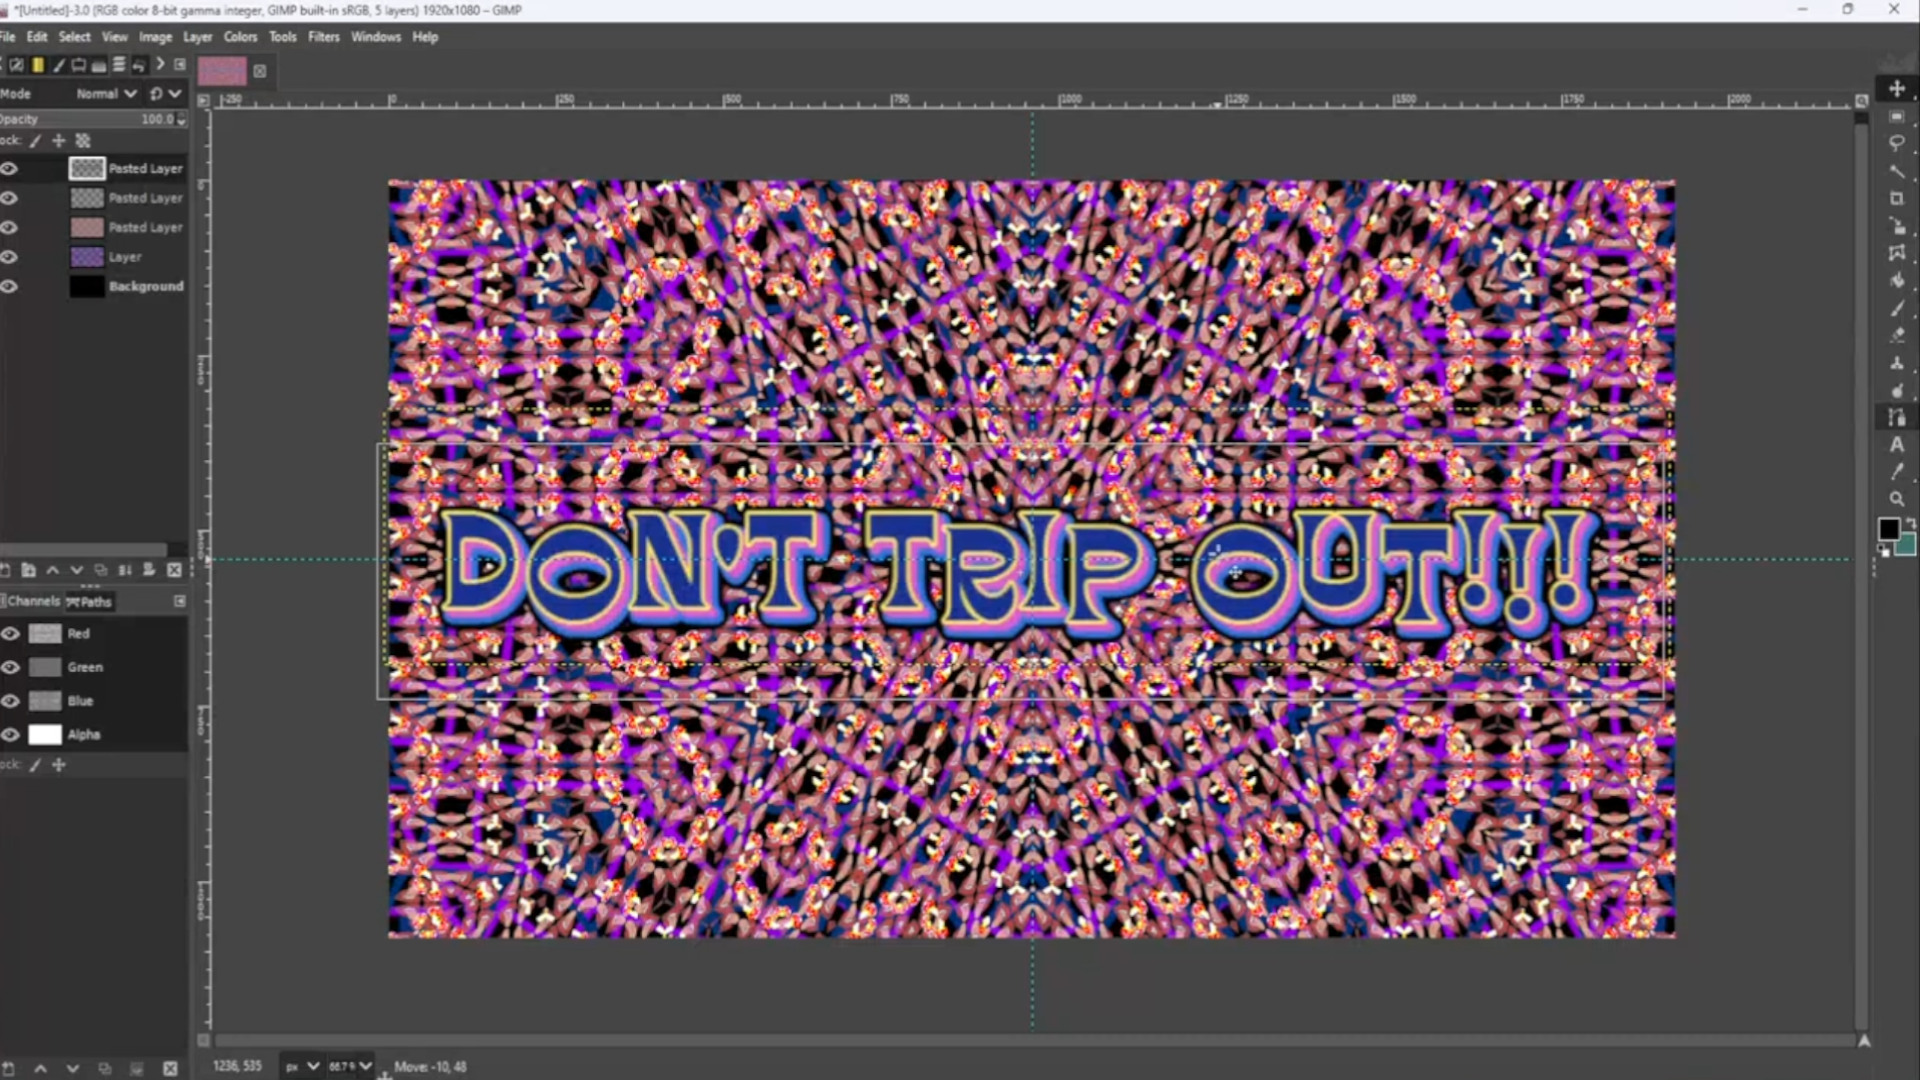
Now for the font I use TextStudio.com and>>>OPEN>>>FILE OR>>>DRAG AND DROP into Gimp and place the layer>>>AT THE TOP.
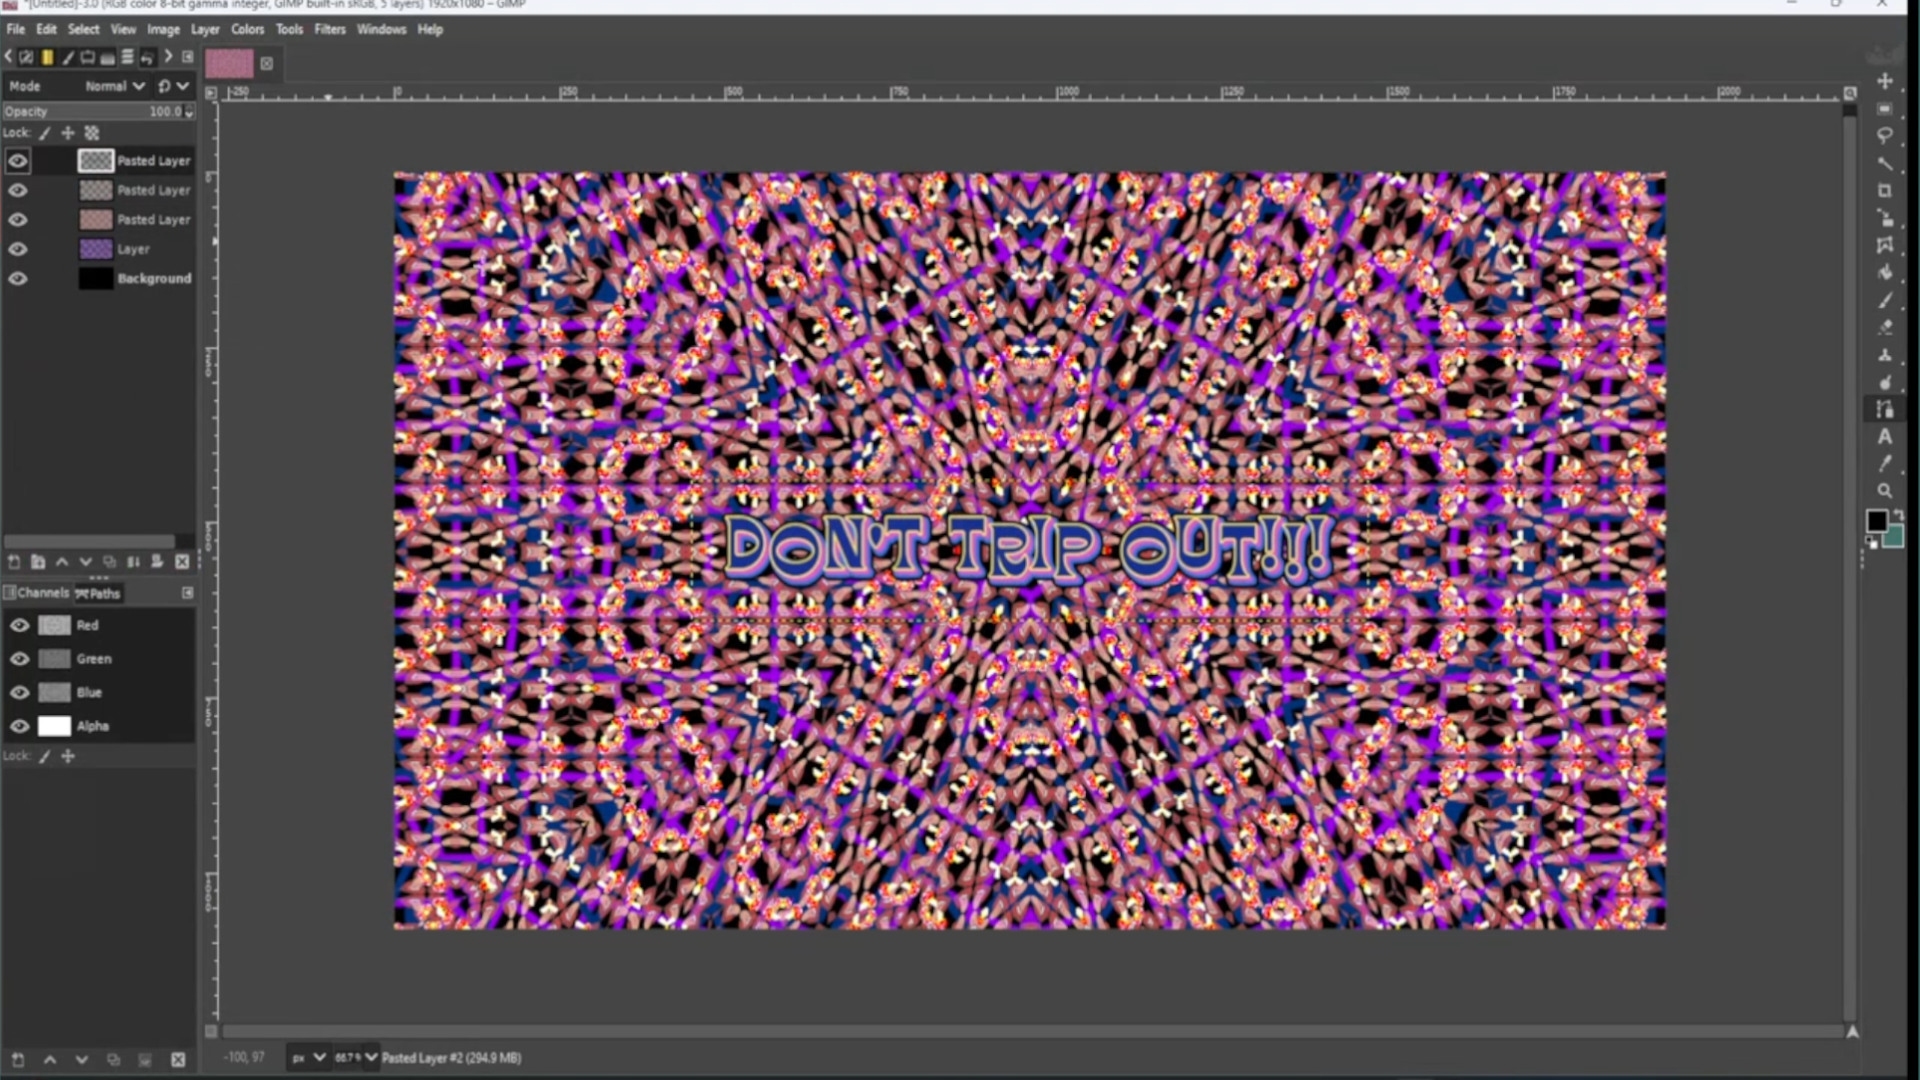
SELECTING the>>>FIRST LAYER use the>>>SCALE TOOL to rescale the text or use shortcut>>>HOLD>>>SHIFT and PRESS>>>S to get the scale options to come up.

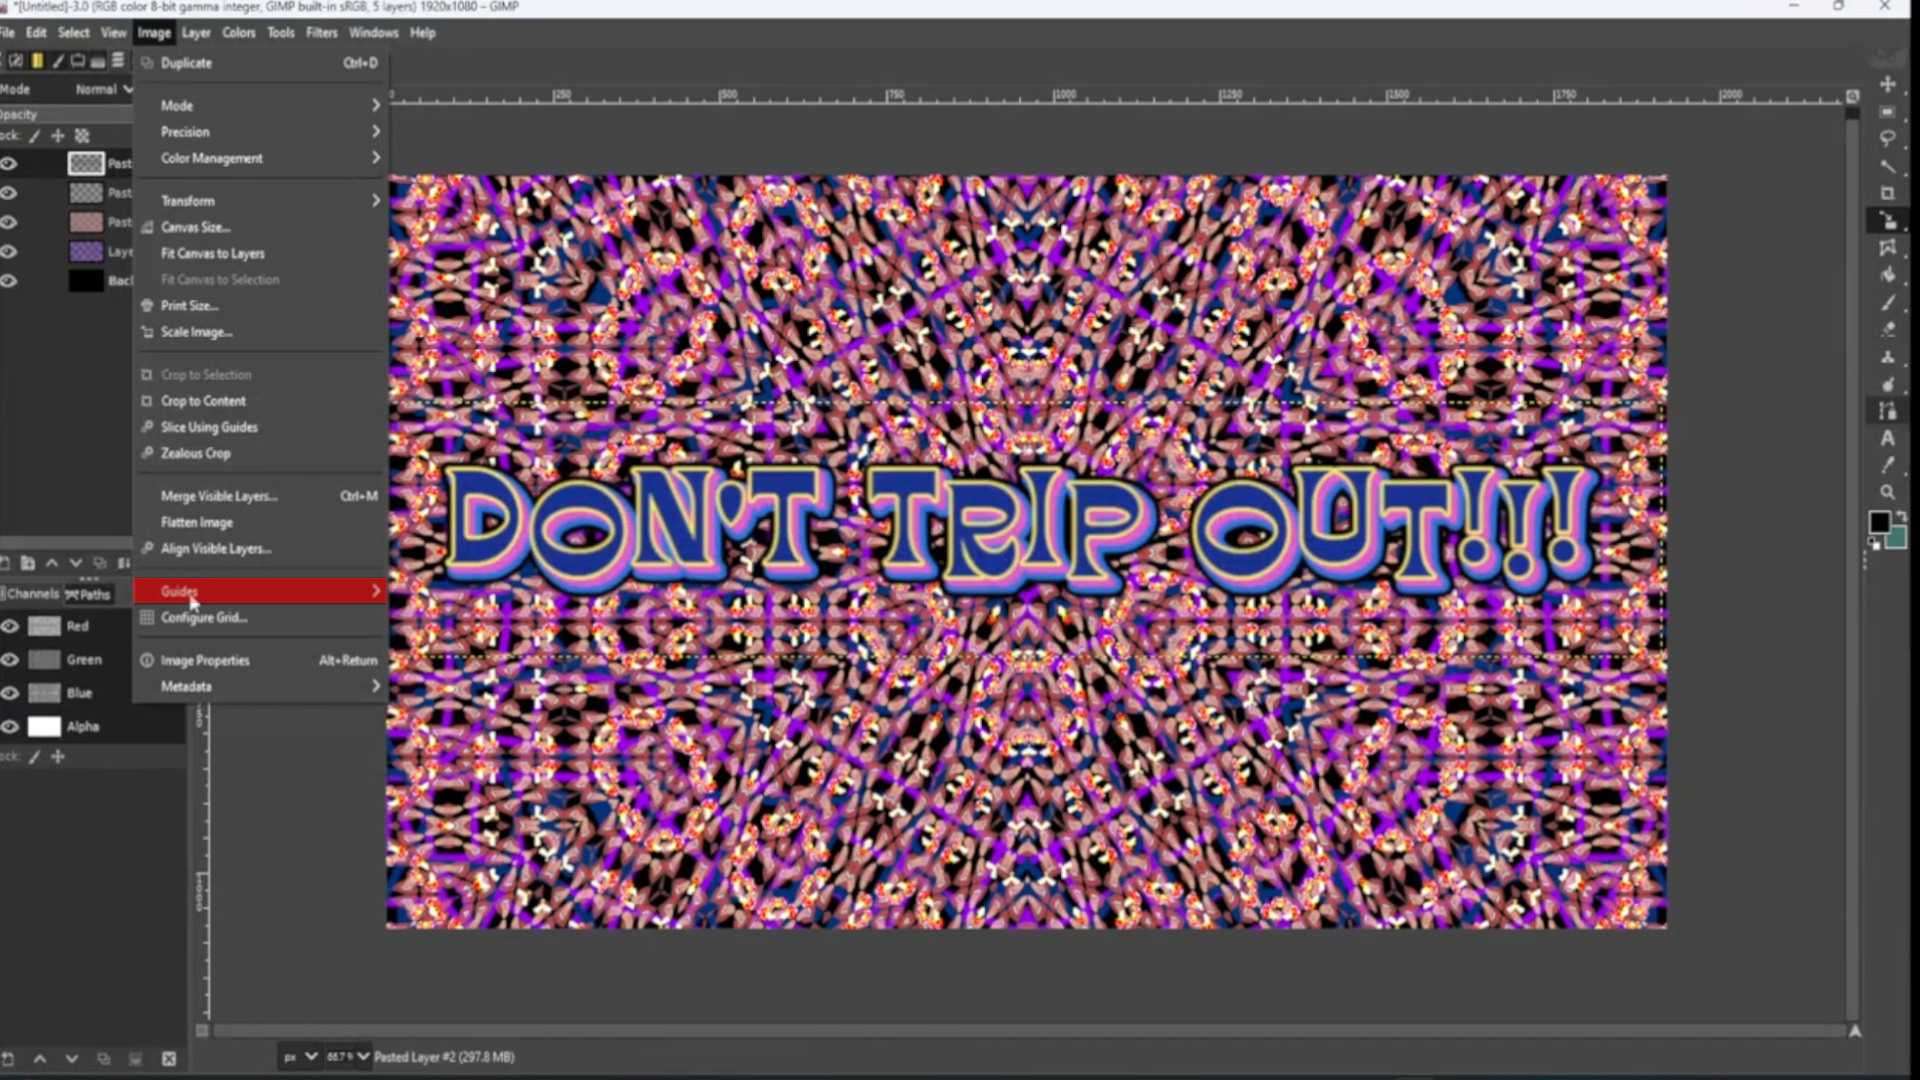
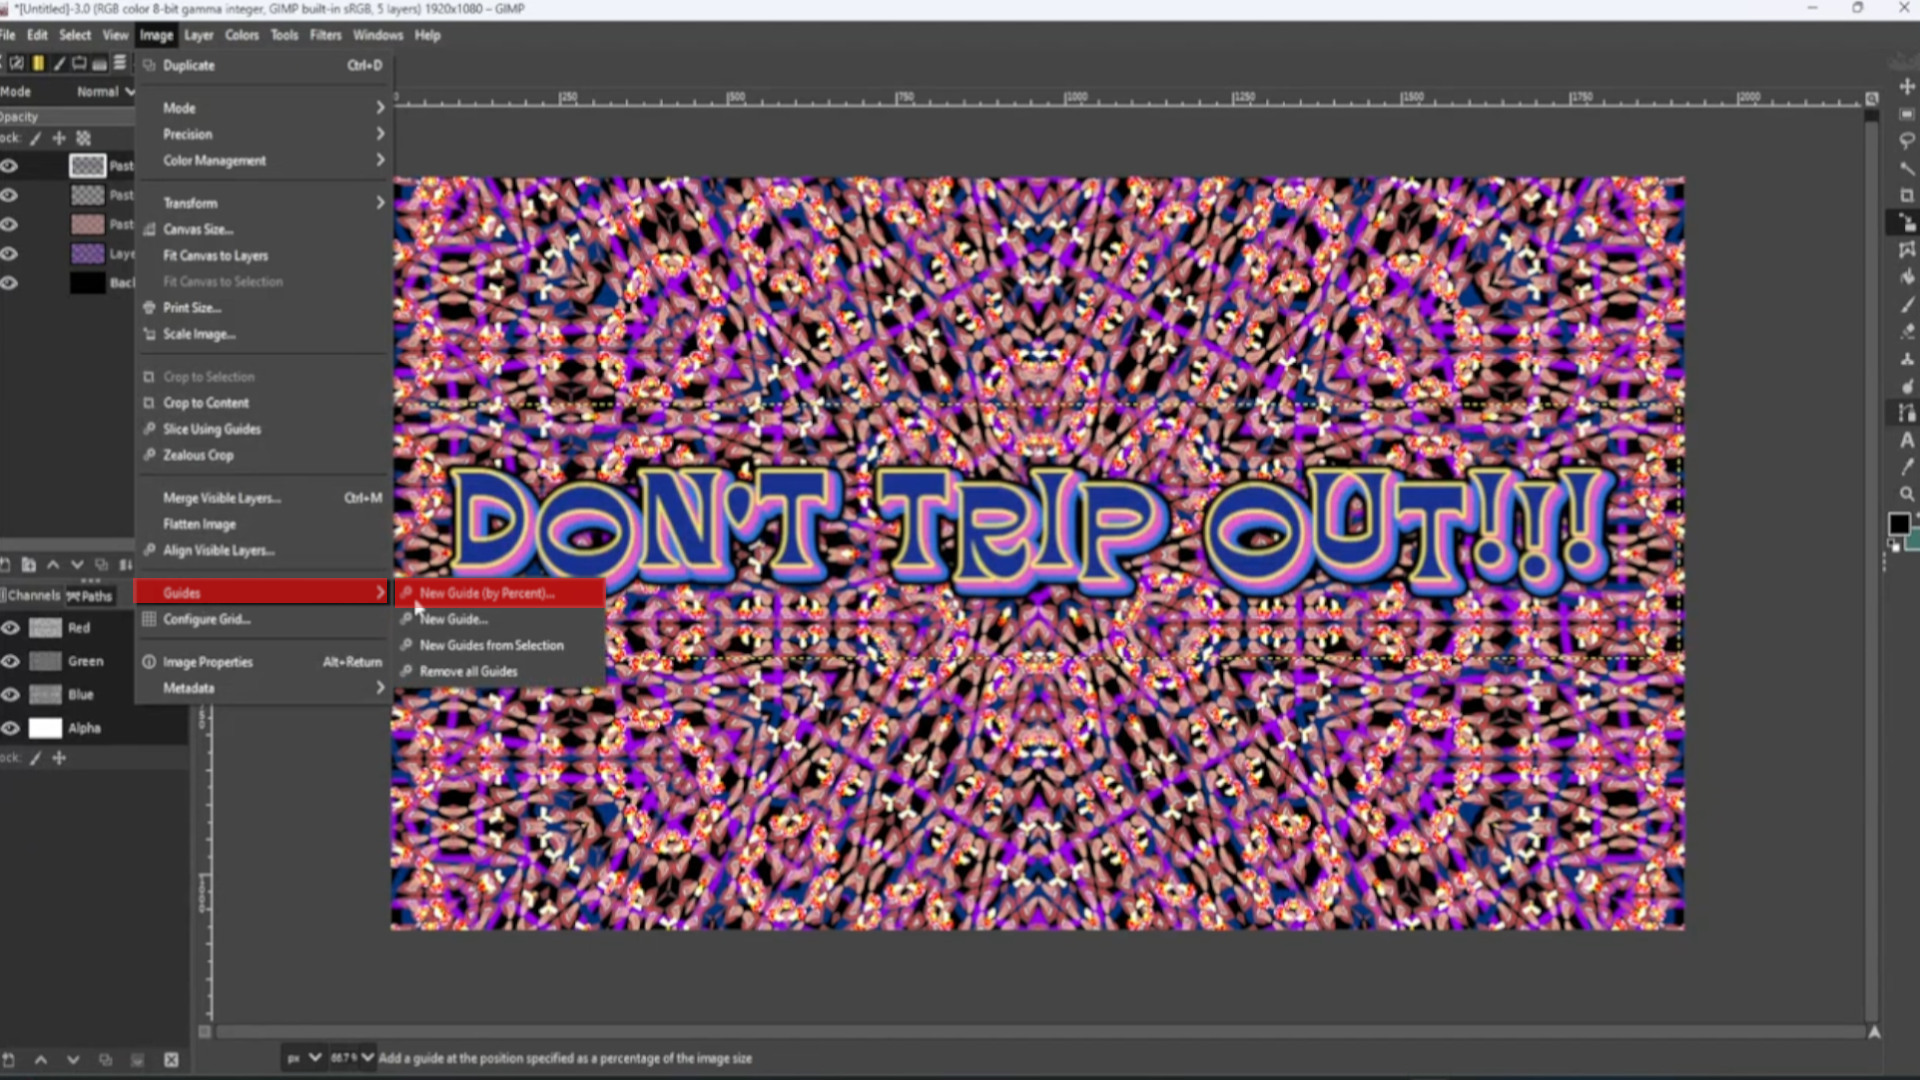
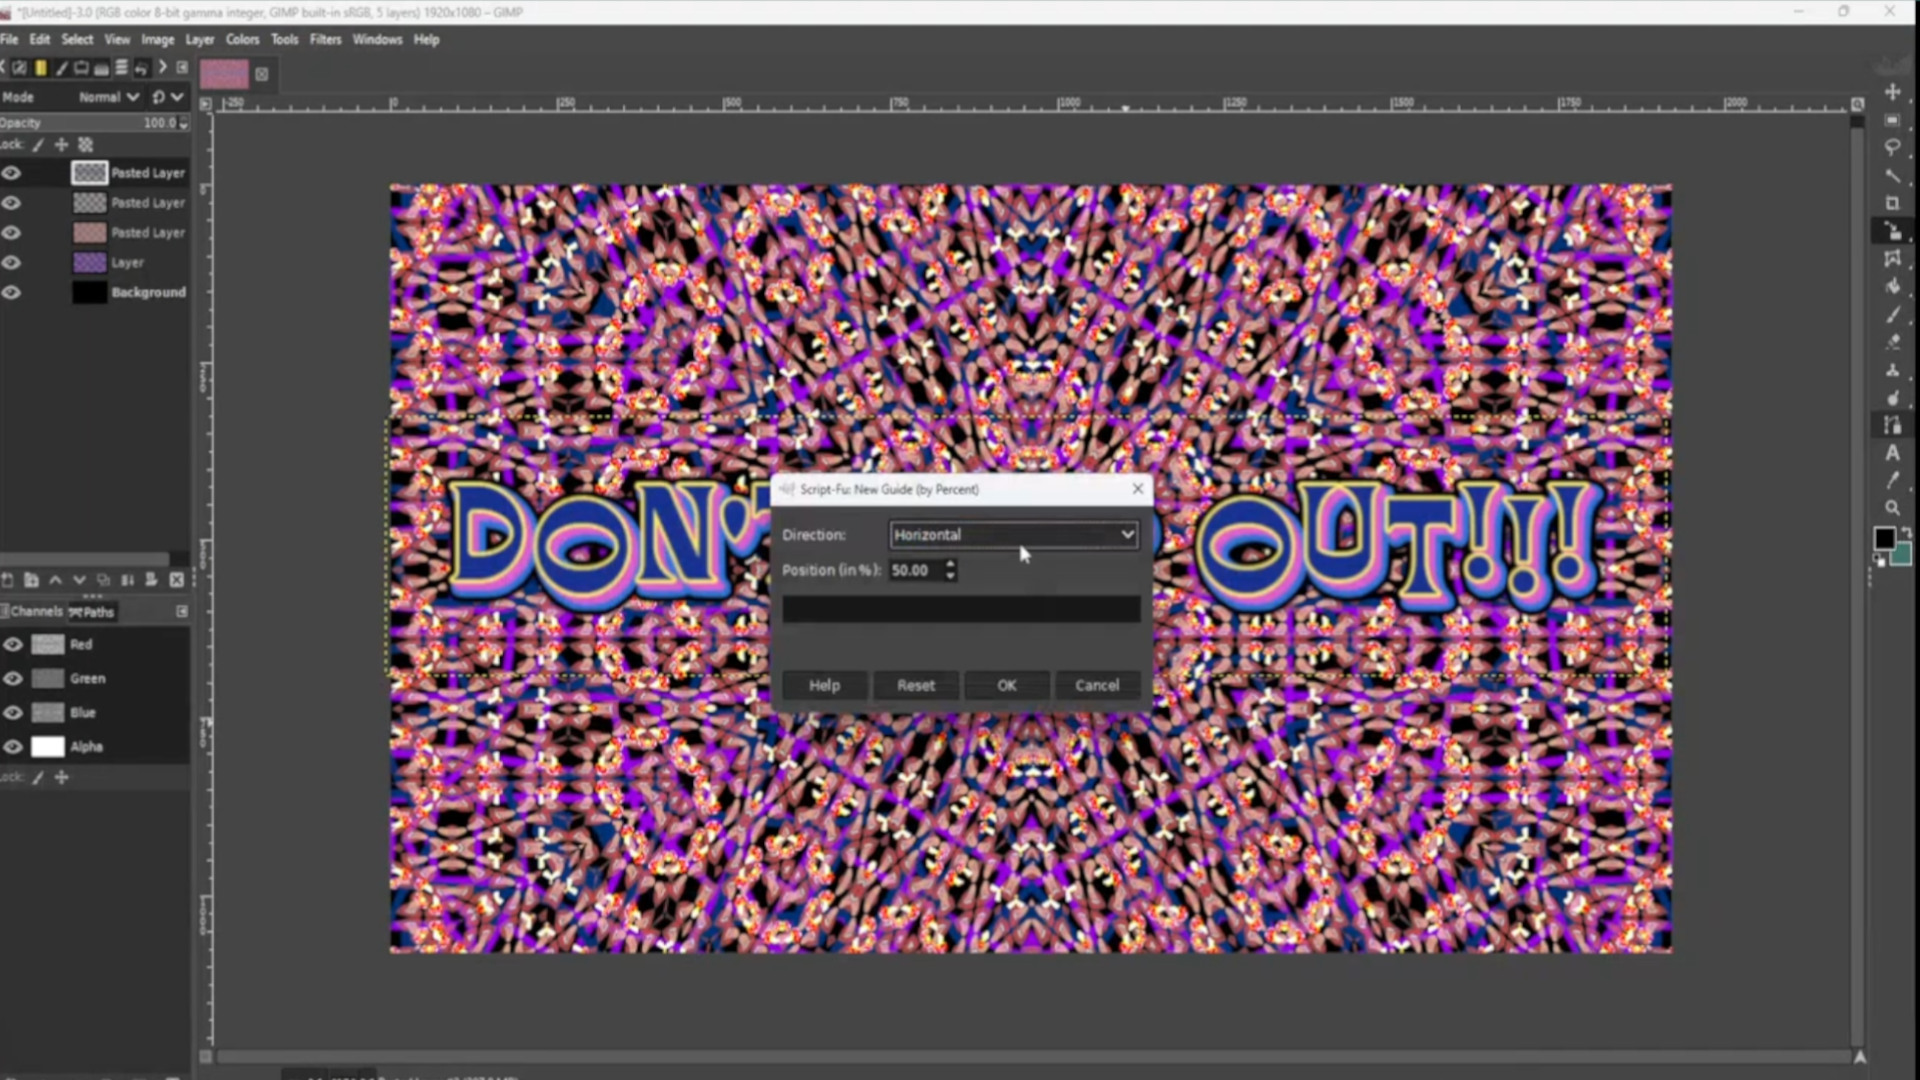
Go to>>>IMAGE>>>GUIDES>>>NEW GUIDE BY PERECENT and pick>>>DIRECTION>>>HORIZONTAL>>>POSTION (In Percent)>>>50.00
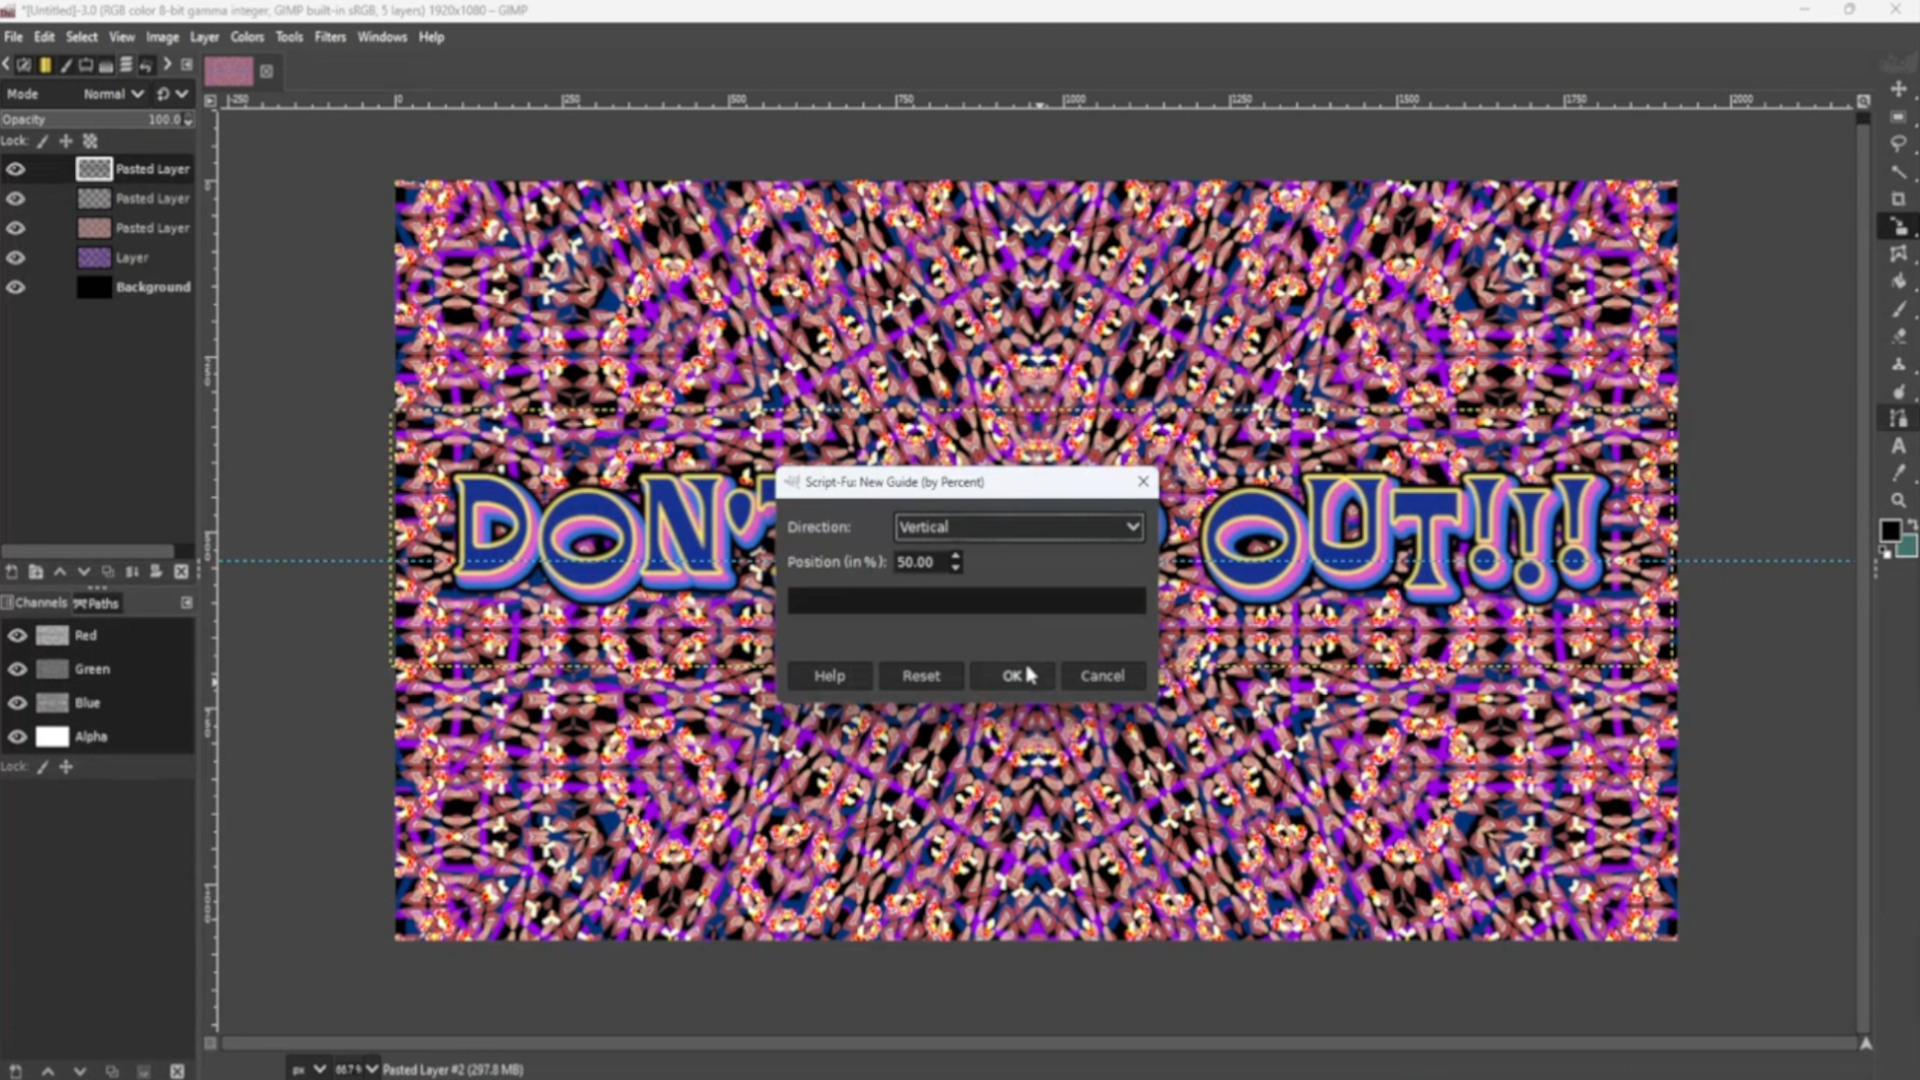
And again Go to>>>IMAGE>>>GUIDES>>>NEW GUIDE BY PERECENT and pick>>>DIRECTION>>>VERTICAL>>>POSTION (In Percent)>>>50.00 and use the>>>MOVE TOOL to>>>CENTRE the>>>TEXT.
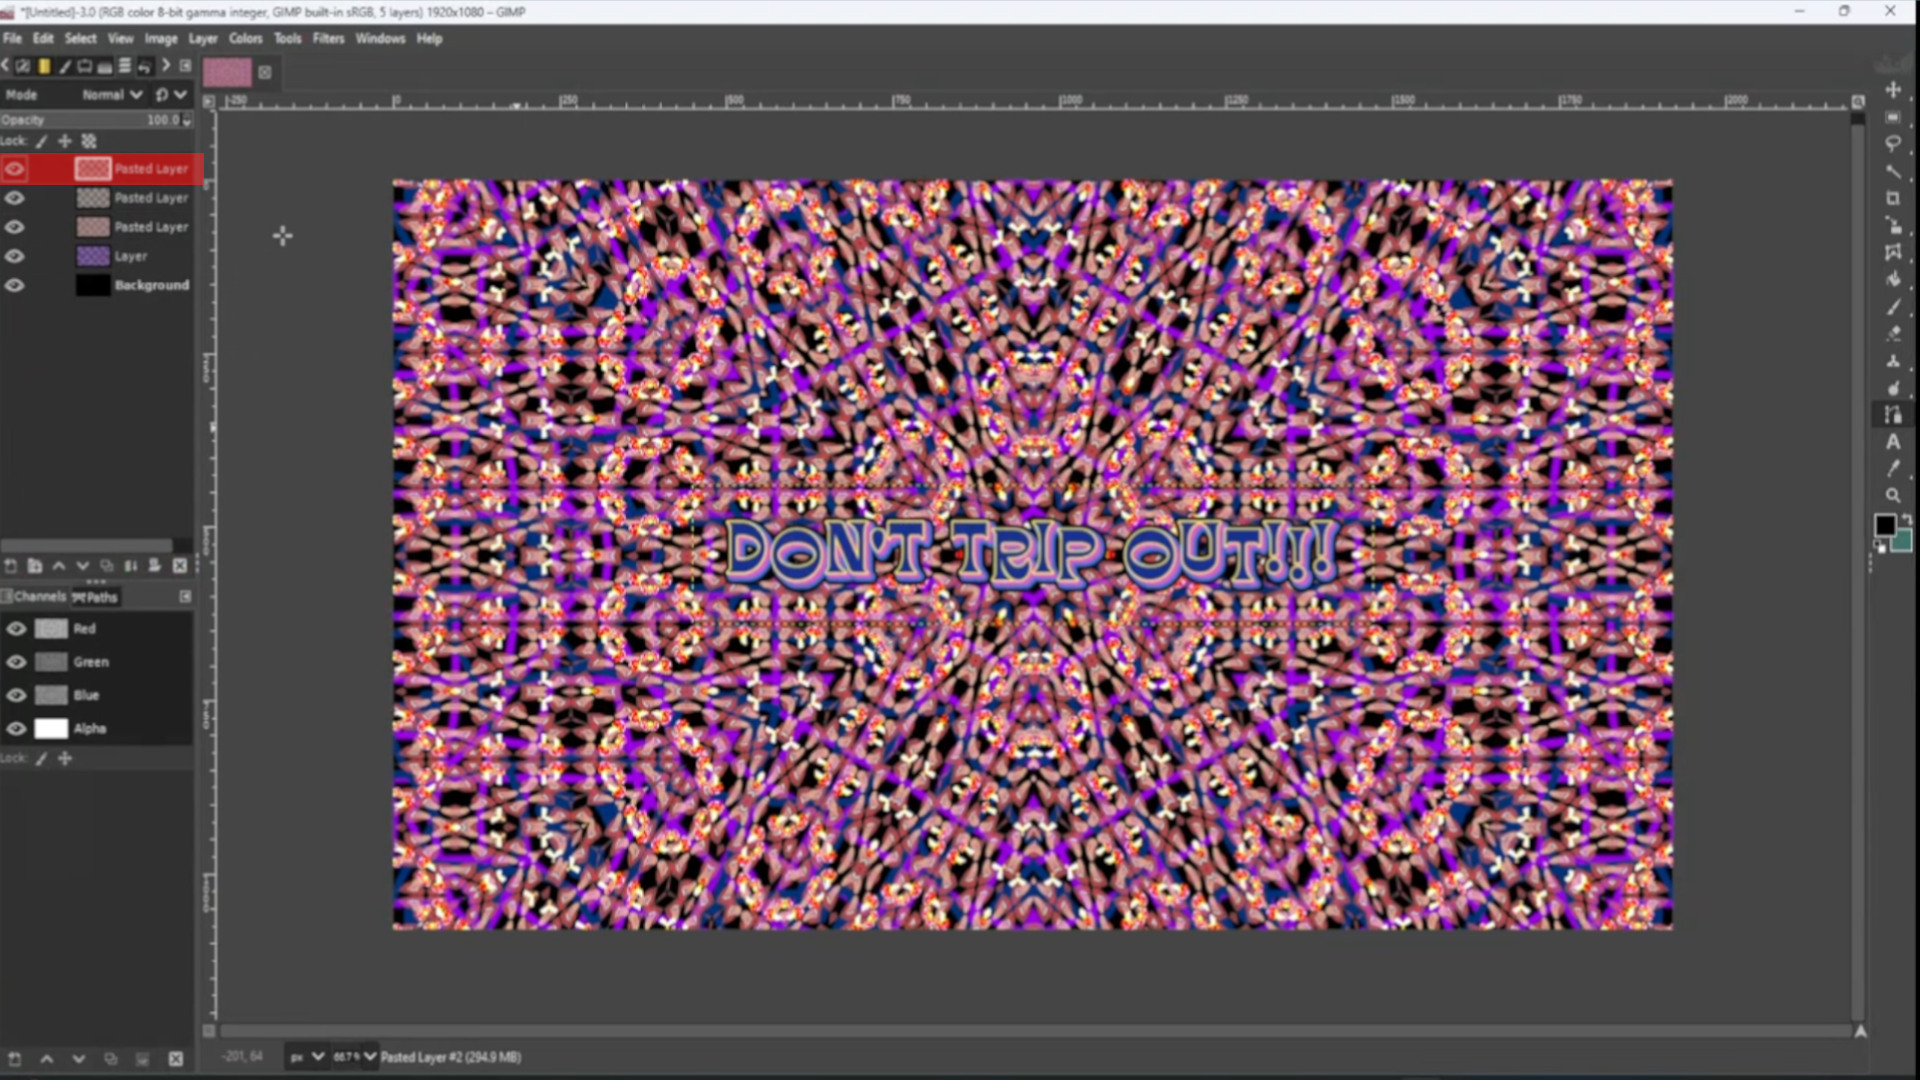
>>SELECTING the >>>TOP LAYER go to>>>LAYER>>>ADD NEW LAYER and make sure it is the>>>TOP LAYER.
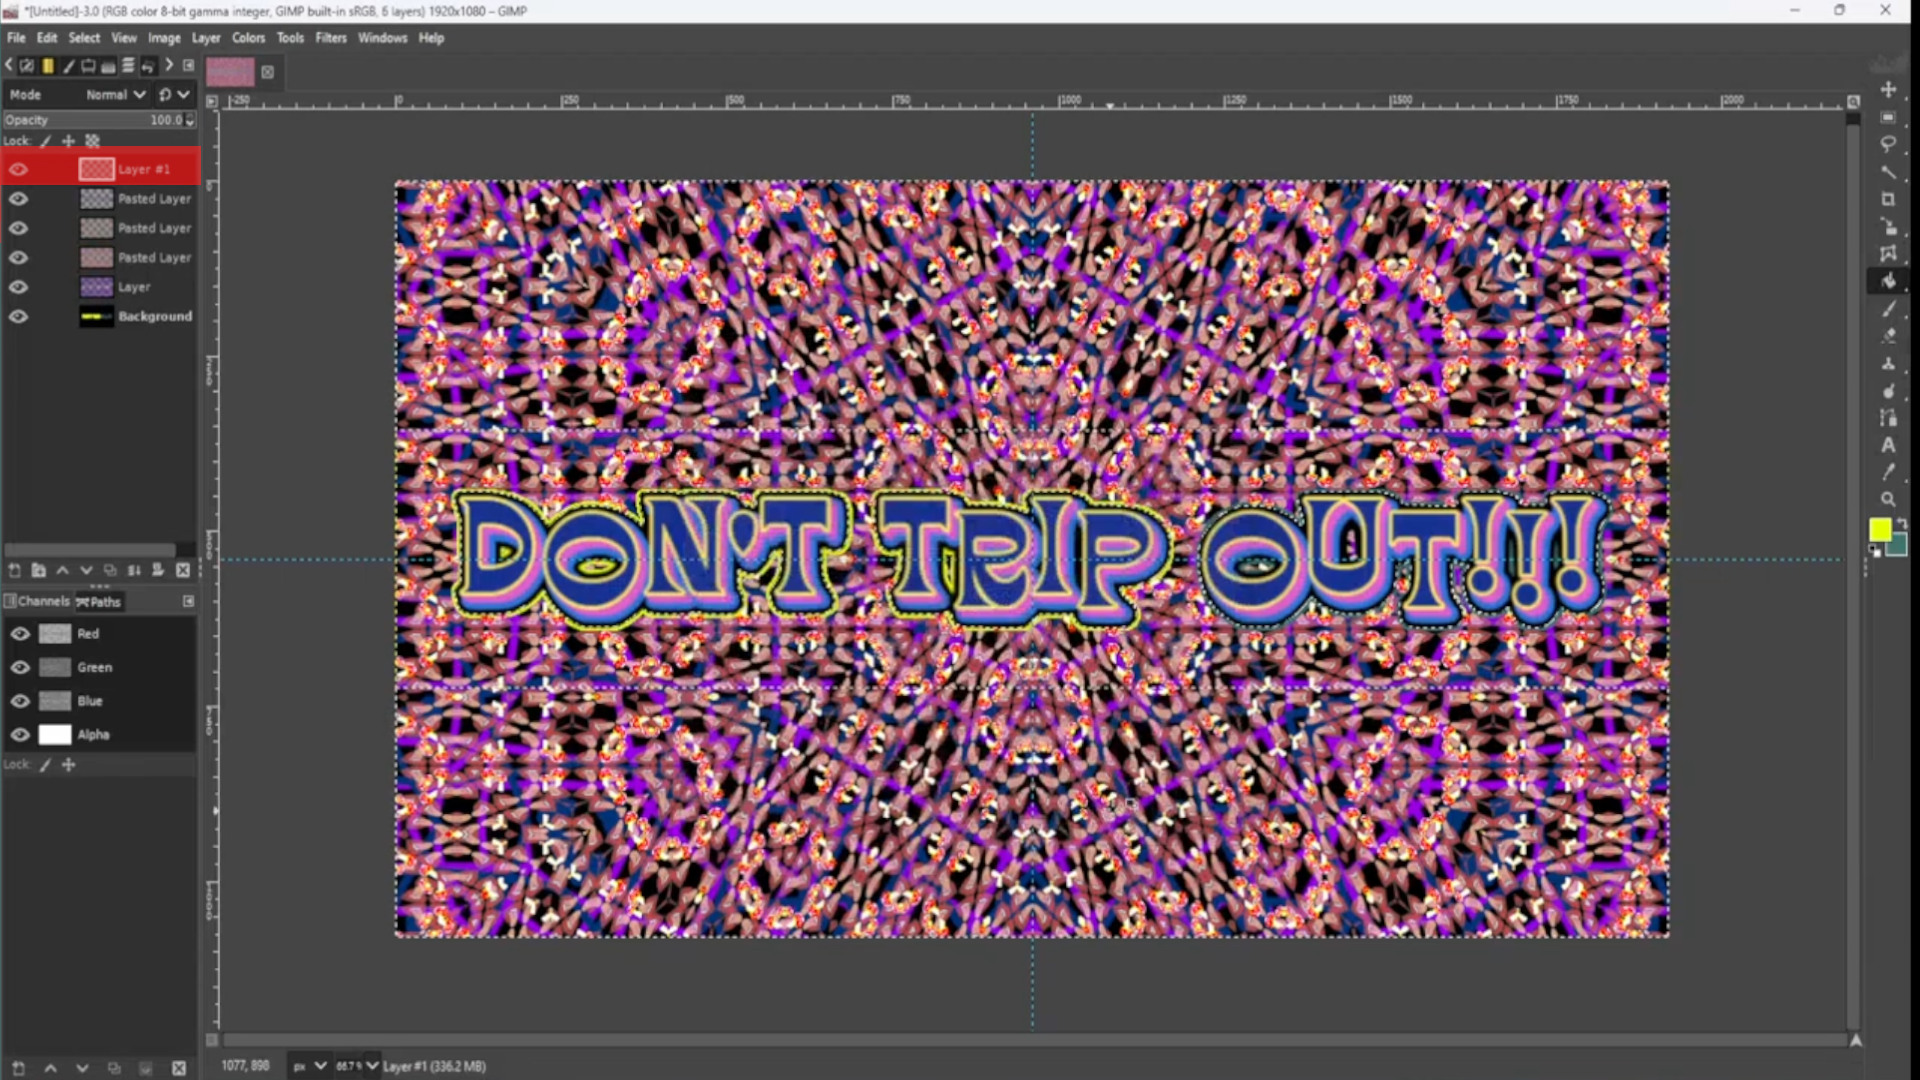
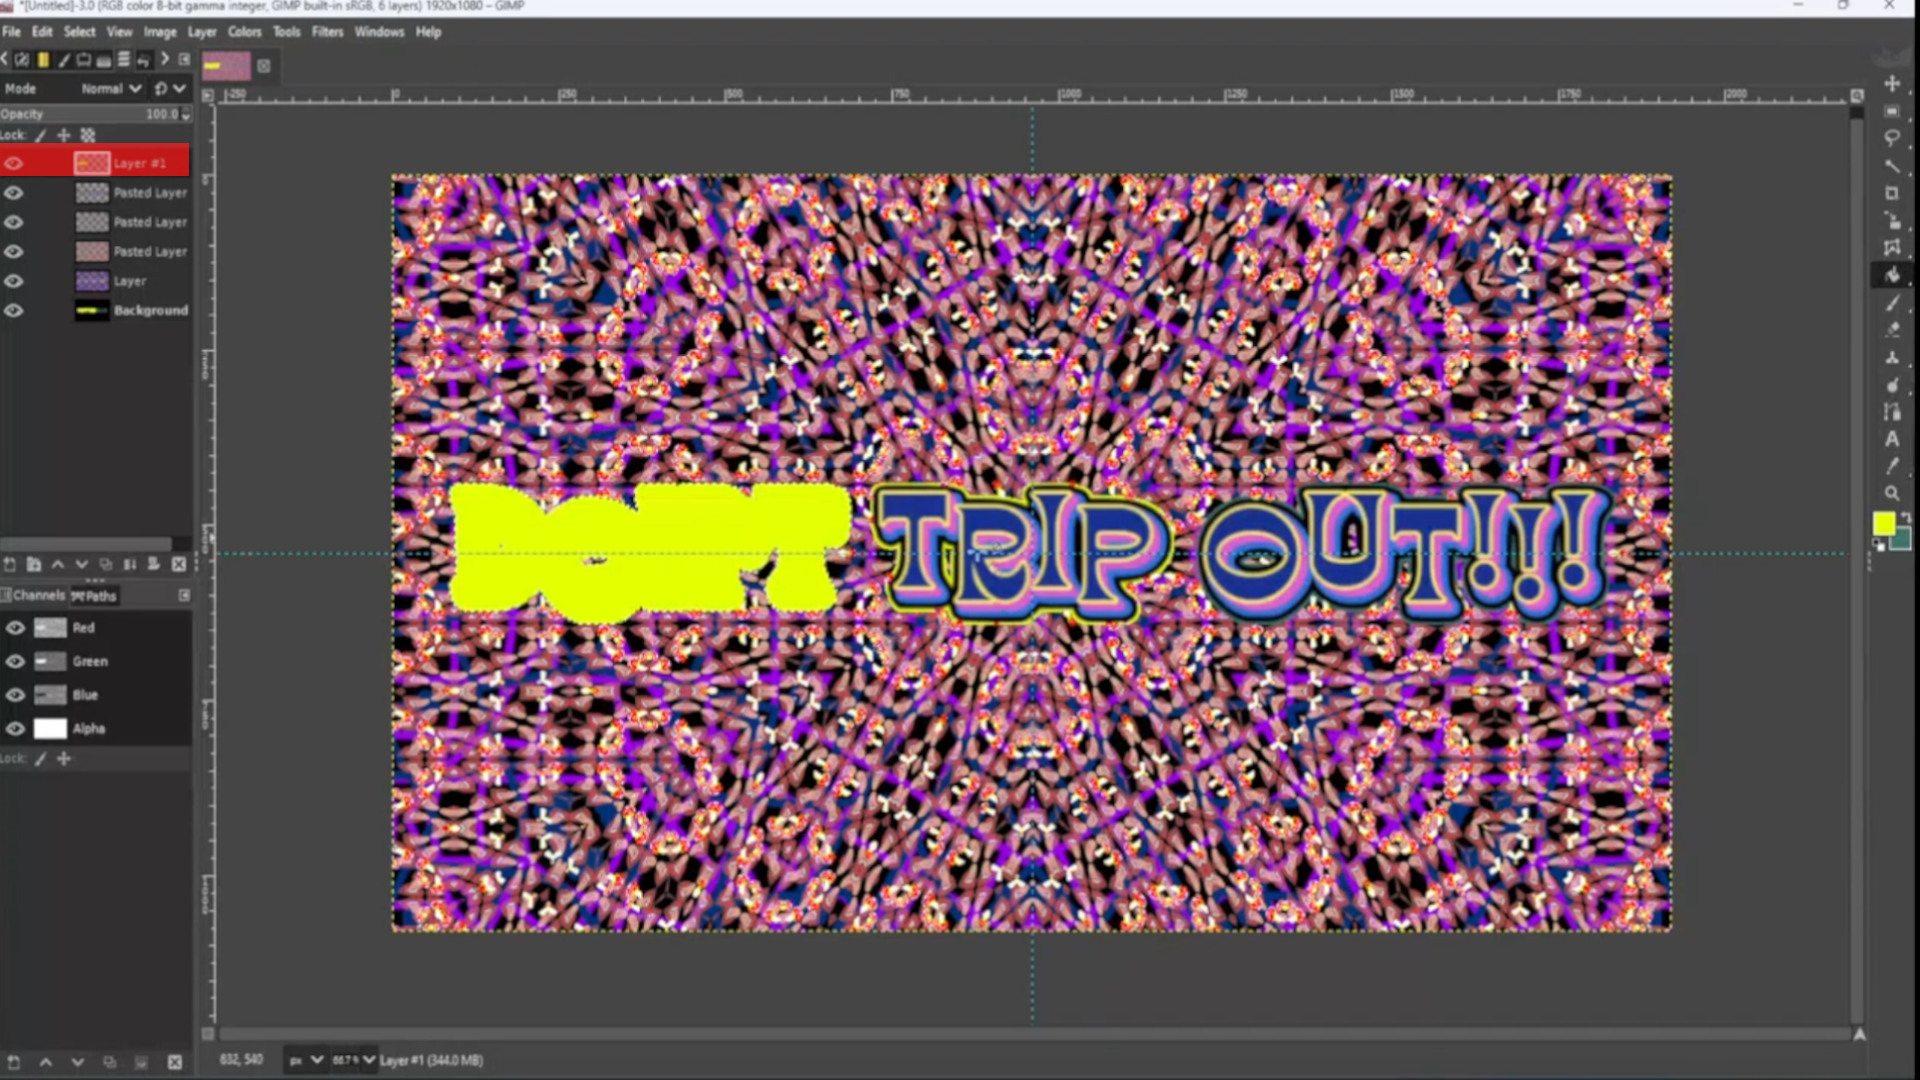
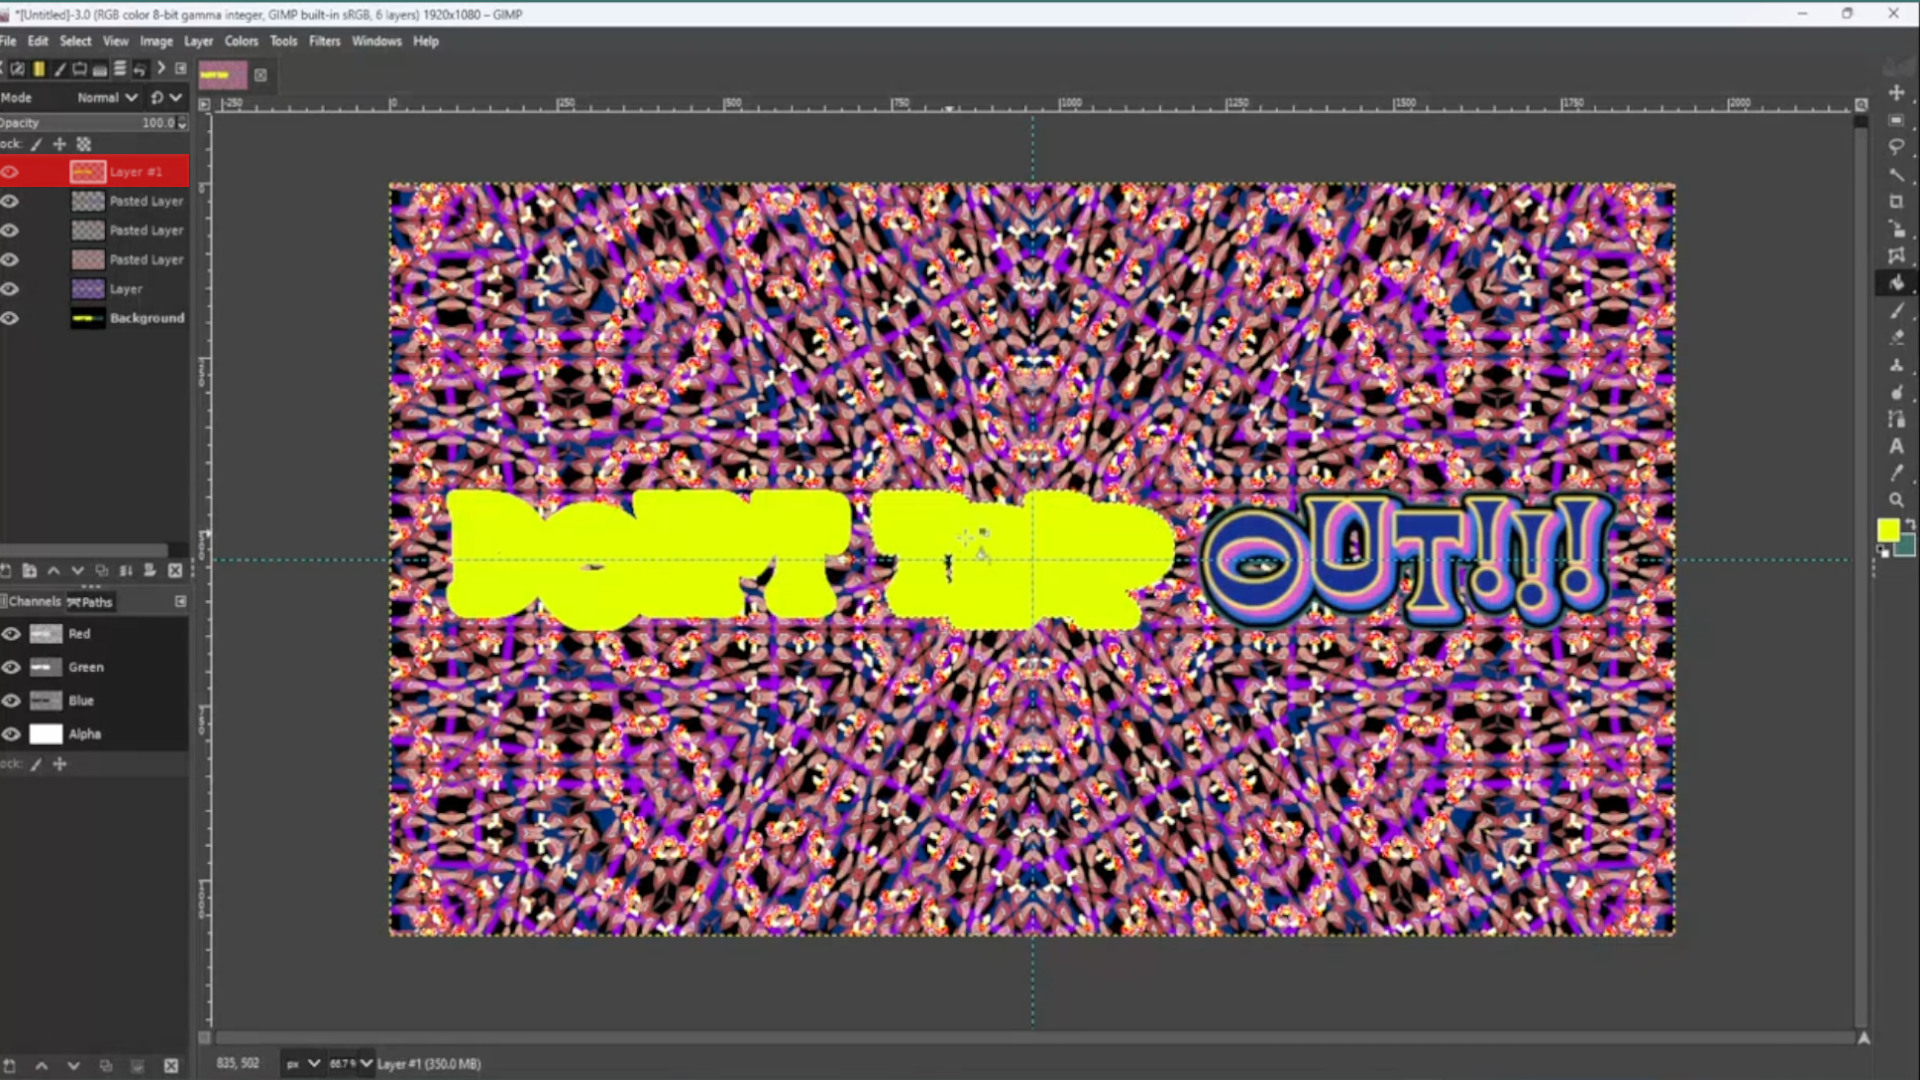
With the>>>SECOND LAYER SELECTED and using the>>>FUZZY SELECT TOOL>>>DRAG THE MOUSE until the>>>FIRST WORD is>>>SELECTED.
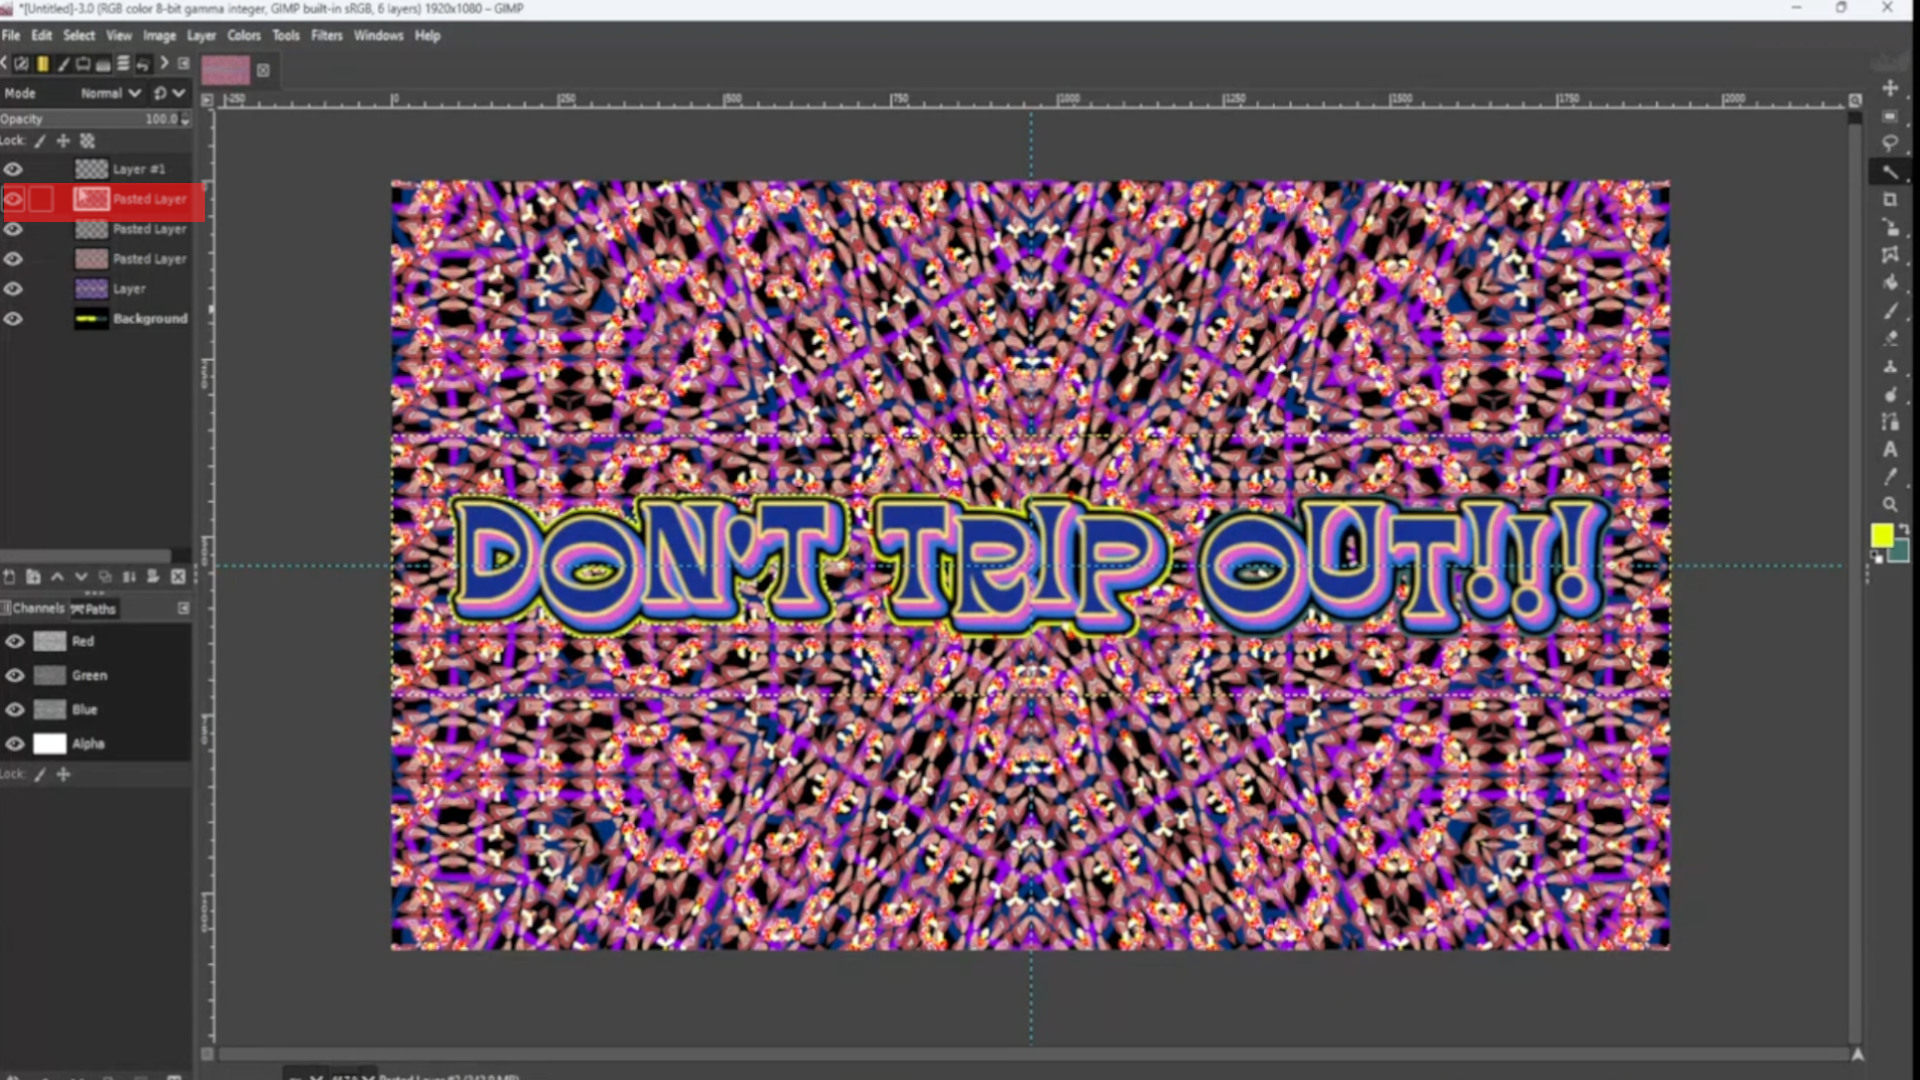
With the>>>FIRST LAYER SELECTED and>>>PICKING A COLOUR and using the>>>BUCKET FILL TOOL>>>FILL IN the>>>TEXT.
>>>REPEAT>>>STEP>>>19-20 until the text is filled in with a colour.
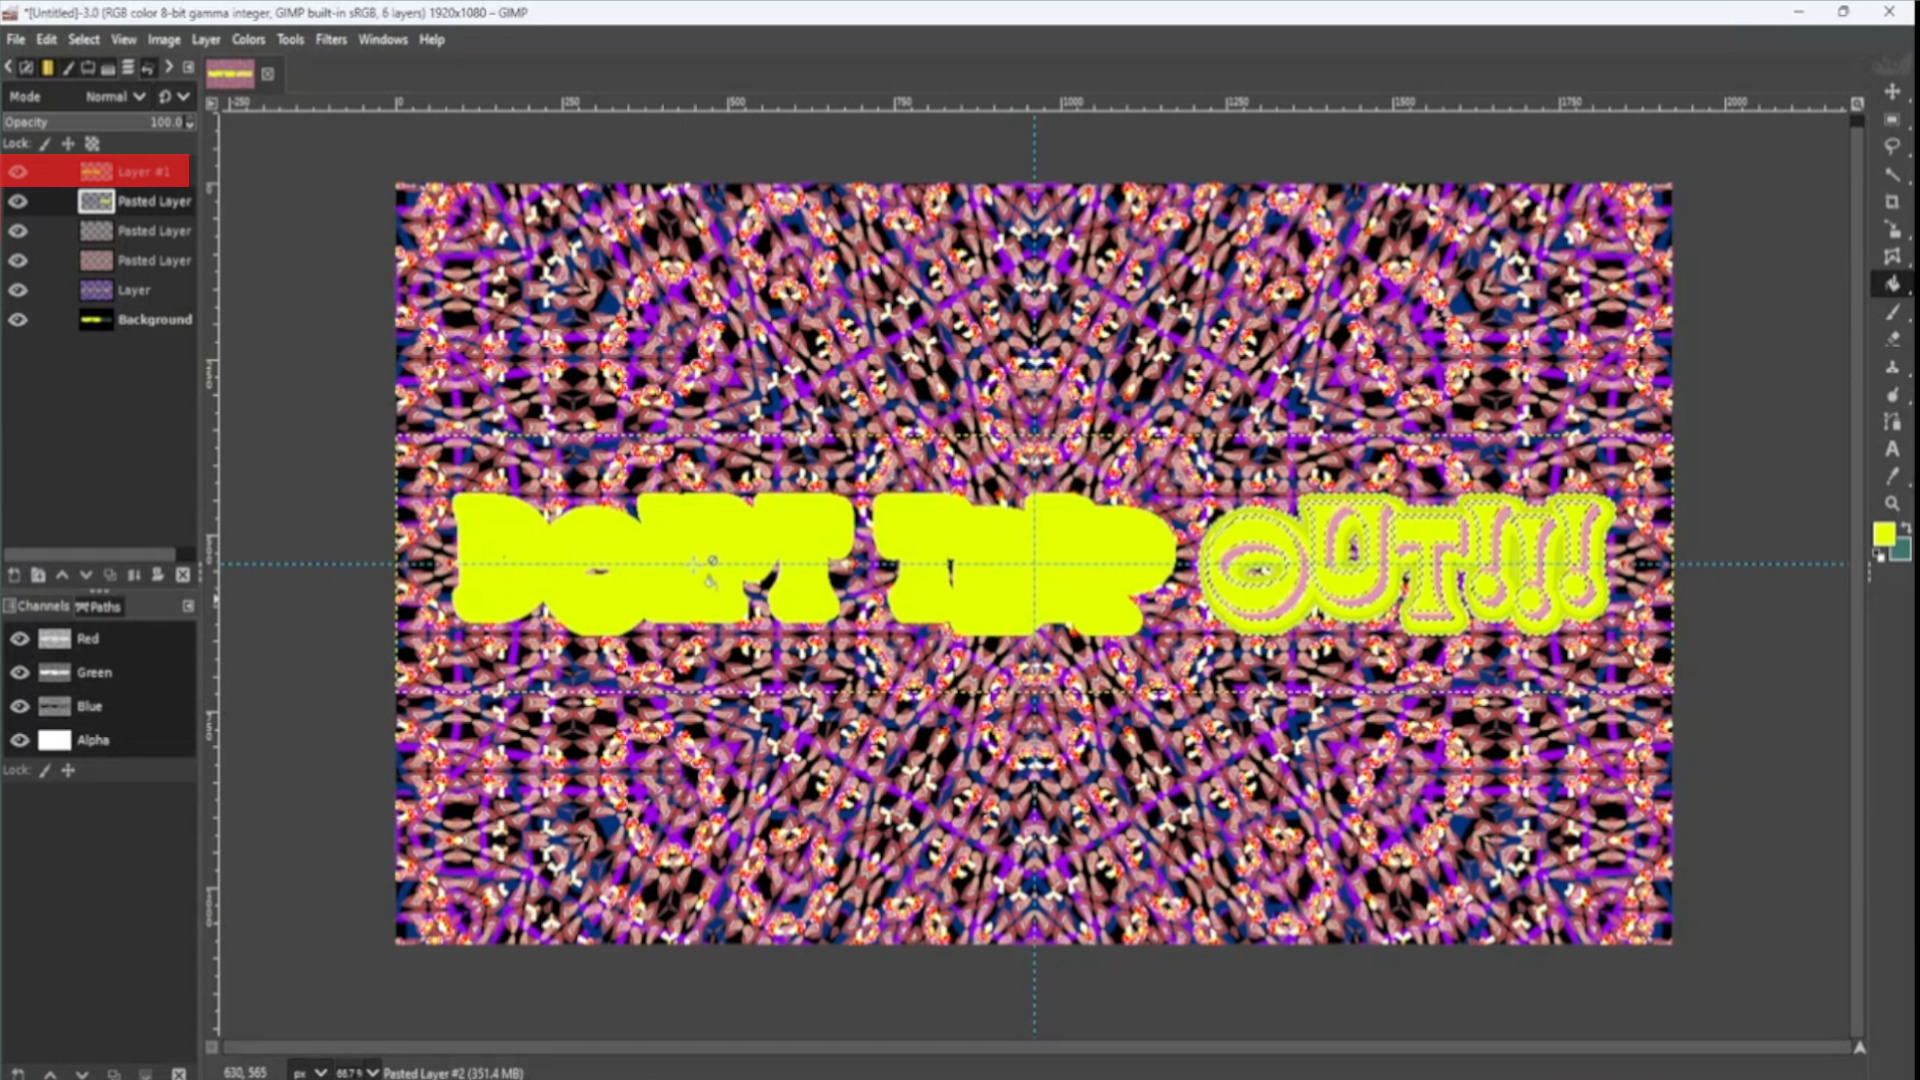
With the>>>FIRST LAYER SELECTED>>>MOVE to the>>>SECOND LAYERS in the>>>LEFT HAND SIDE LAYERS TAB so it’s the>>>SECOND LAYER and>>>UNDNEATH THE TEXT and>>>A OUTLINE.
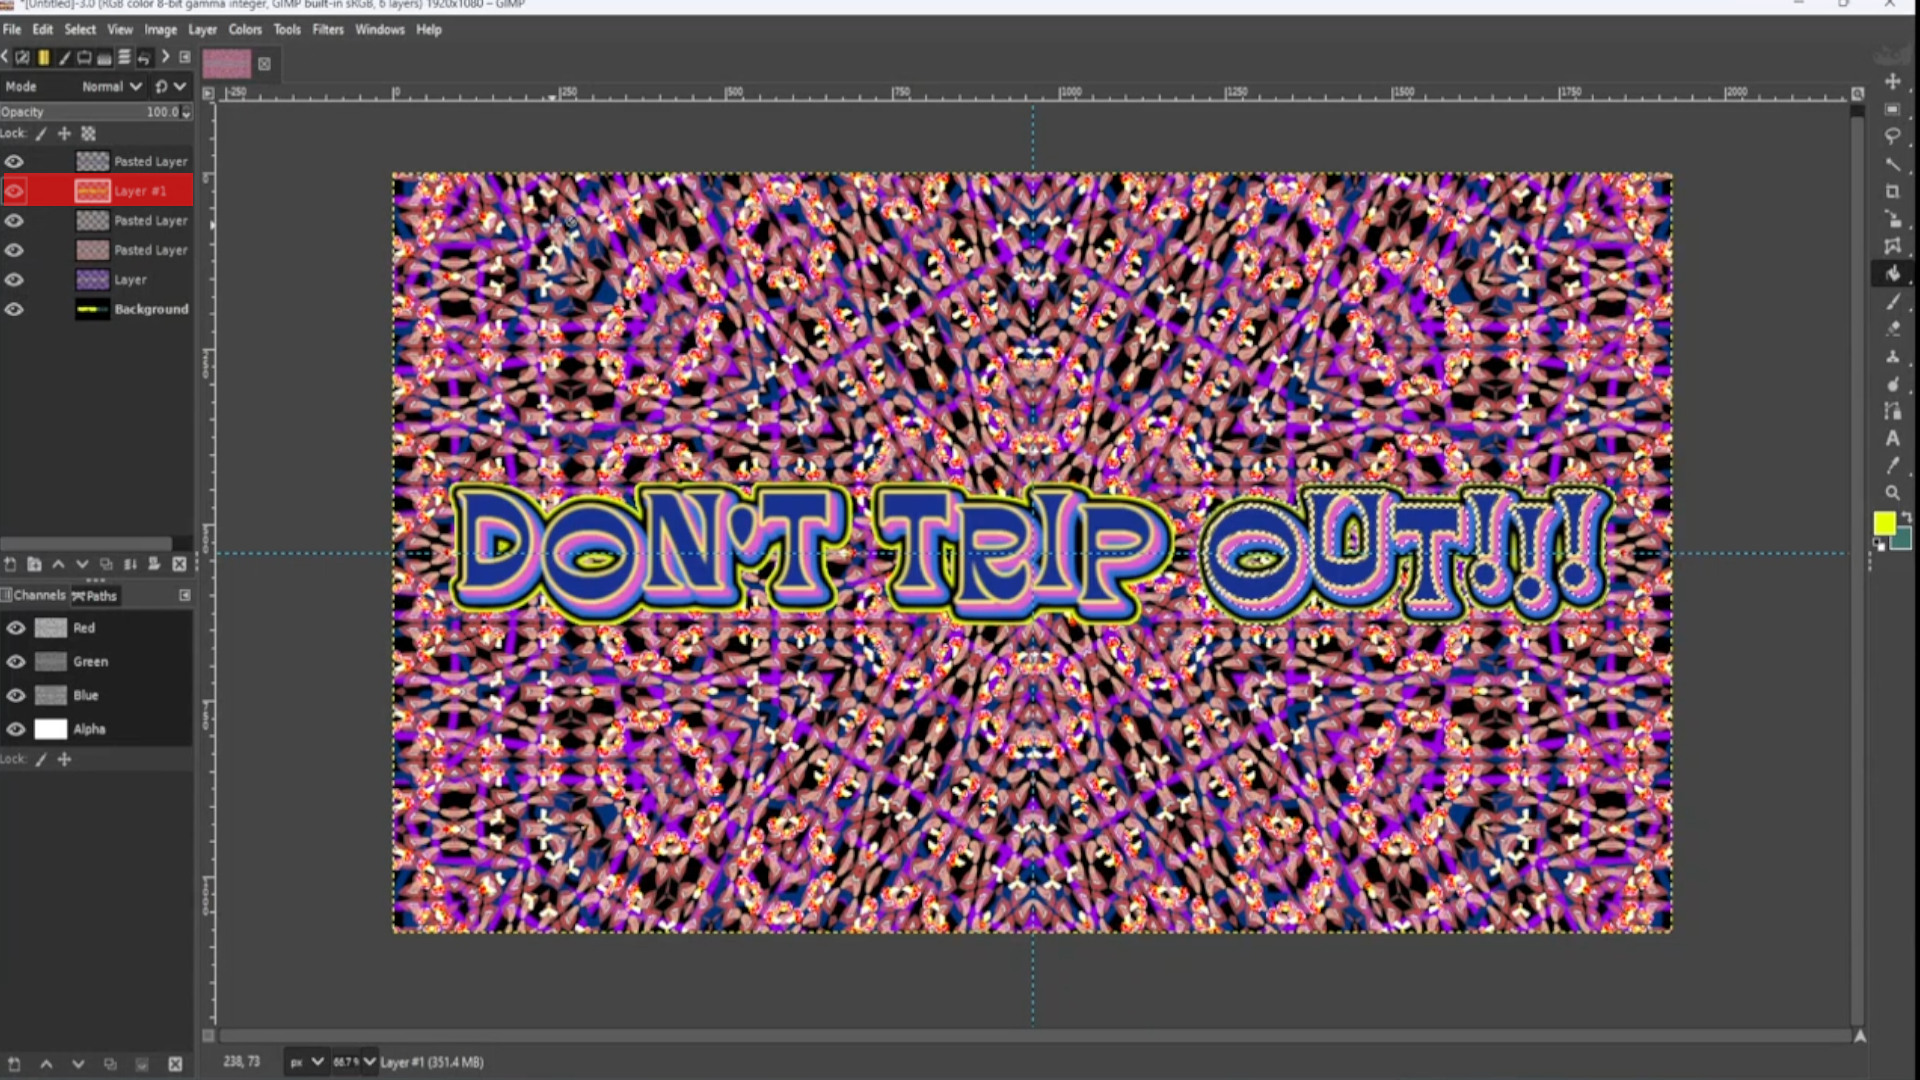
Export image by going to>>>FILE>>>EXPORT TO or>>>EXPORT AS and save with a JPG or PNG extension EG; WALLPAPER__INSERT NUMBER.jpg or WALLPAPER__INSERT NUMBER.png.

Add a Comment