
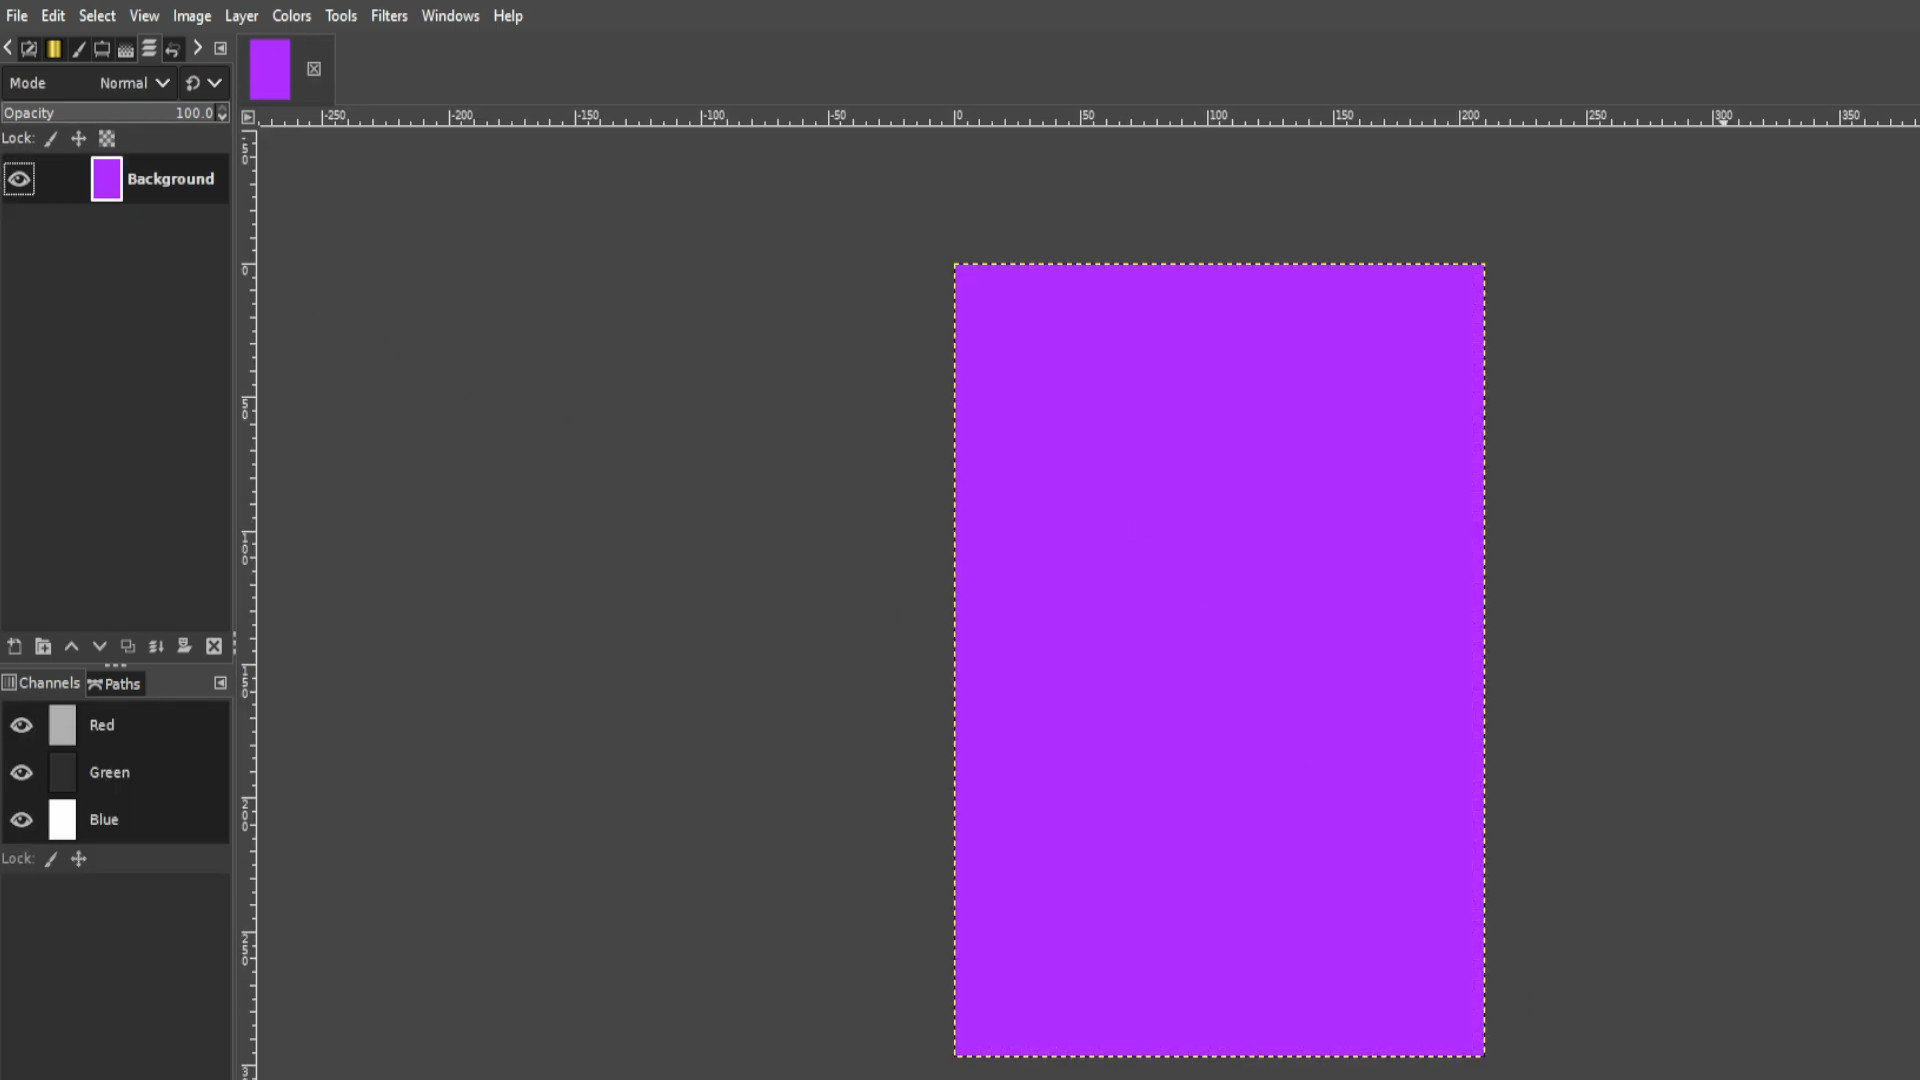
Open up Gimp and go to >>>FILE>>>NEW>>>TEMPLATE and pick the>>>A4 SIZE;
209.97 Width,
297.01 Height
in mm.
2480 Width
3508 Height
in px
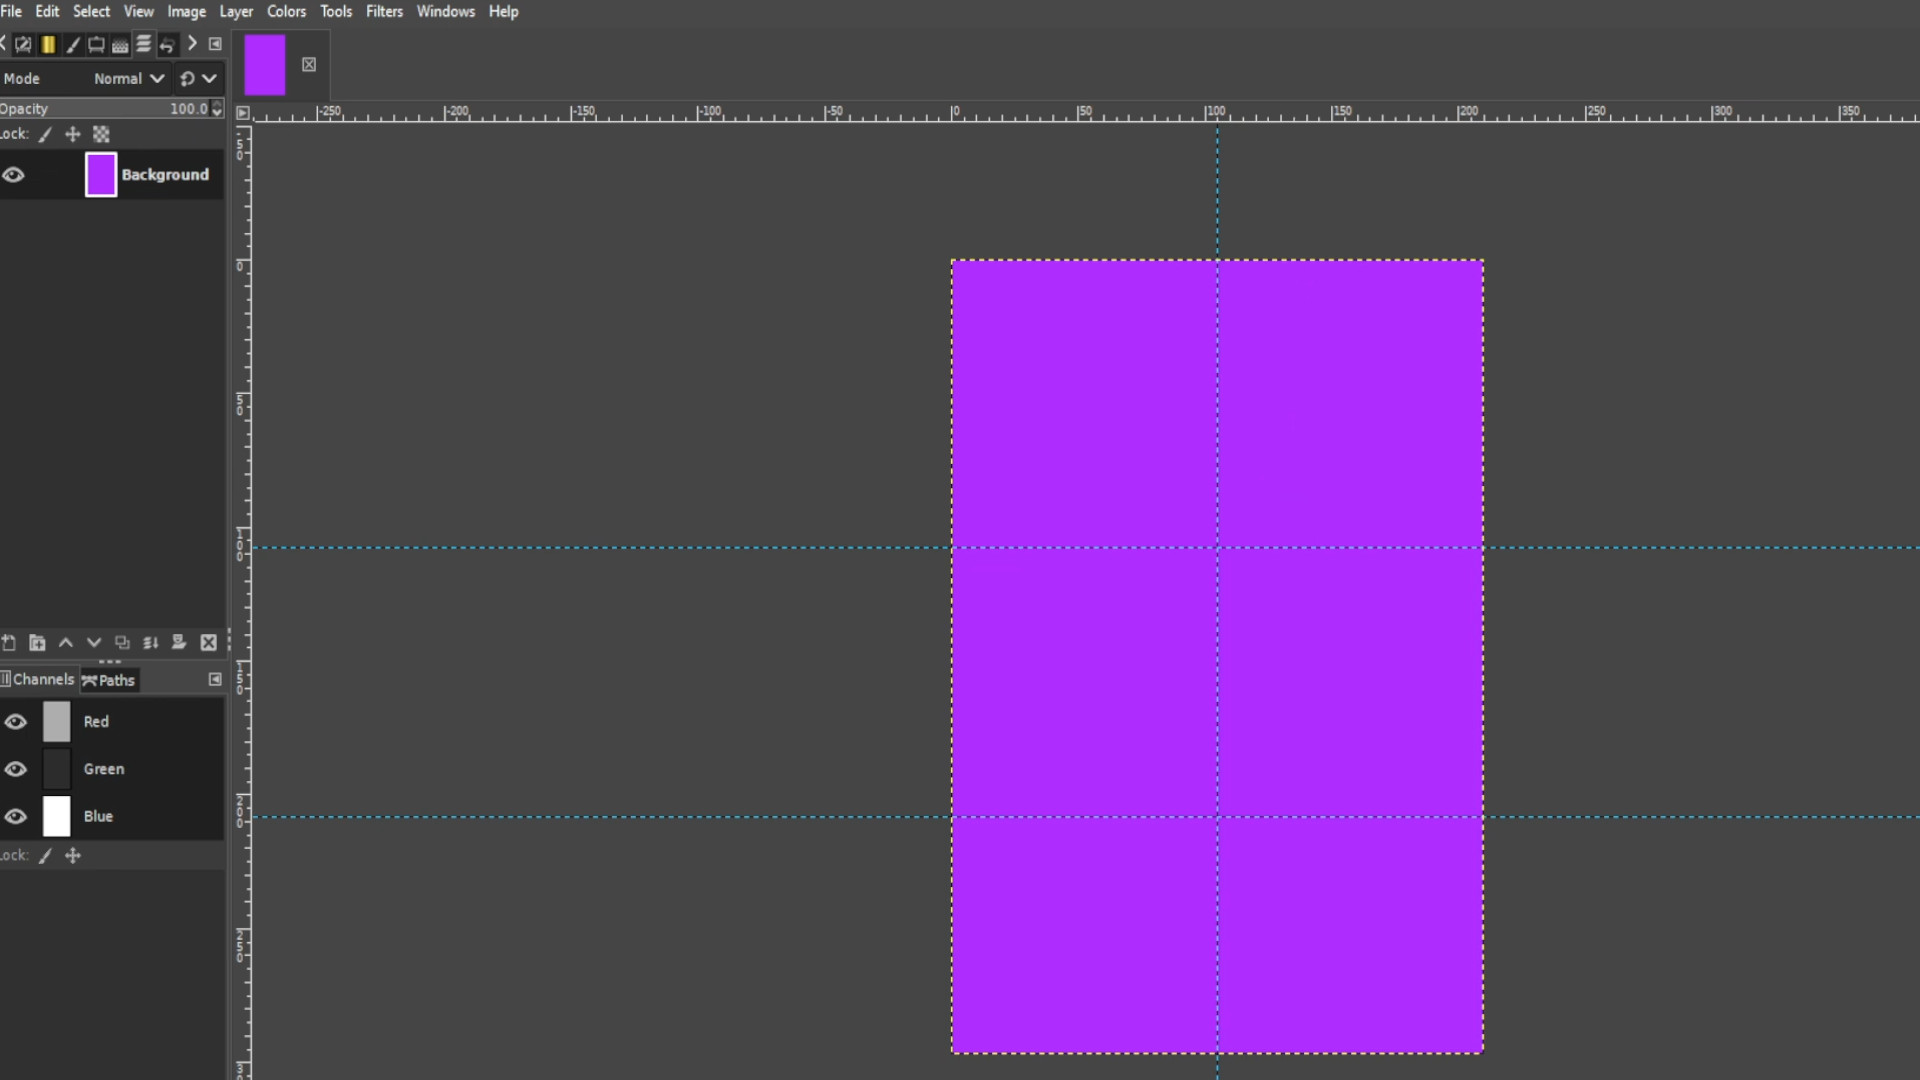
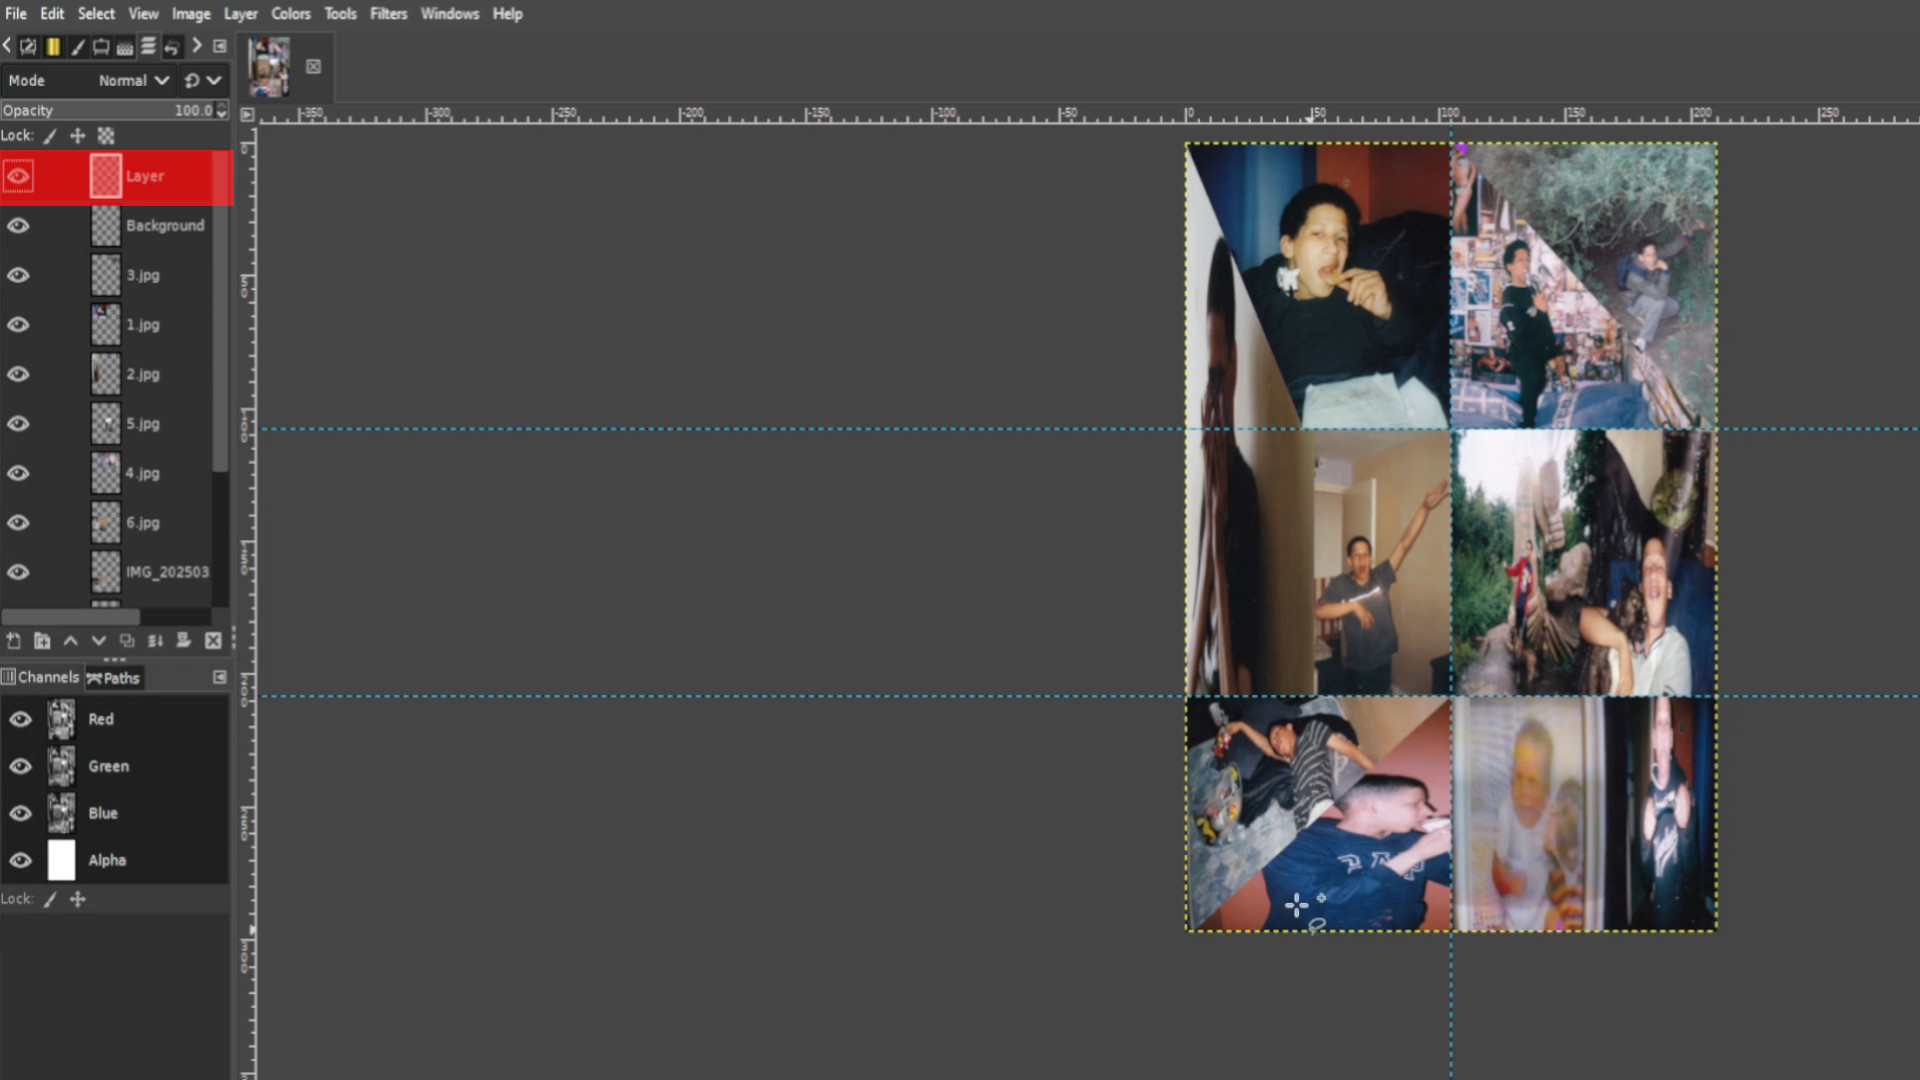
Go to>>>IMAGE>>>GUIDES>>>NEW GUIDE BY PERECENT and pick>>>DIRECTION>>>HORIZONTAL>>>POSTION (In Percent)>>>50.00
And again Go to>>>IMAGE>>>GUIDES>>>NEW GUIDE BY PERECENT and pick>>>DIRECTION>>>VERTICAL>>>POSTION (In Percent)>>>50.00
Repeat this for how many photos you want and spread out the guides evenly over the page. I used eight boxes in total and I >>>HOVERED THE CURSOR over the guide and>>>HELD SHIFT to drag around the guide into sections.


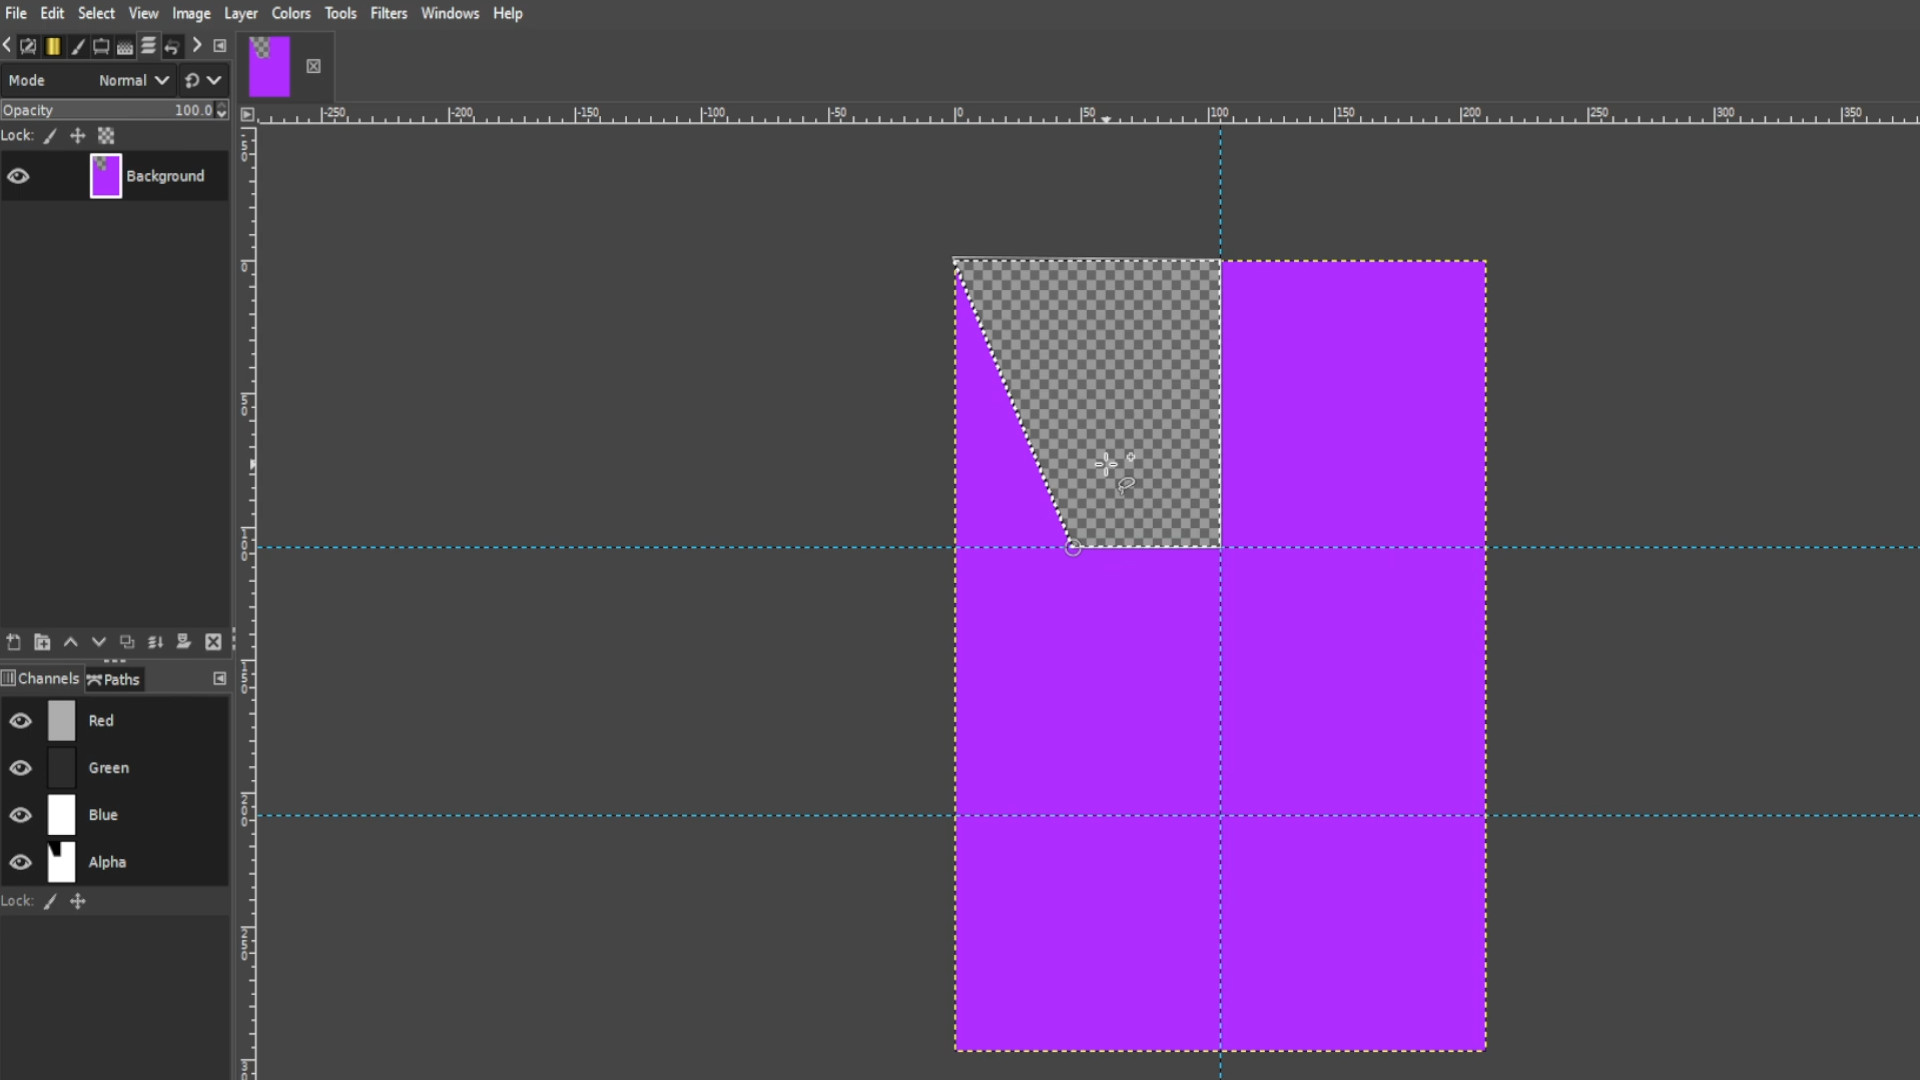
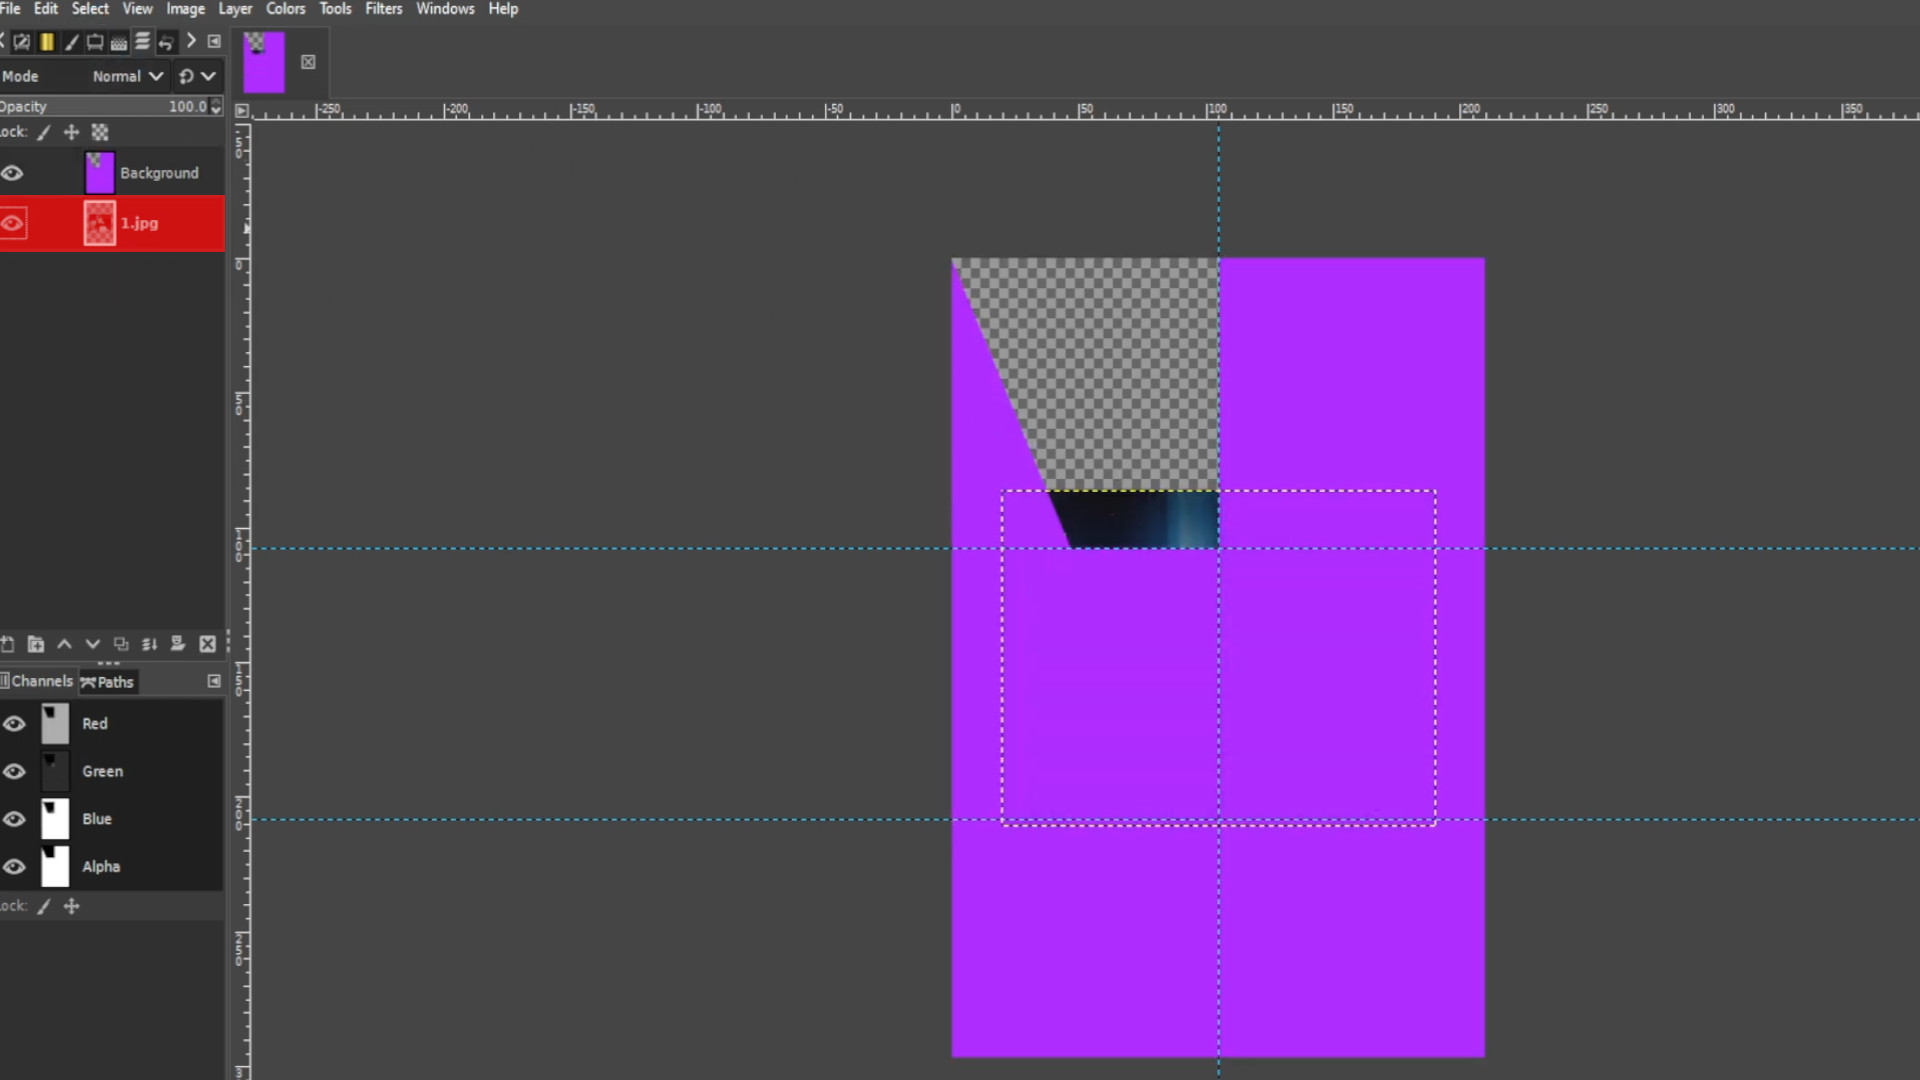
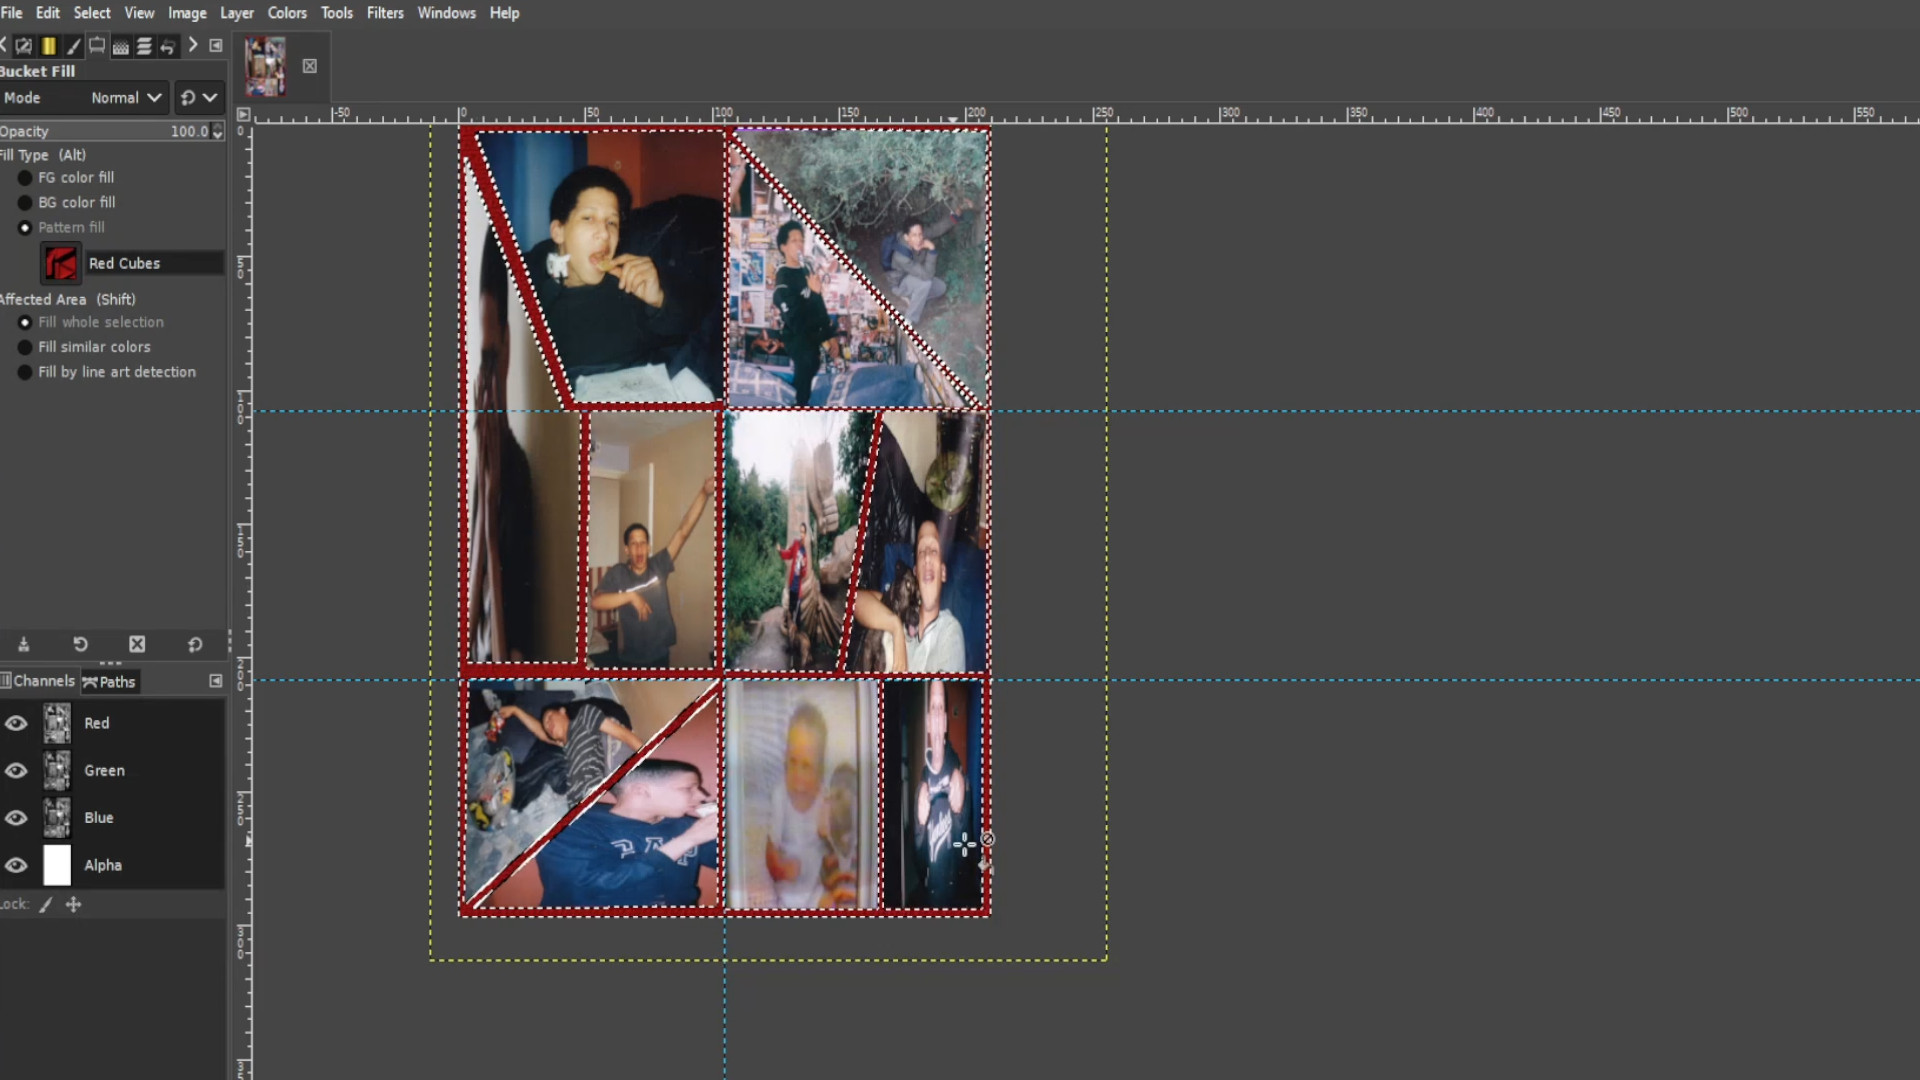
Using the>>>LASSO draw shapes and stick to the guide lines it should snap into place when you draw around the guides.


Go to>>>LAYER>>>TRANSPARENCY>>>ADD ALPHA CHANNEL. If it’s greyed out it’s been added and you can ignore this step.
Once you have drawn a shape and it’s highlighted HOLD>>>CTRL>>>and>>>PRESS X to delete the background. If you have more than one layer you may want to swap layers and delete each layer’s background.
>>>OPEN UP first photo or >>>DRAG AND DROP into Gimp. Go to>>>LAYERS on the left hand side panel and put the first photo at the bottom of the layer. If you can’t see layers then go to>>>WINDOWS>>>DOCKABLE DIALOGS>>>LAYERS to get it to appear.
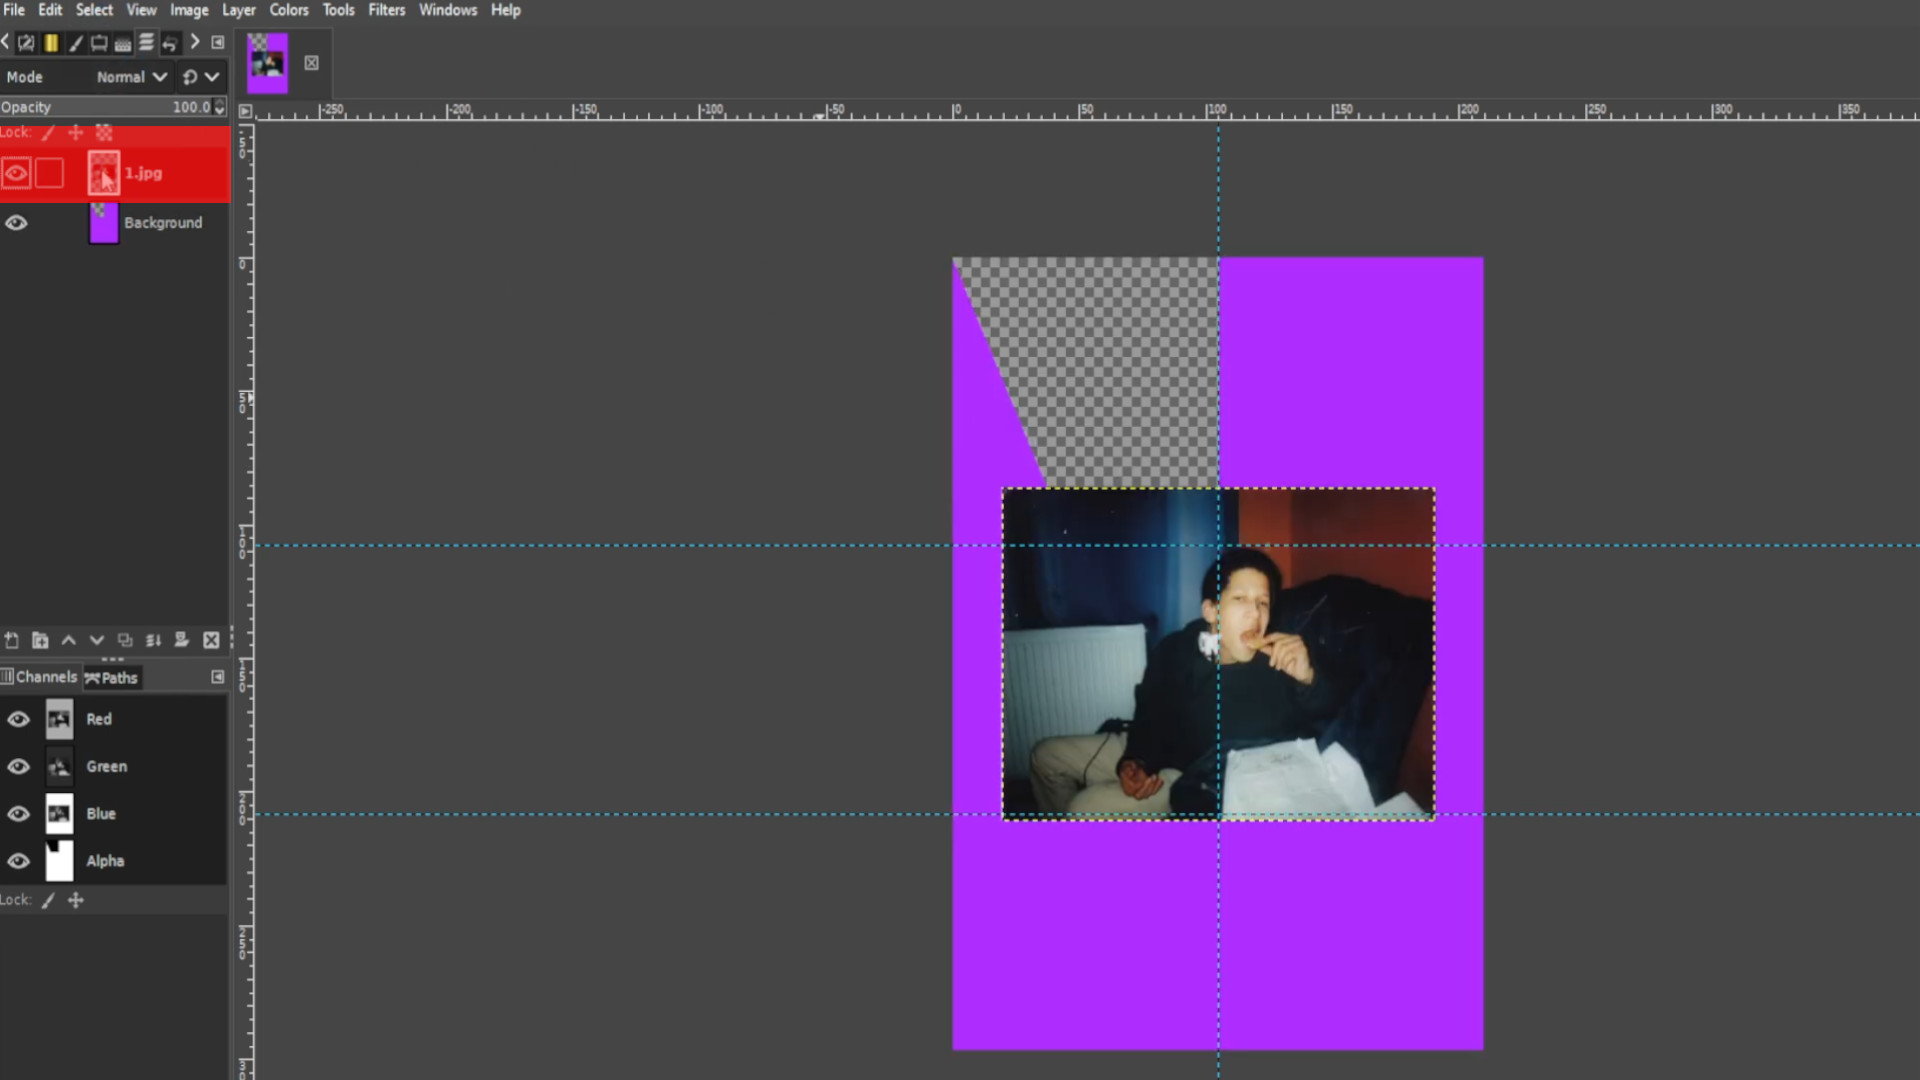
Now with the first photo layer selected use the>>>MOVE TOOL and>>>DRAG INTO POSITION till it’s centred and visible in the transparent section.

Repeat Step 3, 5, 6 and 7 till you have your it filled out. You will have overlay on each section so remember to>>>DRAW AROUND EACH OVERLAYED BIT with the>>>LASSO and>>>HOLD>>>CTRL and>>>PRESS X to delete any unwanted bits. You must be selecting the right photo or it won’t delete.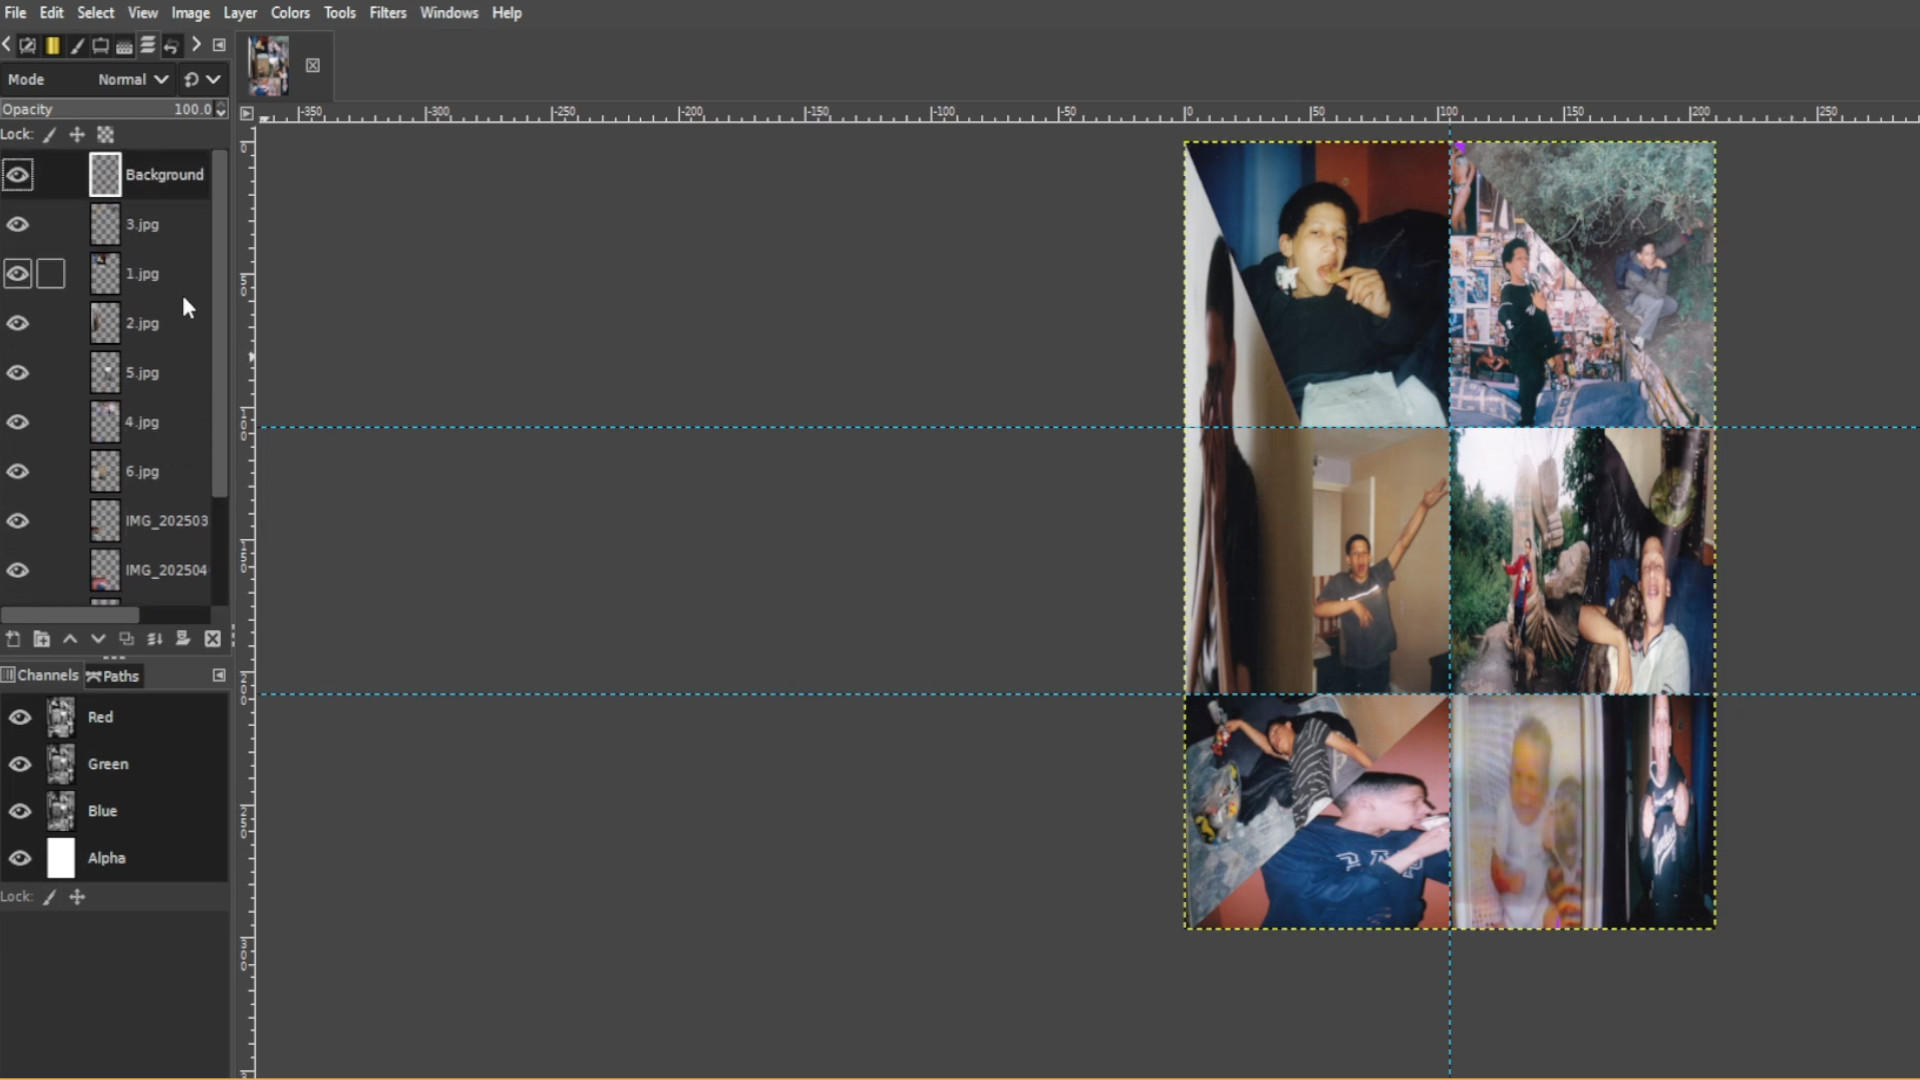
Selecting the>>>TOP LAYER on the left hand side panel go to>>>LAYER>>>ADD LAYER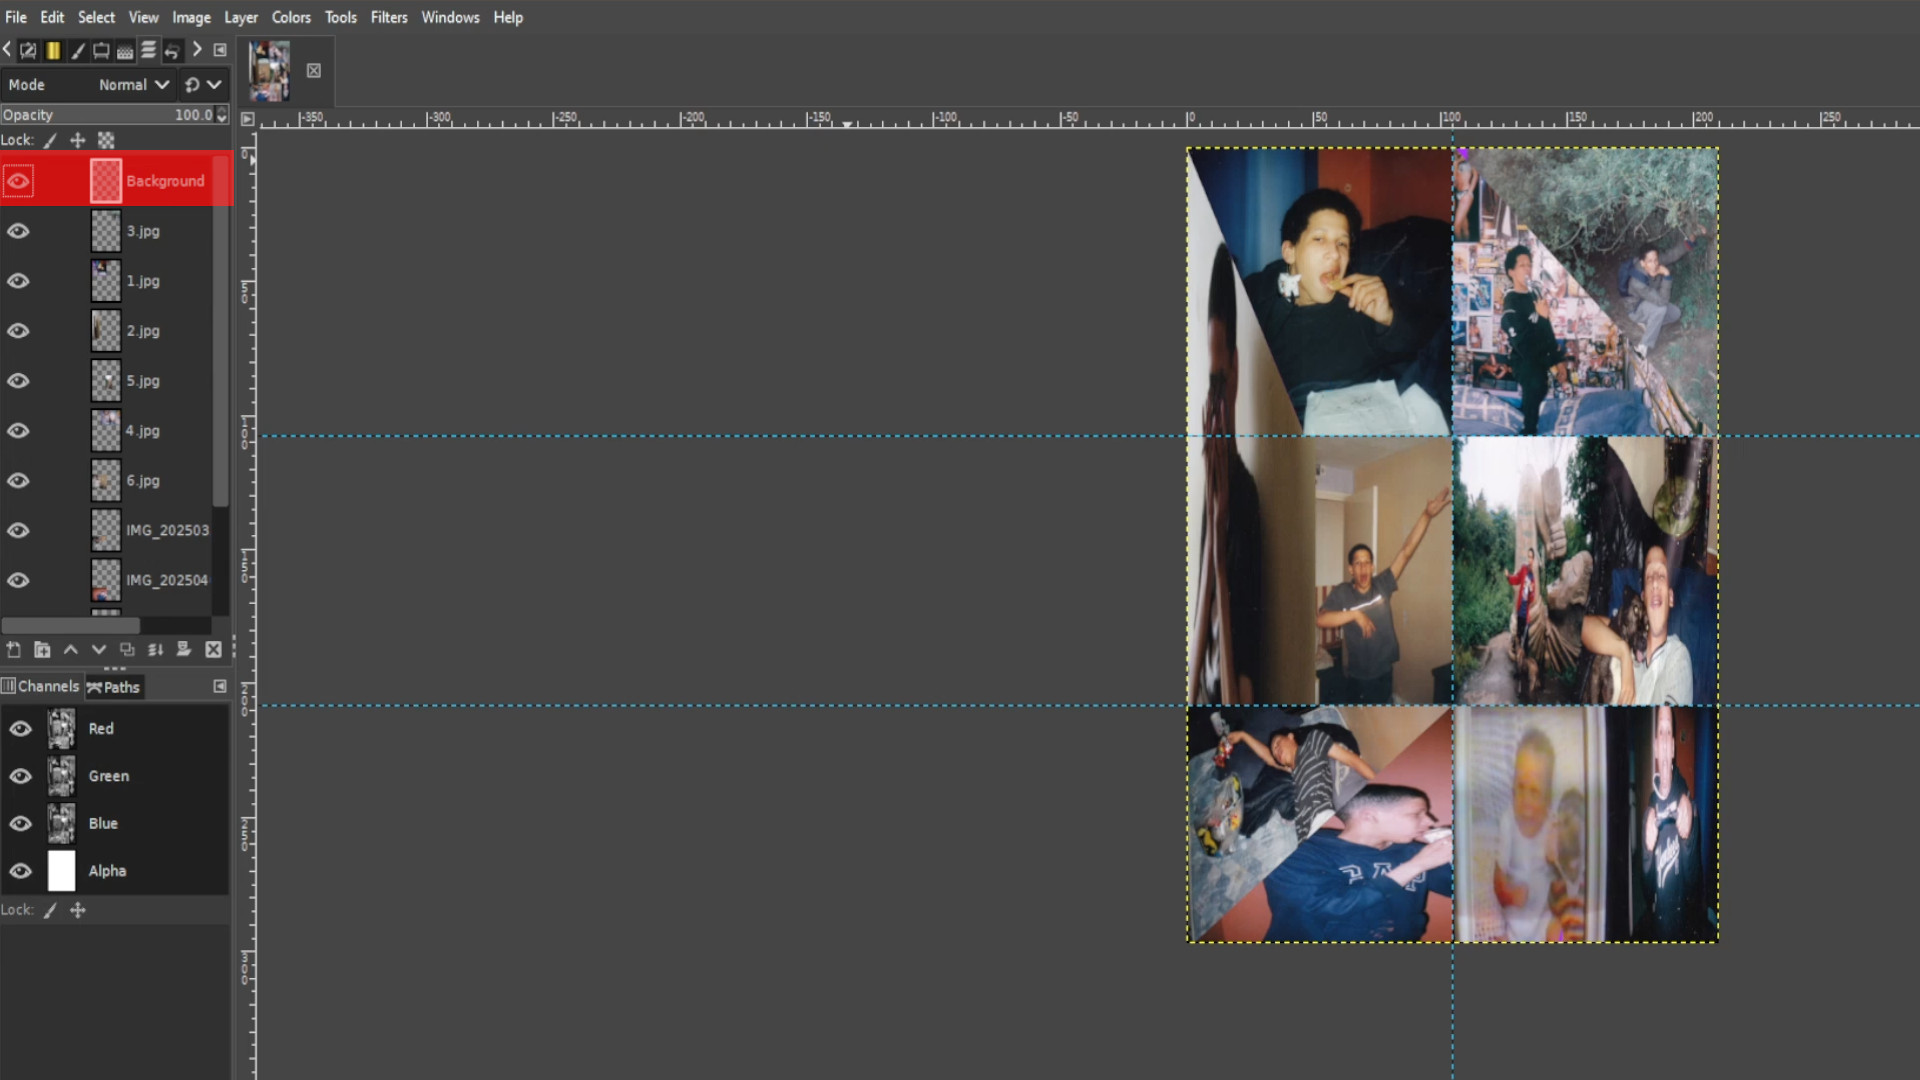
With the>>>TOP LAYER SELECTED and using the>>>LASSO draw around the photos outline sticking to the outer of the photo and making them as even as possible but isn’t important.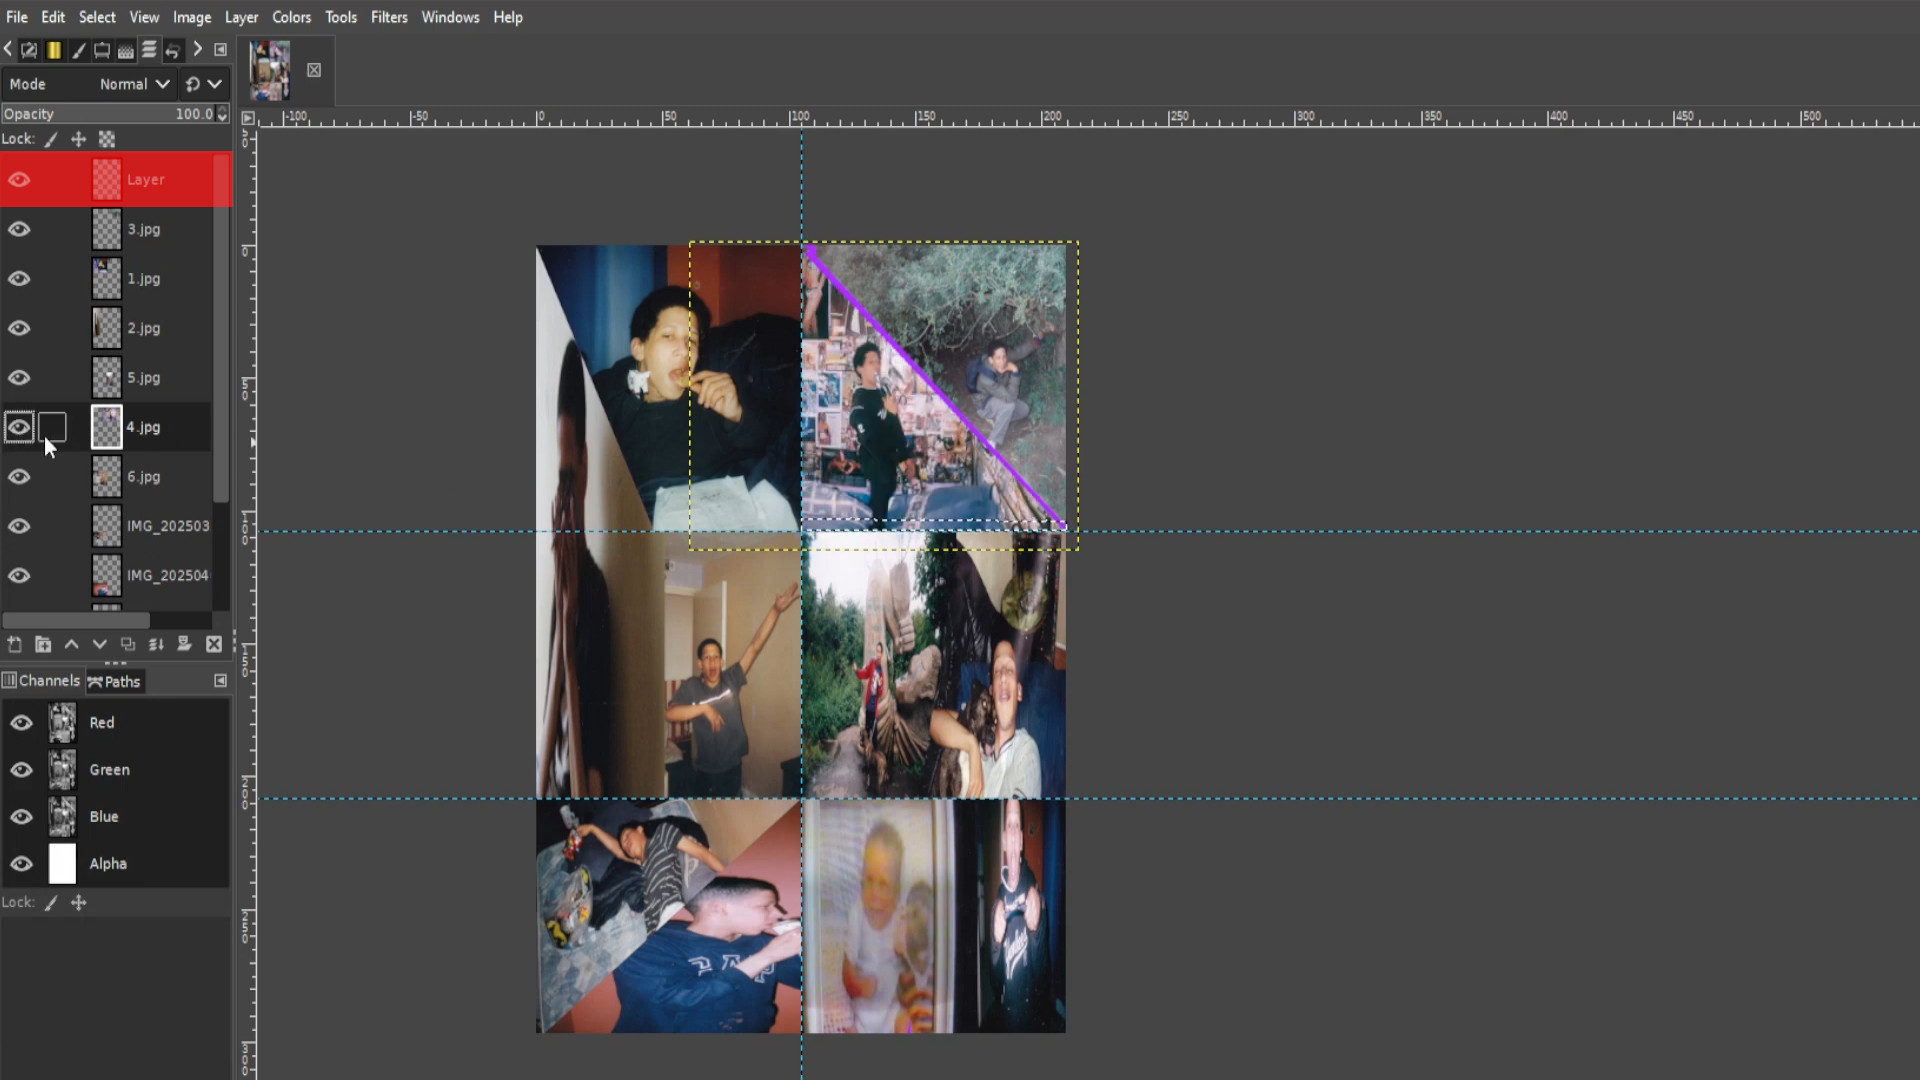
Repeat Steps 9 and 10 until it’s filled out.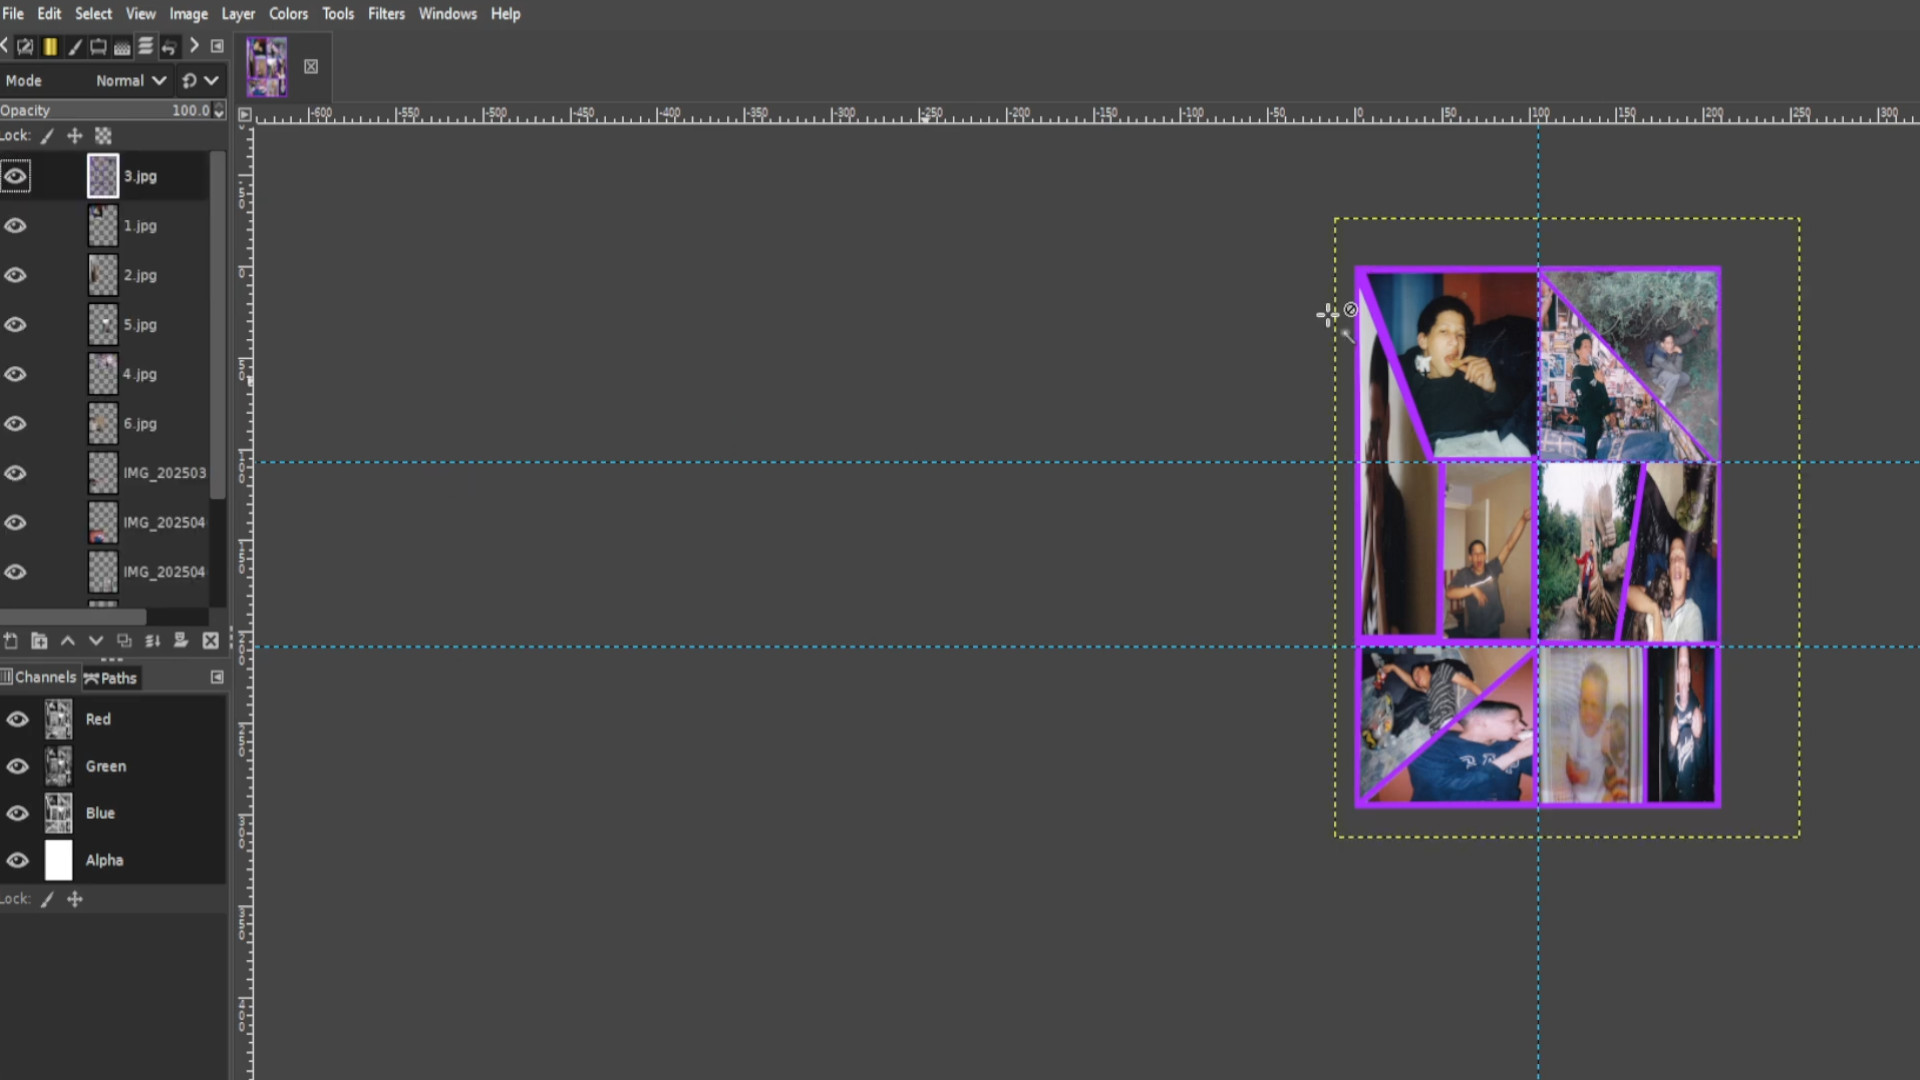
Selecting the top layer and the frames around your photos go to the>>>LAYERS SECTION on the left hand side and>>>RIGHT CLICK ON TOP LAYER and press>>>MERGE DOWN. Do this for each bit of the frame keeping the photos separate. If you are unsure what is the frame then>>>PRESS THE EYE on the>>>LEFT HAND SIDE of the>>>LAYER SECTION for each bit of layer.
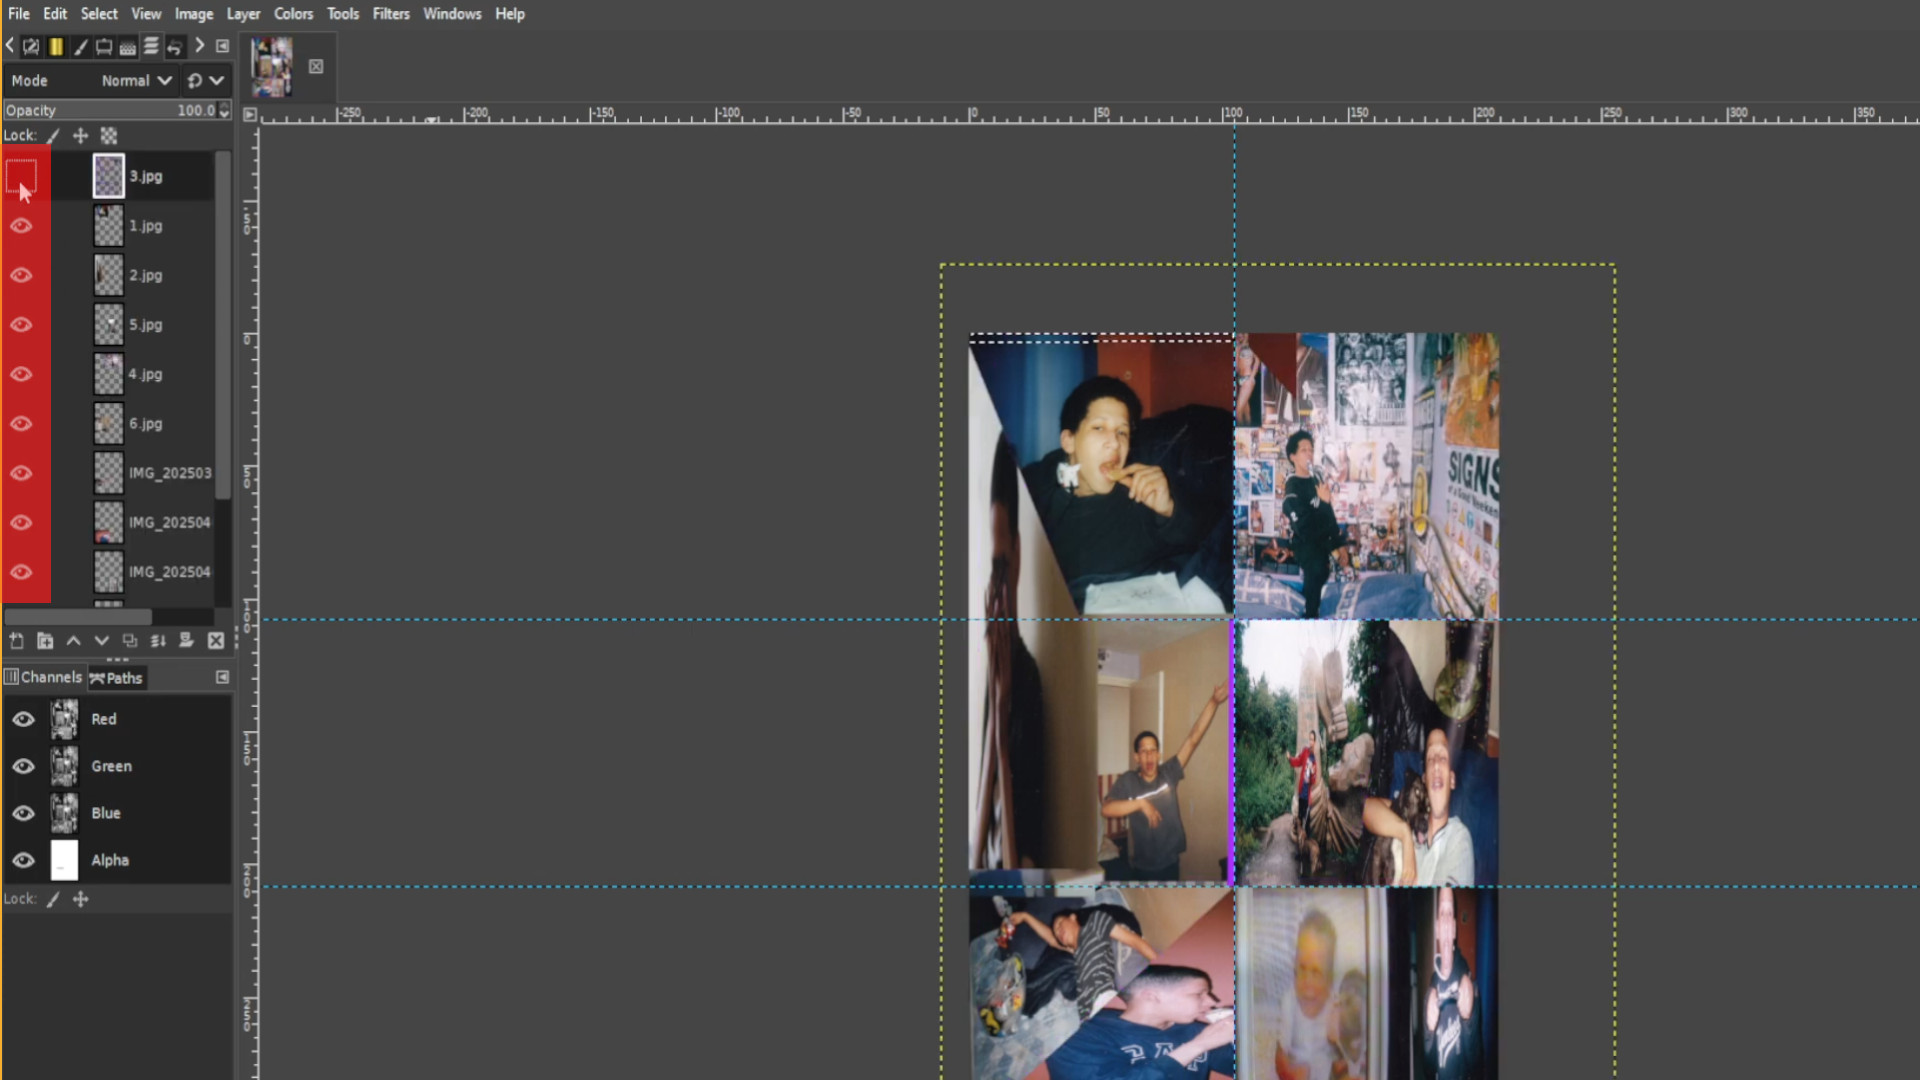
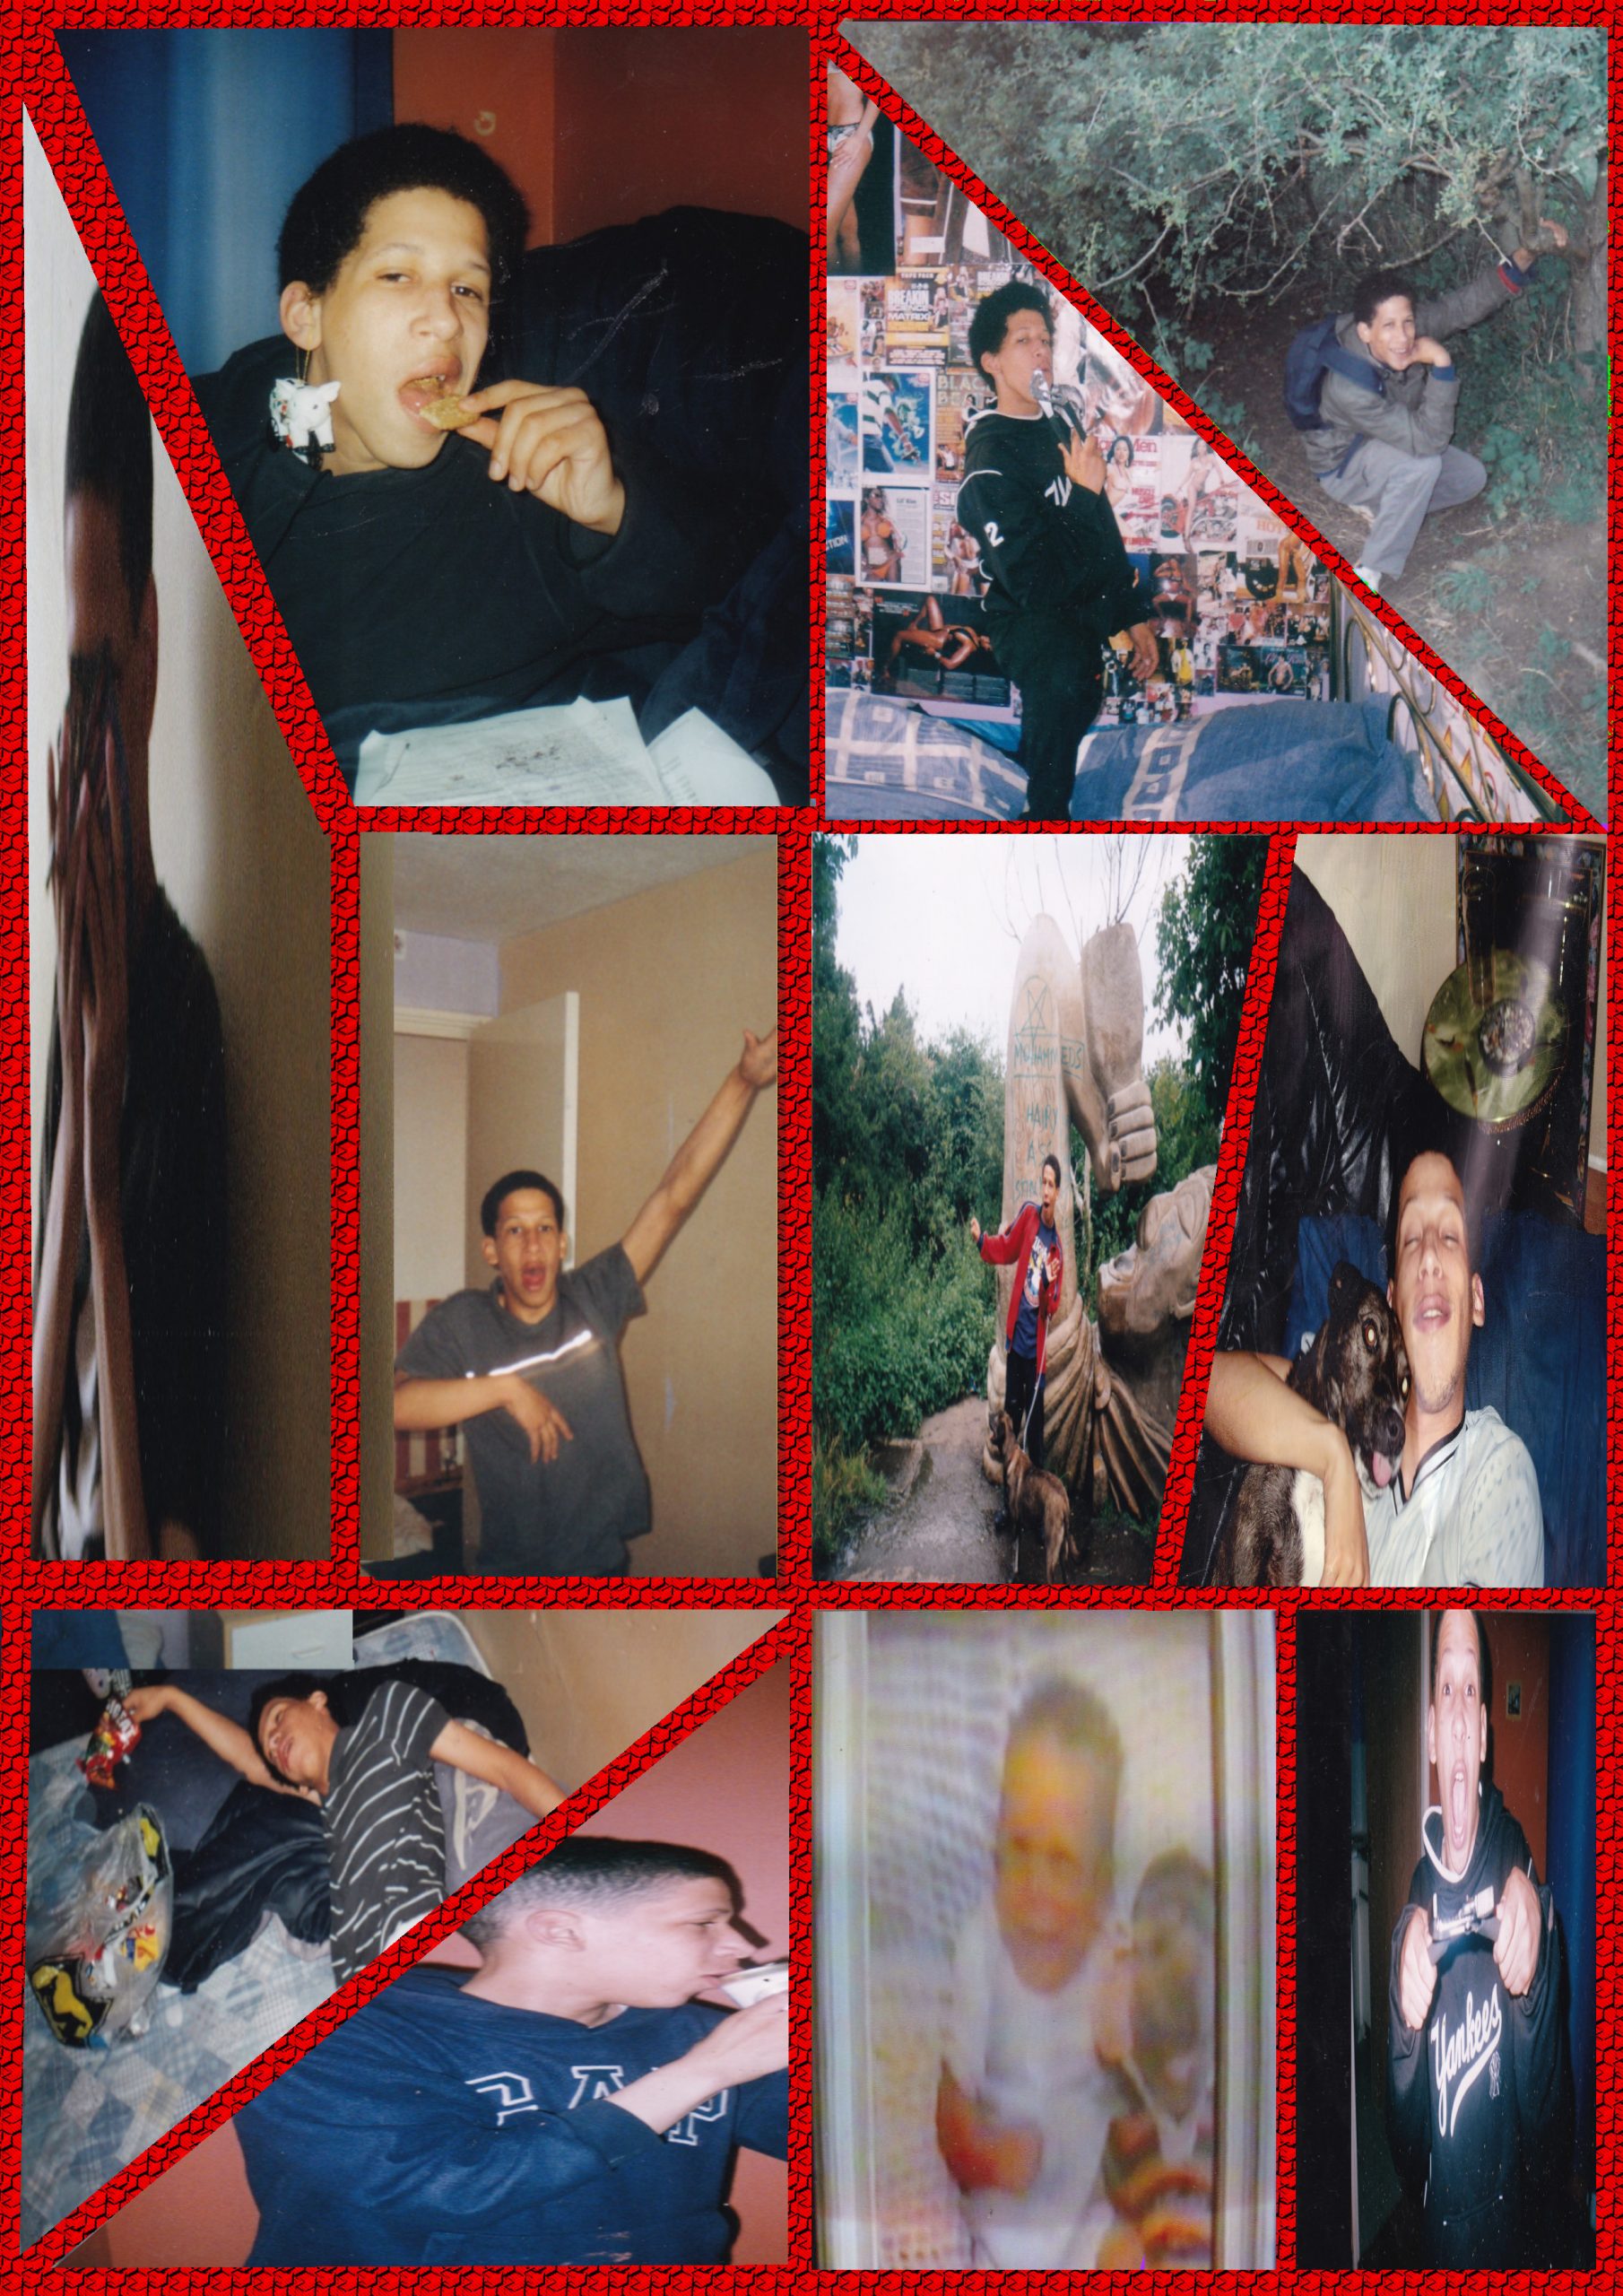
Use the>>>FUZZY SELECT TOOL and press any bit of the frame to highlight all the frame and leaving the photos unhighlighted. With the frame selected use>>>COLOURS>>>FILTERS>>>

Export image by going to>>>FILE>>>EXPORT TO or>>>EXPORT AS and save with a JPG or PNG extension EG; COLLAGE__INSERT NUMBER.jpg or COLLAGE__INSERT NUMBER.png.
Add a Comment