
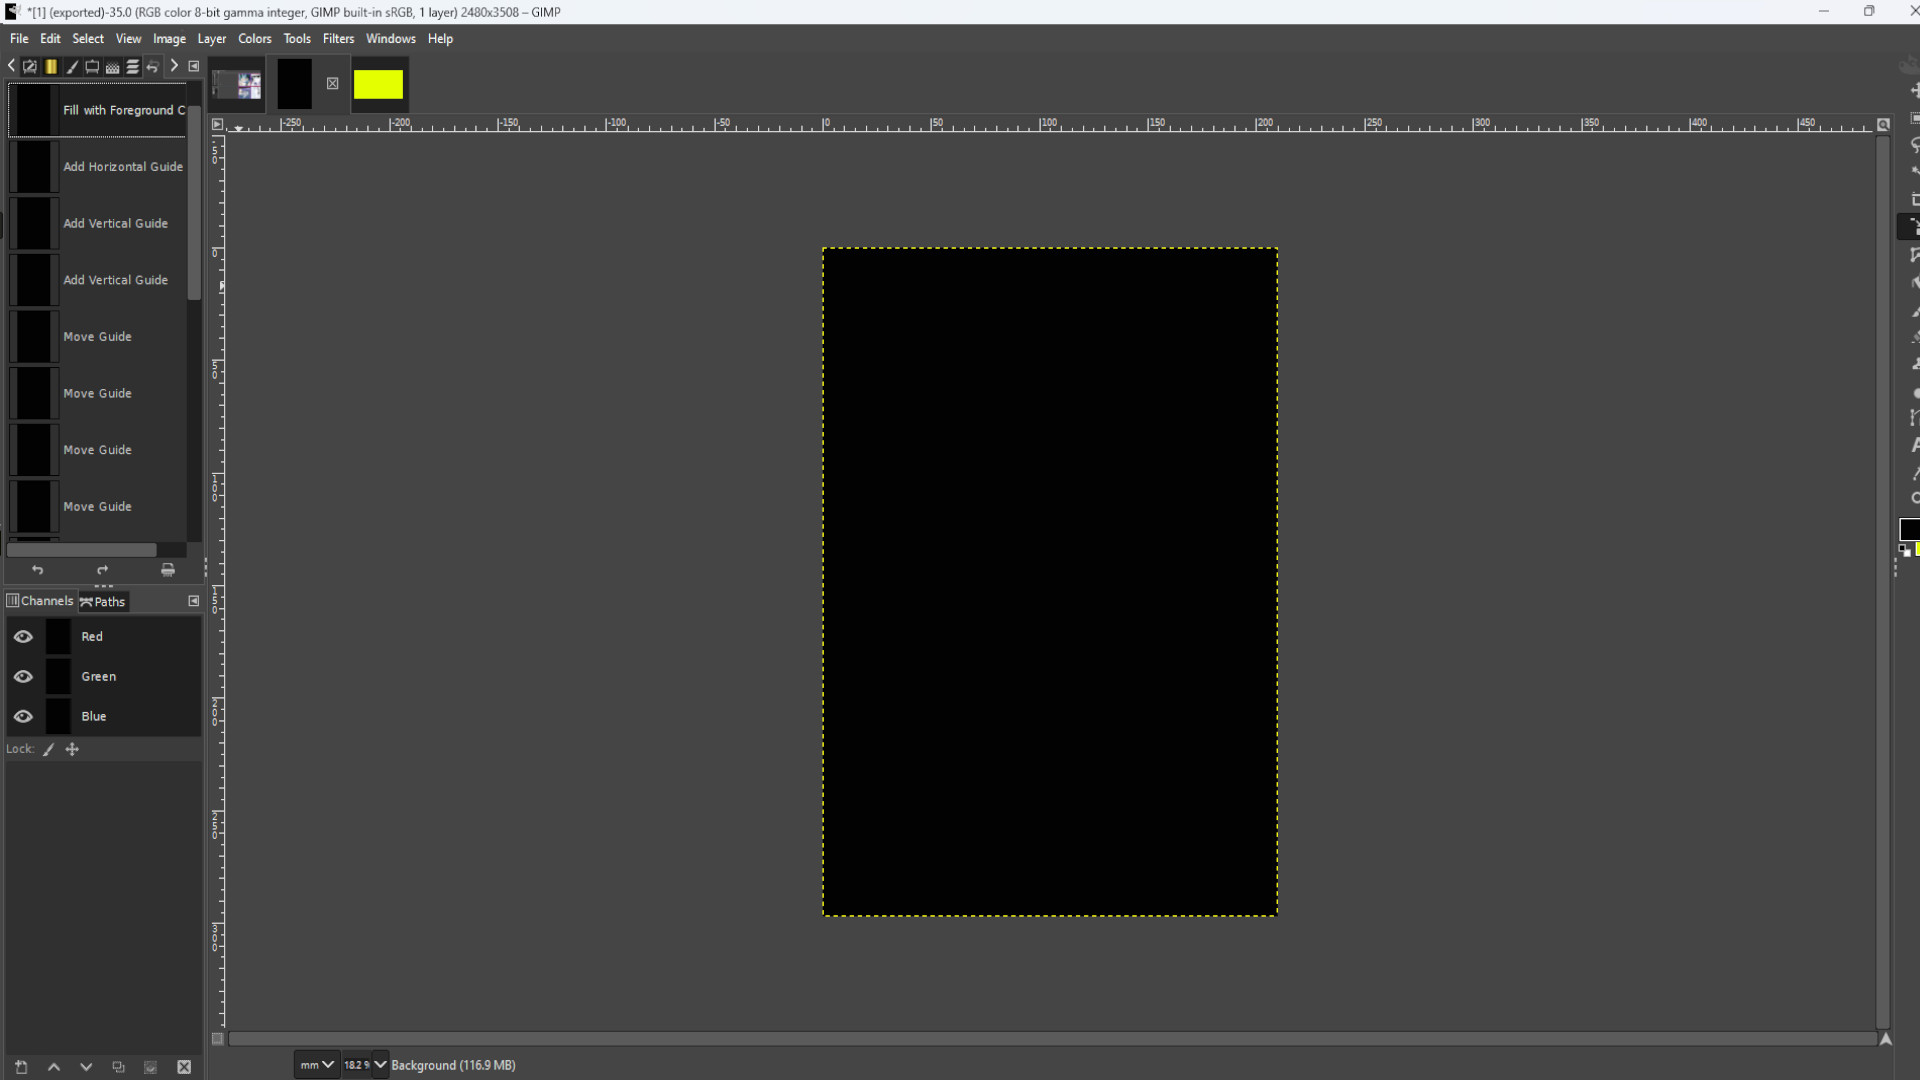
Open up Gimp and go to >>>FILE>>>NEW>>>TEMPLATE and pick the>>>A4 SIZE;
209.97 Width,
297.01 Height
in mm.
2480 Width
3508 Height
in px
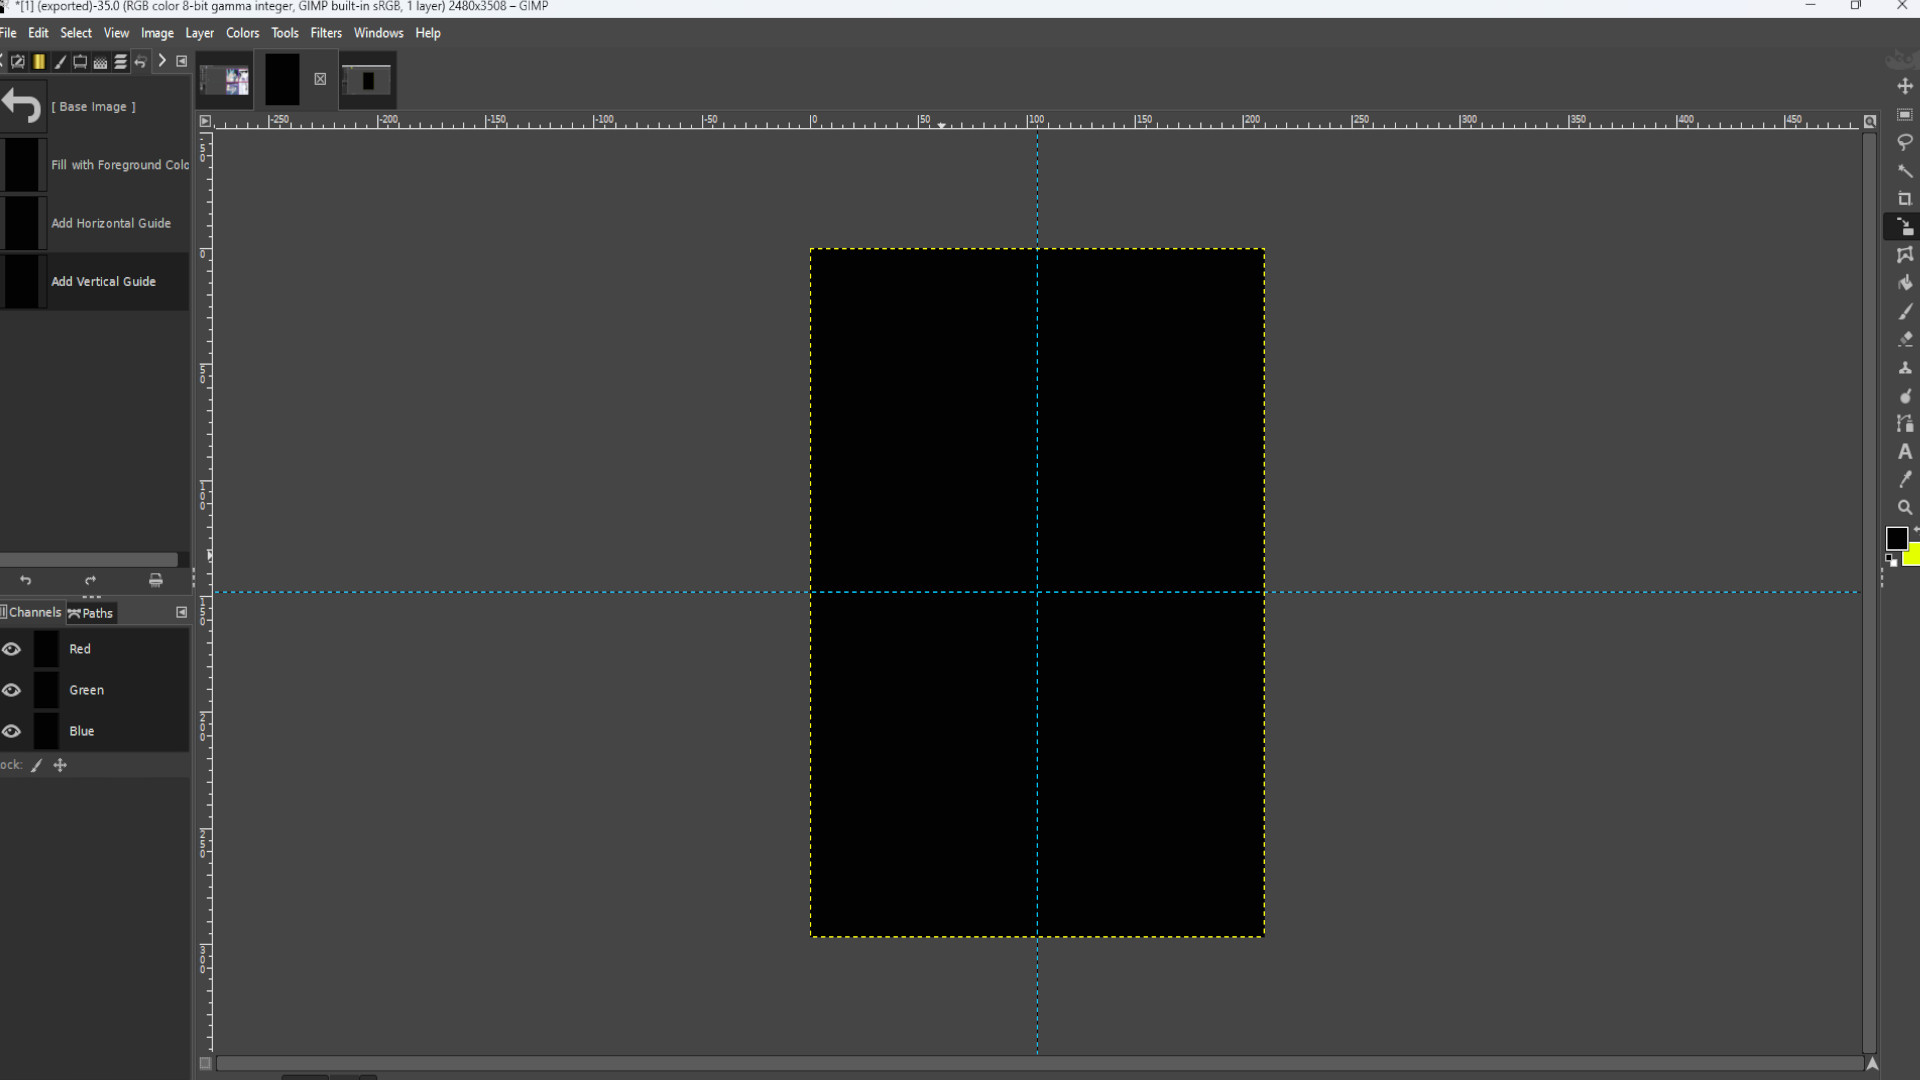
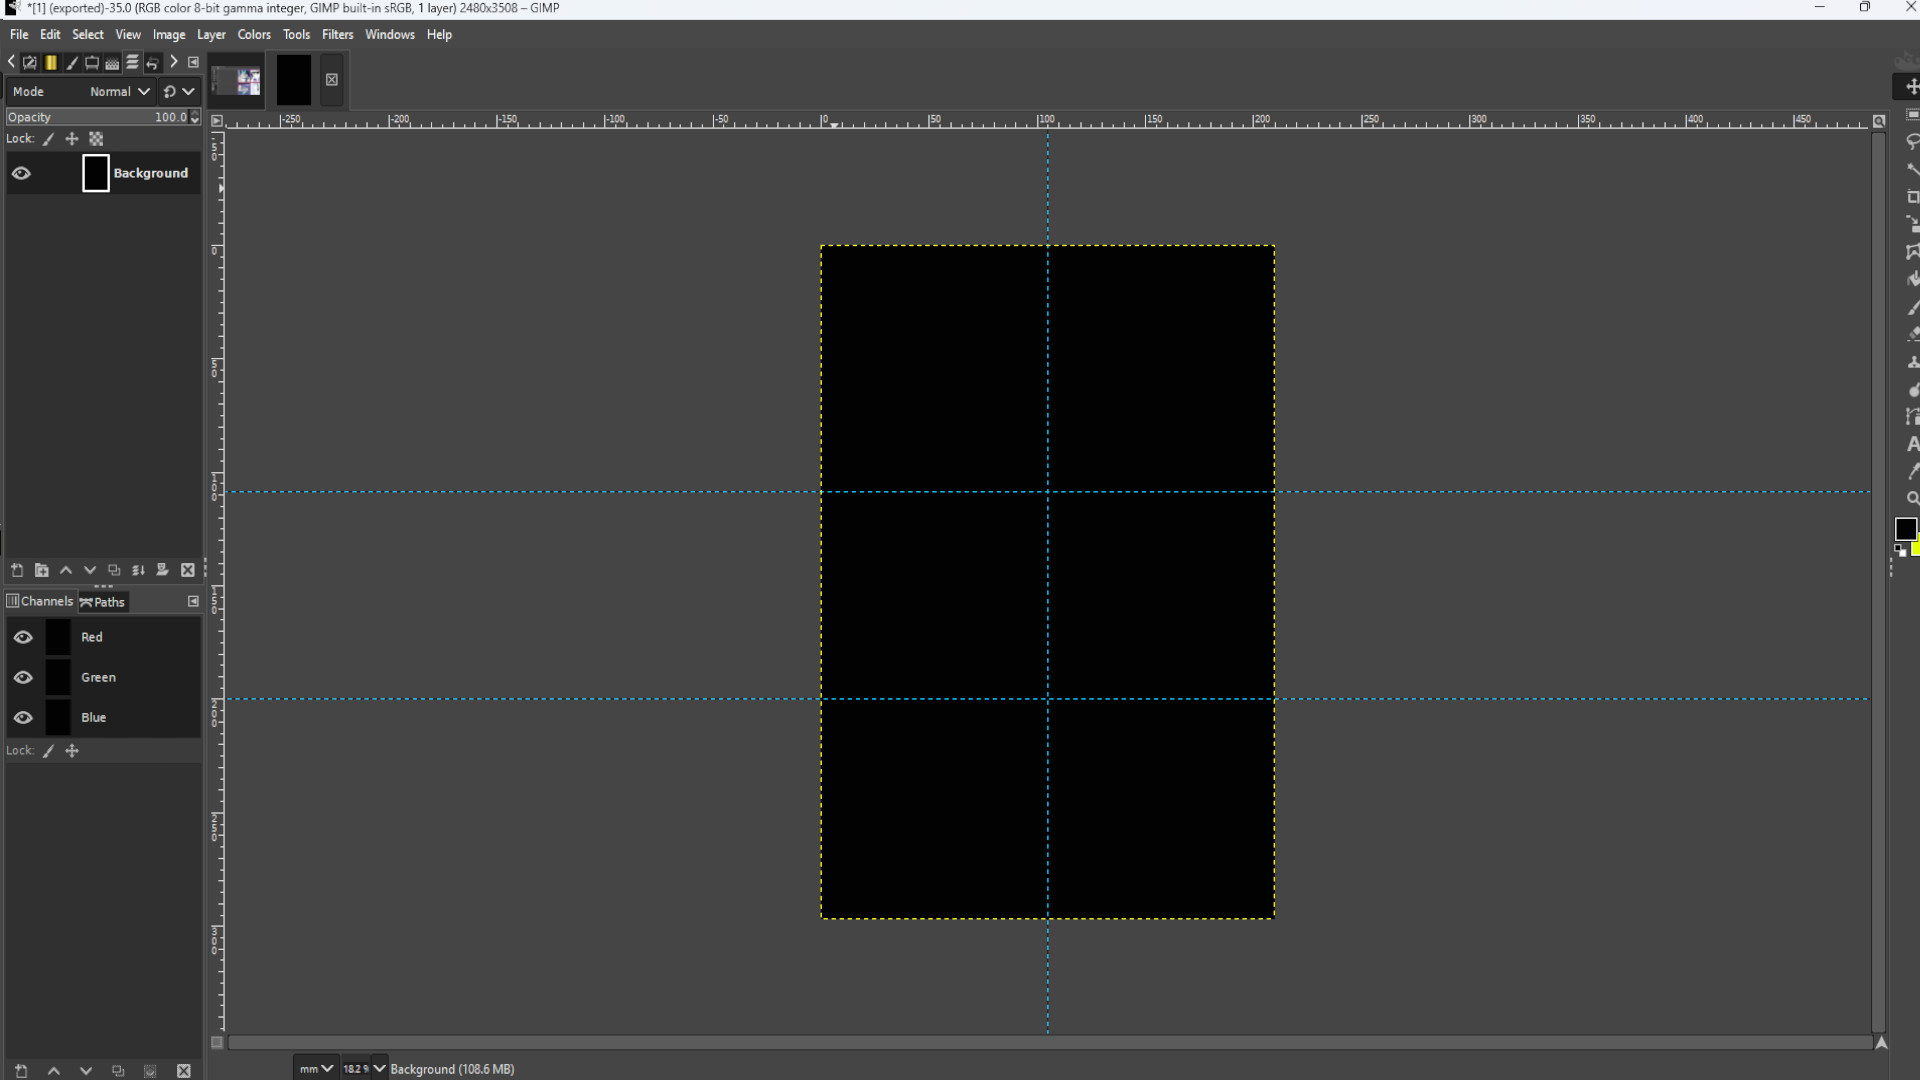
Go to>>>IMAGE>>>GUIDES>>>NEW GUIDE BY PERECENT and pick>>>DIRECTION>>>HORIZONTAL>>>POSTION (In Percent)>>>50.00
And again Go to>>>IMAGE>>>GUIDES>>>NEW GUIDE BY PERECENT and pick>>>DIRECTION>>>VERTICAL>>>POSTION (In Percent)>>>50.00
Repeat this for how many photos you want and spread out the guides evenly over the page. I used eight boxes in total and I >>>HOVERED THE CURSOR over the guide and>>>HELD SHIFT to drag around the guide into sections.
Using the>>>ELLIPSE SELECT TOOL DRAW a CIRCLE filling up the width of the section but you can have it as big or small as you like.
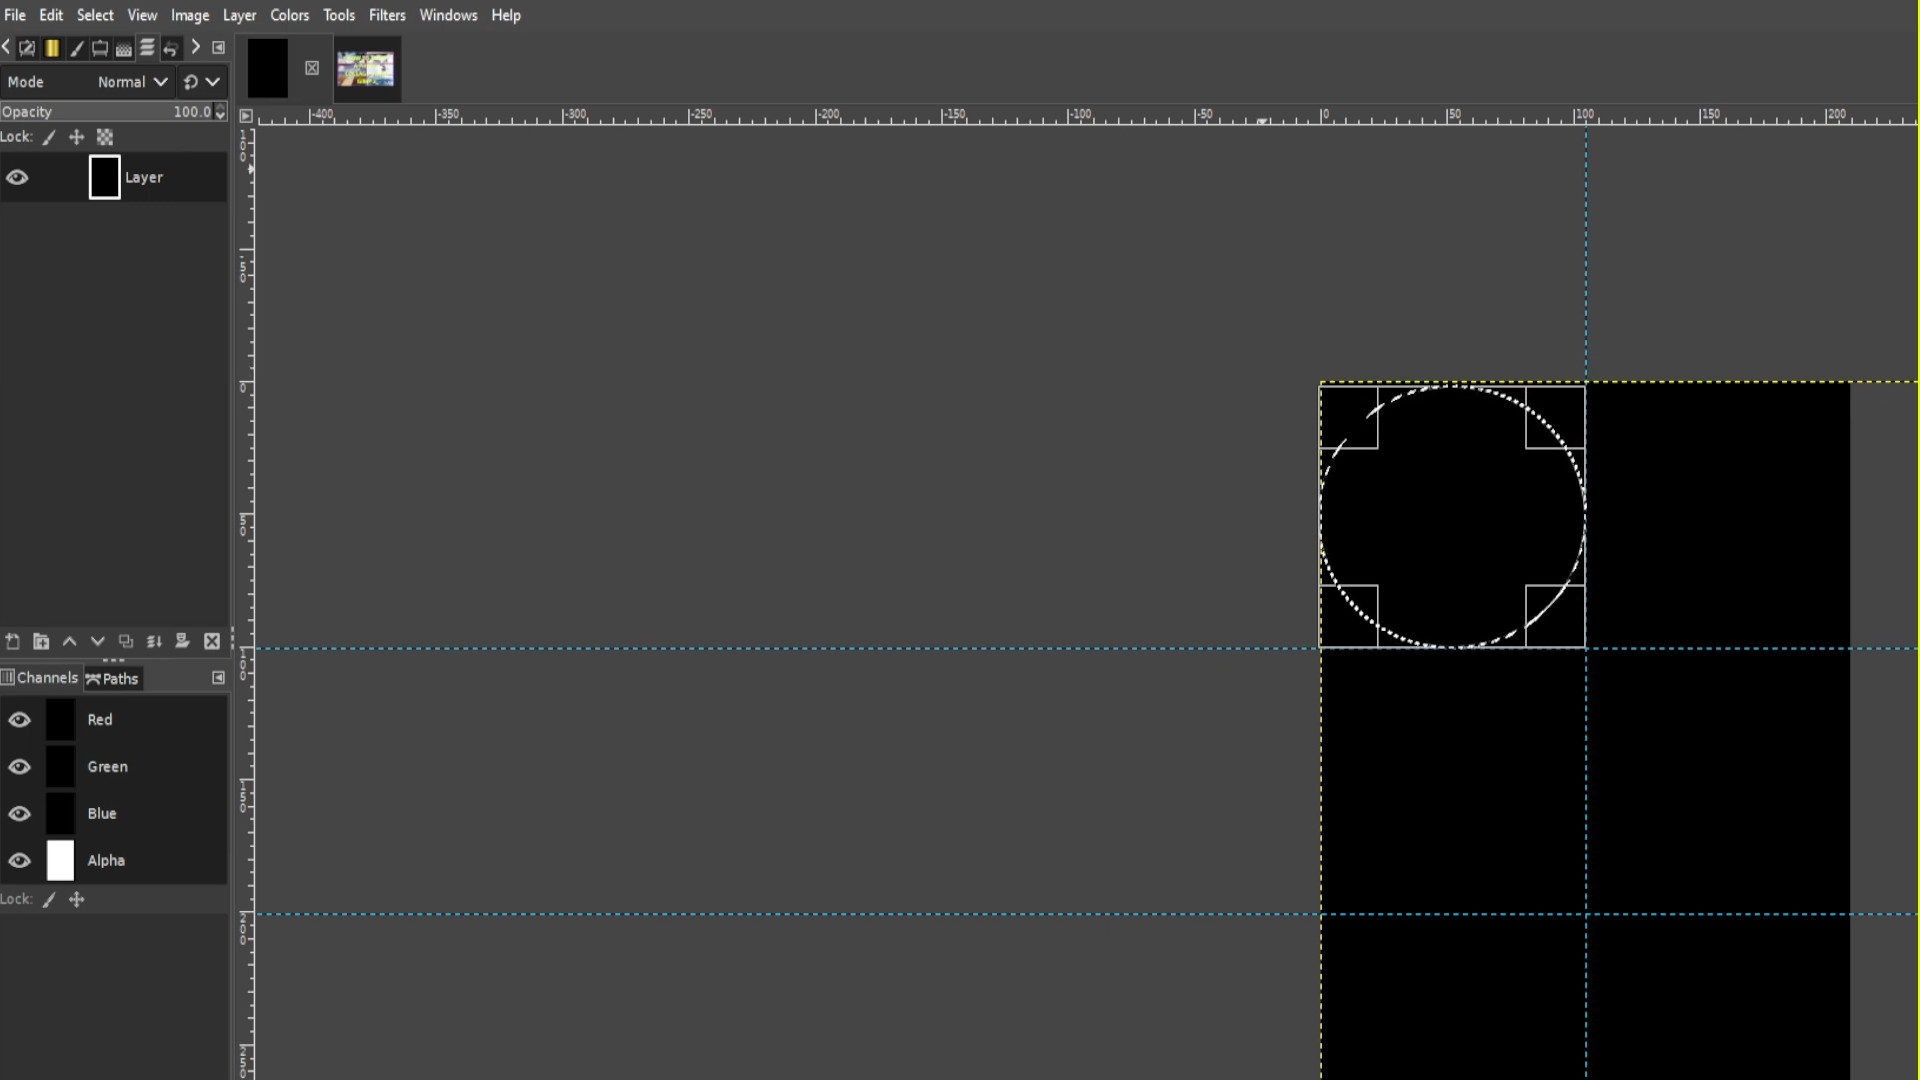
Go to>>>LAYER>>>TRANSPARENCY>>>ADD ALPHA CHANNEL. If it’s greyed out it’s been added and you can ignore this step.
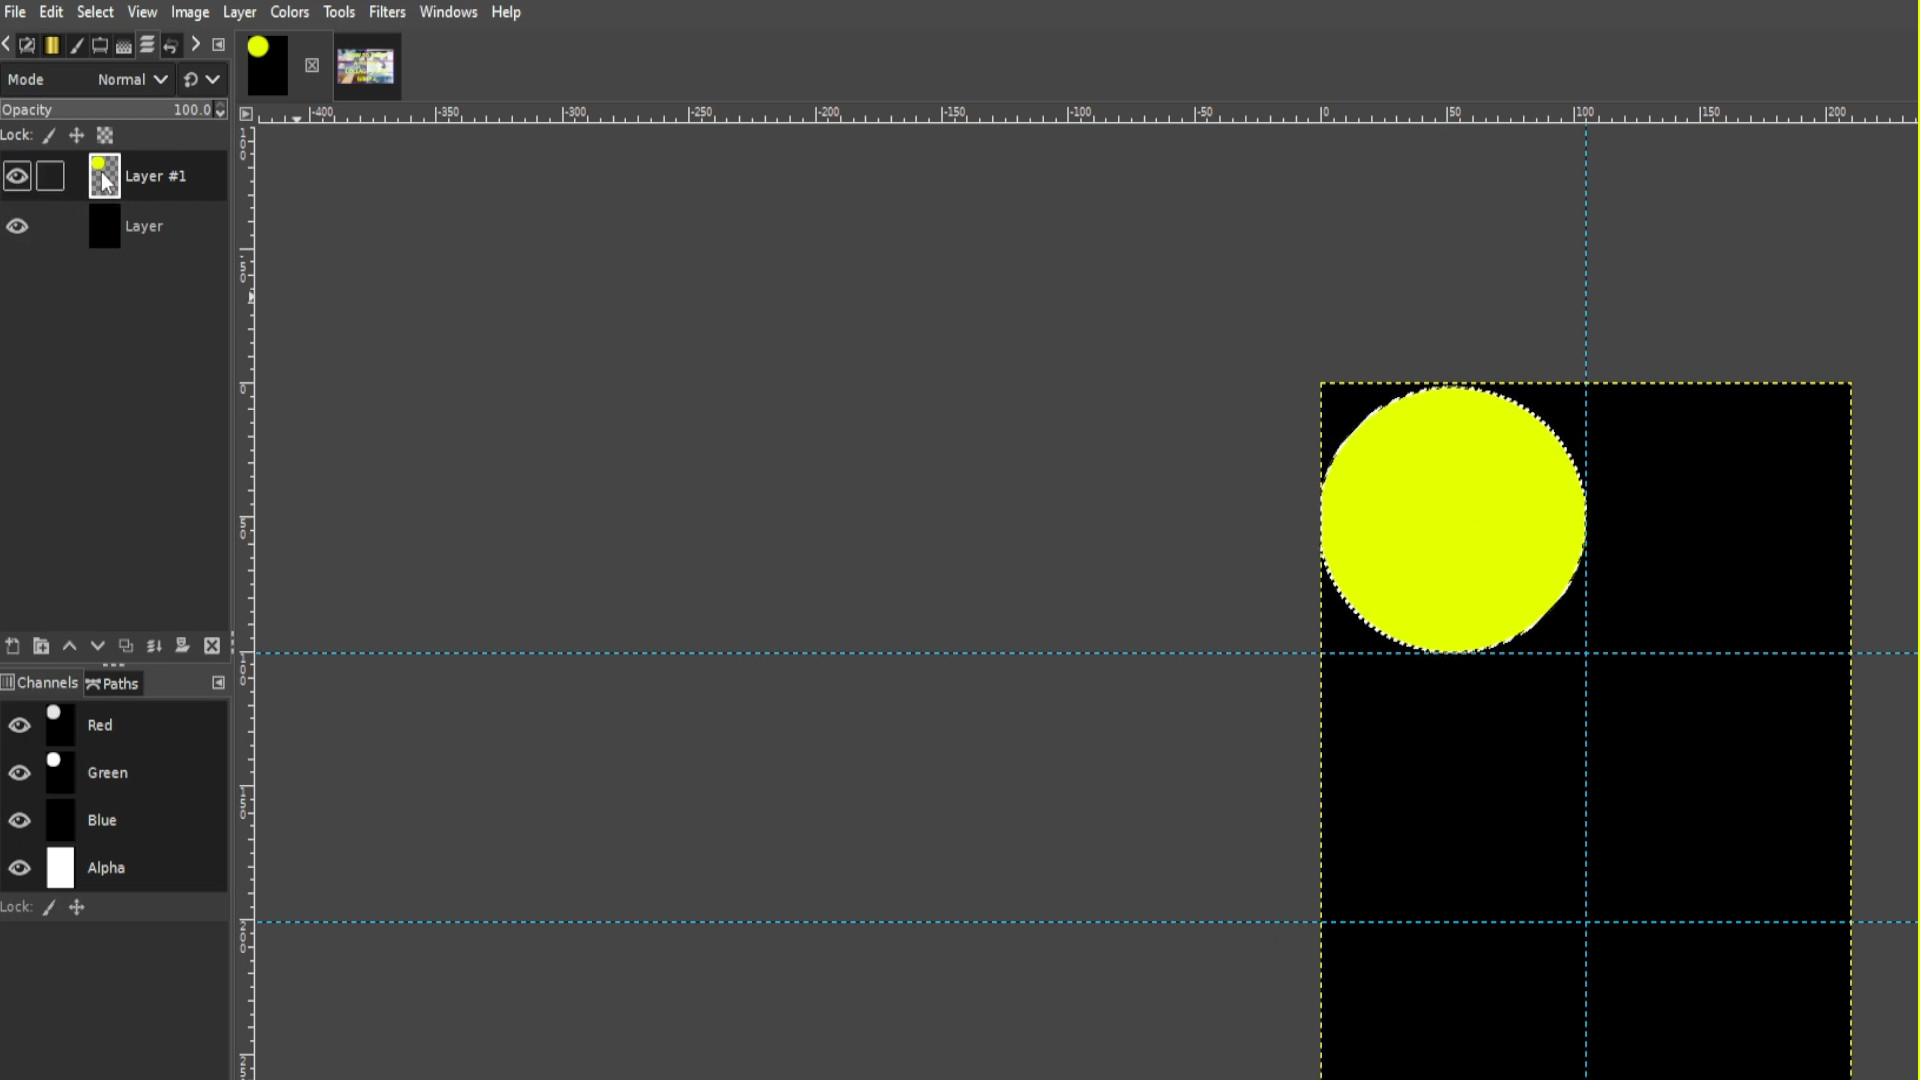
Go to LAYER>>>ADD A LAYER
Use the>>>BUCKET FILL to fill in the circle leaving a couple of inches of the main background for the frame.
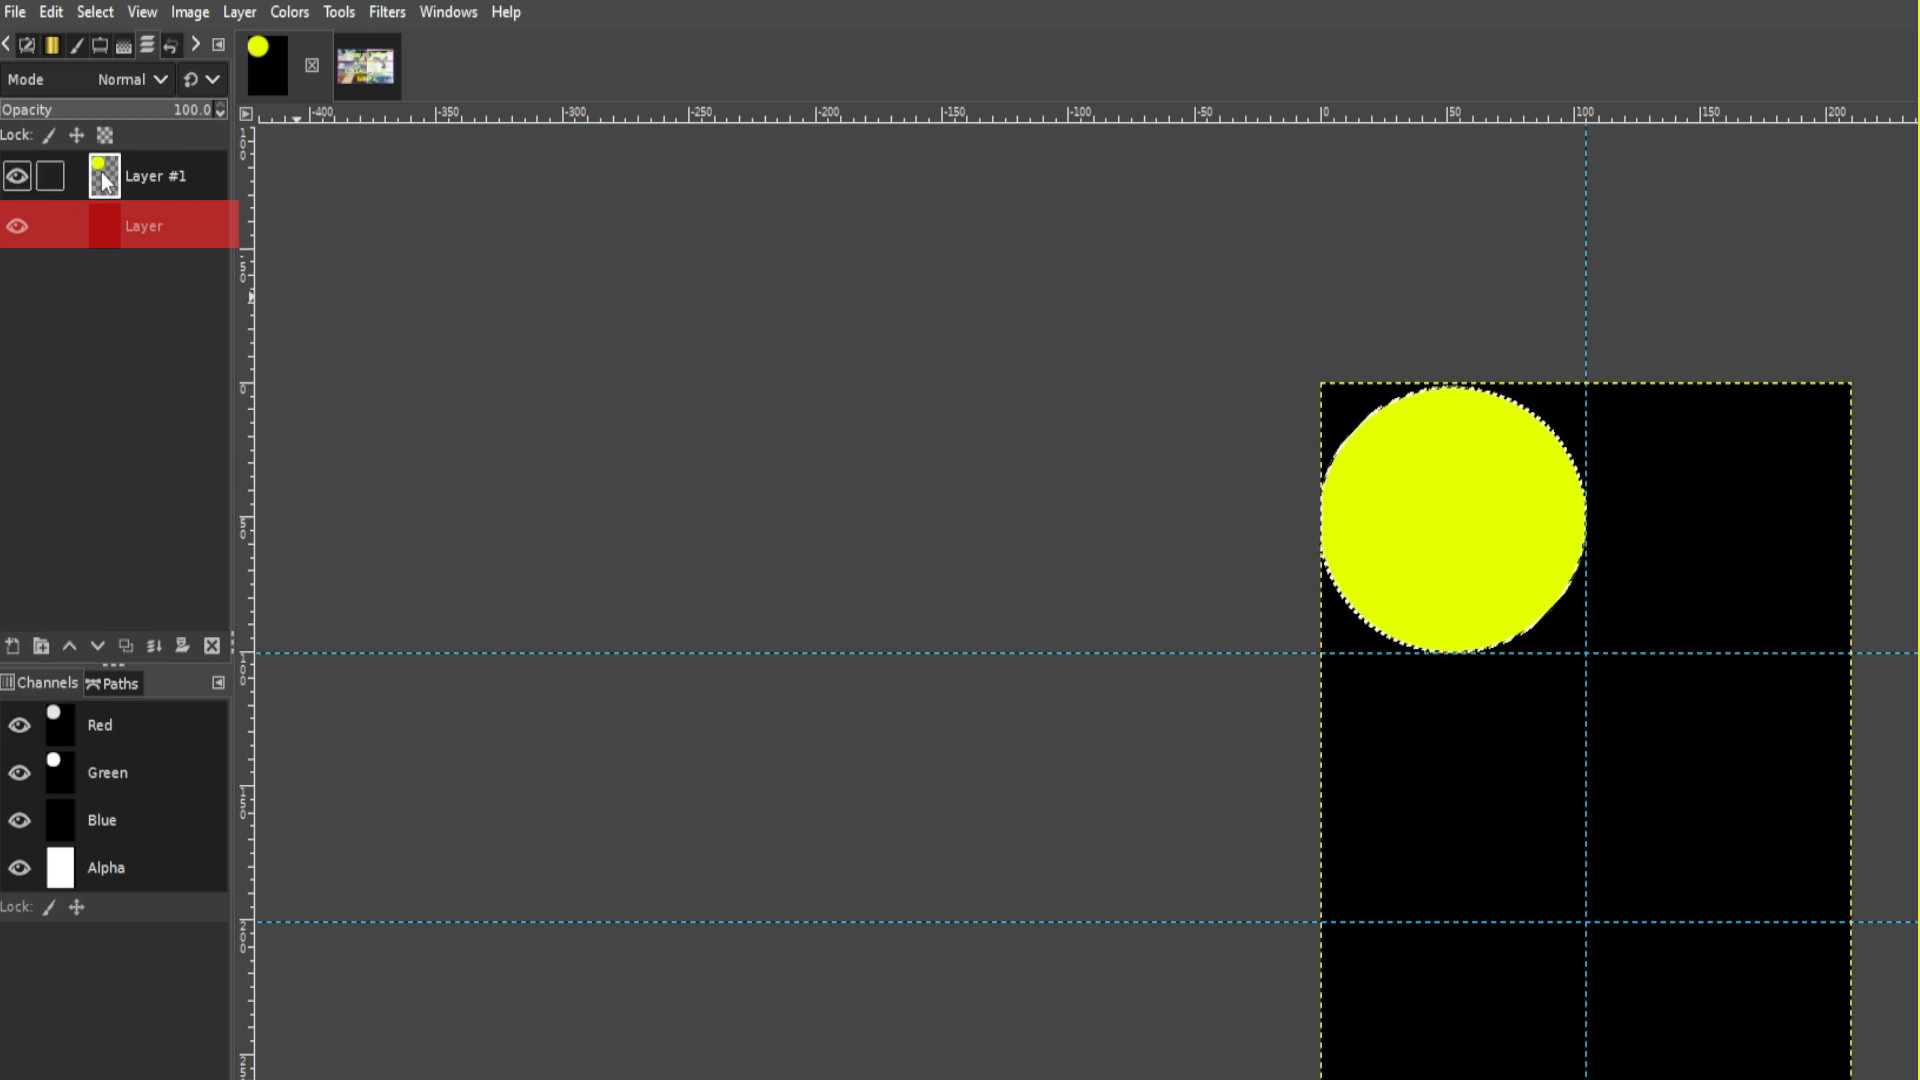
Once you’ve made your circle and with the circle highlighted>>>CLICK ON THE BOTTOM LAYER on the left hand side layer’s panel which is the background you started with. If you can’t see the layers tab then go to>>>WINDOWS>>>DOCKABLE DIALOGS>>>LAYERS
With the circle selected and you are on the bottom layer>>>HOLD>>>CTRL and>>>PRESS X to delete the background of the main background keeping the filled in coloured circle at the top of the layer.
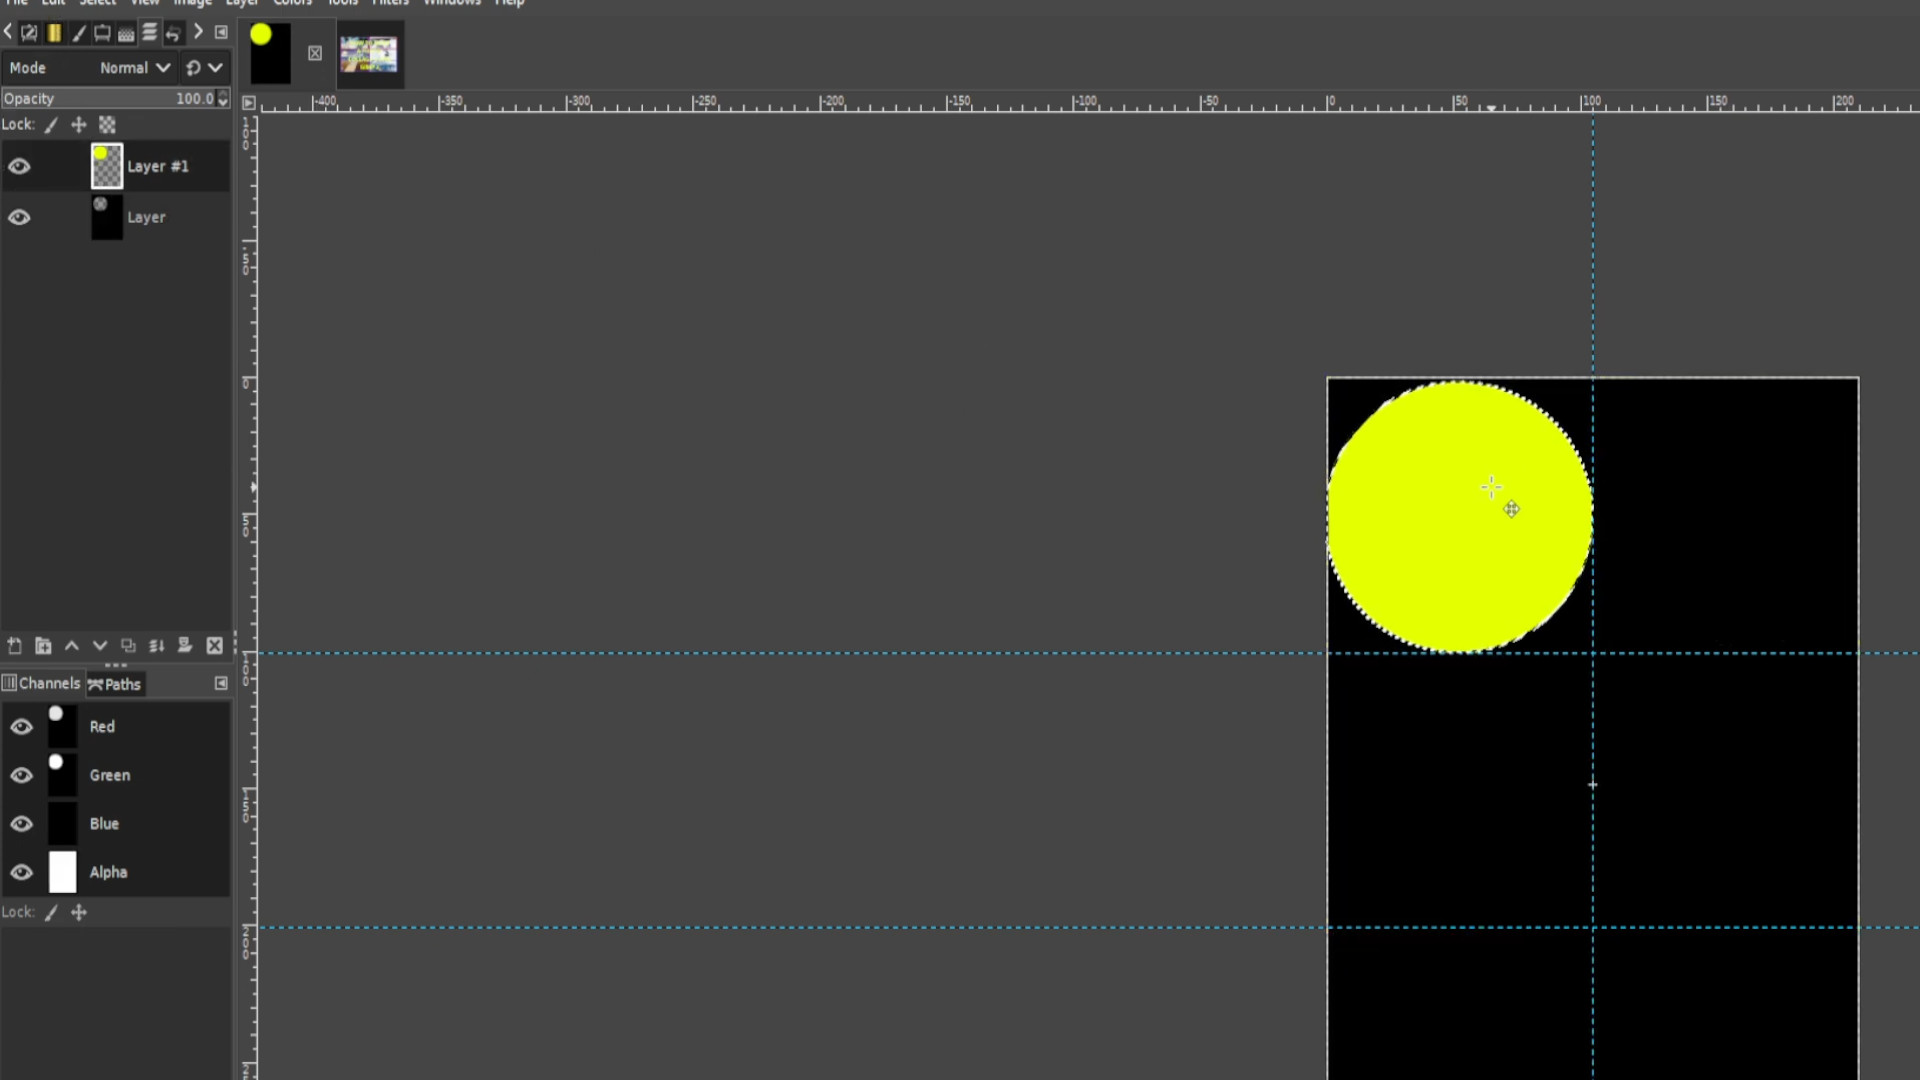
Move the coloured circle around the sections and with it highlighted cut each sections main background (the one you started with.) Once done delete the circle. 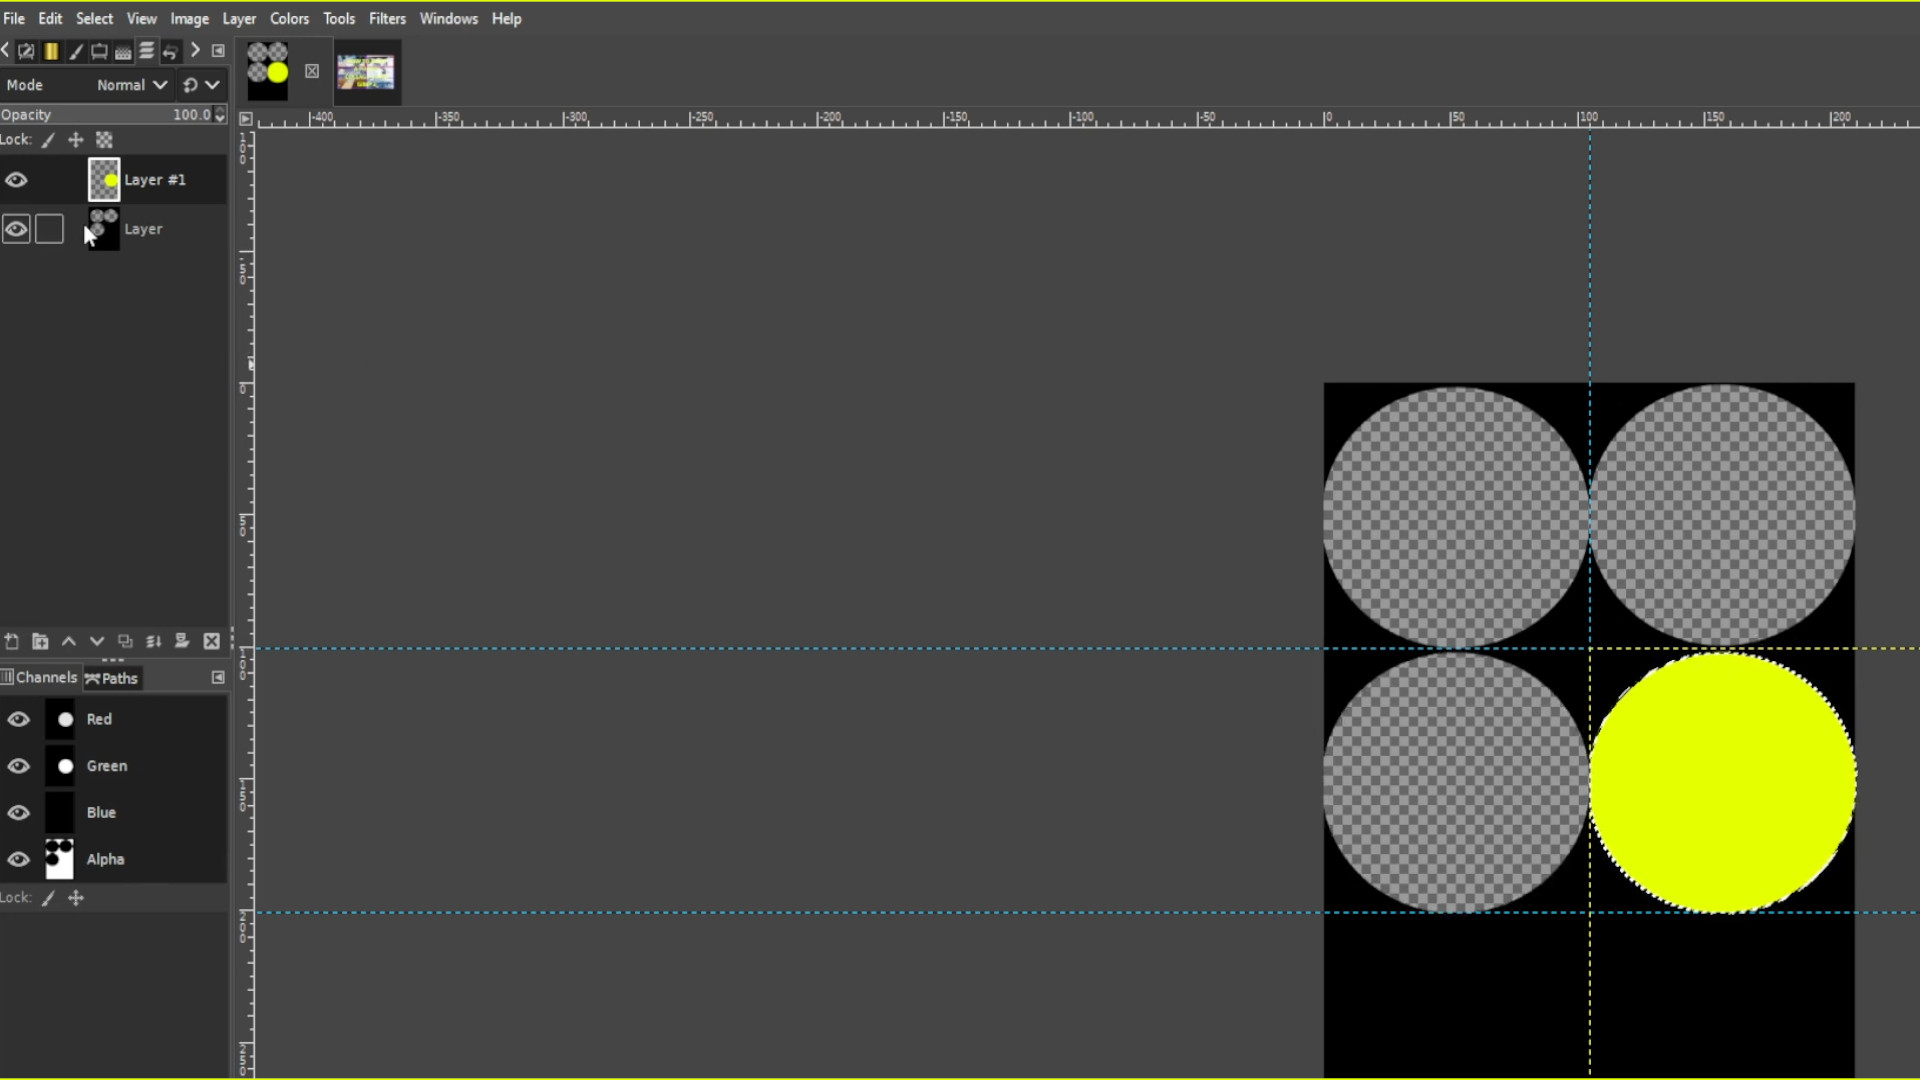
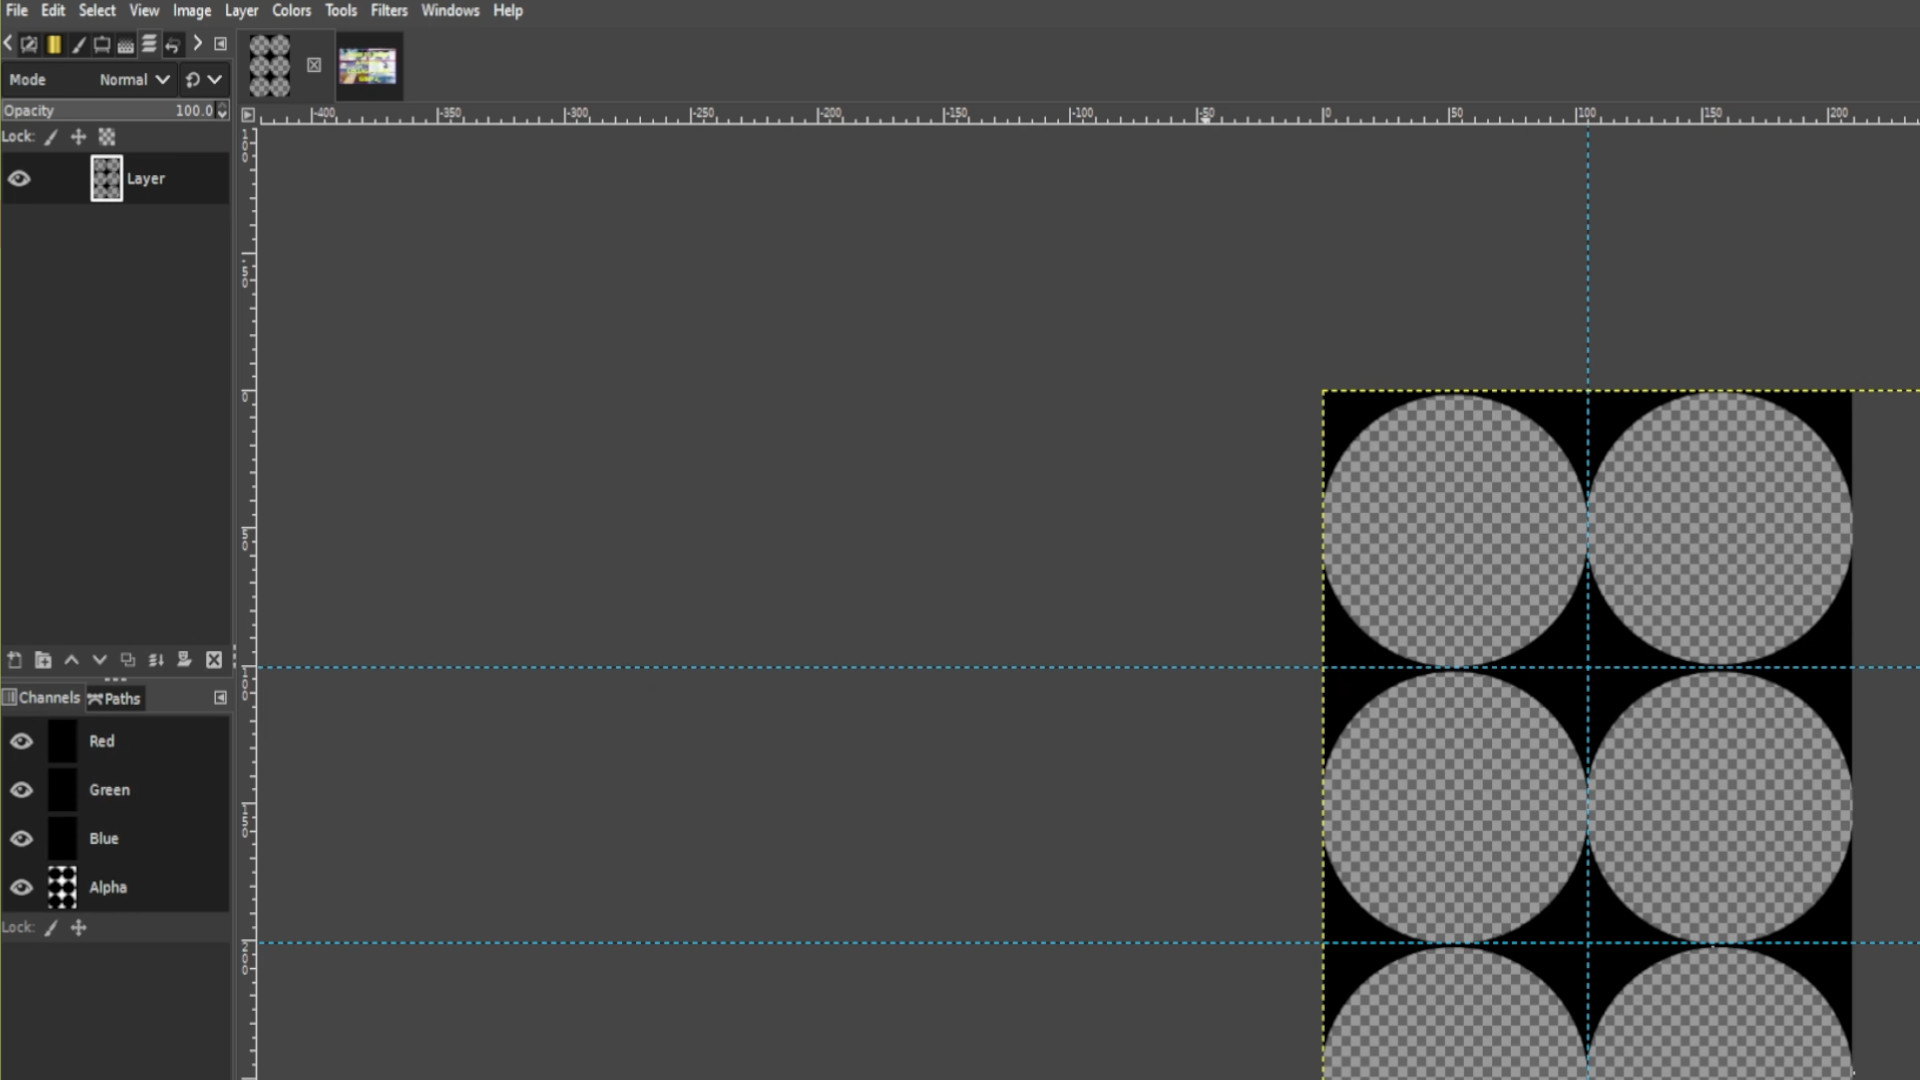
>>>SELECT THE BOTTOM LAYER AND>>>ADD PHOTO 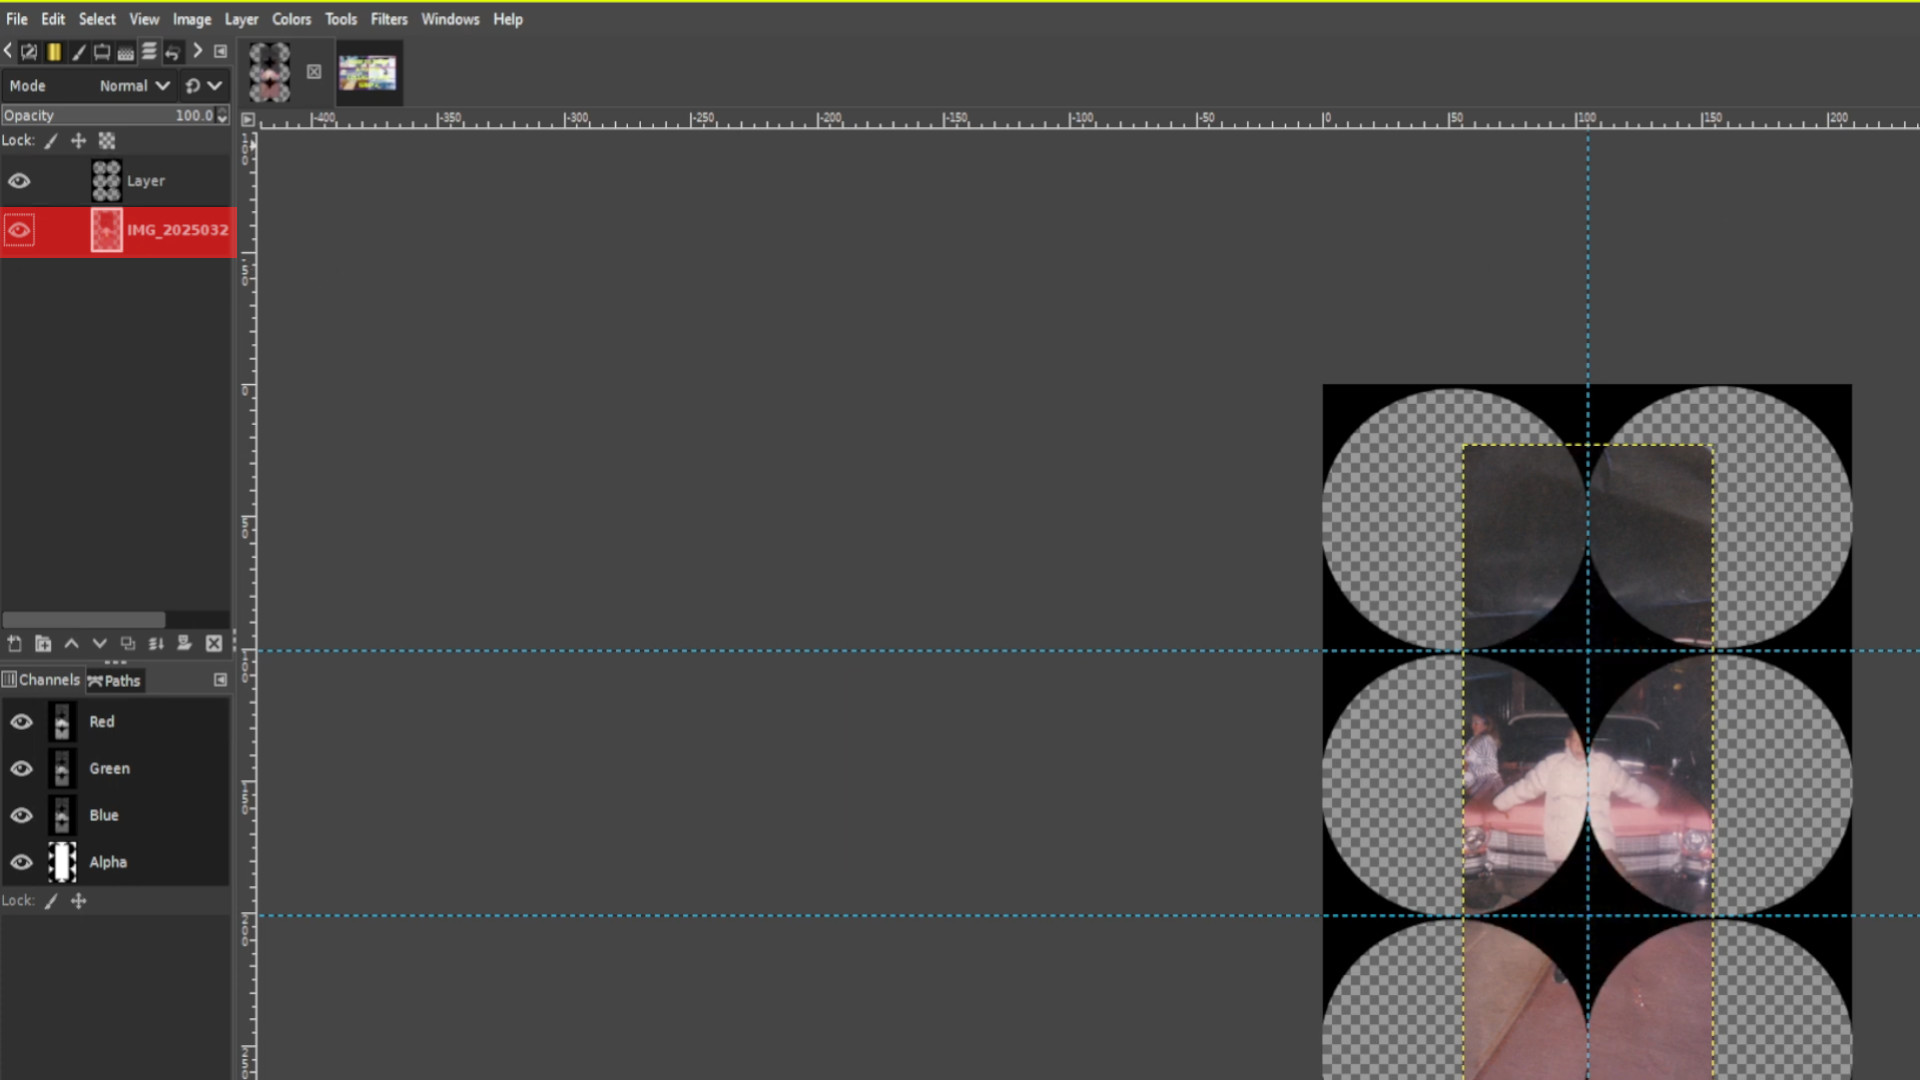
>>>USE THE RESIZE TOOL>>>SHIFT and>>>S to >>>SCALE up or down the image it’s best to work with bigger pictures. 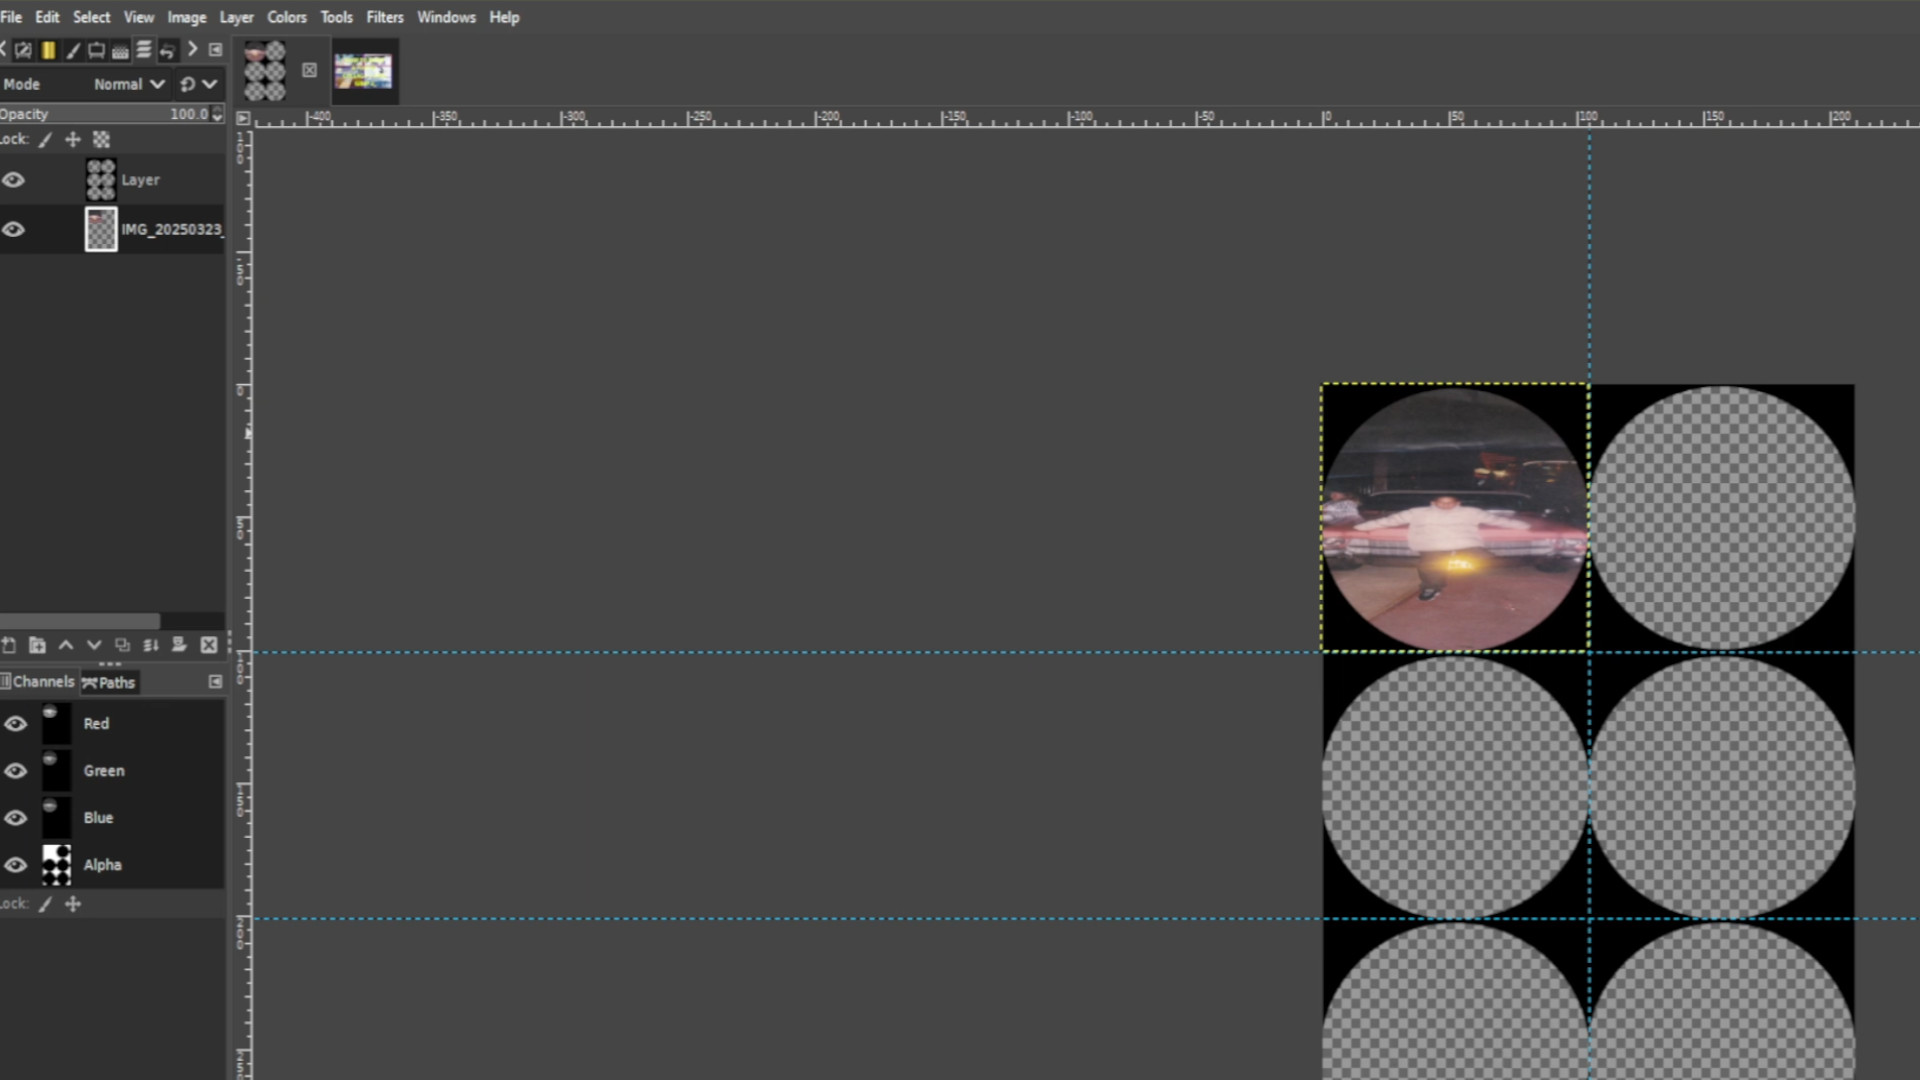
Repeat Steps 10 and 11 until it’s filled out.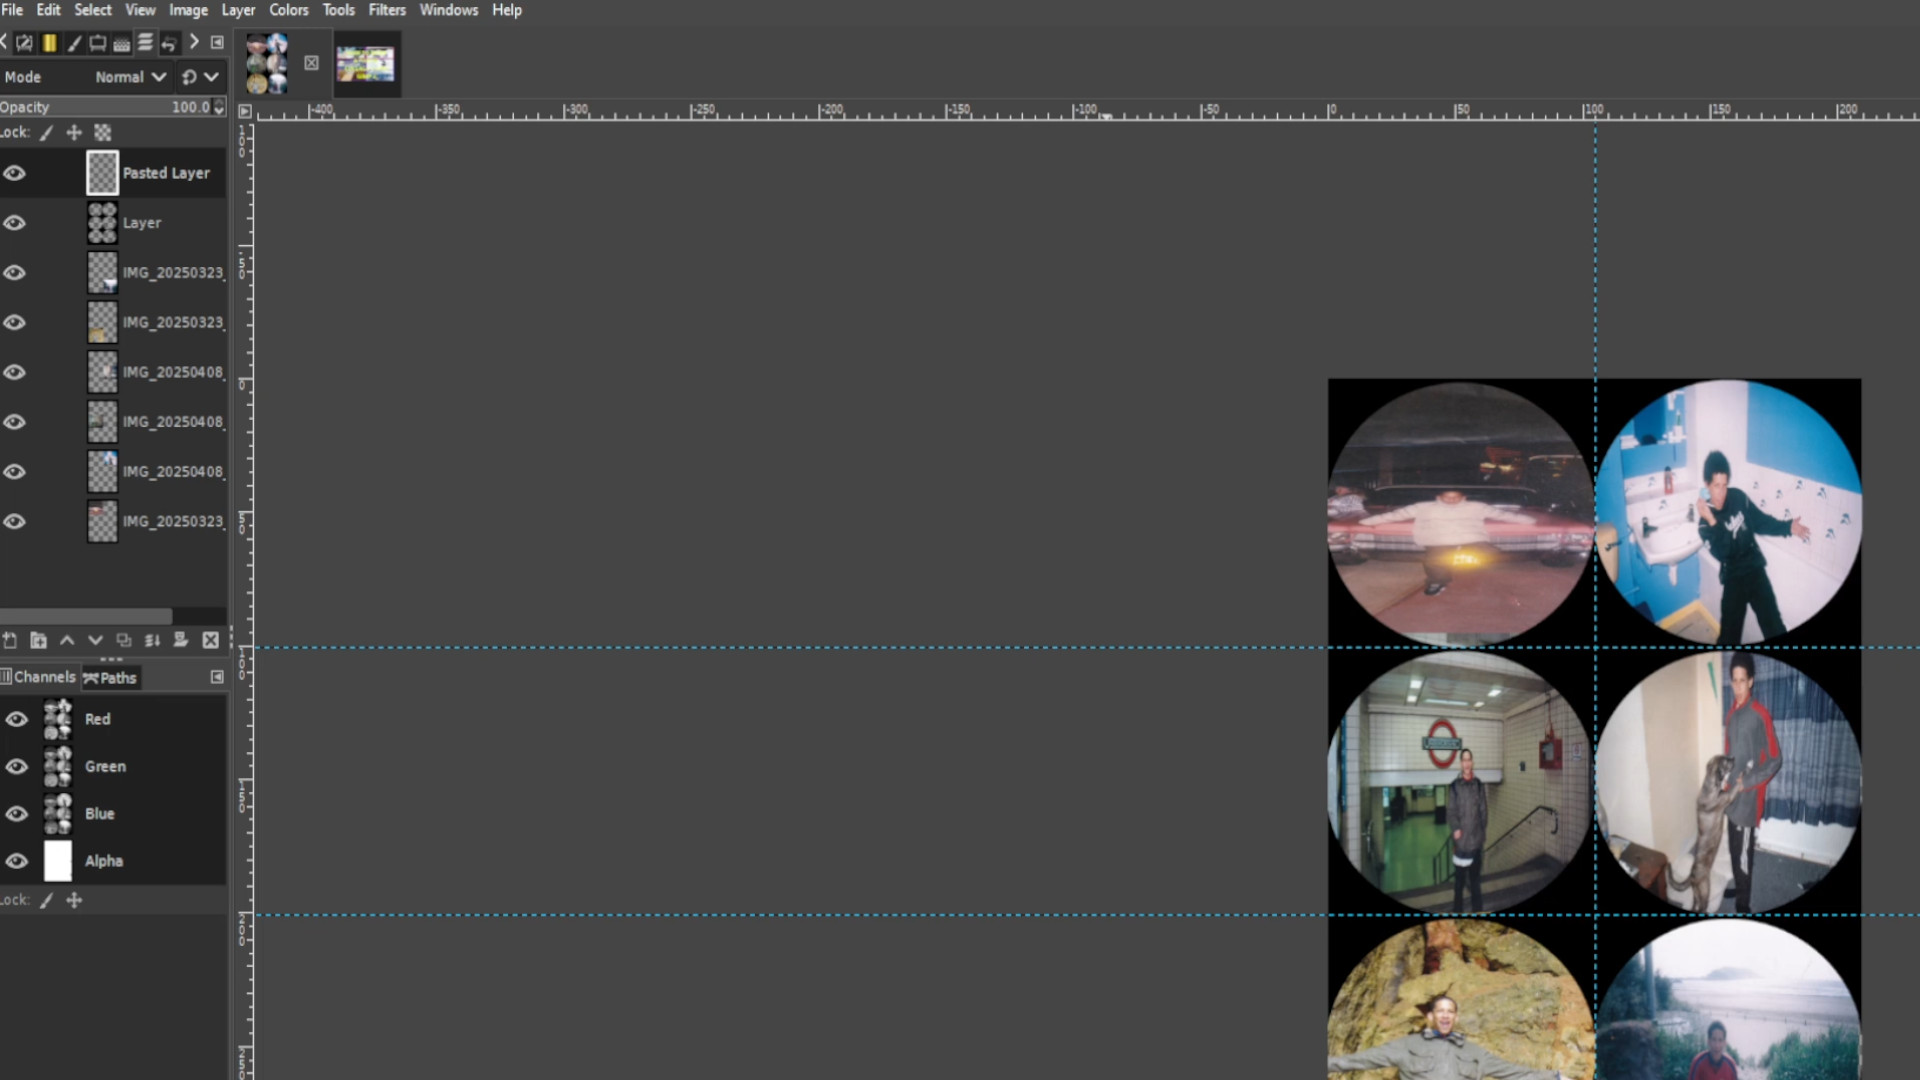
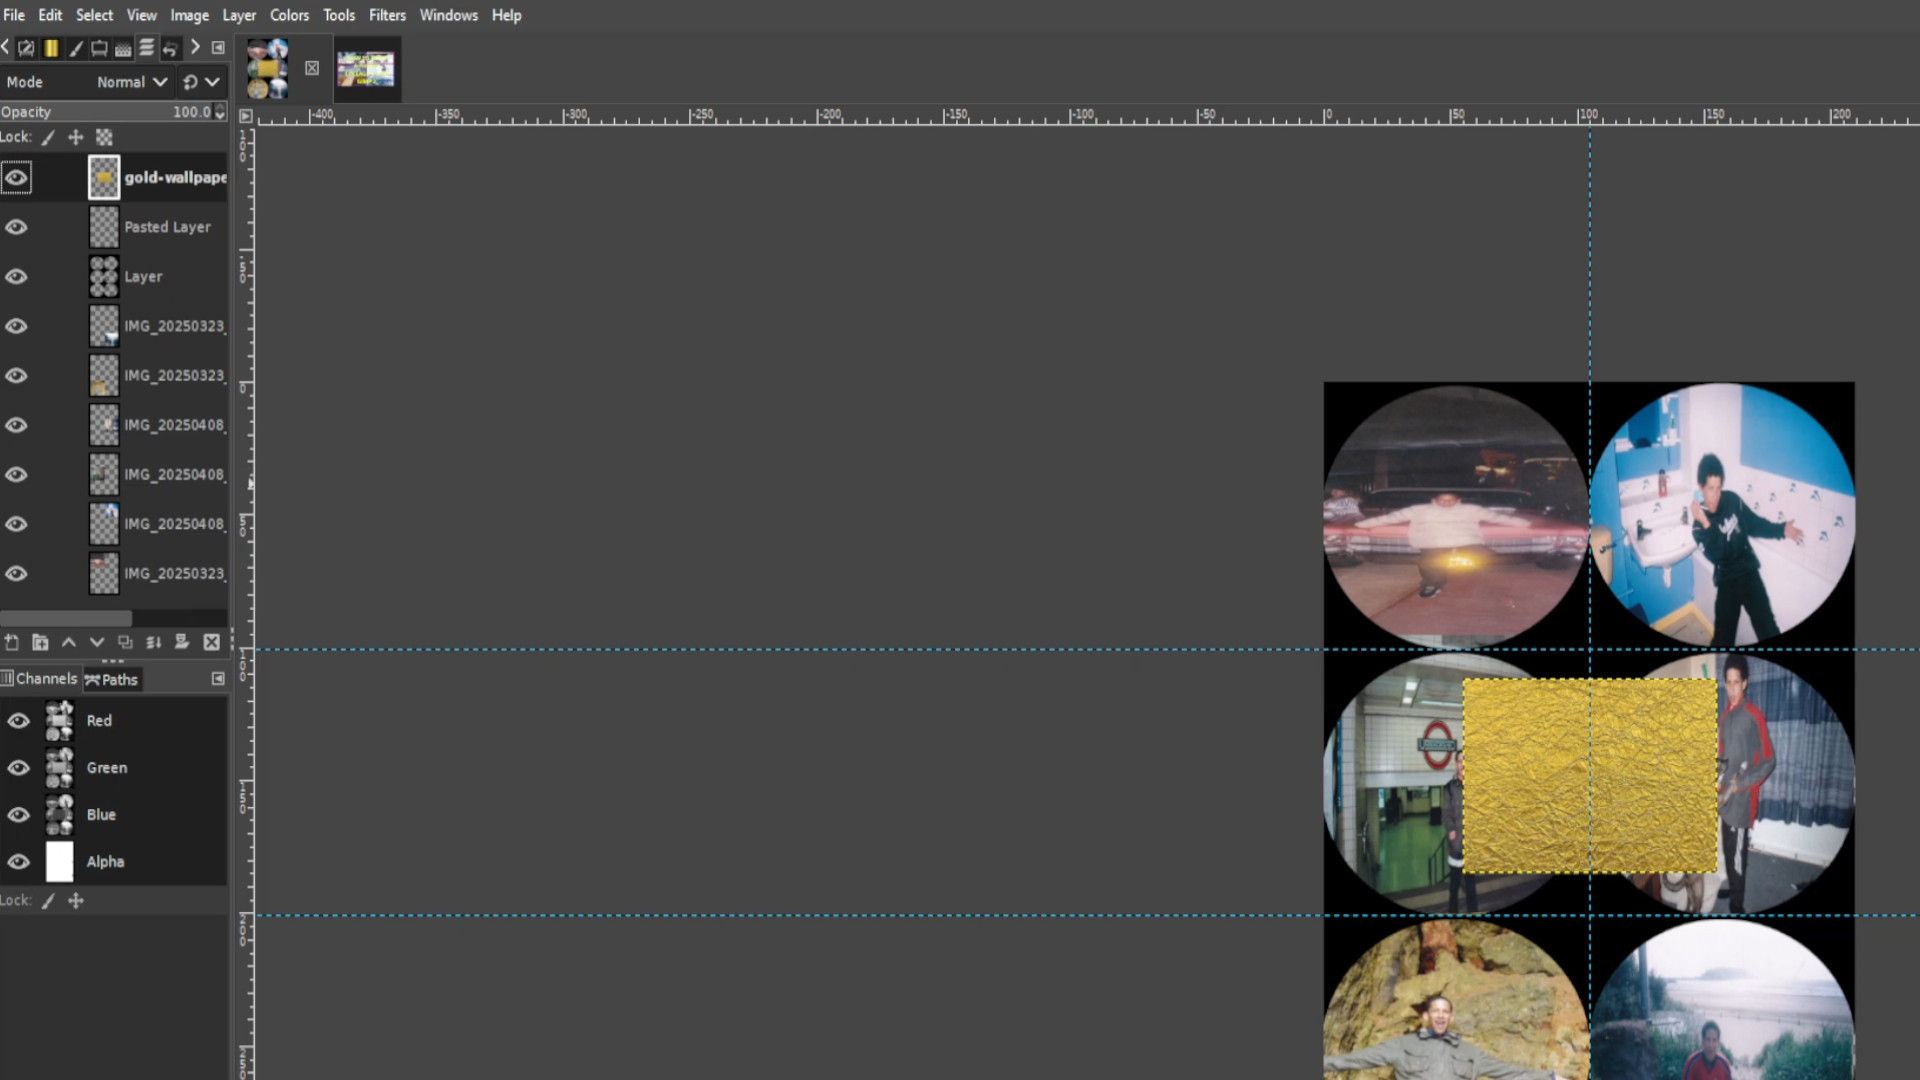
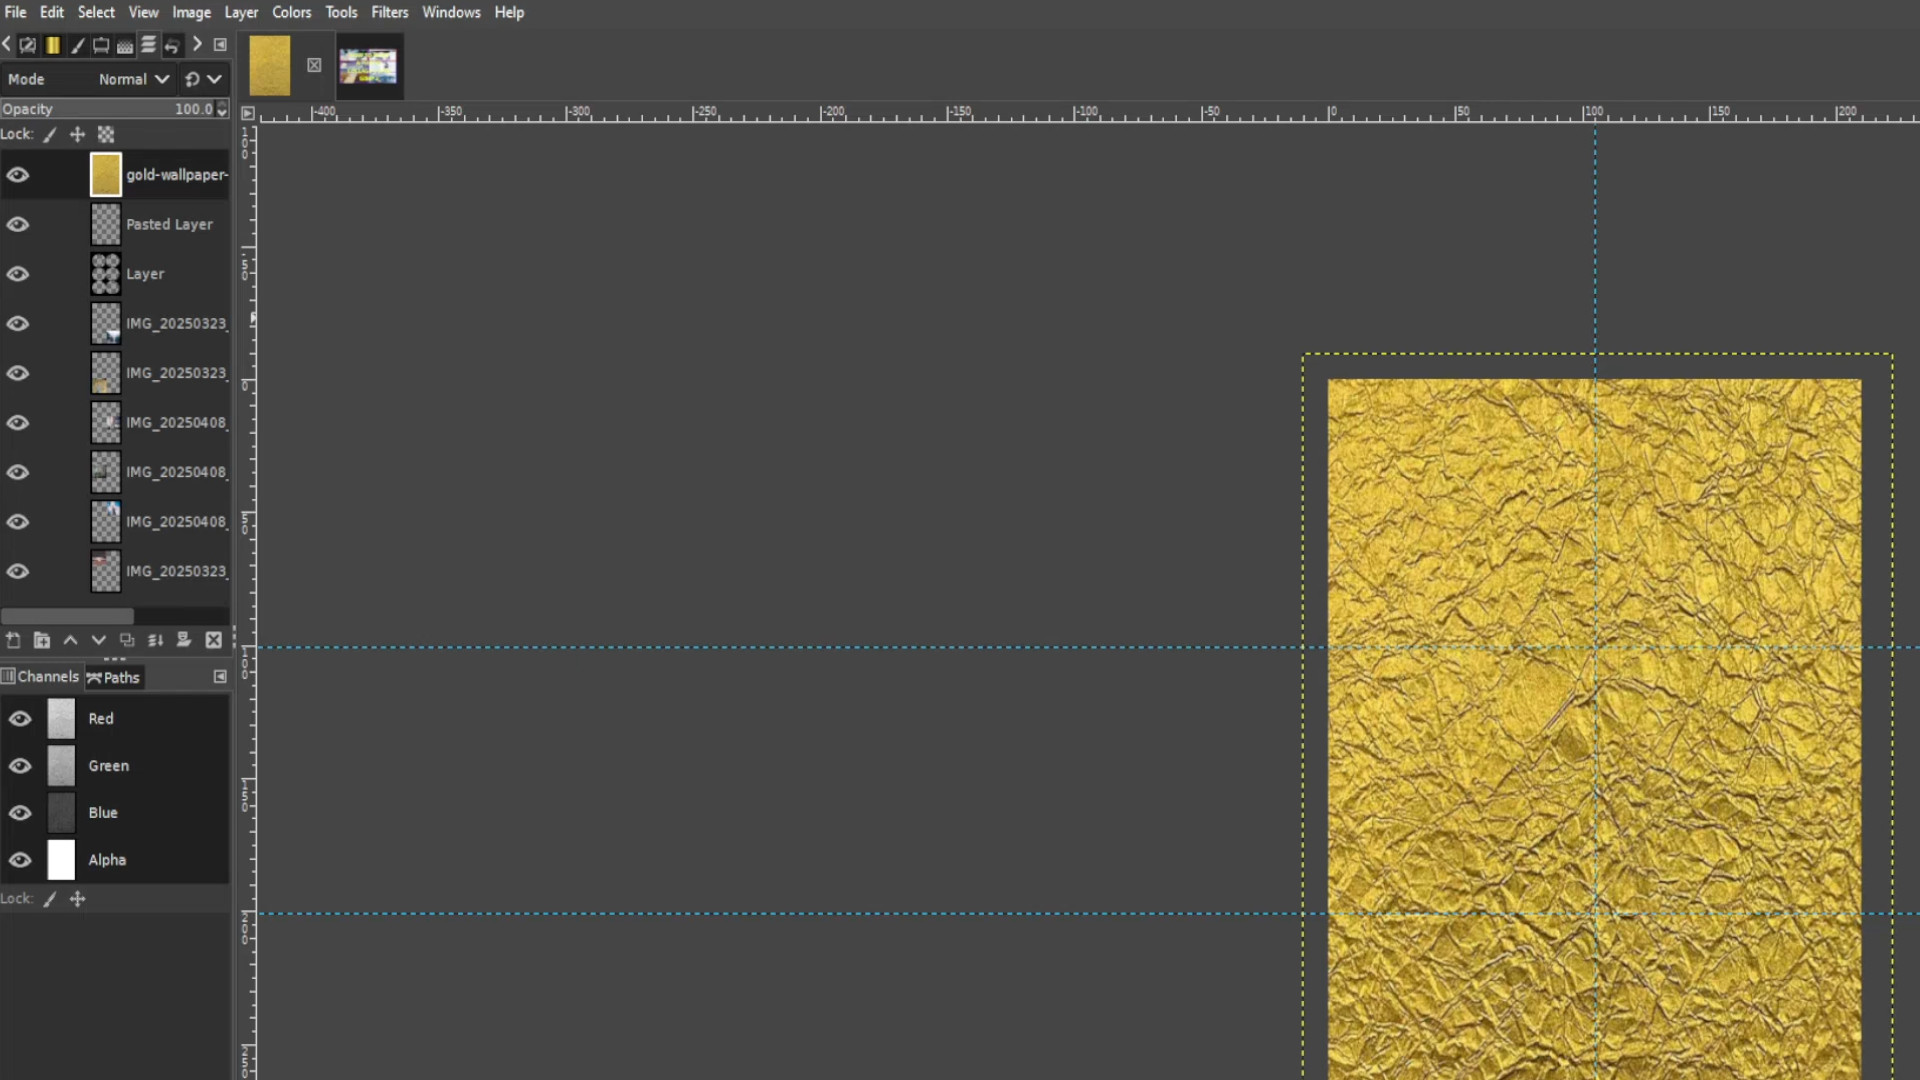
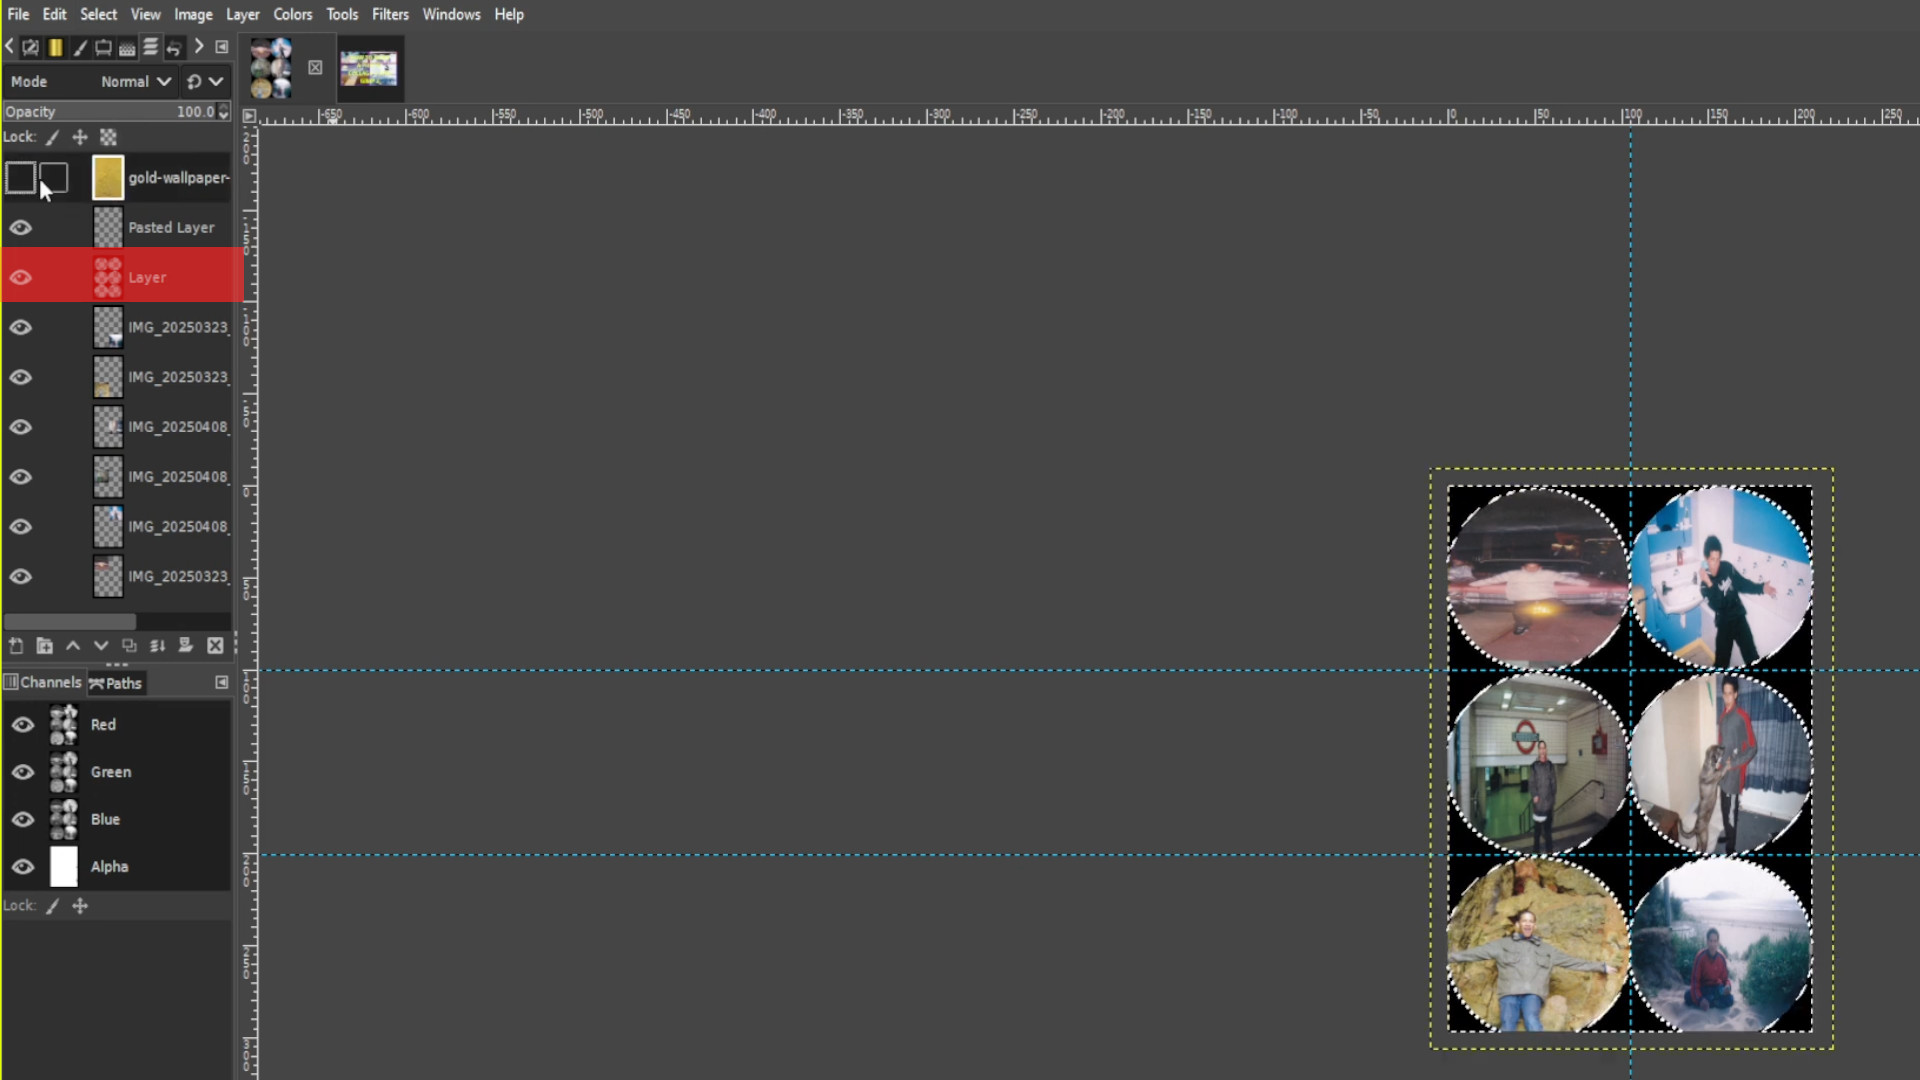
Add texture and stretch it the entire canvas space, make sure you are on the top layer.
Go to the>>>LAYERS TAB and>>>TURN OFF THE TEXTURE LAYER by clicking on the first eye it should be the top layer in the left hand side layers tab
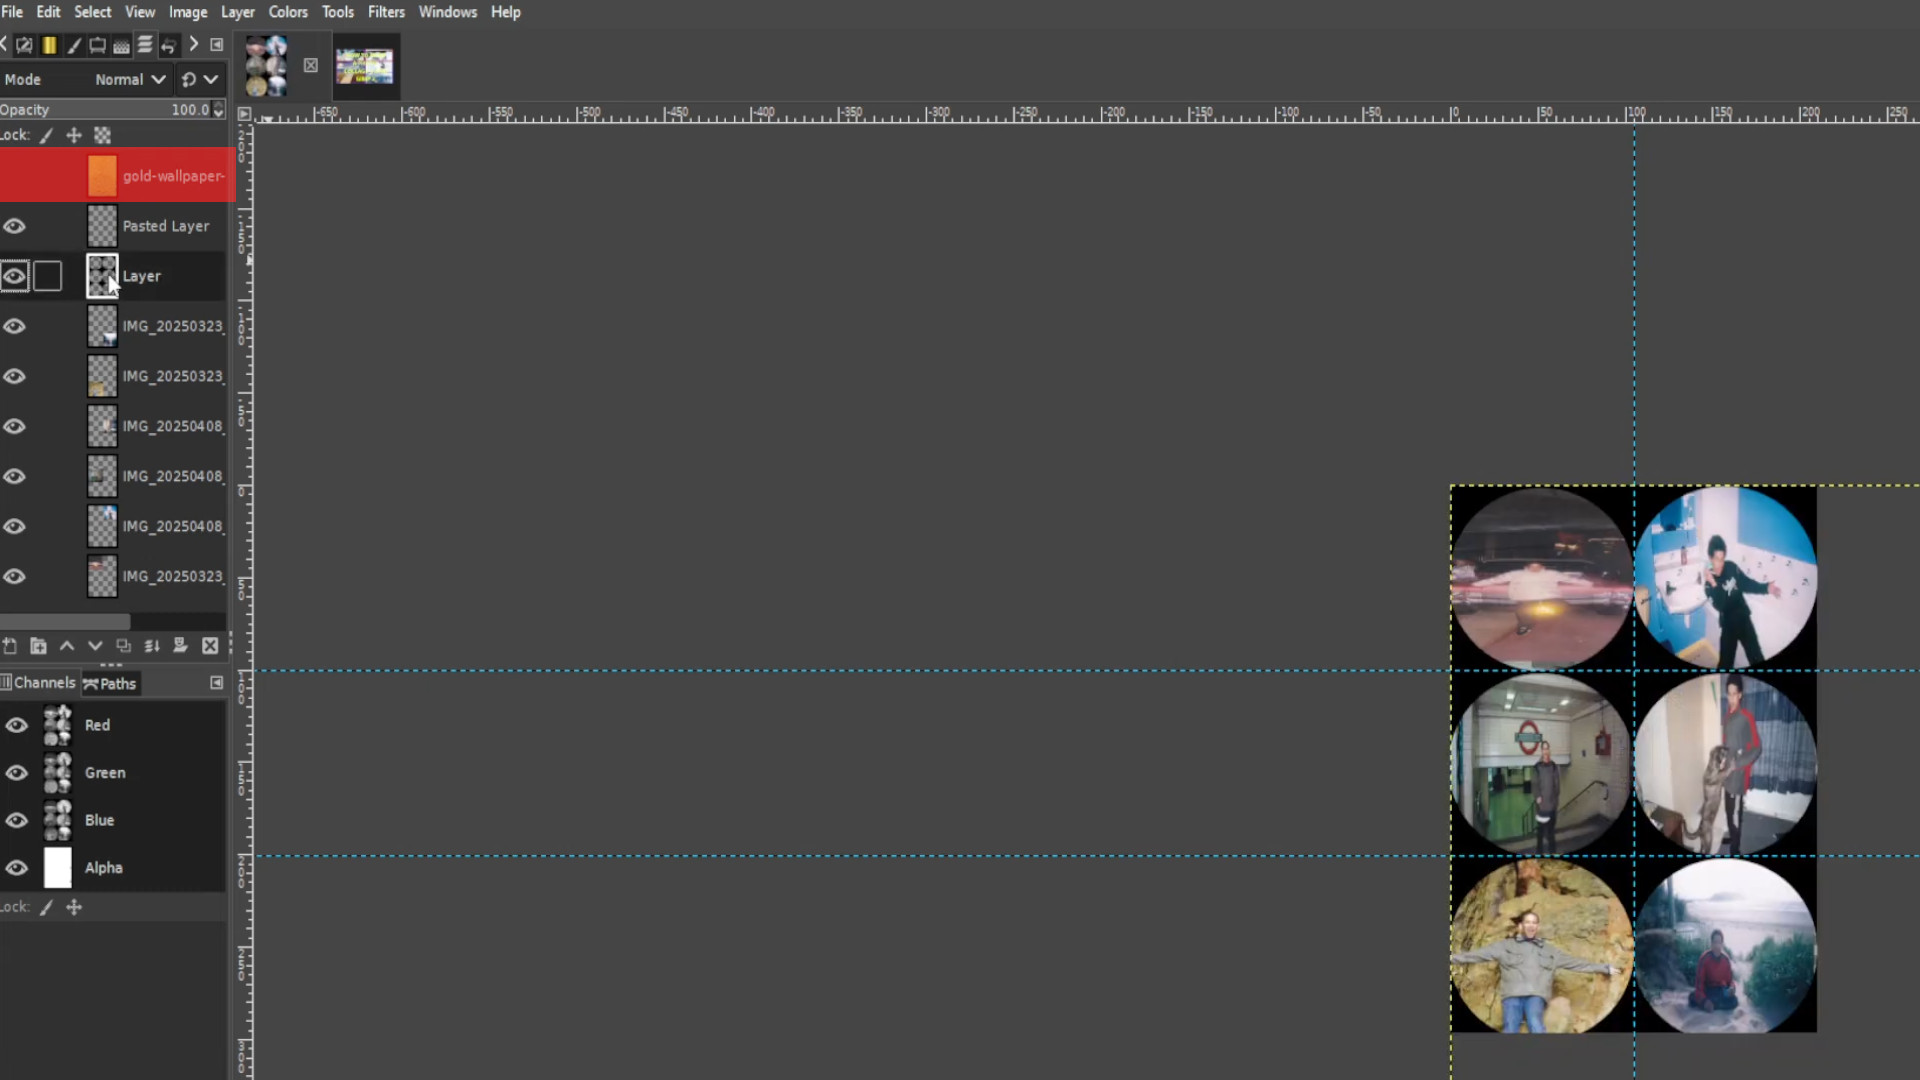
Go to>>>LAYERS TAB and>>>SELECT THE CIRCLES by using the>>>FUZZY SELECT TOOL making sure the frame is untouched but the middle is highlighted, it should be second from the top in the layers section.
Unhide layer by clicking on the first layer eye in the left hand side of the layers section.
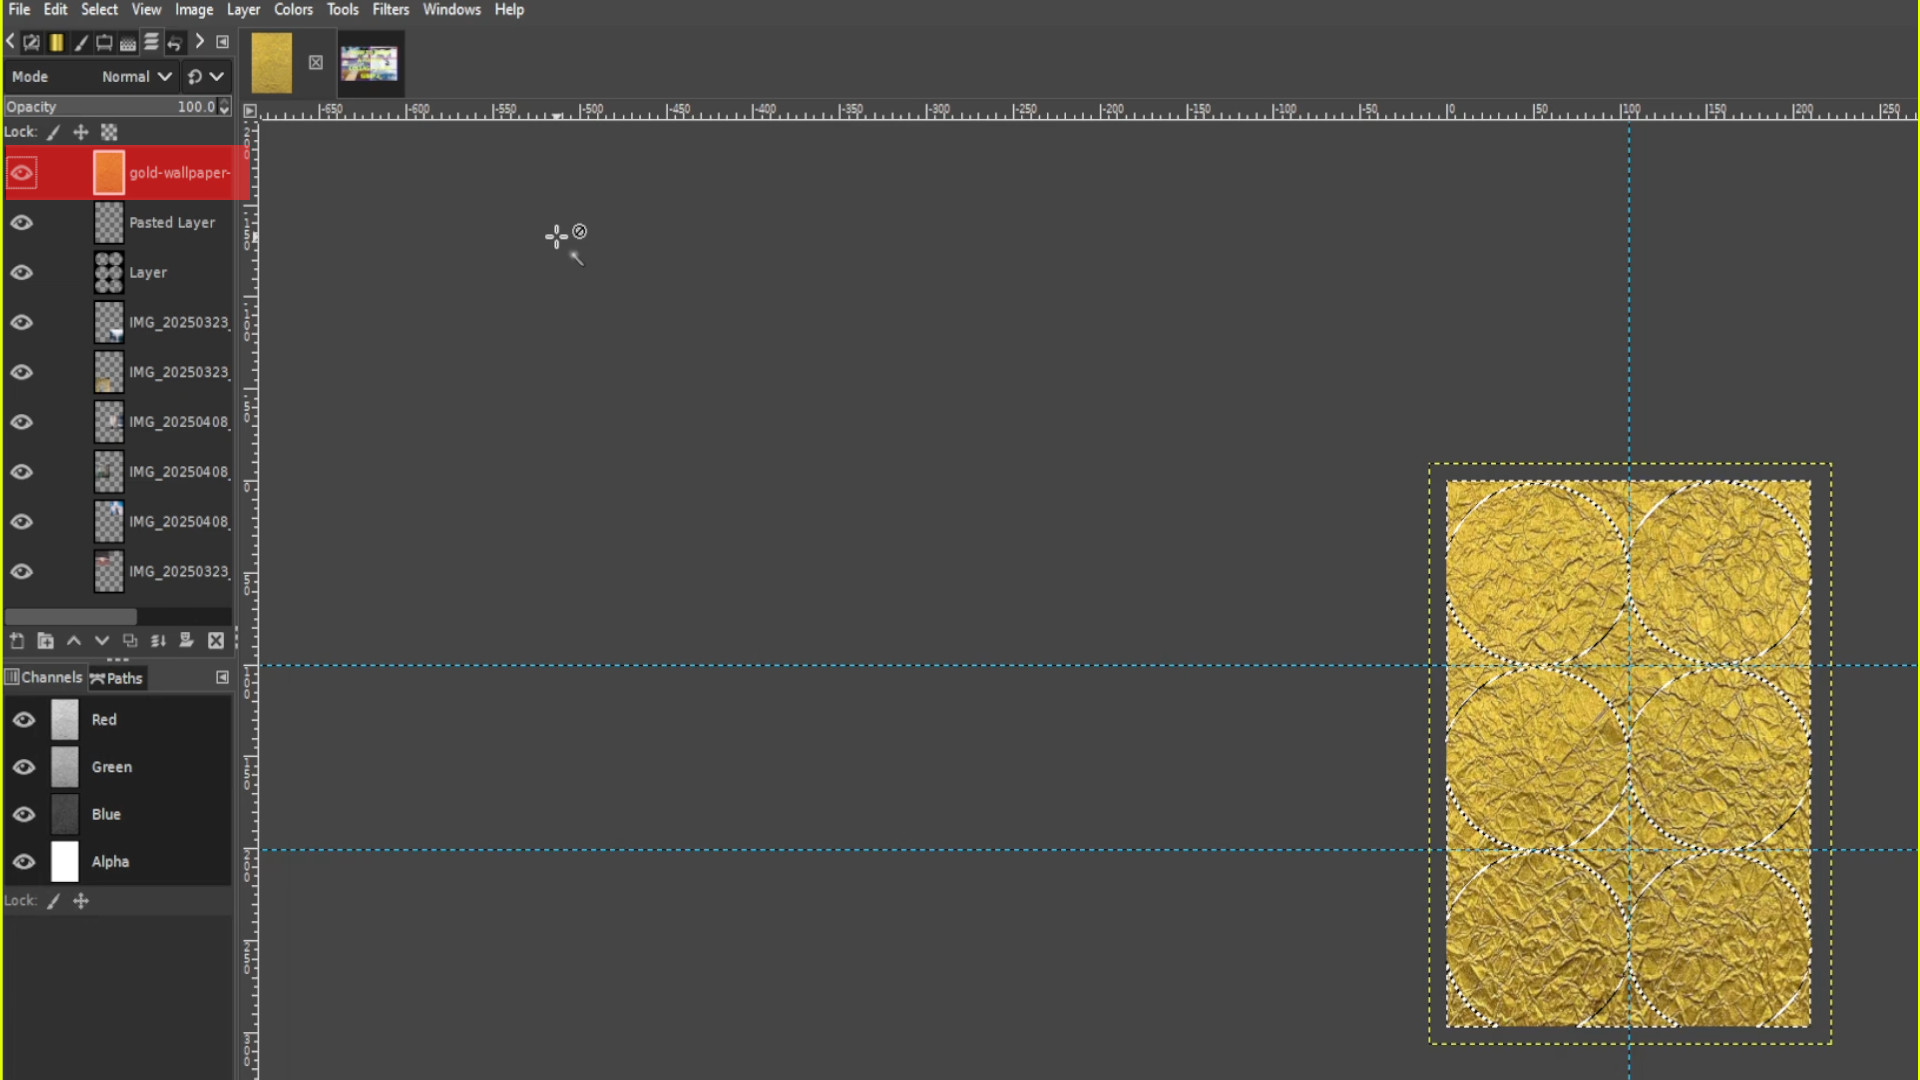
Now highlighted>>>HOLD CTRL and>>>PRESS X to remove the inner texture leaving a background around it.
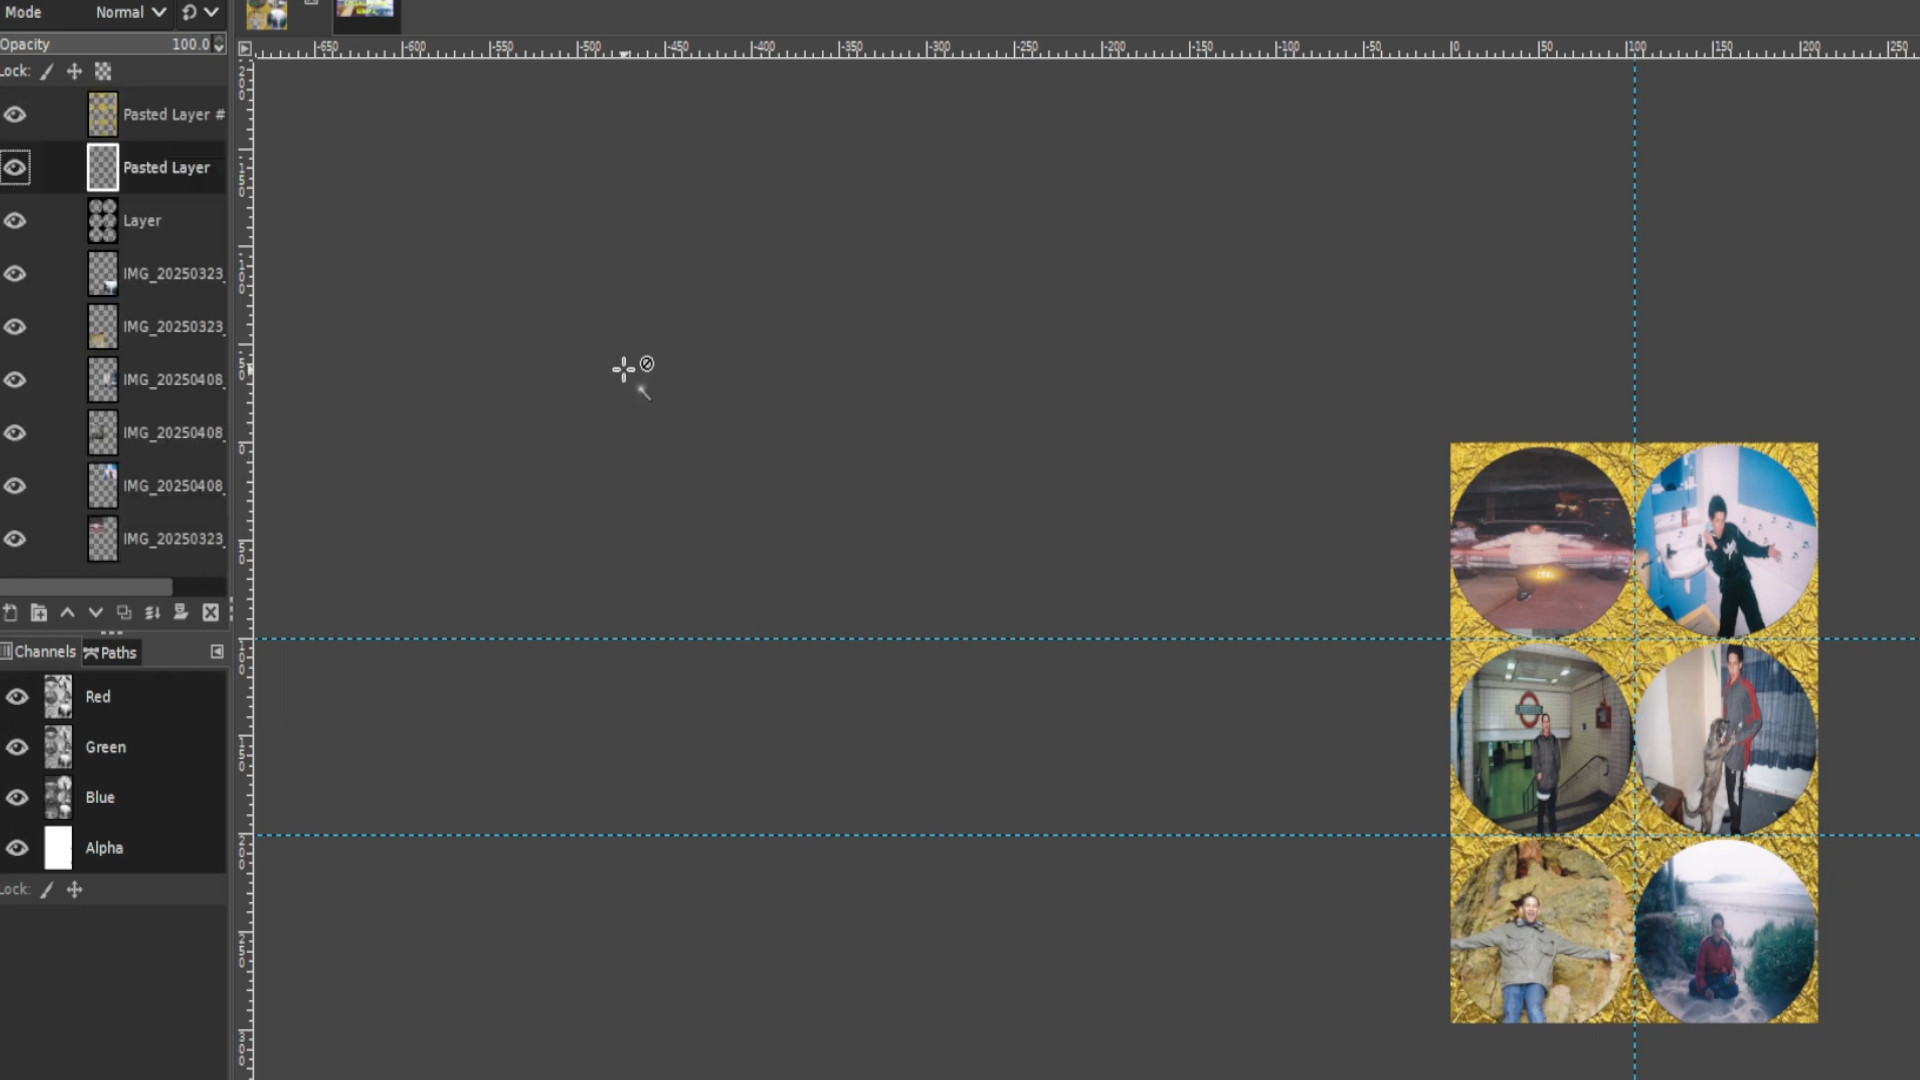
EXPERIMENT with BUCKET FILL, COLOUR and FILTERS to taste.
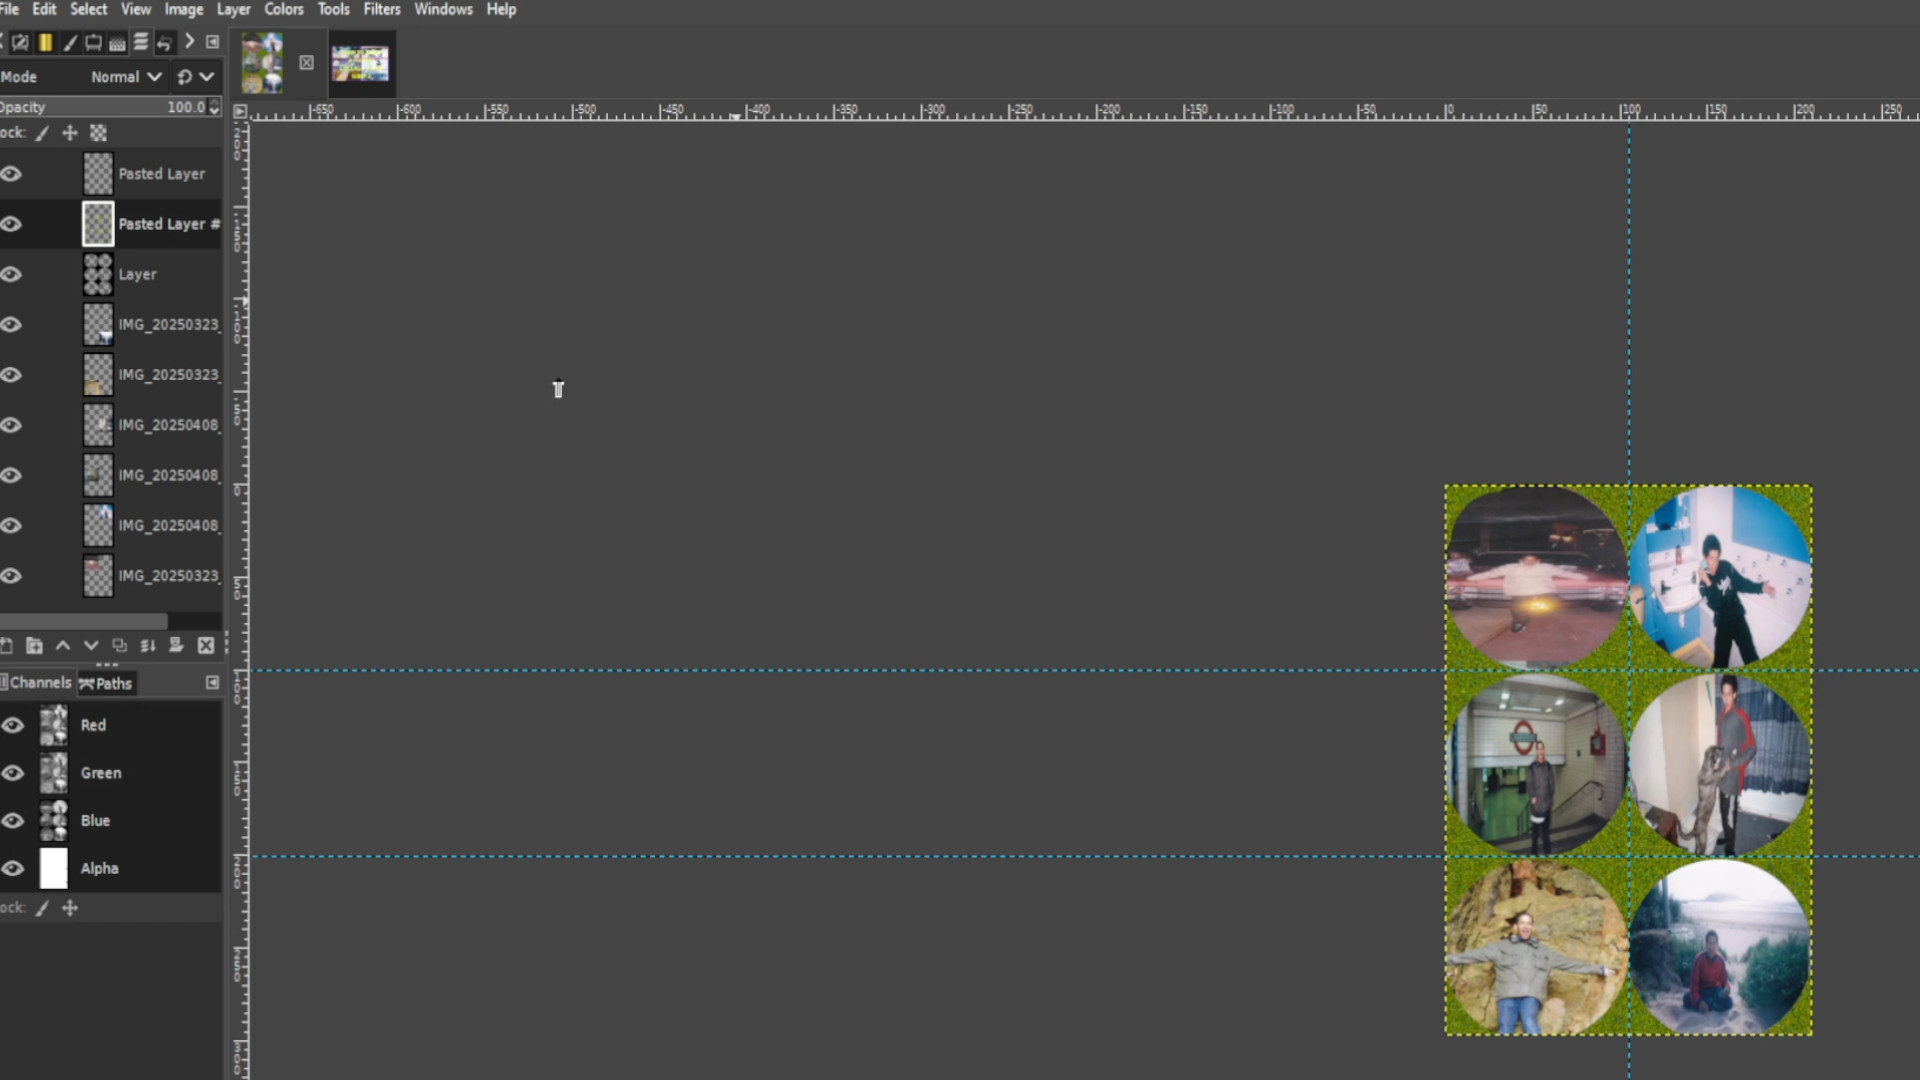
Export image by going to>>>FILE>>>EXPORT TO or>>>EXPORT AS and save with a JPG or PNG extension EG; COLLAGE__INSERT NUMBER.jpg or COLLAGE__INSERT NUMBER.png.

Add a Comment