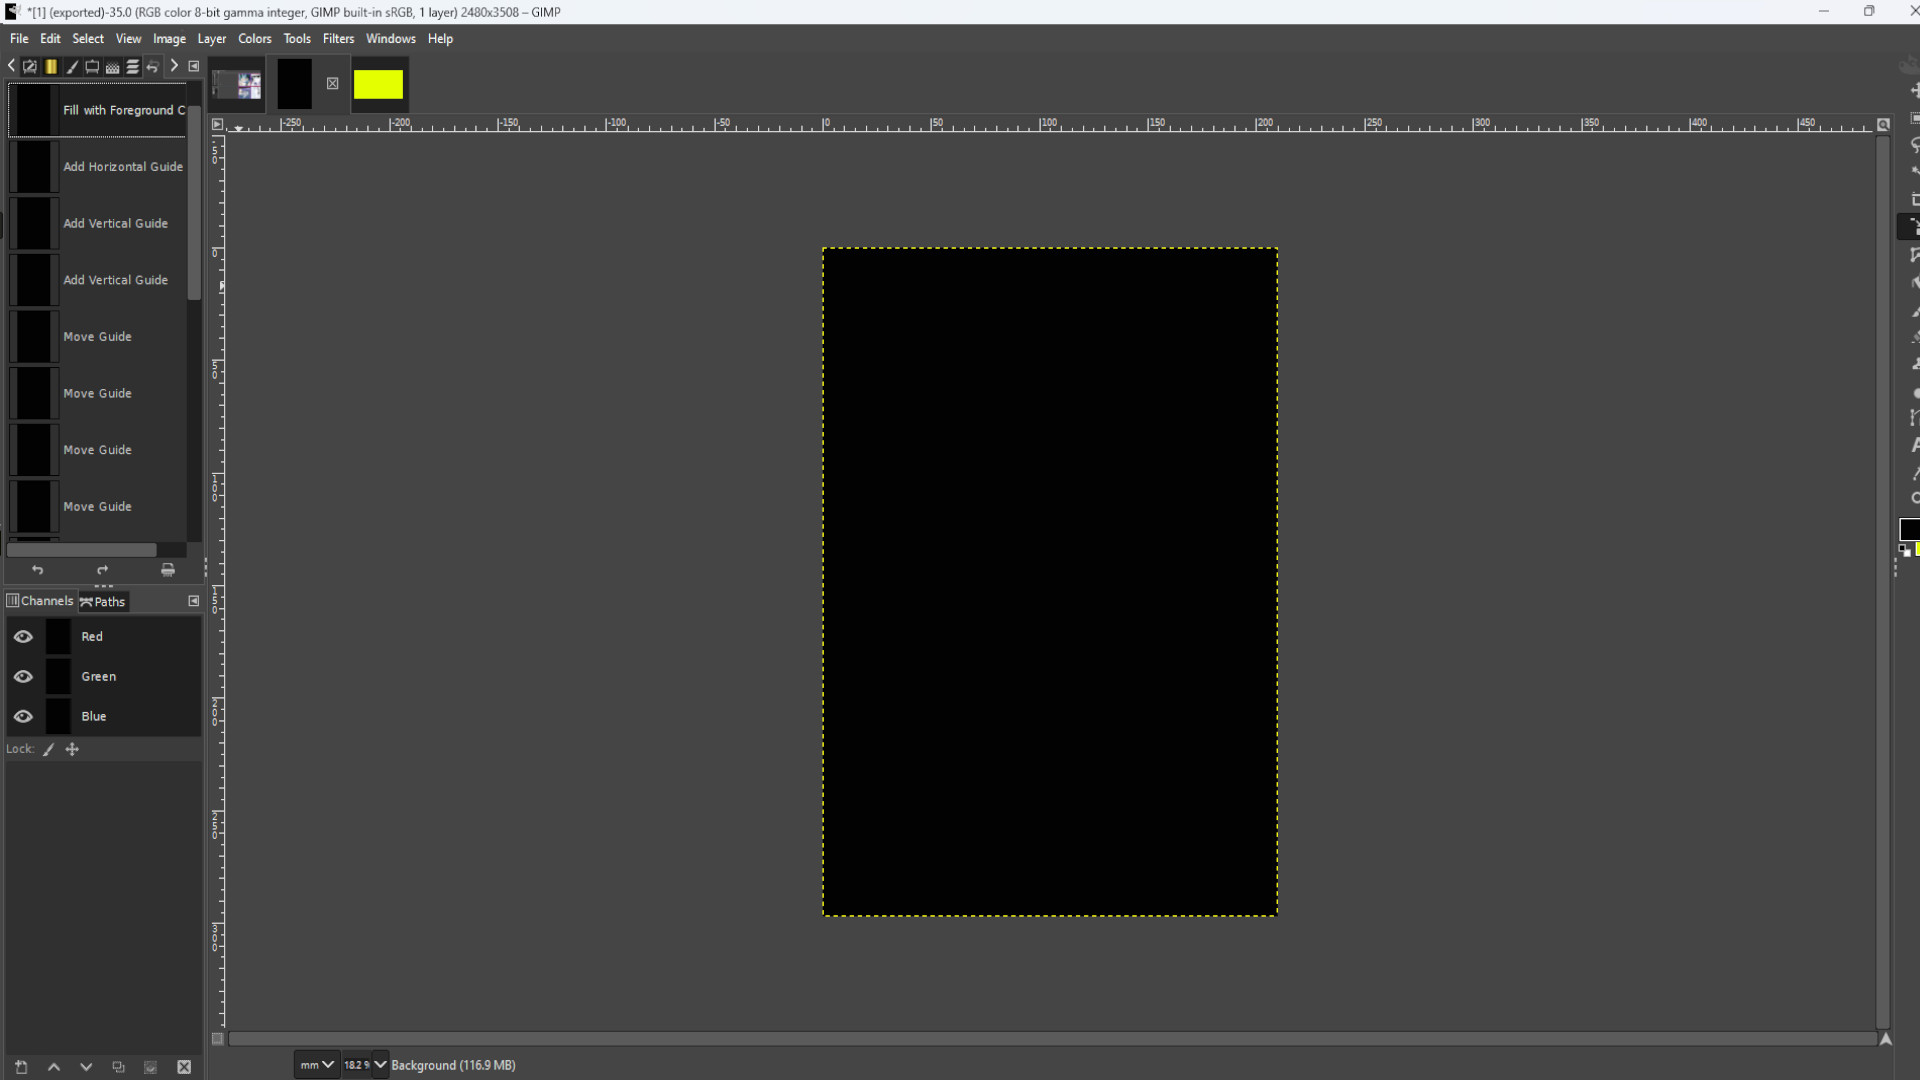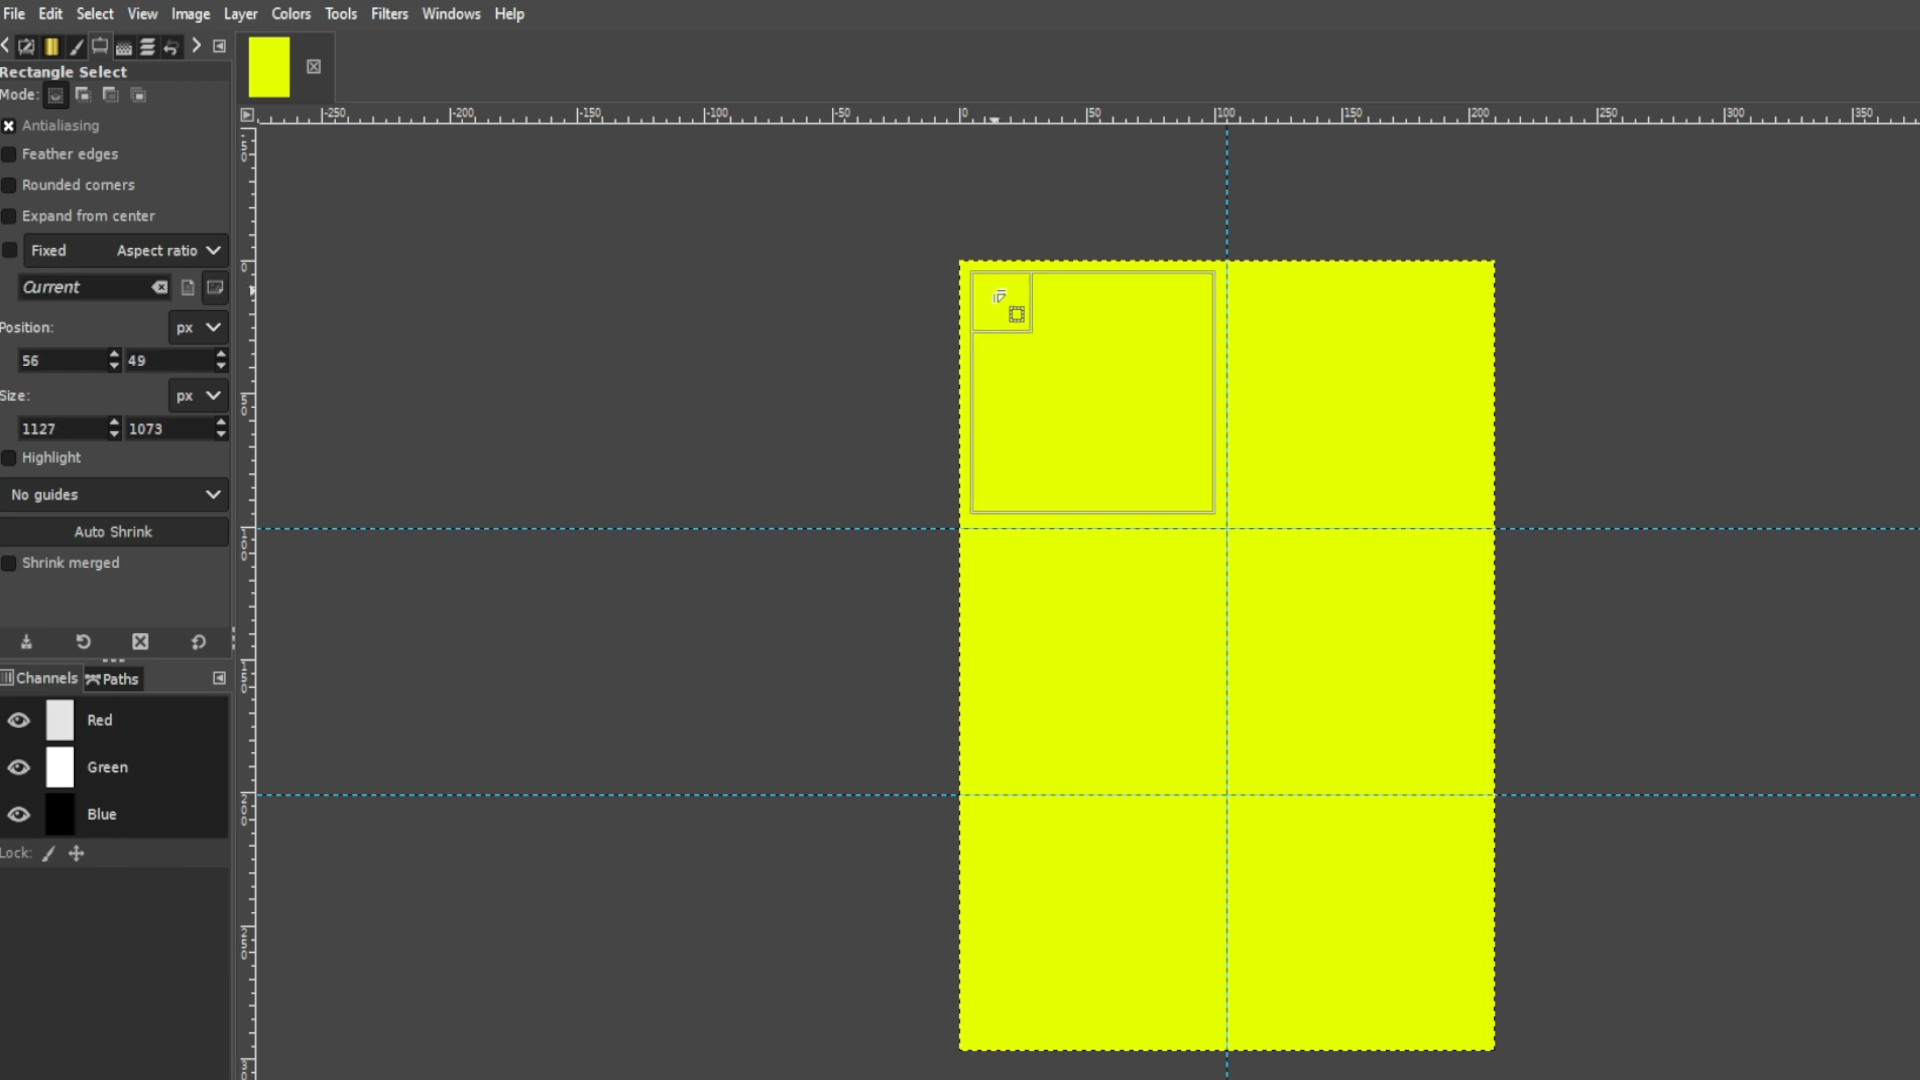
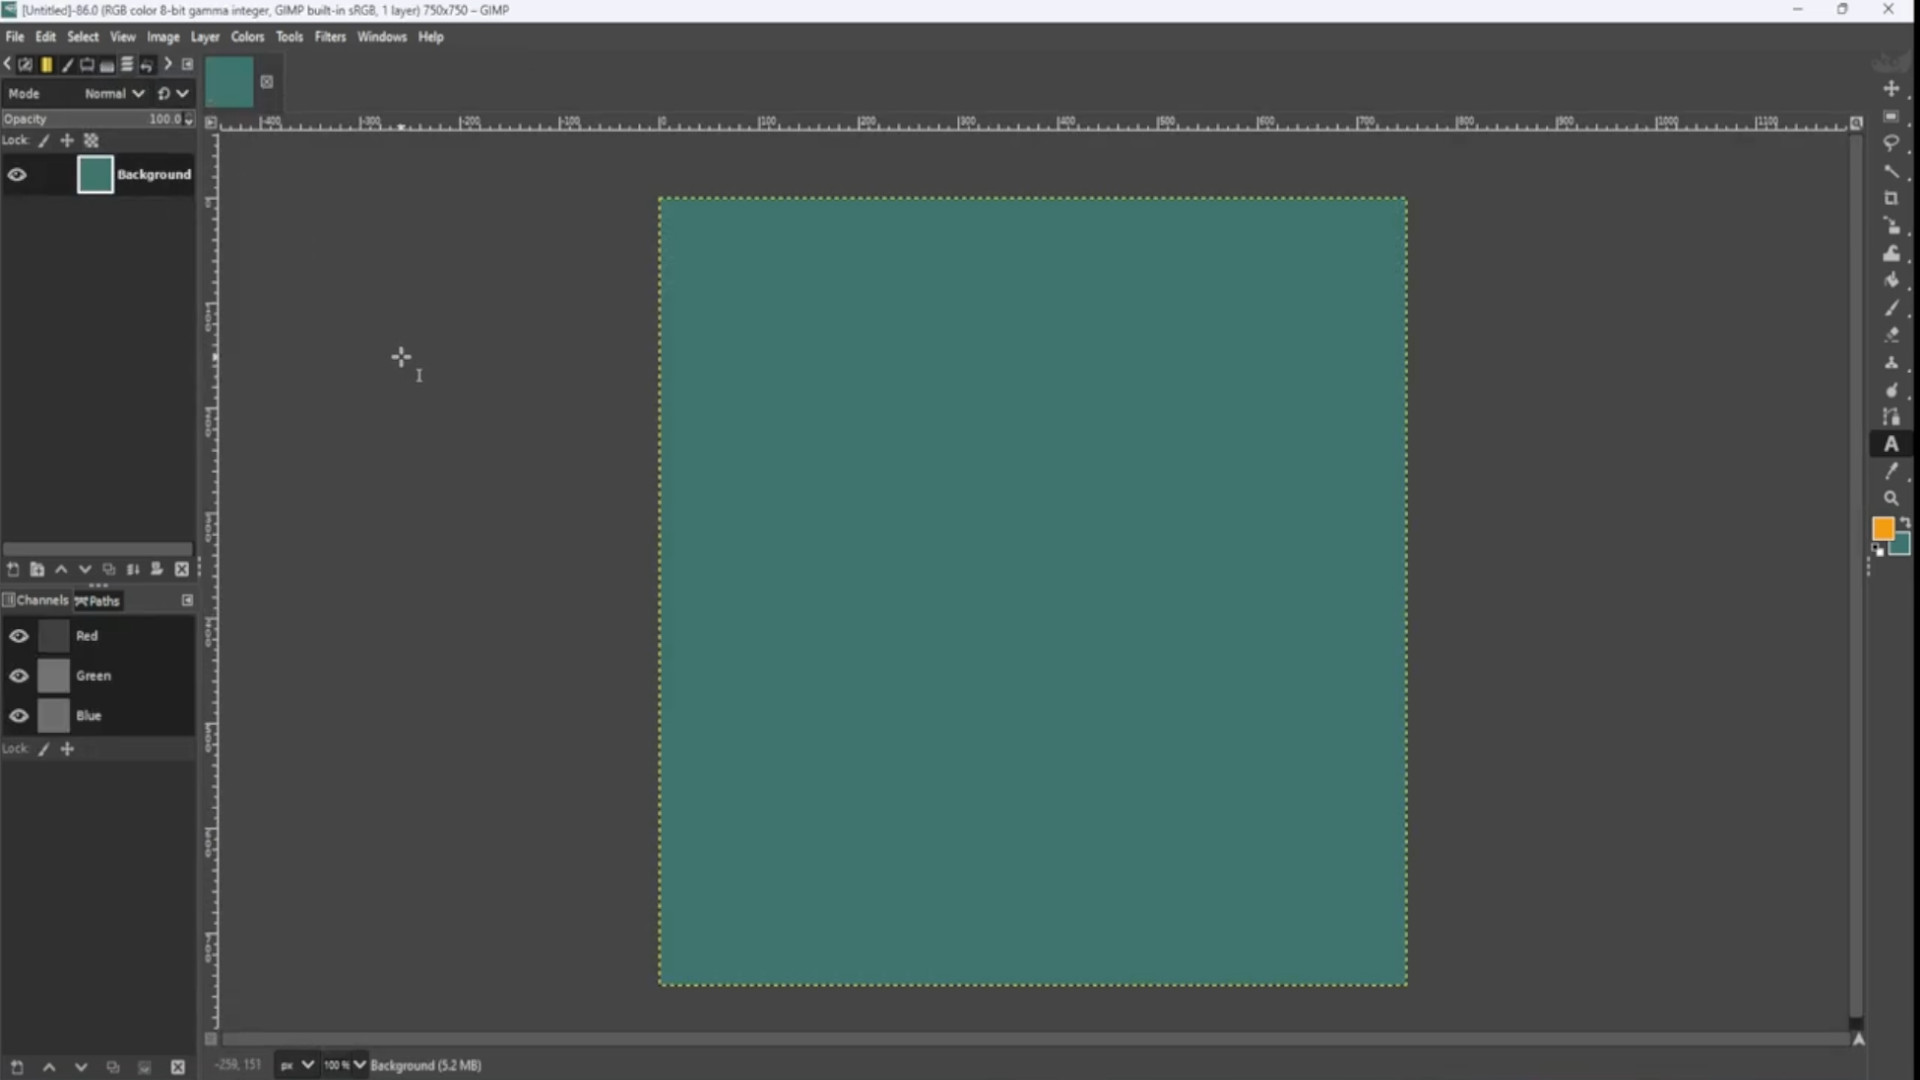
Check the size for the profile picture and open up Gimp and go to >>>FILE>>>NEW>>>TEMPLATE and pick the>>>CORRECT SIZE in this case;
750 in Width,
750 in Height
in px should be perfect for all your socials.
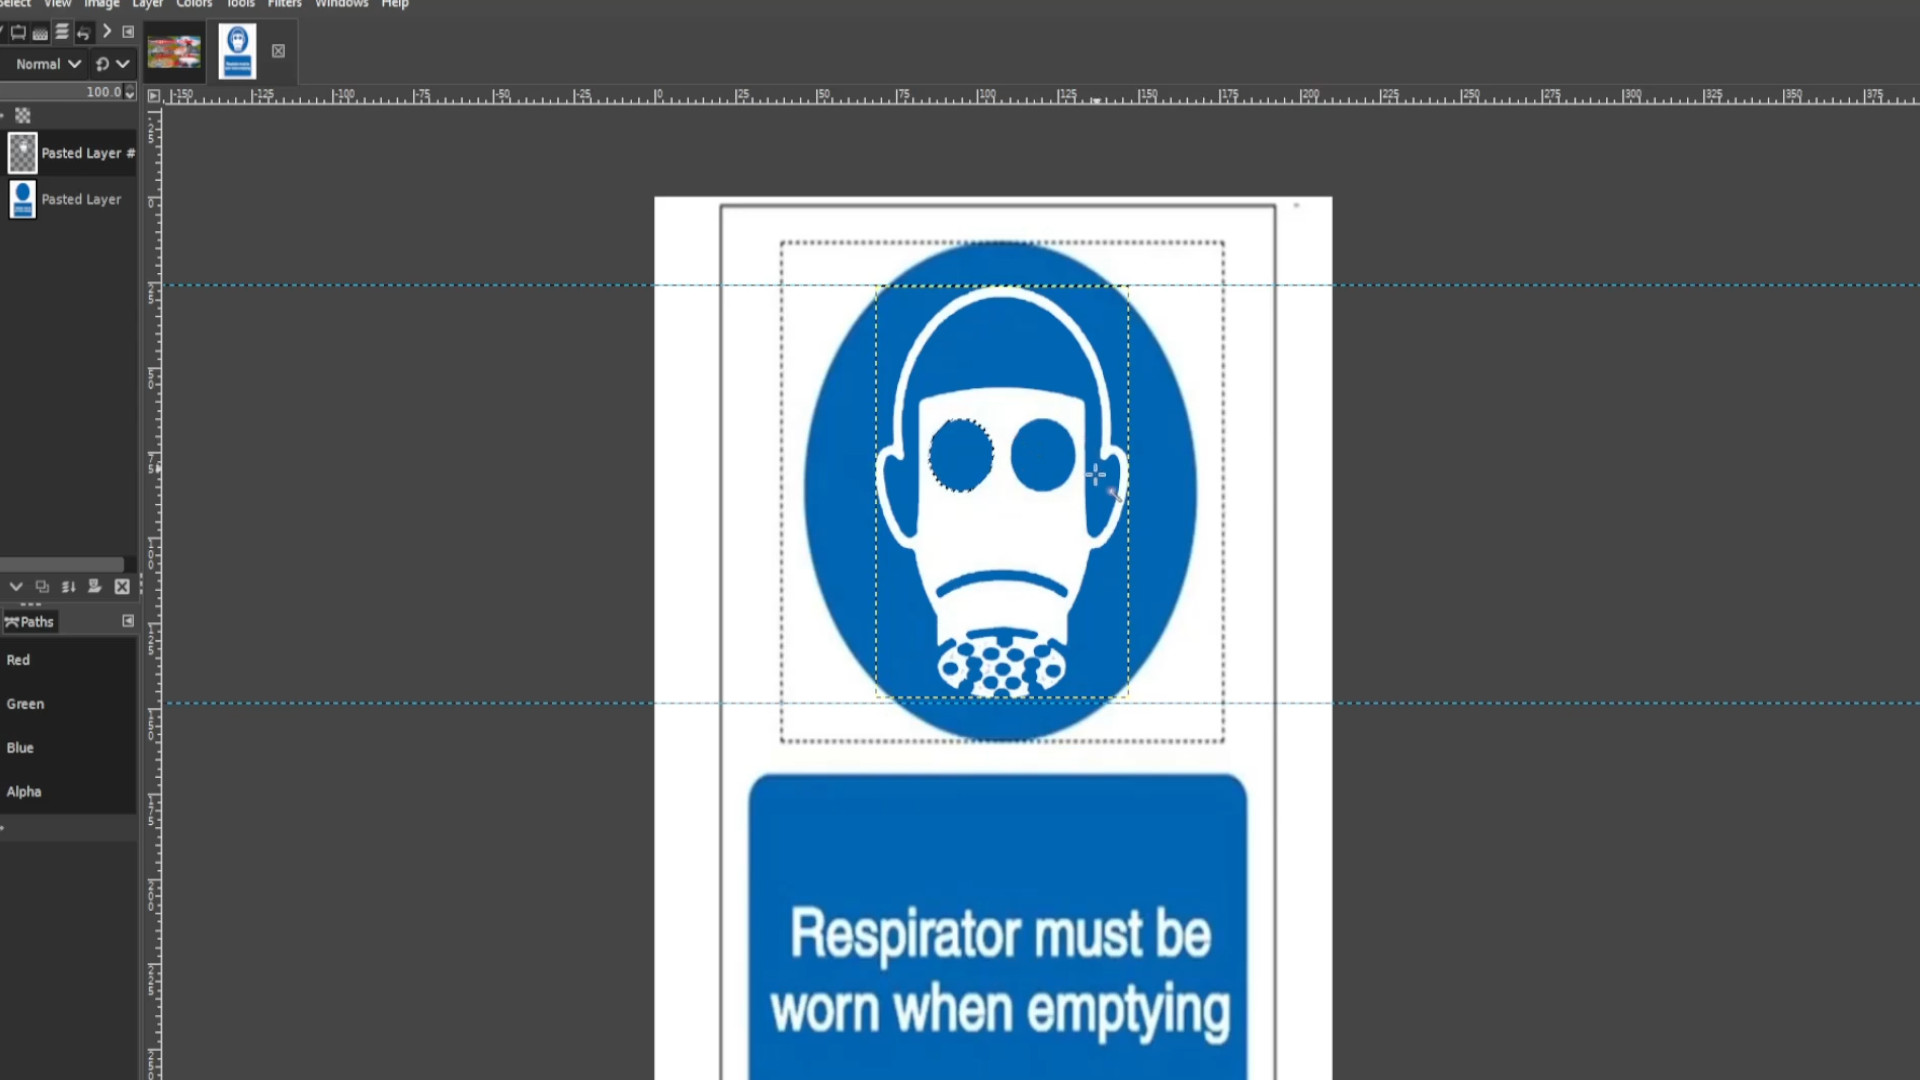
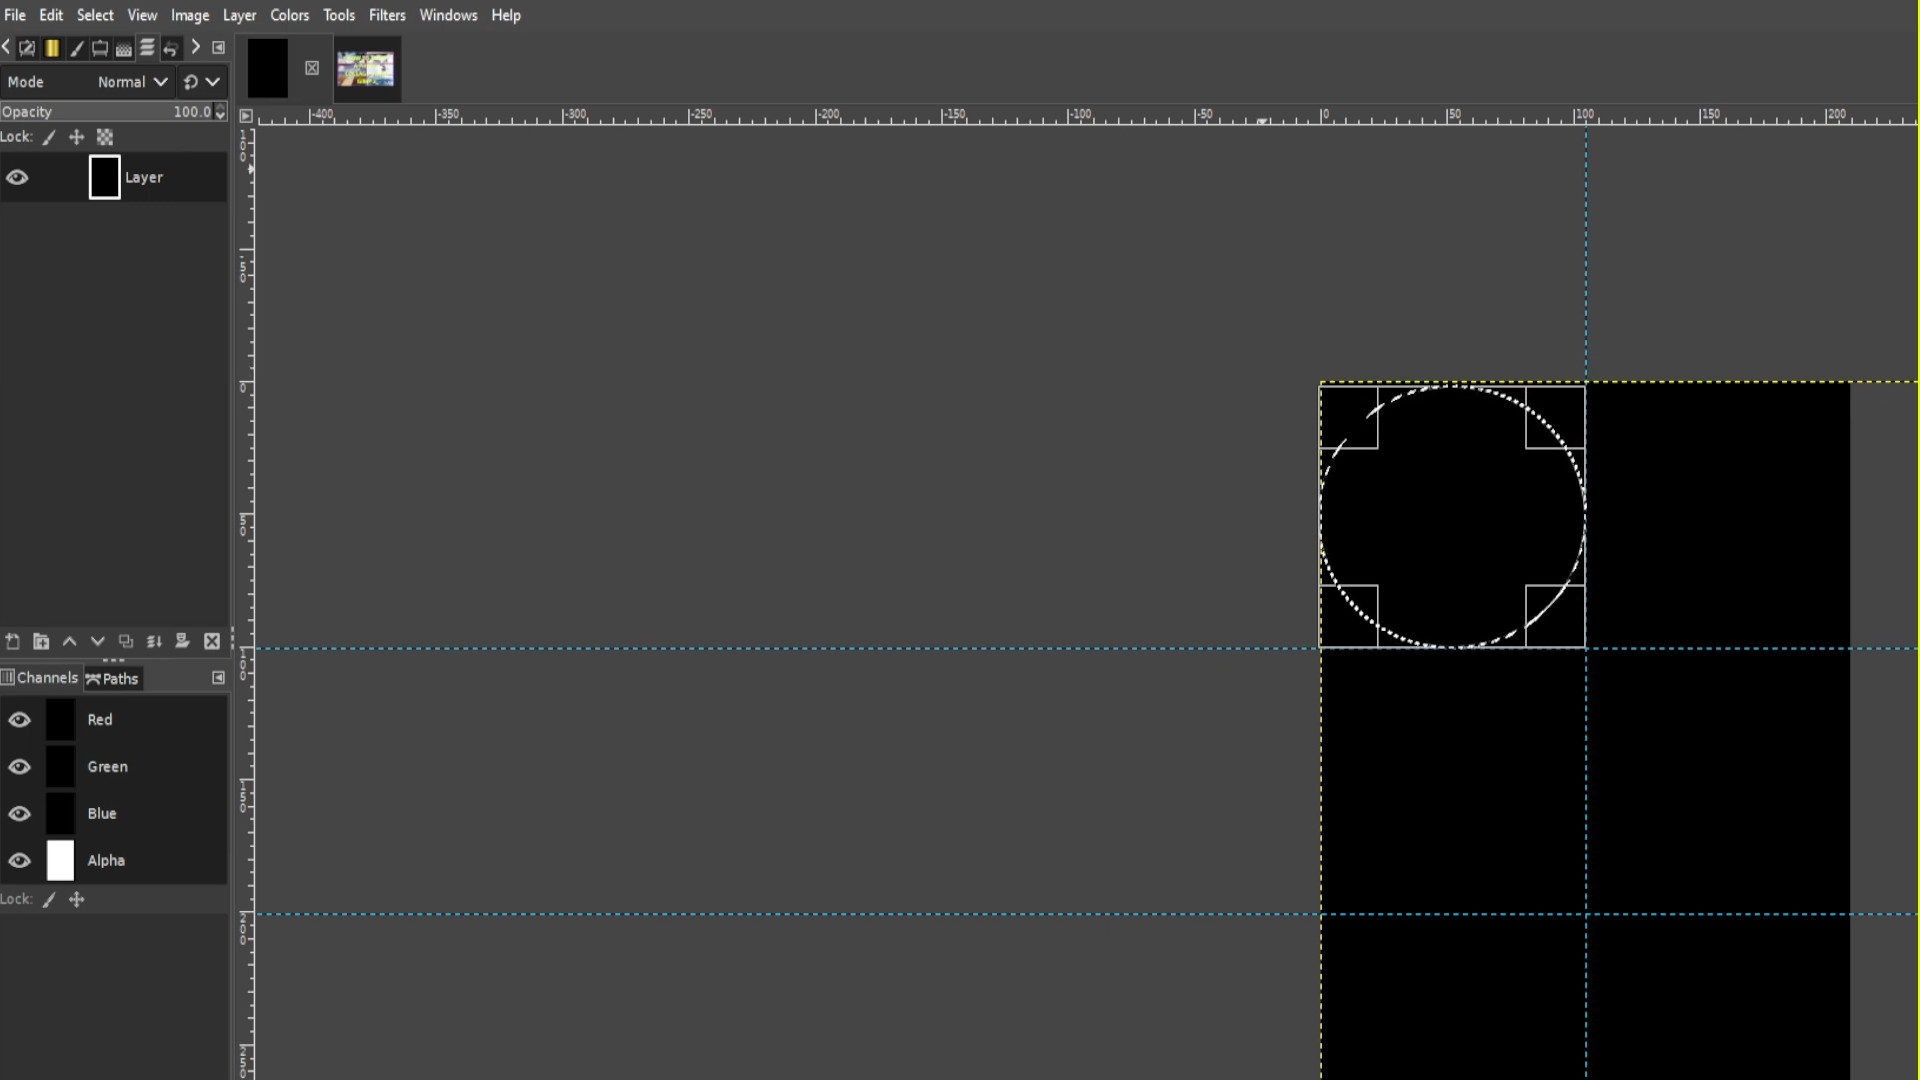
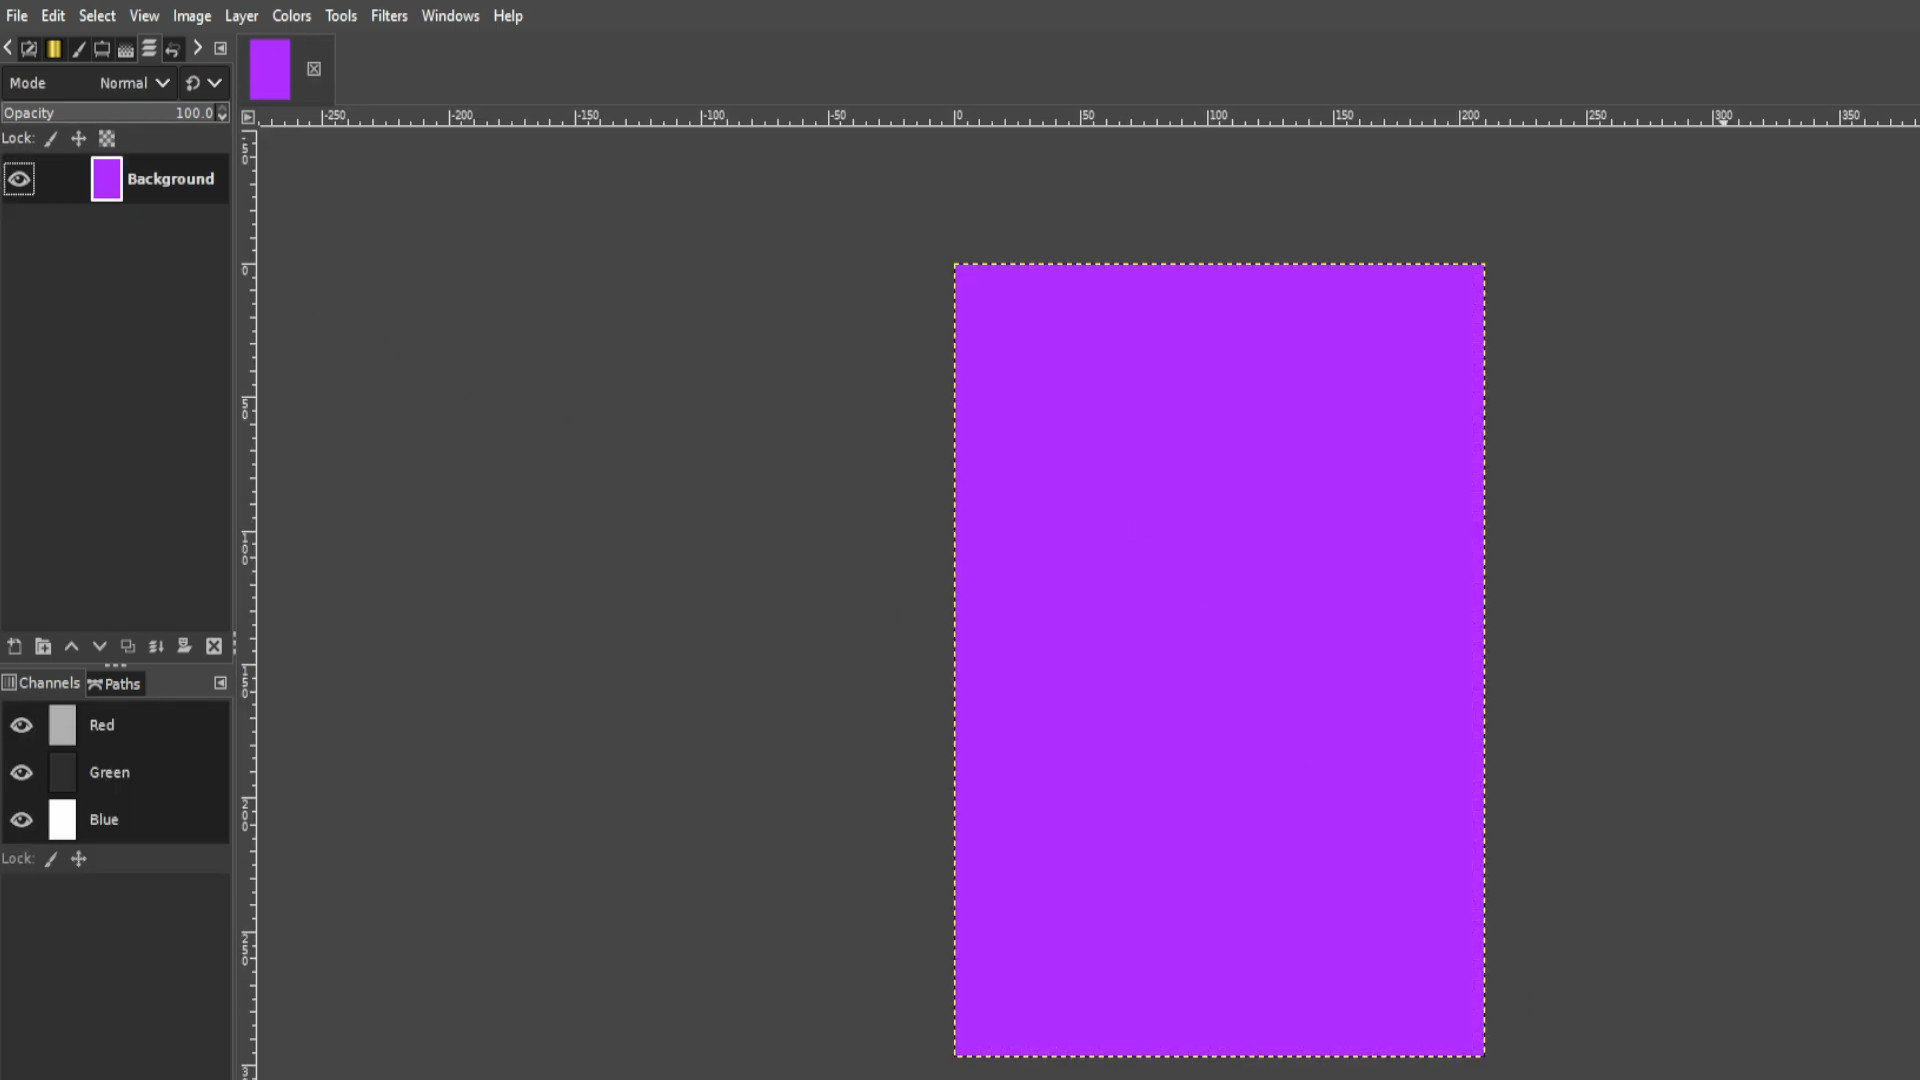
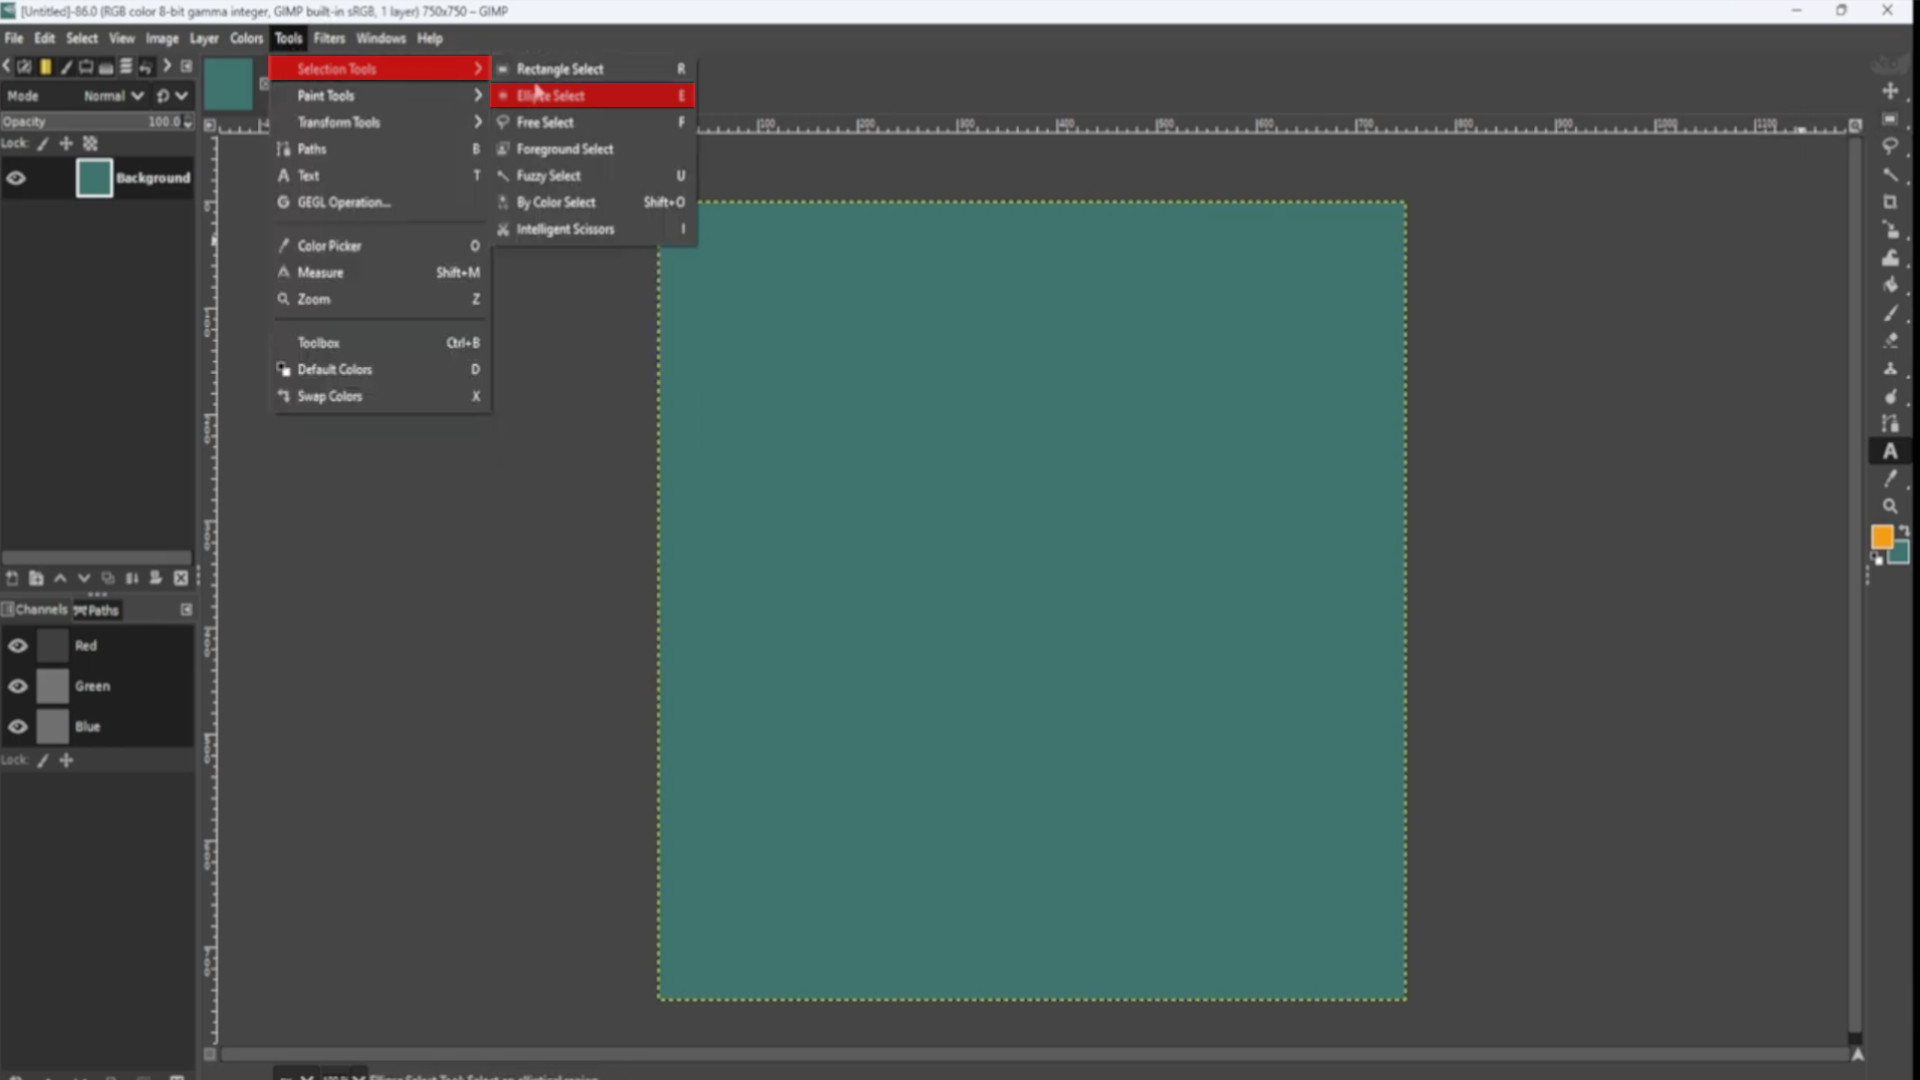
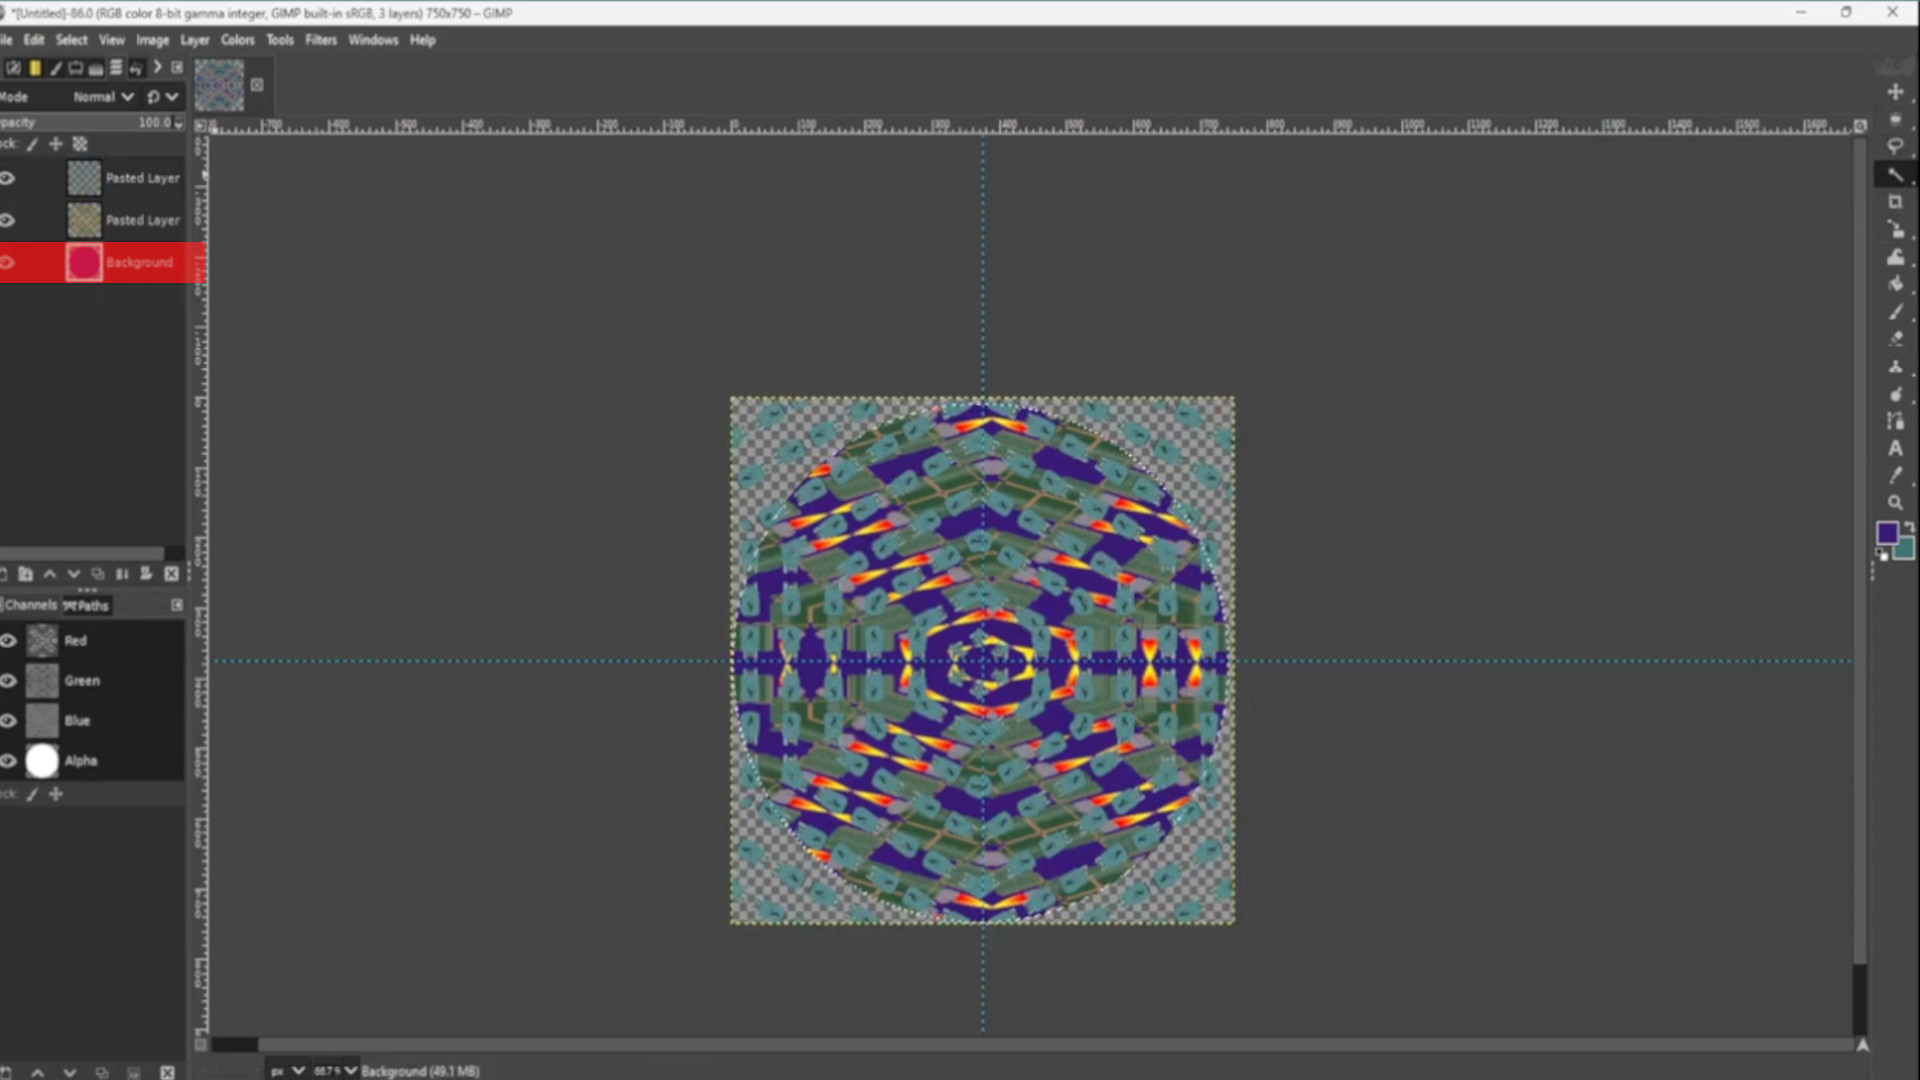
Using the>>>ELLIPSE SELECT TOOL by going to>>>SELECTION TOOLS>>>ELLIPSE SELECT and>>>DRAW A CIRCLE that fits the canvas.

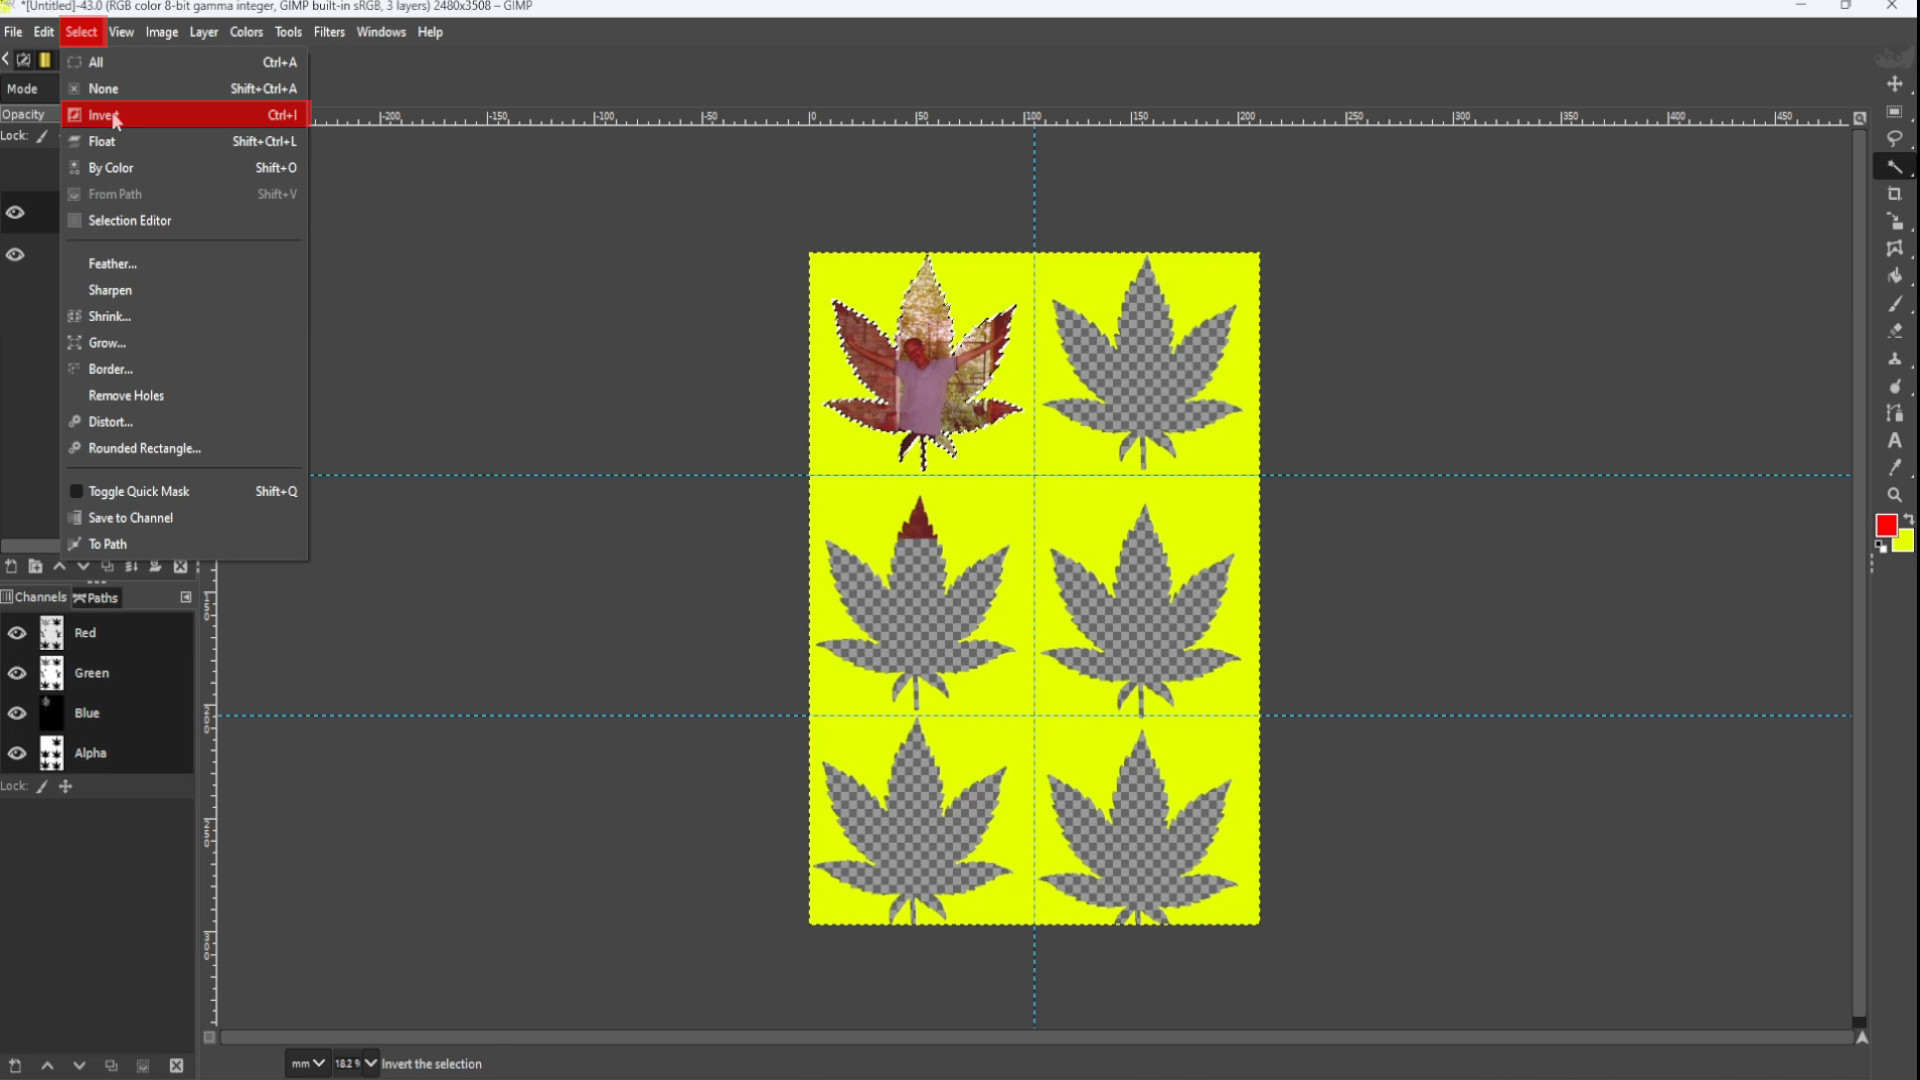
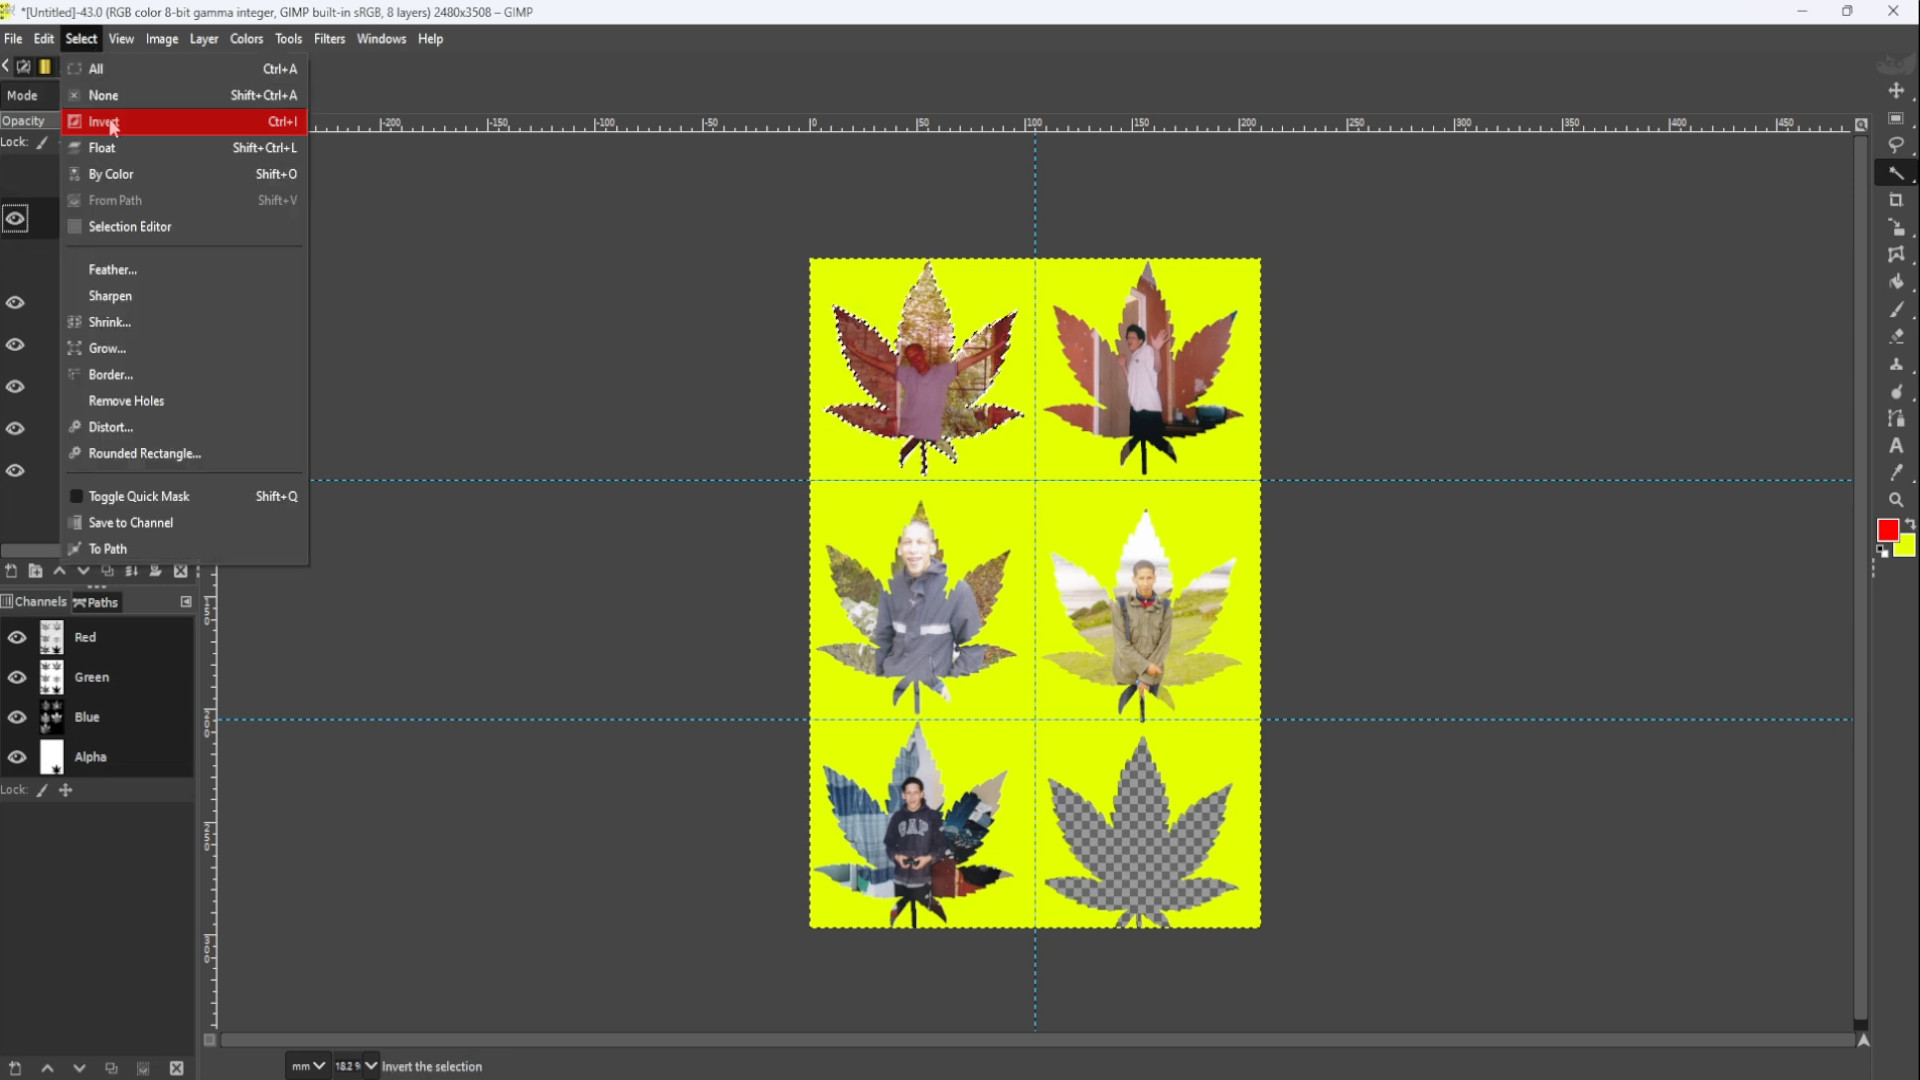
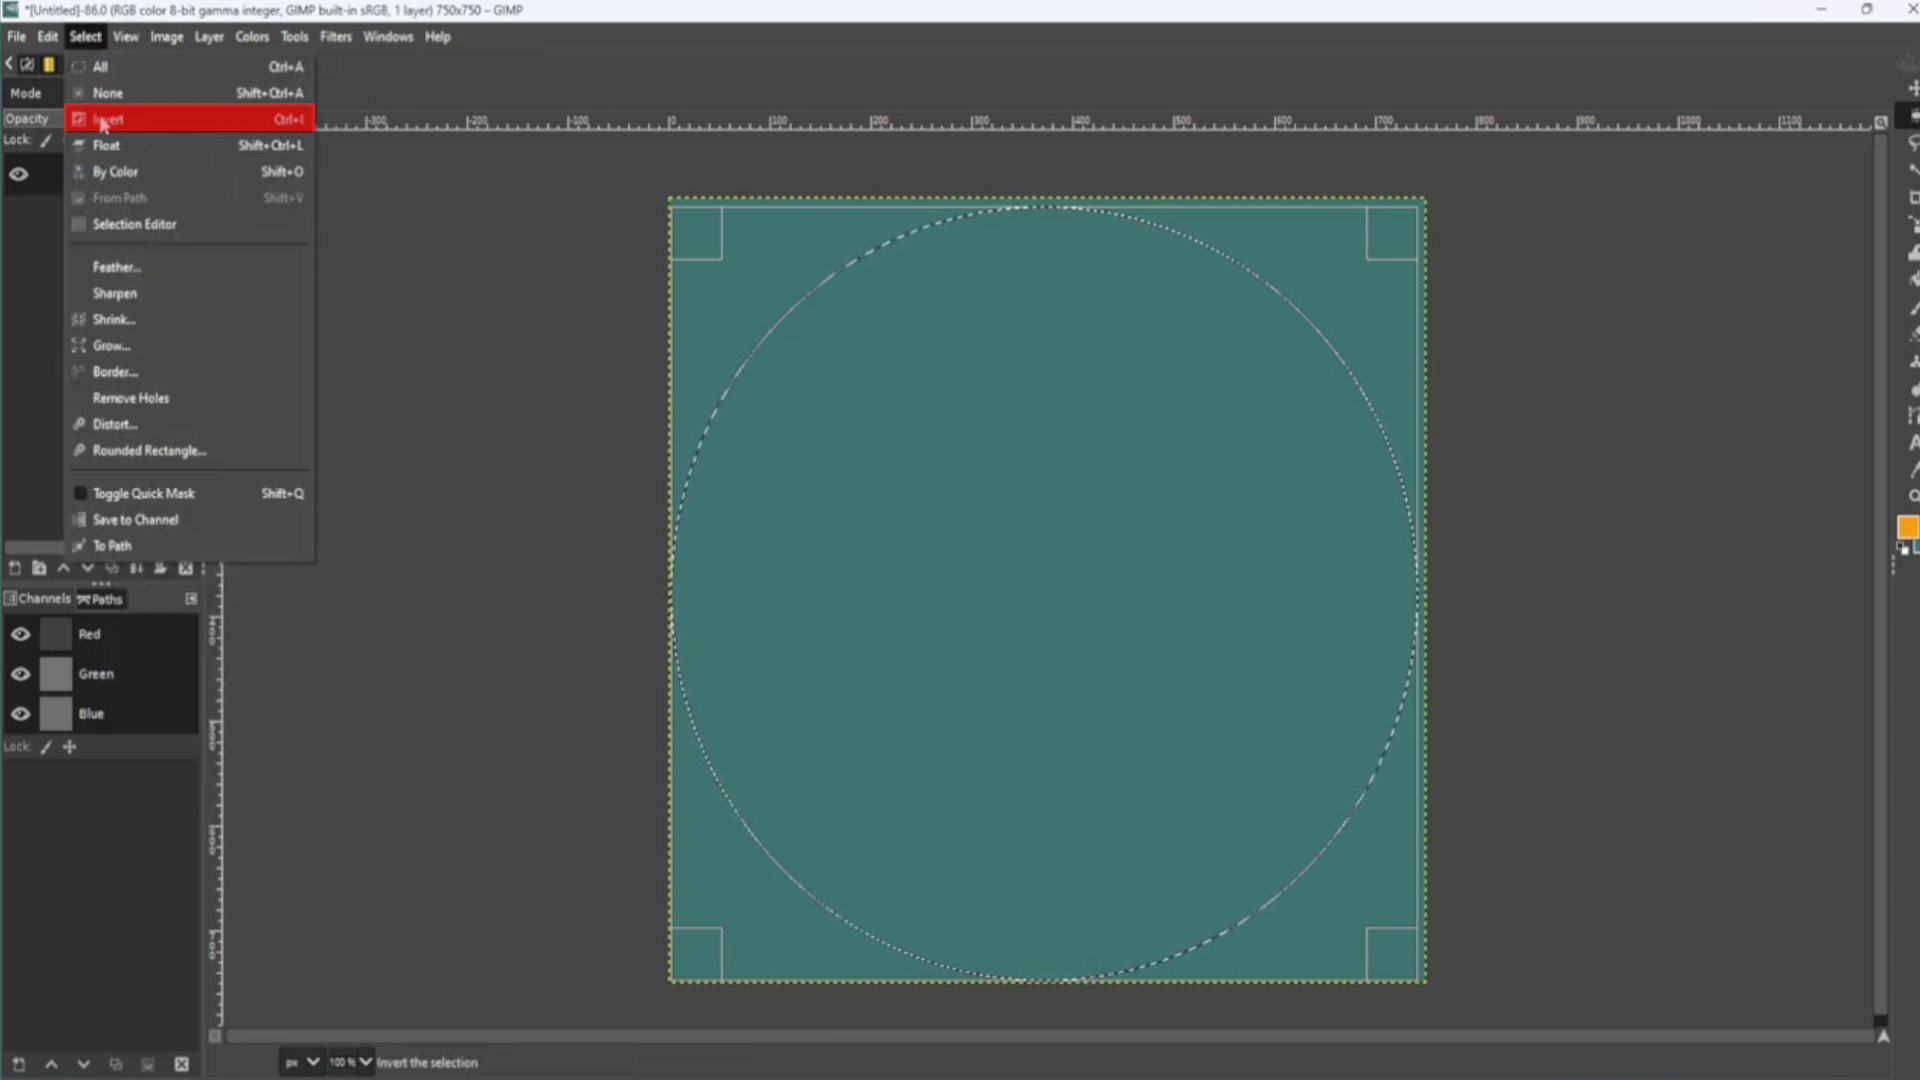
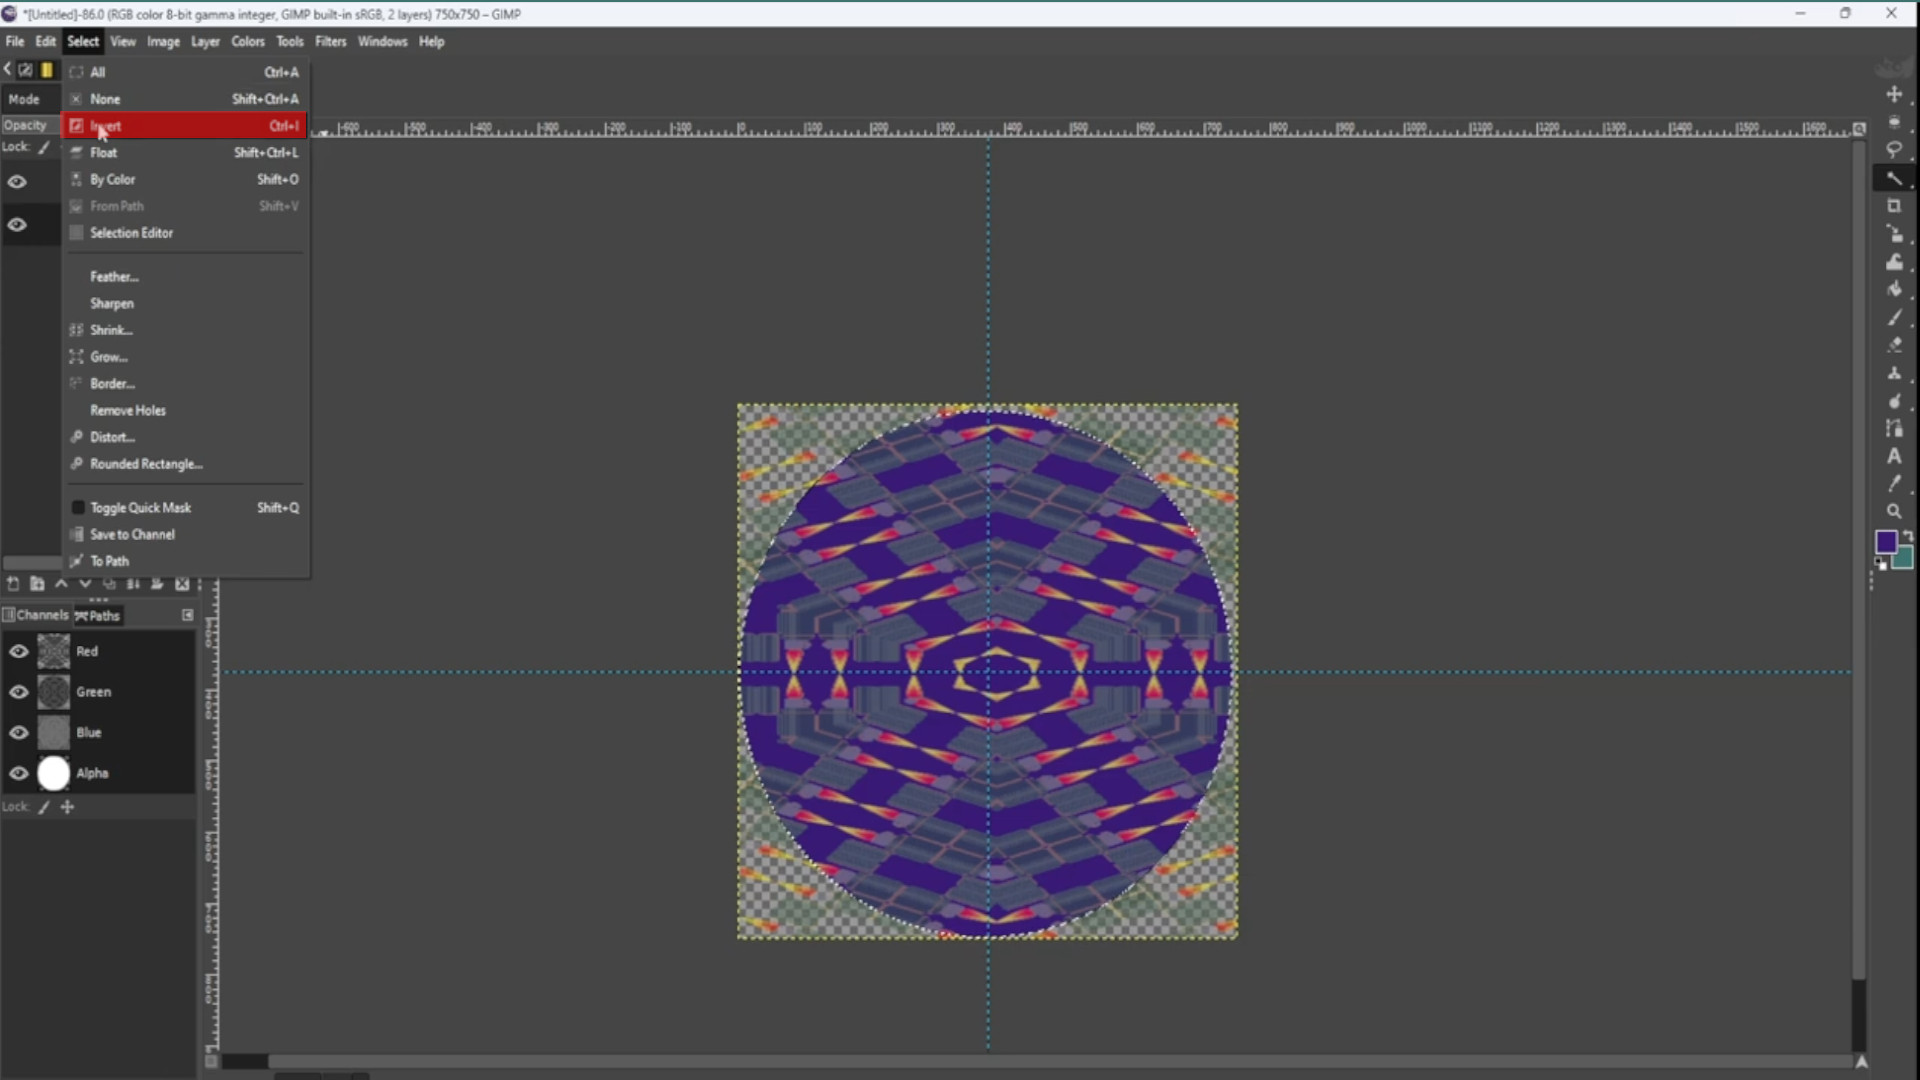
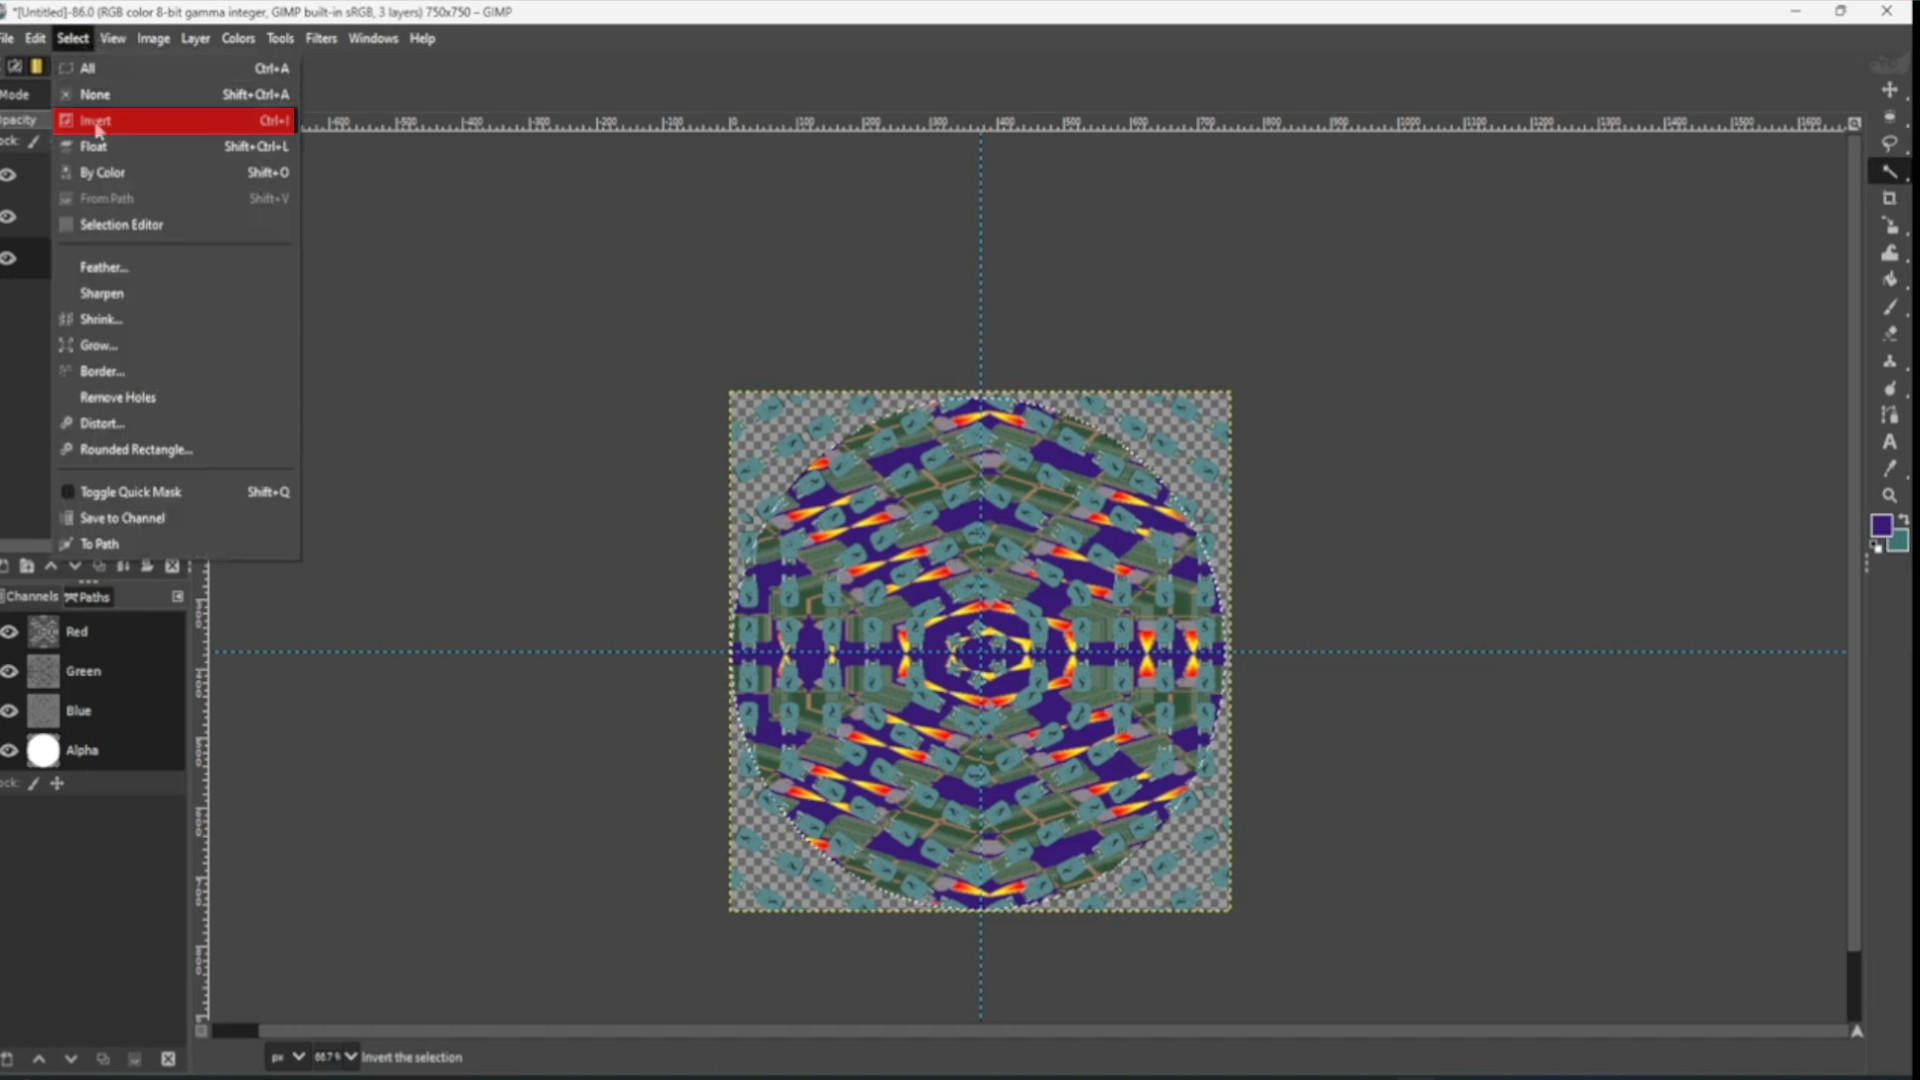
Go to>>>SELECT>>>INVERT to invert the highlighted bit.
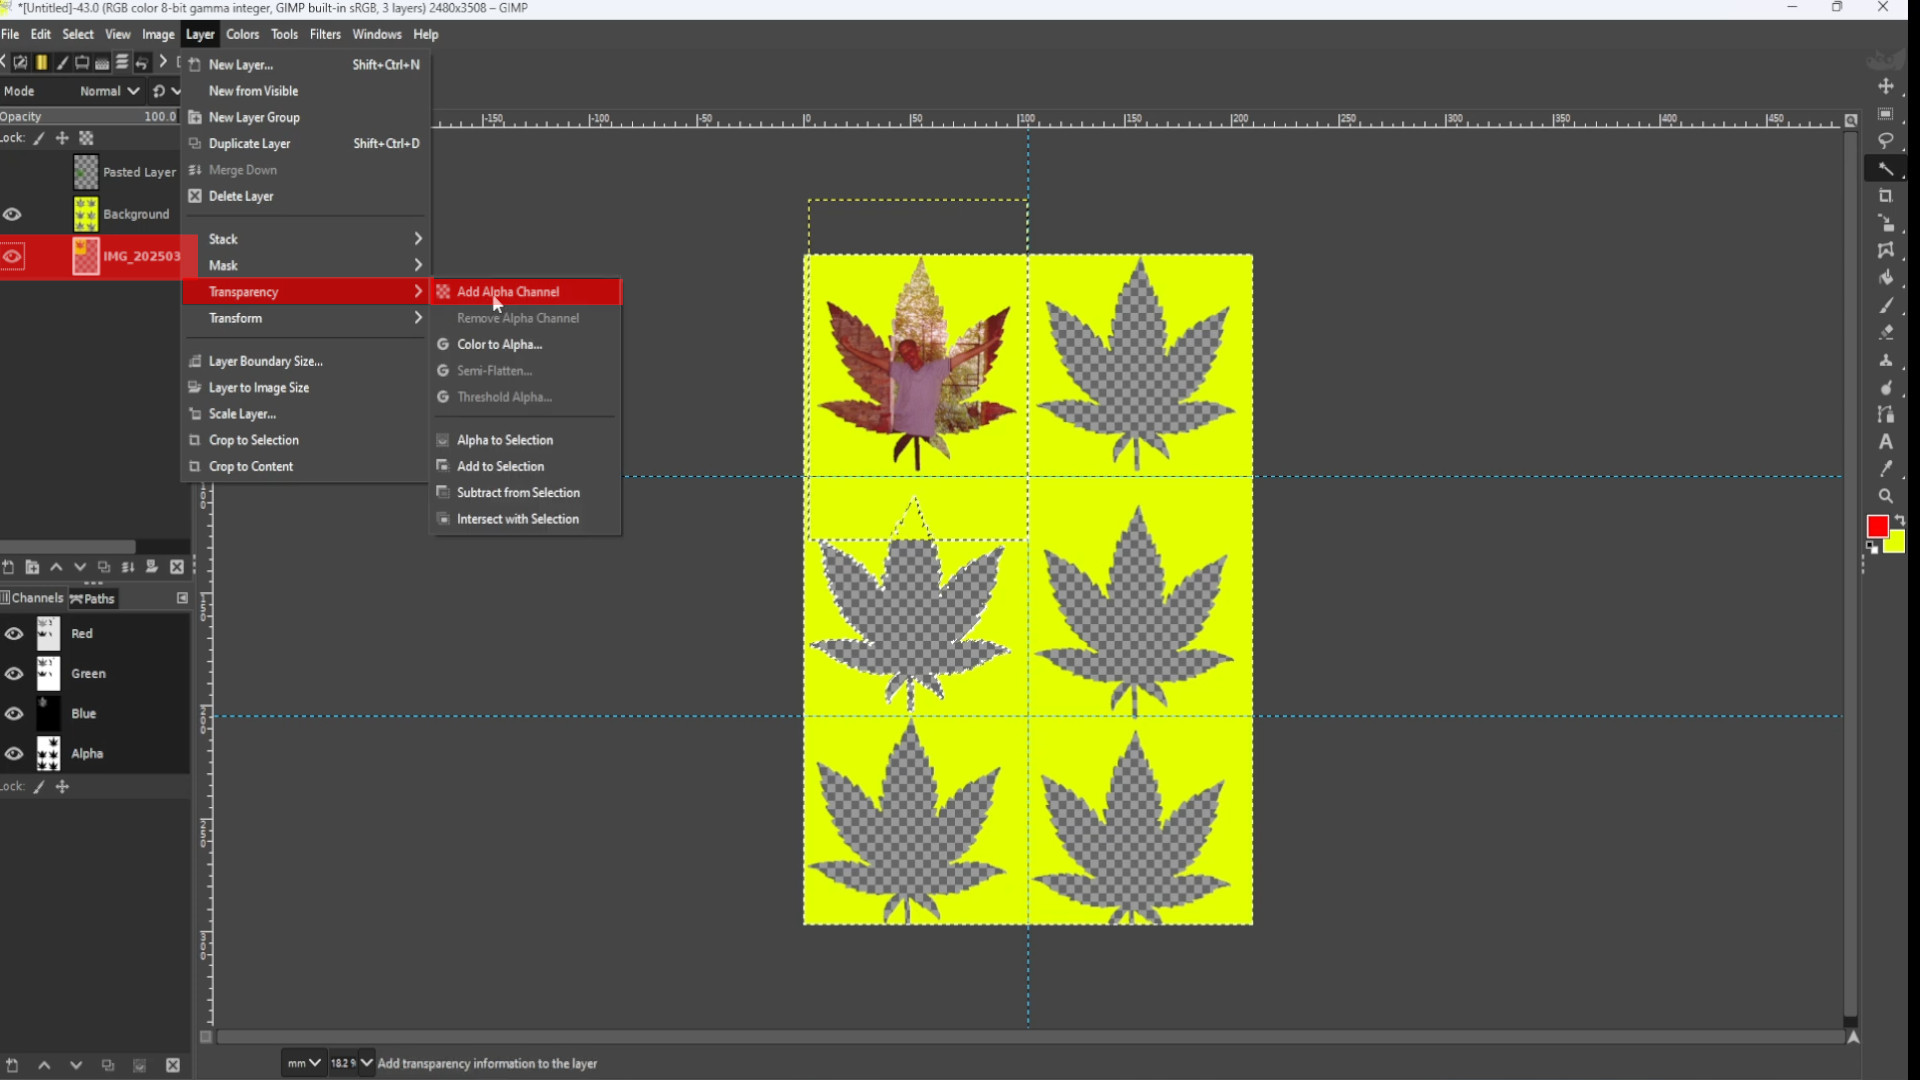
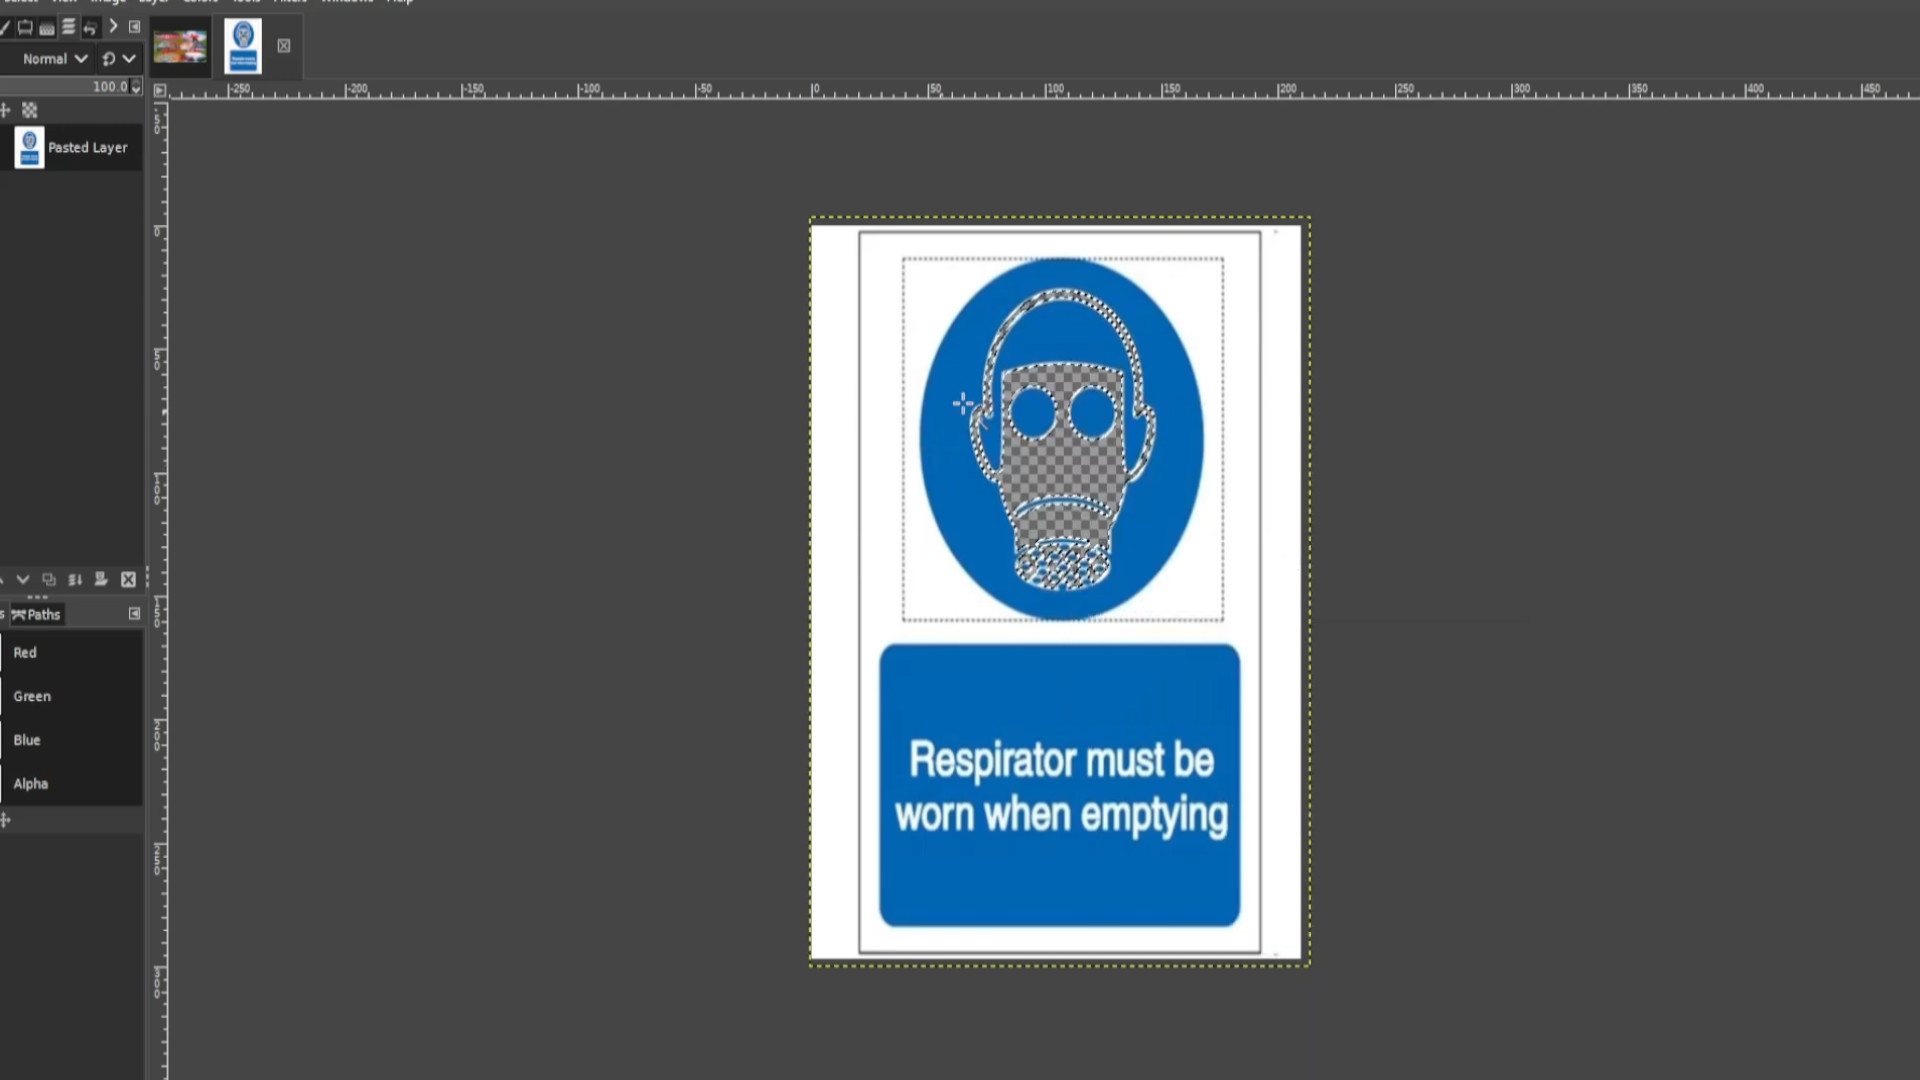
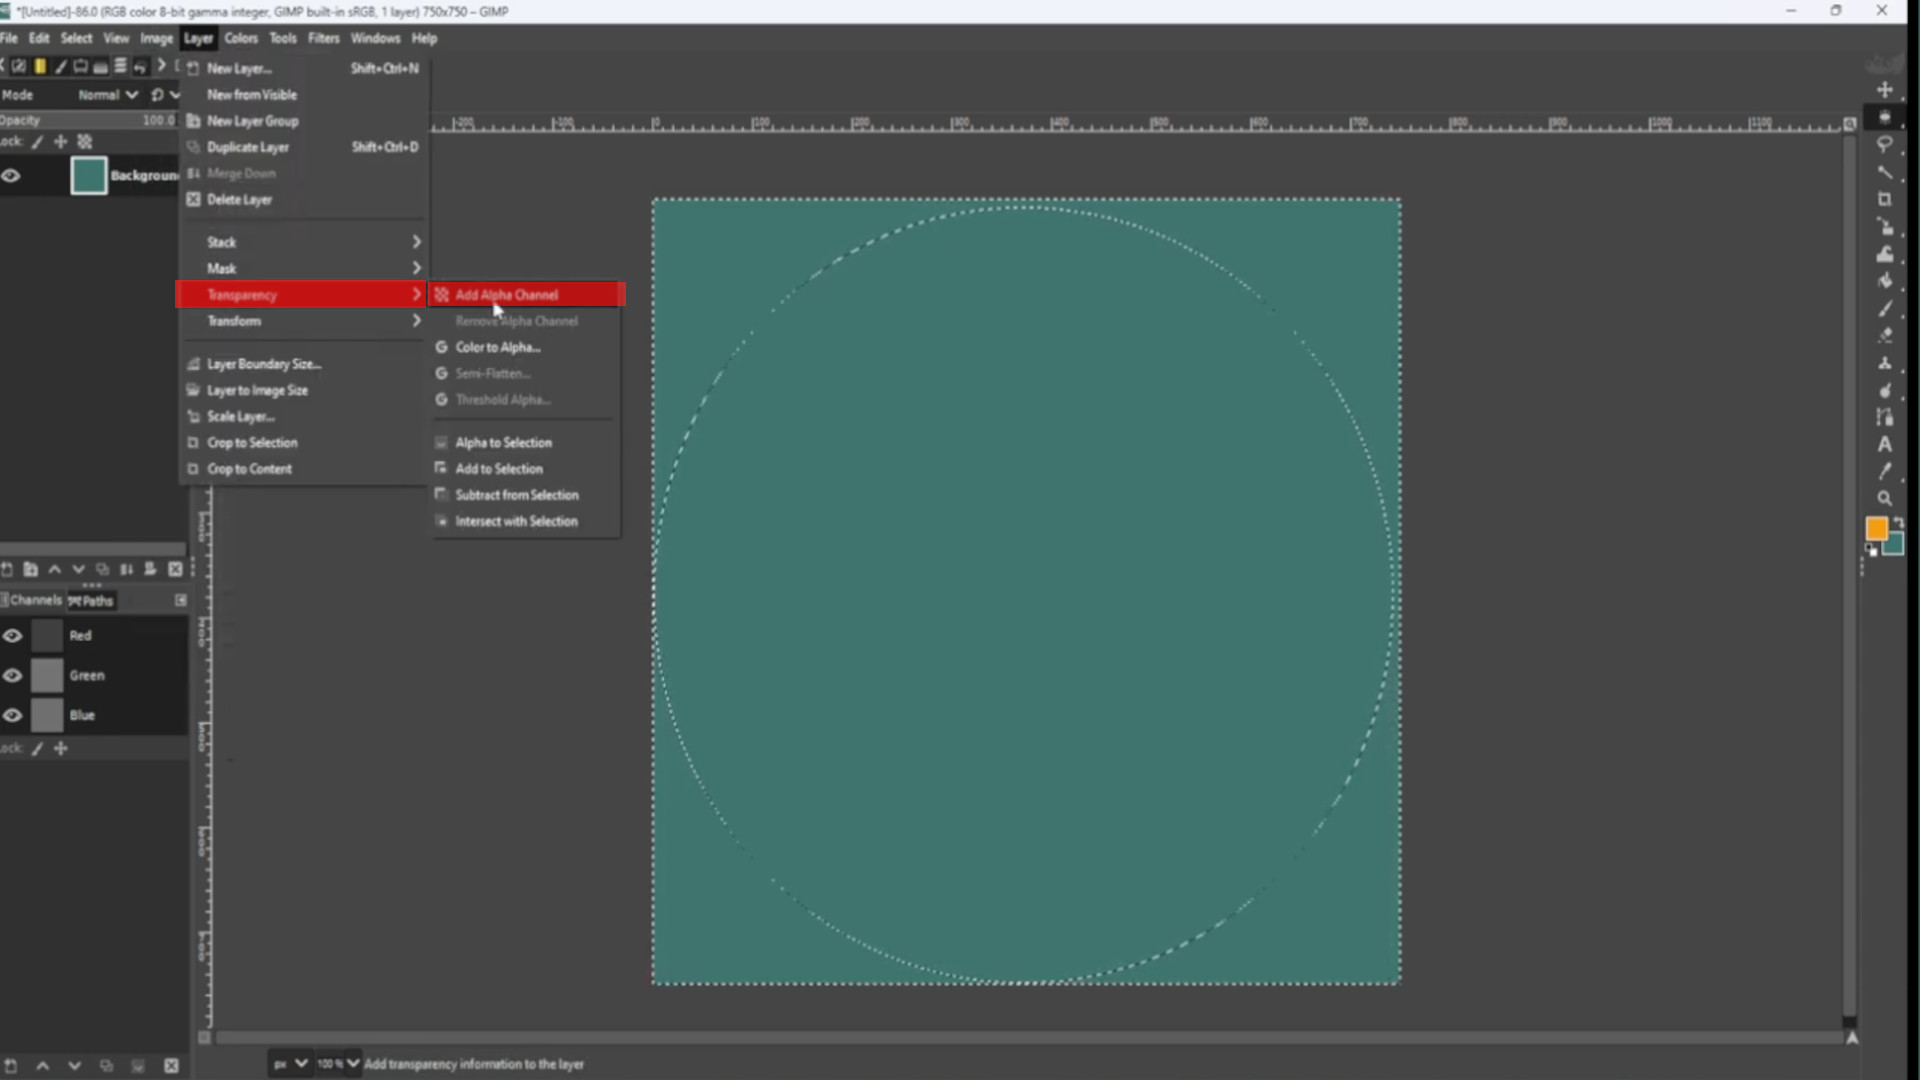
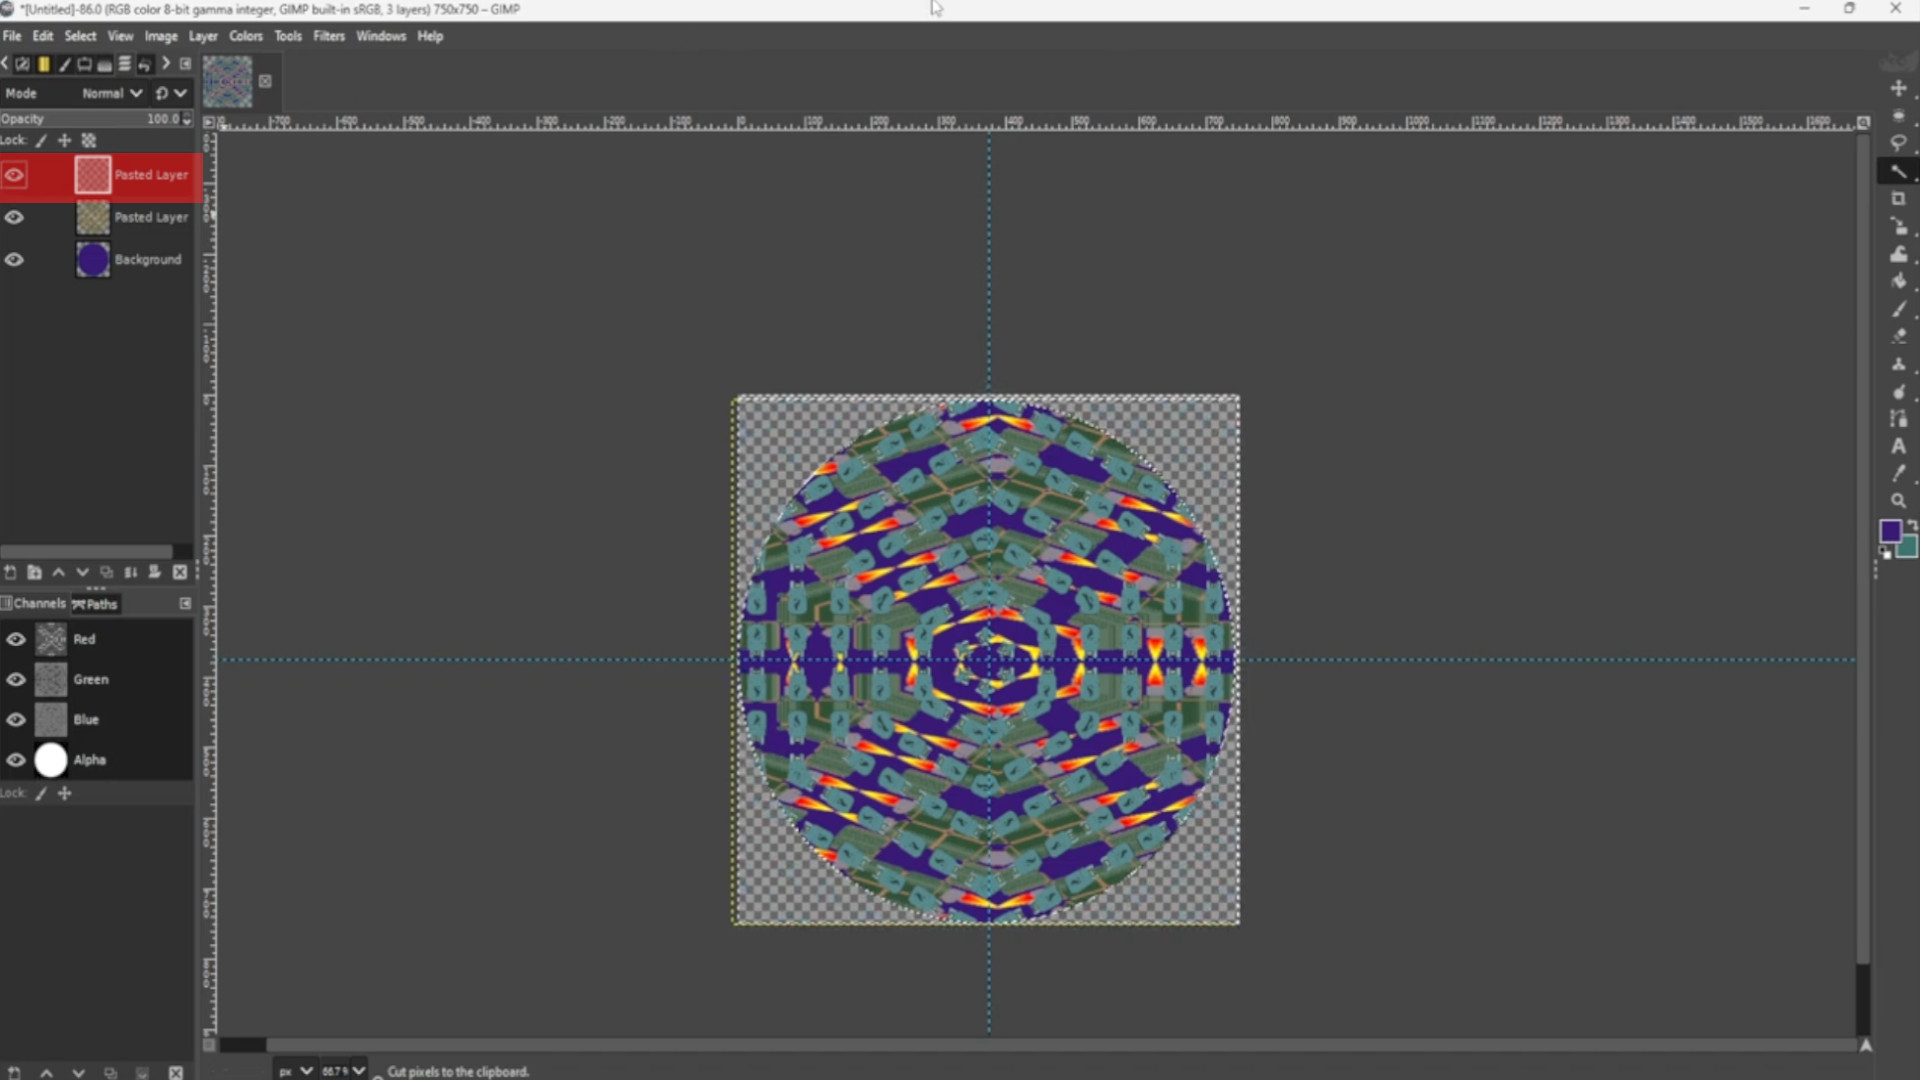
Go to>>>LAYER>>>TRANSPARENCY>>>ADD ALPHA CHANNEL.
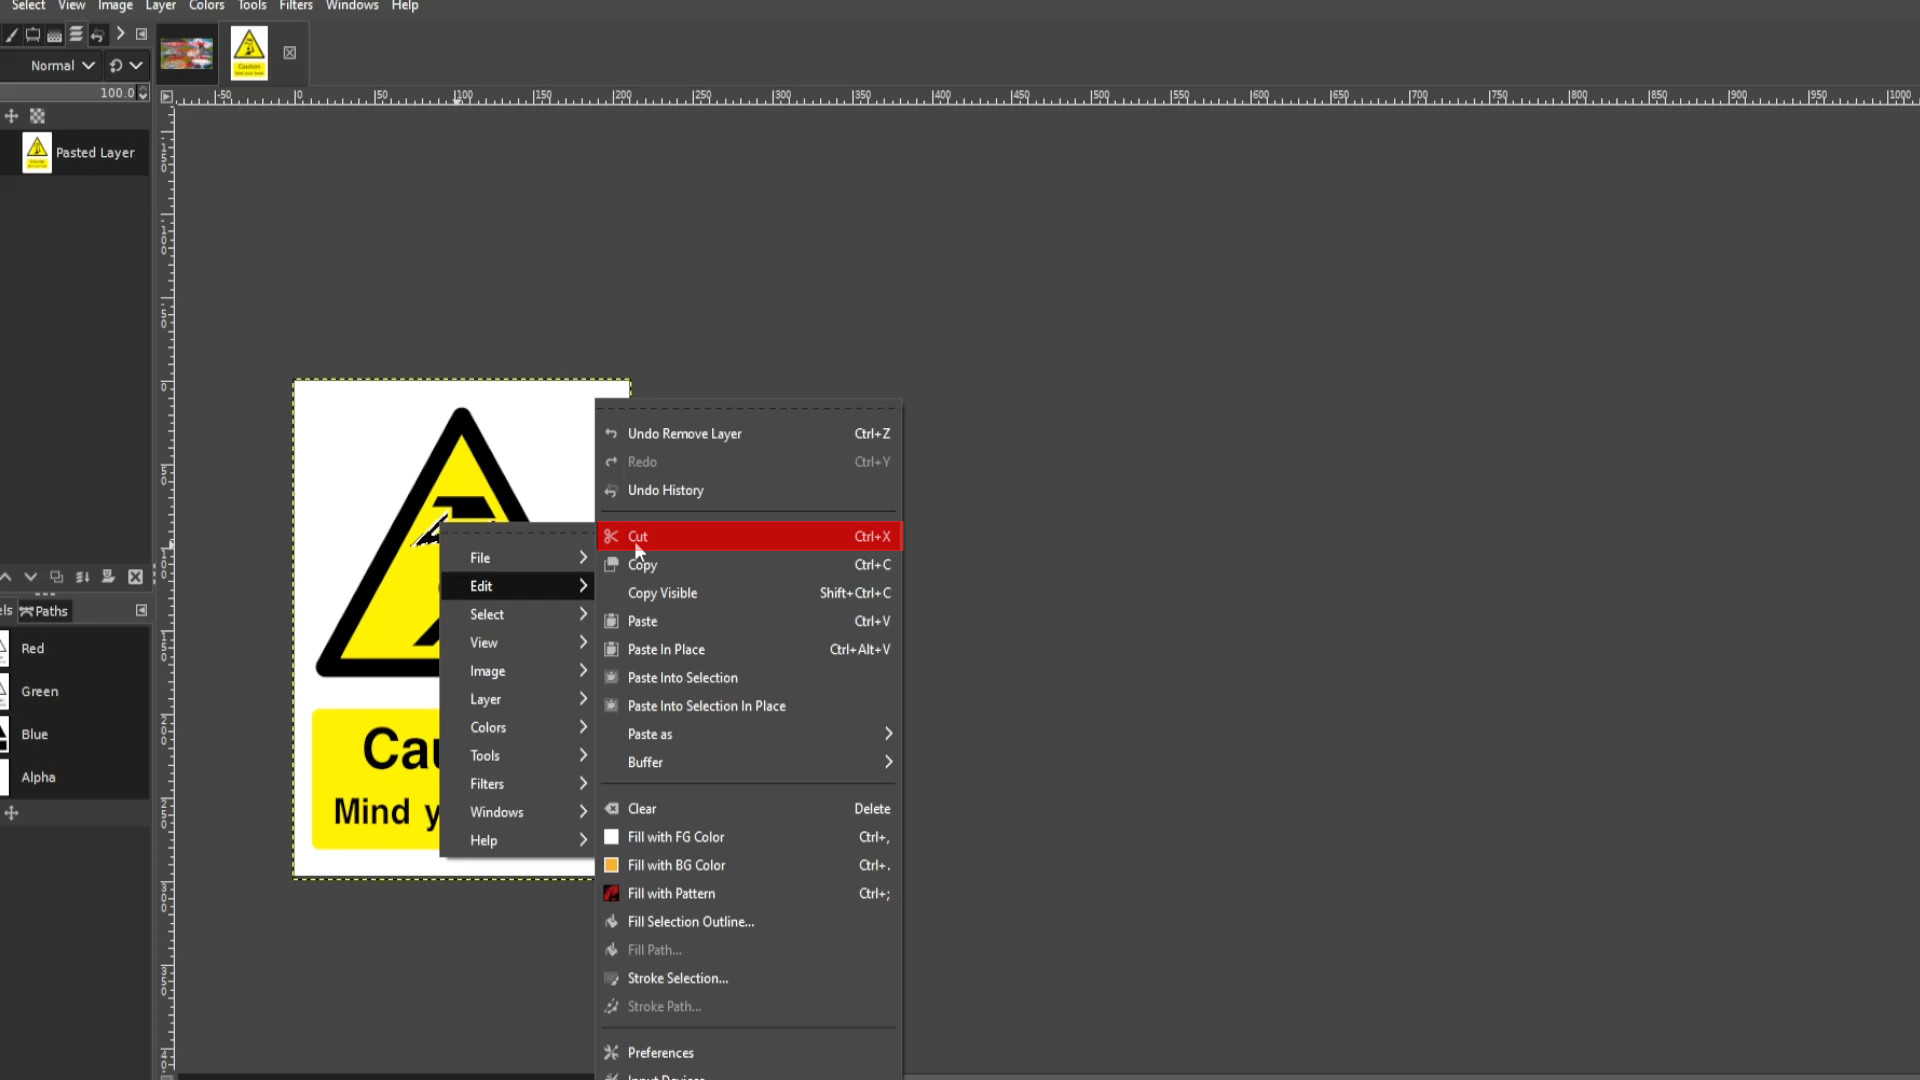
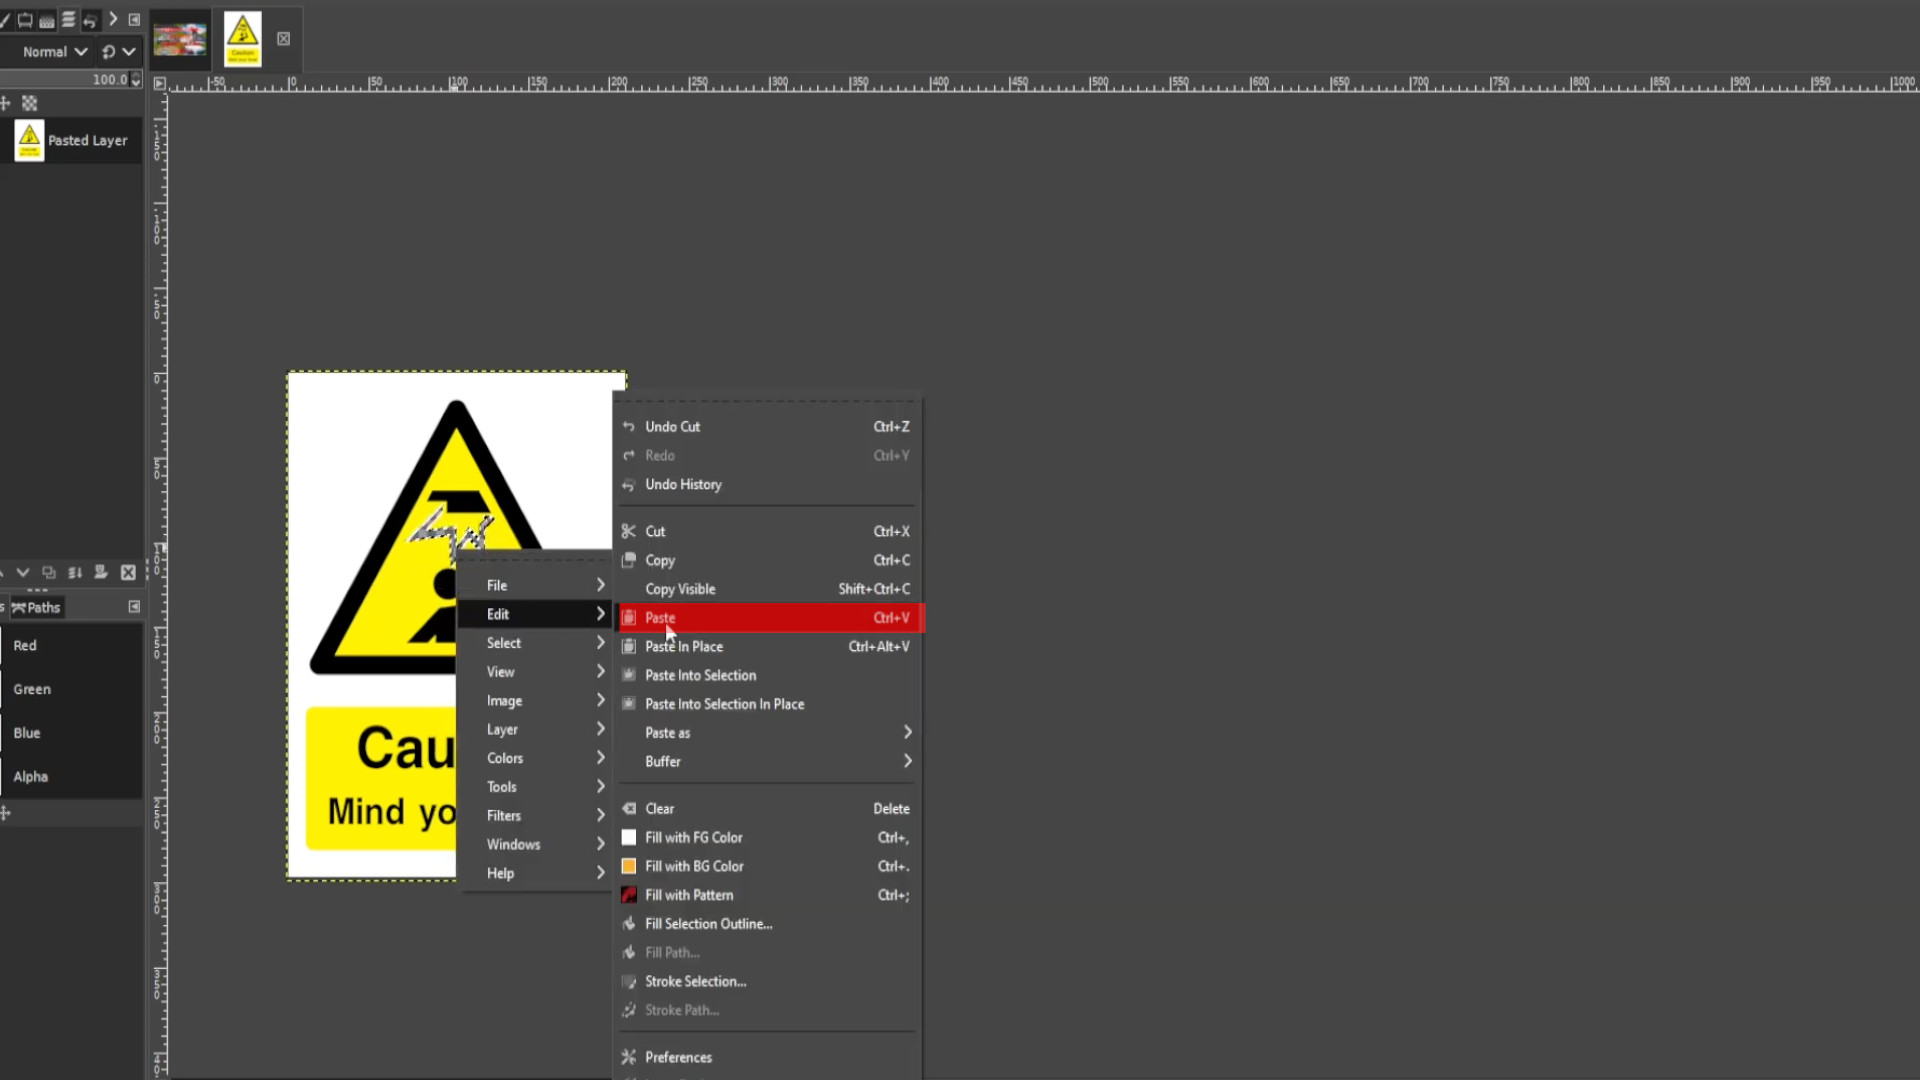
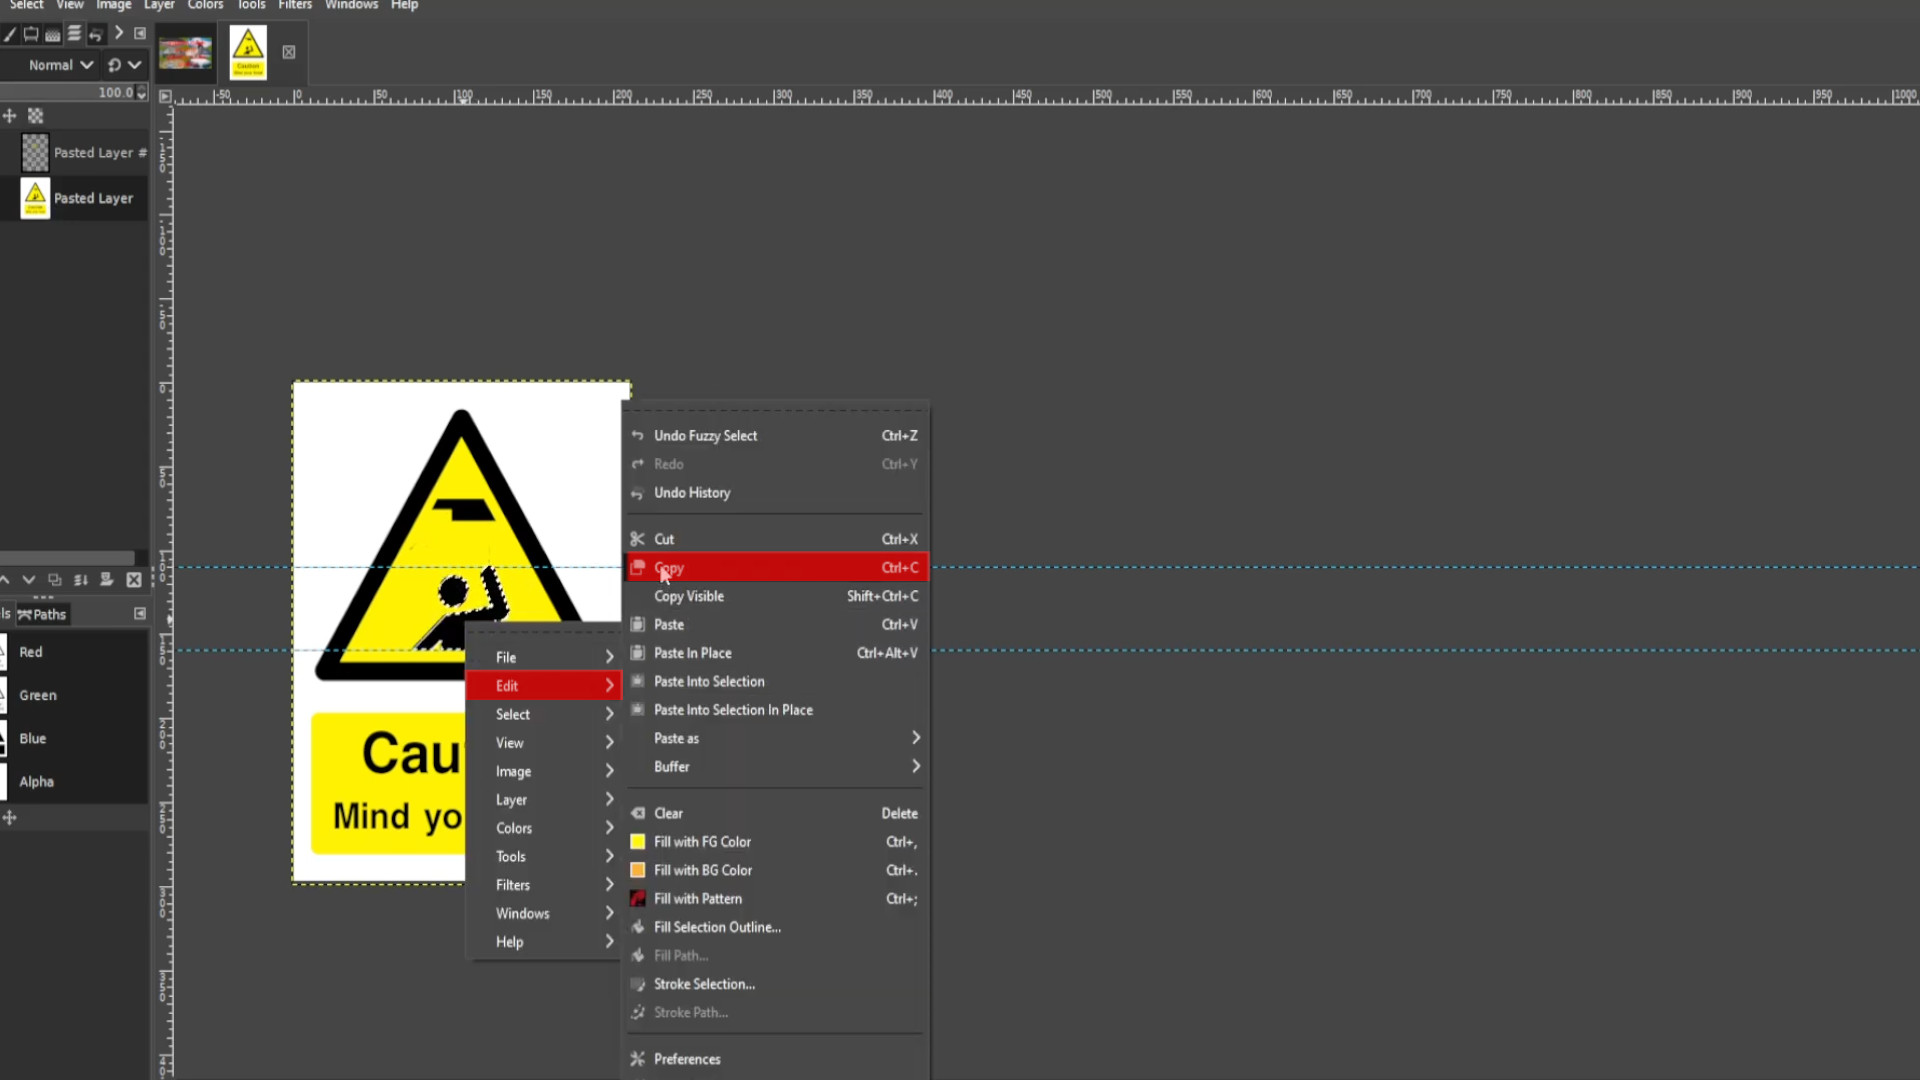
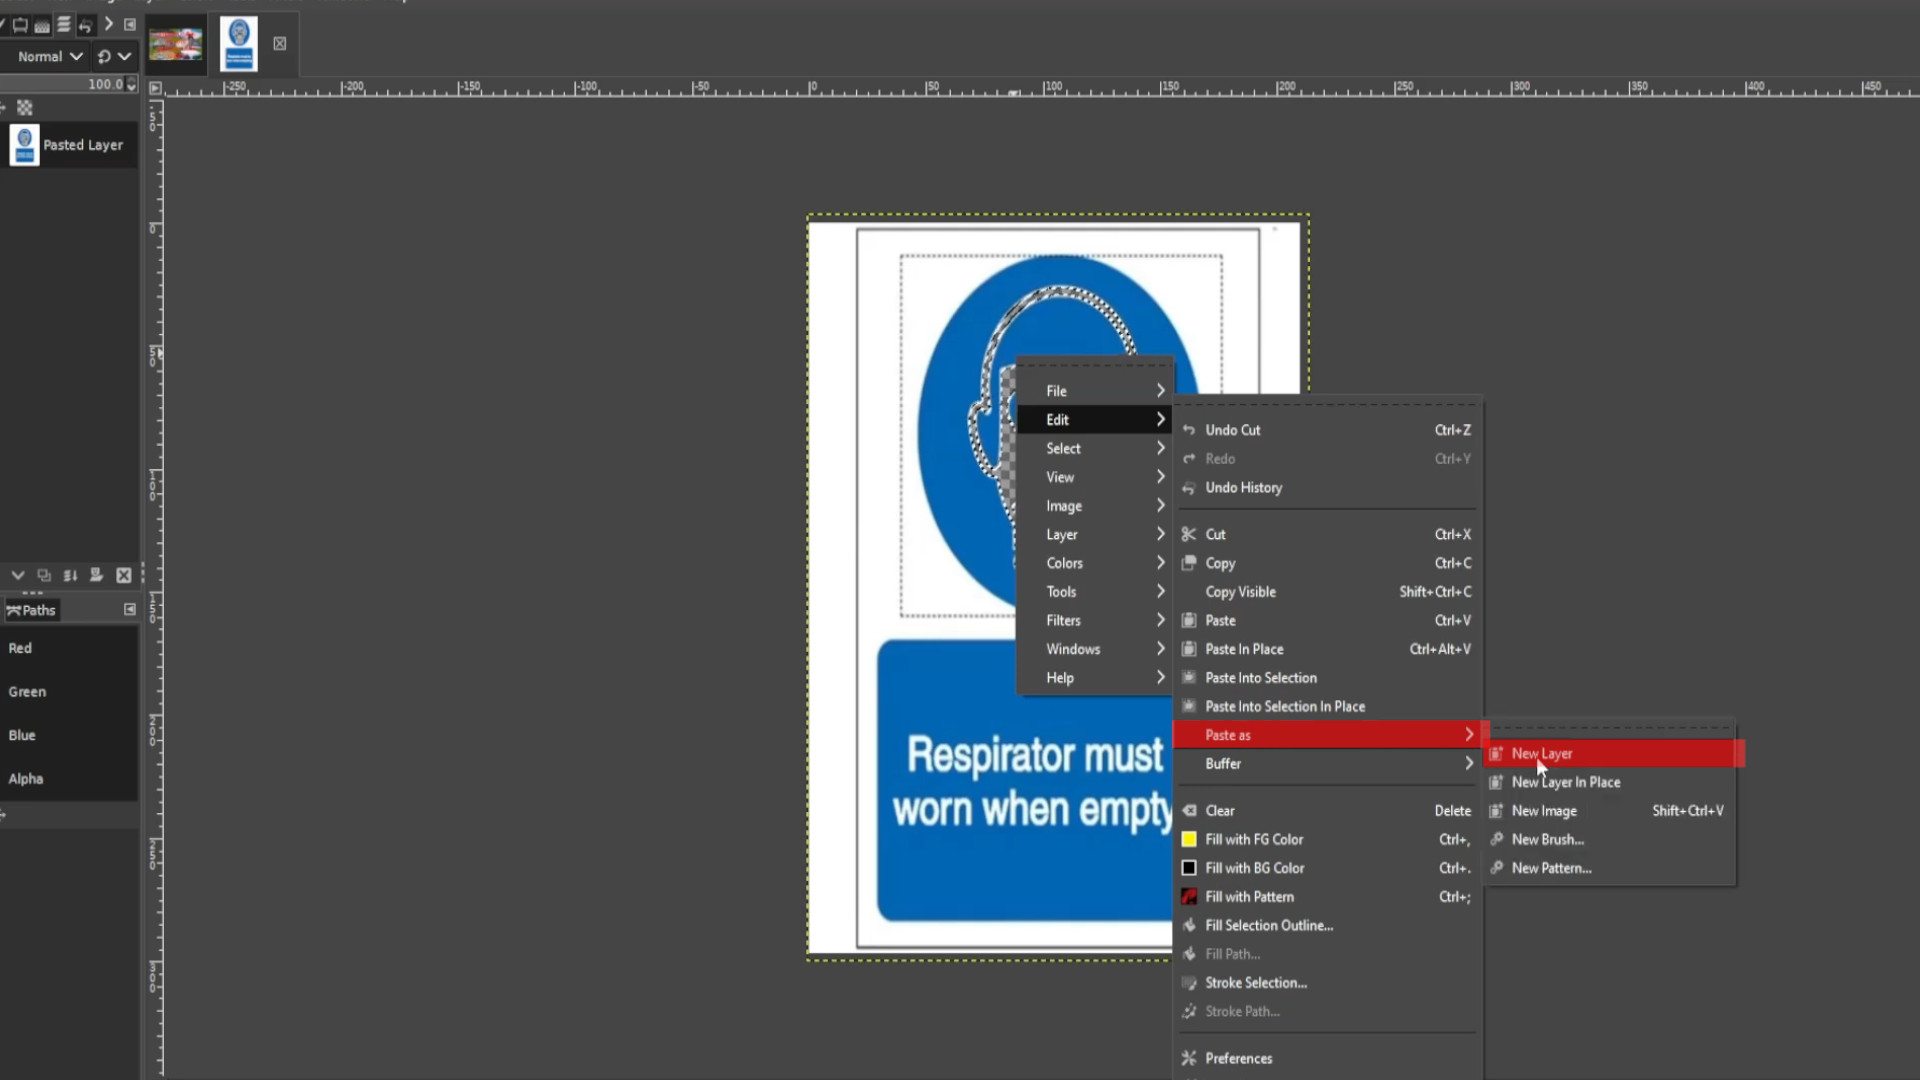
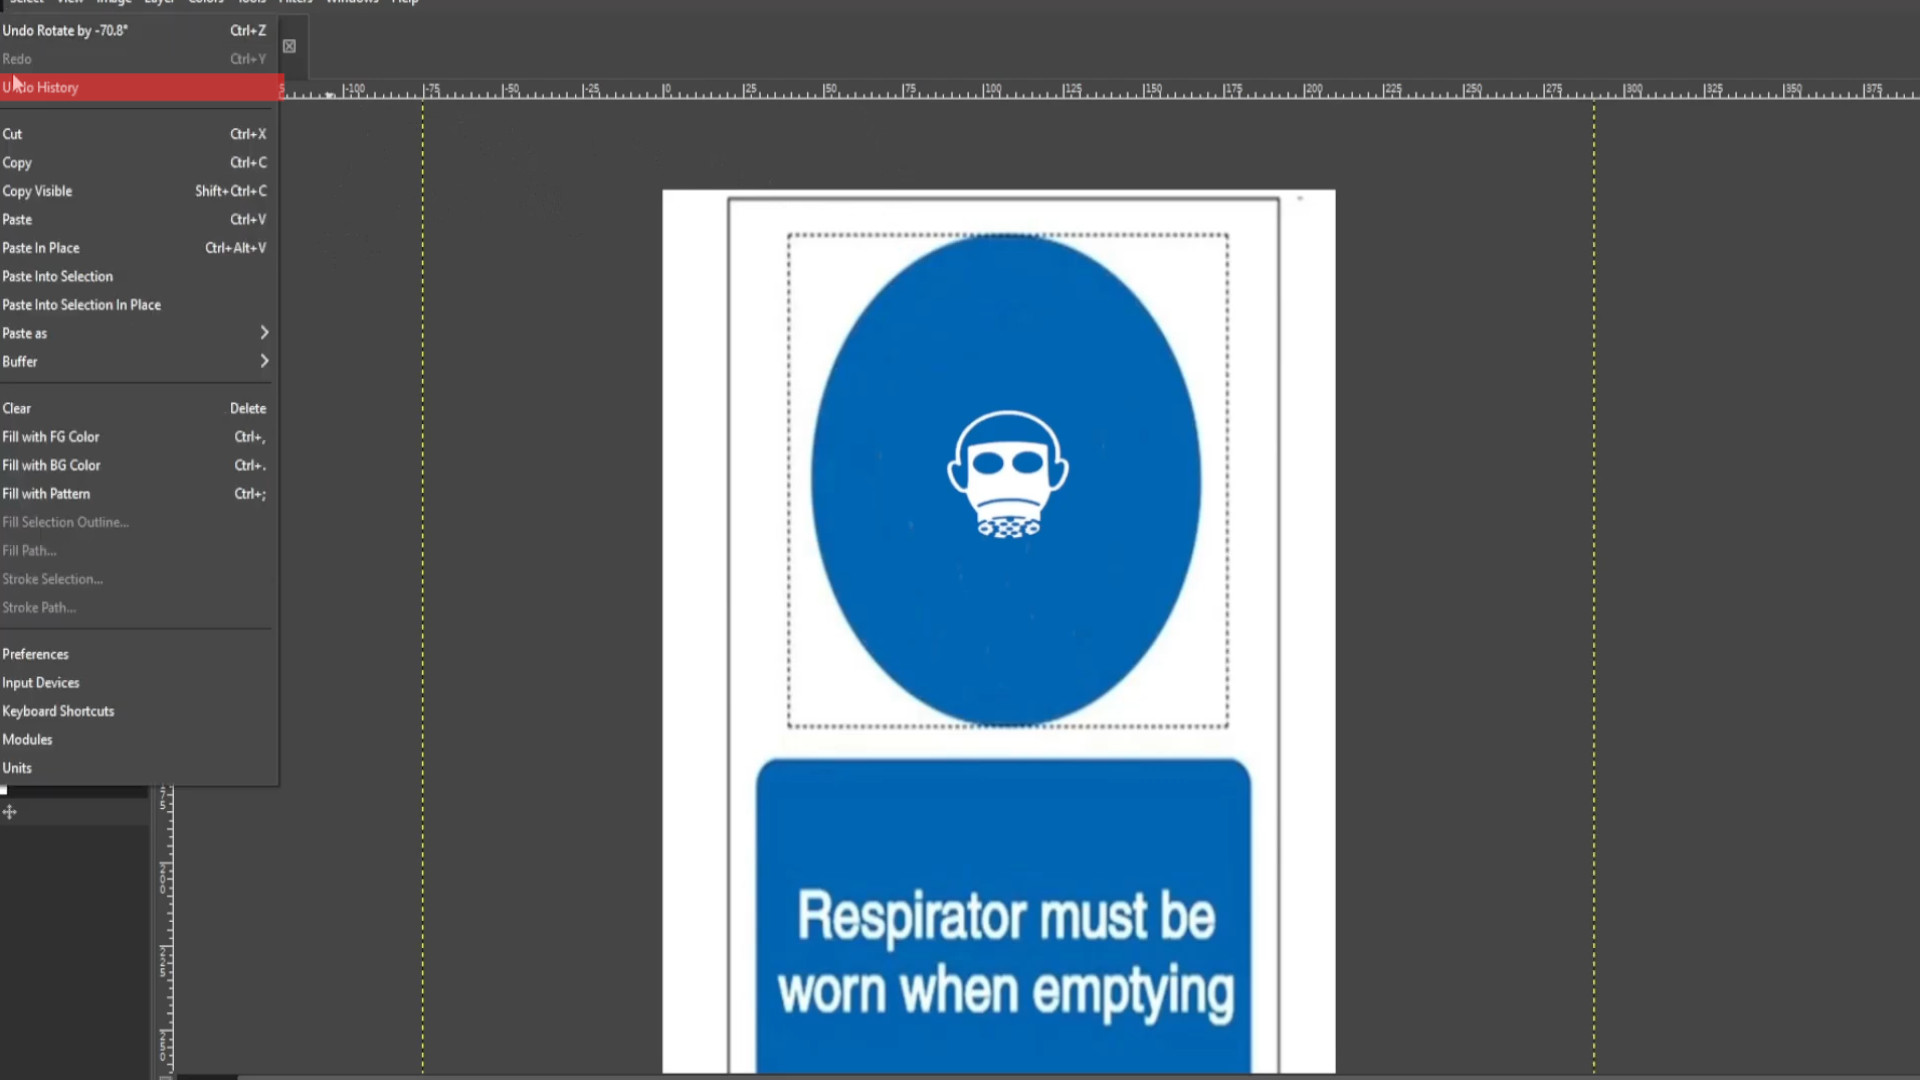
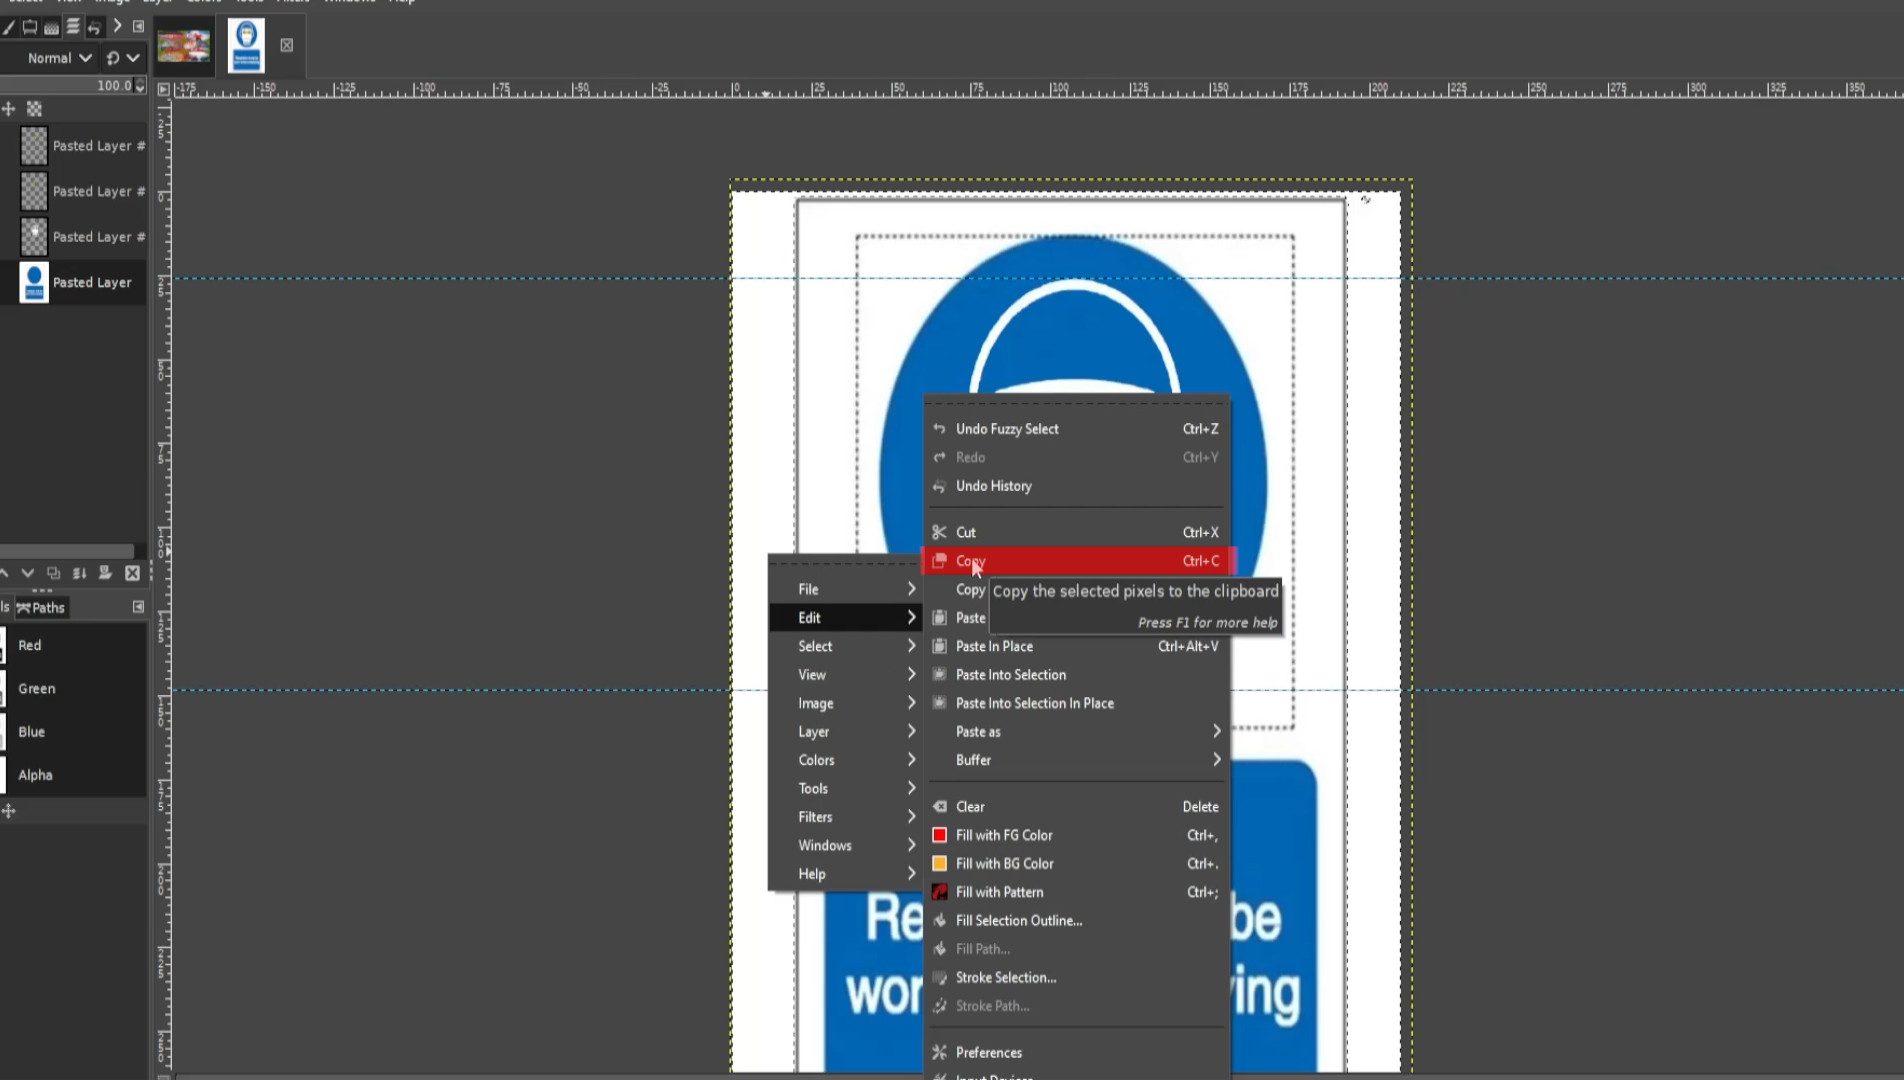
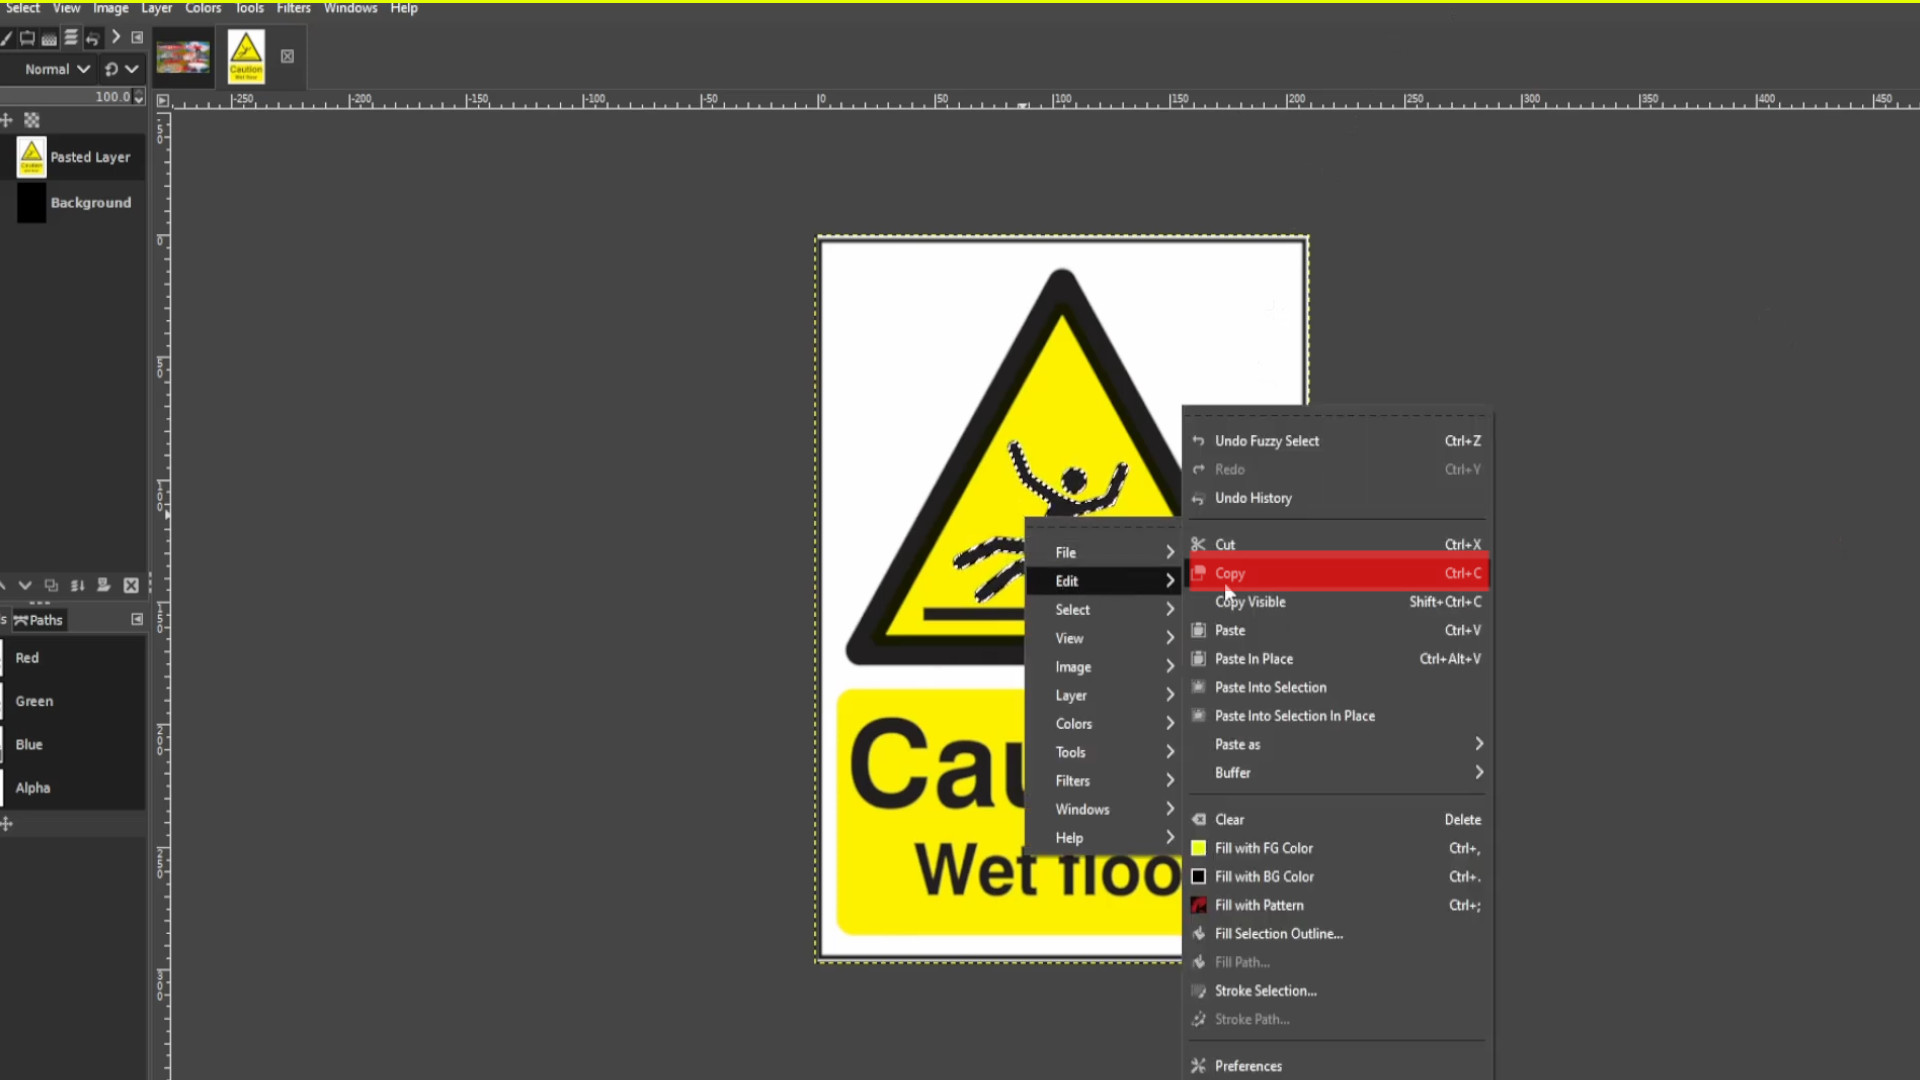
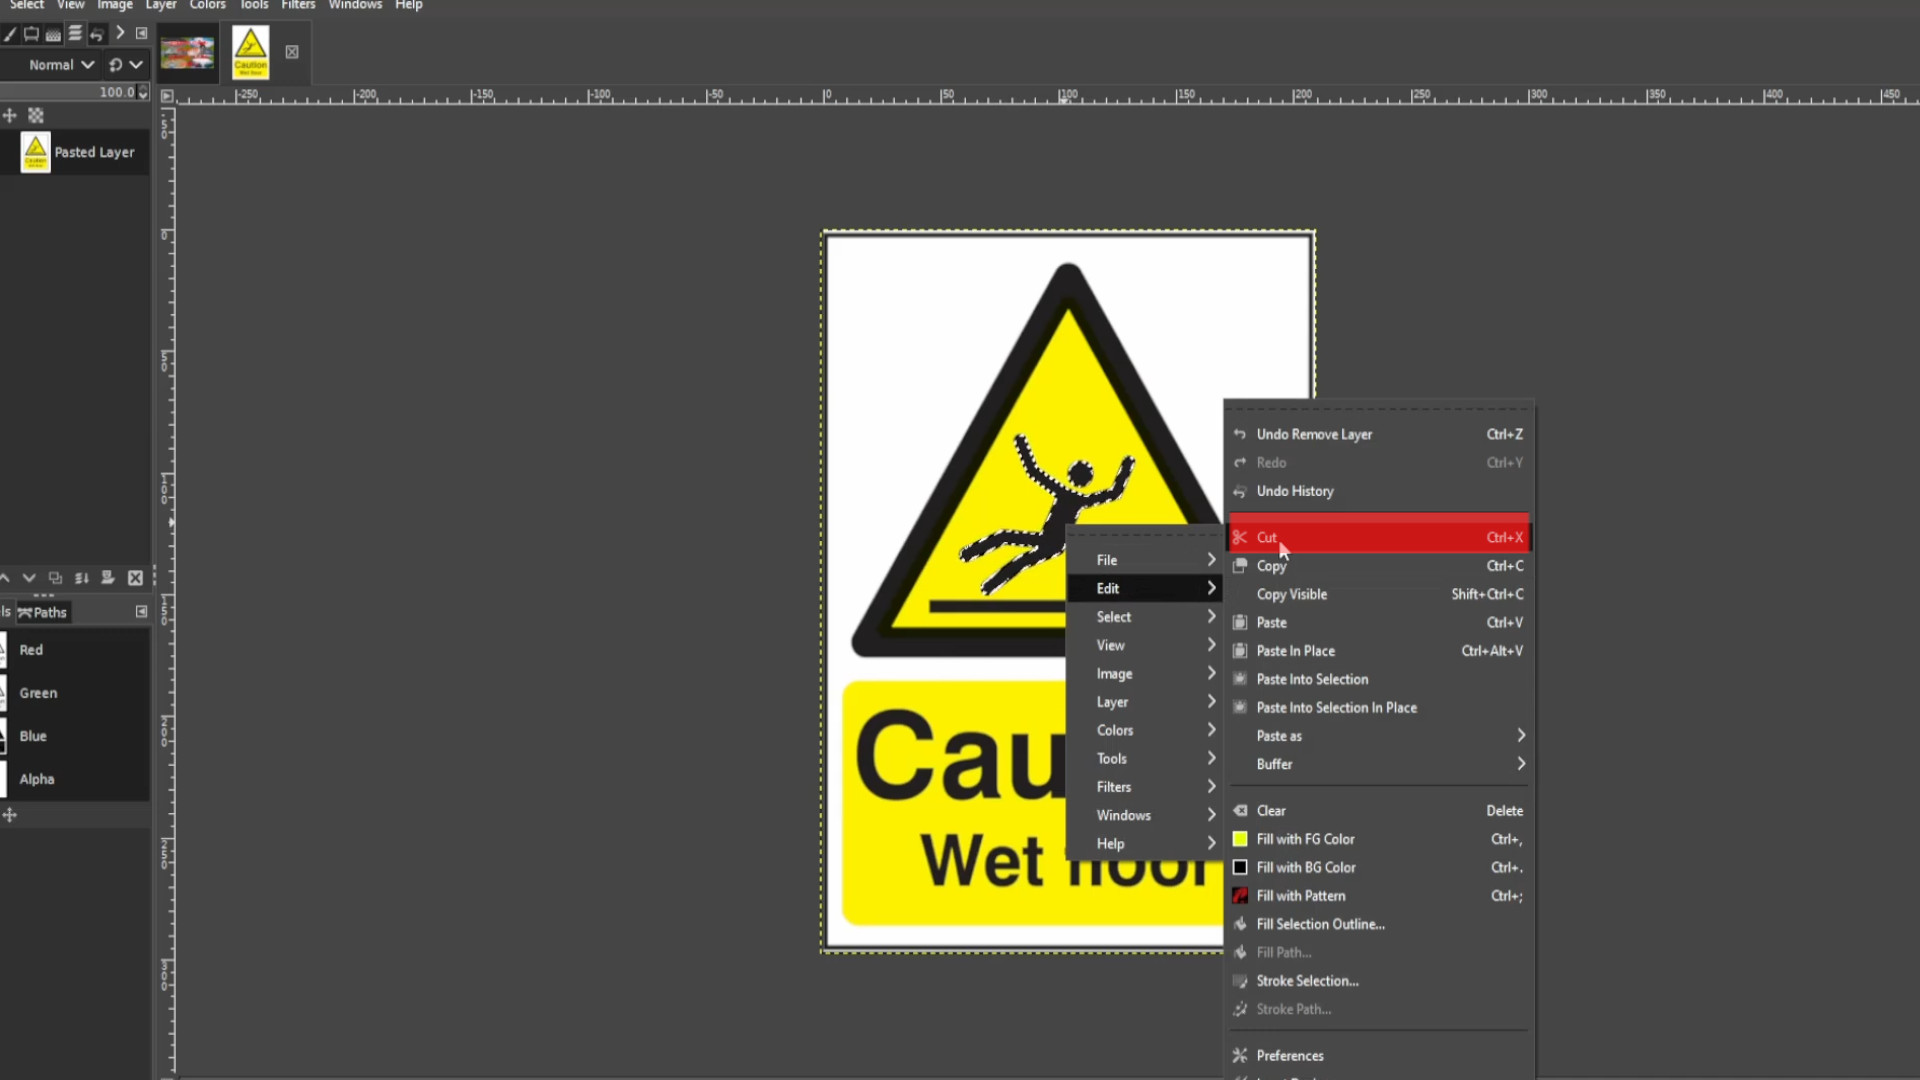
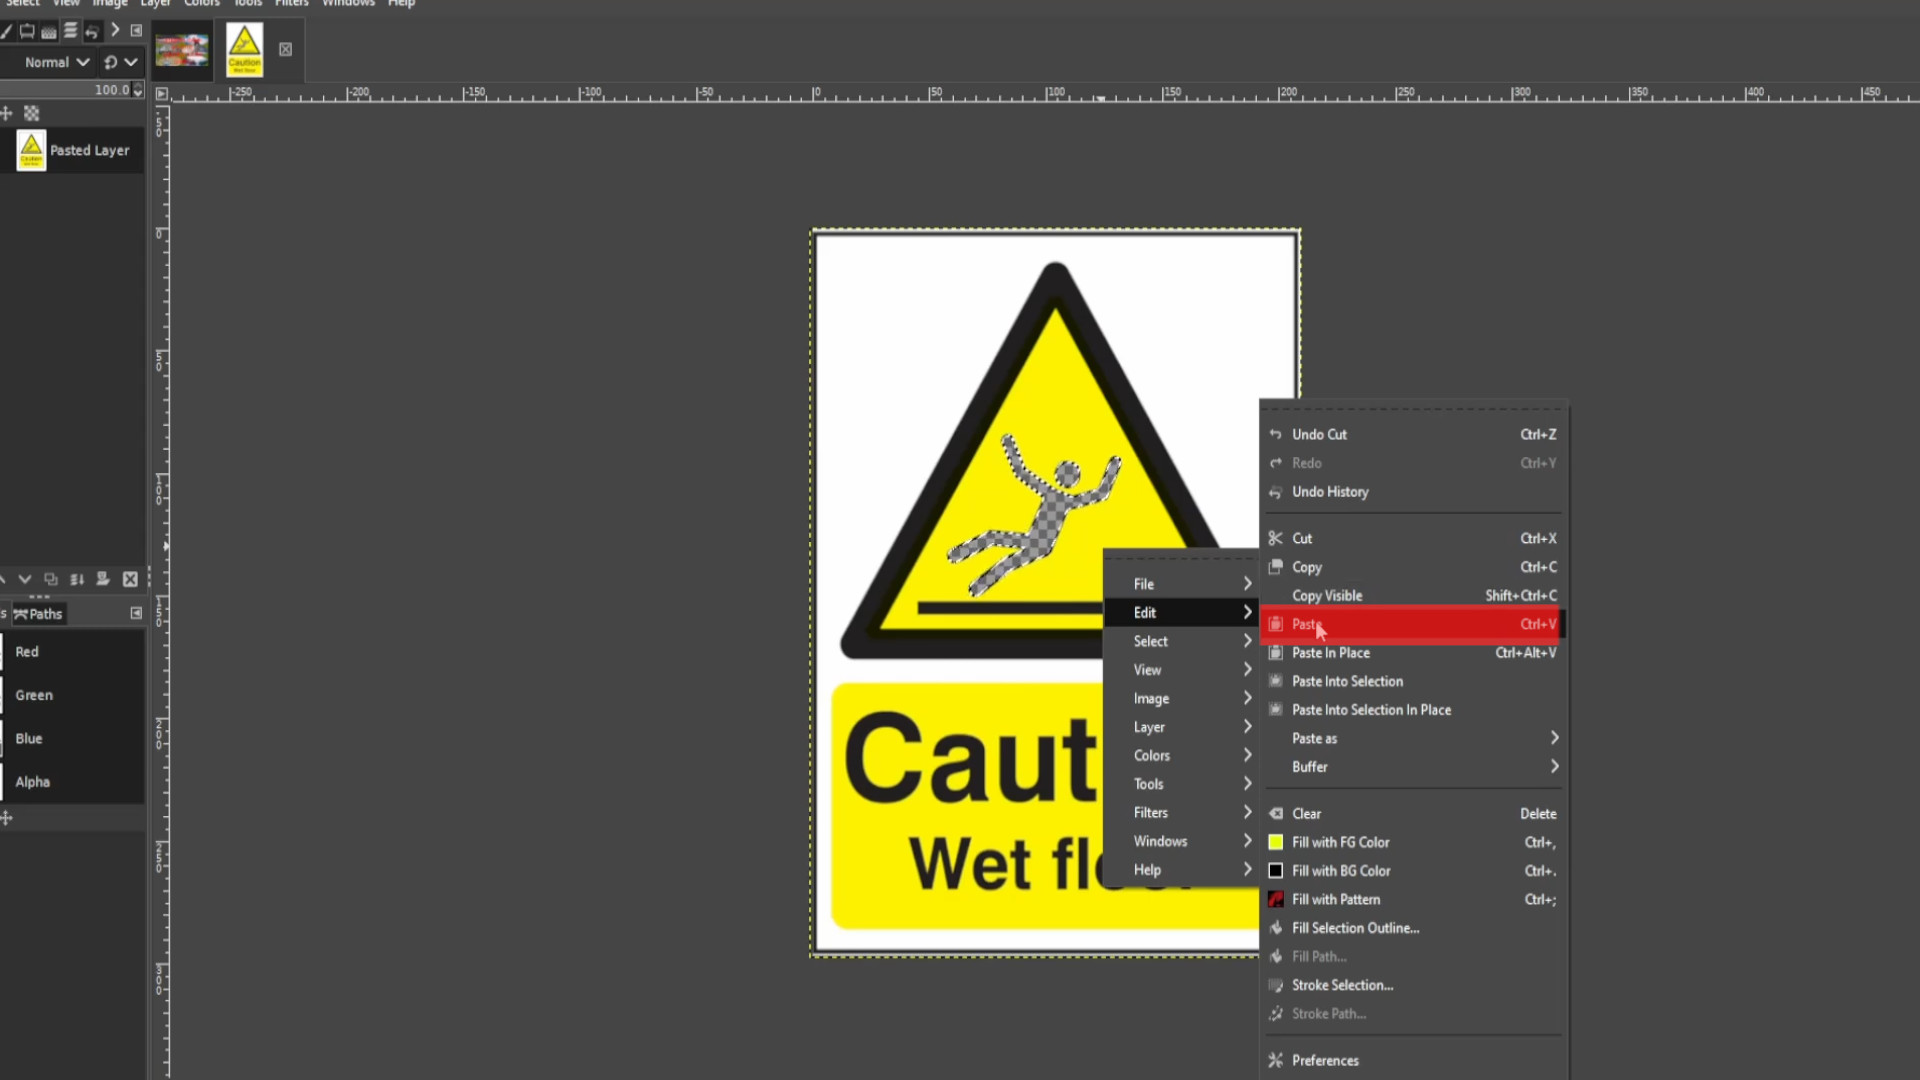
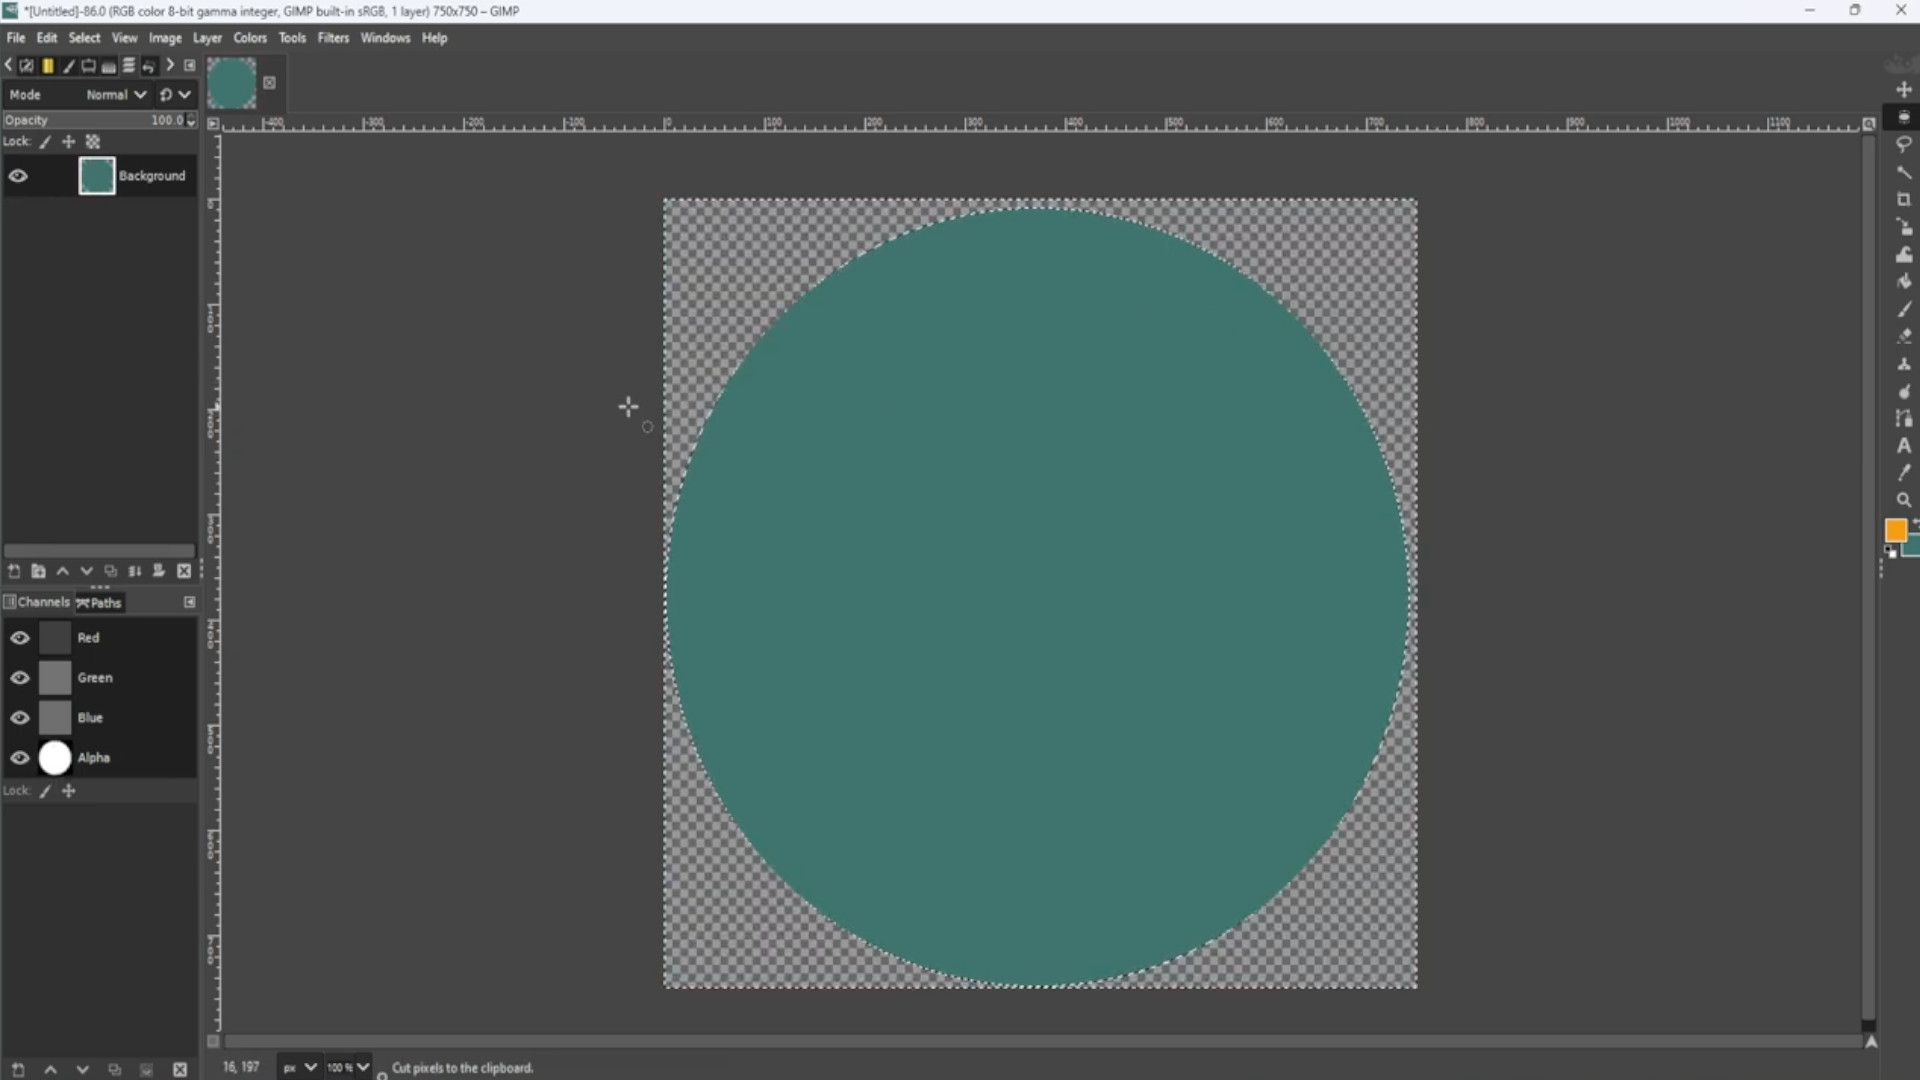
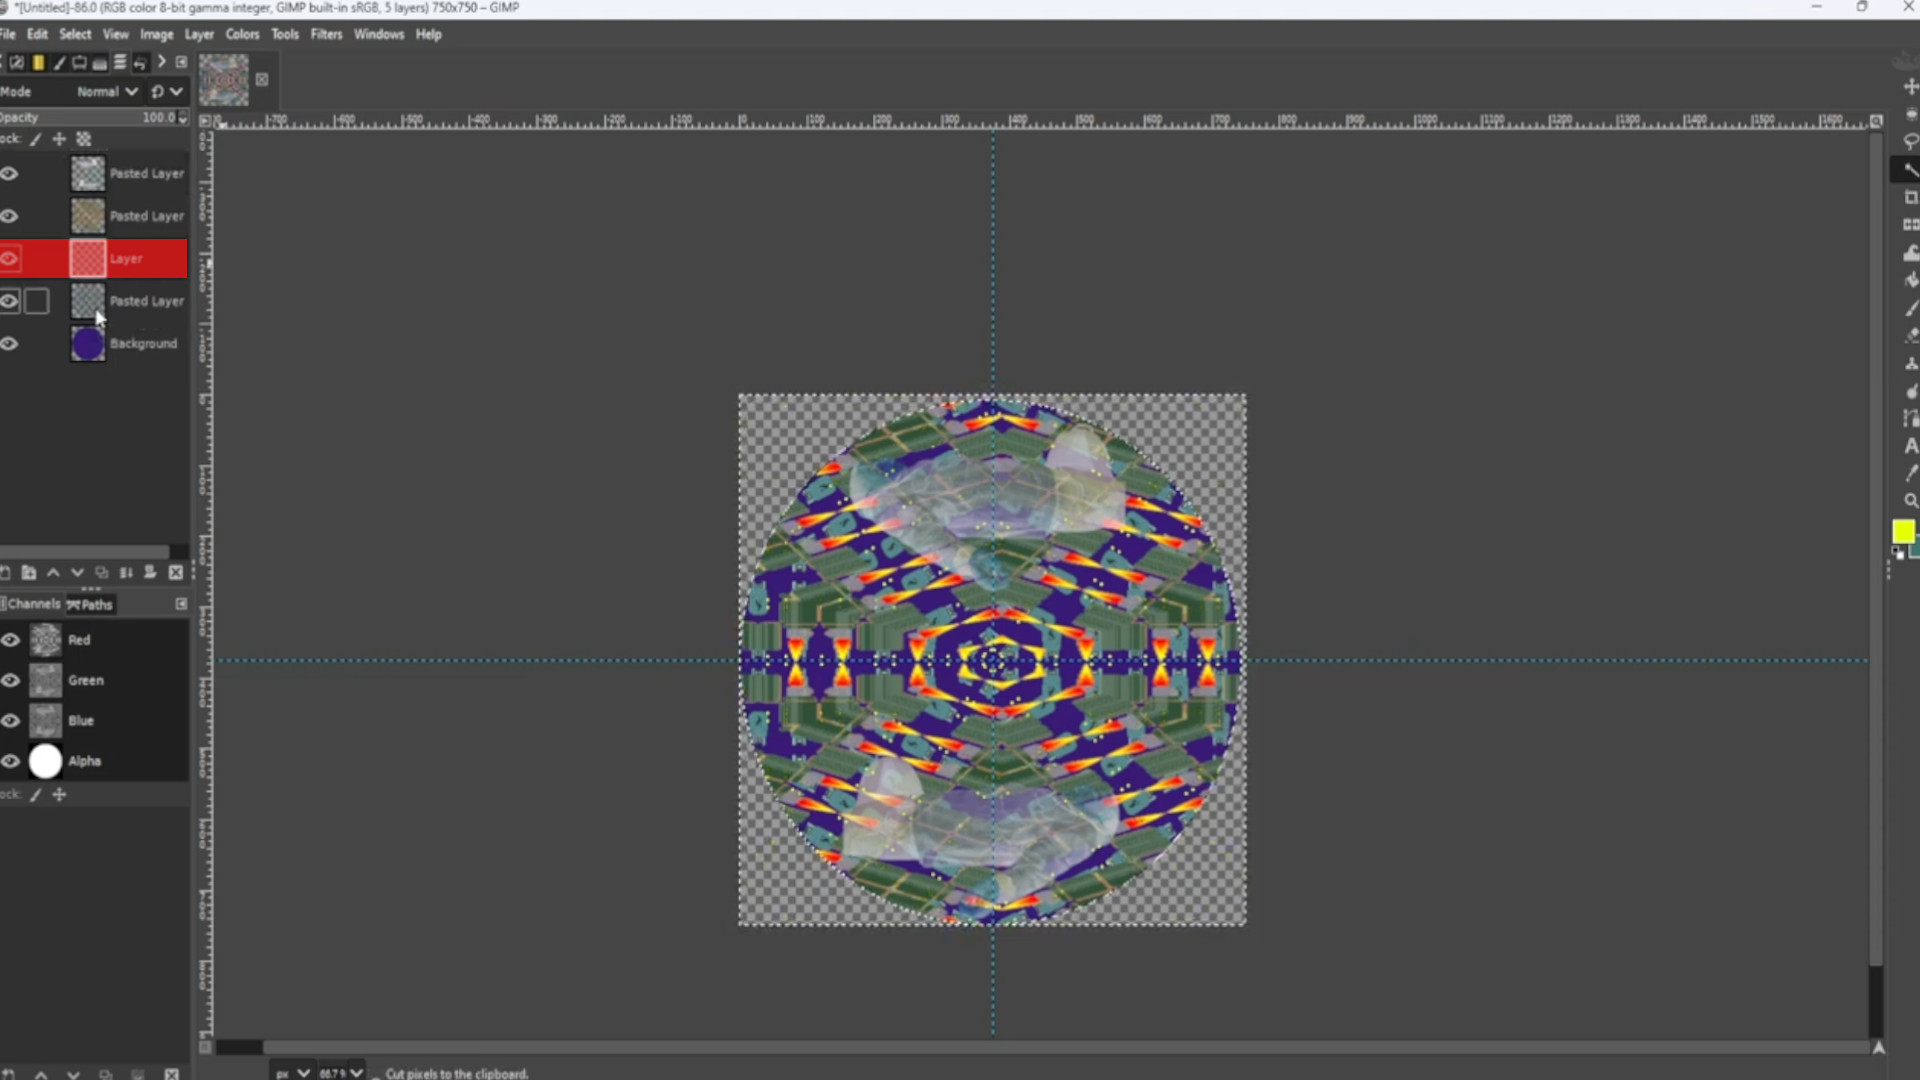
>>RIGHT CLICK anywhere on the canvas and go to>>>EDIT>>>CUT to cut away the outer background or use the shortcut>>>HOLD>>>CTRL and>>>PRESS>>>C to cut.
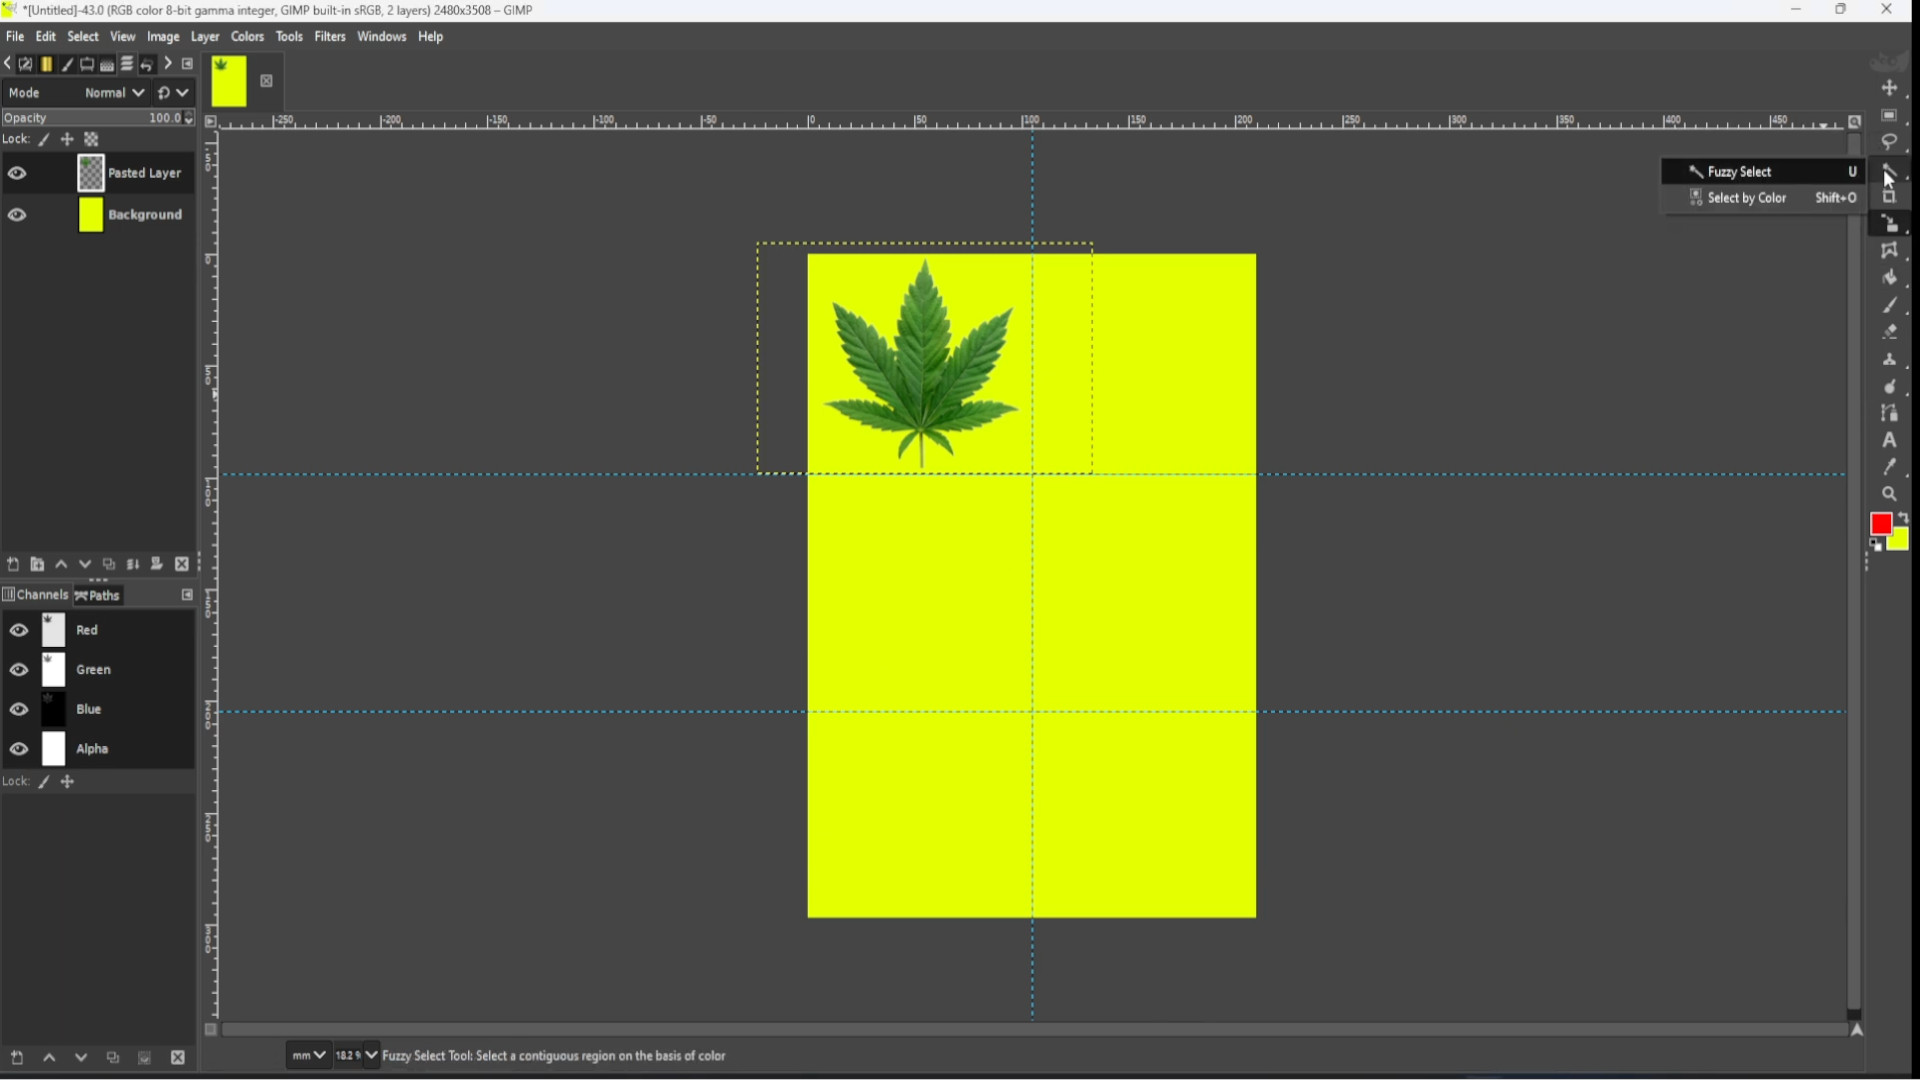
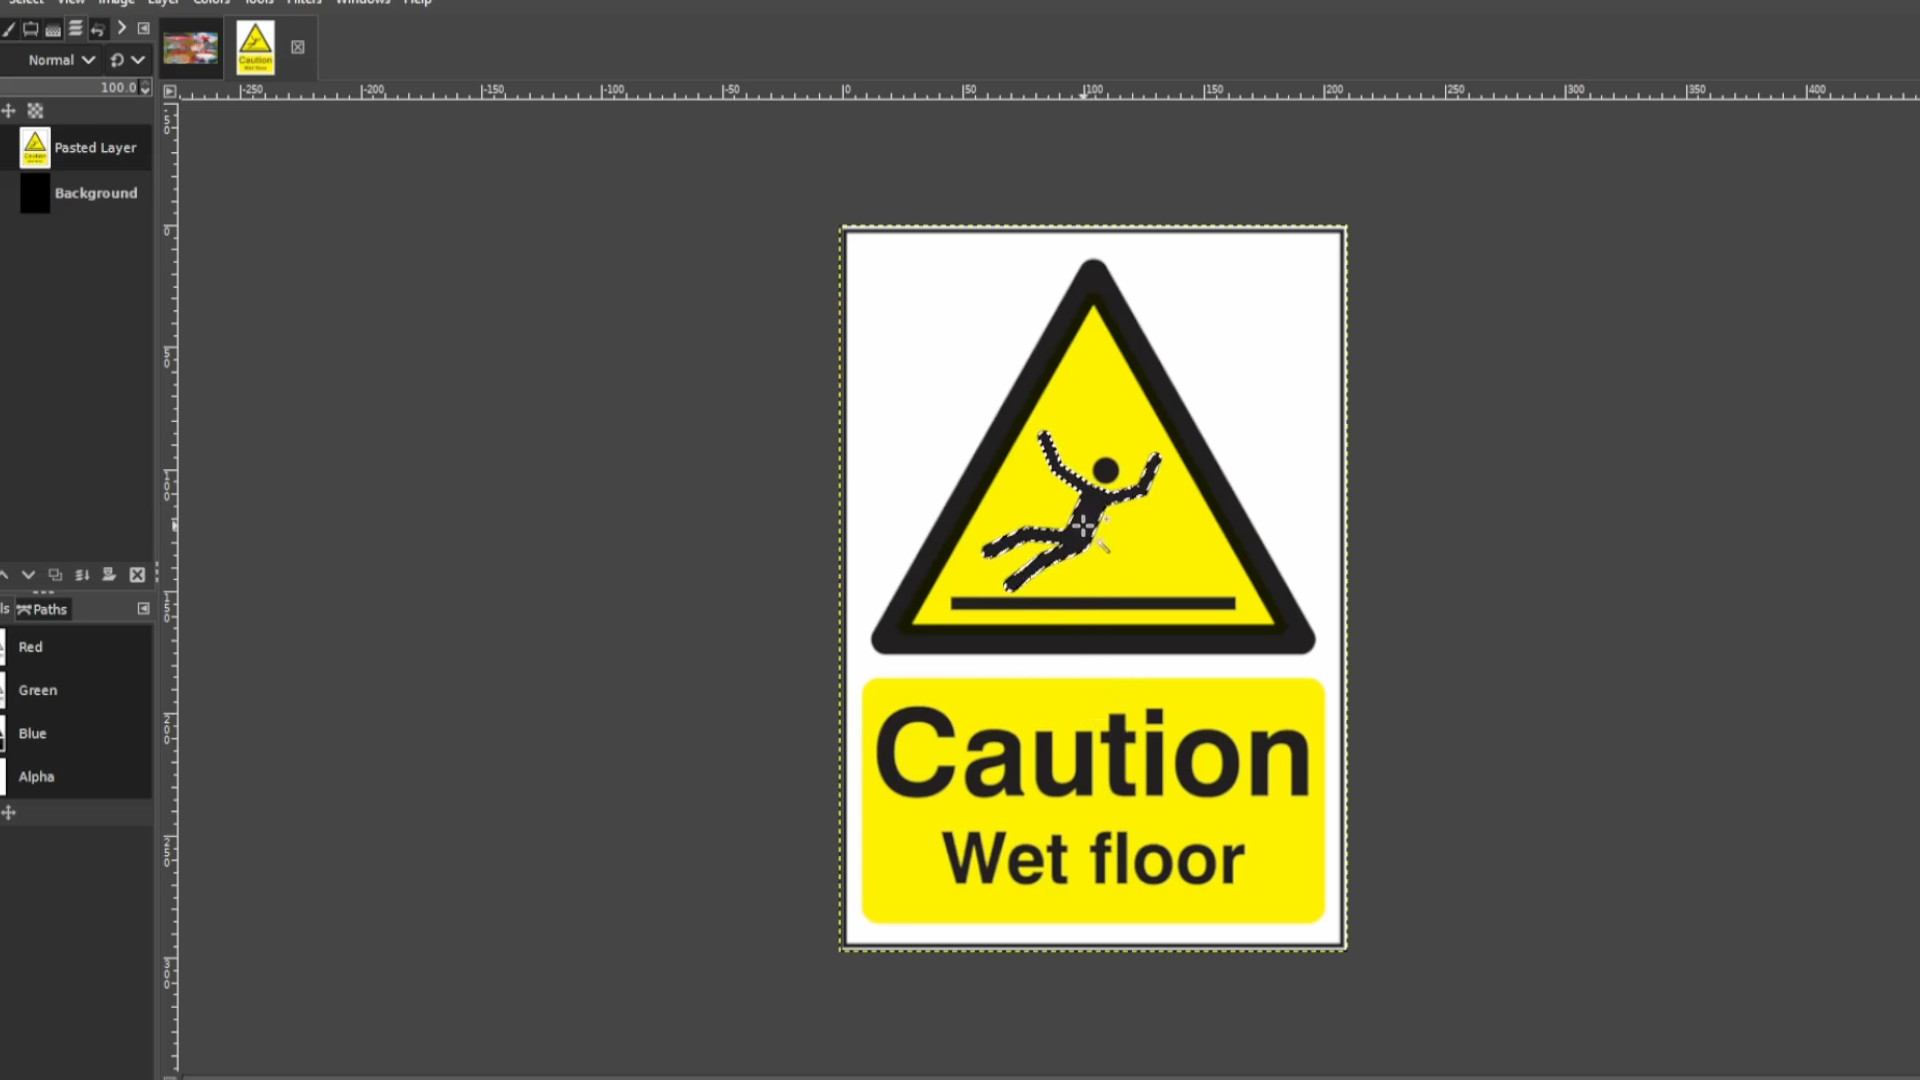
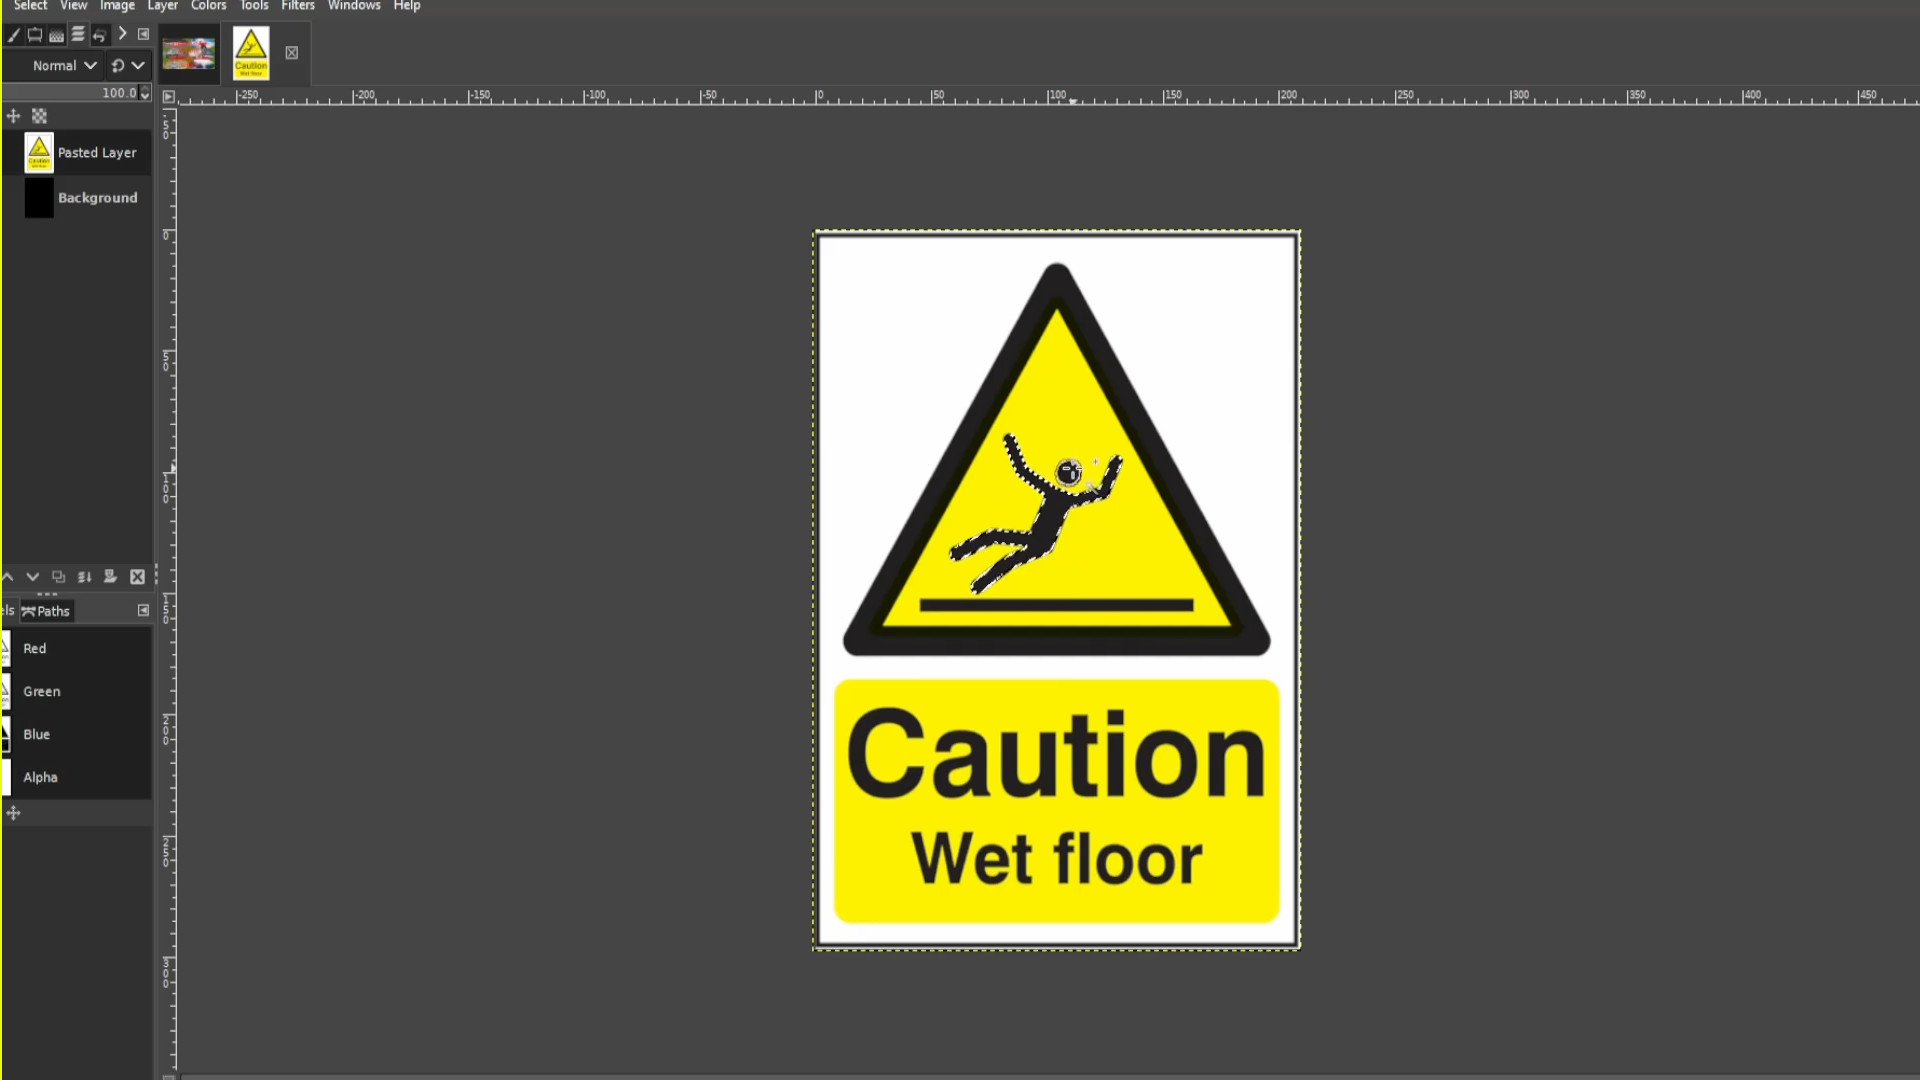
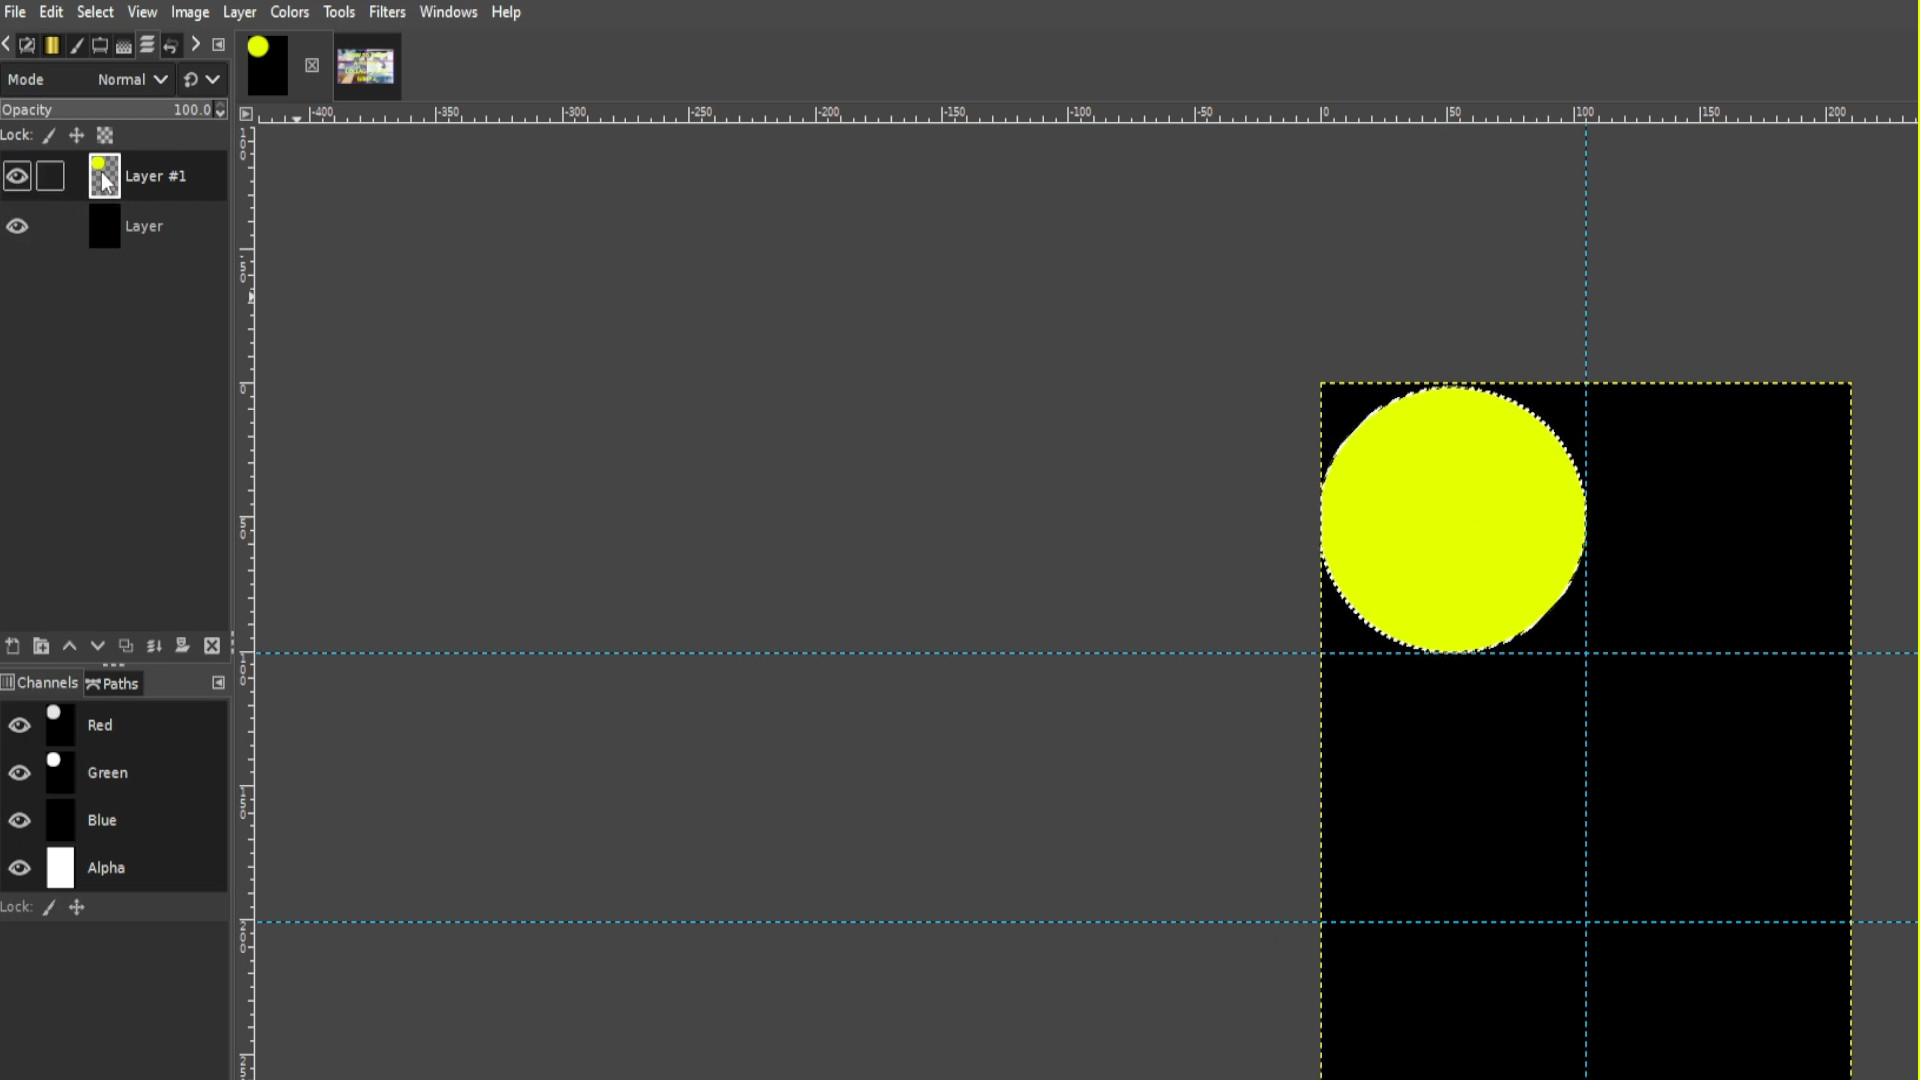
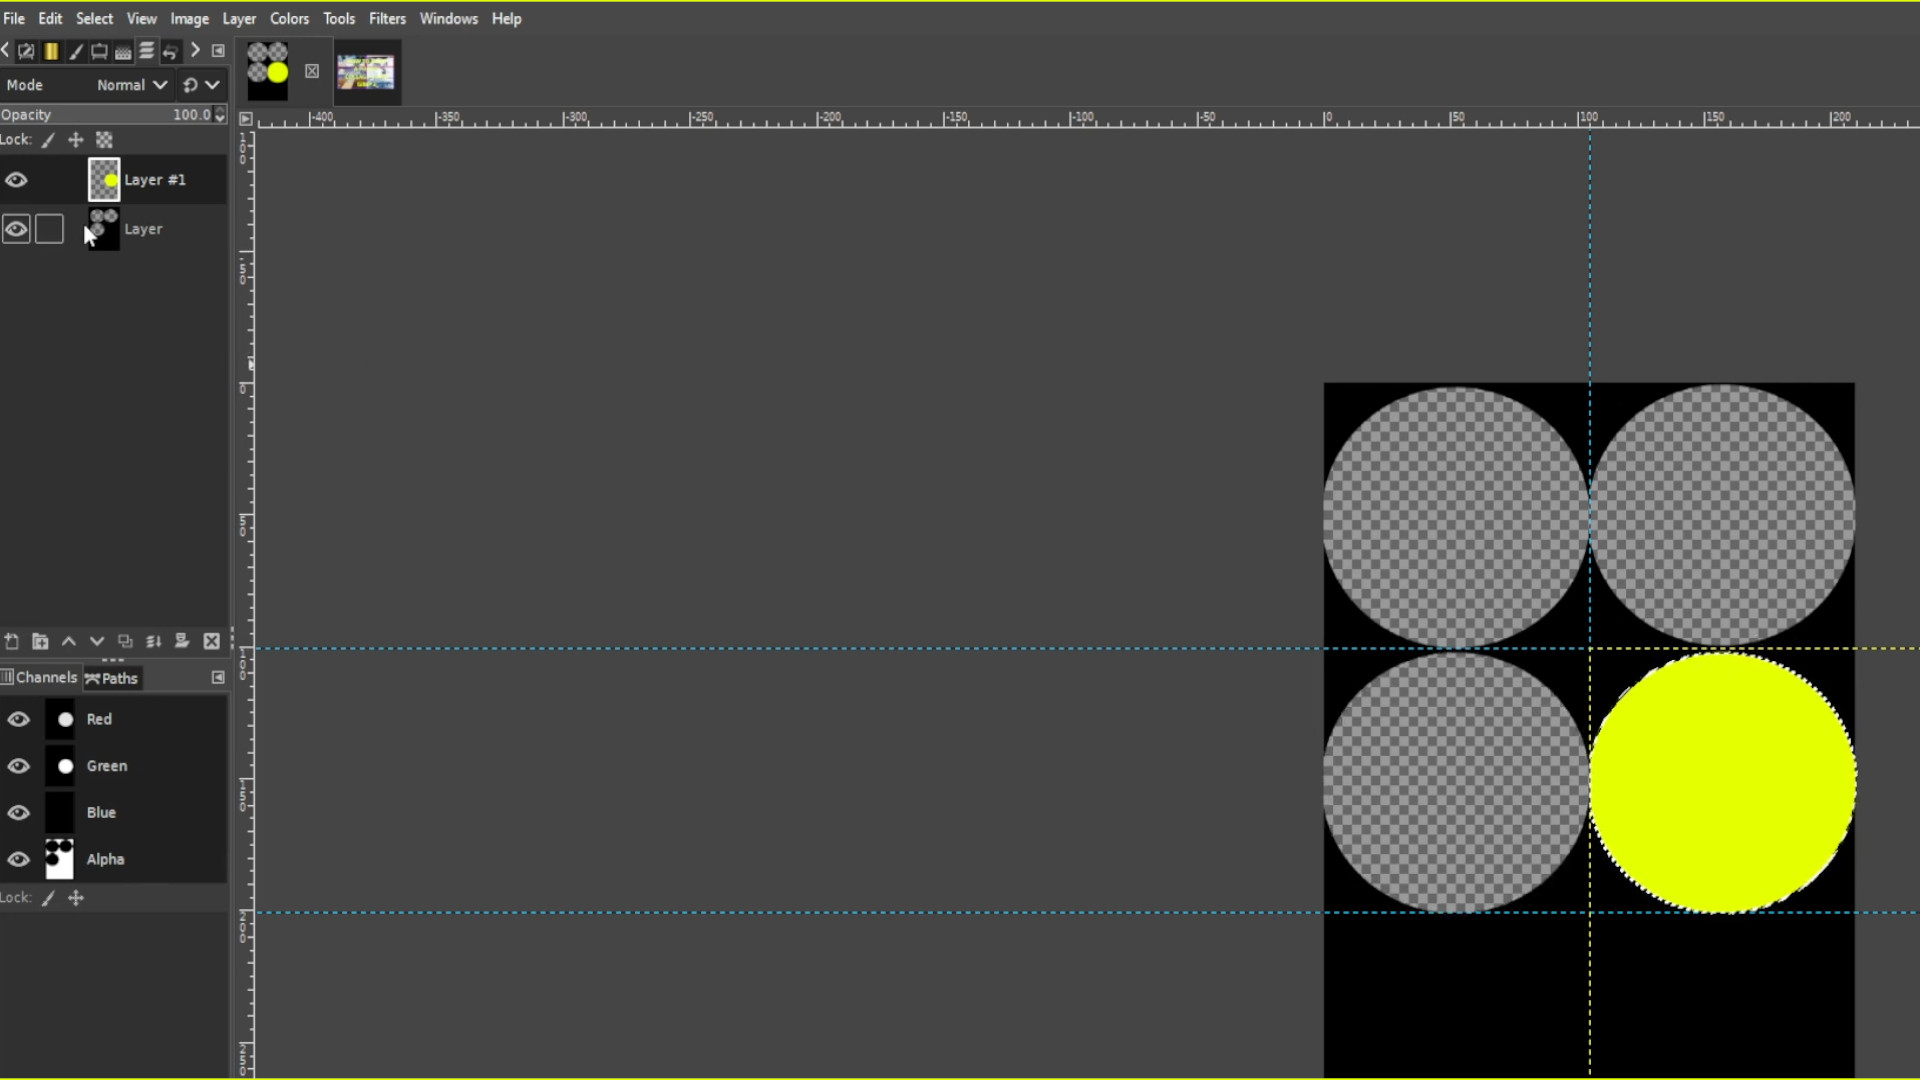
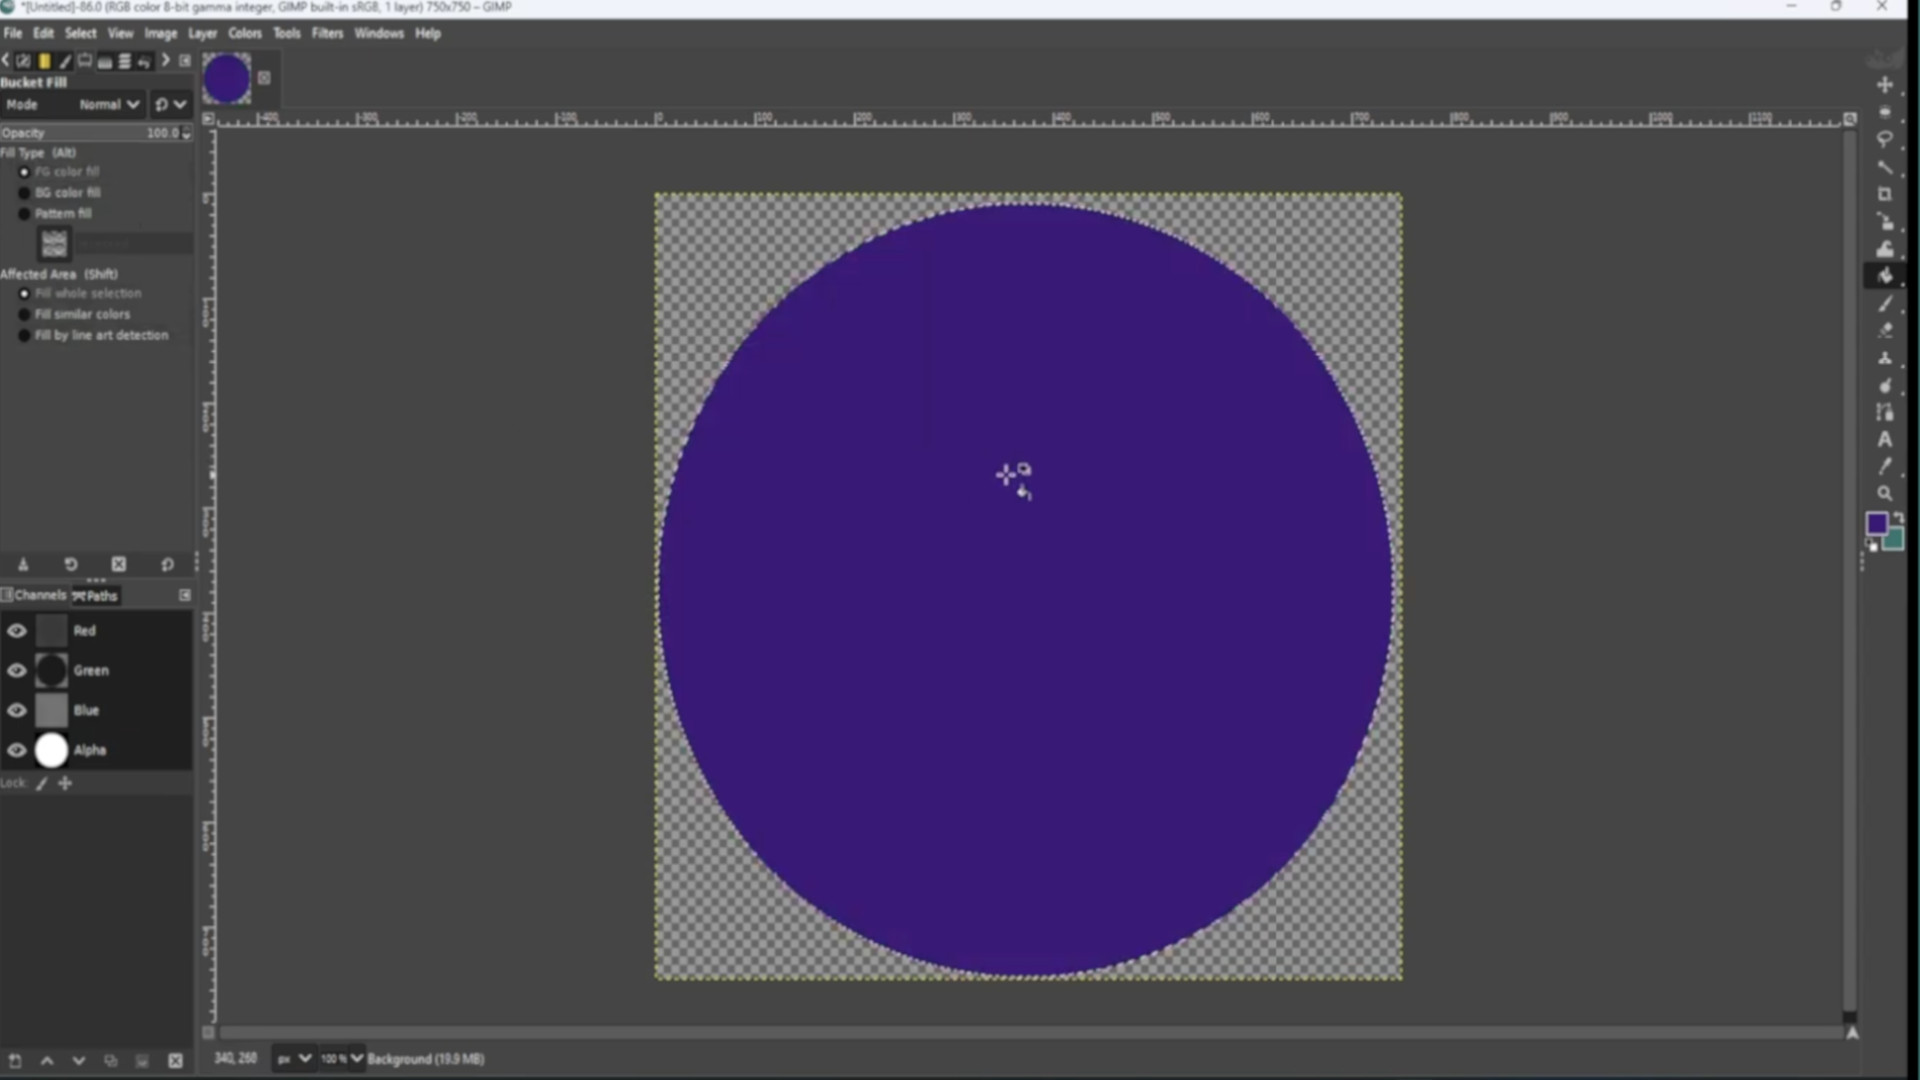
RESELECT the circle using the>>>FUZZY SELECT TOOL and picking a colour use the>>>BUCKET FILL to fill in the circle.
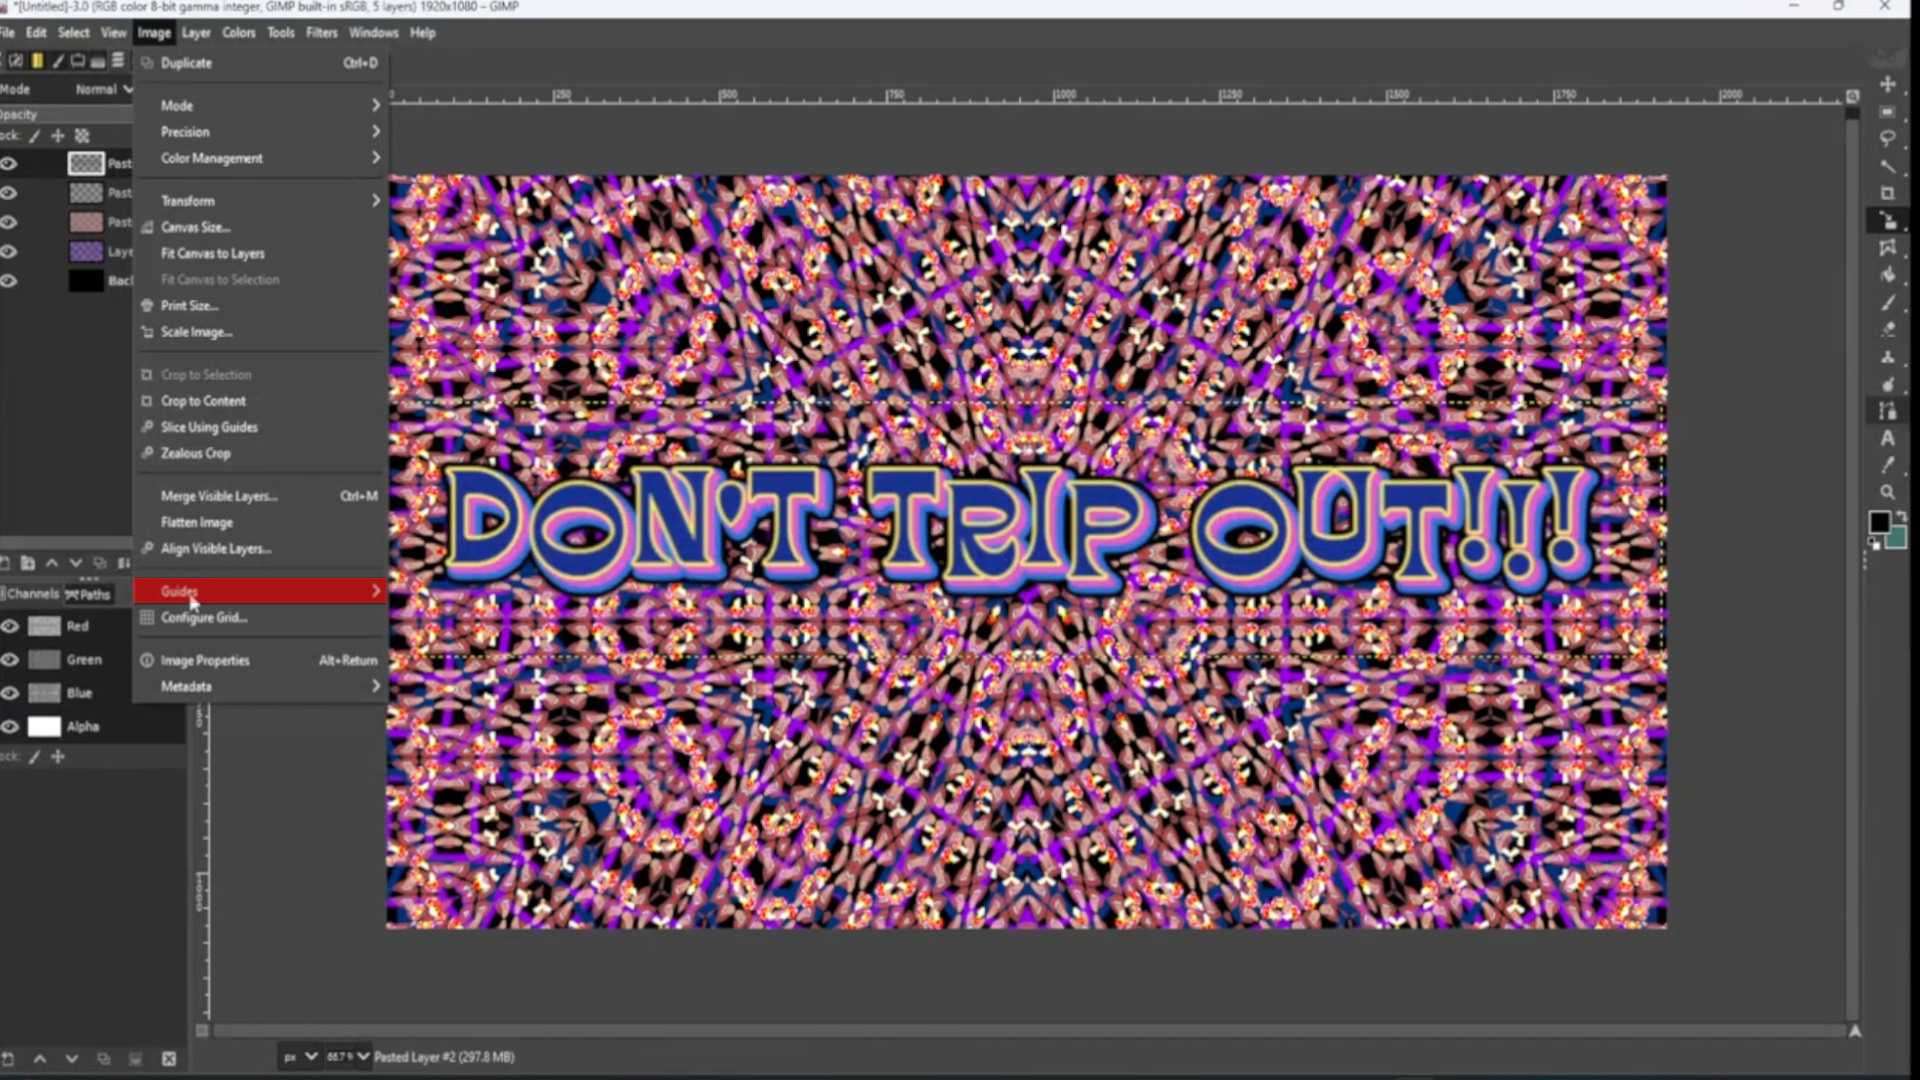
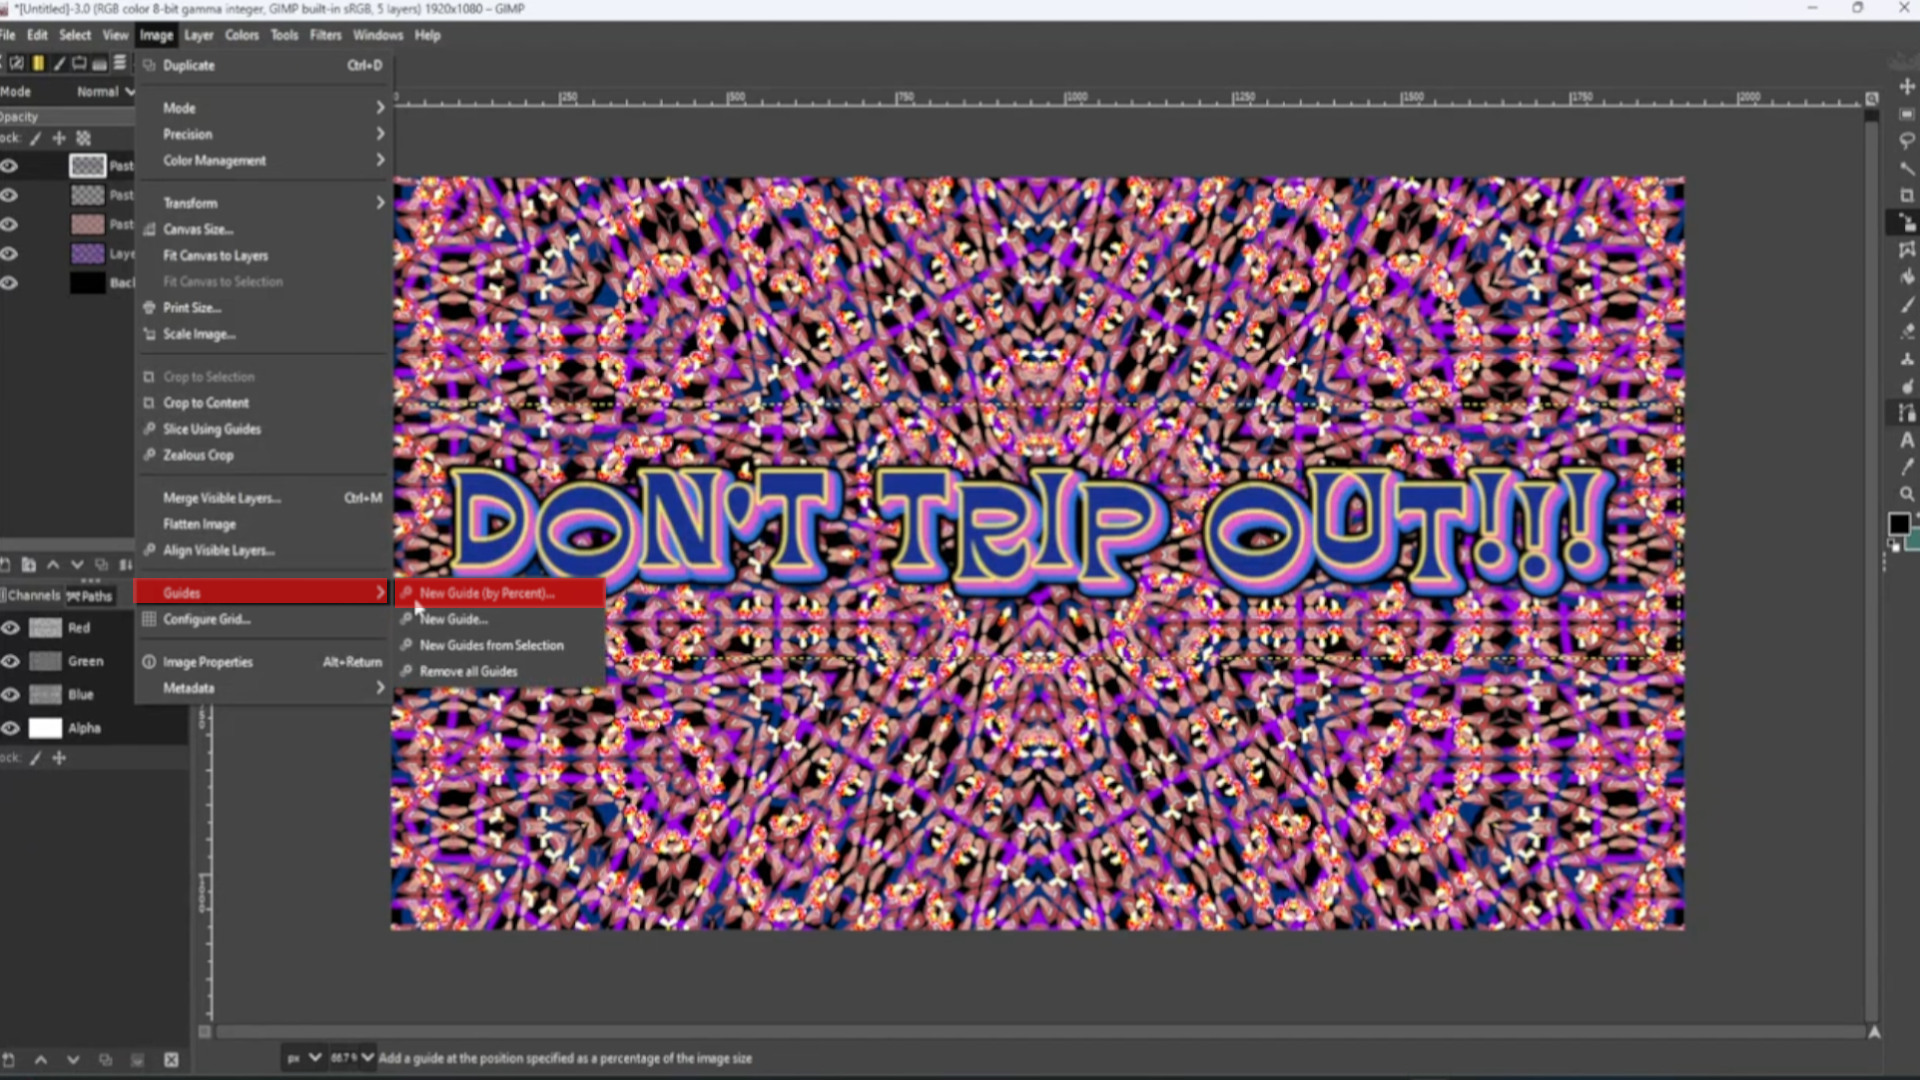
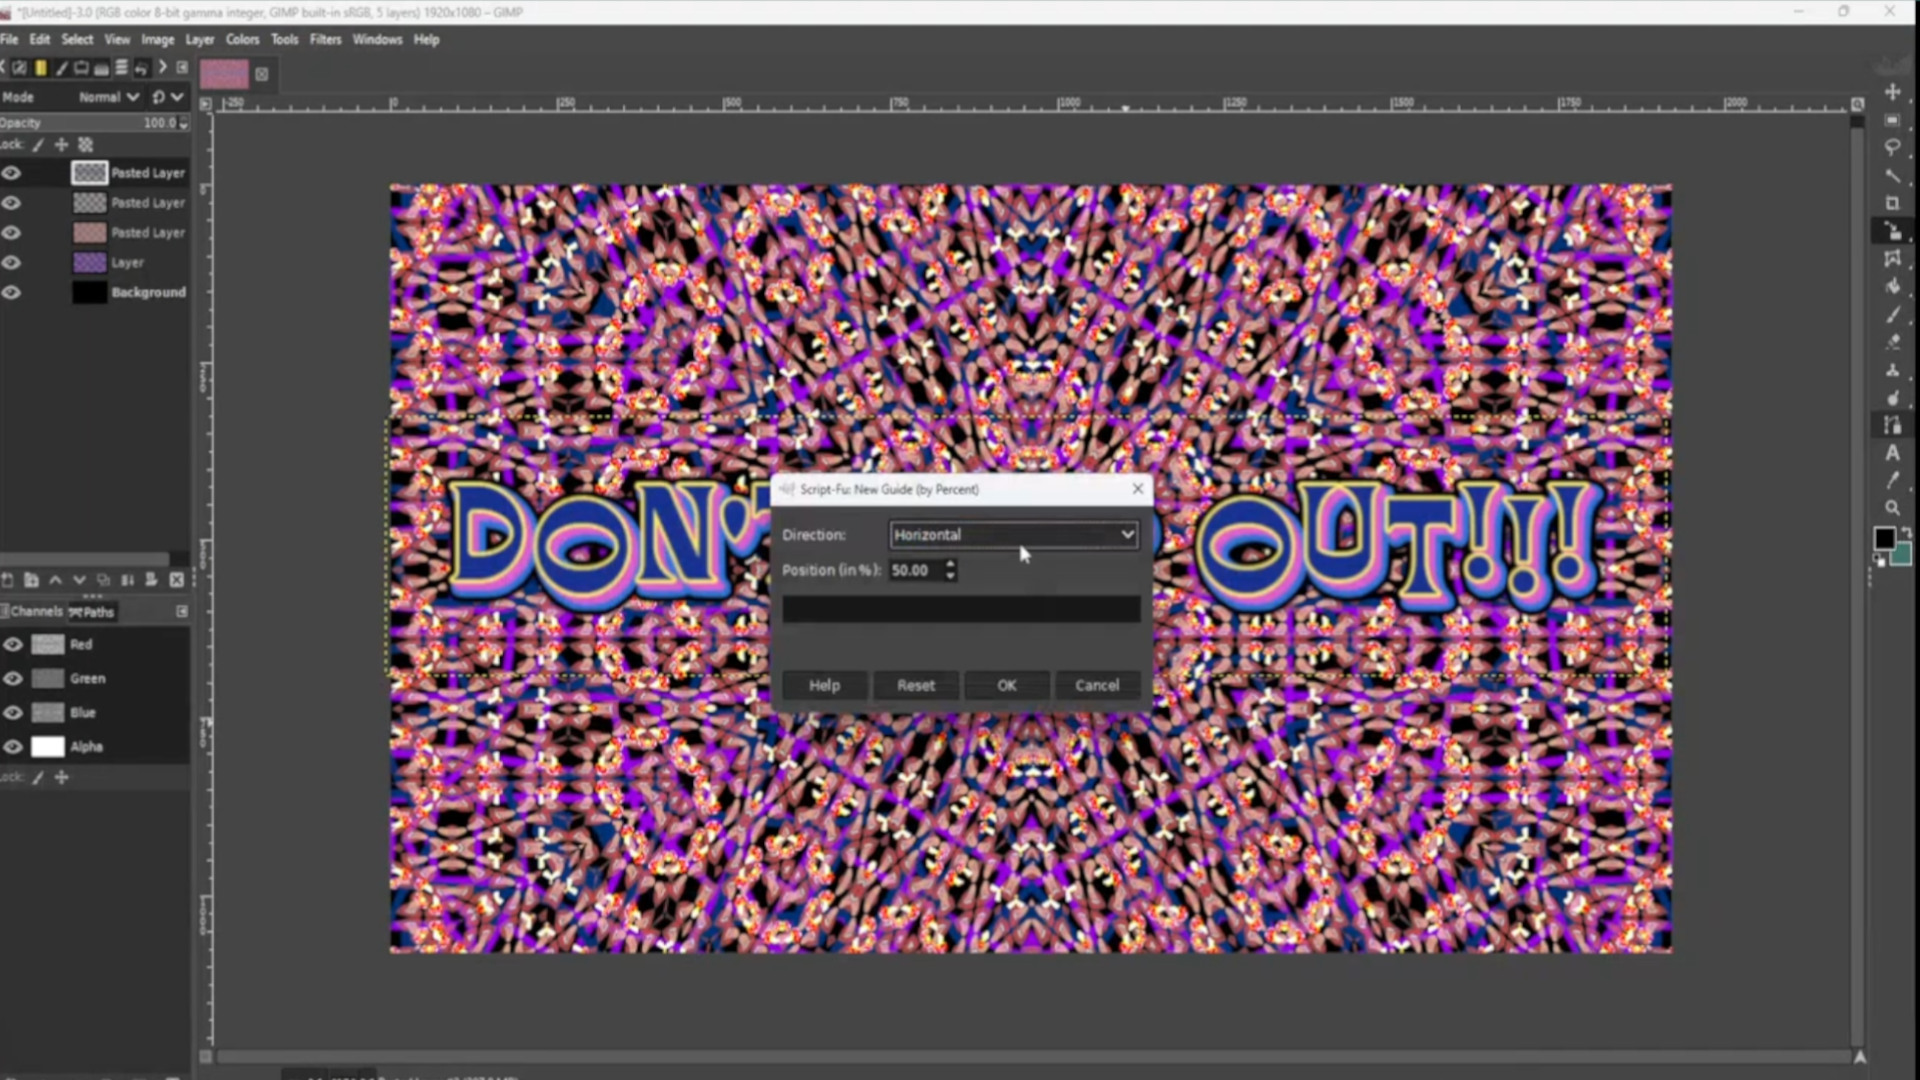
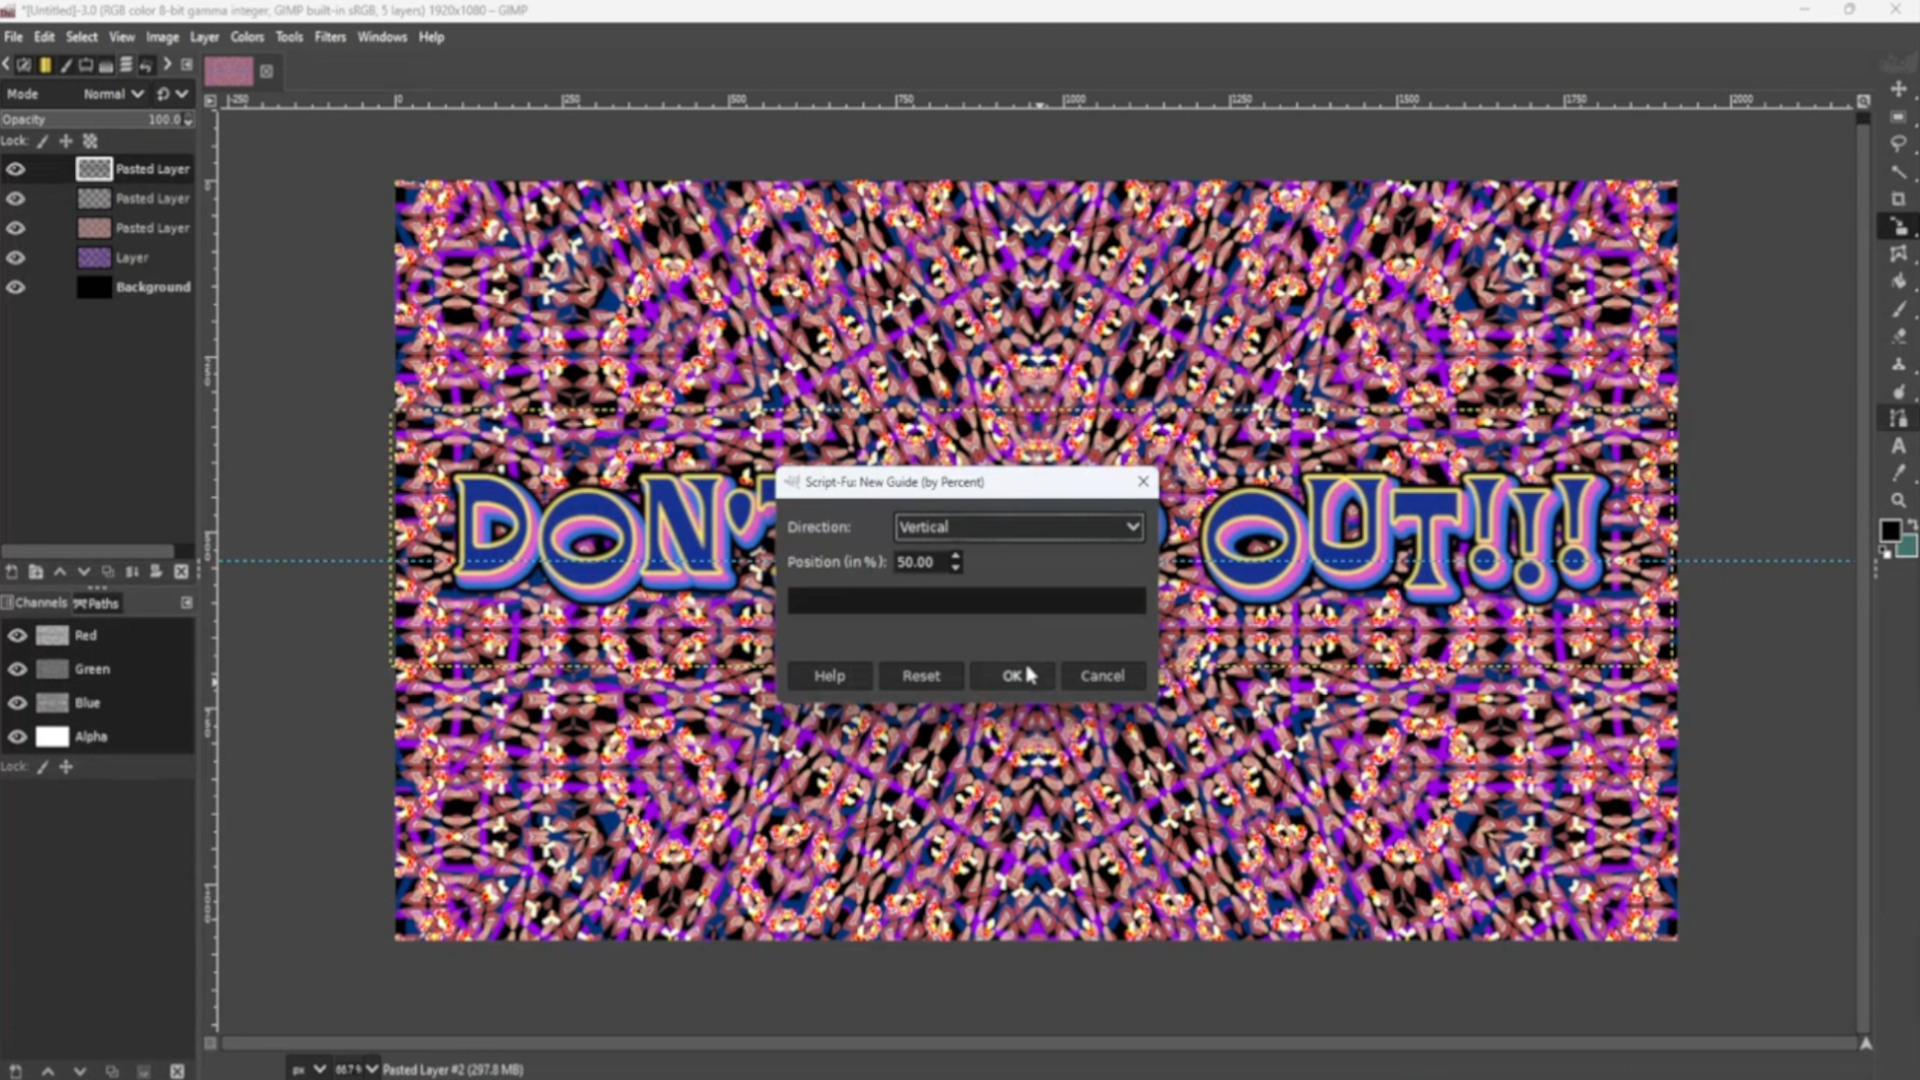
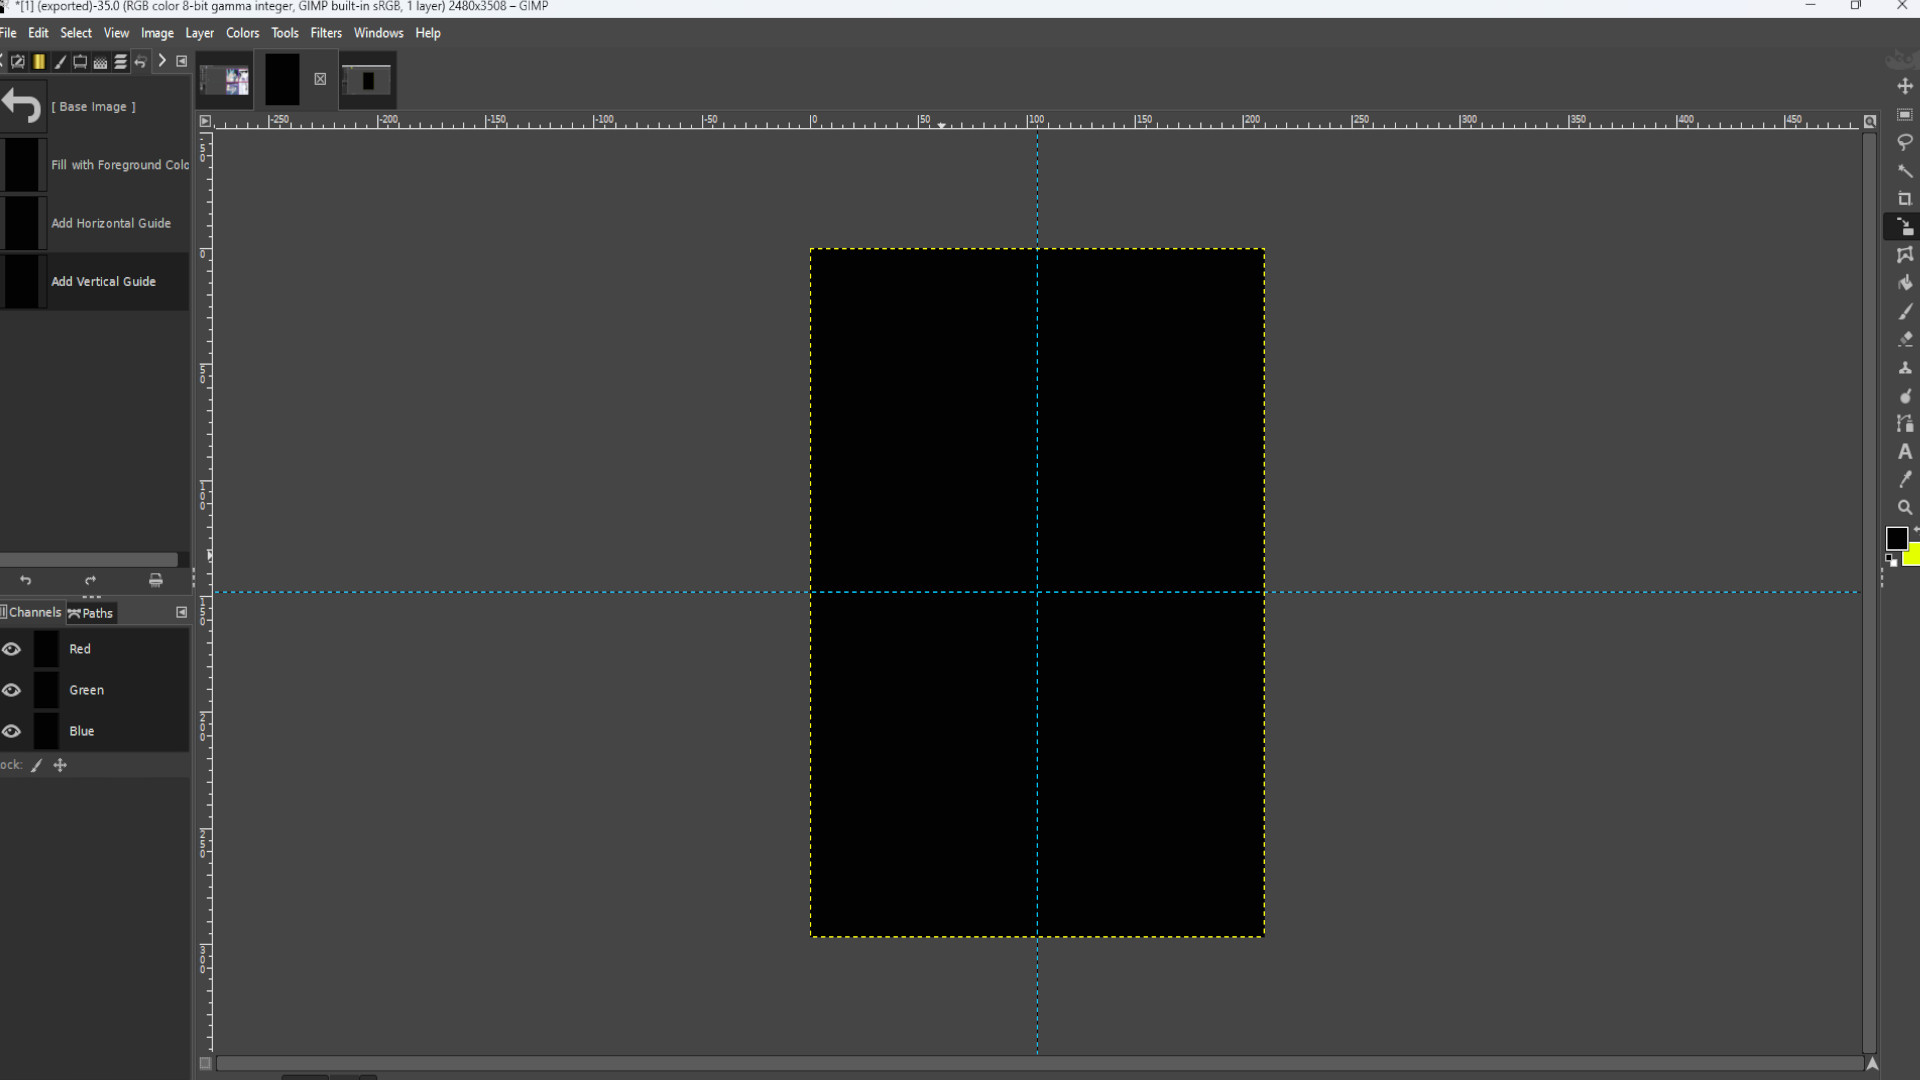
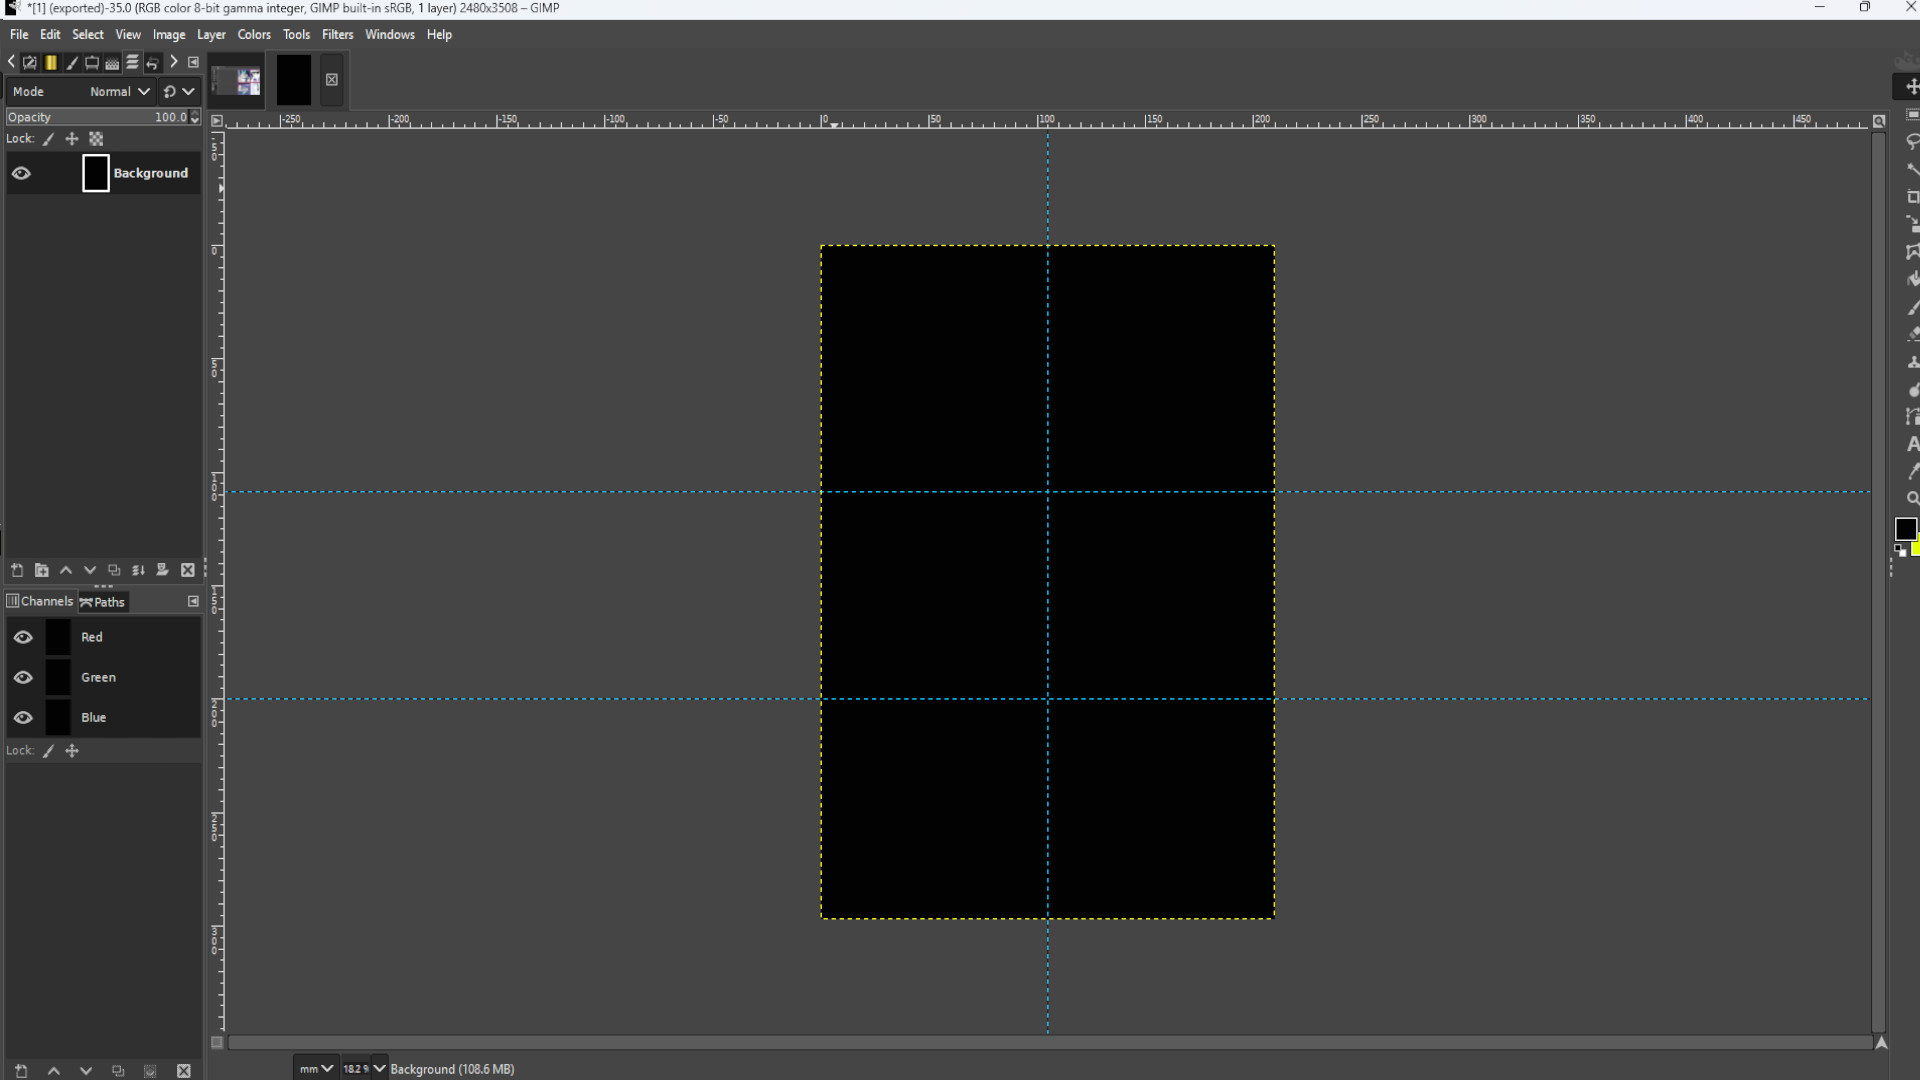
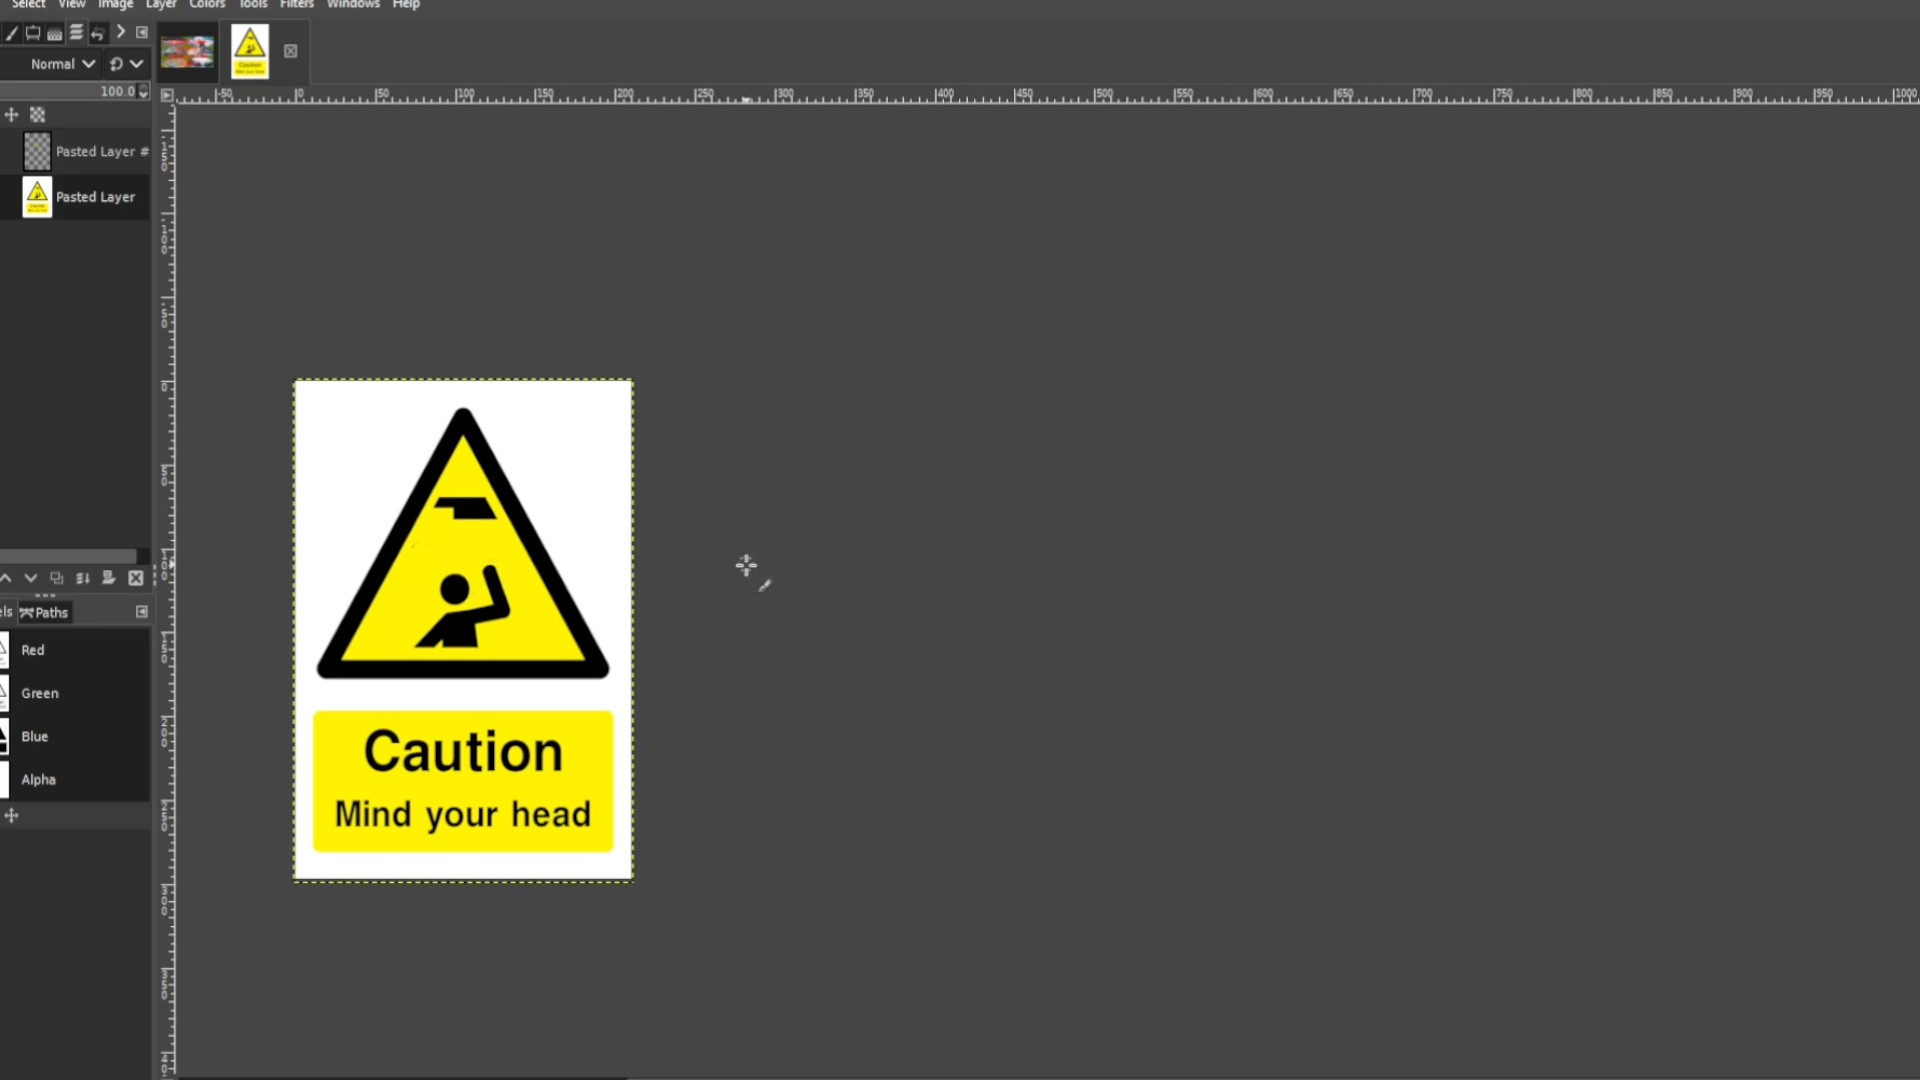
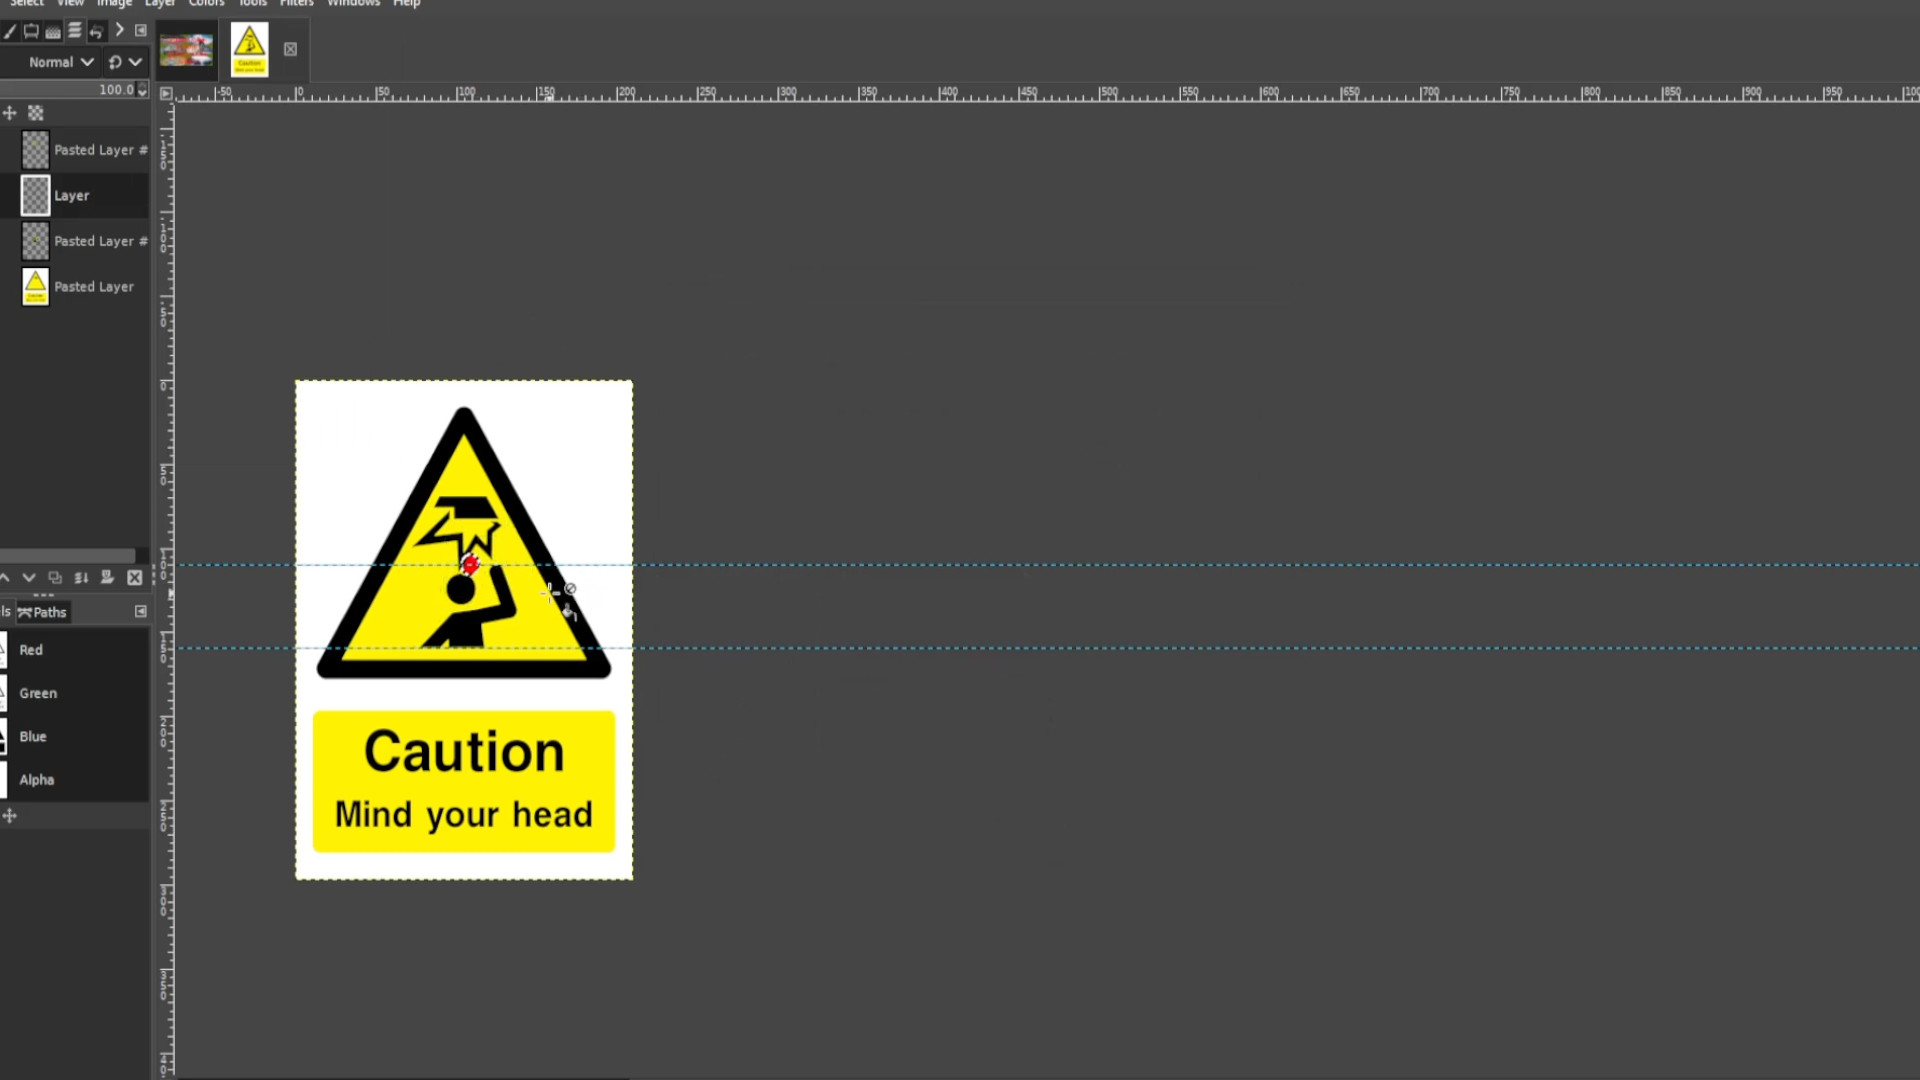
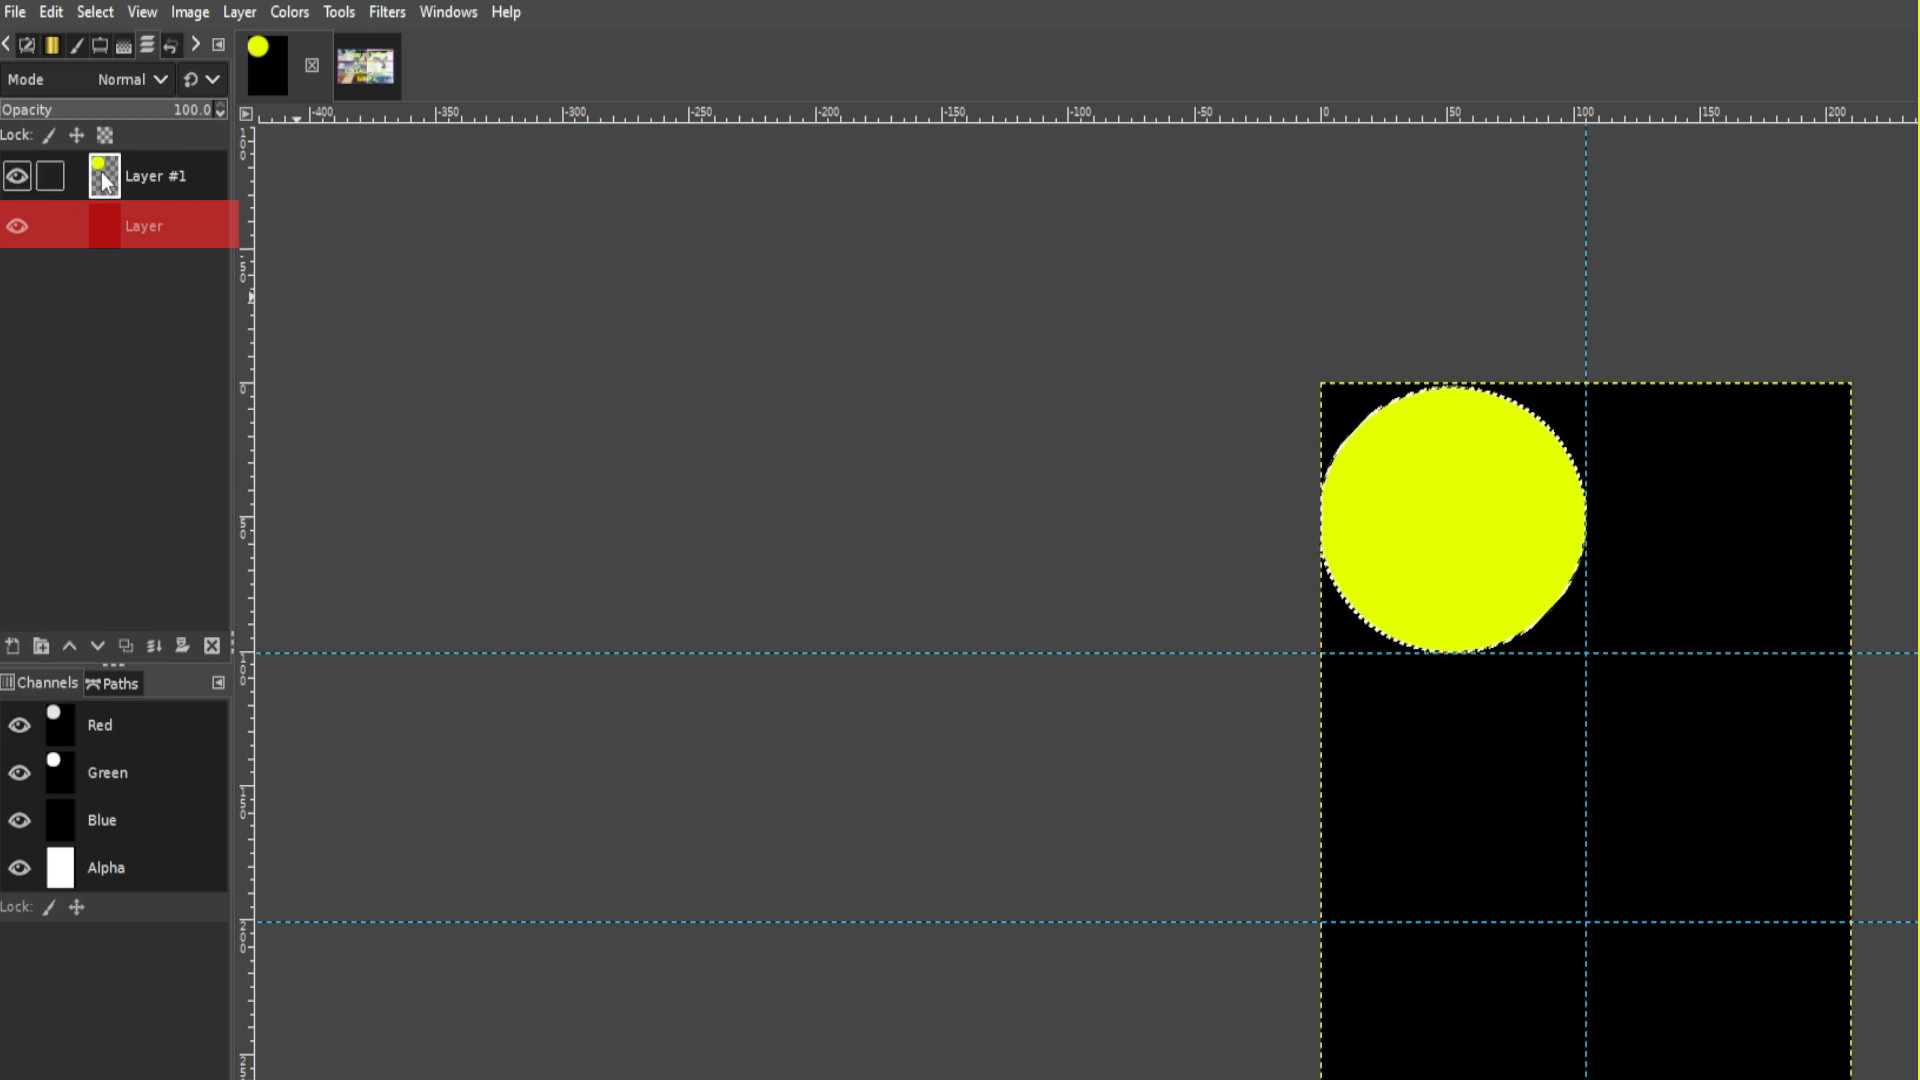
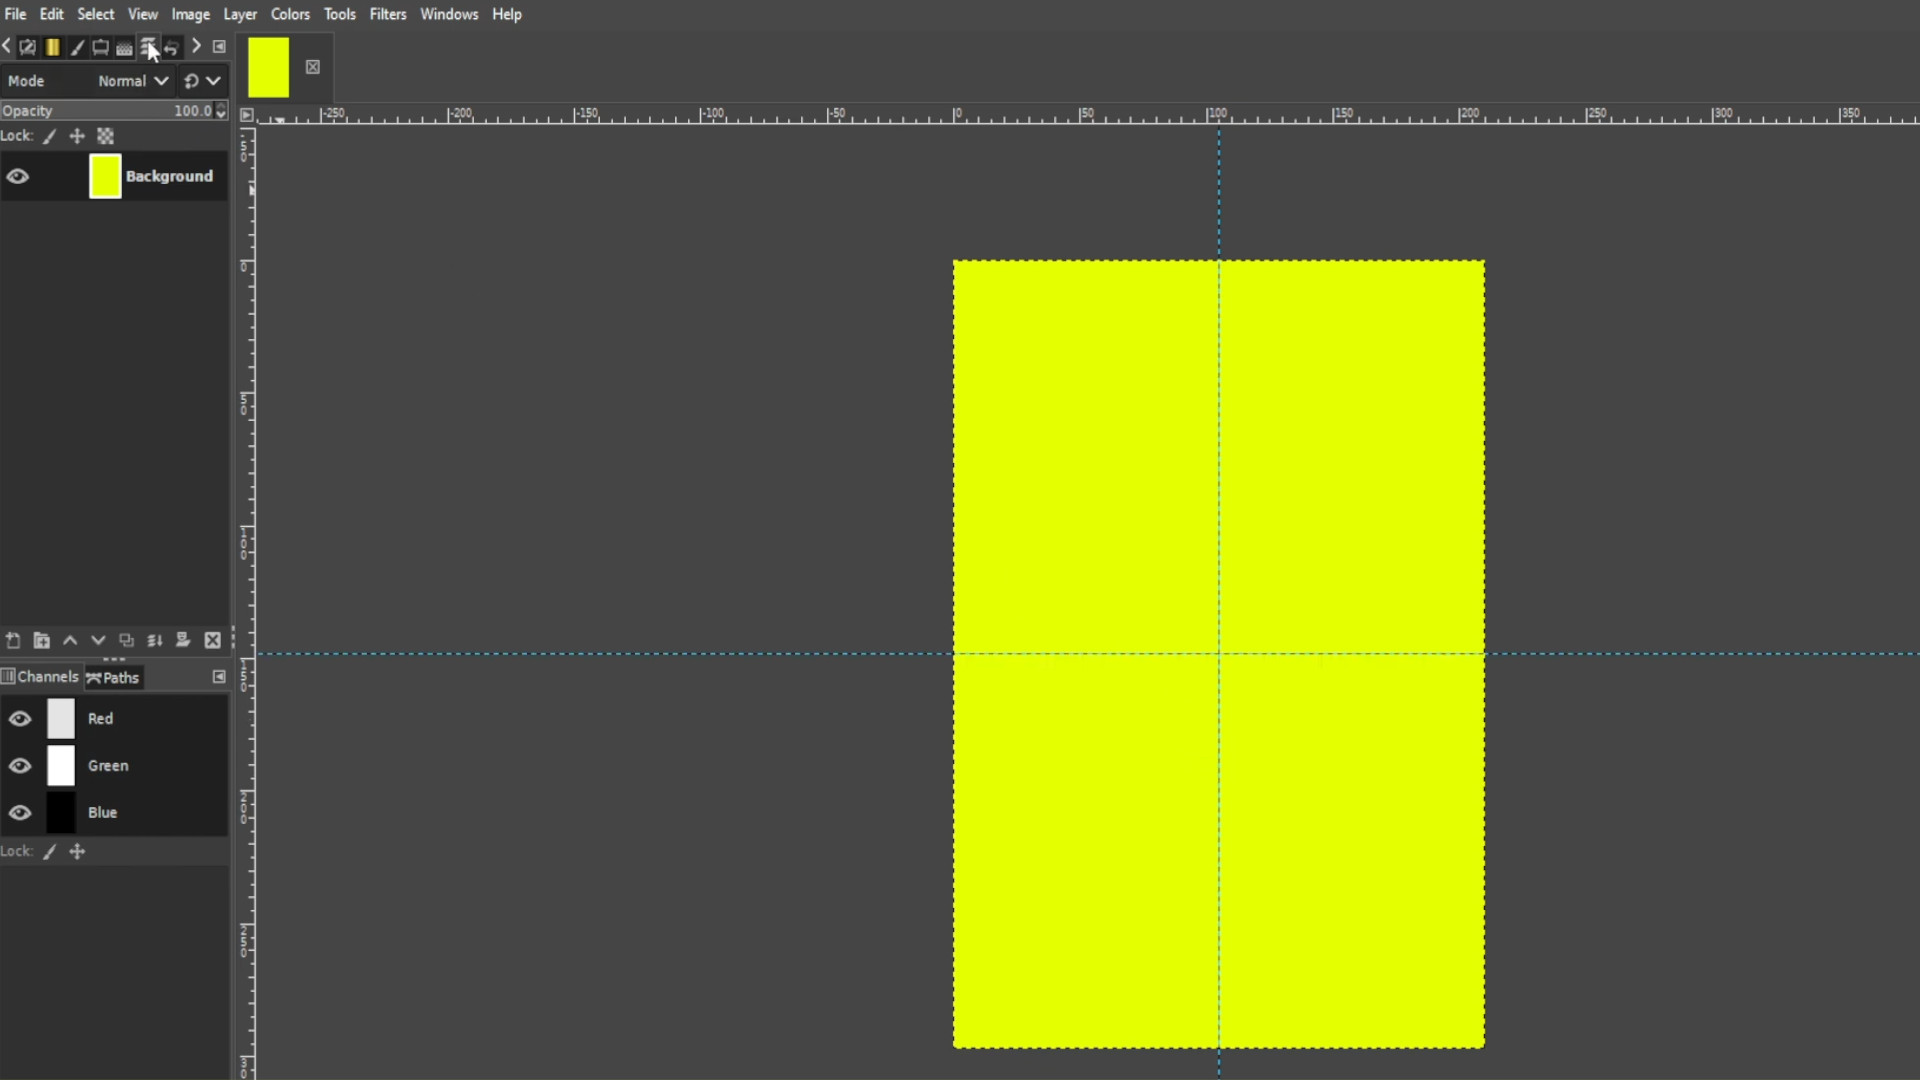
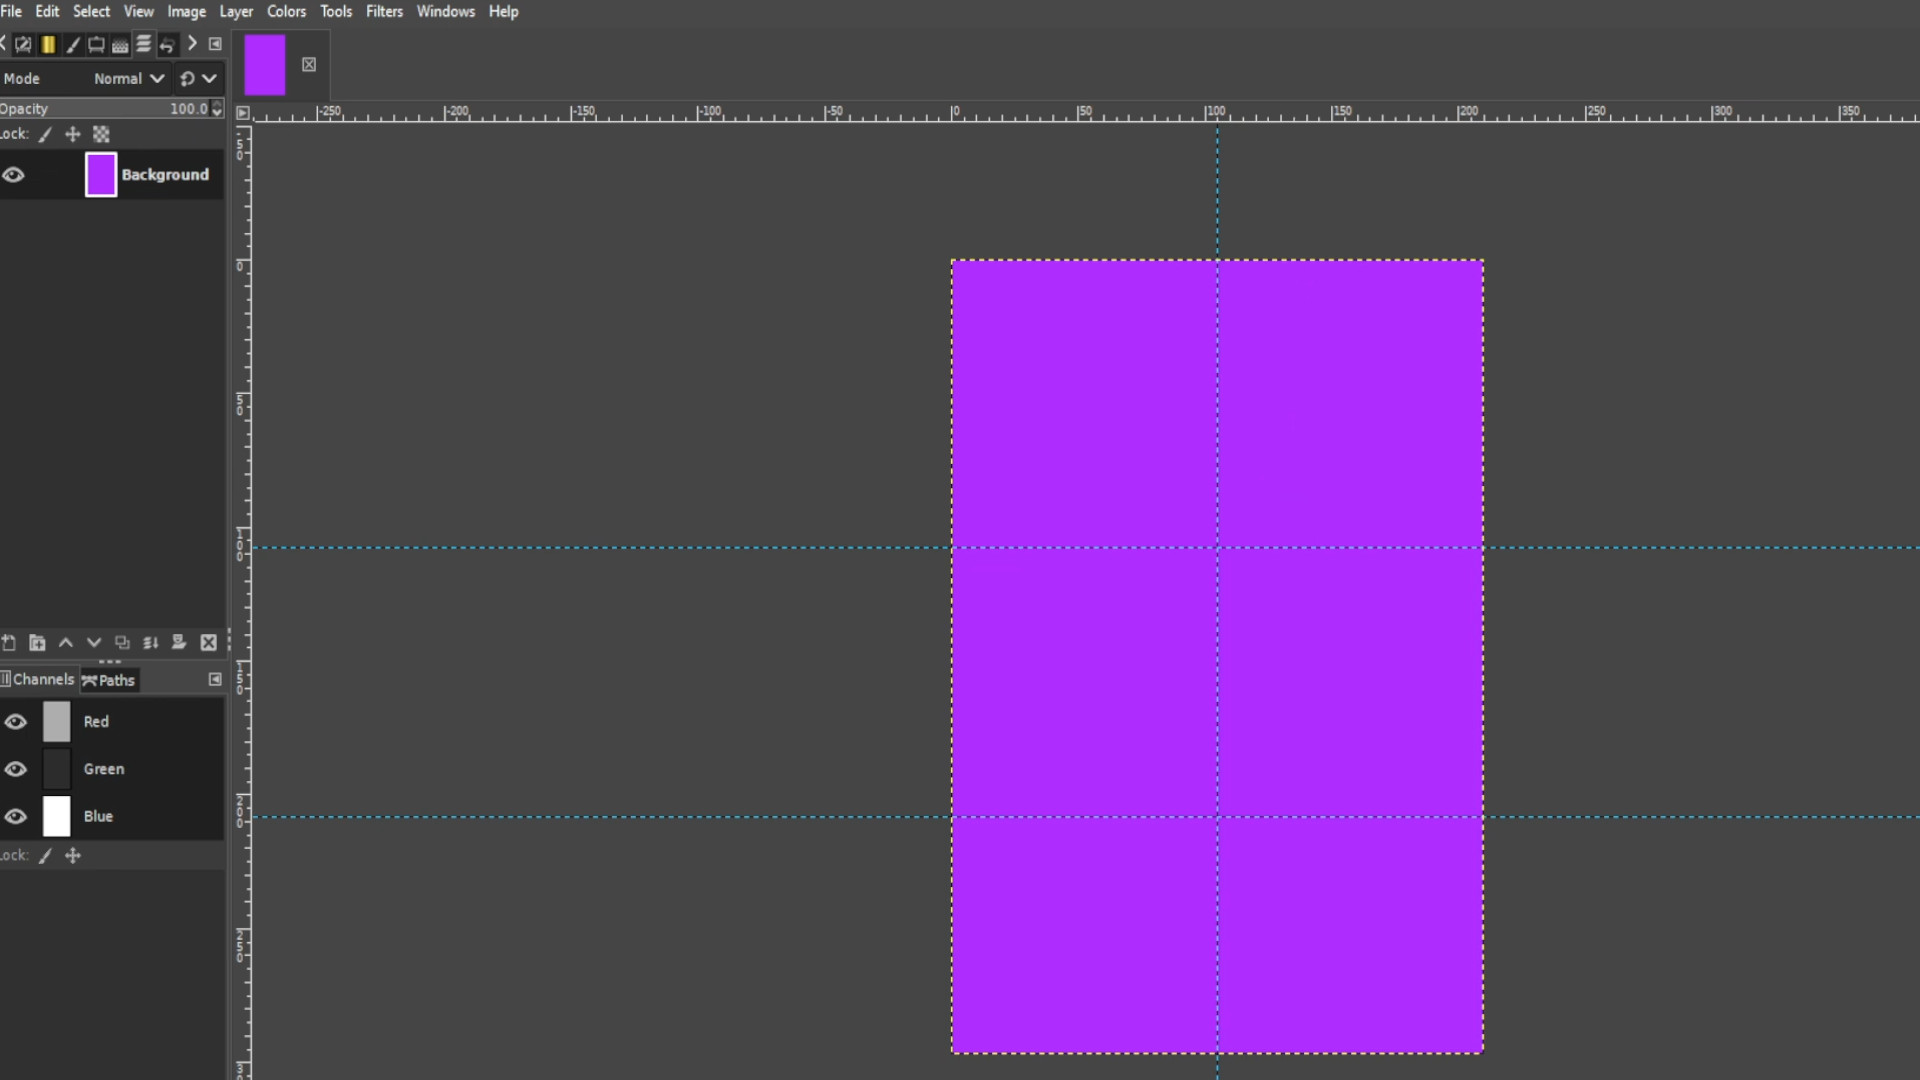
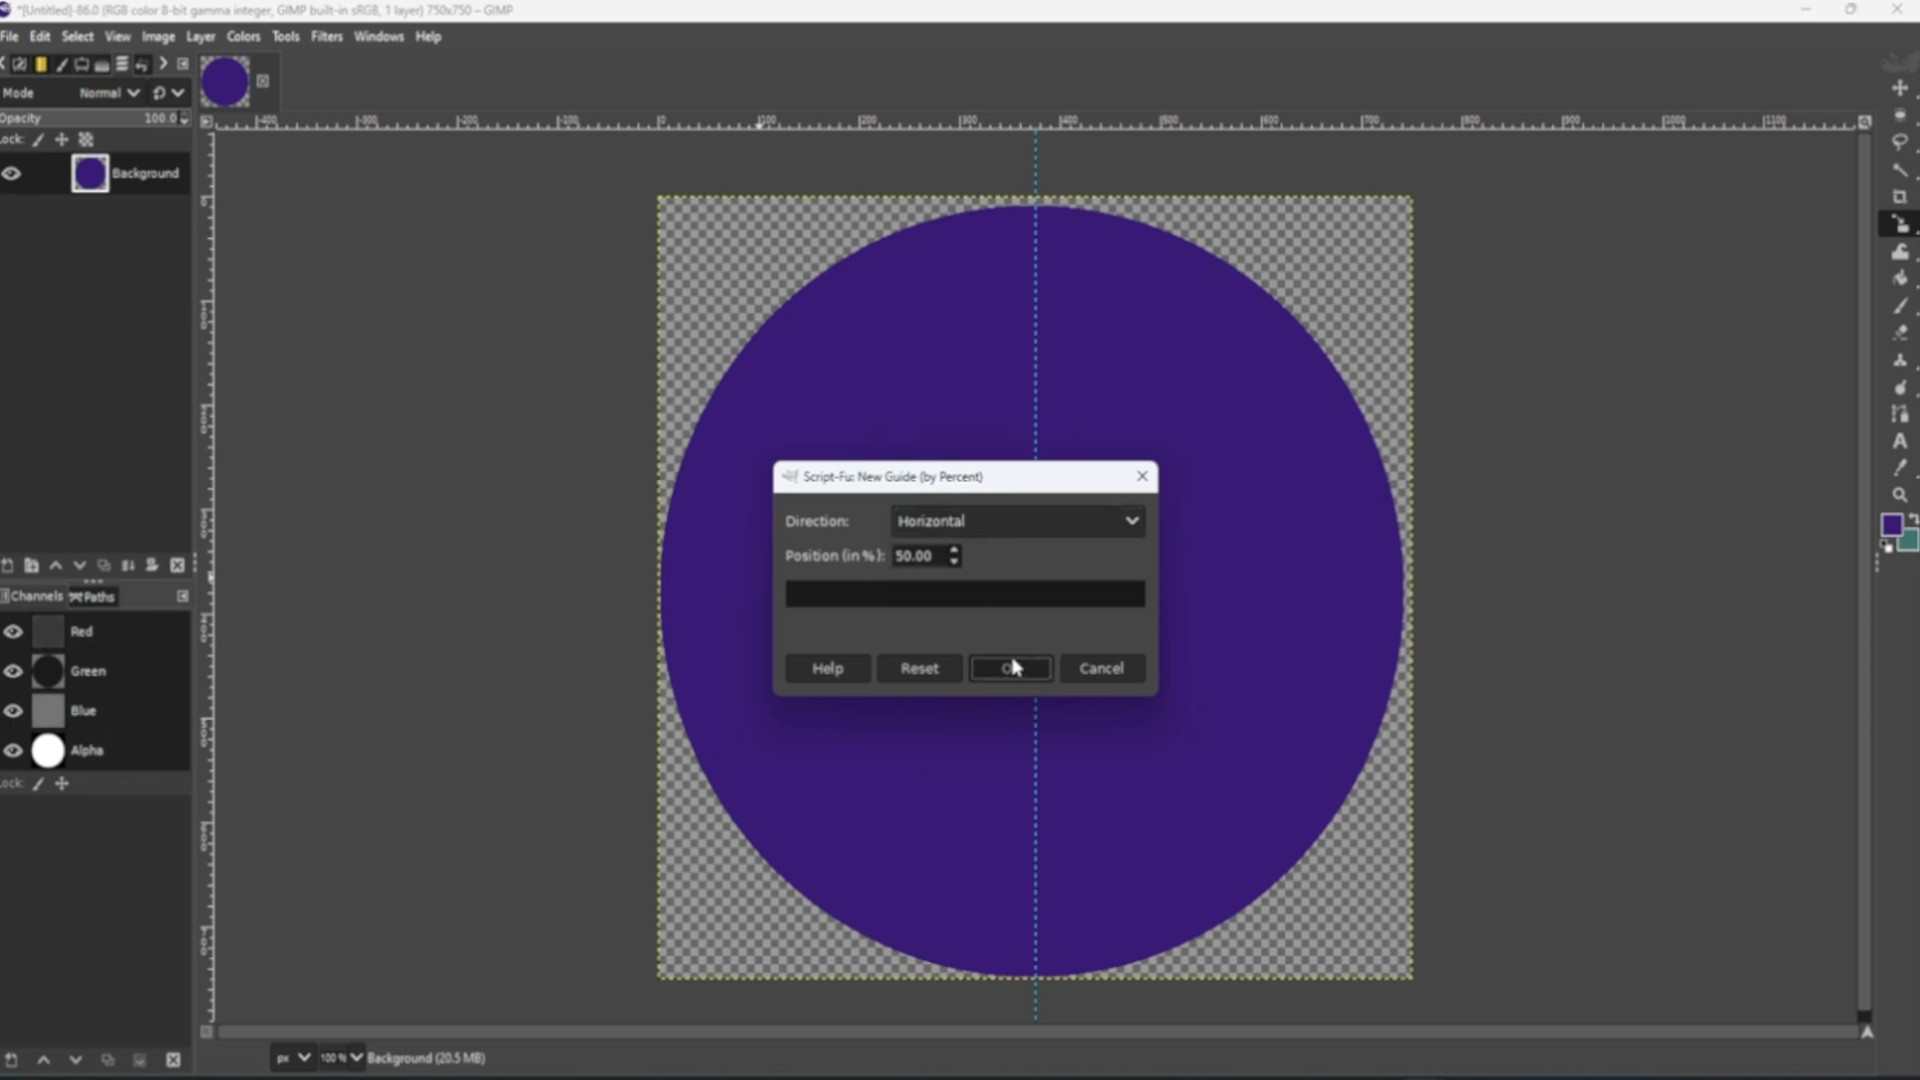
Go to>>>IMAGE>>>GUIDES>>>NEW GUIDE BY PERECENT and pick>>>DIRECTION>>>HORIZONTAL>>>POSTION (In Percent)>>>50.00
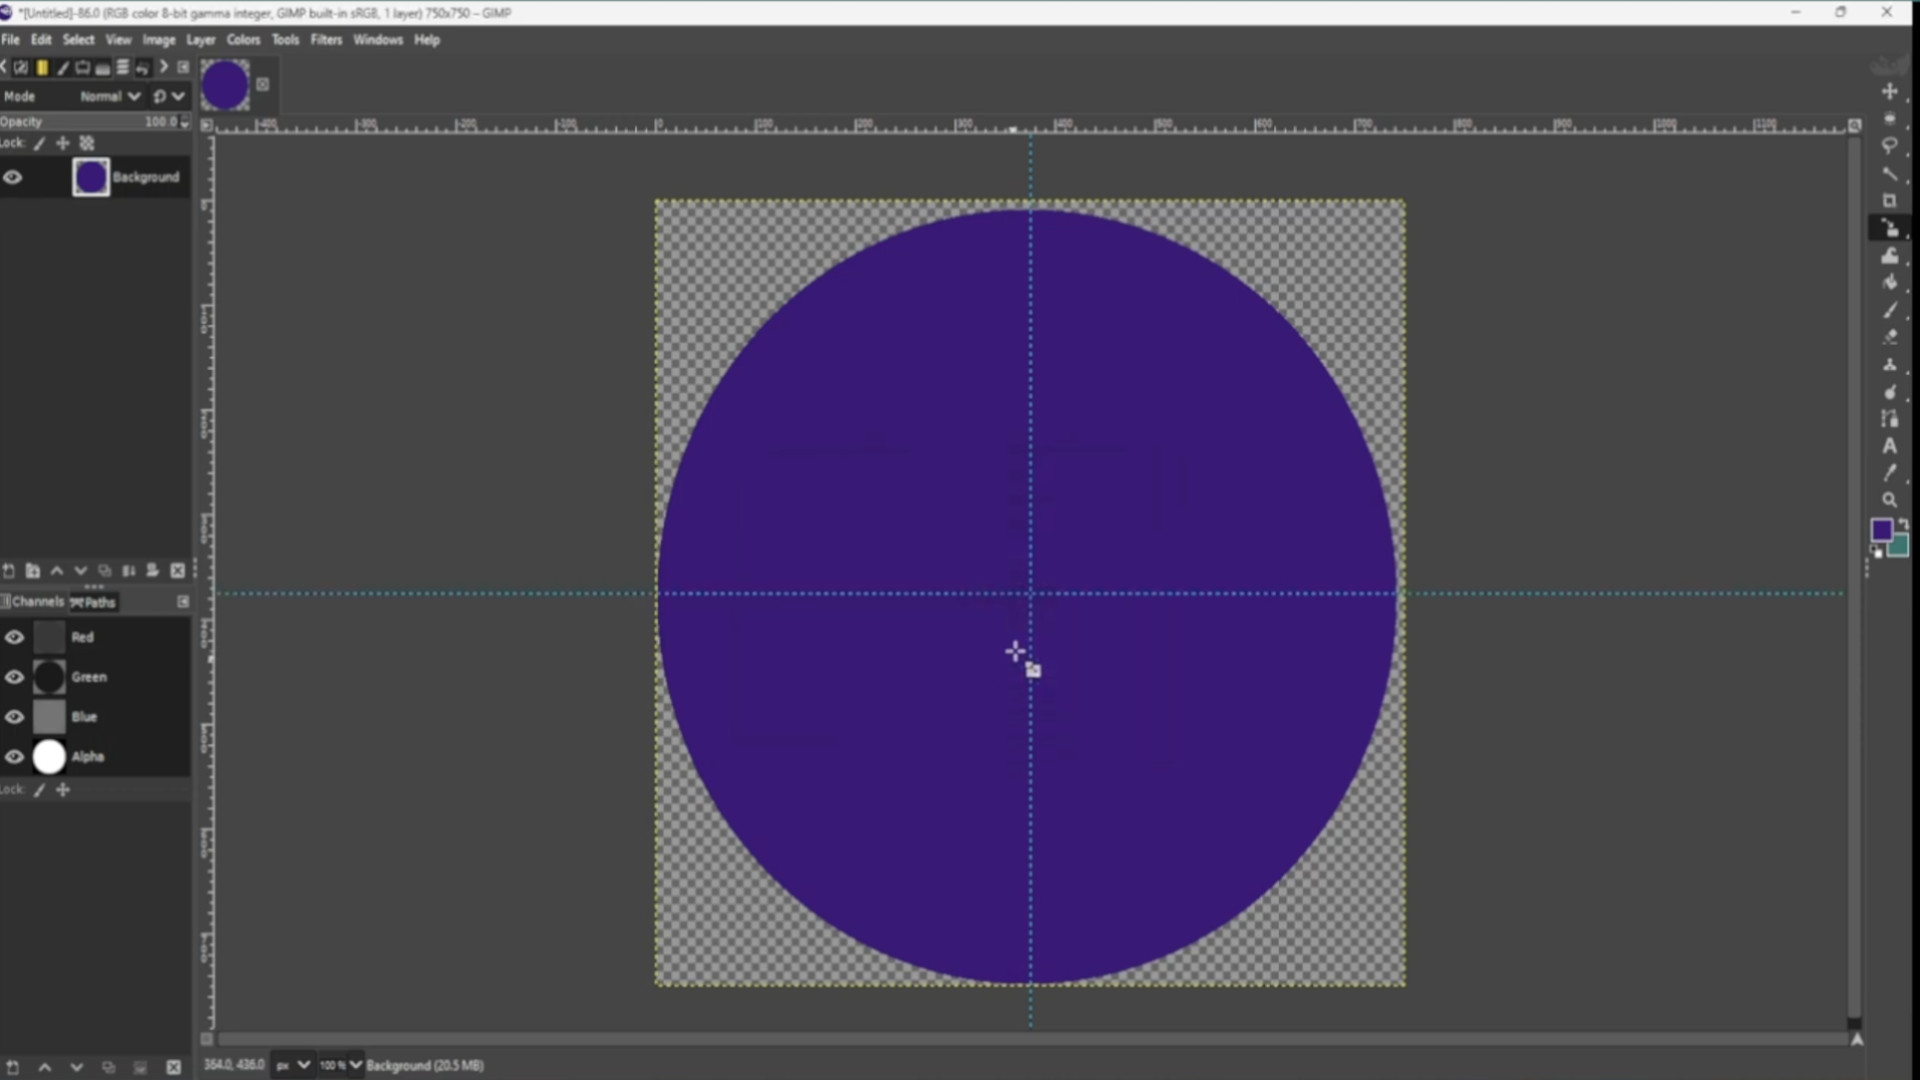
And again Go to>>>IMAGE>>>GUIDES>>>NEW GUIDE BY PERECENT and pick>>>DIRECTION>>>VERTICAL>>>POSTION (In Percent)>>>50.00.


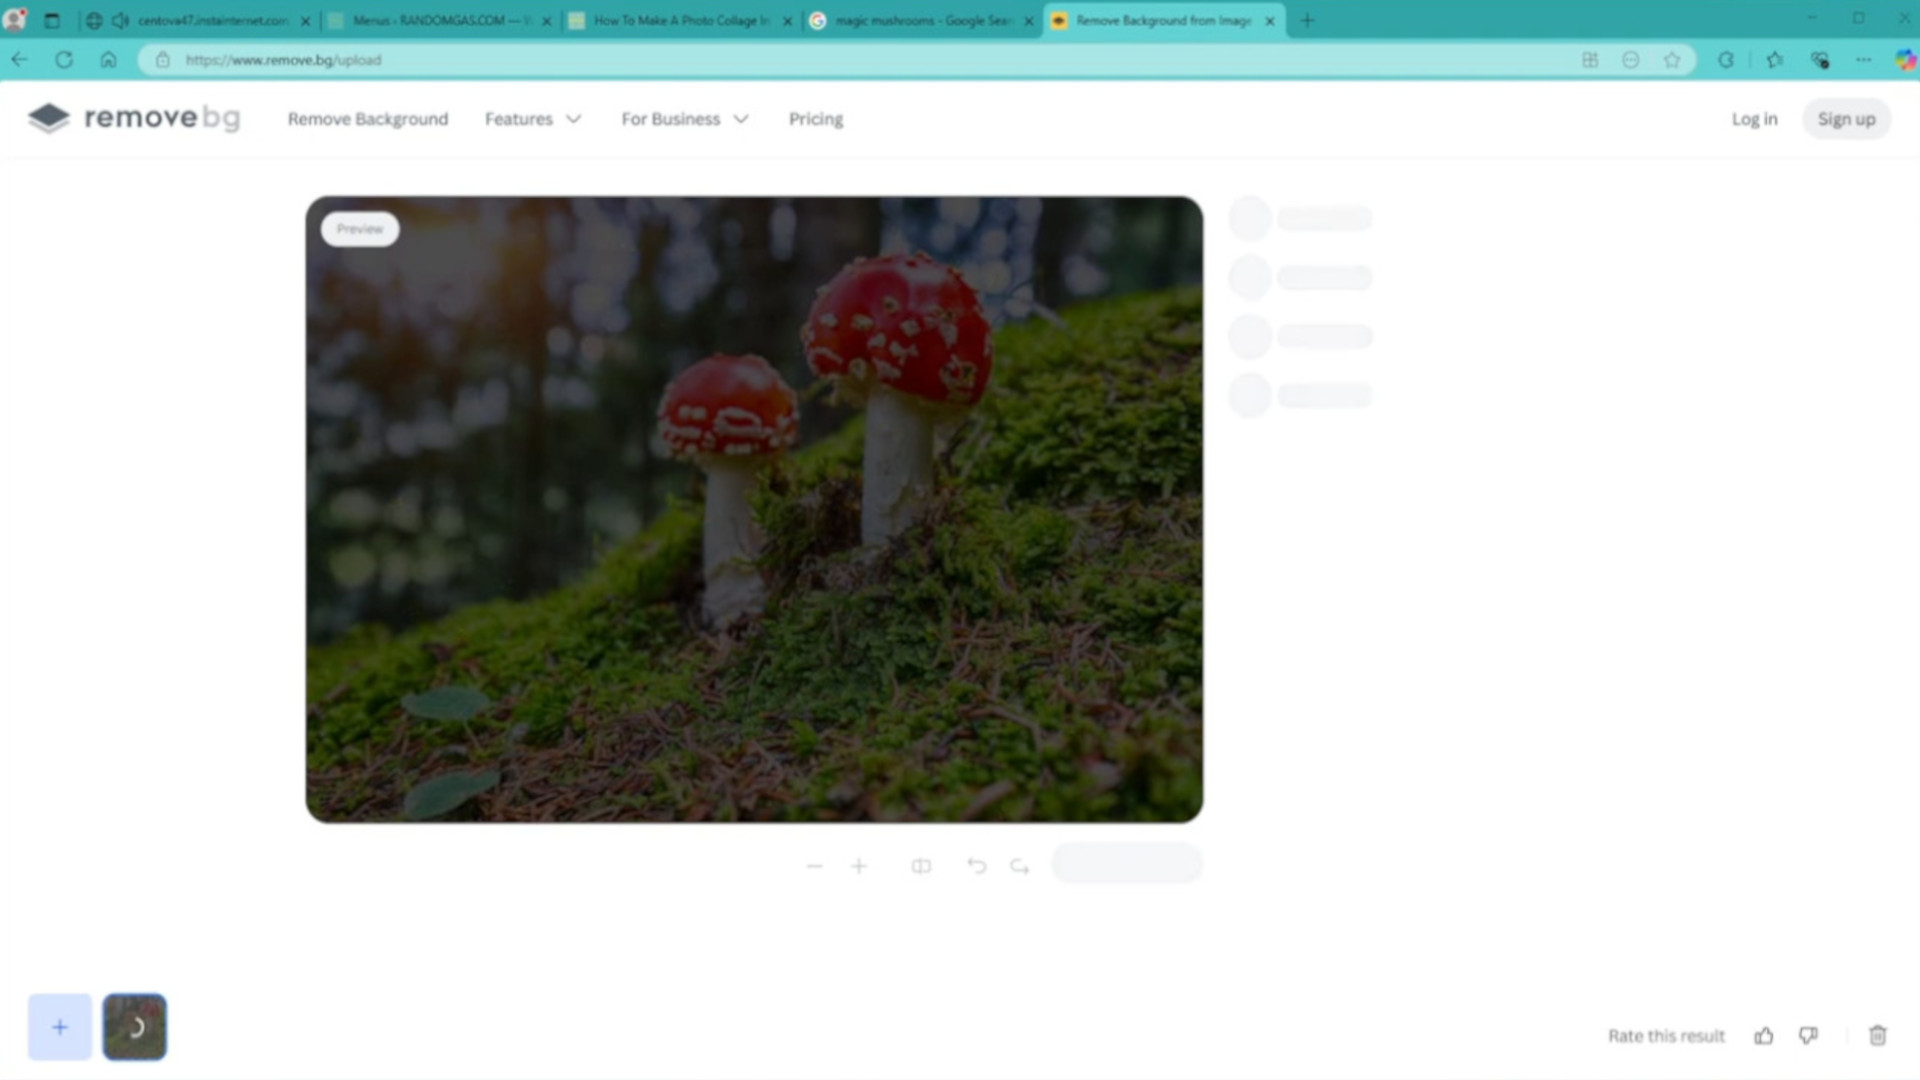
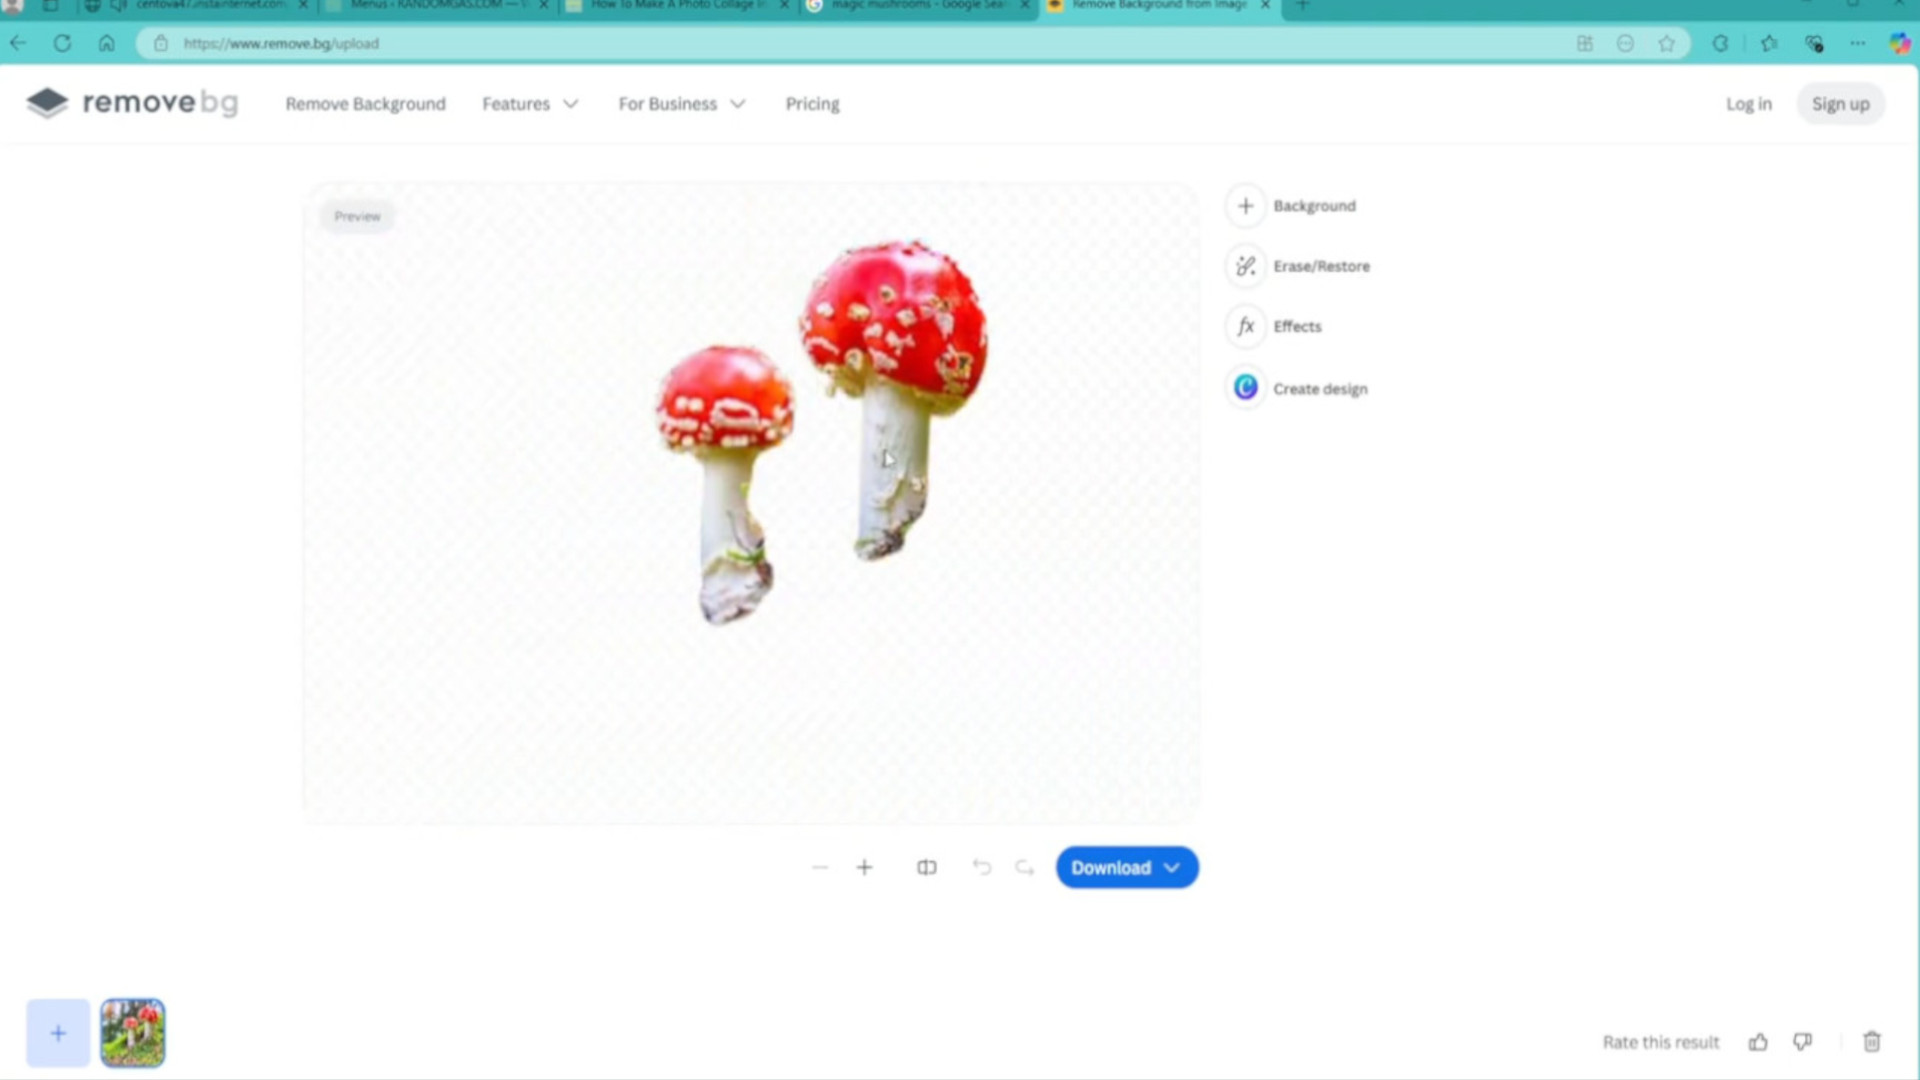
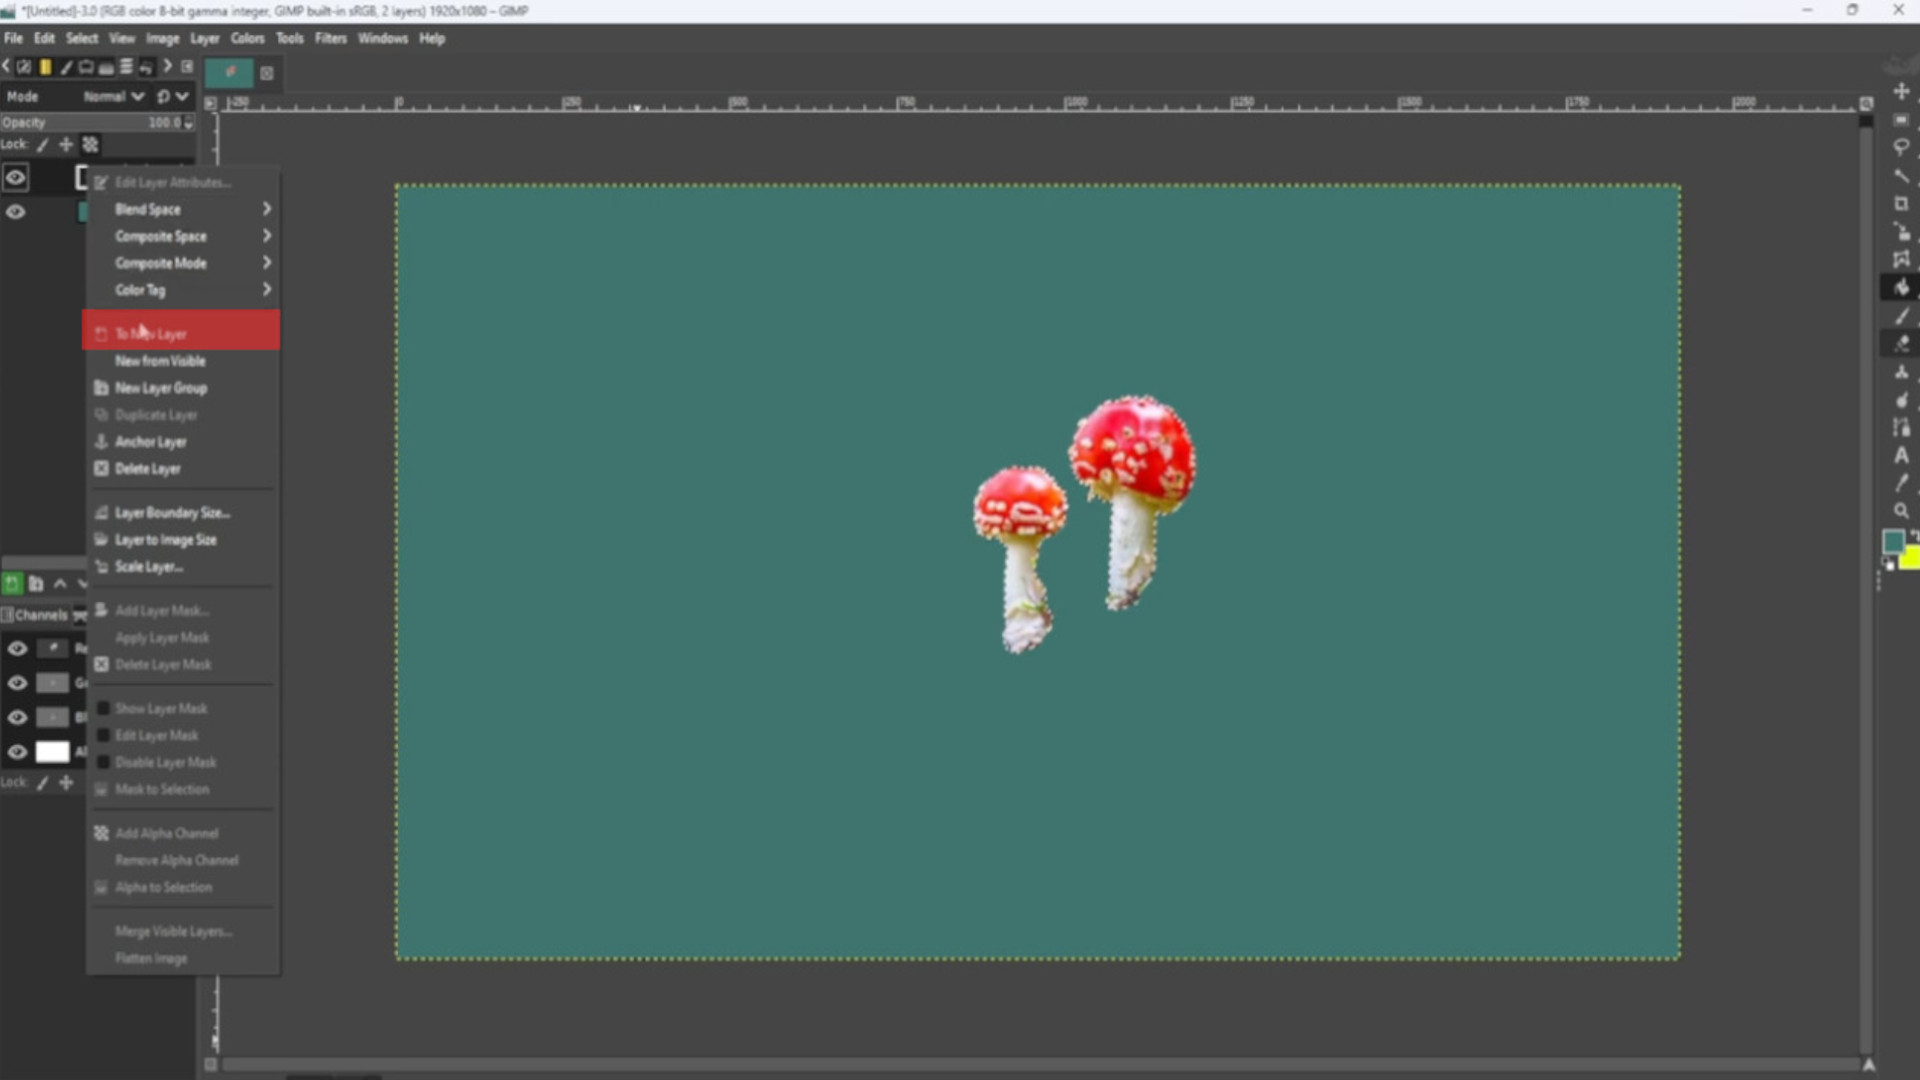
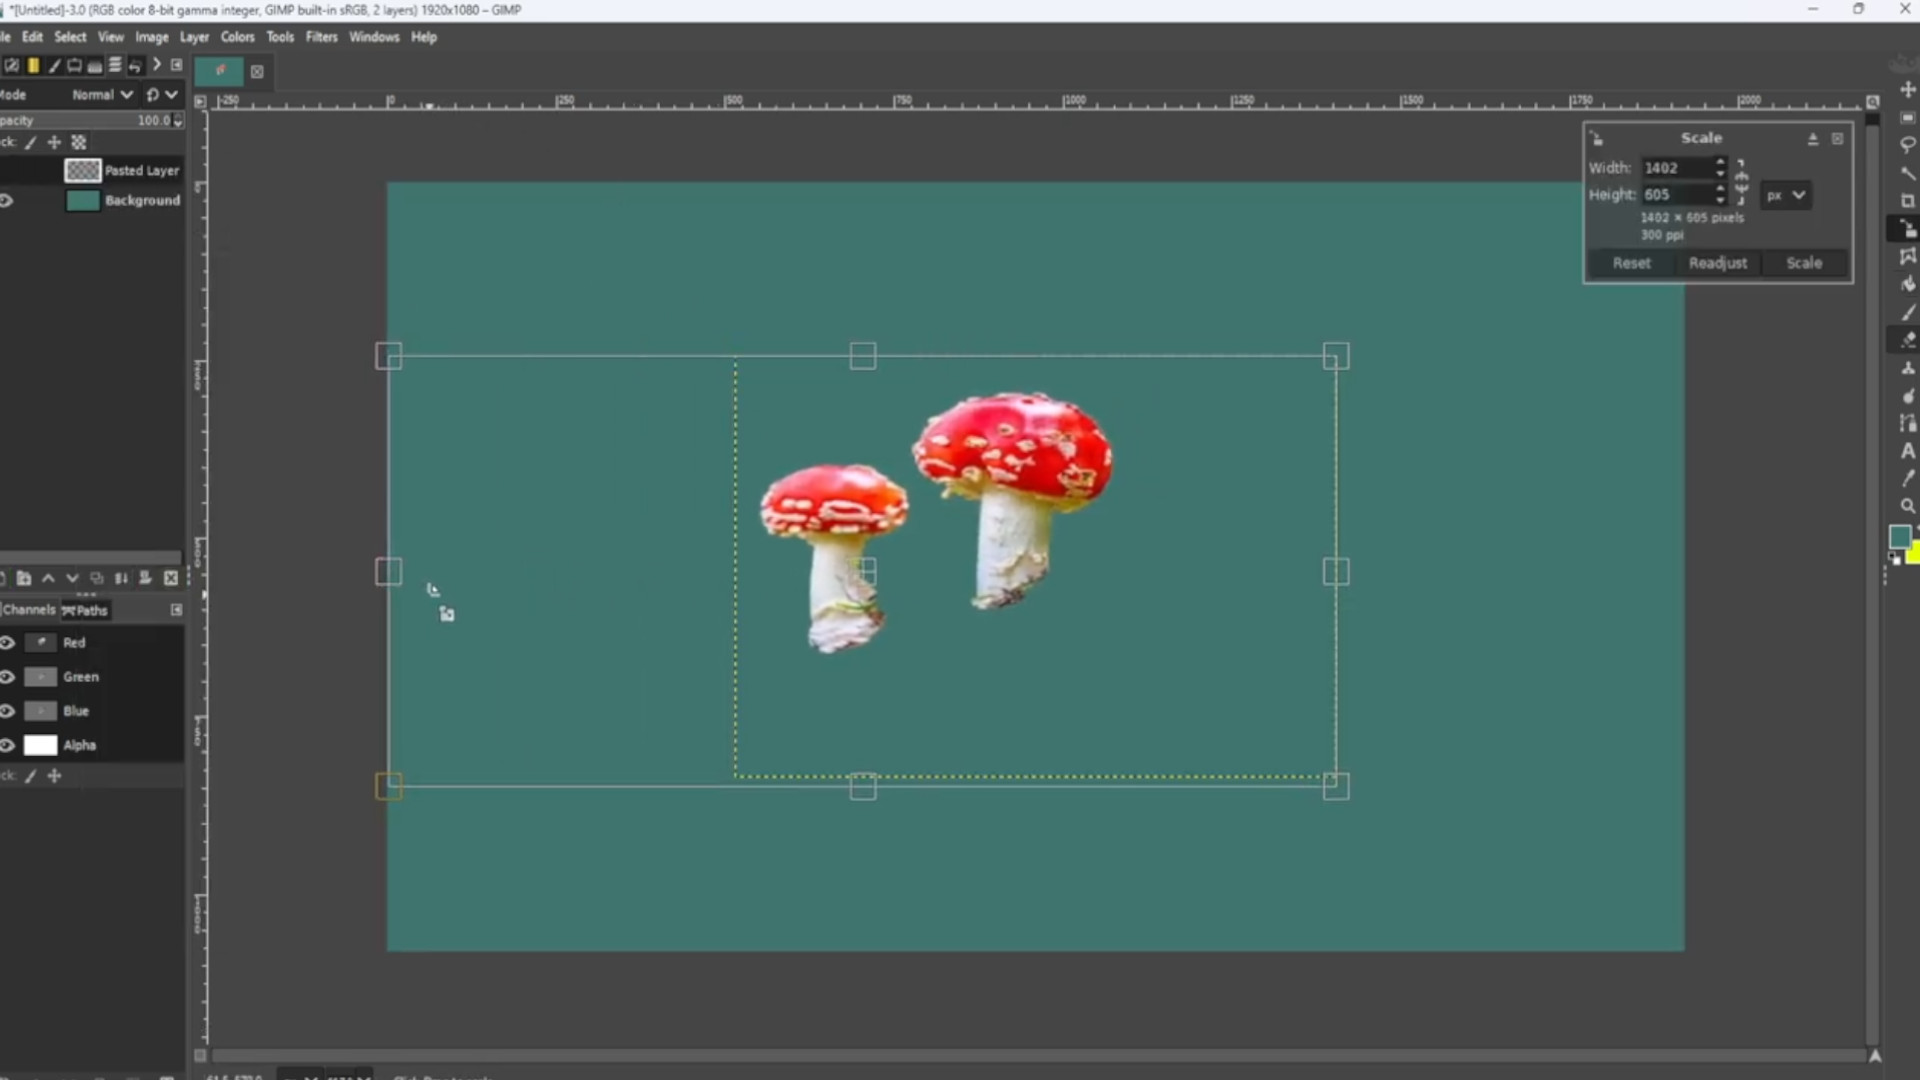
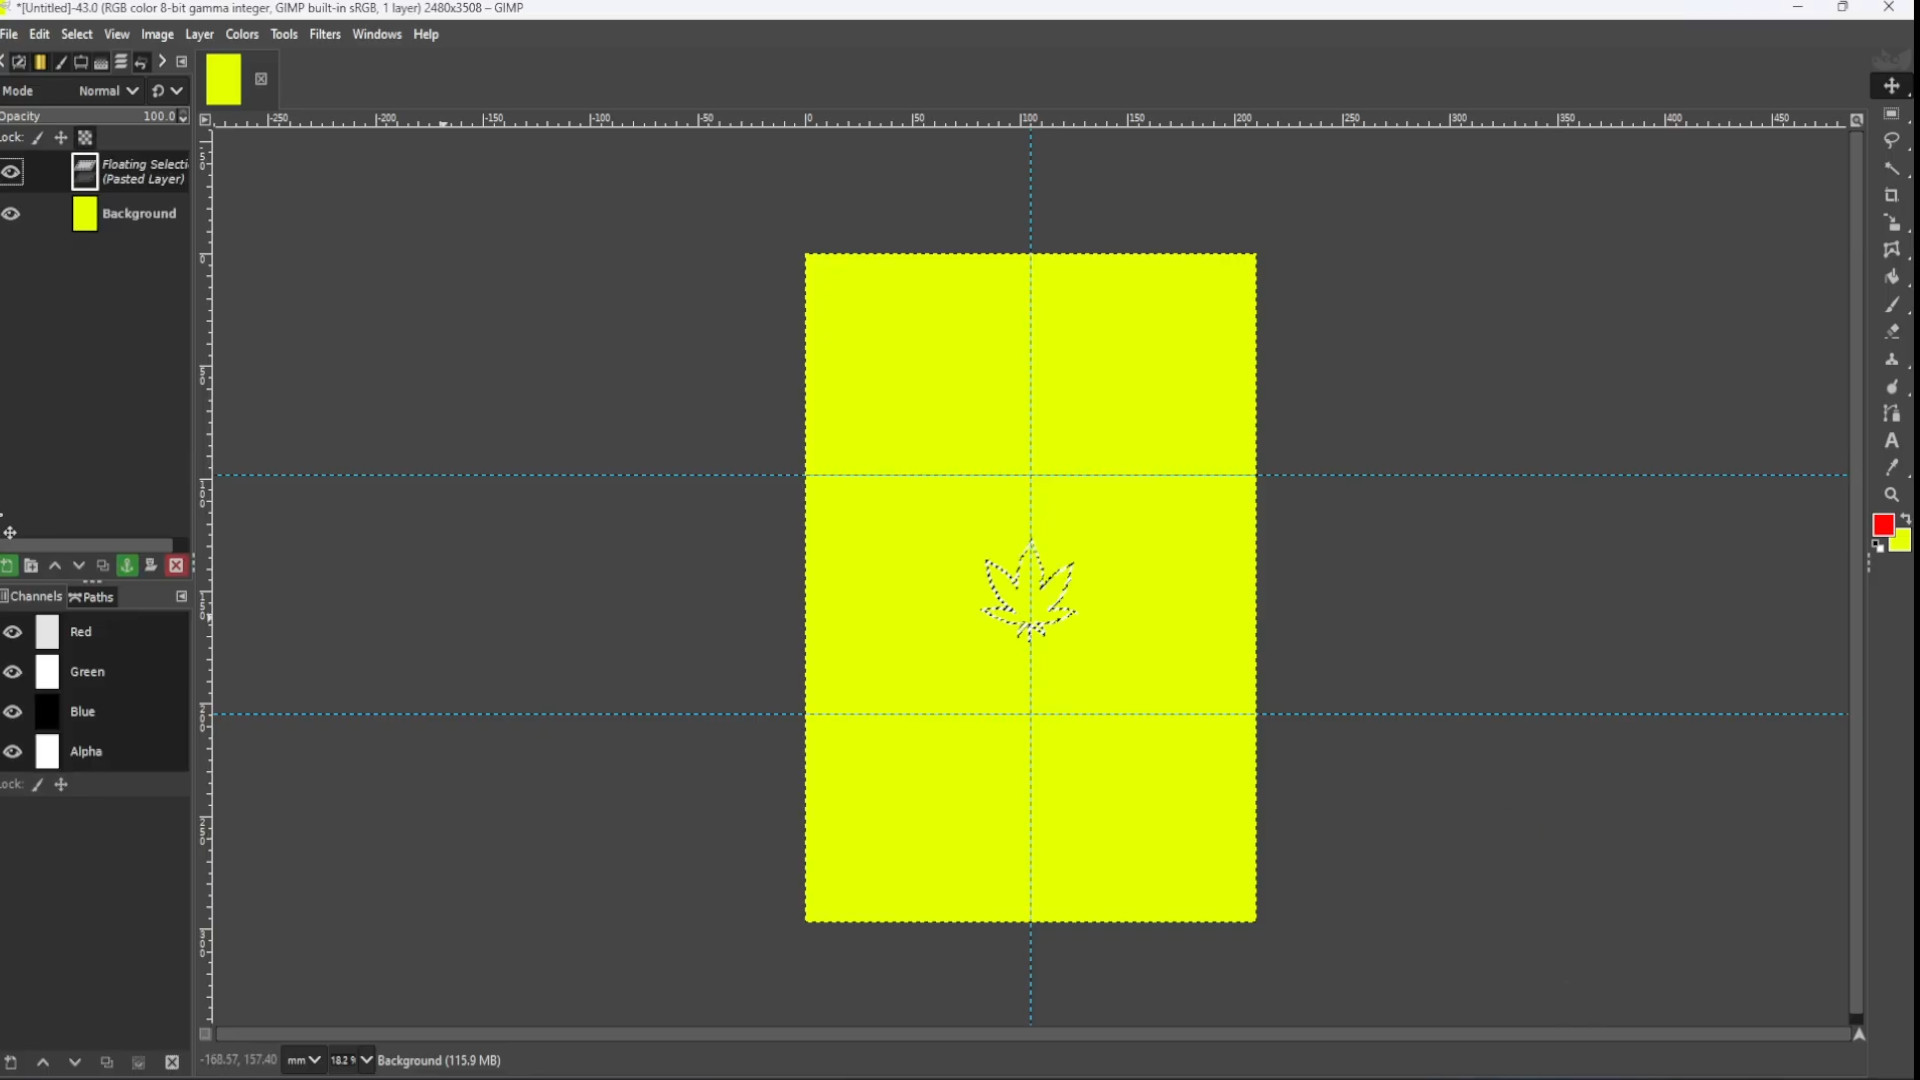
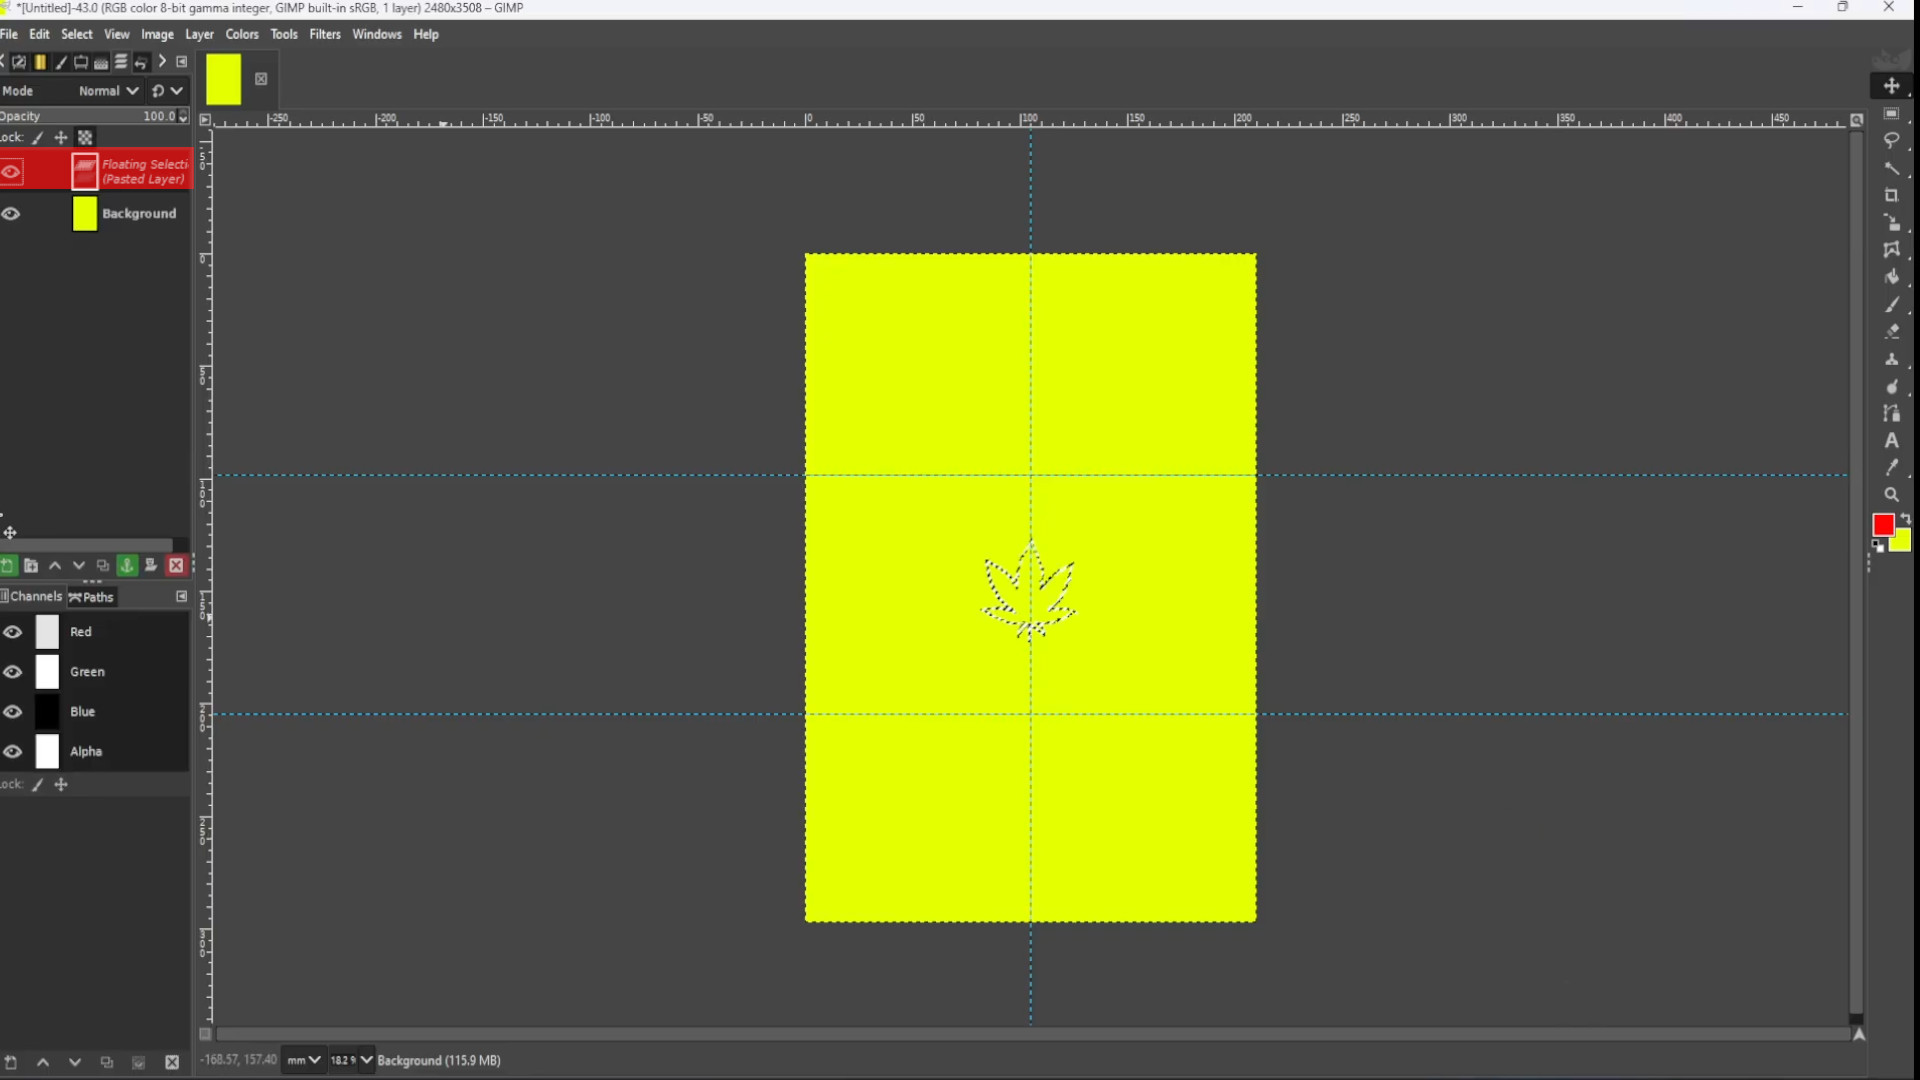
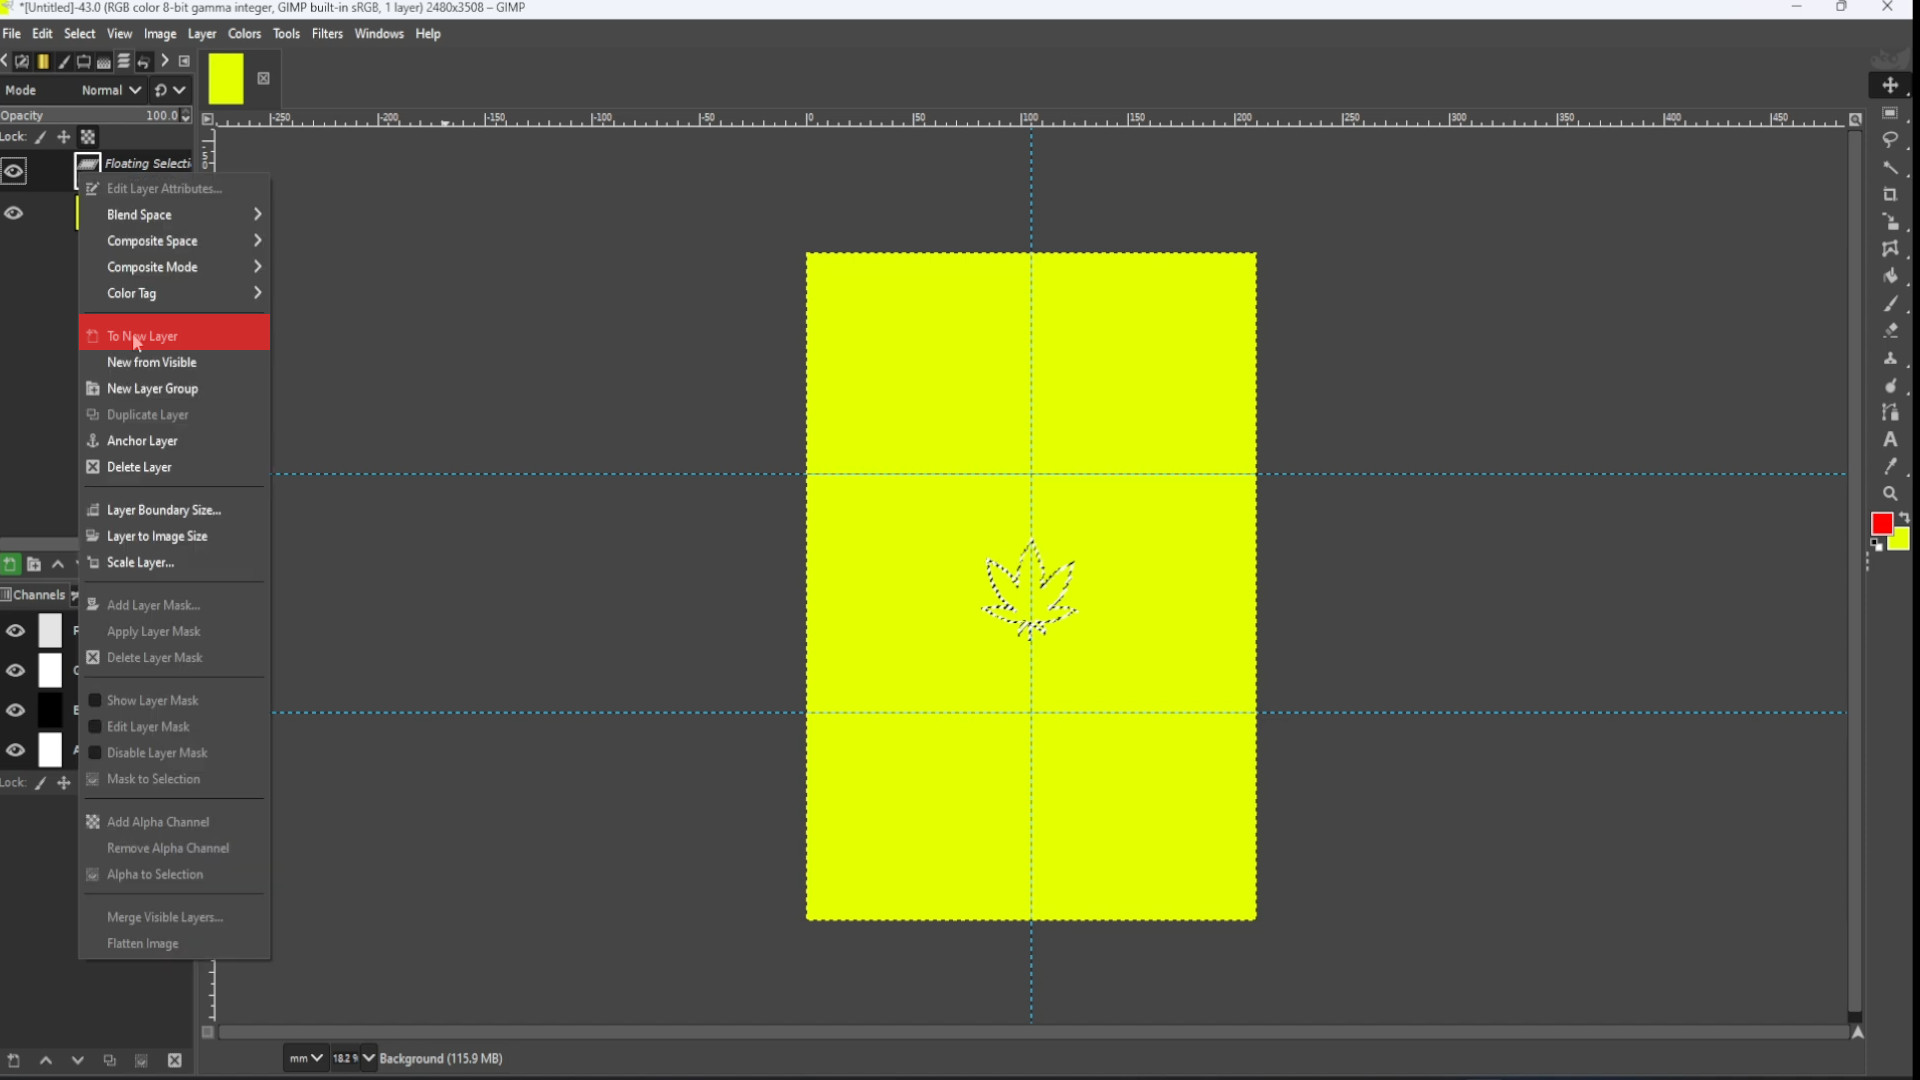
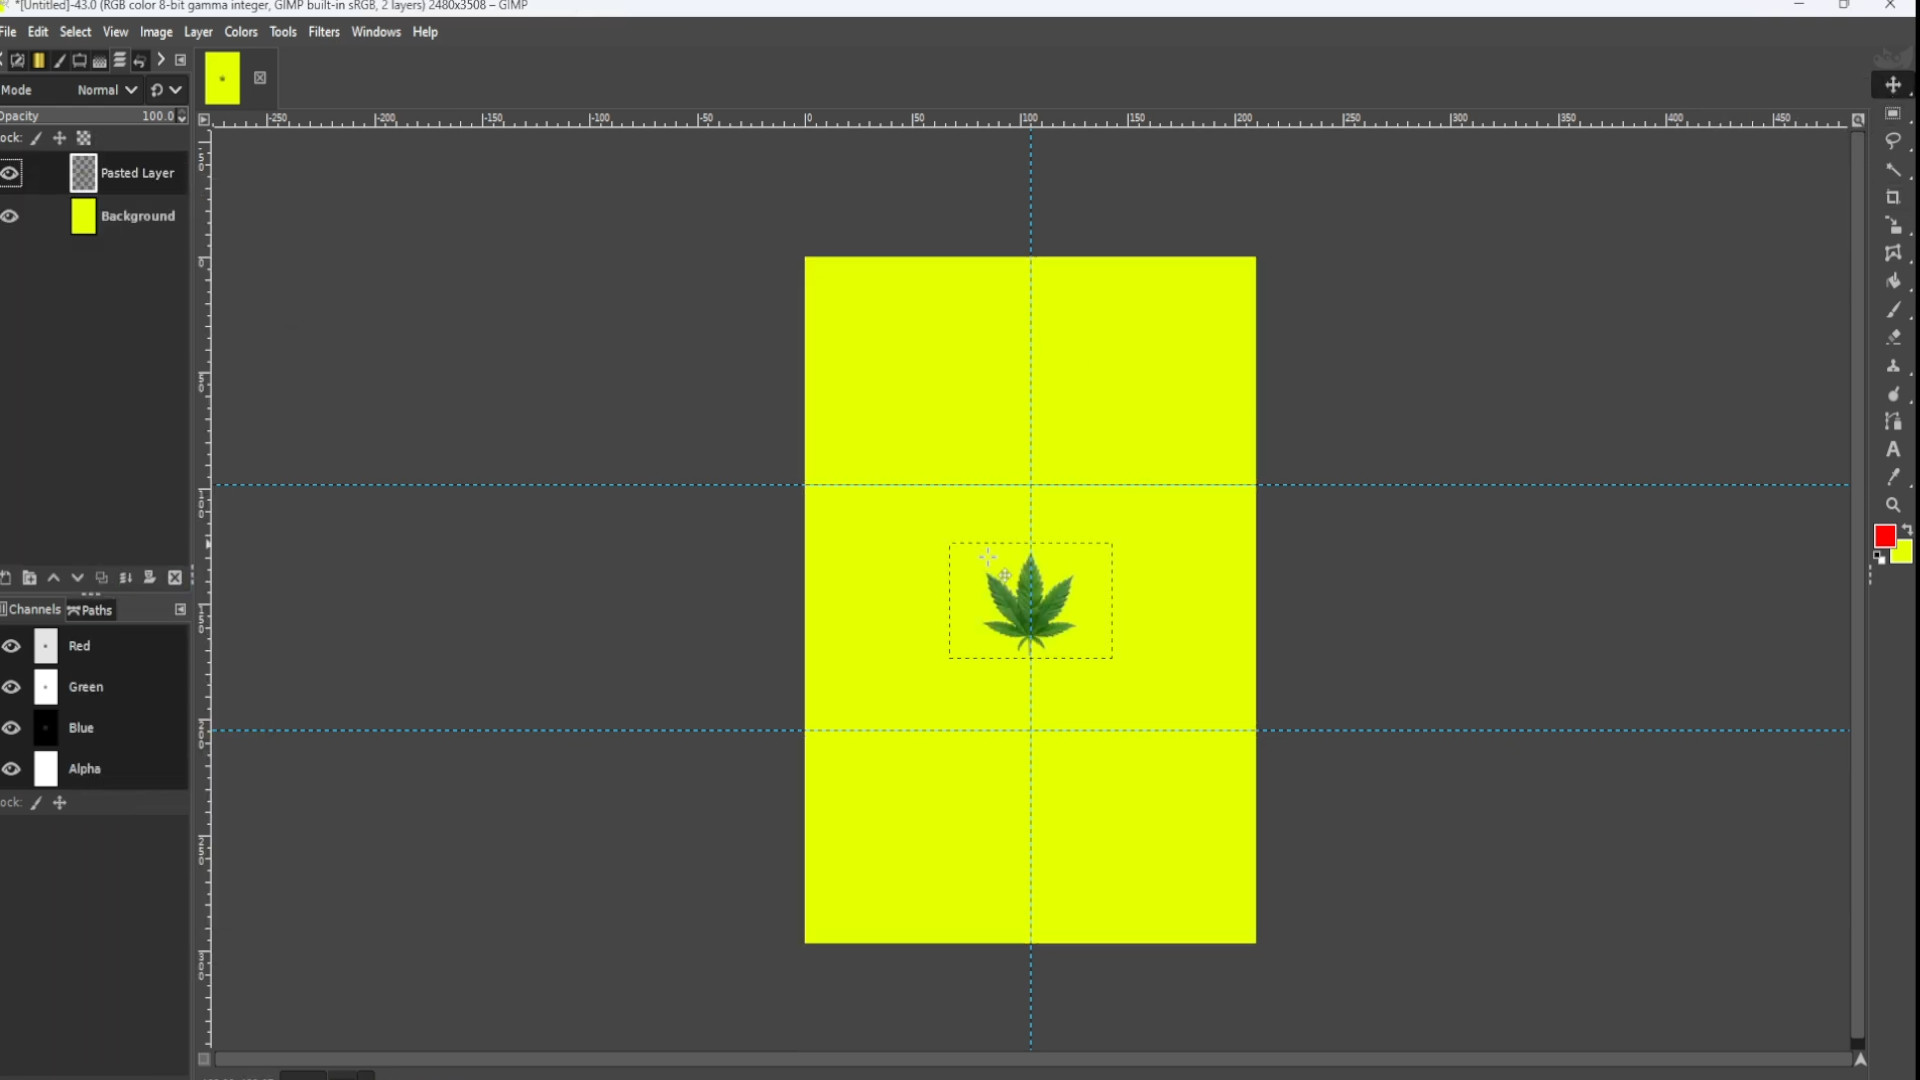
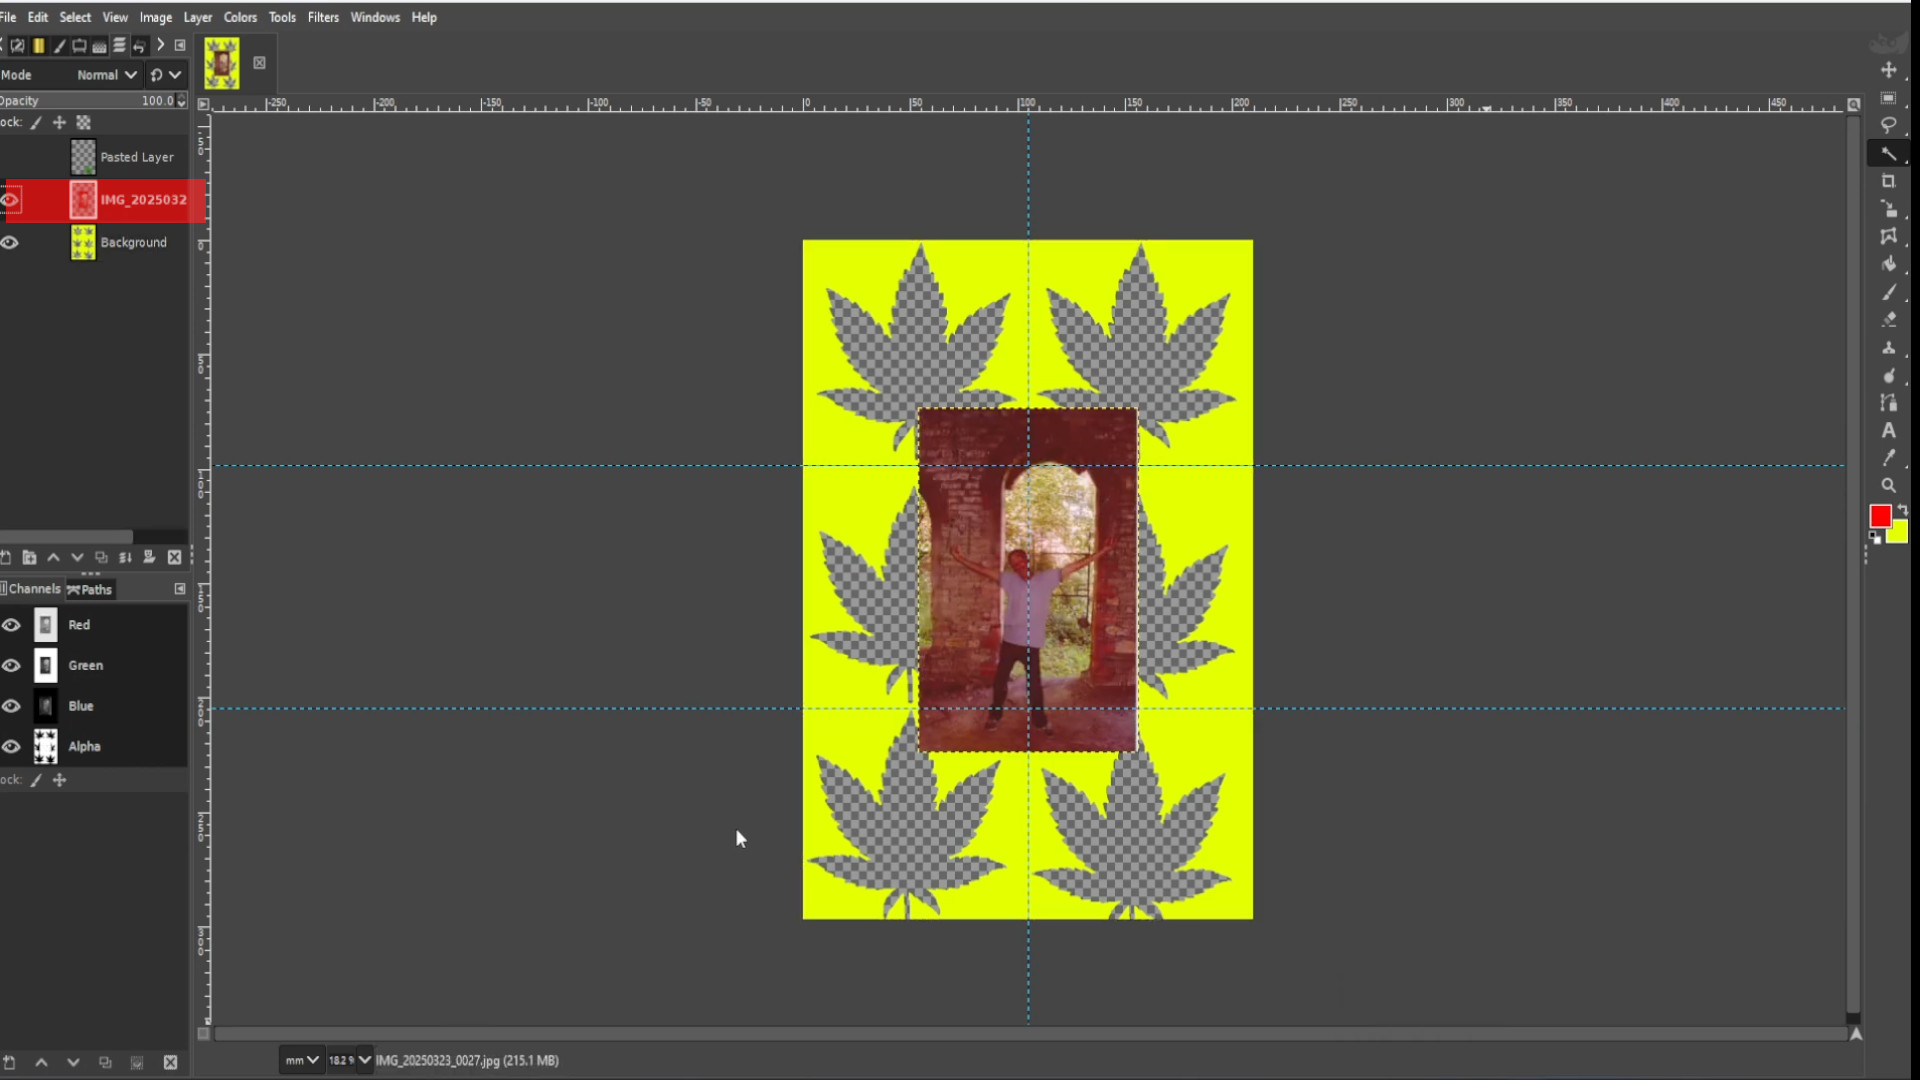
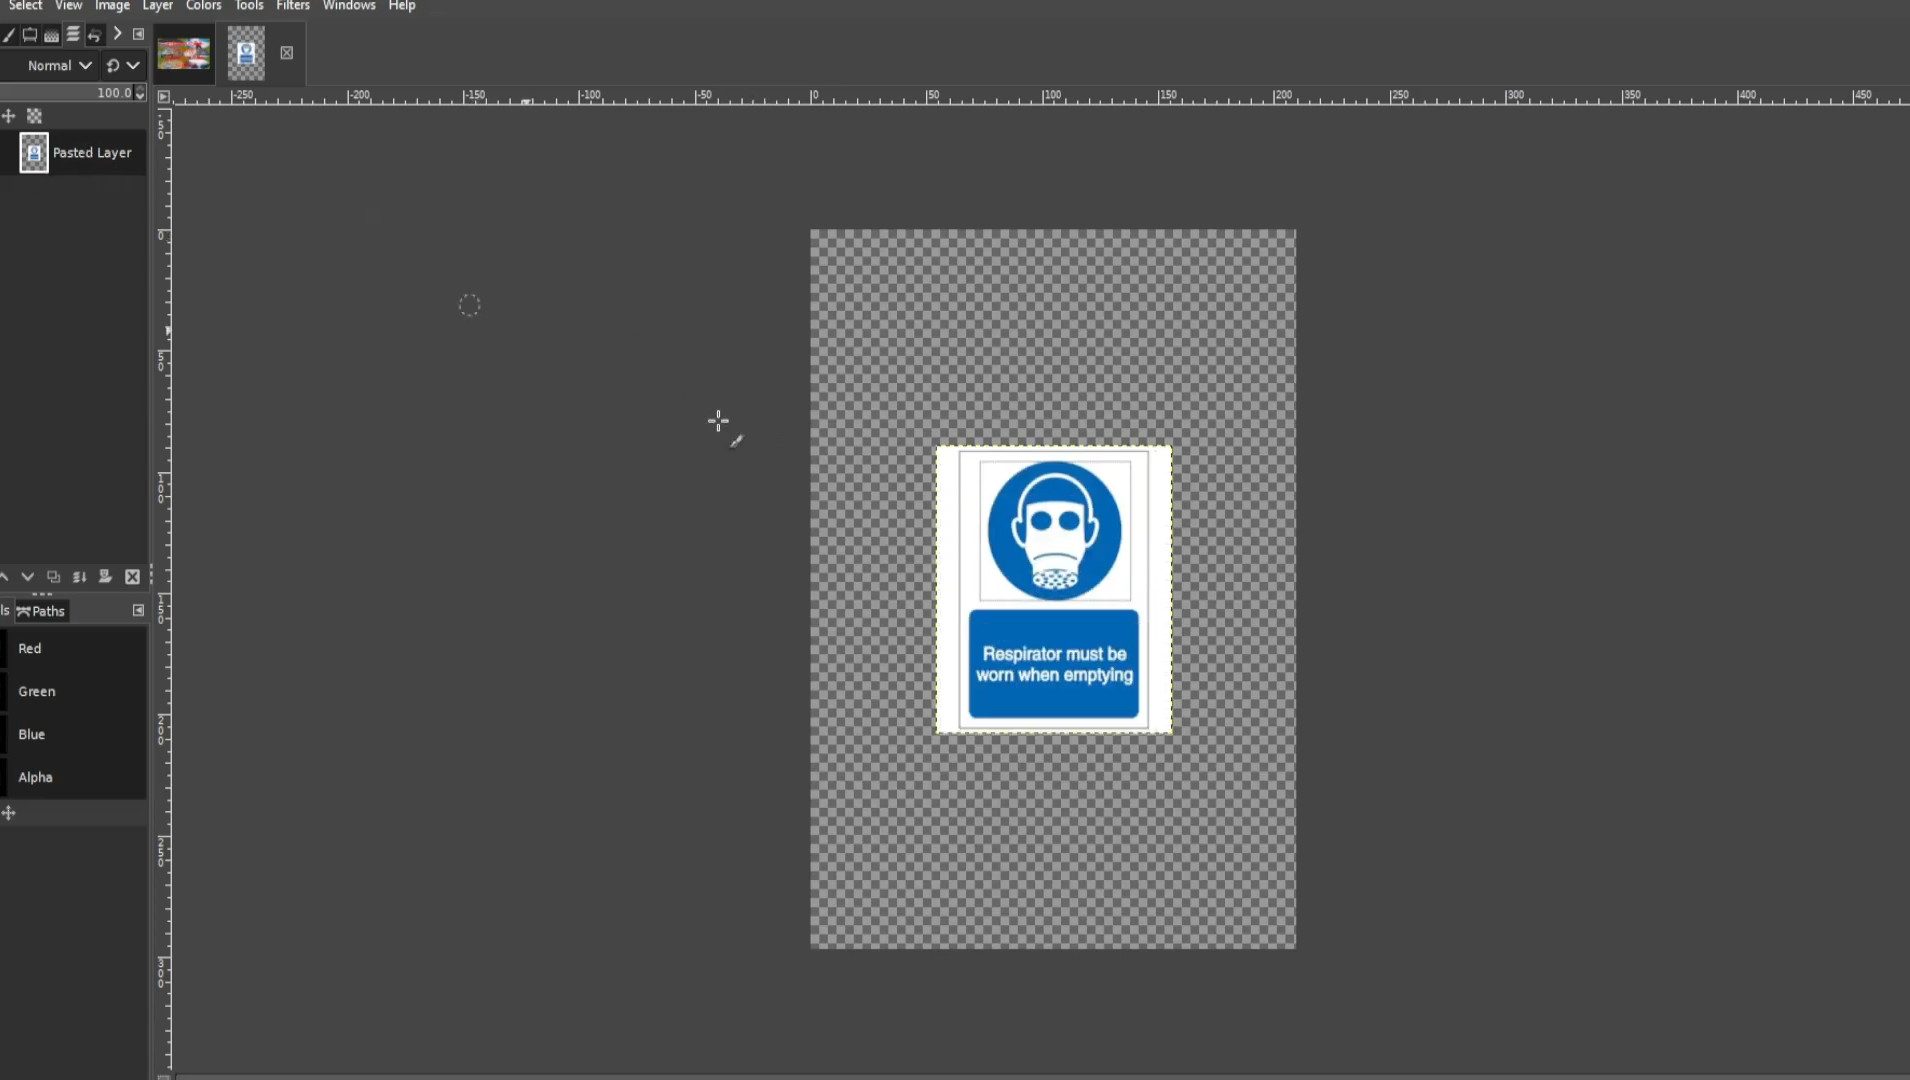
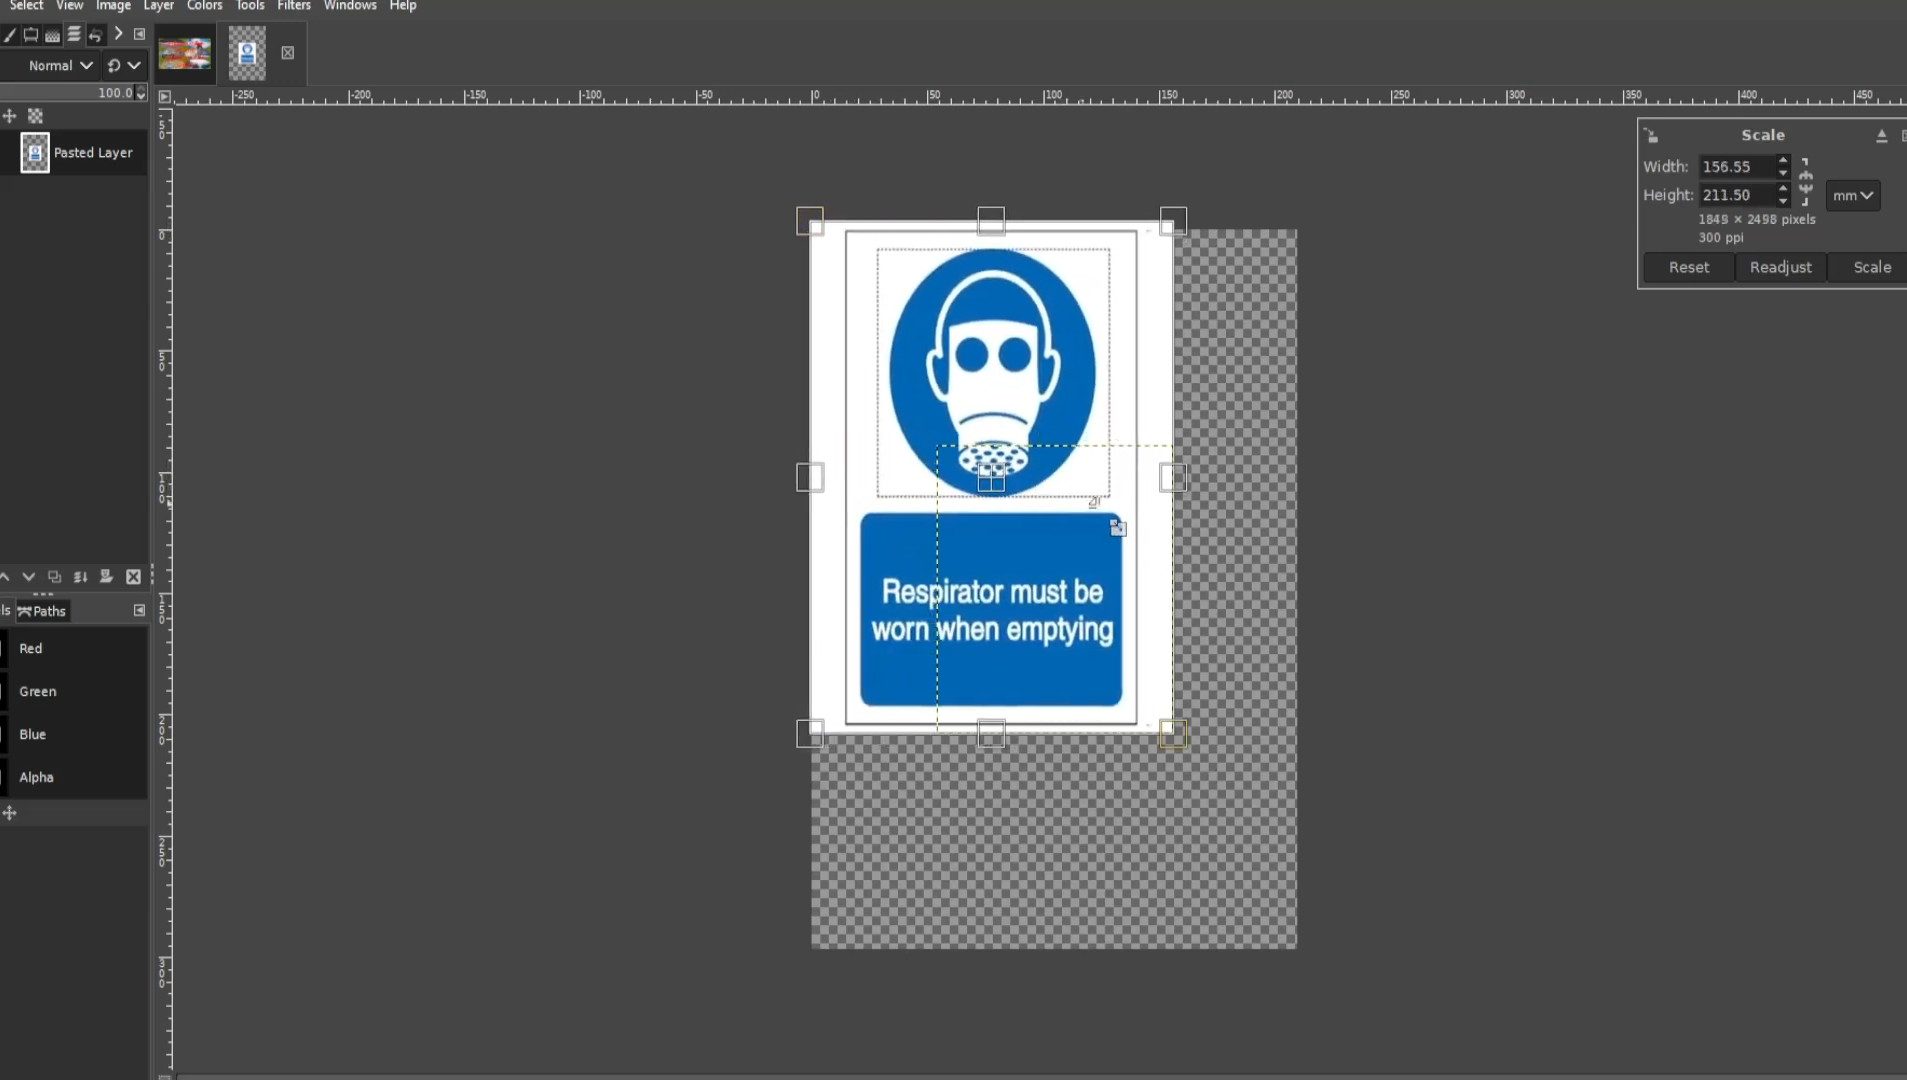
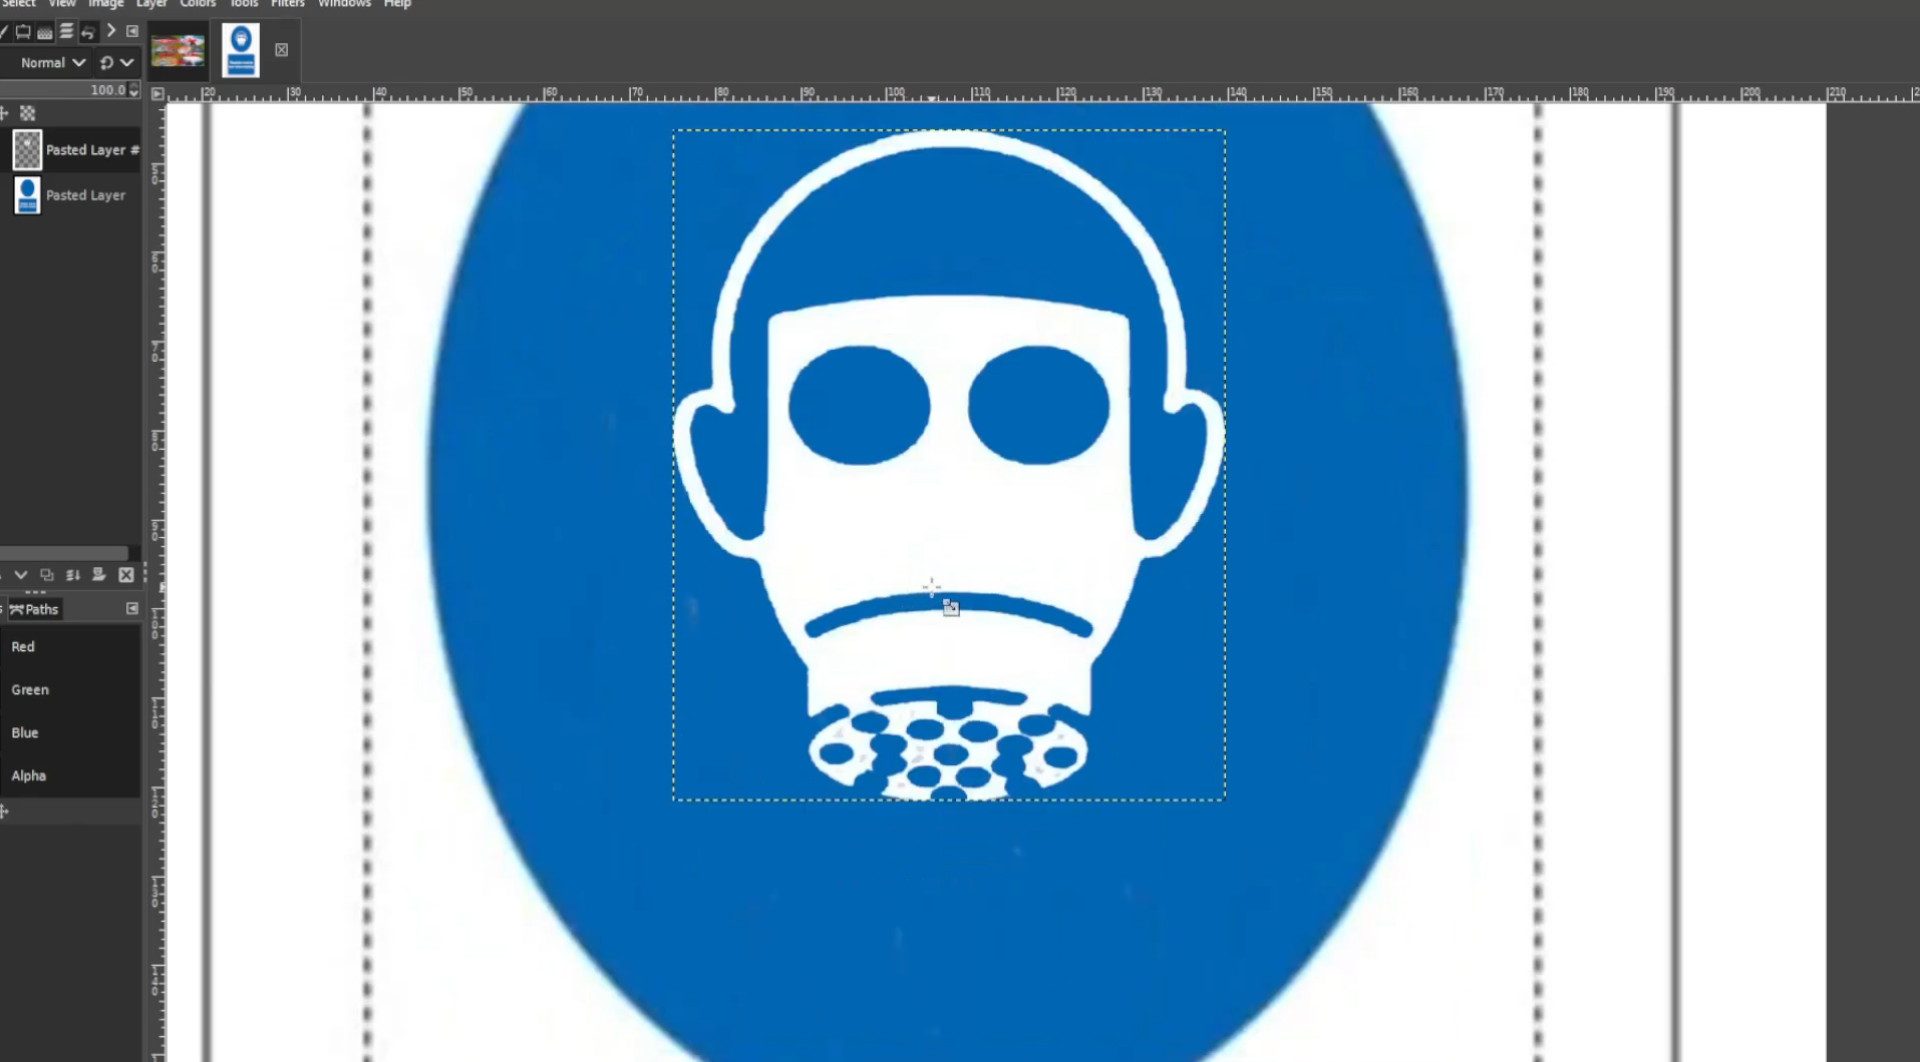
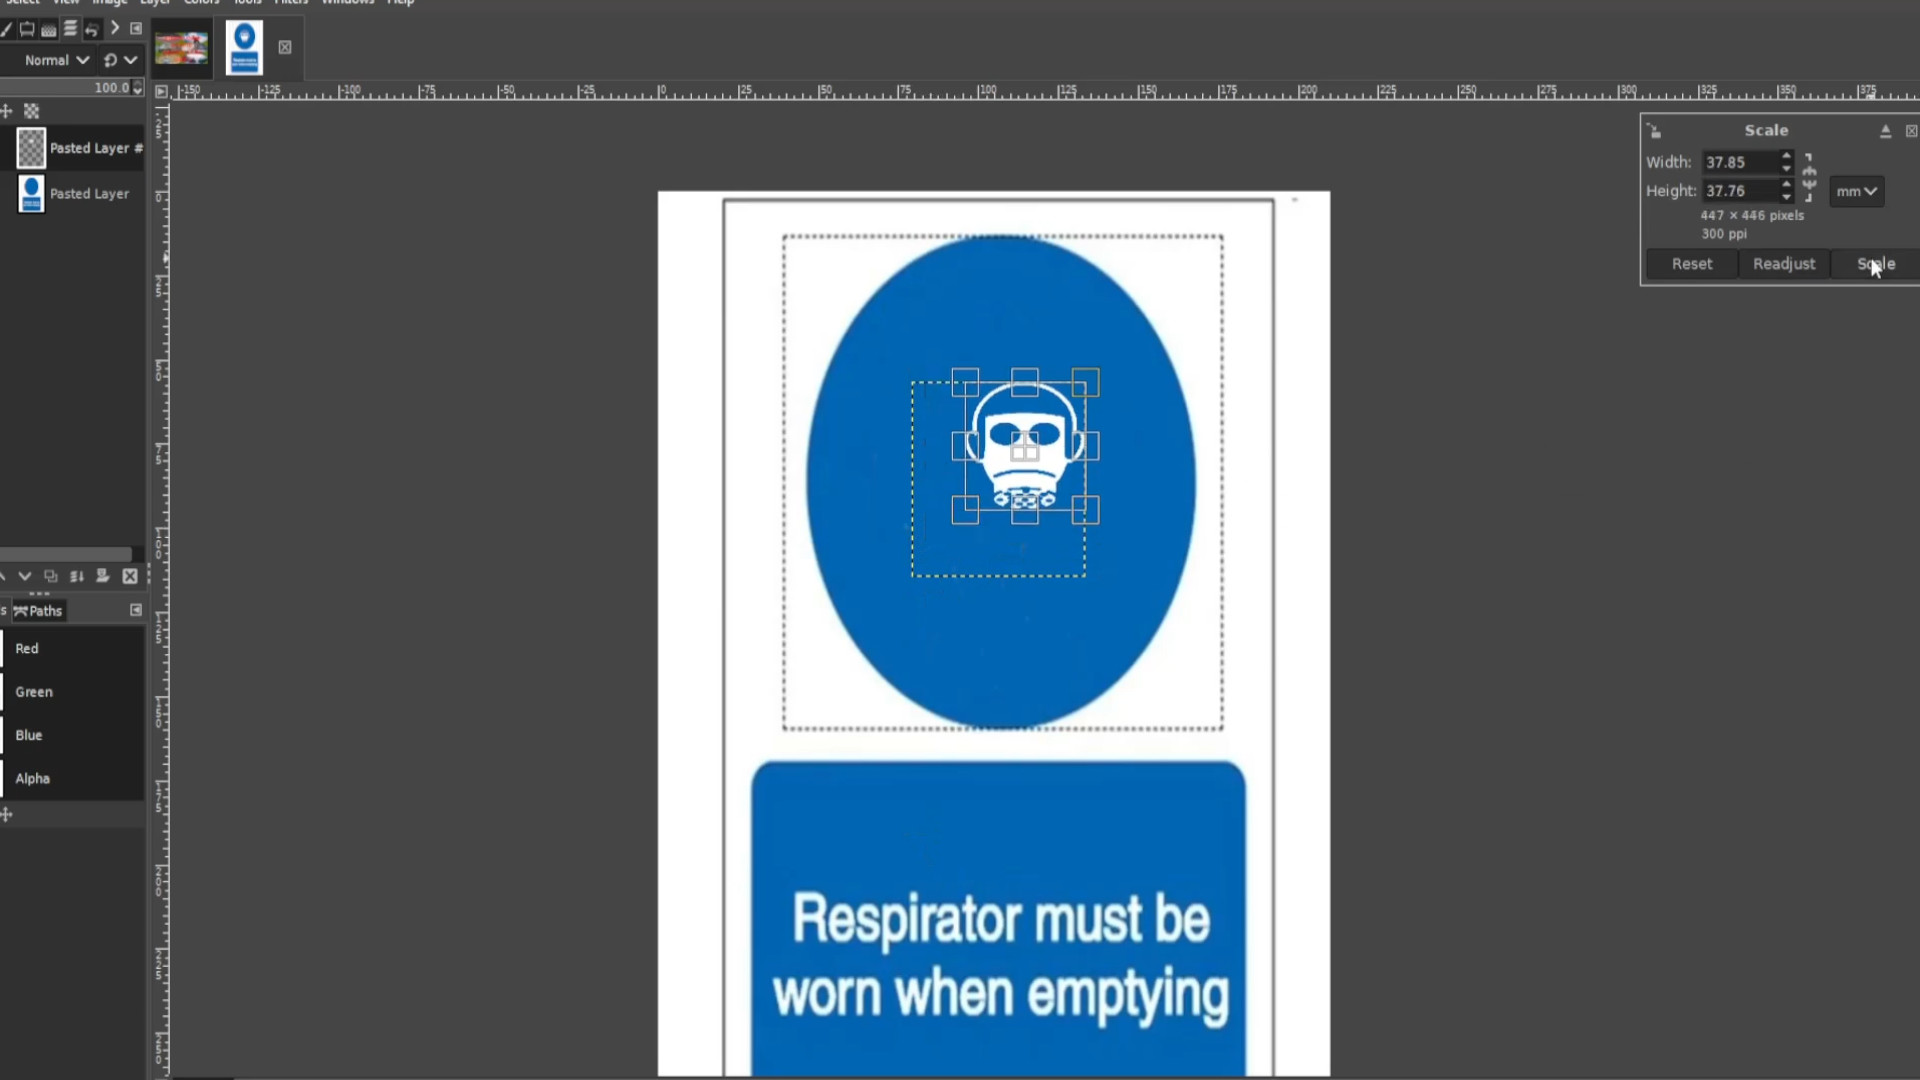
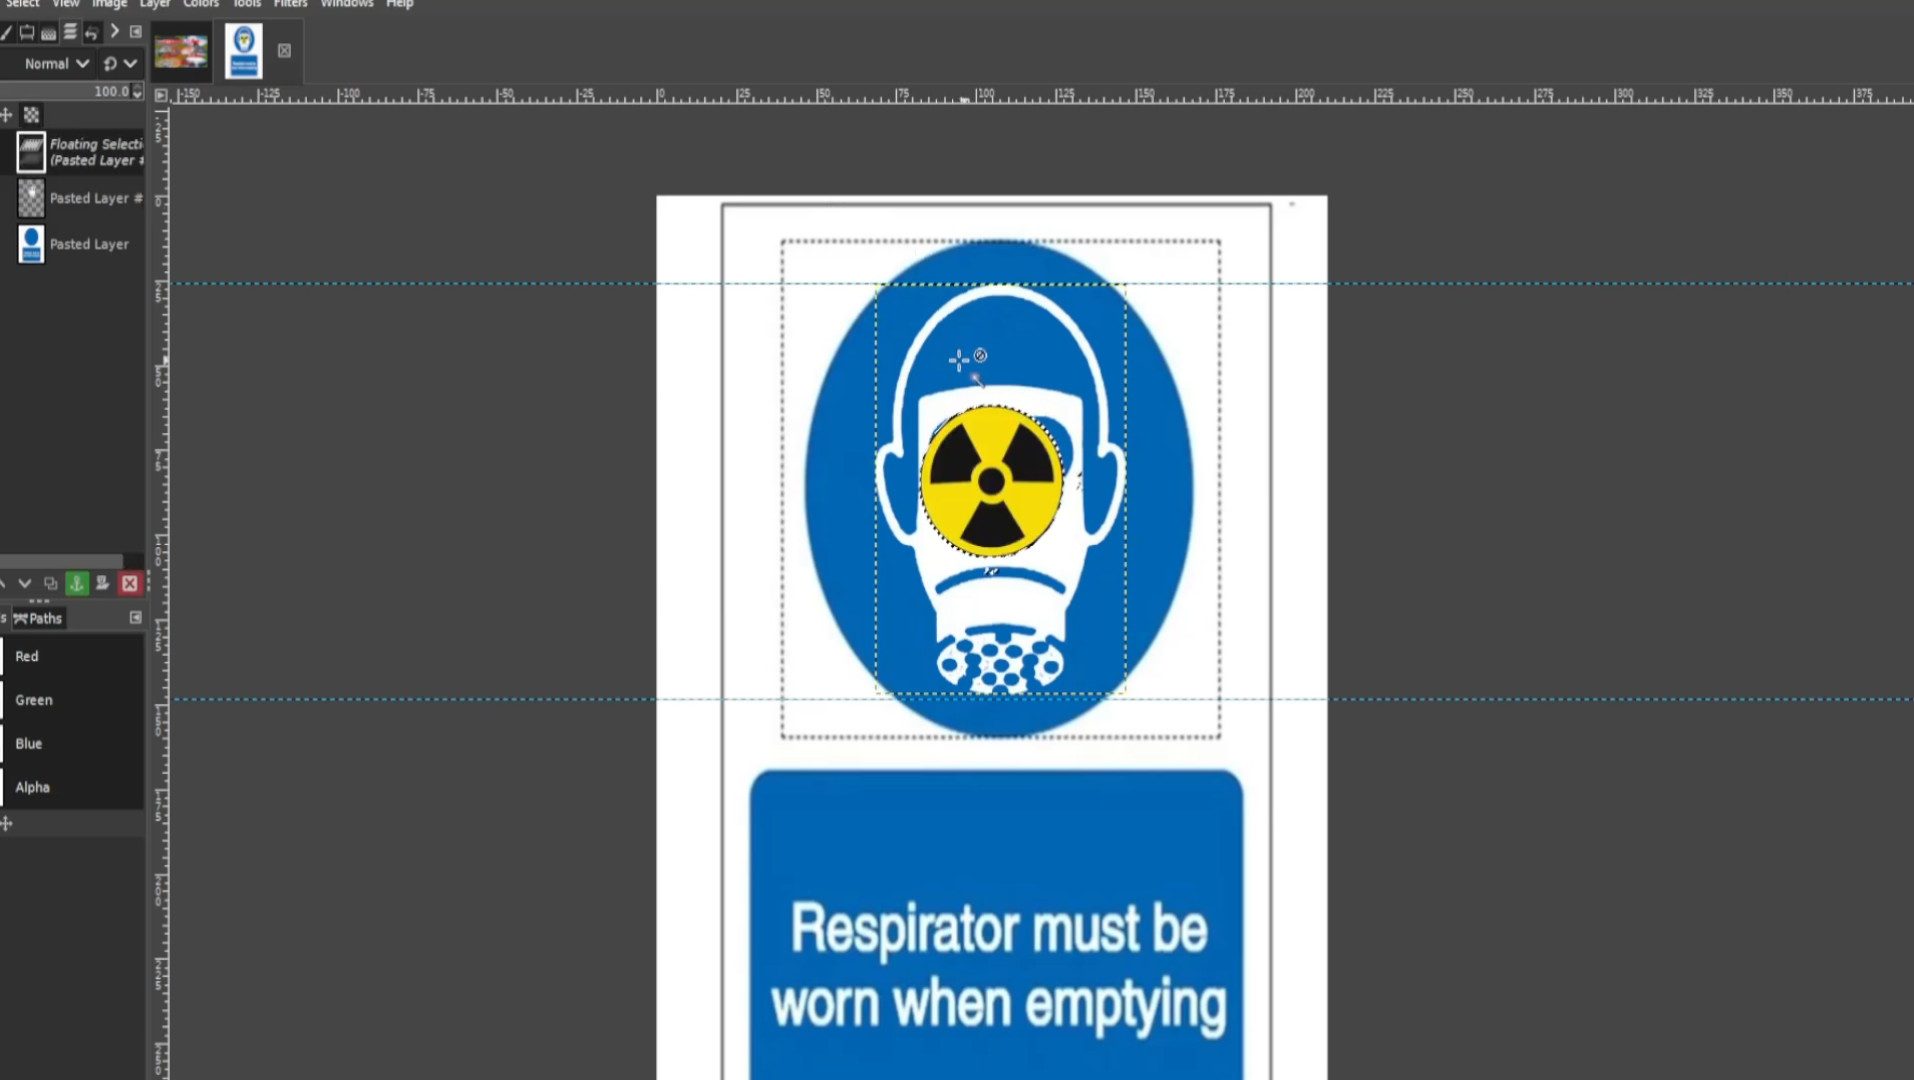
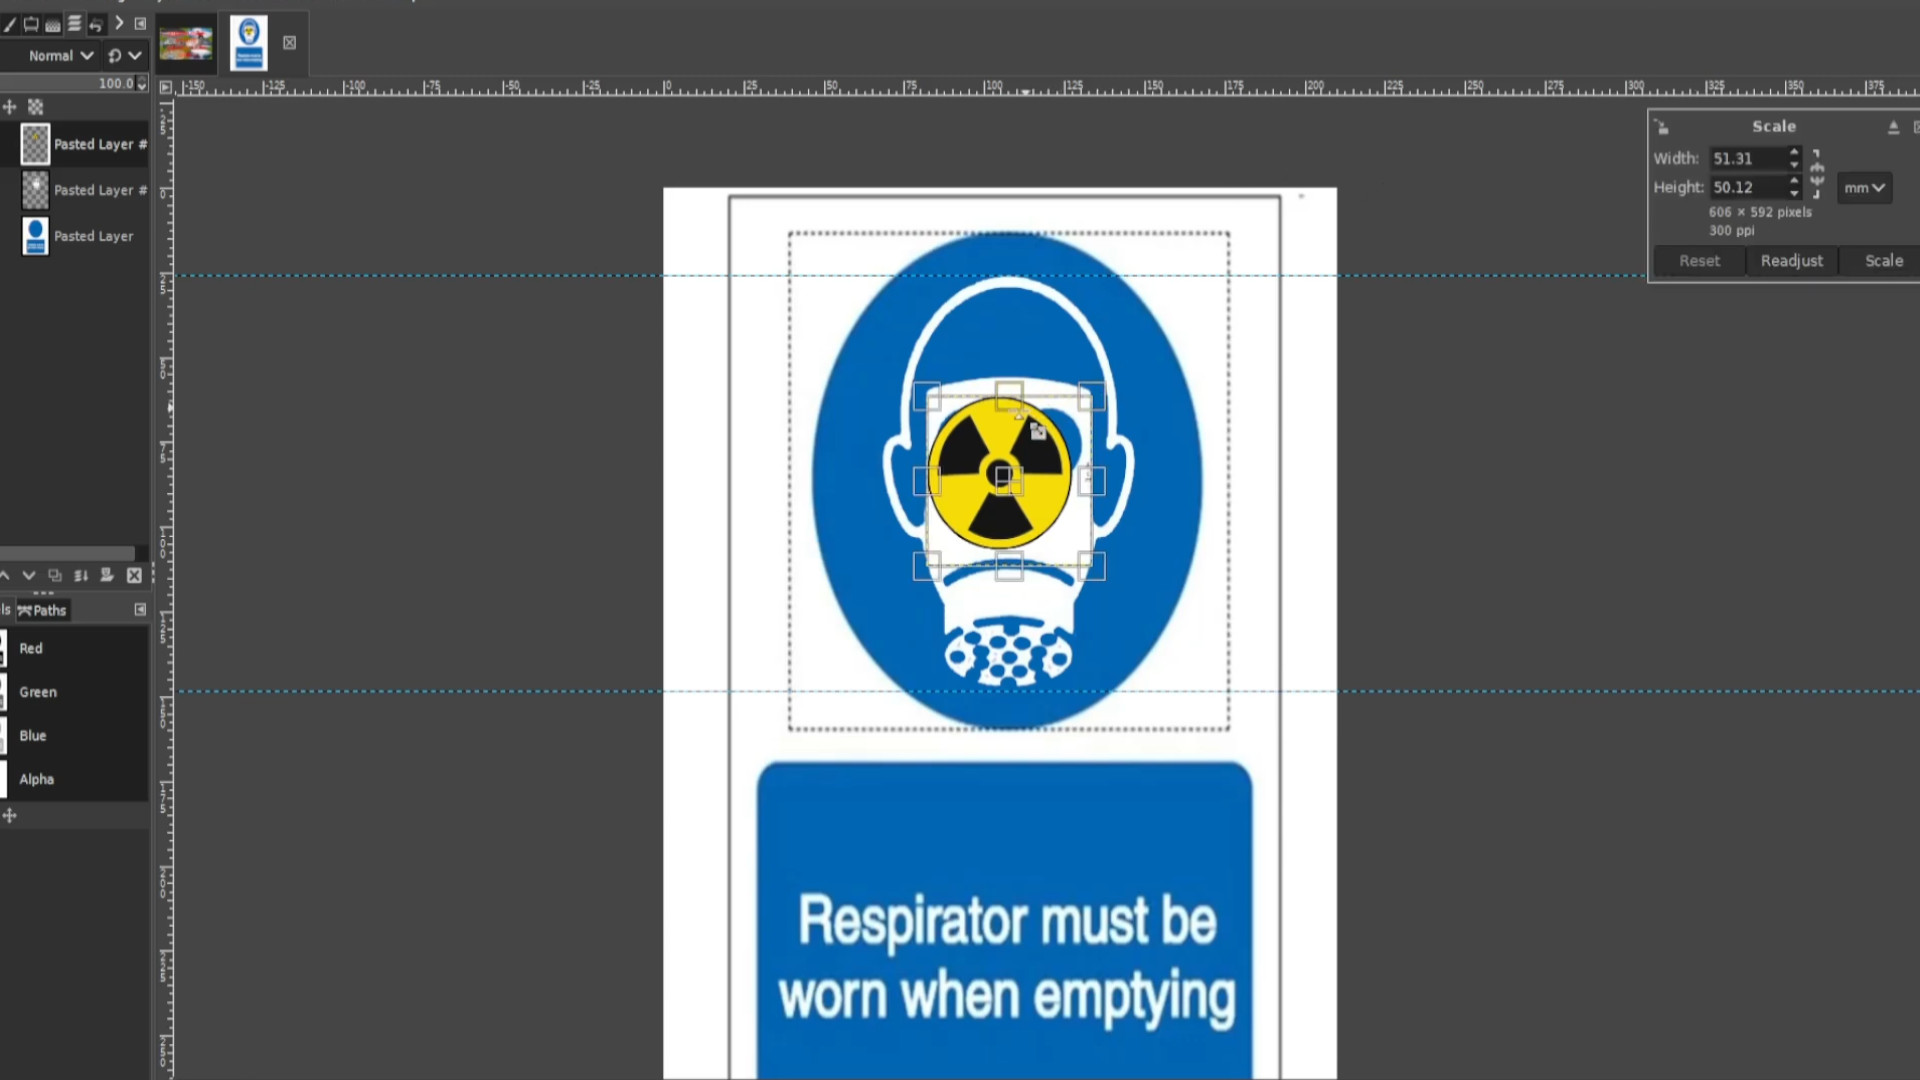
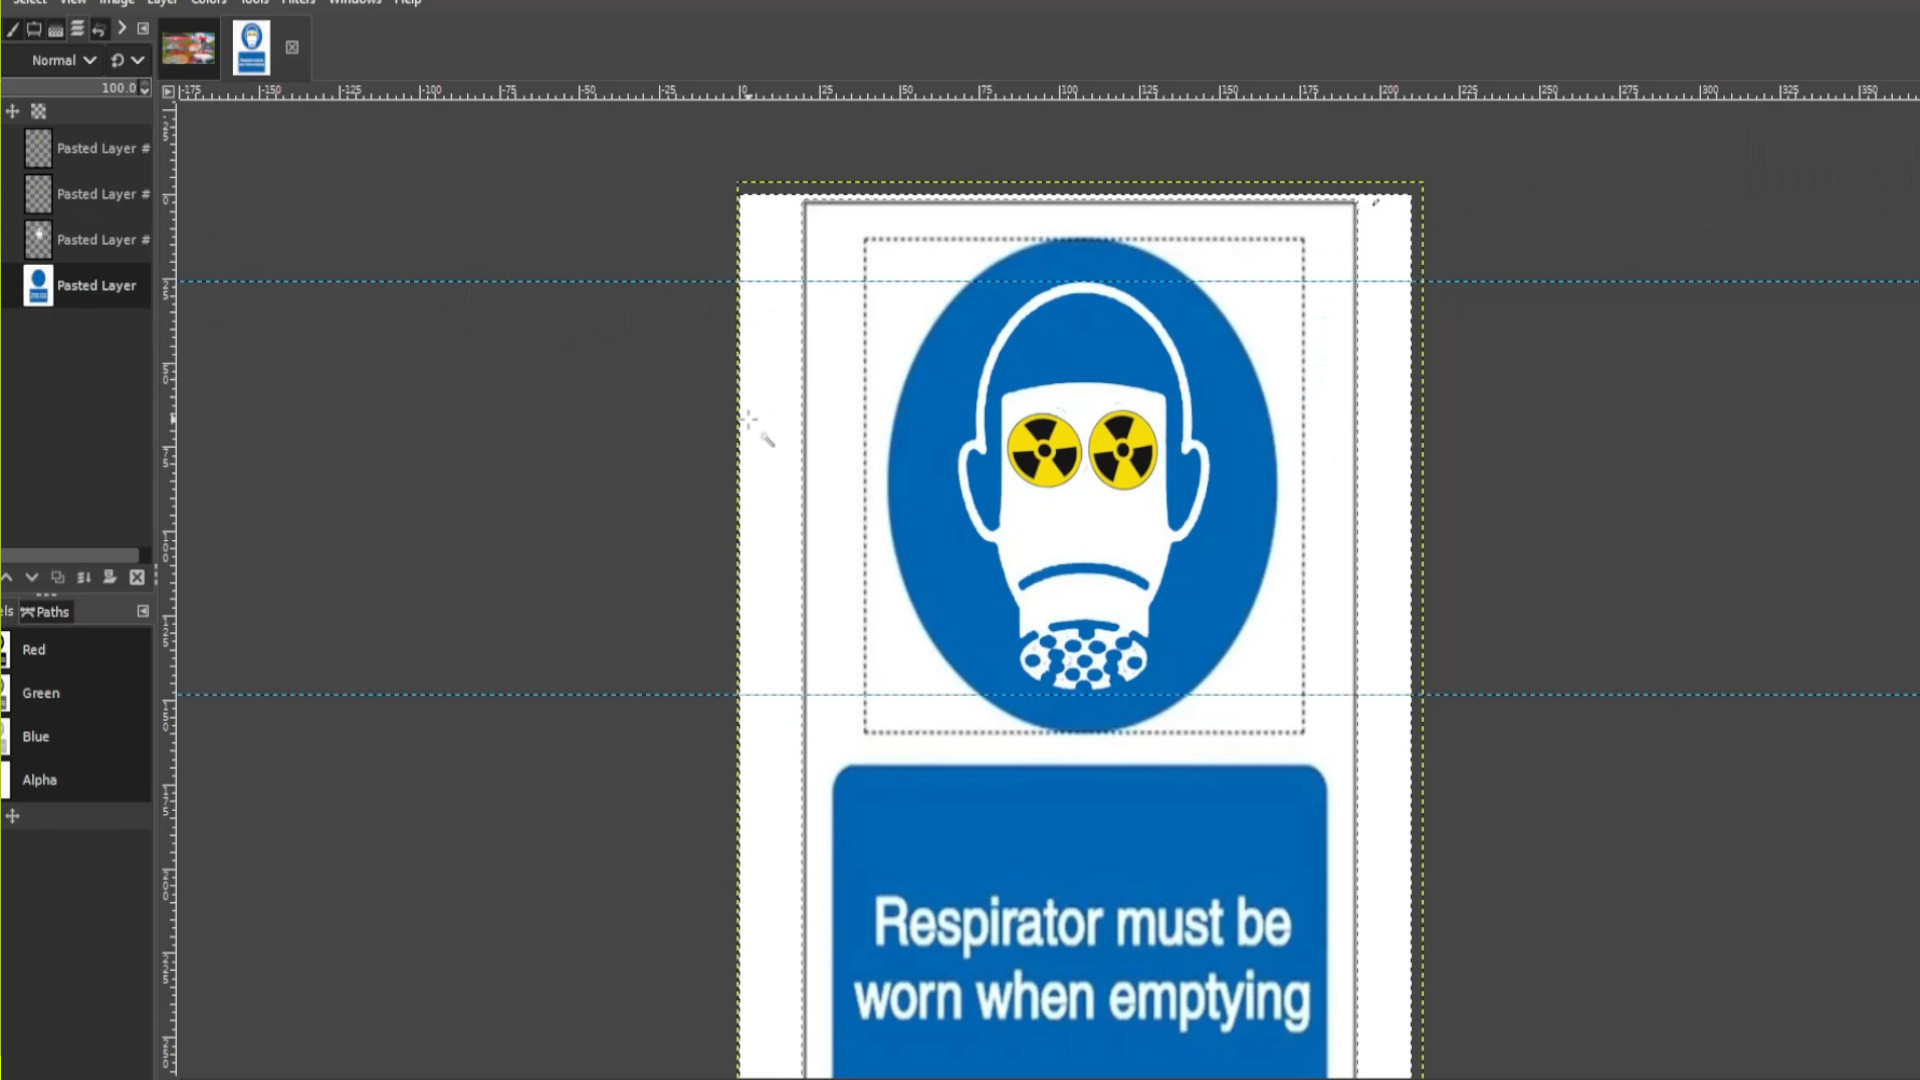
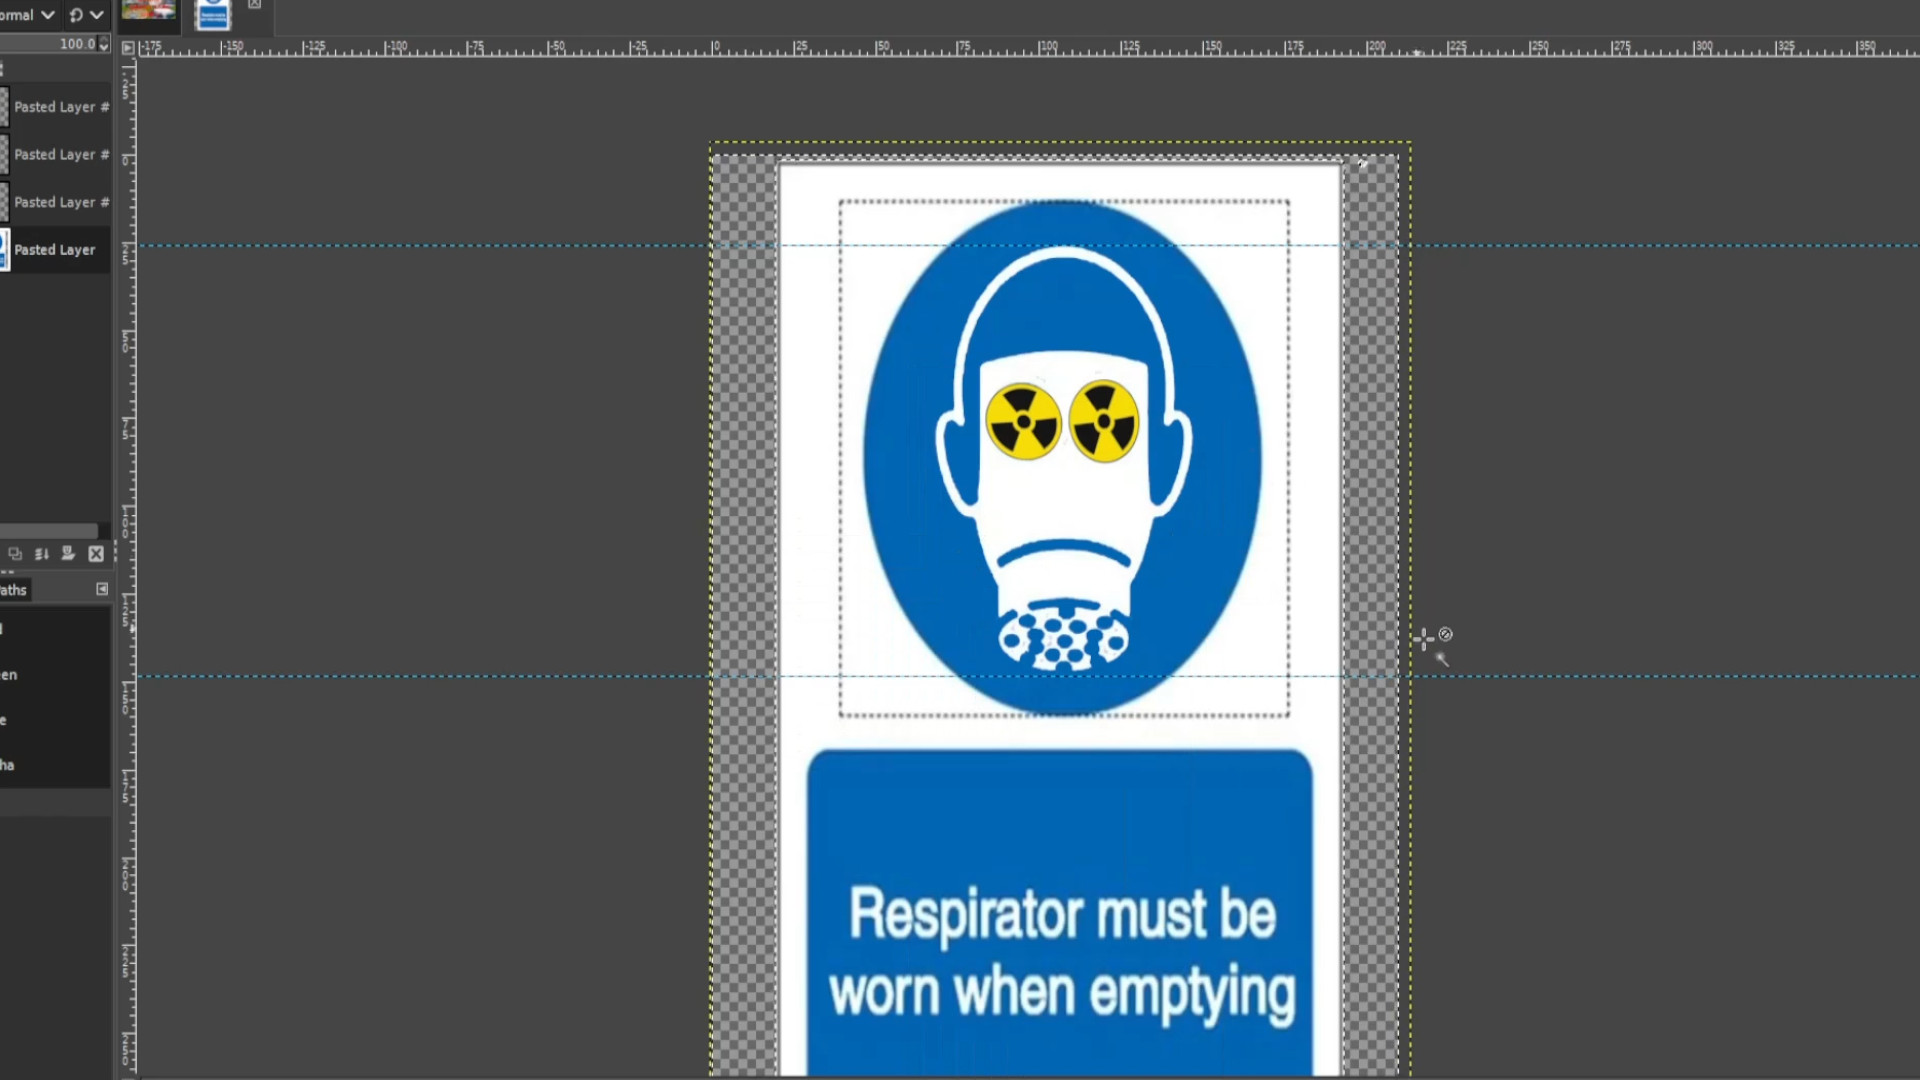
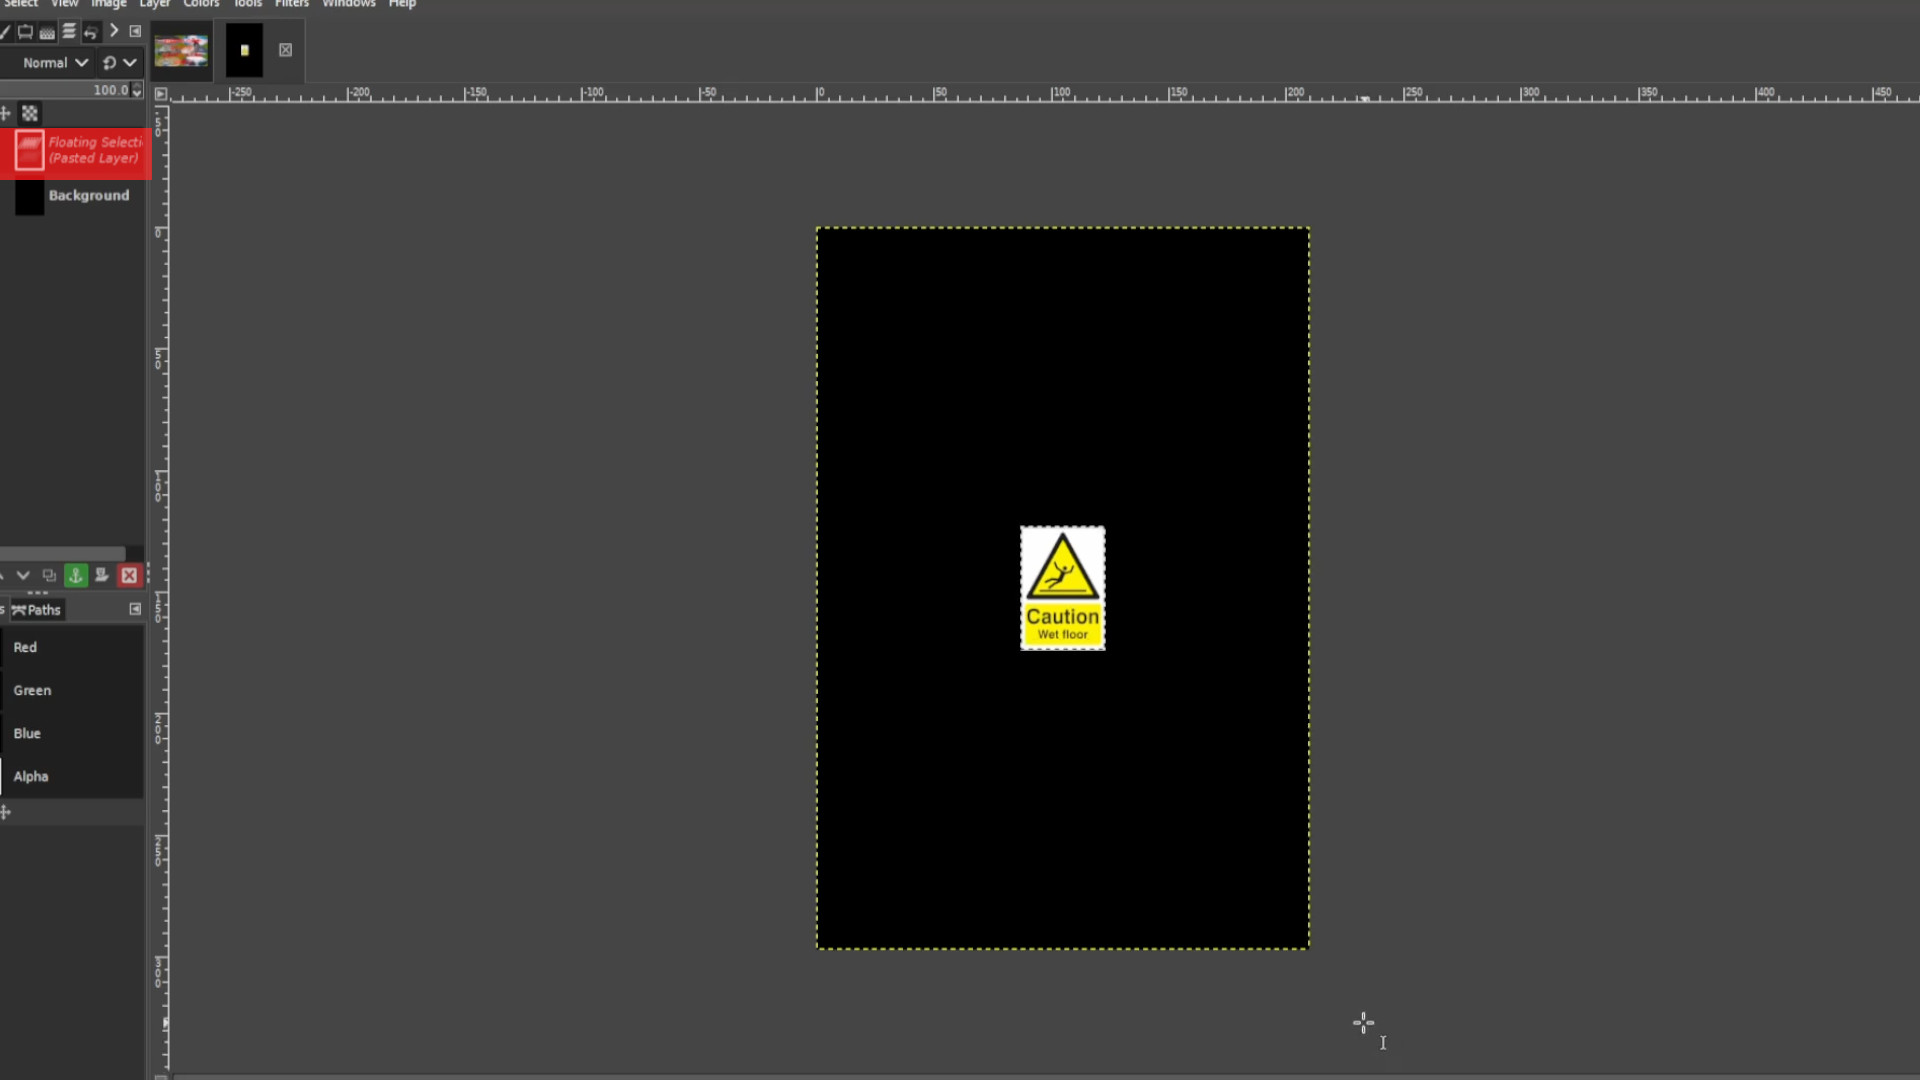
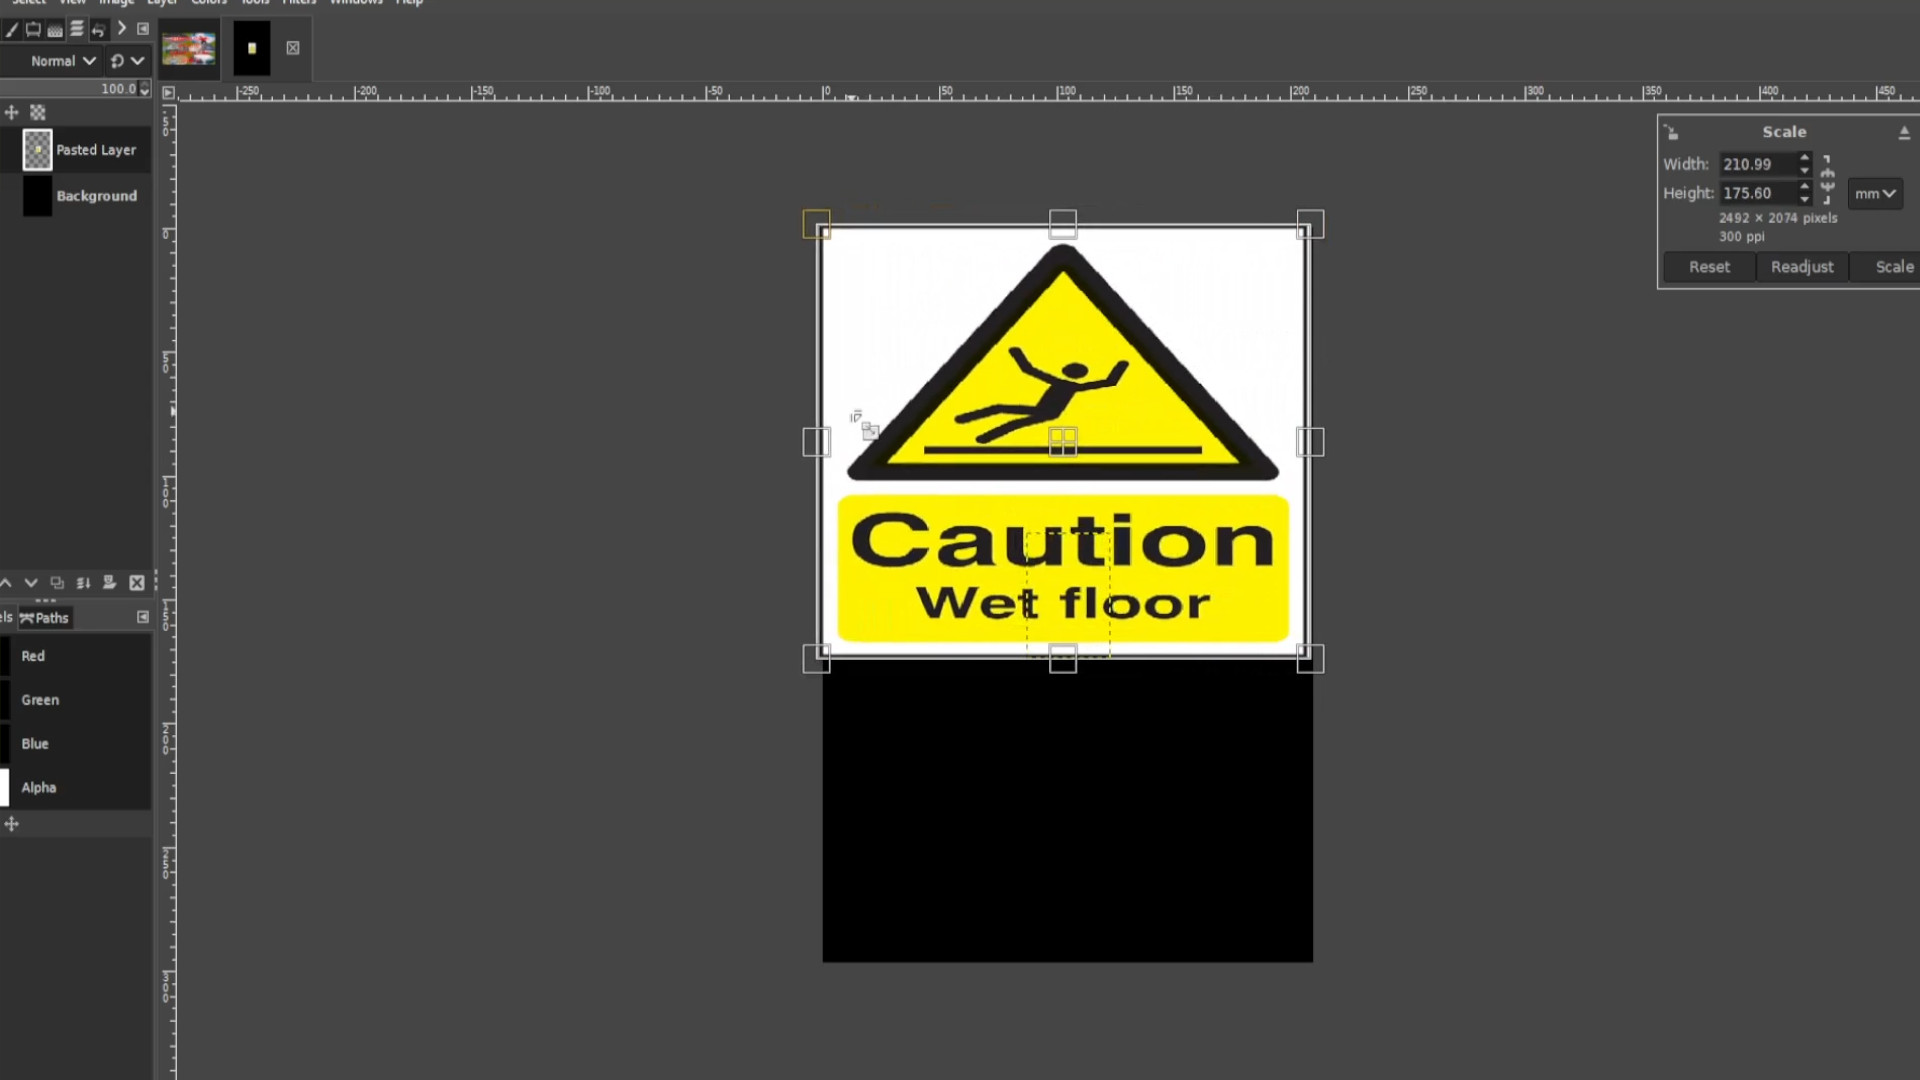
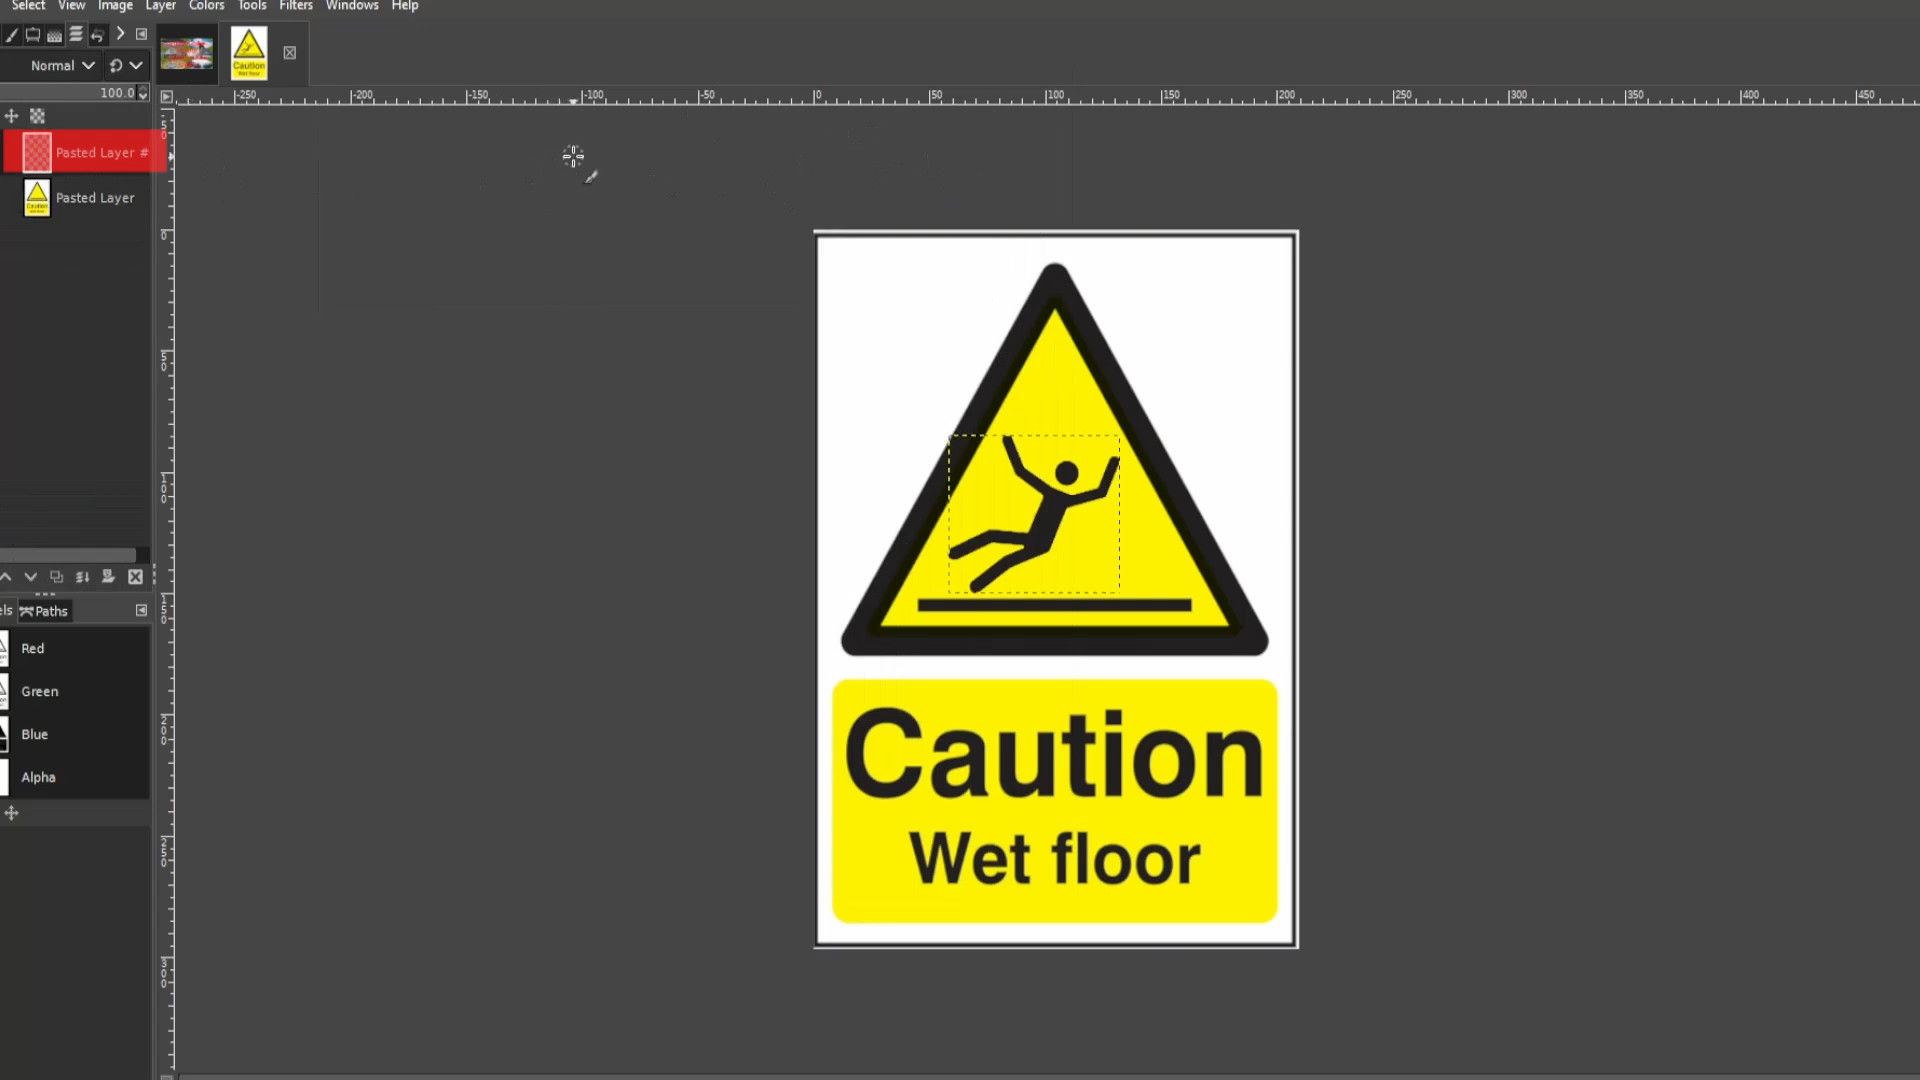
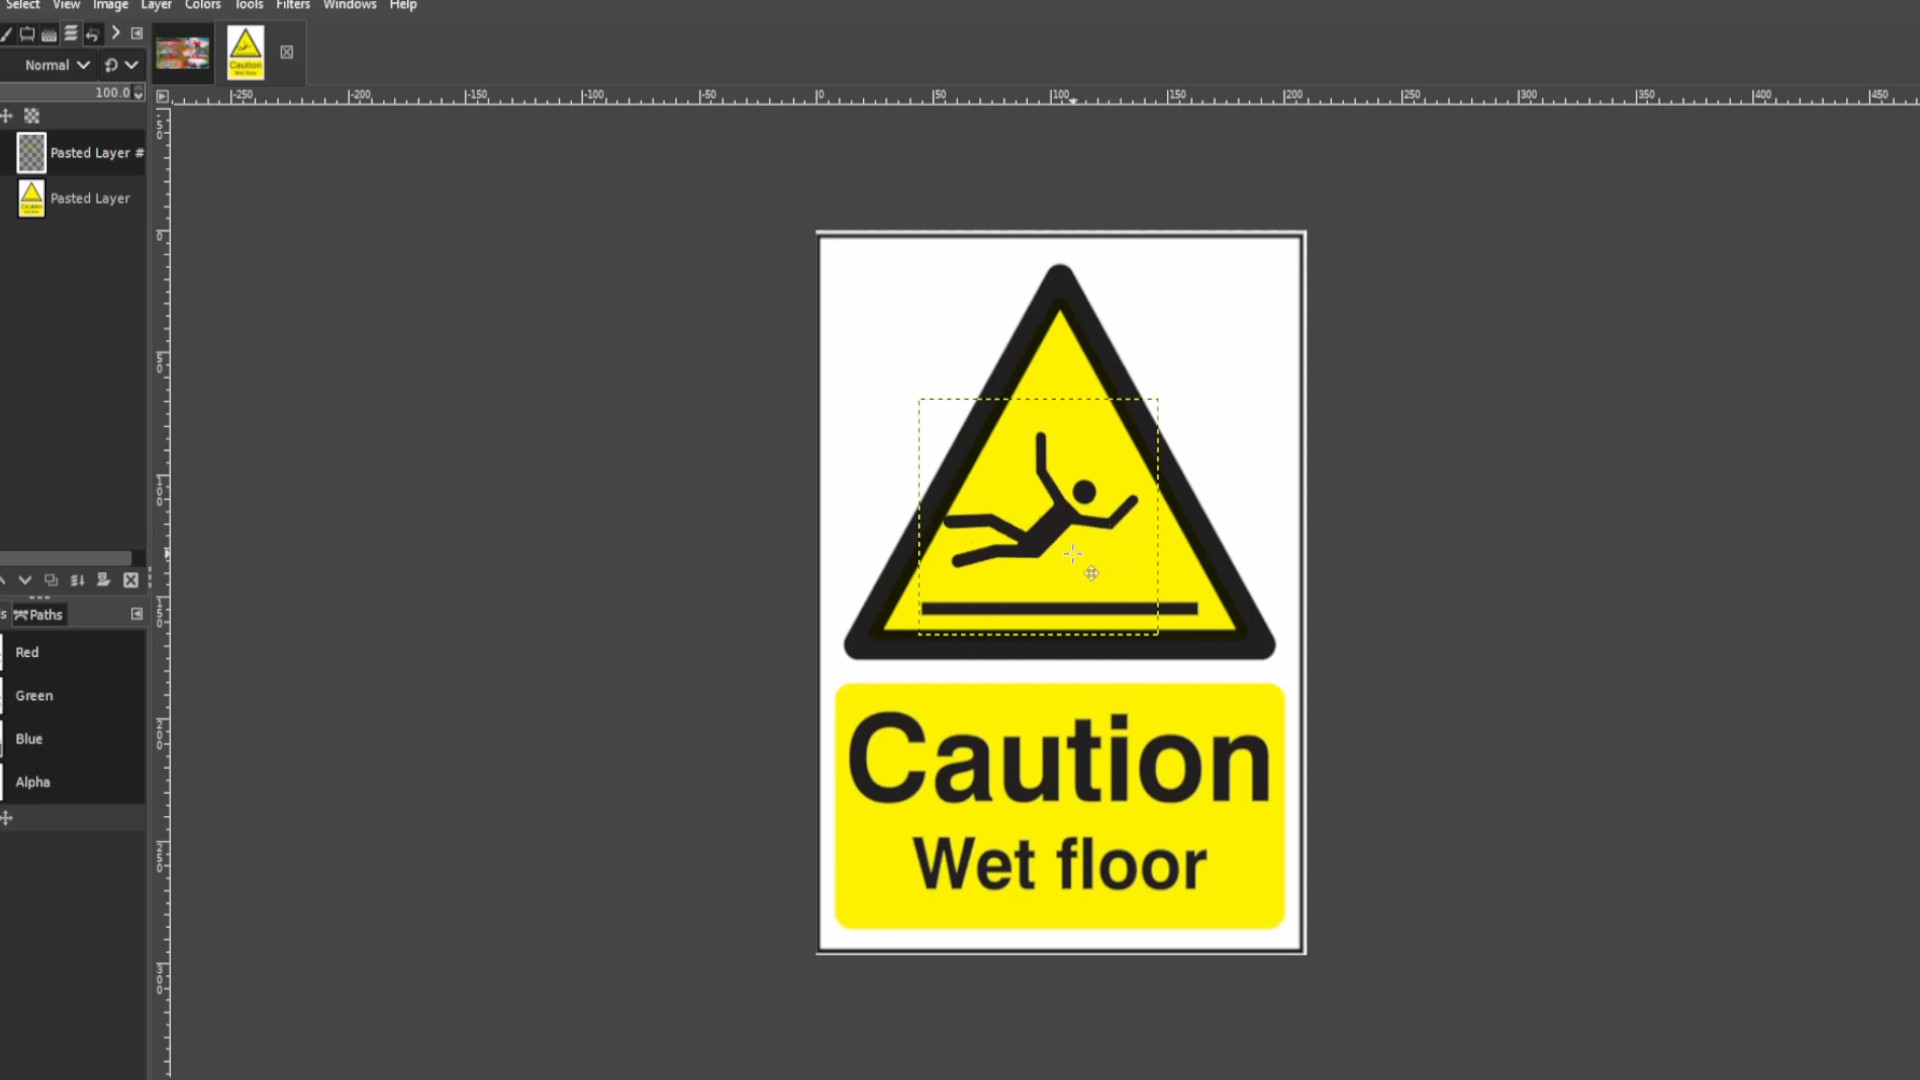
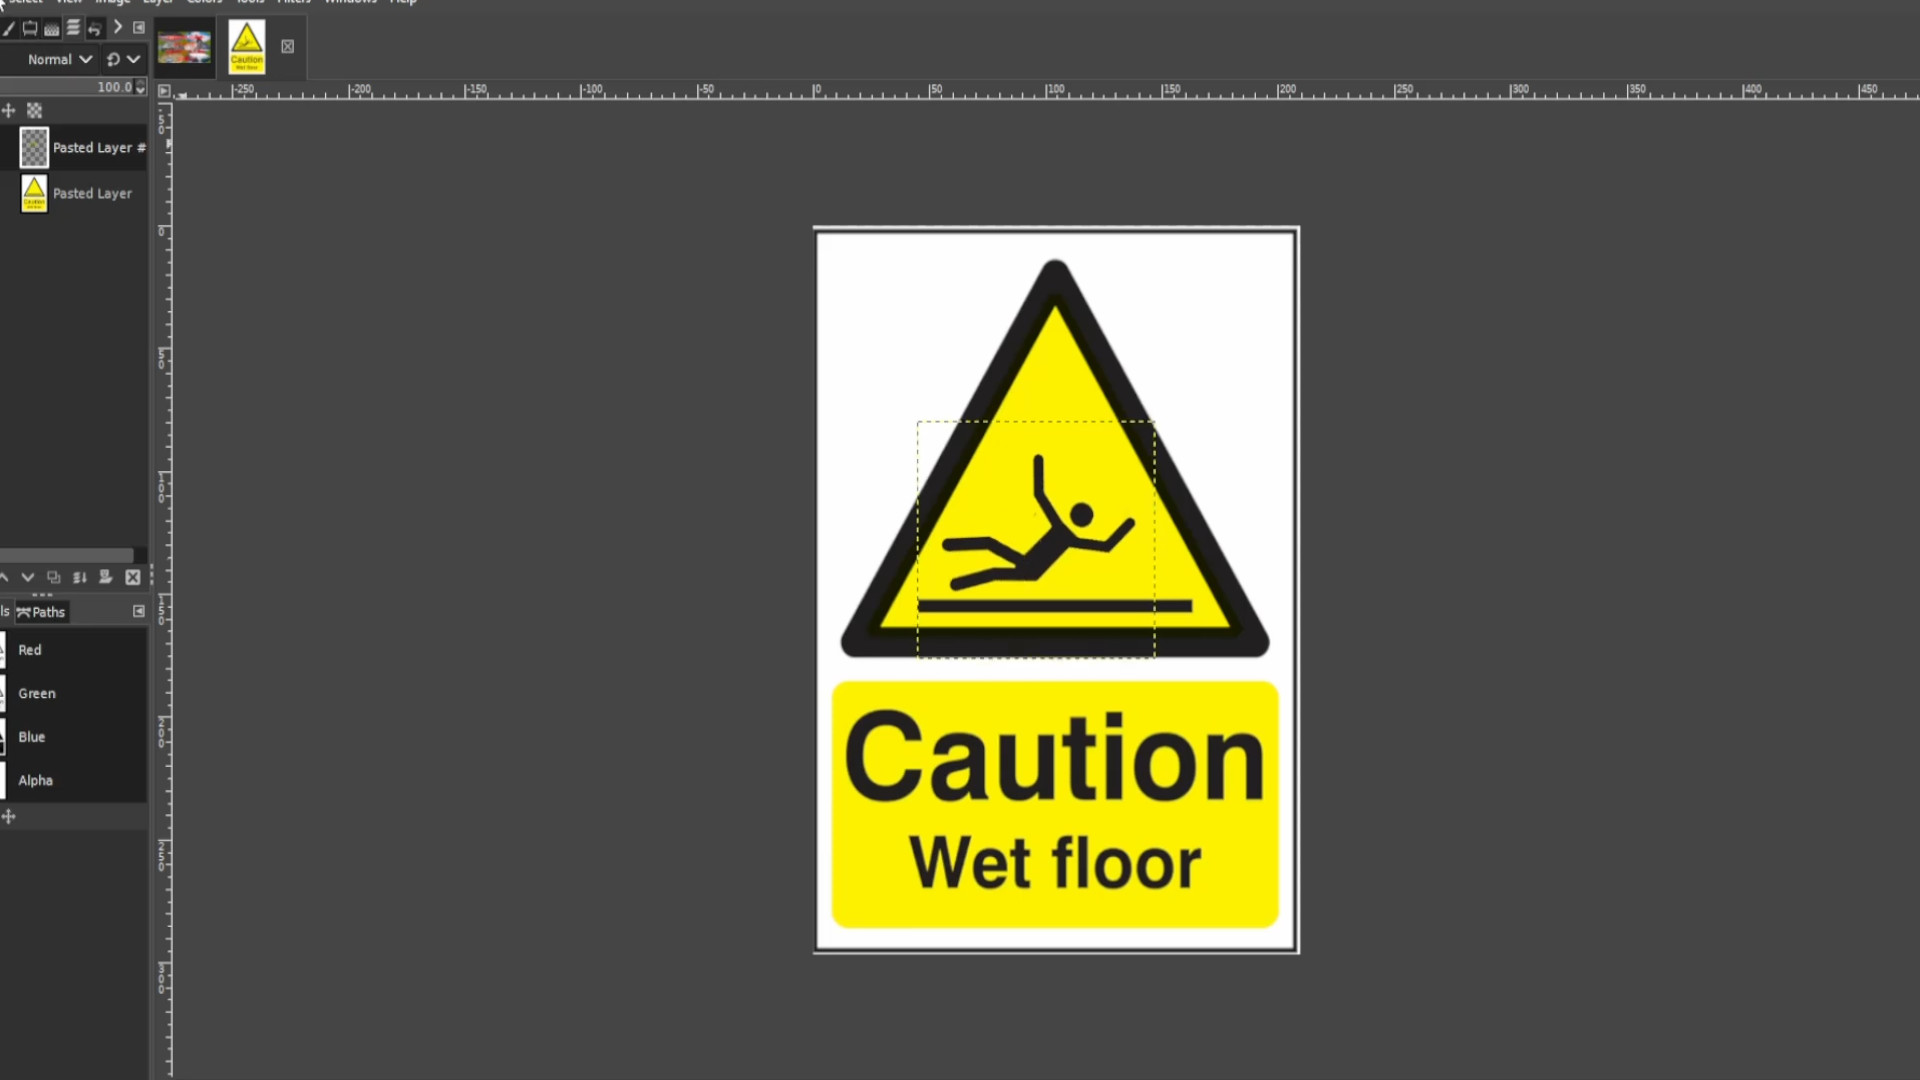
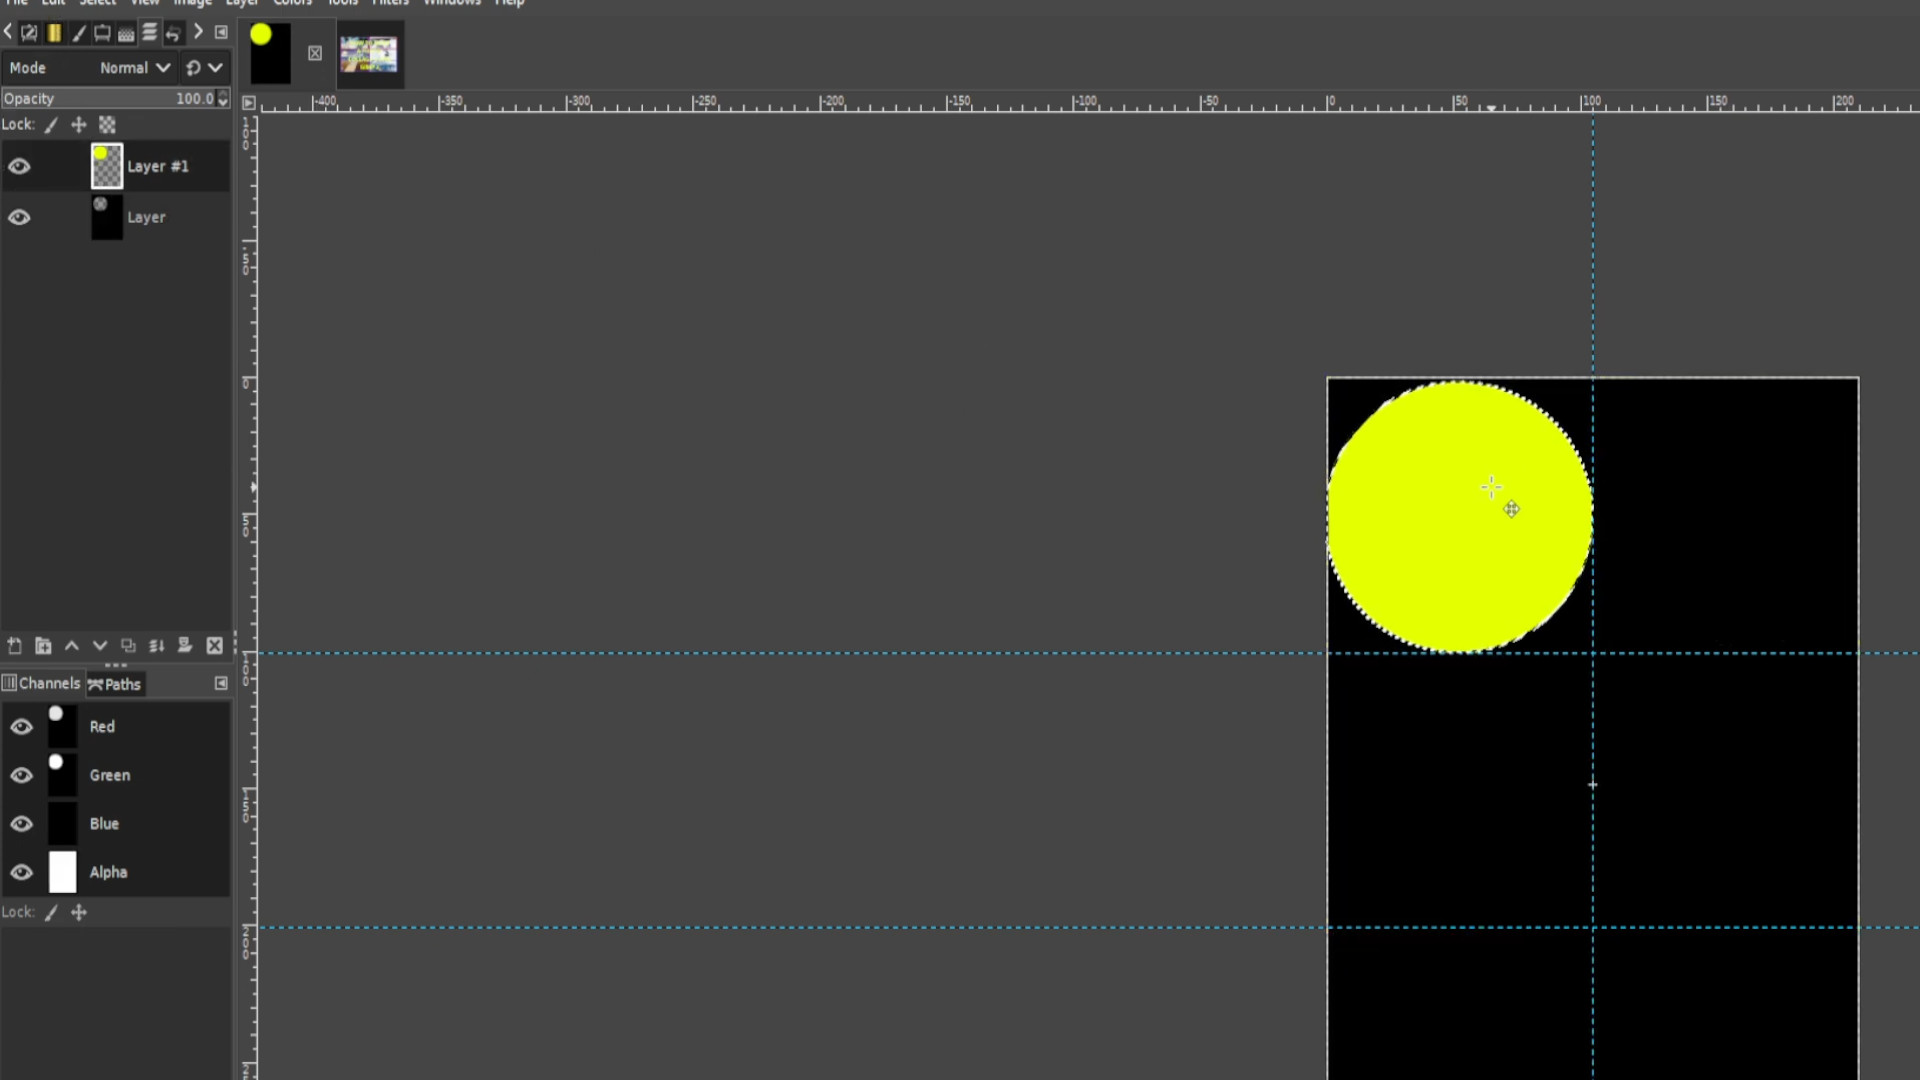
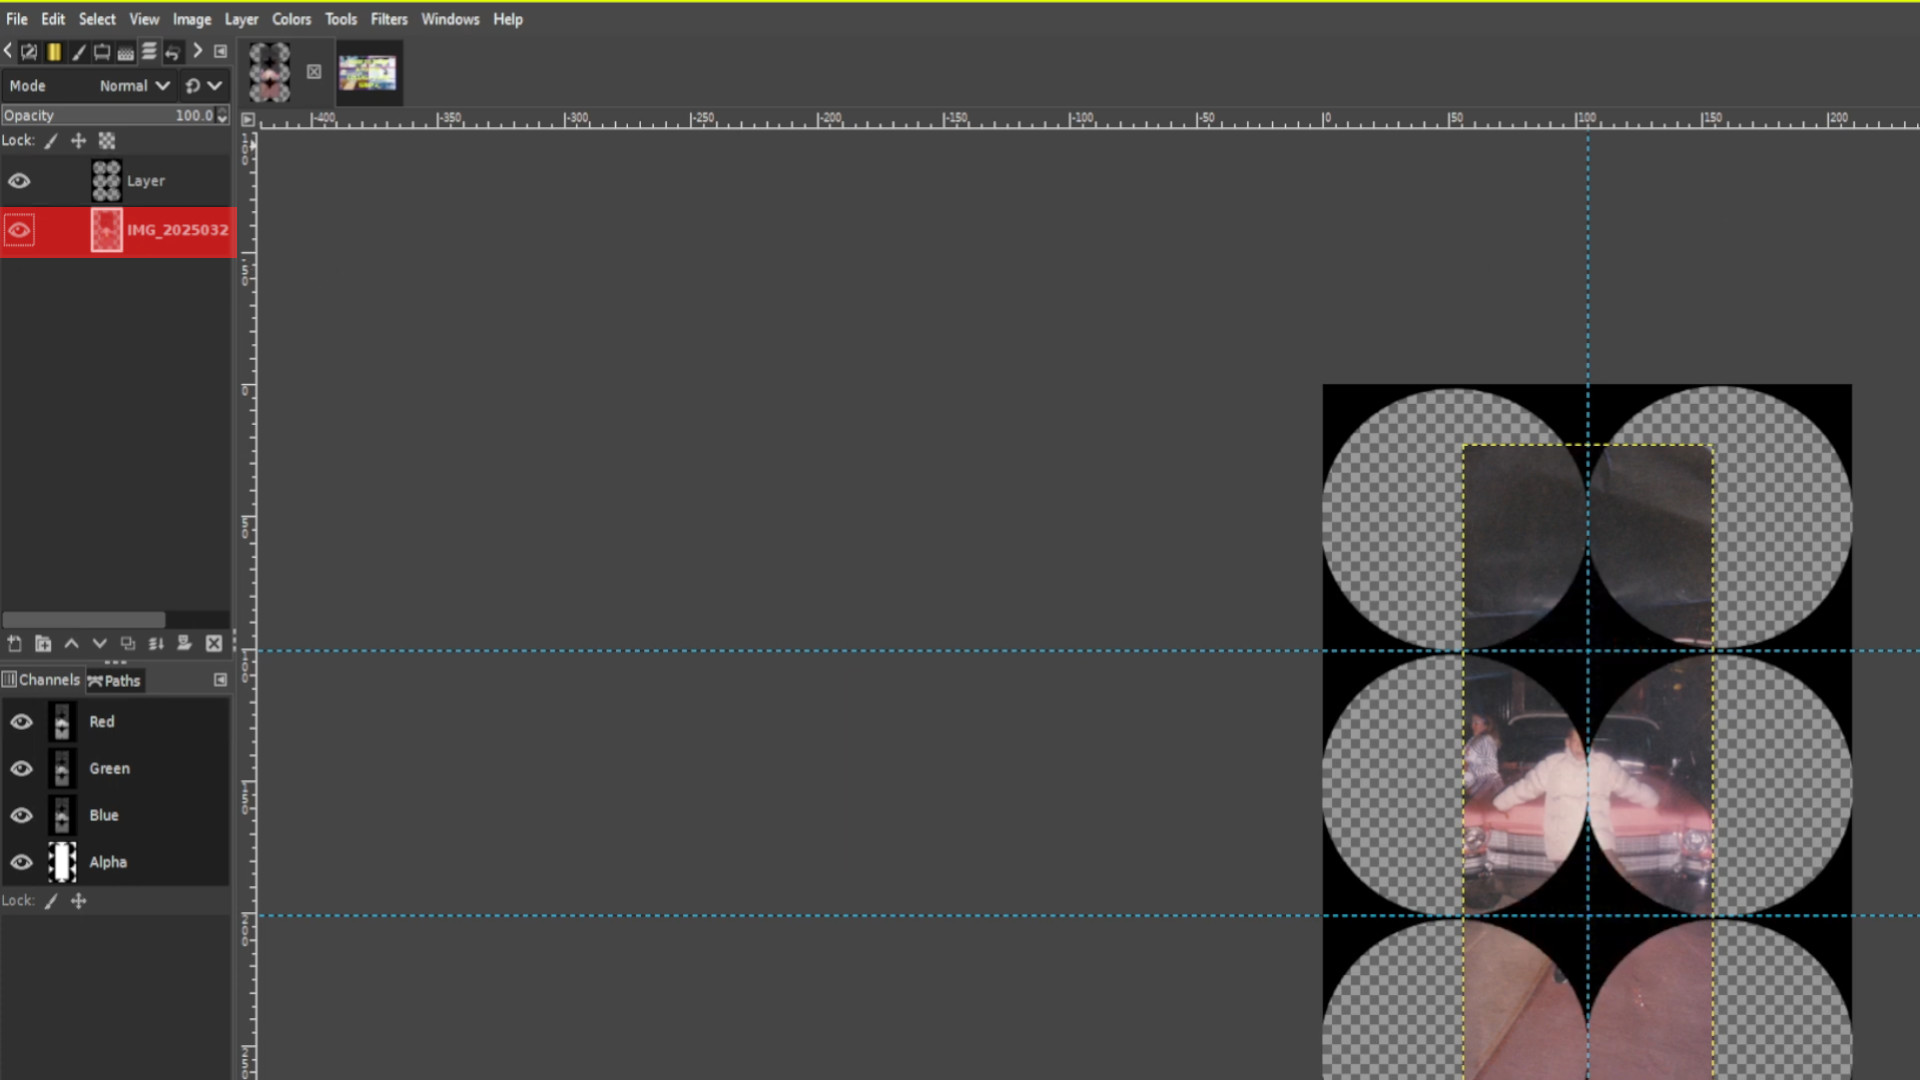
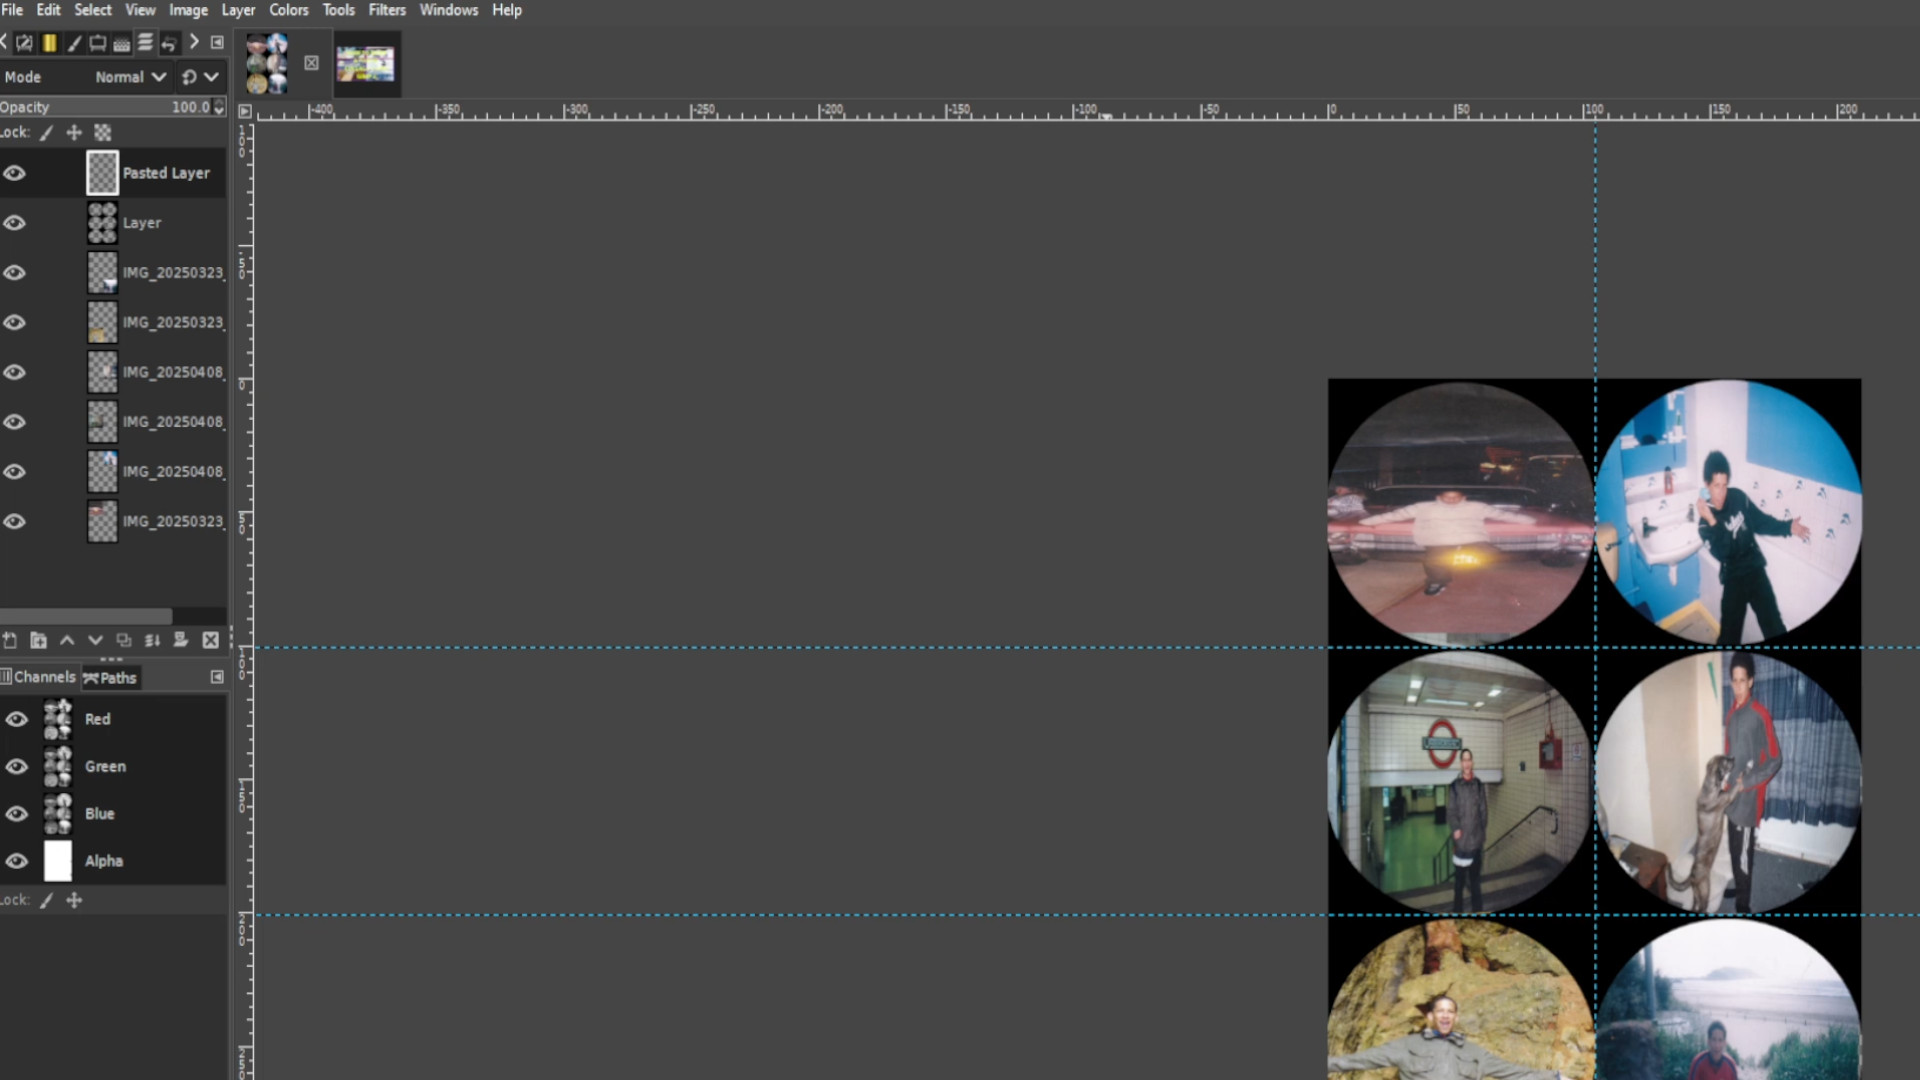
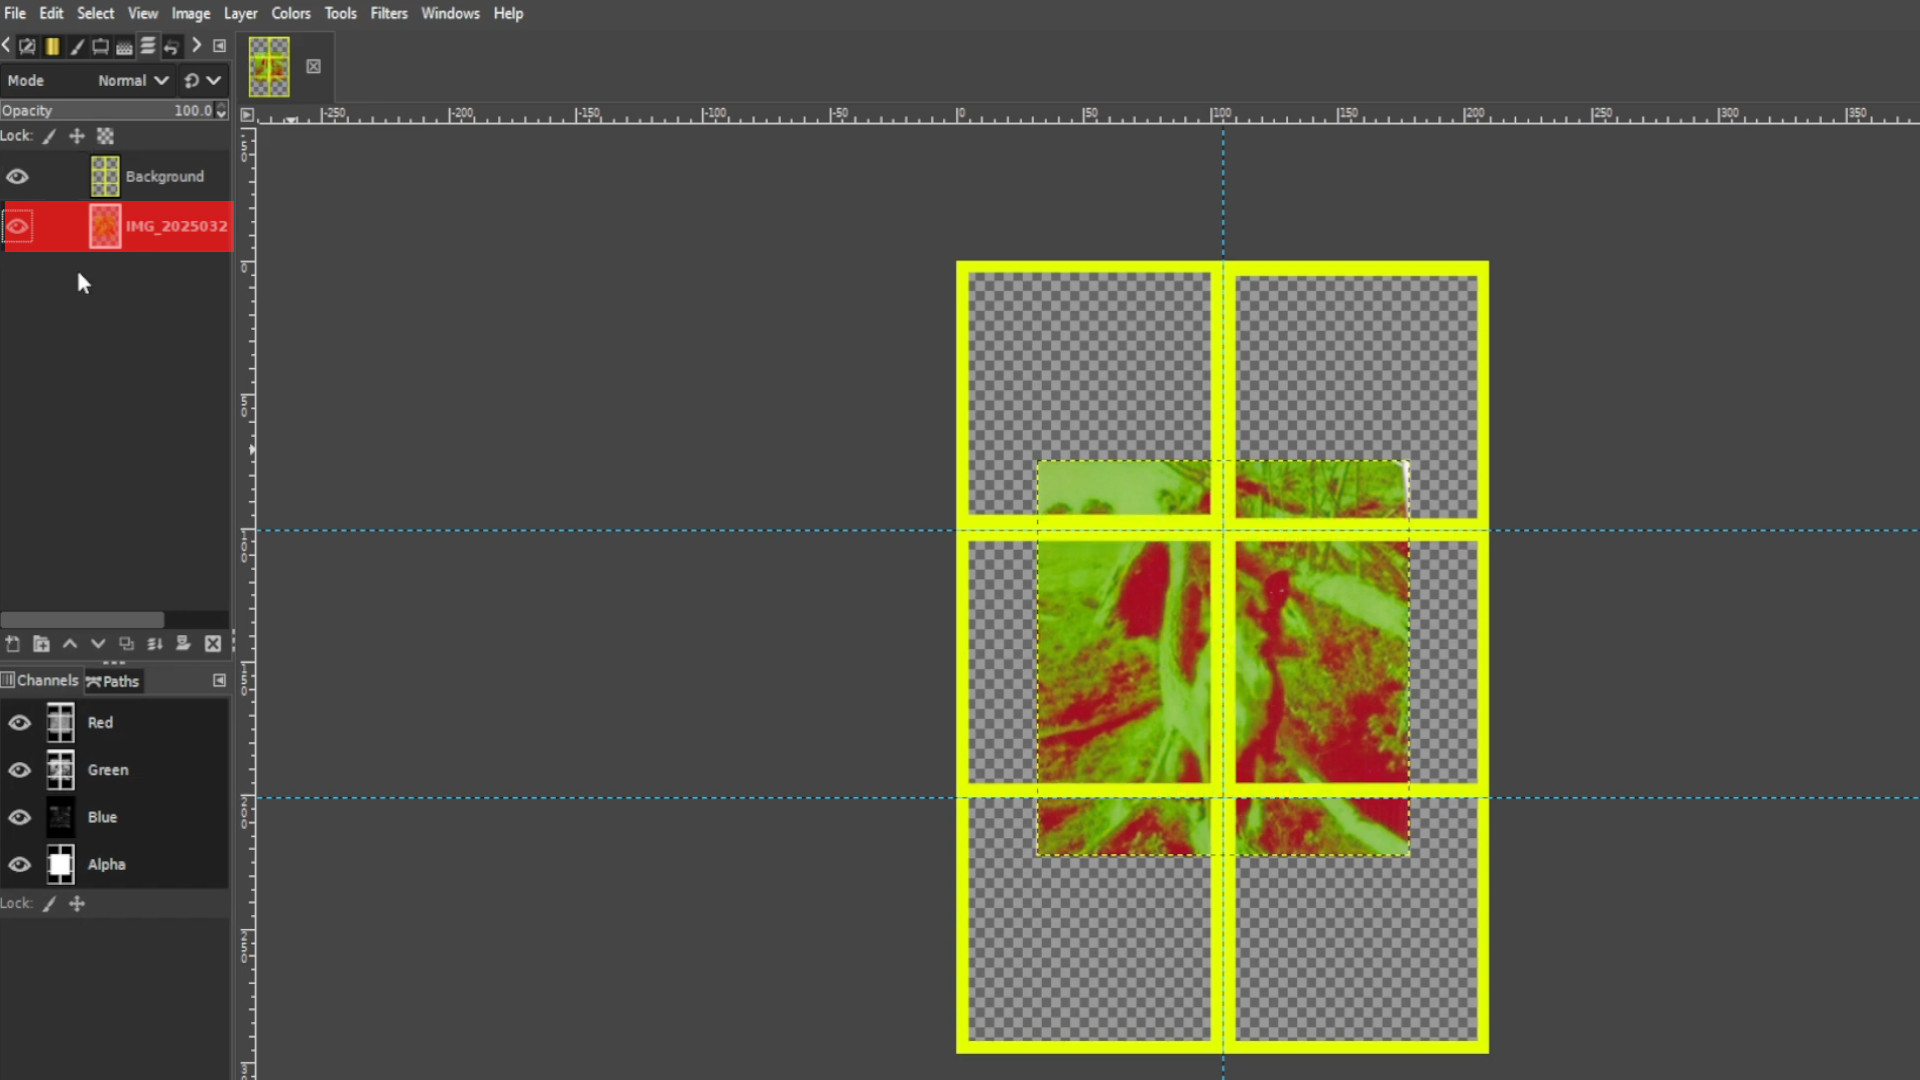
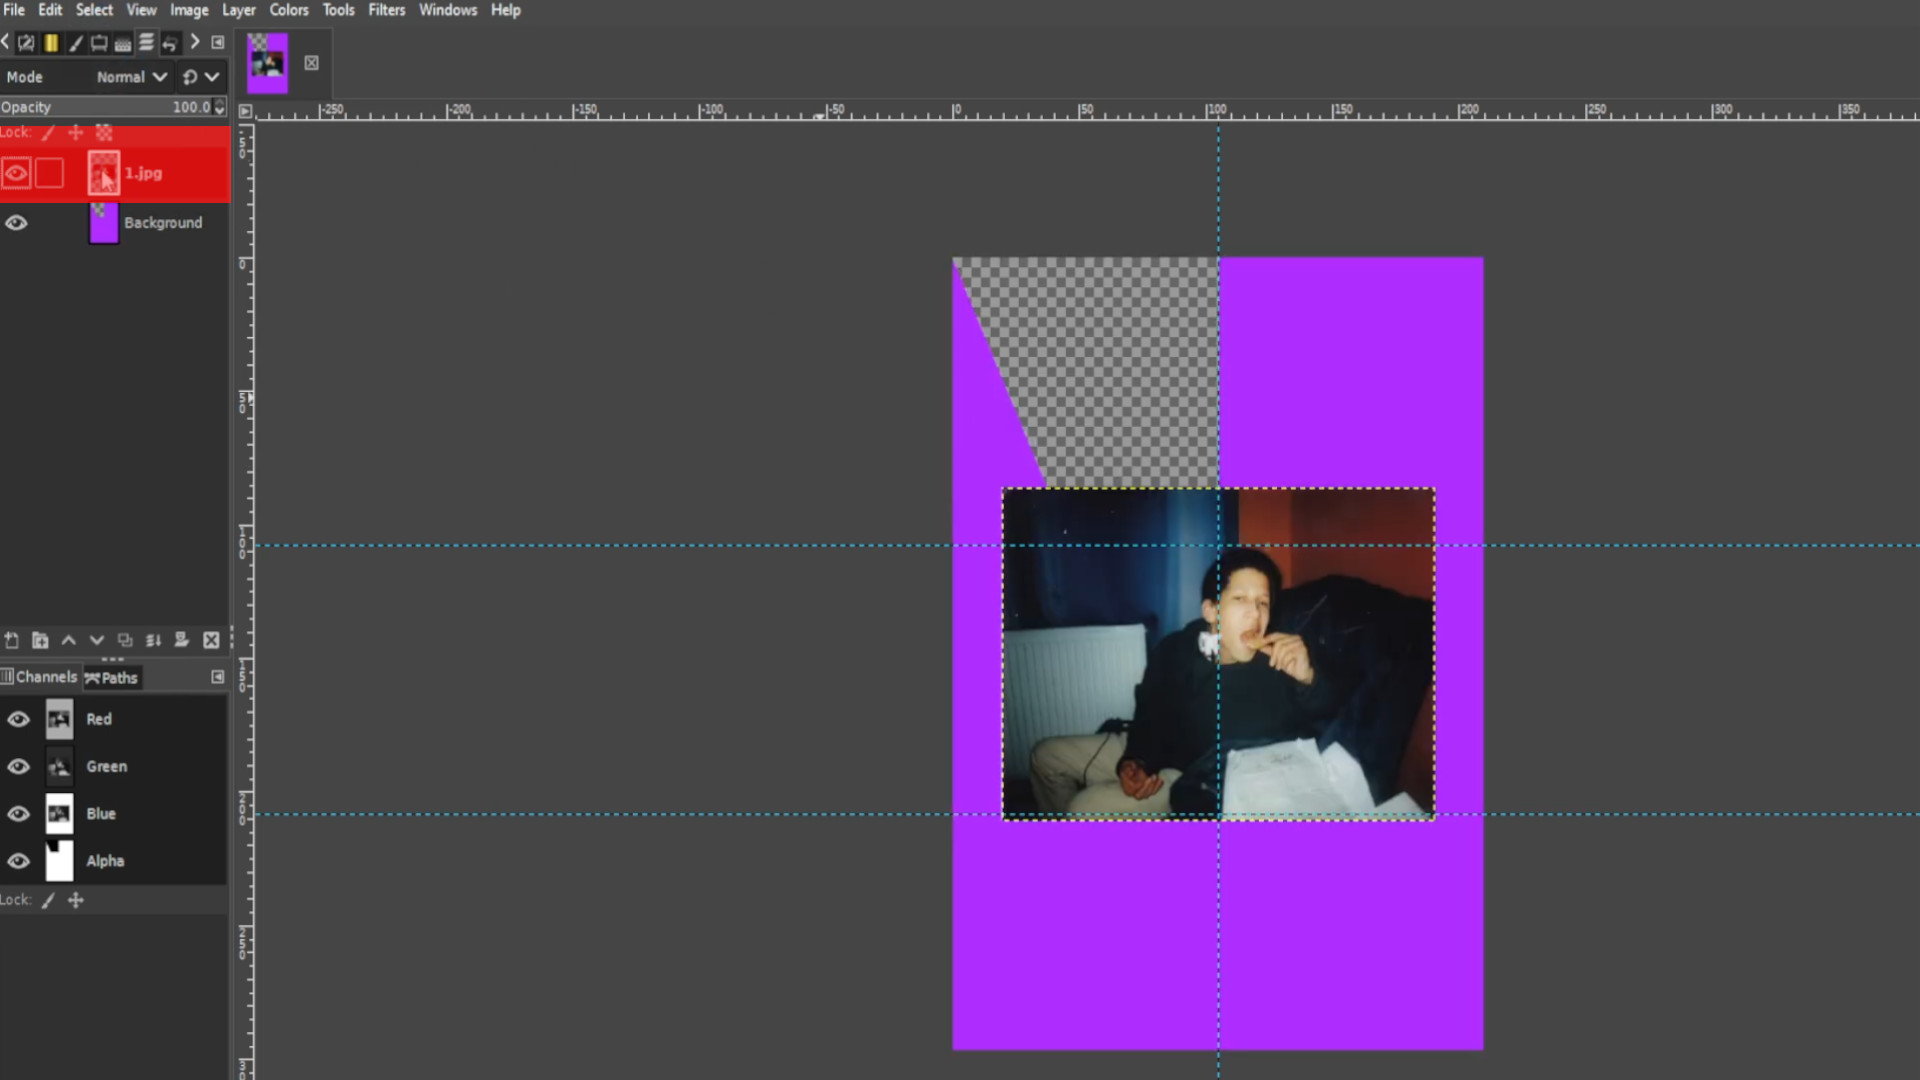
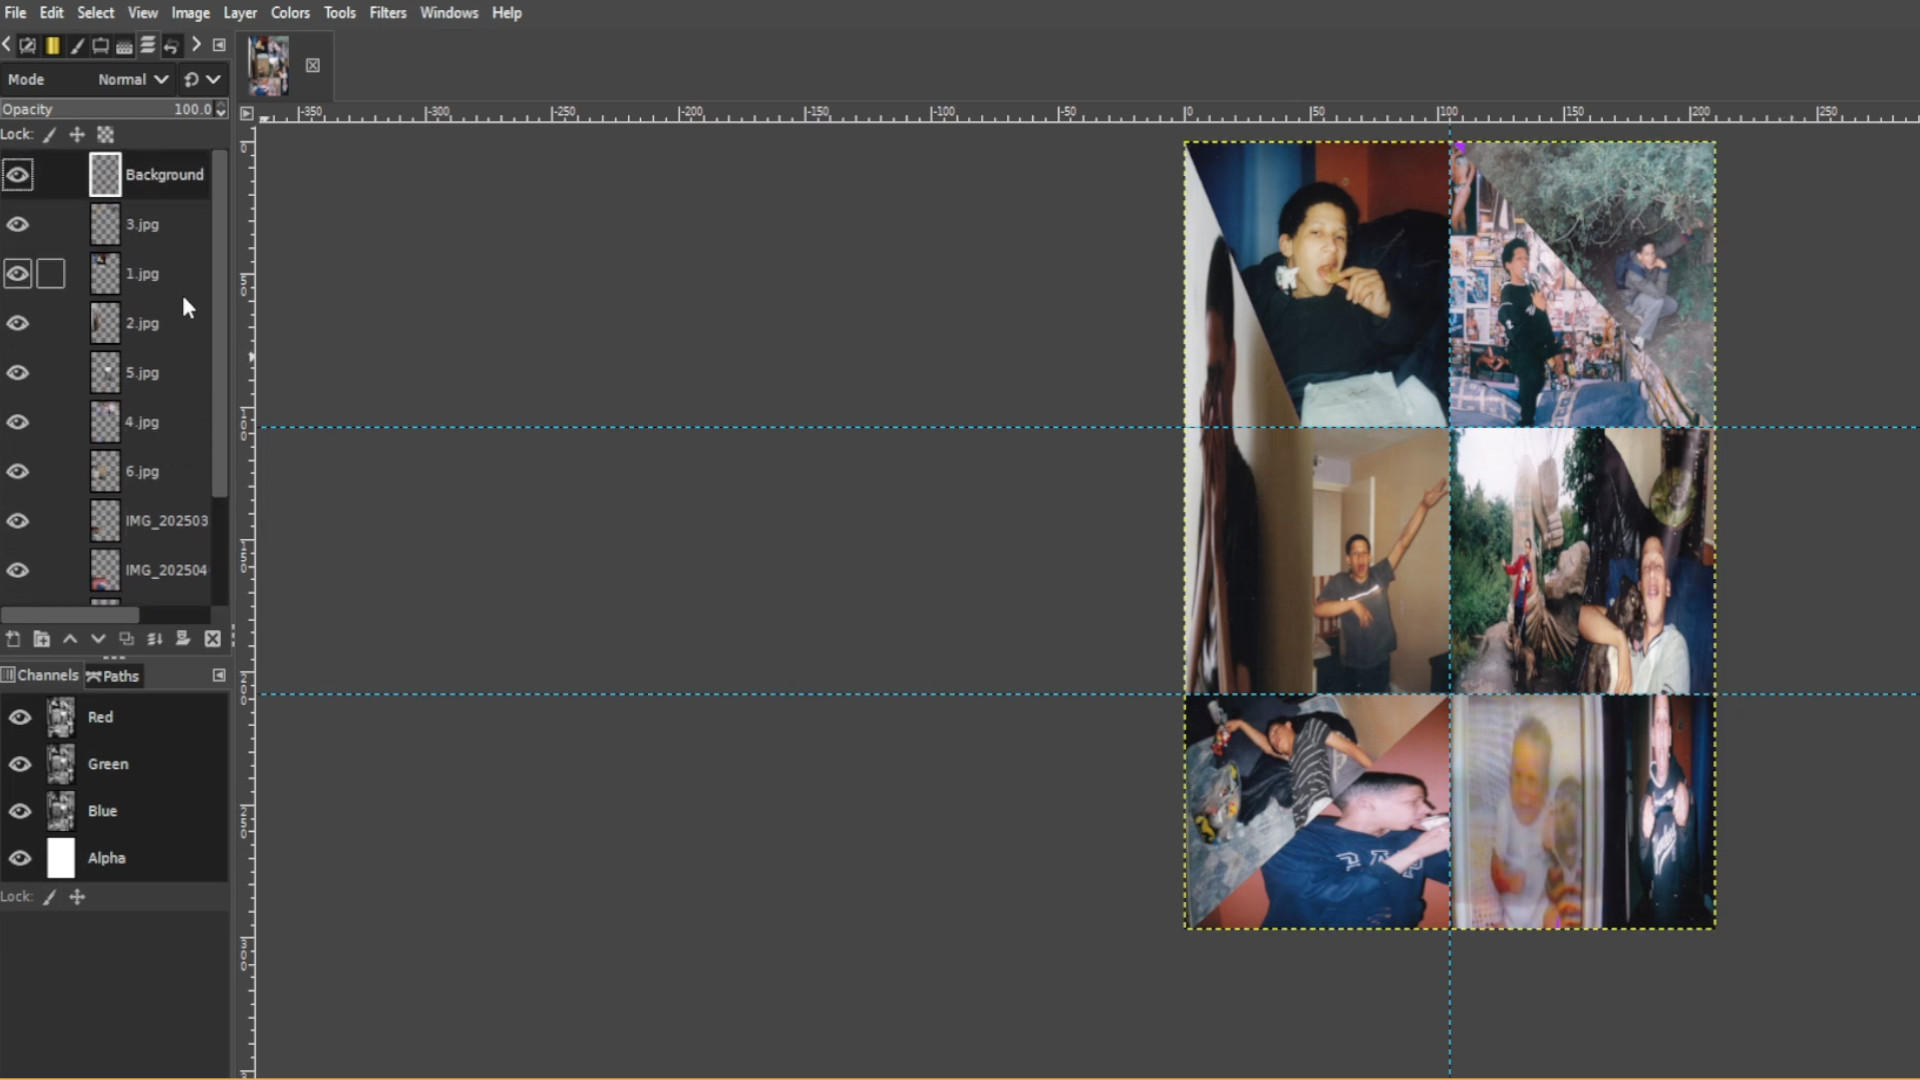
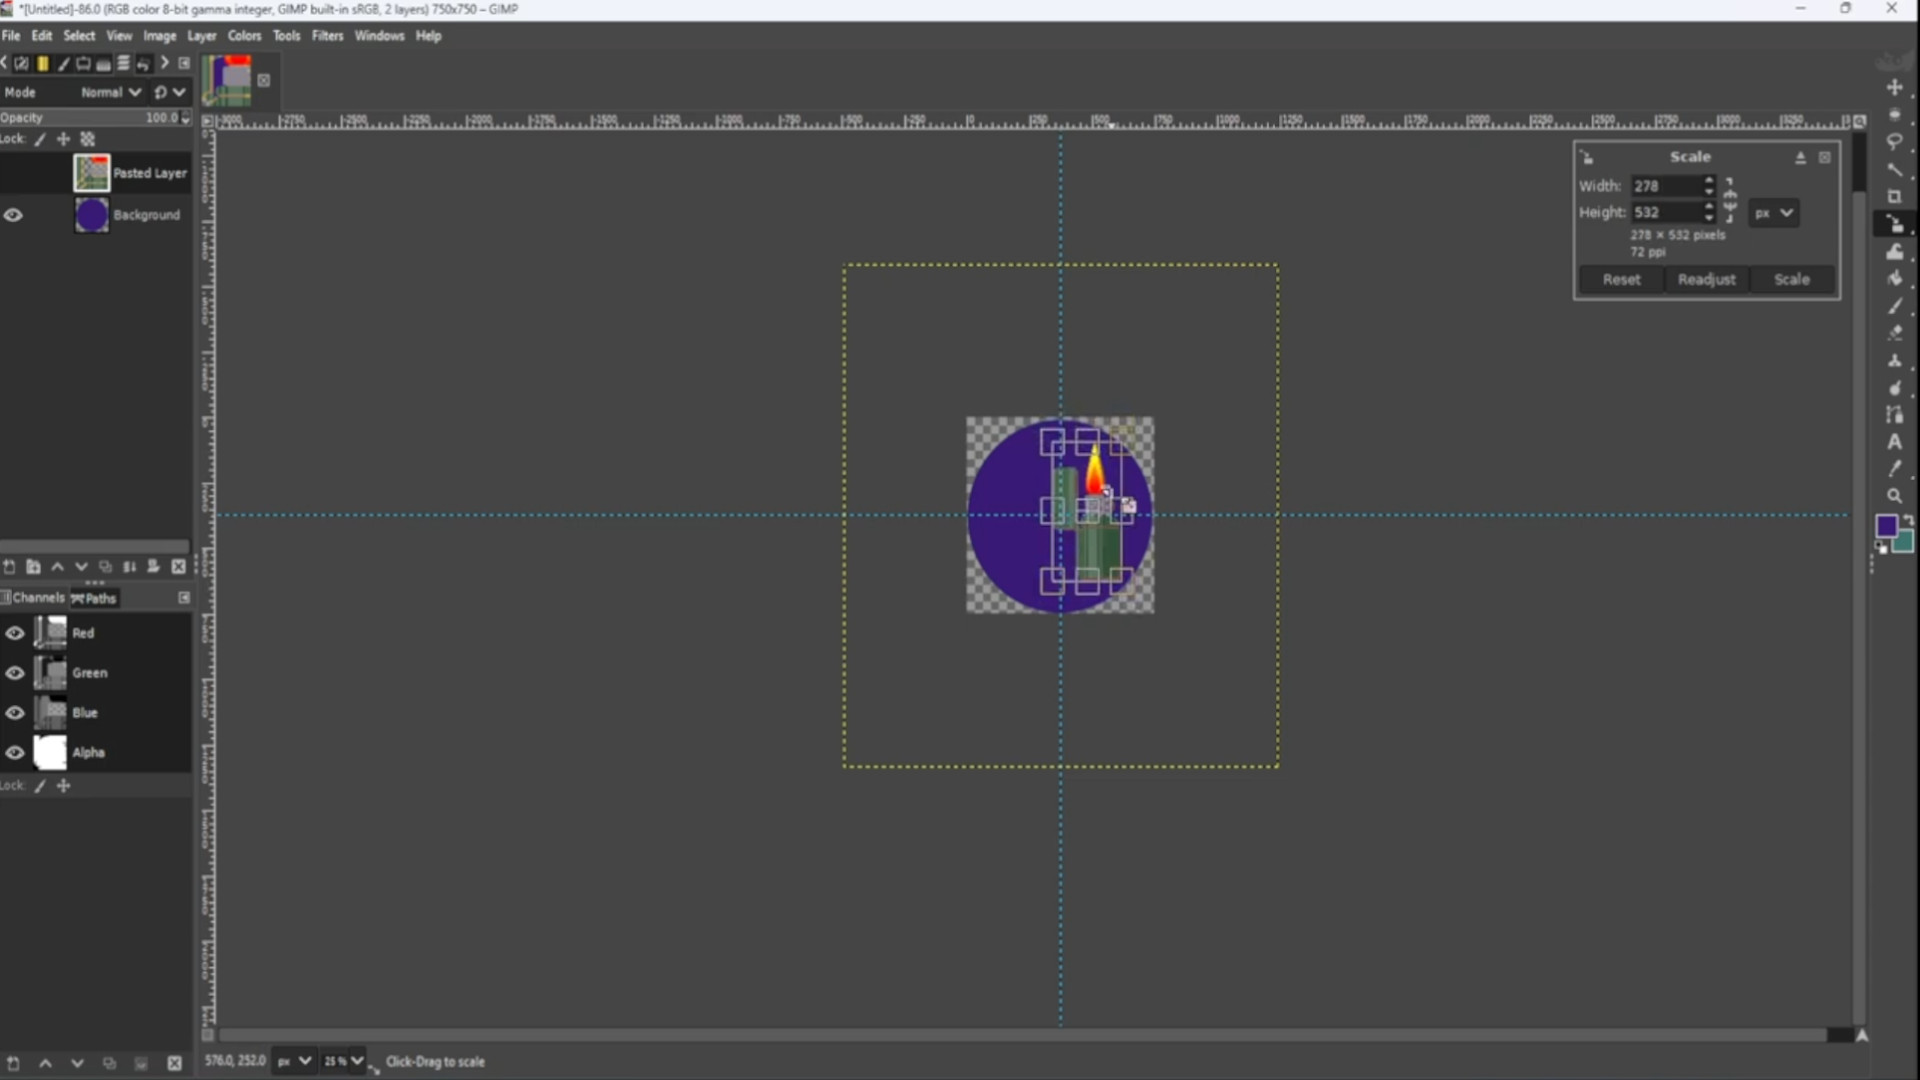
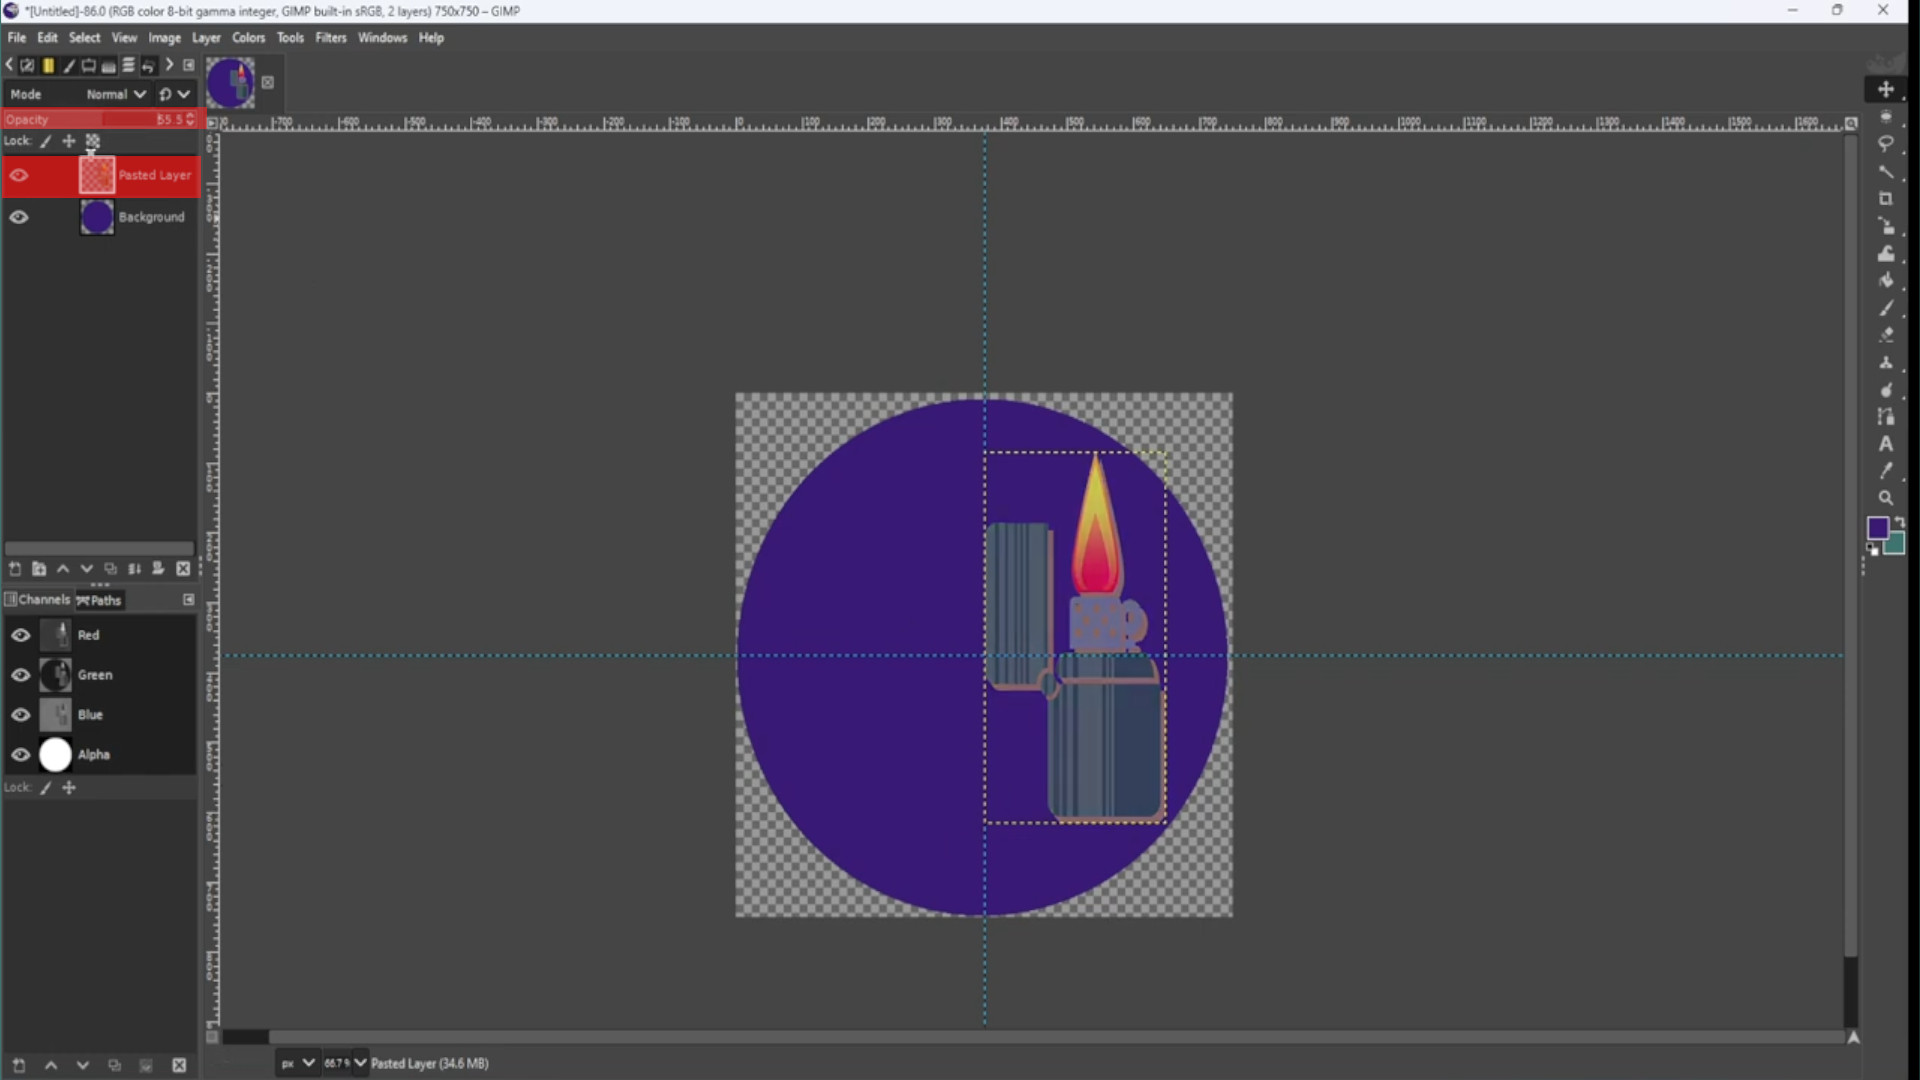
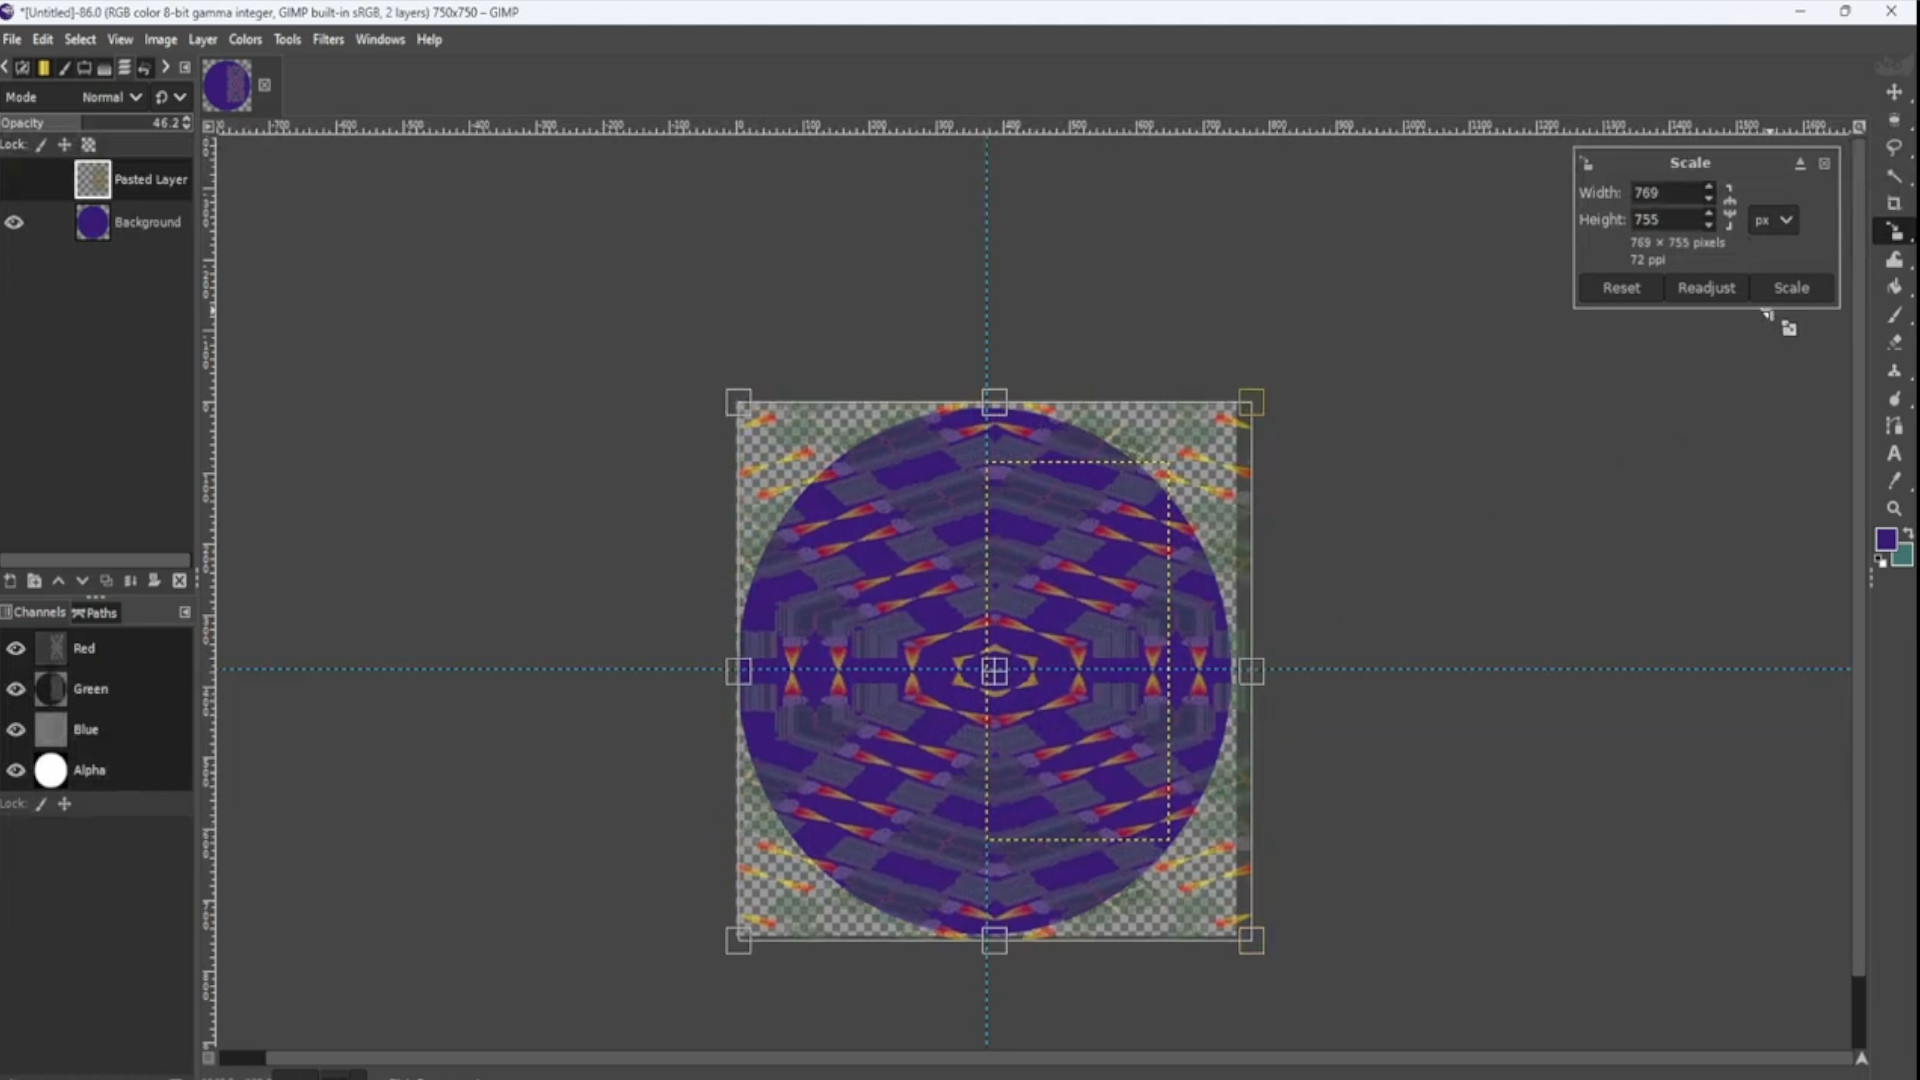
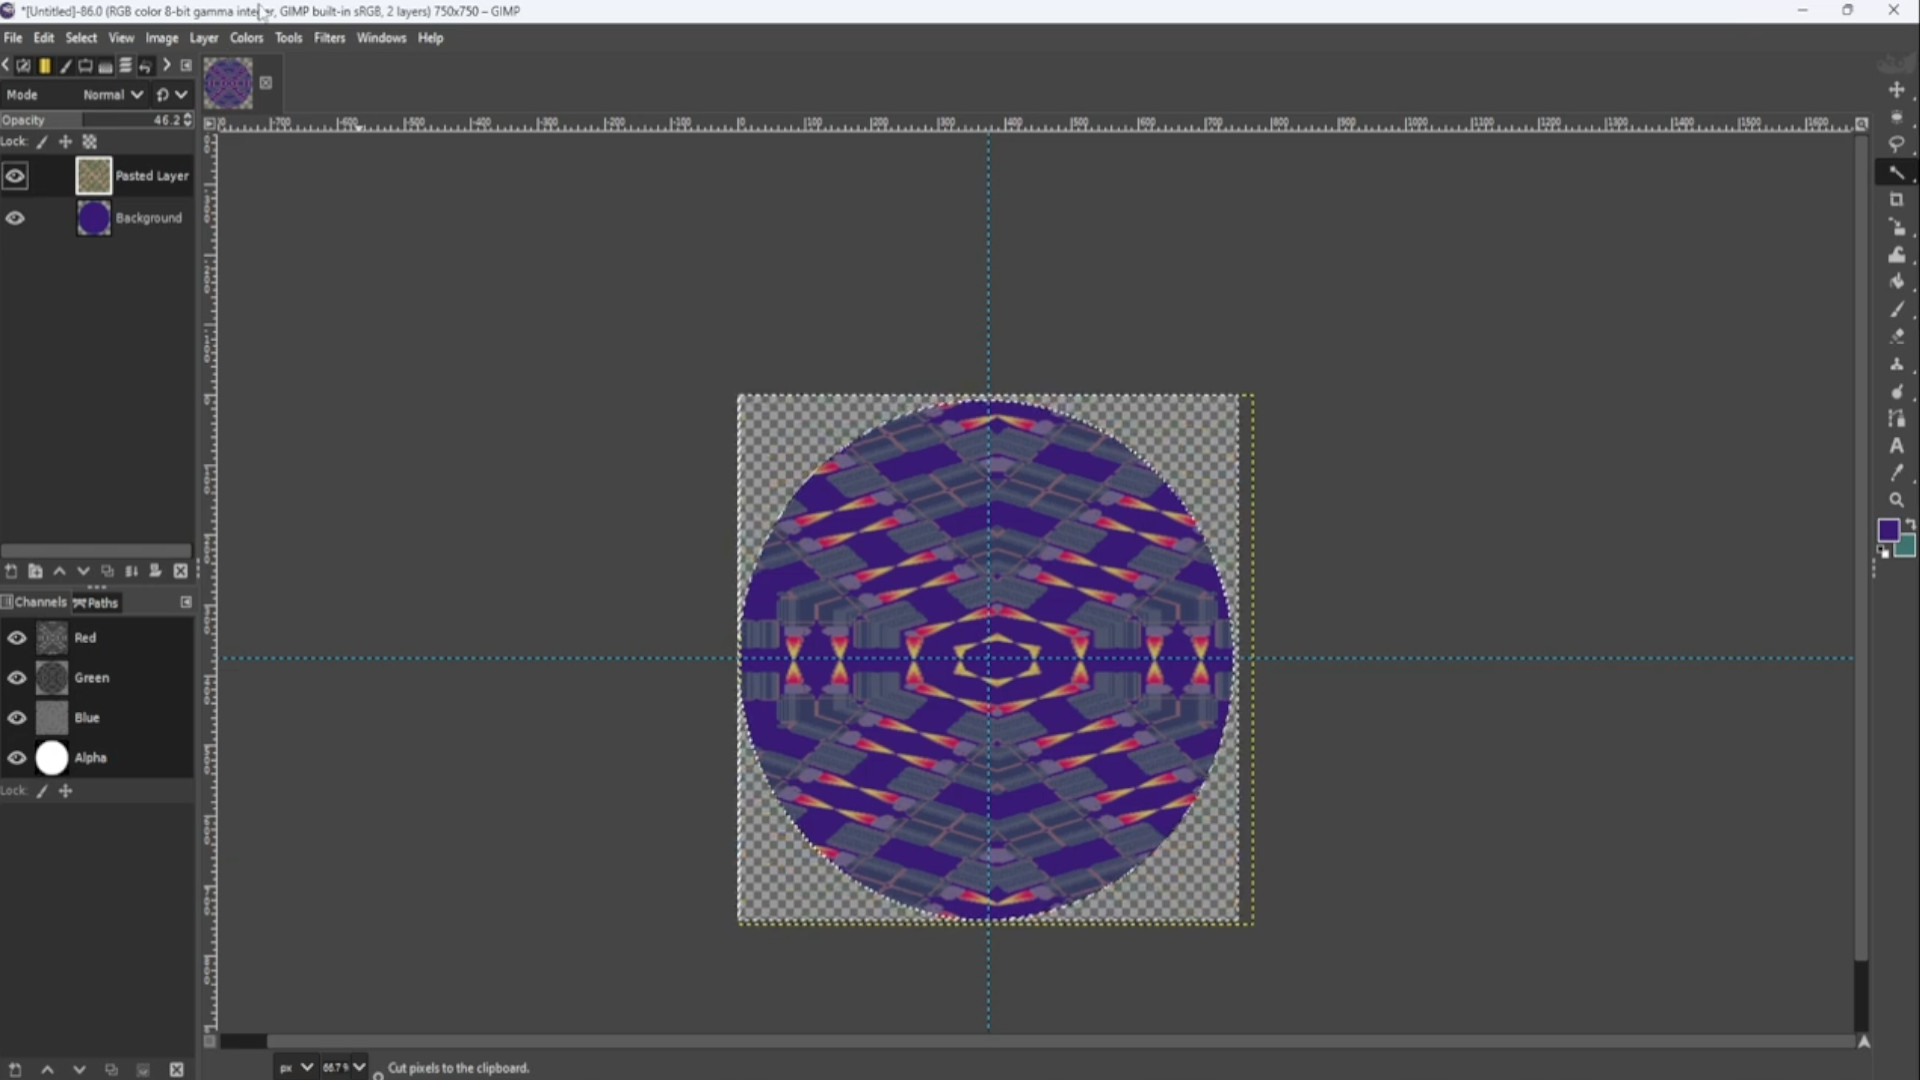
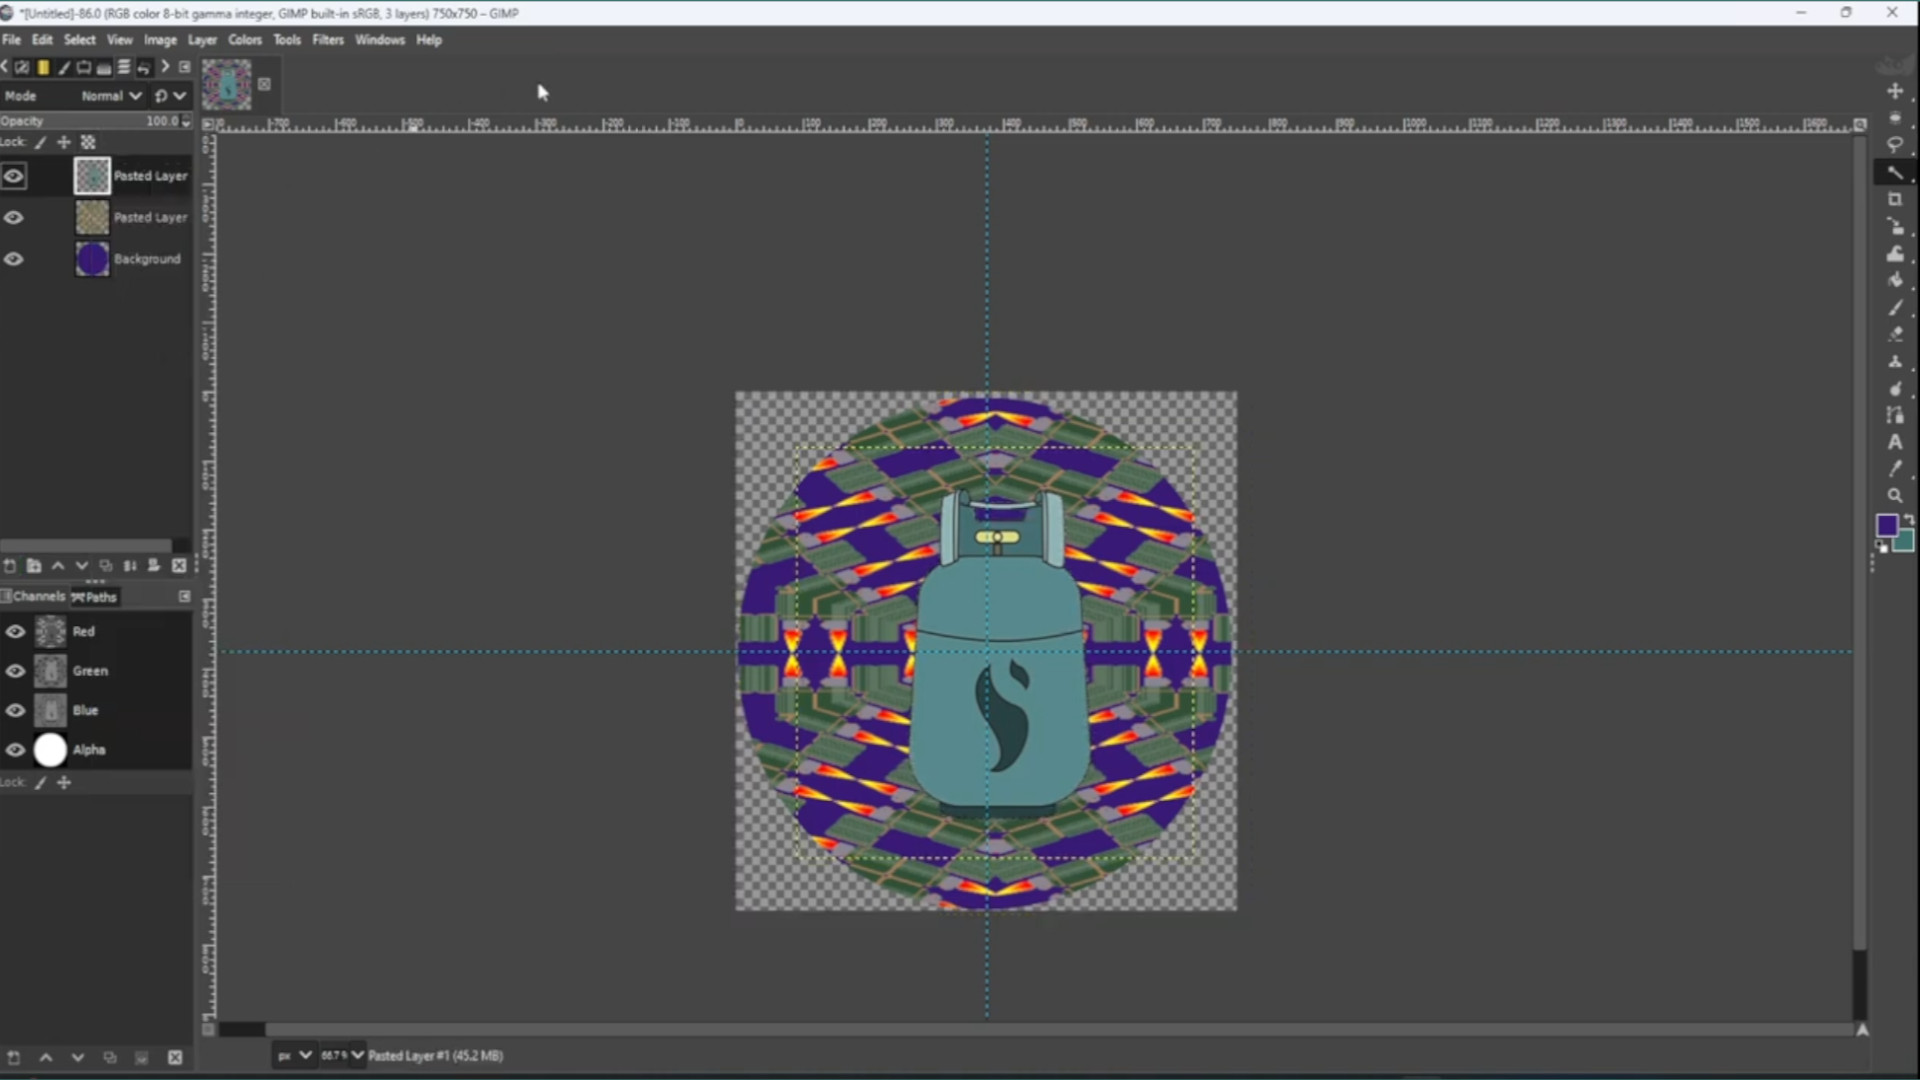
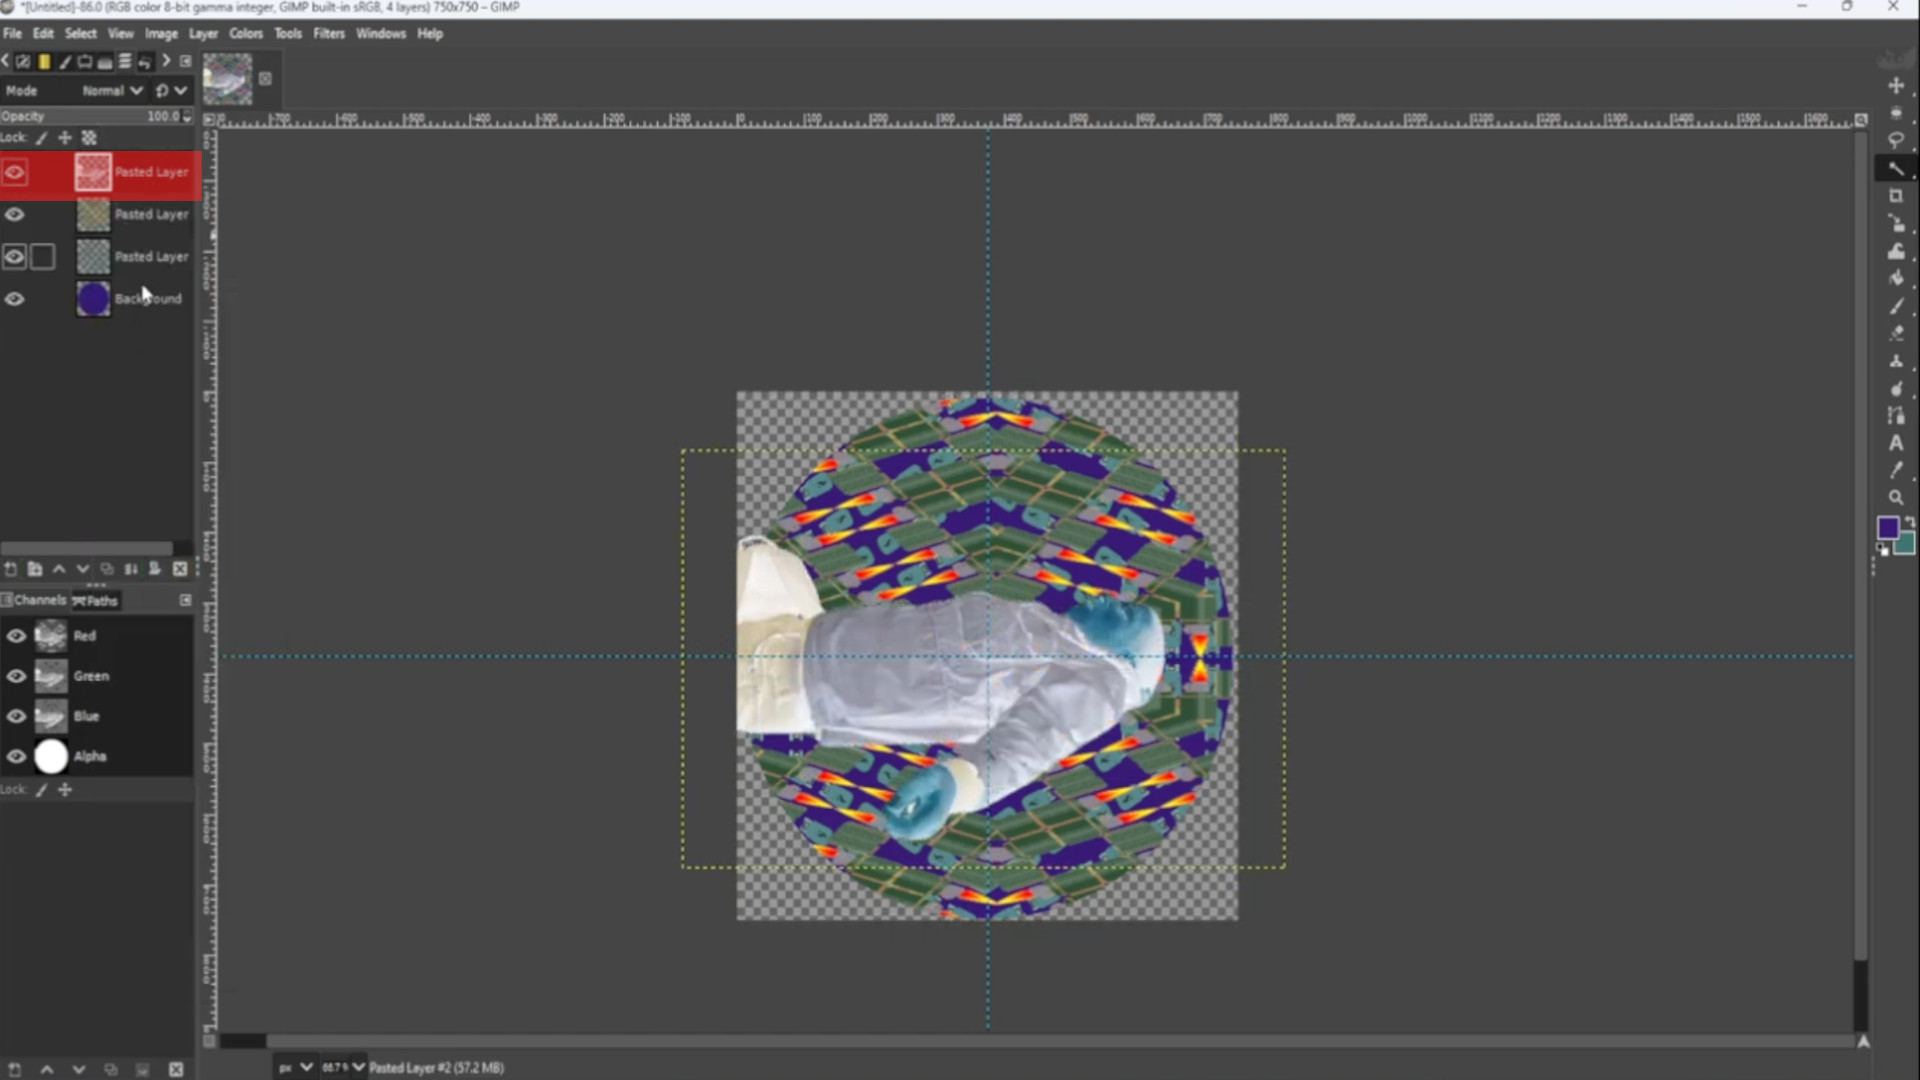
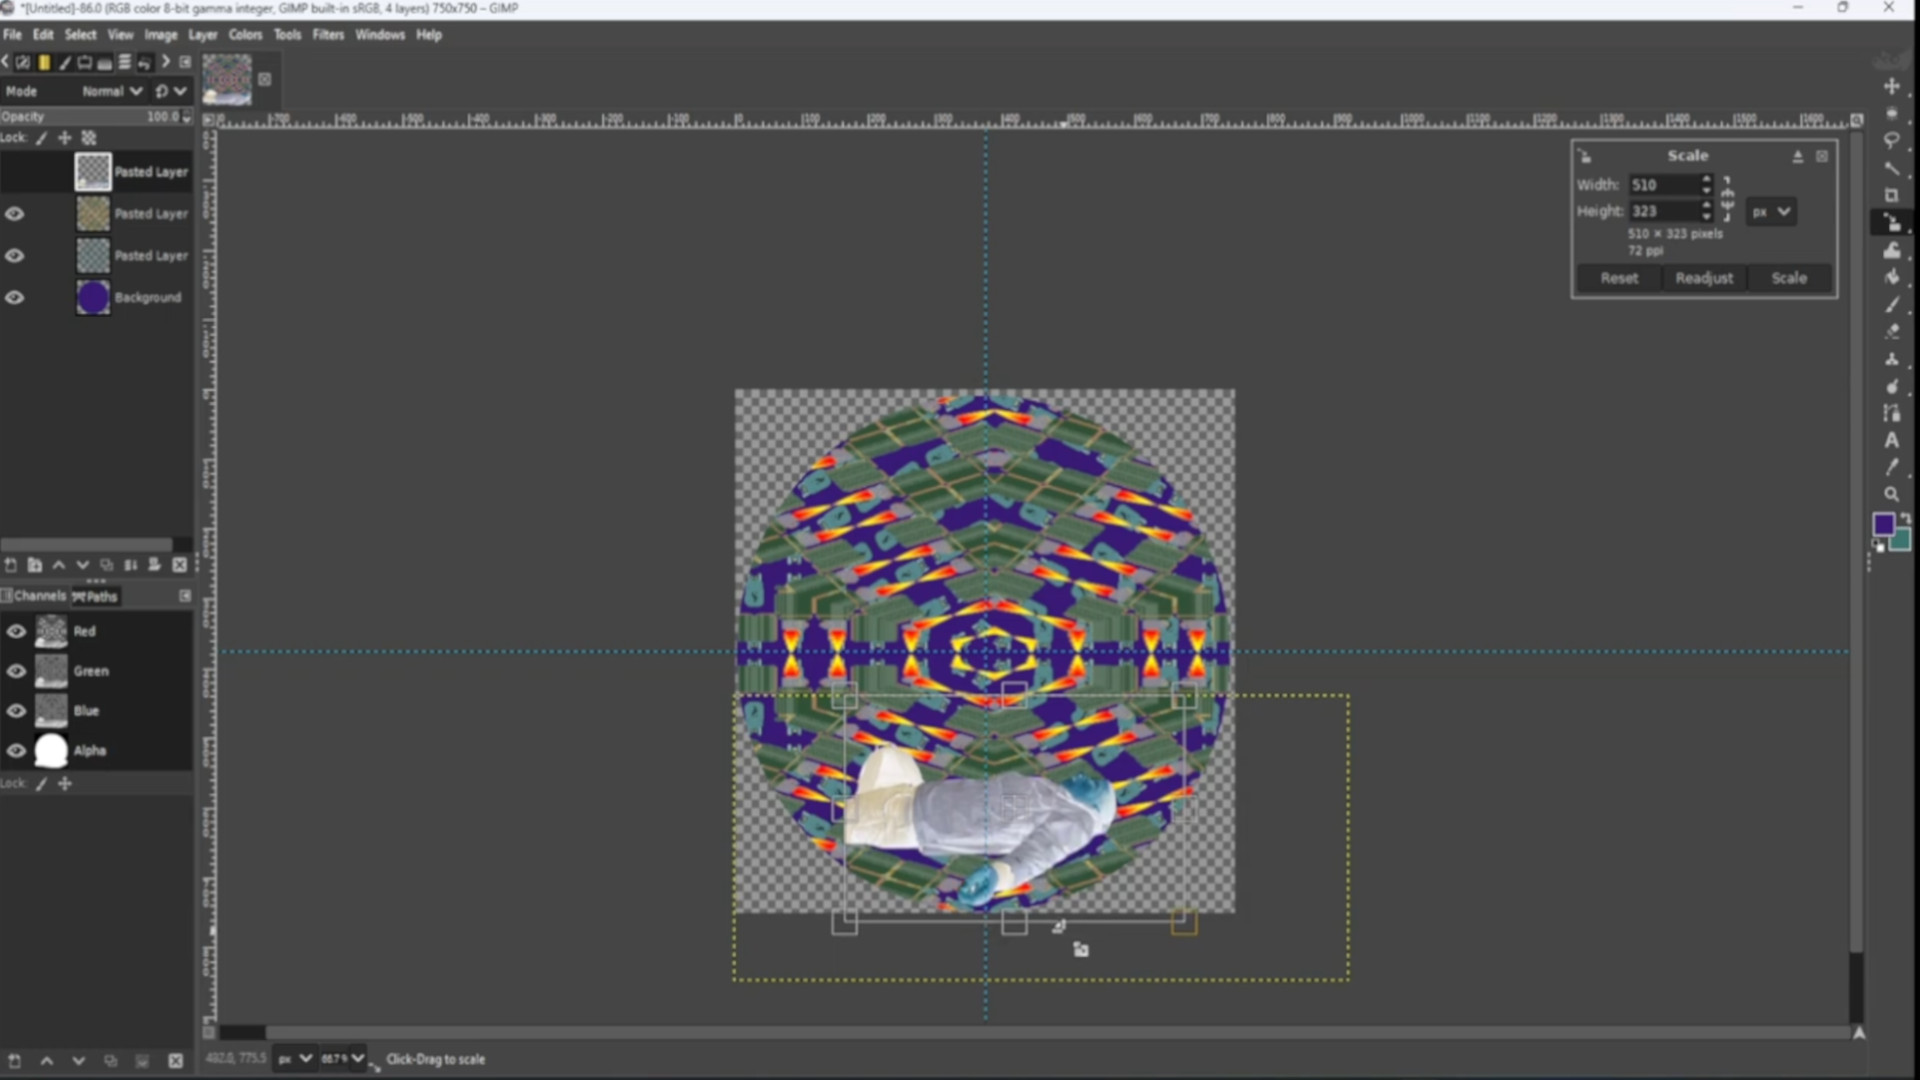
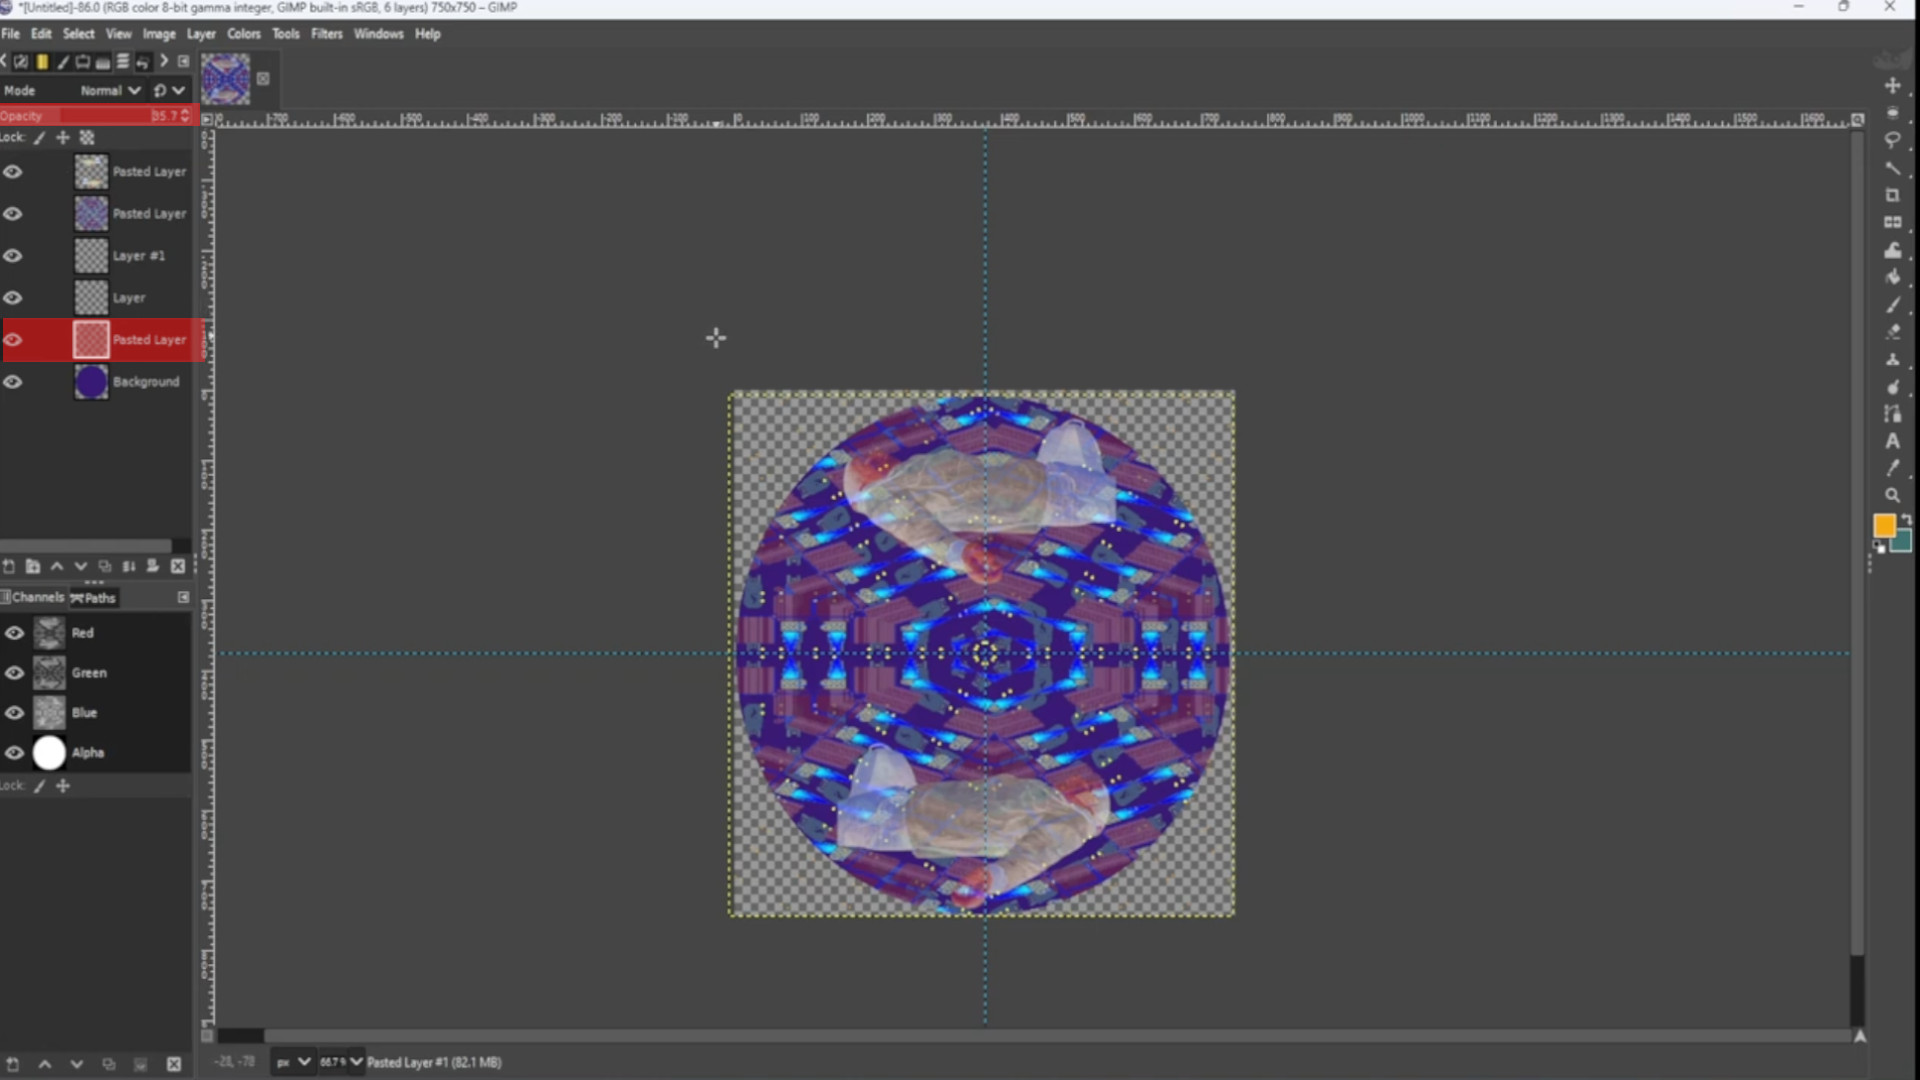
>>ADD a >>>TRANSPARENT>>>IMAGE or >>>DRAG AND DROP IMAGE into Gimp and use the>>>SCALE TOOL to scale up or down the image or use the shortcut>>>HOLD>>>SHIFT and>>>PRESS>>>S to get the scale options to come up. You can use the>>>MOVE TOOL to move around the image to taste. Also making sure the layer is at the>>>TOP of the>>>LAYERS PILE.

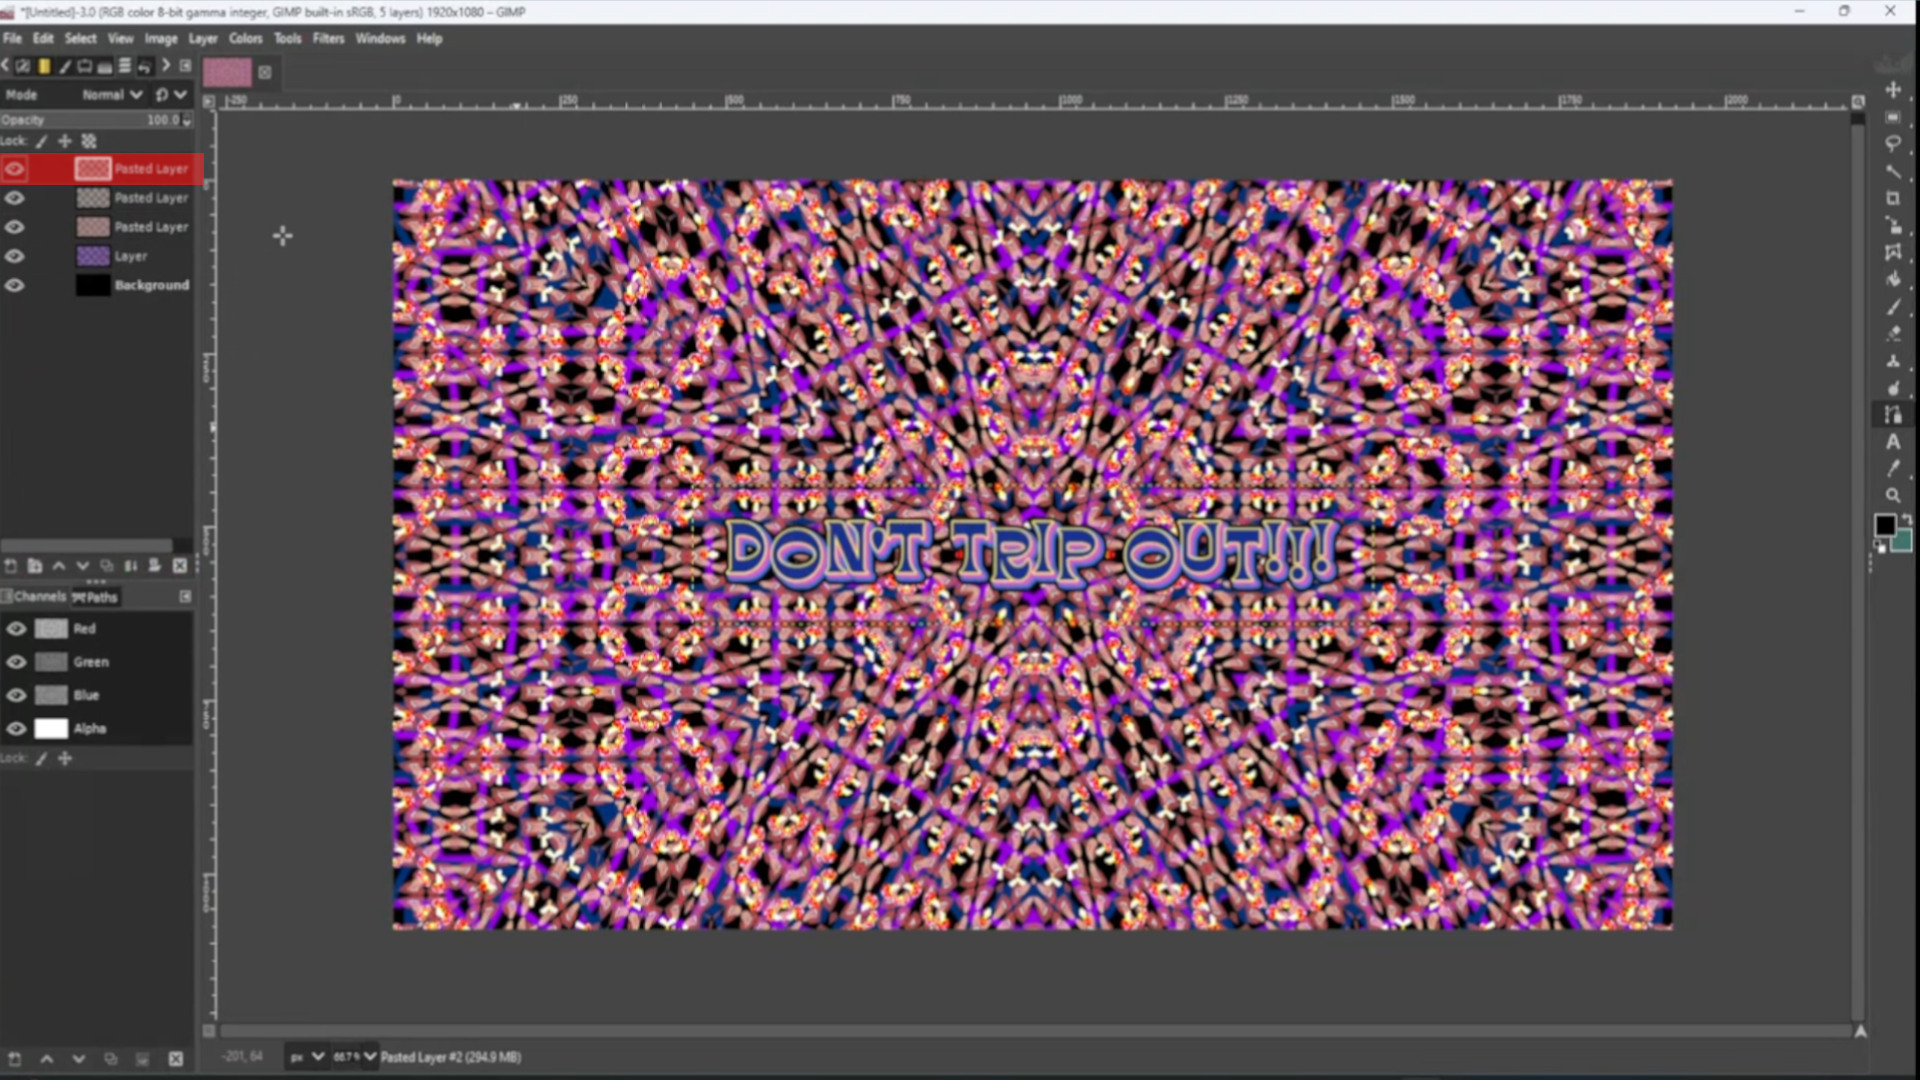
On the>>>LEFT HAND SIDE PANEL in the>>>LAYERS TAB>>>SELECT THE FIRST LAYER and use the>>>OPACITY to fade out the image to taste. If you can’t see the layers options go to>>>WINDOWS>>>DOCKABLE DIALOGS>>>LAYERS for the options to appear.
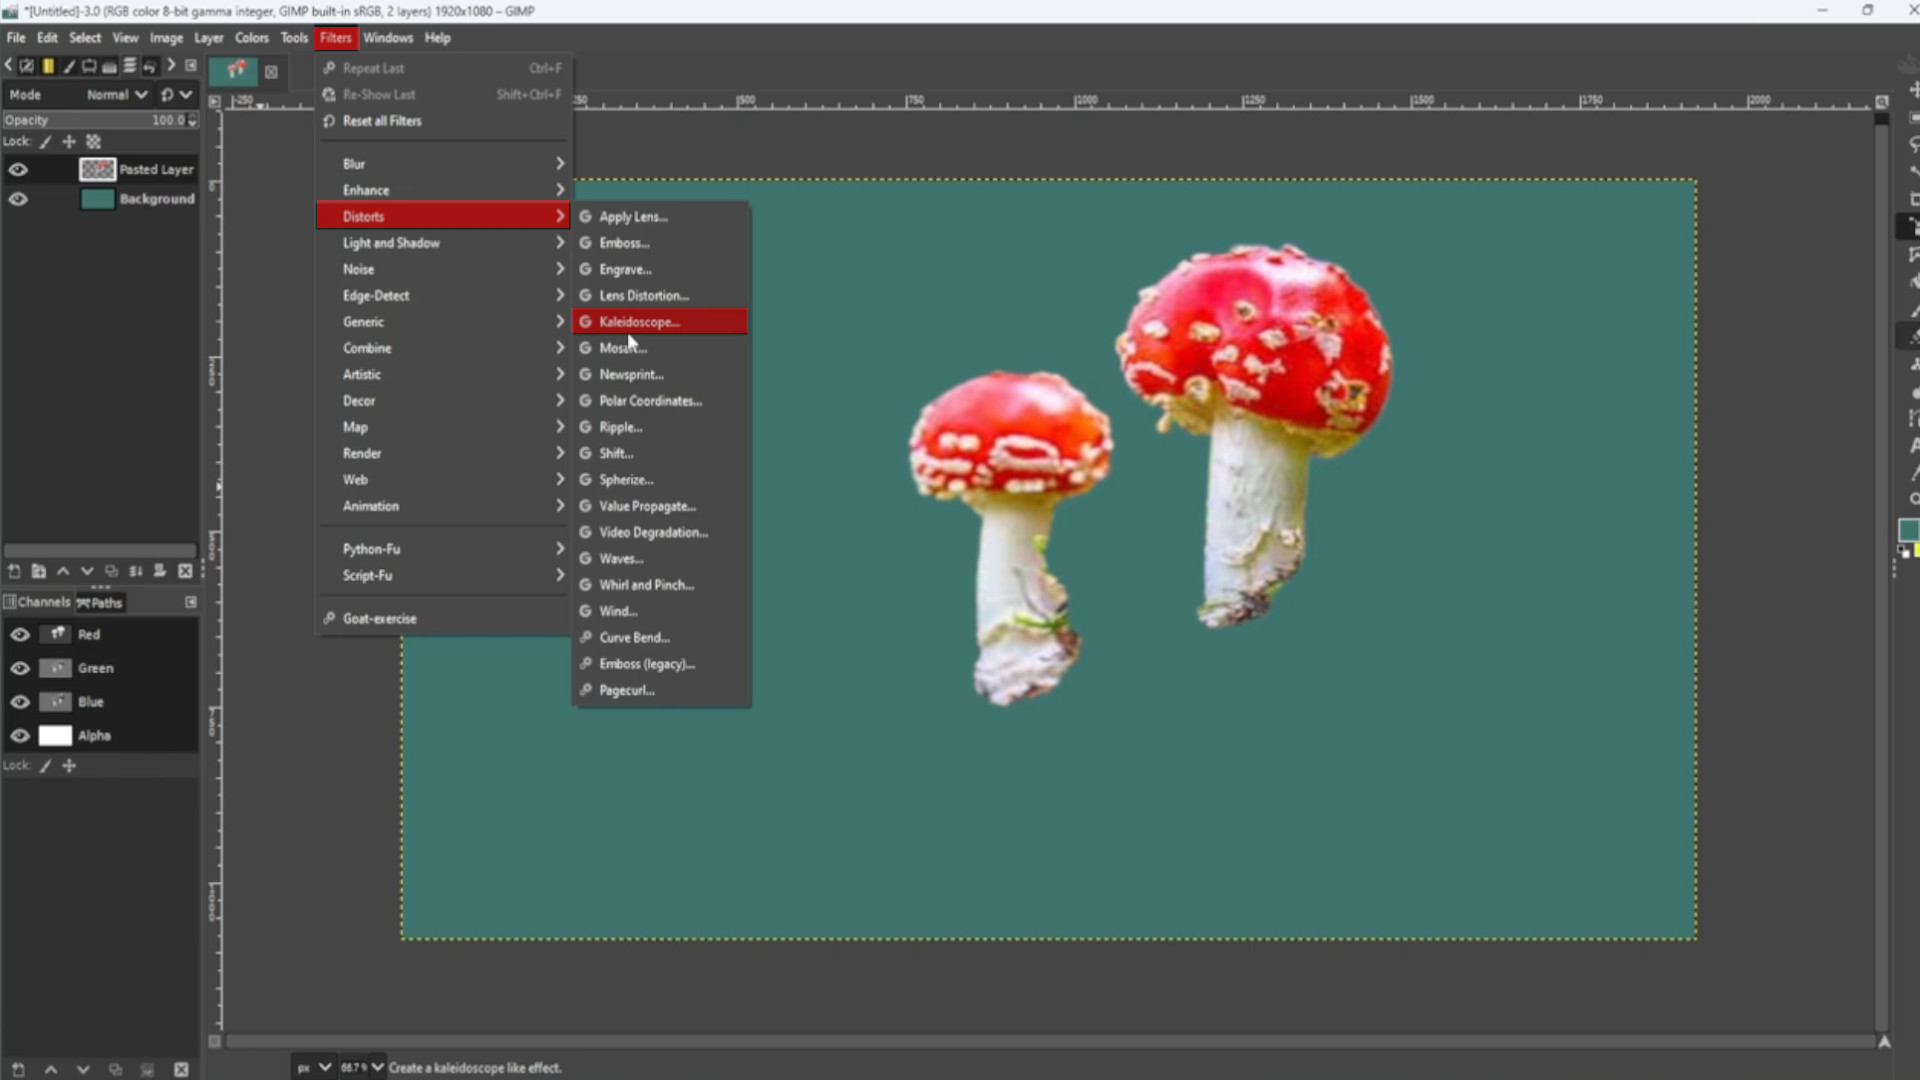
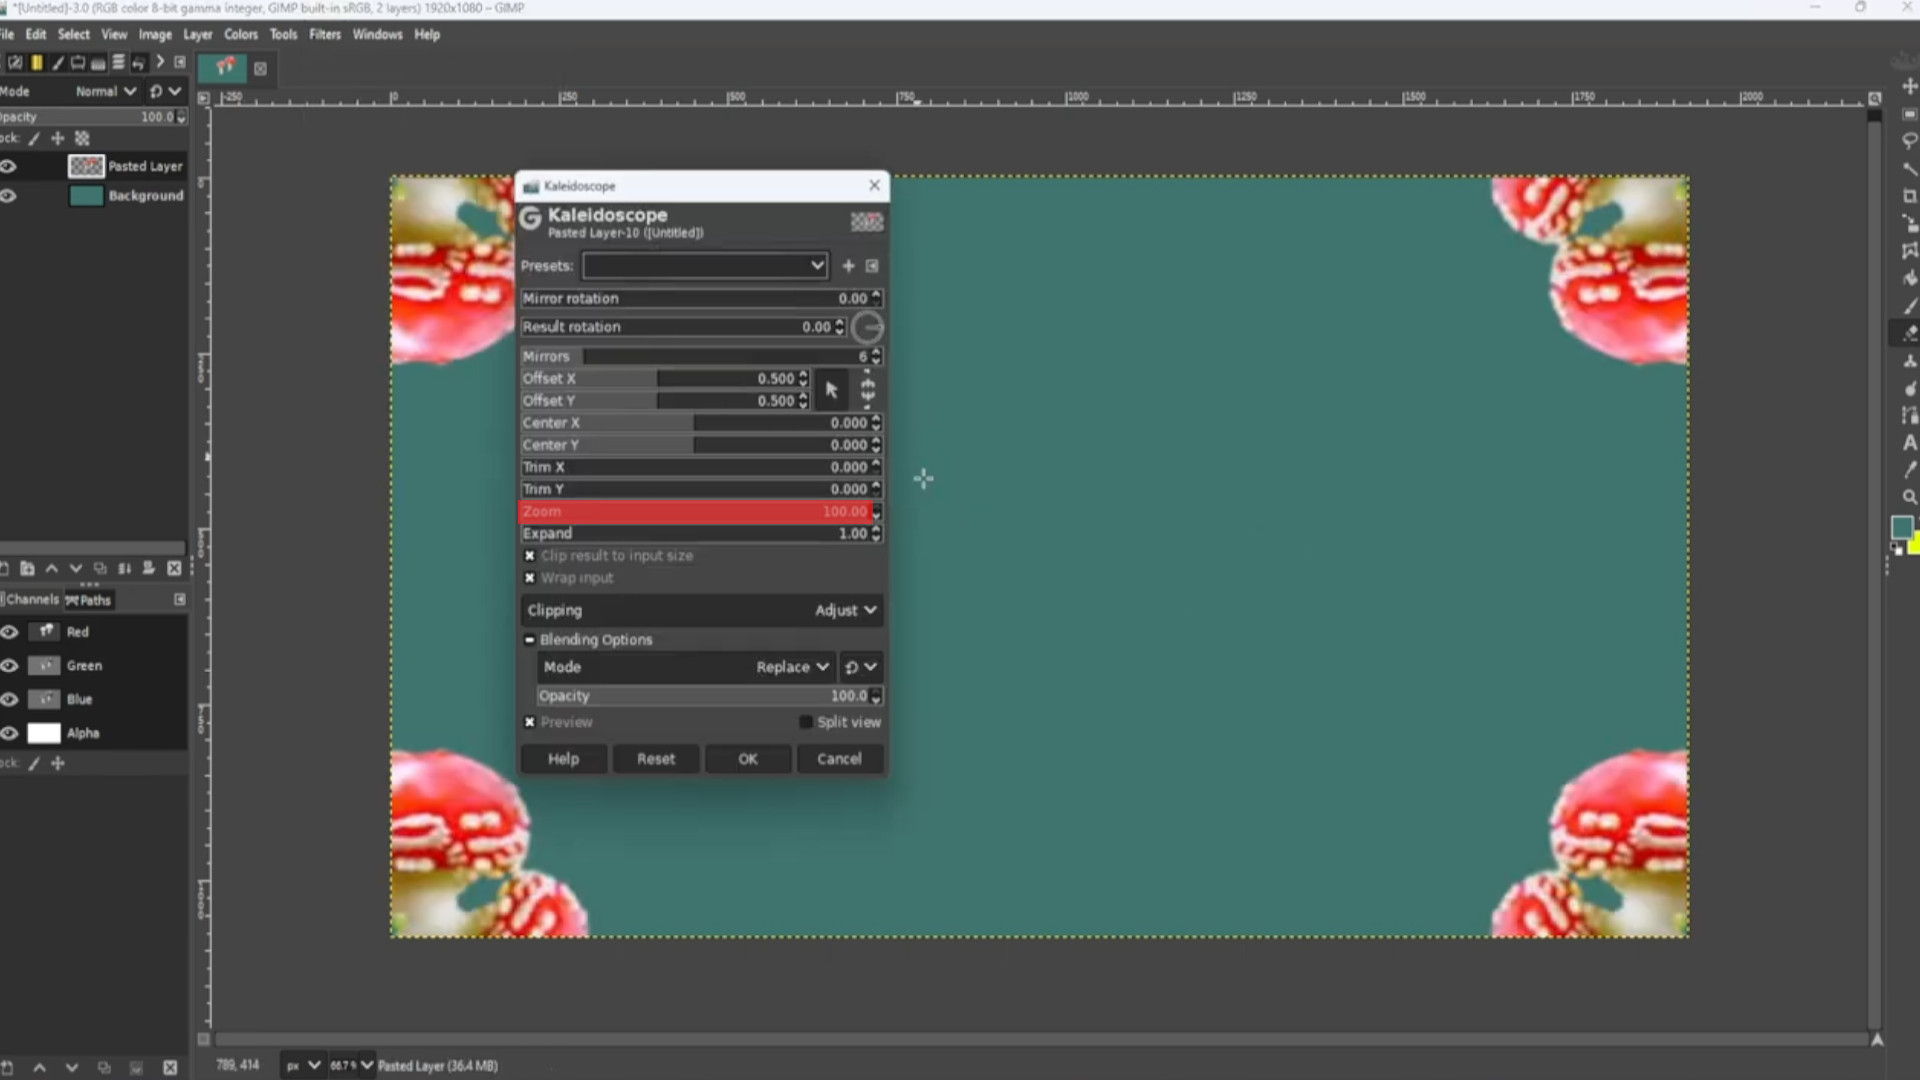
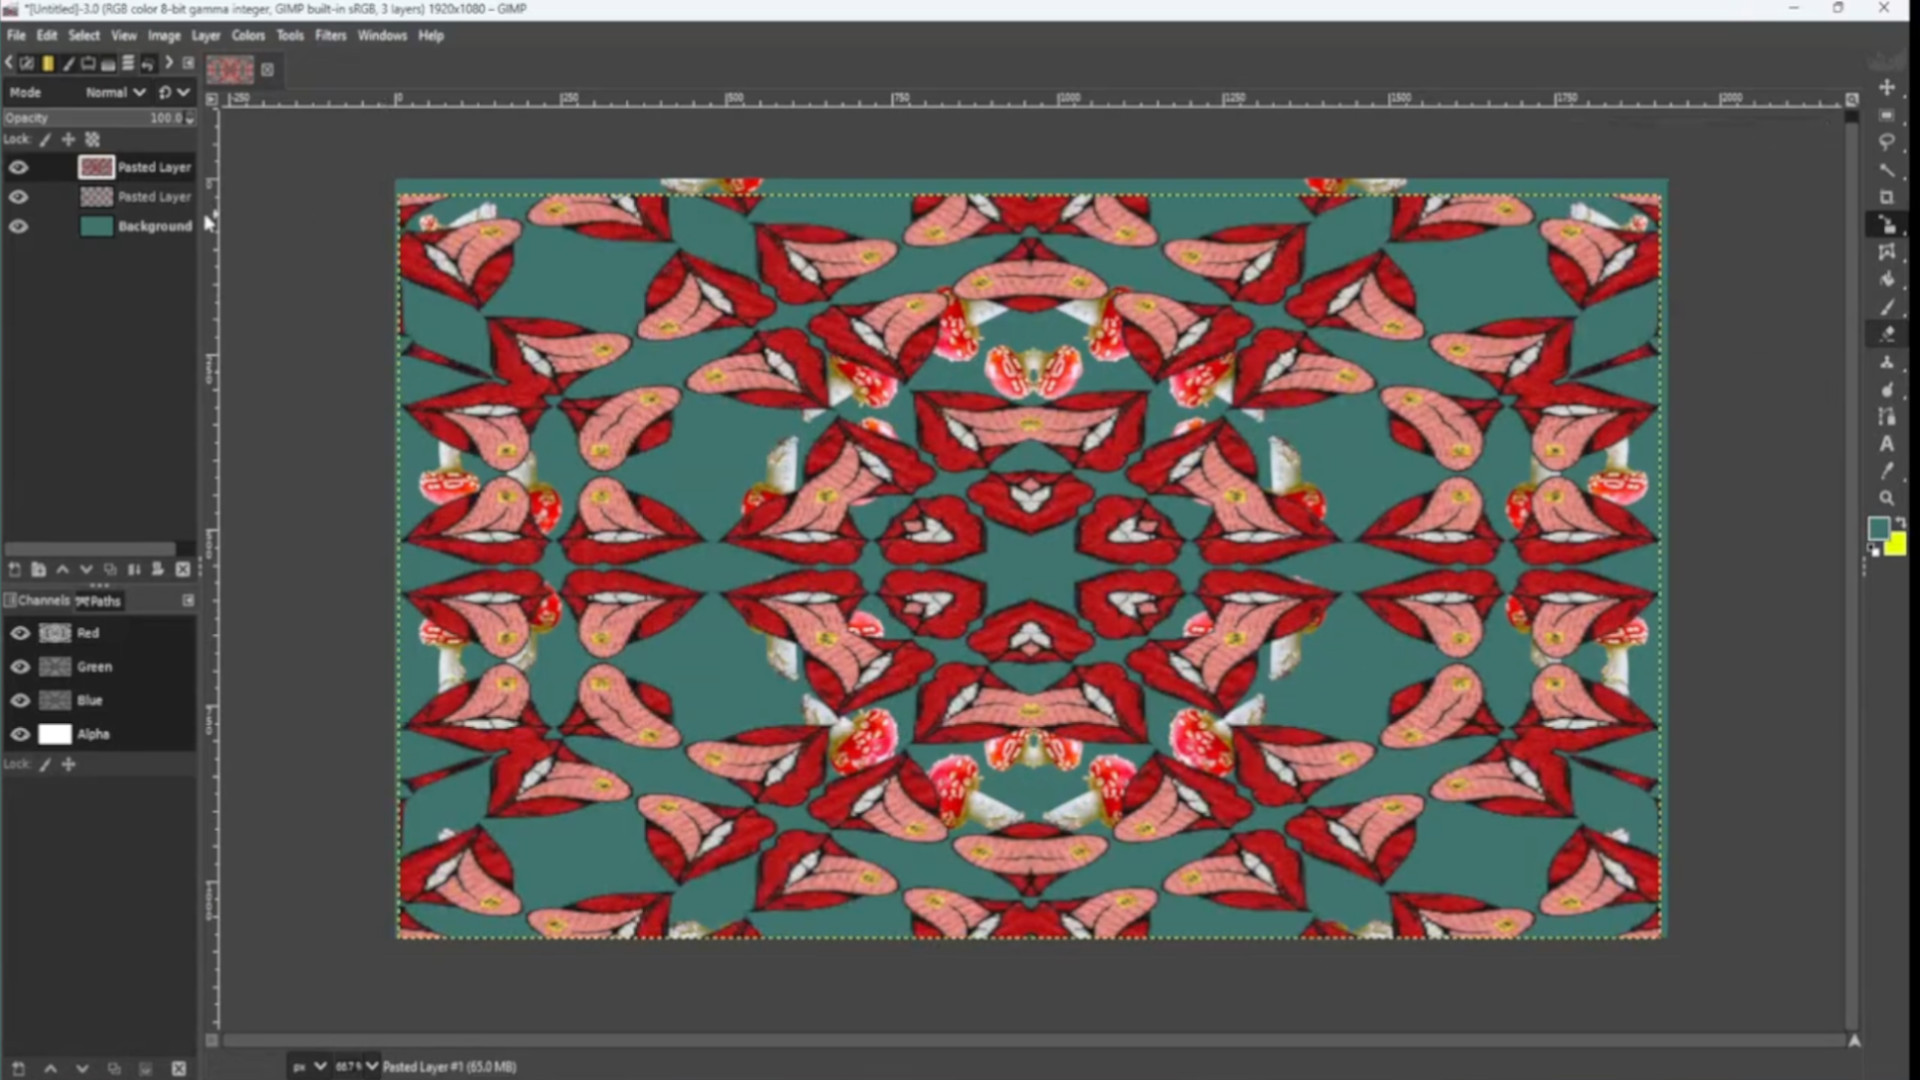
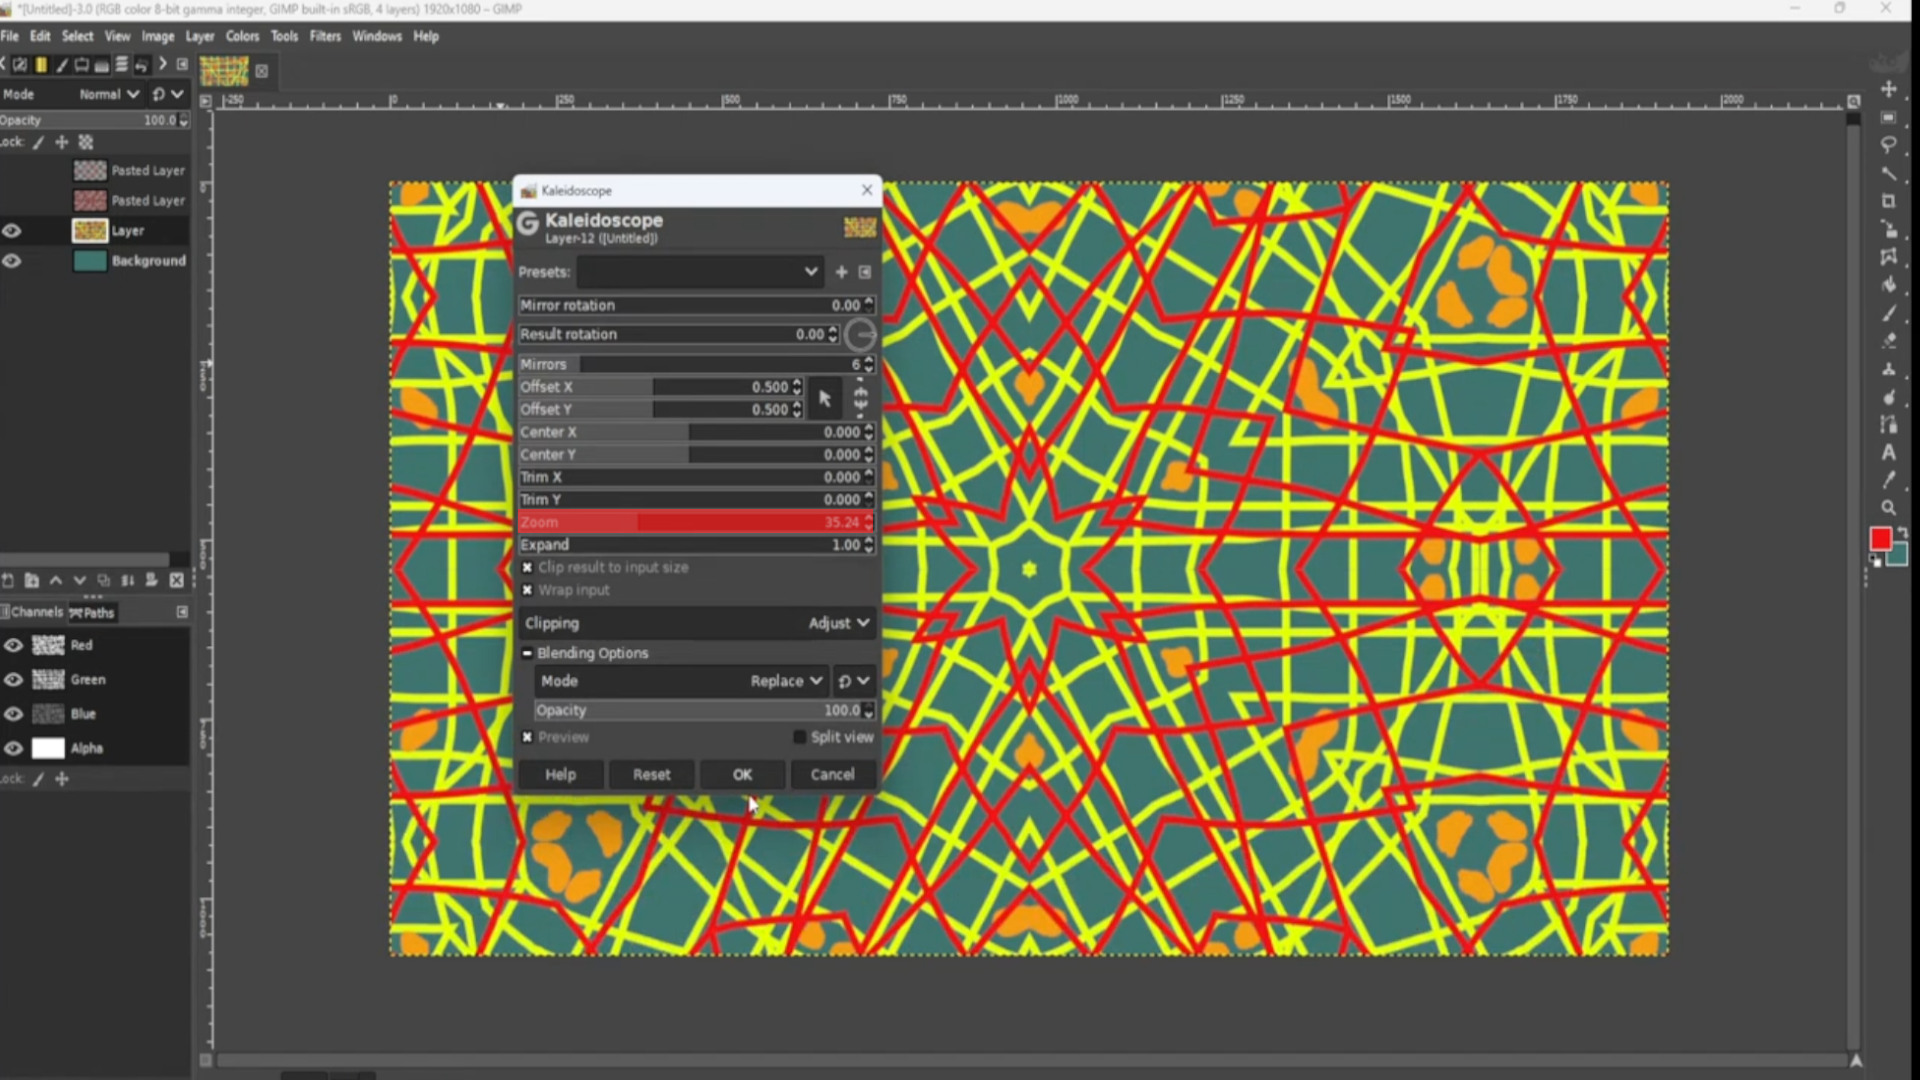
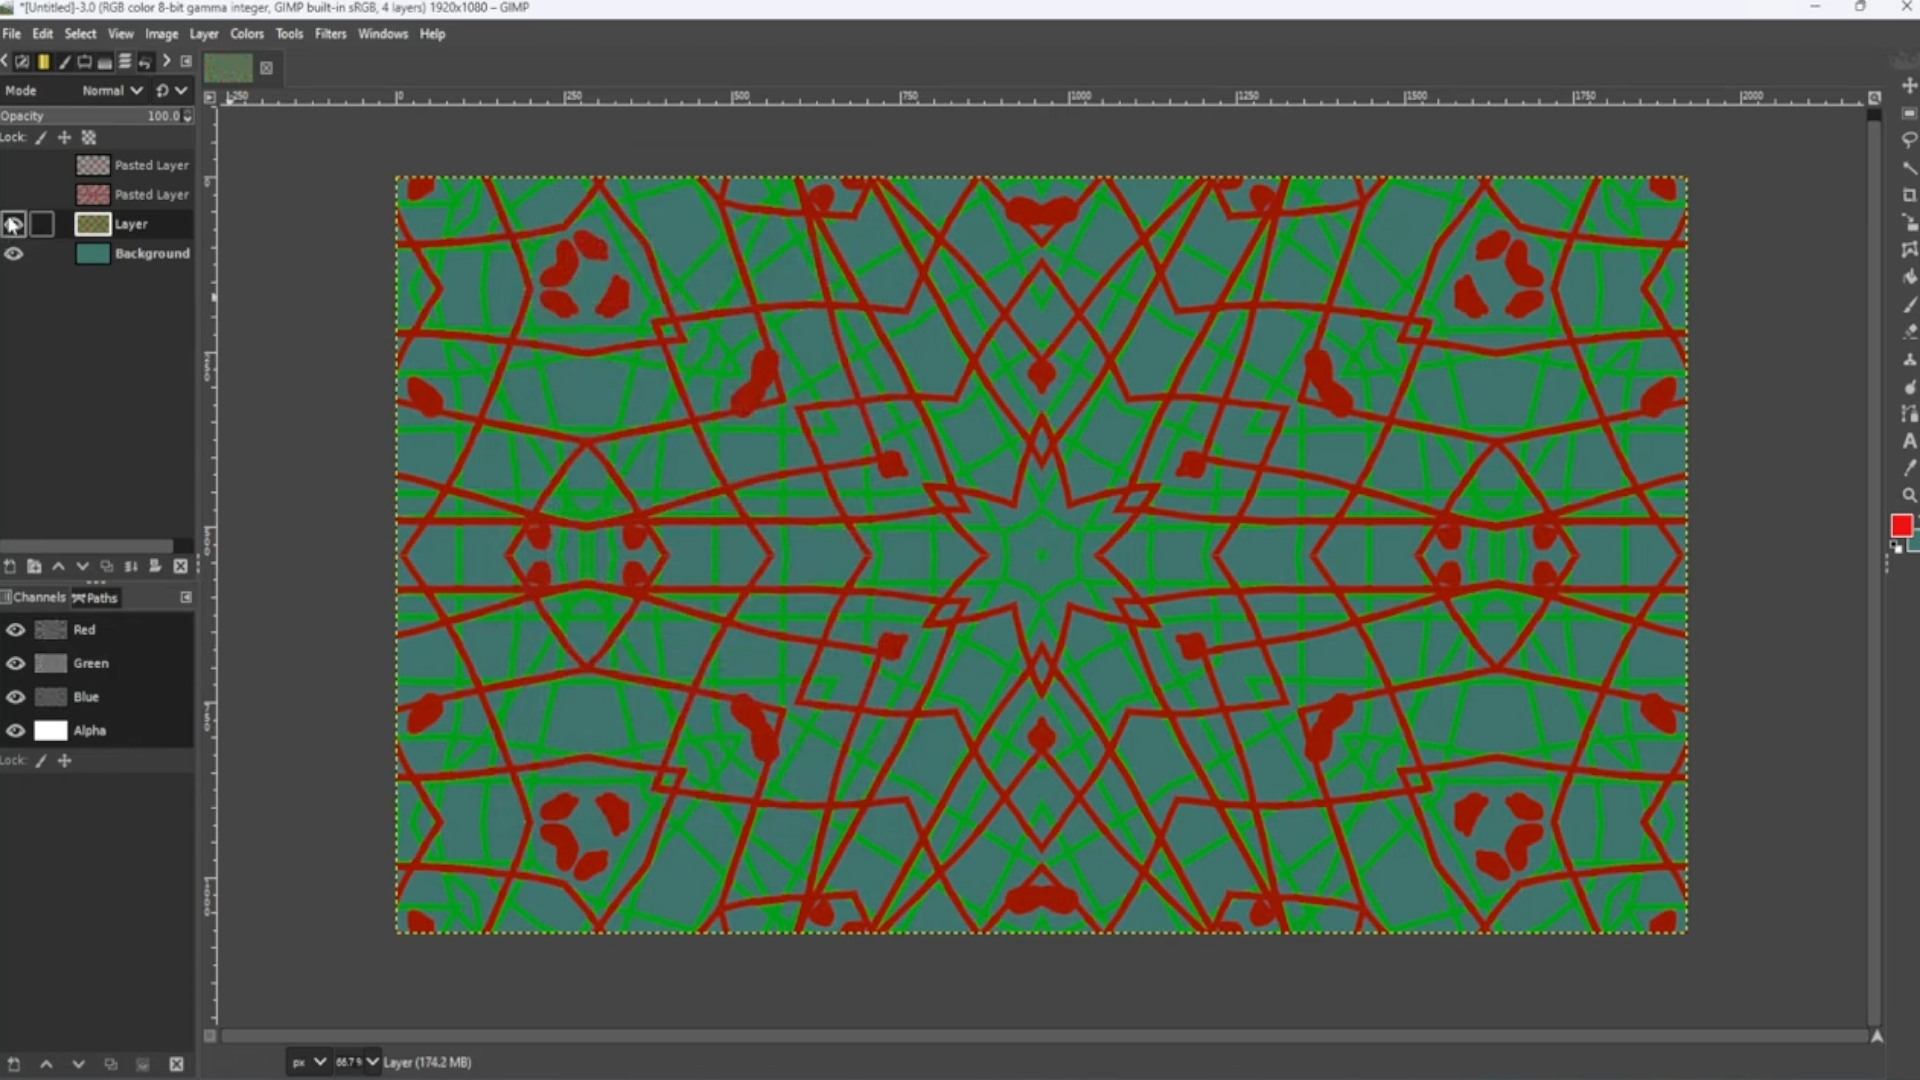
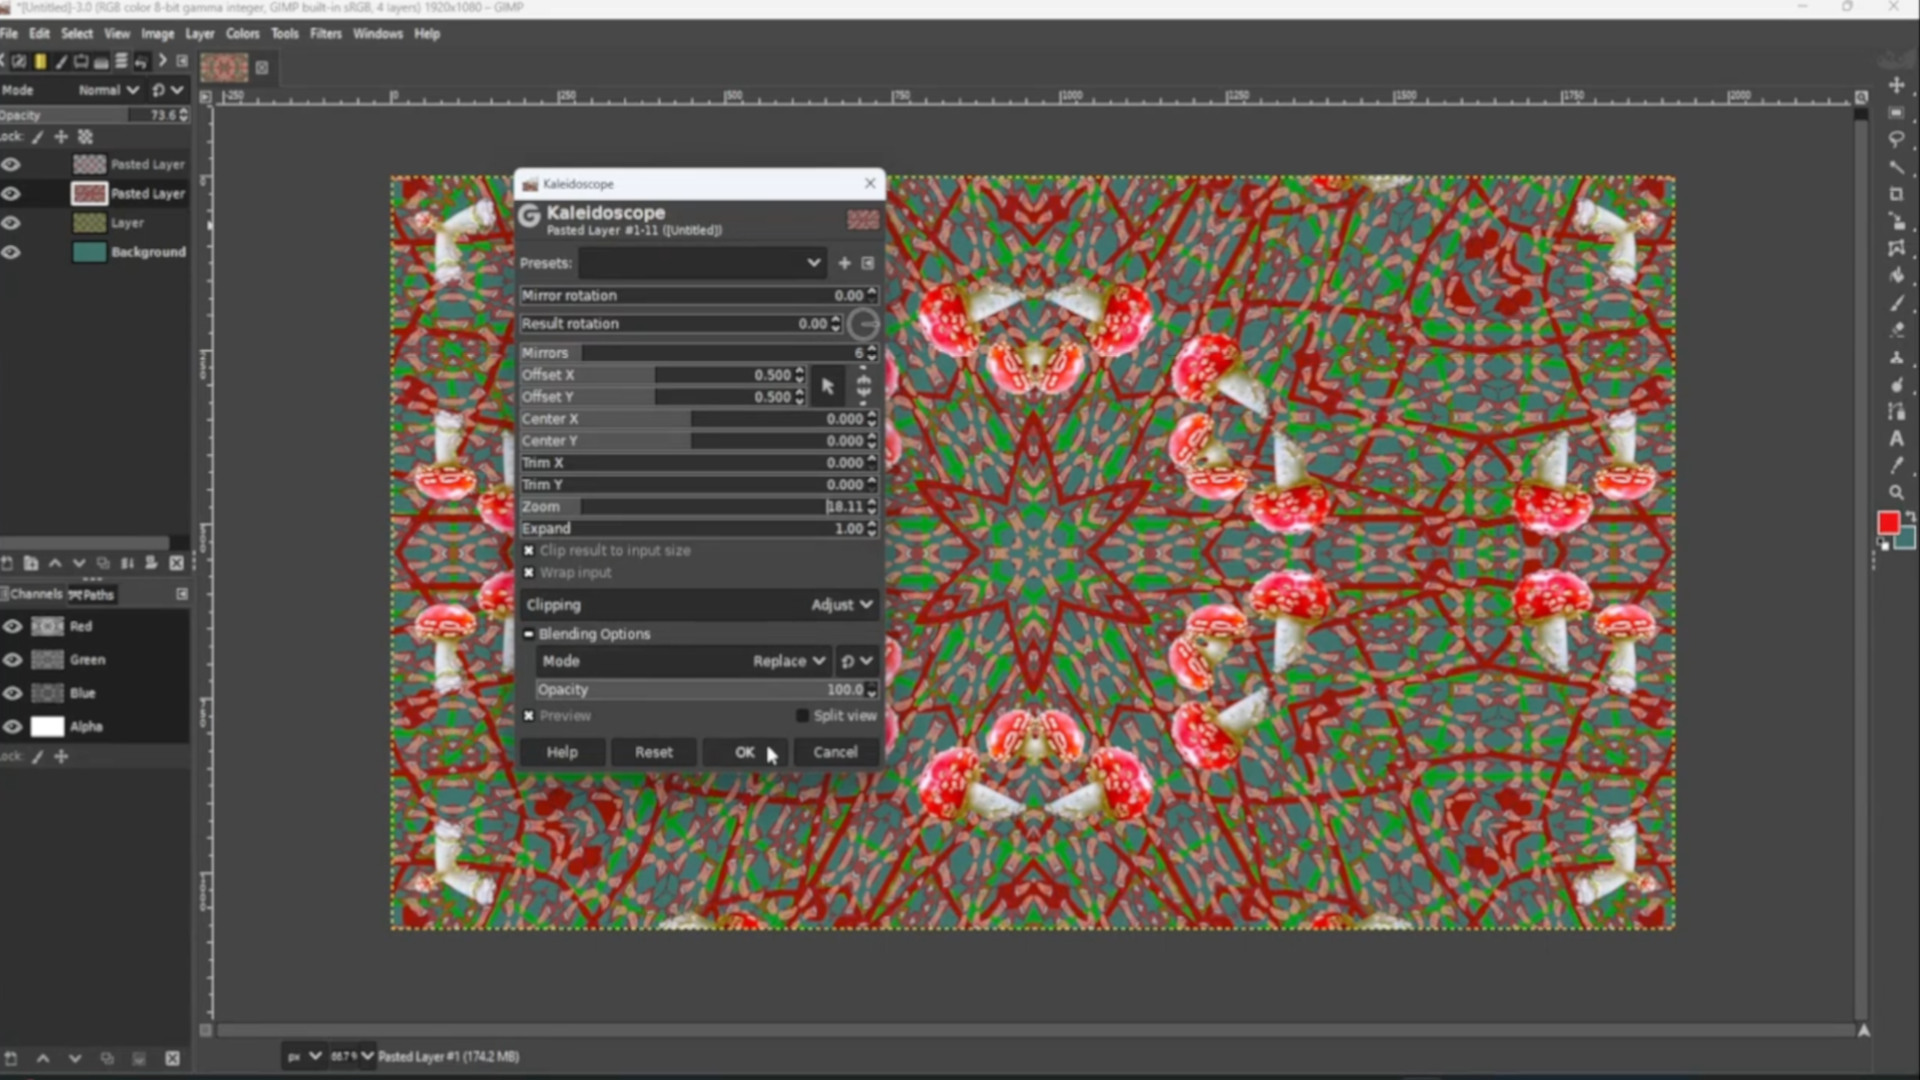
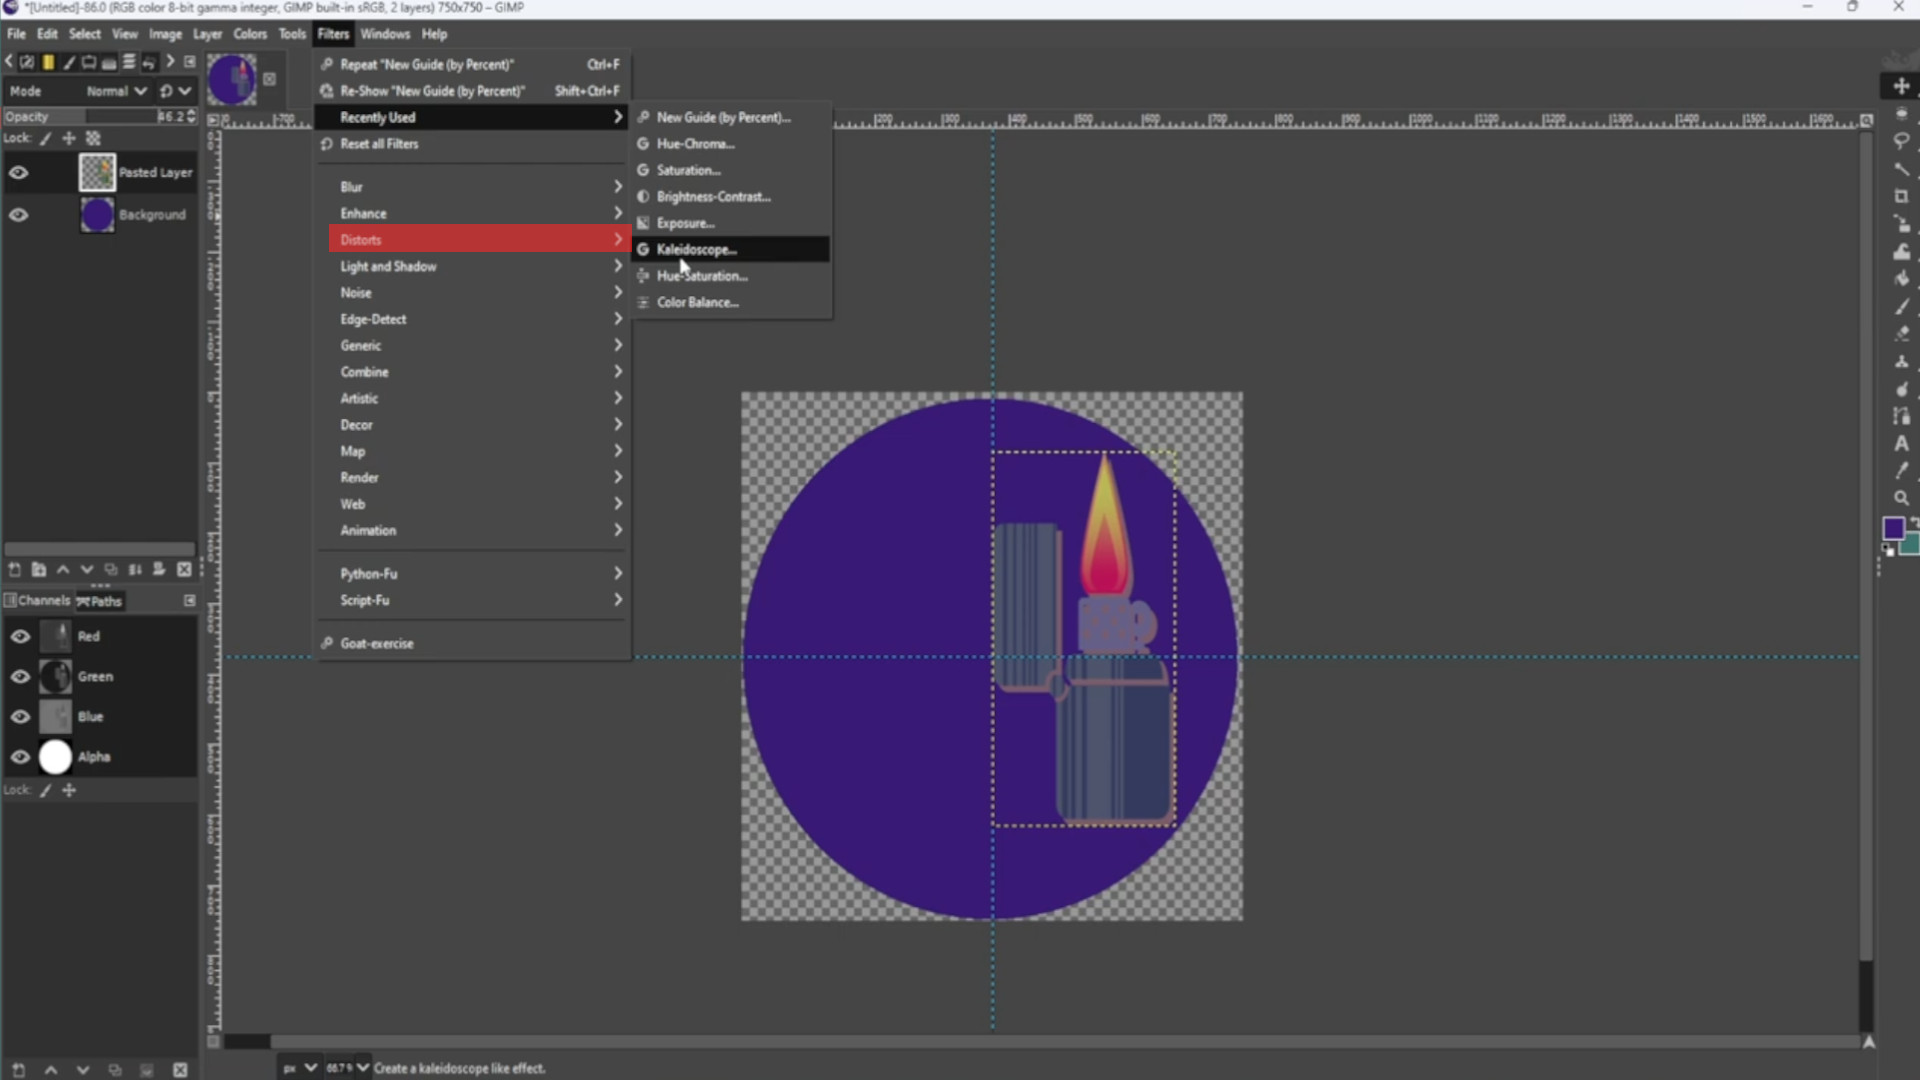
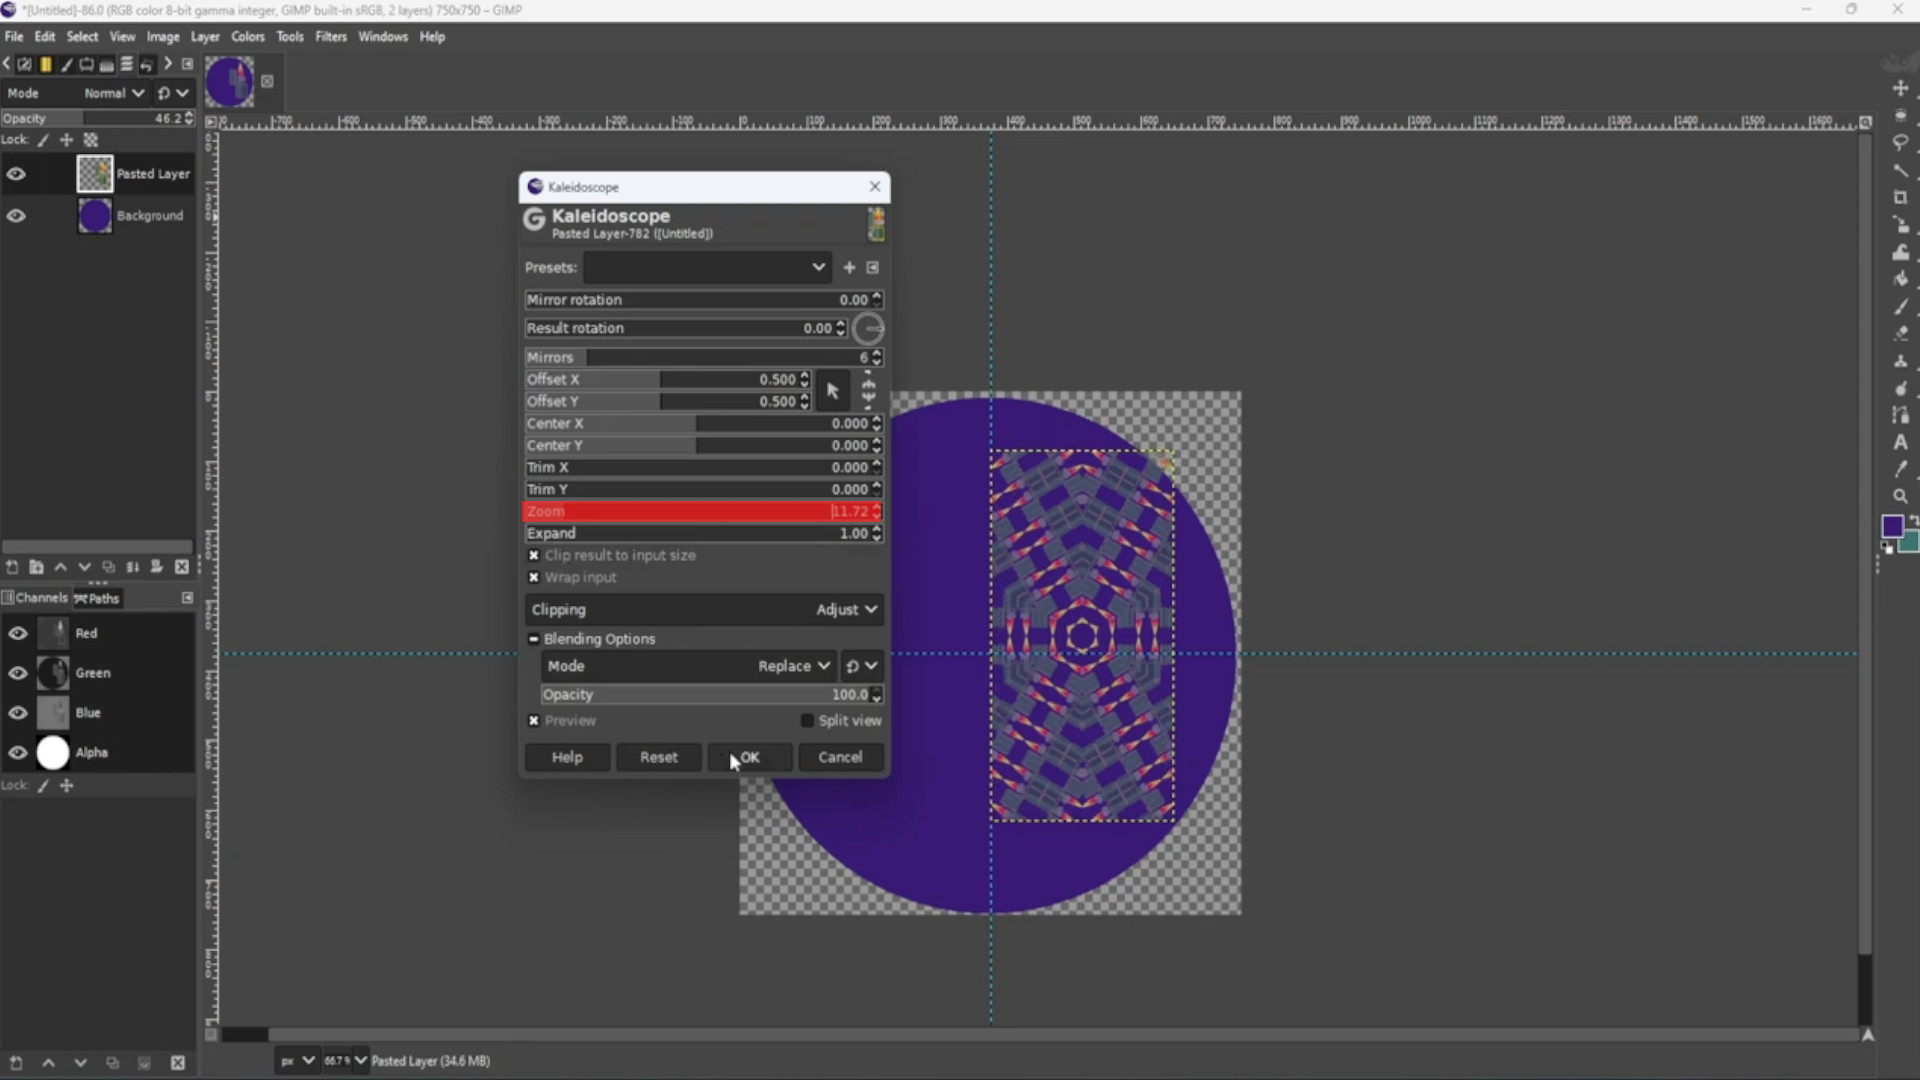
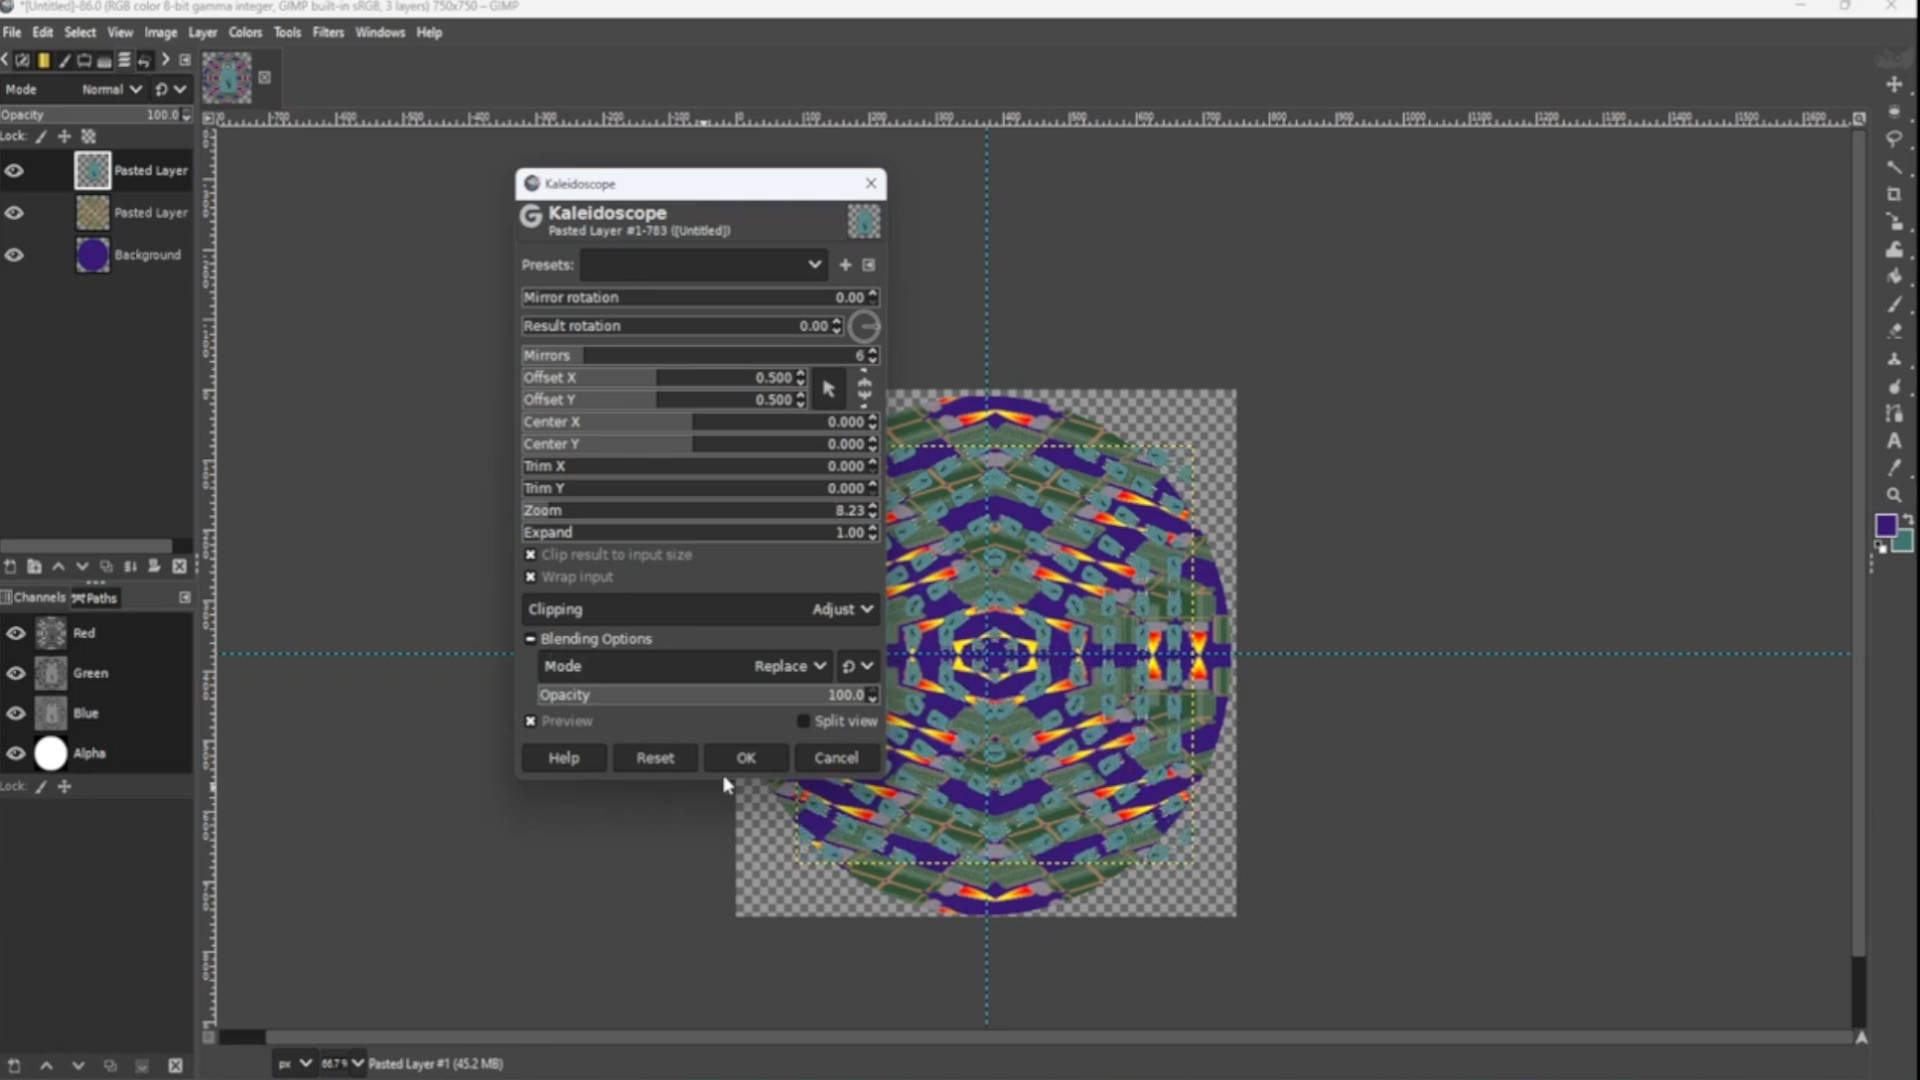
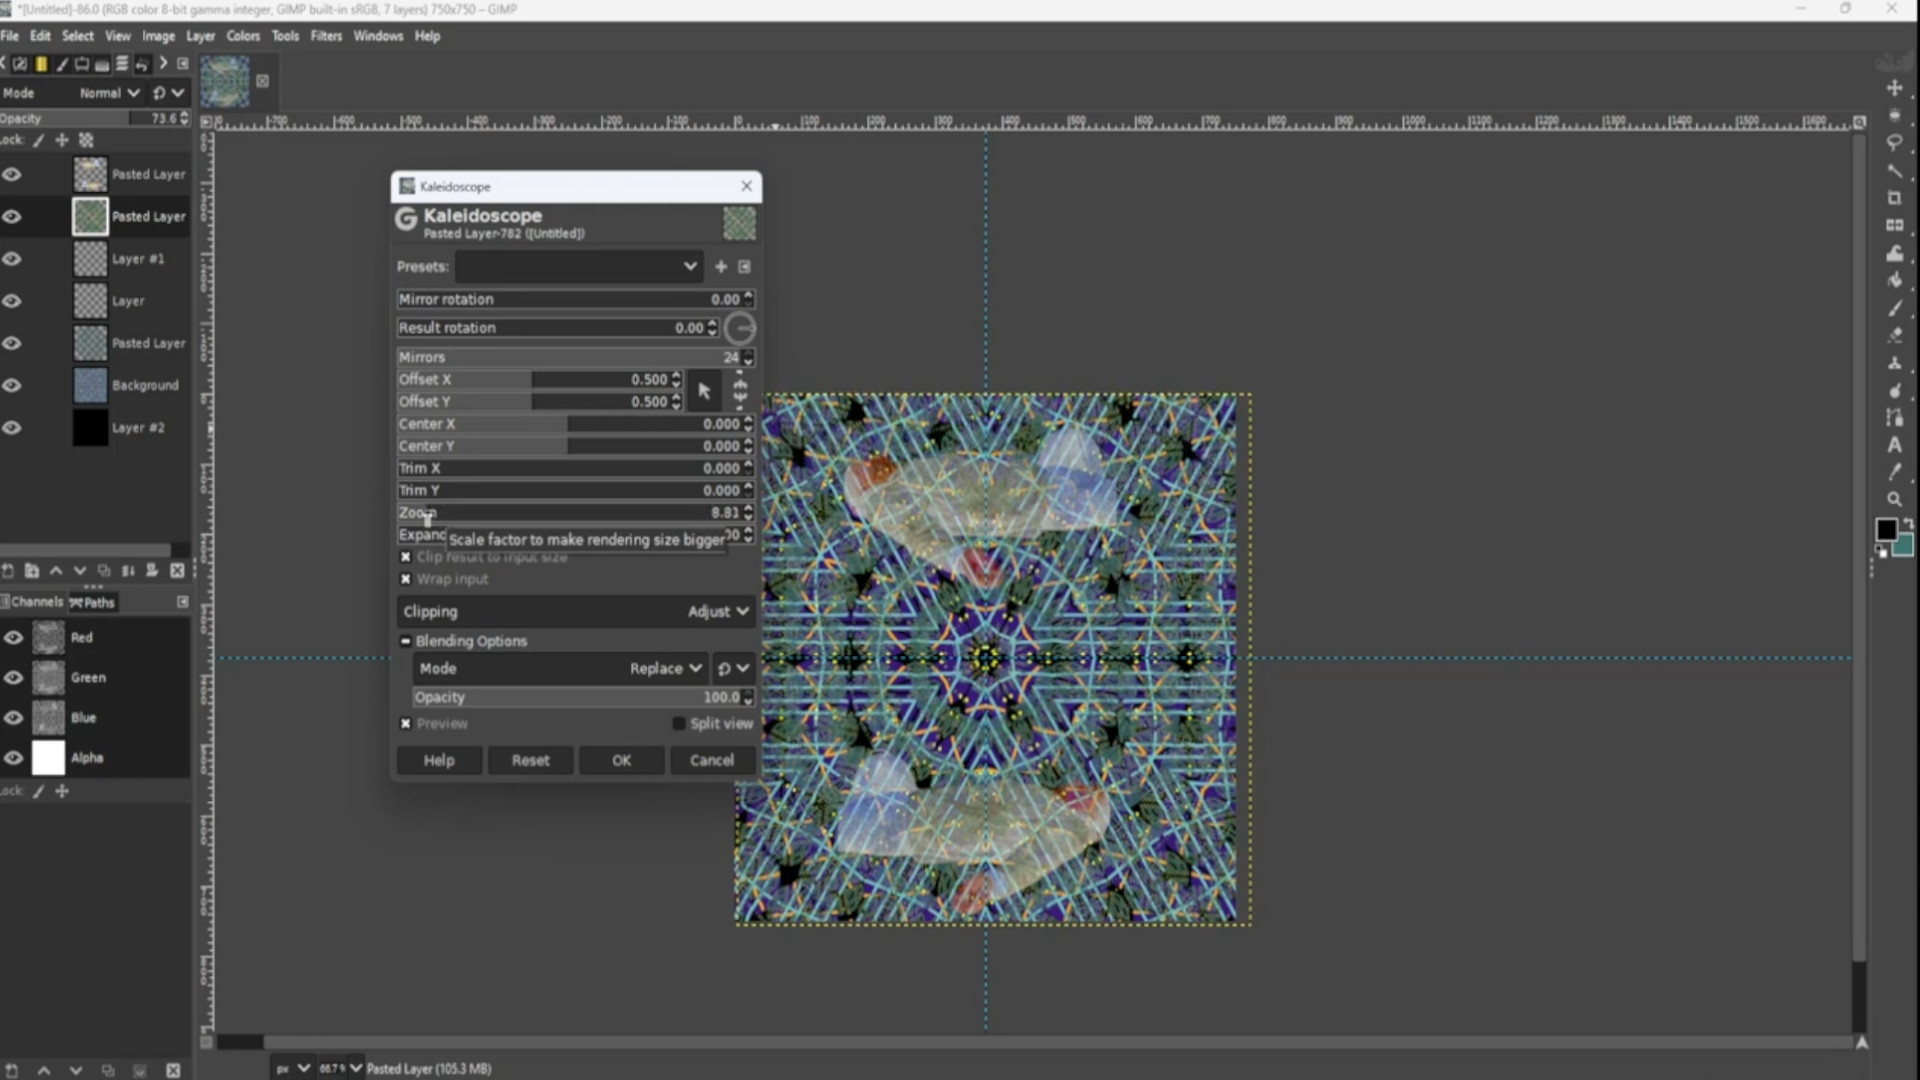
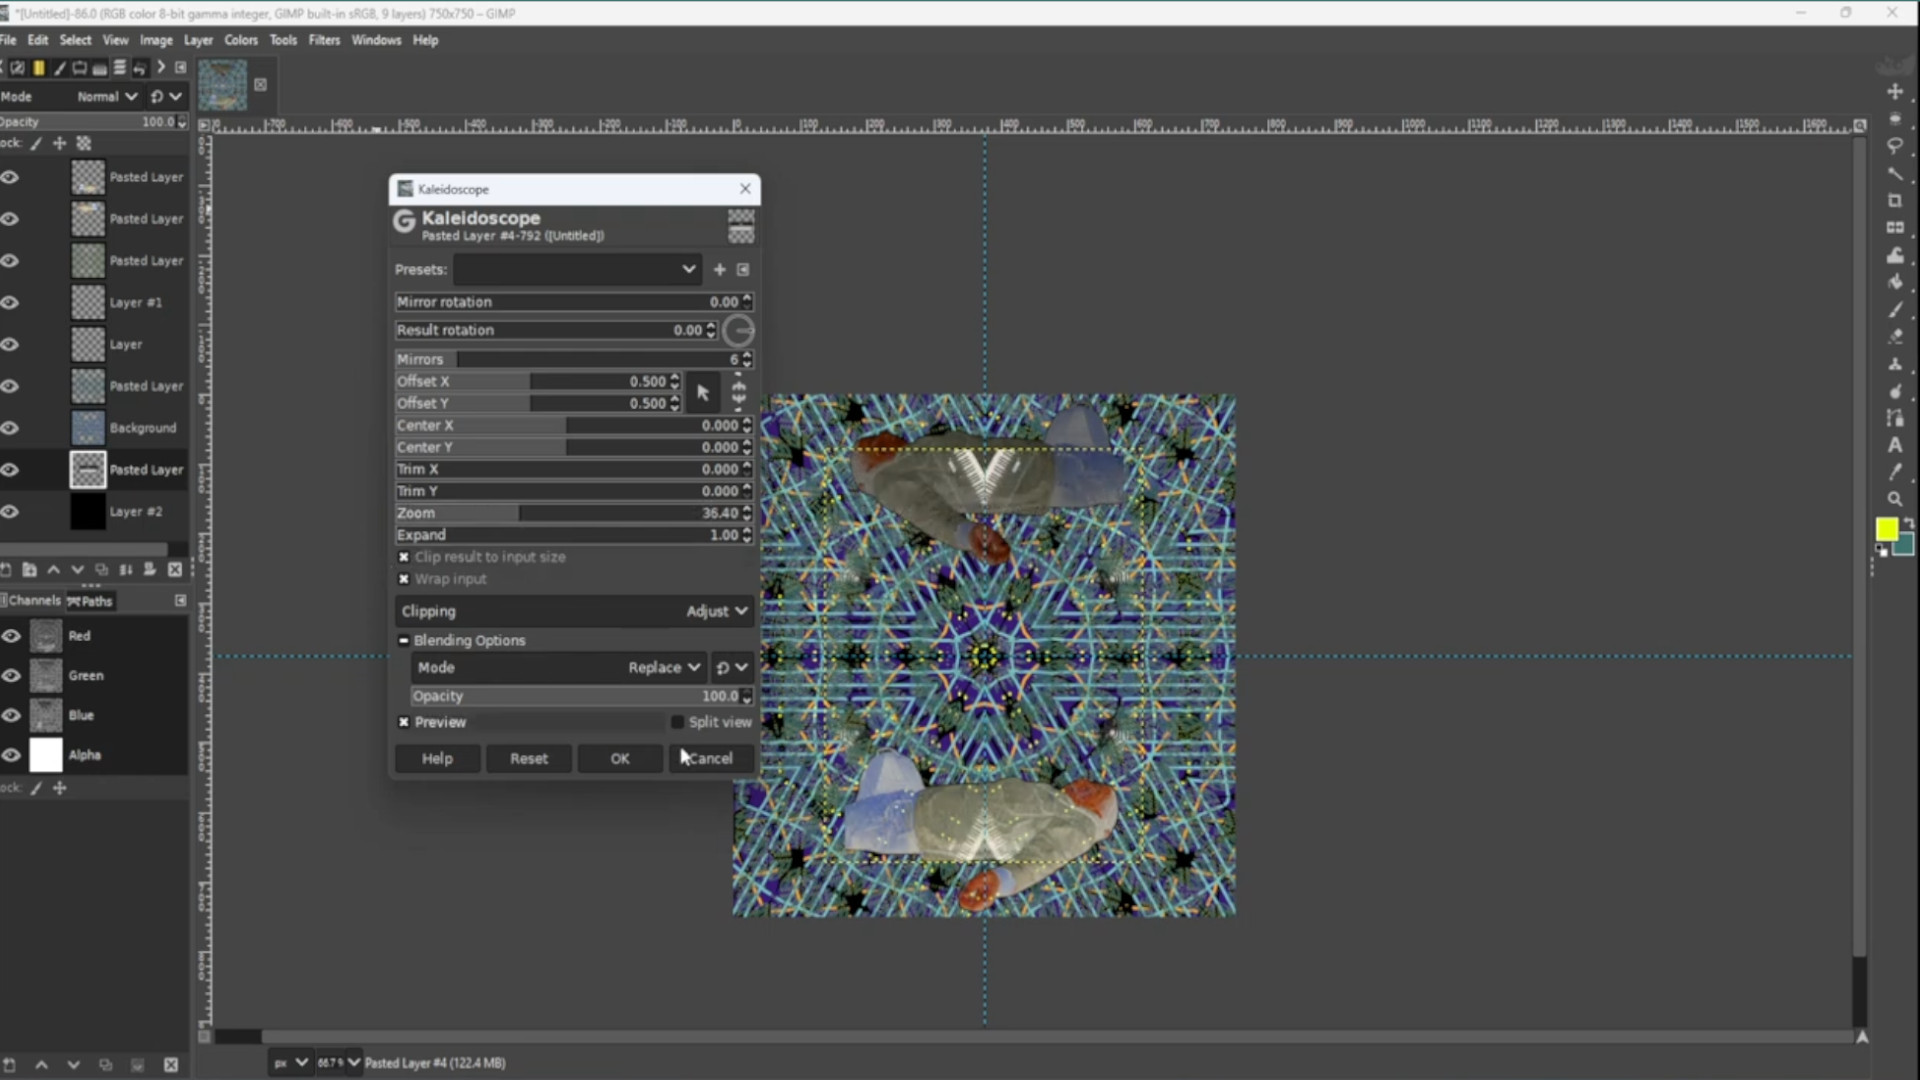
With the TOP>>>LAYER>>>SELECTED go to>>>FILTERS>>>DISTORT>>>KALEIIDOSCOPE and mess about with the options. You can use the>>>ZOOM OPTION to zoom out to taste.
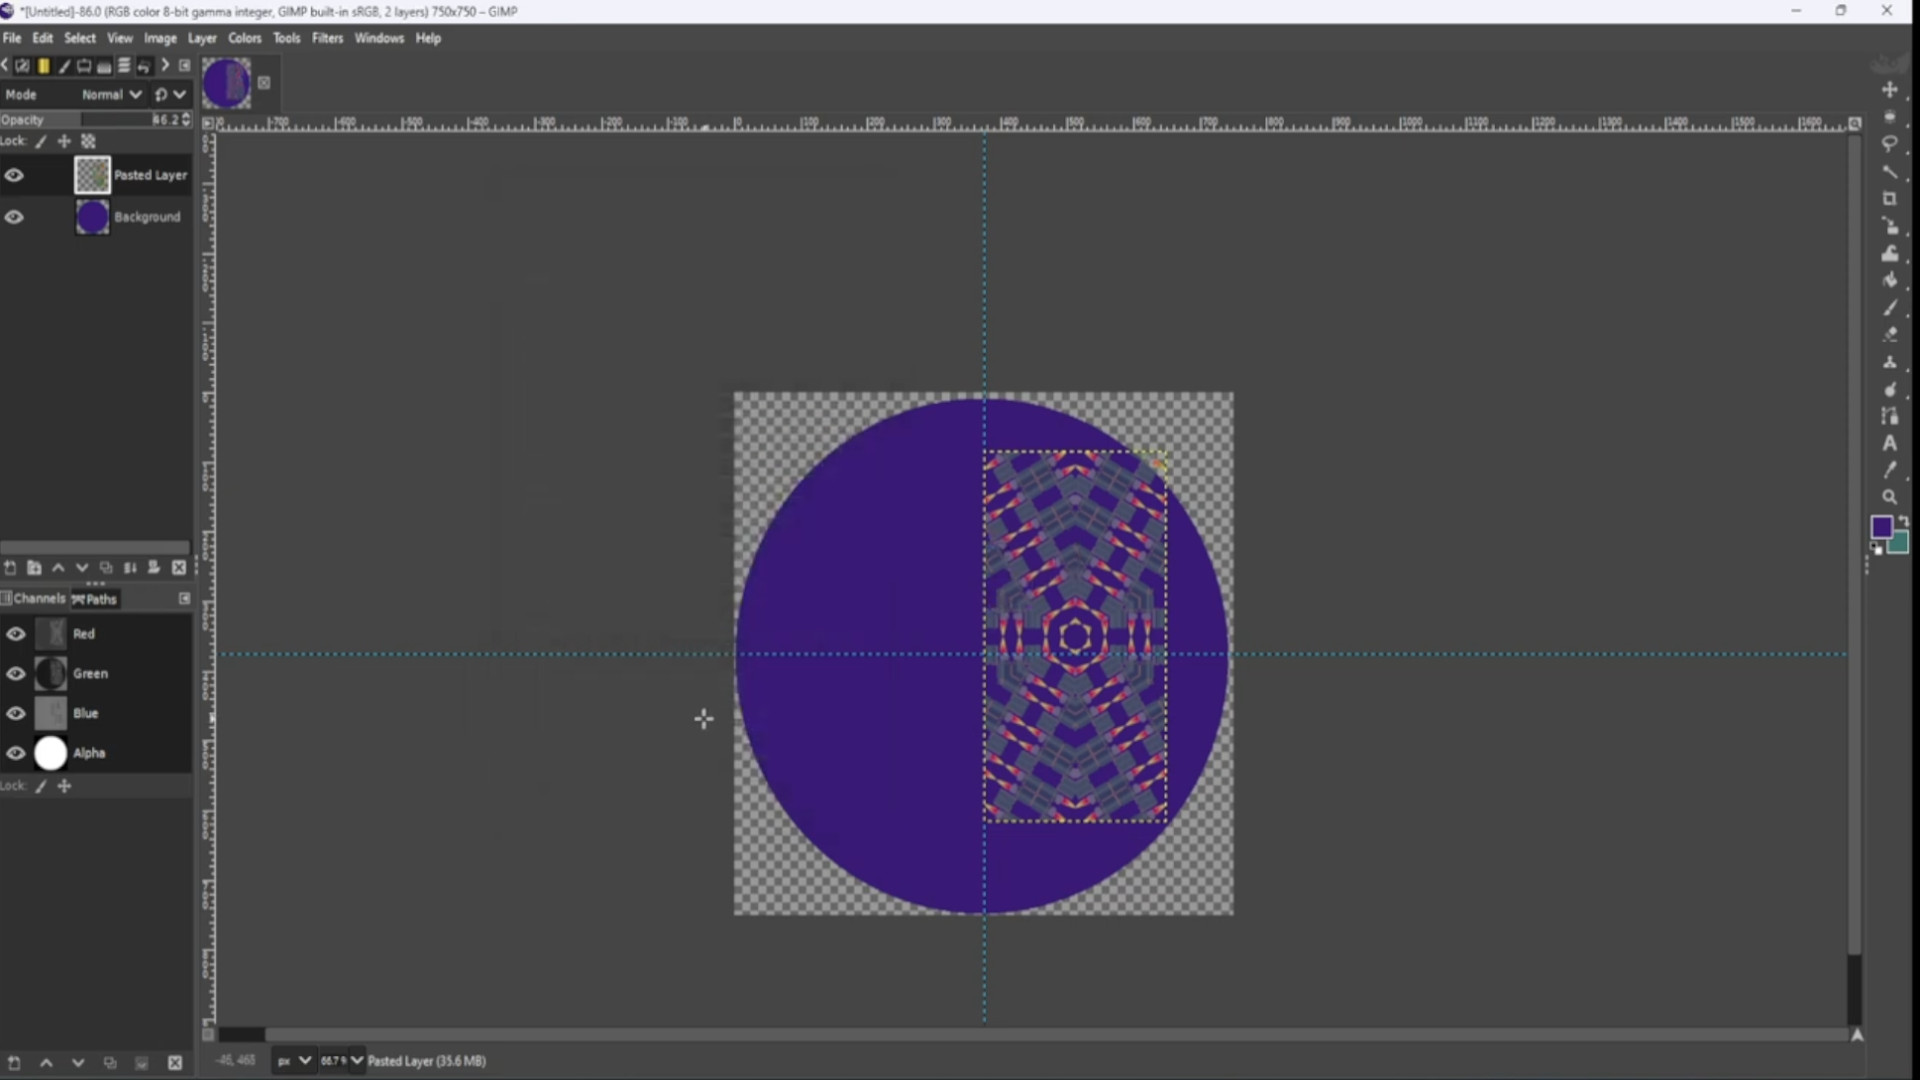
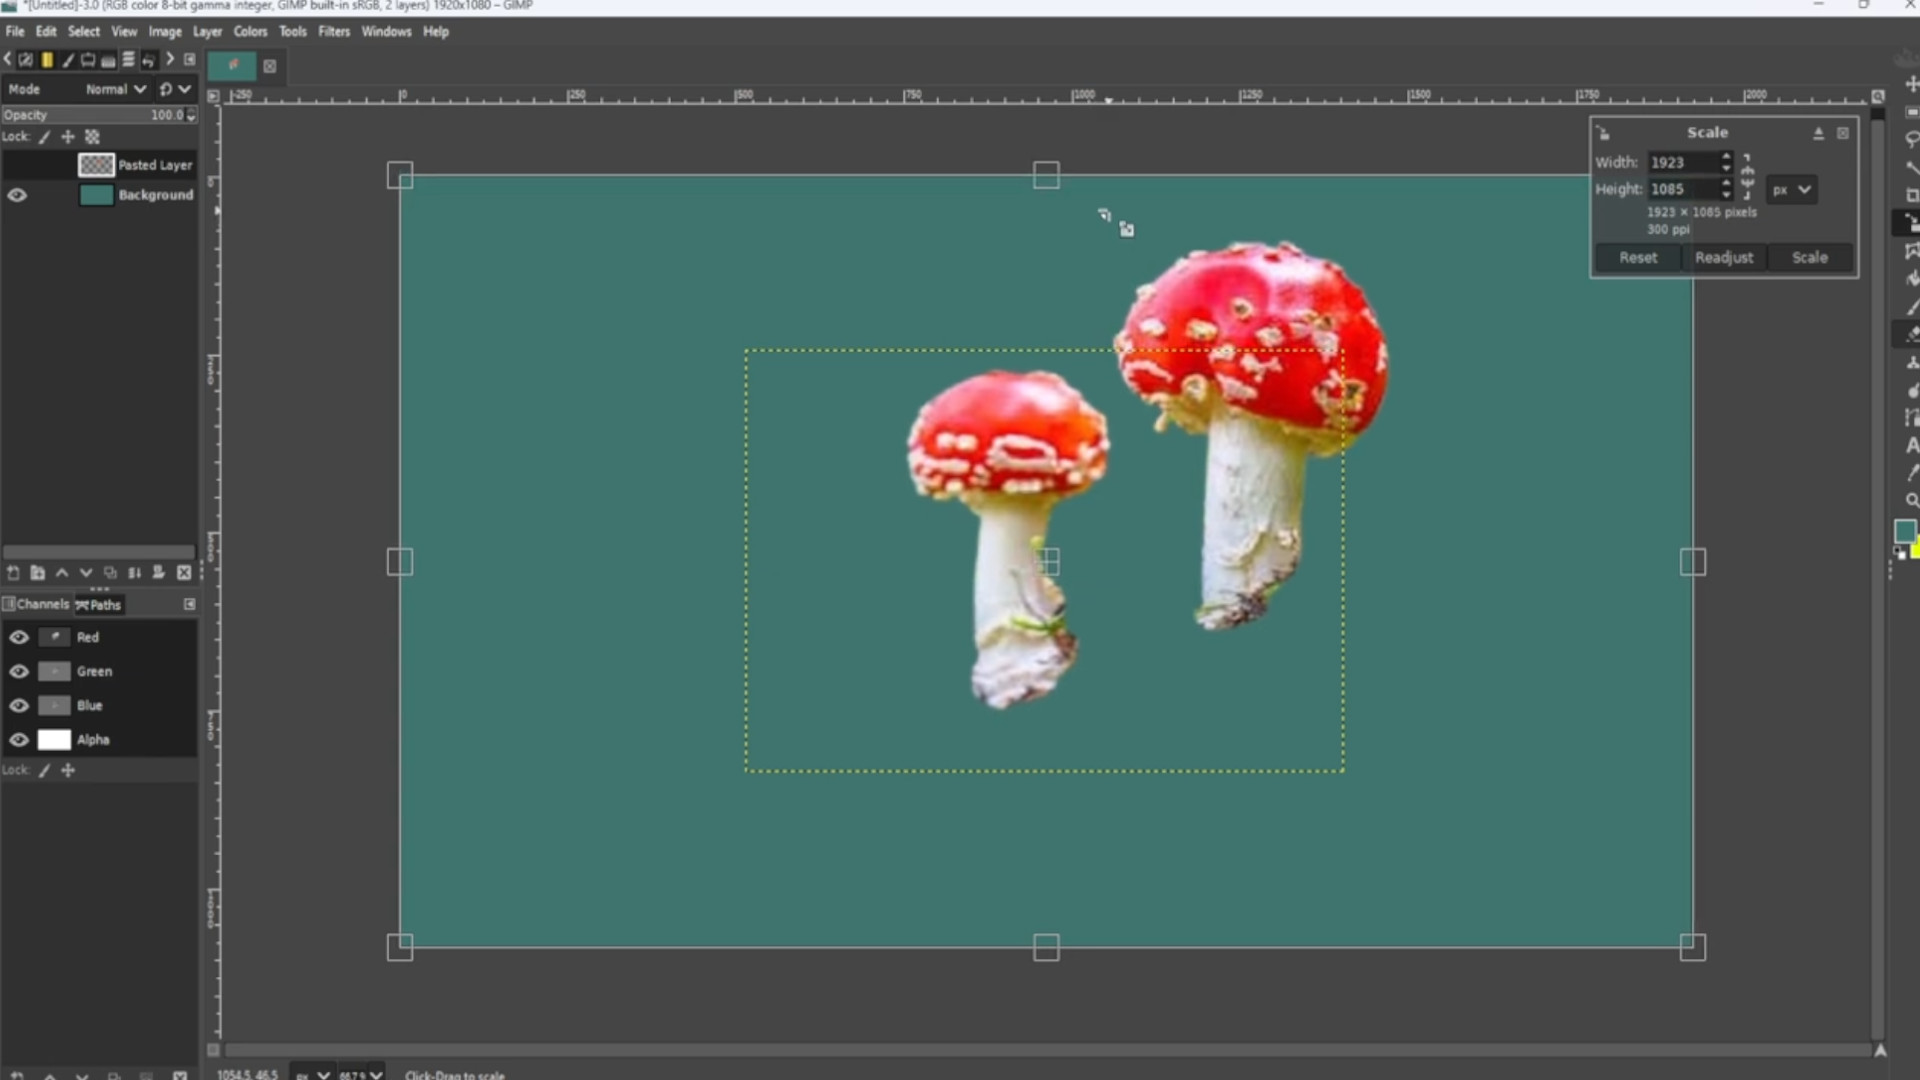
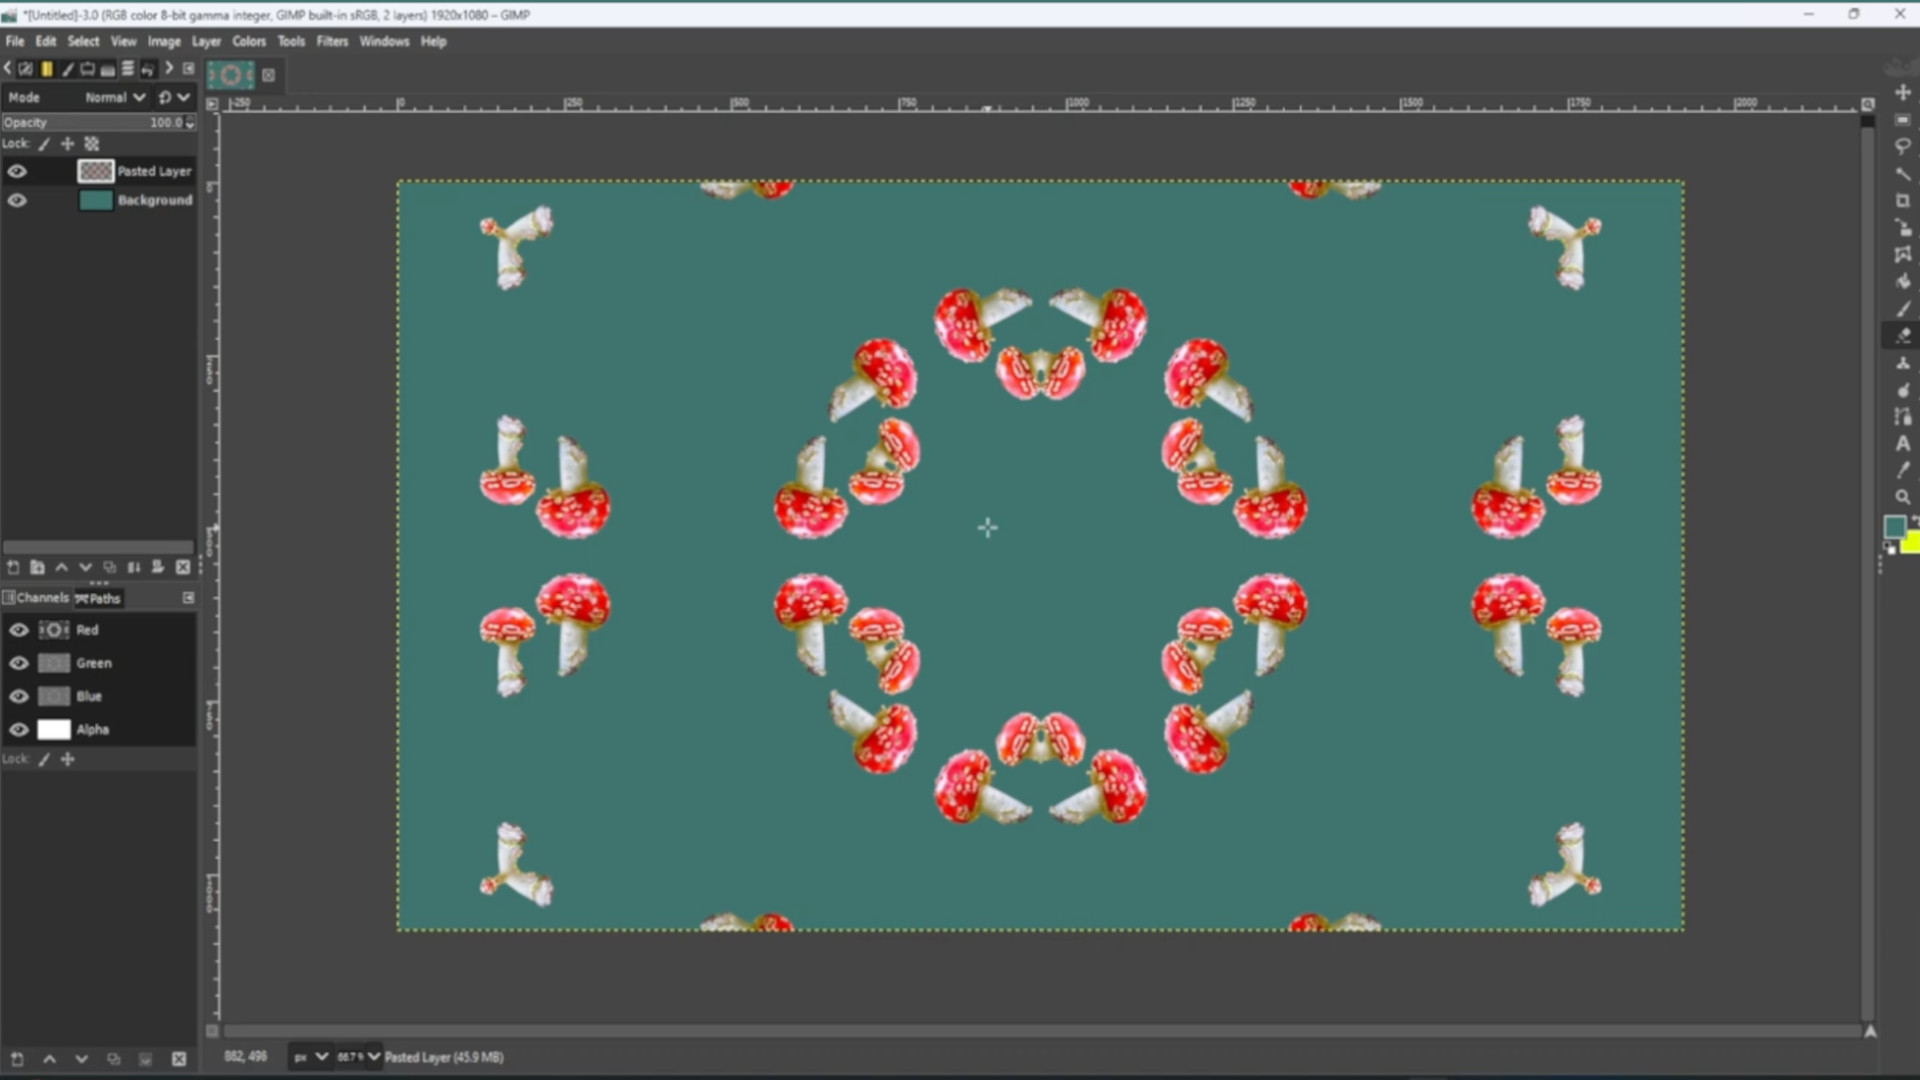
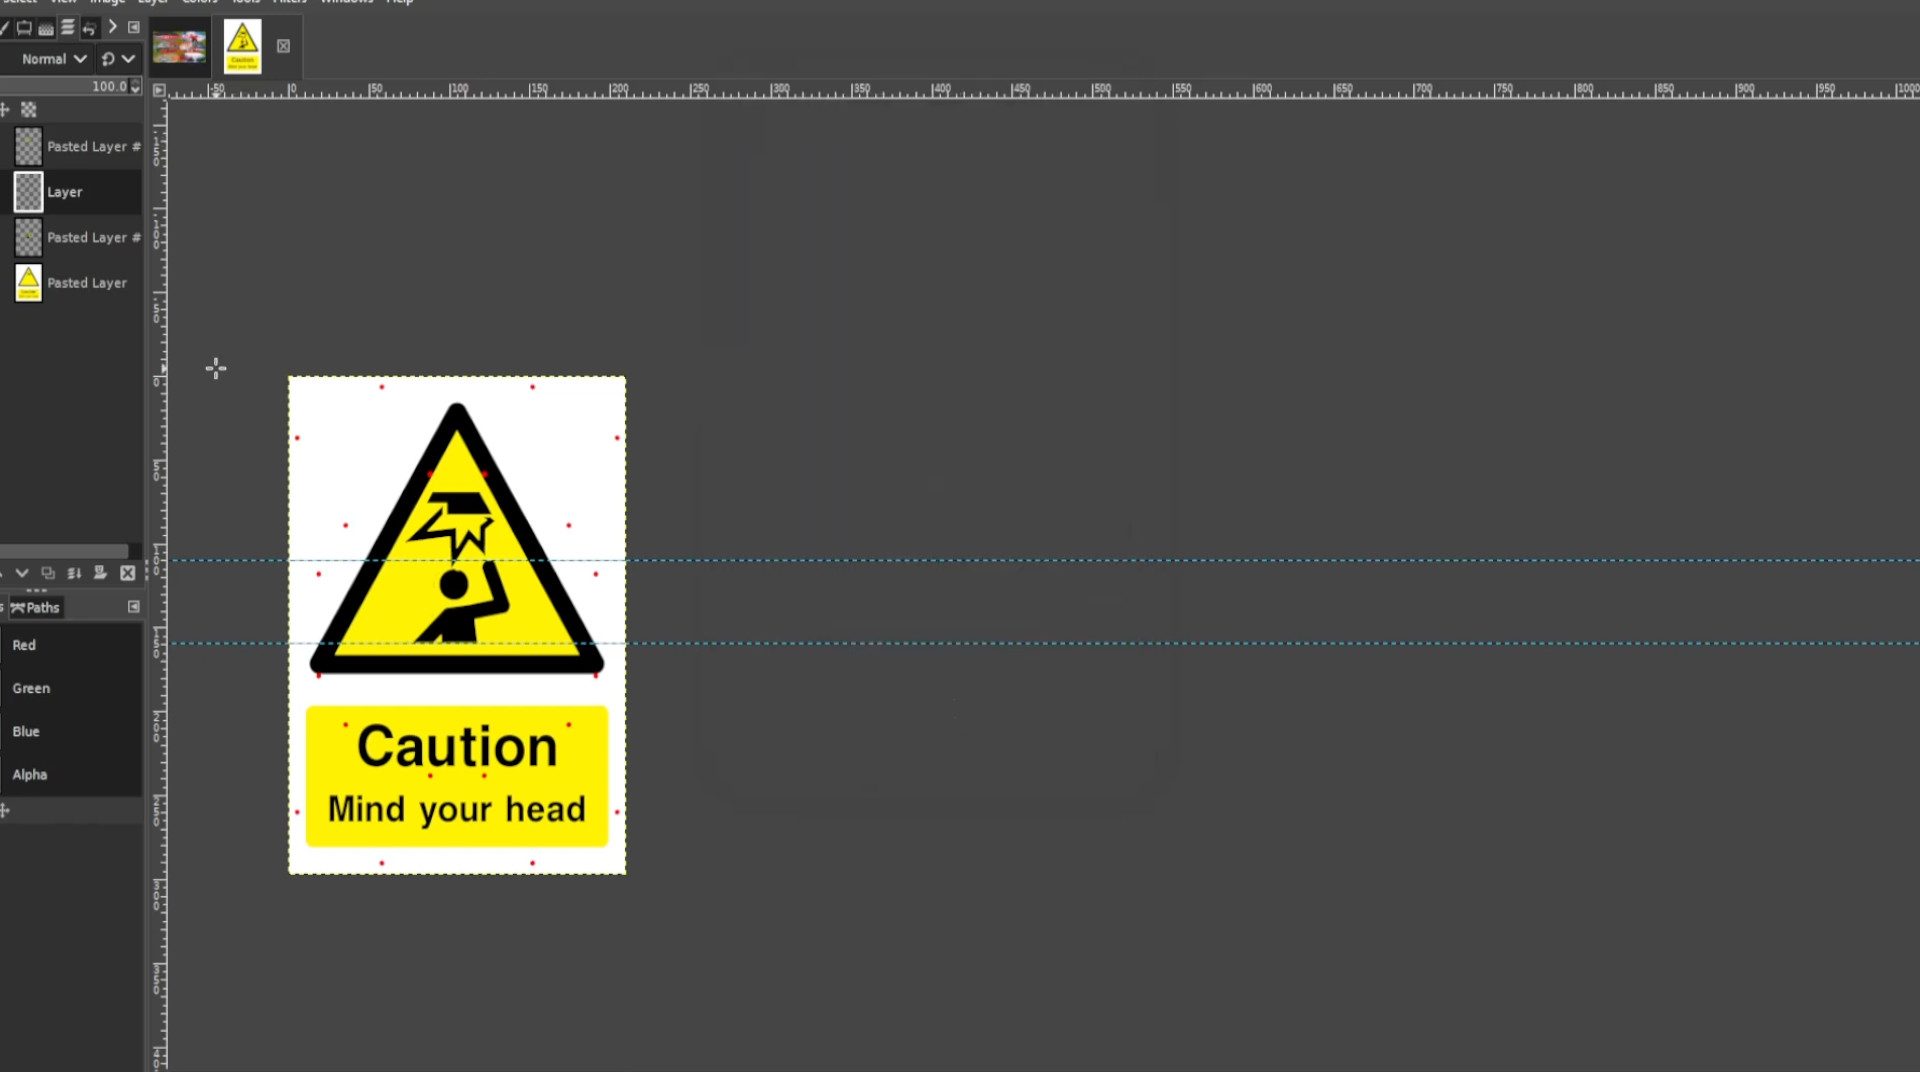
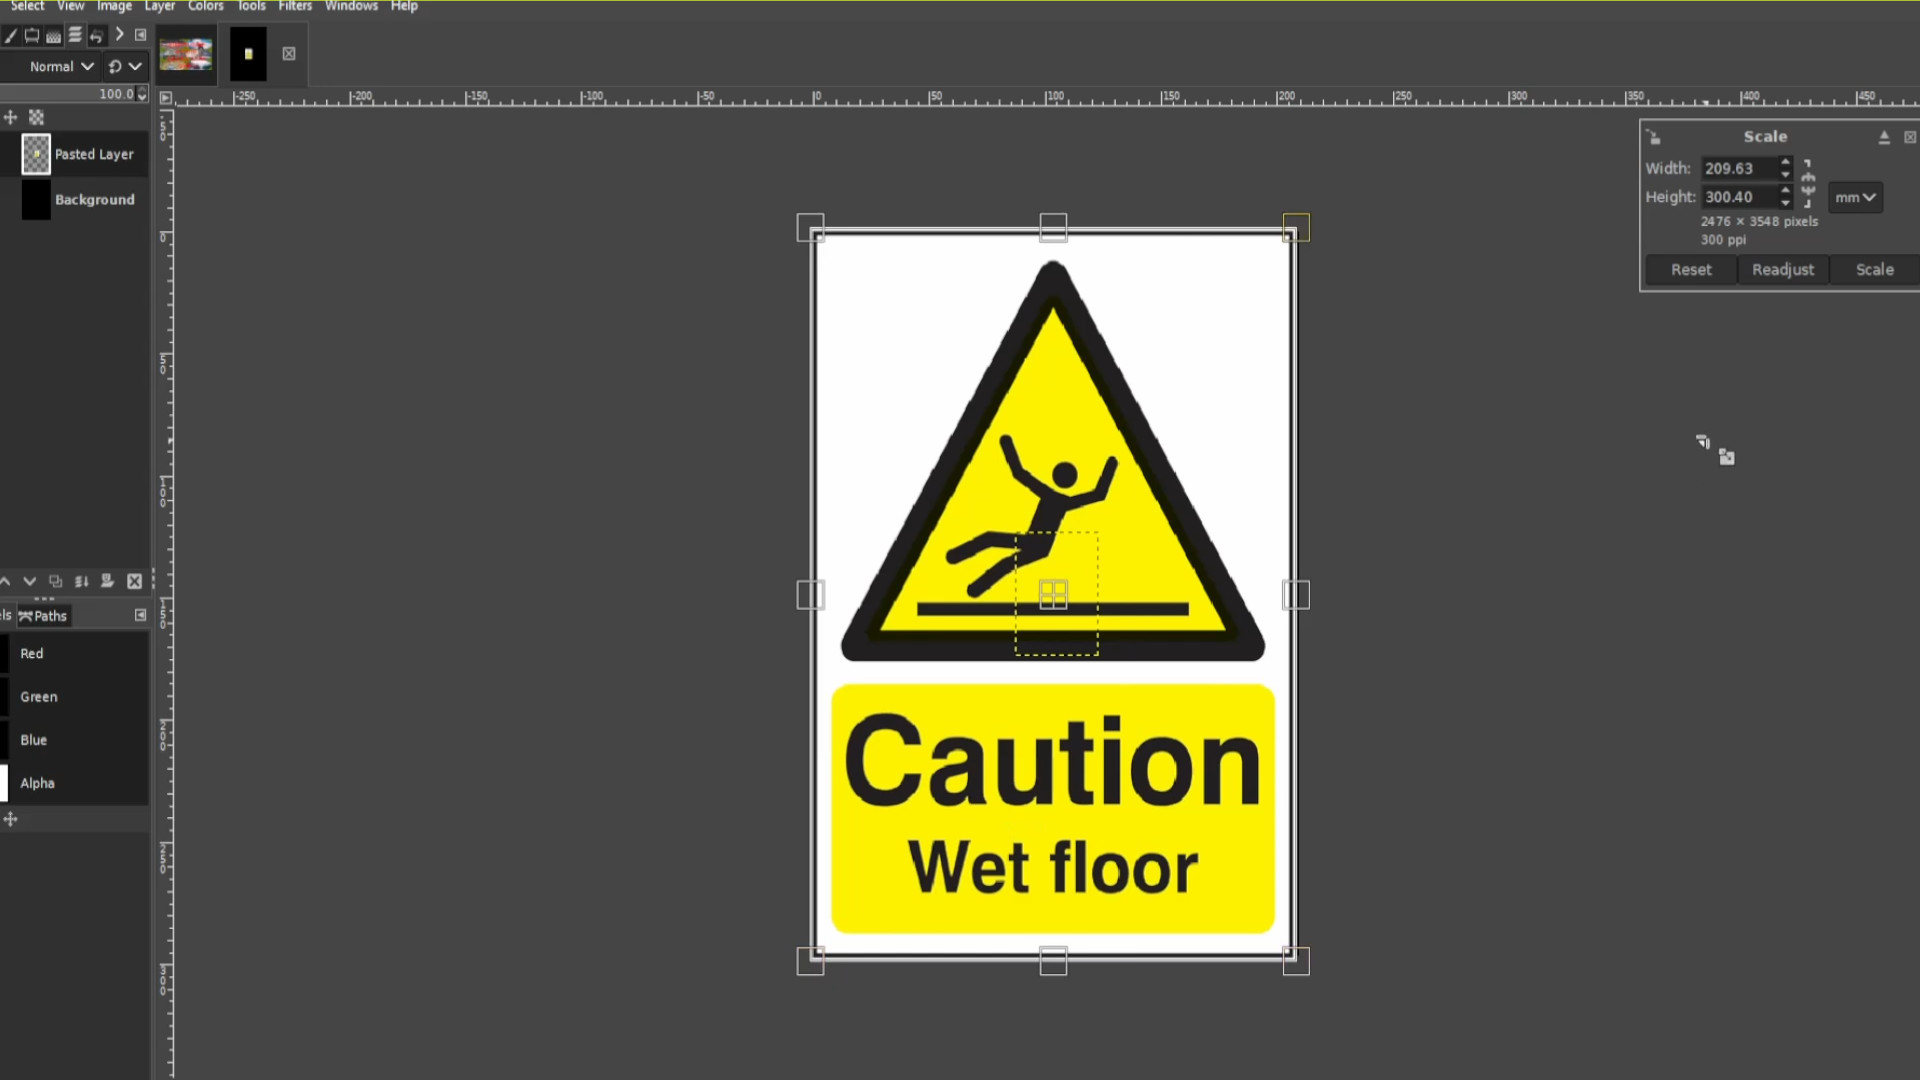
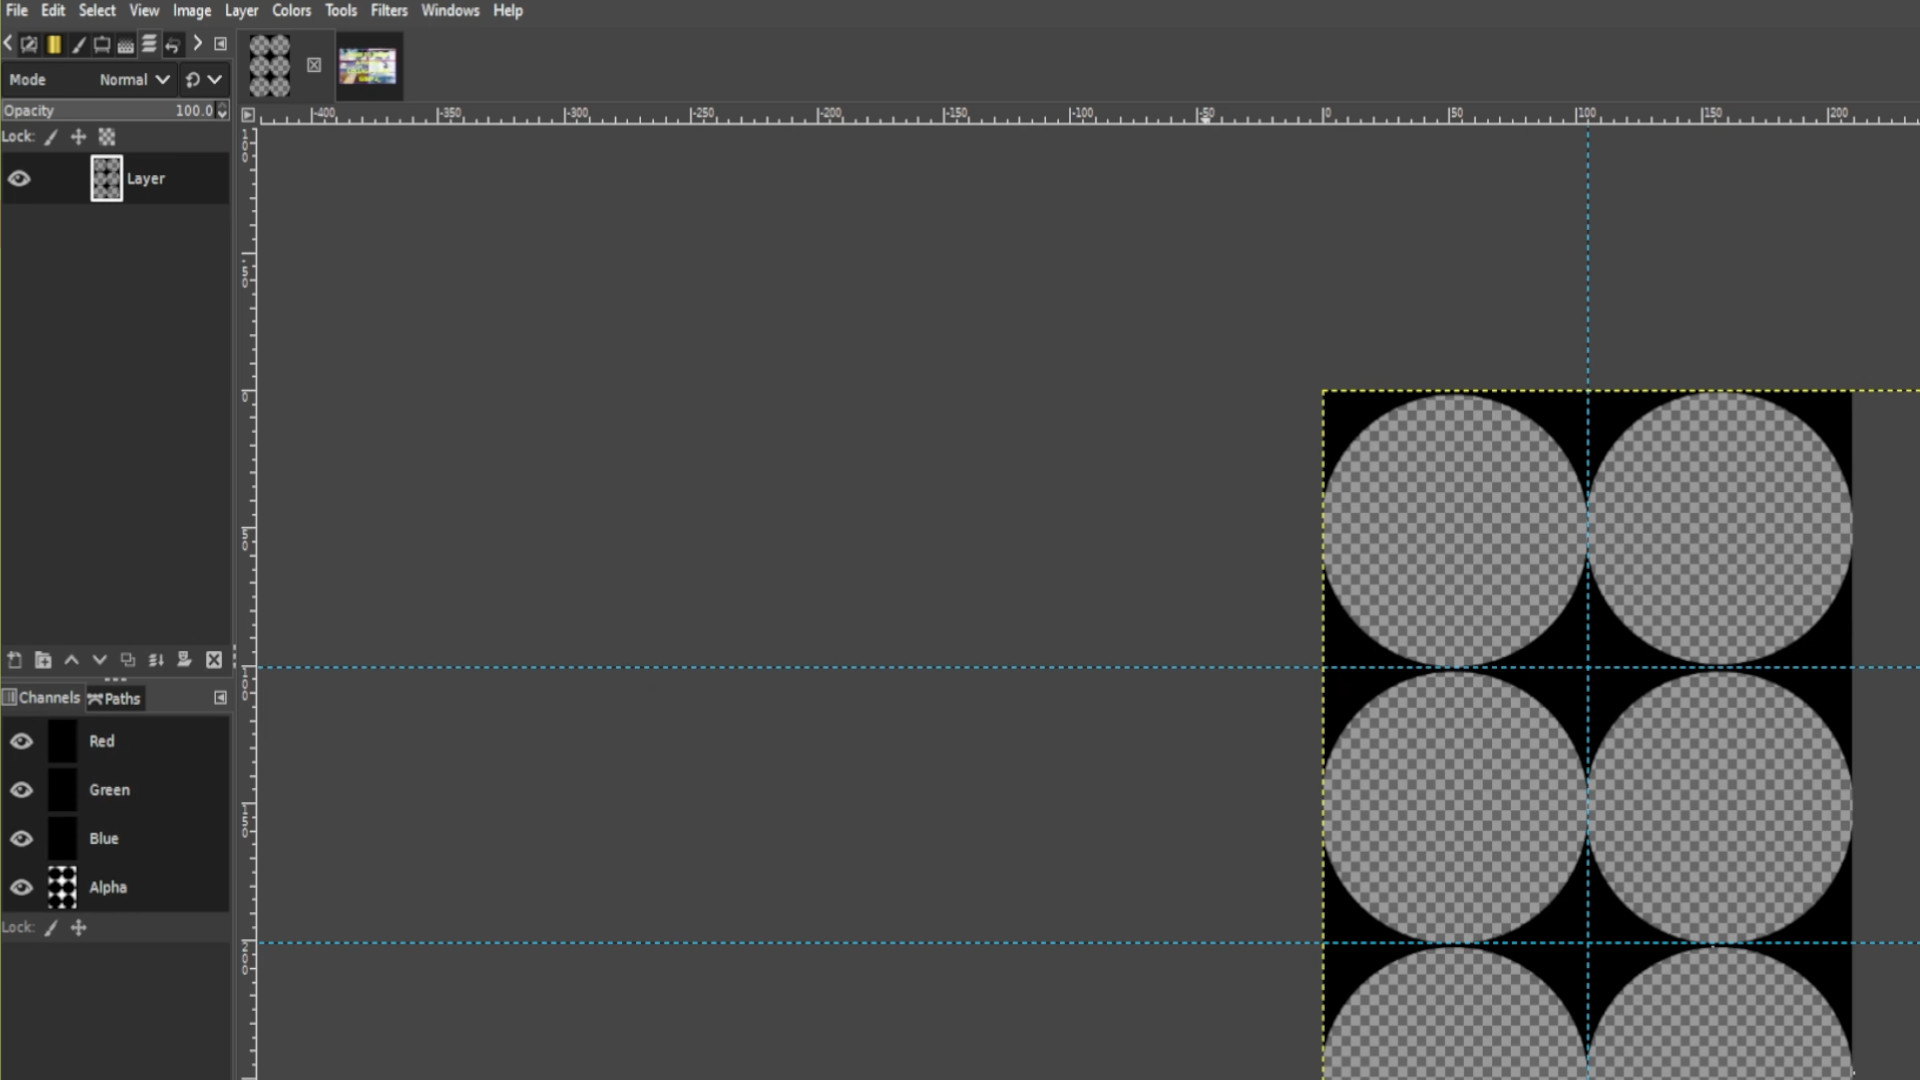
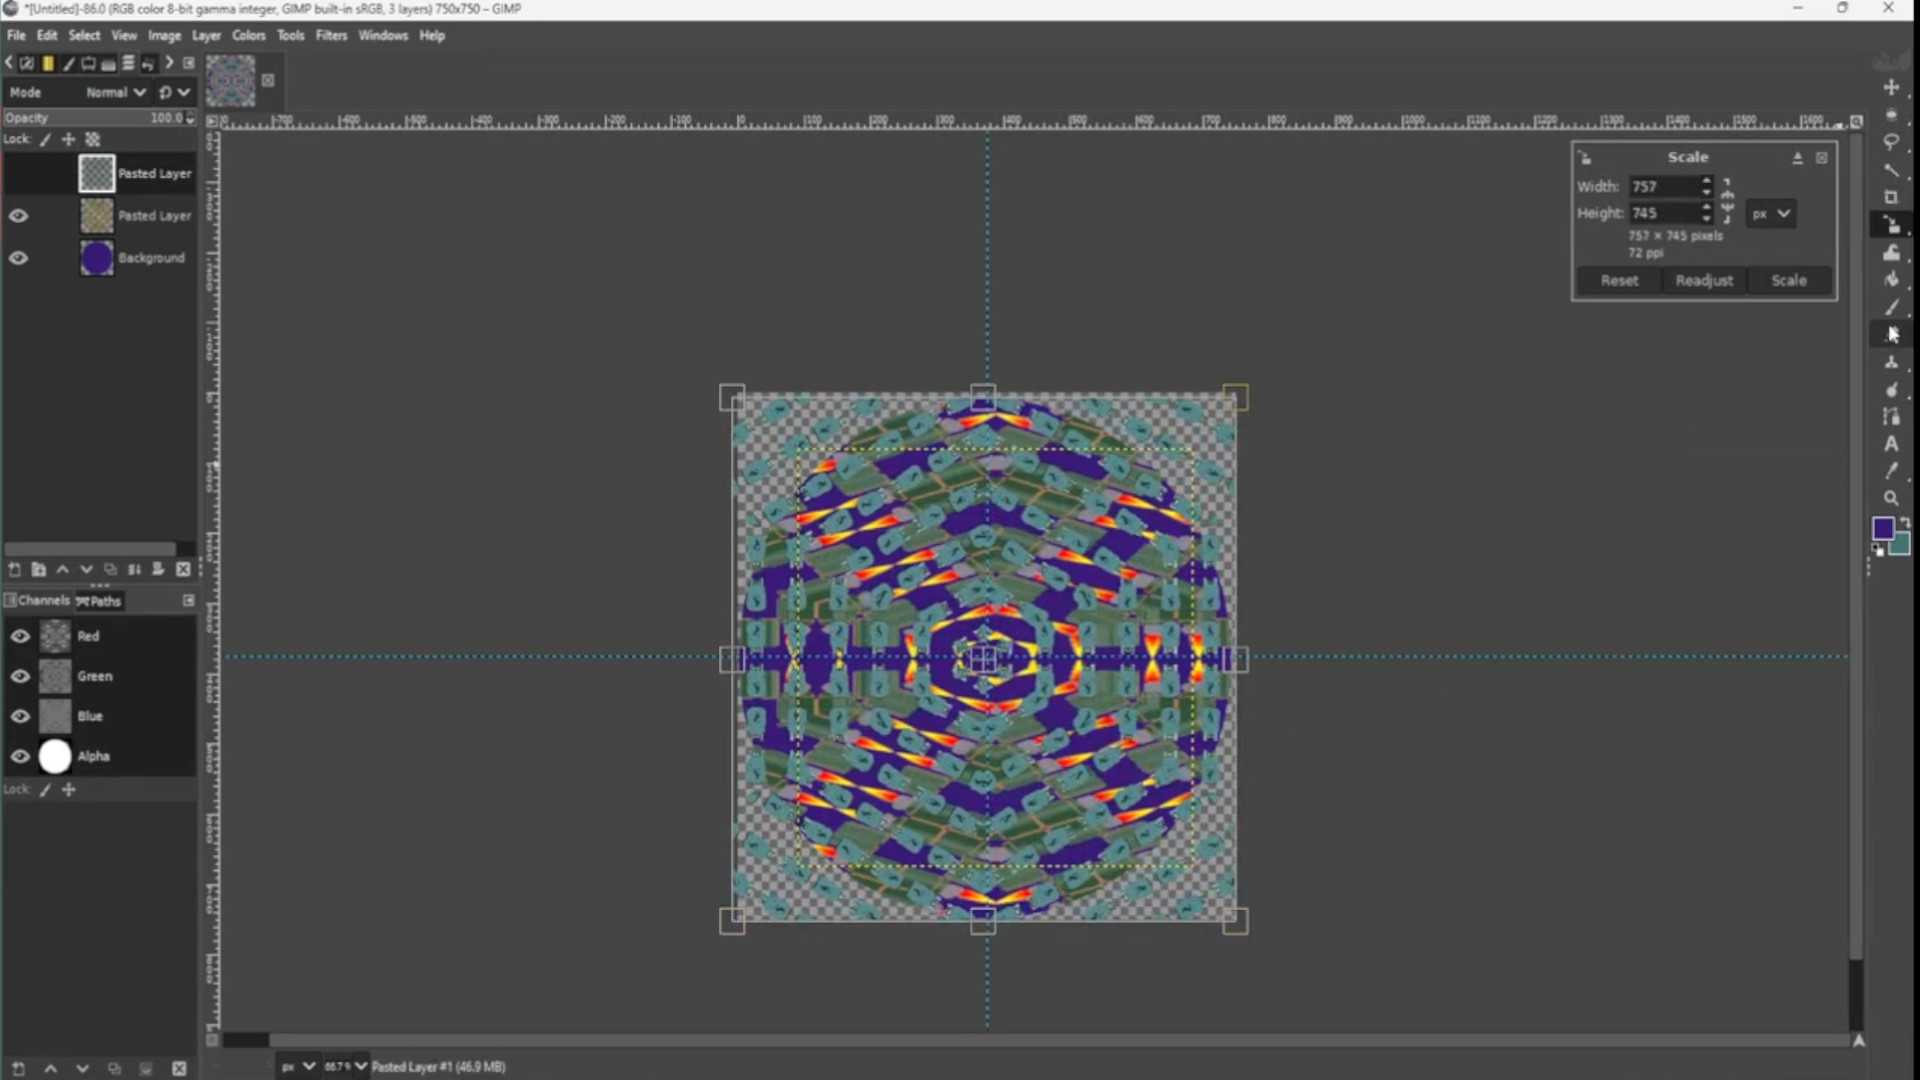
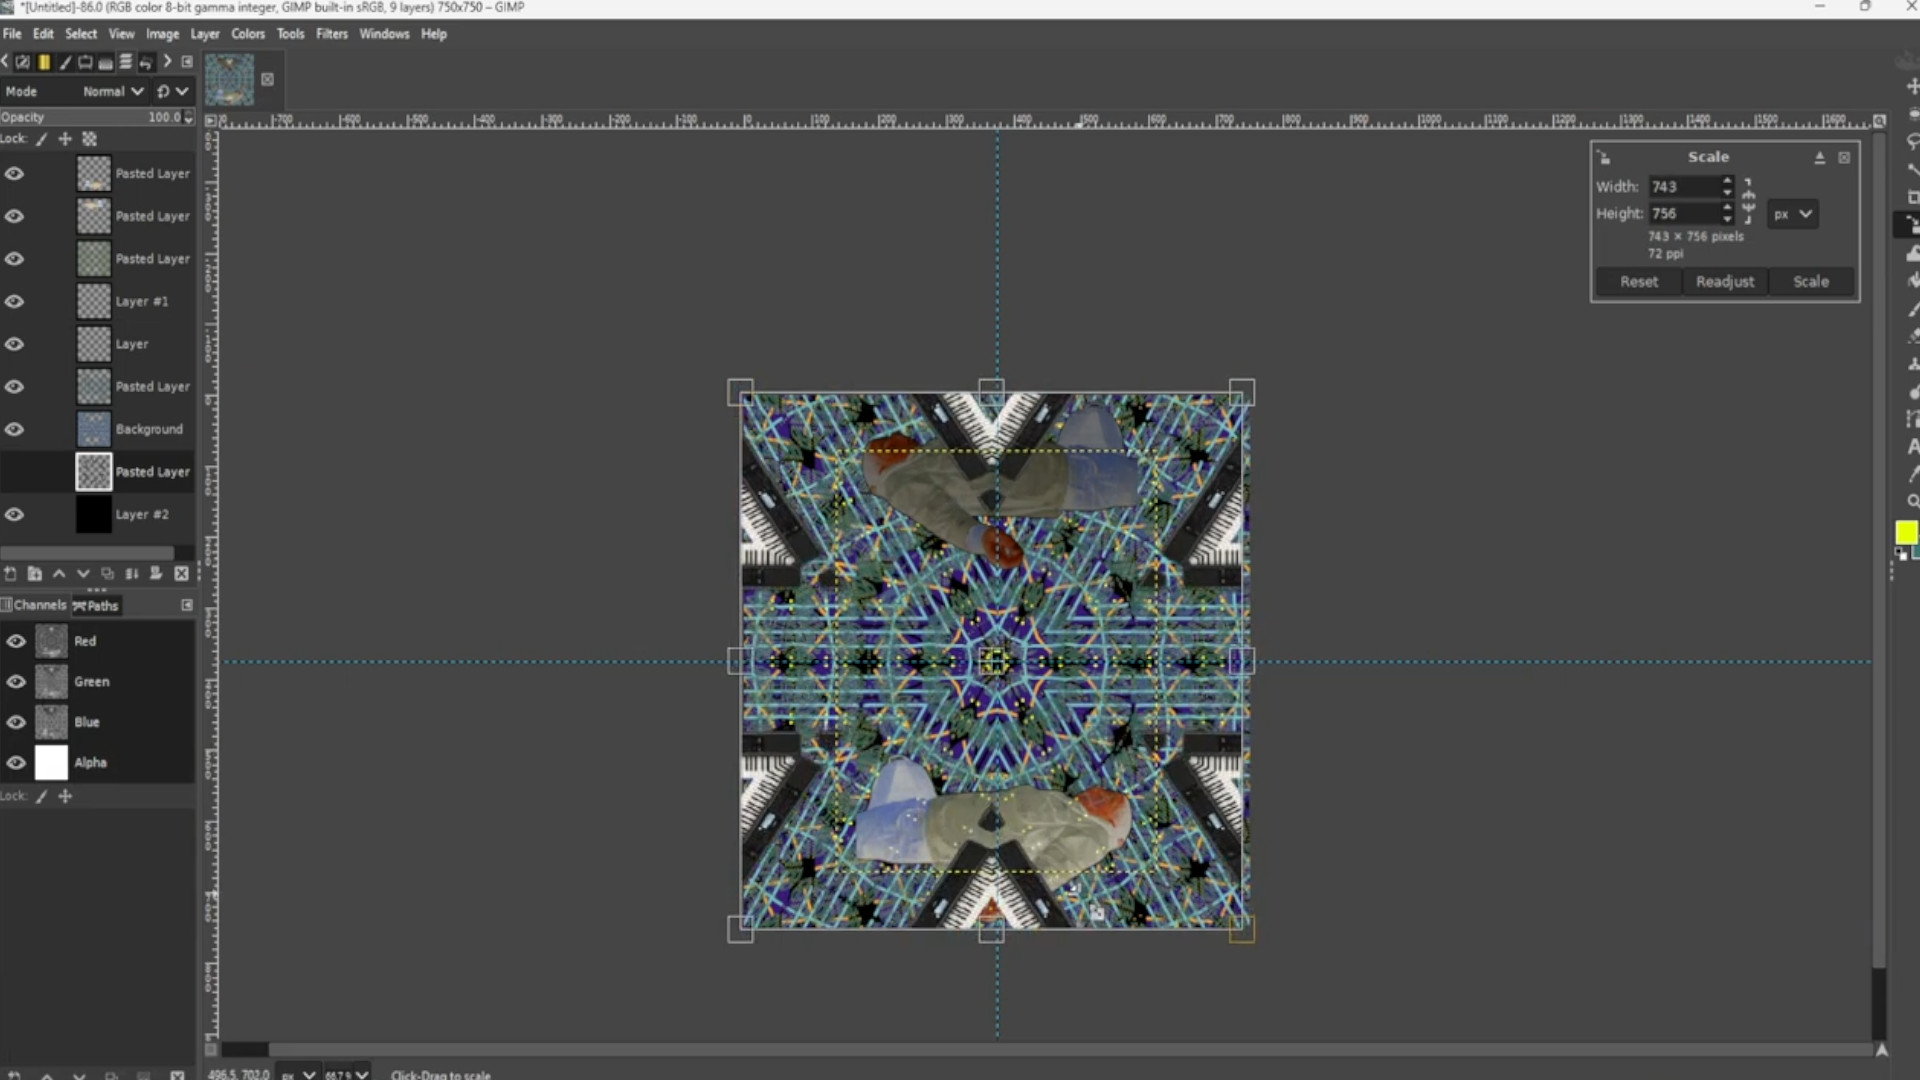
>>SELECTING the>>>TOP LAYER Use the>>>SCALE TOOL to make the image fit the canvas or use shortcut>>>HOLD>>>SHFT and>>>PRESS>>>S to get the scale options to come up.
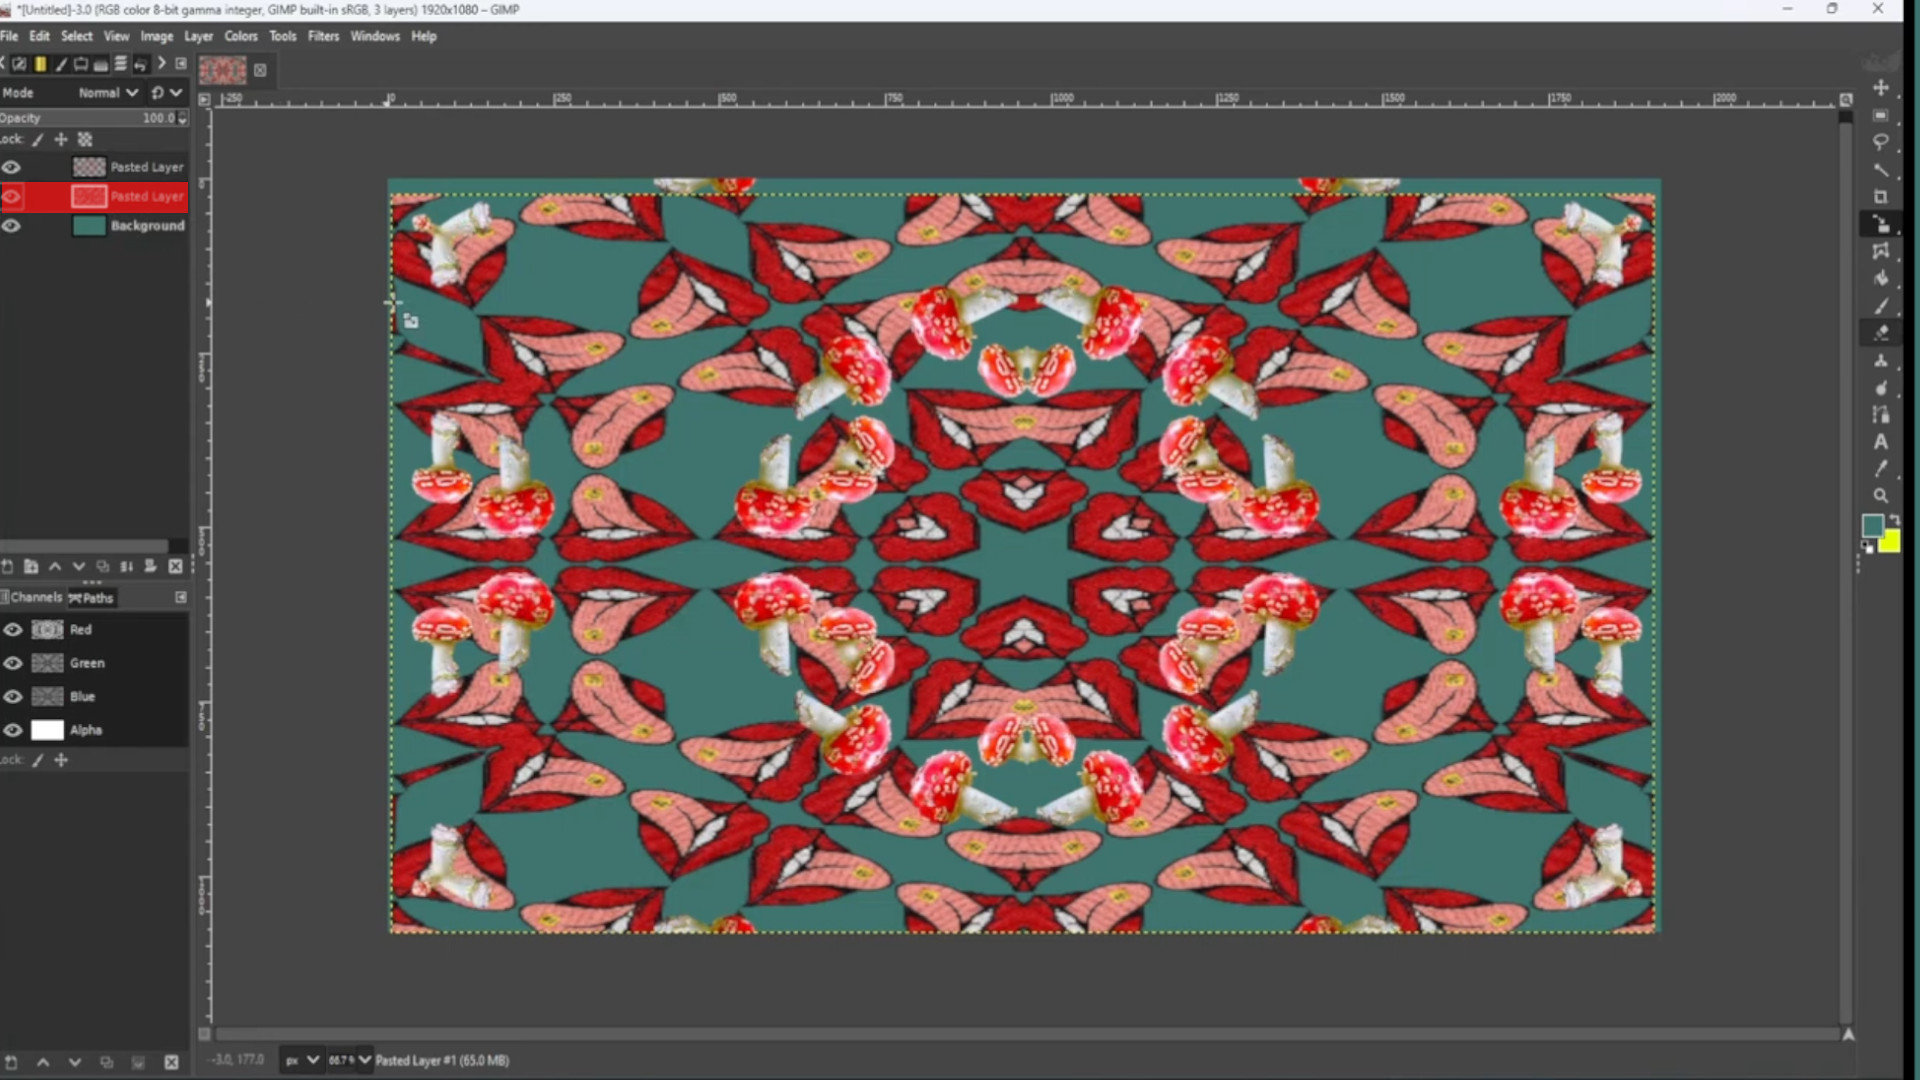
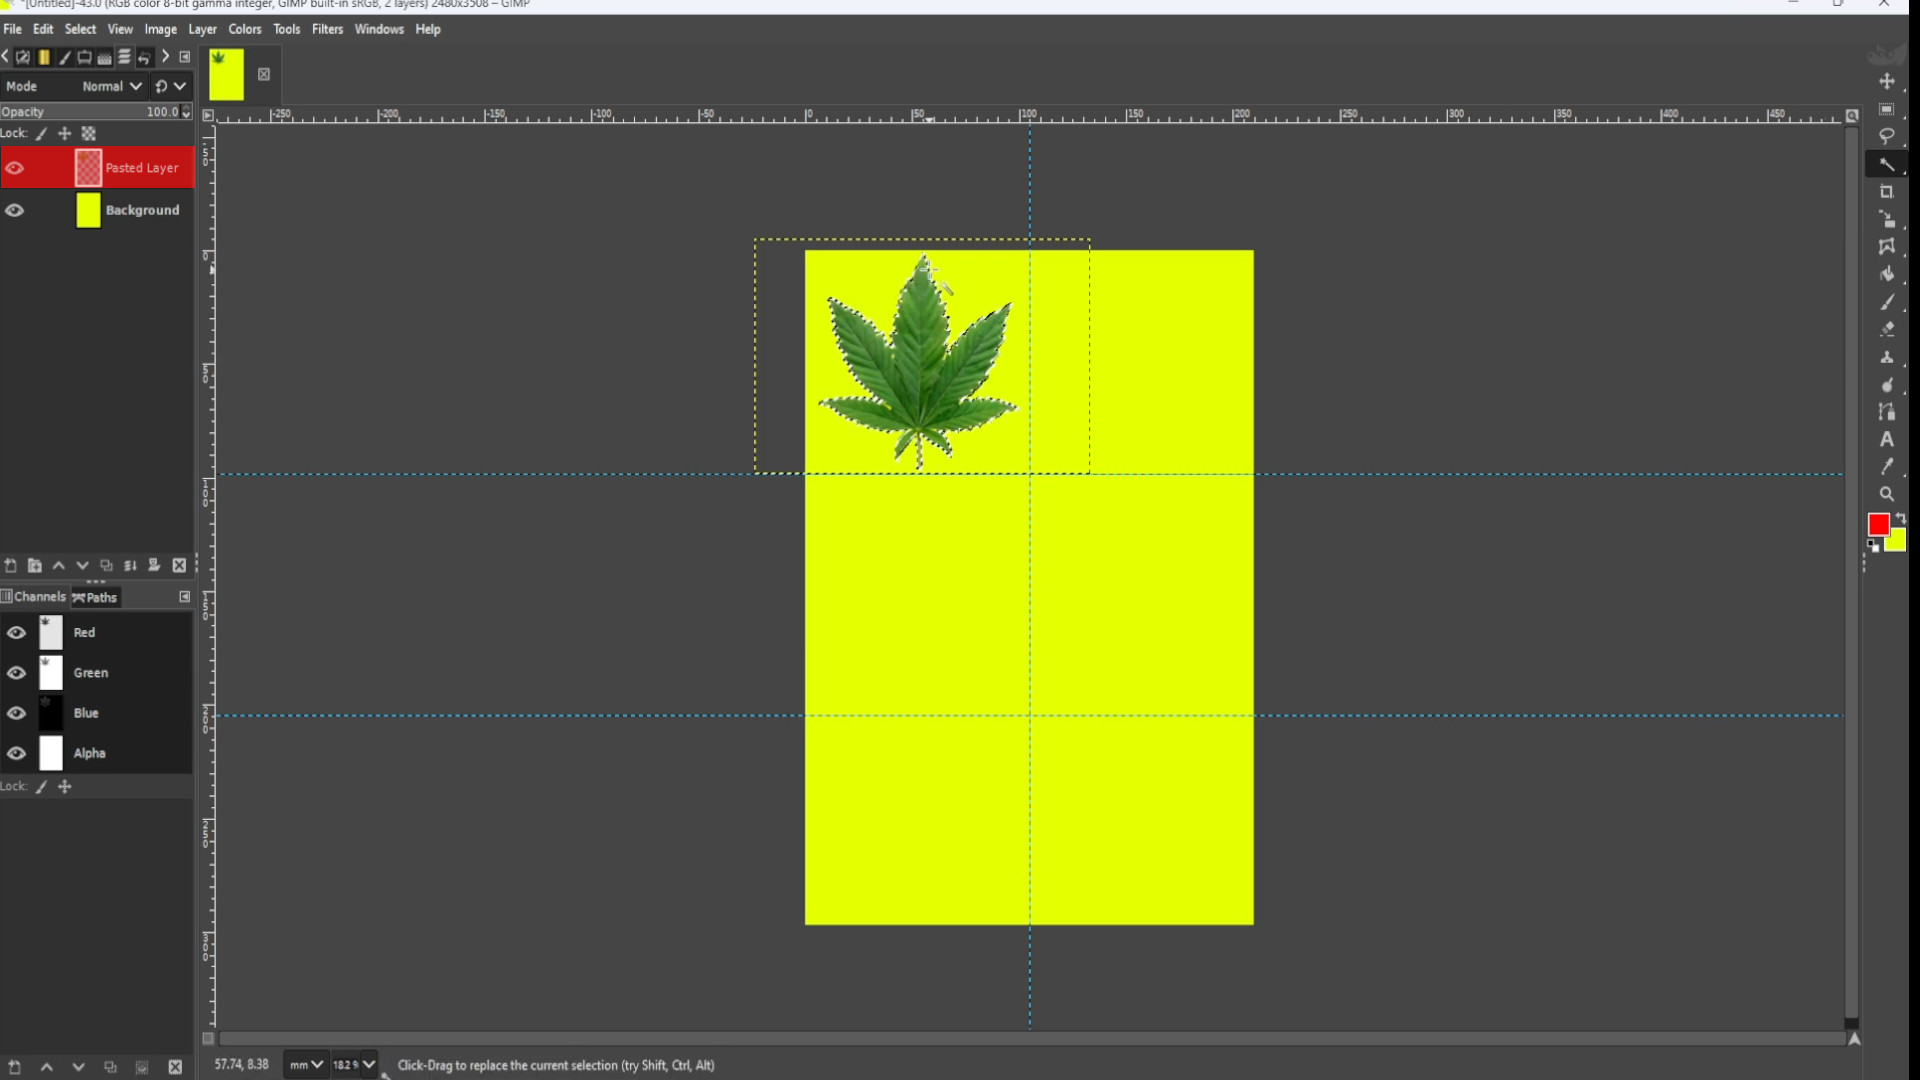
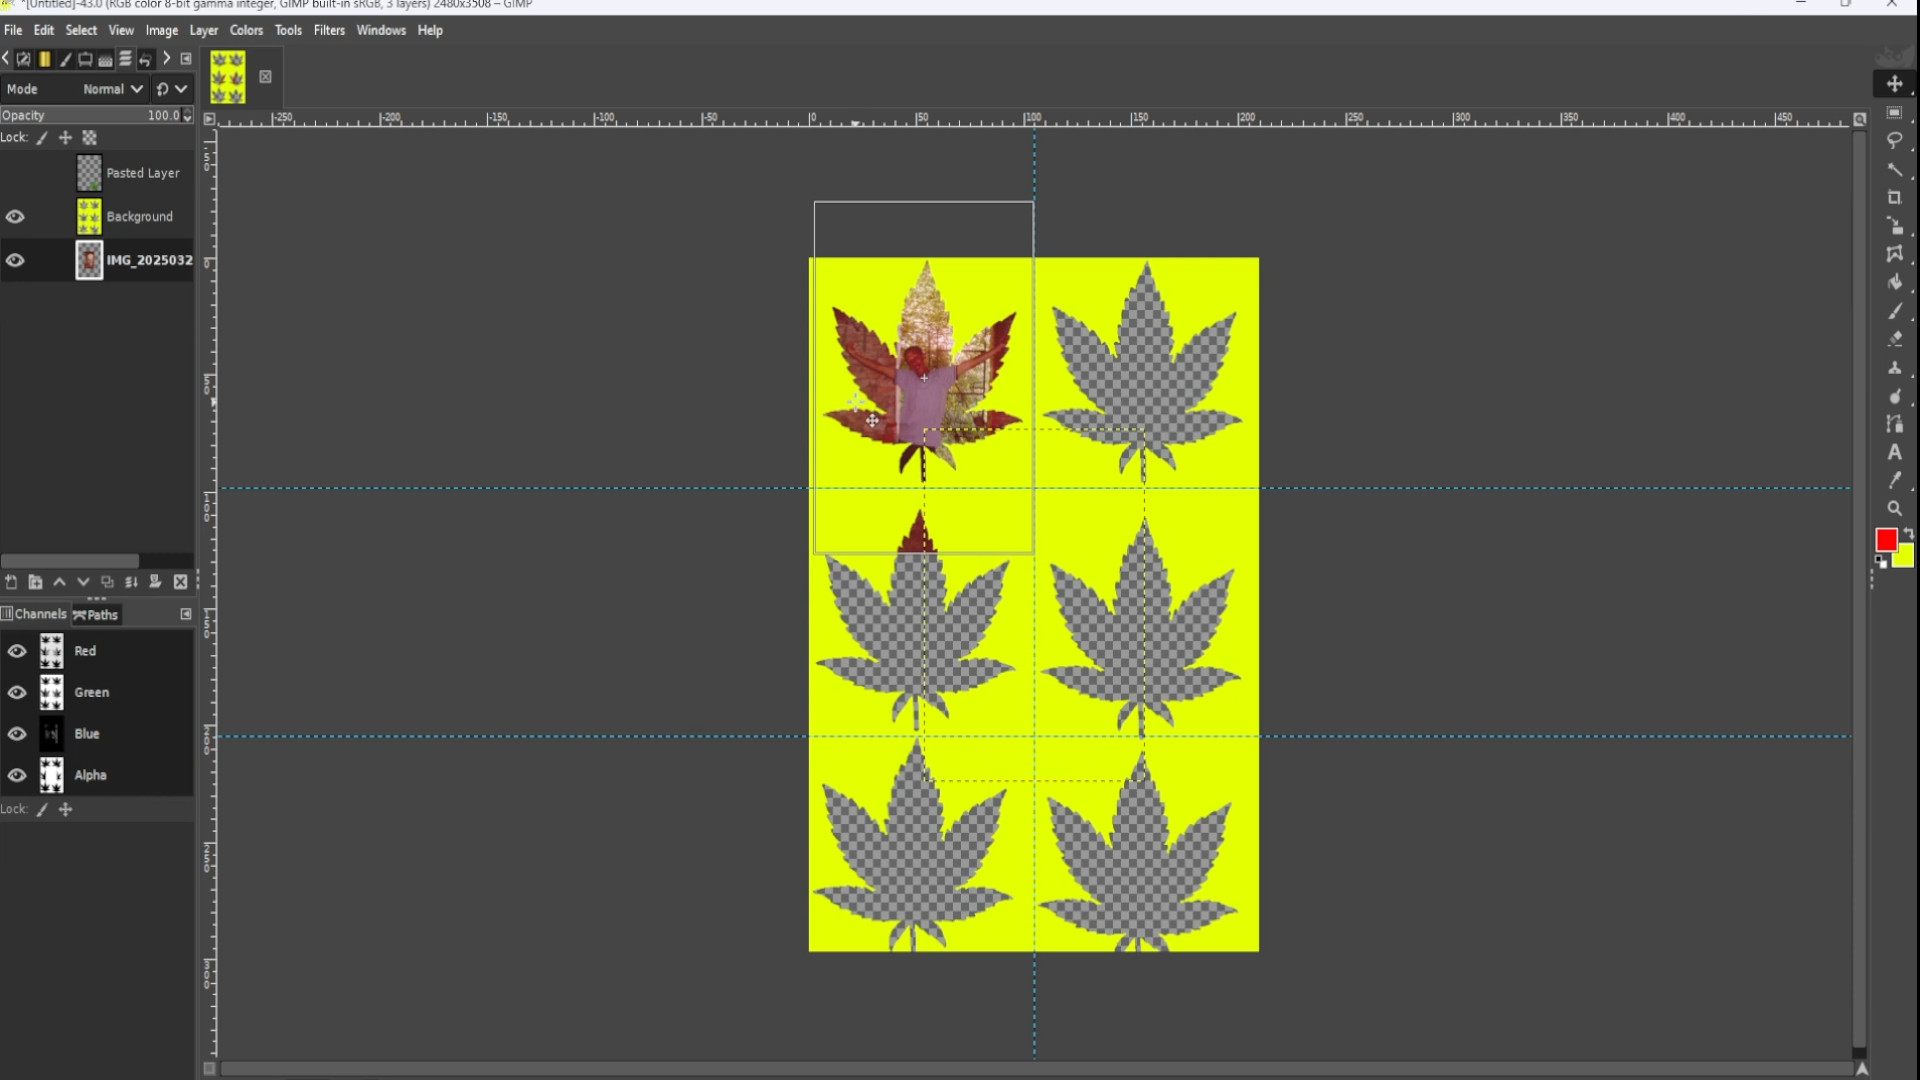
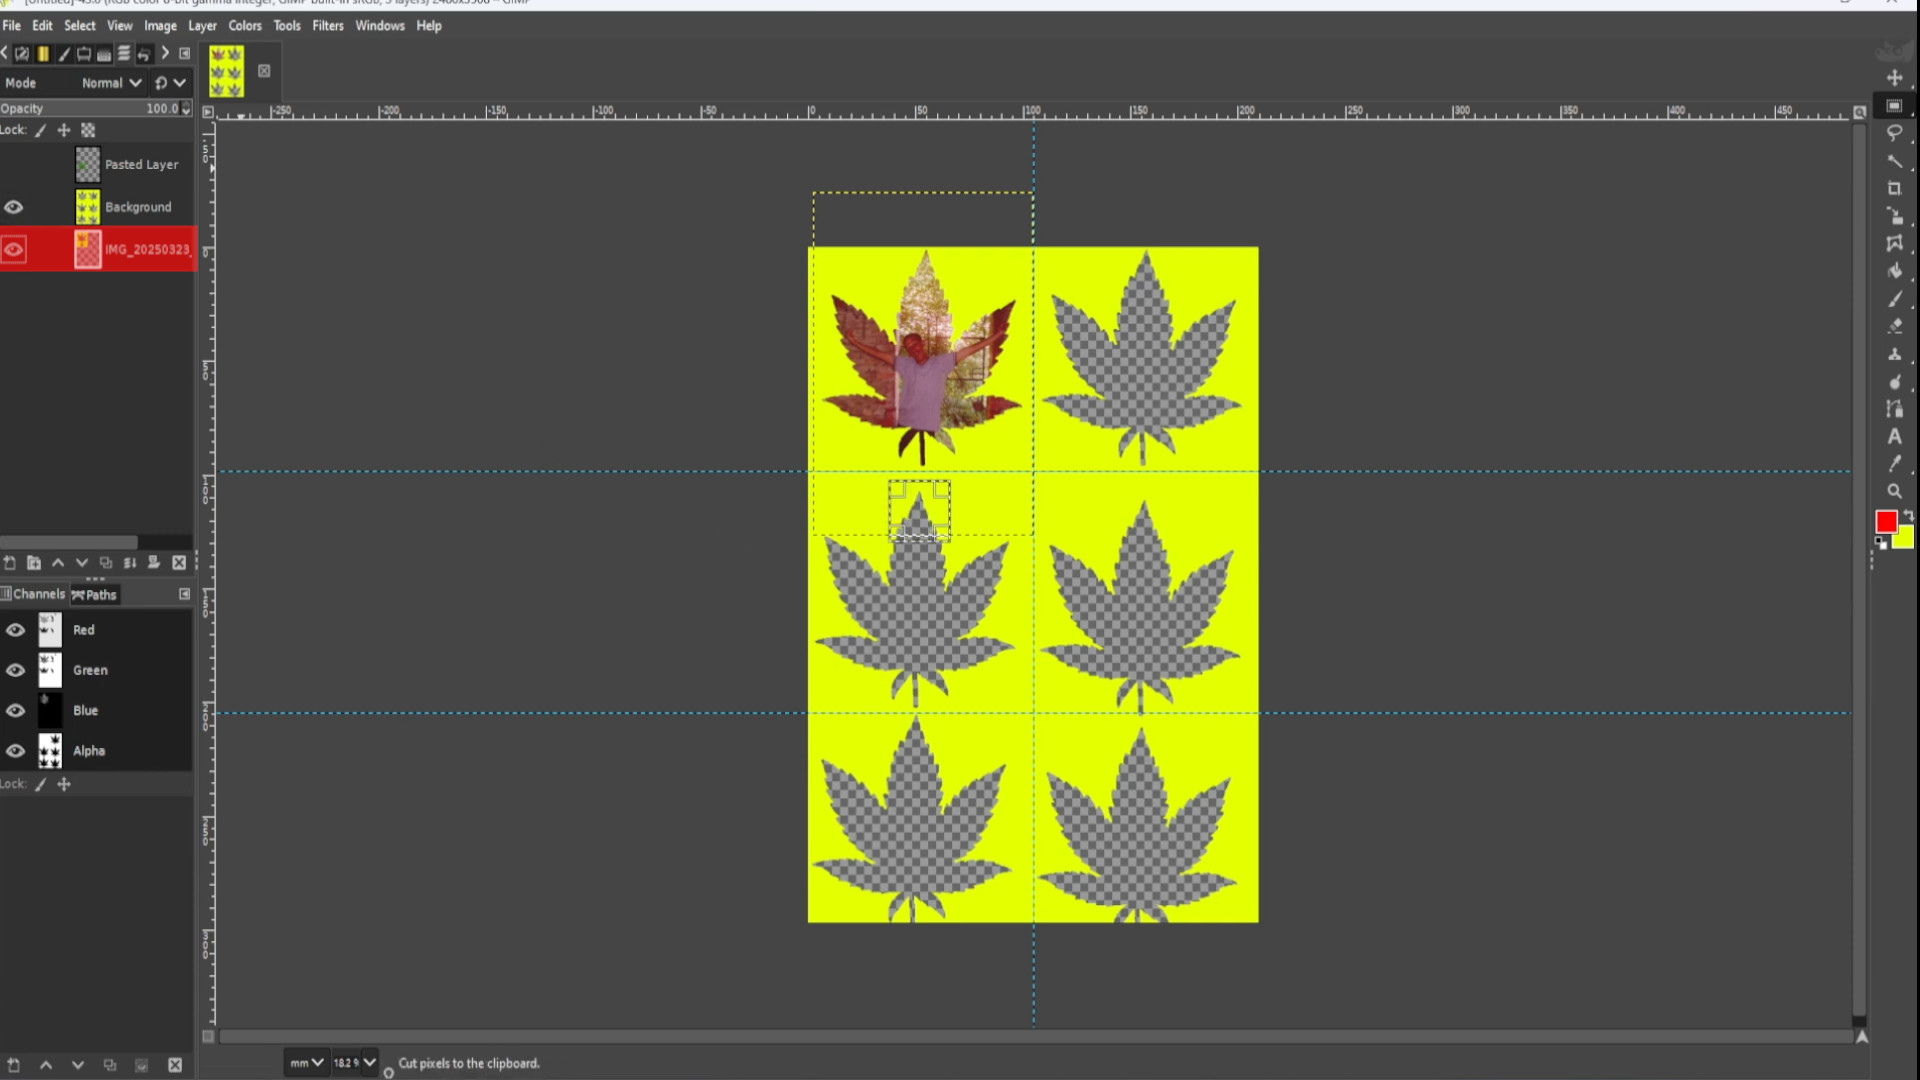
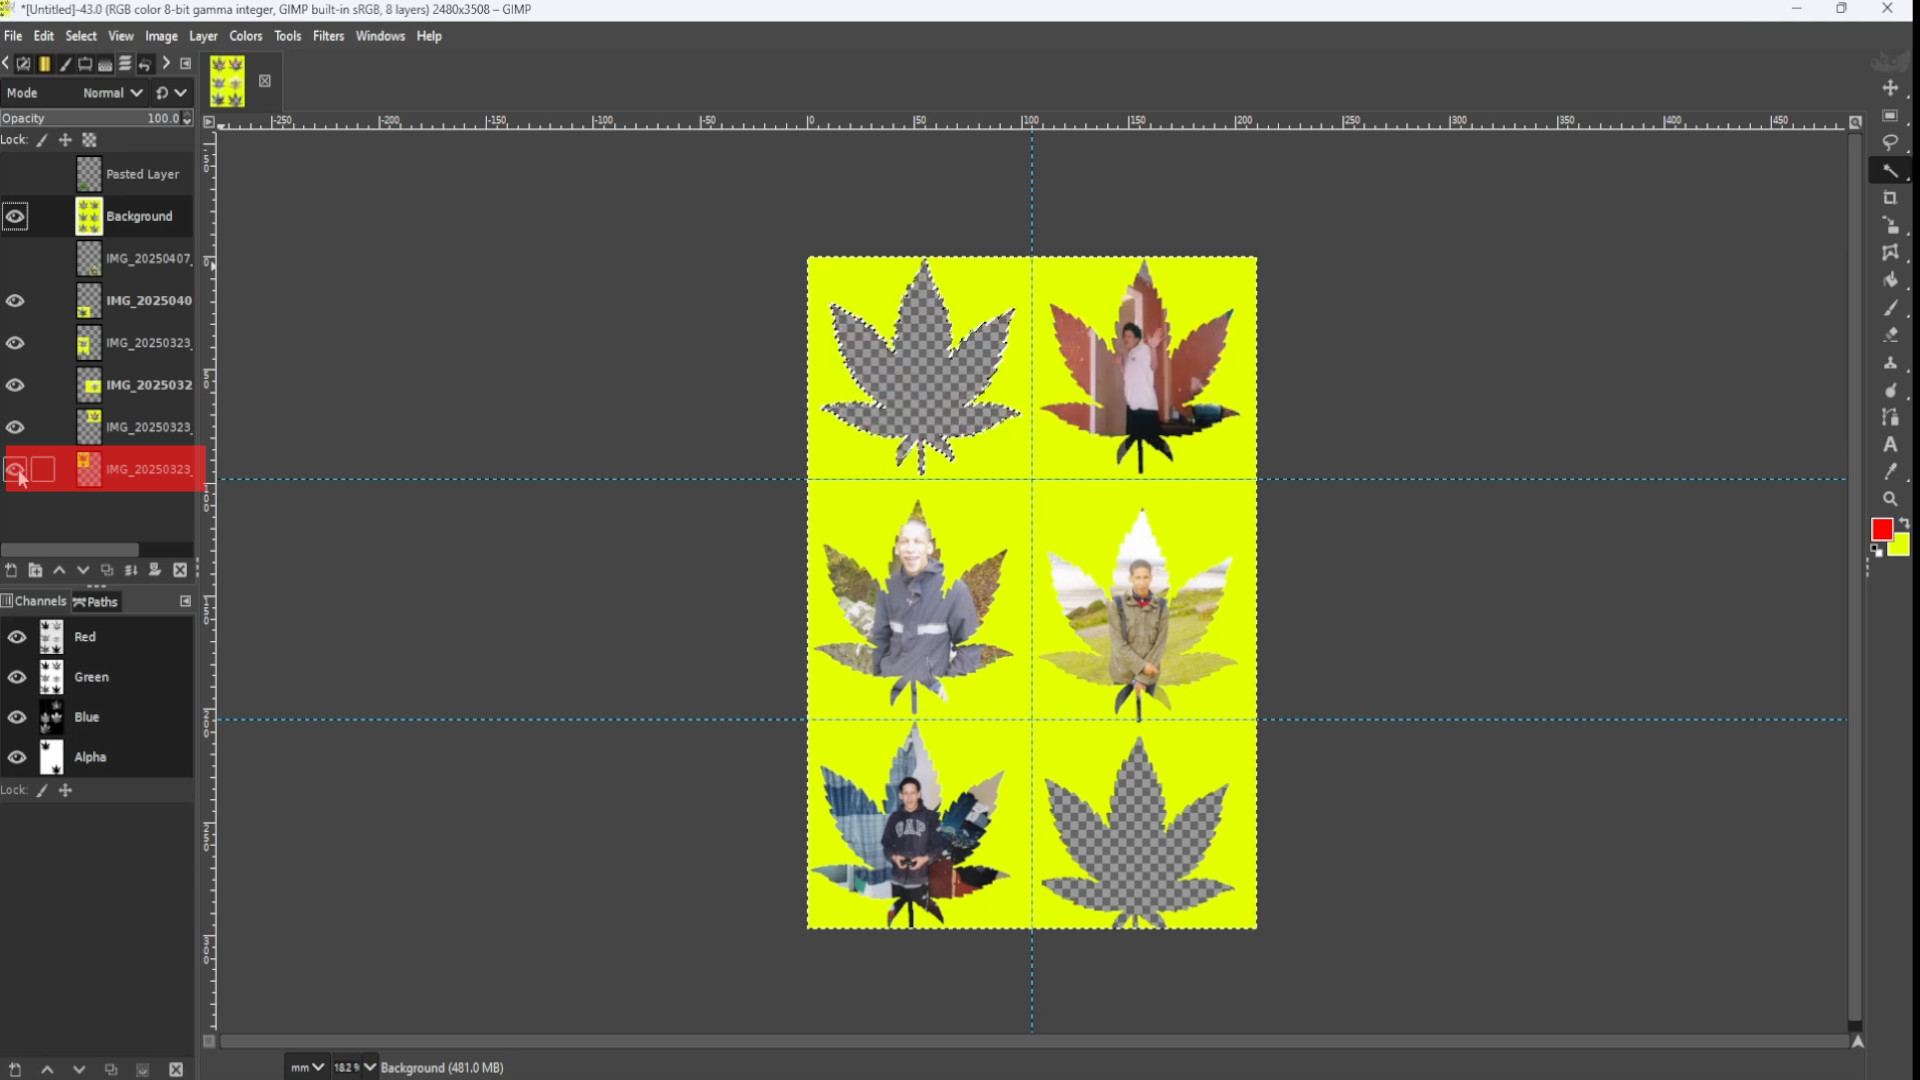
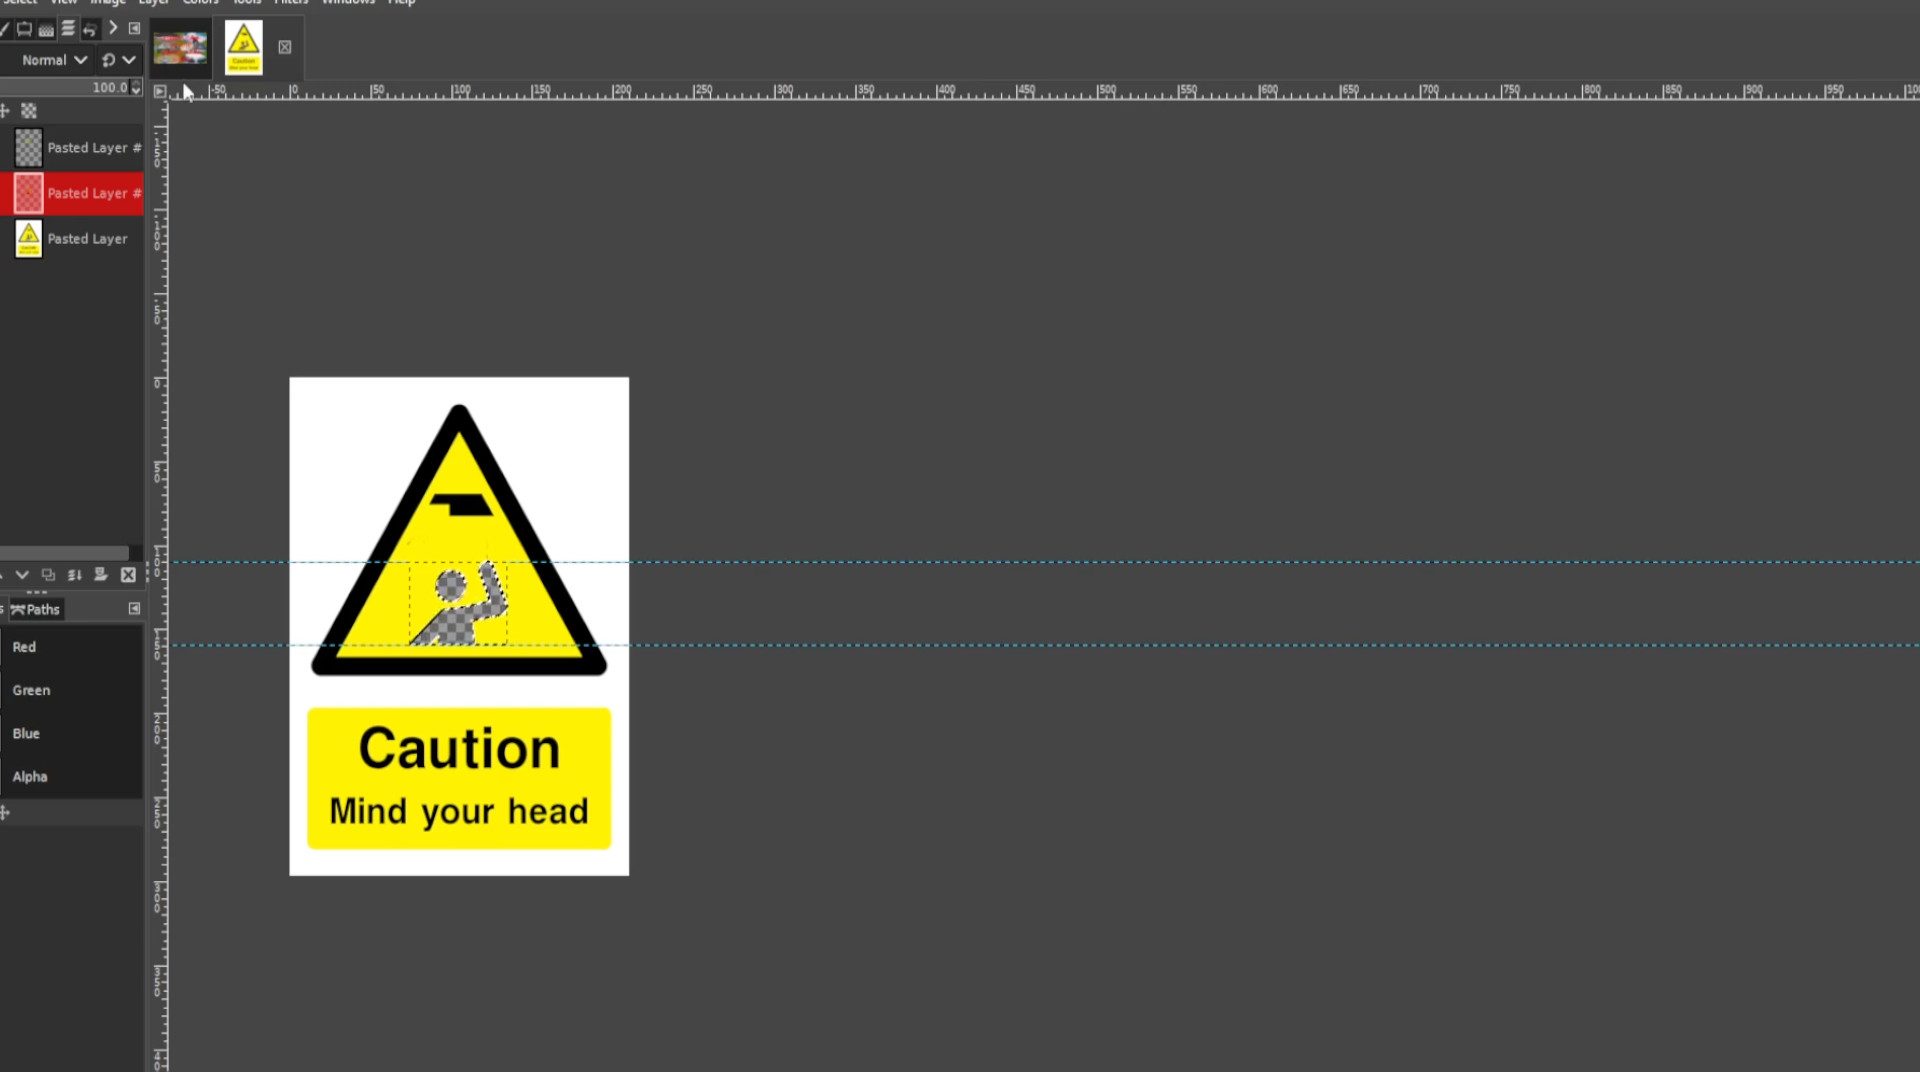
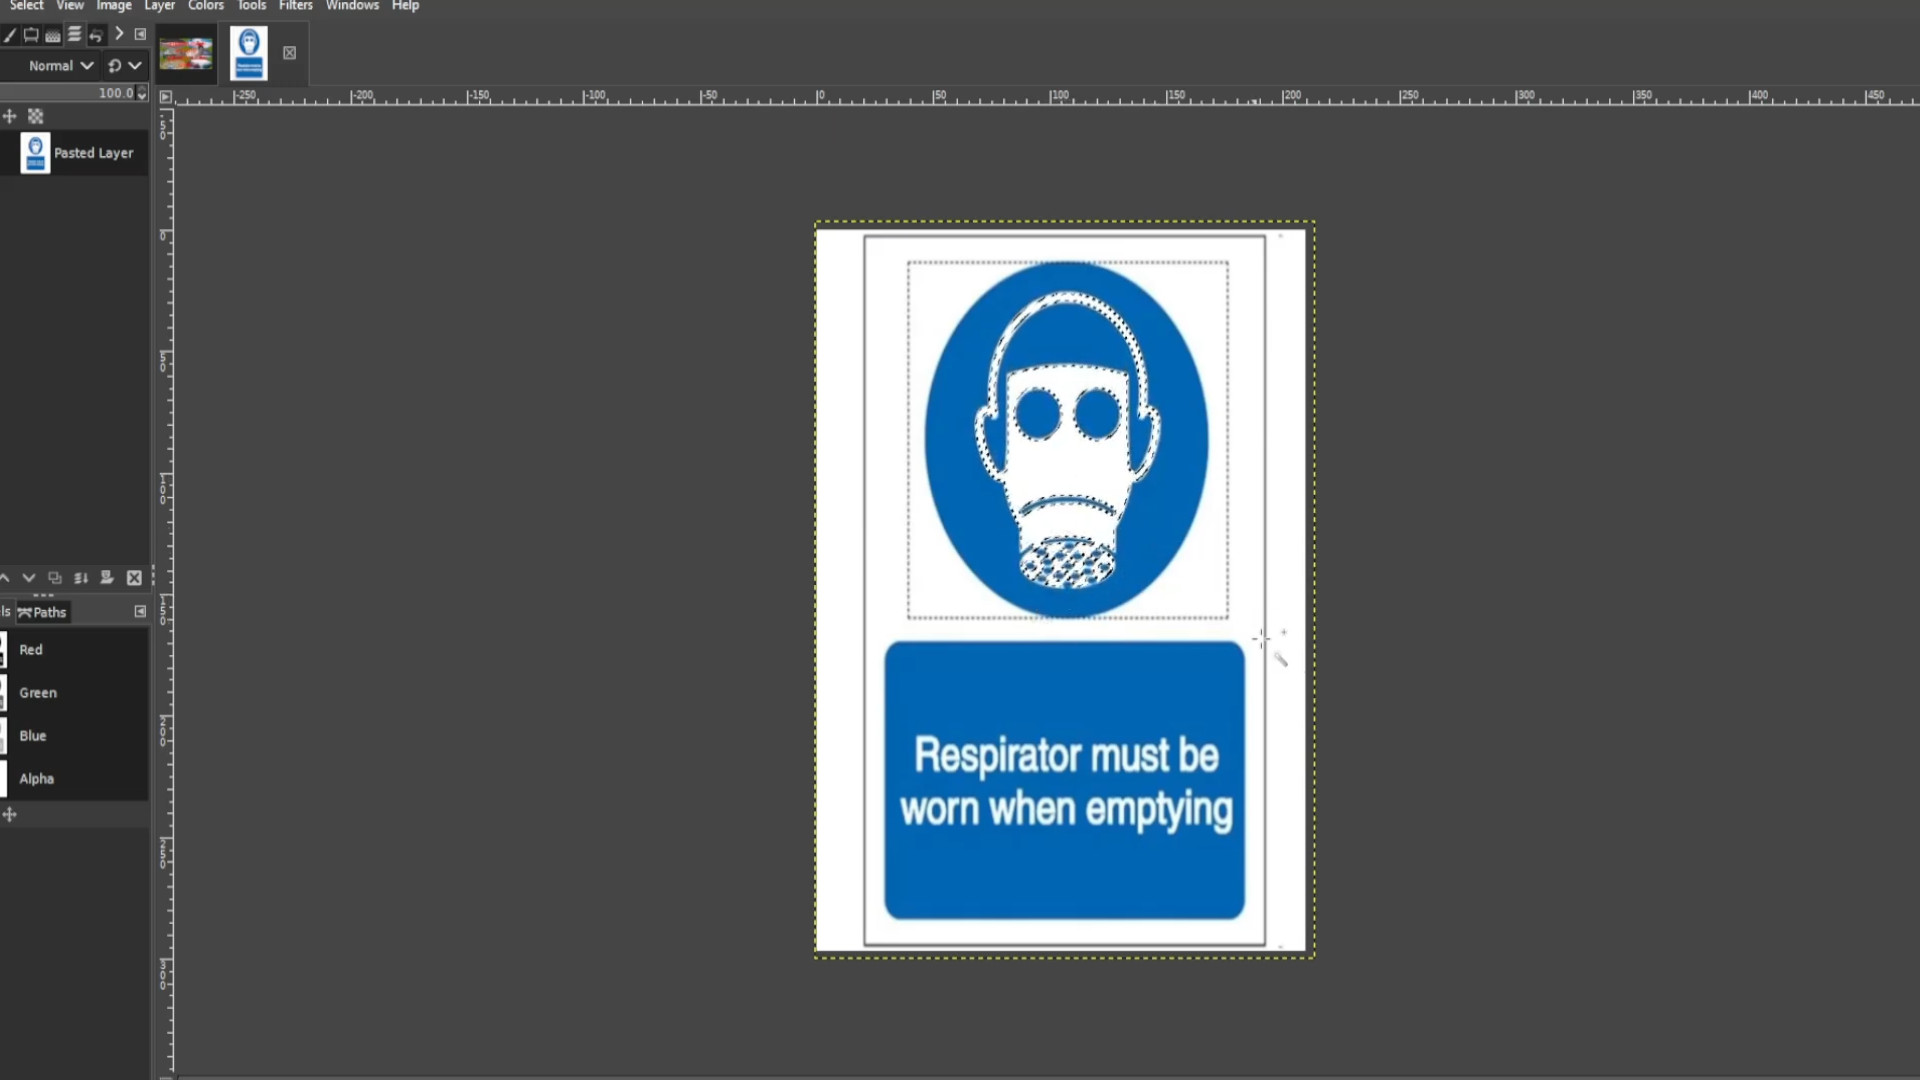
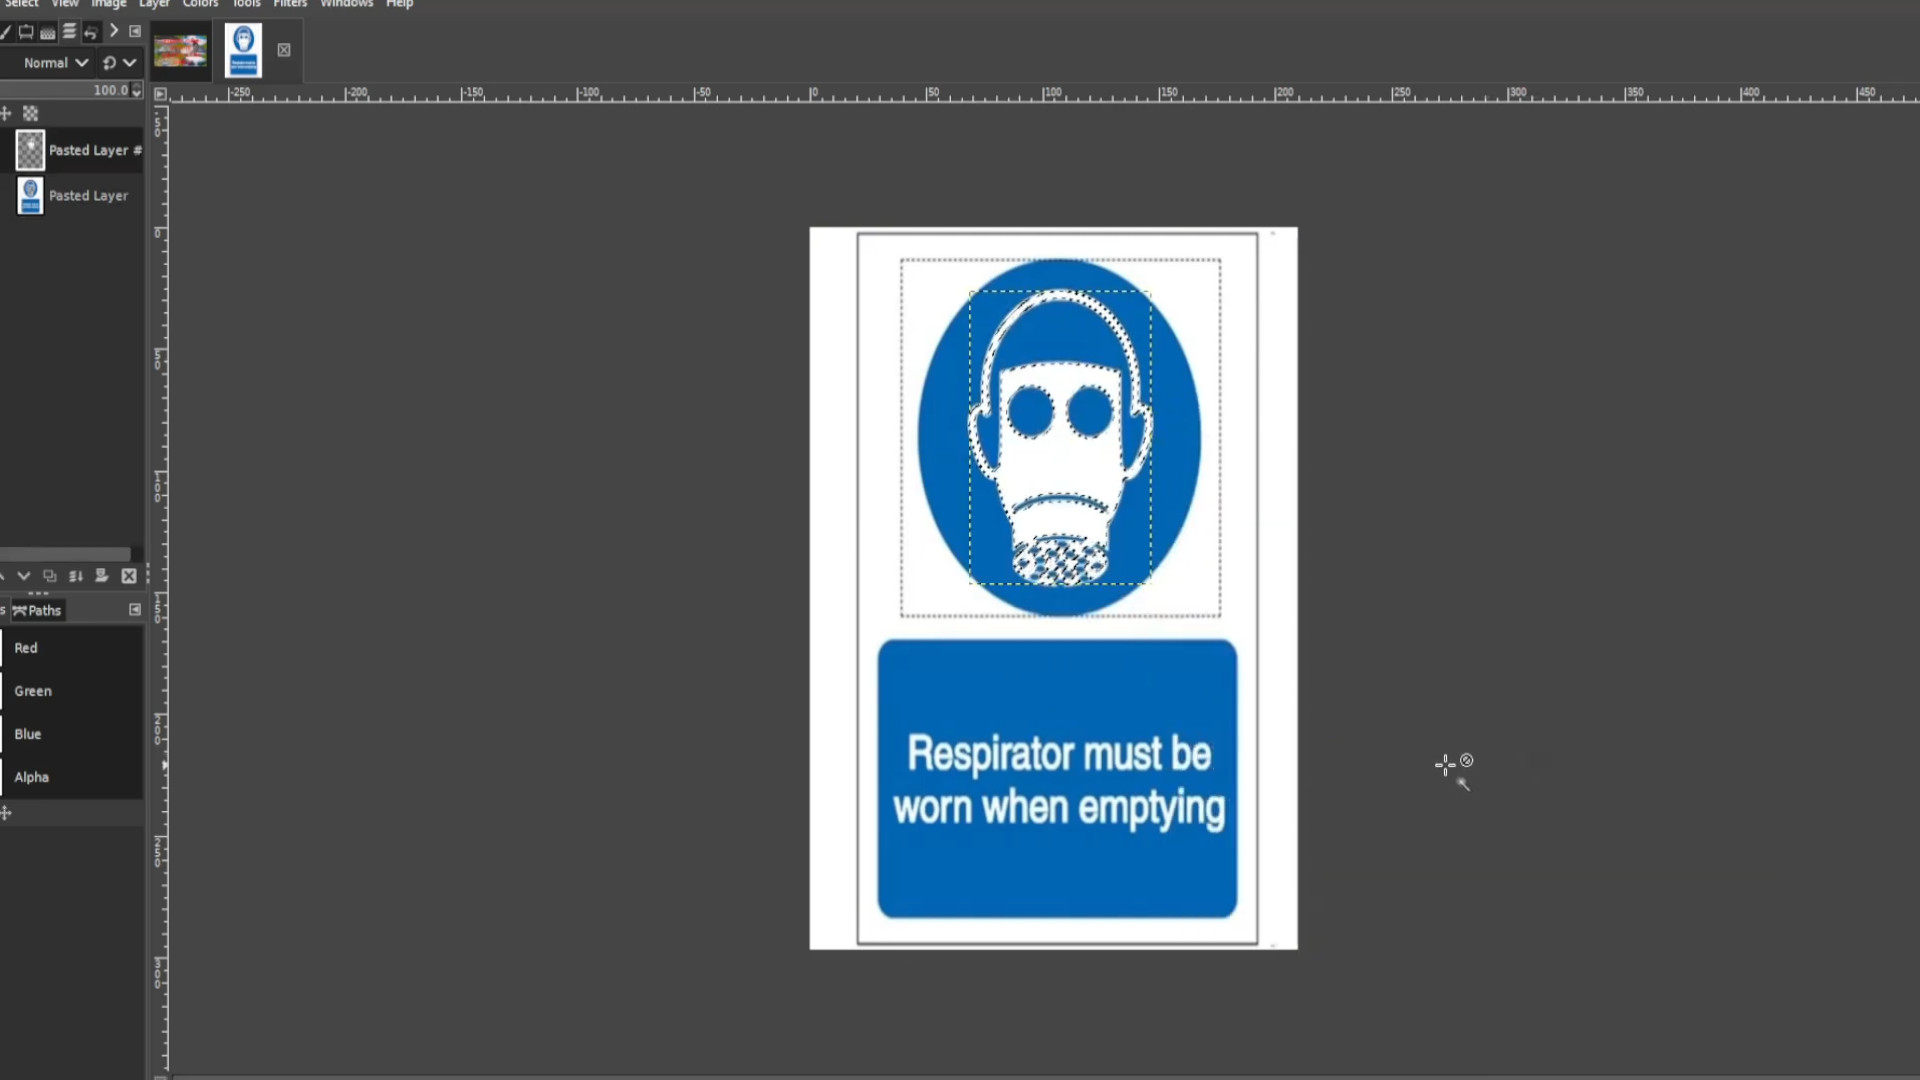
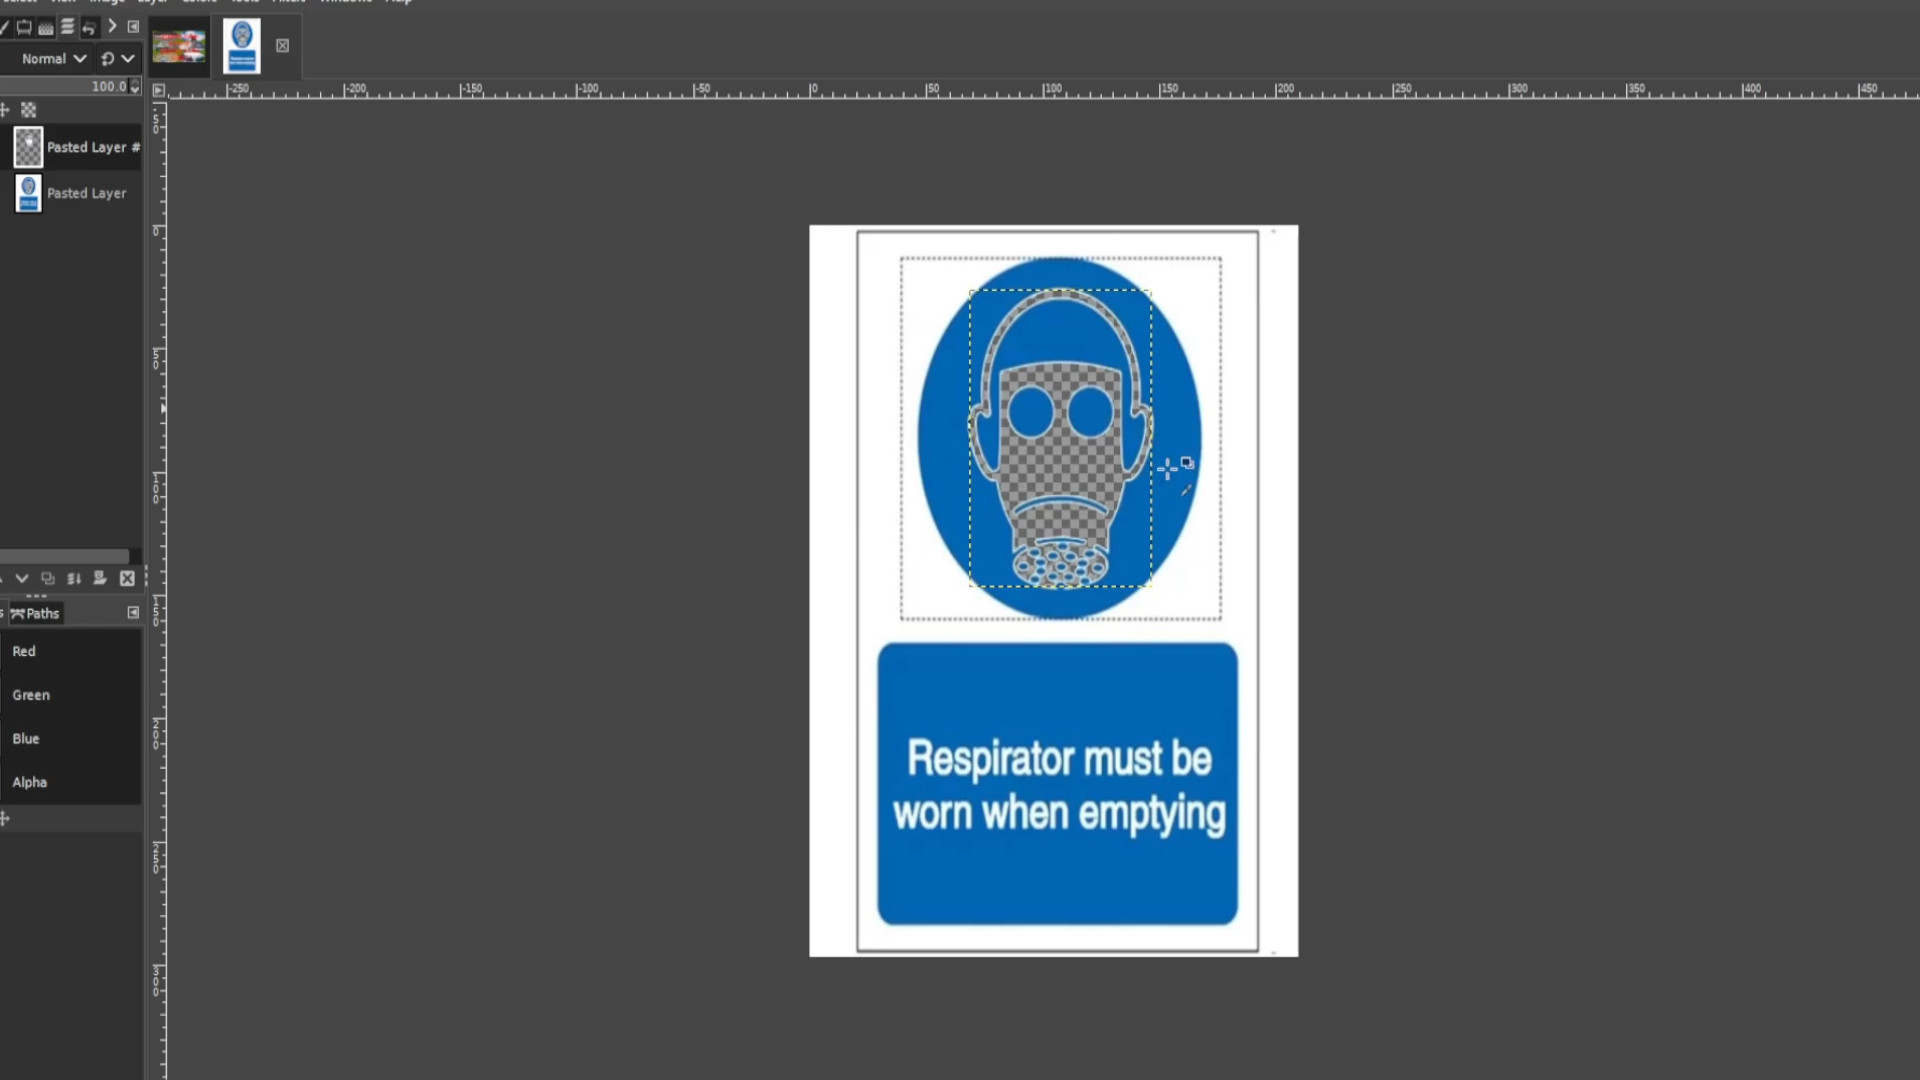
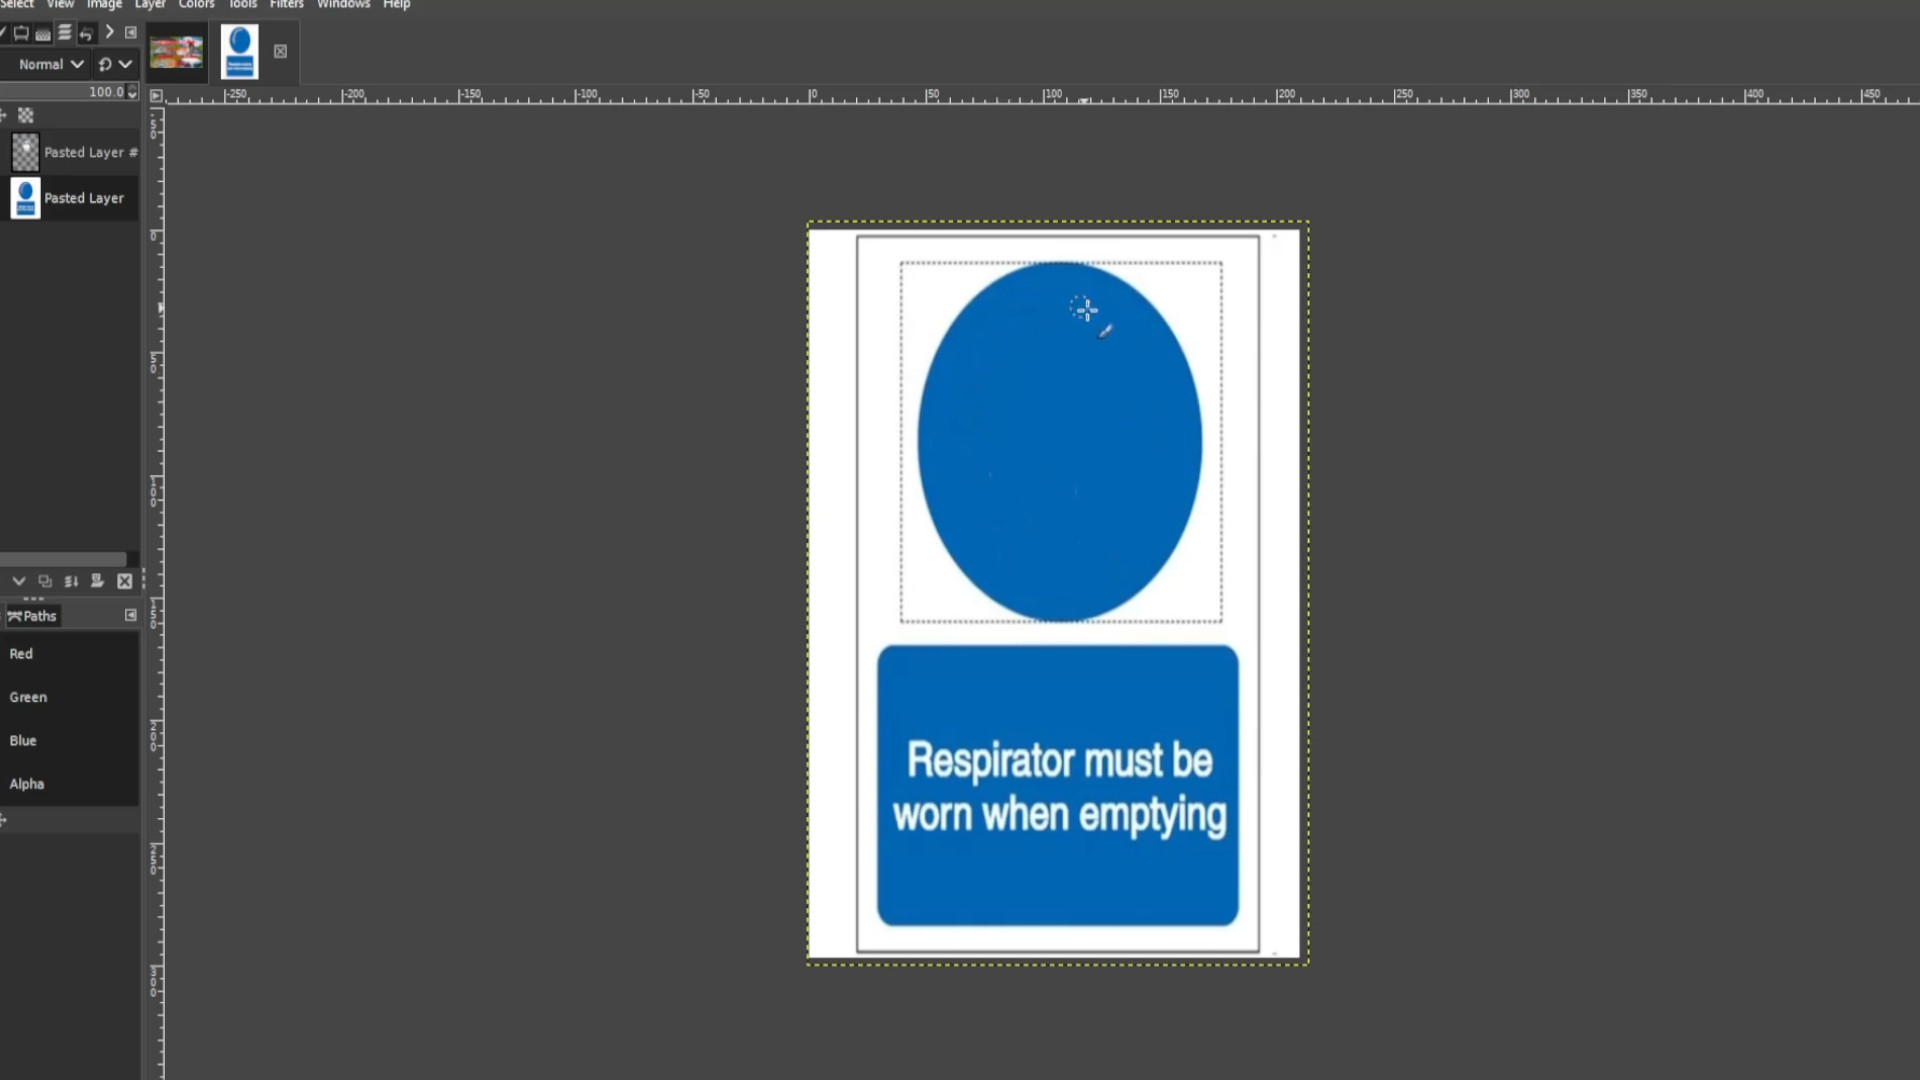
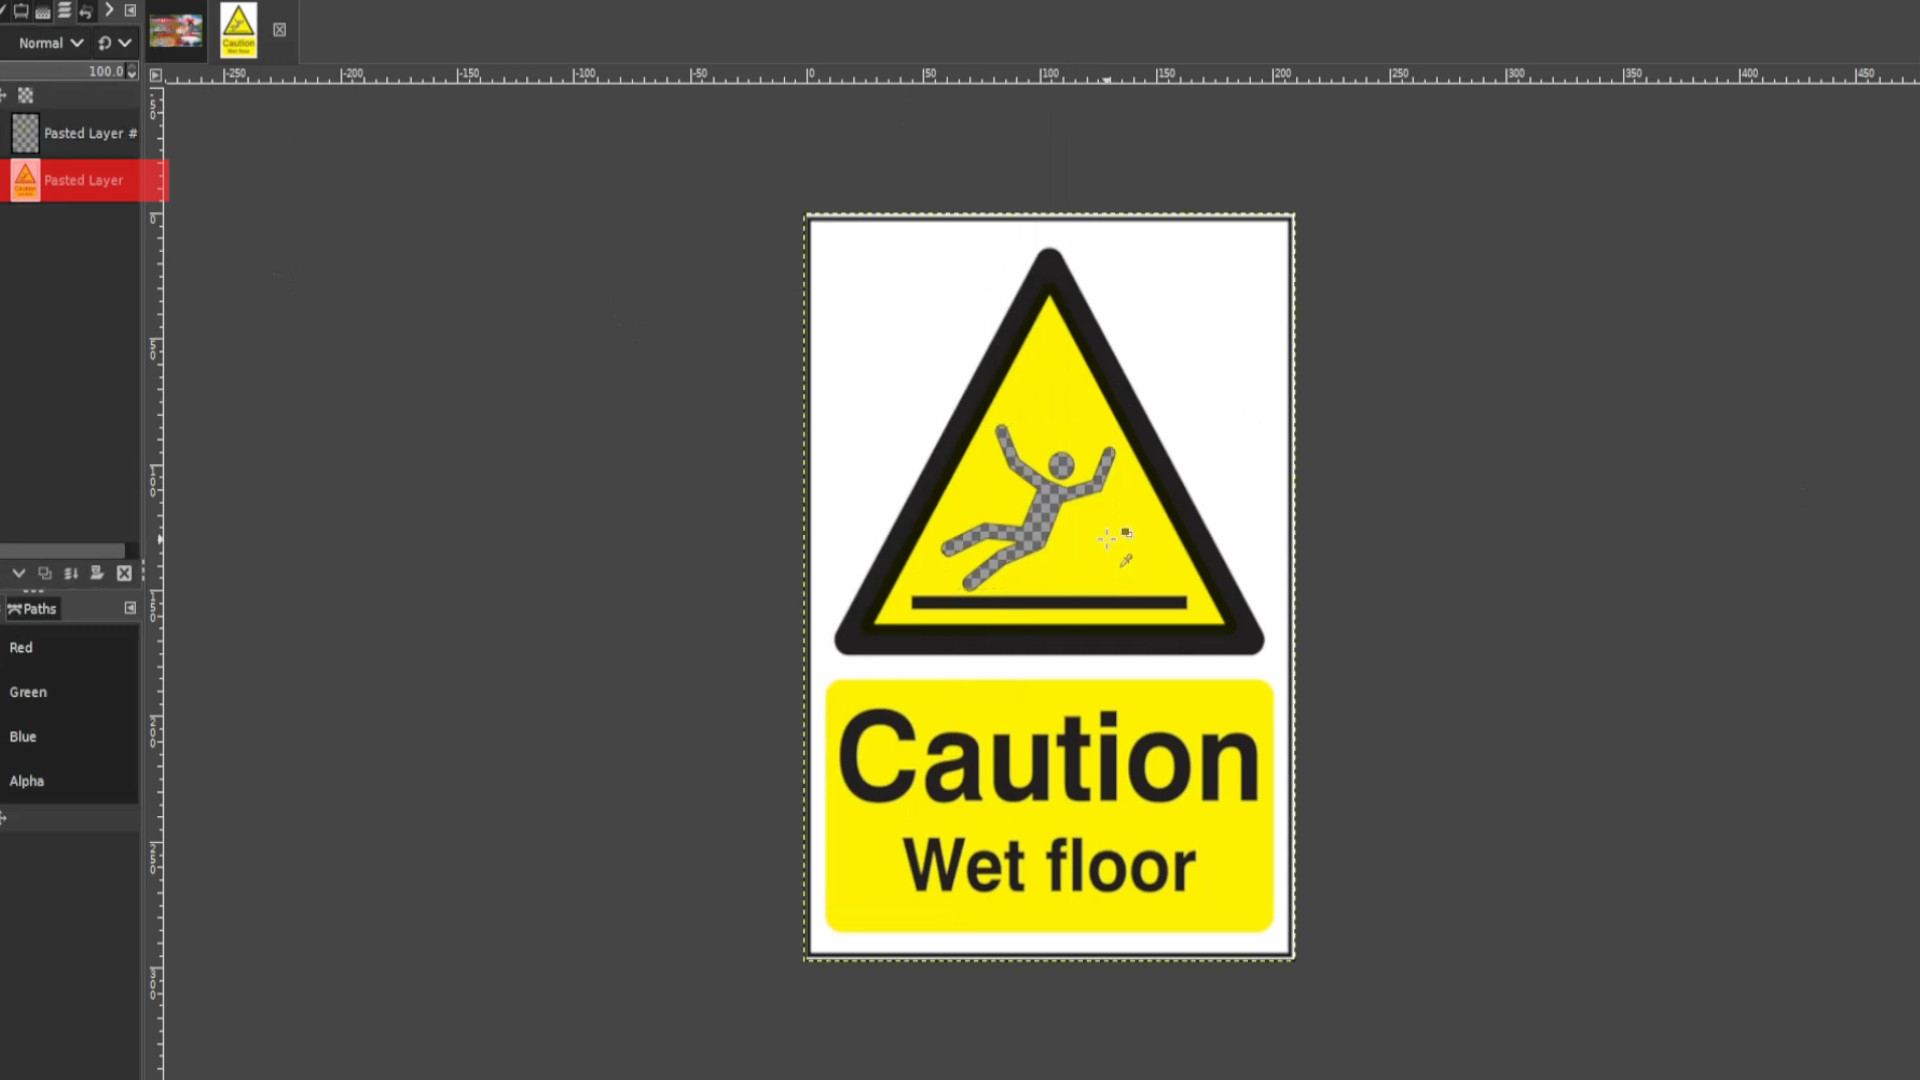
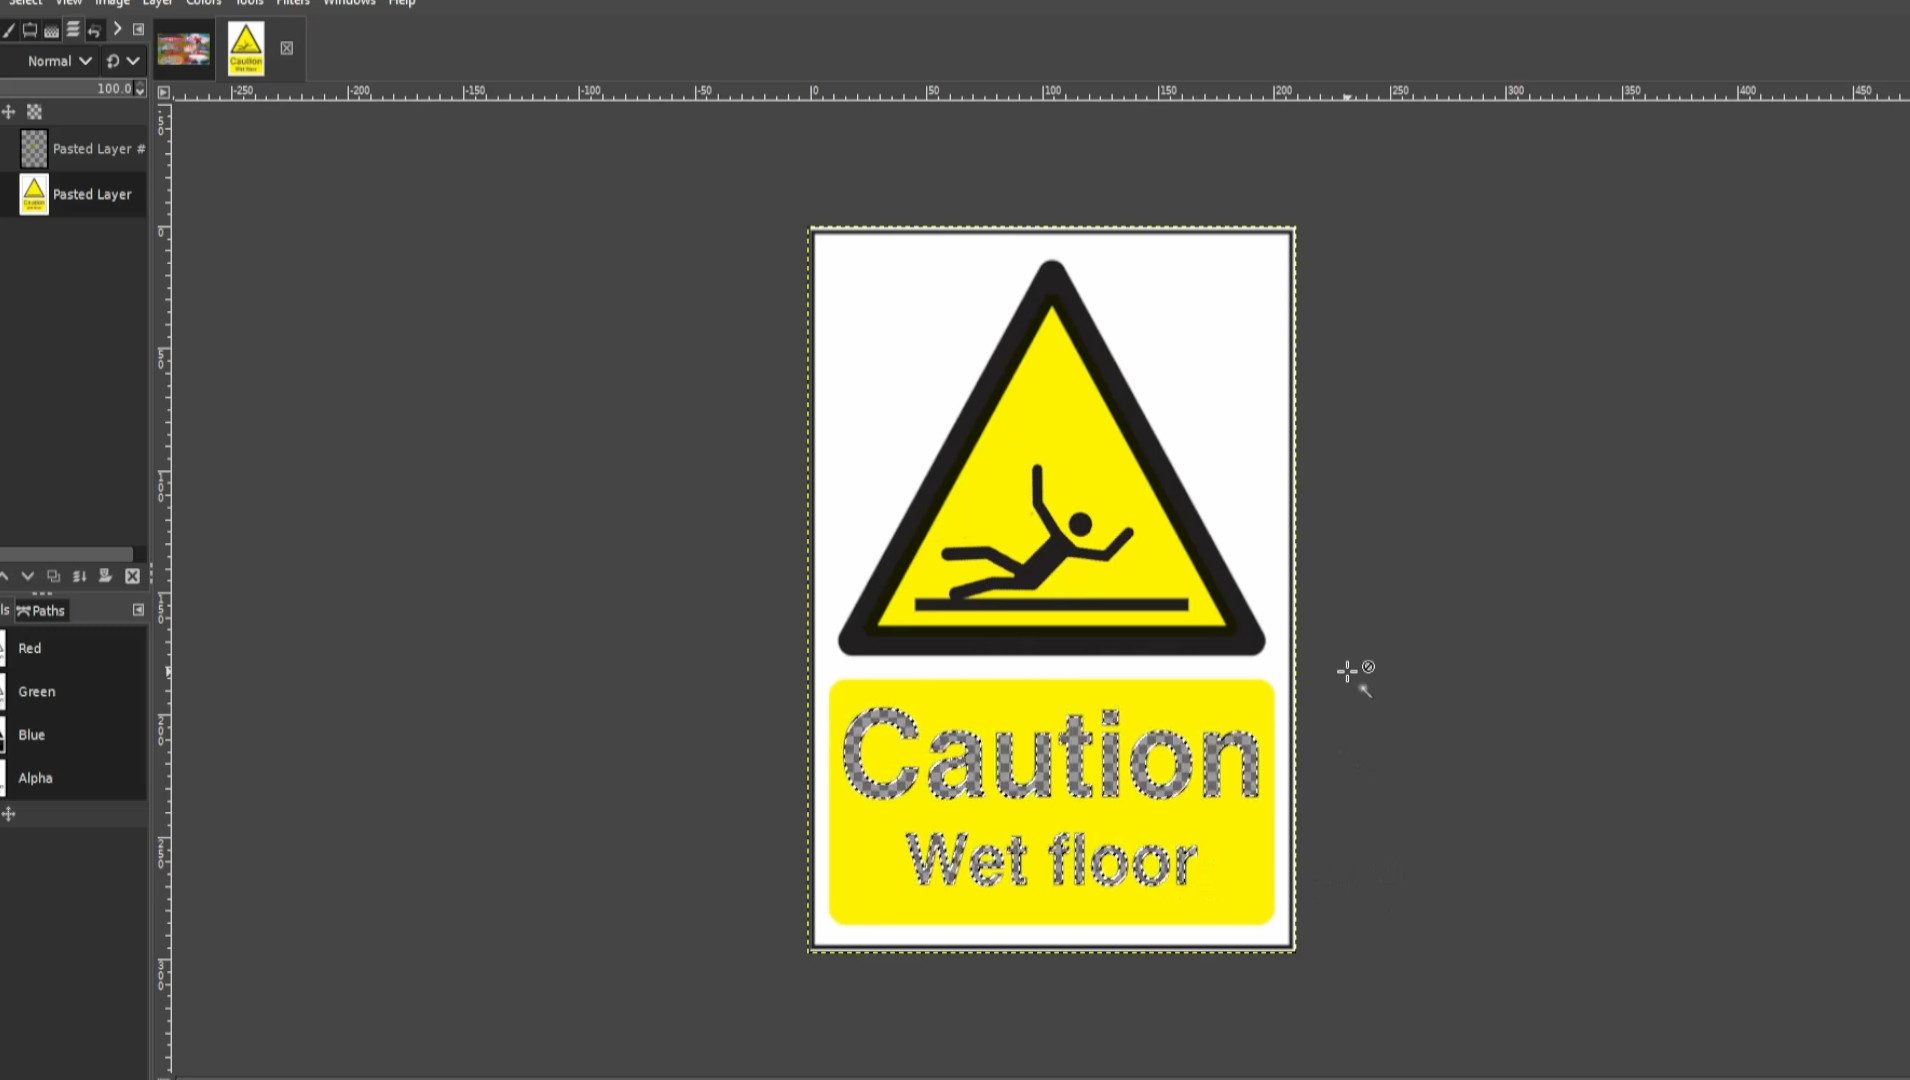
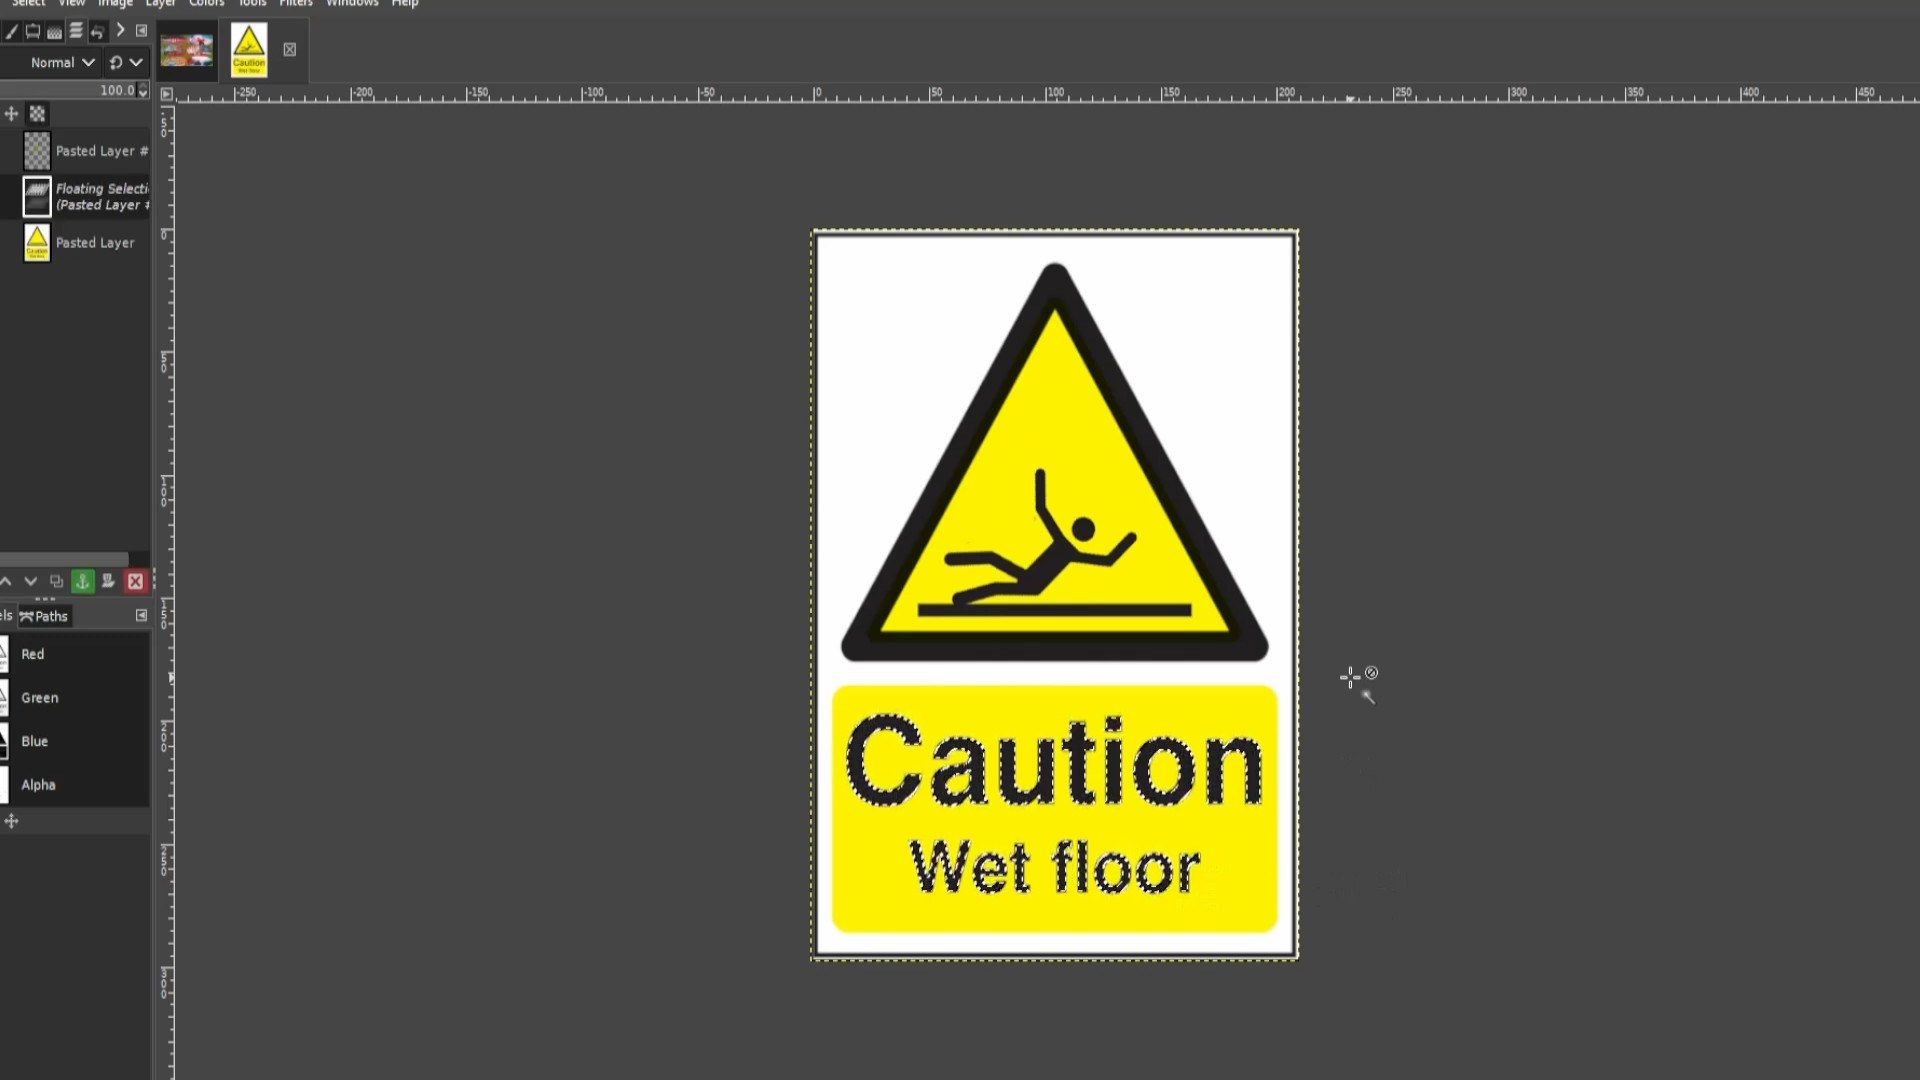
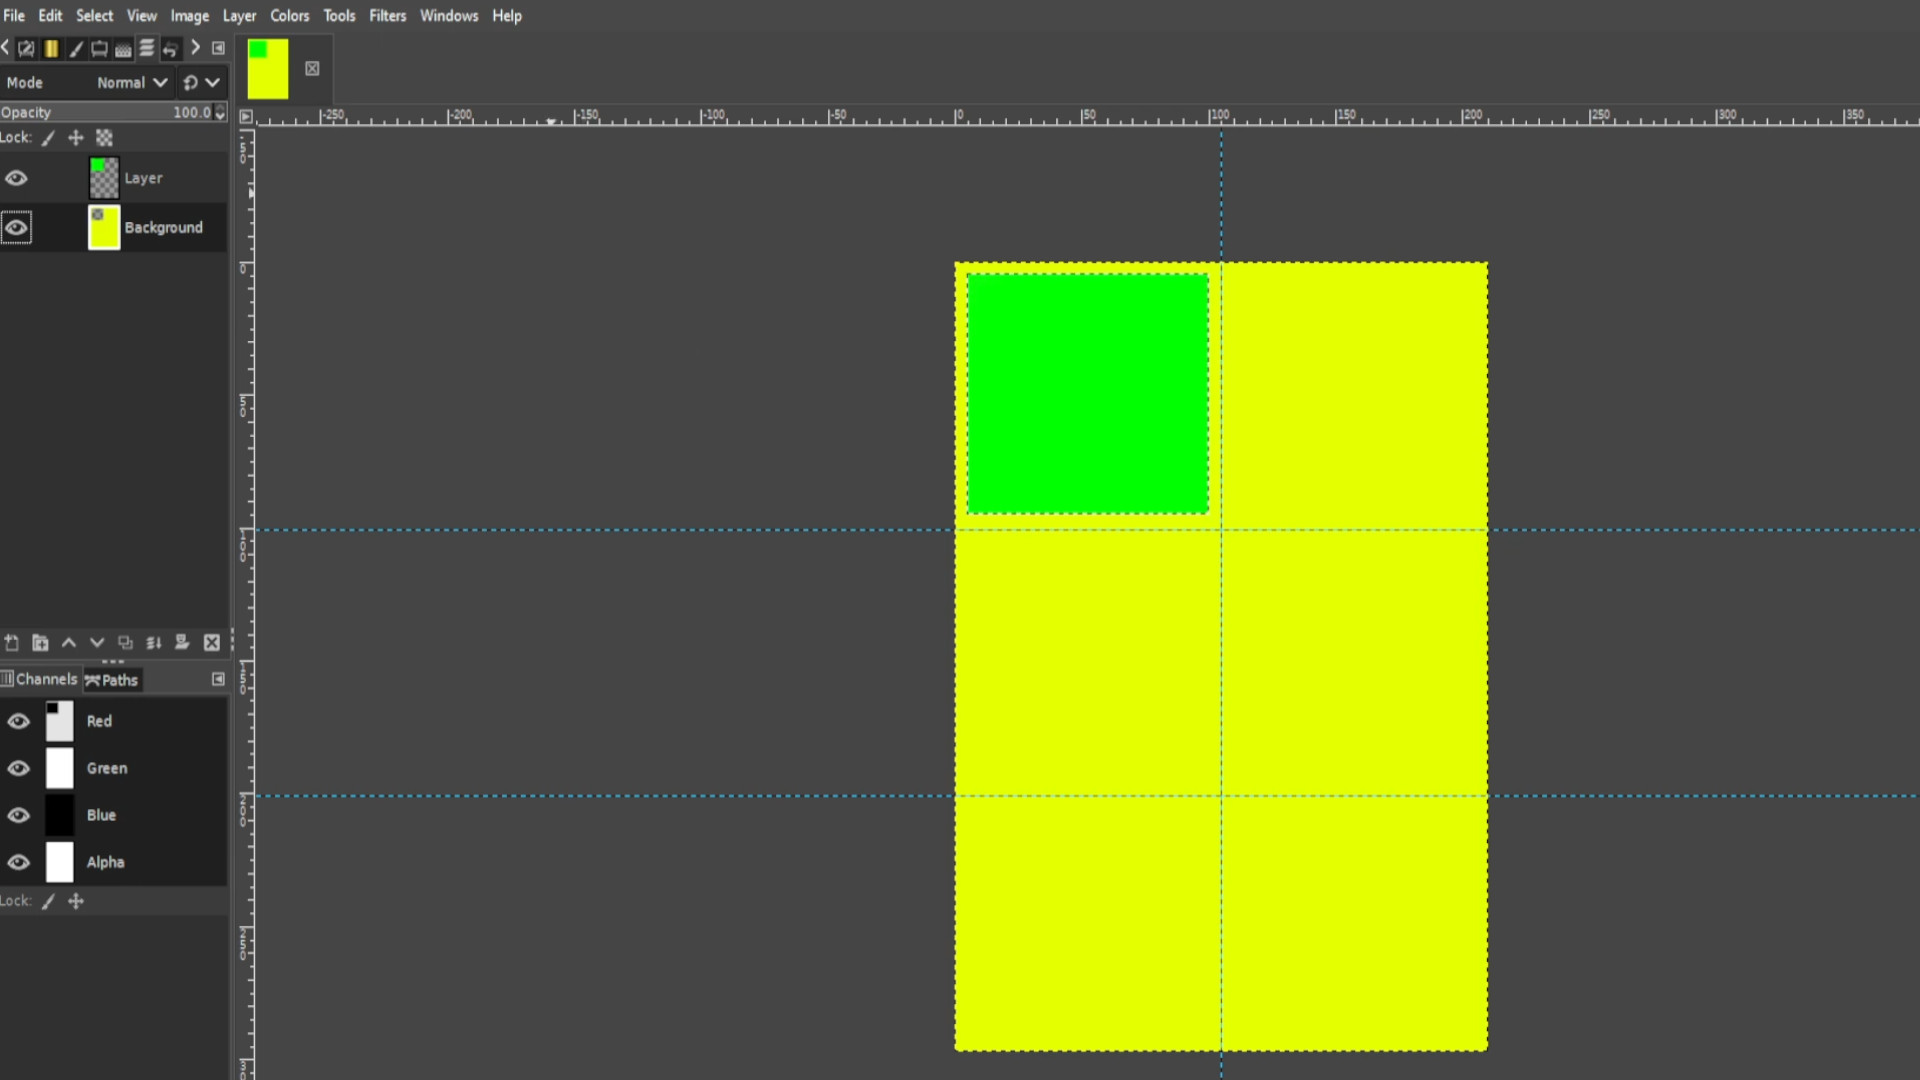
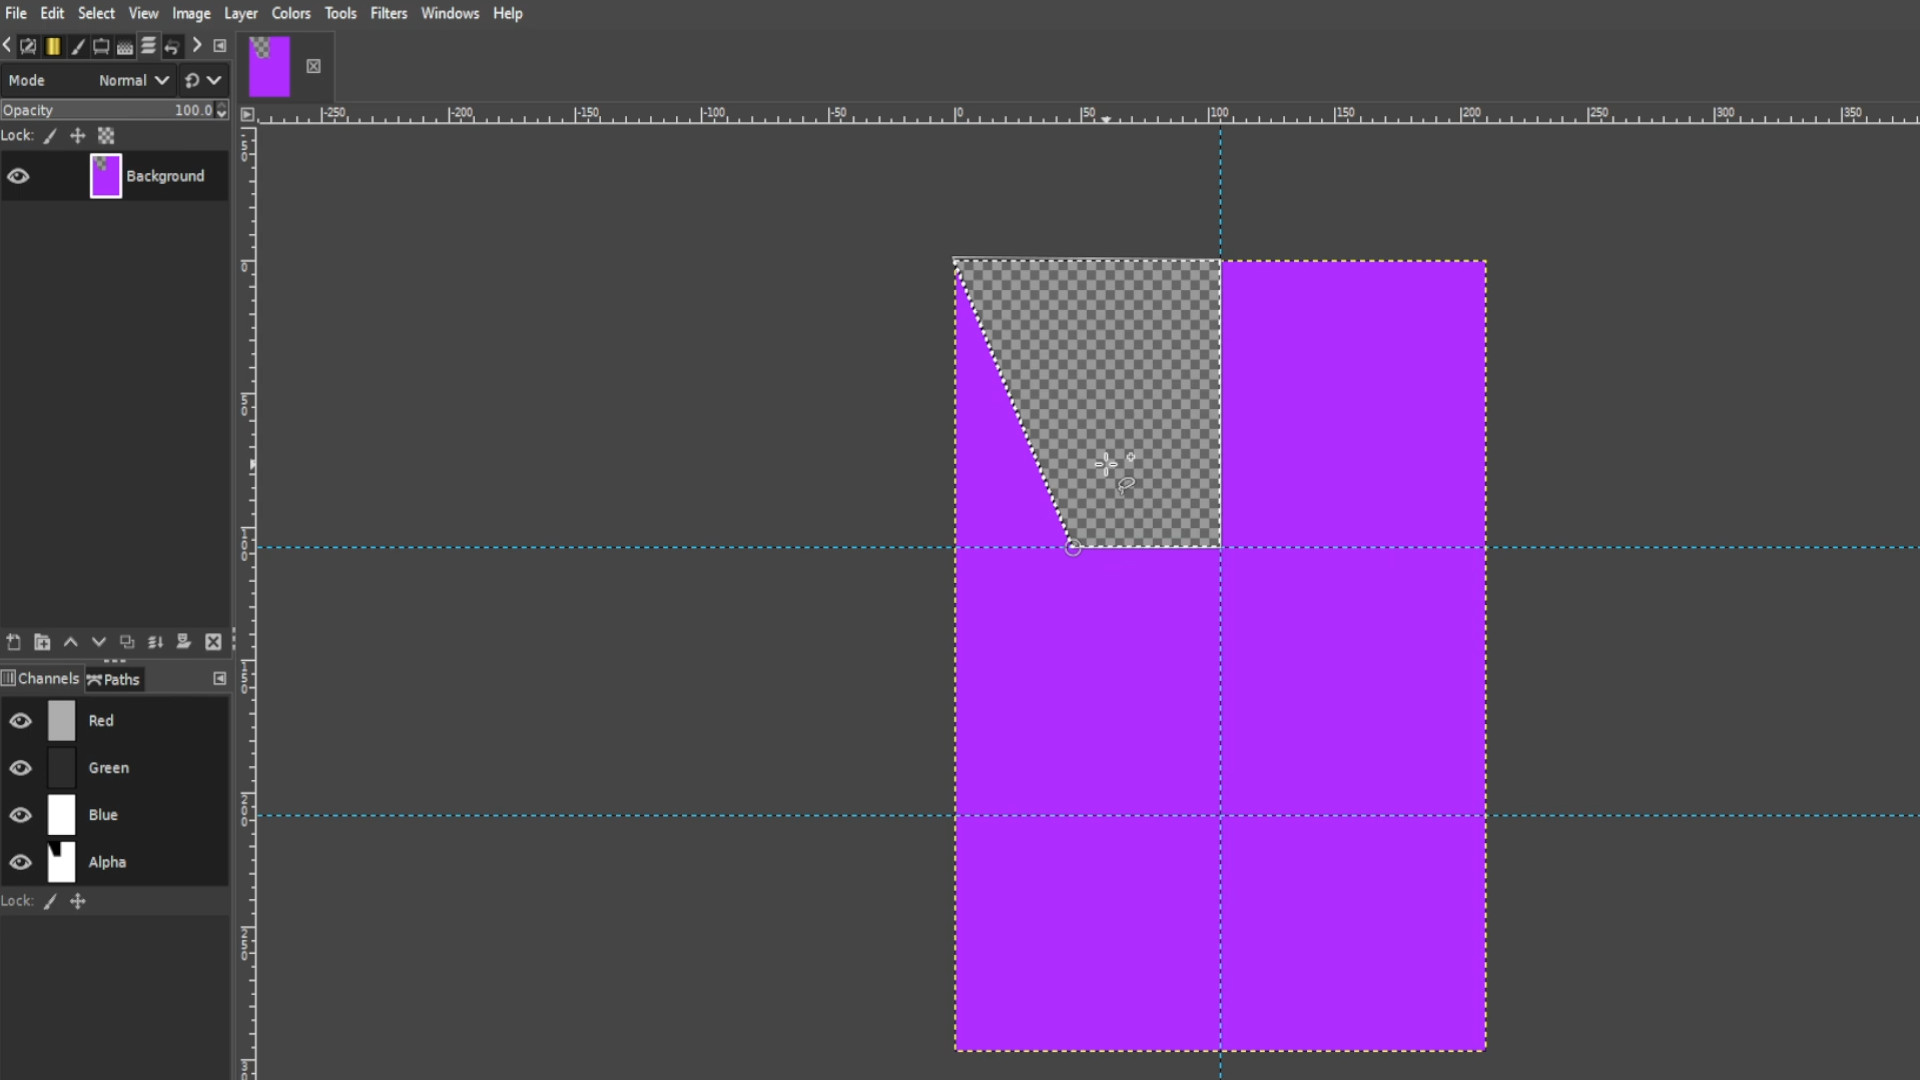
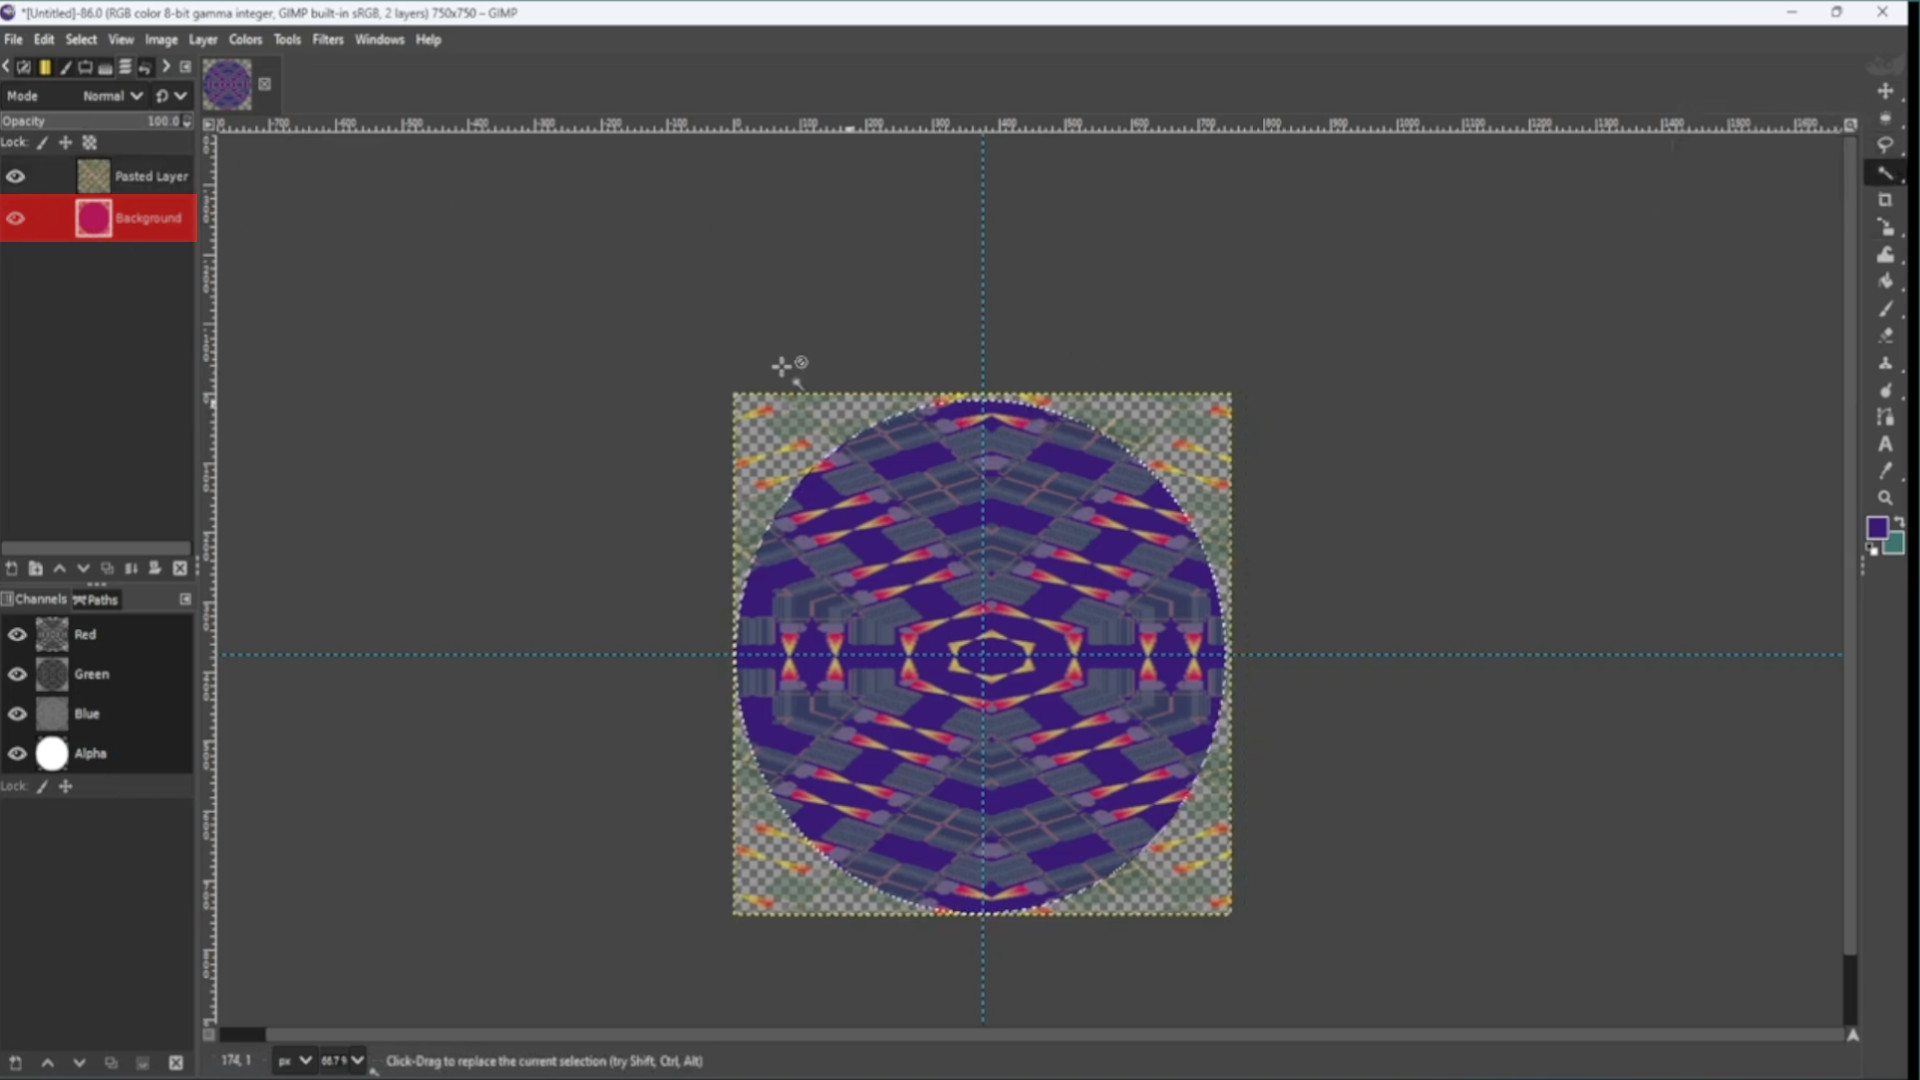
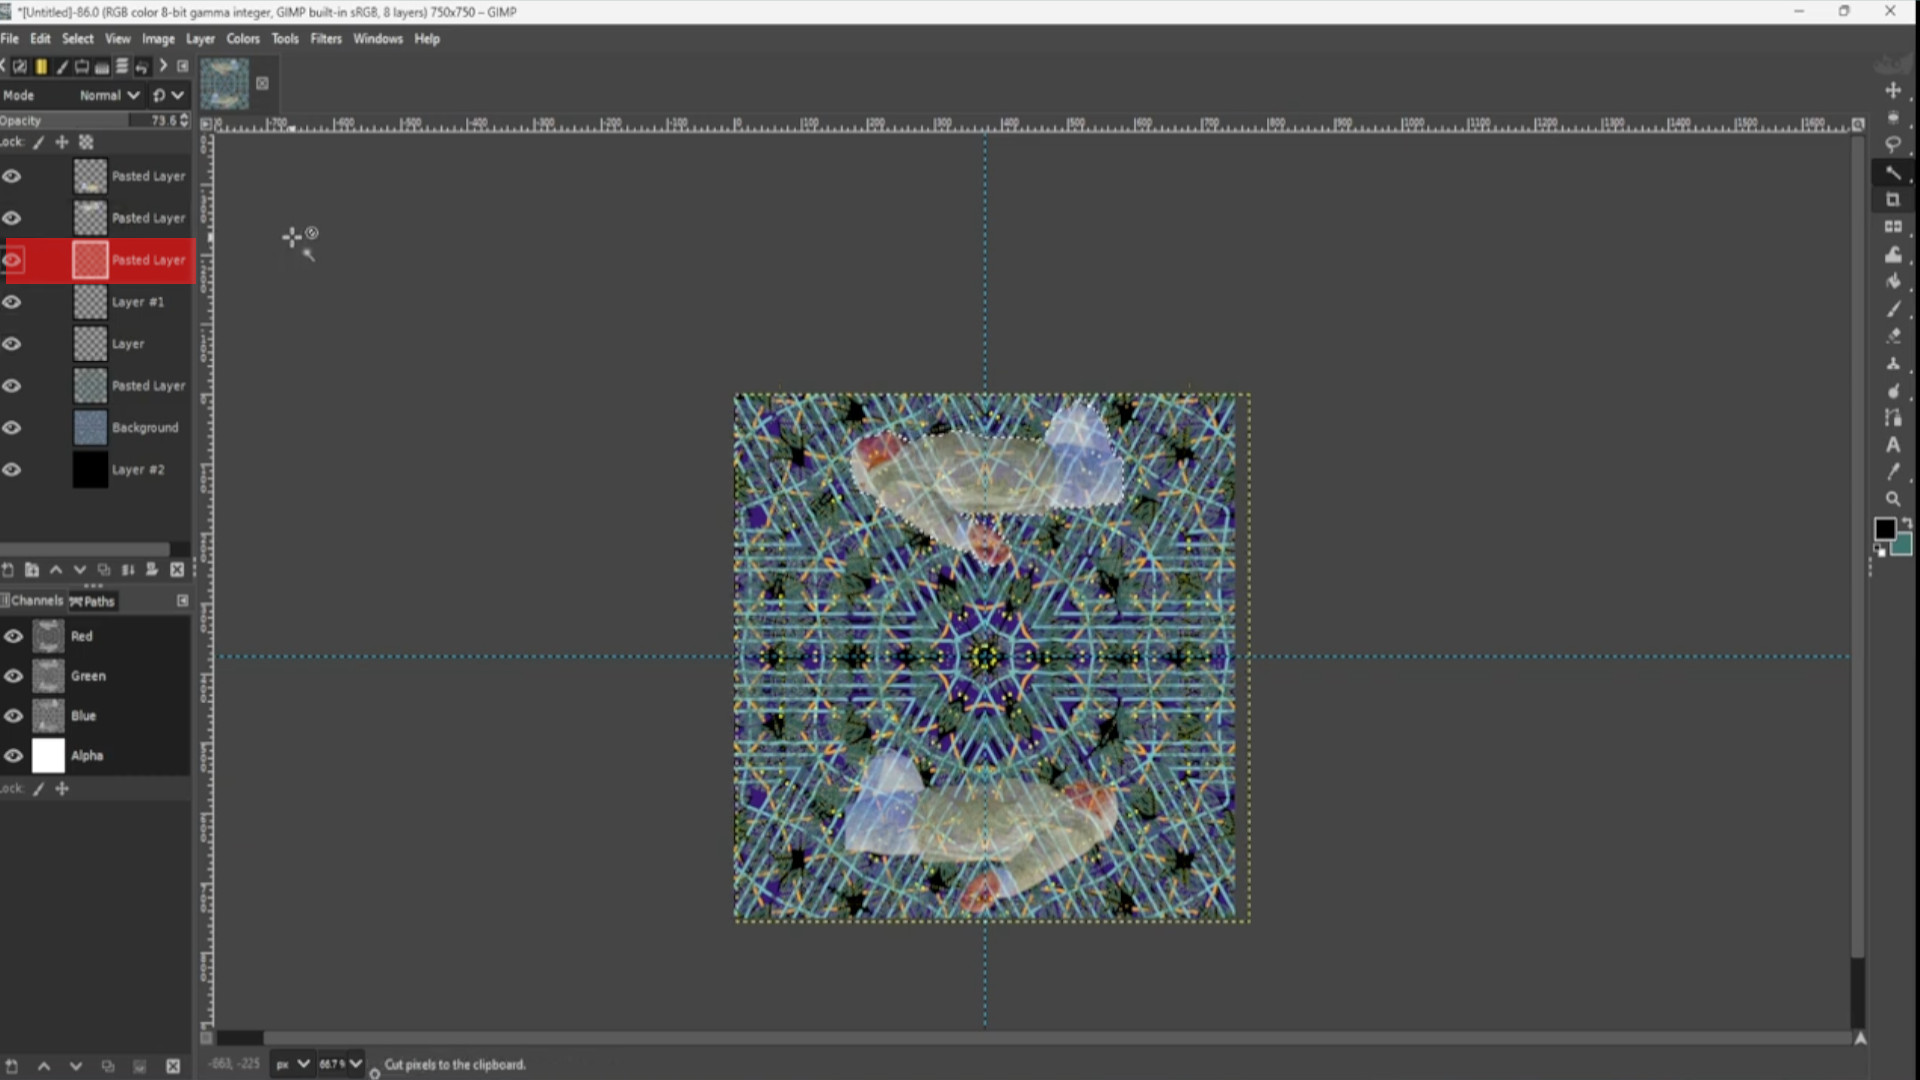
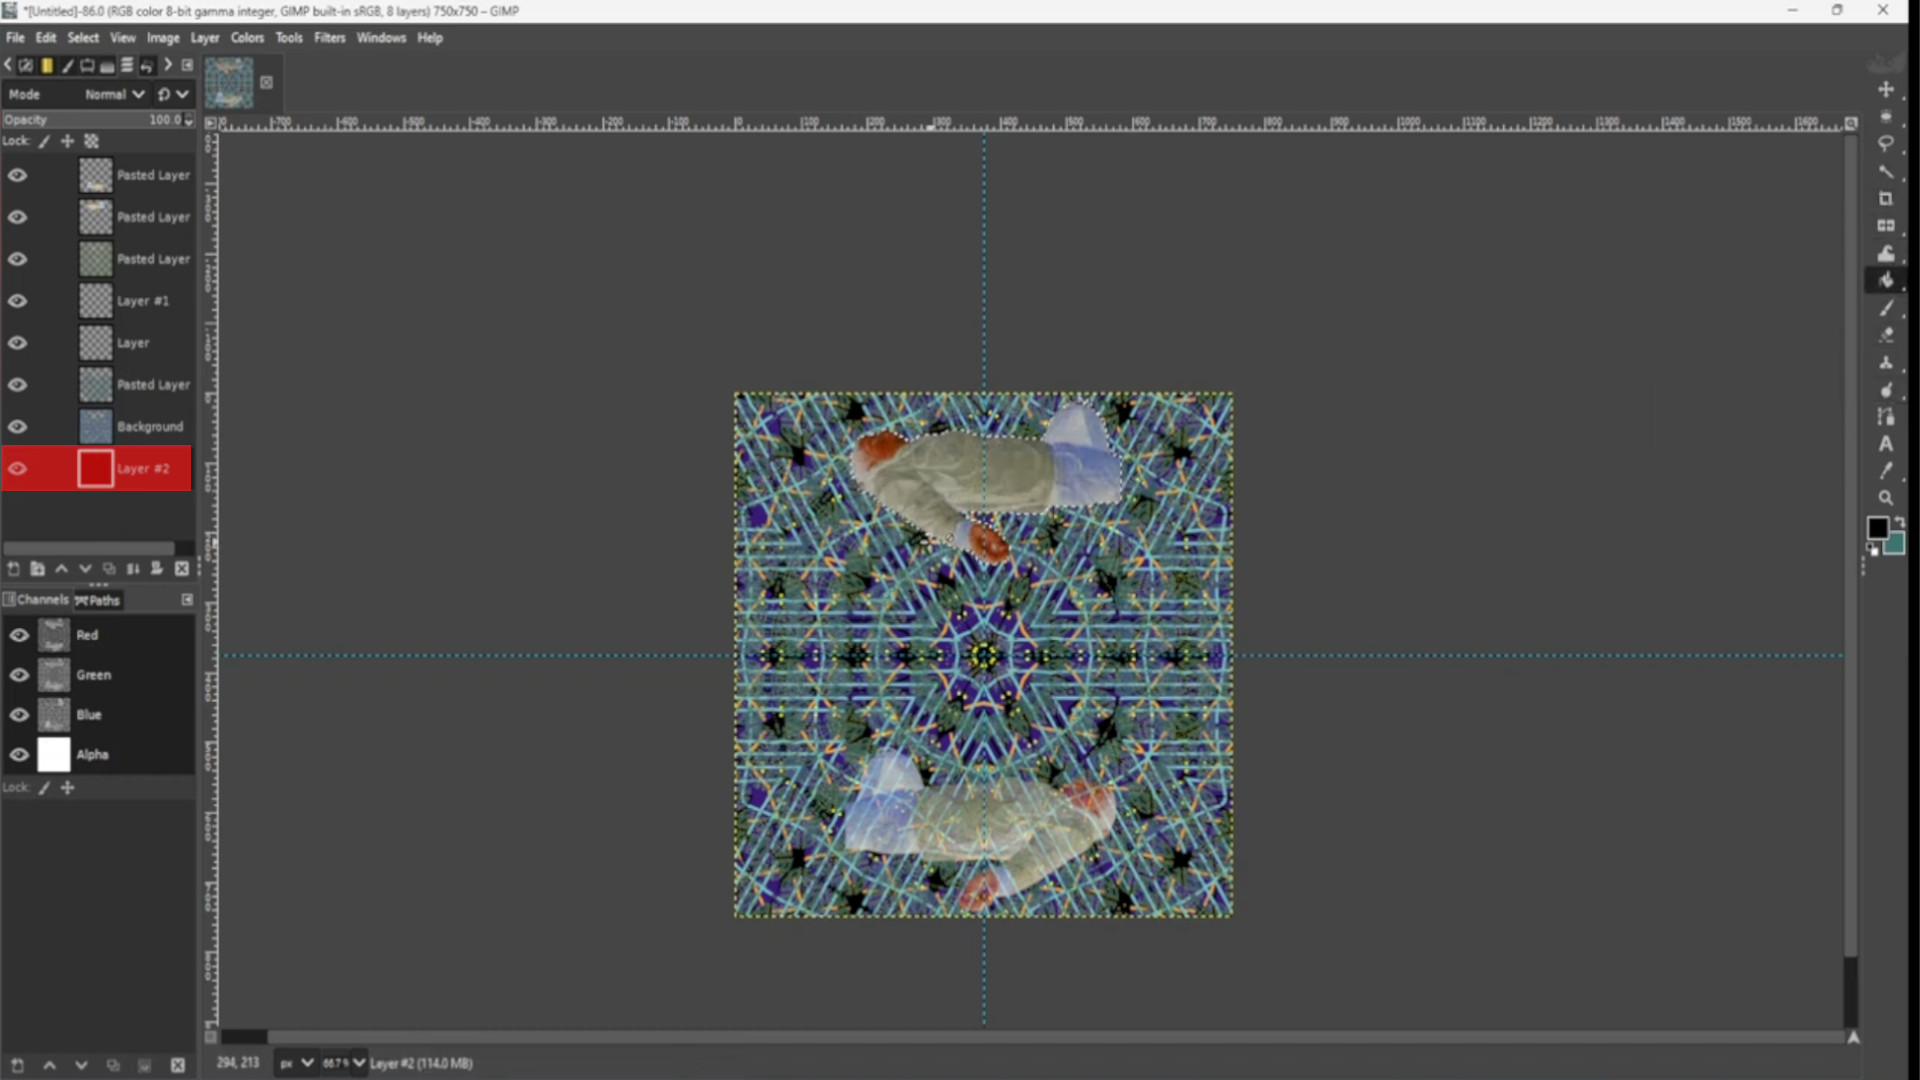
With the>>>BOTTOM LAYER SELECTED and using the>>>FUZZY TOOL>>>SELECT THE CIRCLE then go to>>>SELECT>>>INVERT to invert the selection.
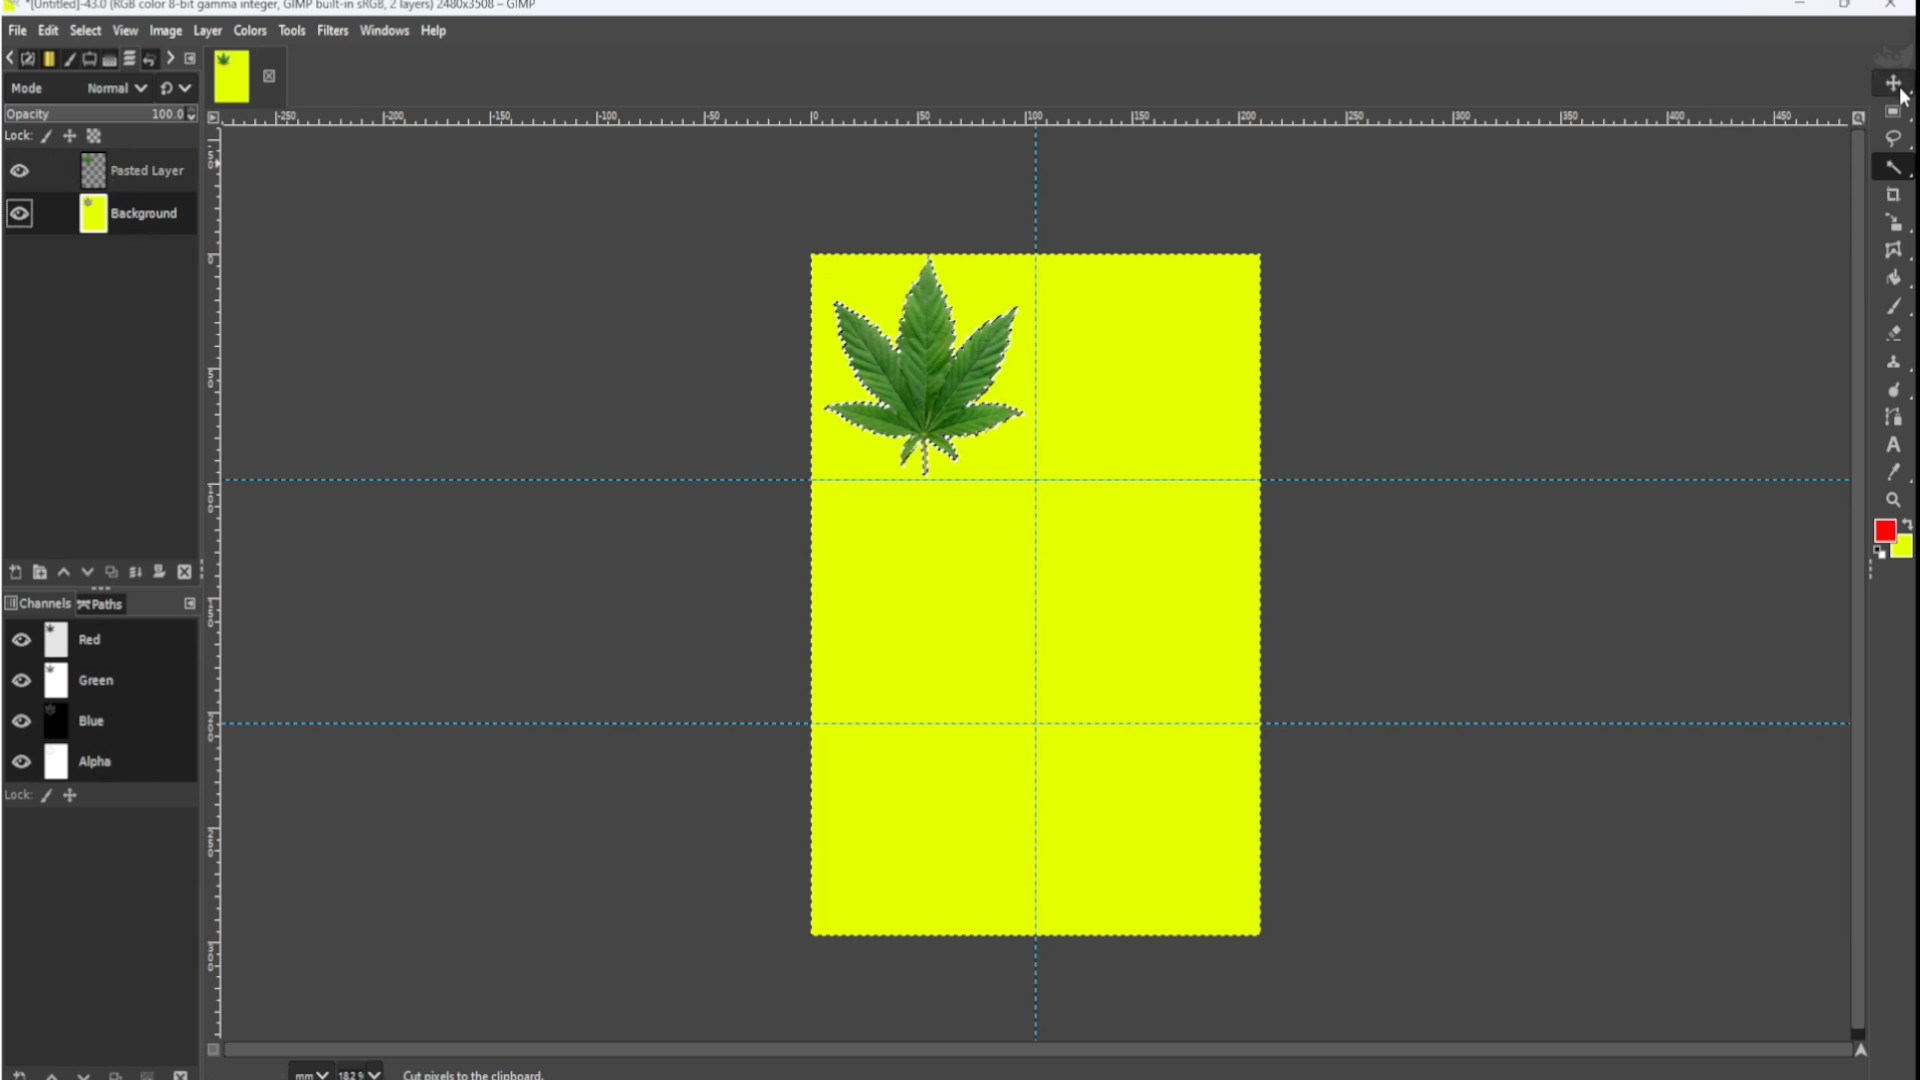
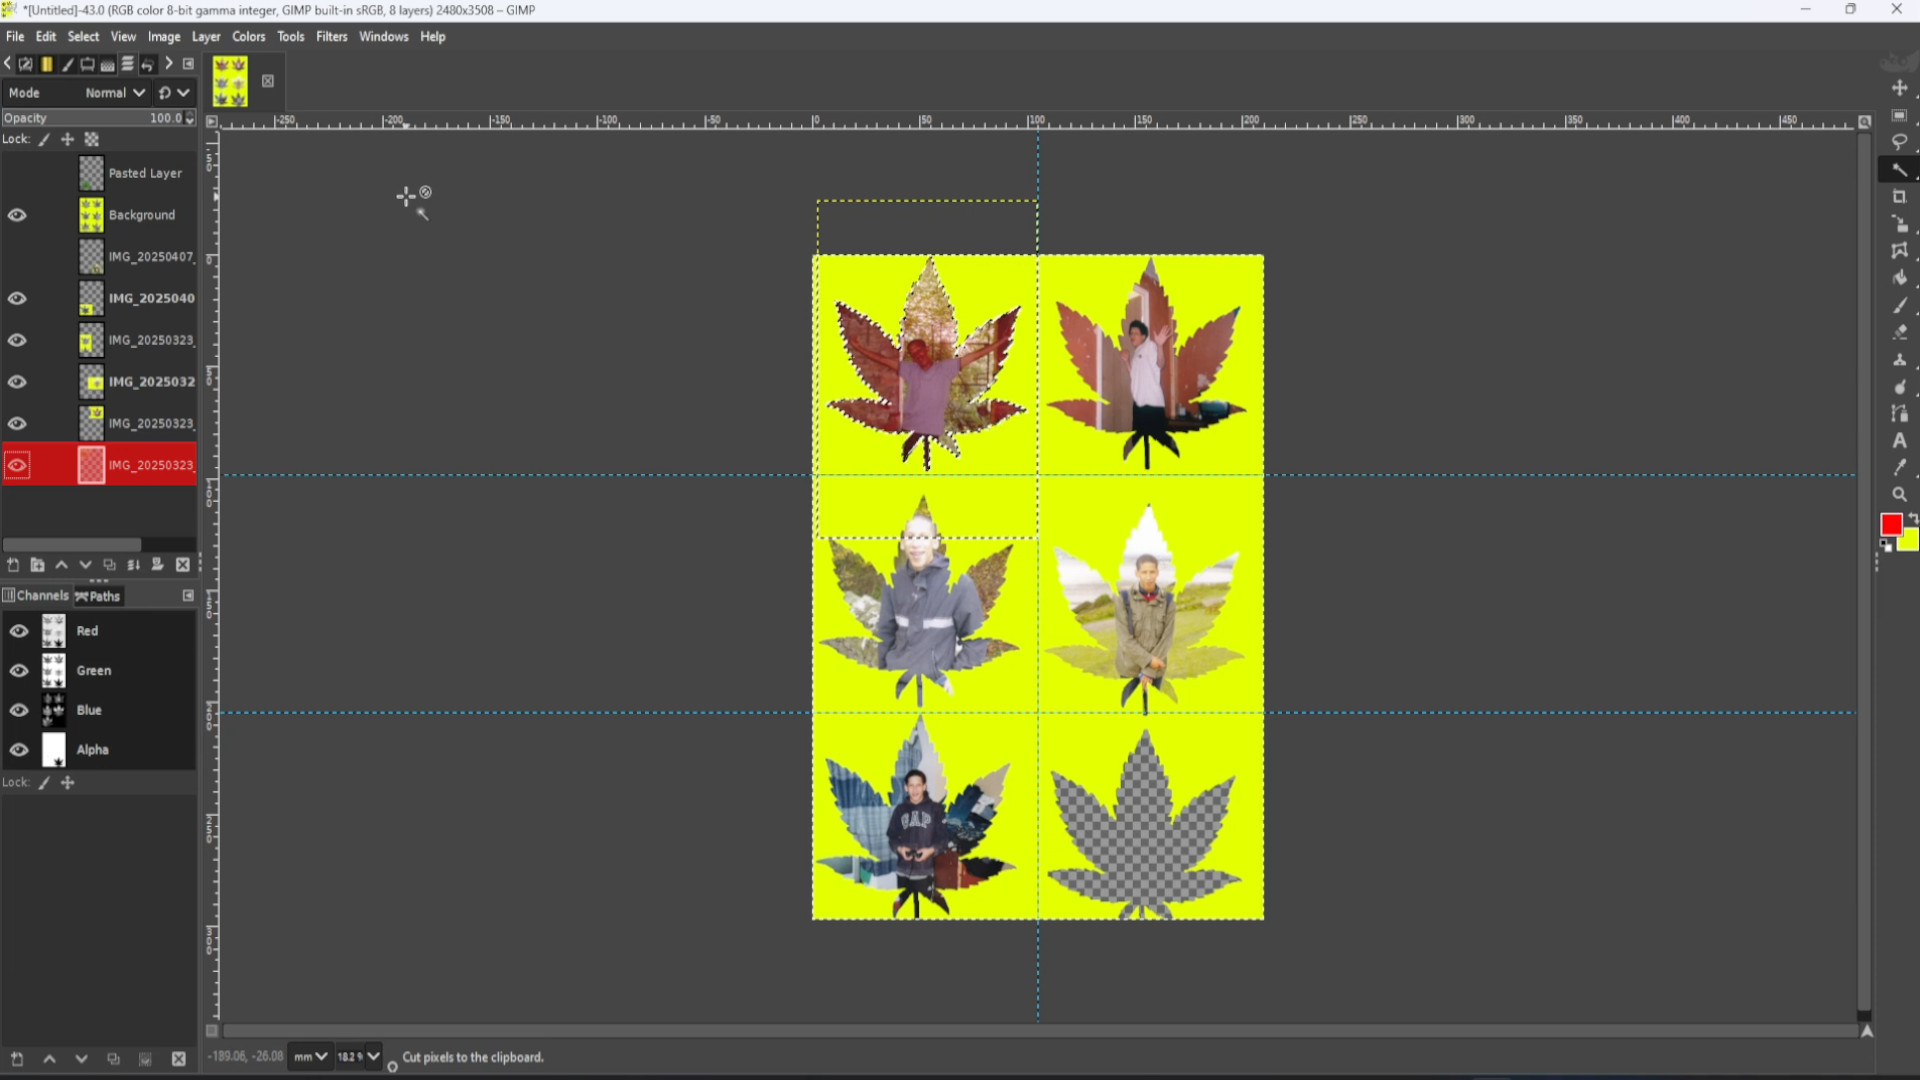
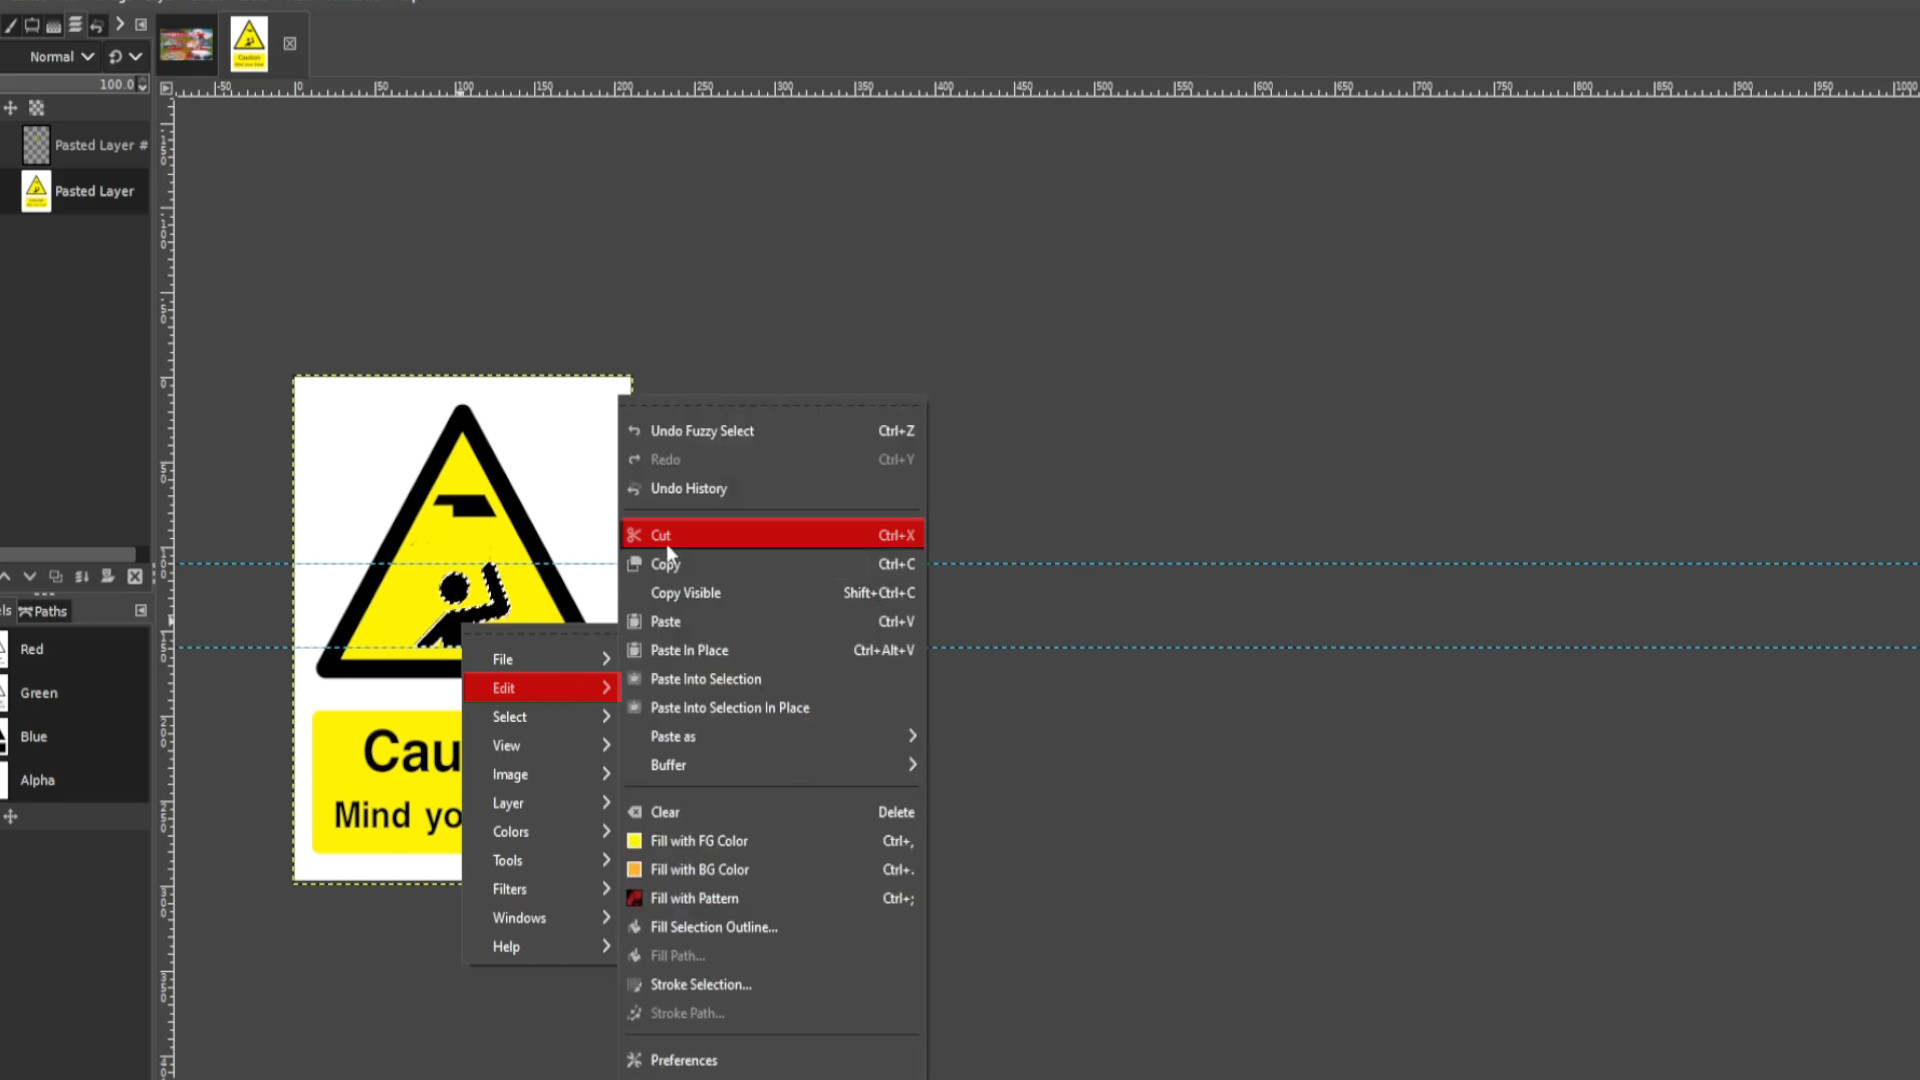
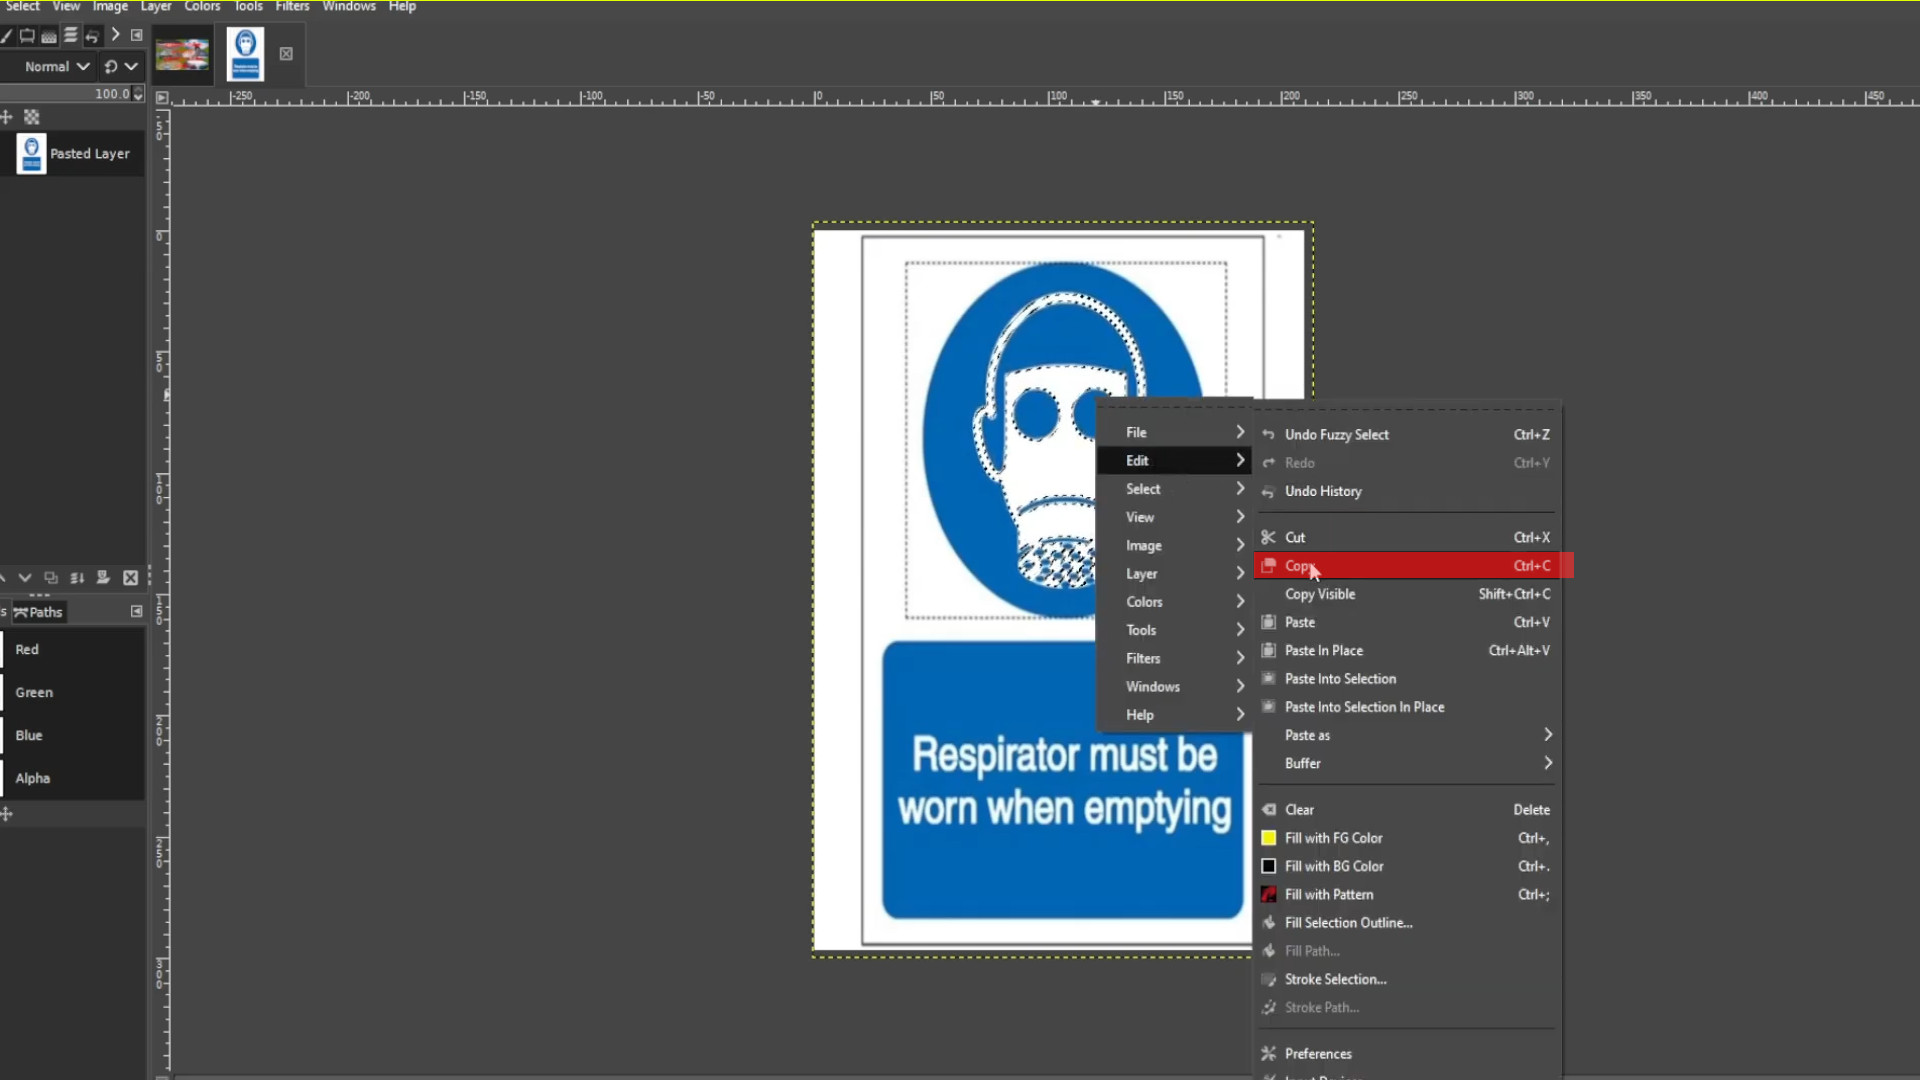
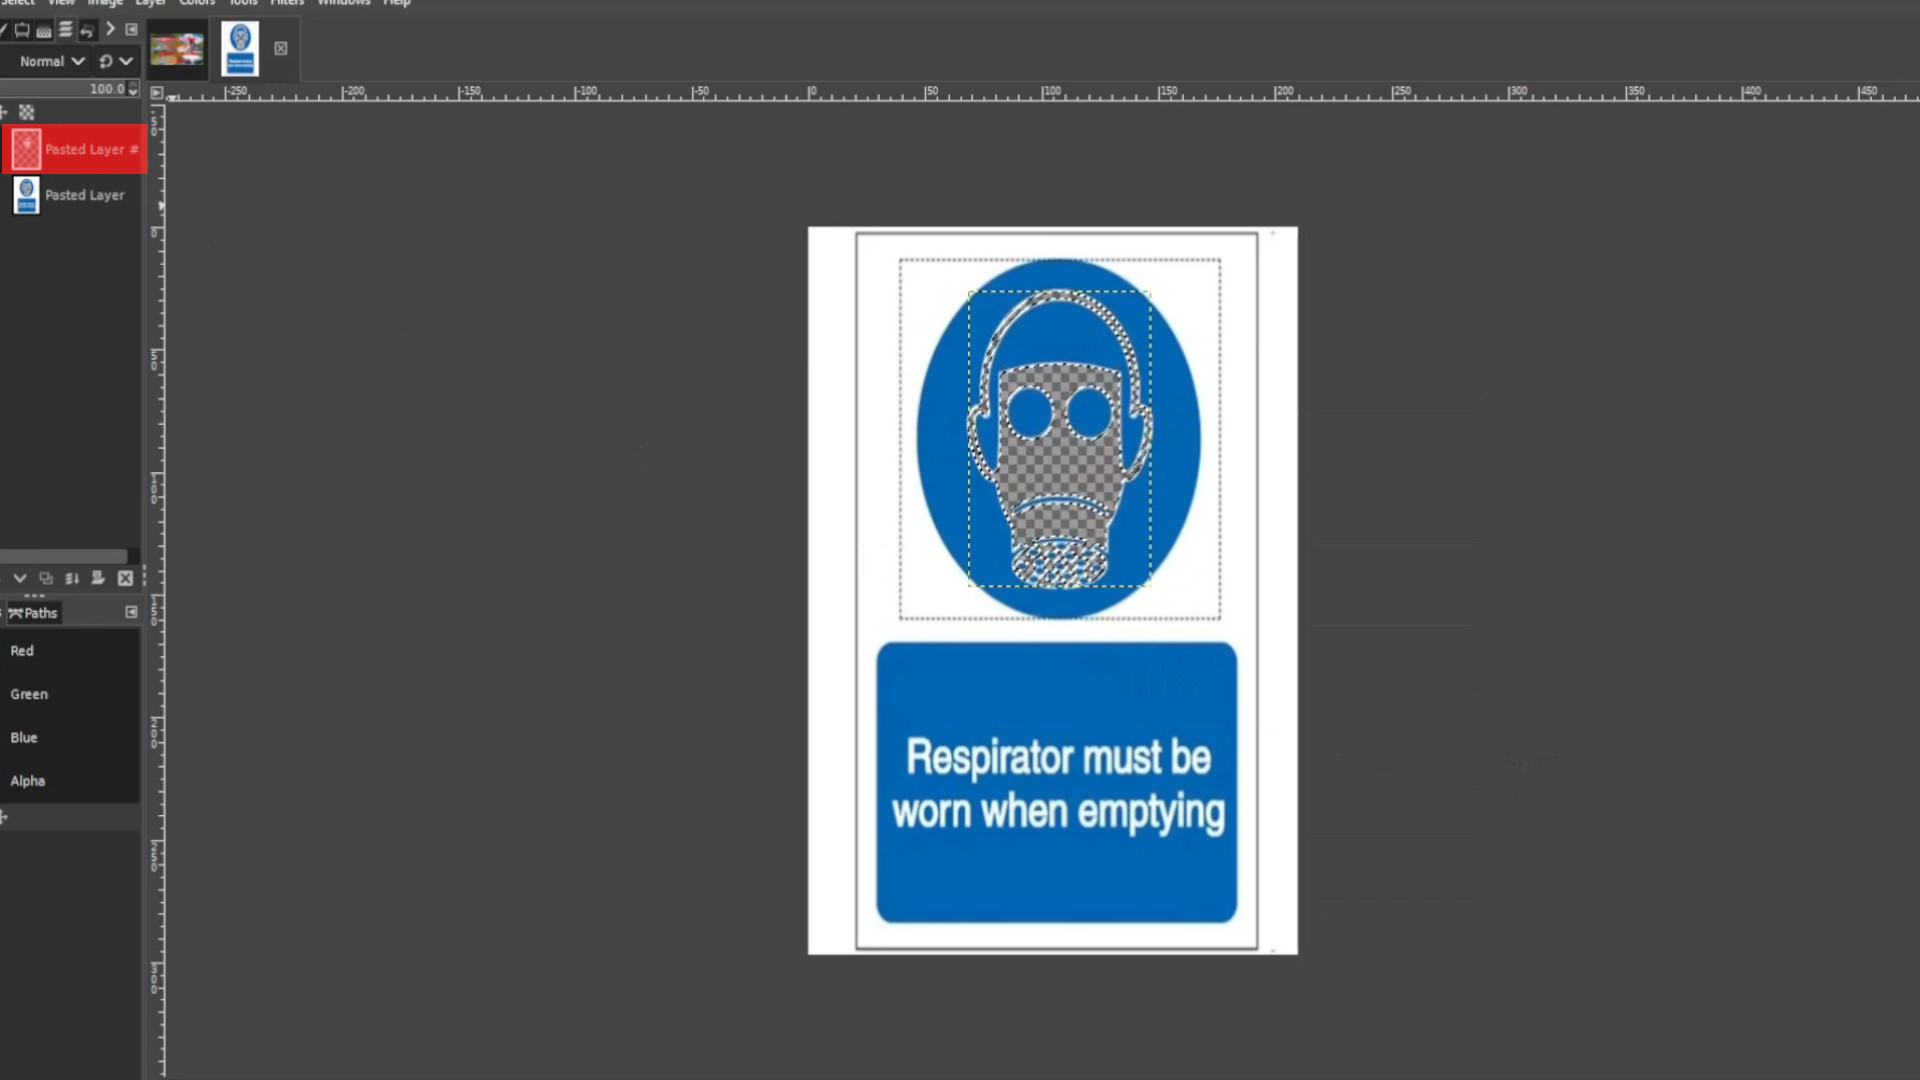
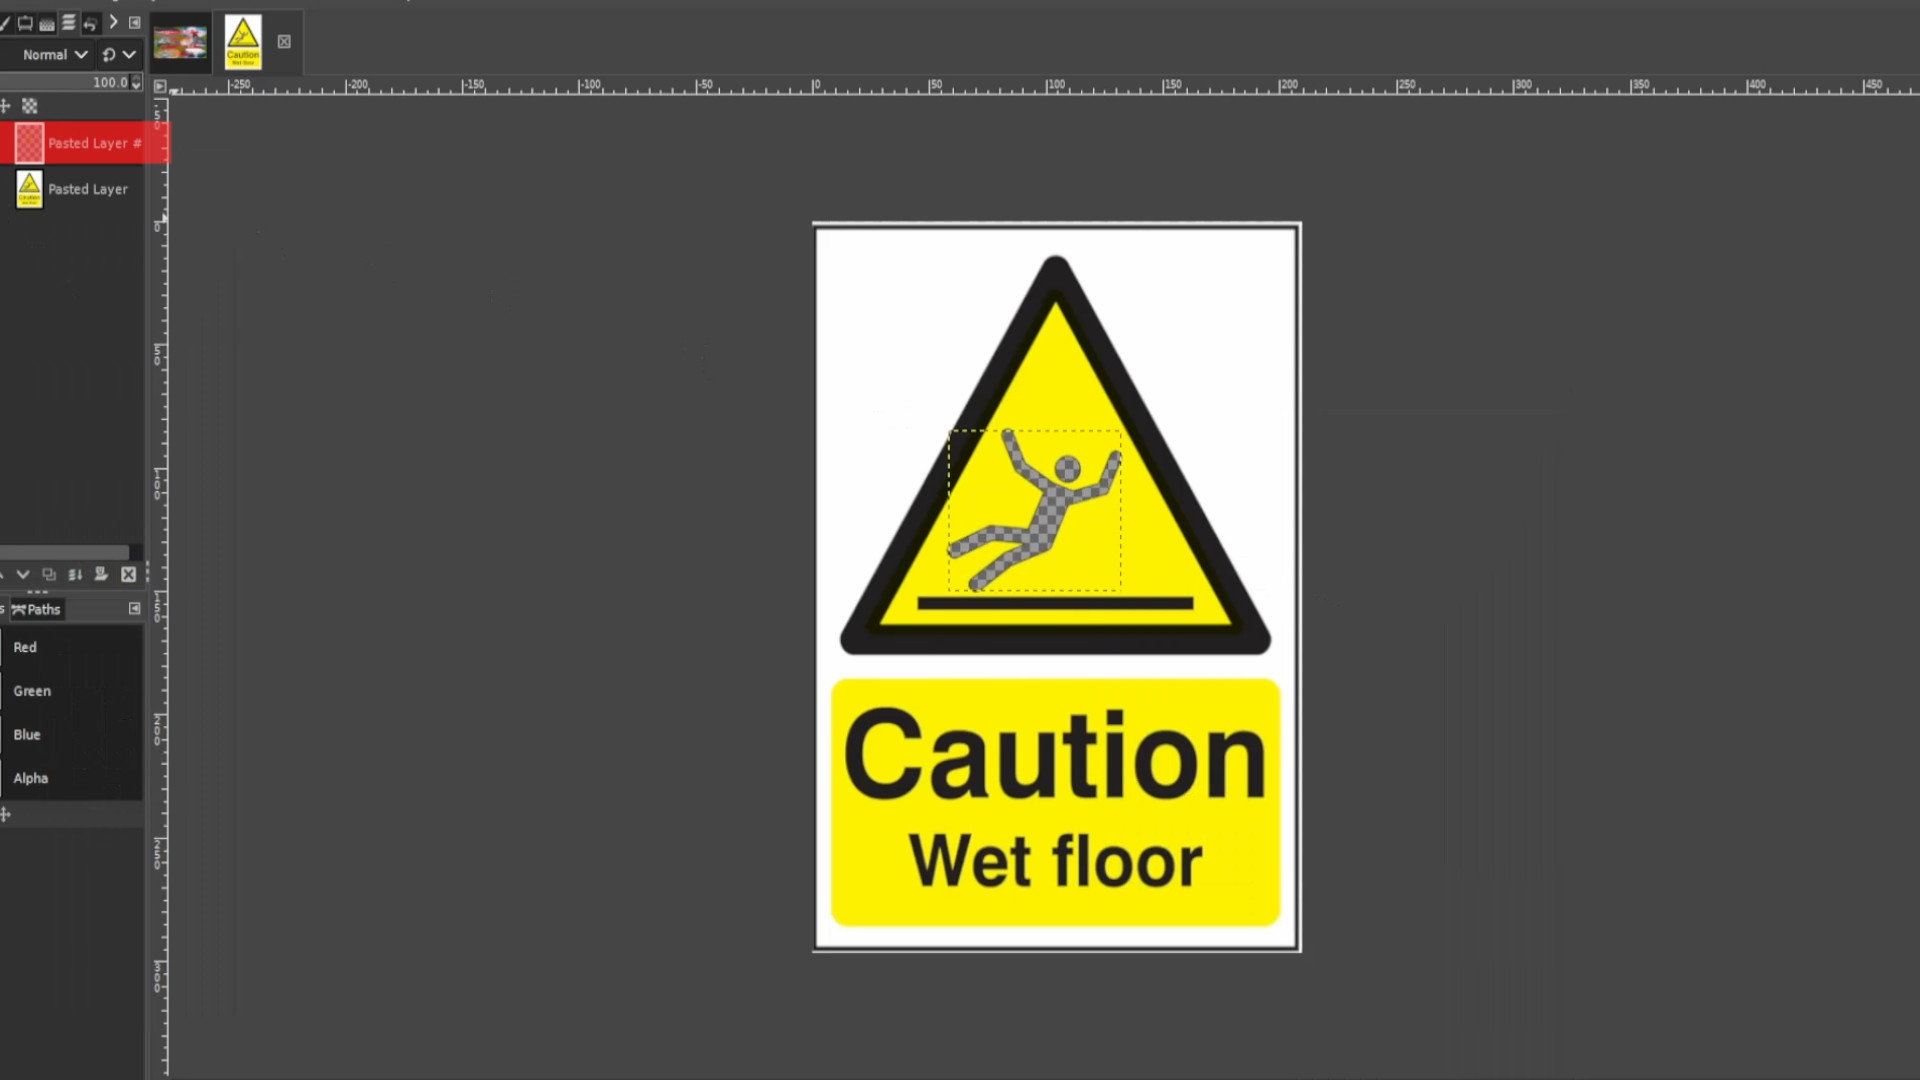
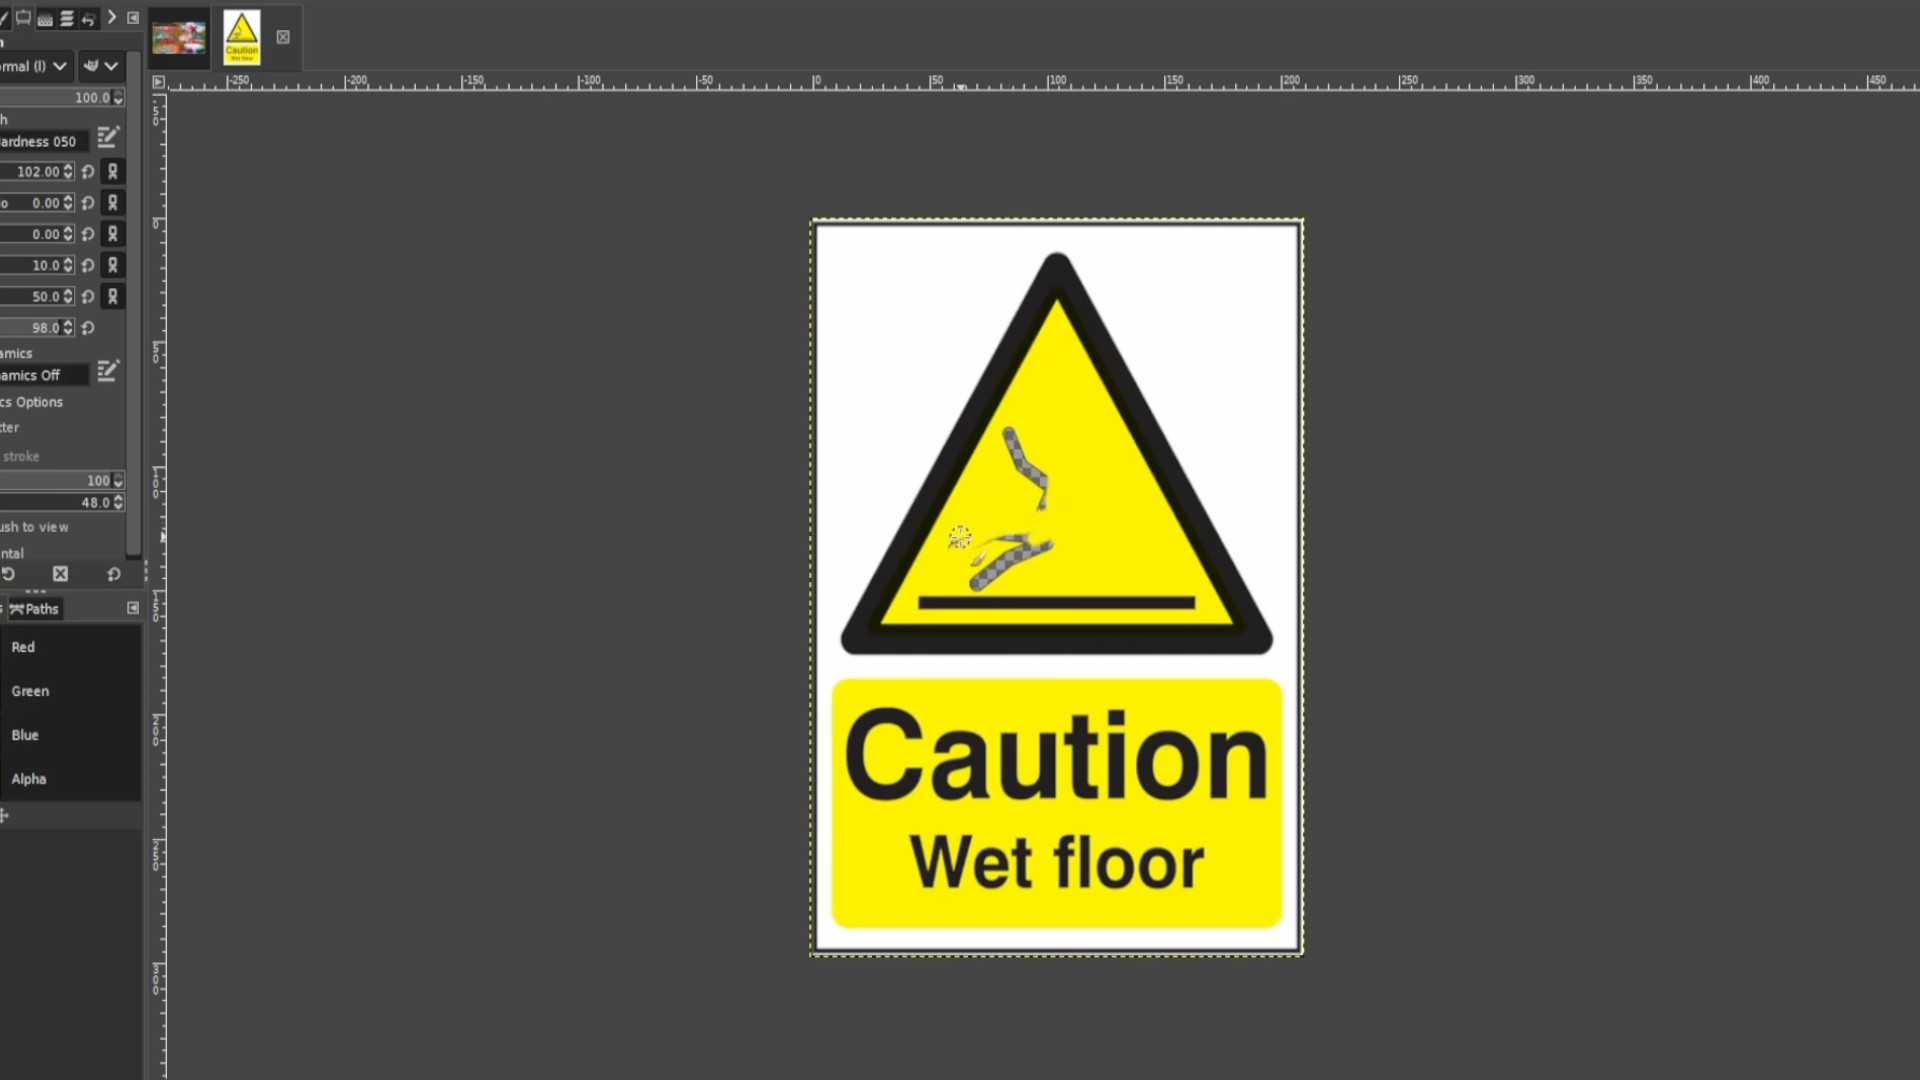
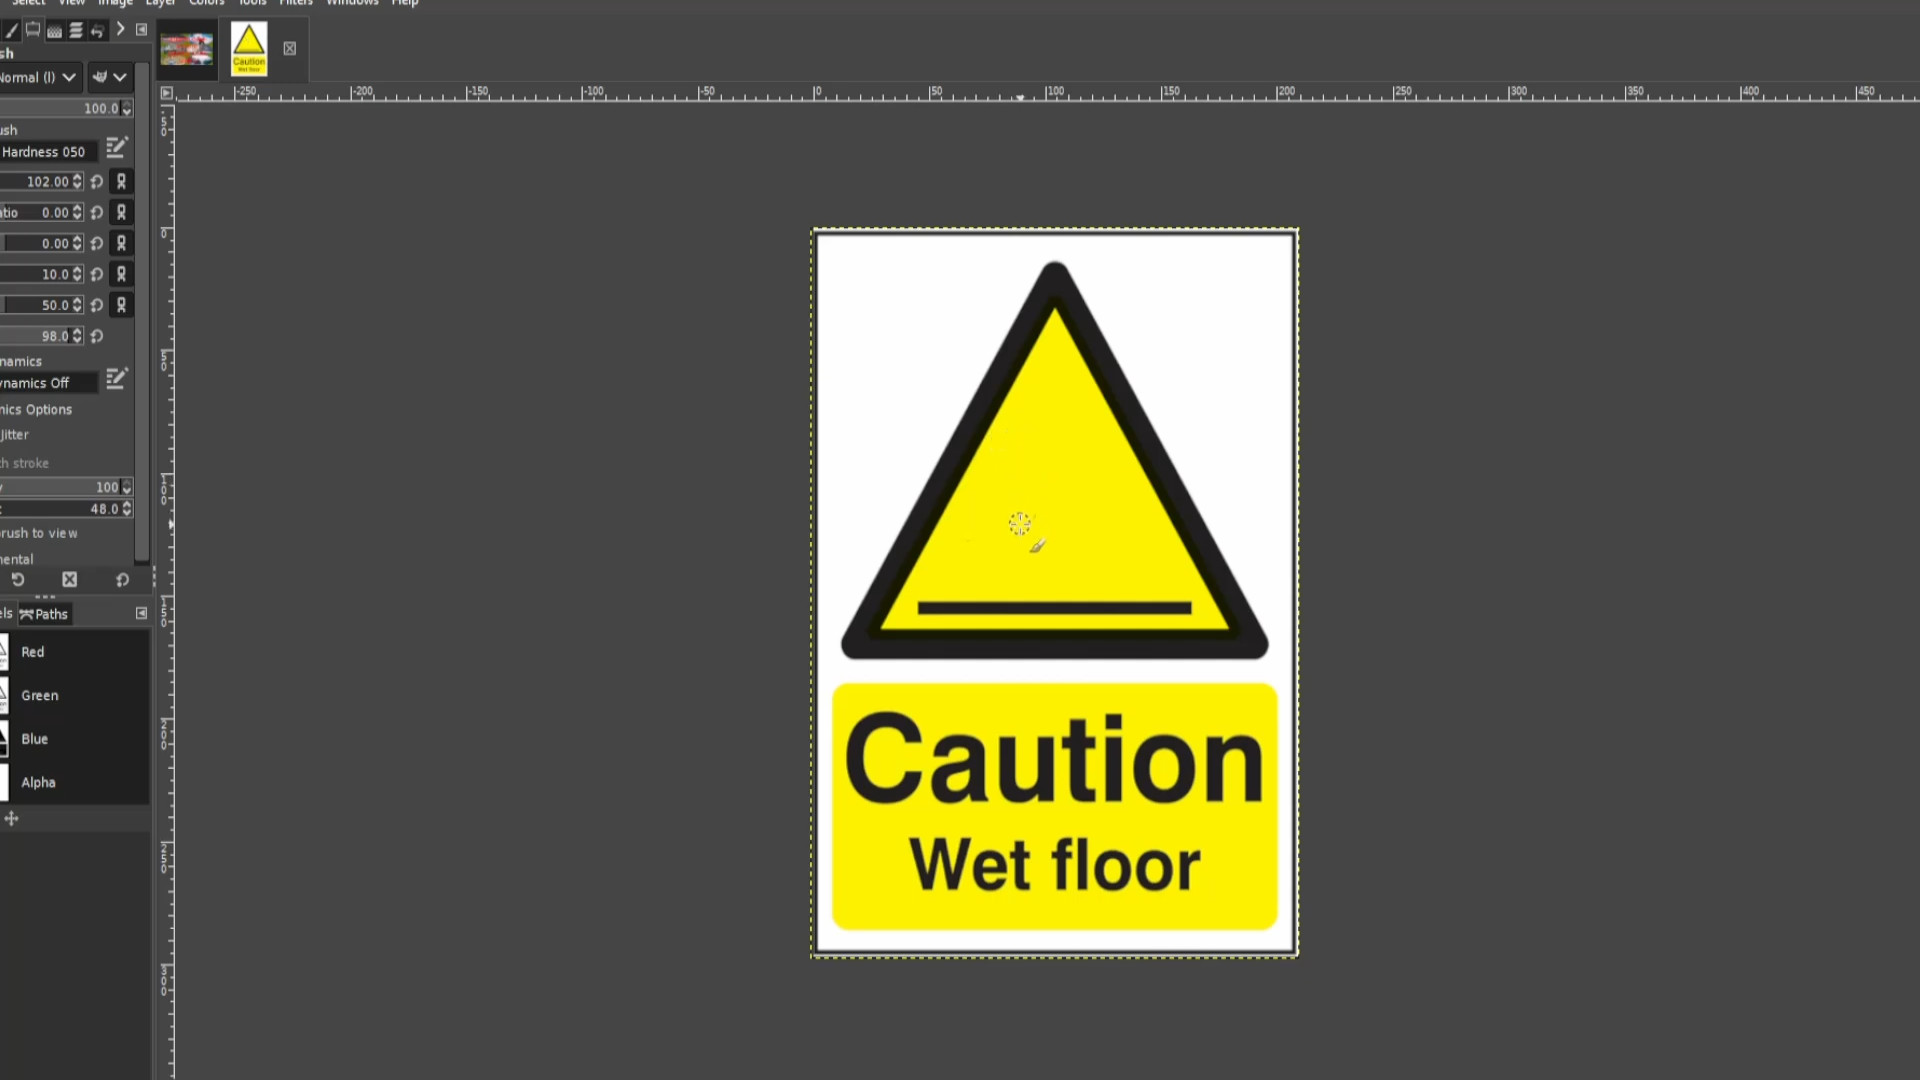
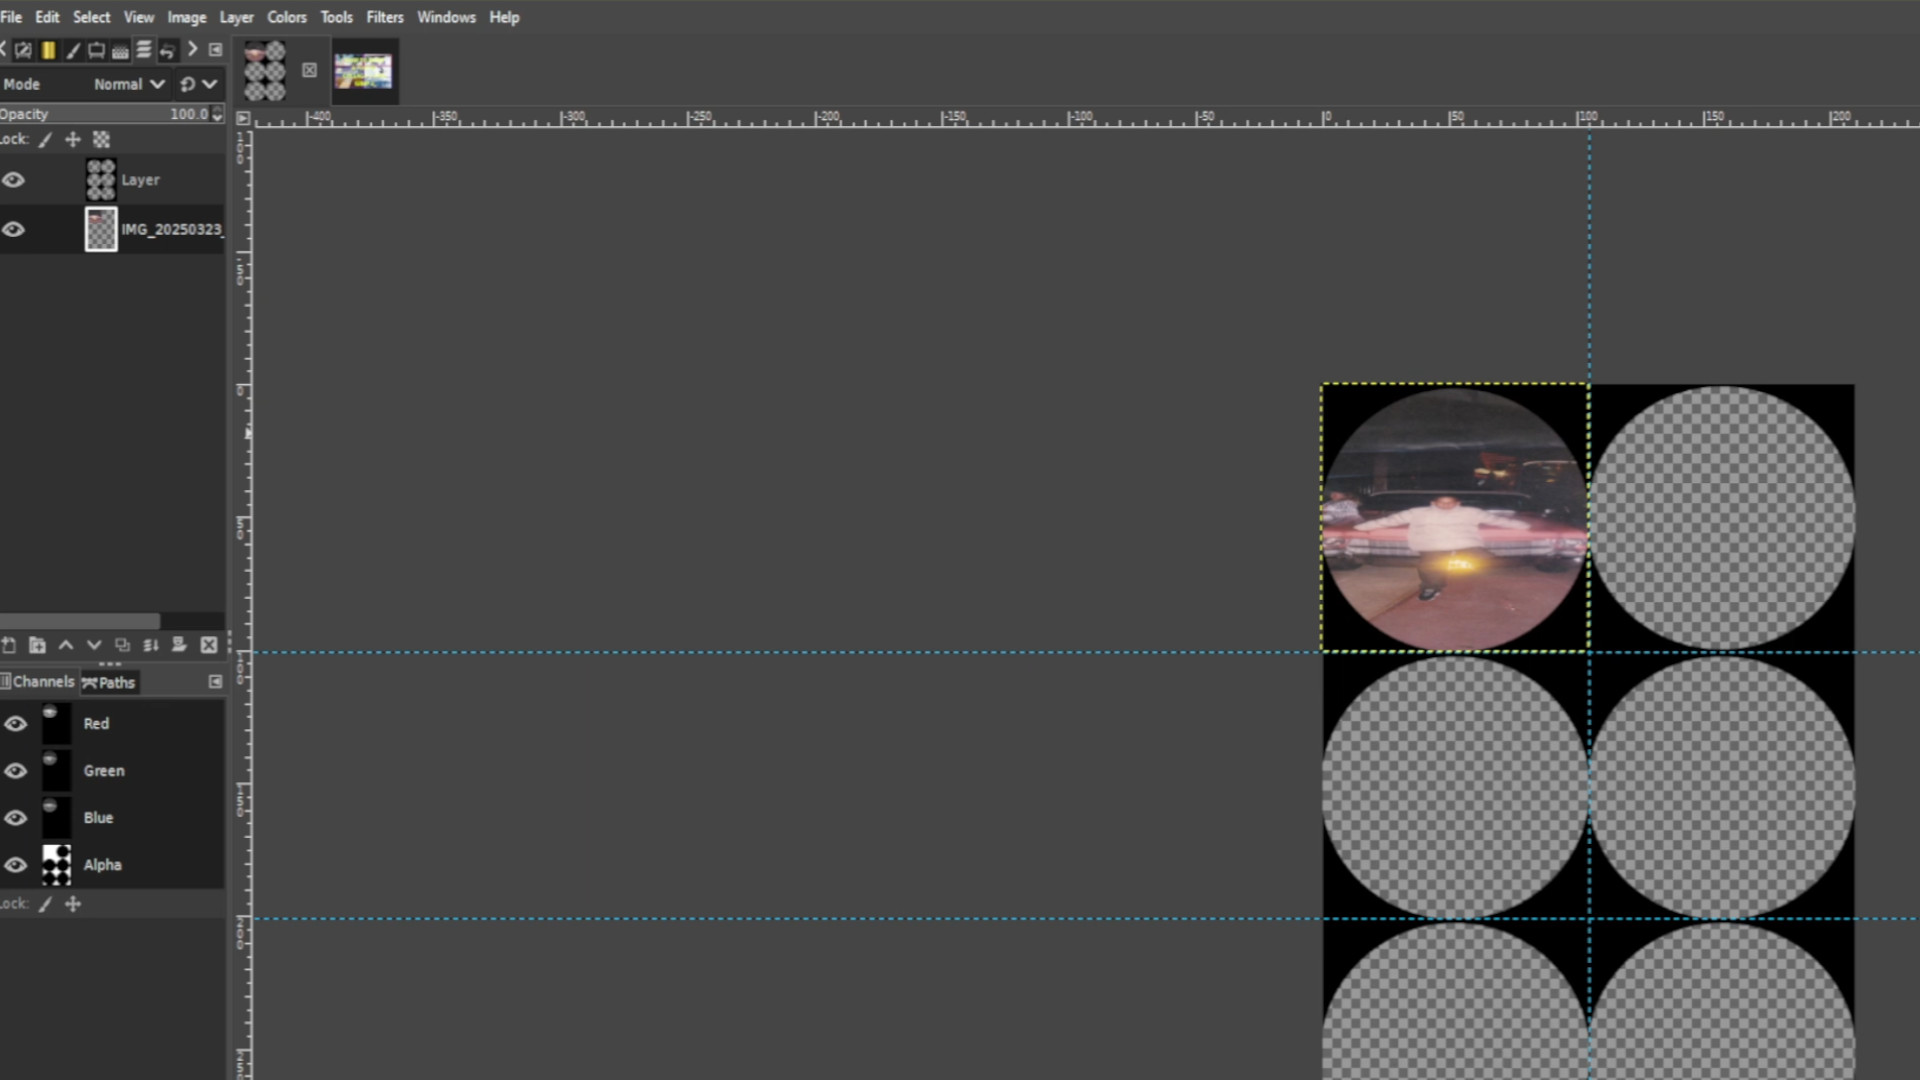
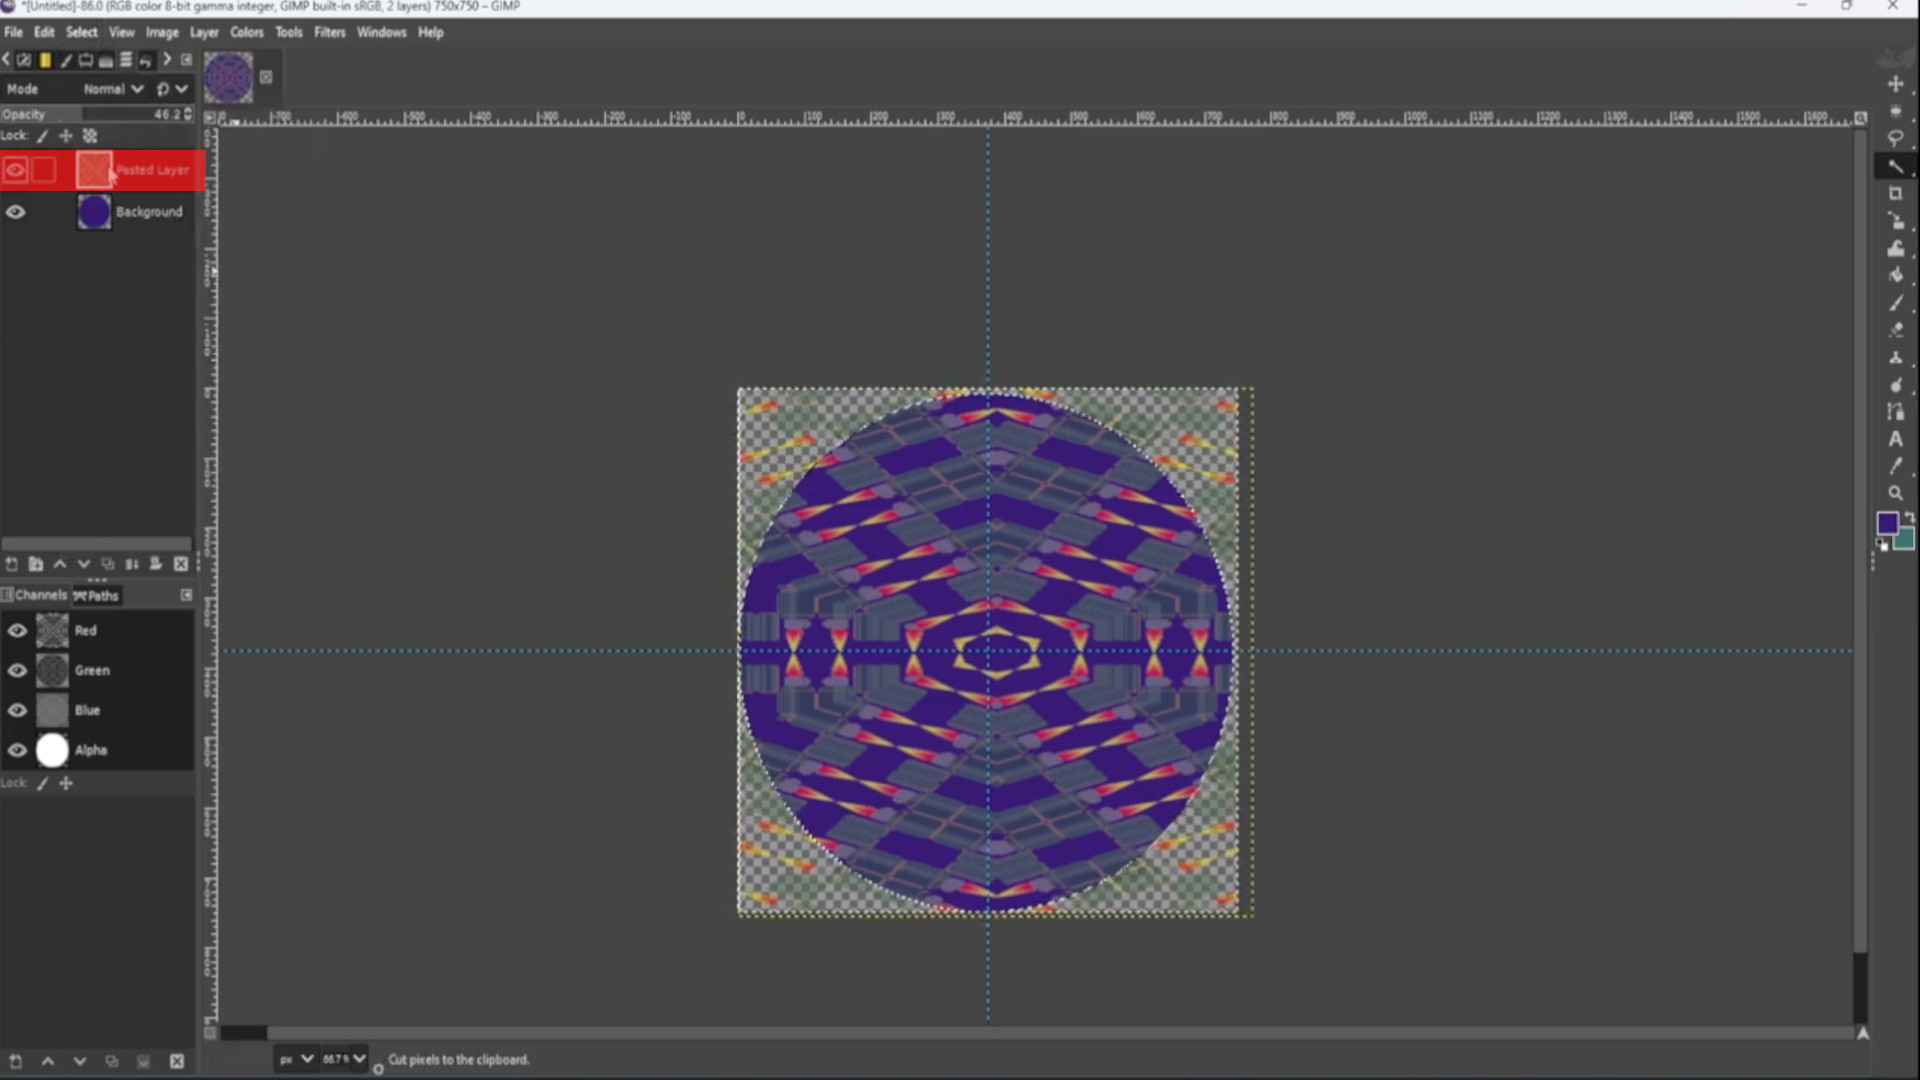
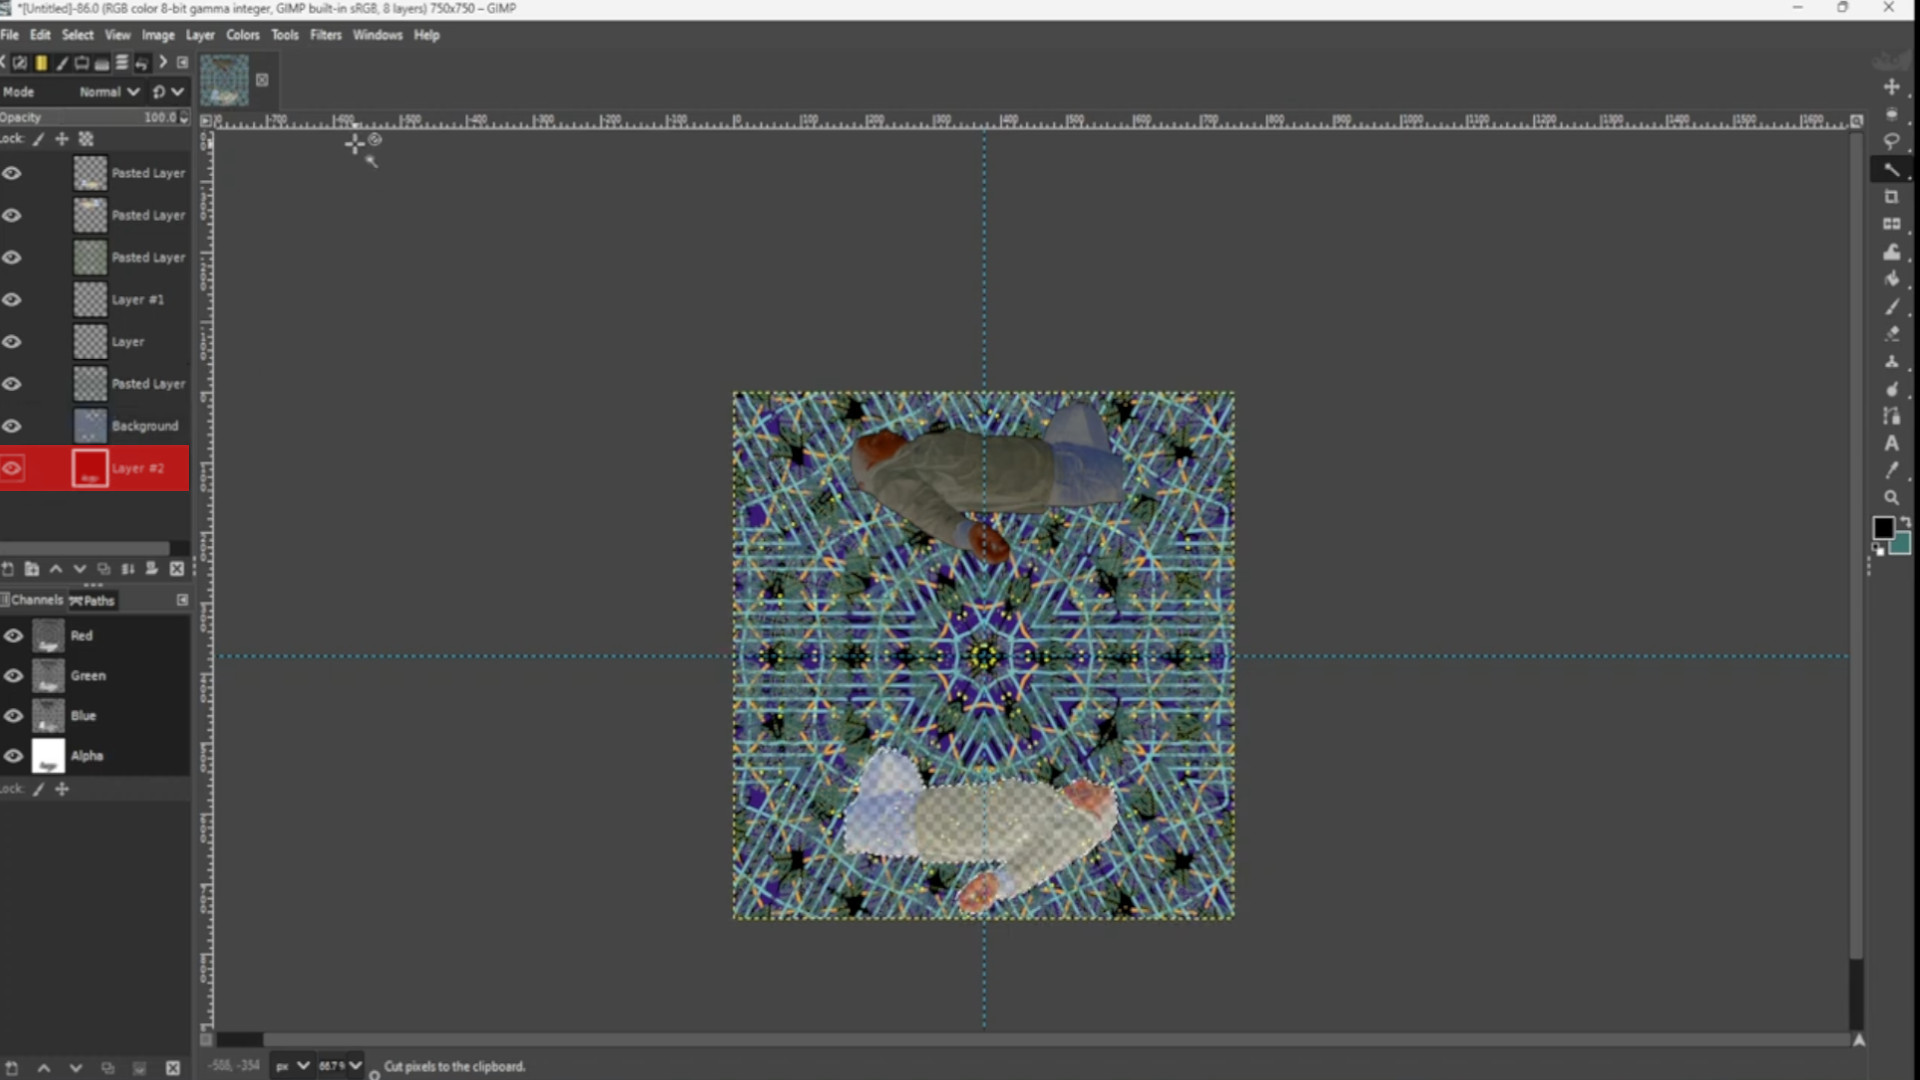
With the>>>TOP LAYER SELECTED>>>RIGHT CLICK anywhere on the canvas and go to>>>EDIT>>>CUT to cut away the outer image or use shortcut>>>HOLD>>>CTRL and>>>PRESS>>>C to cut.
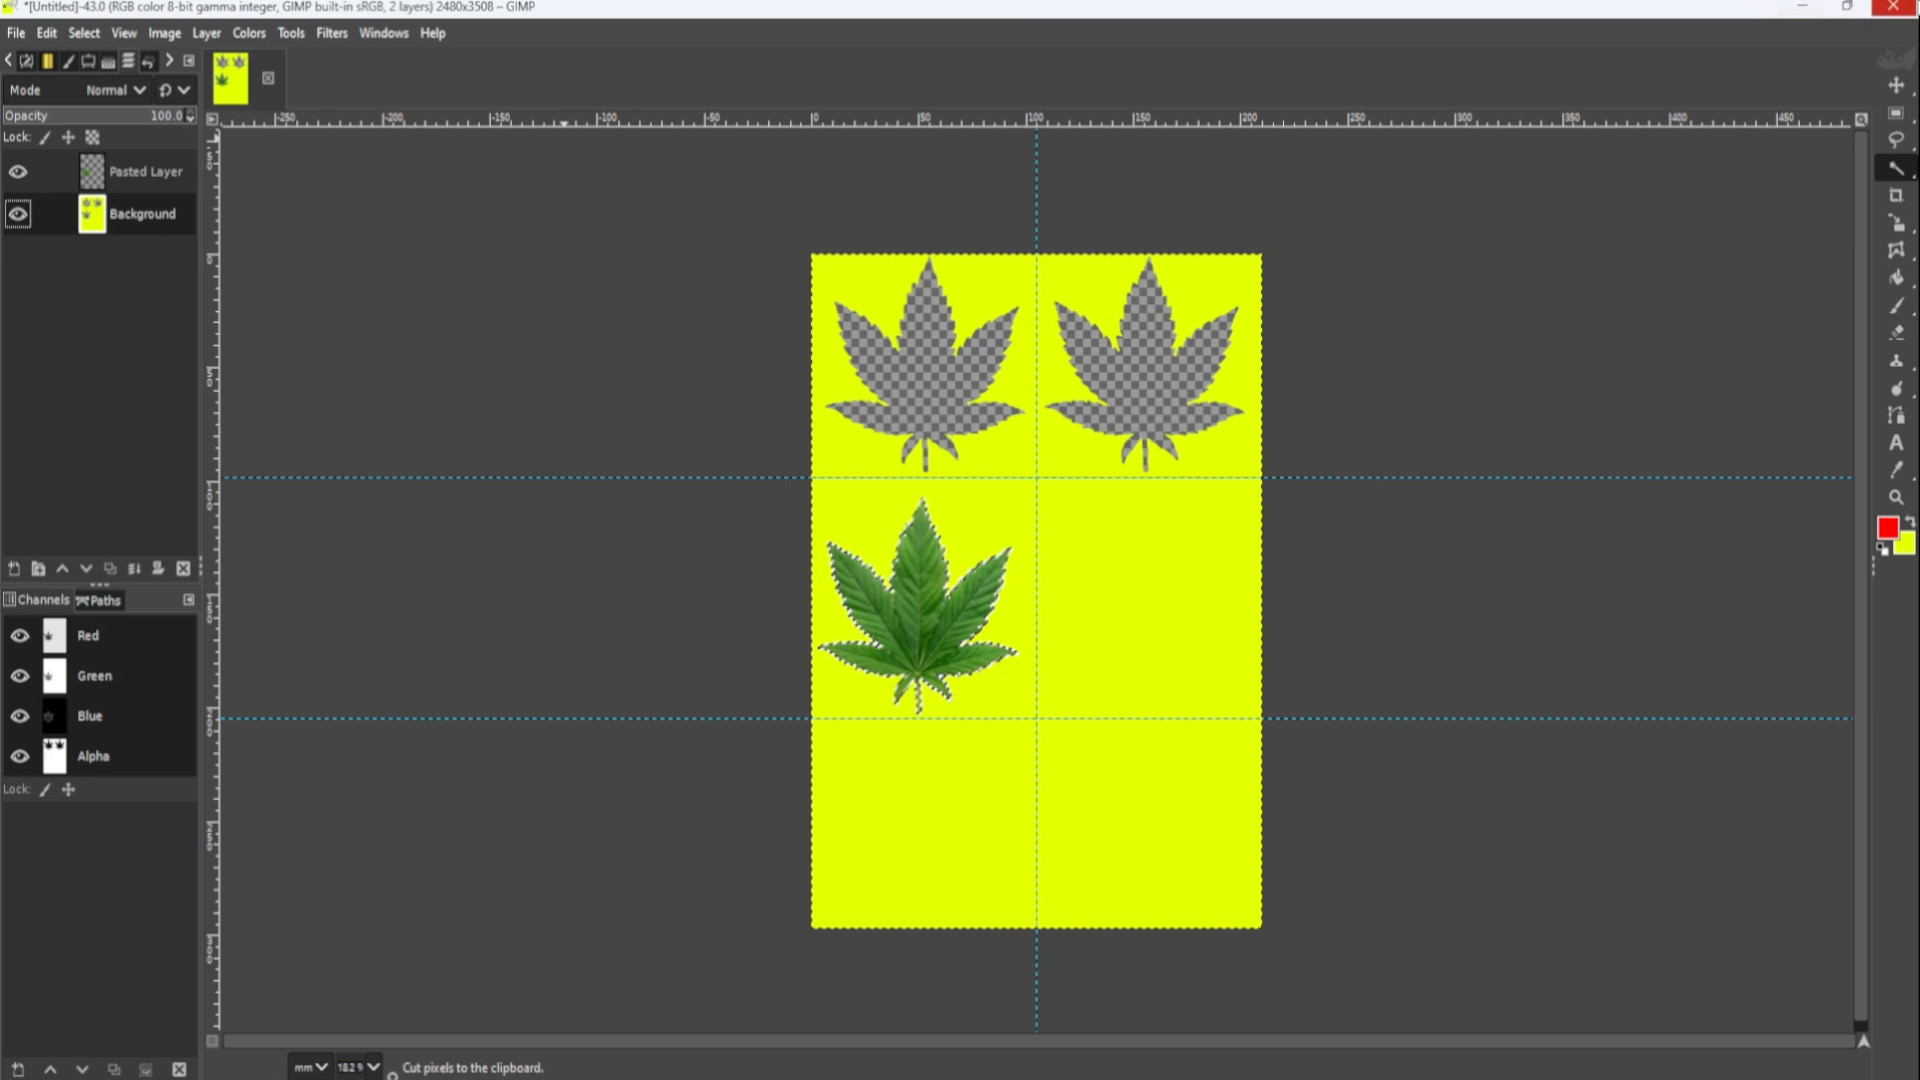
>>REPEAT>>>STEP>>>8-13 if you want to add more images or move on to the next step and>>>MOVE the layer>>>SECOND TO BOTTOM.

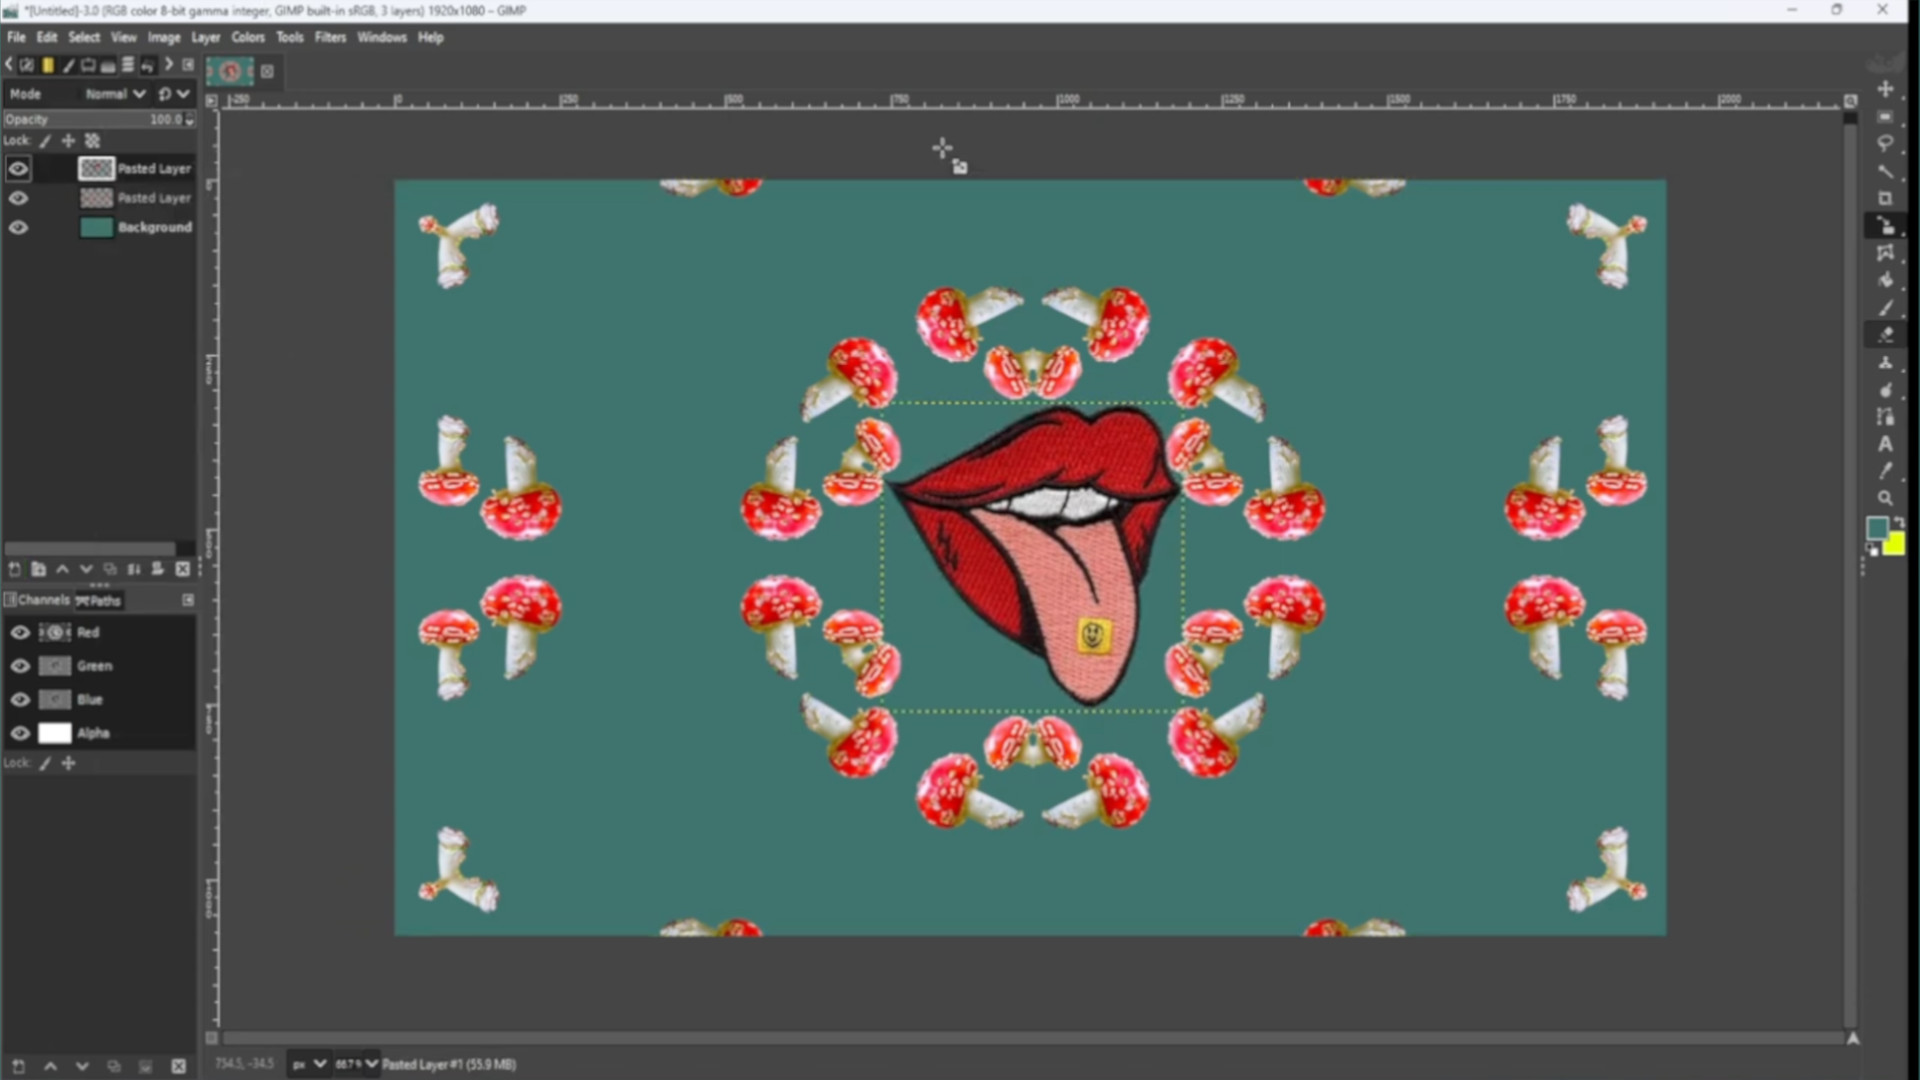
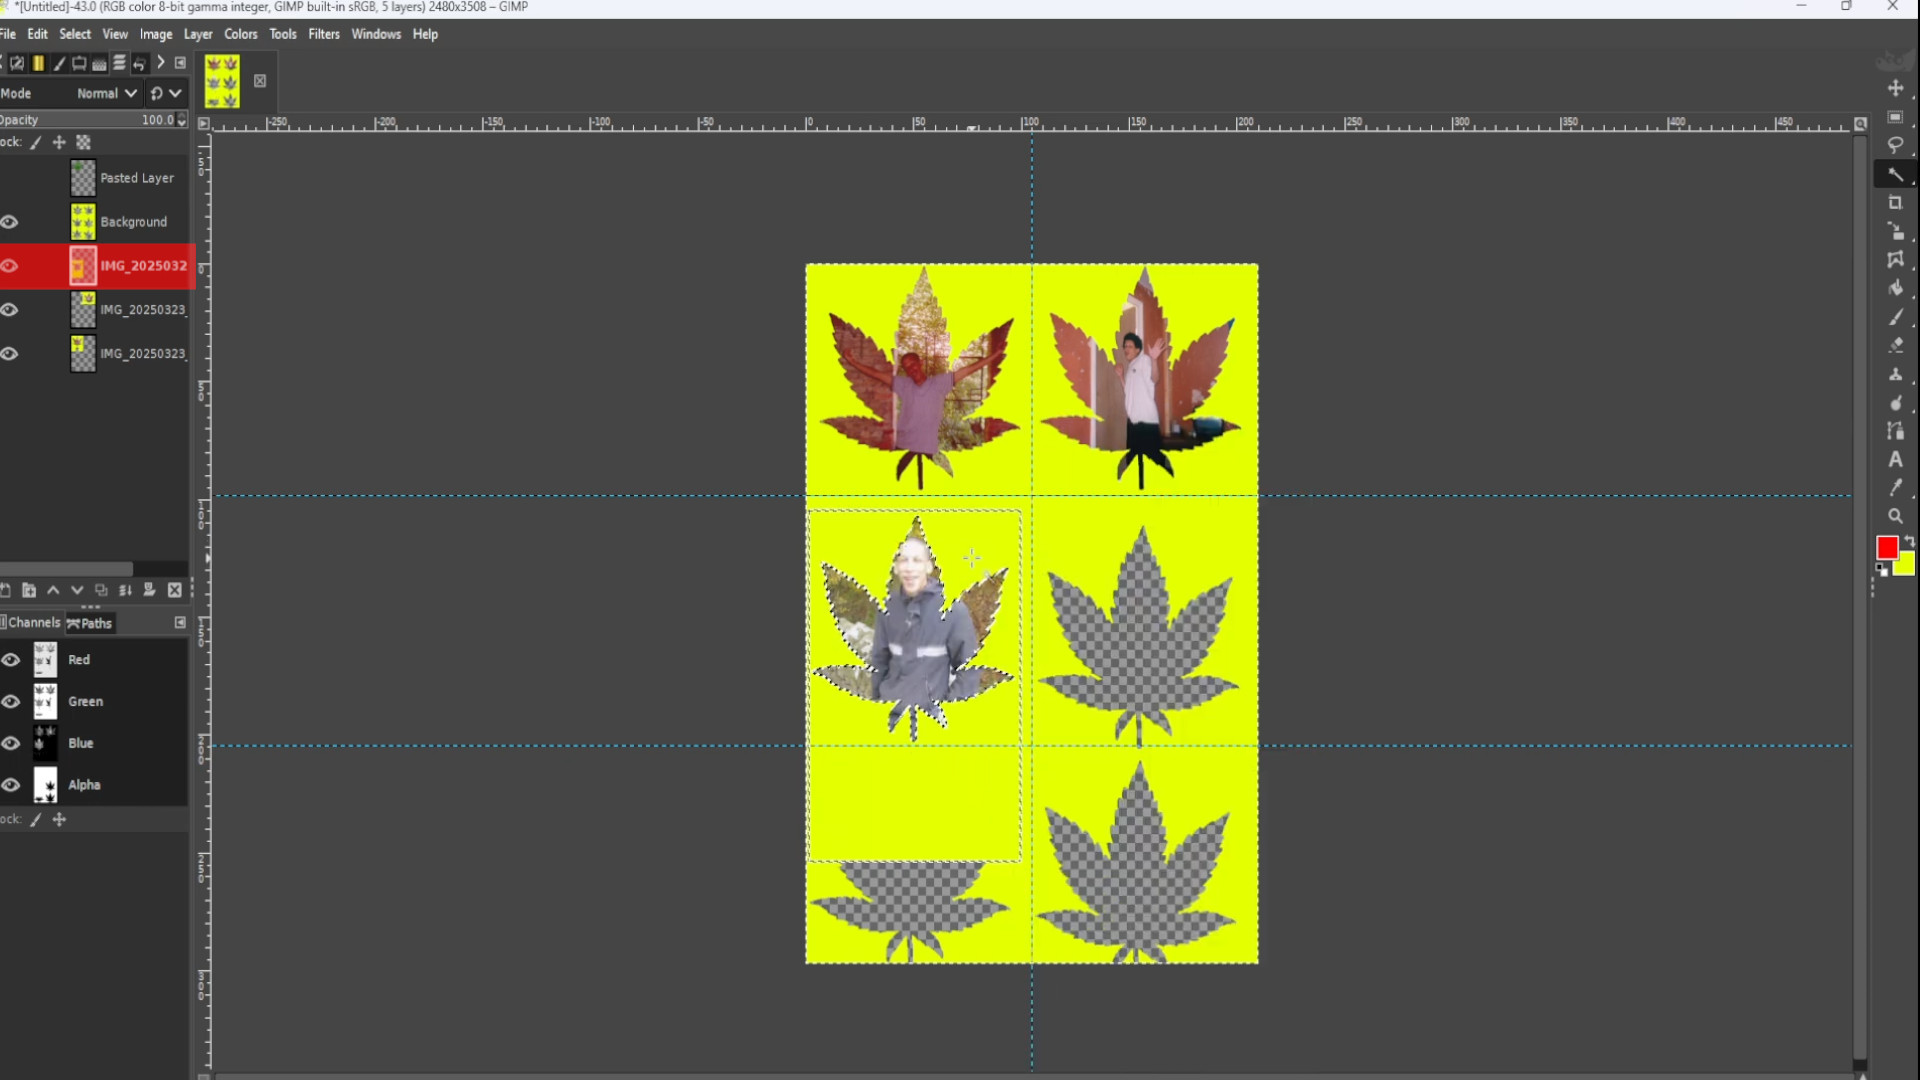
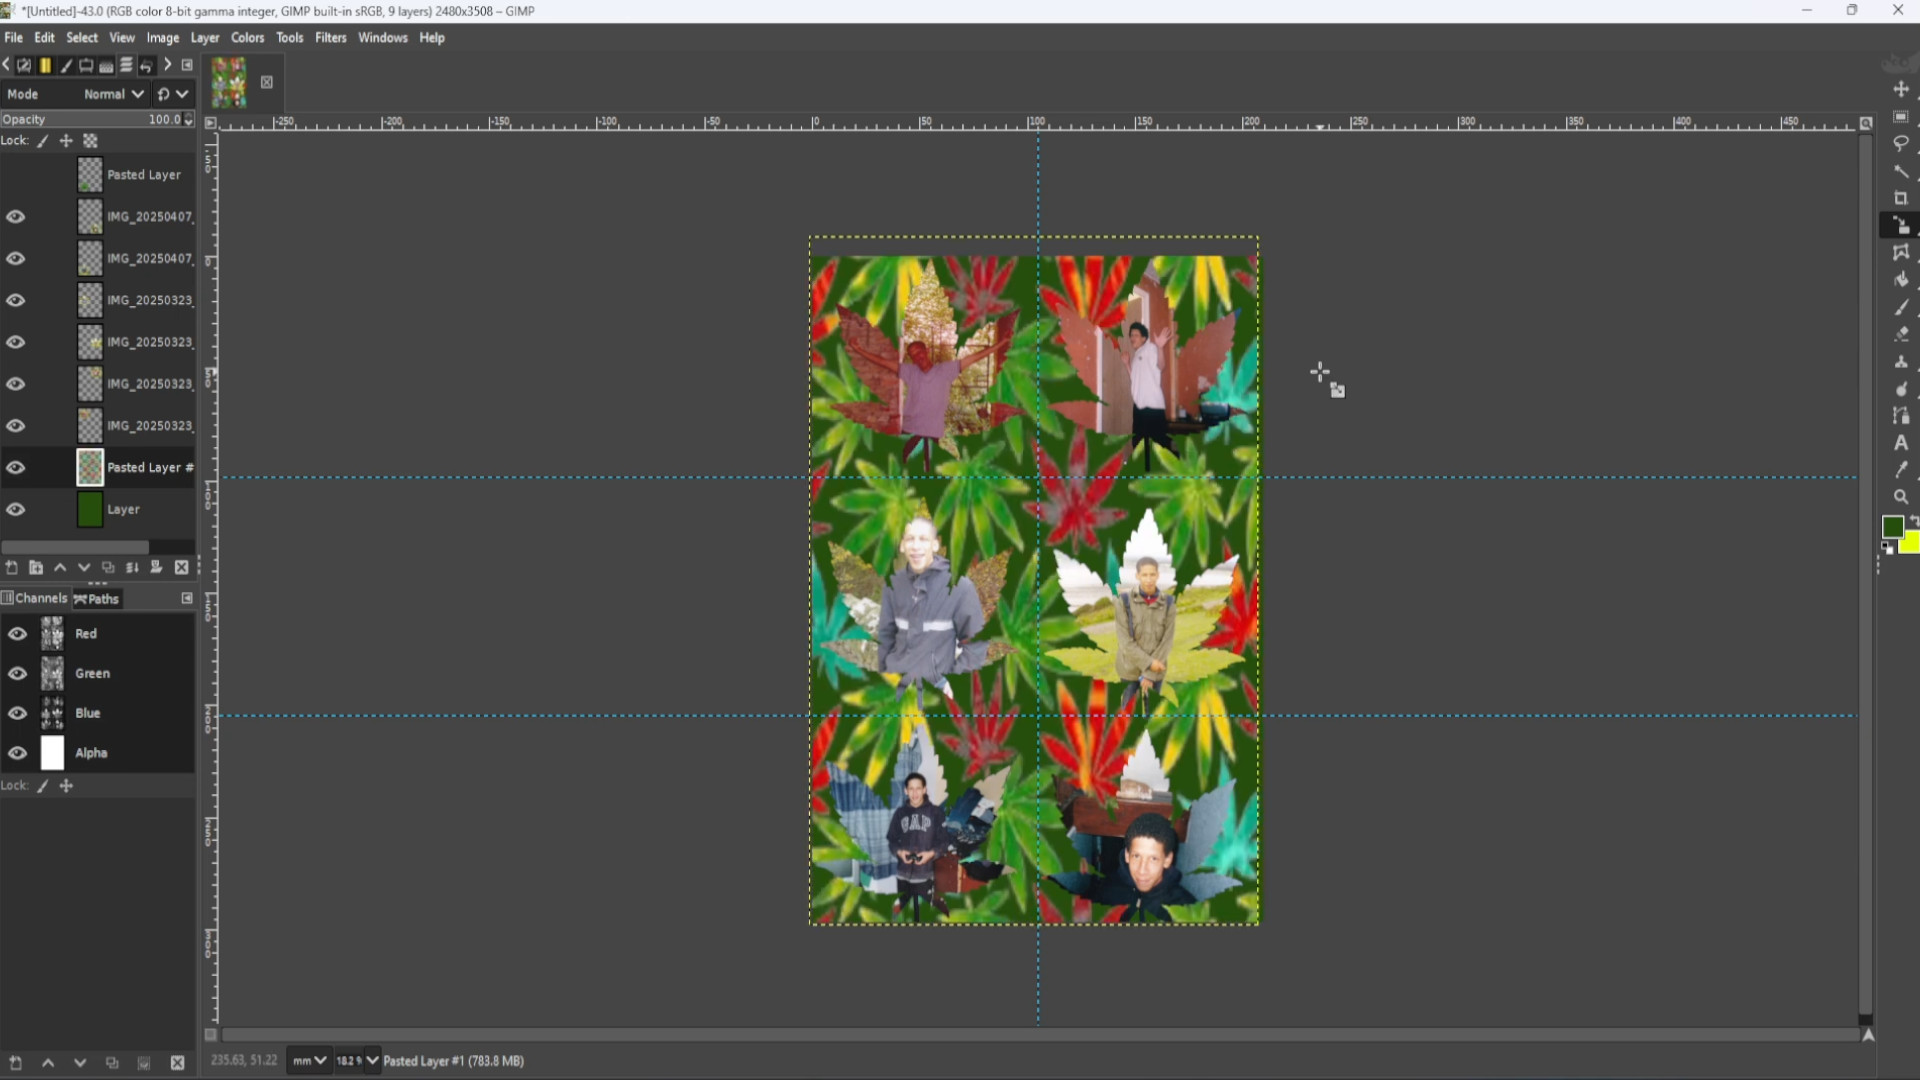
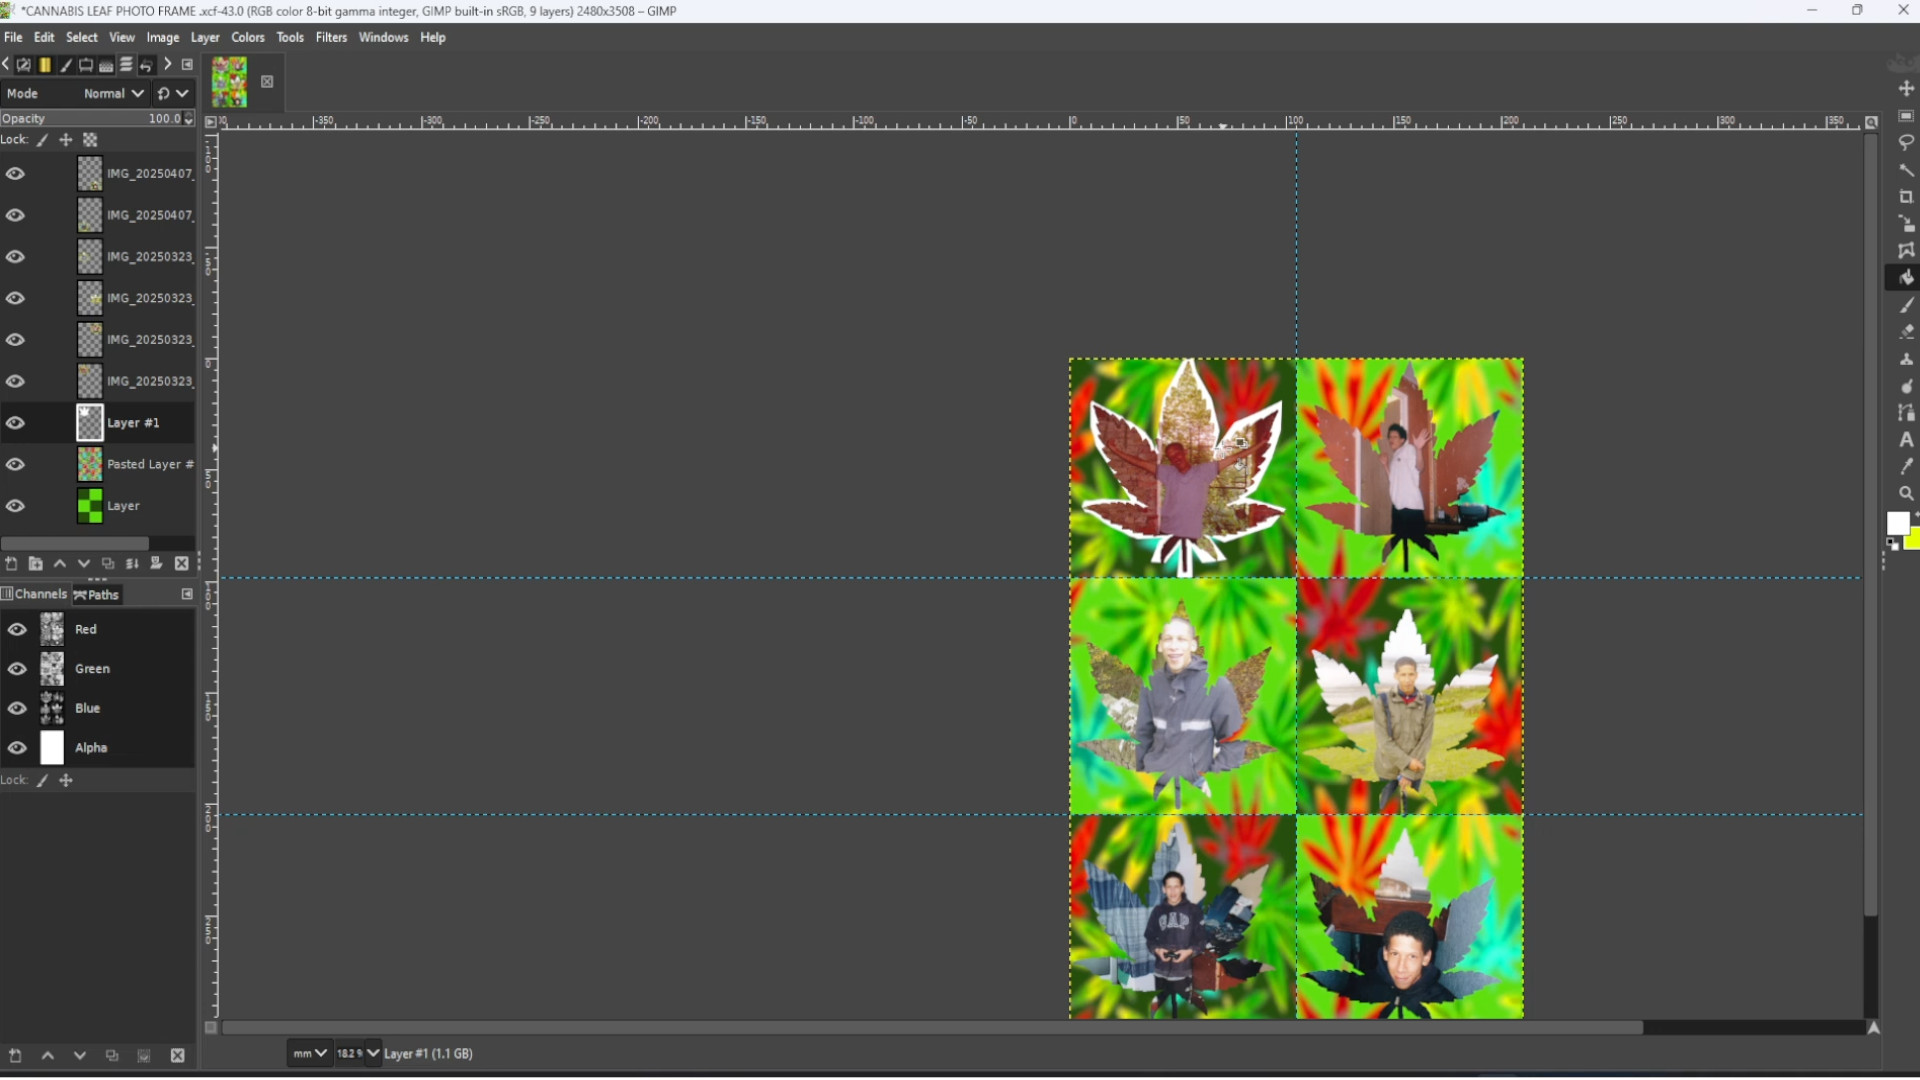
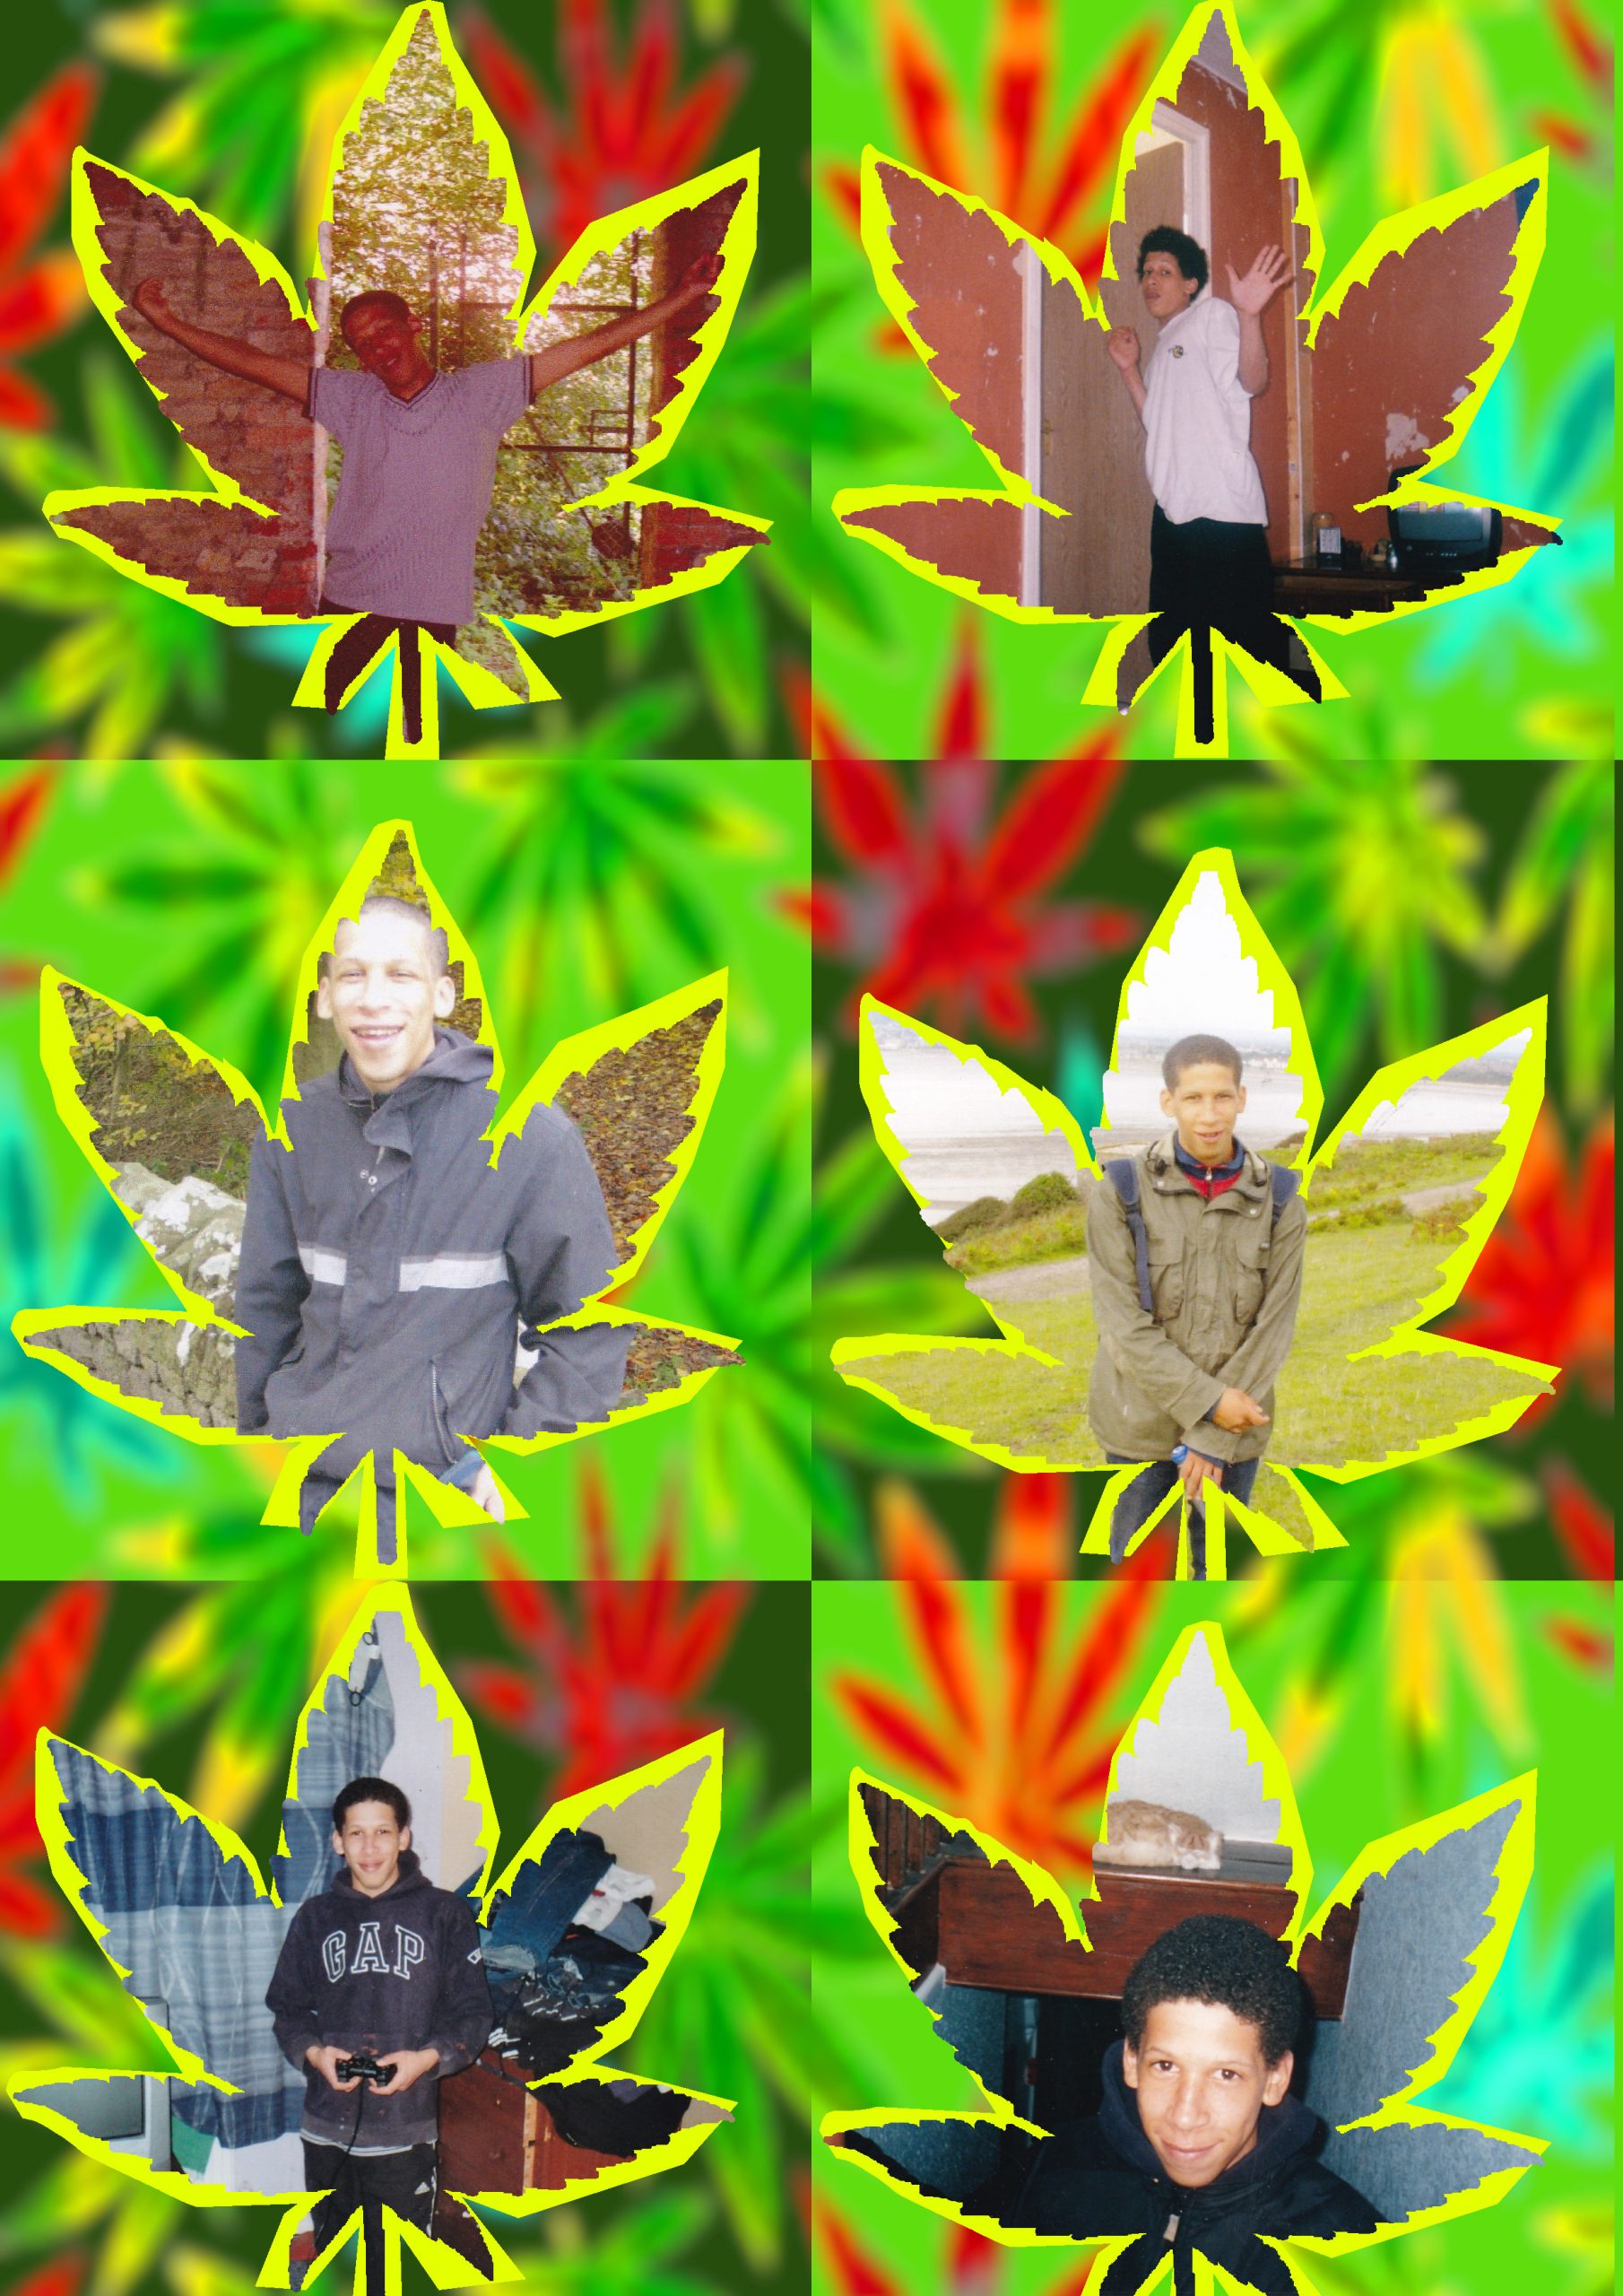
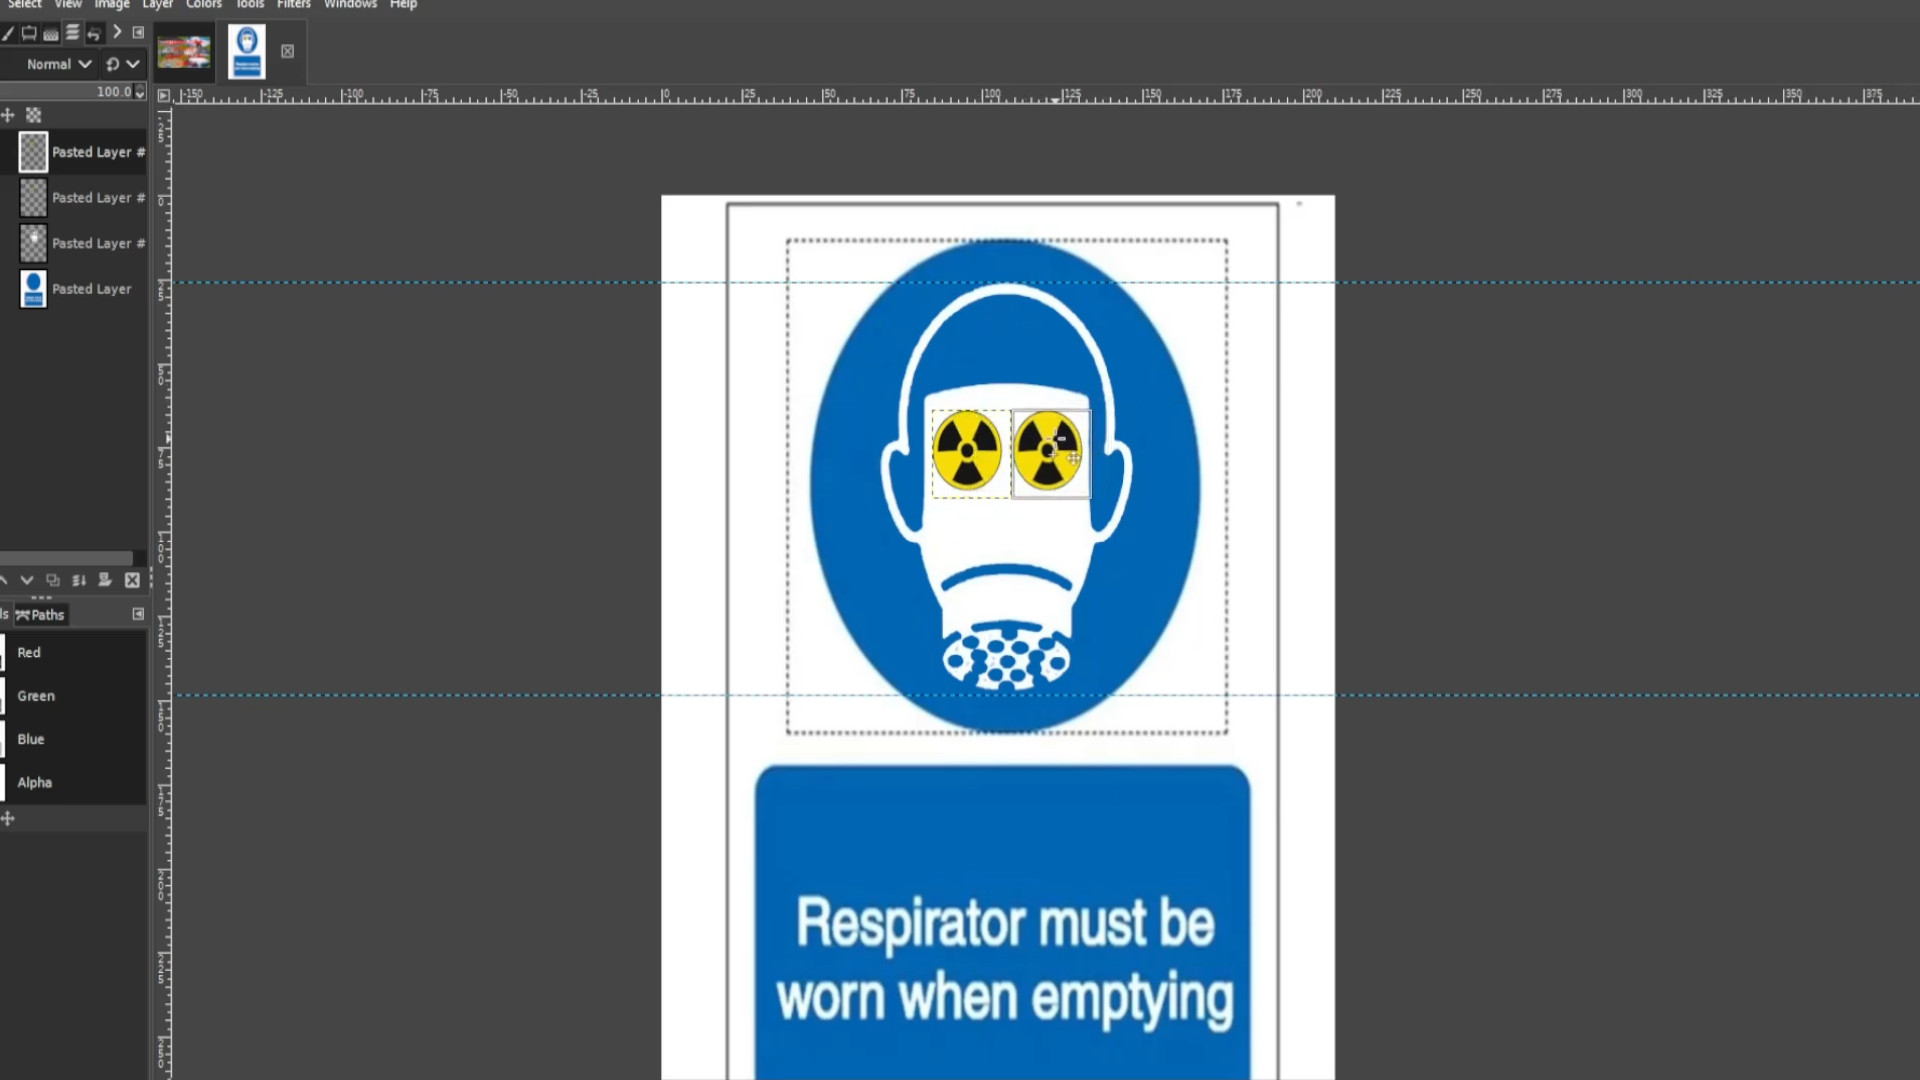
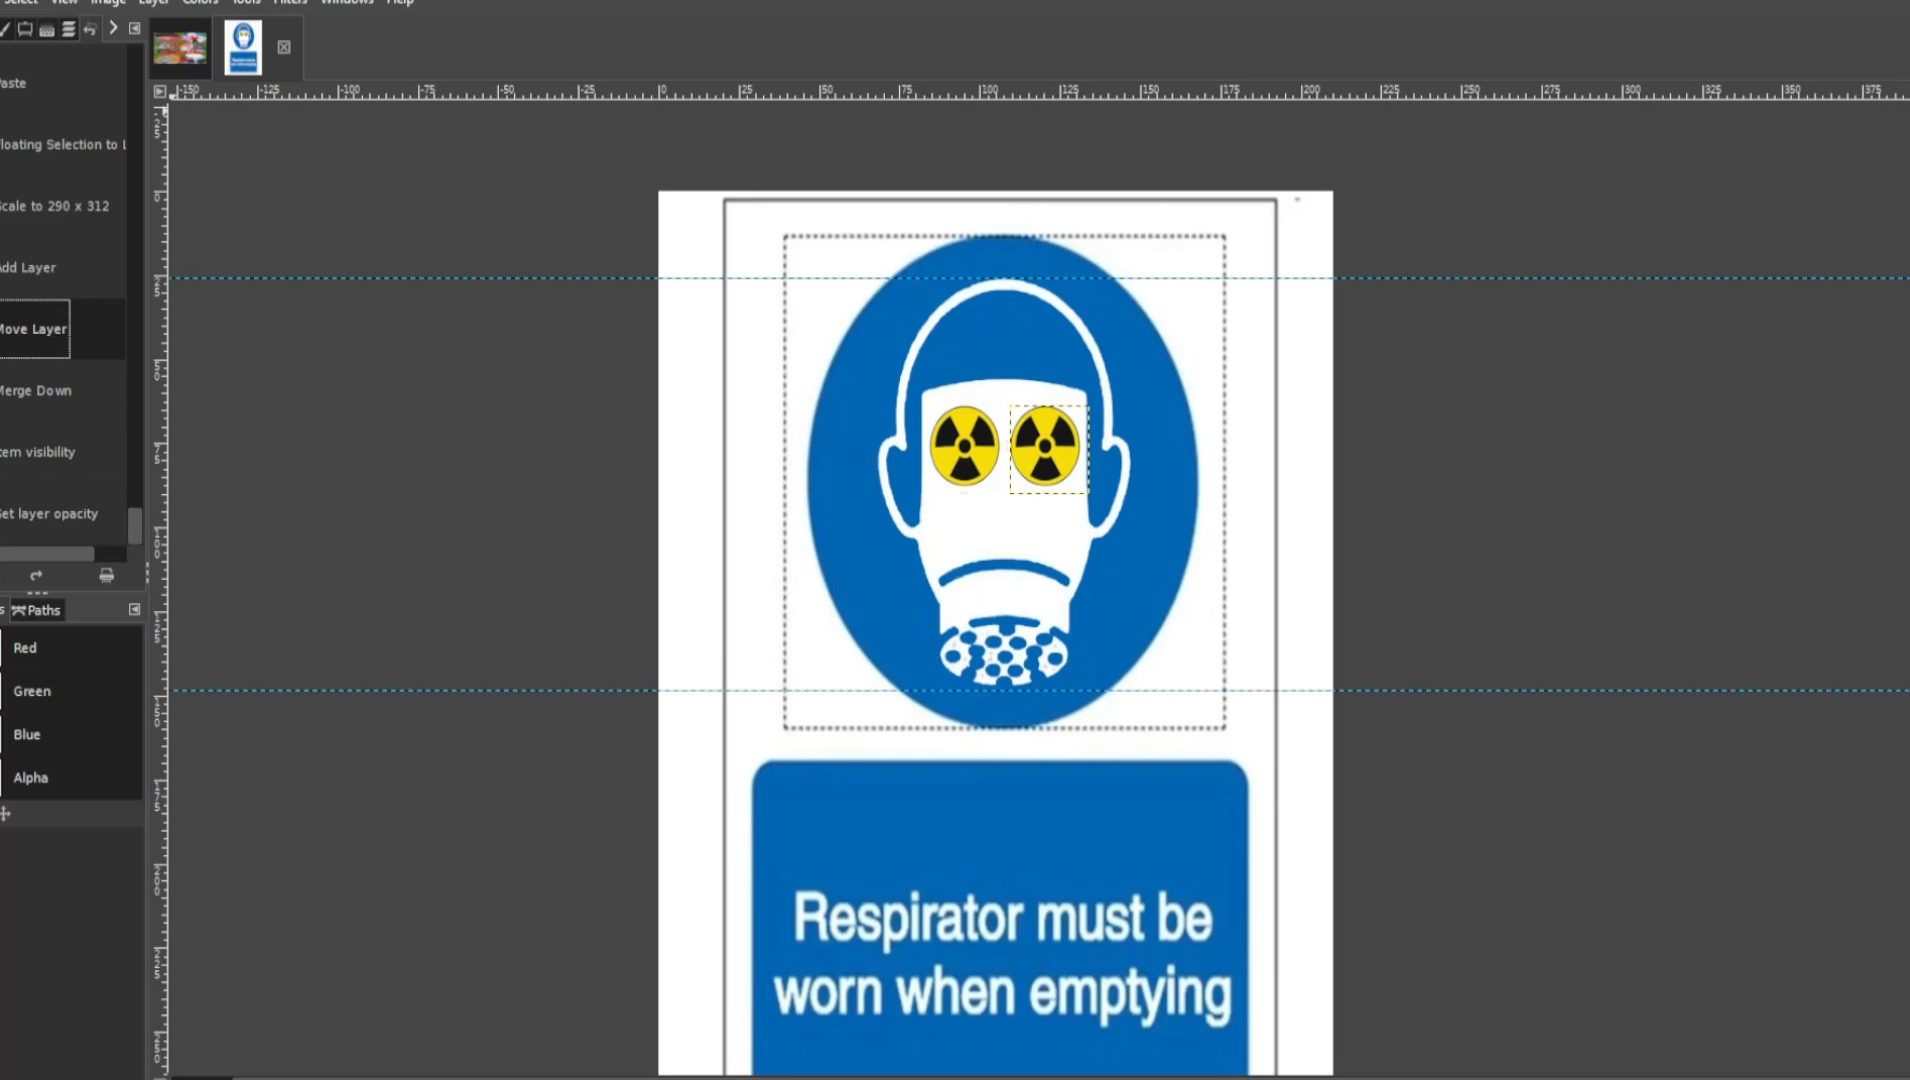
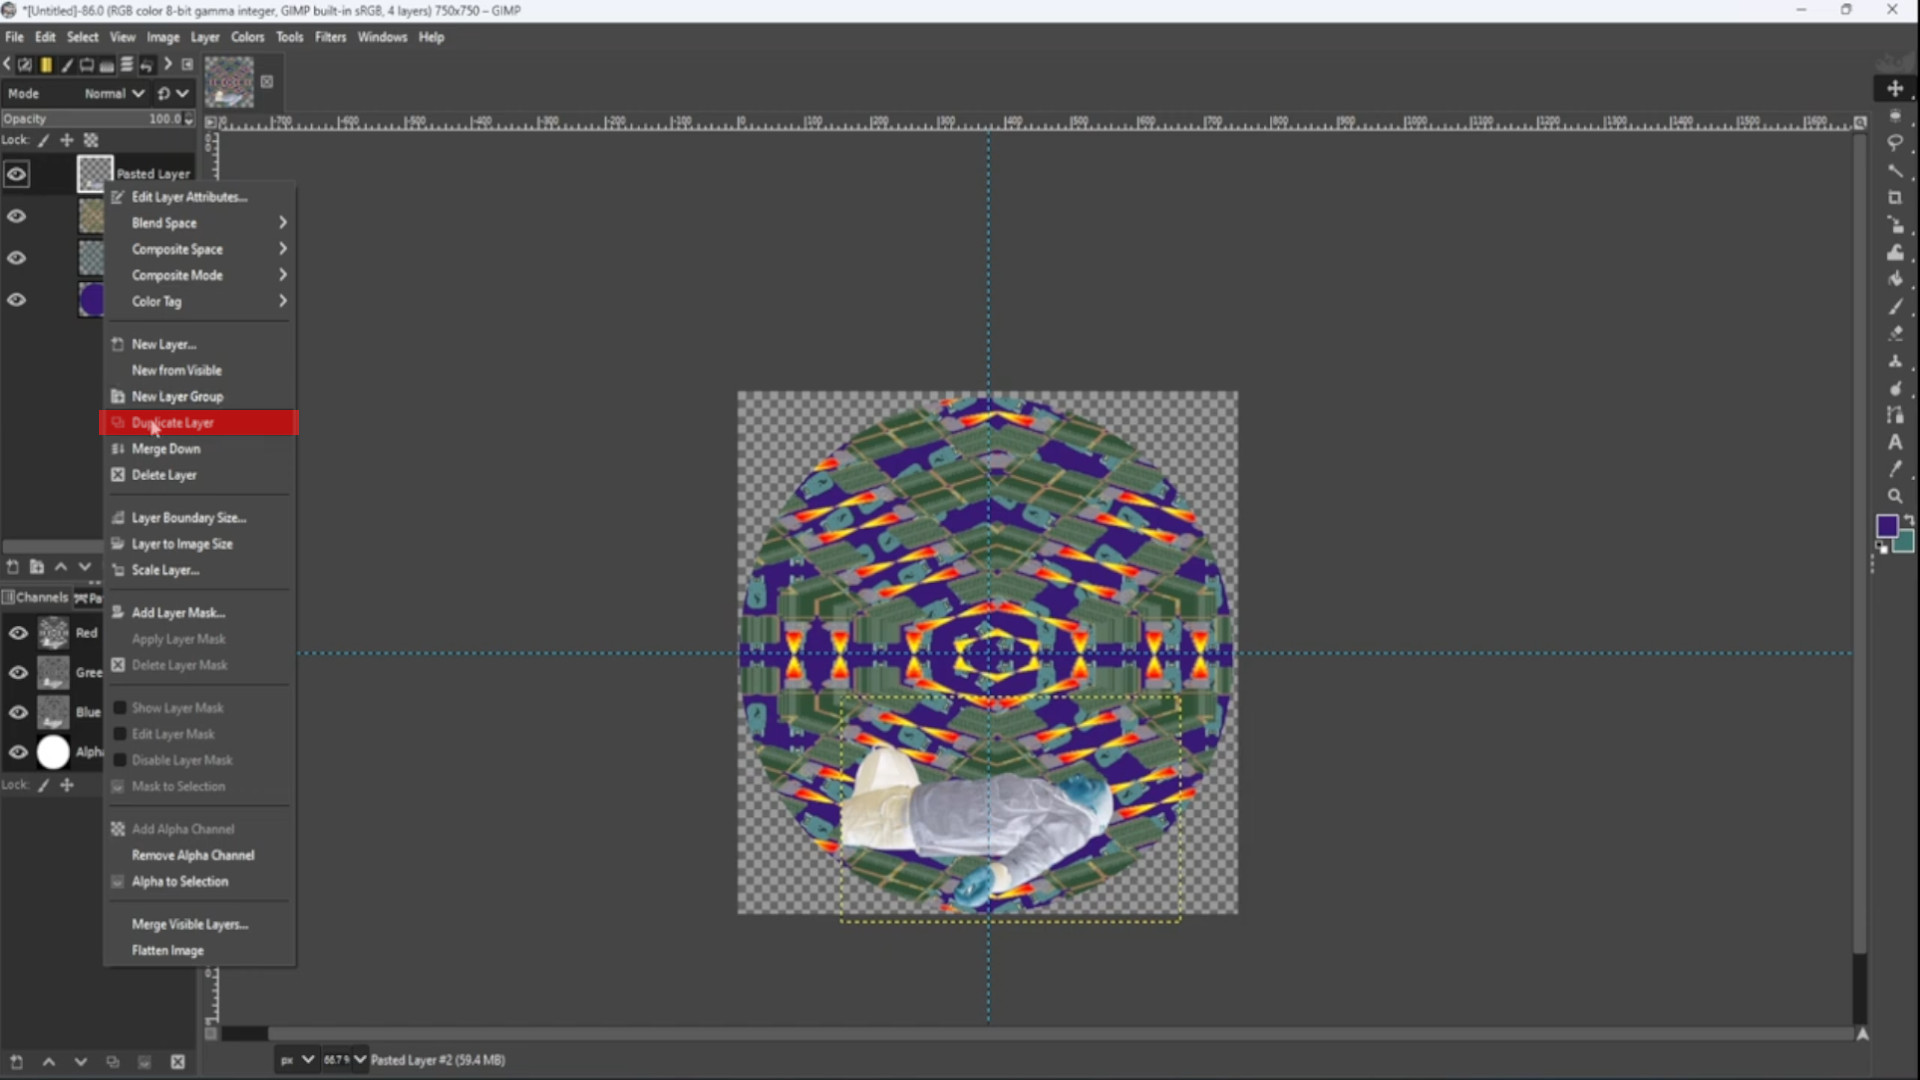
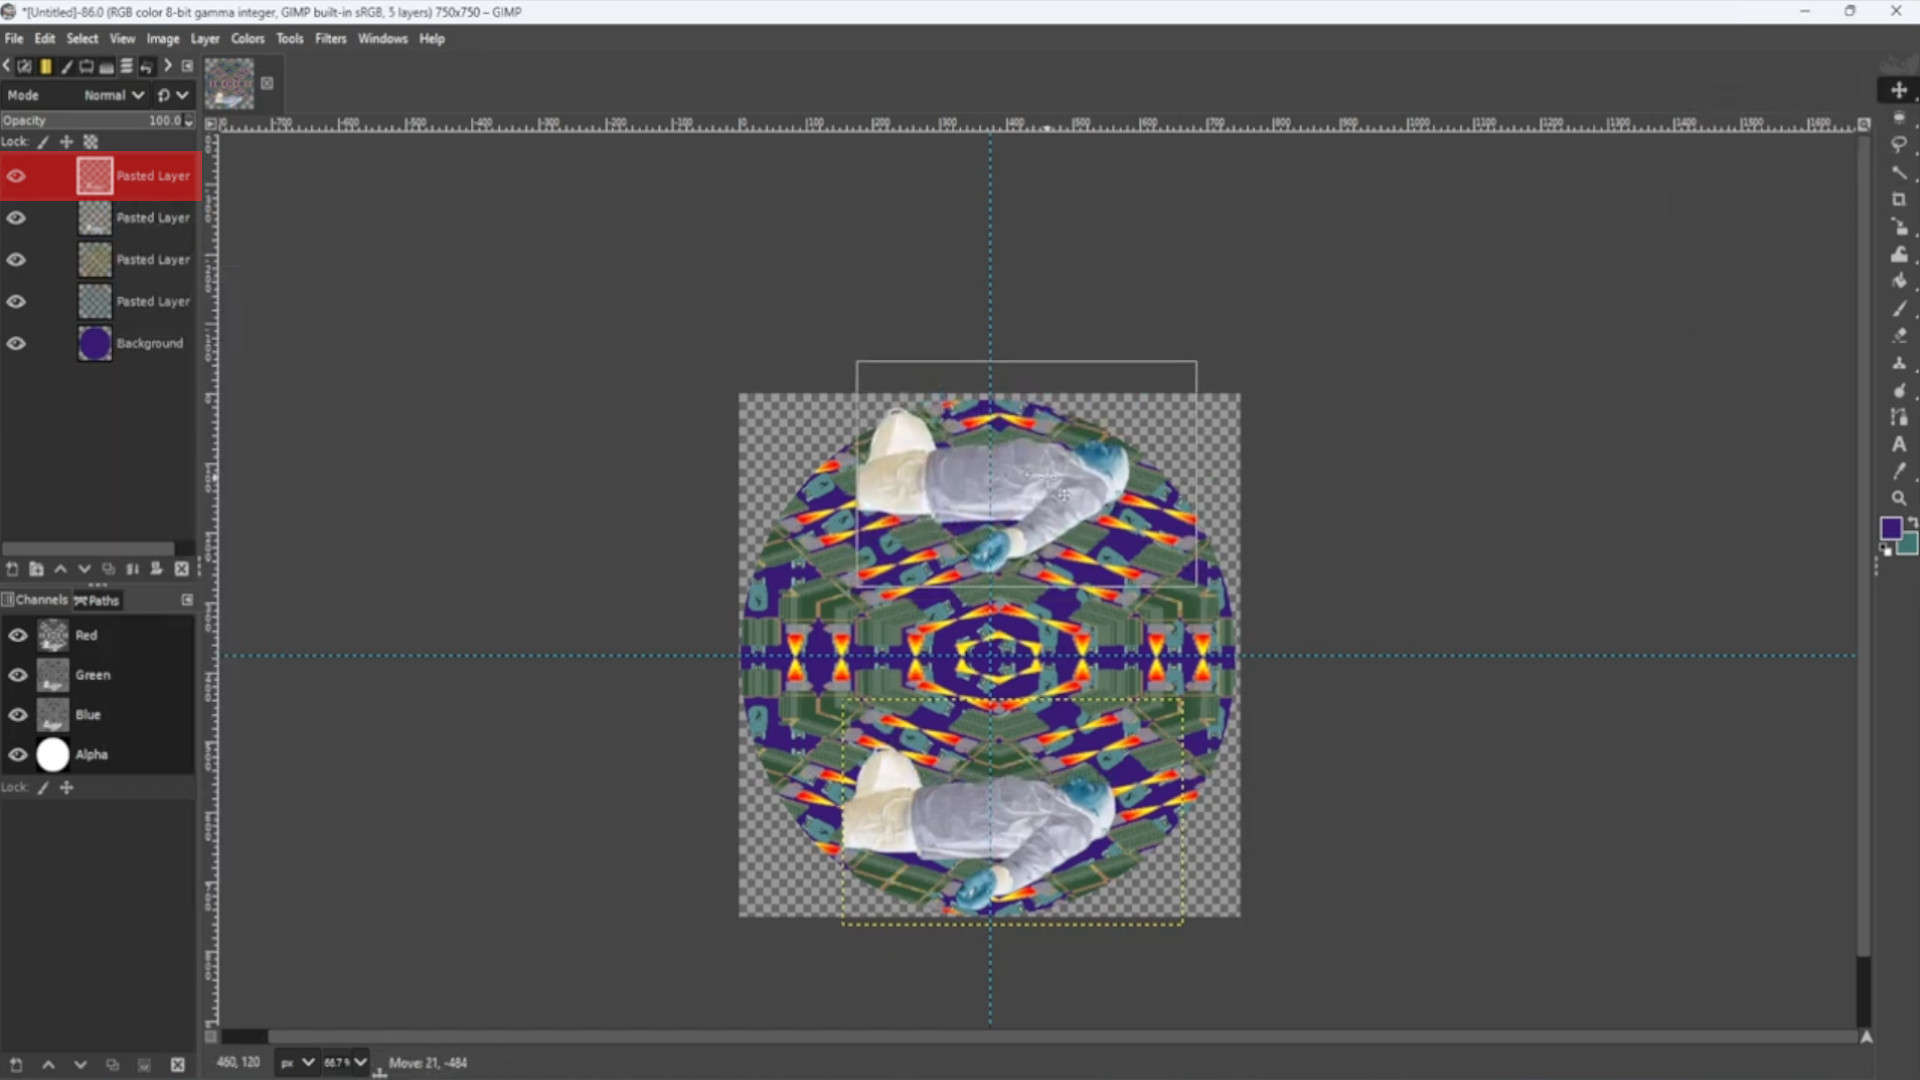
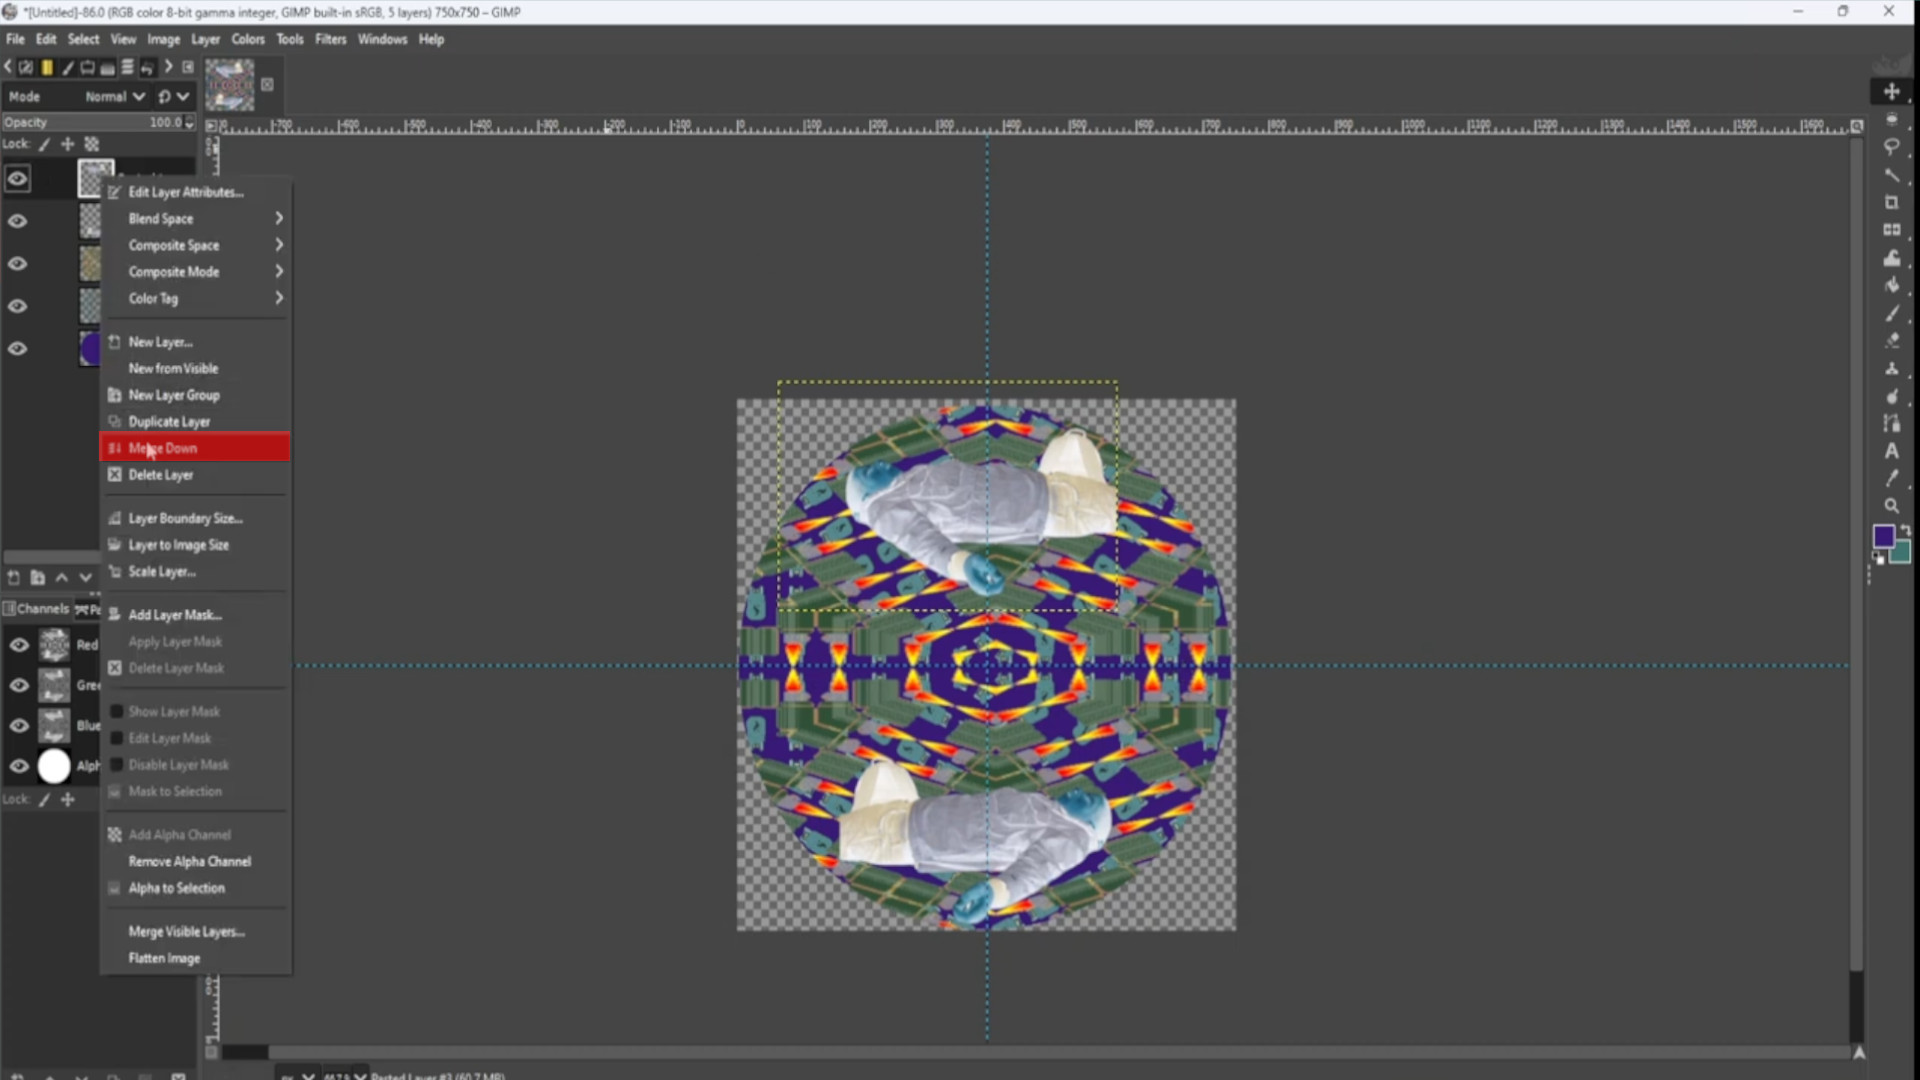
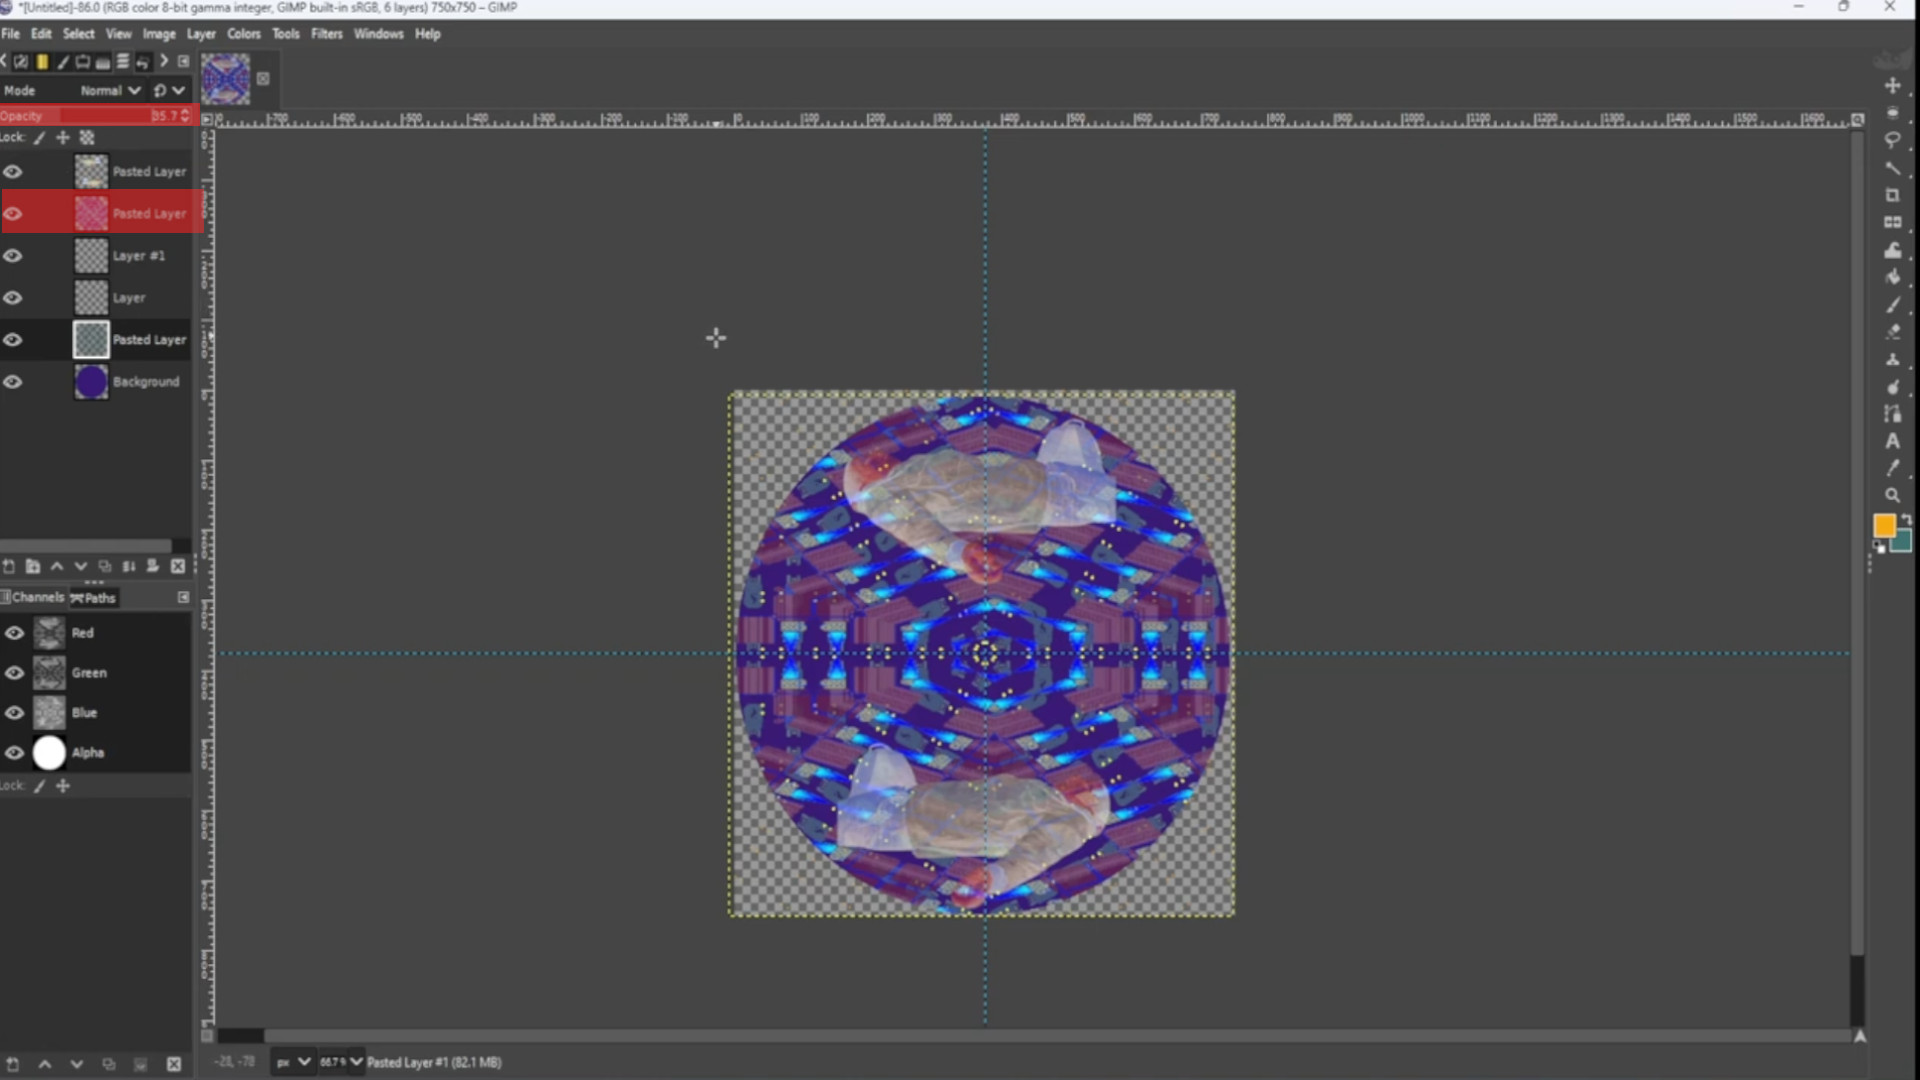
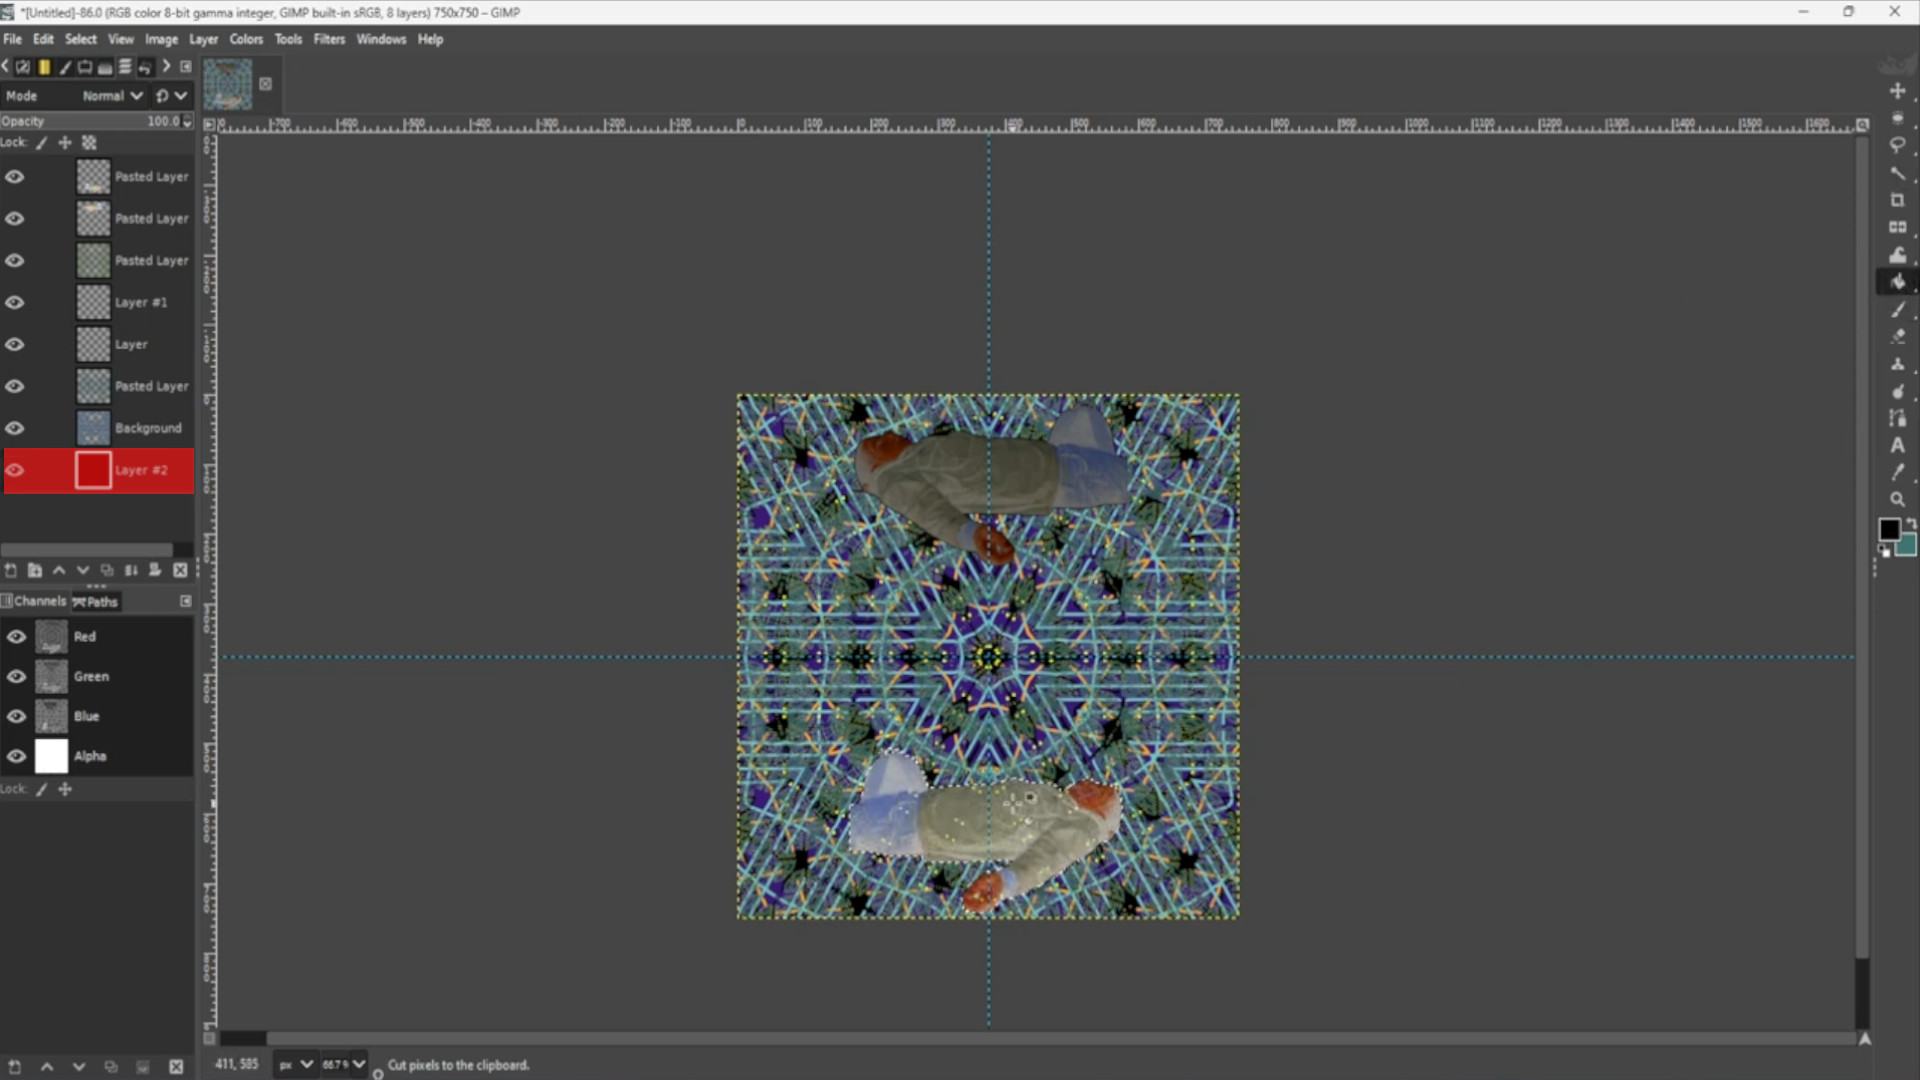
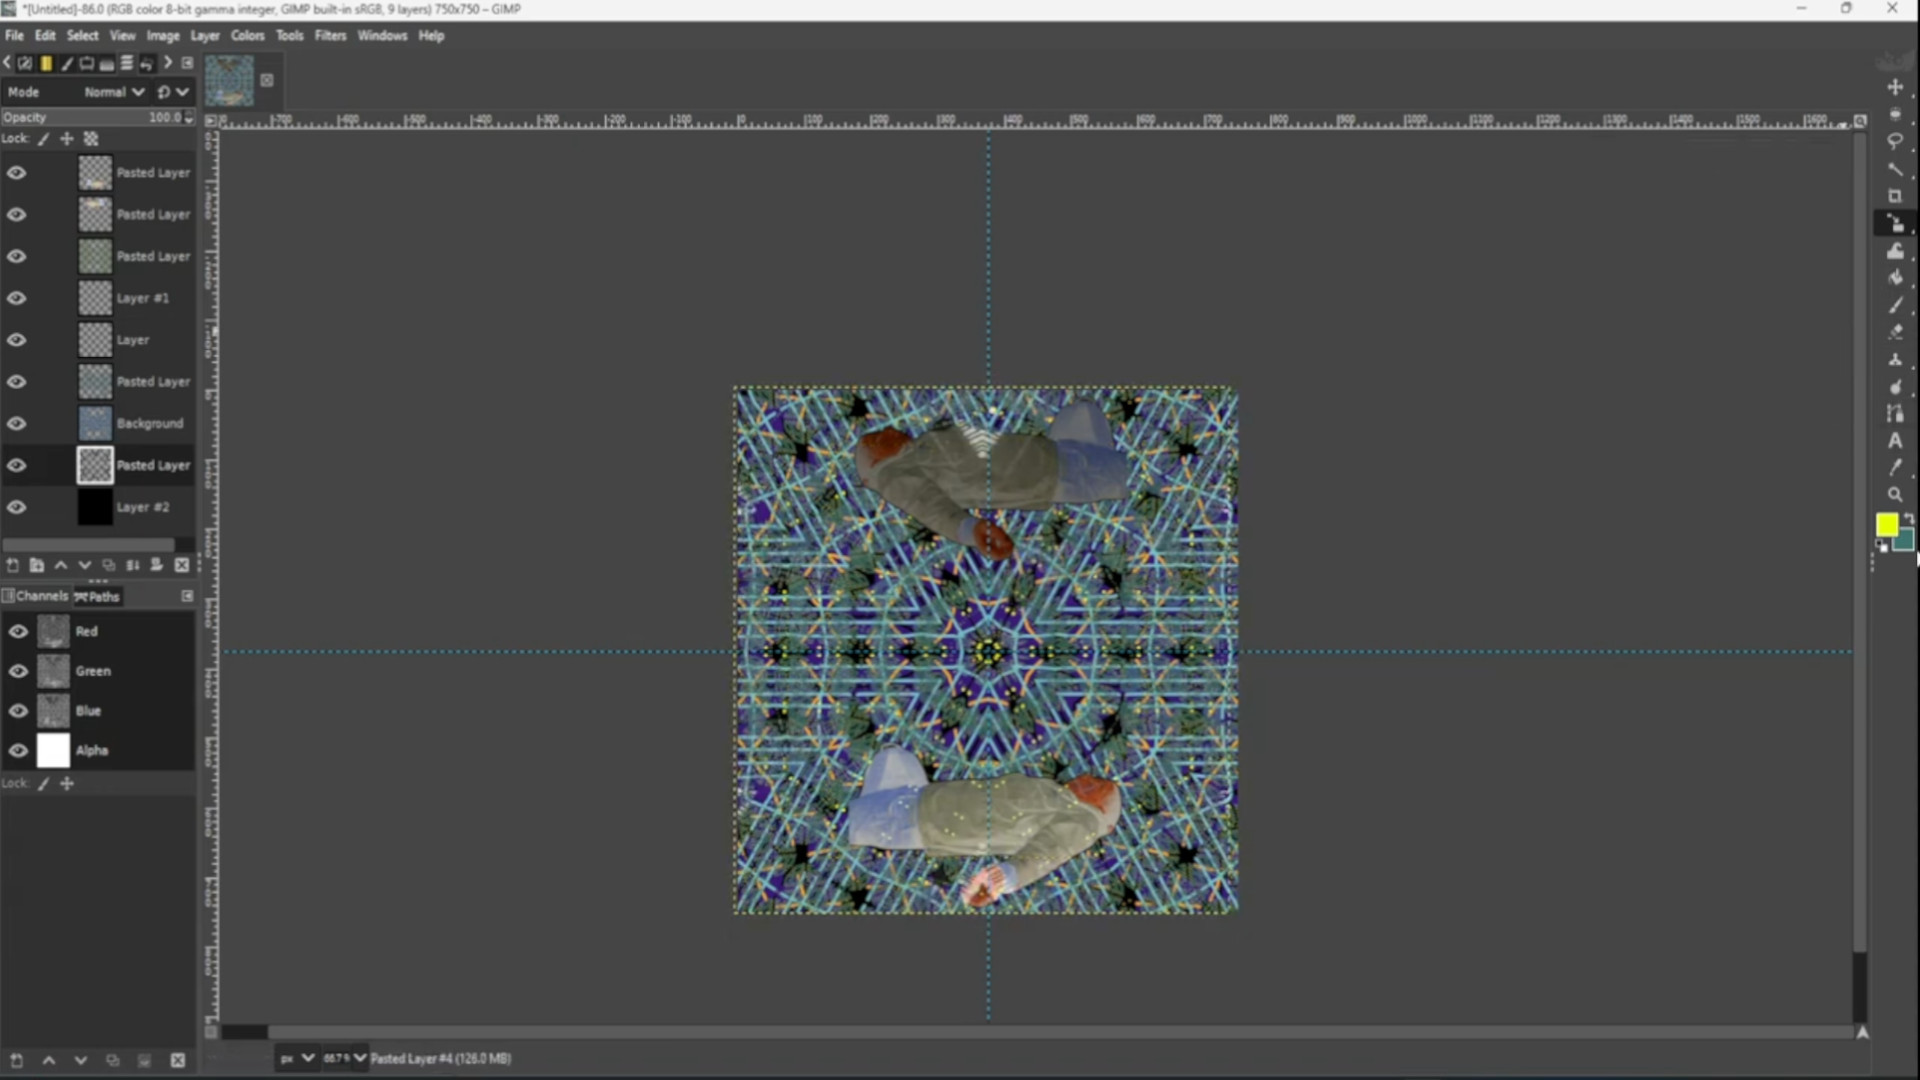
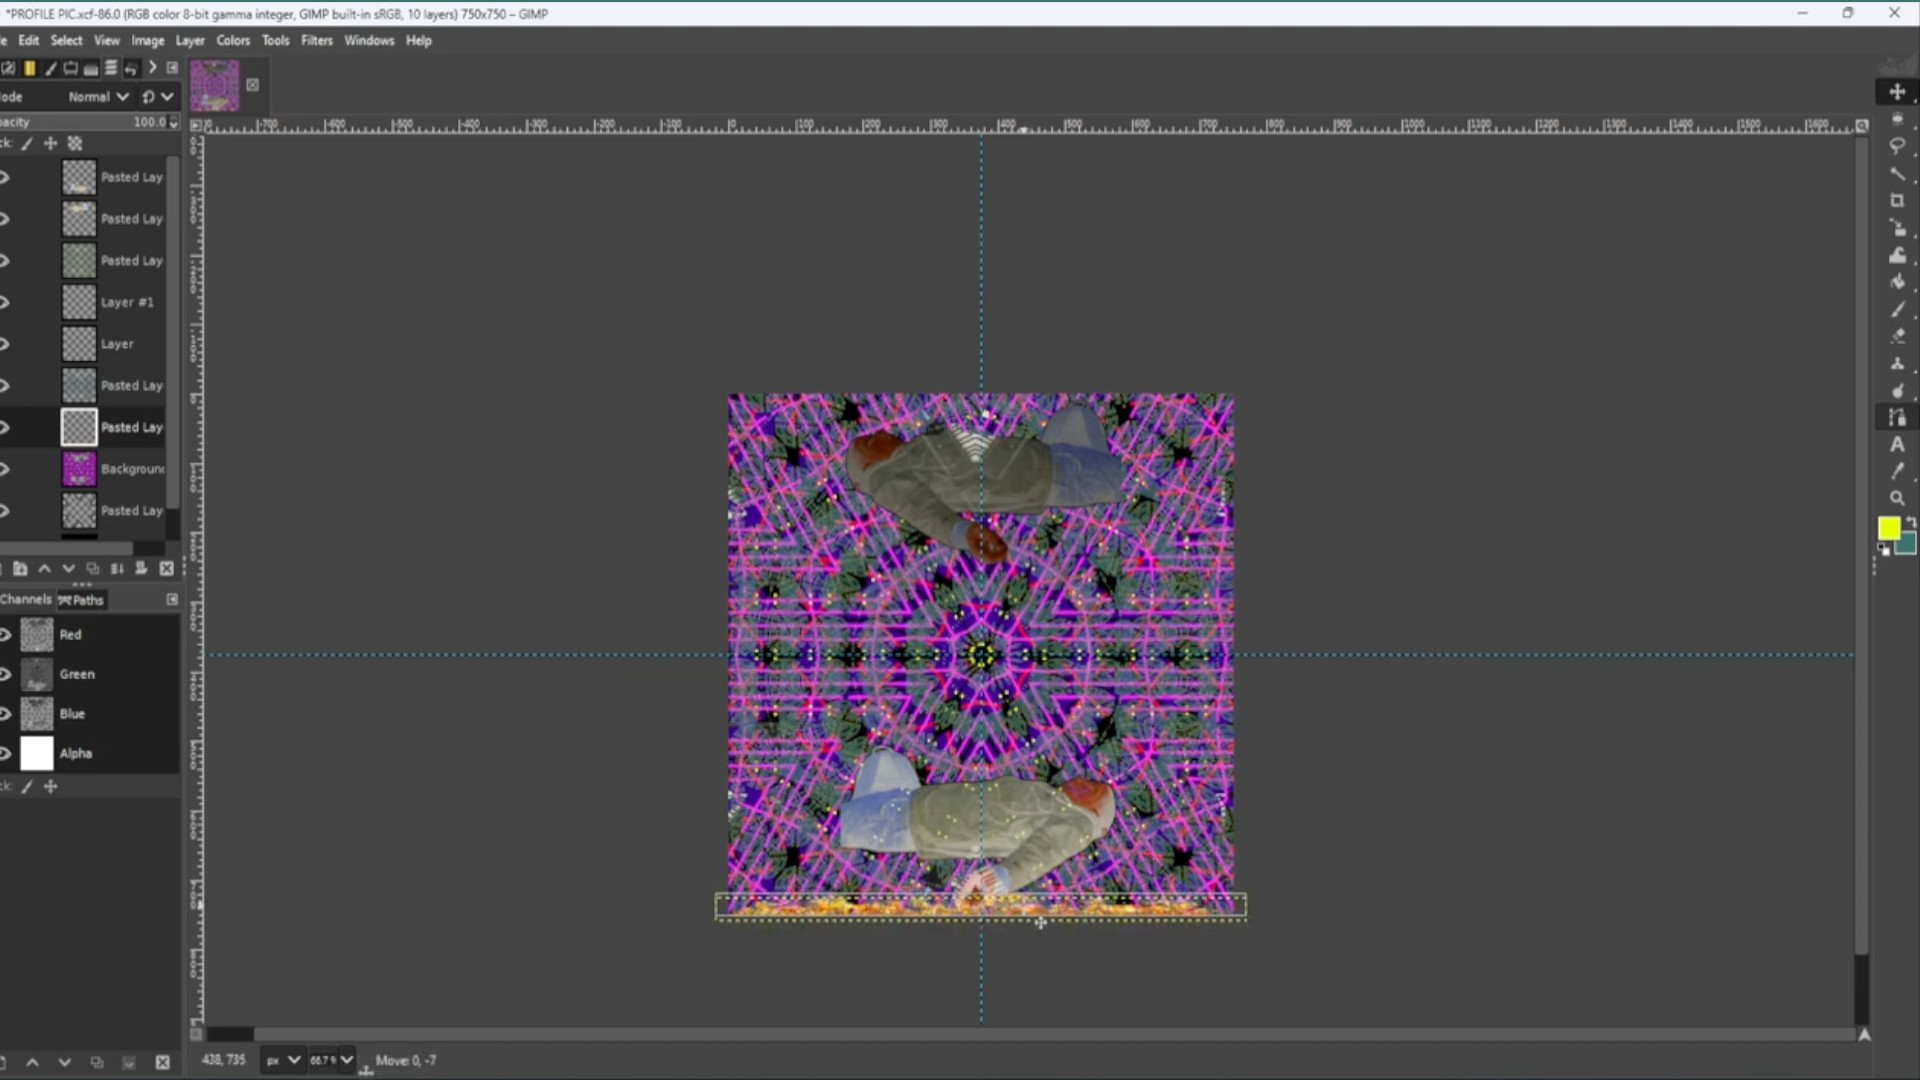
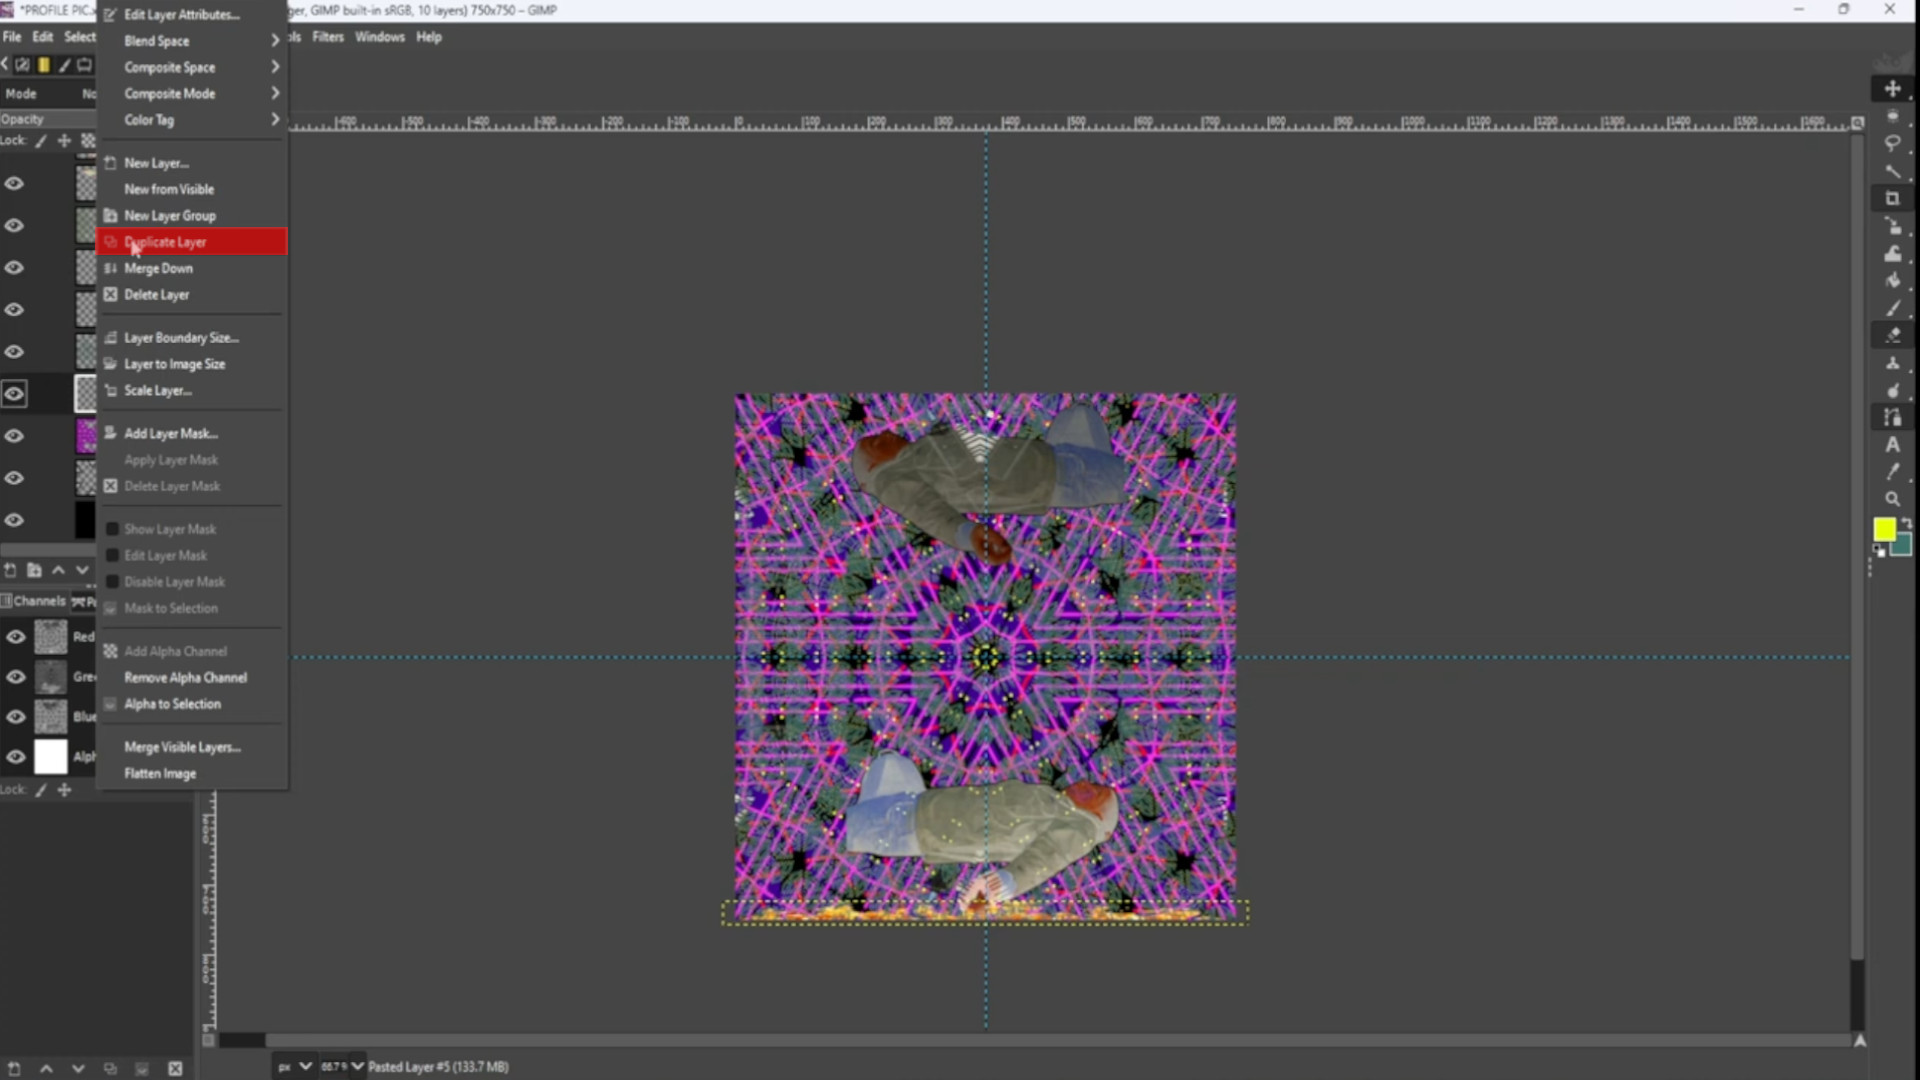
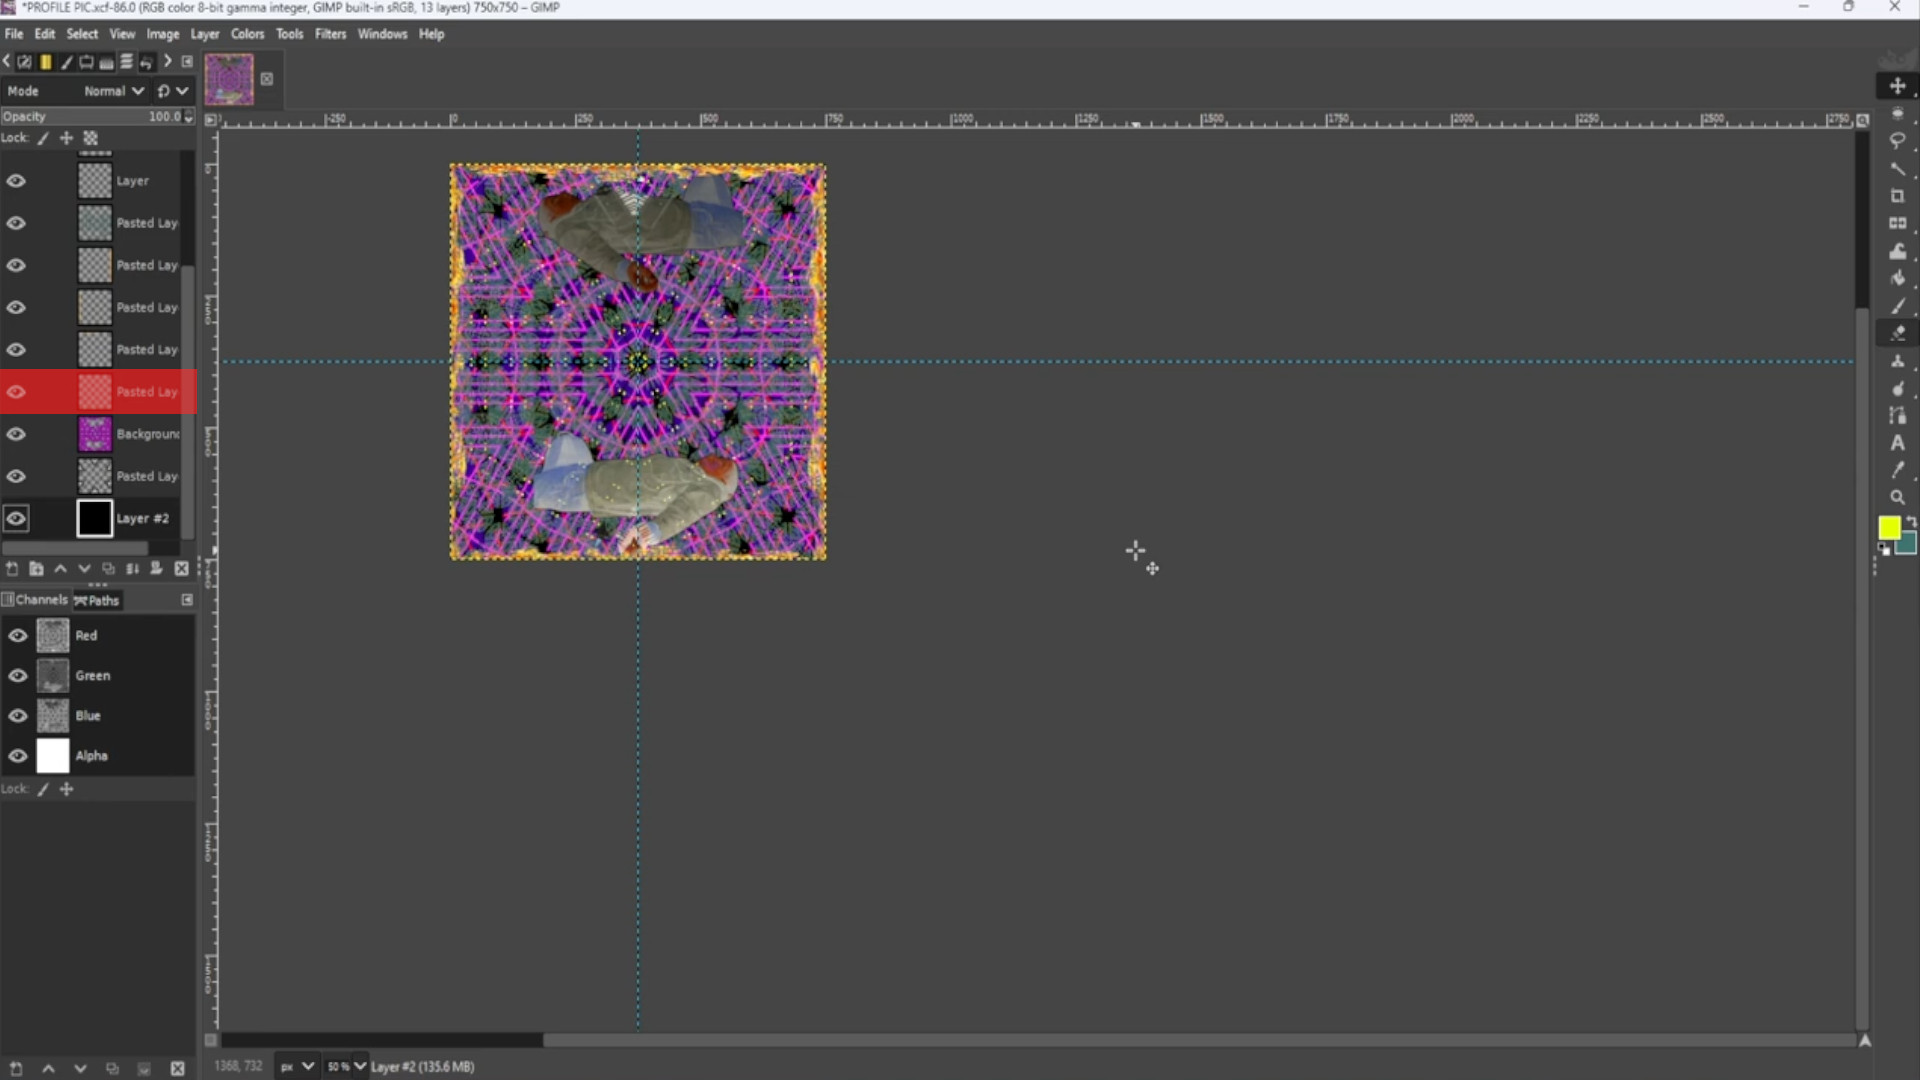
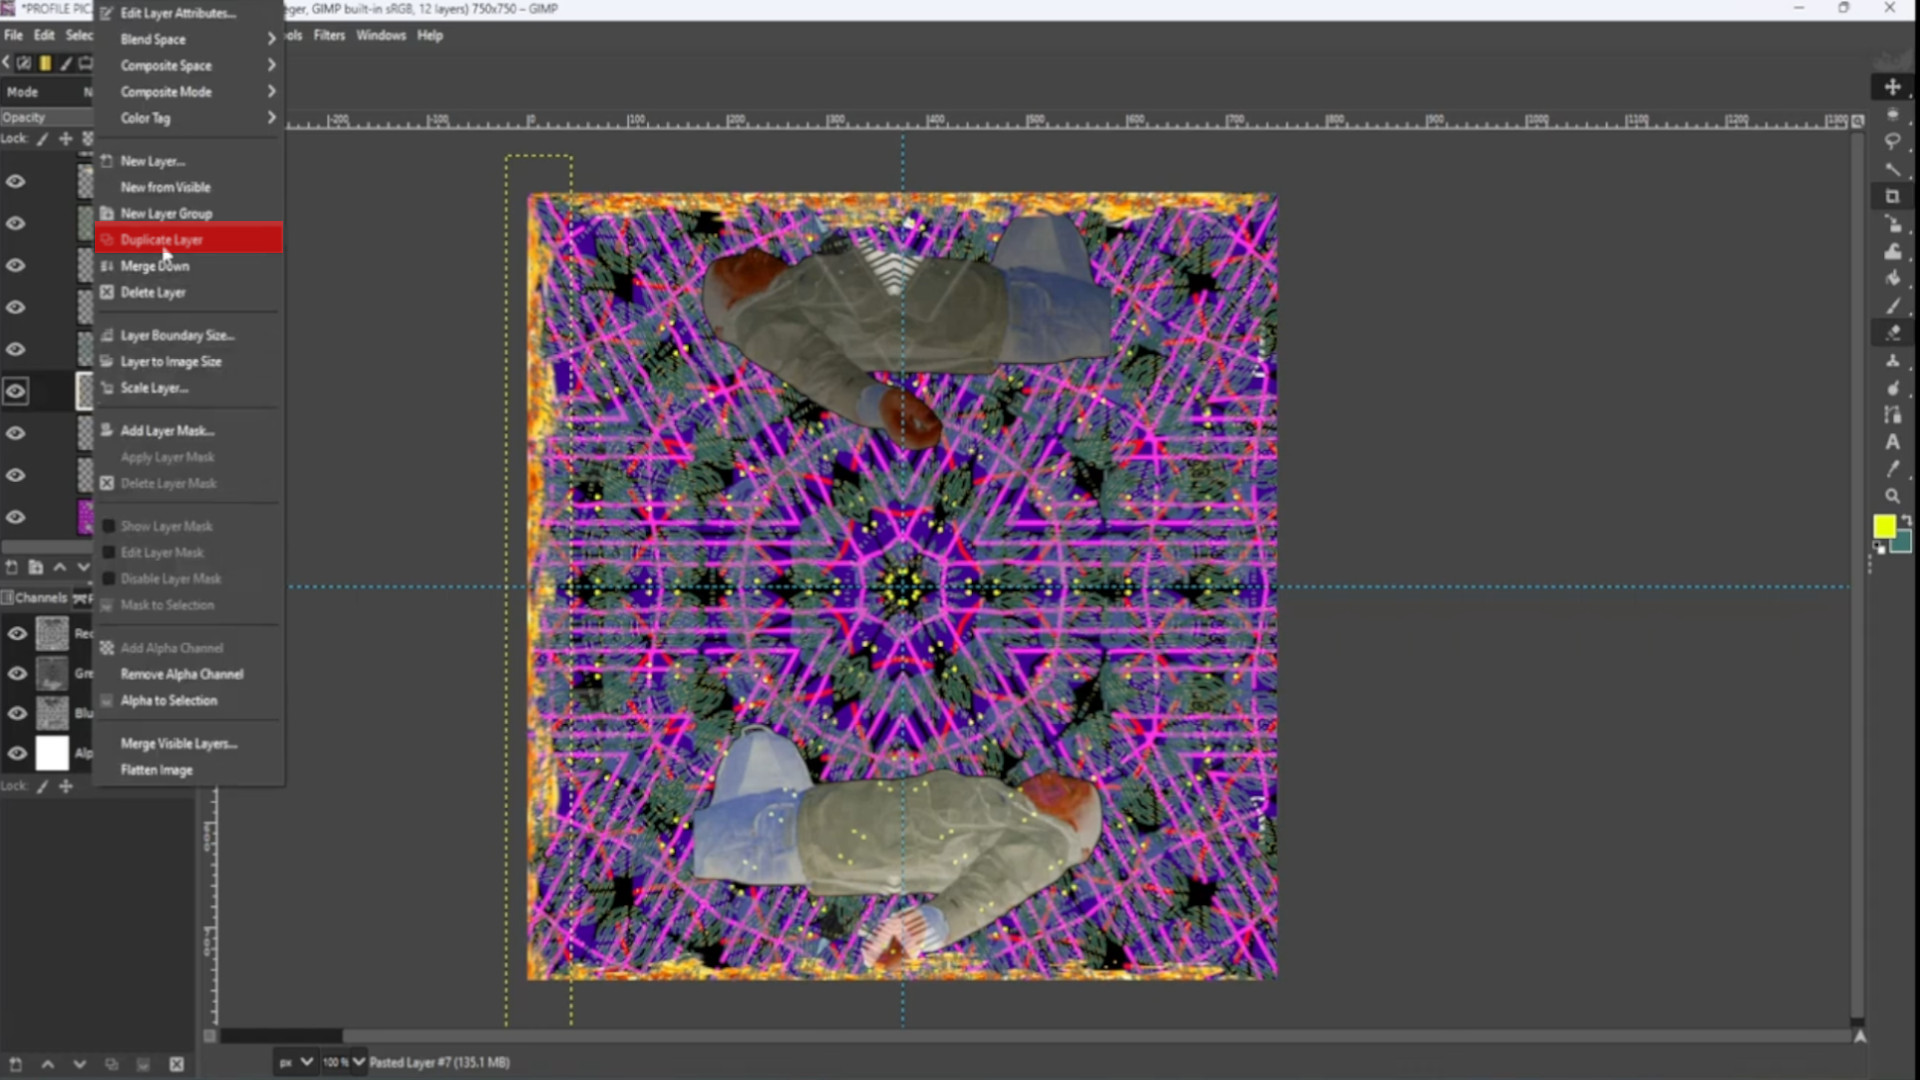
If you want to personalize it use your own images of yourself or band etc and with the>>>TOP LAYER SELECTED use the>>>RESIZE TOOL to resize the image or use shortcut>>>HOLD>>>SHIFT and>>>PRESS>>>S to get the scale options to come up. Also use the>>>MOVE TOOL to move the image to taste. I duplicated the layer by going to the>>>LAYERS TAB on the>>>LEFT HAND SIDE and>>>RIGHT CLICK ON LAYER>>>and selected>>>DUPLICATE LAYER and used the>>>MOVE TOOL to move it in position then I use the shortcut>>>HOLD>>>SHIFT and>>>PRESS>>>F to flip the picture horizontally moving it into position with the>>>MOVE TOOL.
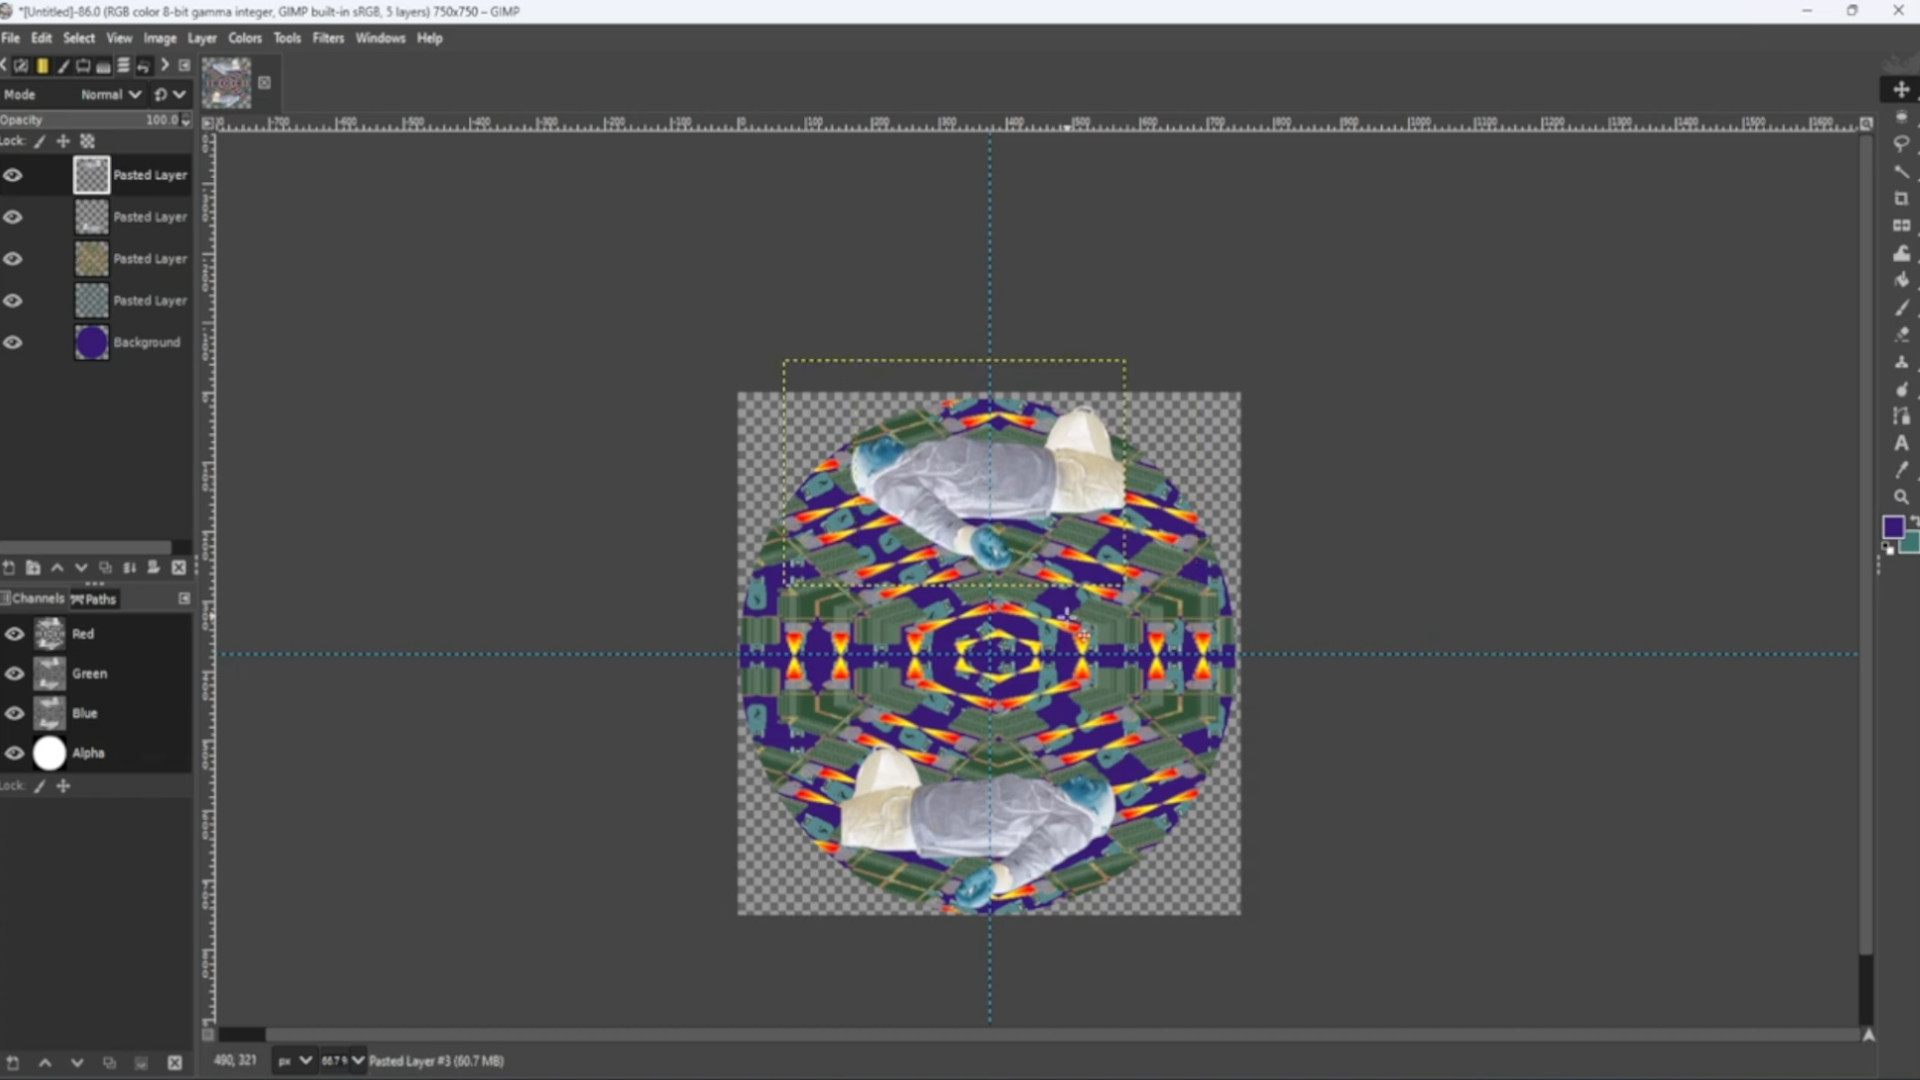
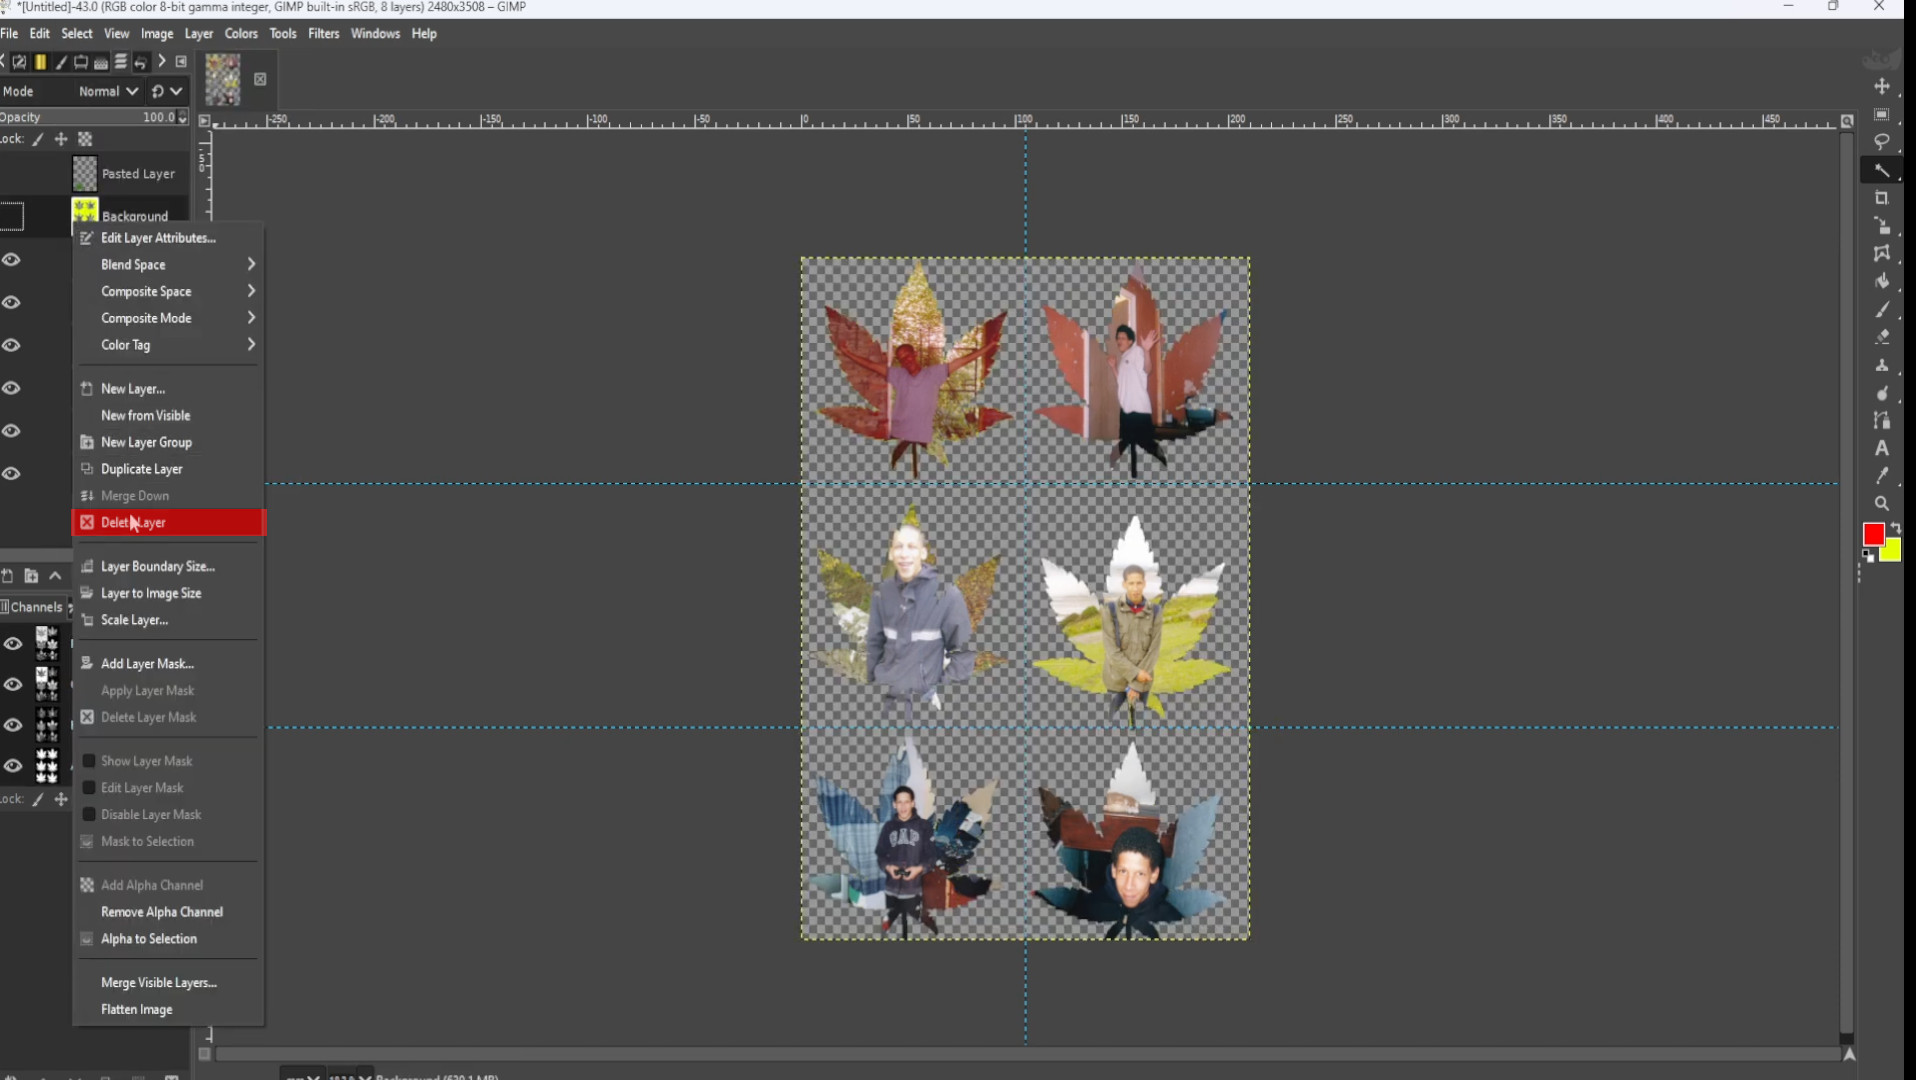
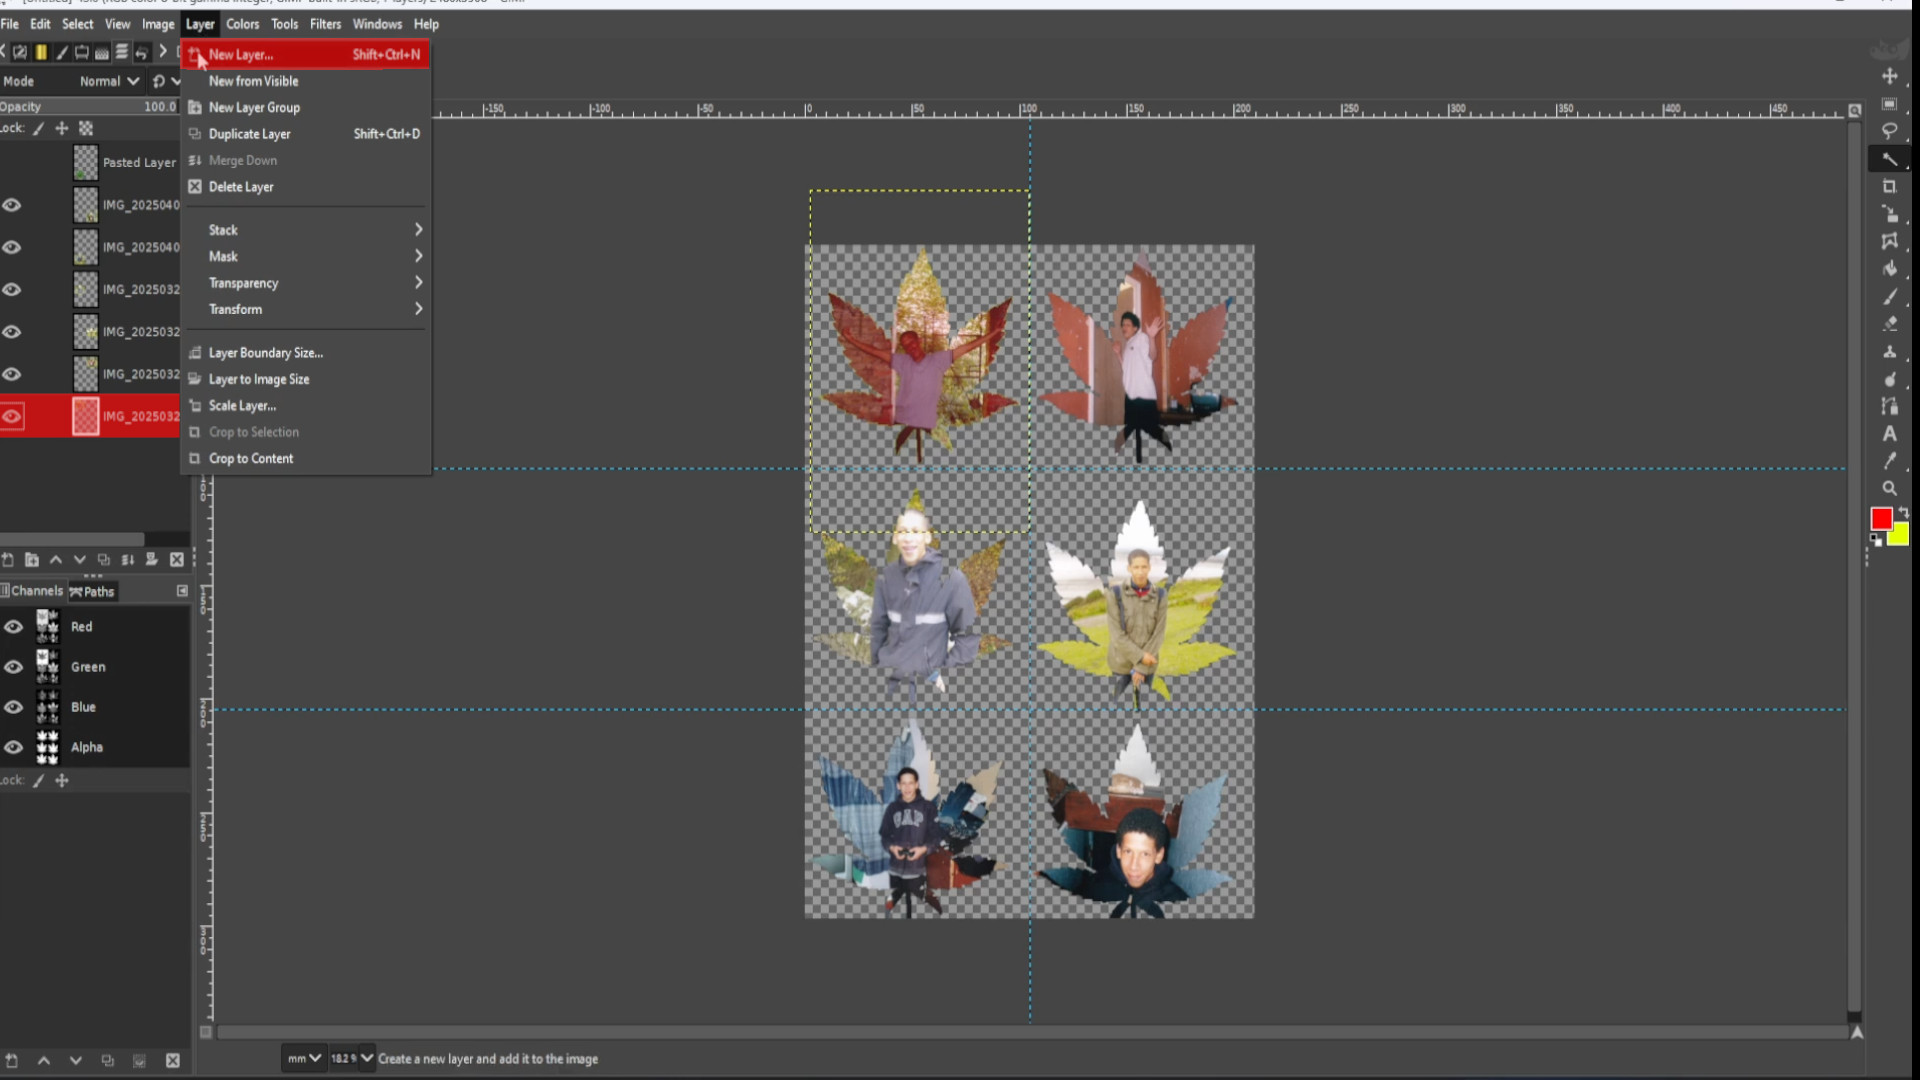
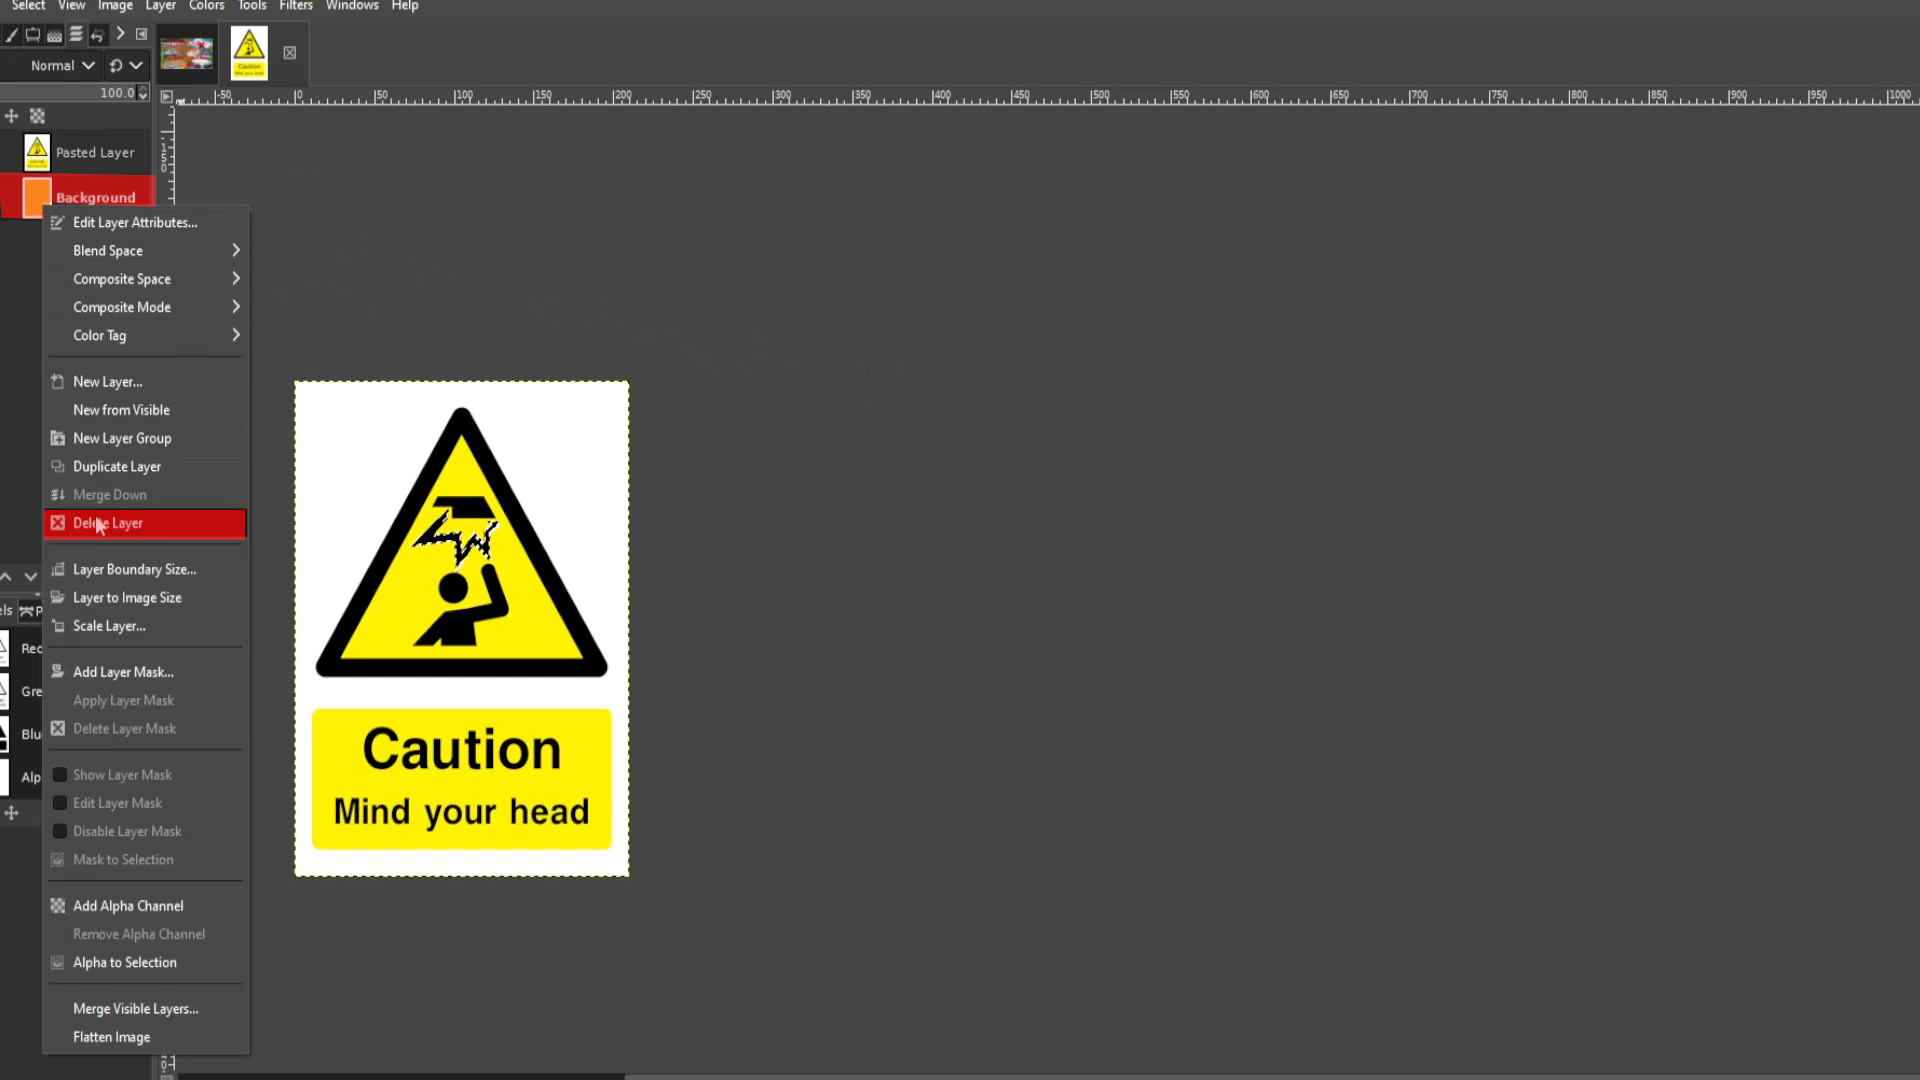
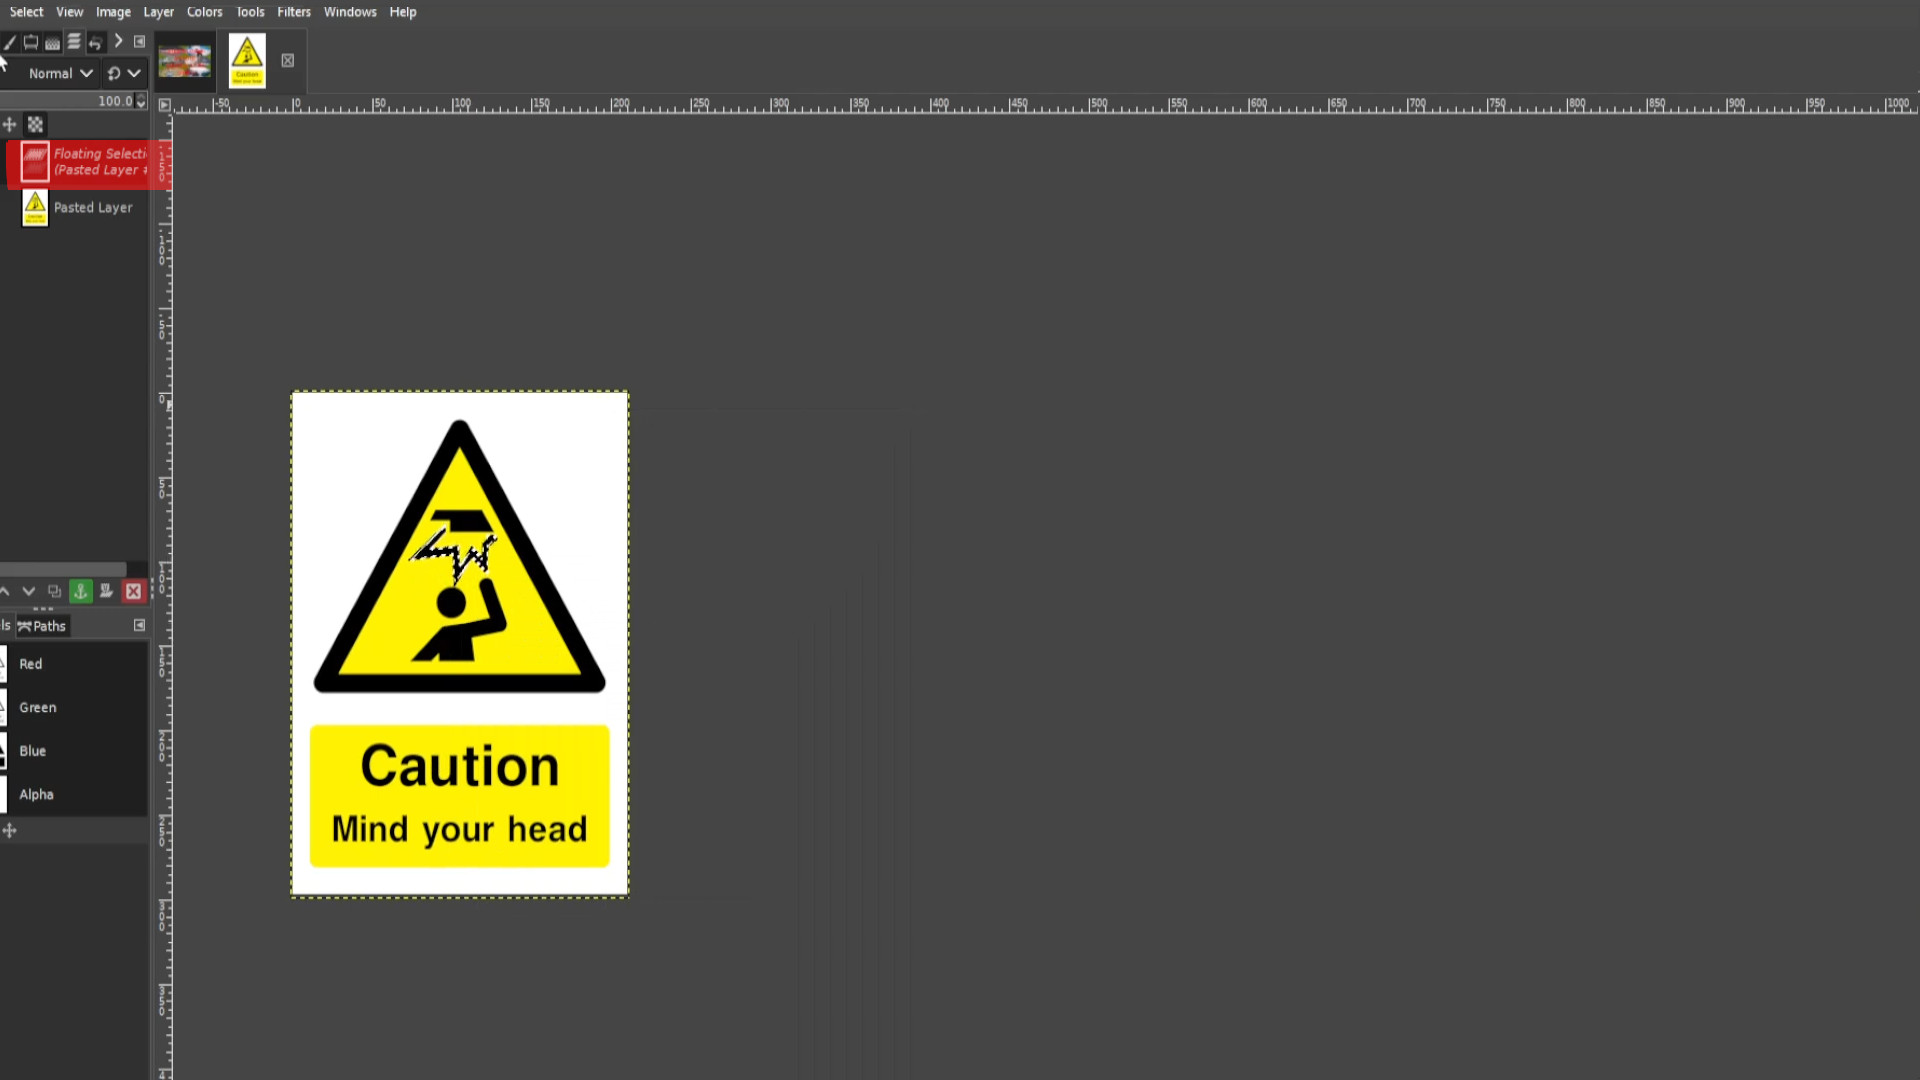
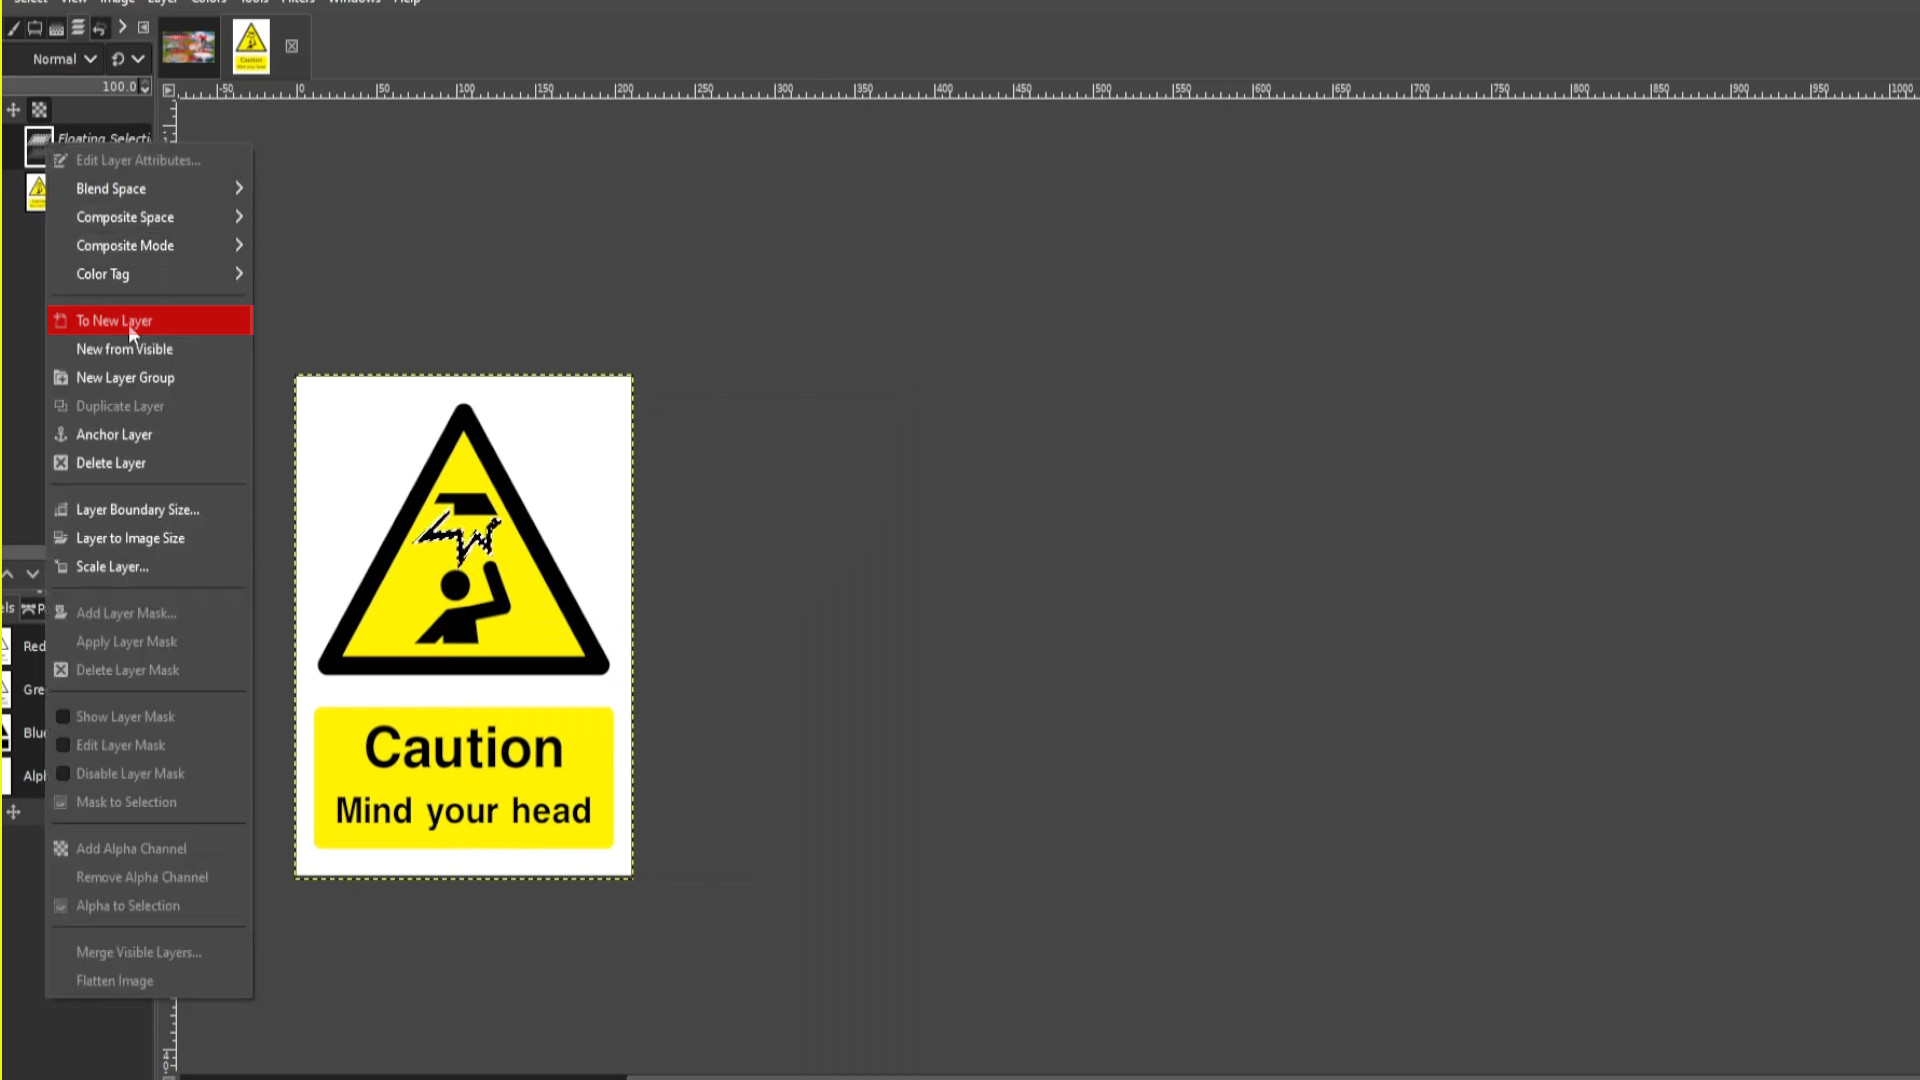
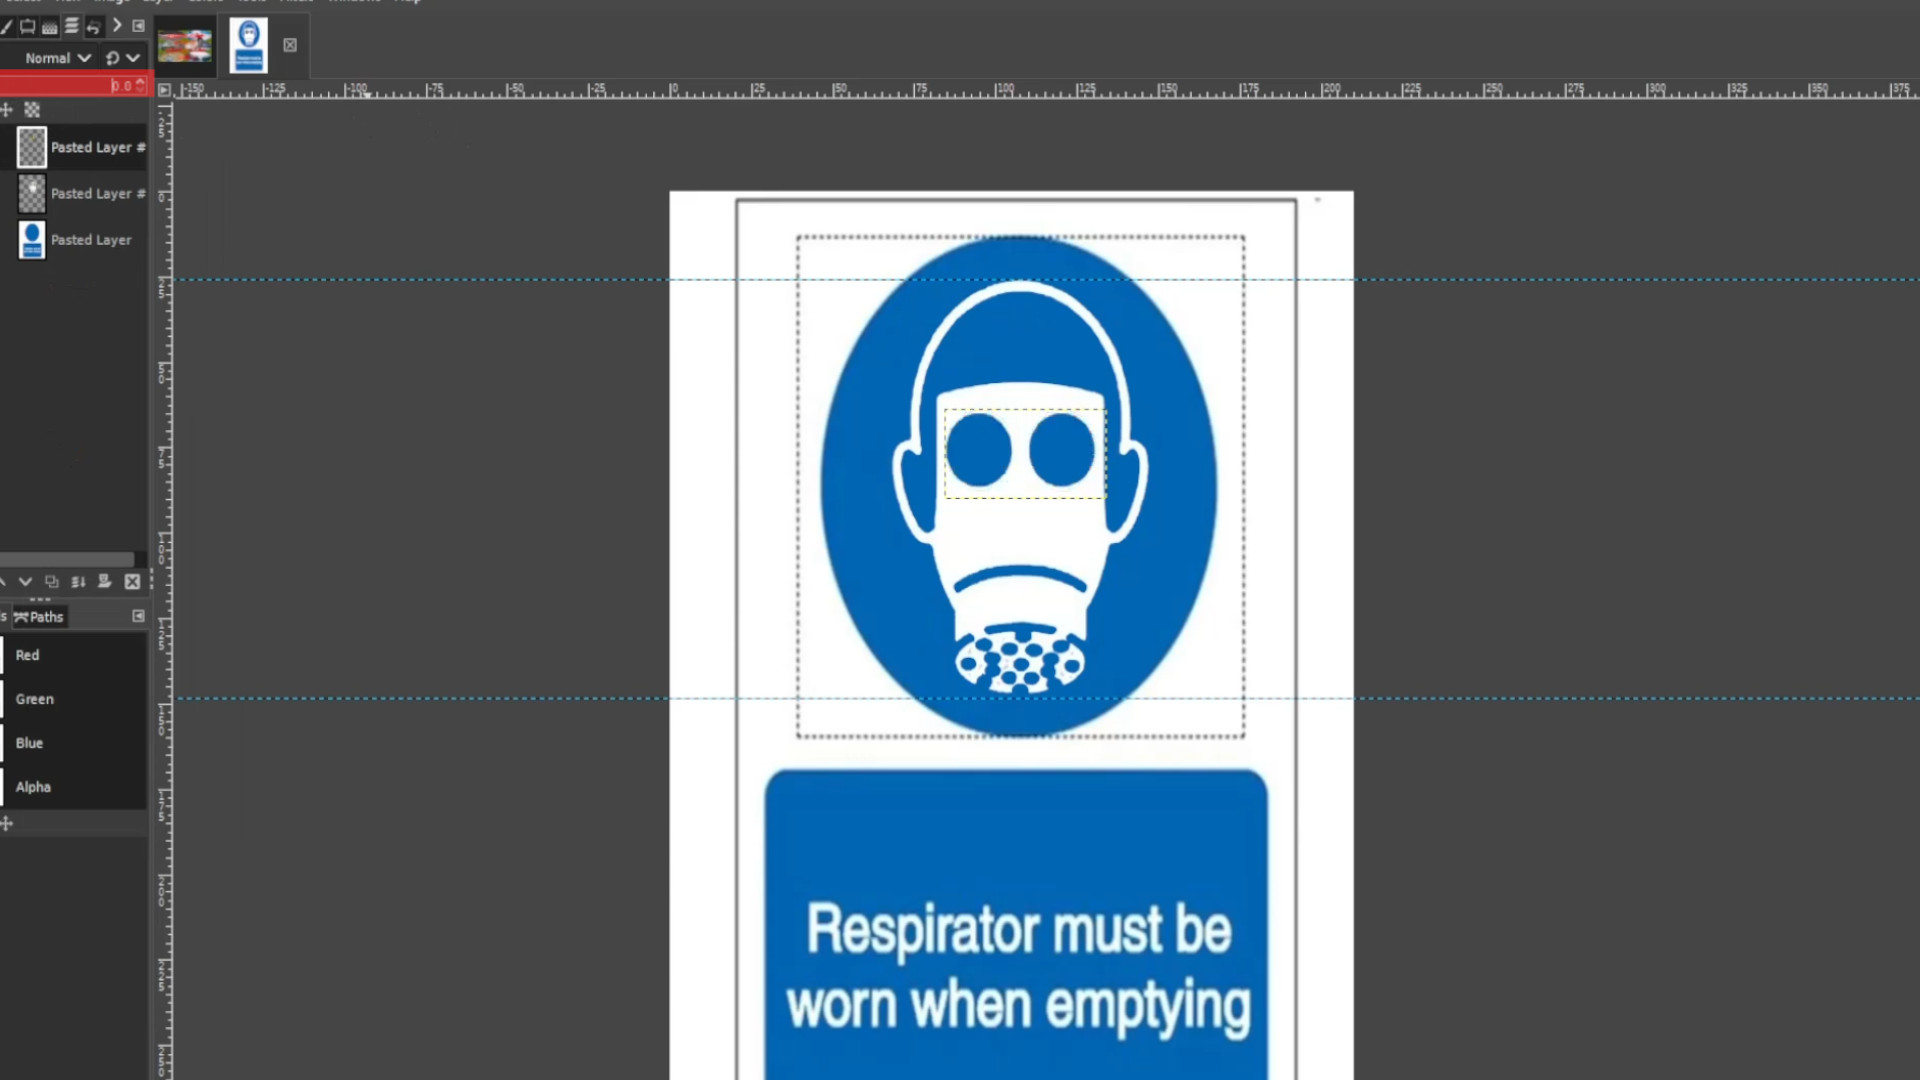
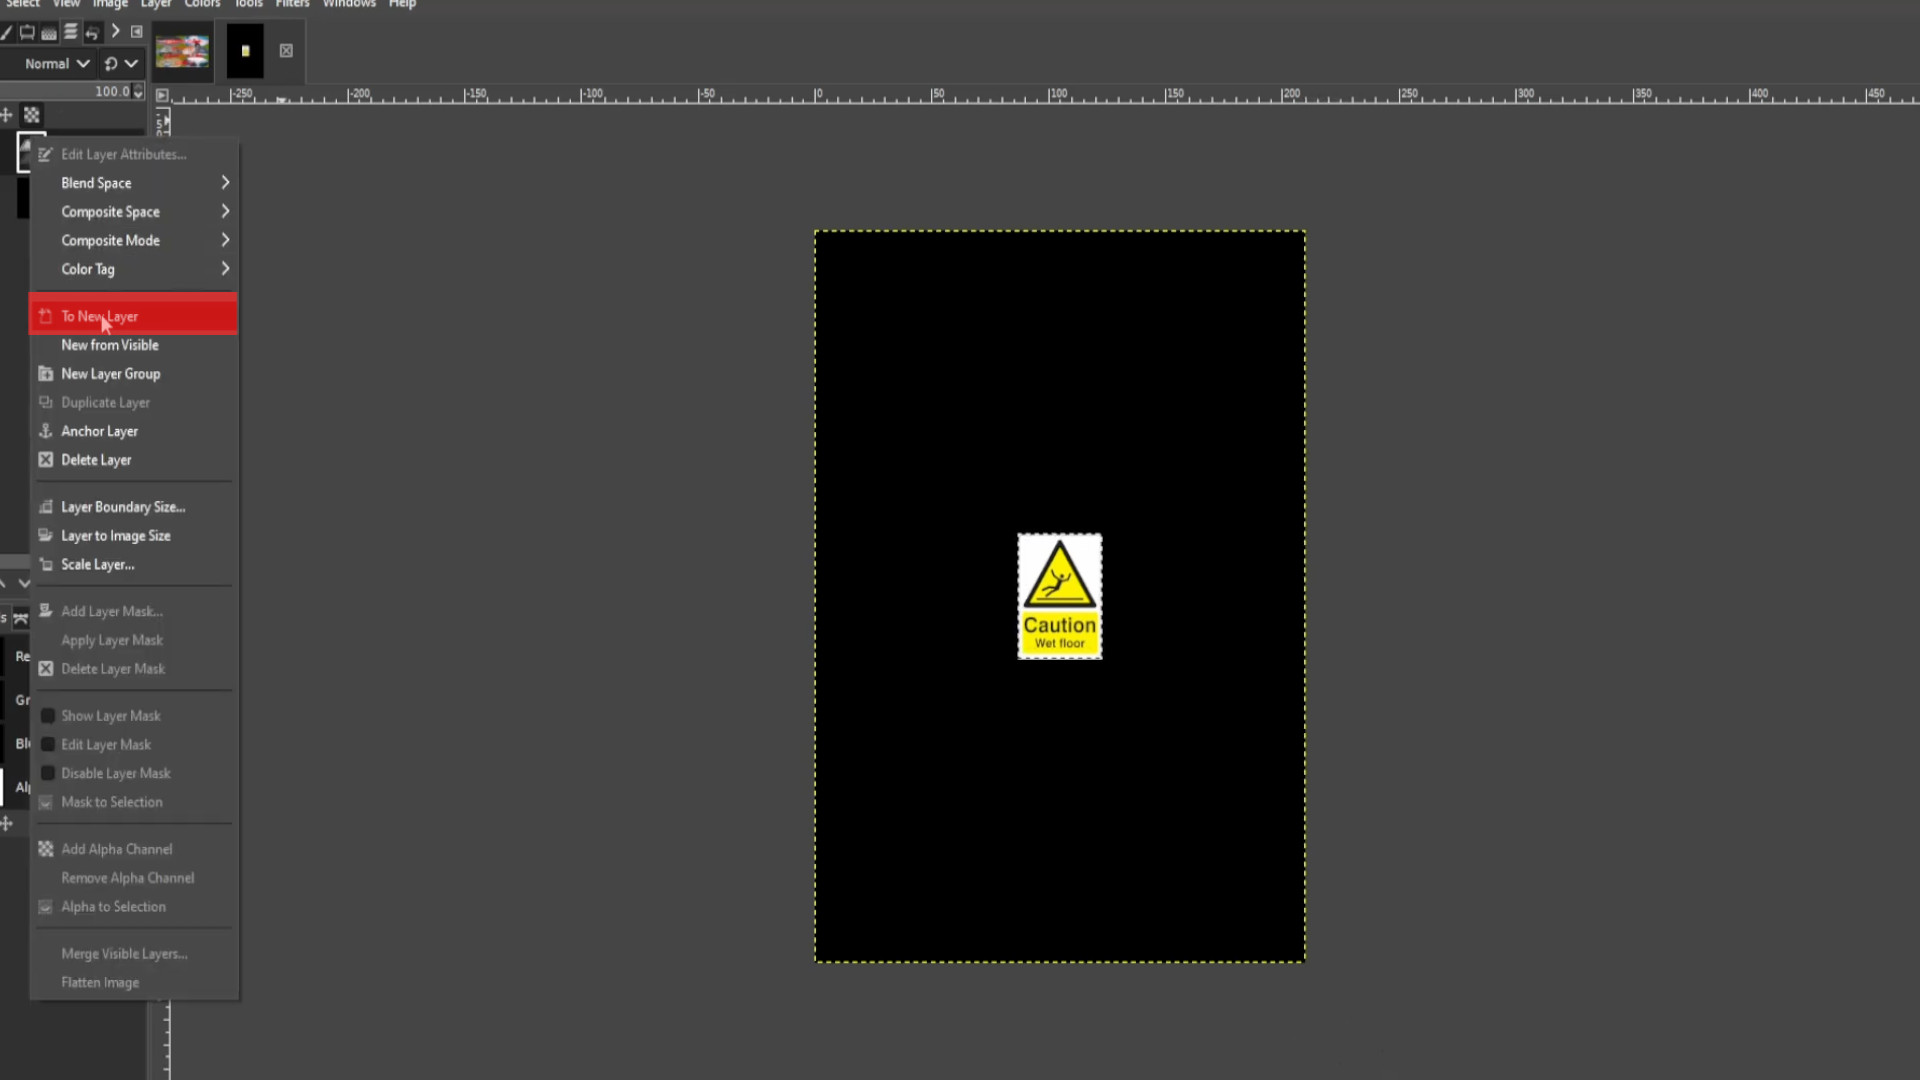
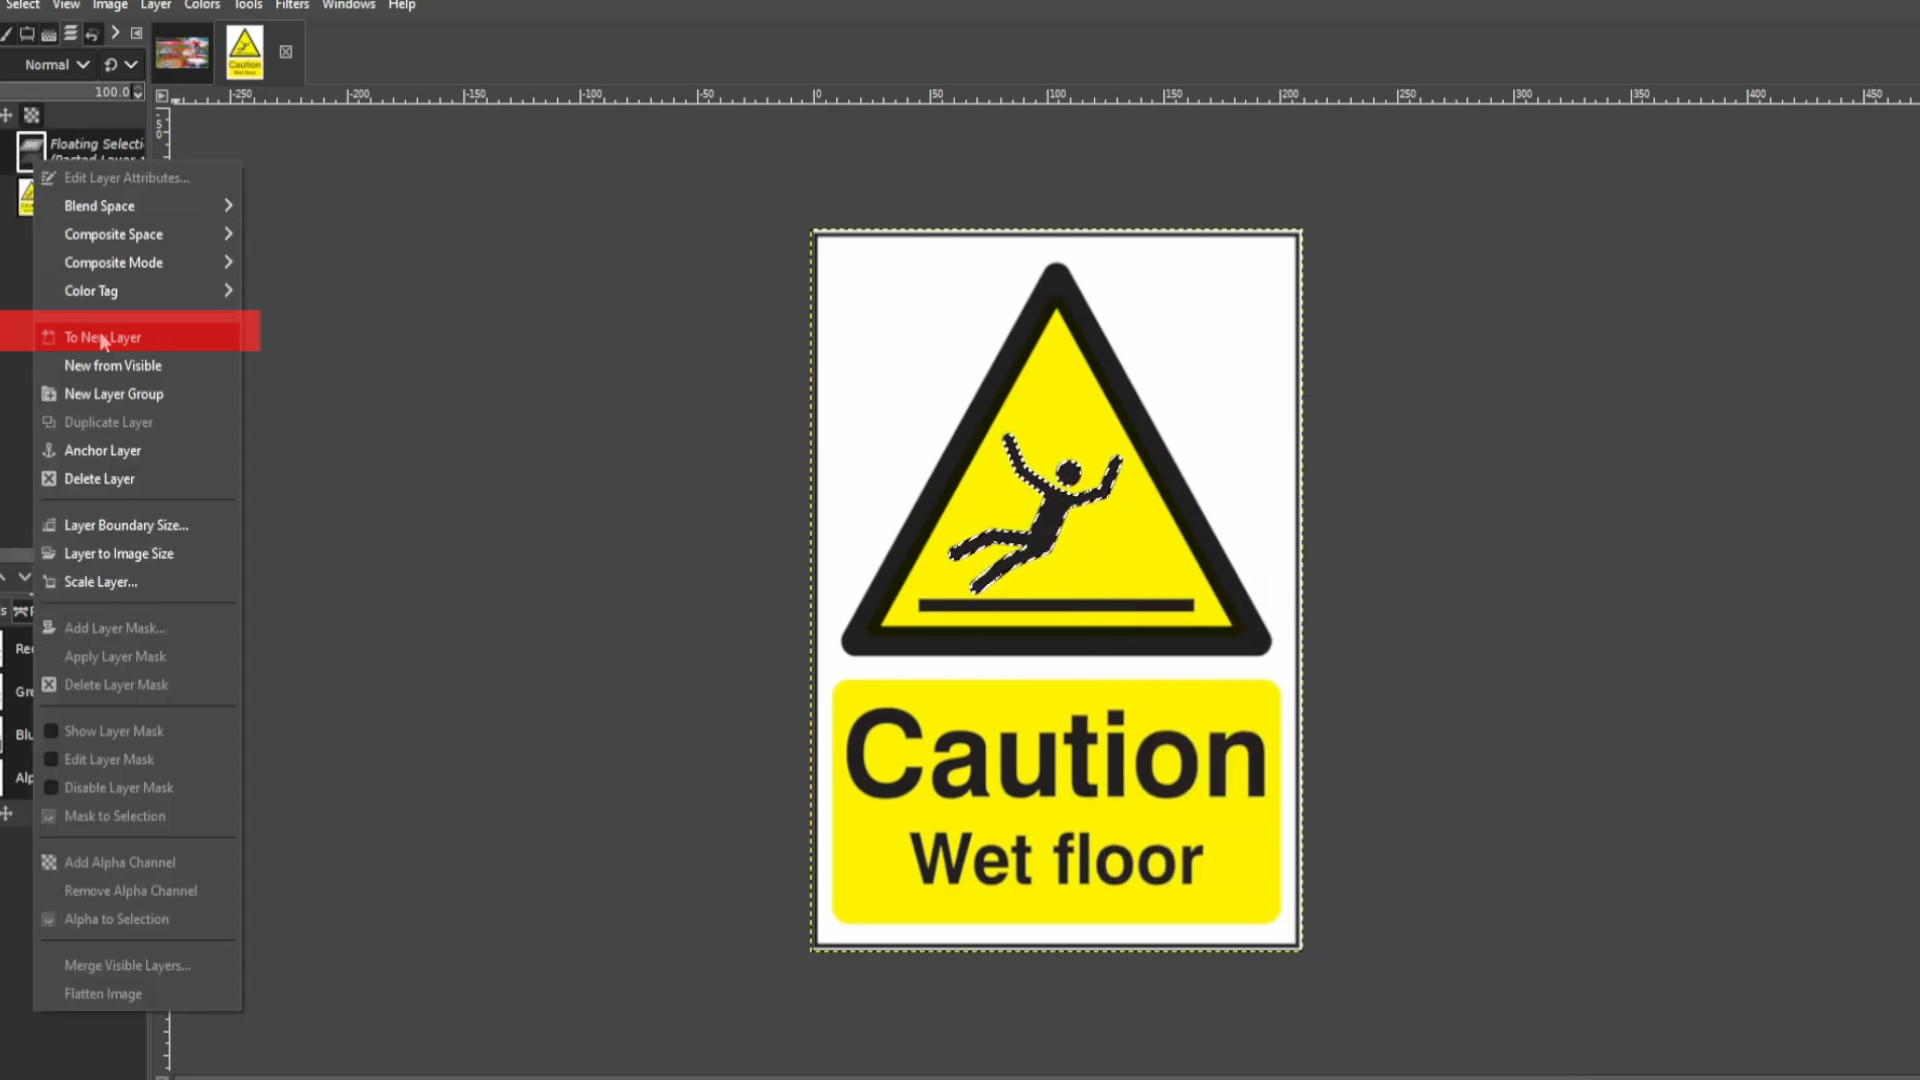
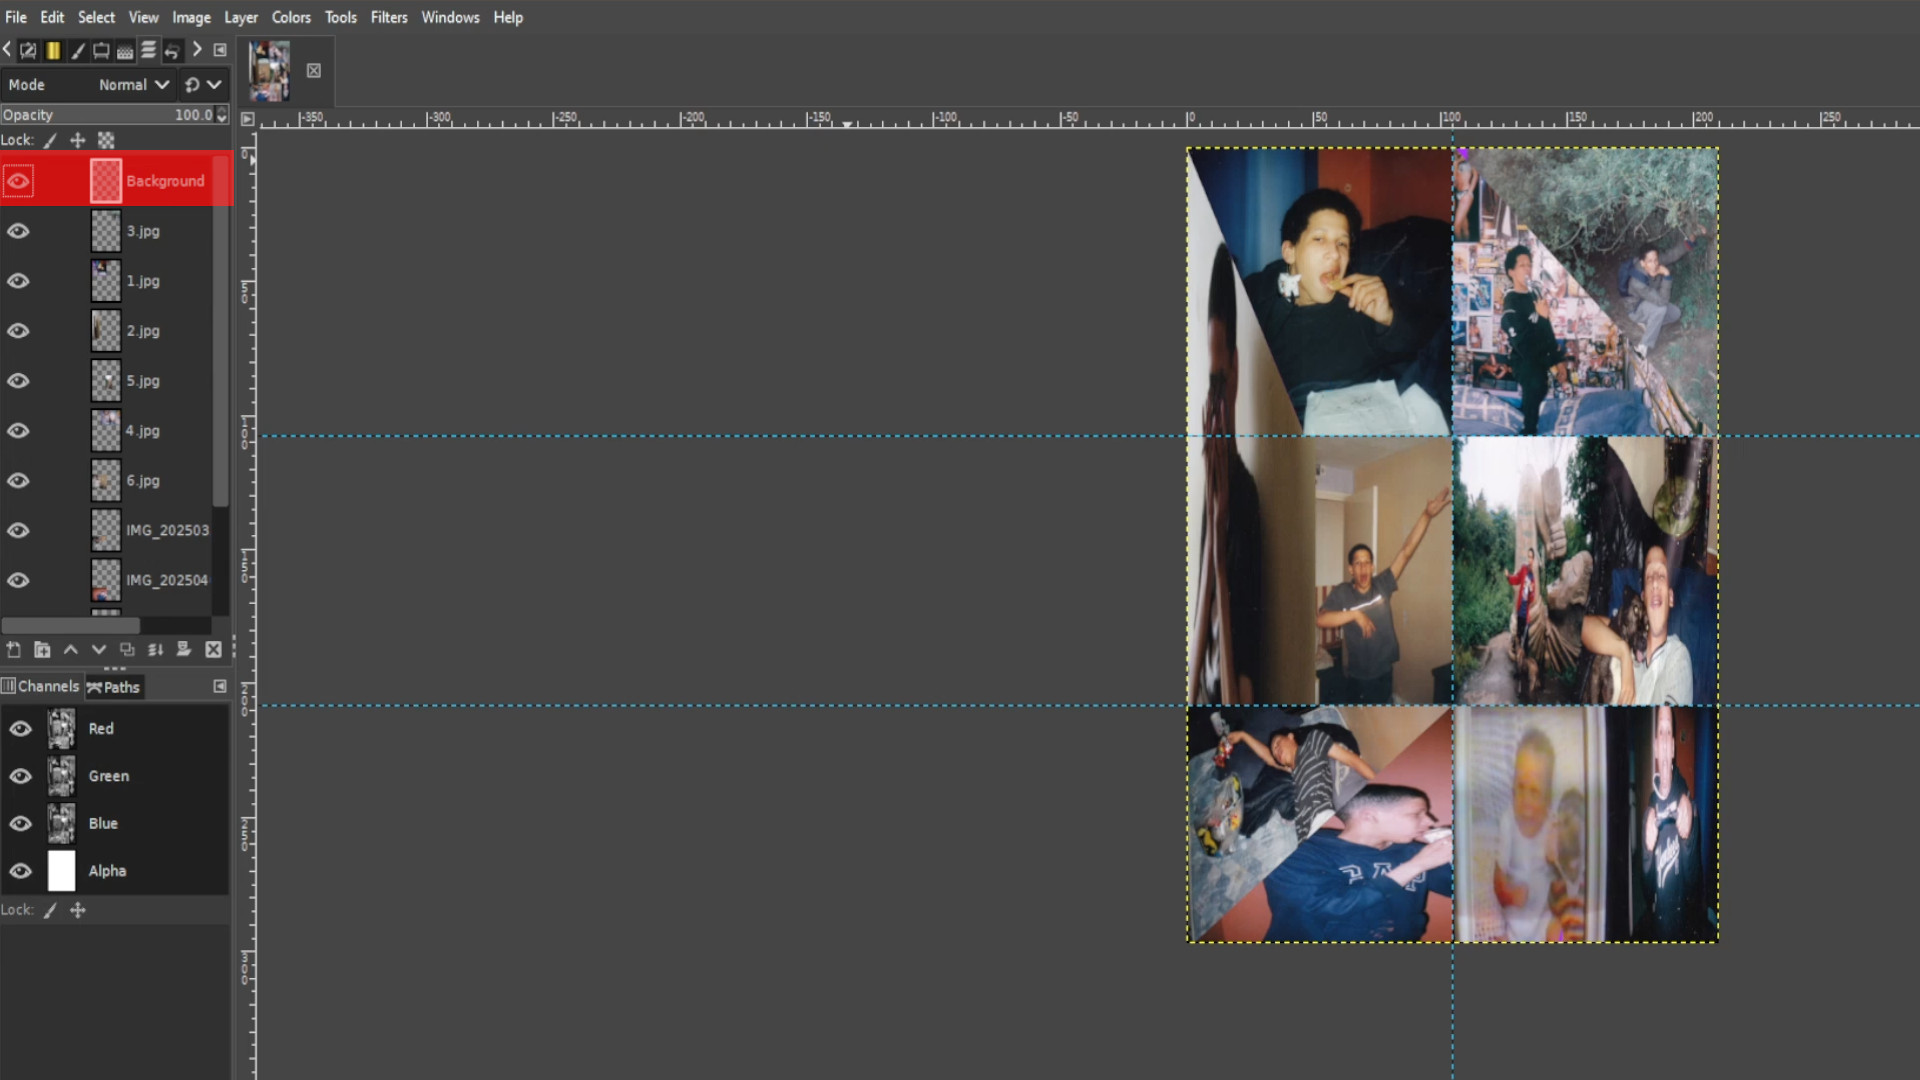
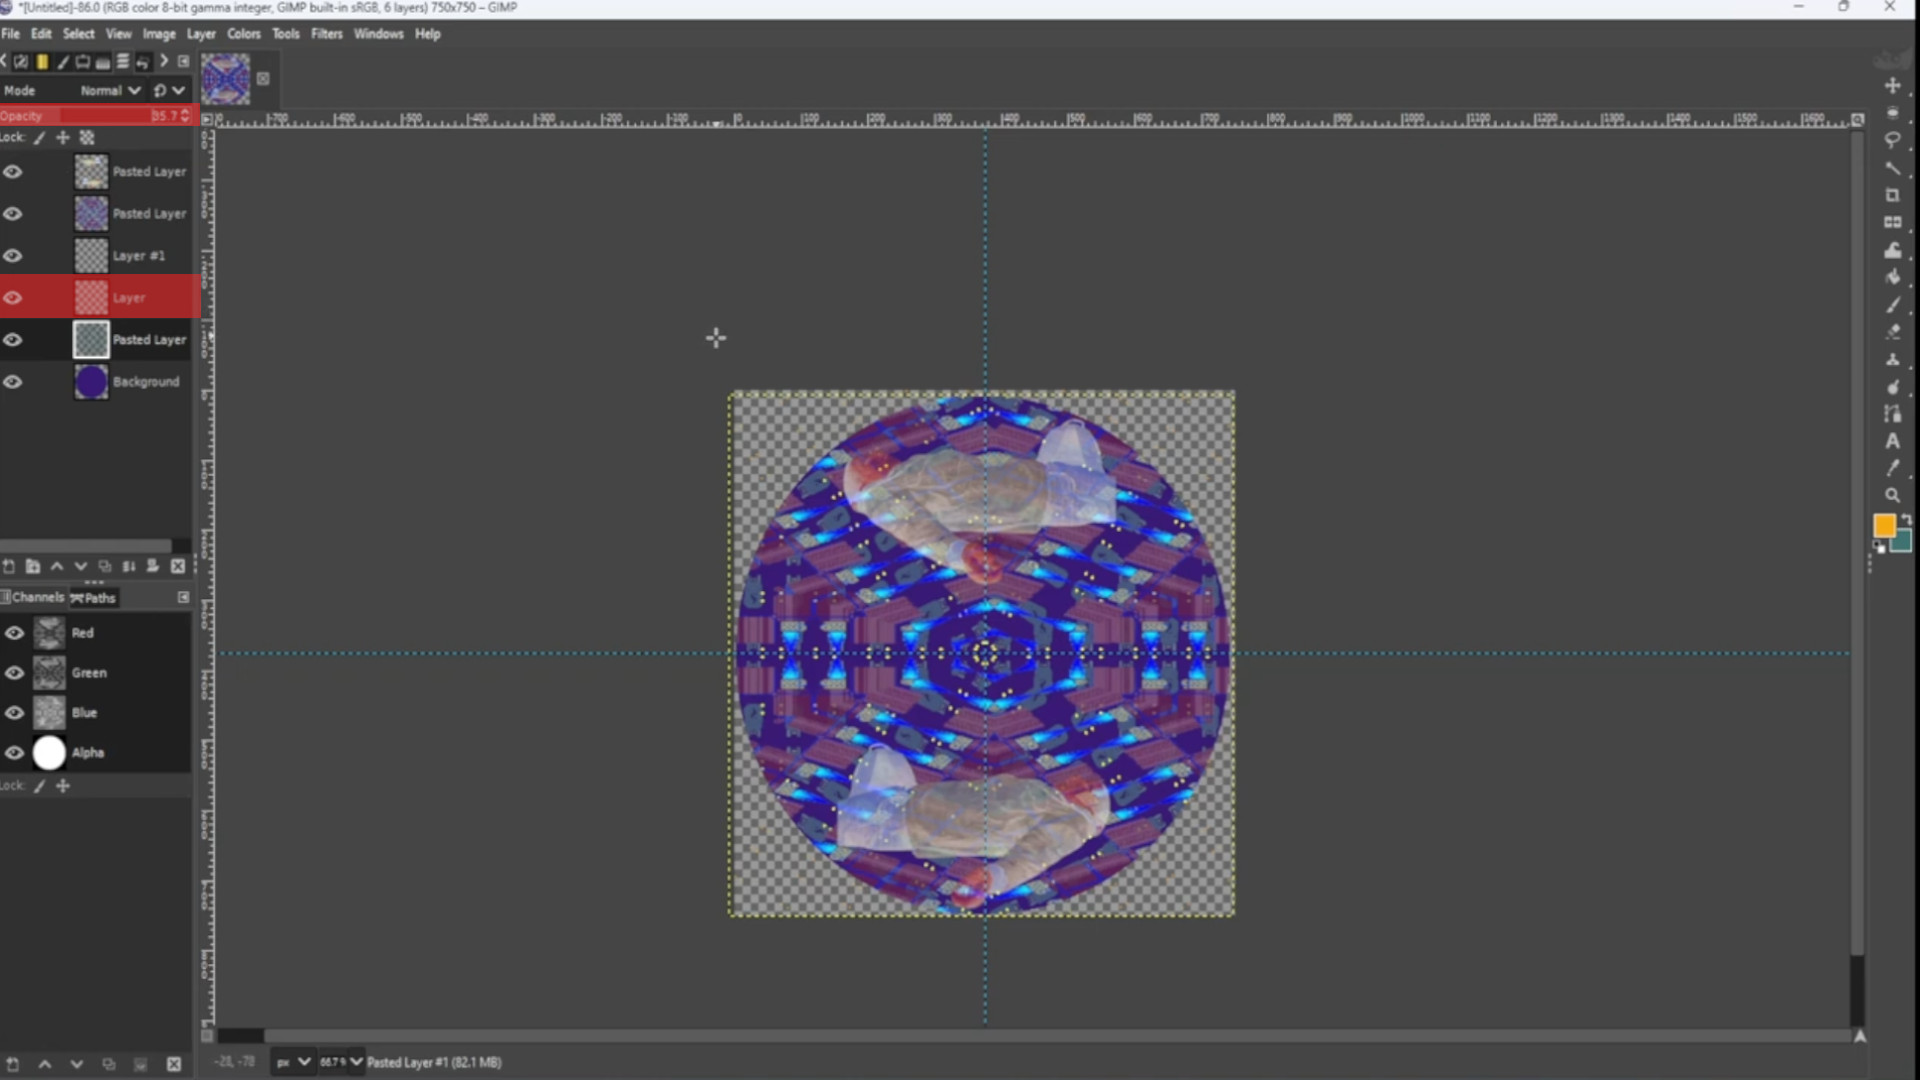
>>>SELECTING>>>the>>>FIRST LAYER>>>RIGHT CLICK on the>>>FIRST LAYER and SELECT>>>MERGE DOWN if you have more than one image at the top of the layers as demonstrated. If you have just one photo ignore this step and go to the next bit.
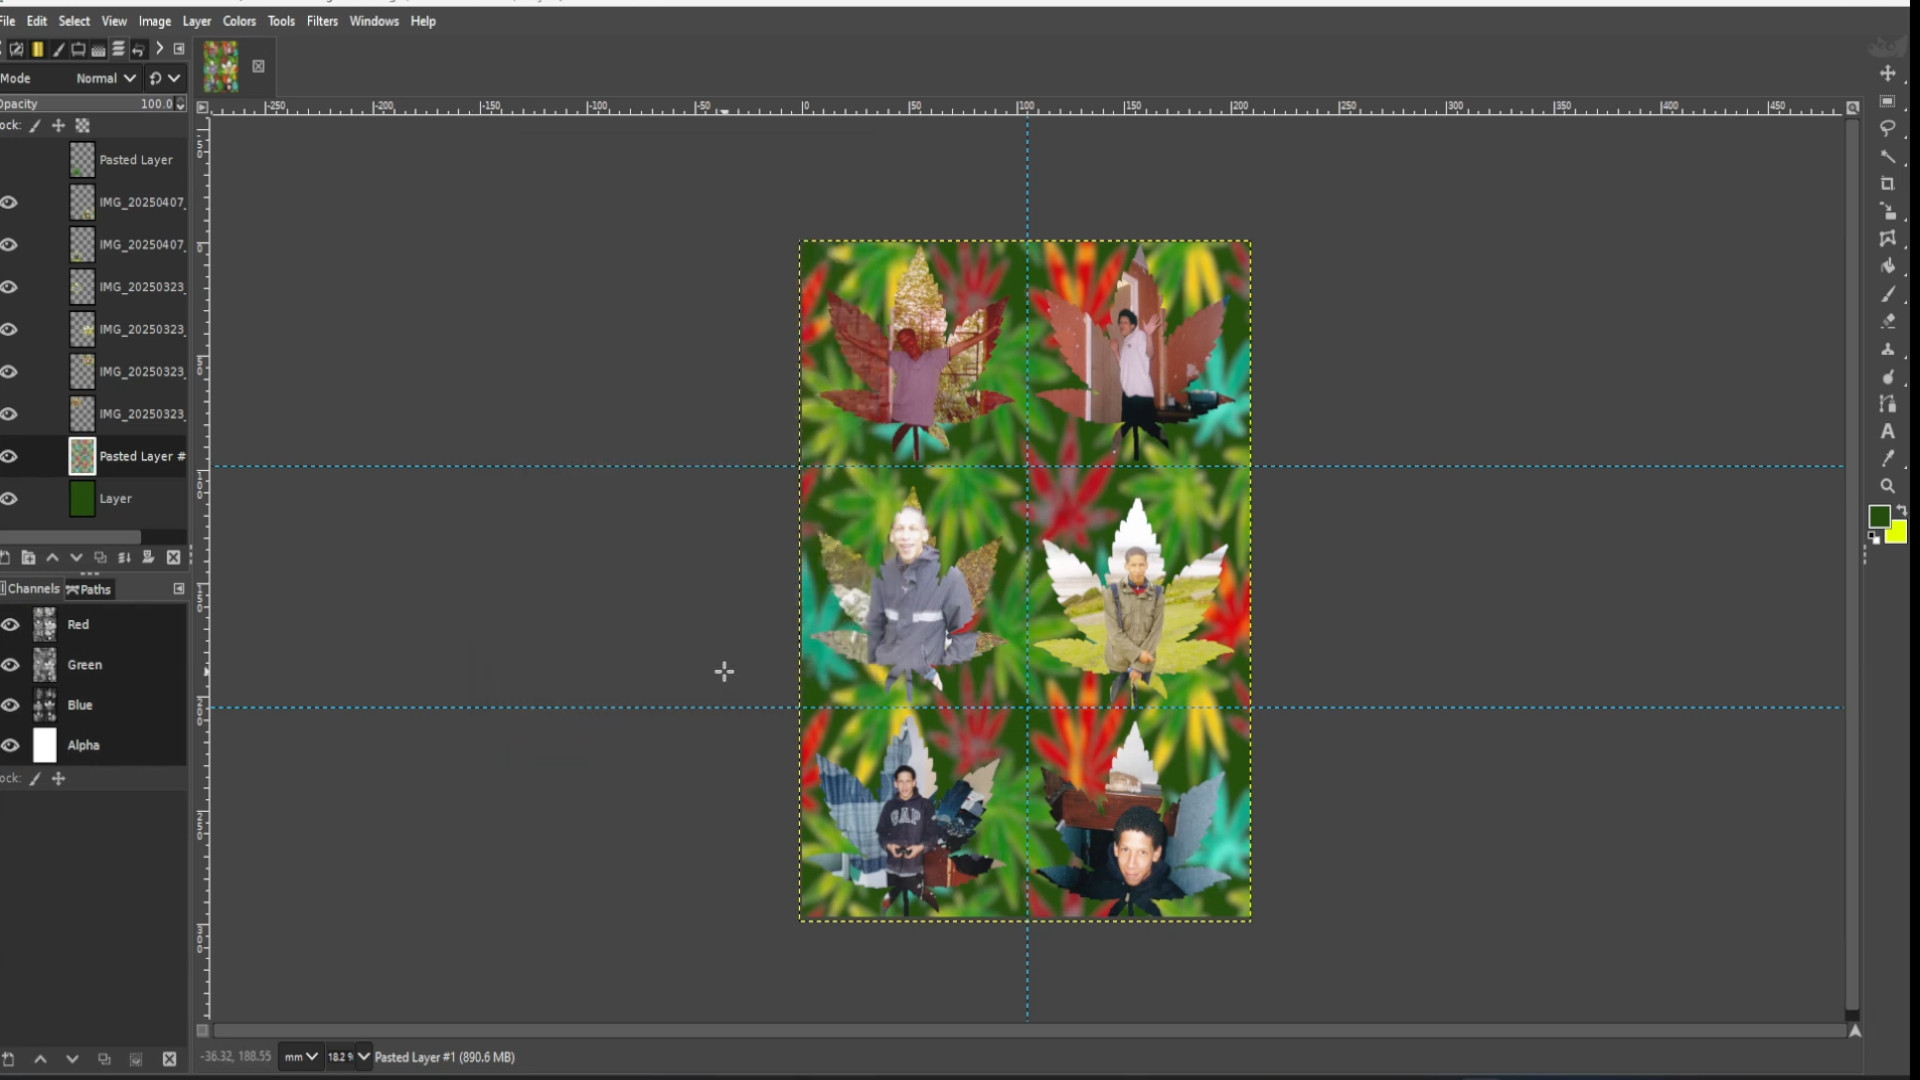
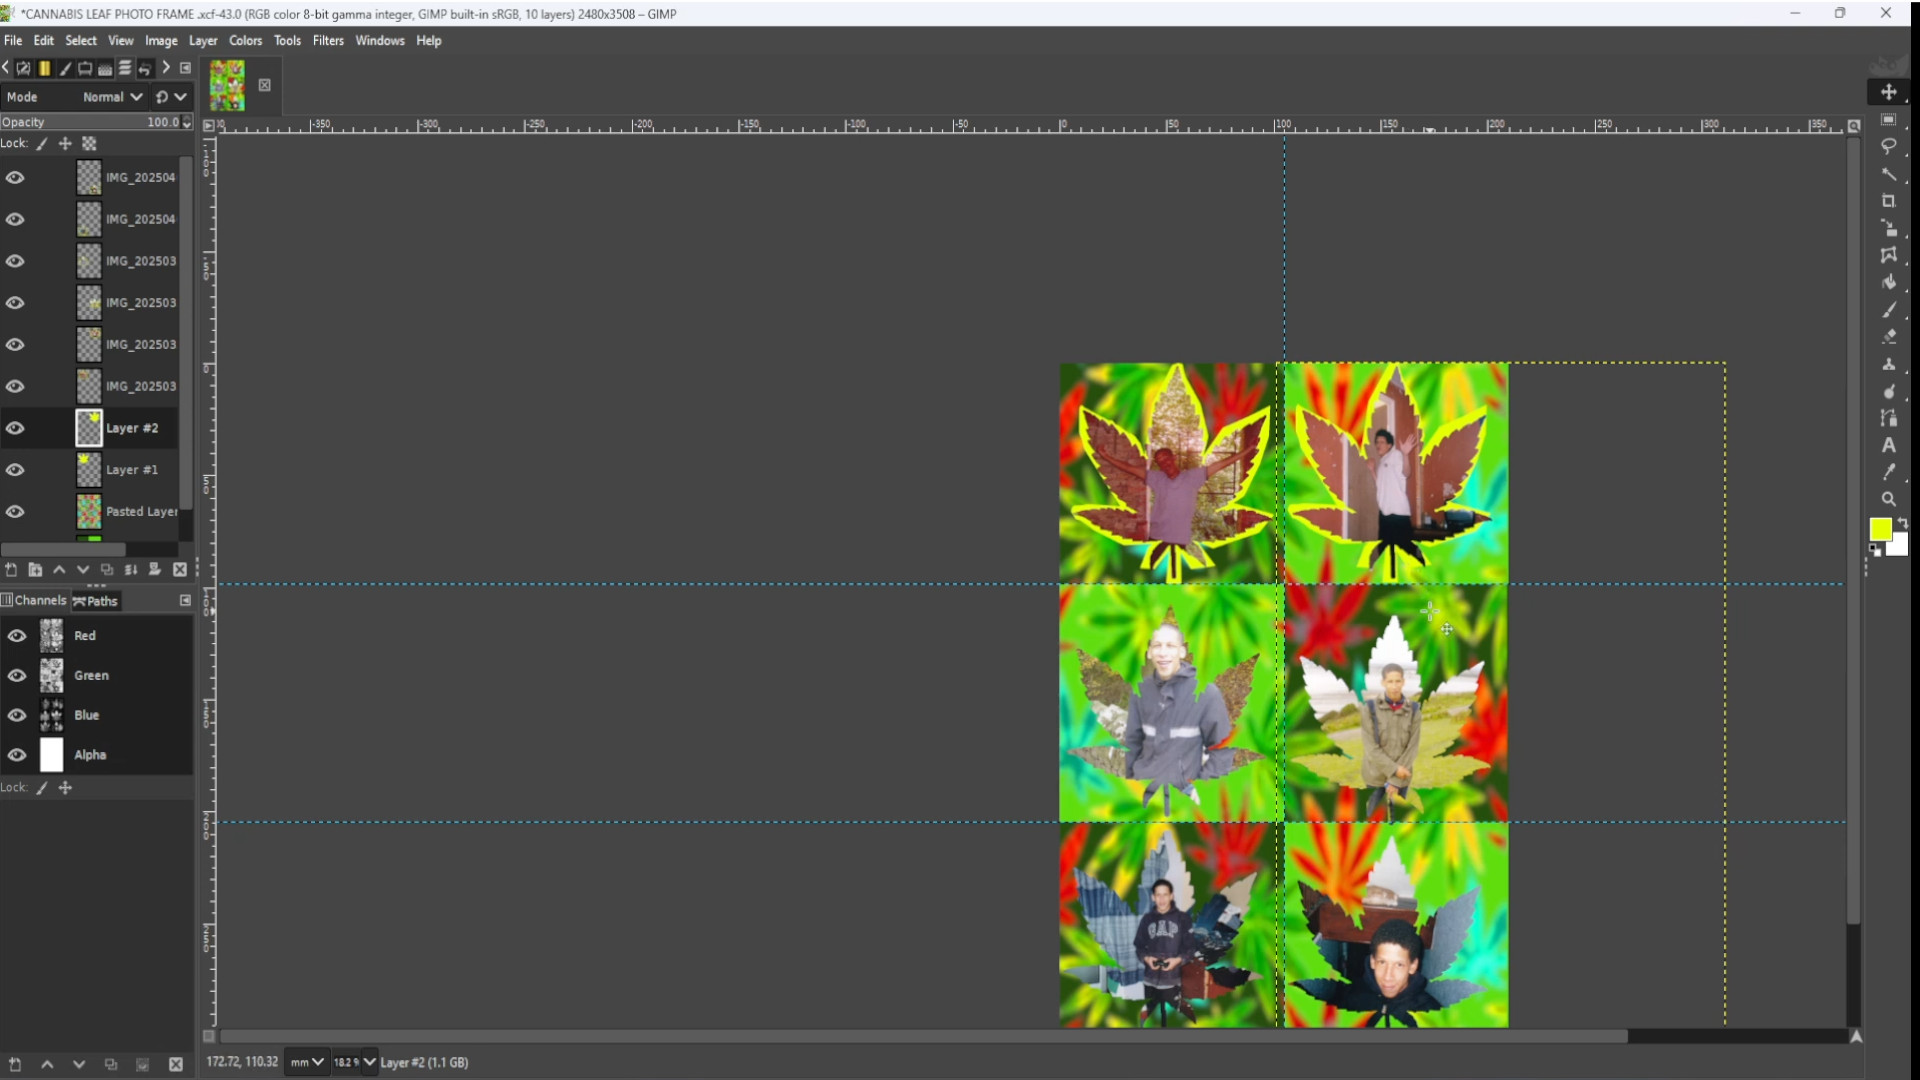
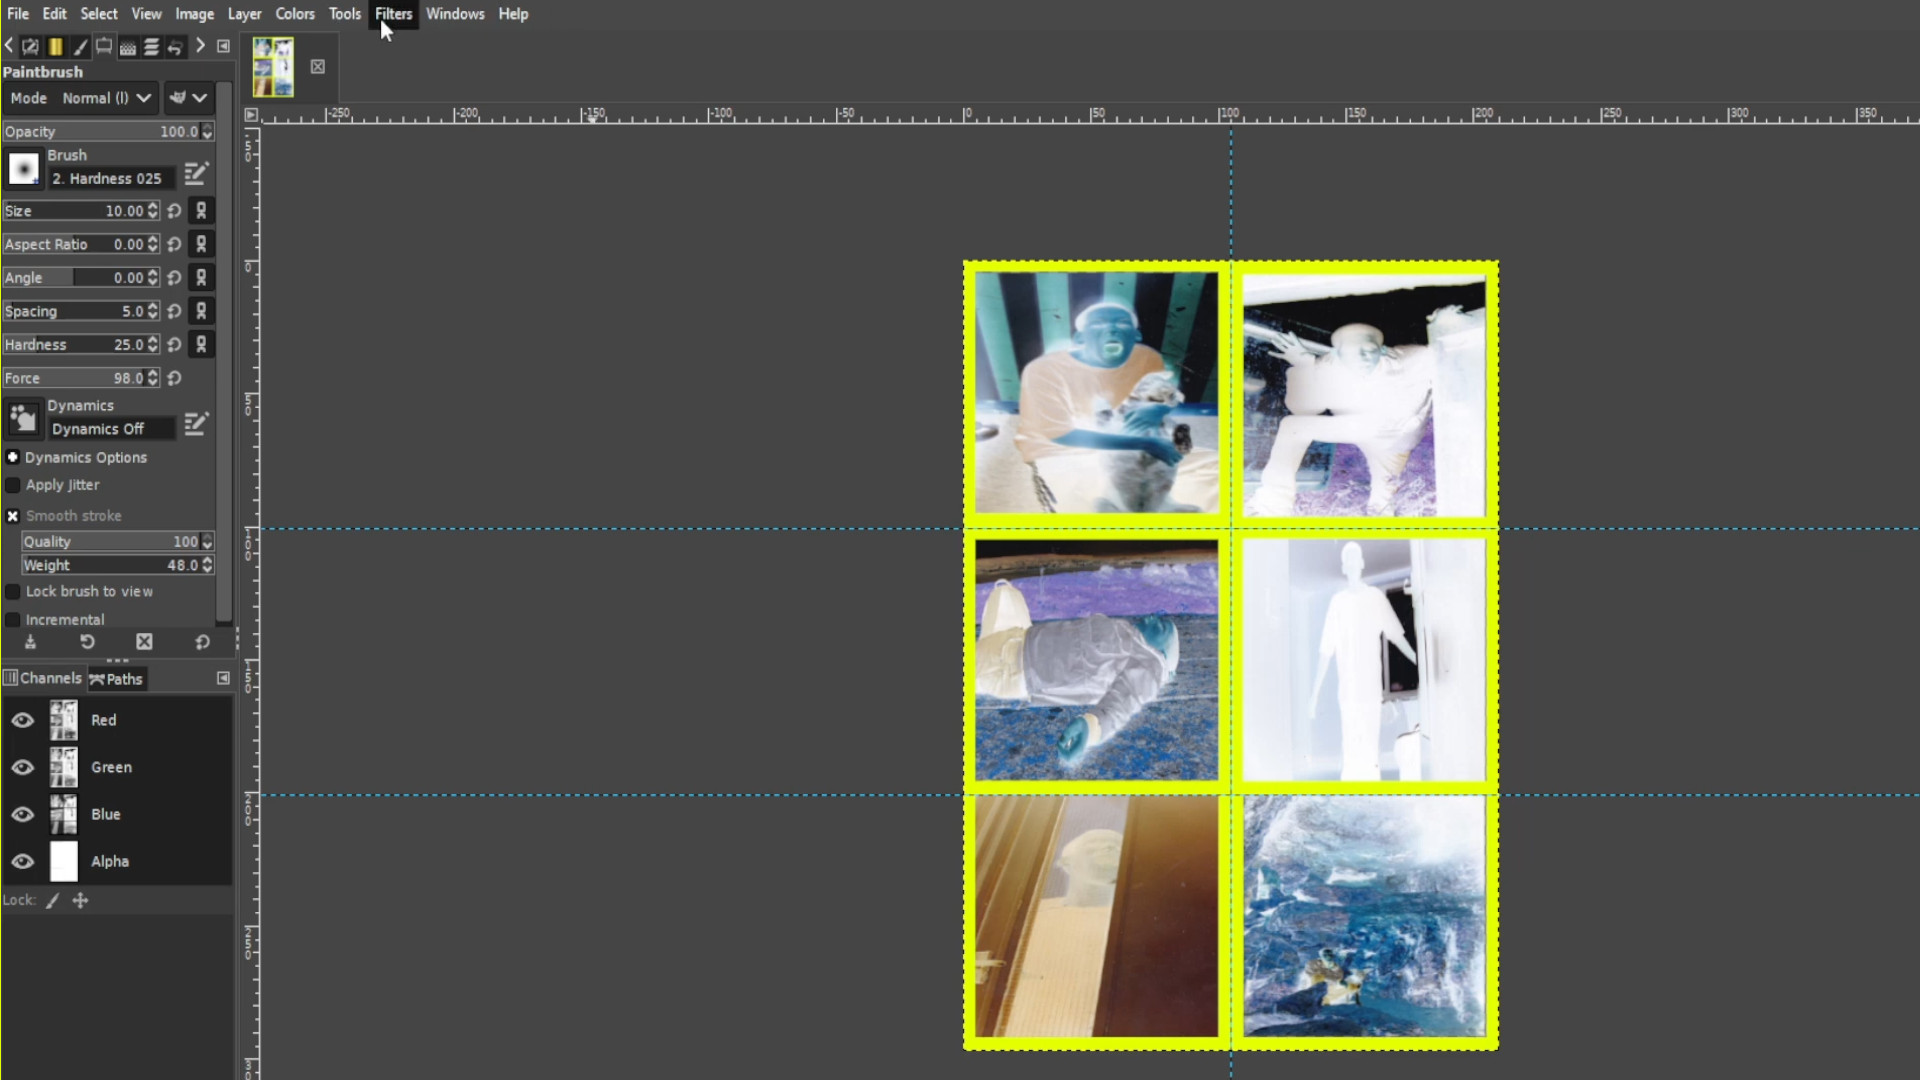
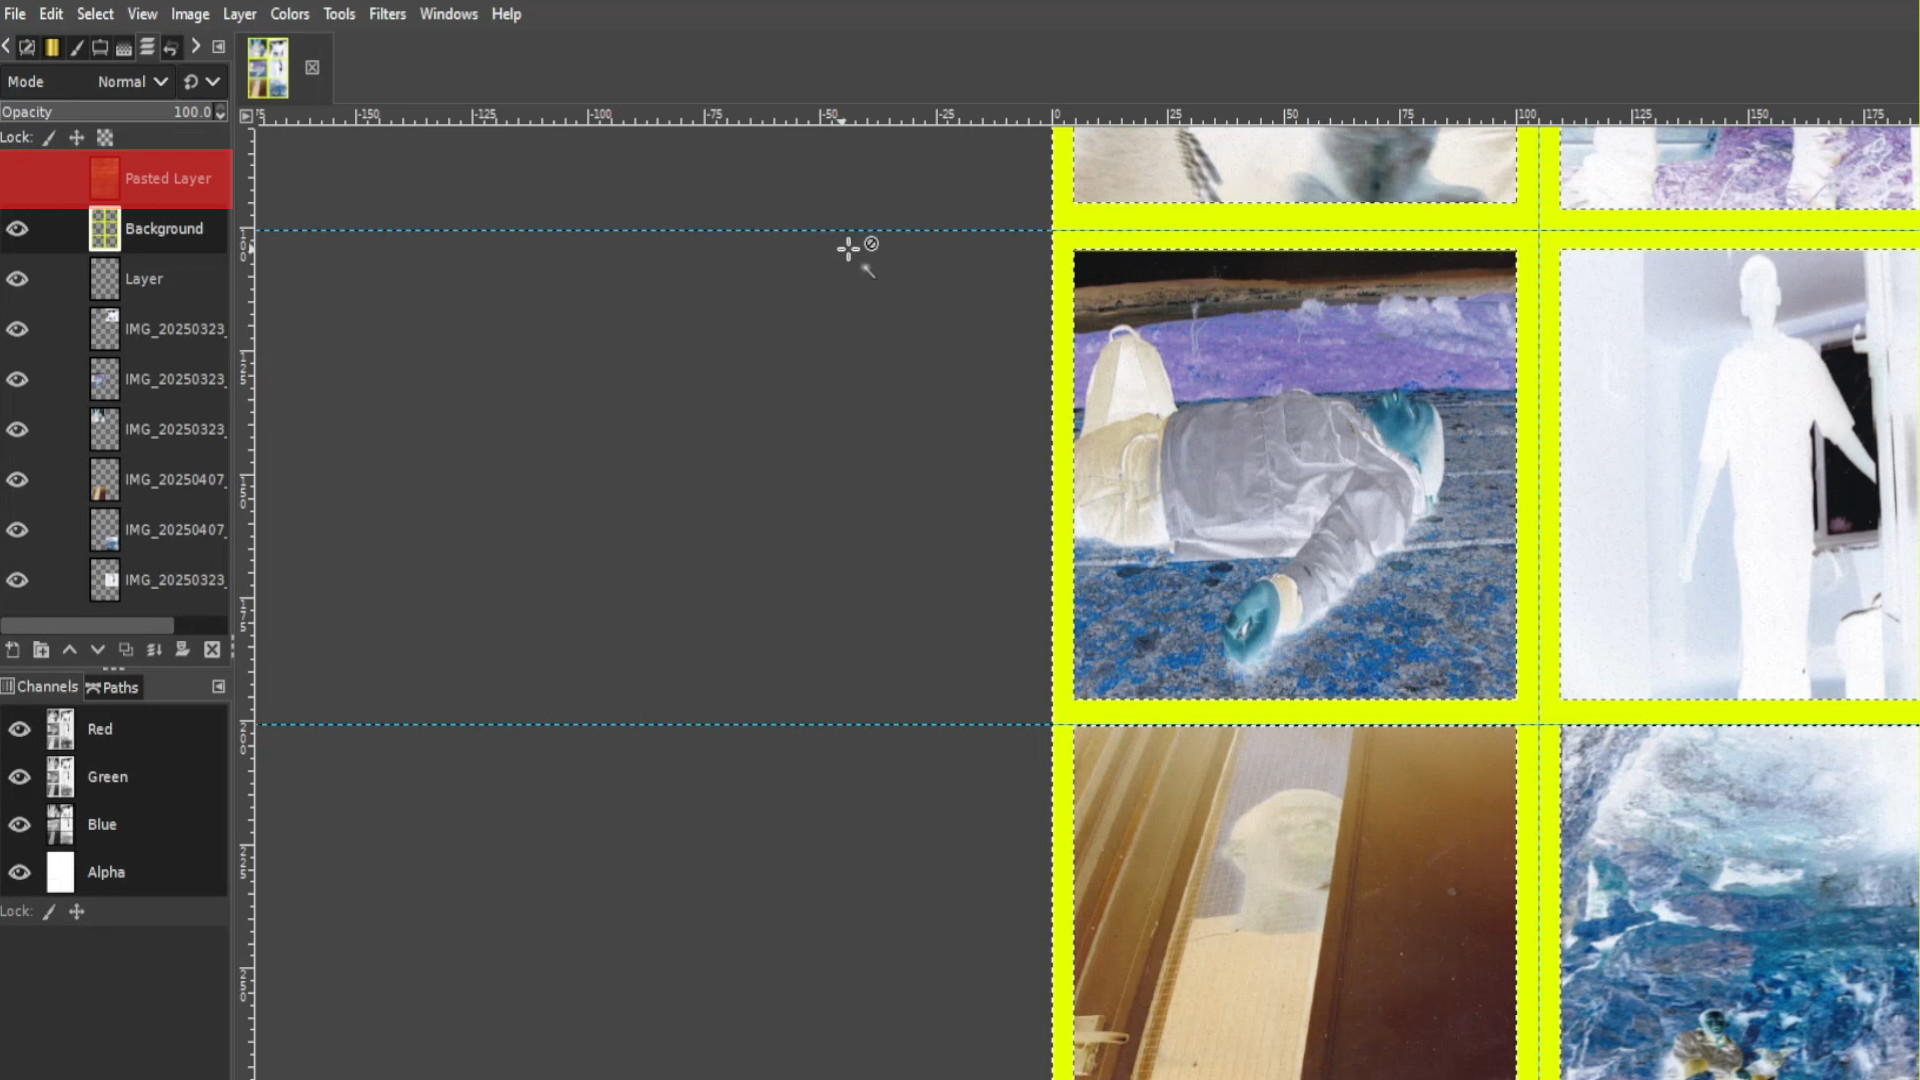
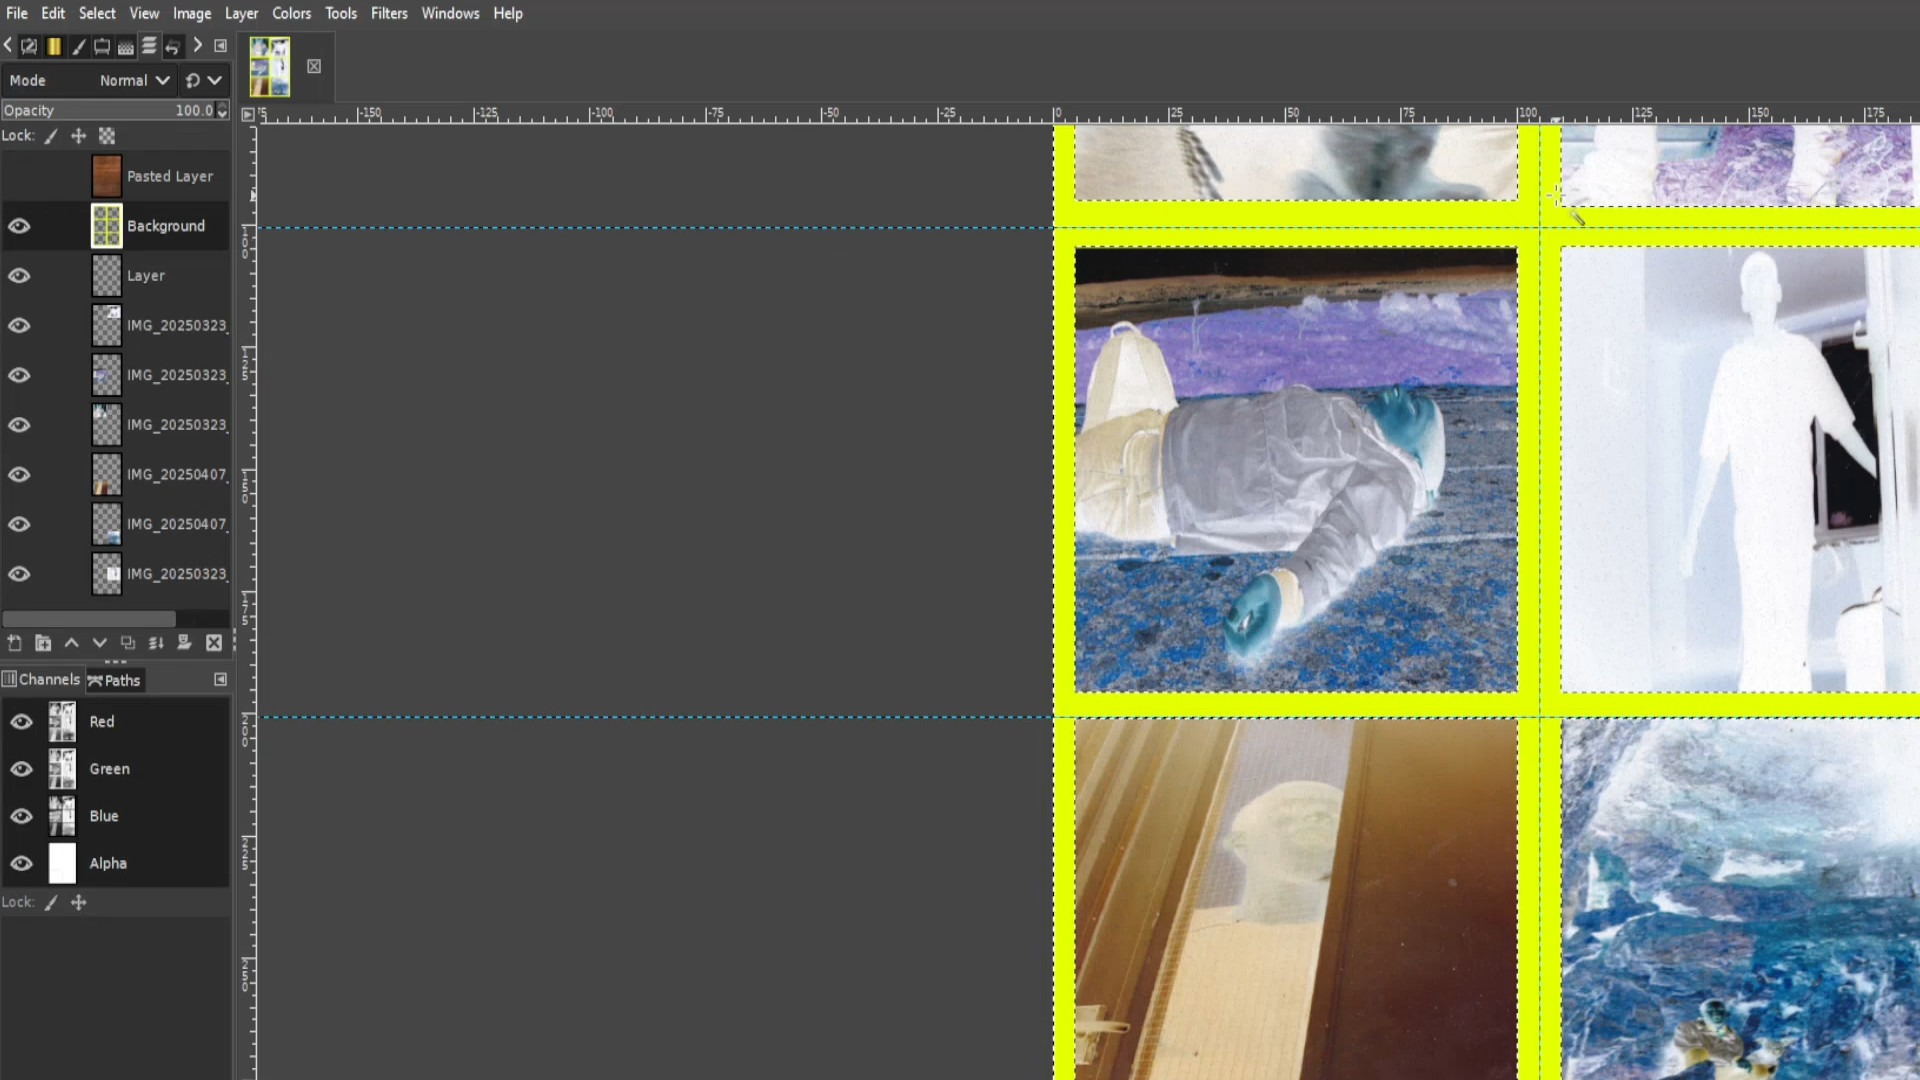
>>SELECTING the>>>TOP>>>LAYER and in the>>>LAYERS>>>TAB use the>>>OPACITY option to fade out the images or image to taste.
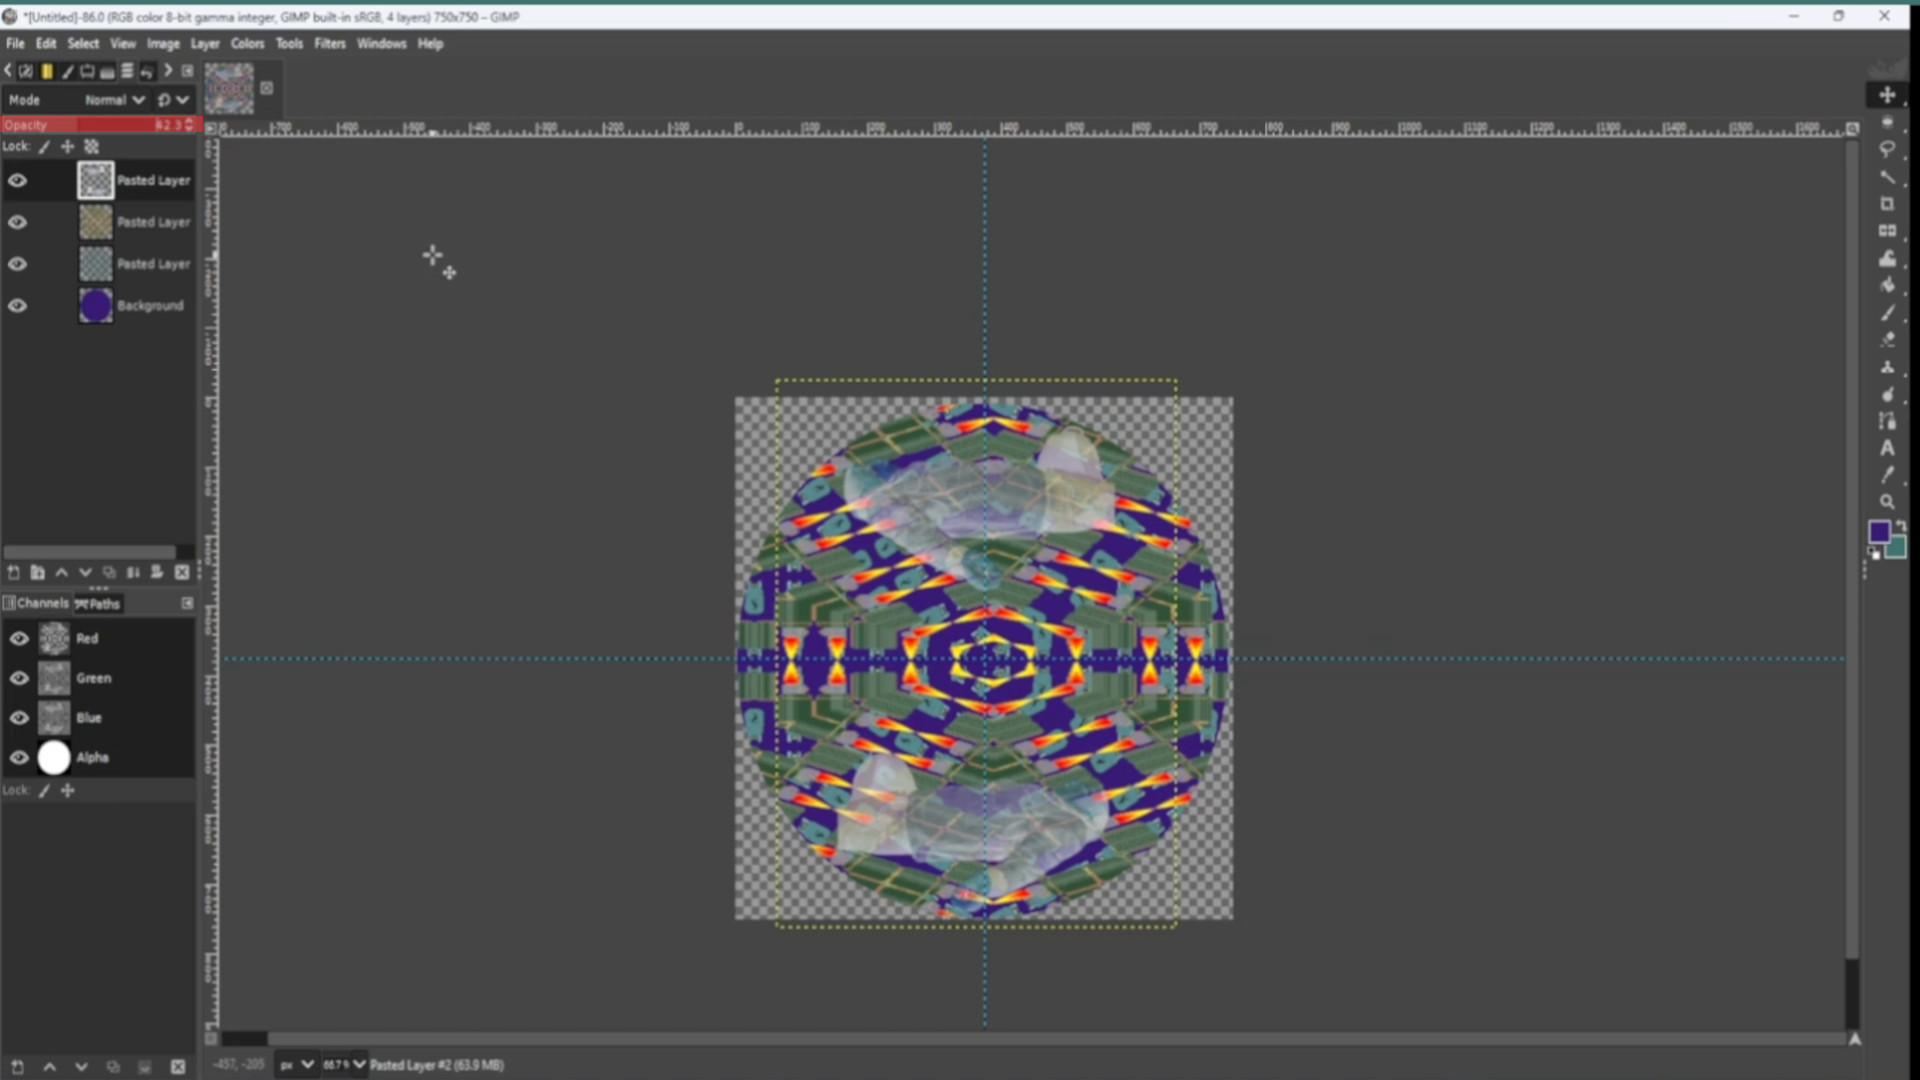
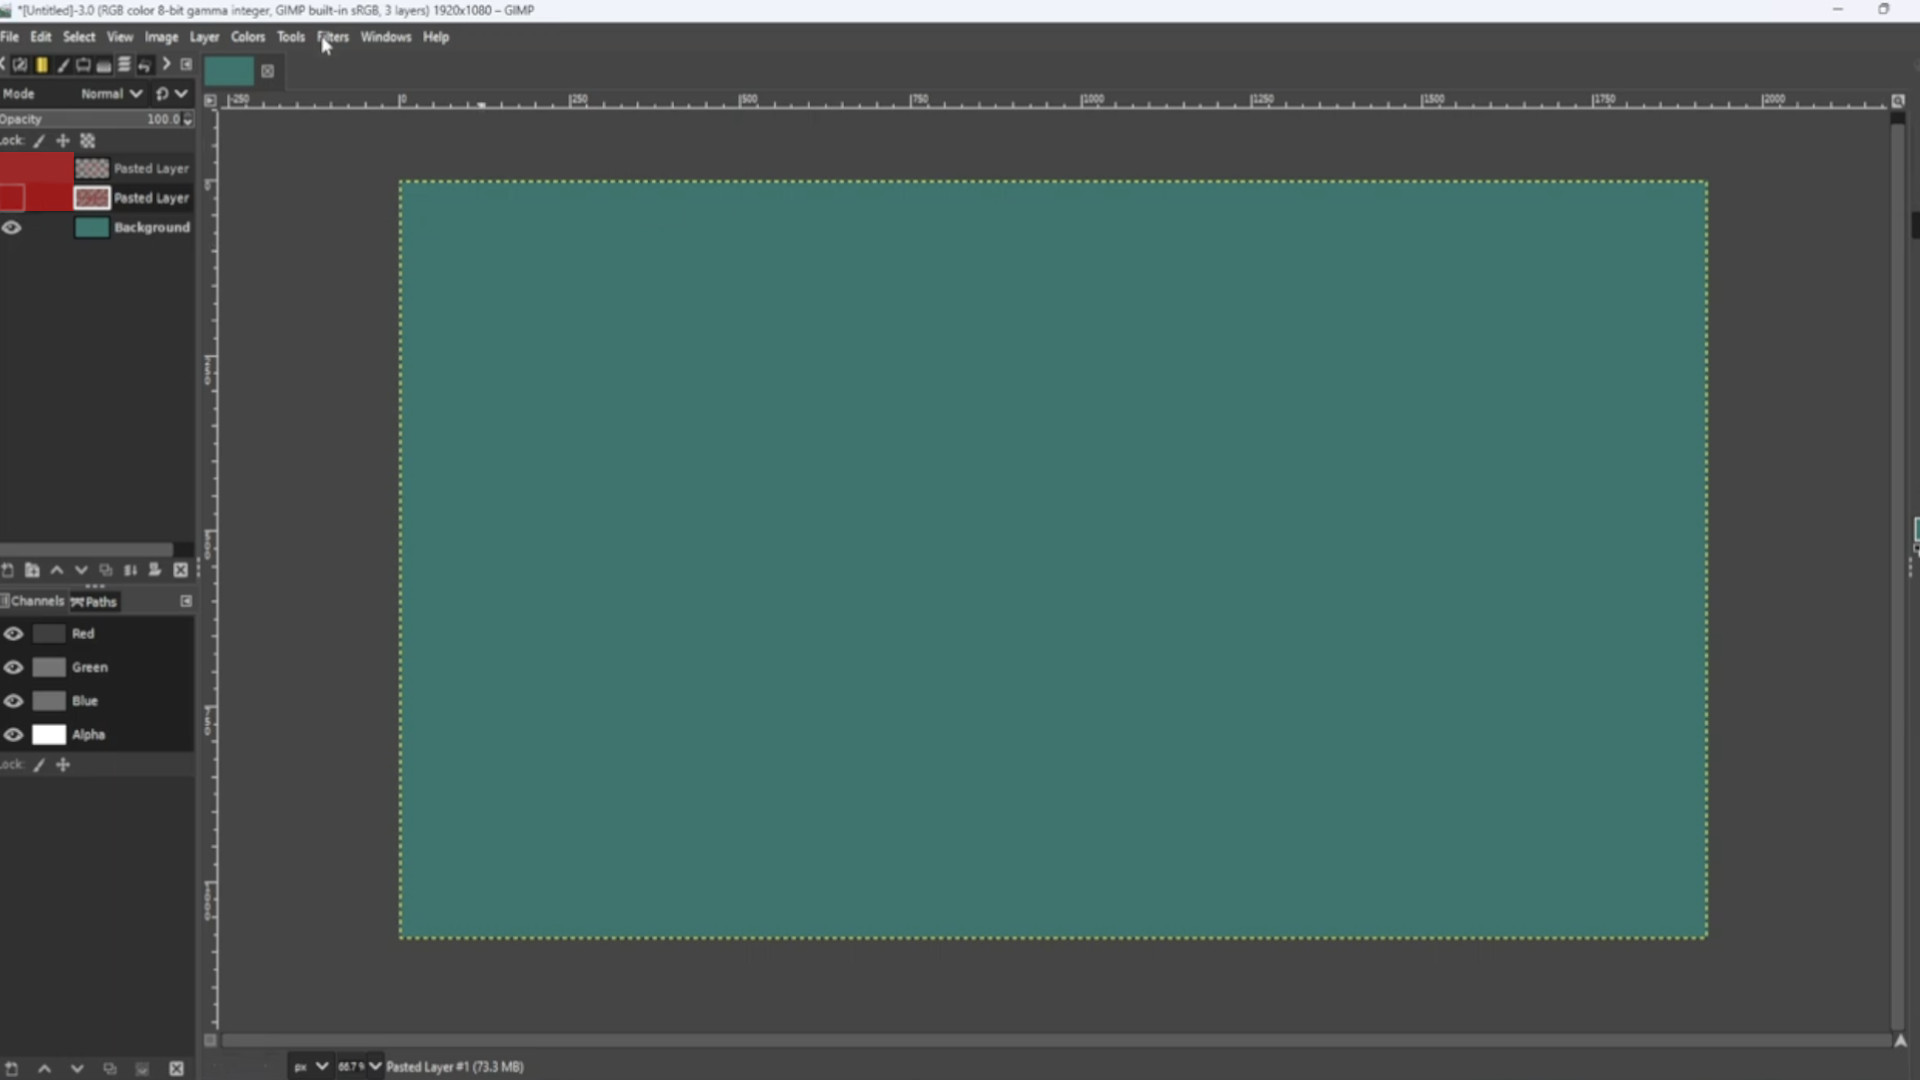
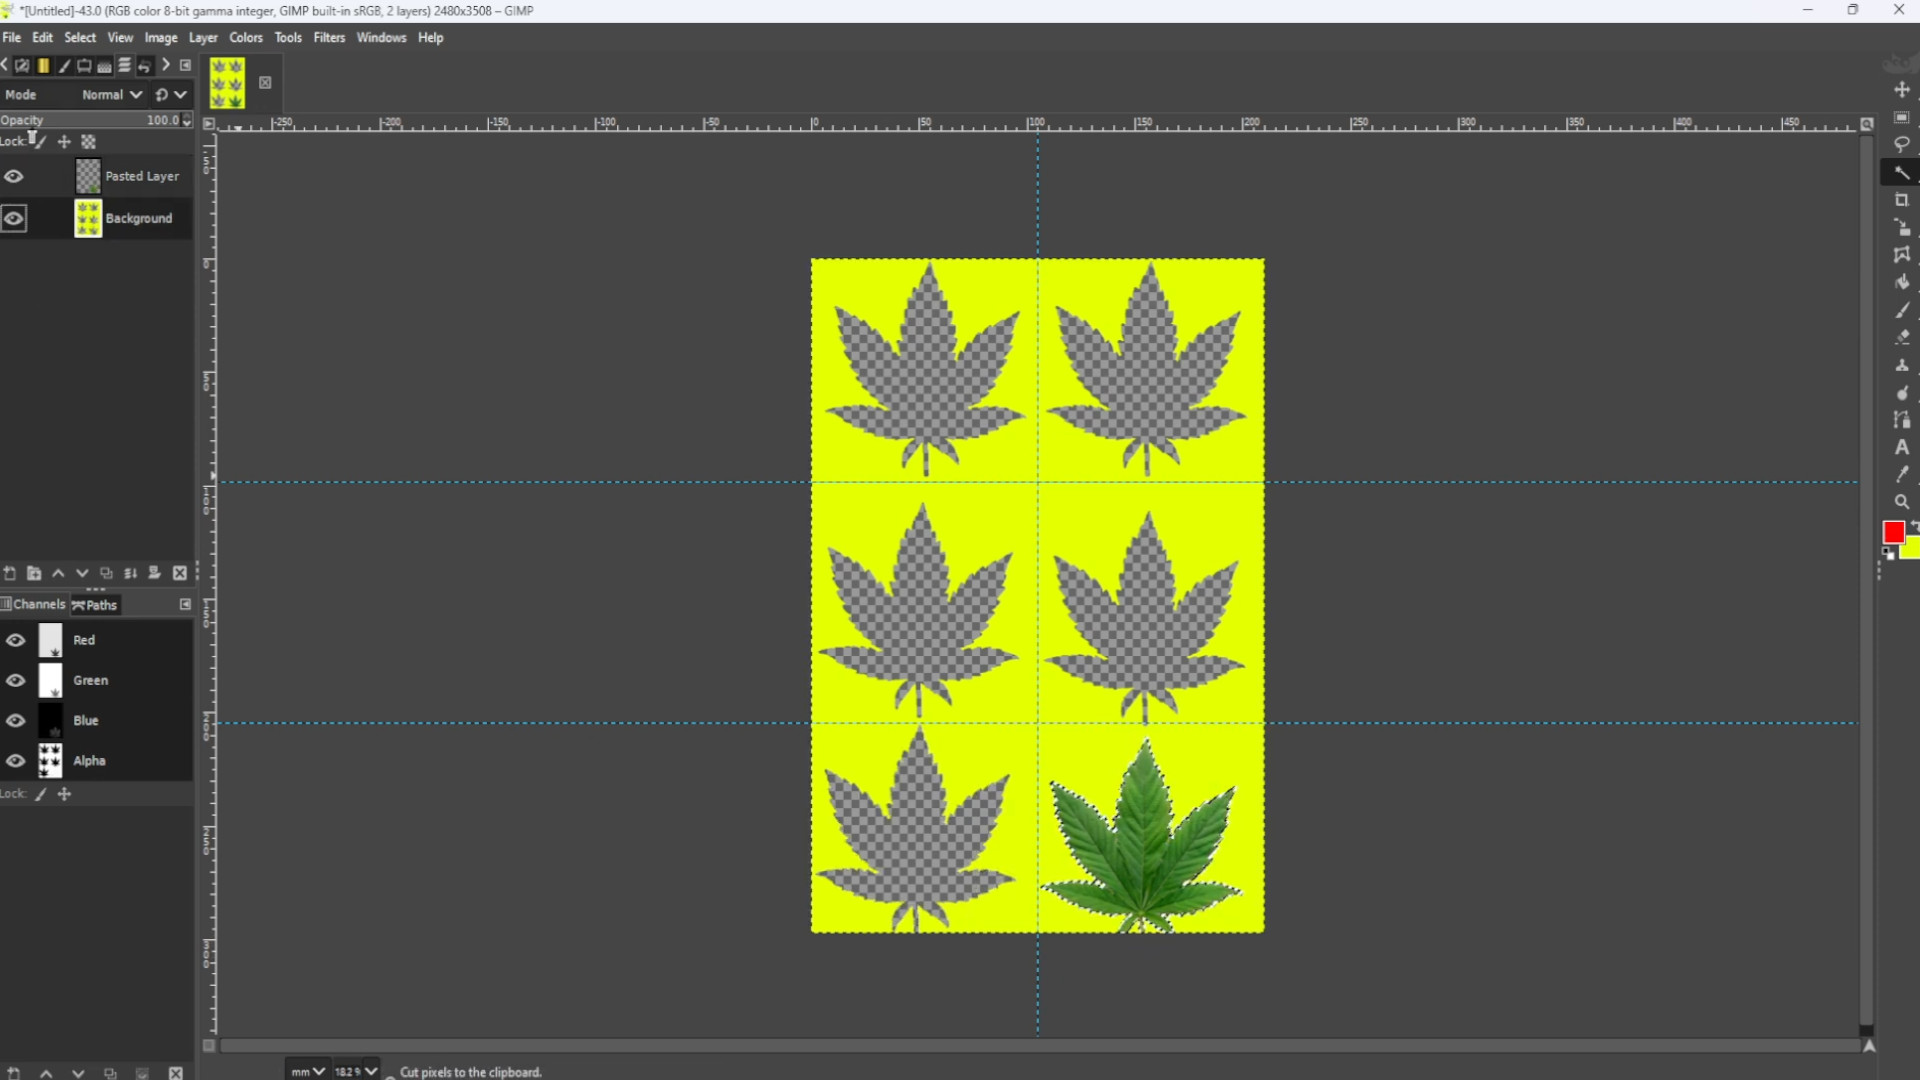
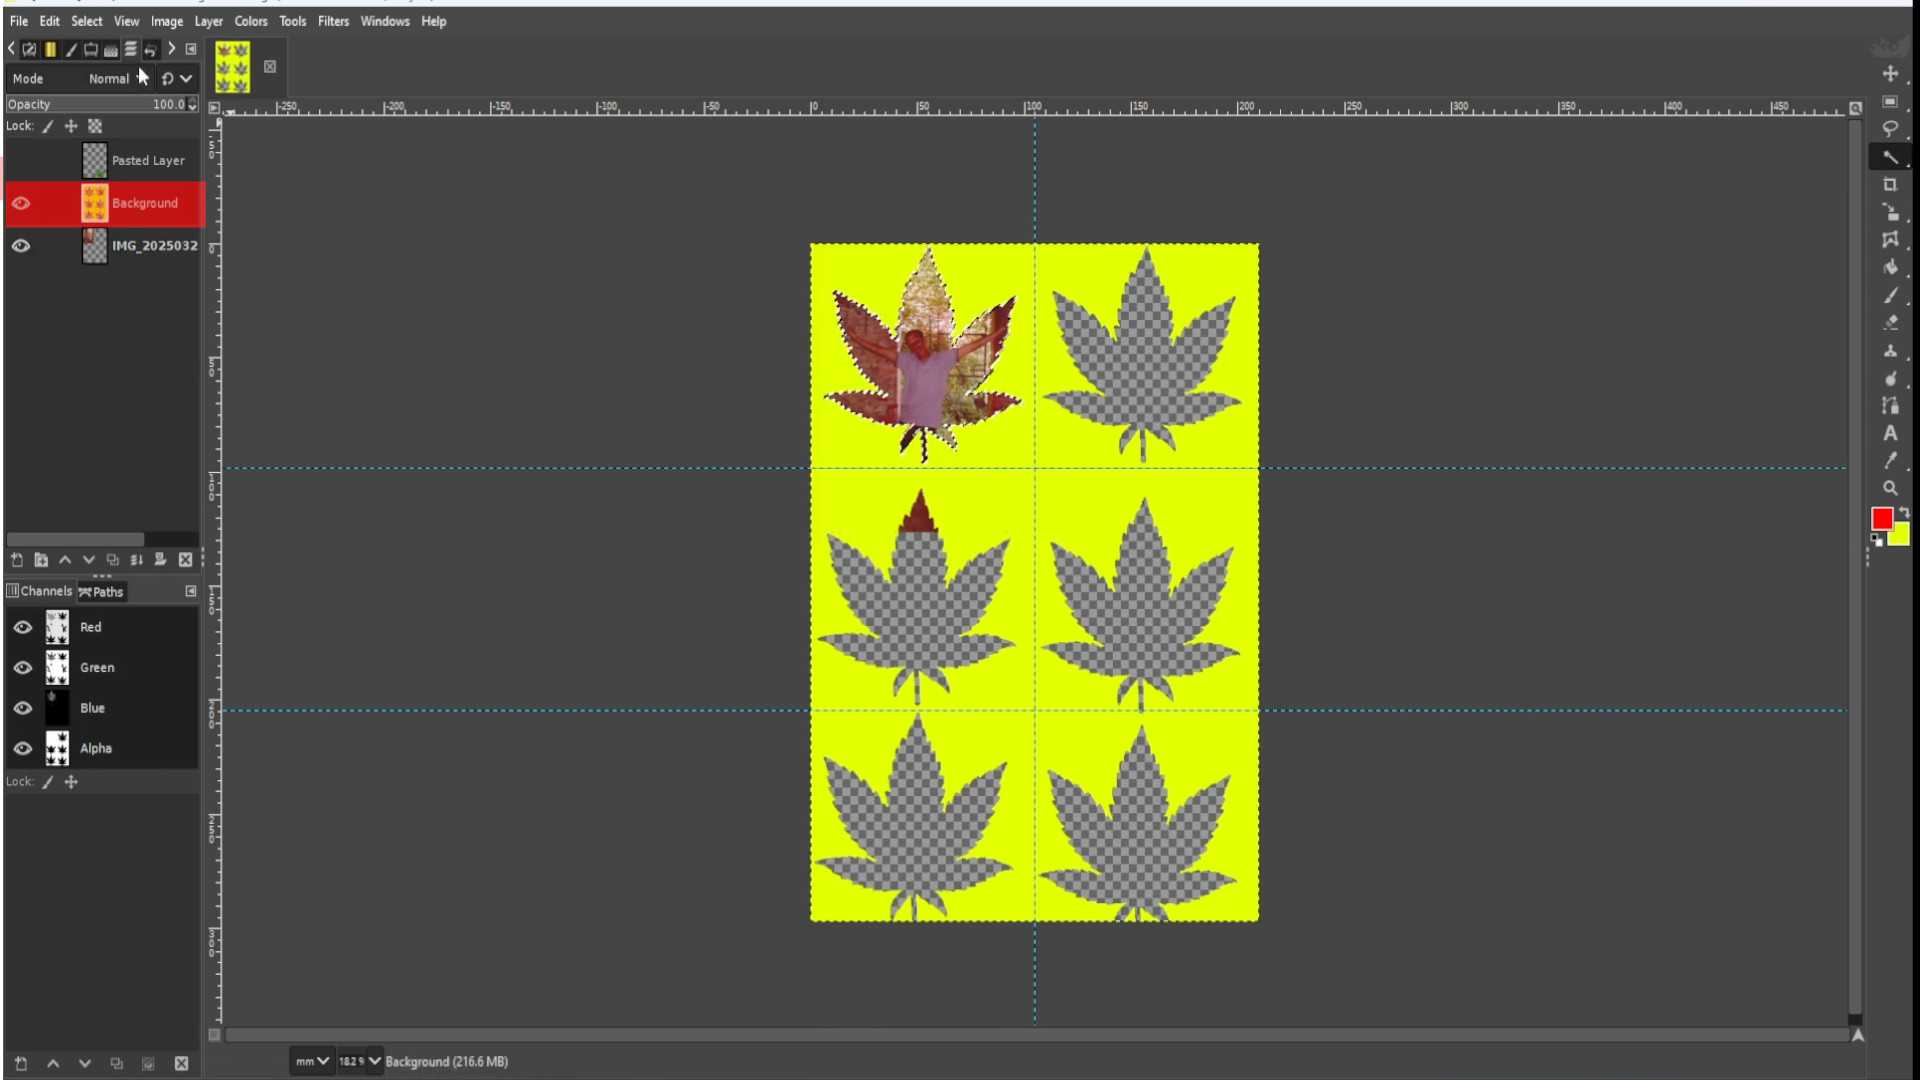
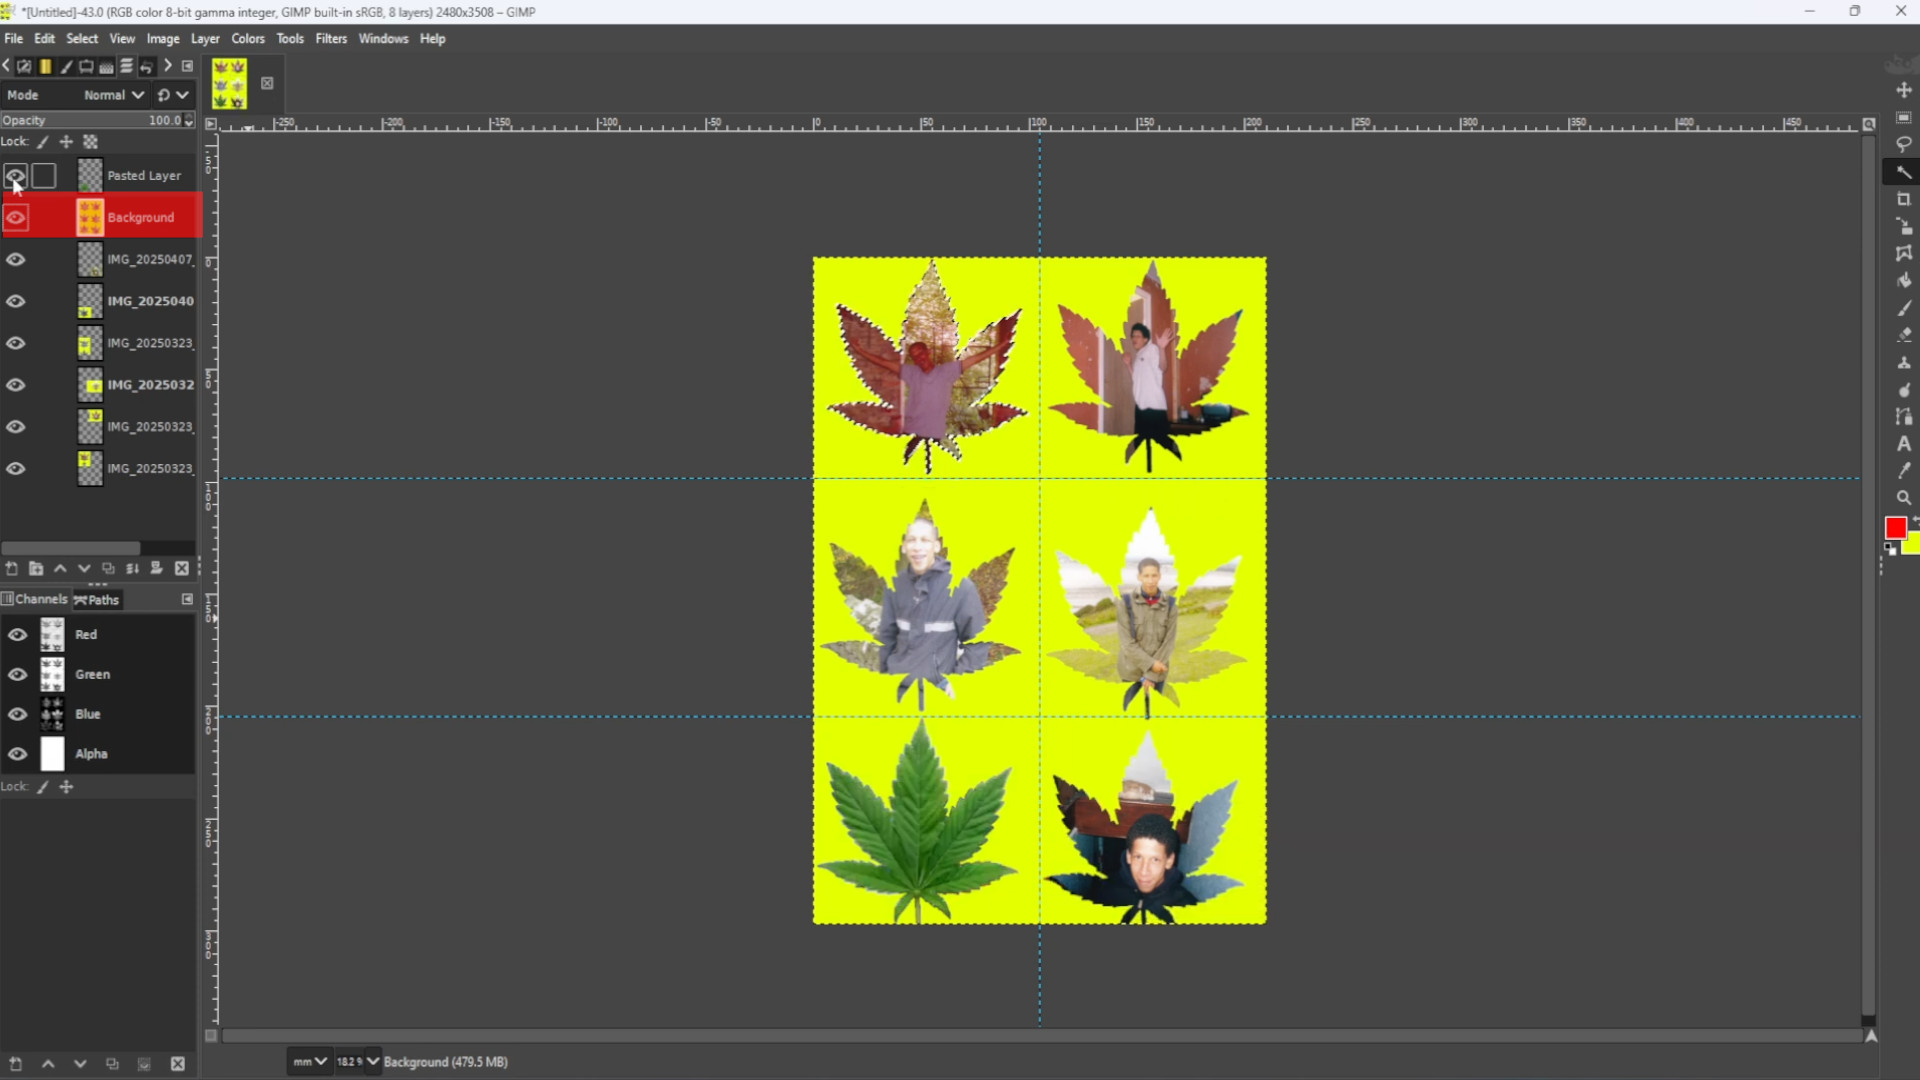
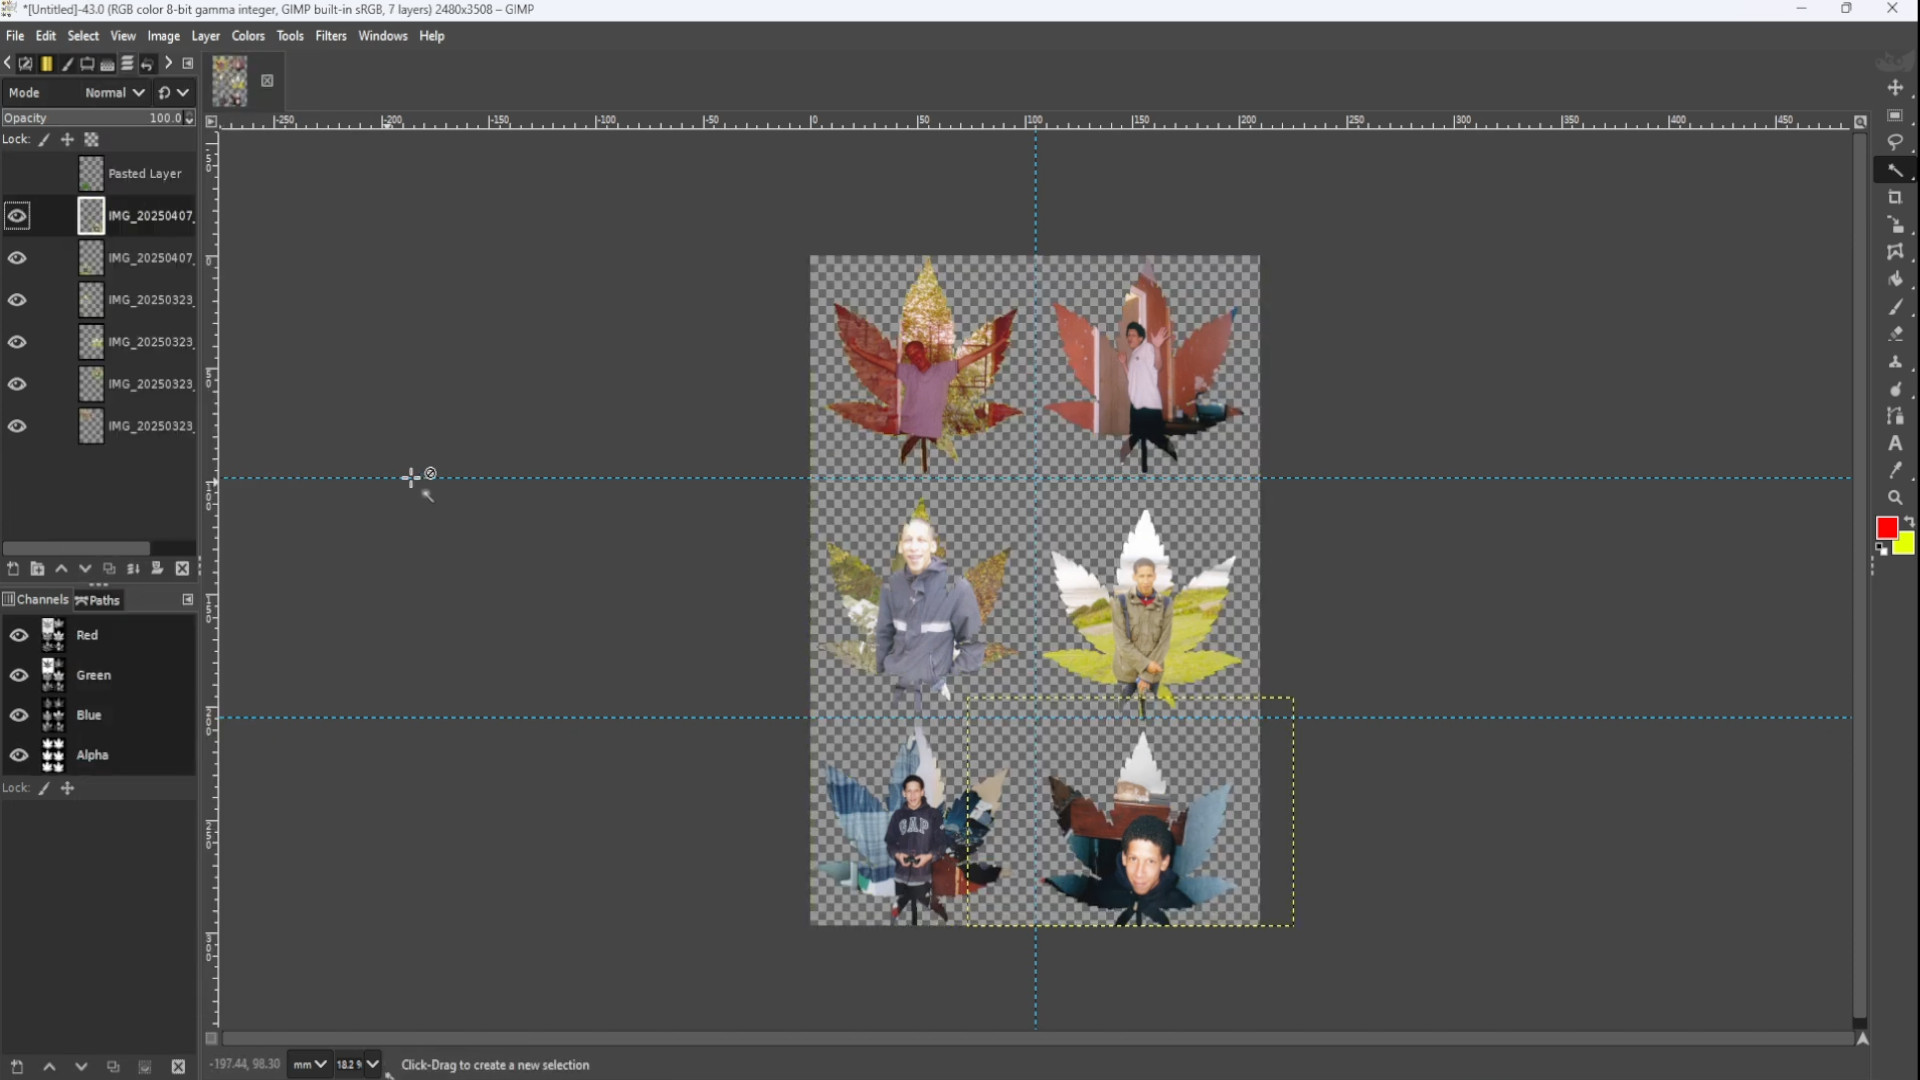
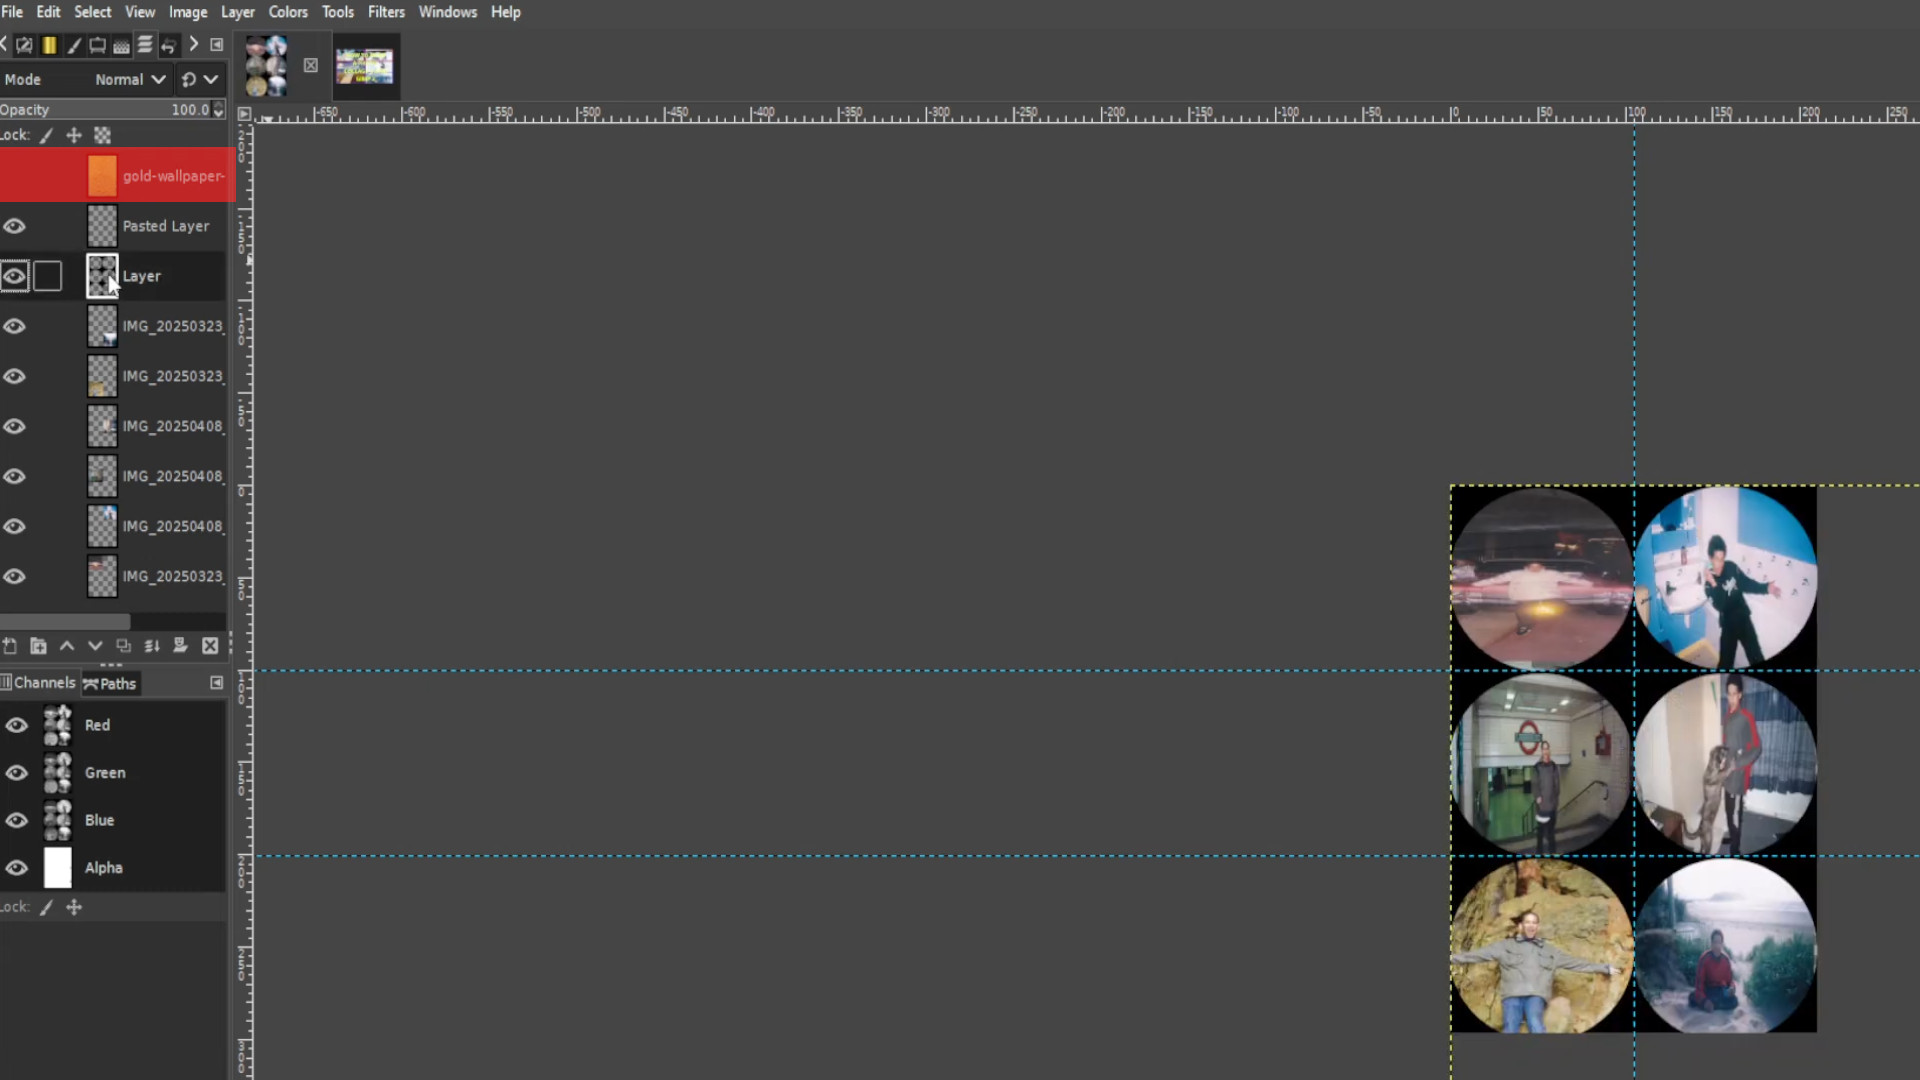
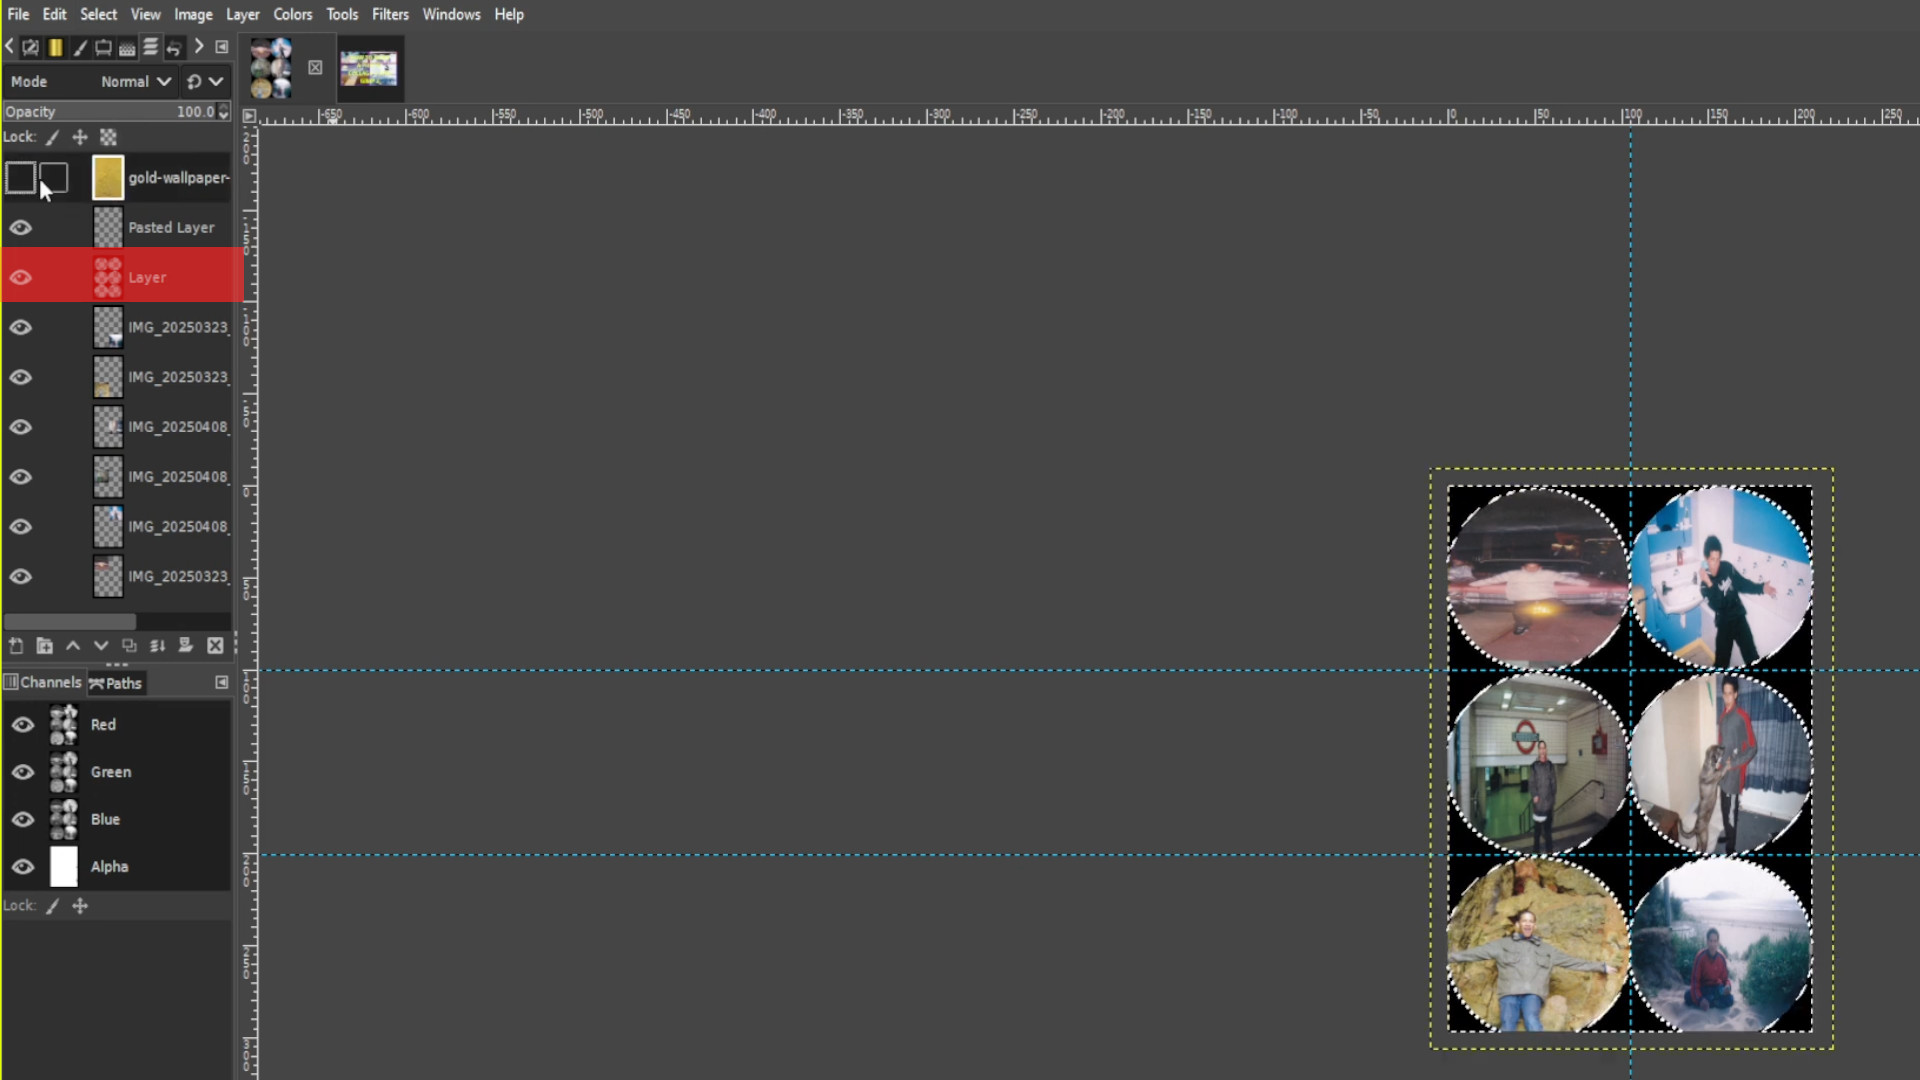
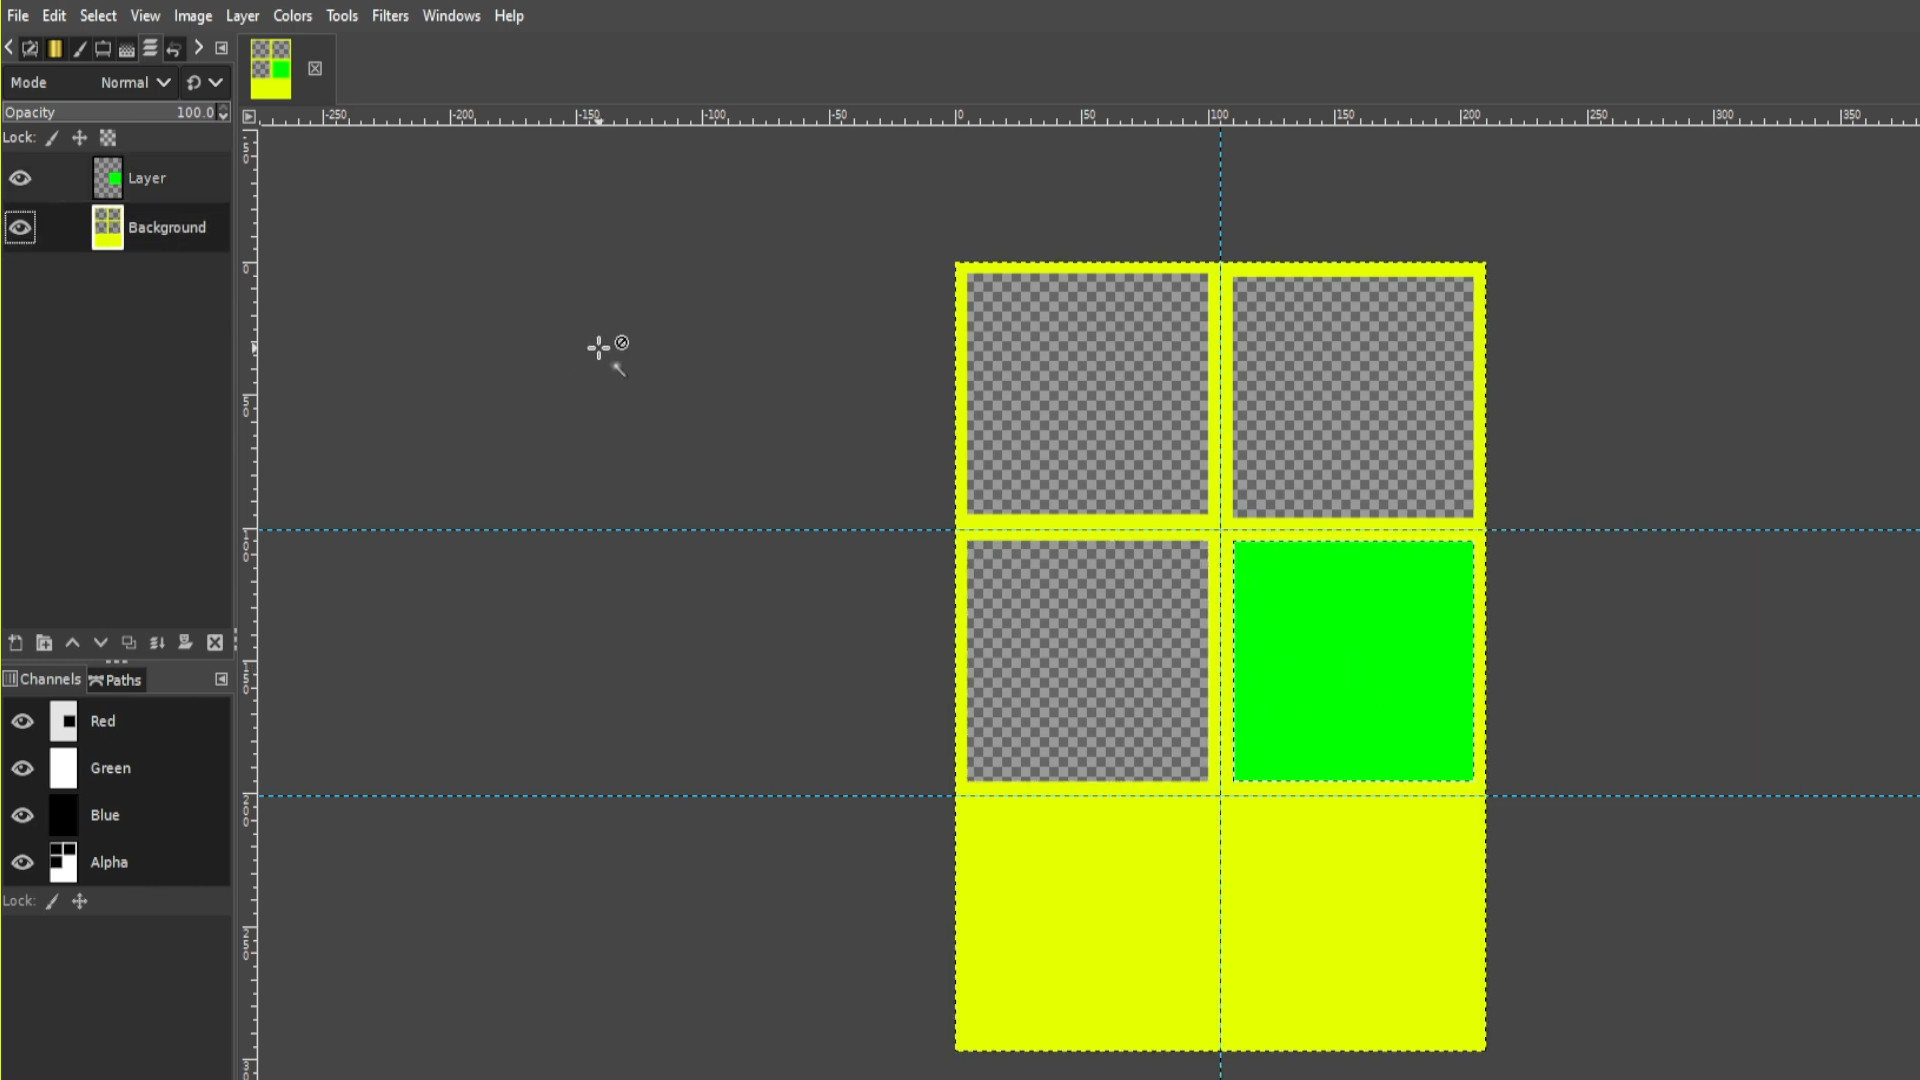
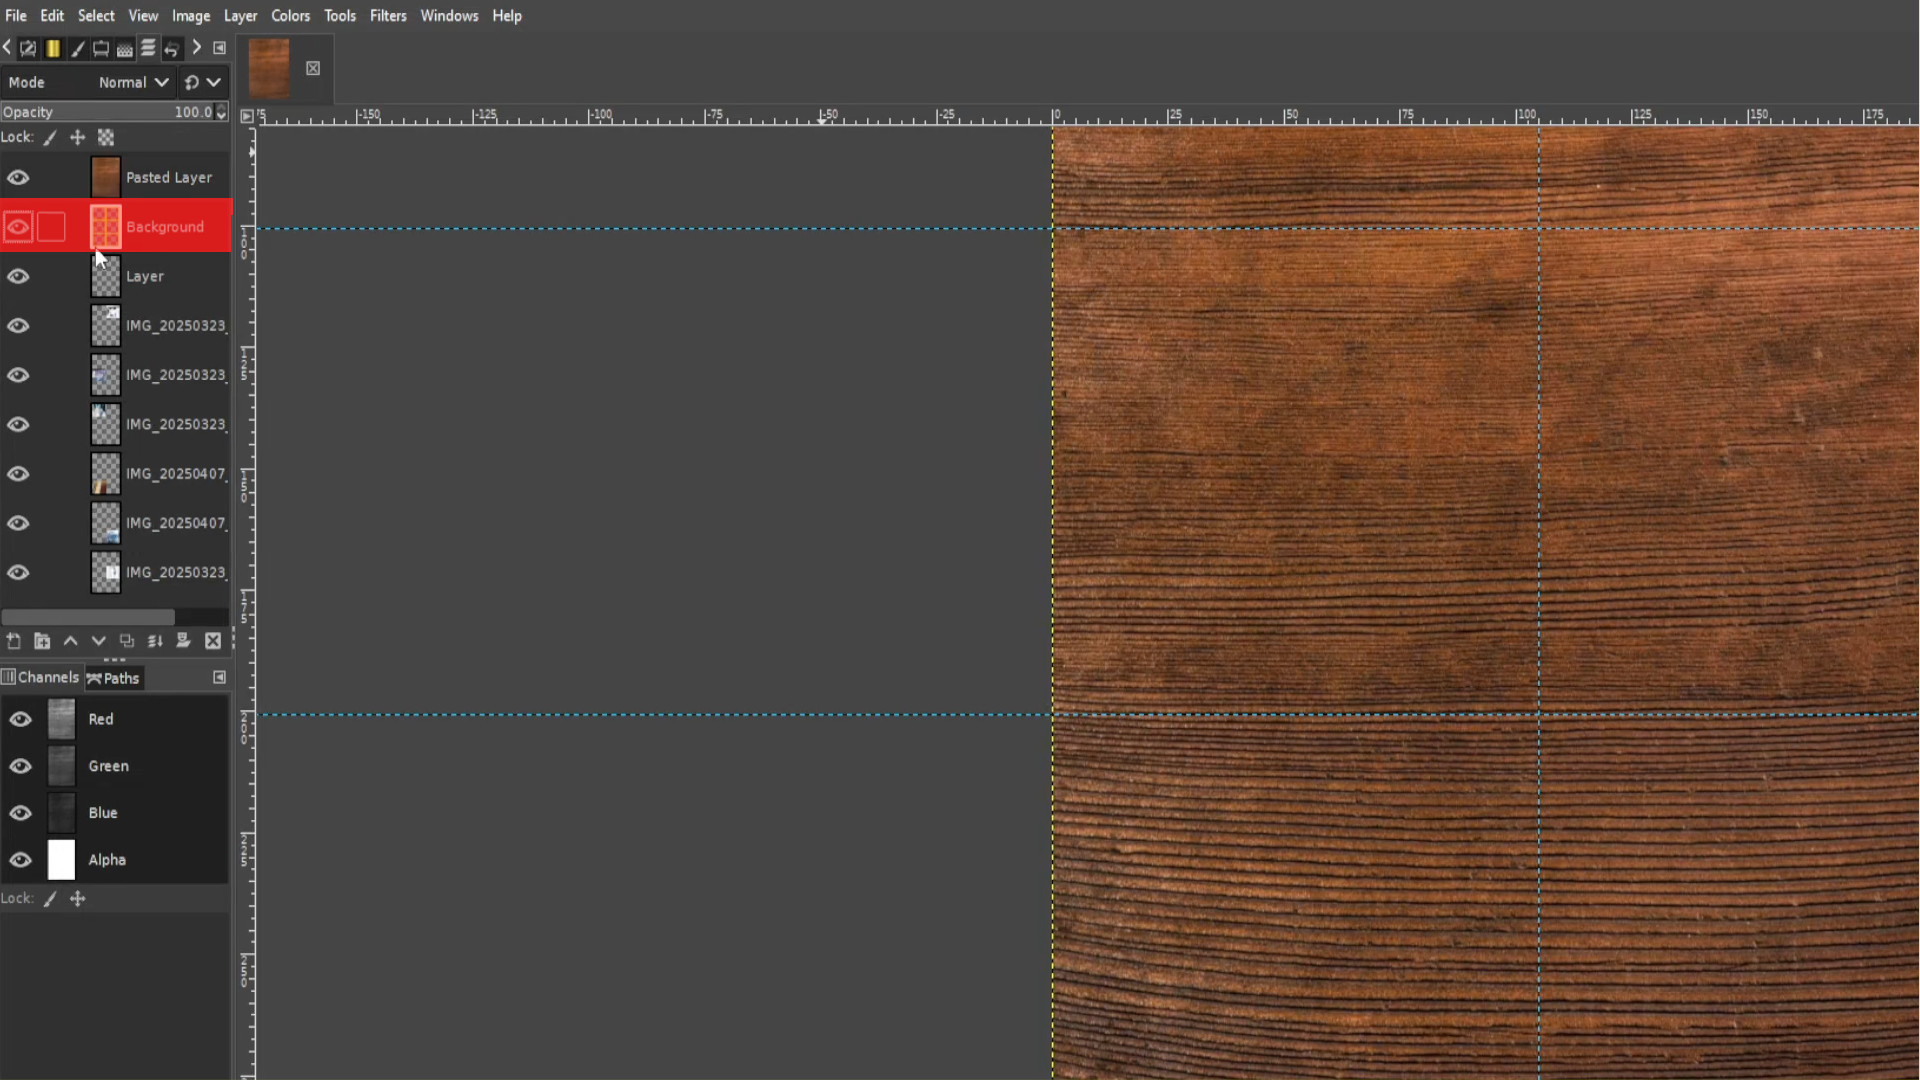
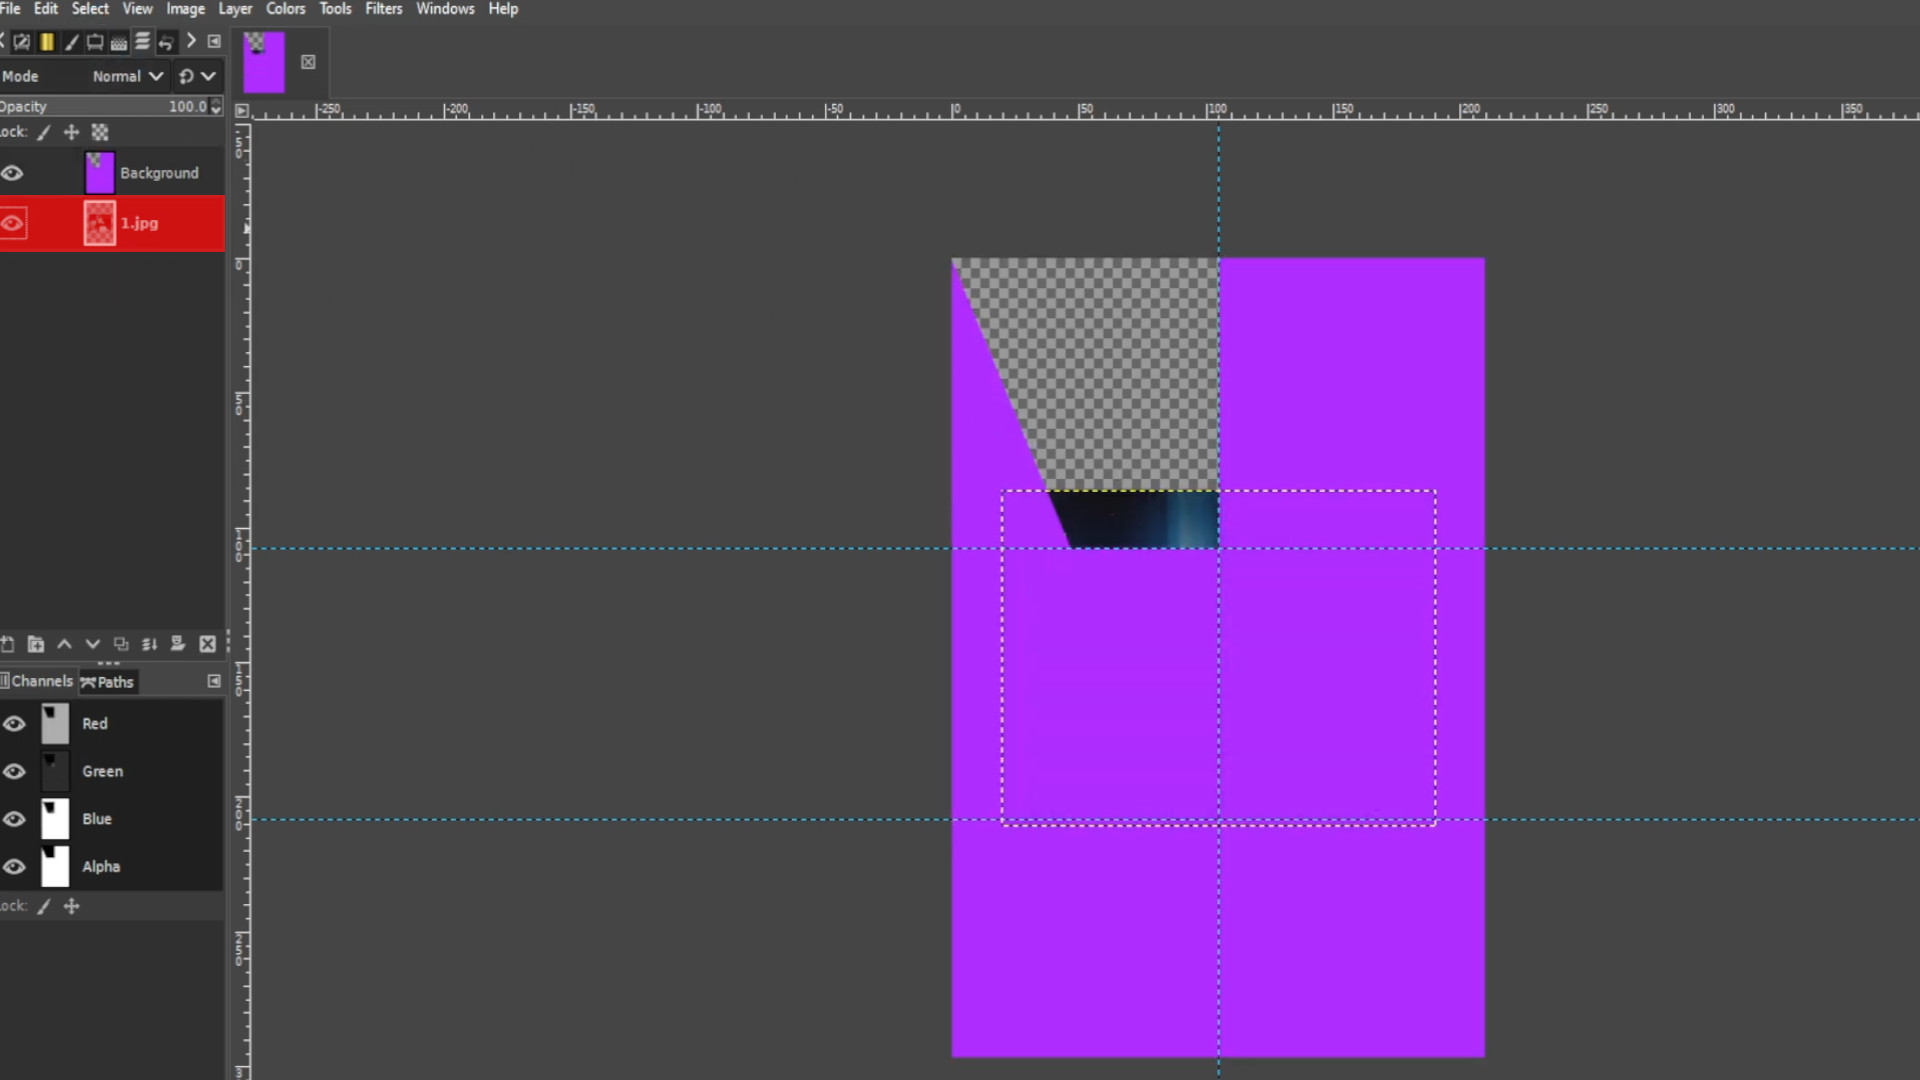
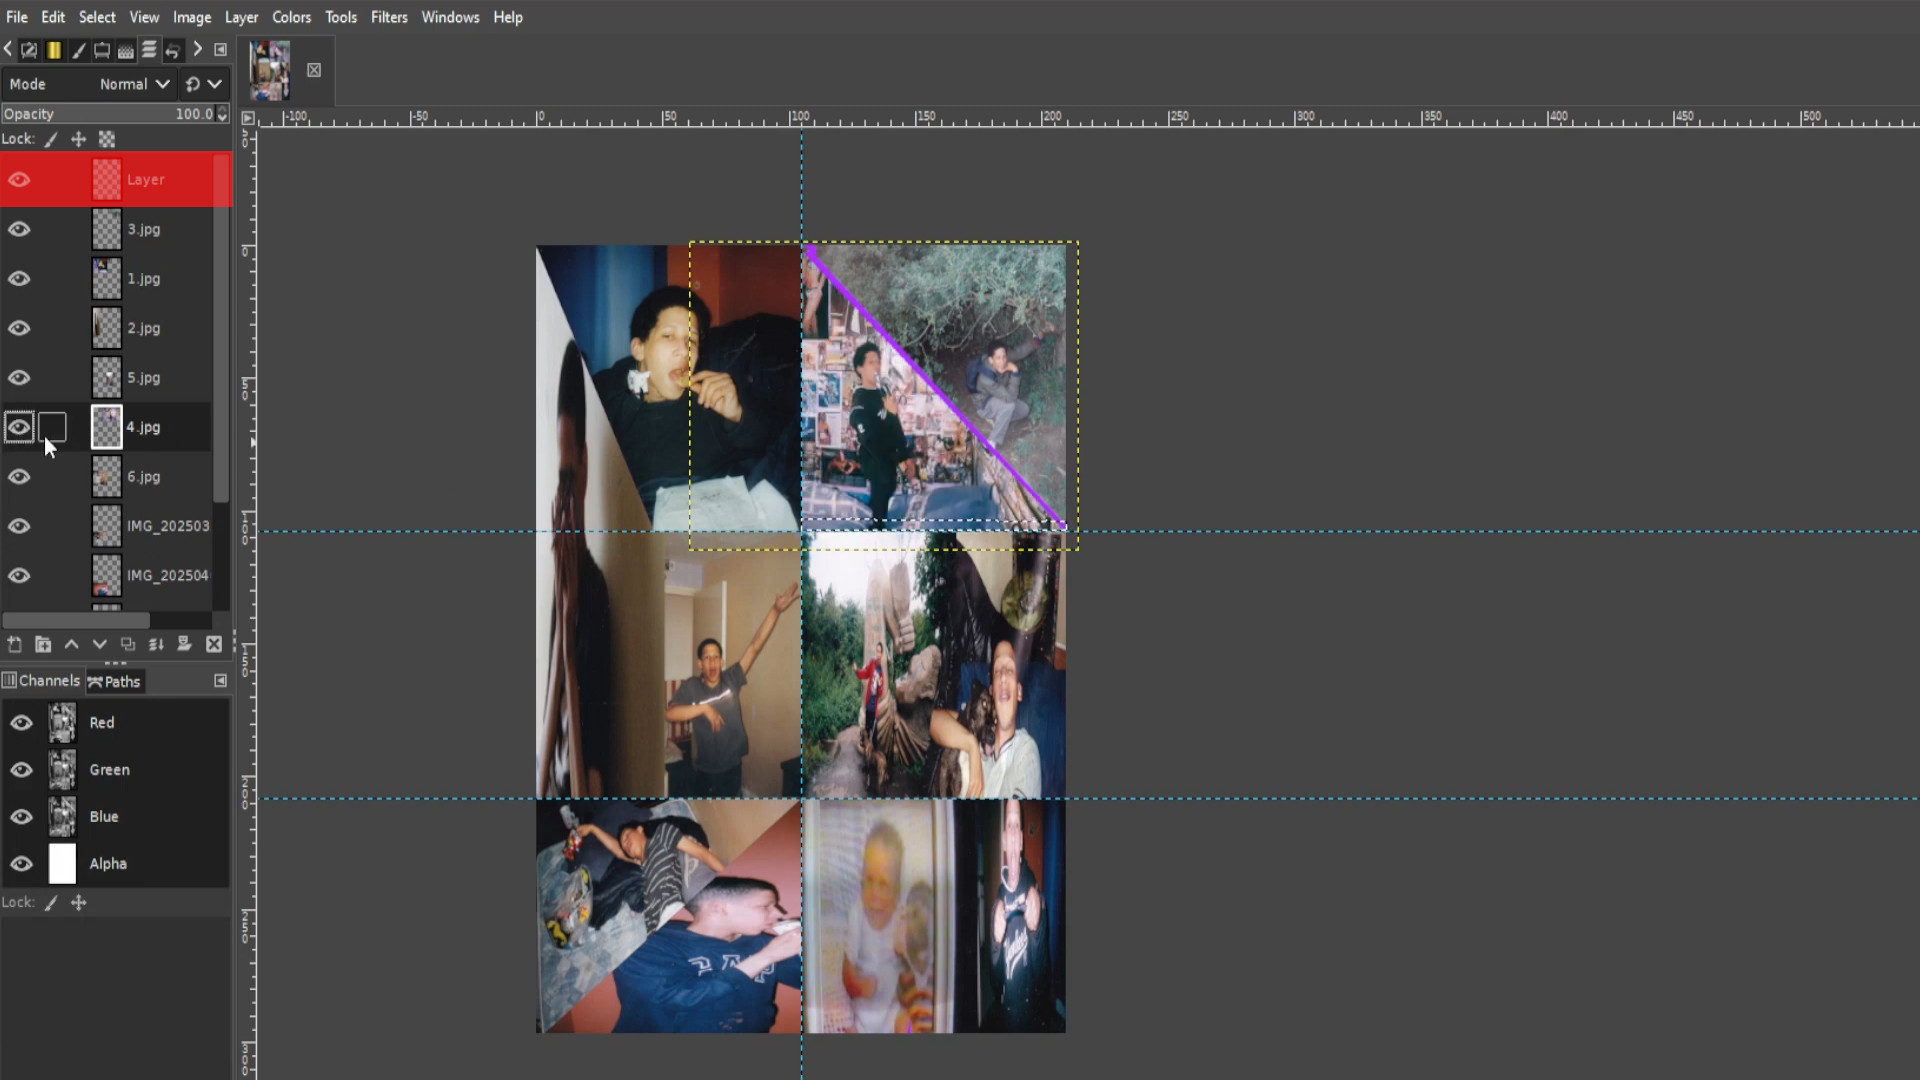
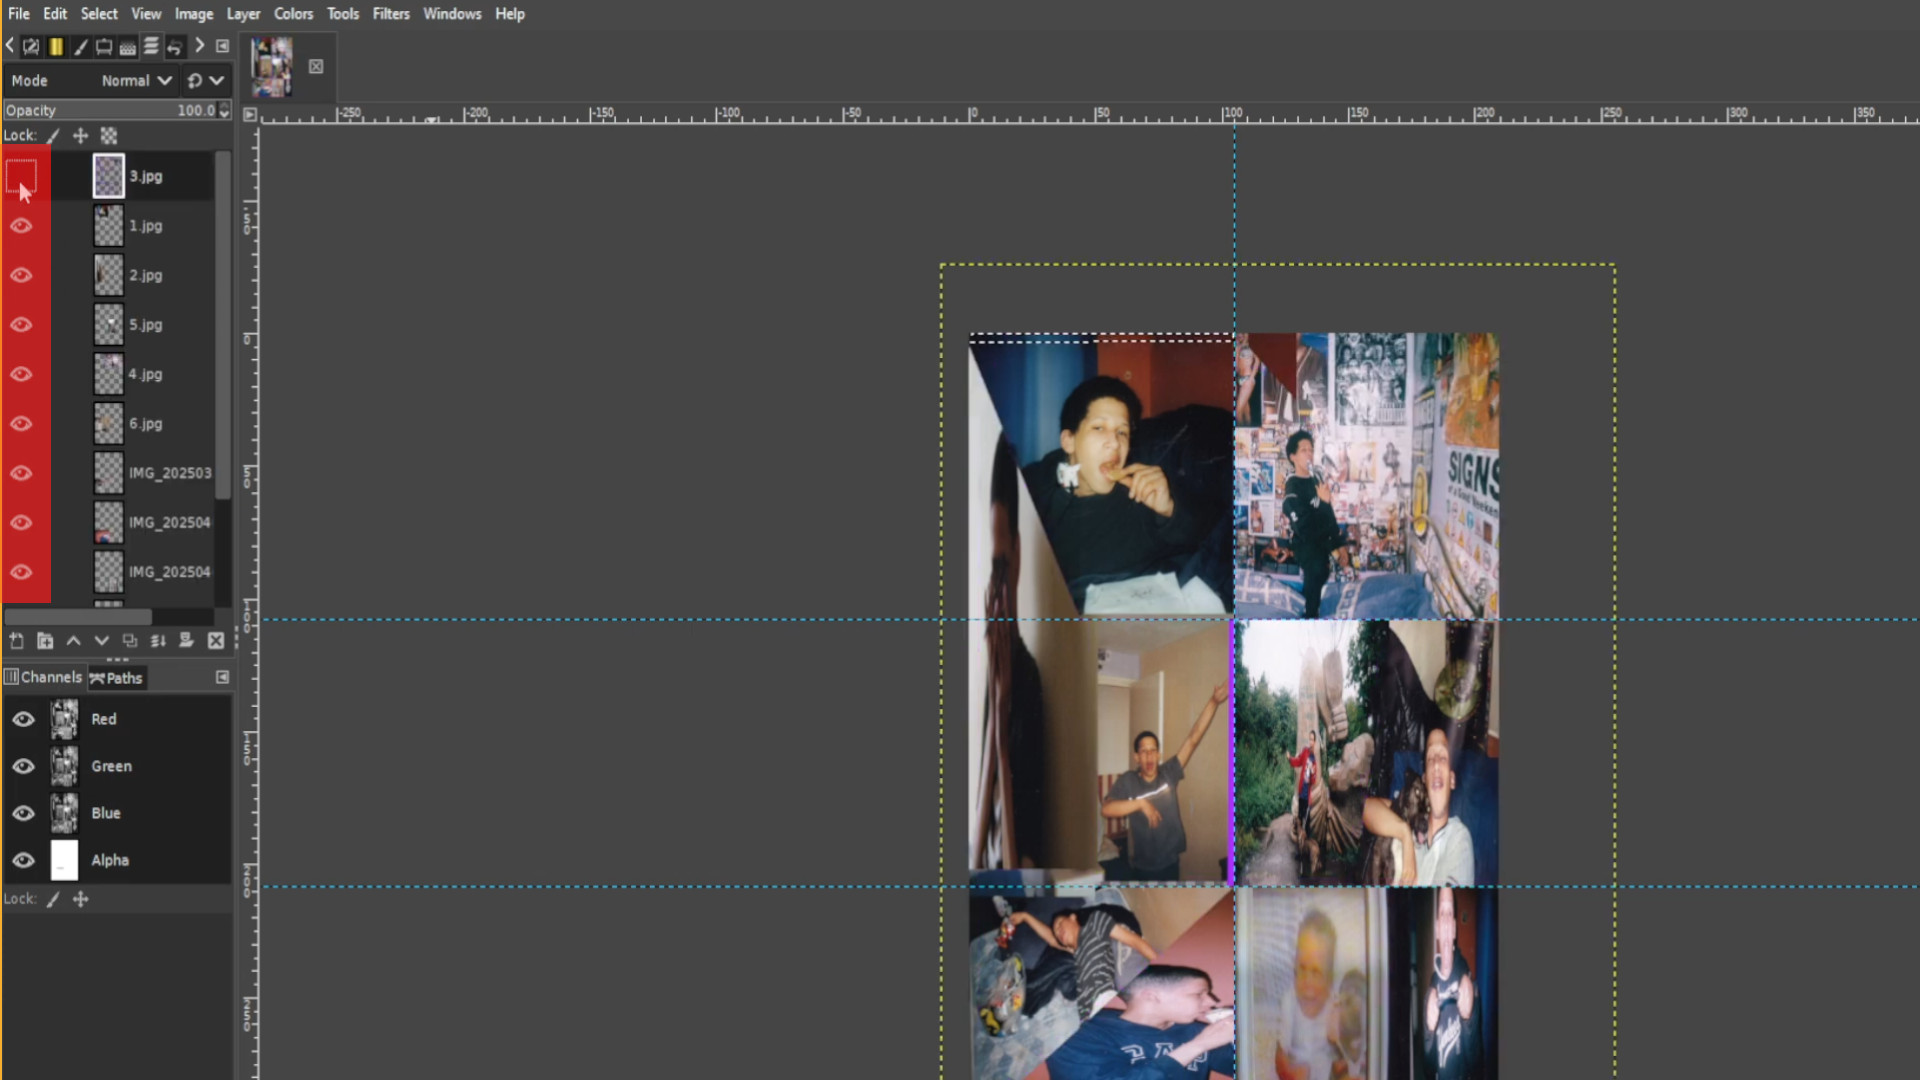
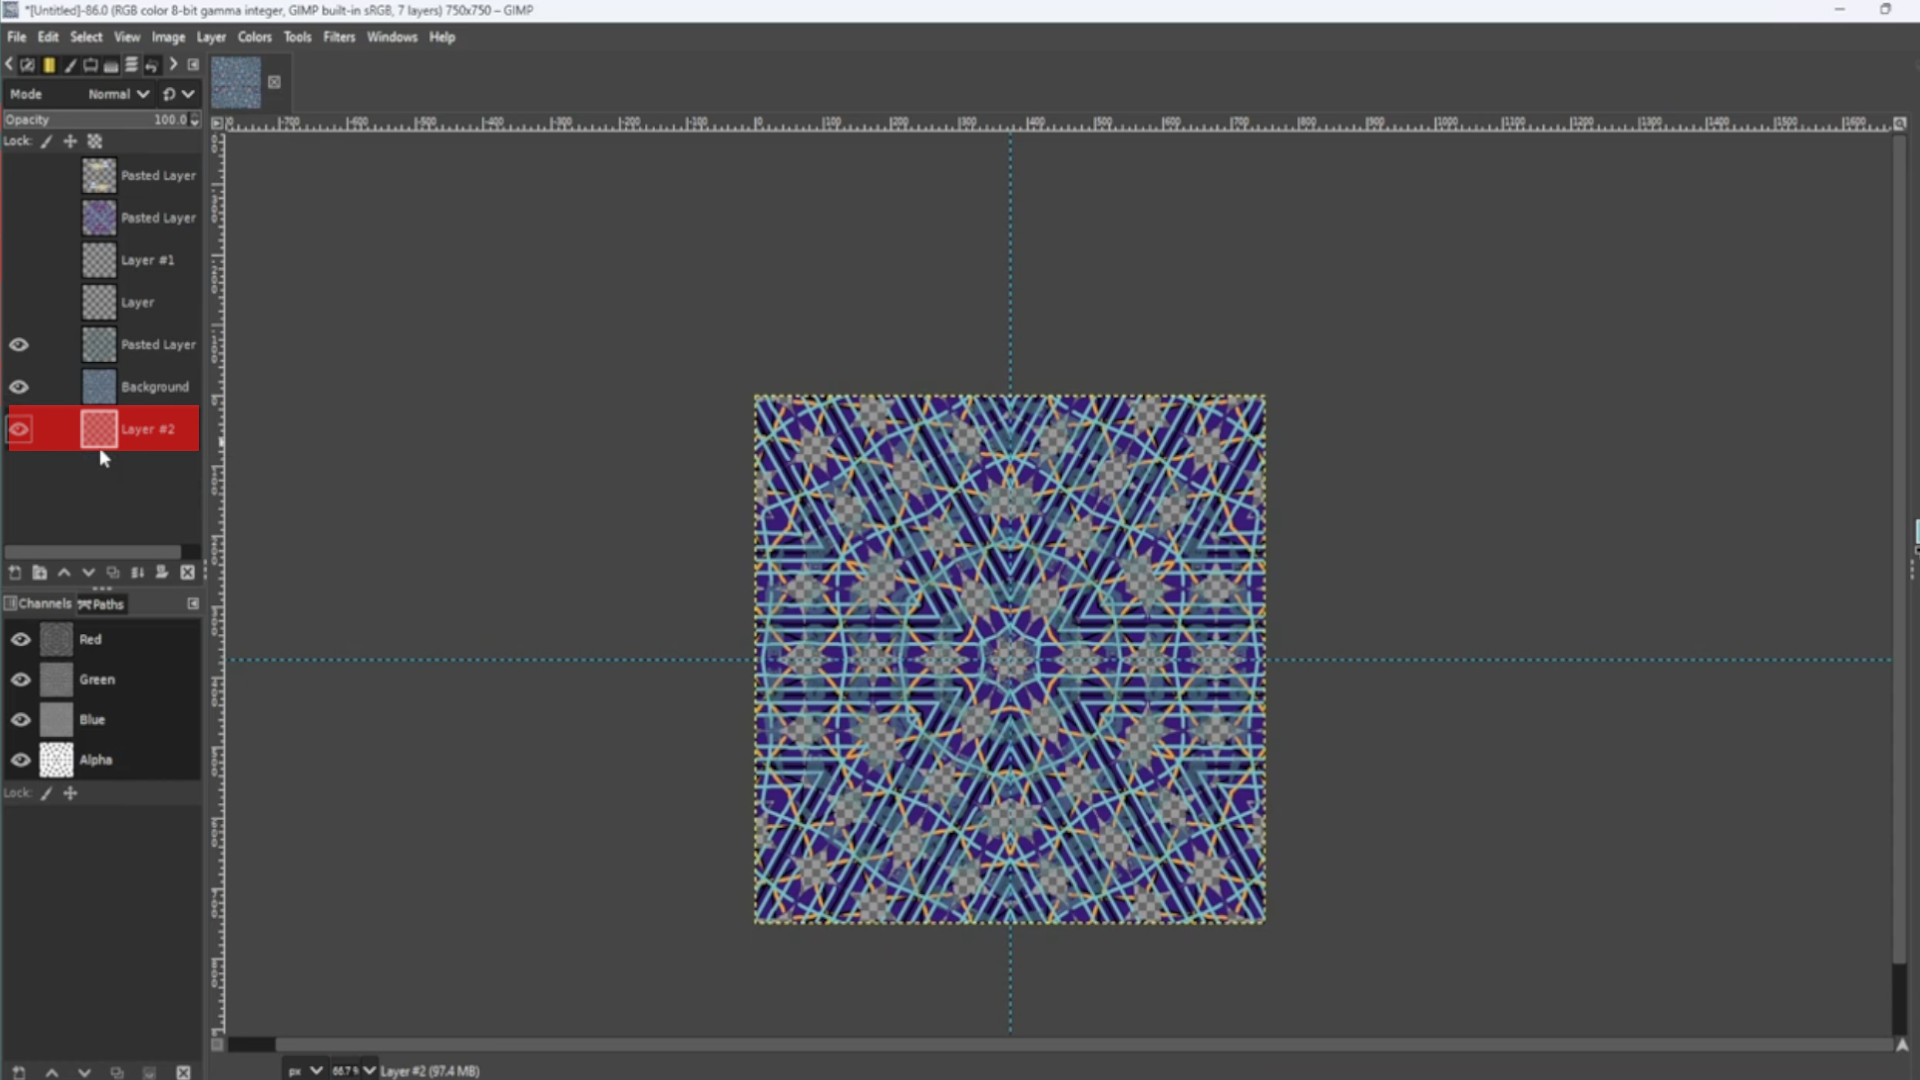
>>>TURN OFF the>>>TOP>>>THREE>>>LAYERS by>>>CLICKING on the>>>EYE in the>>LEFT HAND SIDE>>>LAYERS TAB.
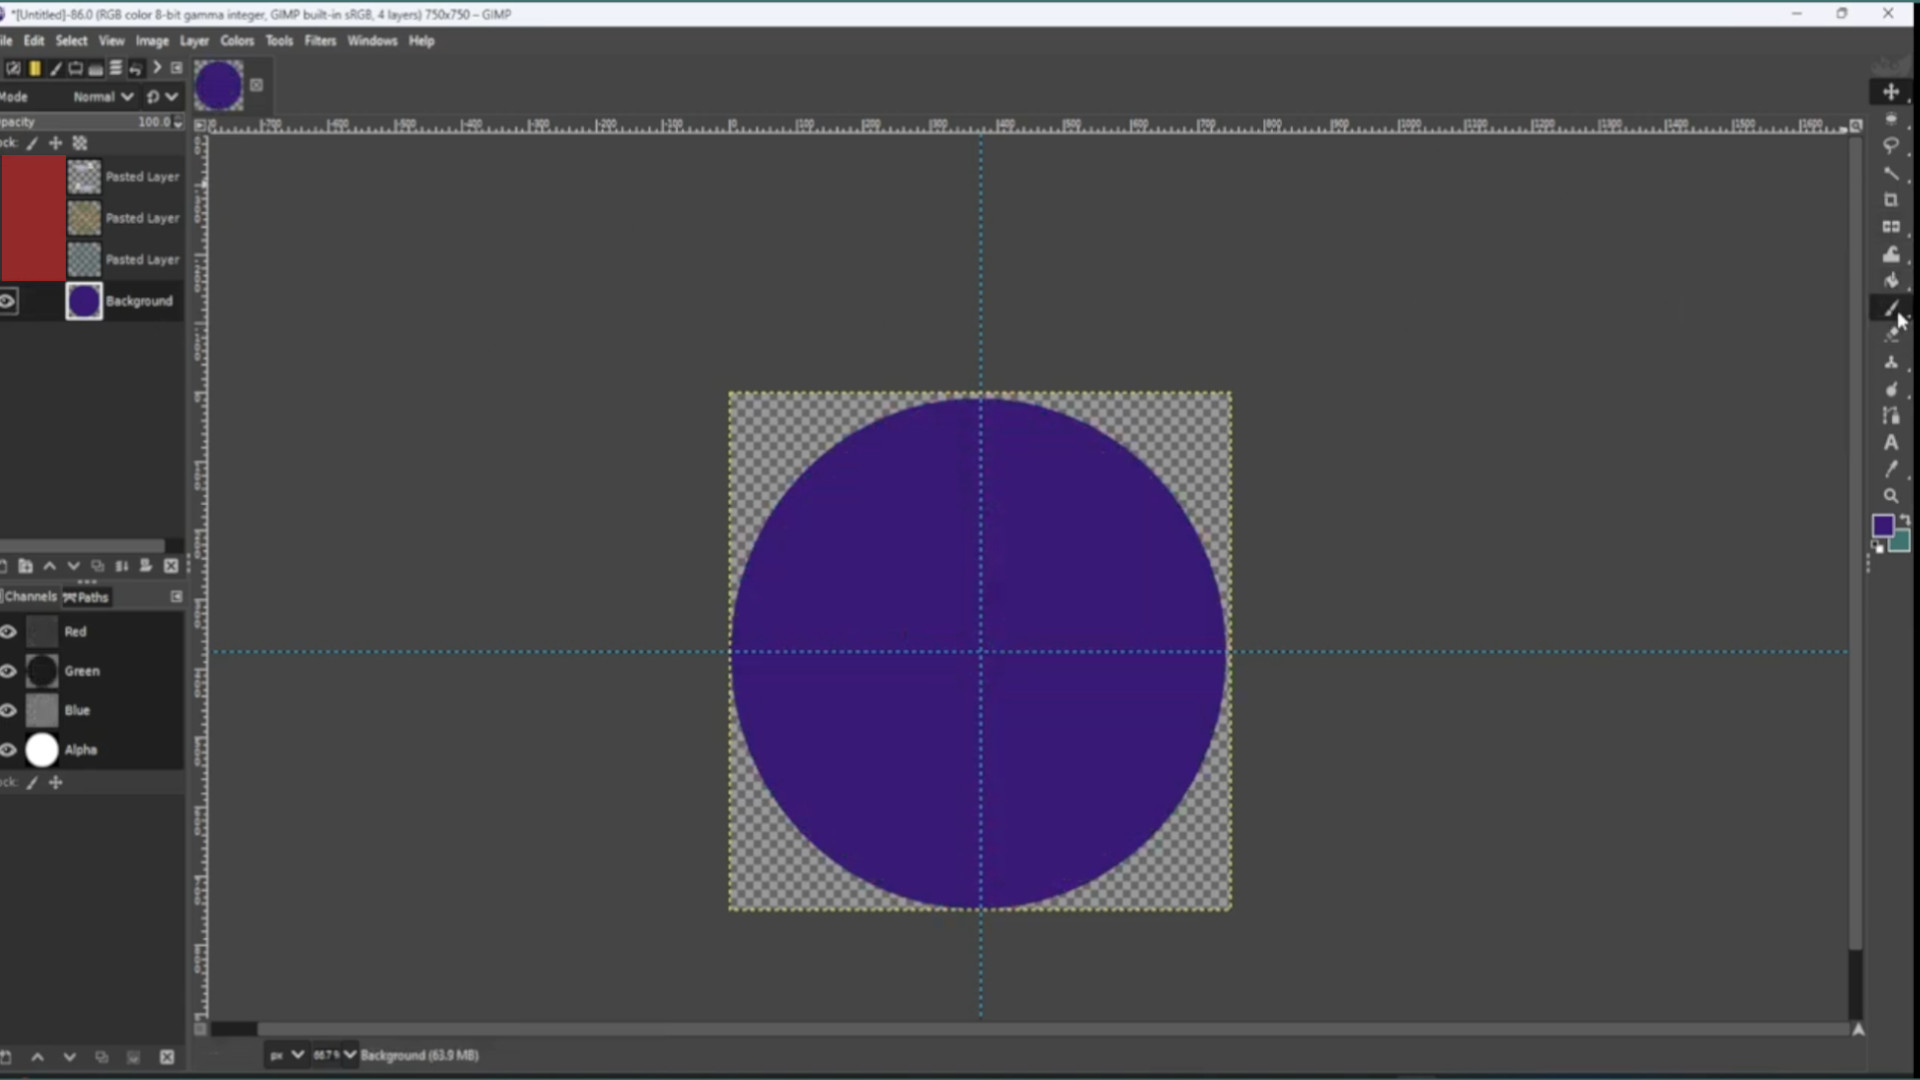
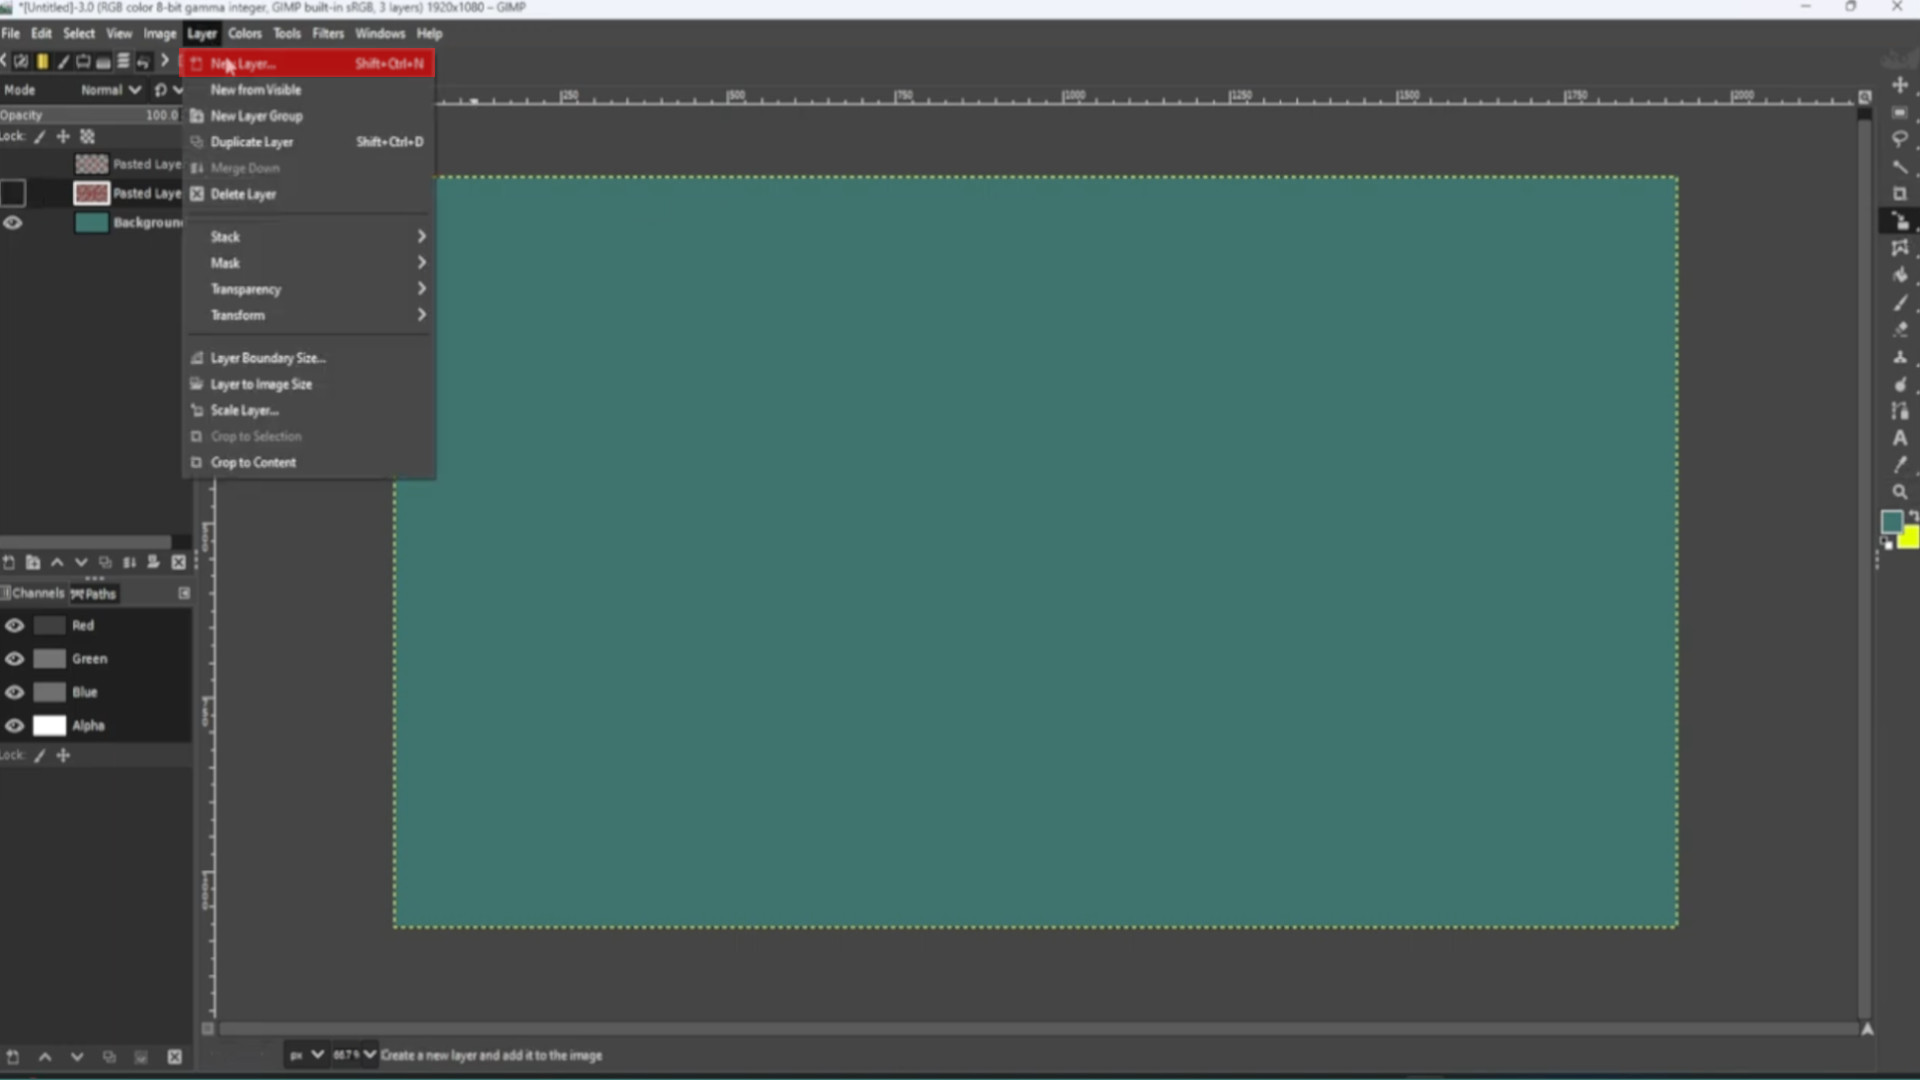
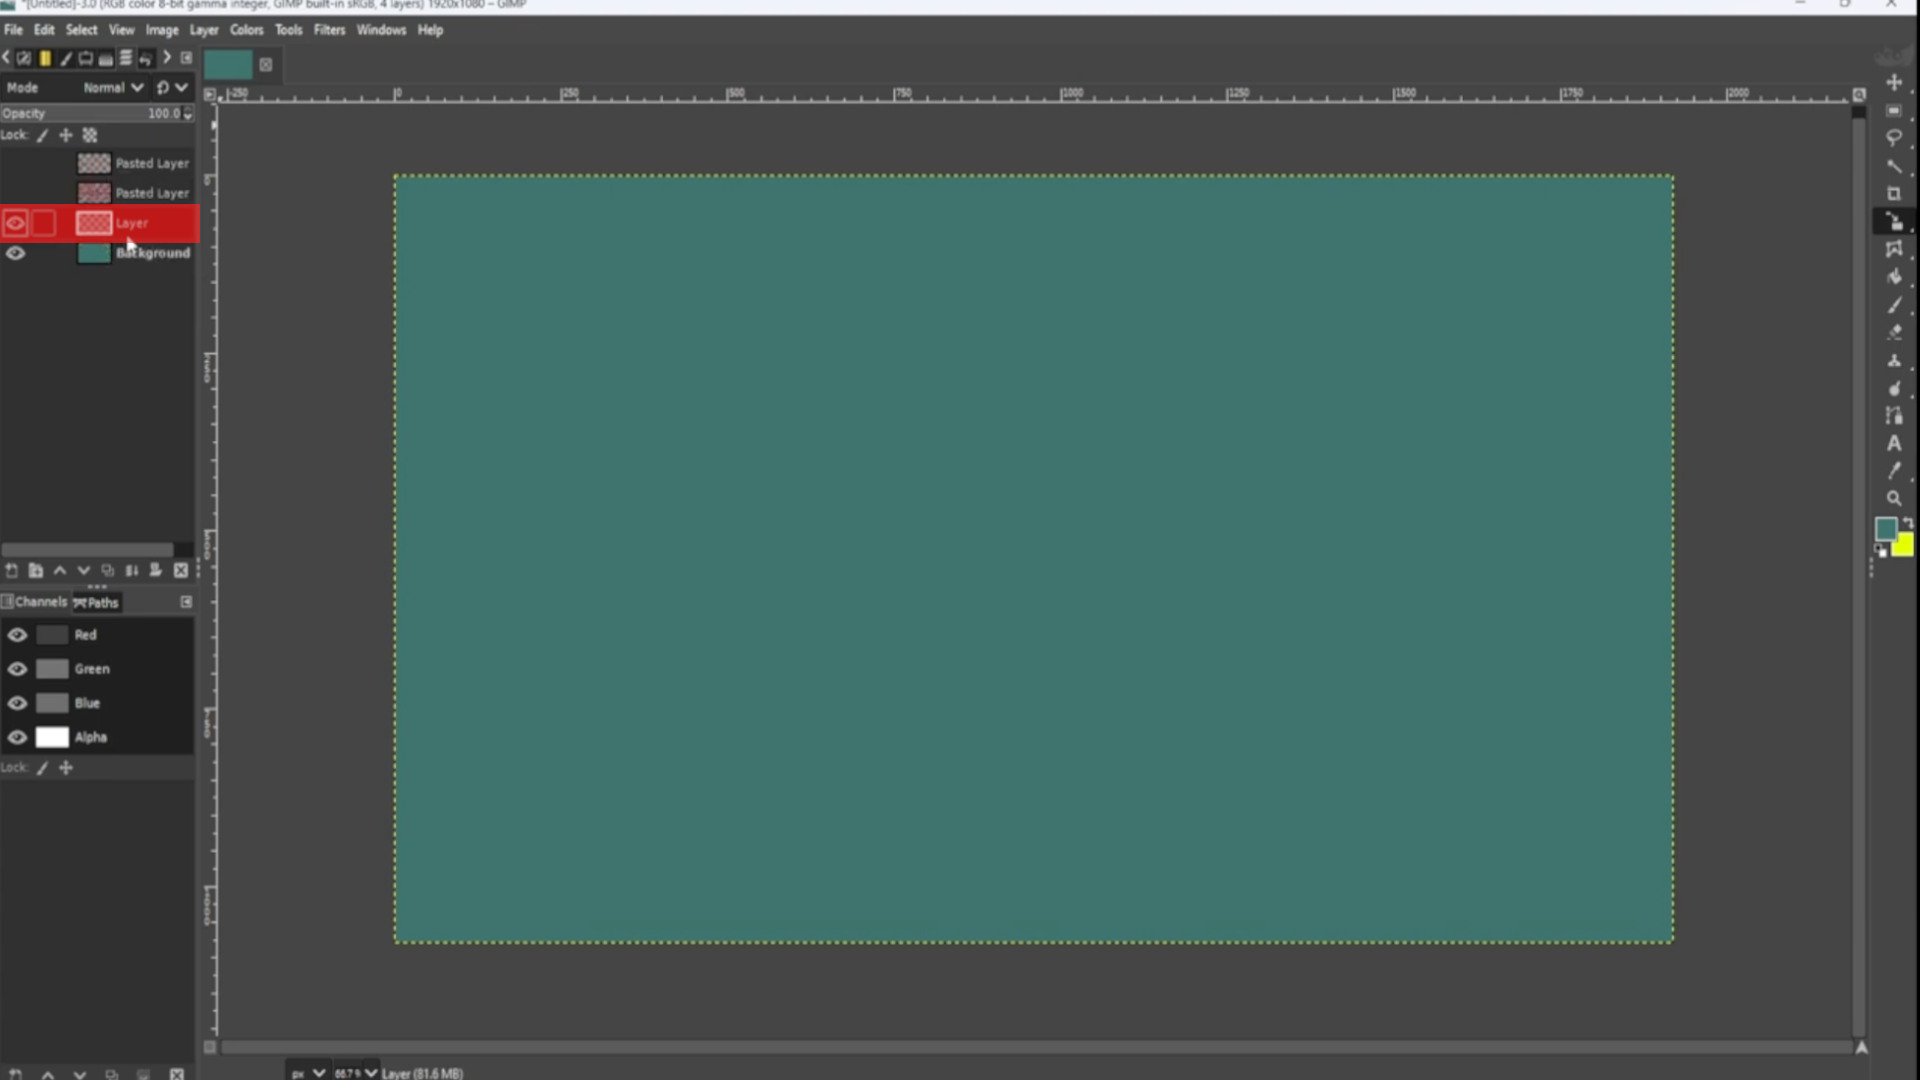
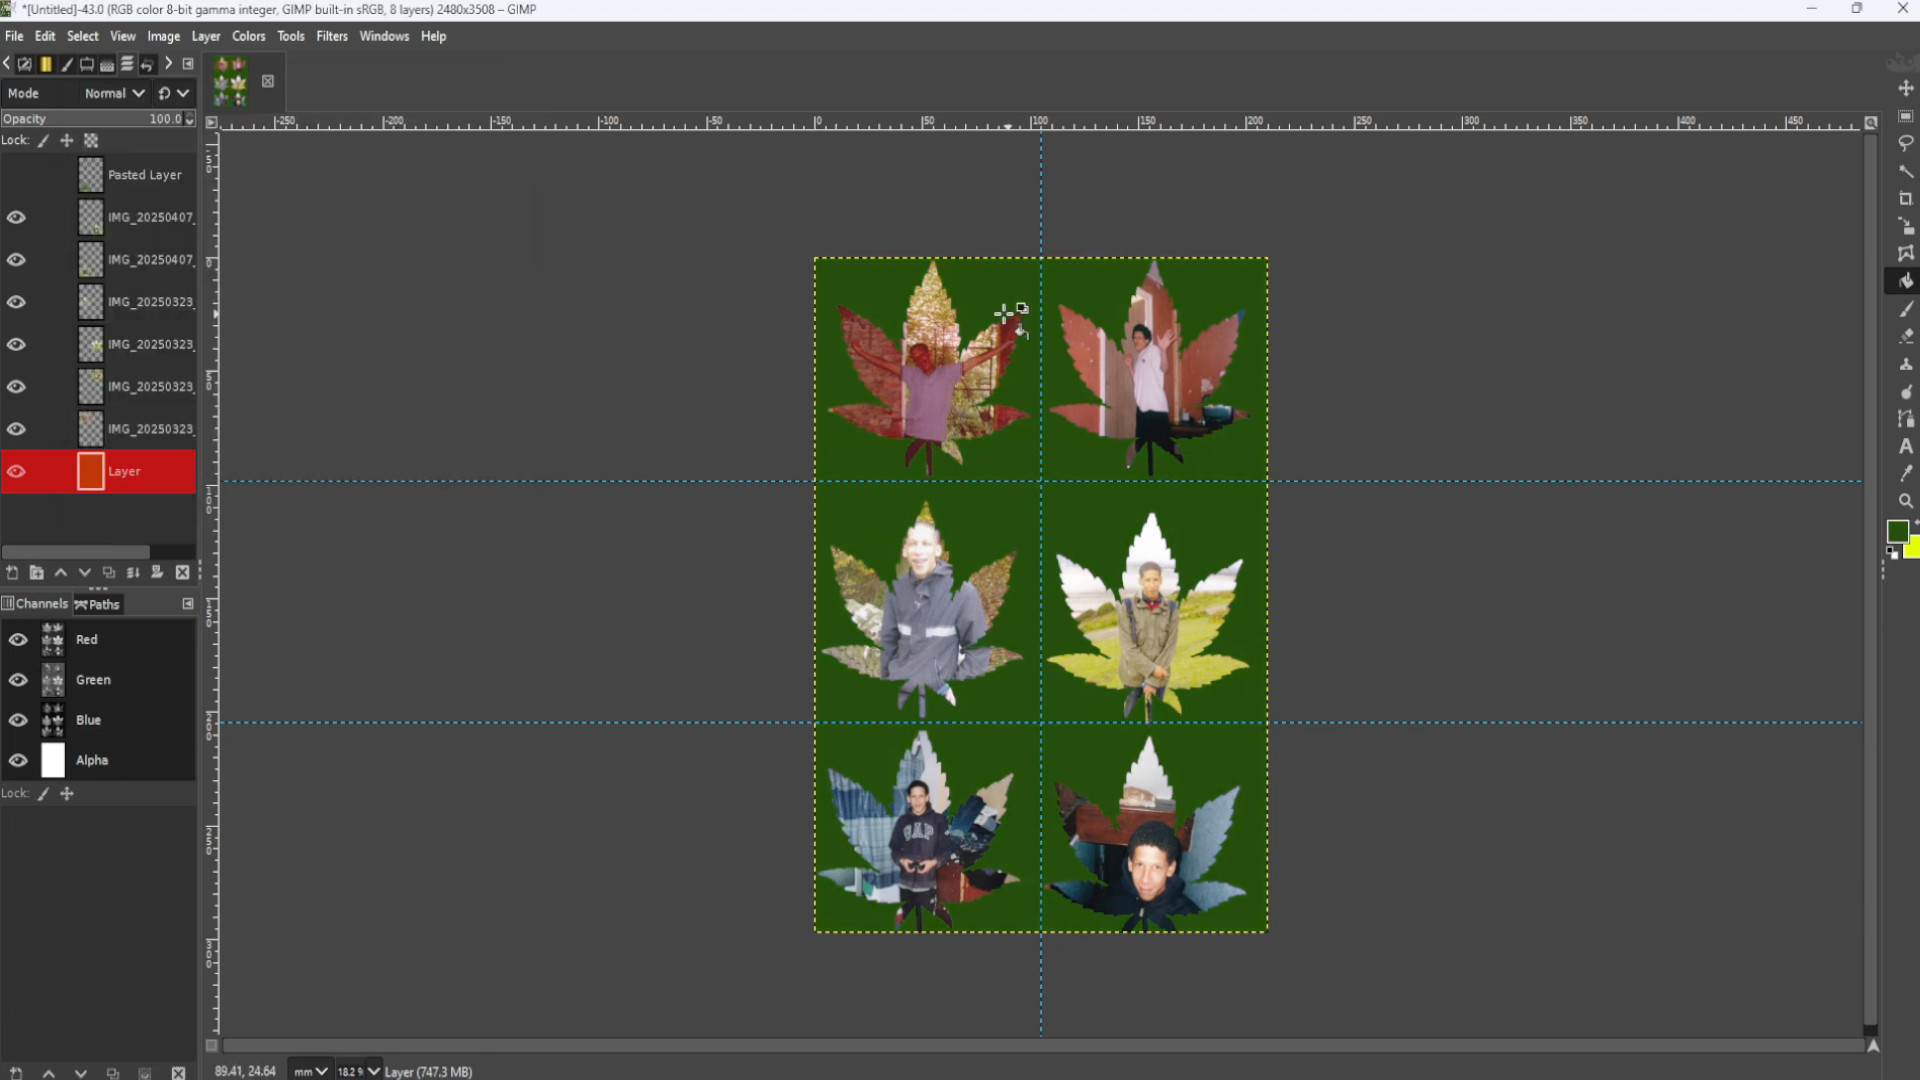
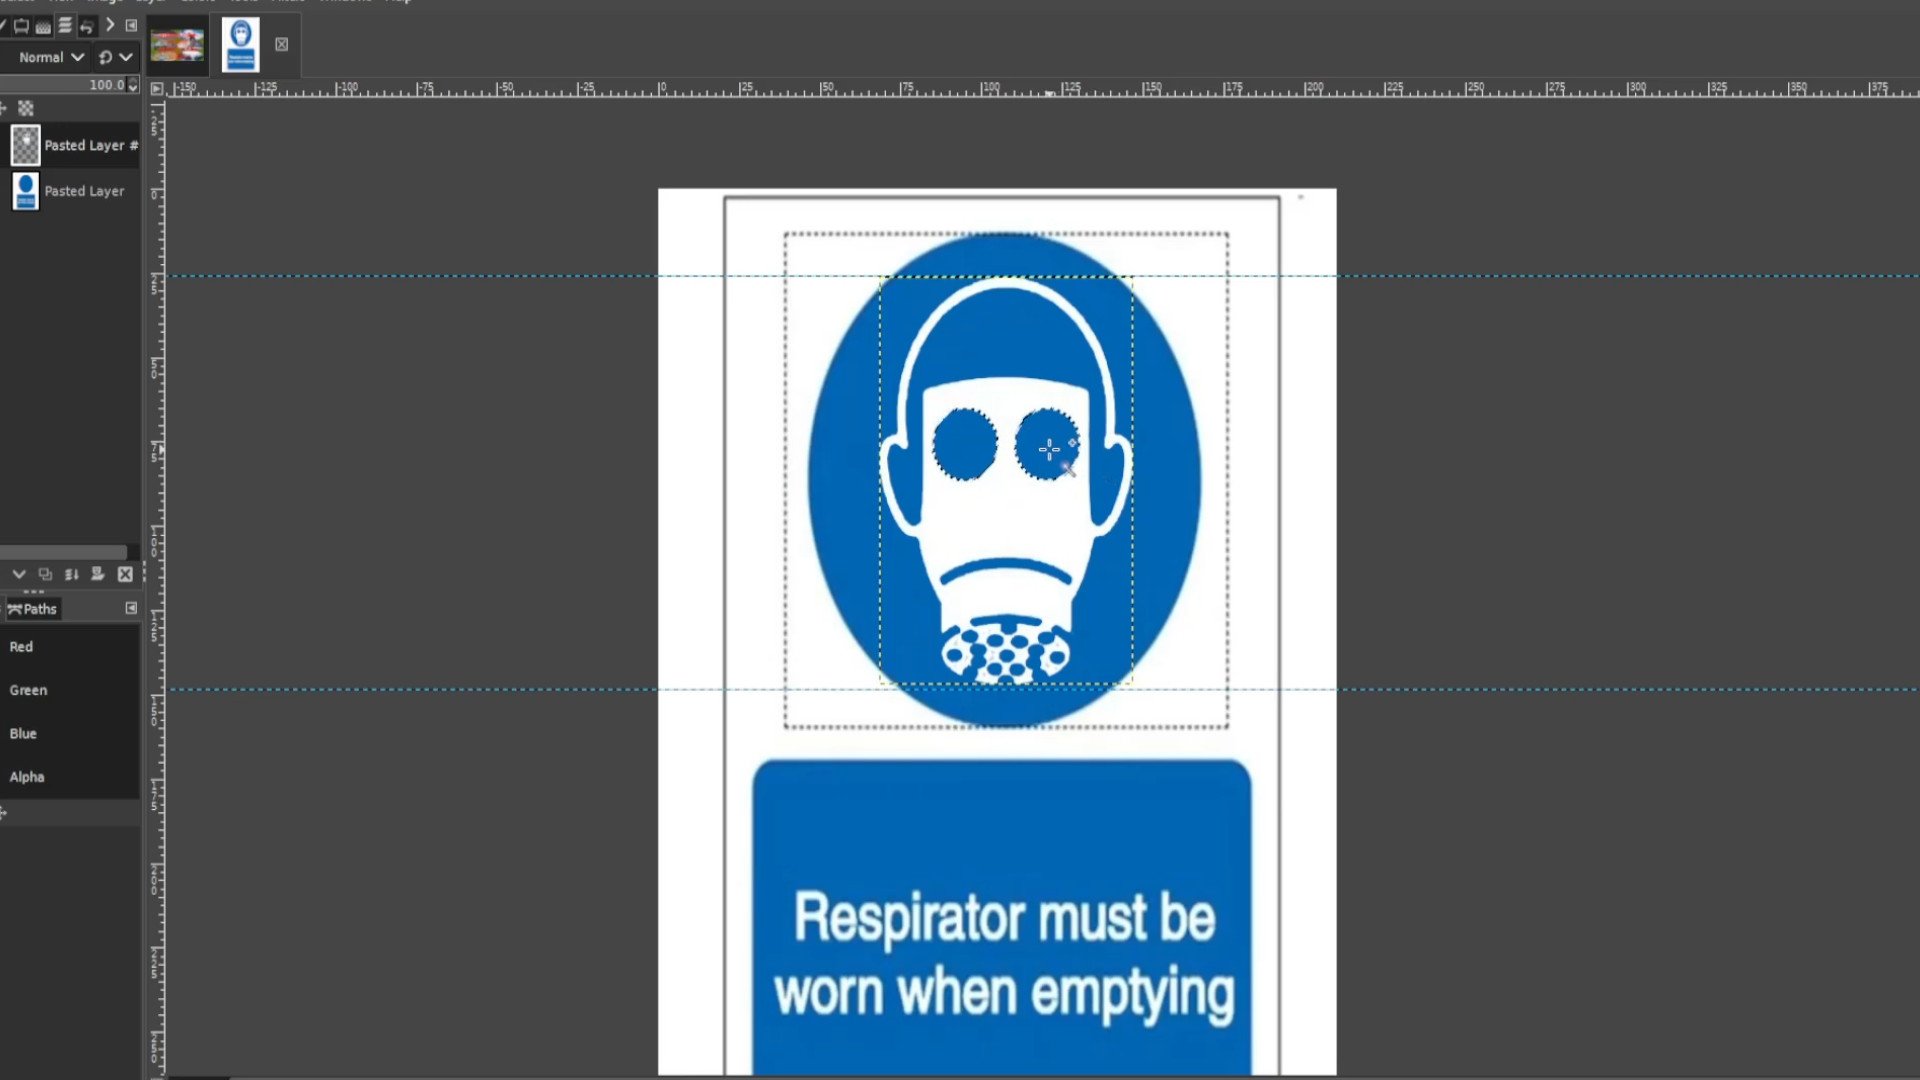
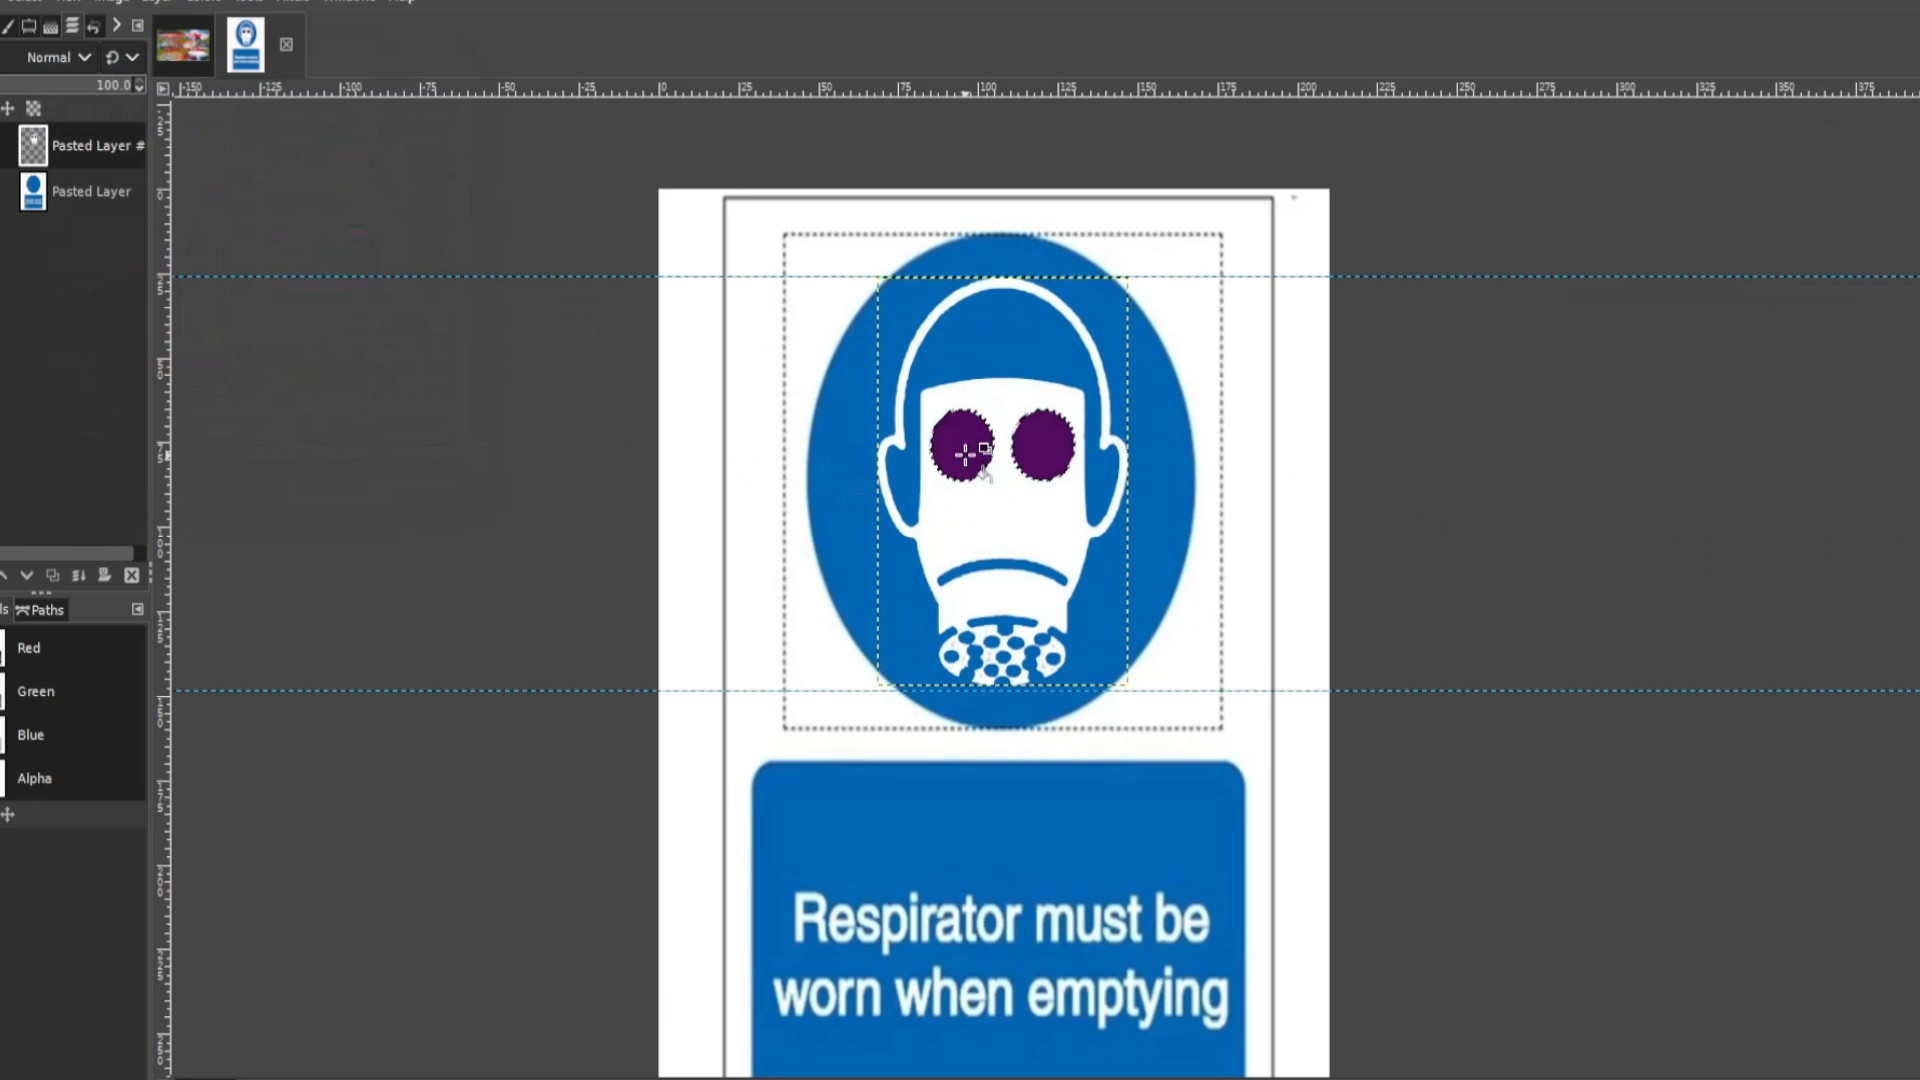
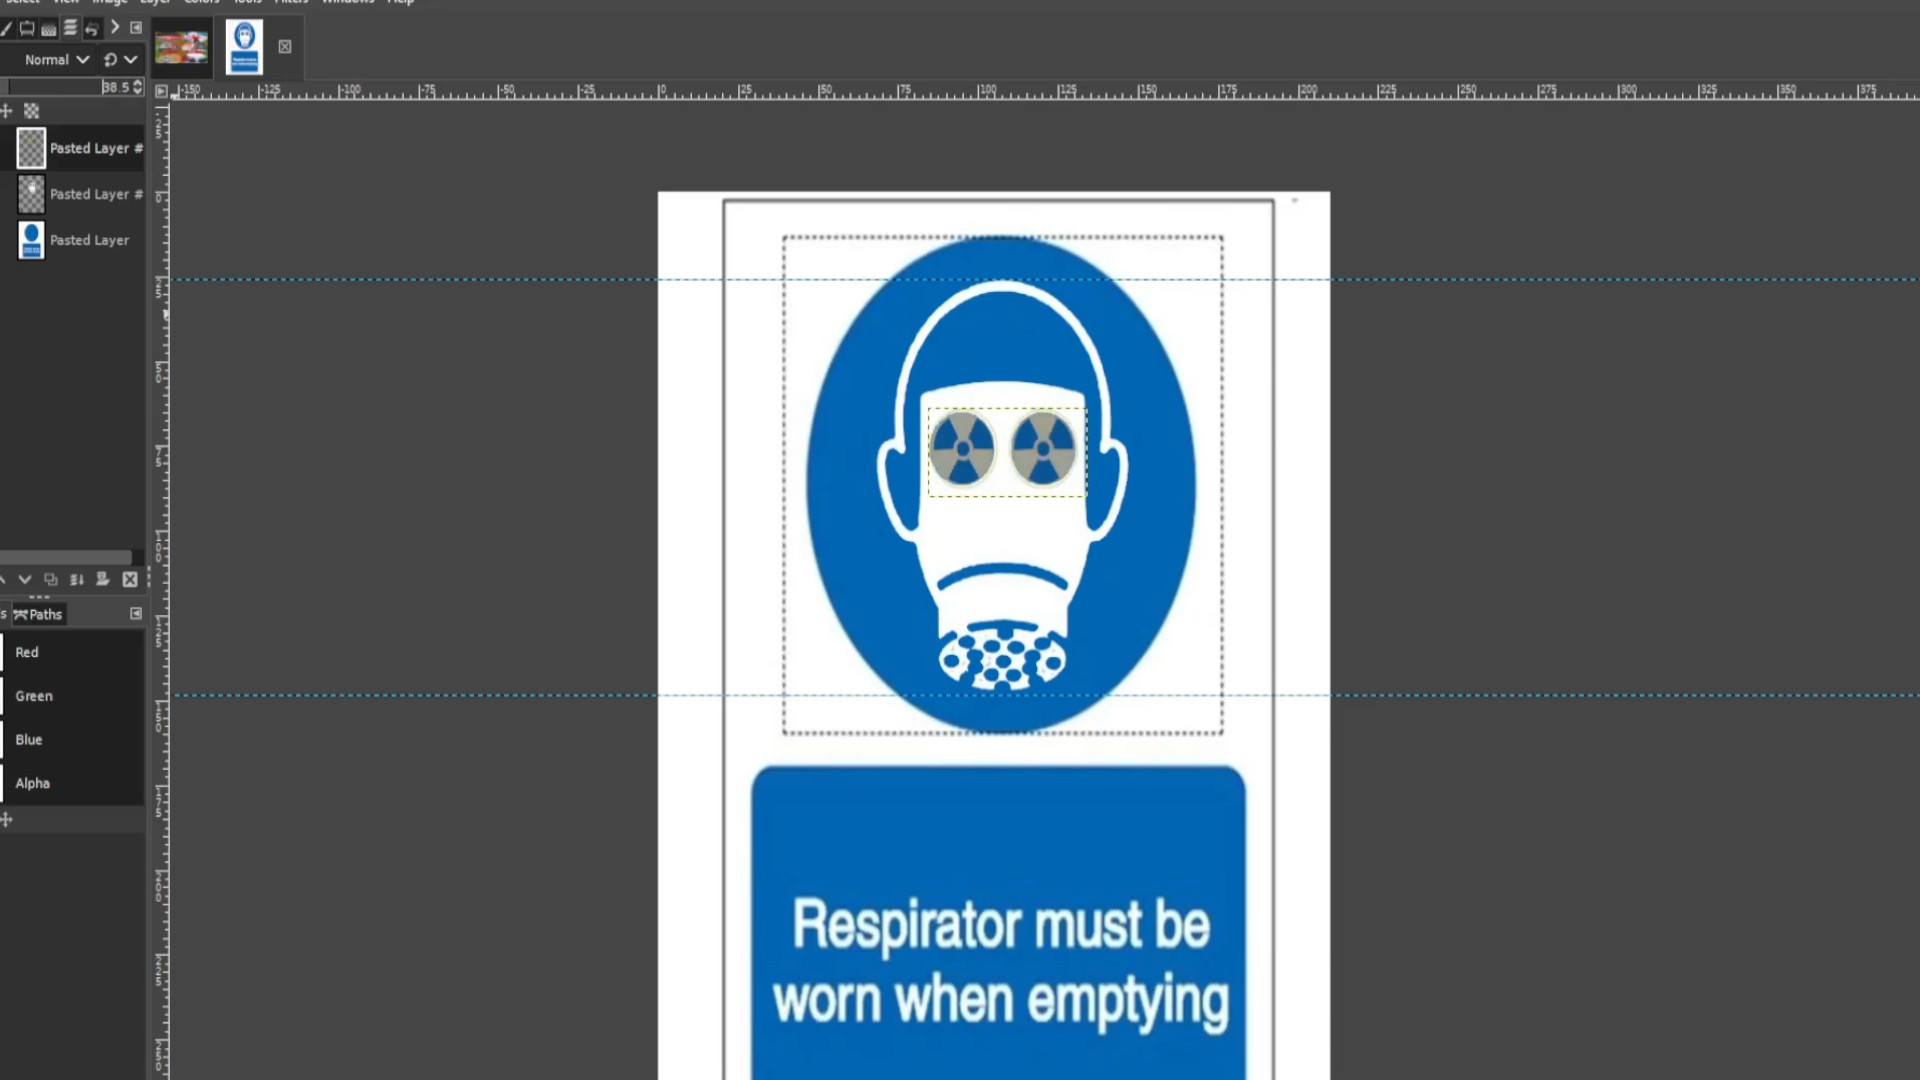
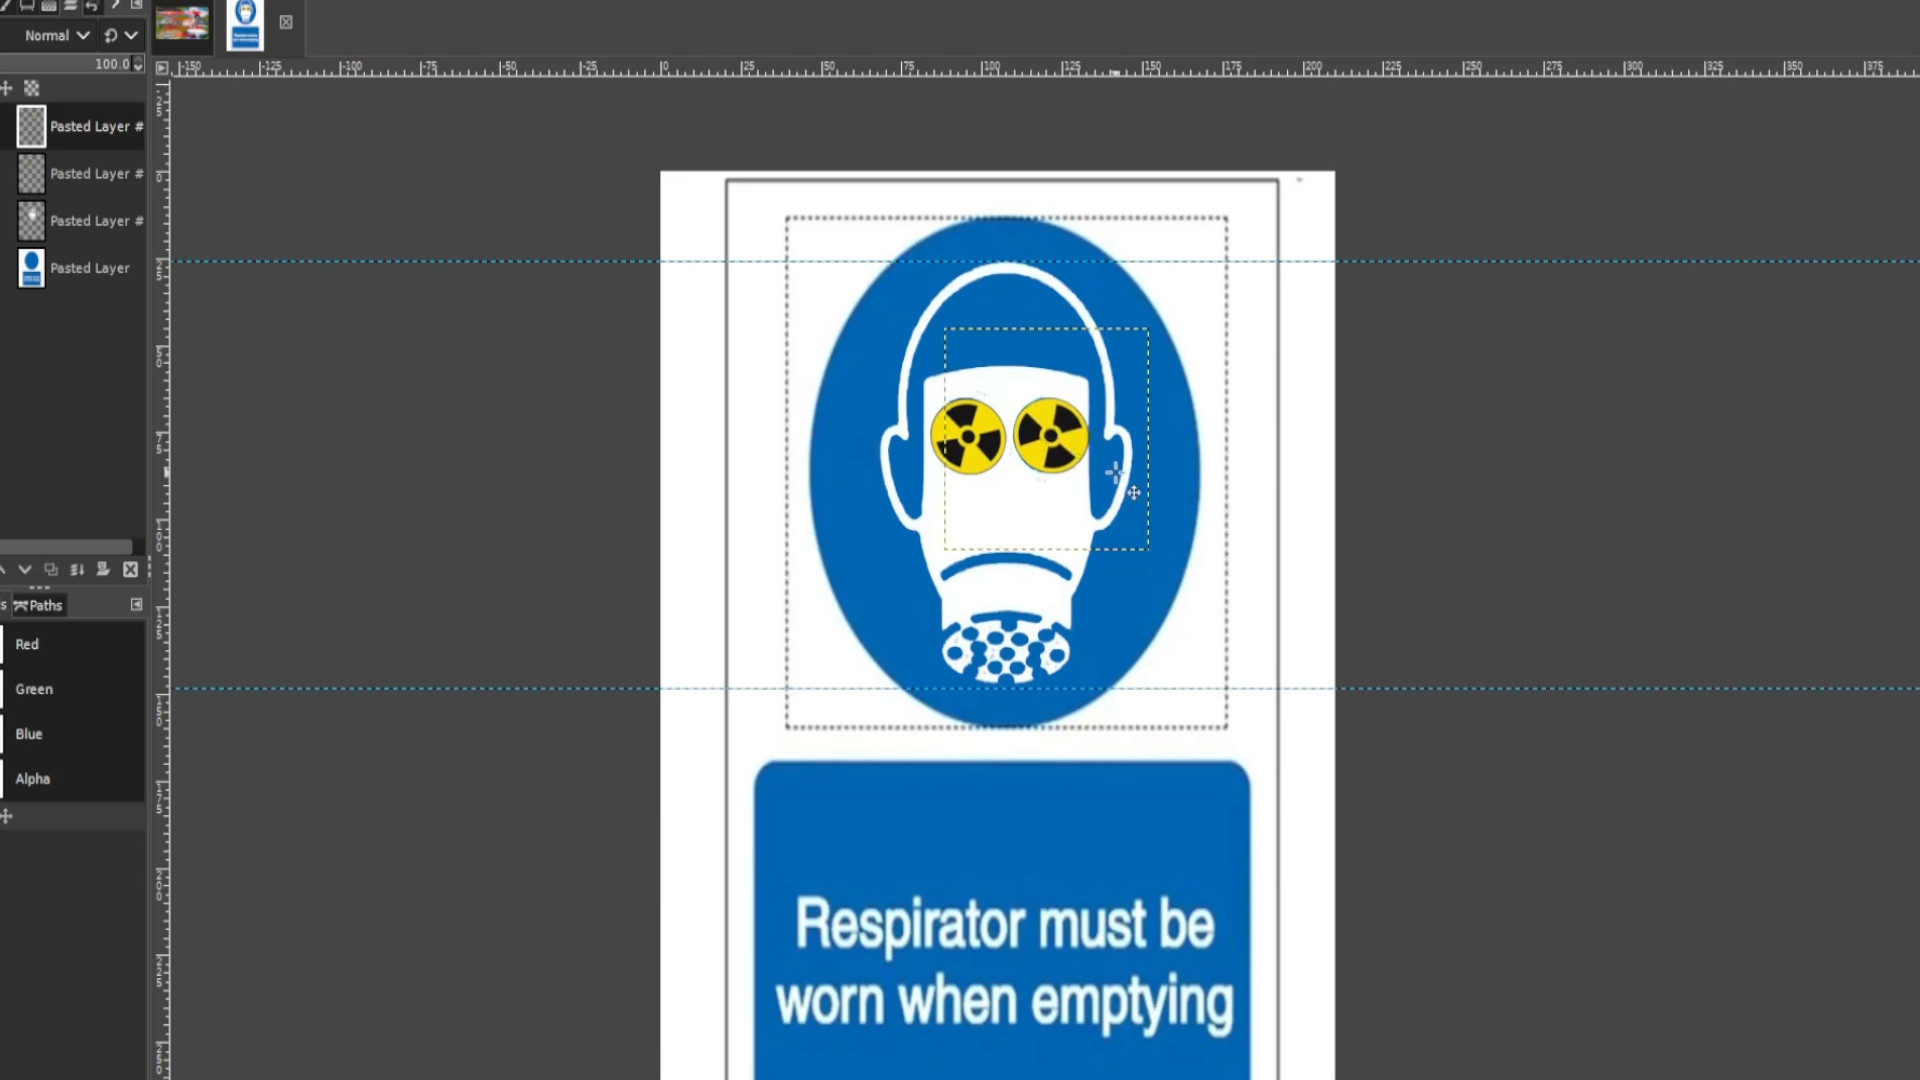
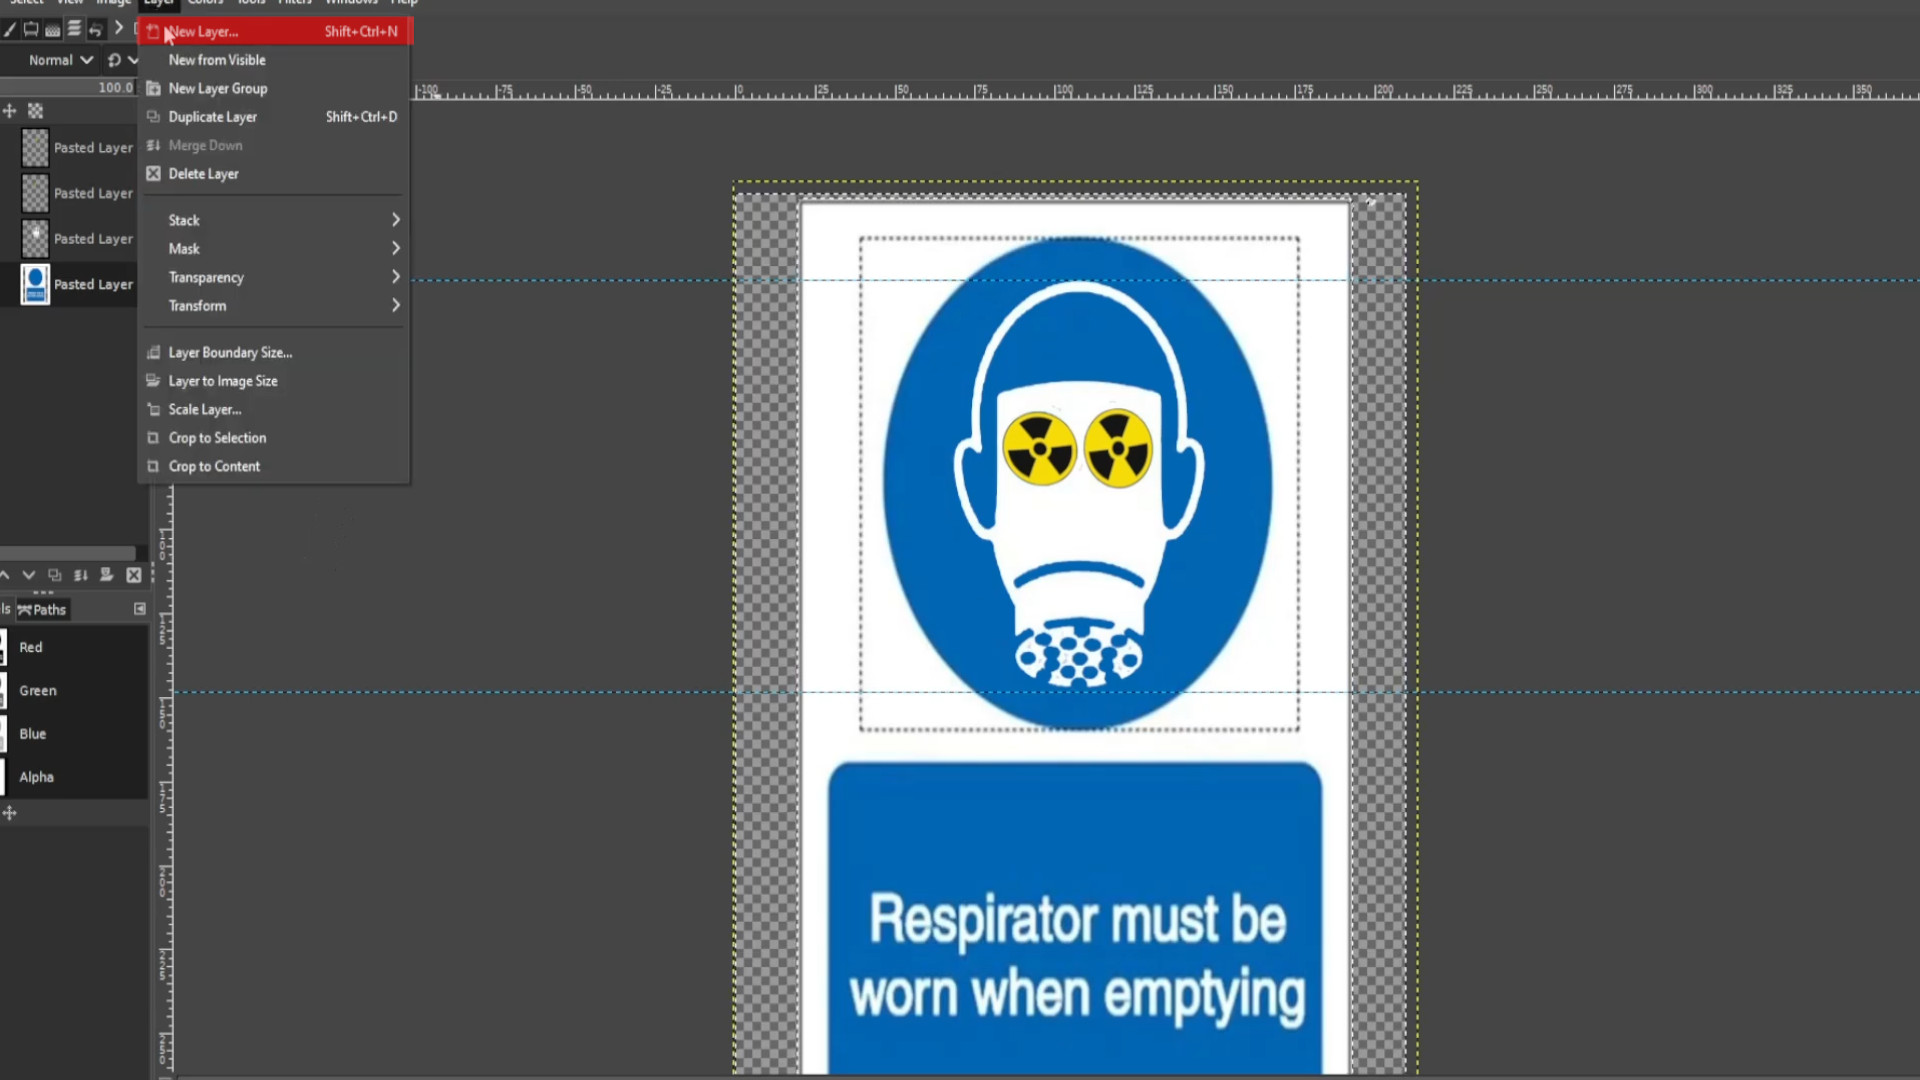
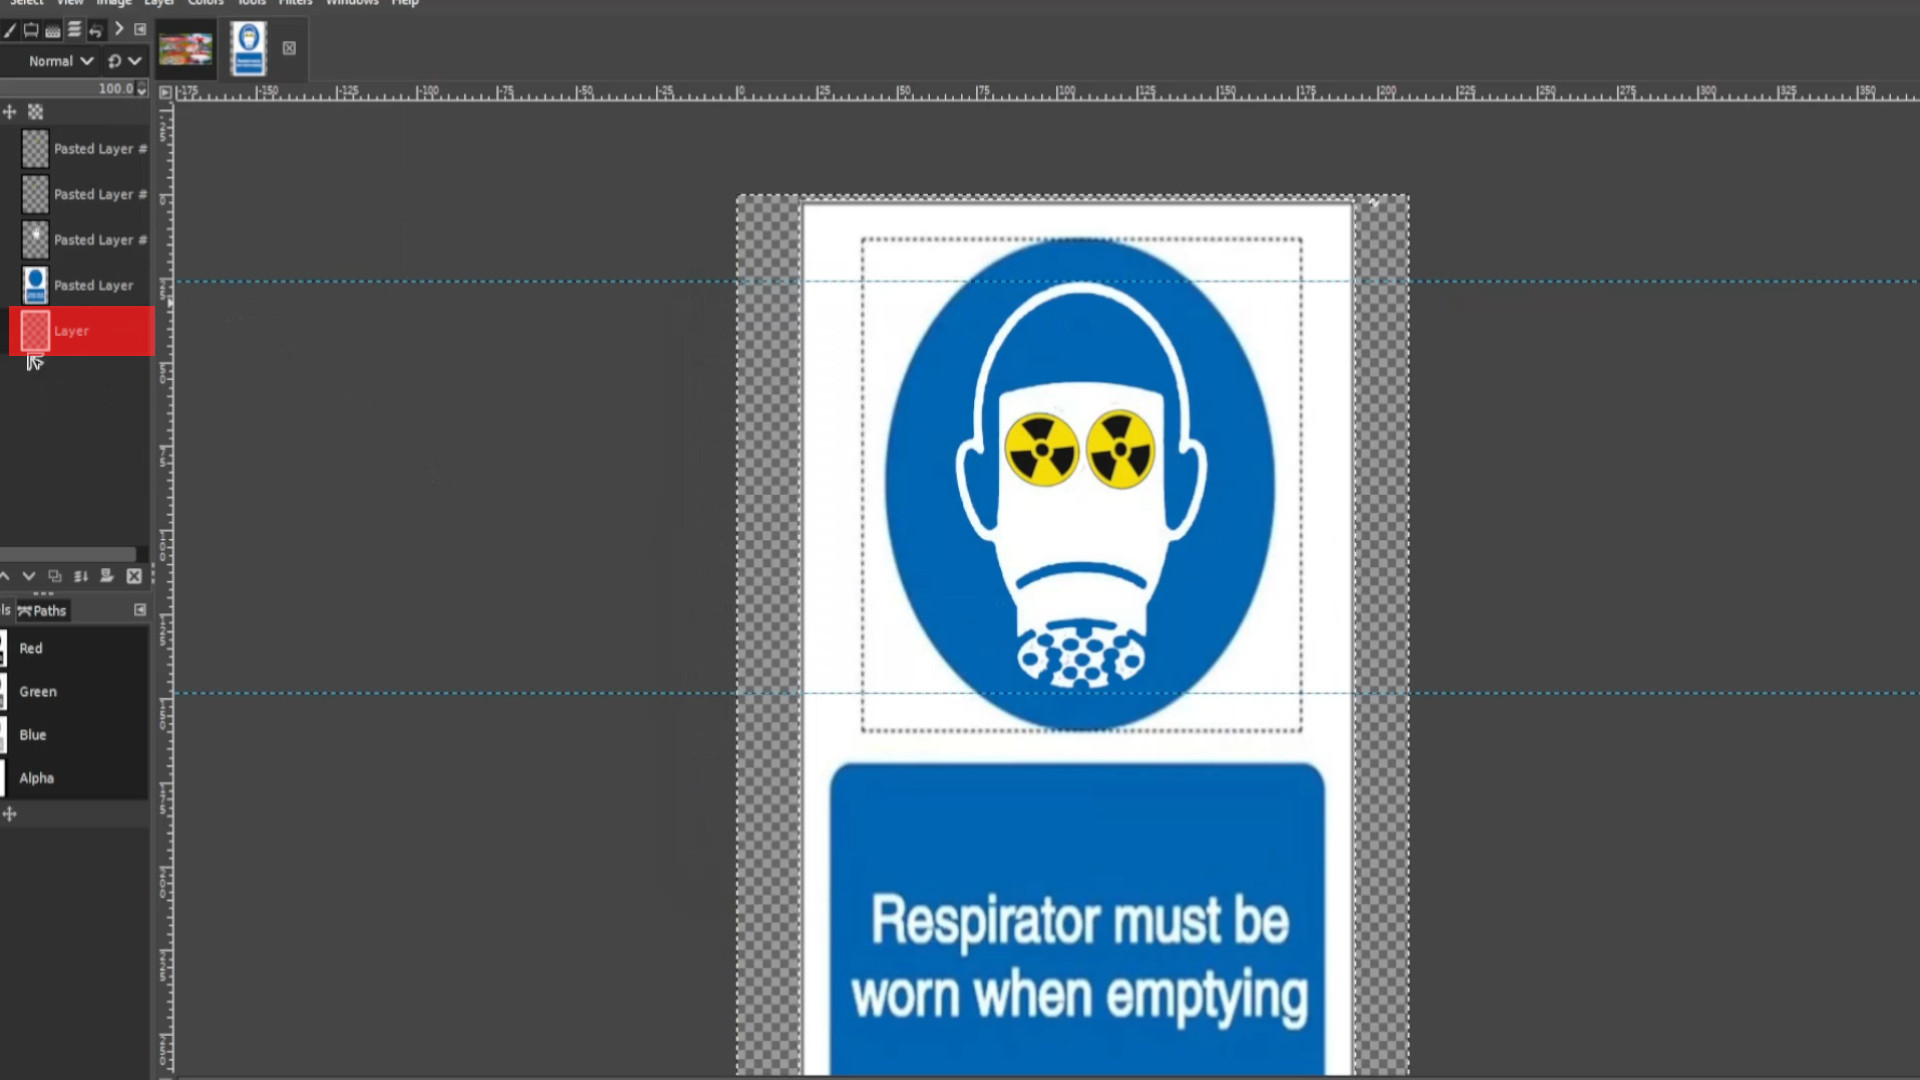
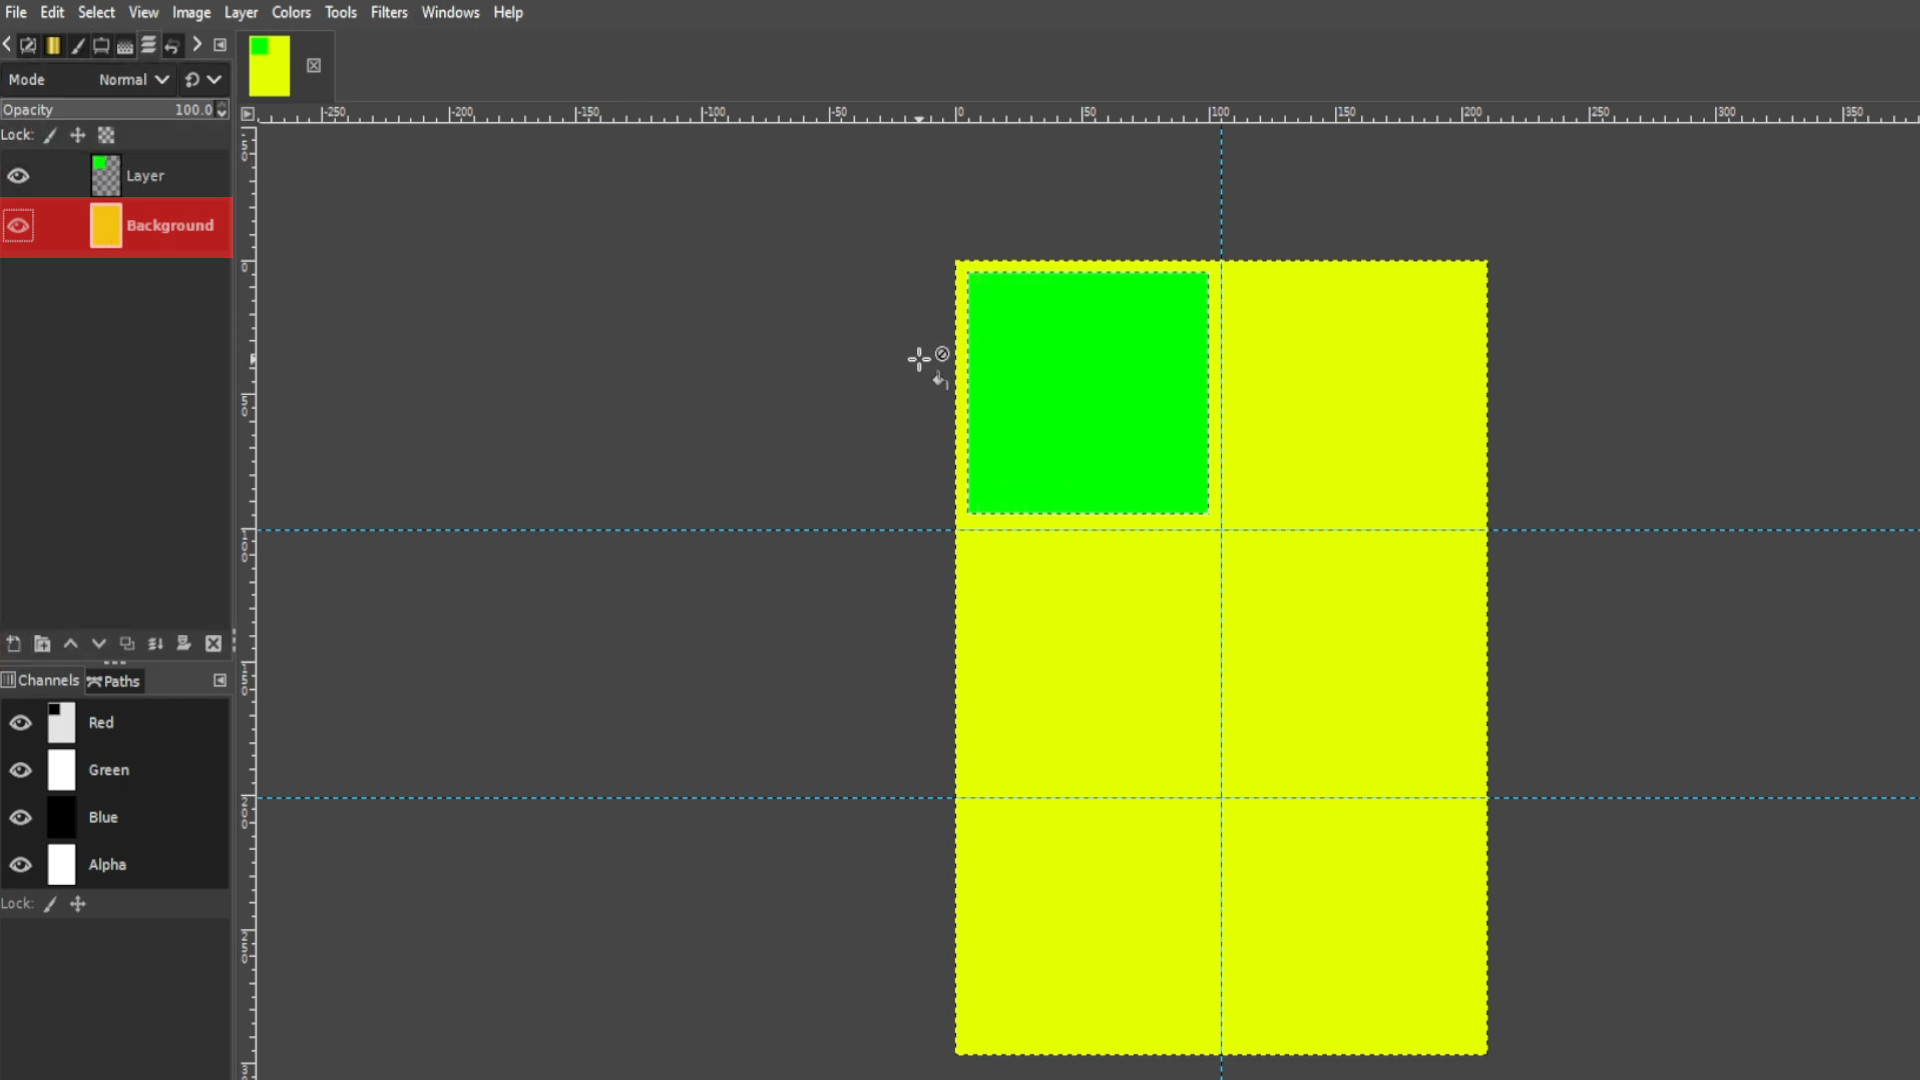
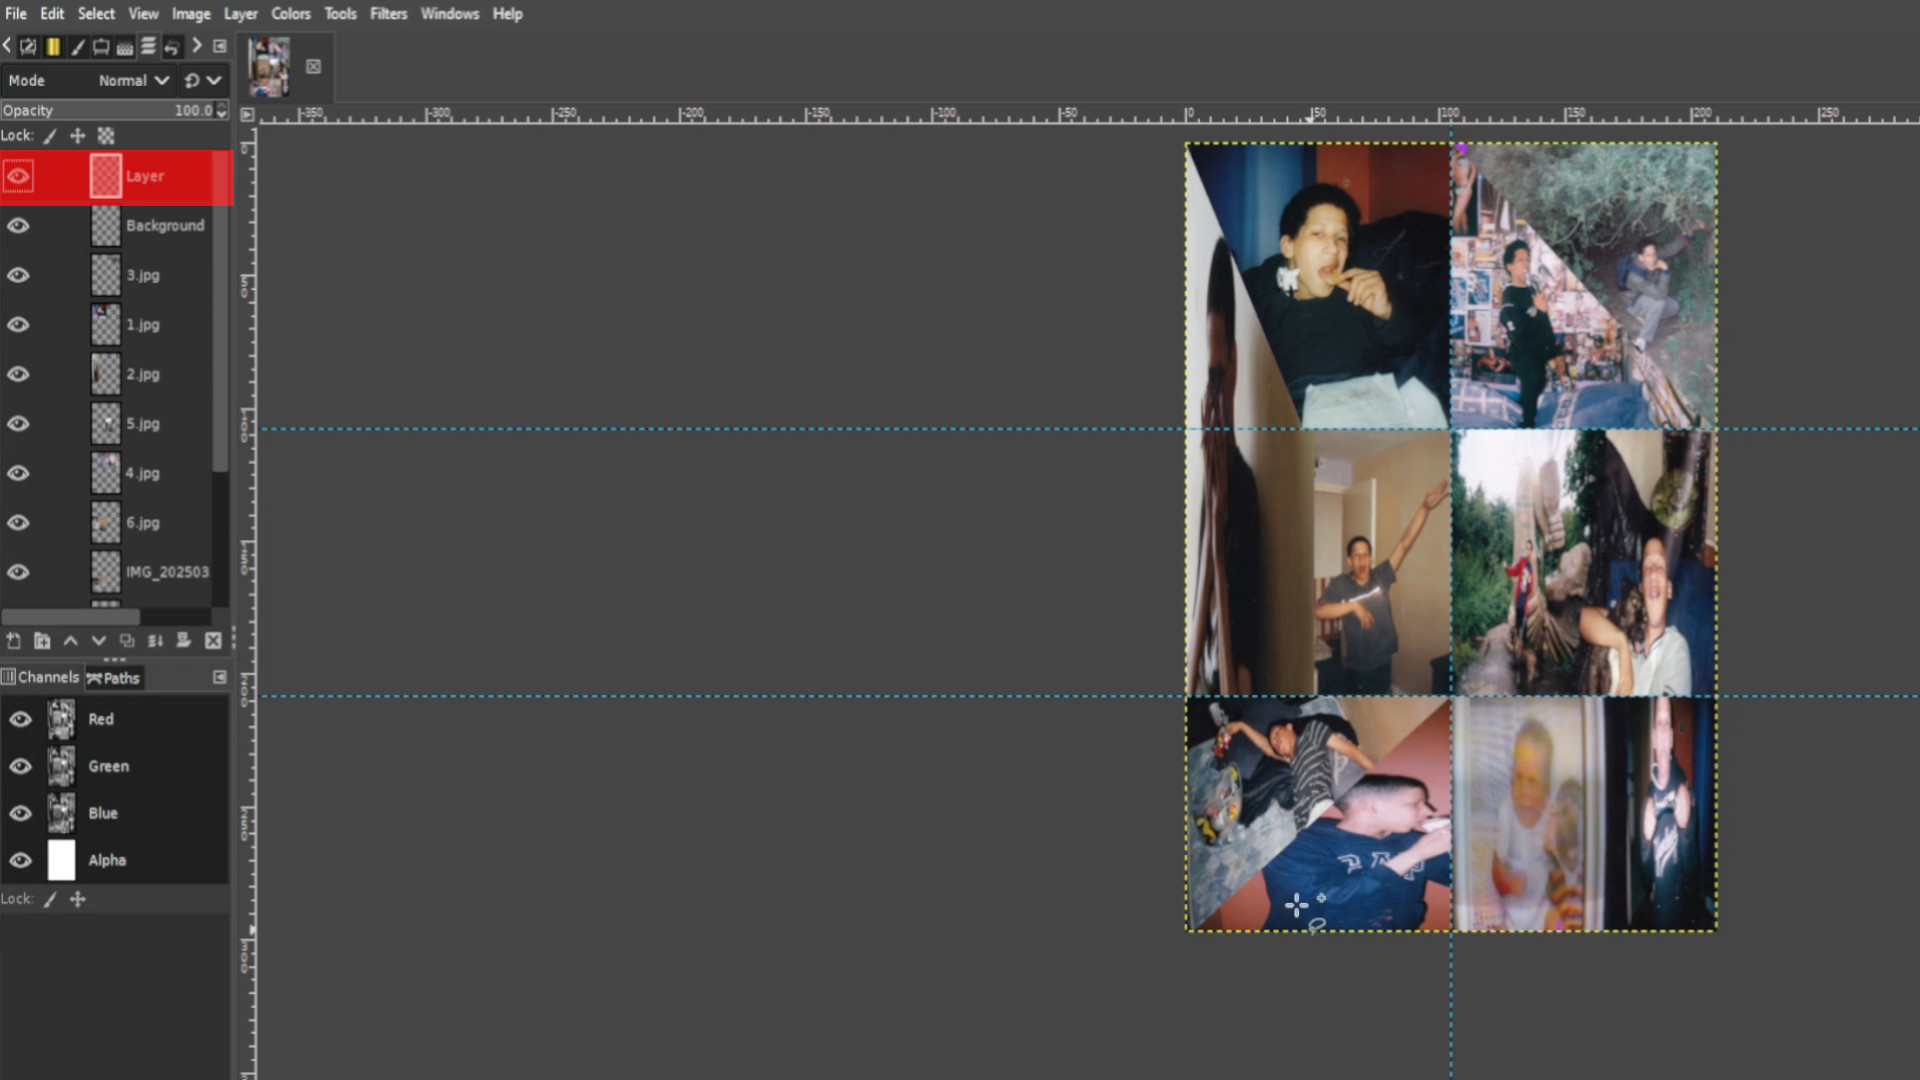
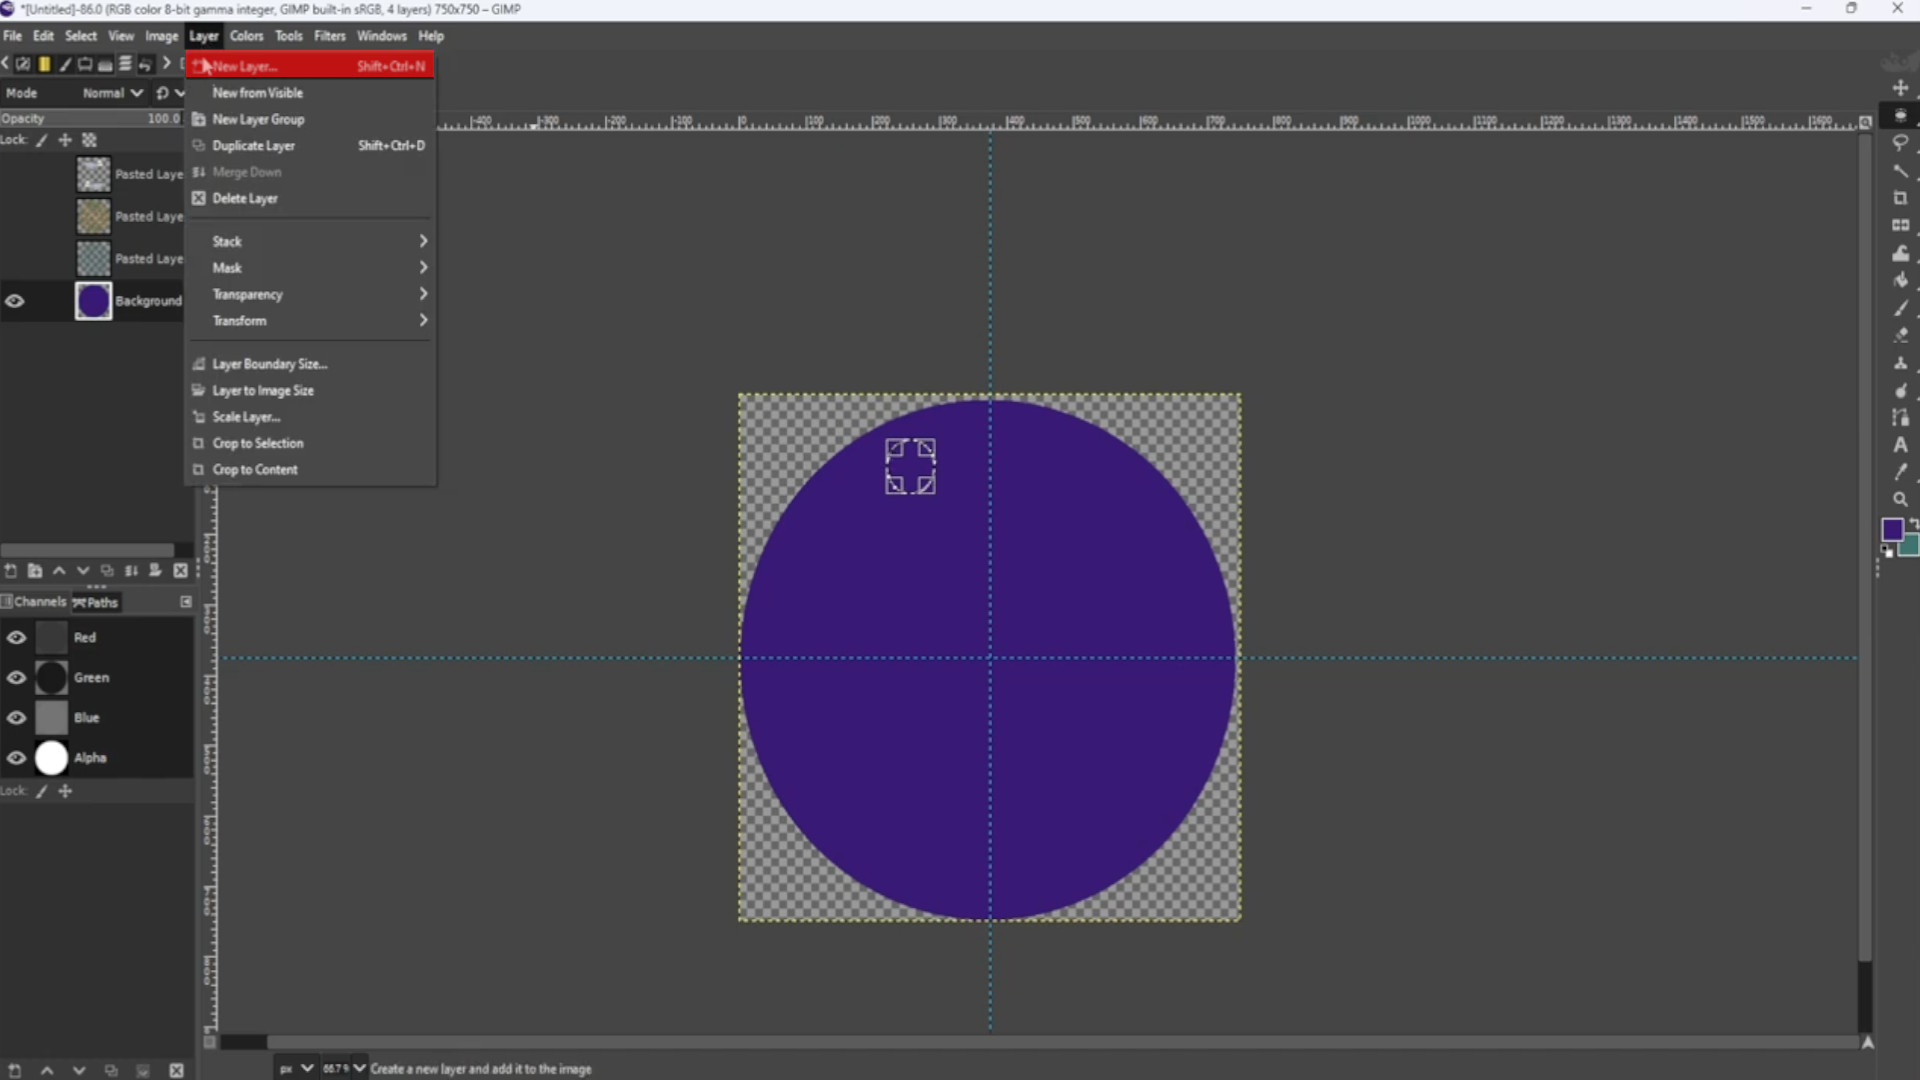
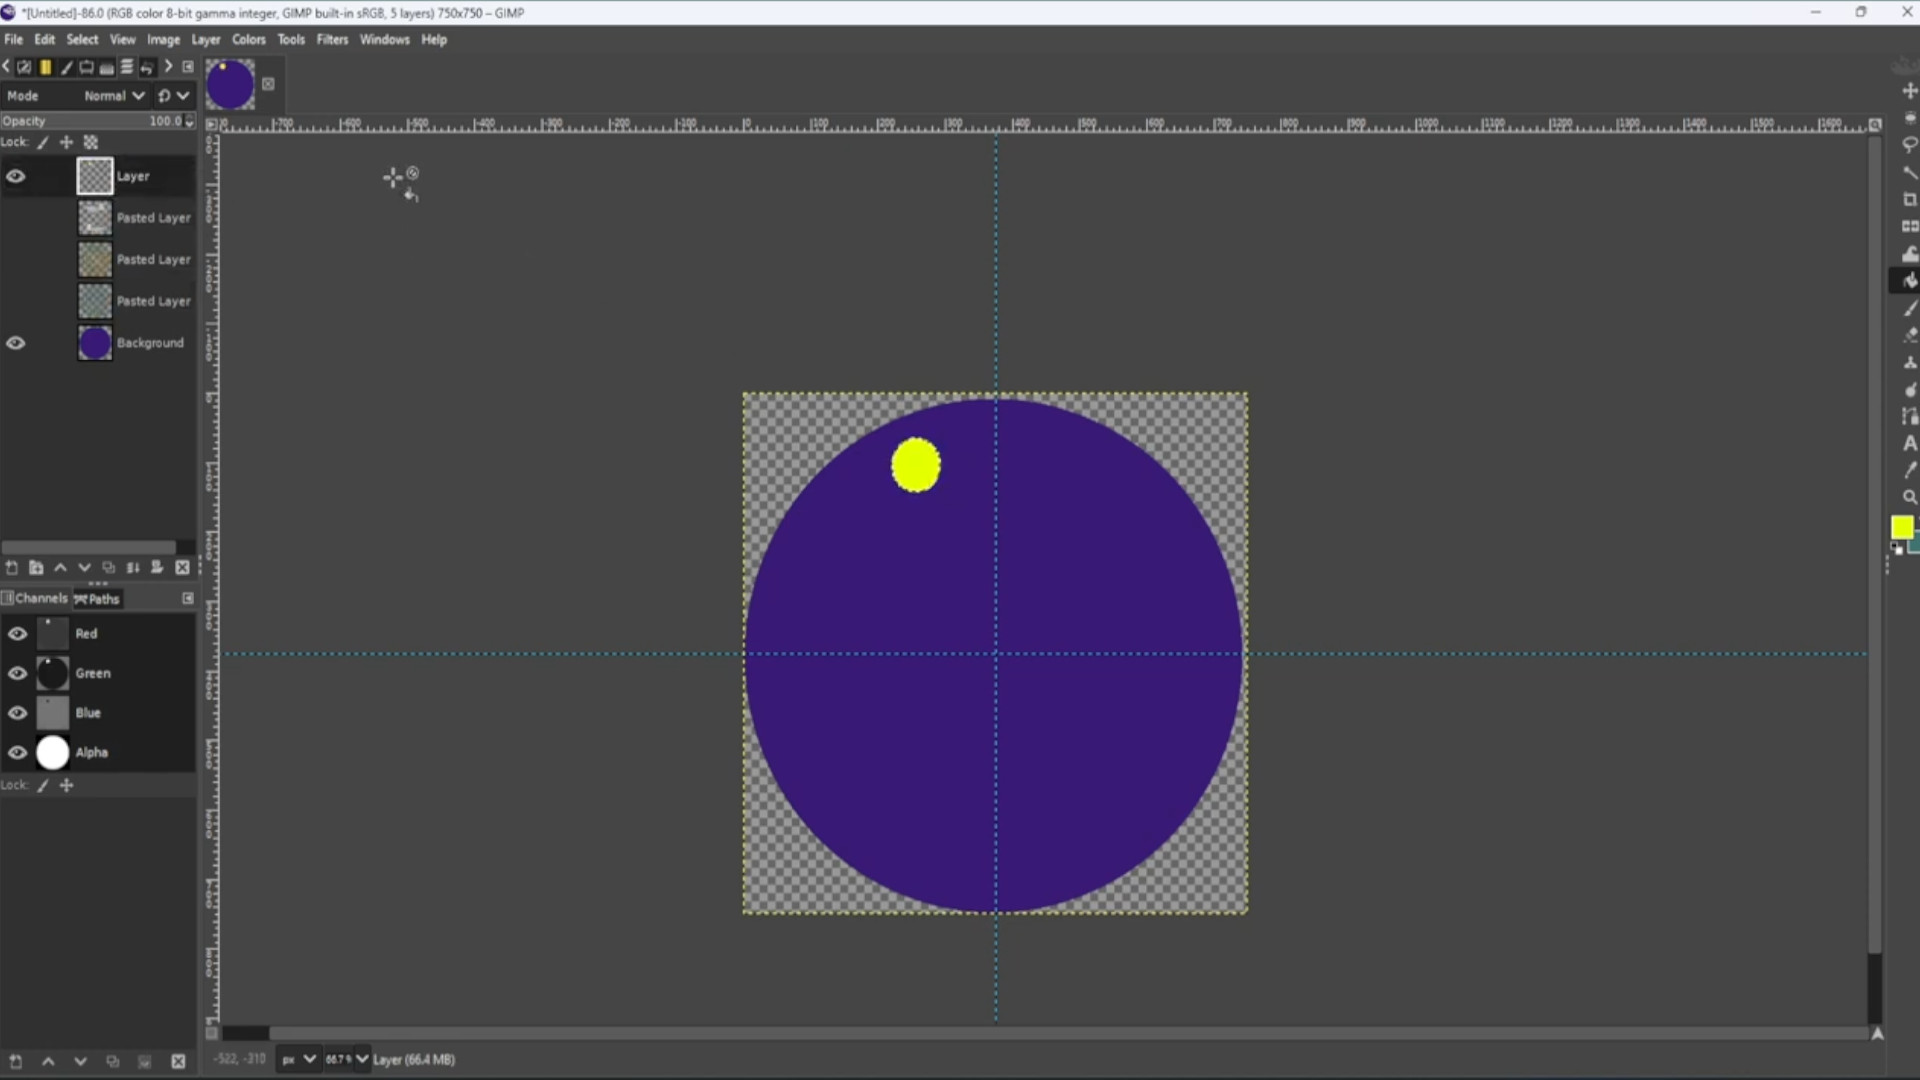
With the>>>BOTTOM LAYER SELECTED and going to>>>LAYER>>>ADD NEW LAYER use the>>>ELLIPSE TOOL to>>>DRAW A SMALL CIRCLE and>>>PICKING A COLOUR use the>>>BUCKET FILL to>>>FILL IN THE CIRCLE or shape also move the layer to the top of the>>>LAYERS in the>>>LEFT HAND SIDE>>>LAYERS TAB so you can see it better.
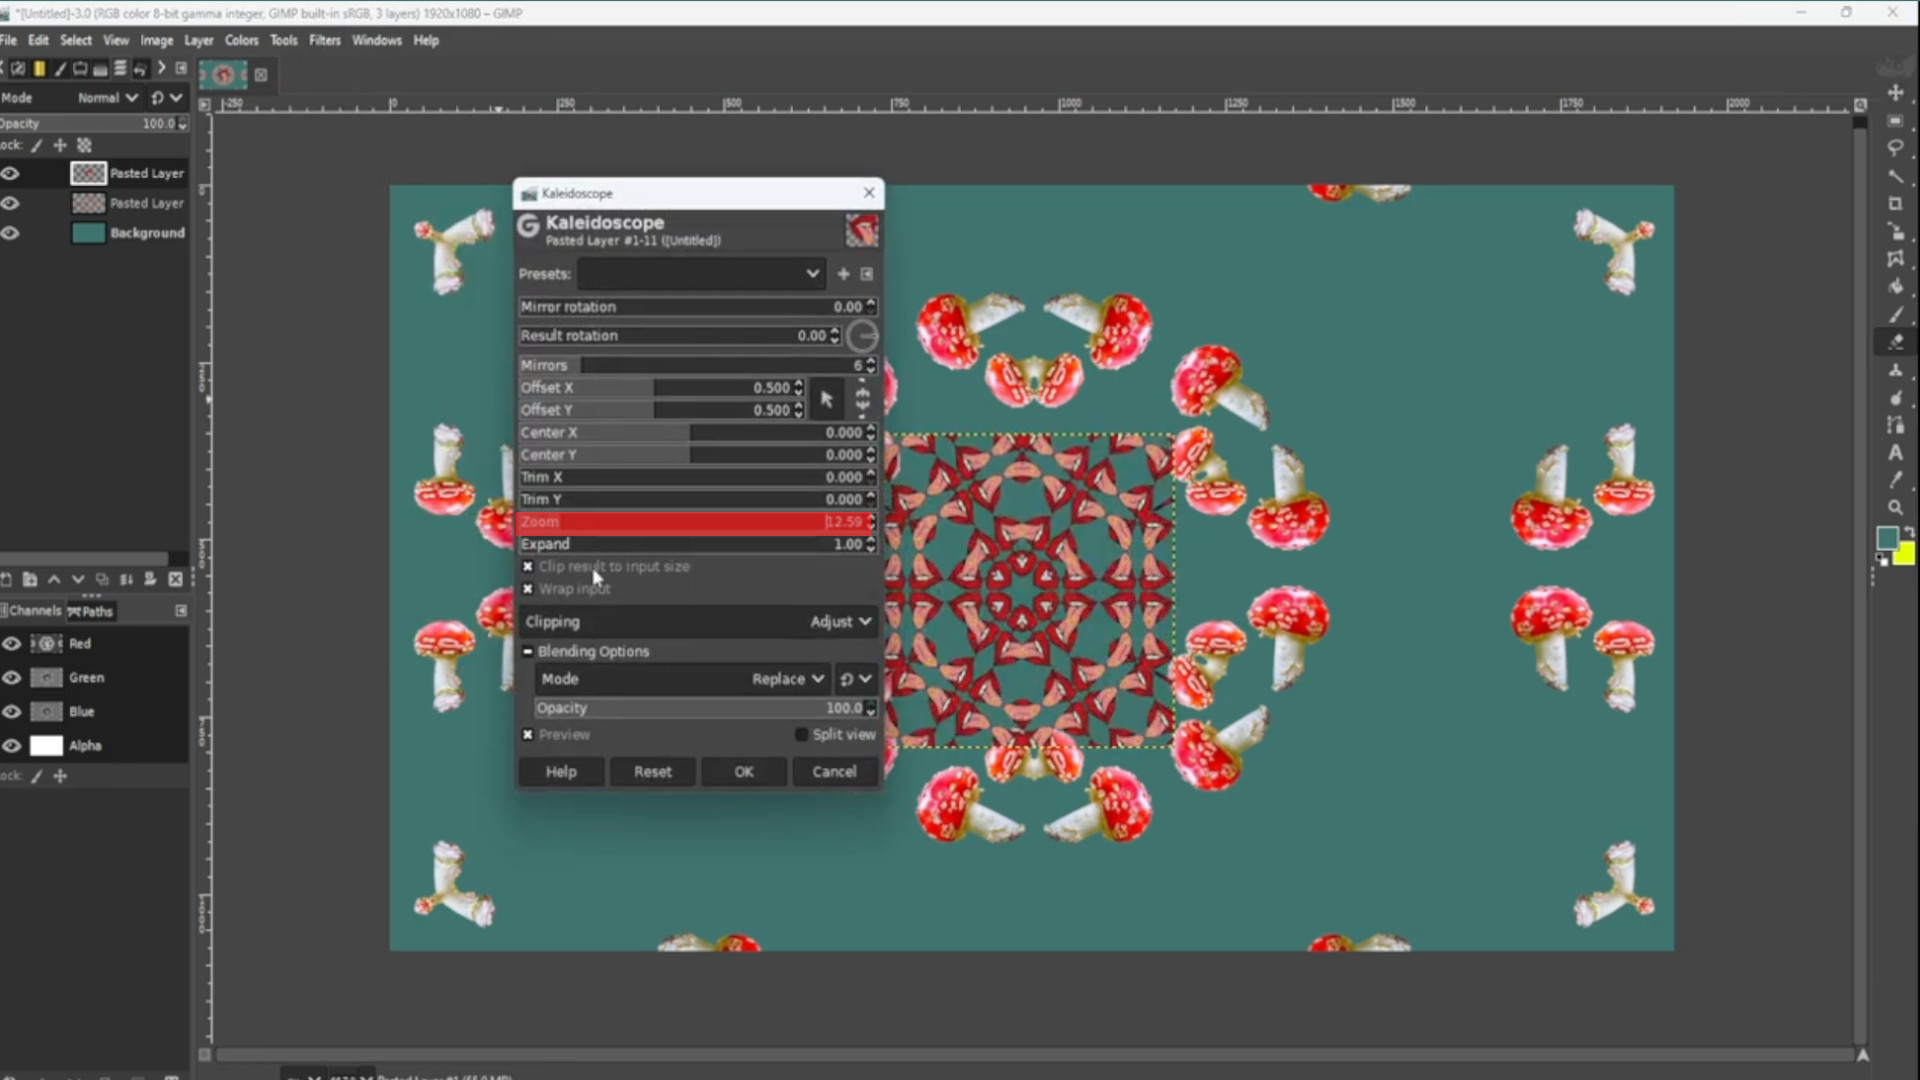
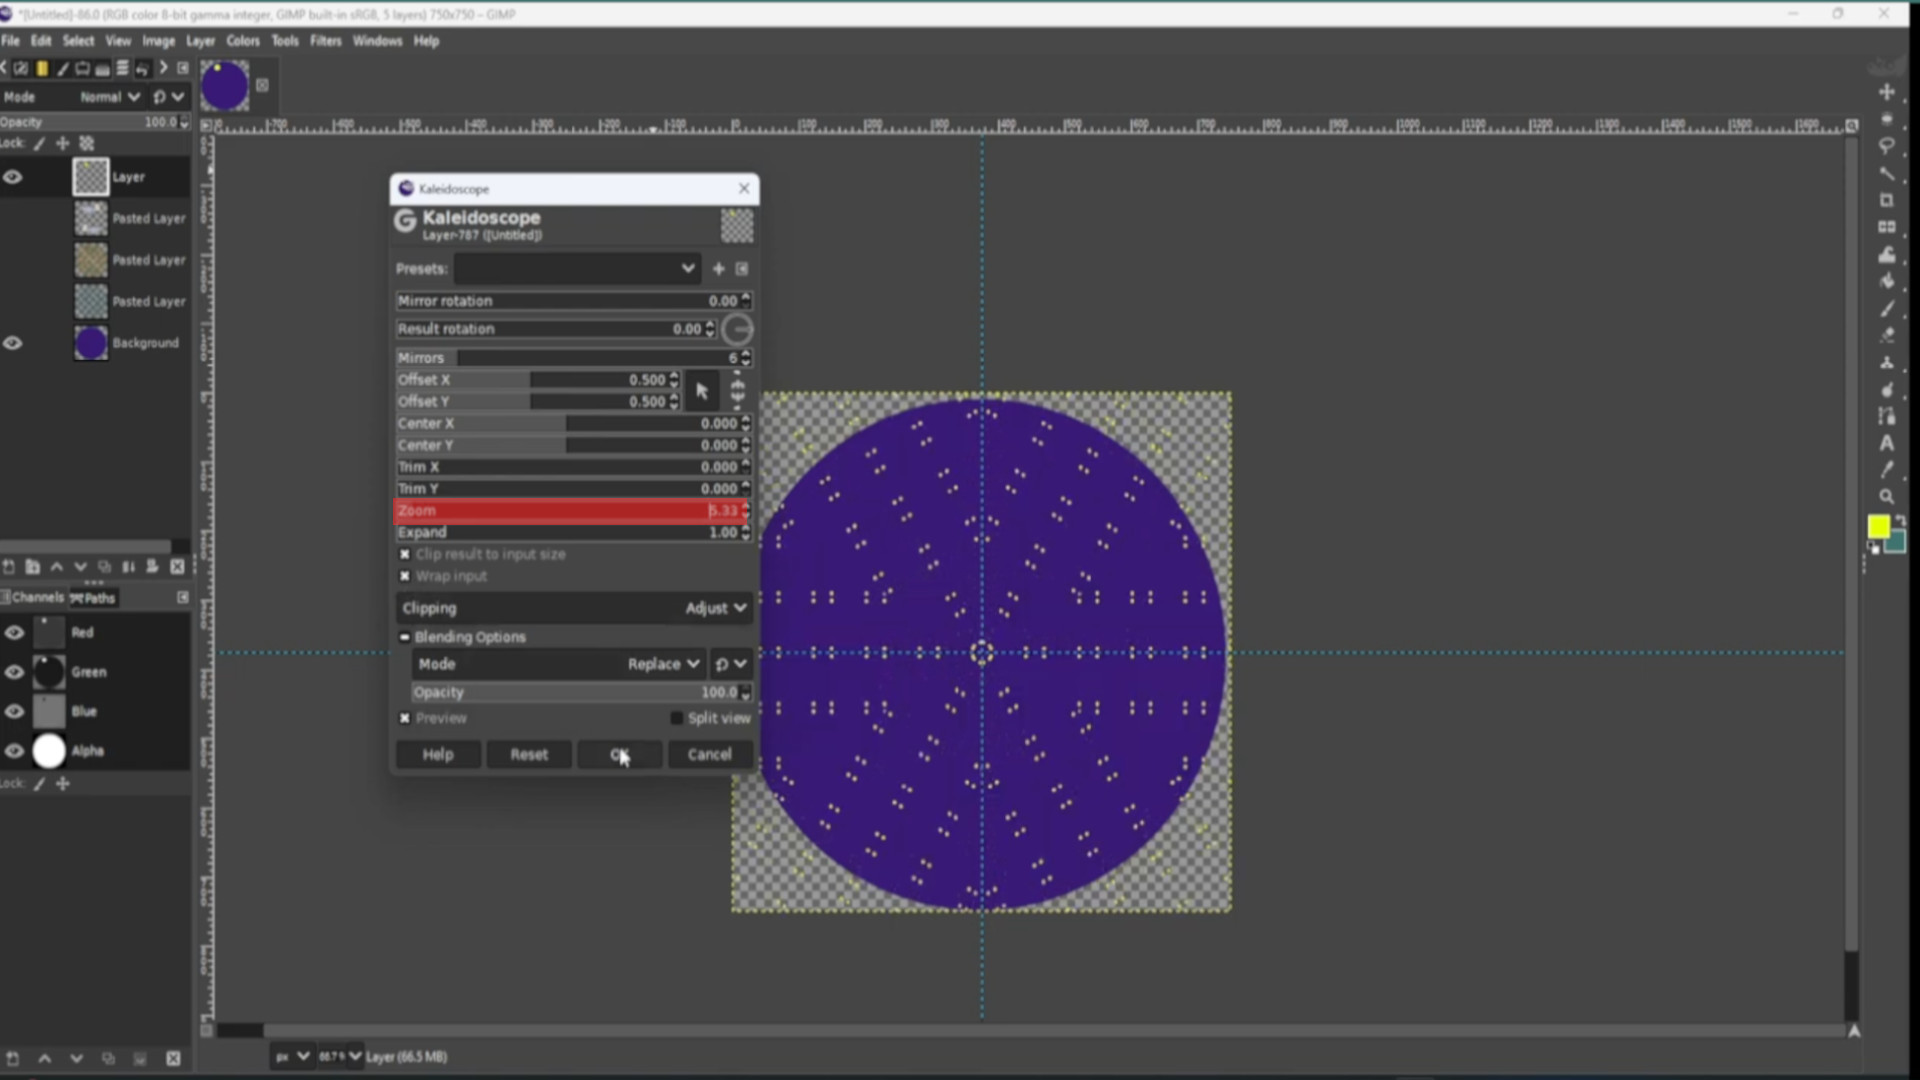
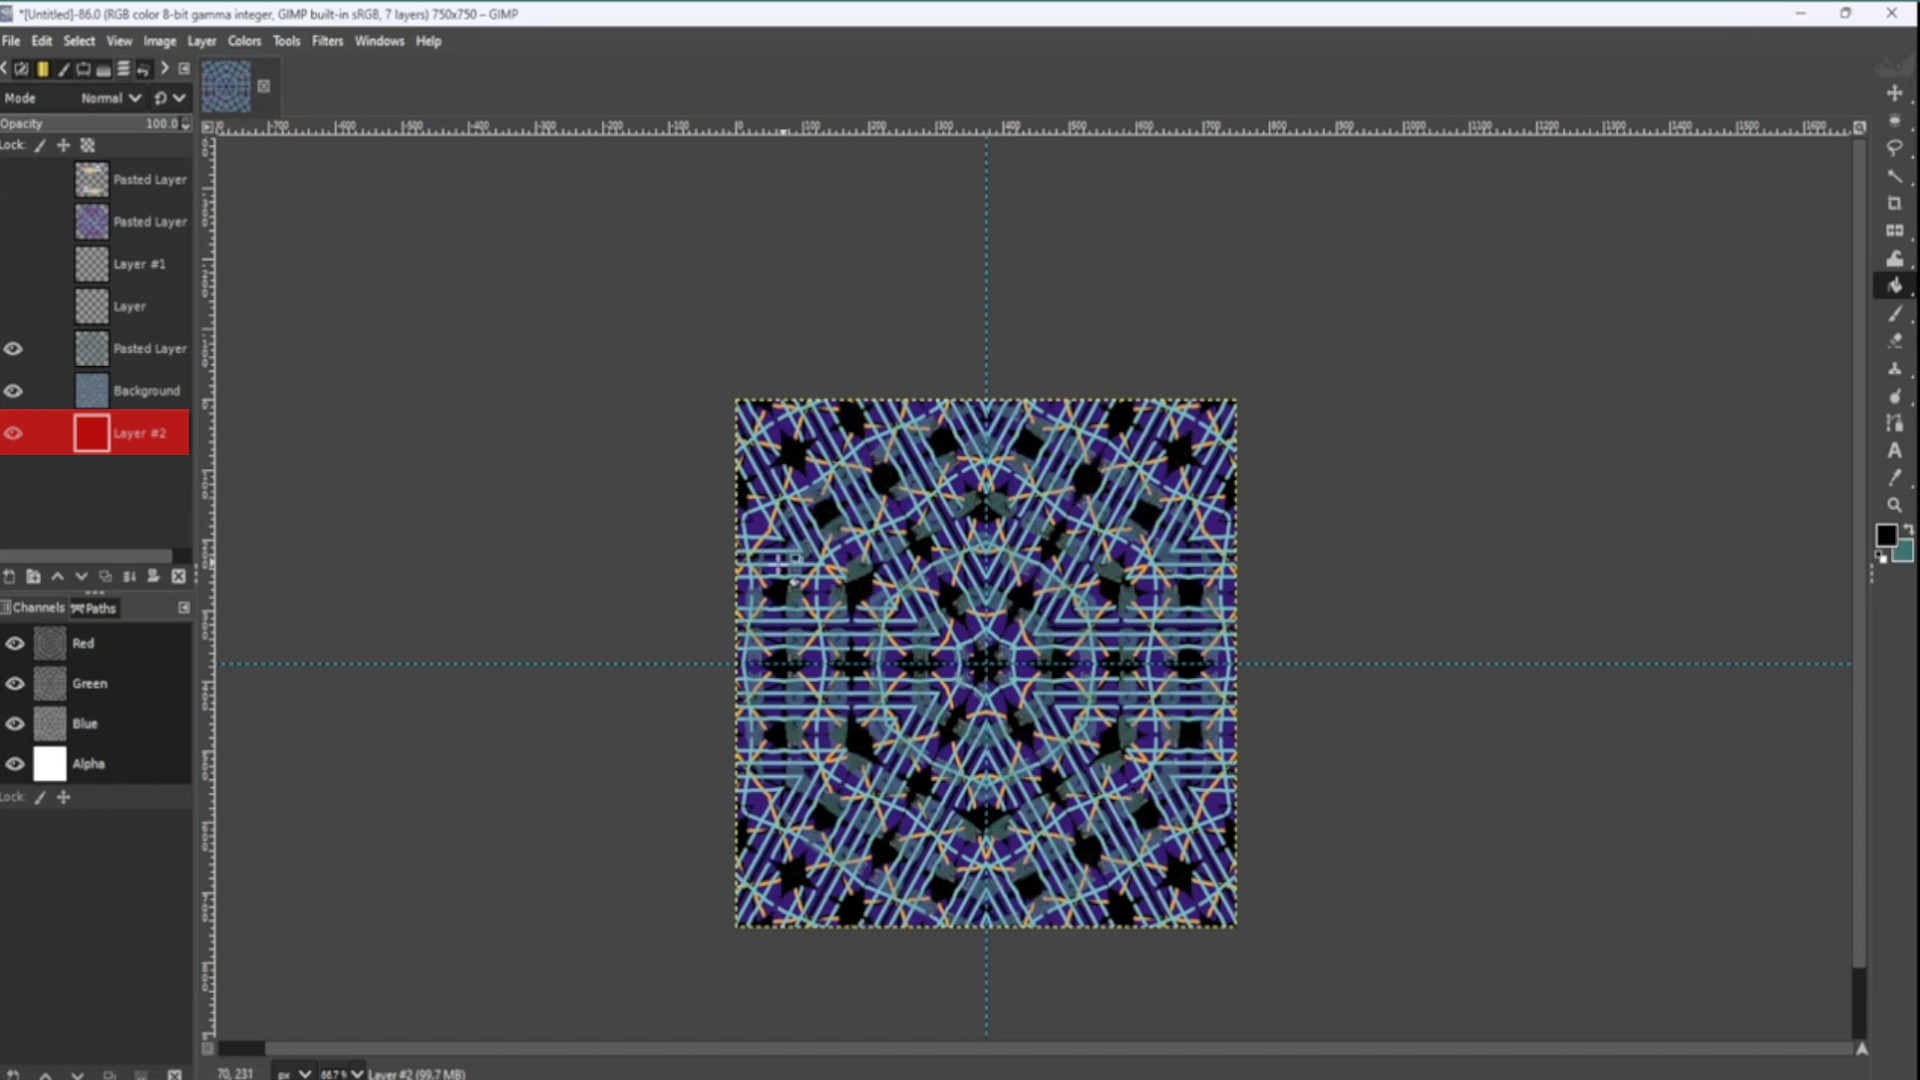
With the TOP>>>LAYER>>>SELECTED go to>>>FILTERS>>>DISTORT>>>KALEIIDOSCOPE and mess about with the options. You can use the>>>ZOOM OPTION to zoom out to taste.
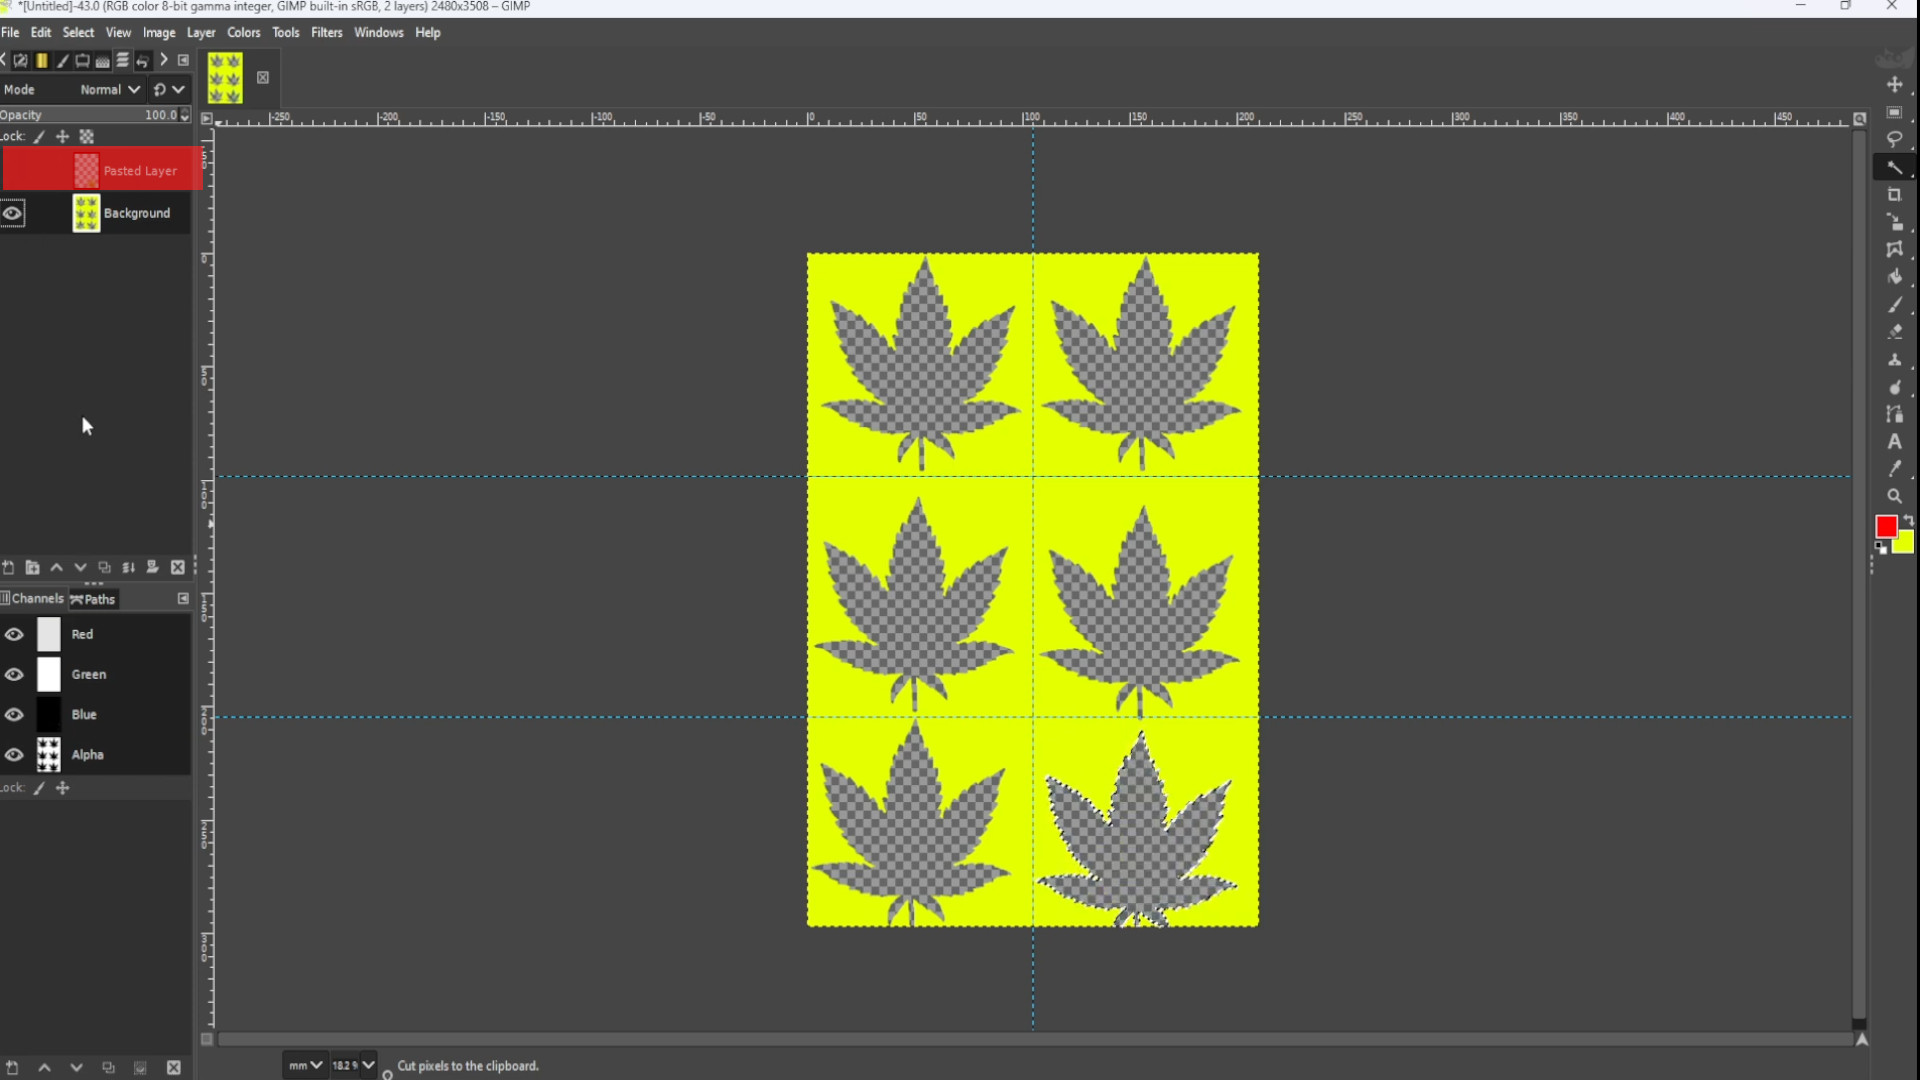
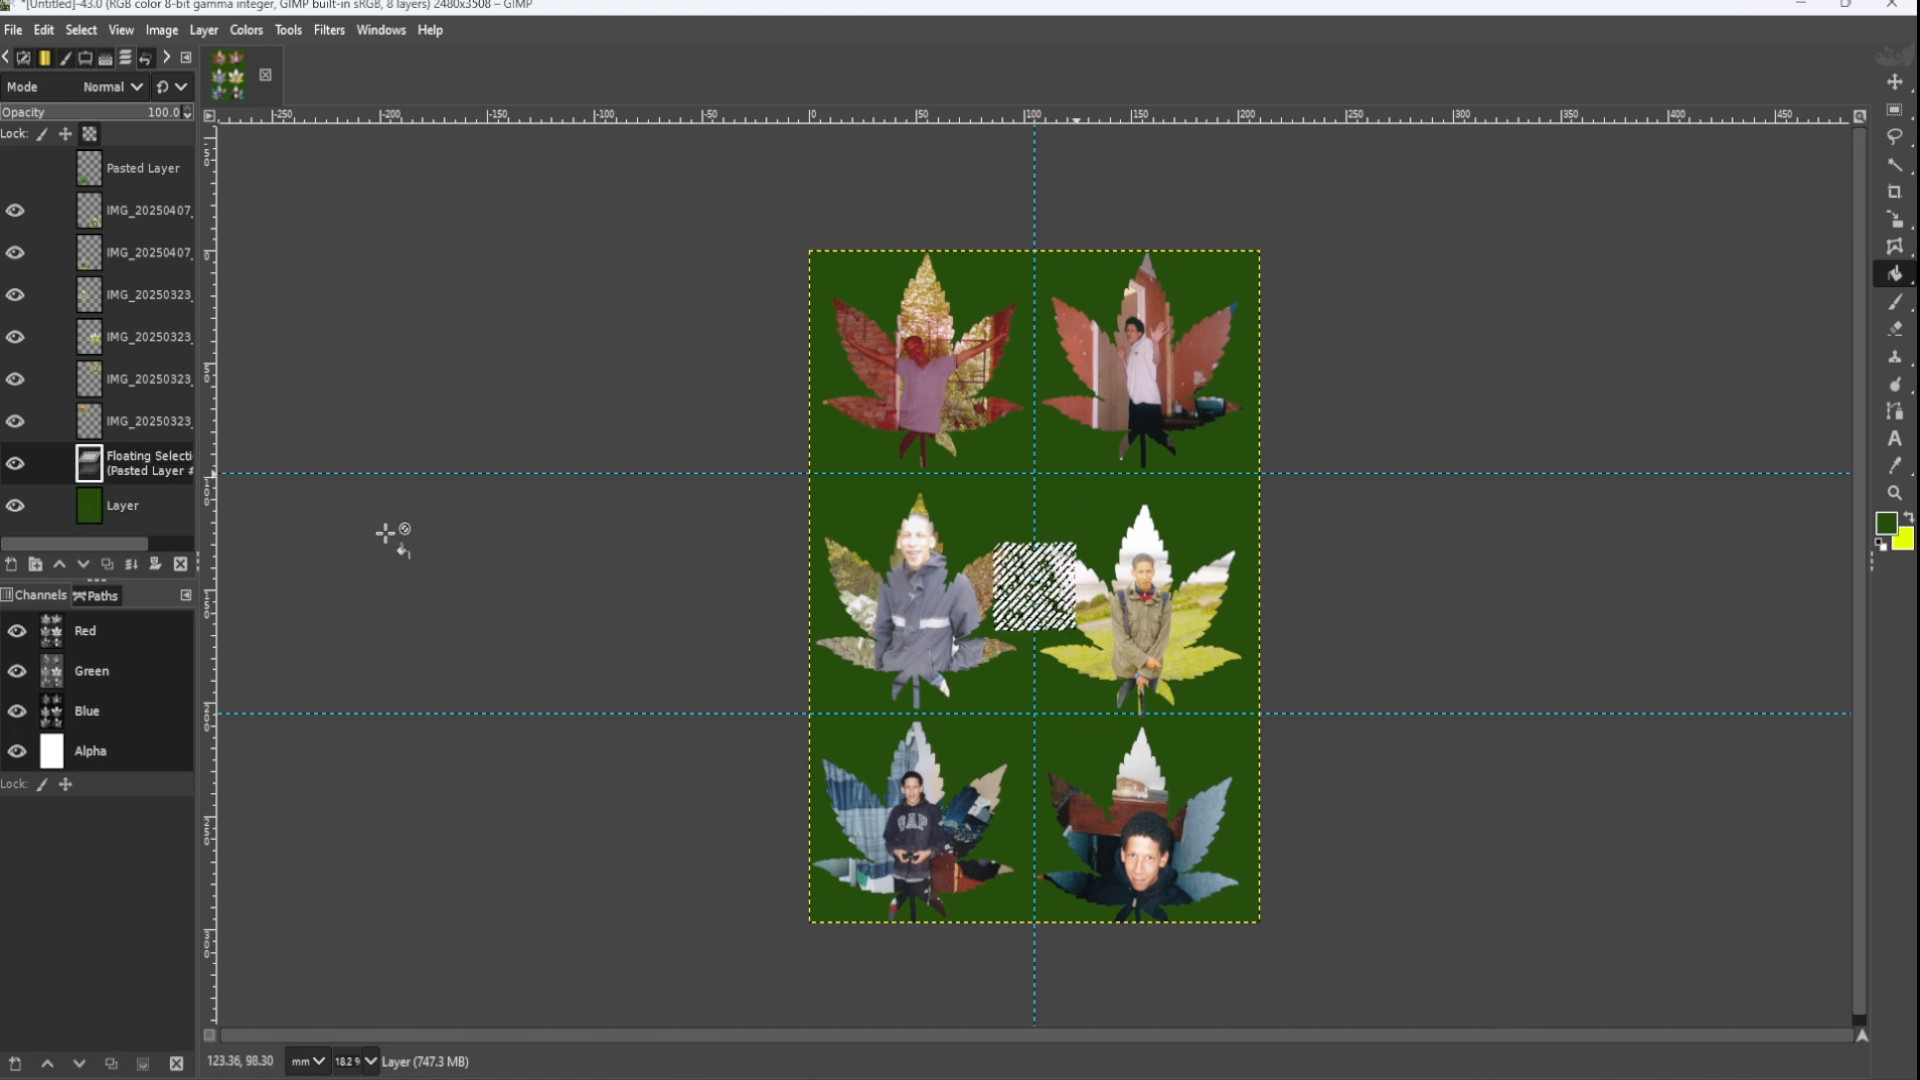
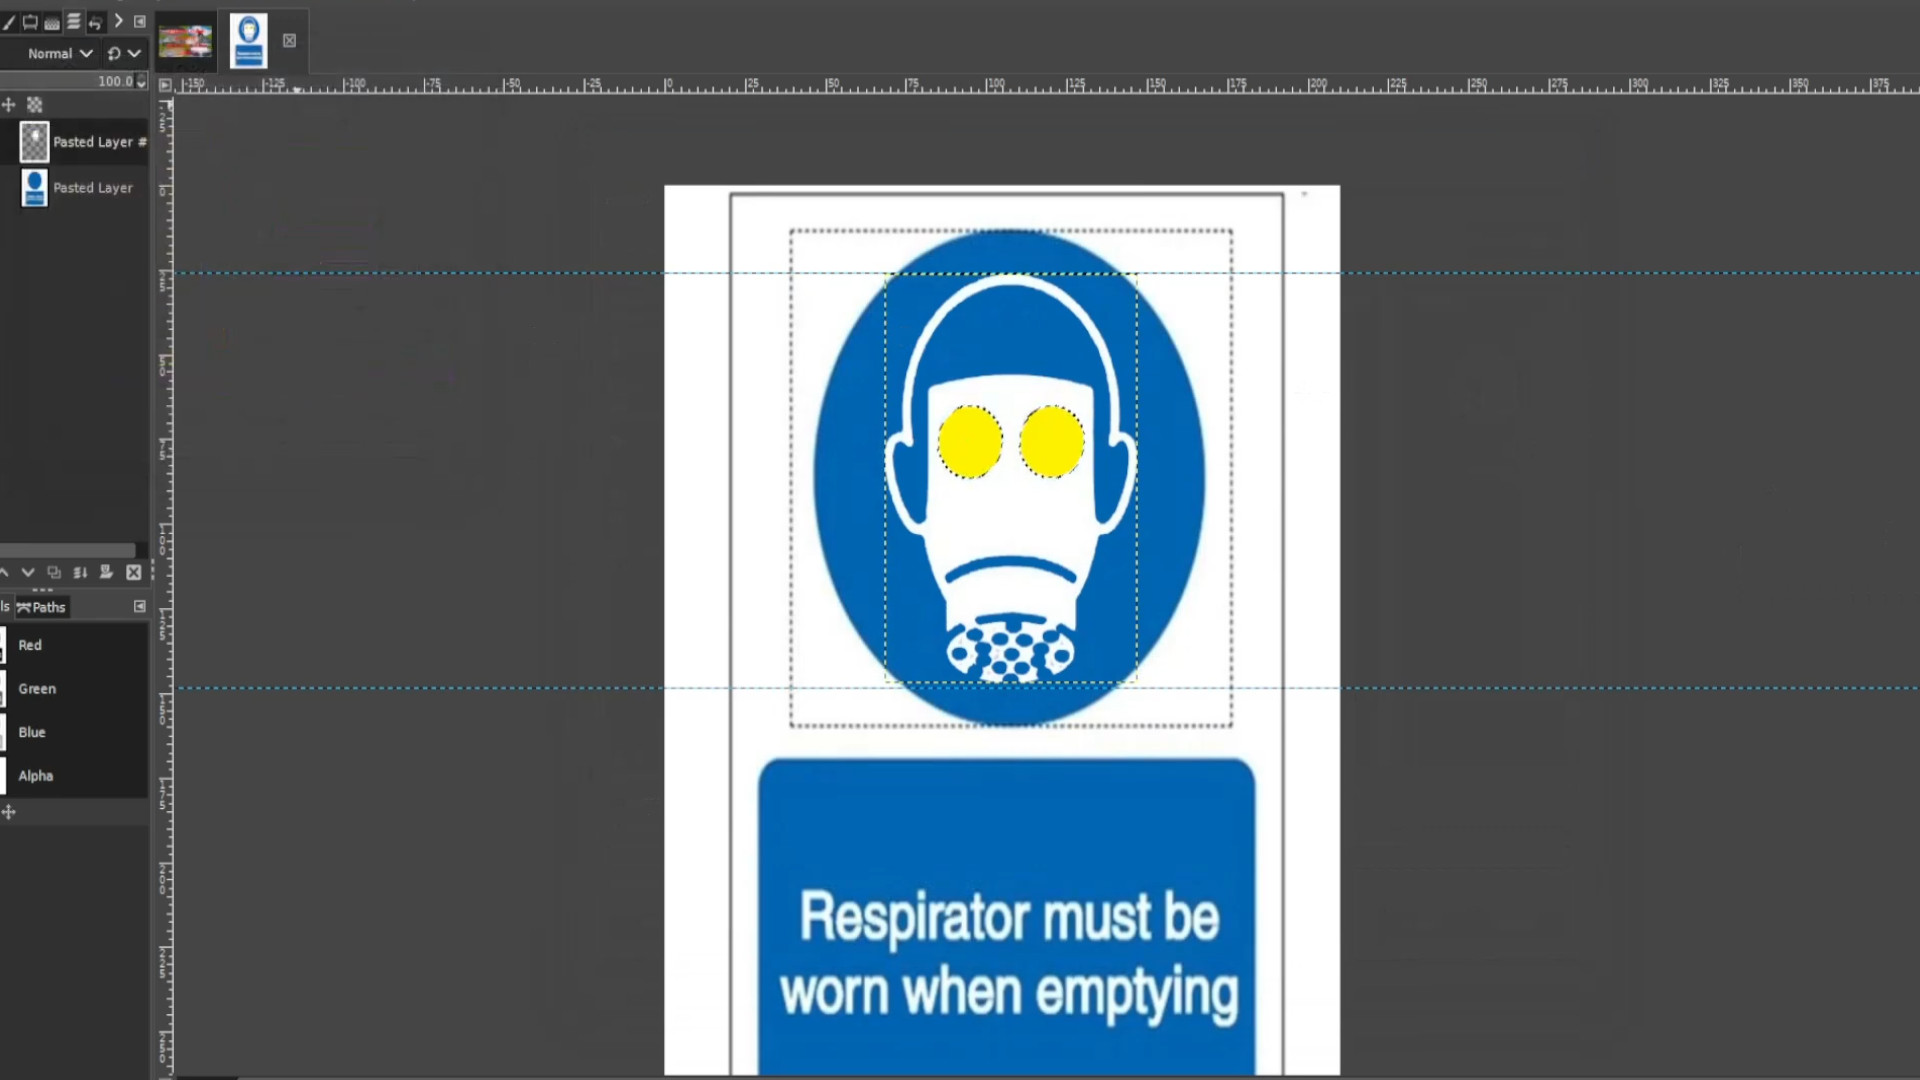
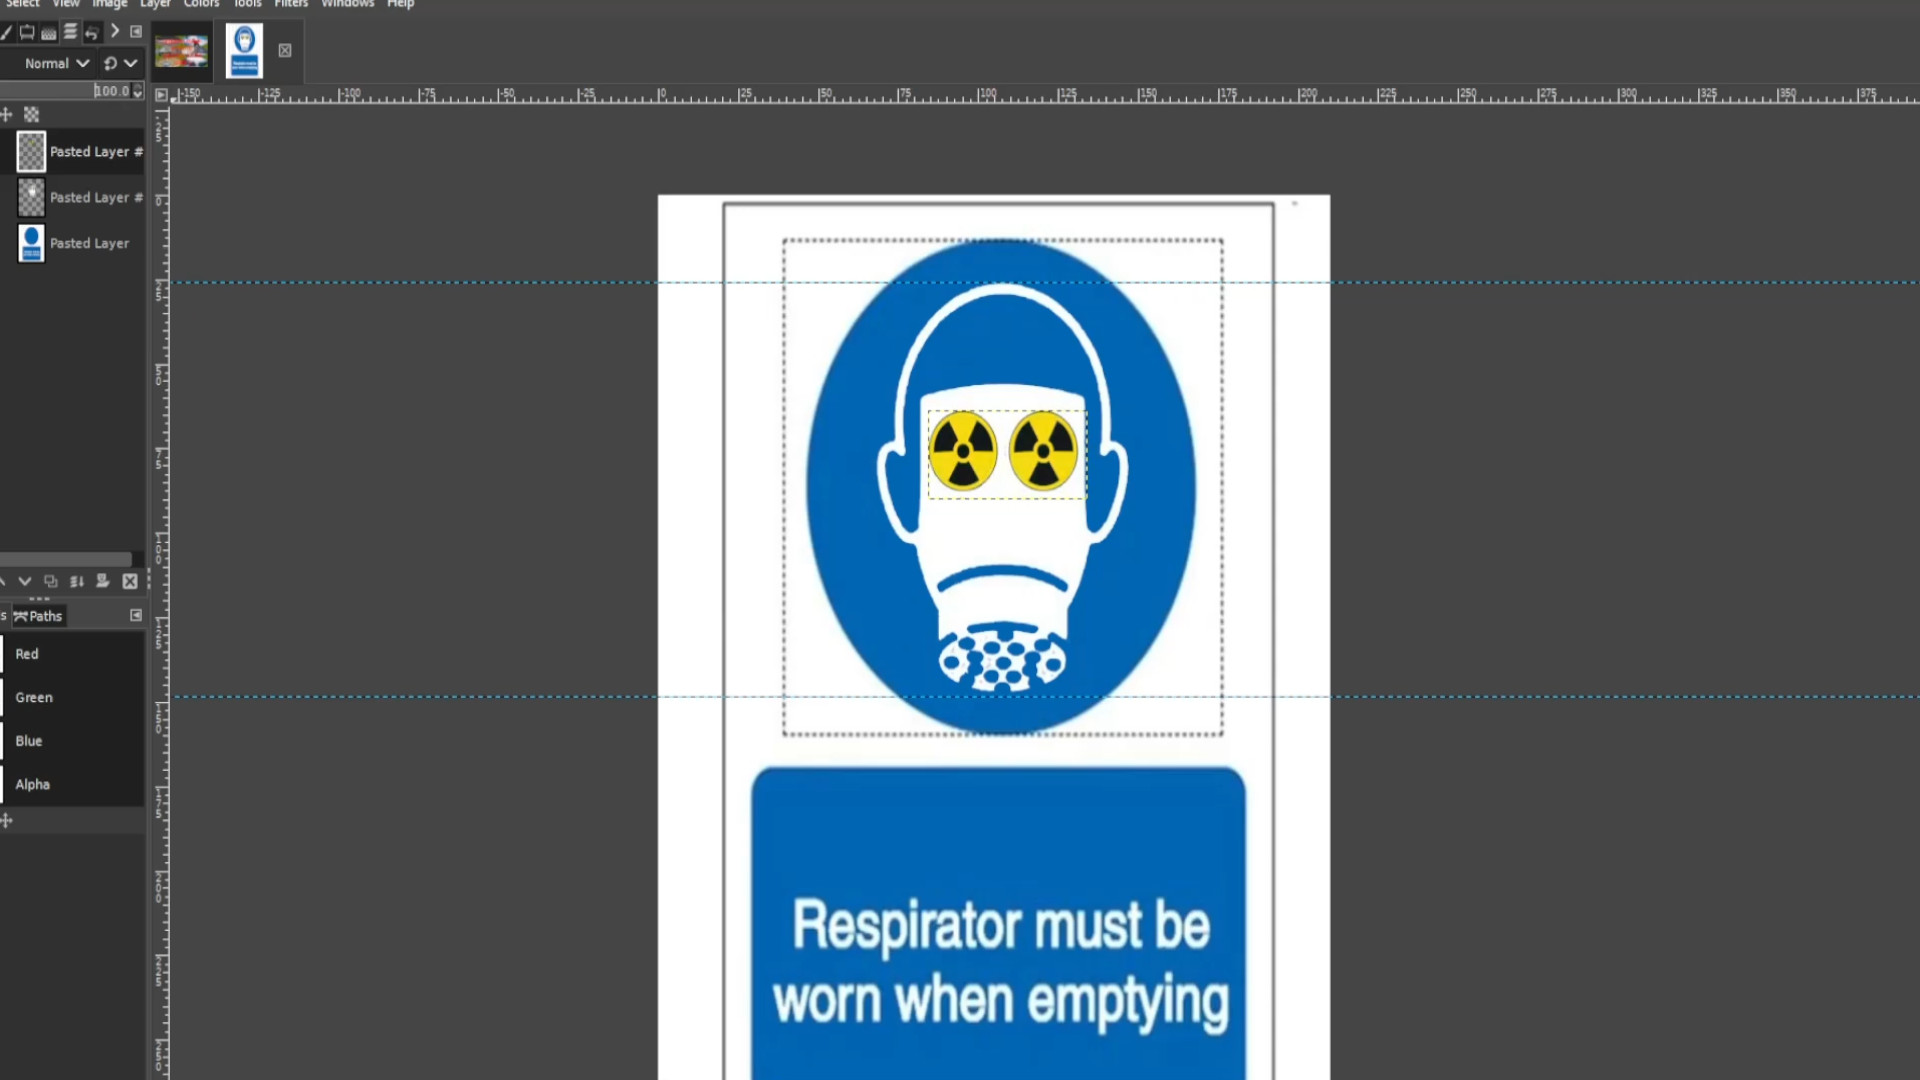
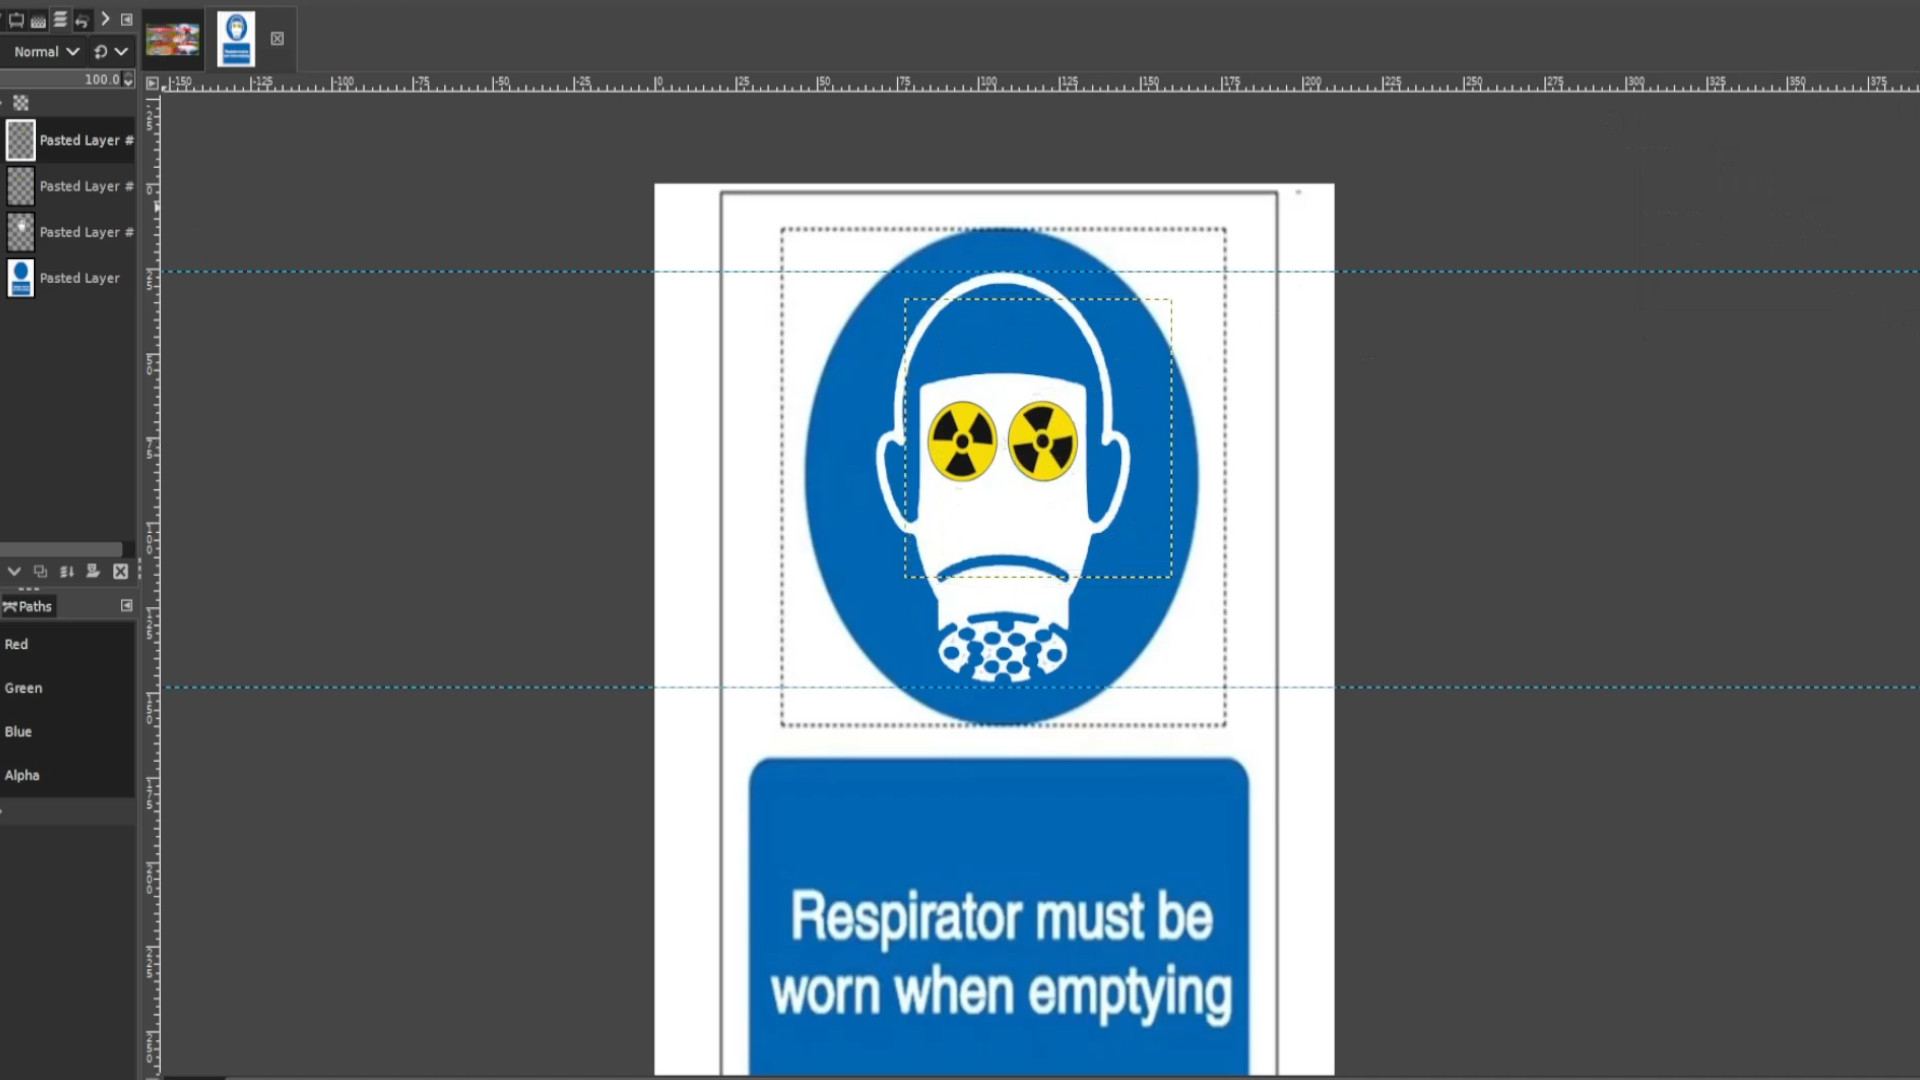
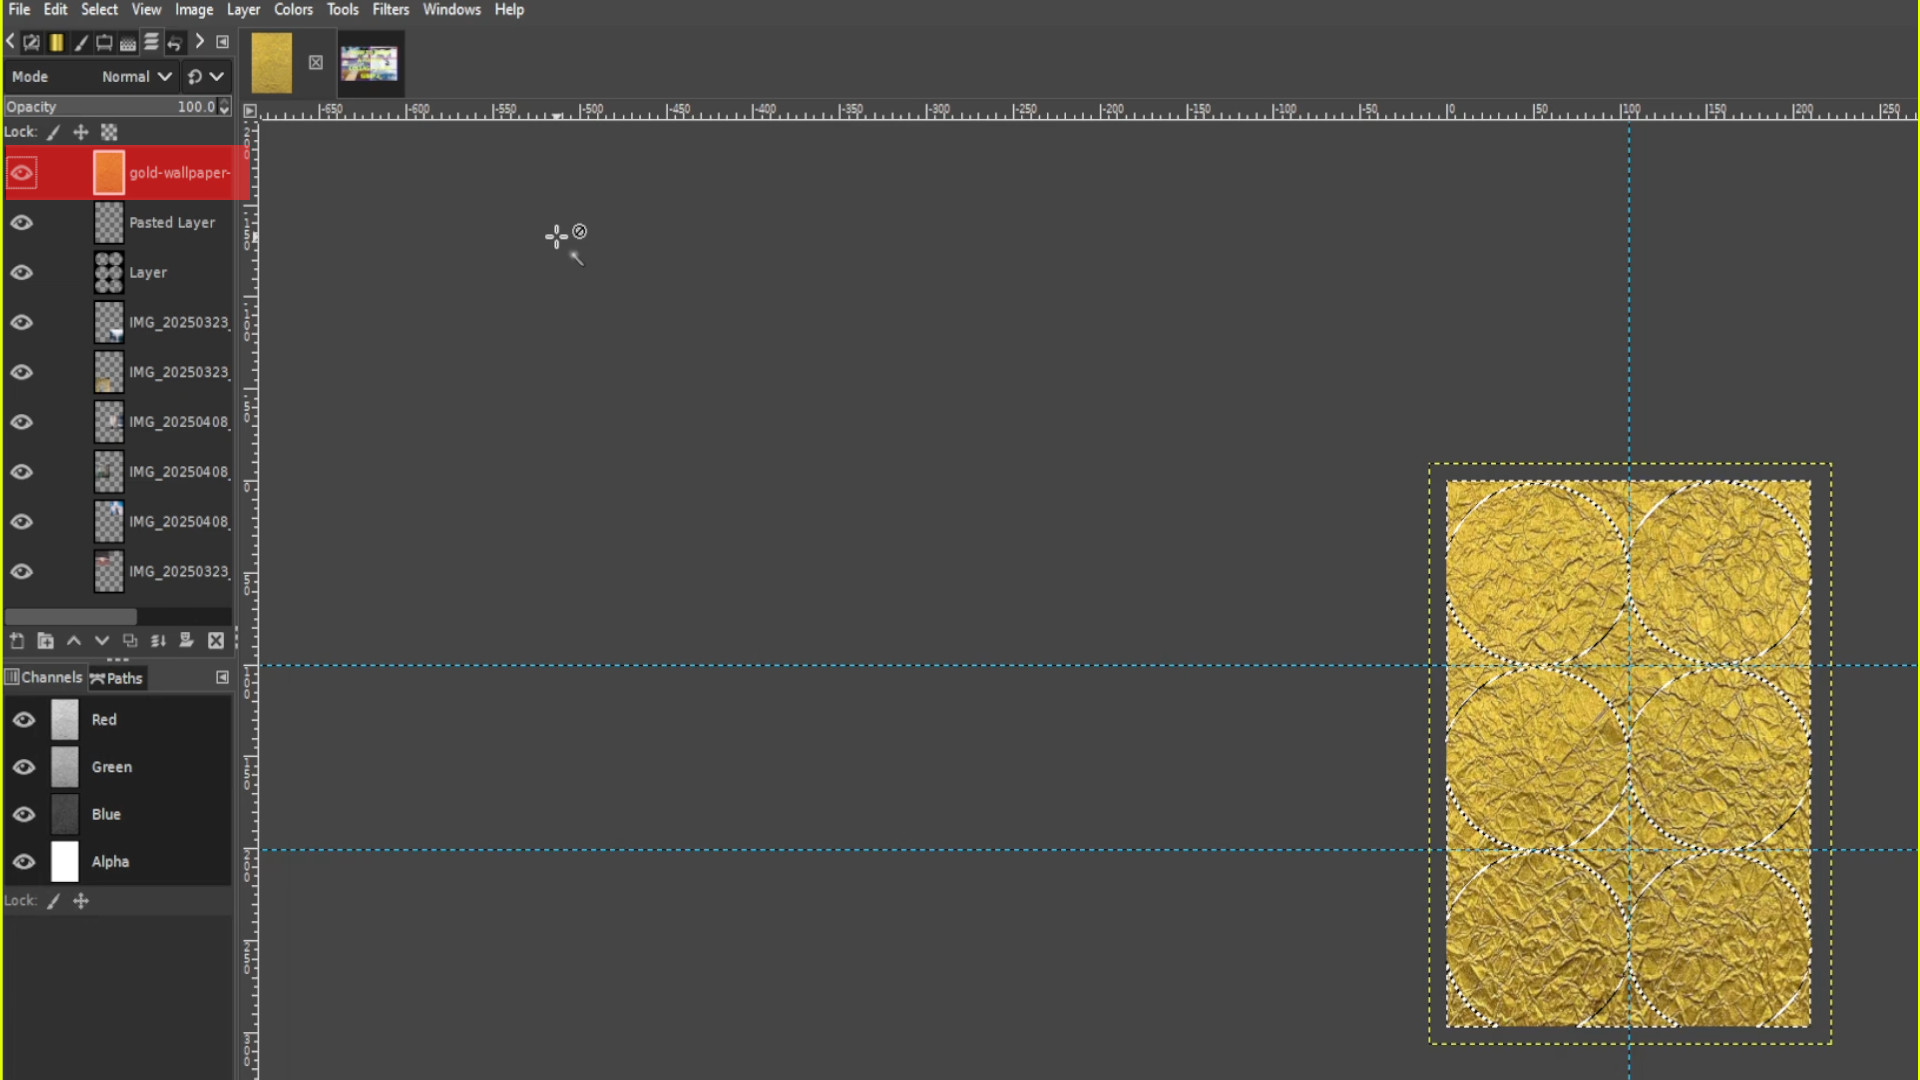
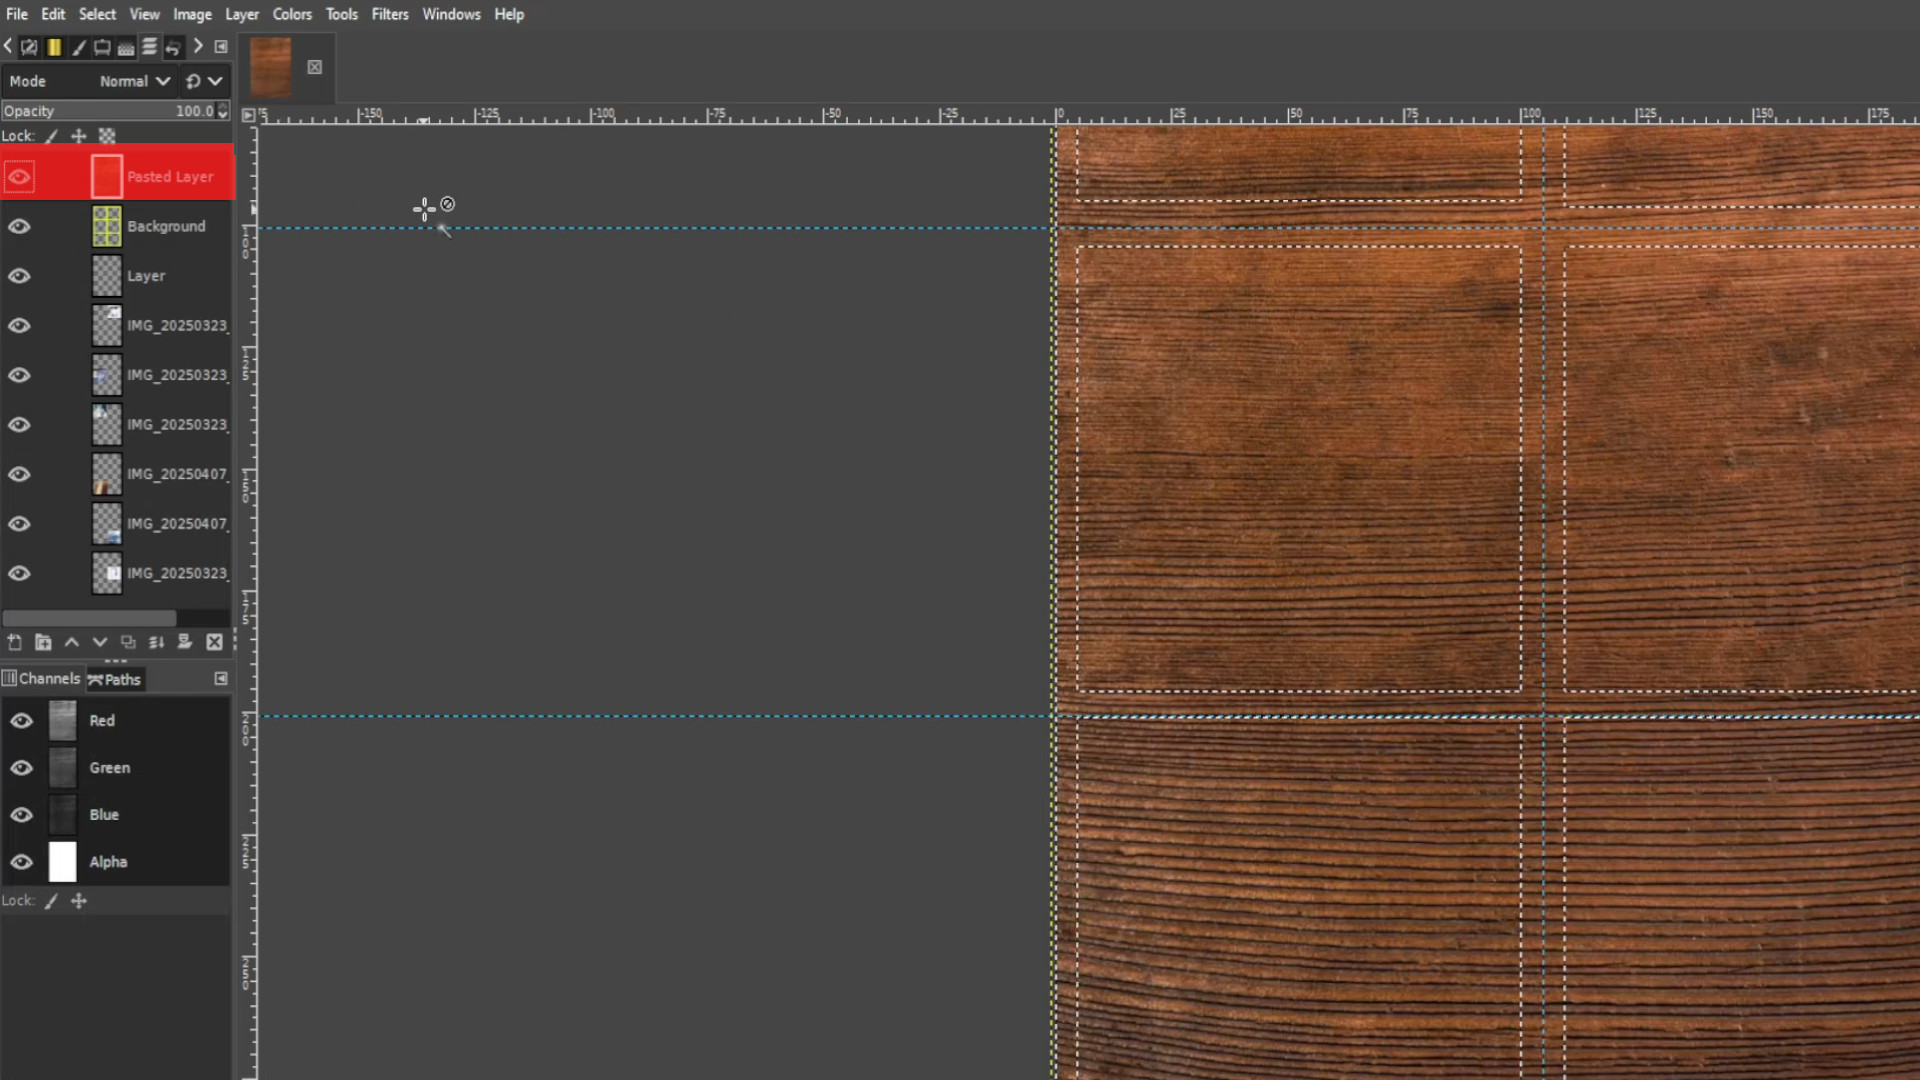
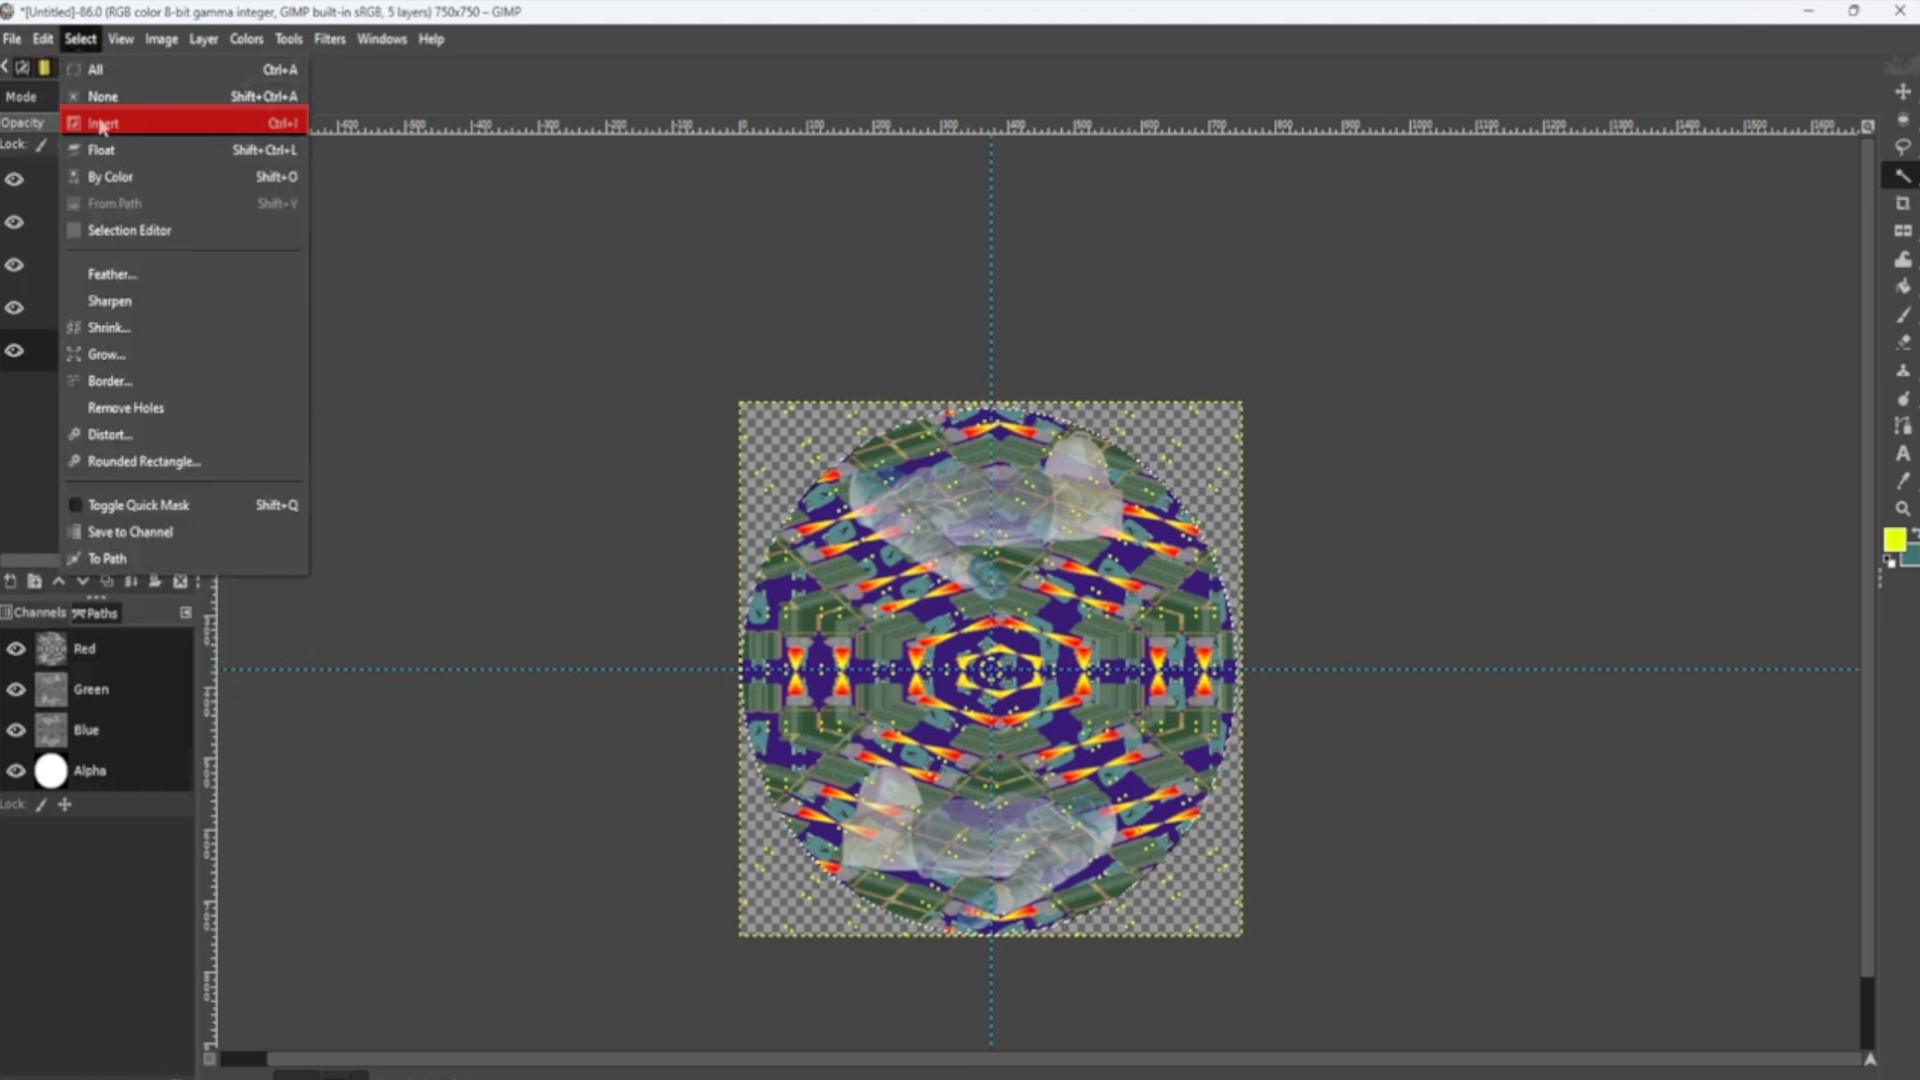
With the>>>BOTTOM LAYER SELECTED use the>>>FUZZY TOOL to>>>SELECT the>>>CIRCLE and go to>>>SELECT>>>INVERT to invert the selection.
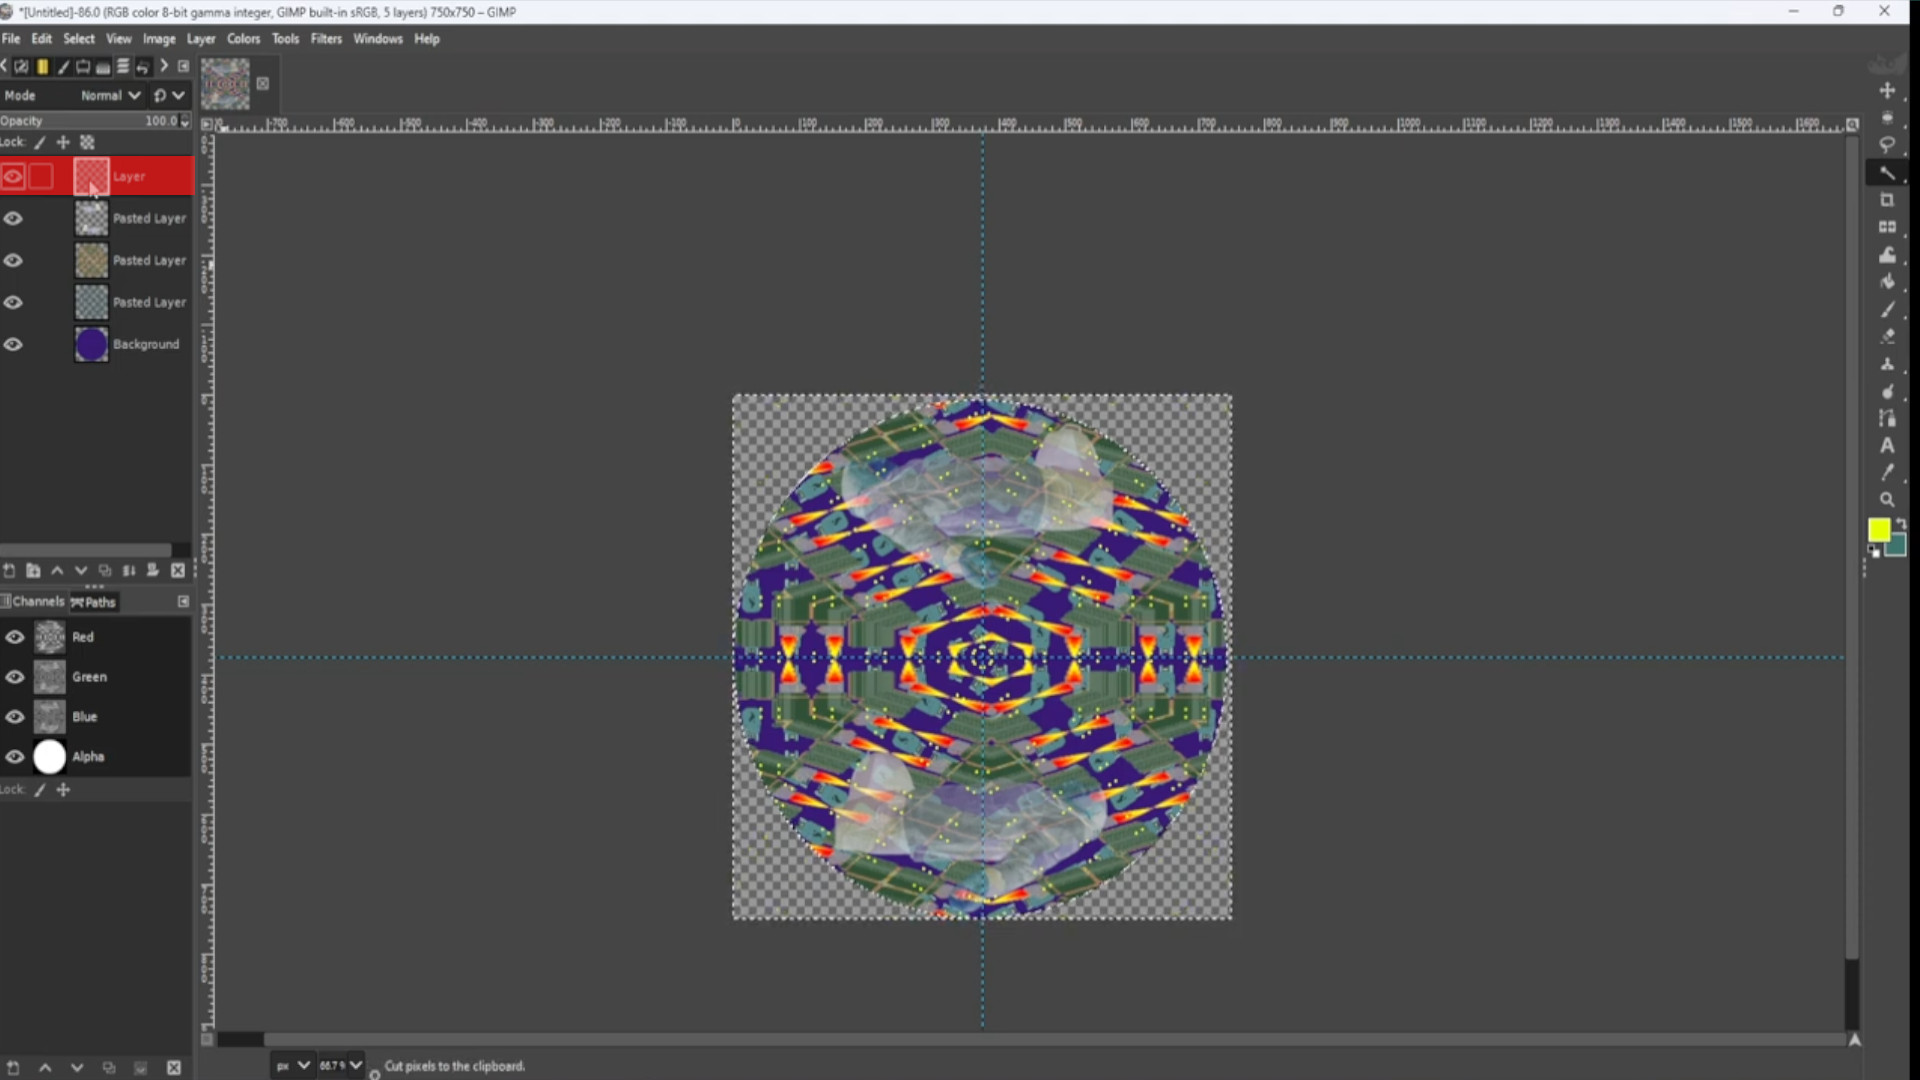
With the>>>FIRST LAYER SELECTED use the>>>CUT TOOL to cut away the outer bits leaving only in the circle filled with in this case small yellow circles. You can use the shortcut>>>HOLD>>>CTRL and>>>PRESS>>>C to cut also>>>MOVE the>>>LAYER>>>THIRD FROM THE BOTTOM in the>>>LAYERS TAB so it’s underneath the images.
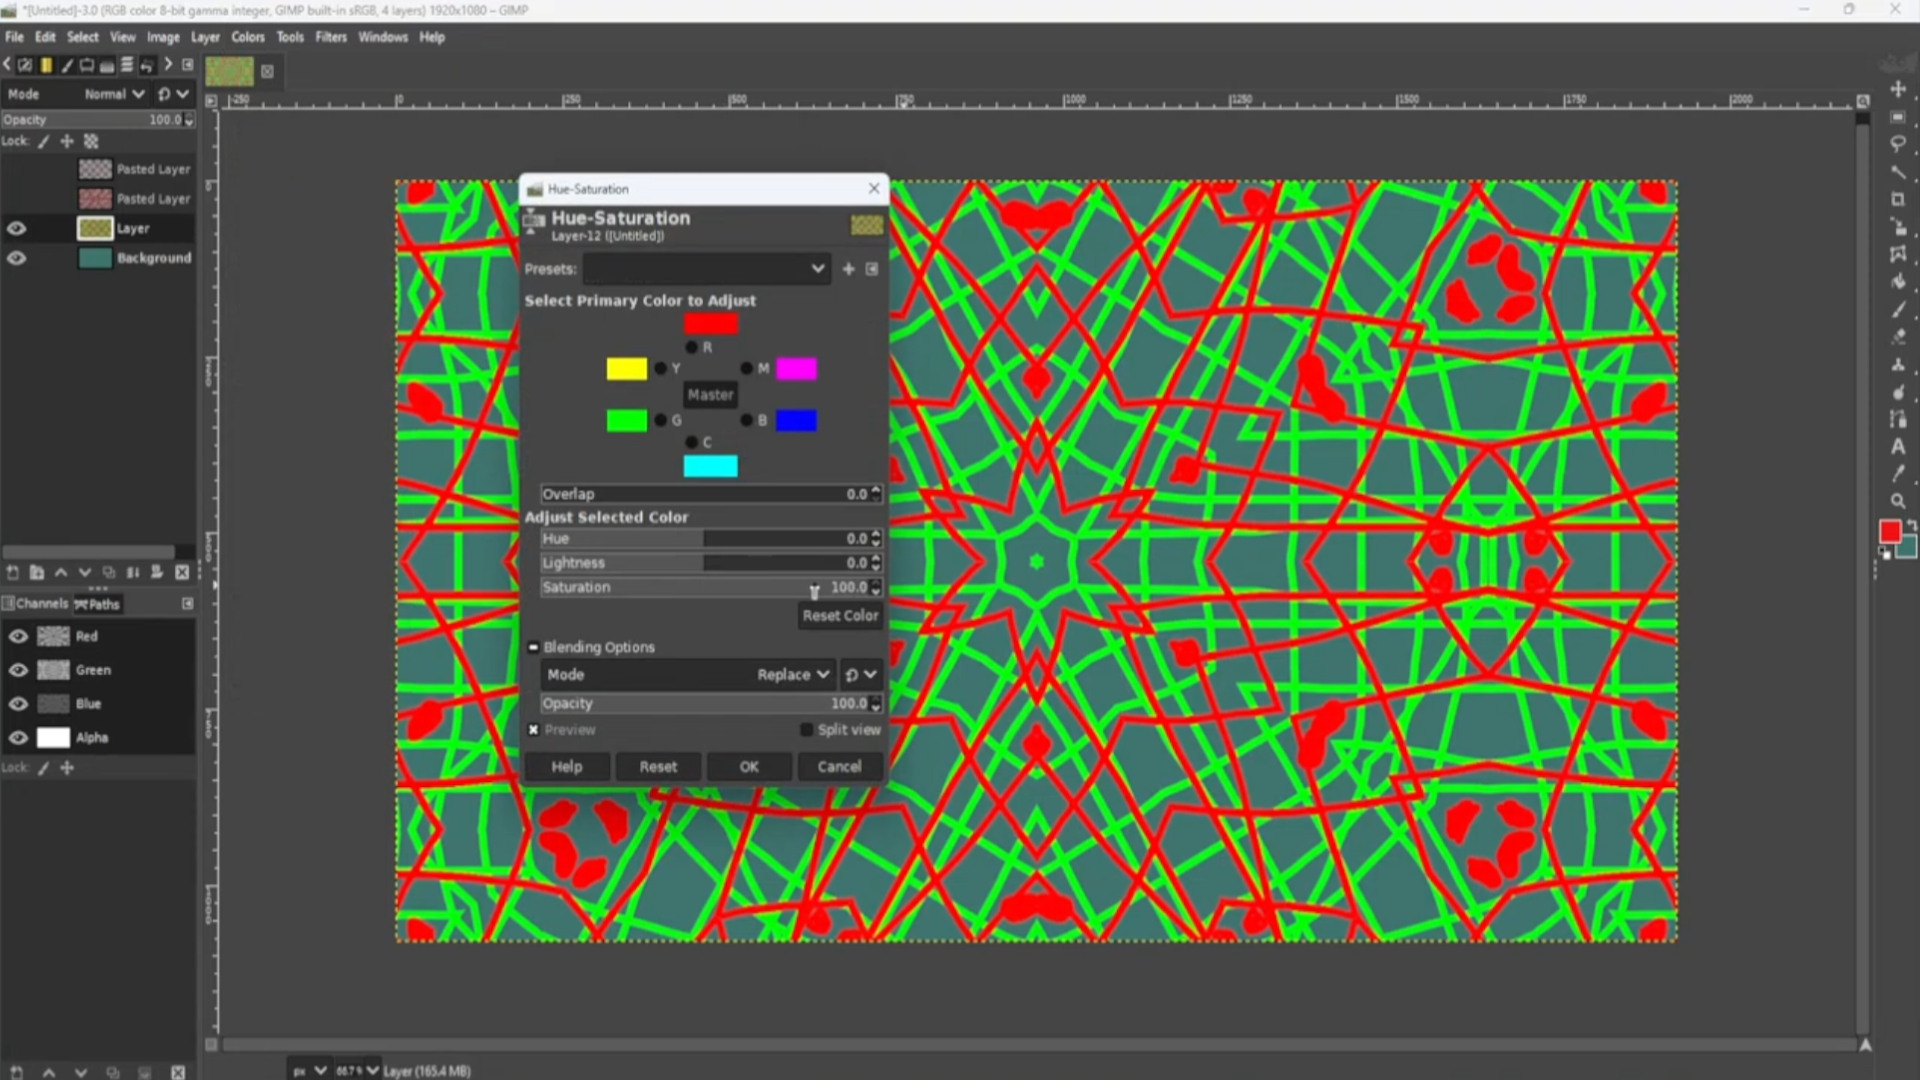
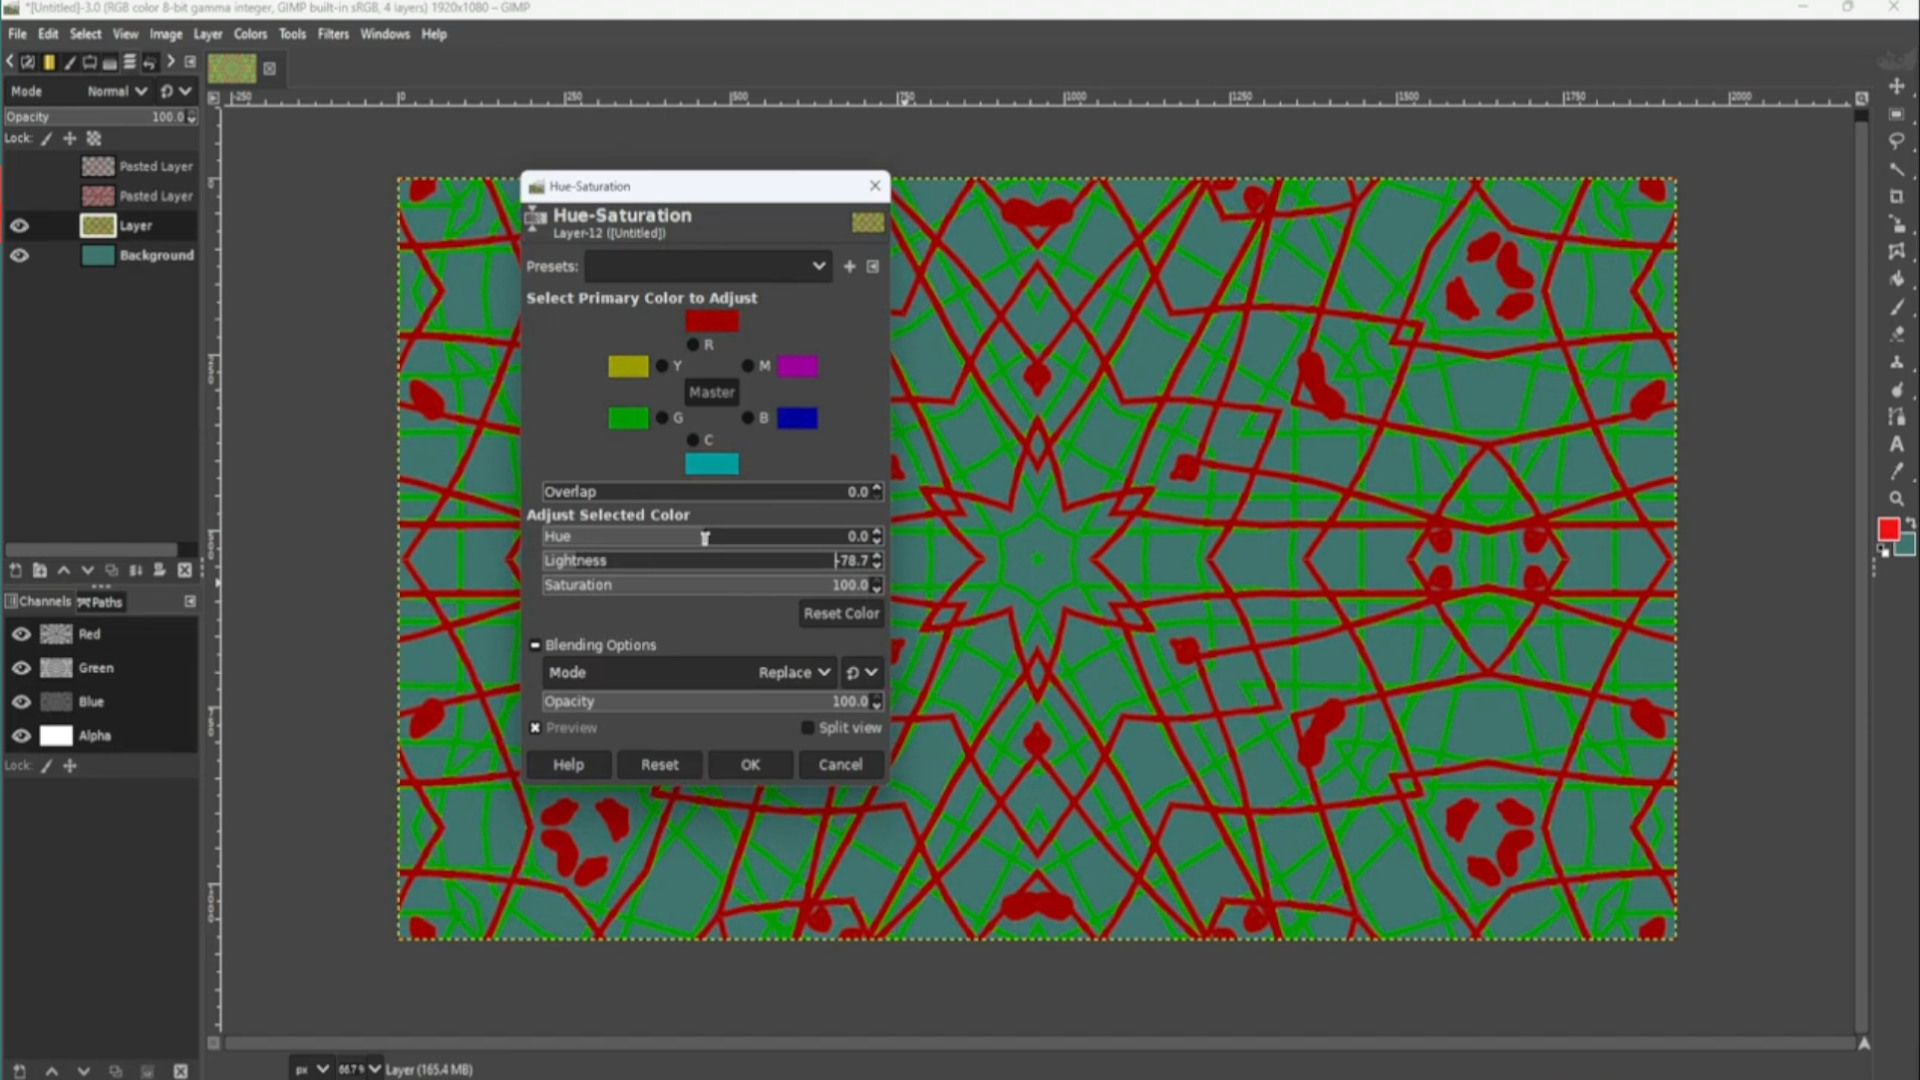
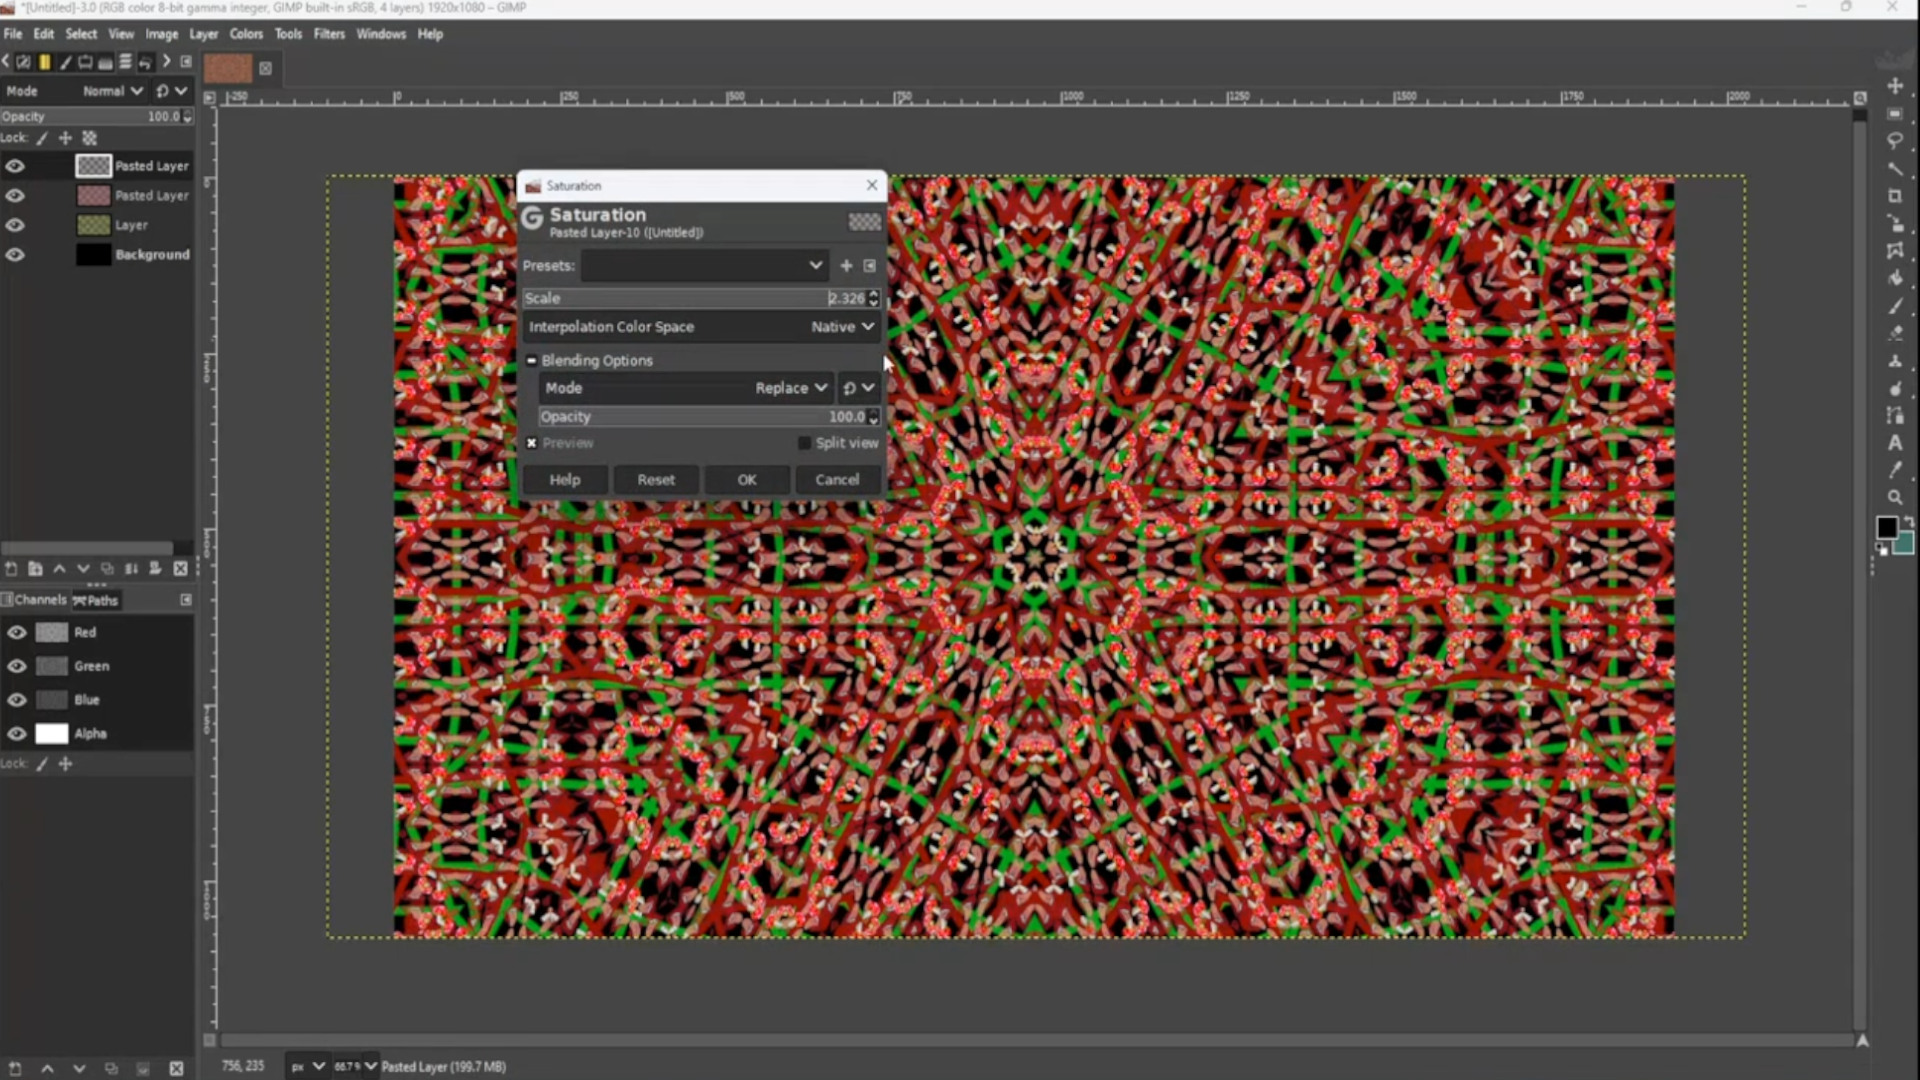
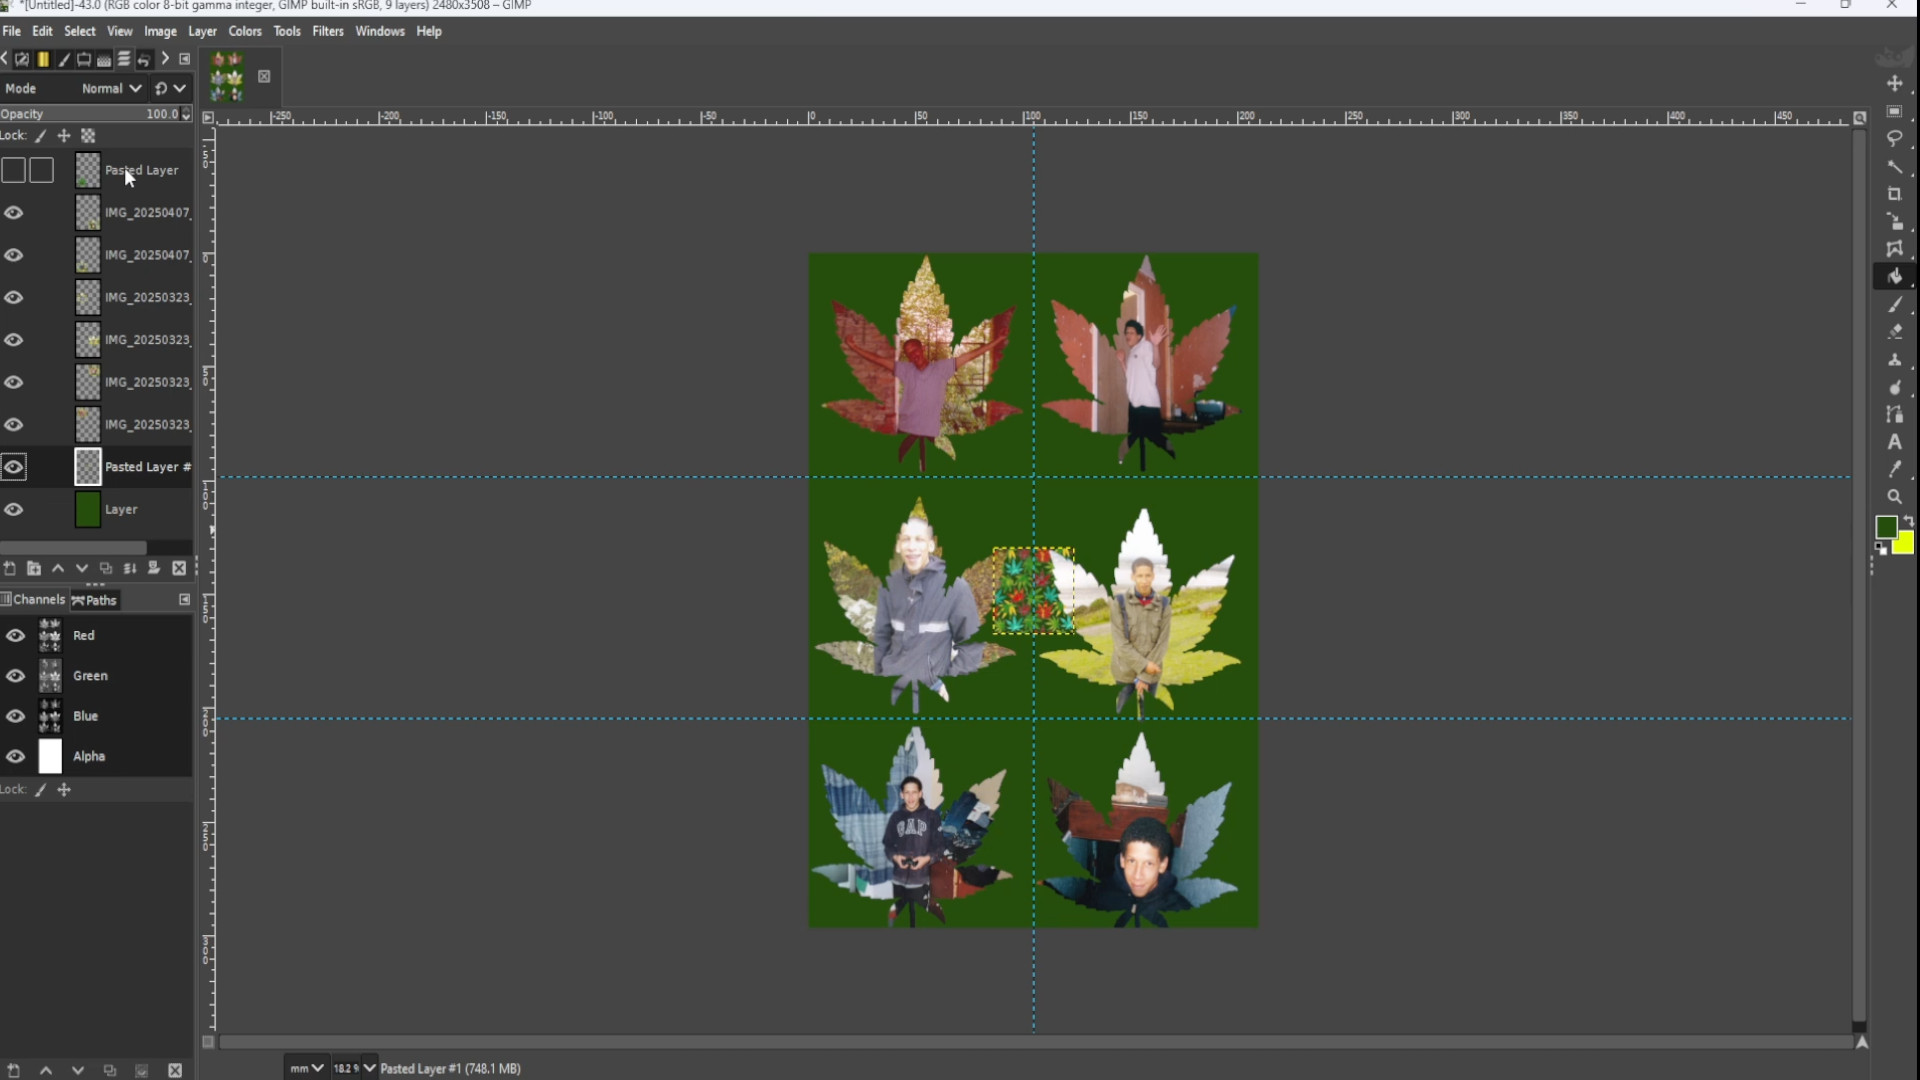
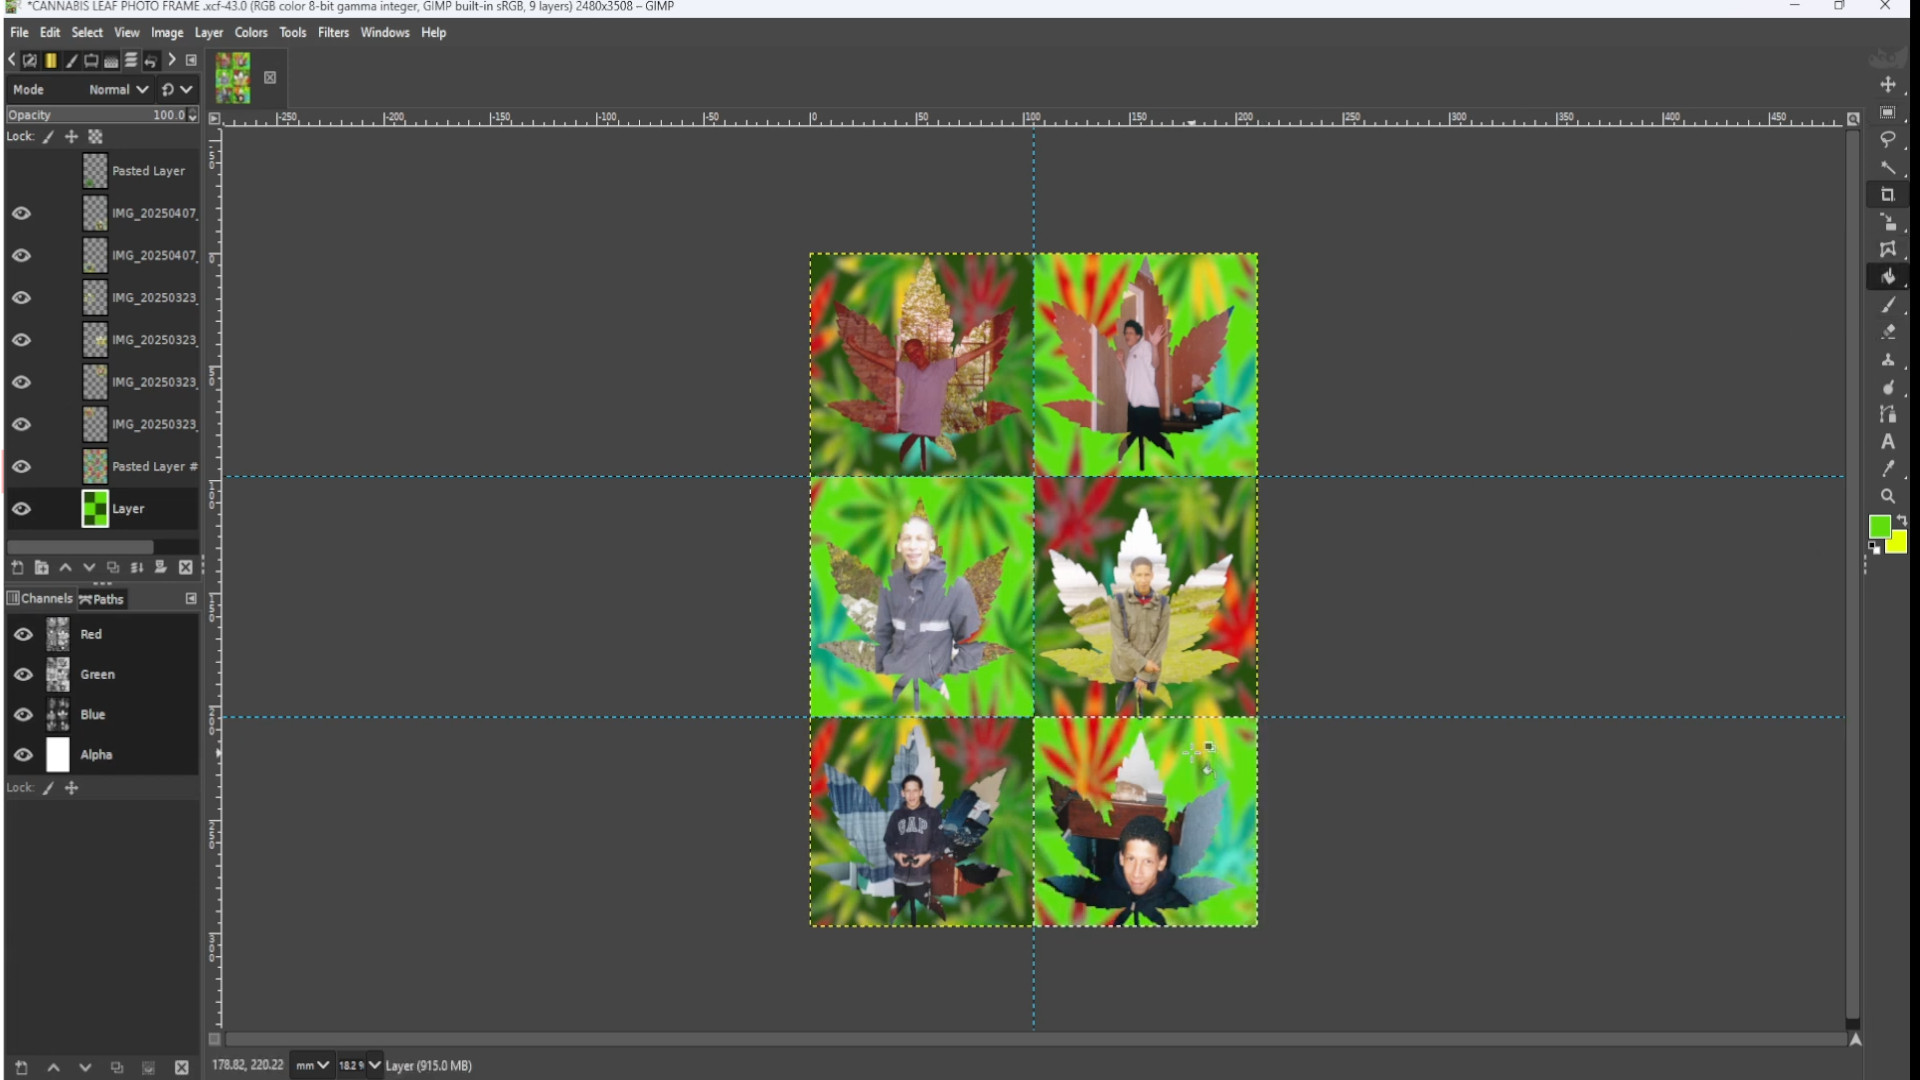
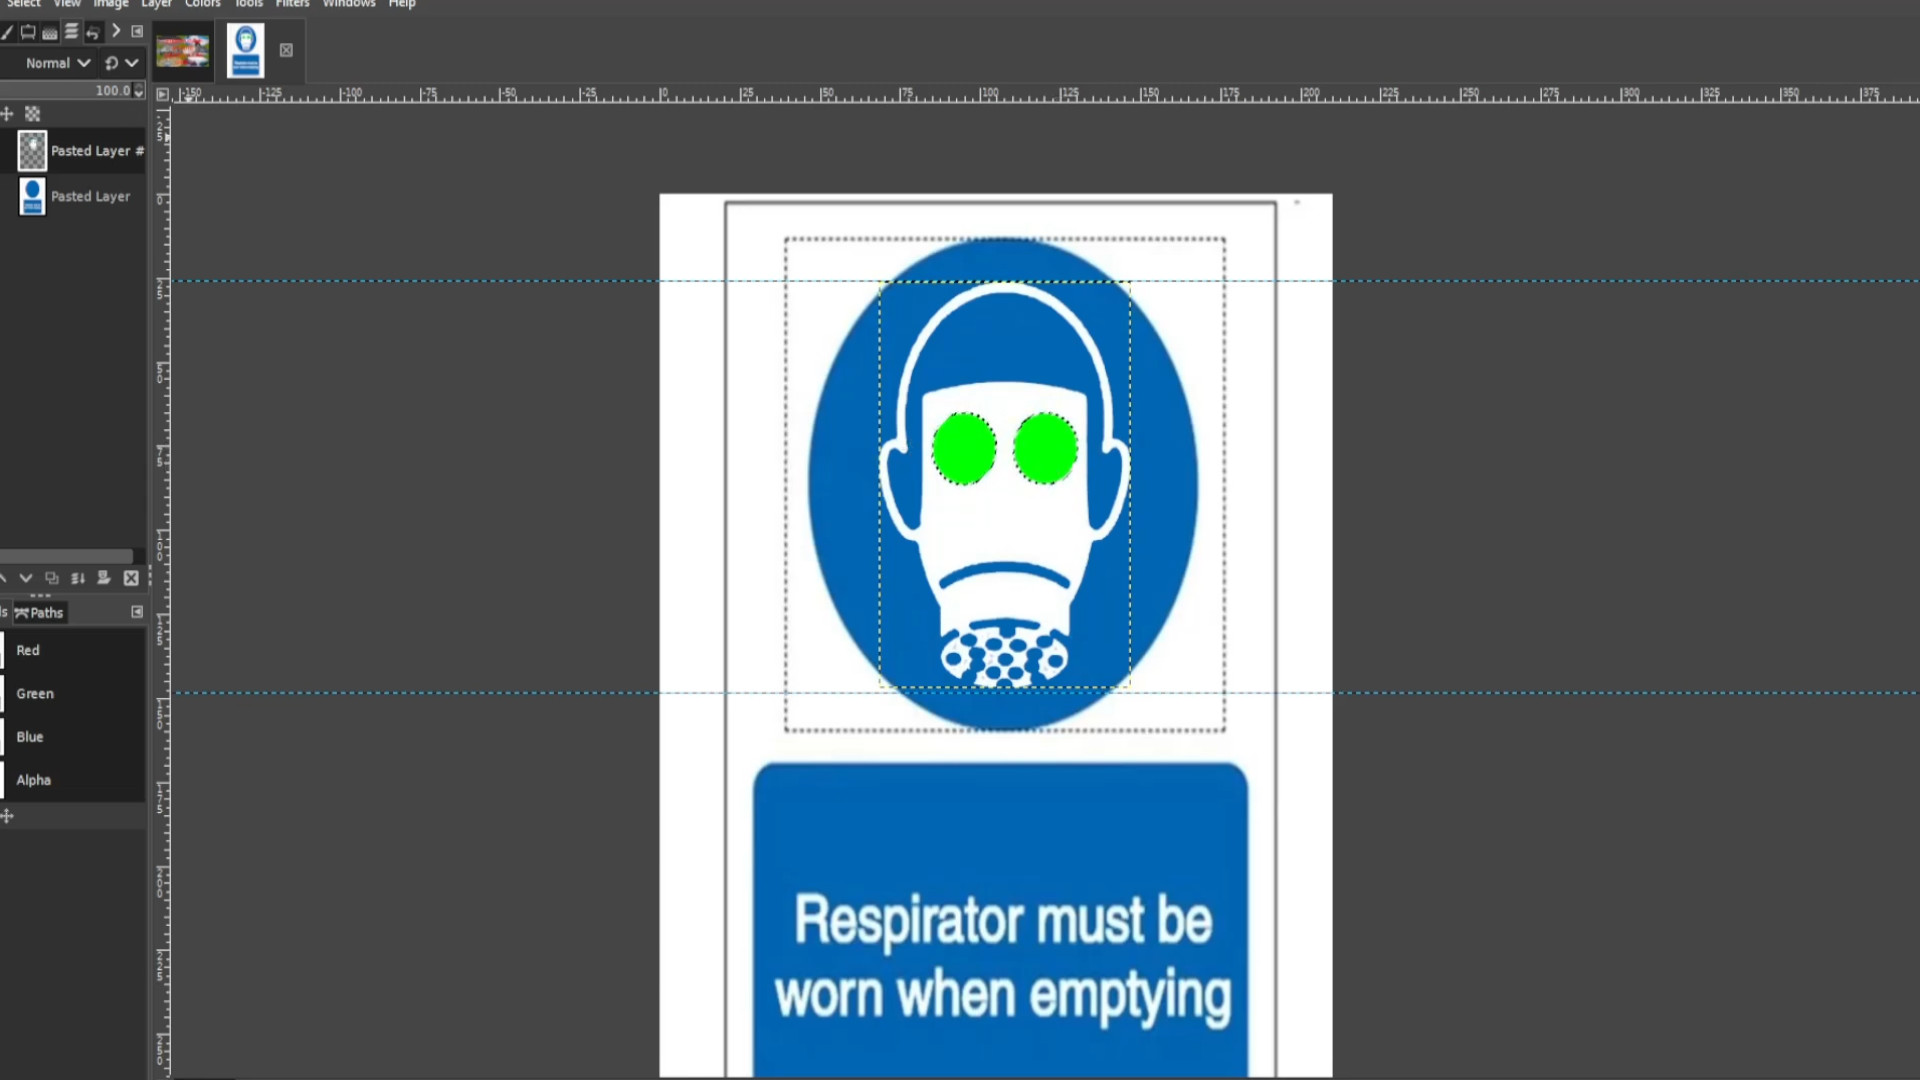
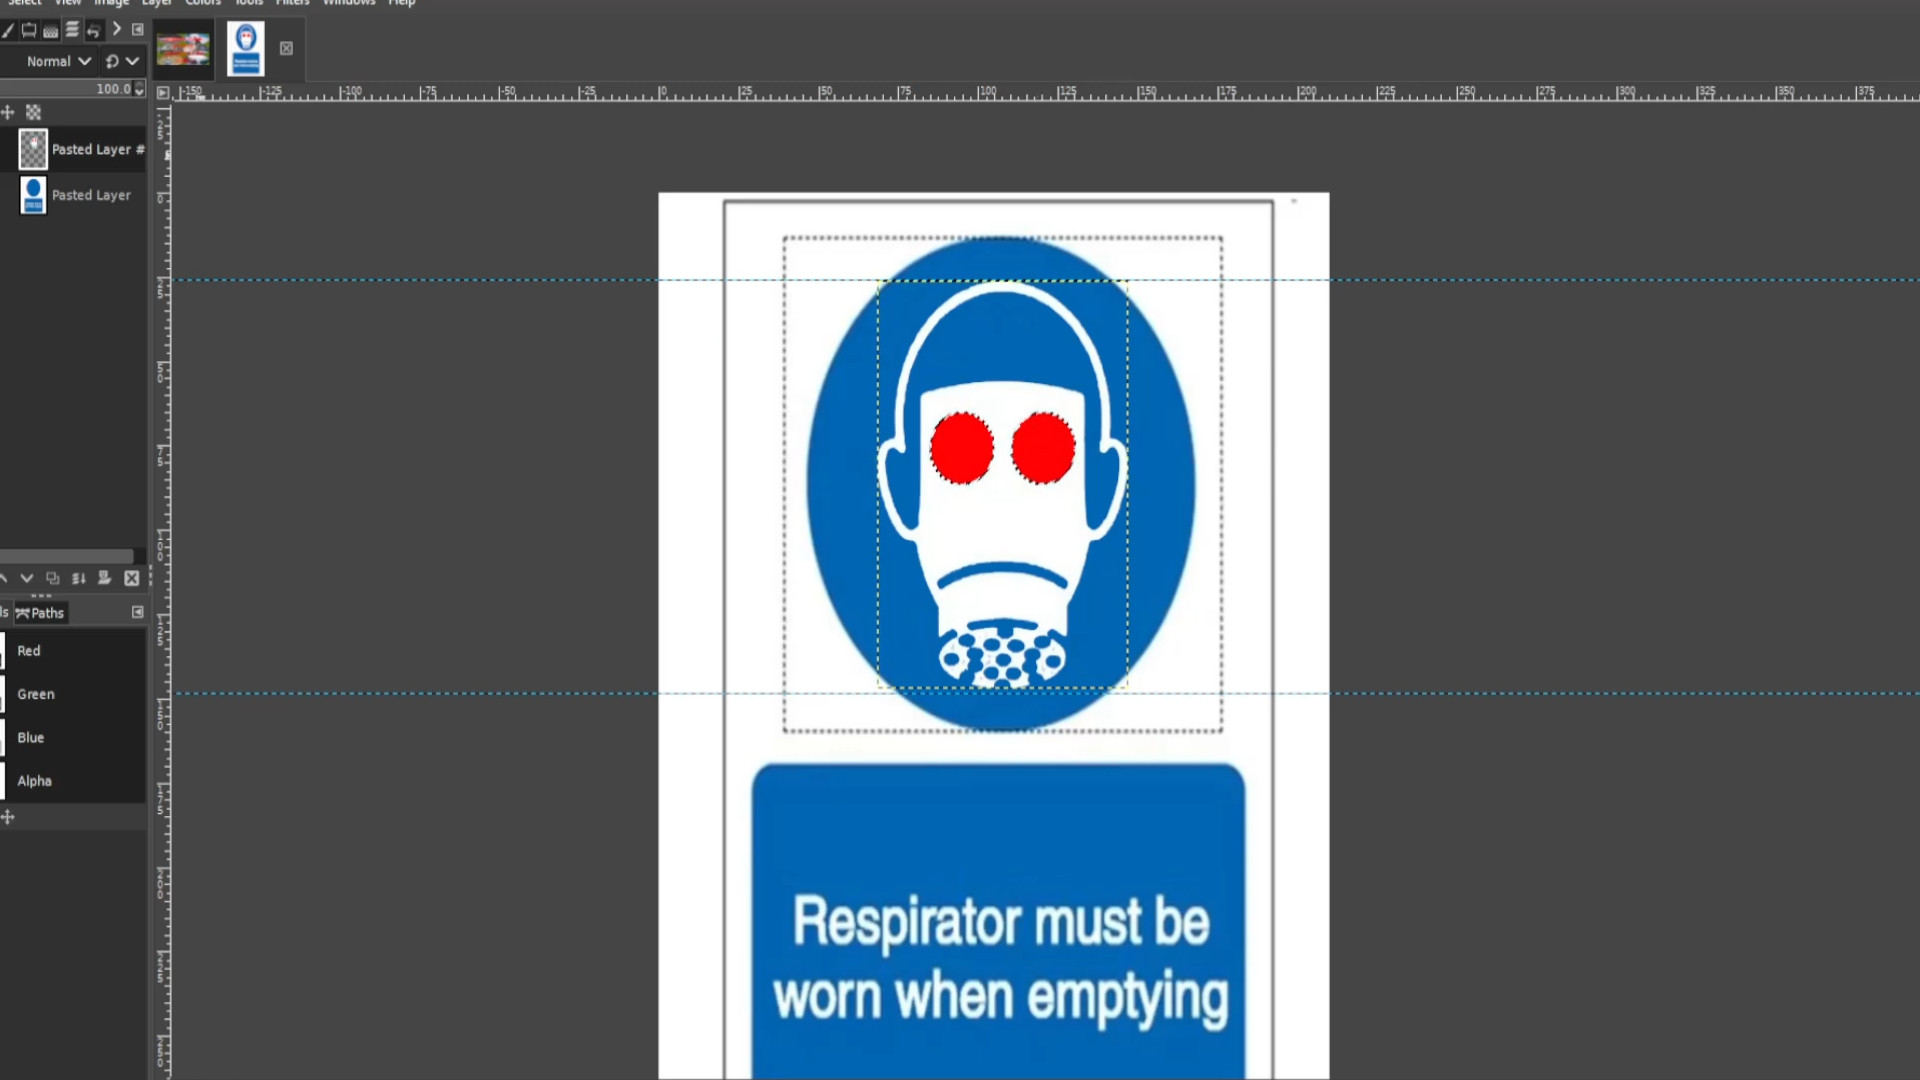
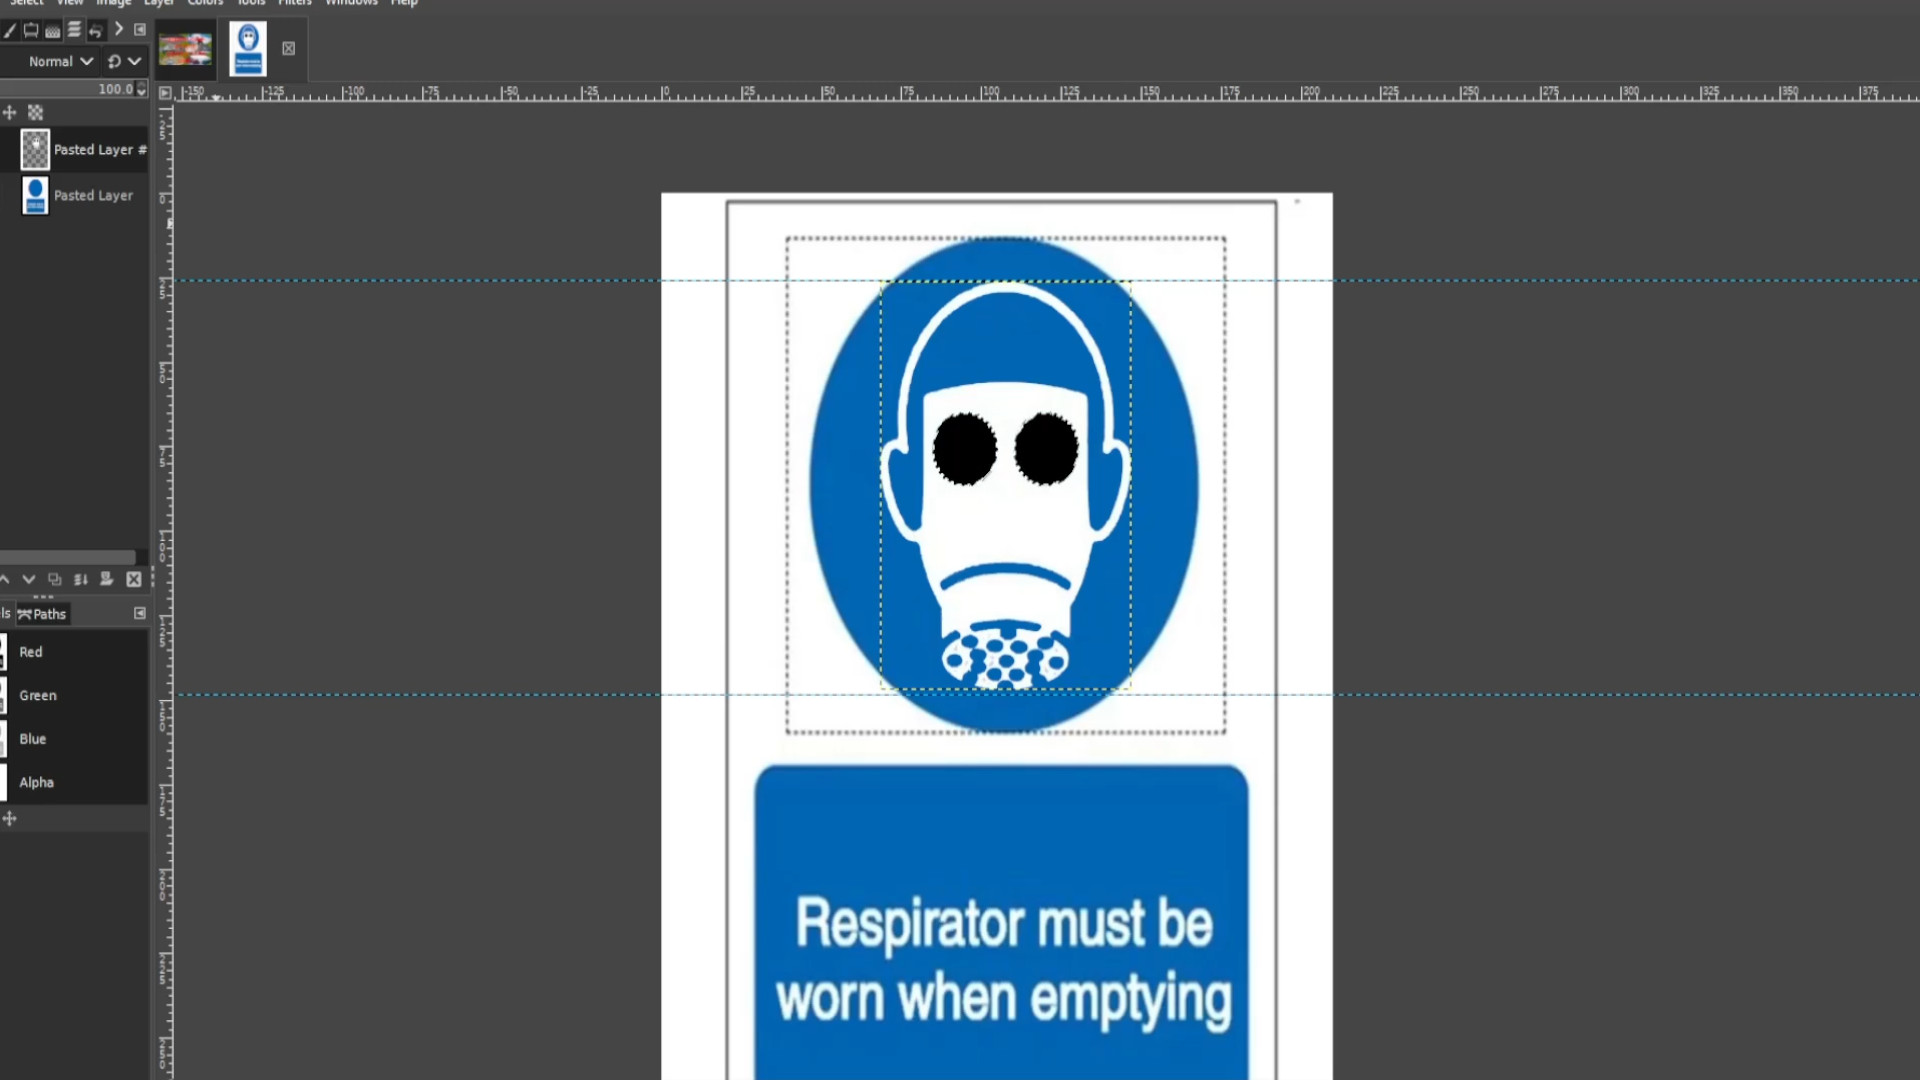
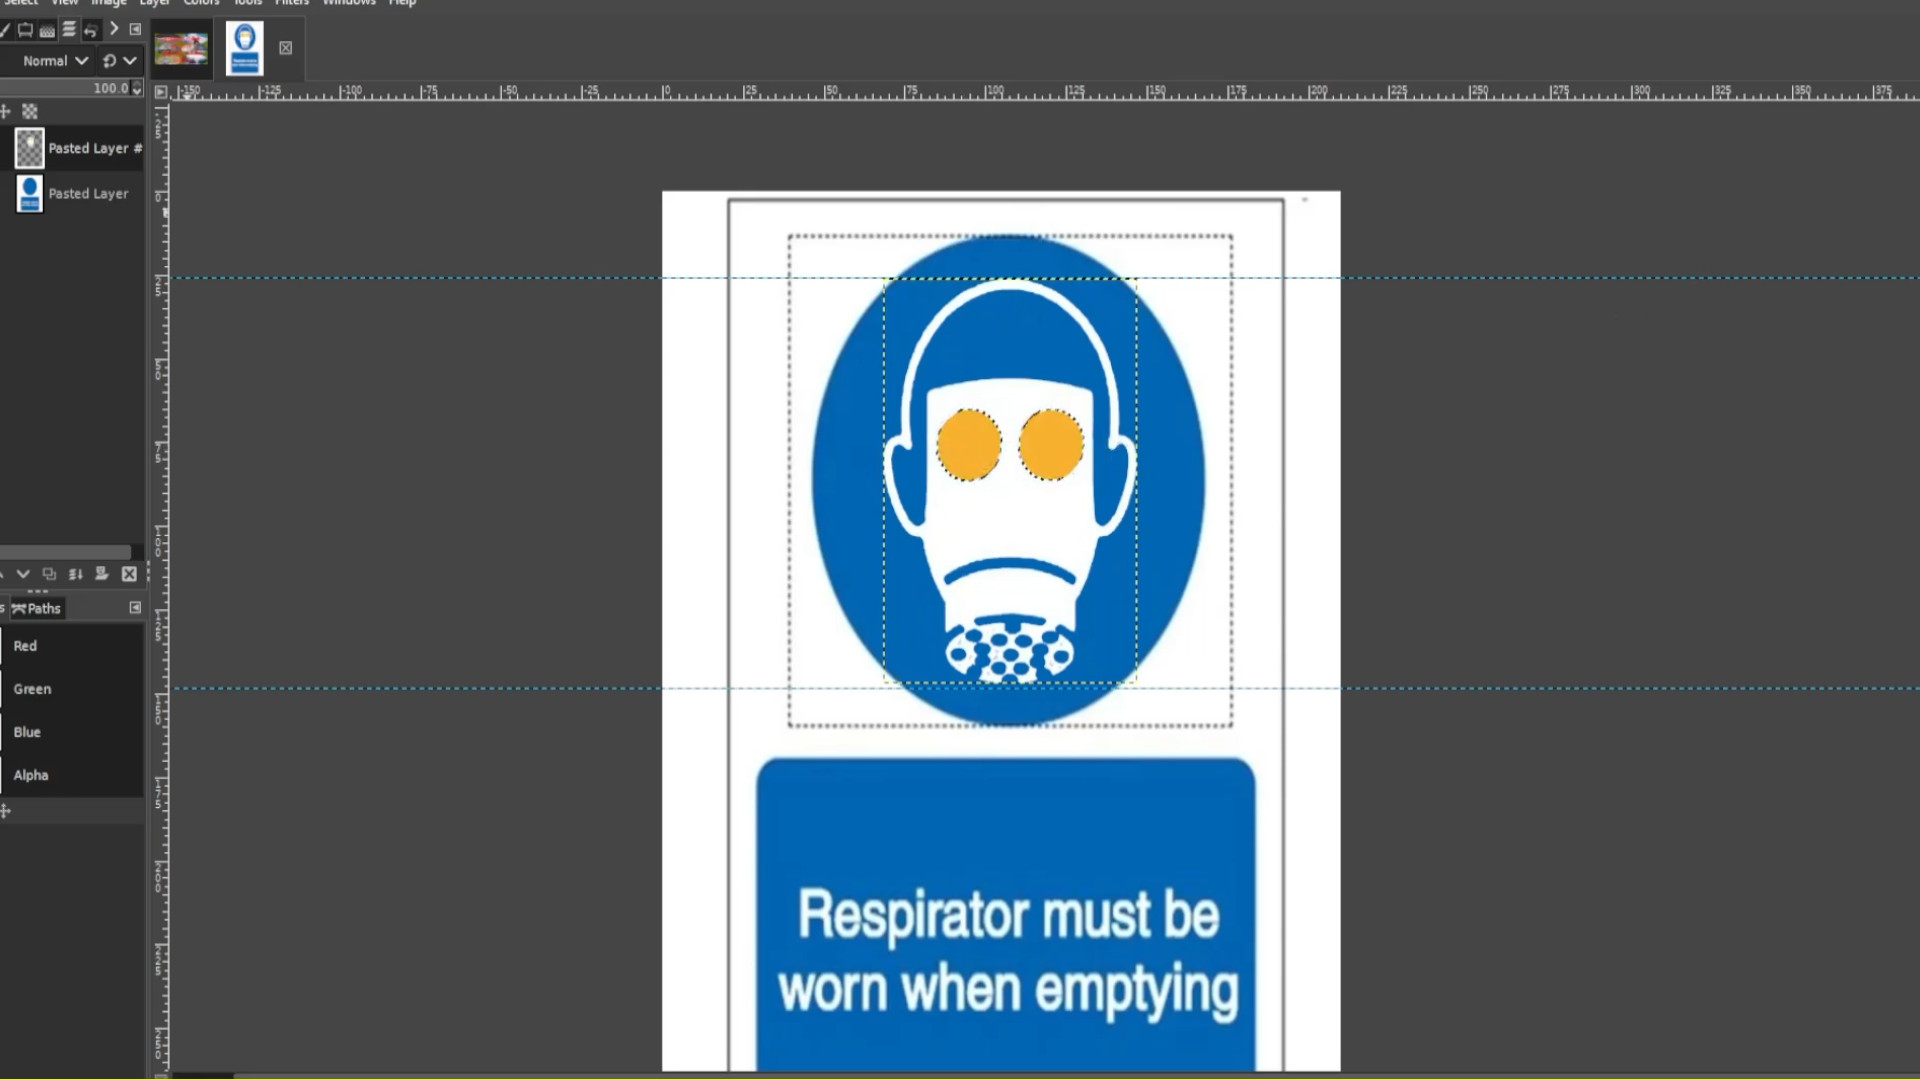
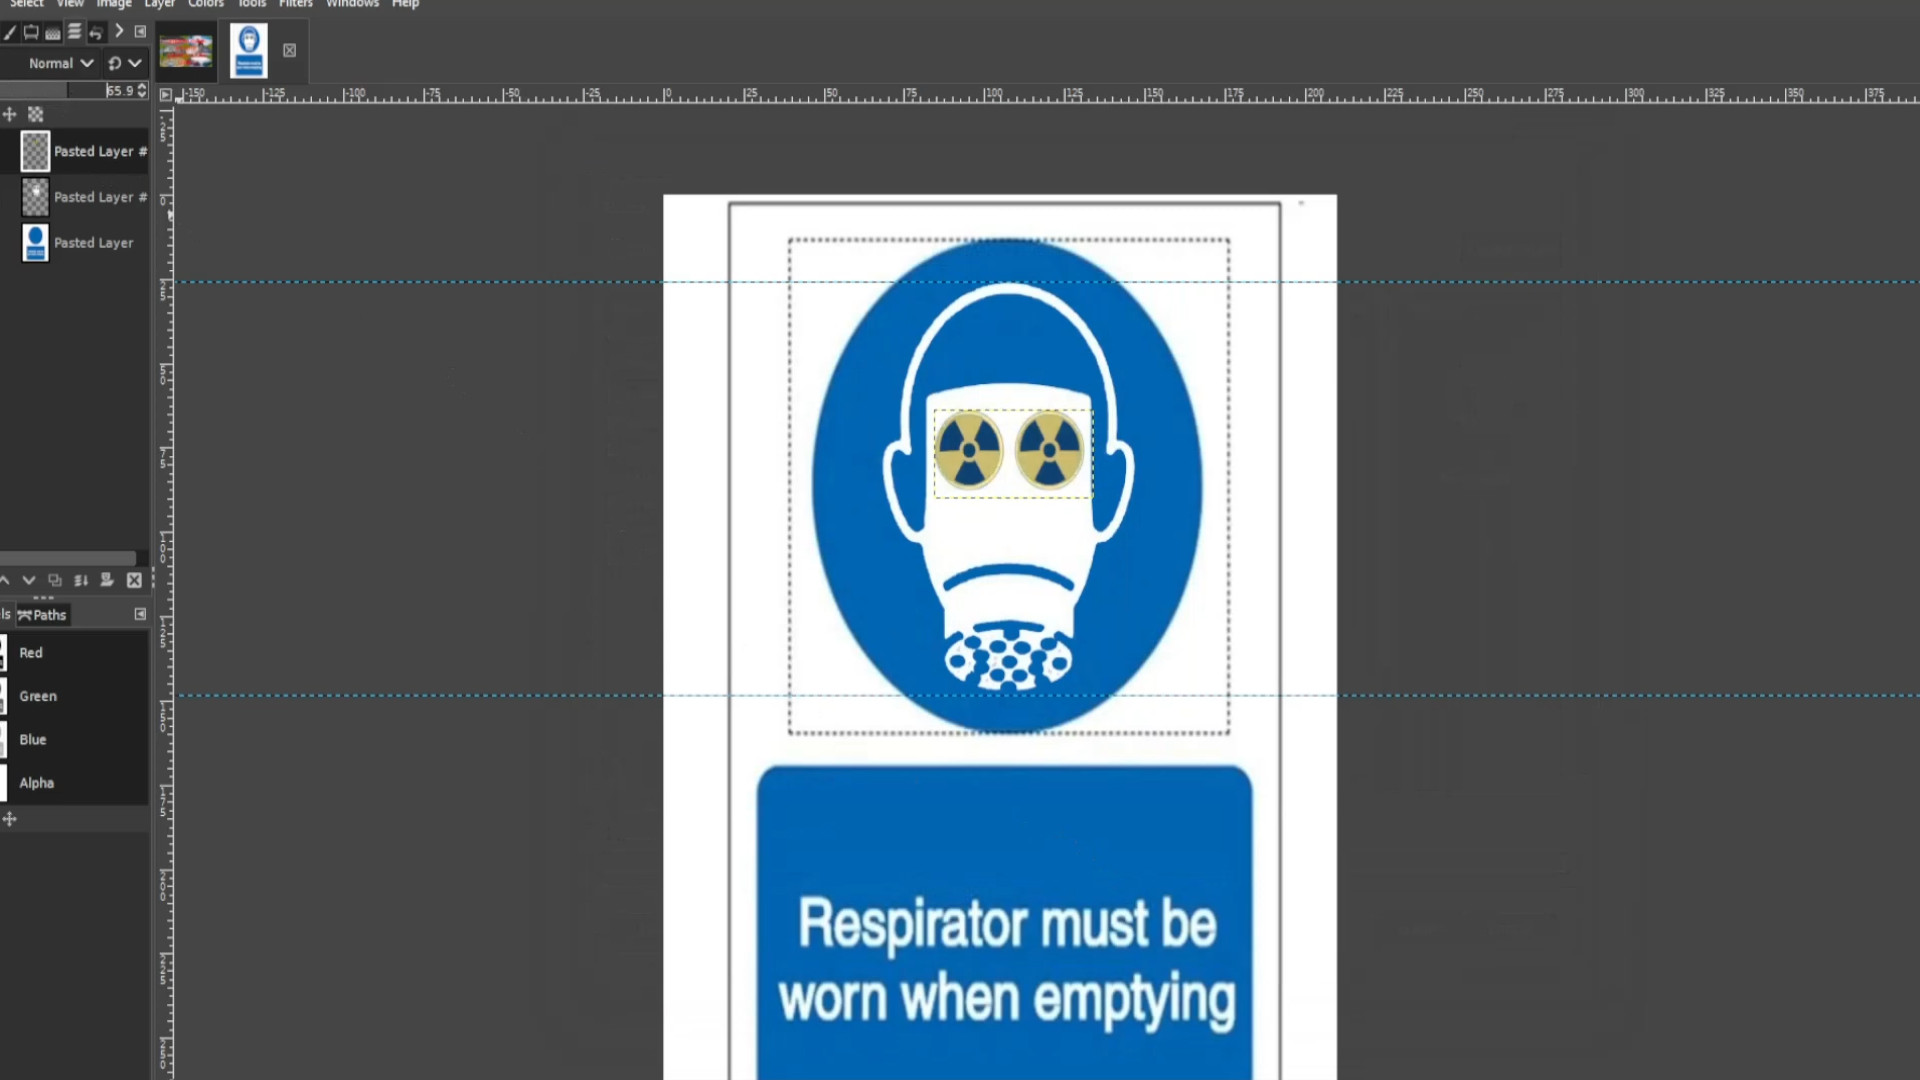
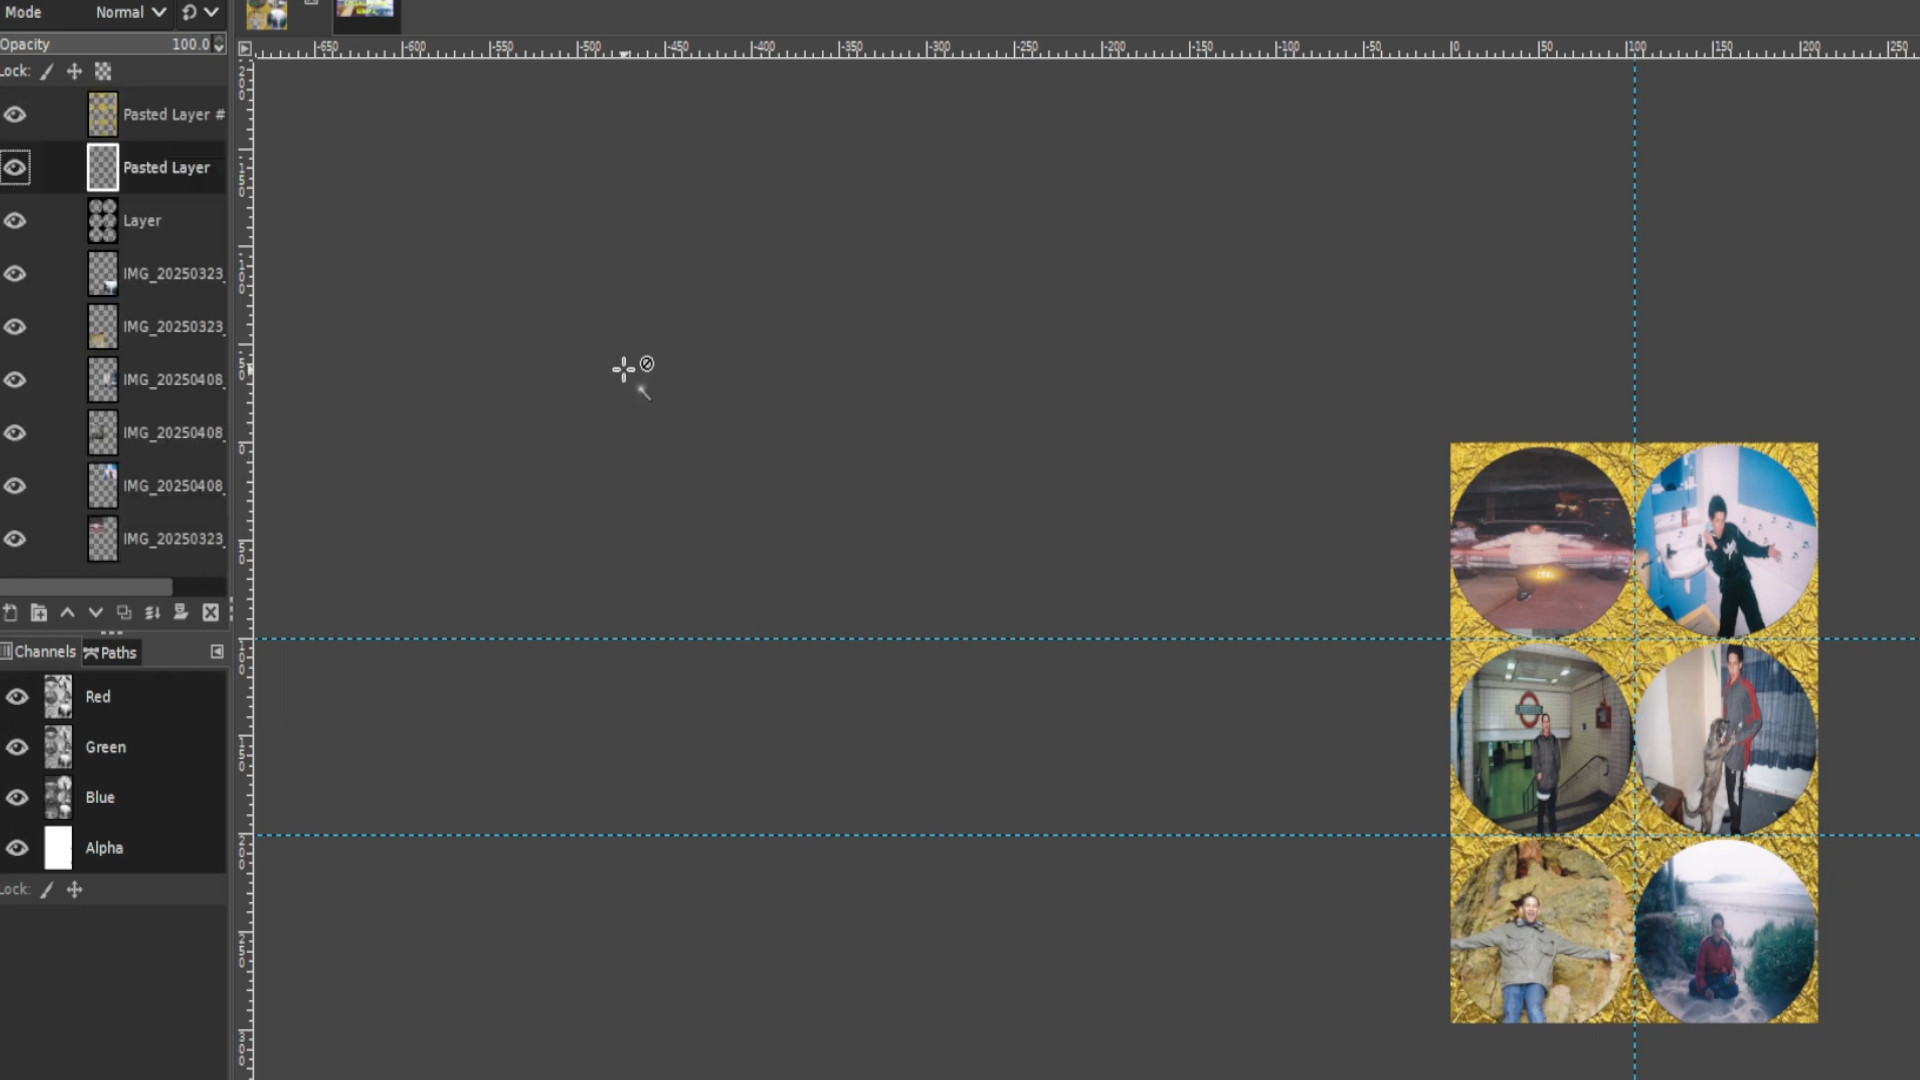
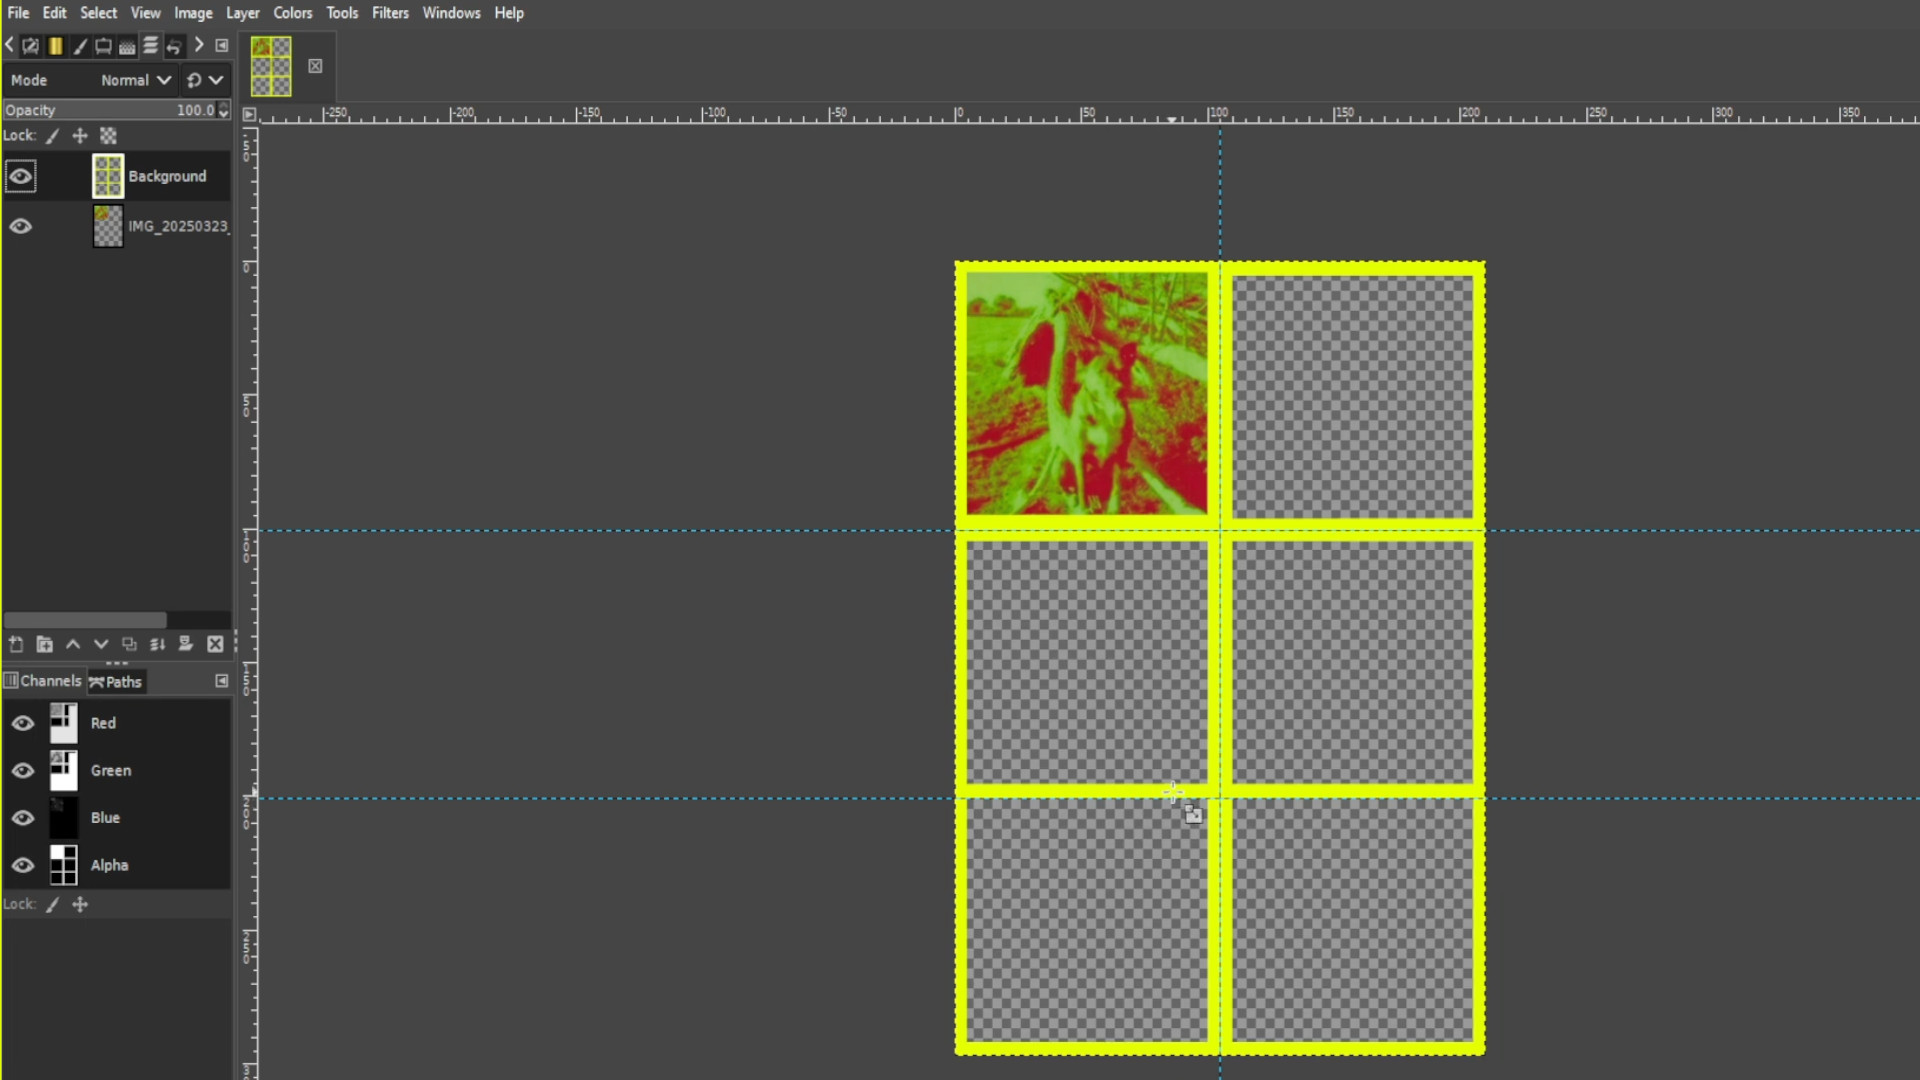
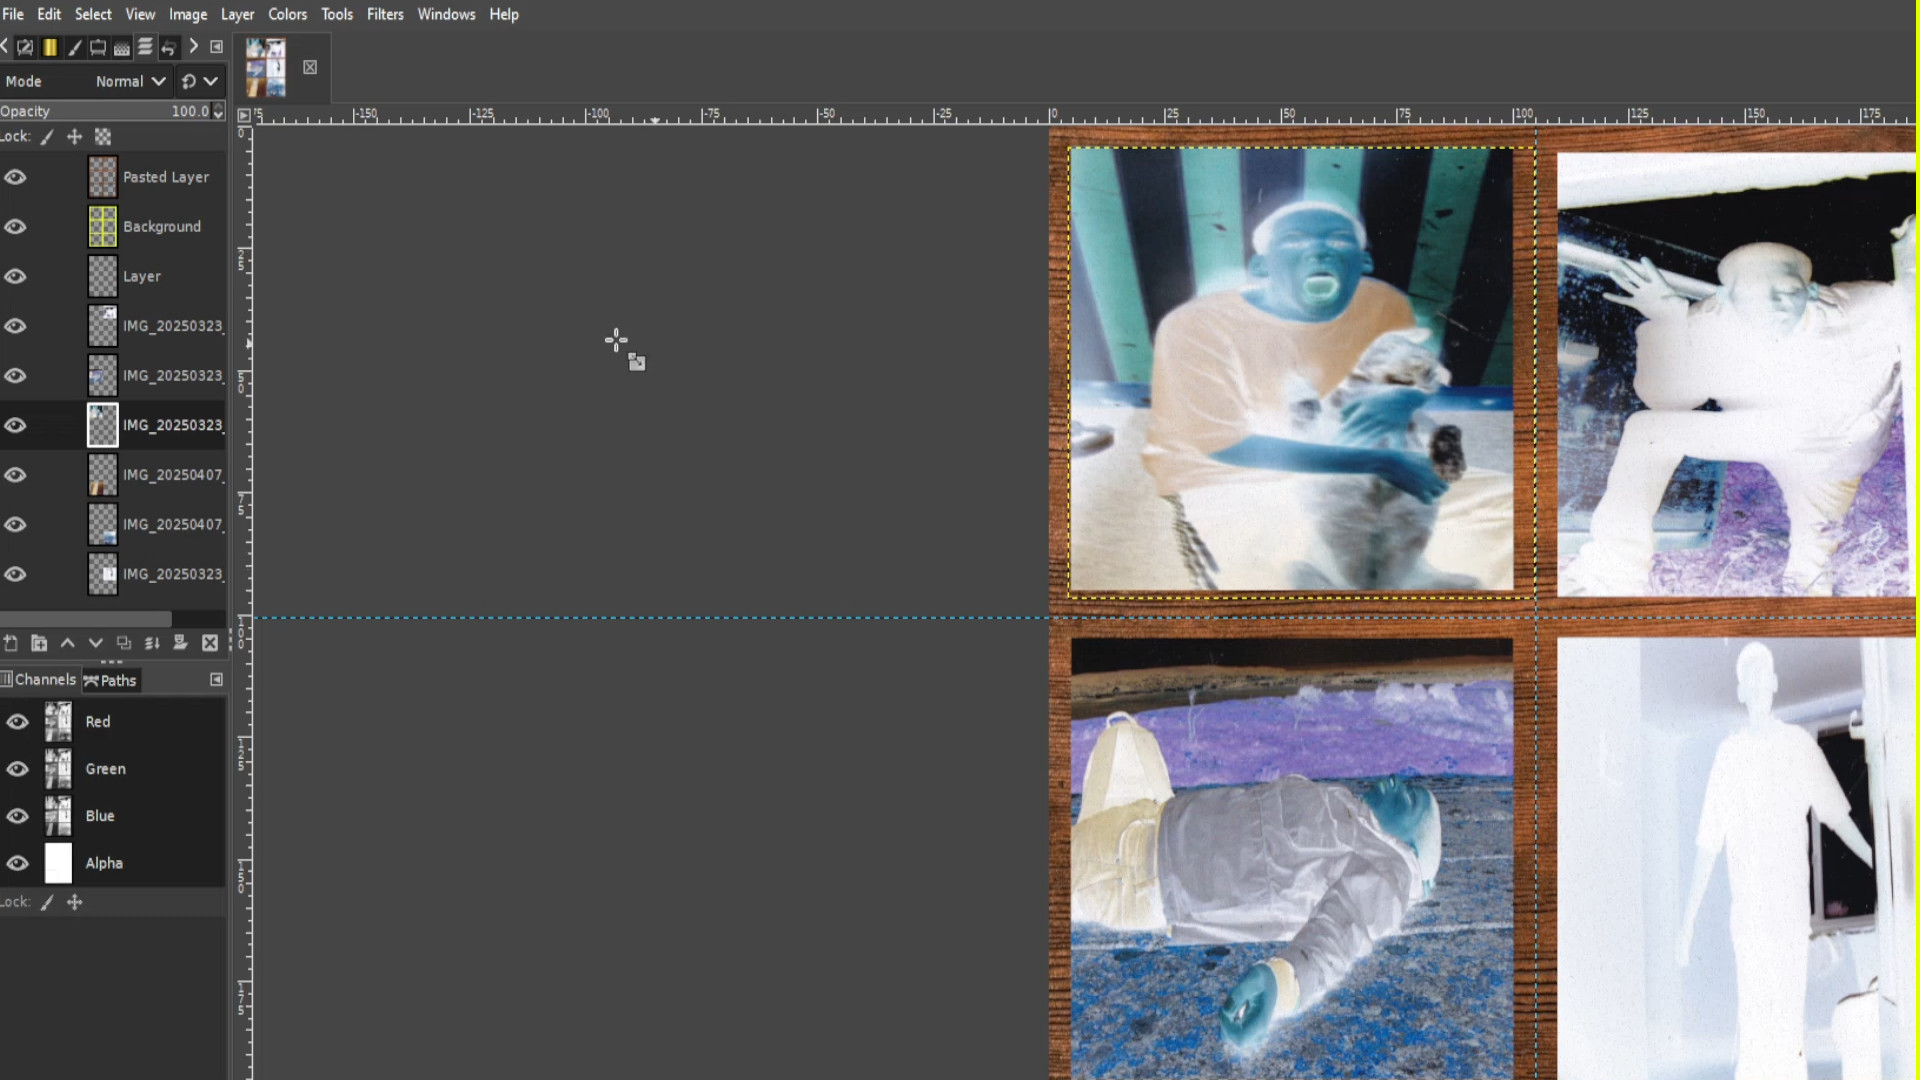
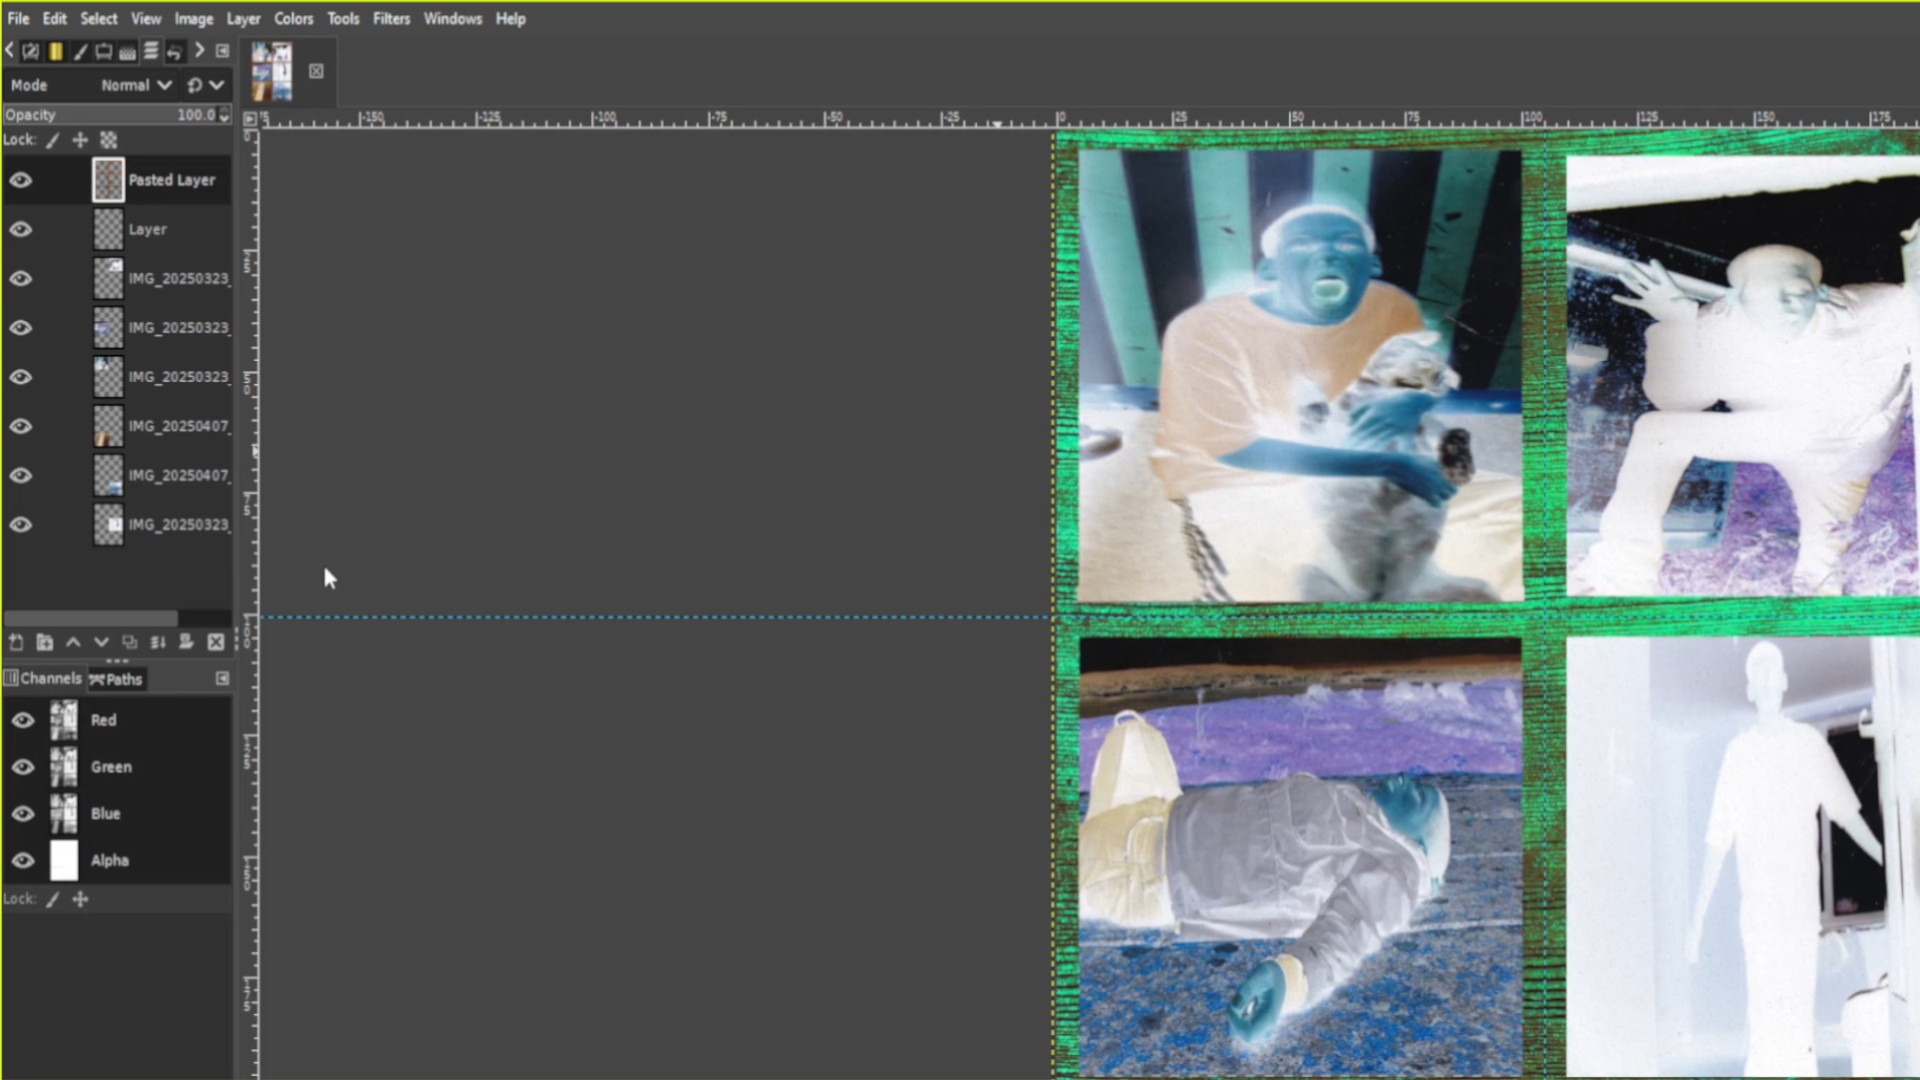
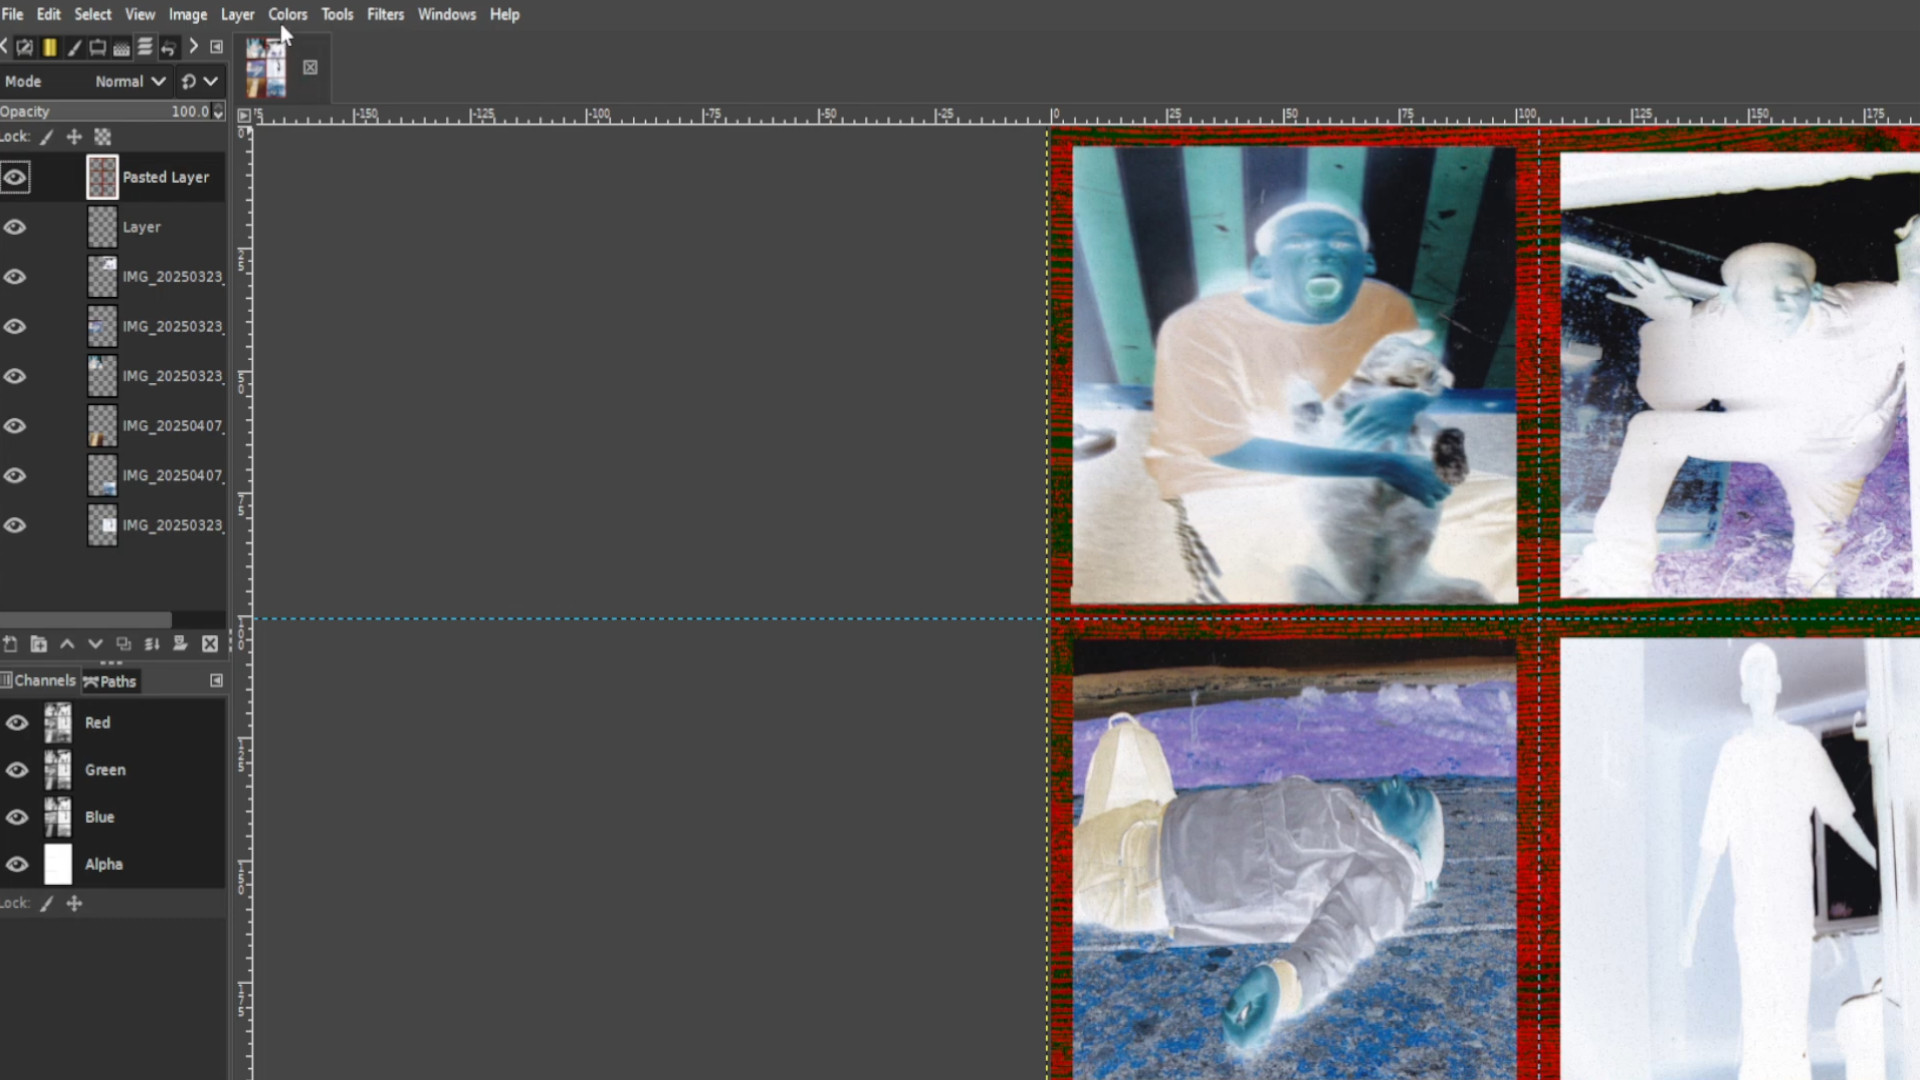
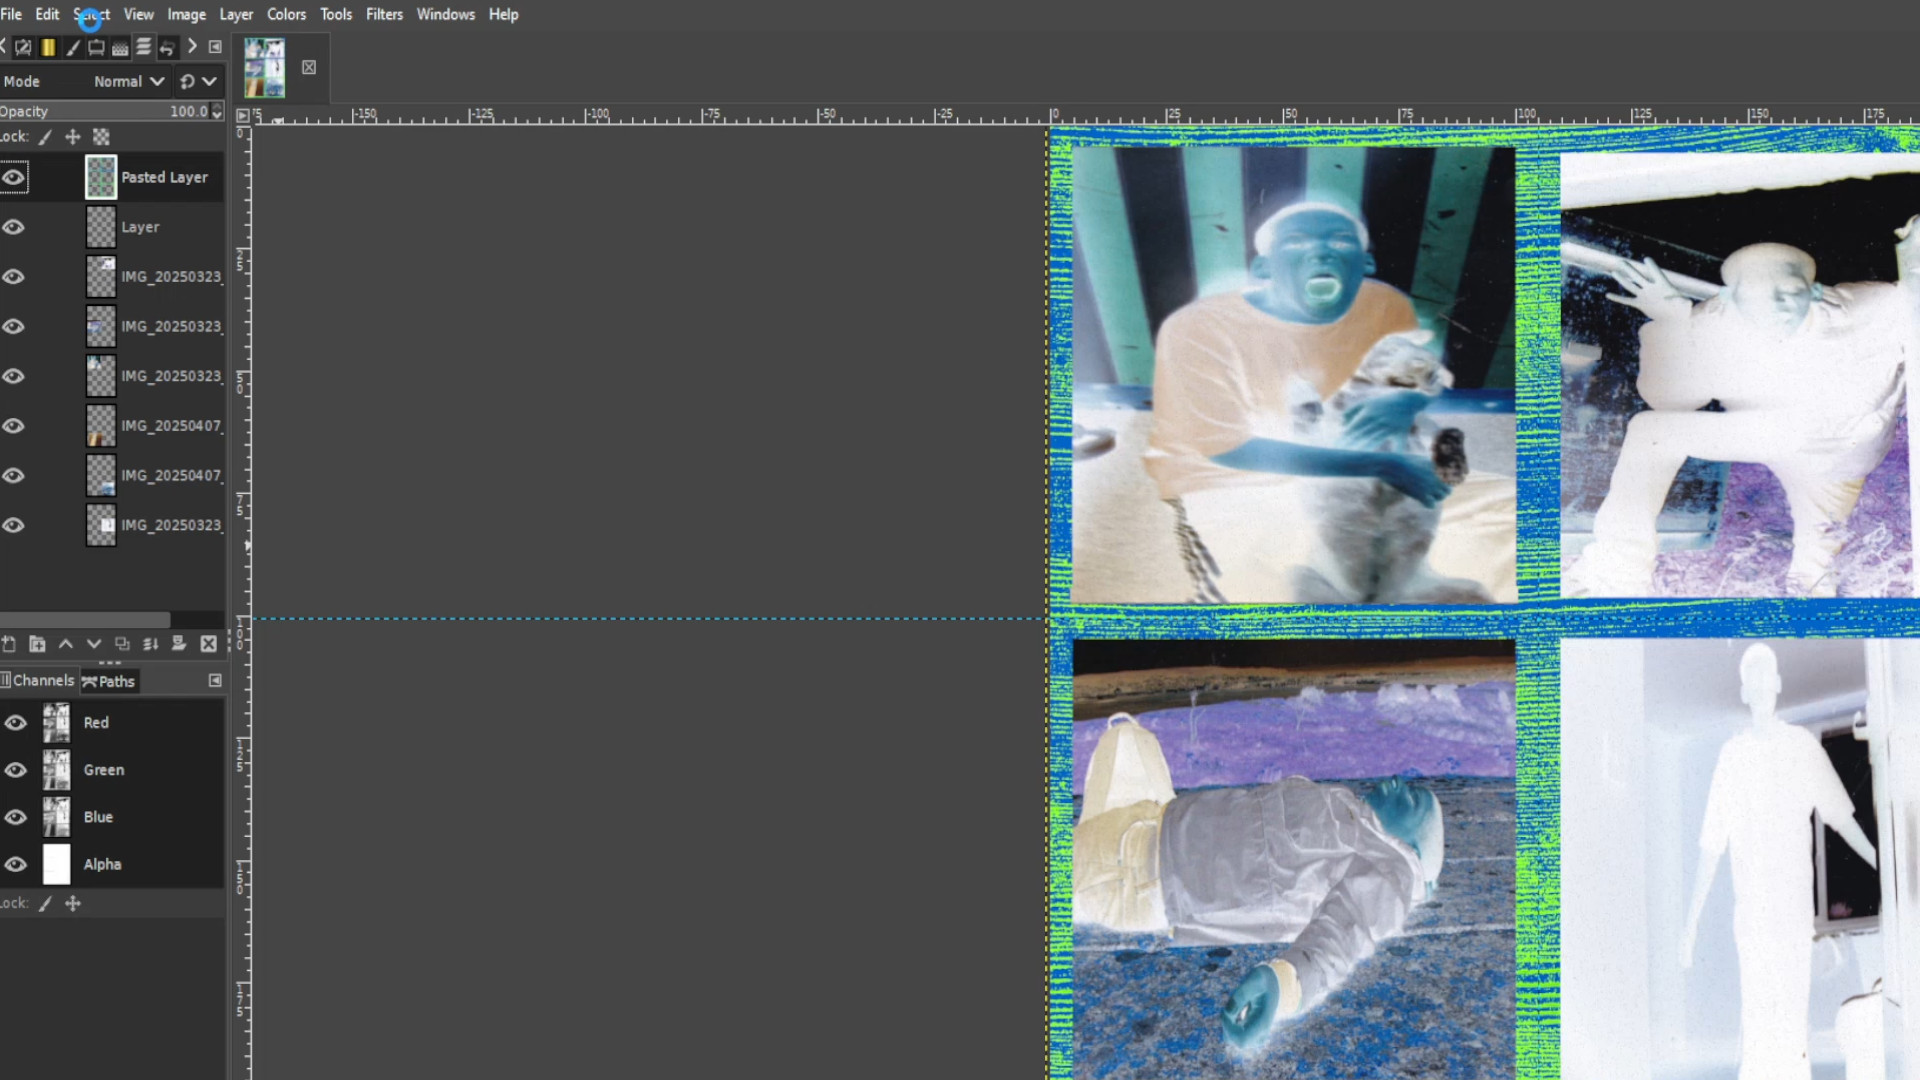
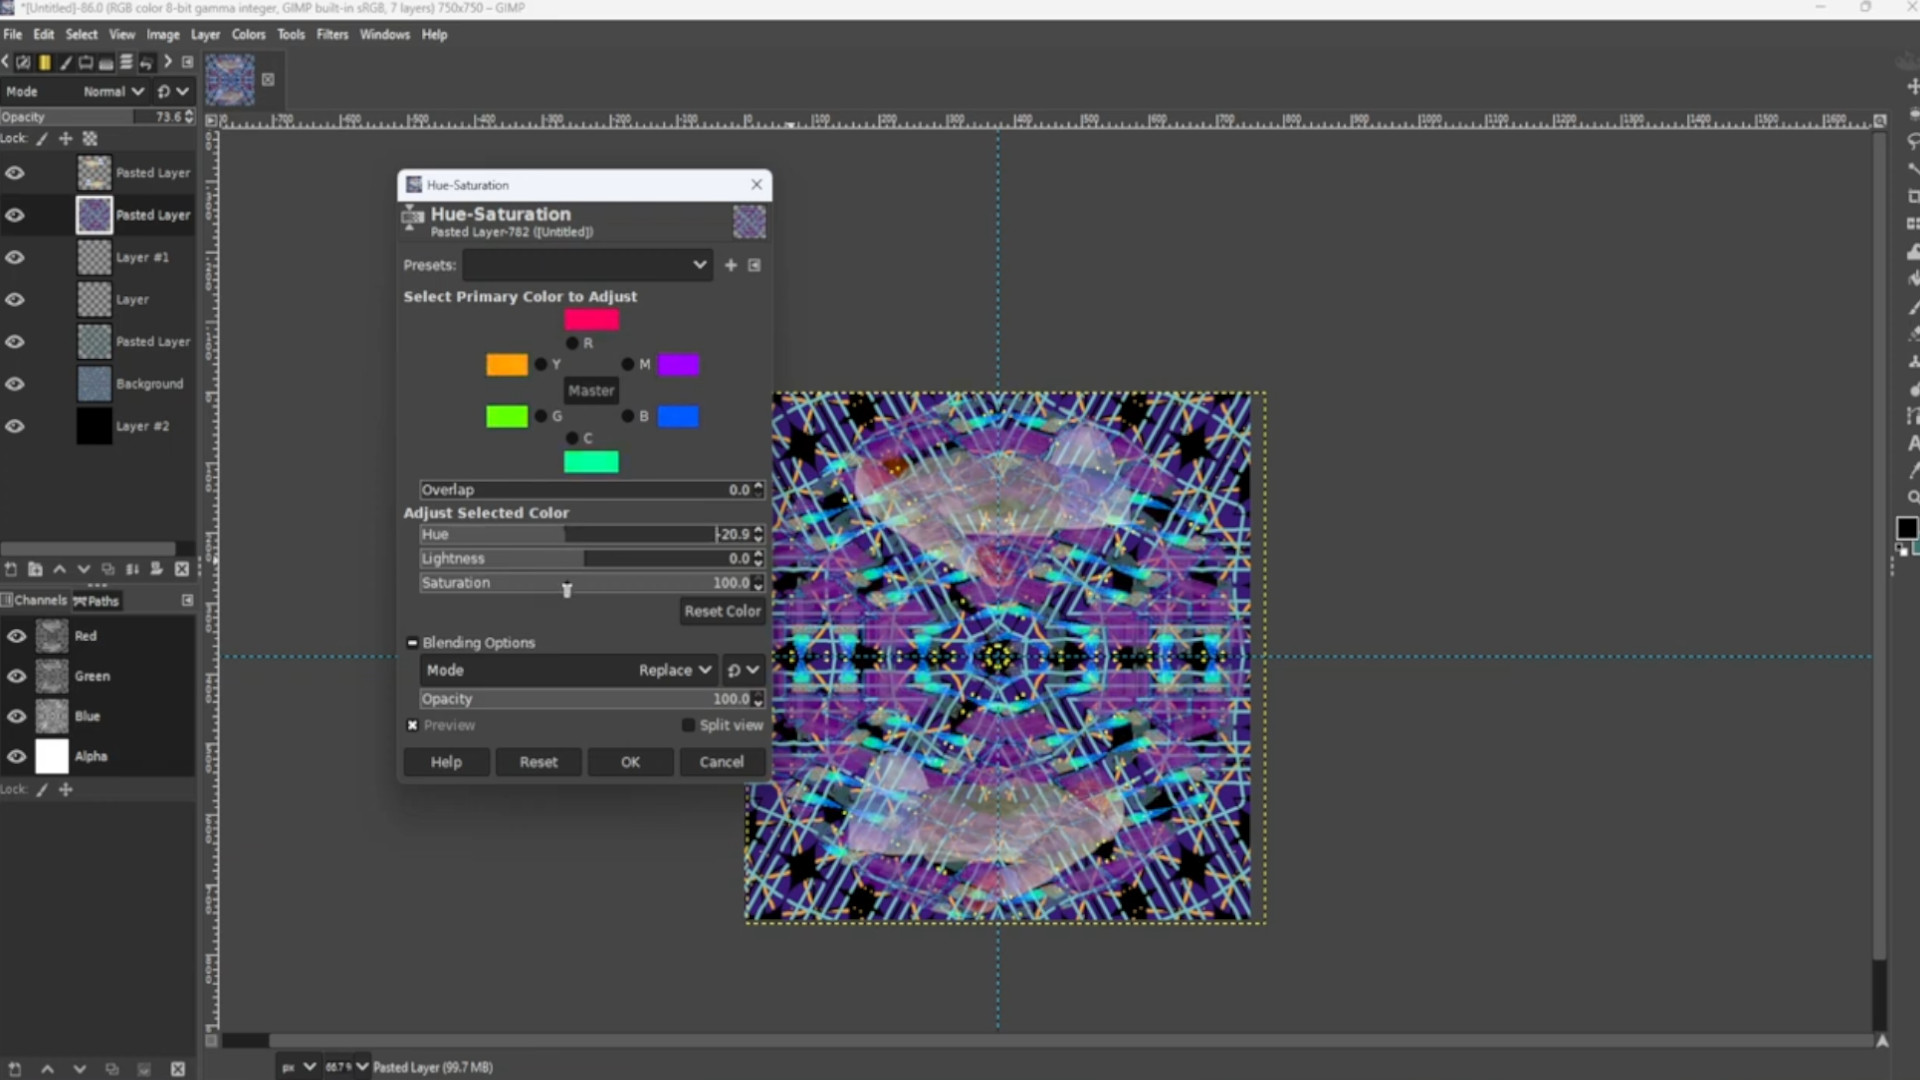
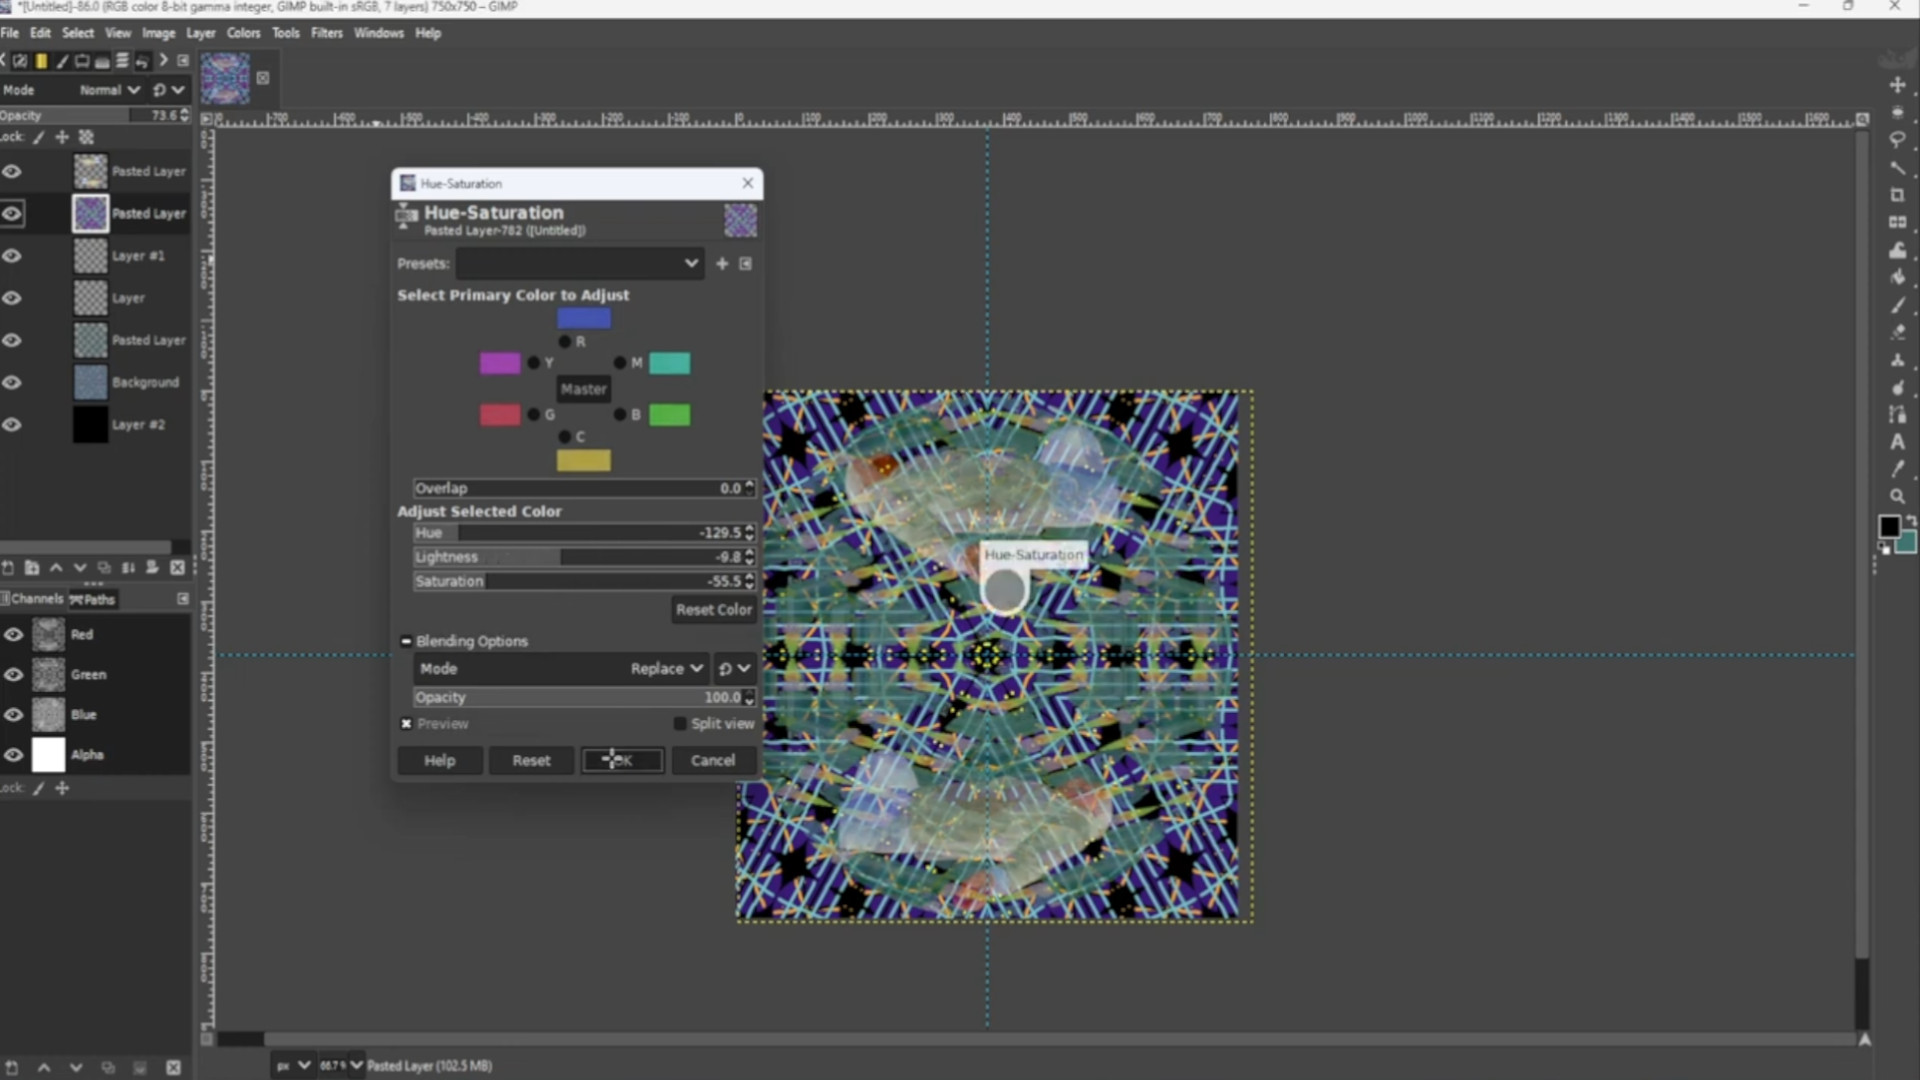
With the>>>FIRST LAYER SELECTED Go to>>>COLOURS>>>HUE SATURATION and mess about with the options to taste or any of the>>>COLOUR OPTIONS.
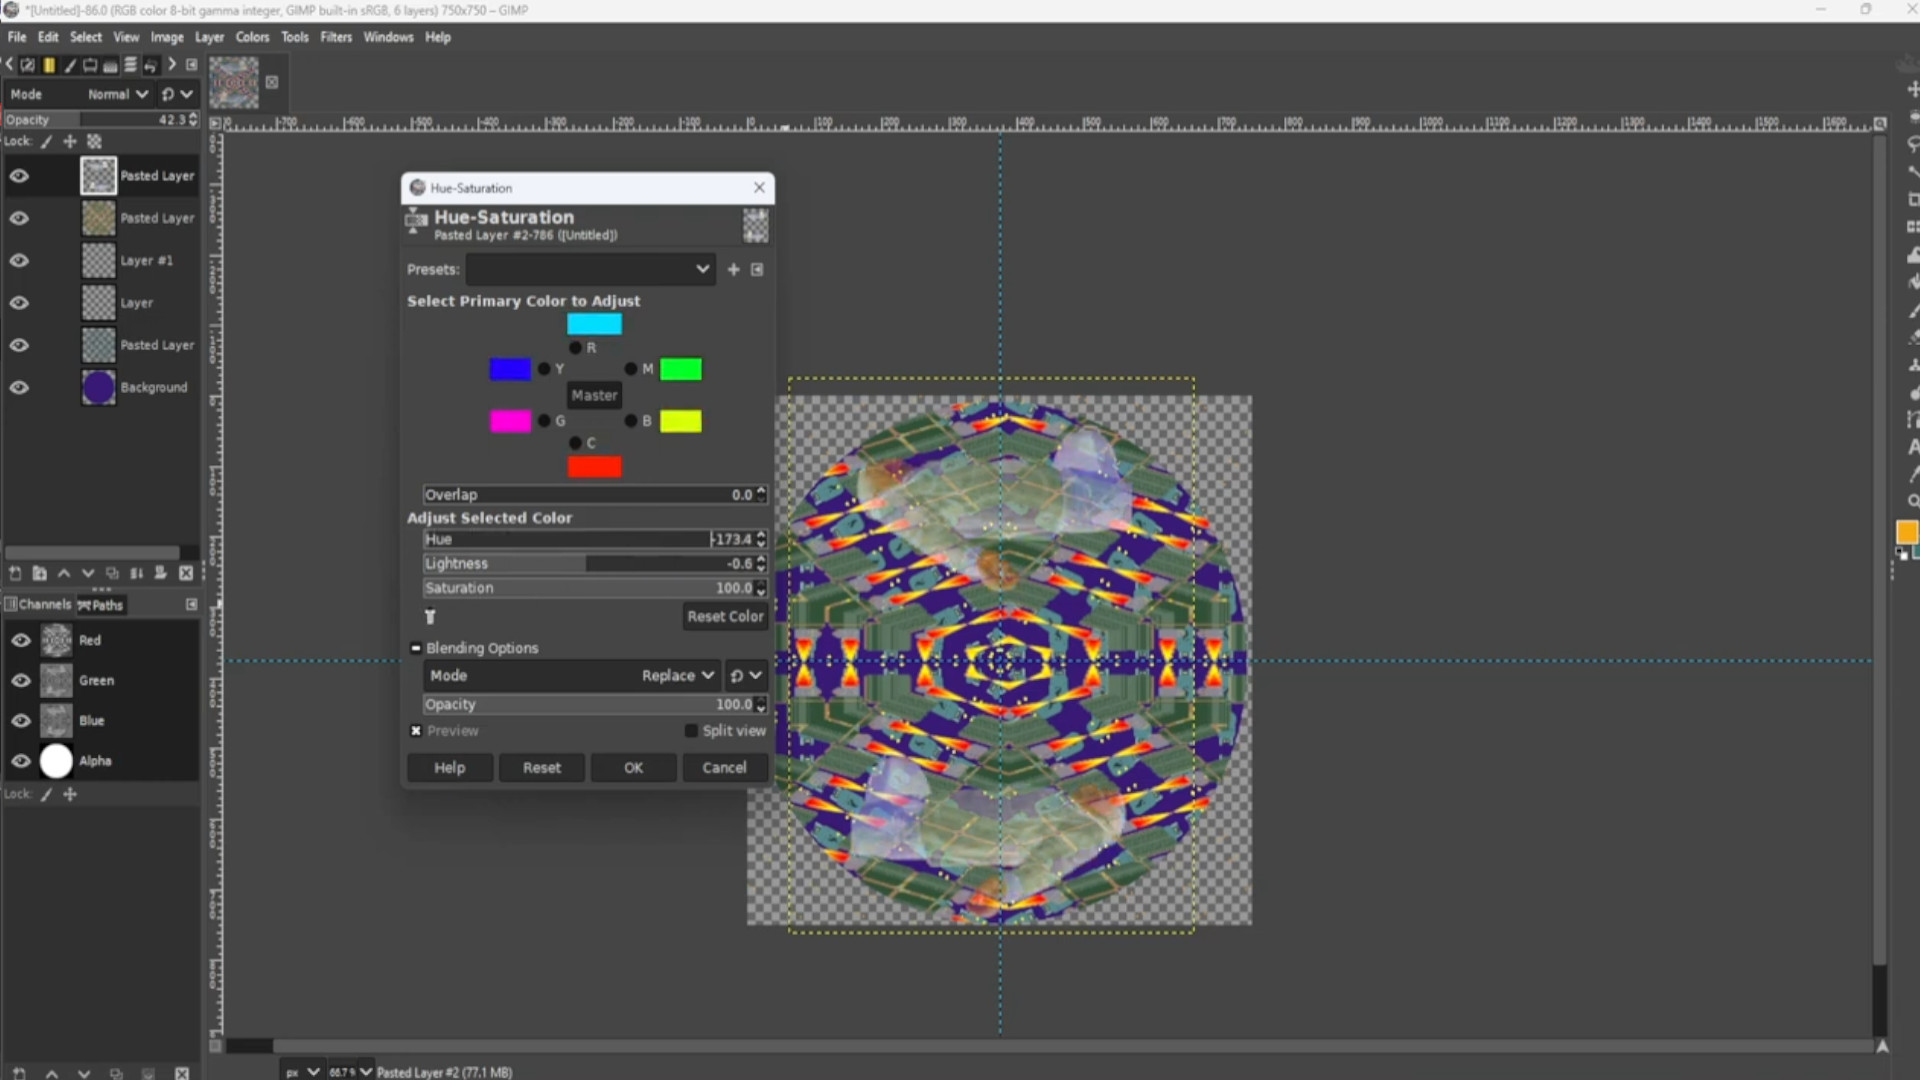
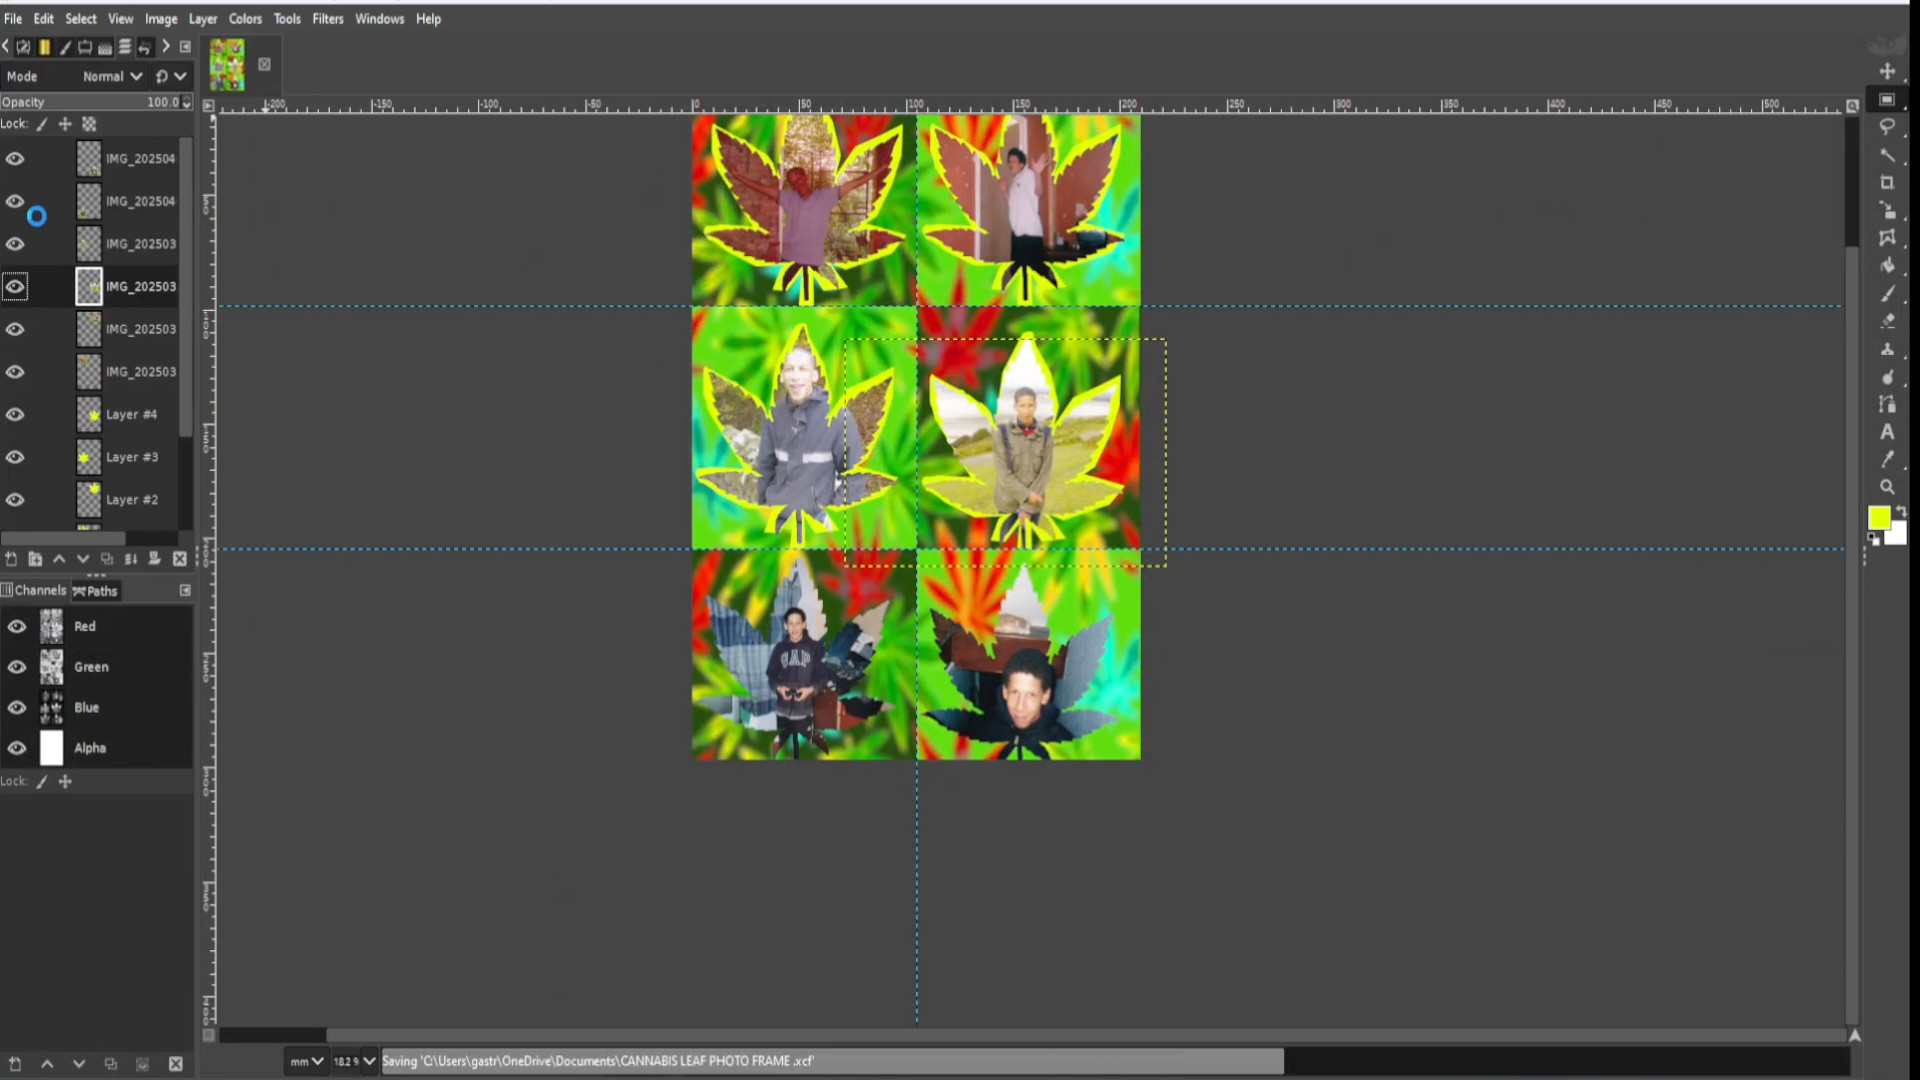
>>>REPEAT>>>STEP>>>23>>>SELECTING the>>>SECOND>>>FOURTH and>>>FIFTH LAYER one at a time before going to>>>FILTERS>>>REPEAT HUE SATURATION to change to same settings as step 23.
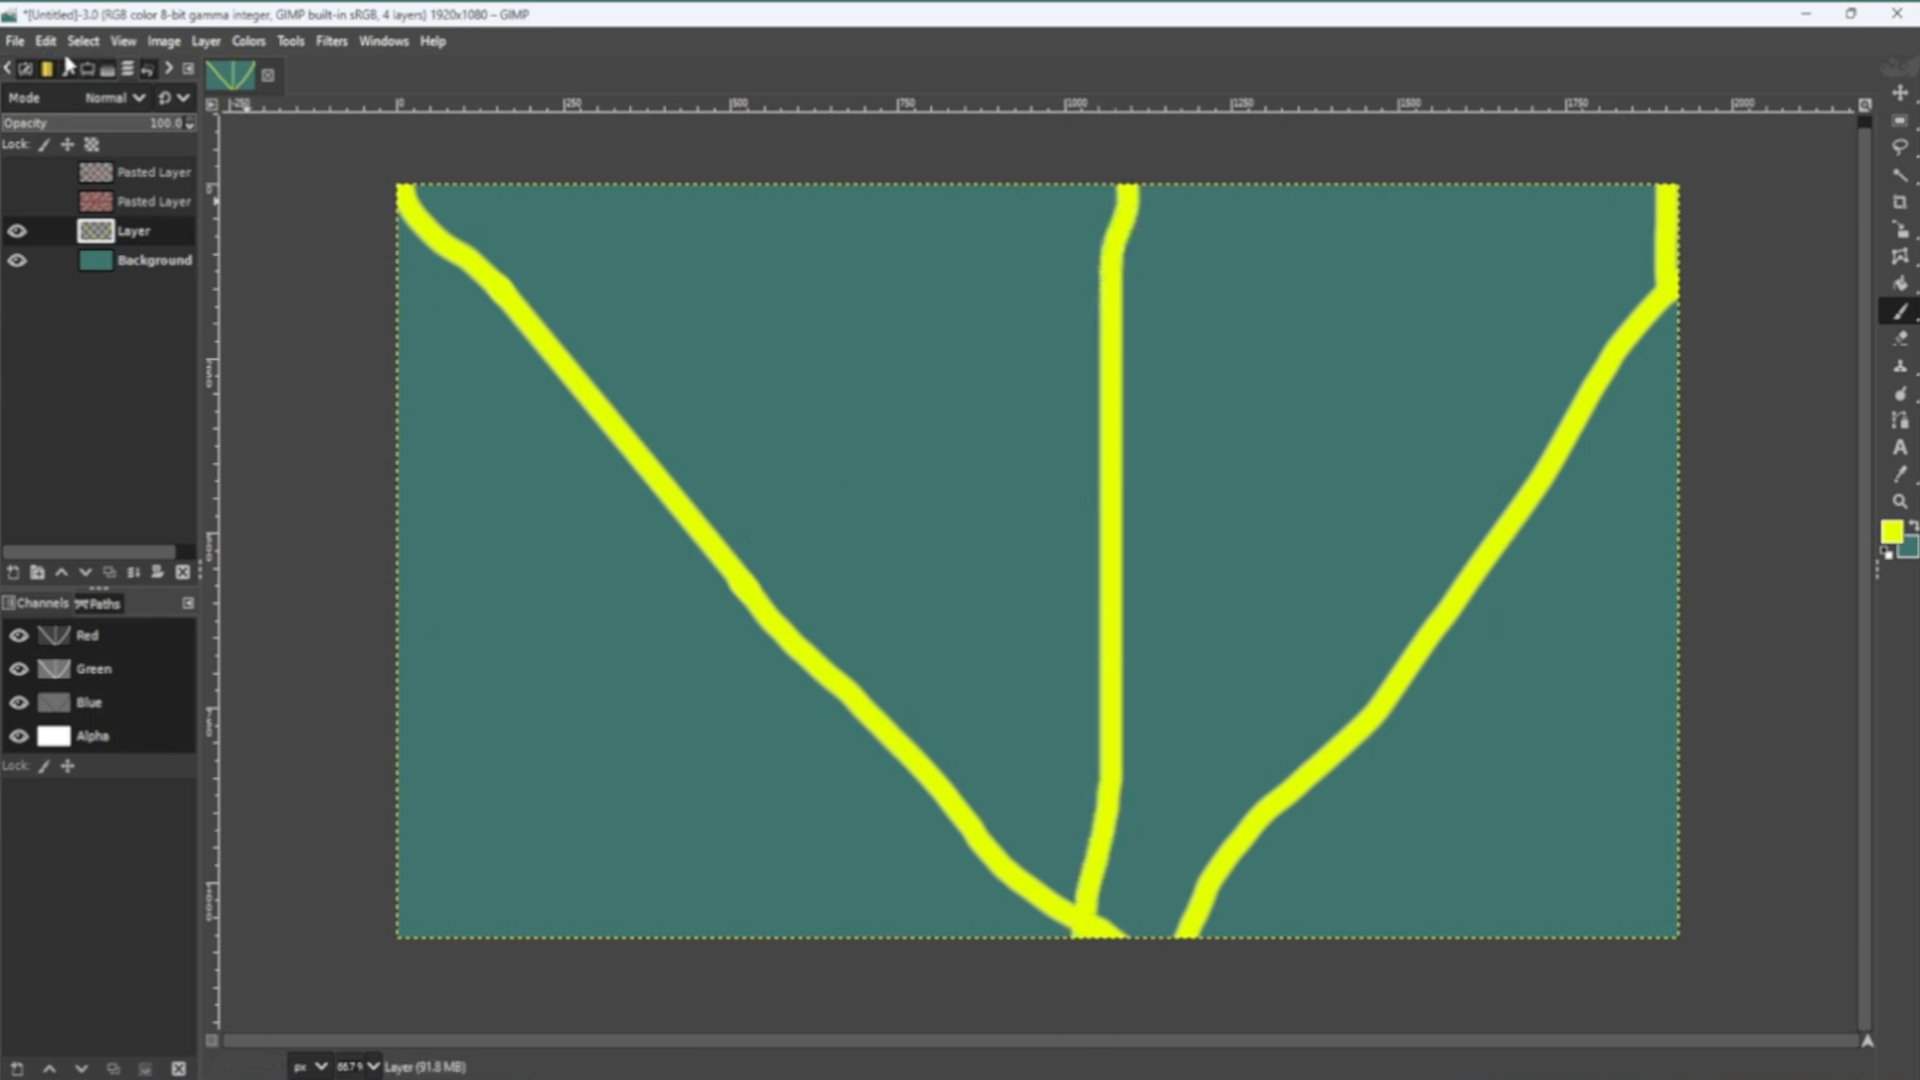
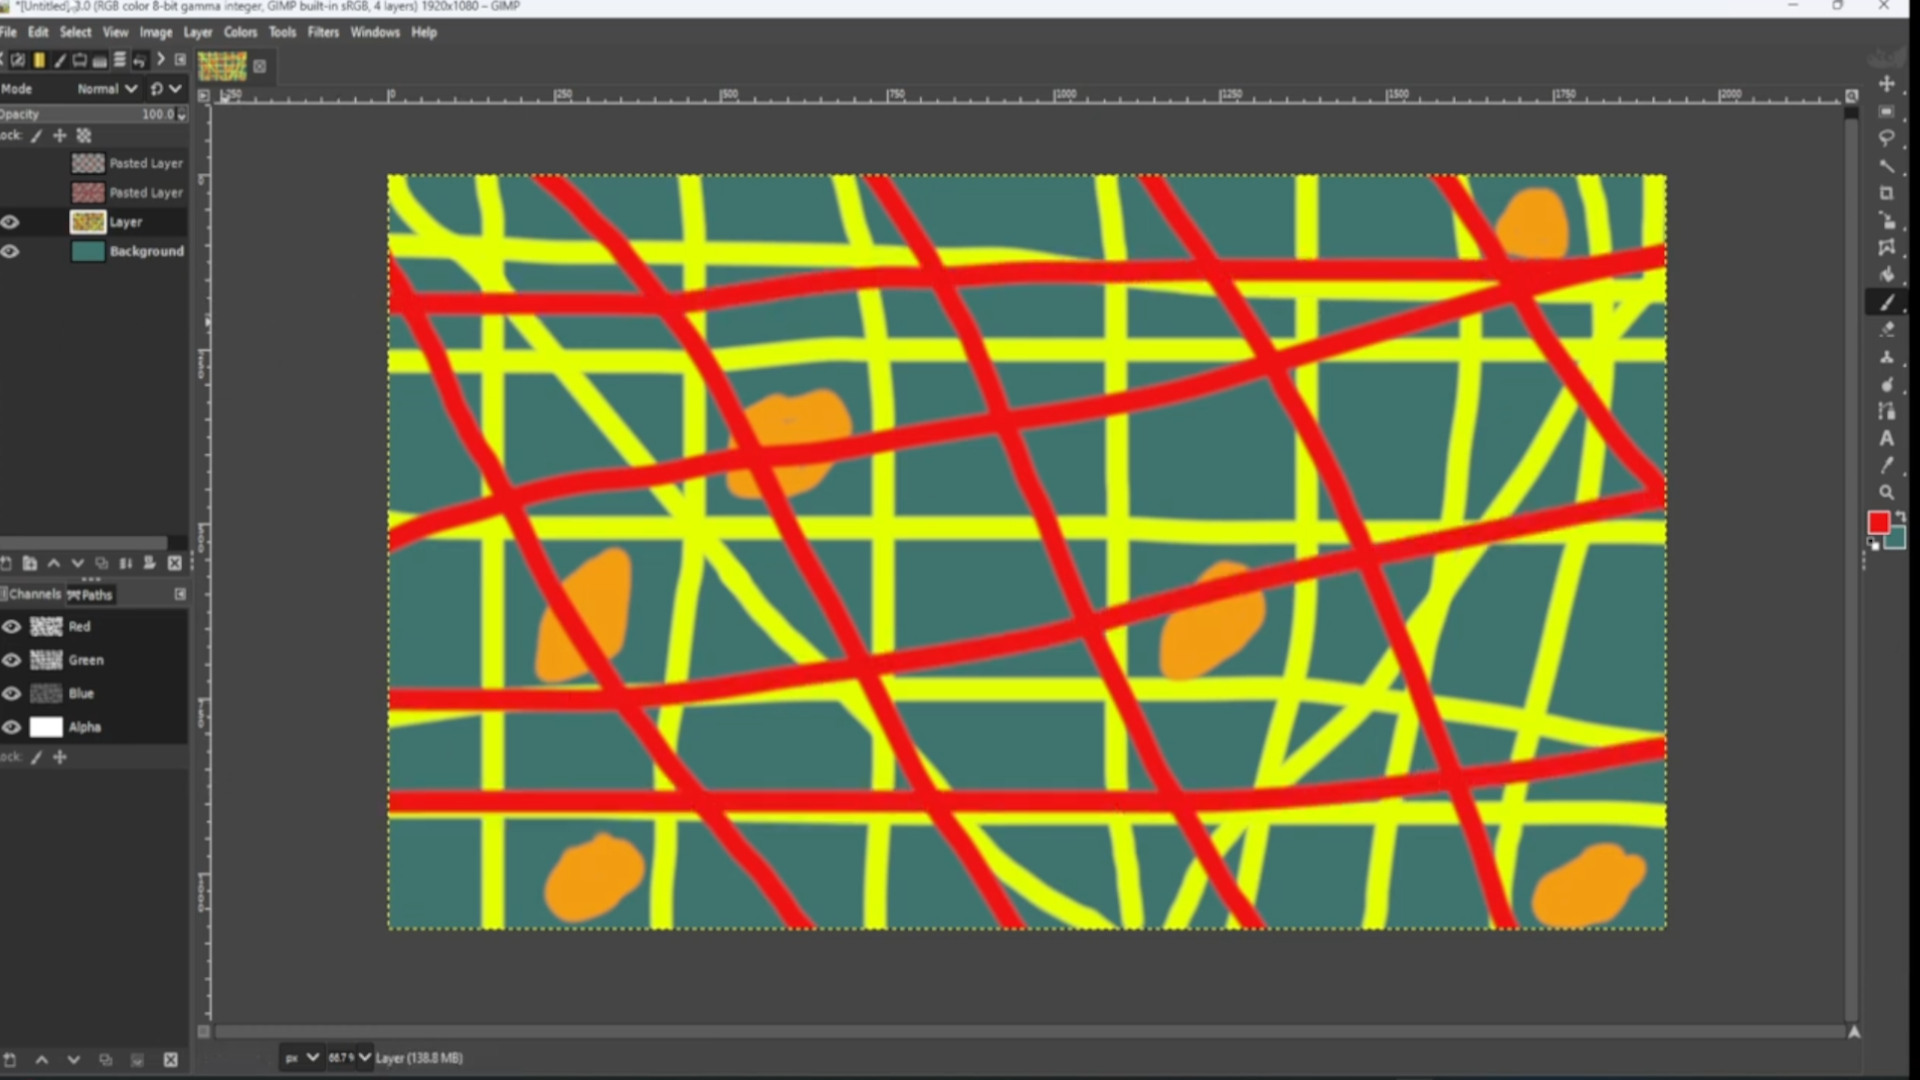
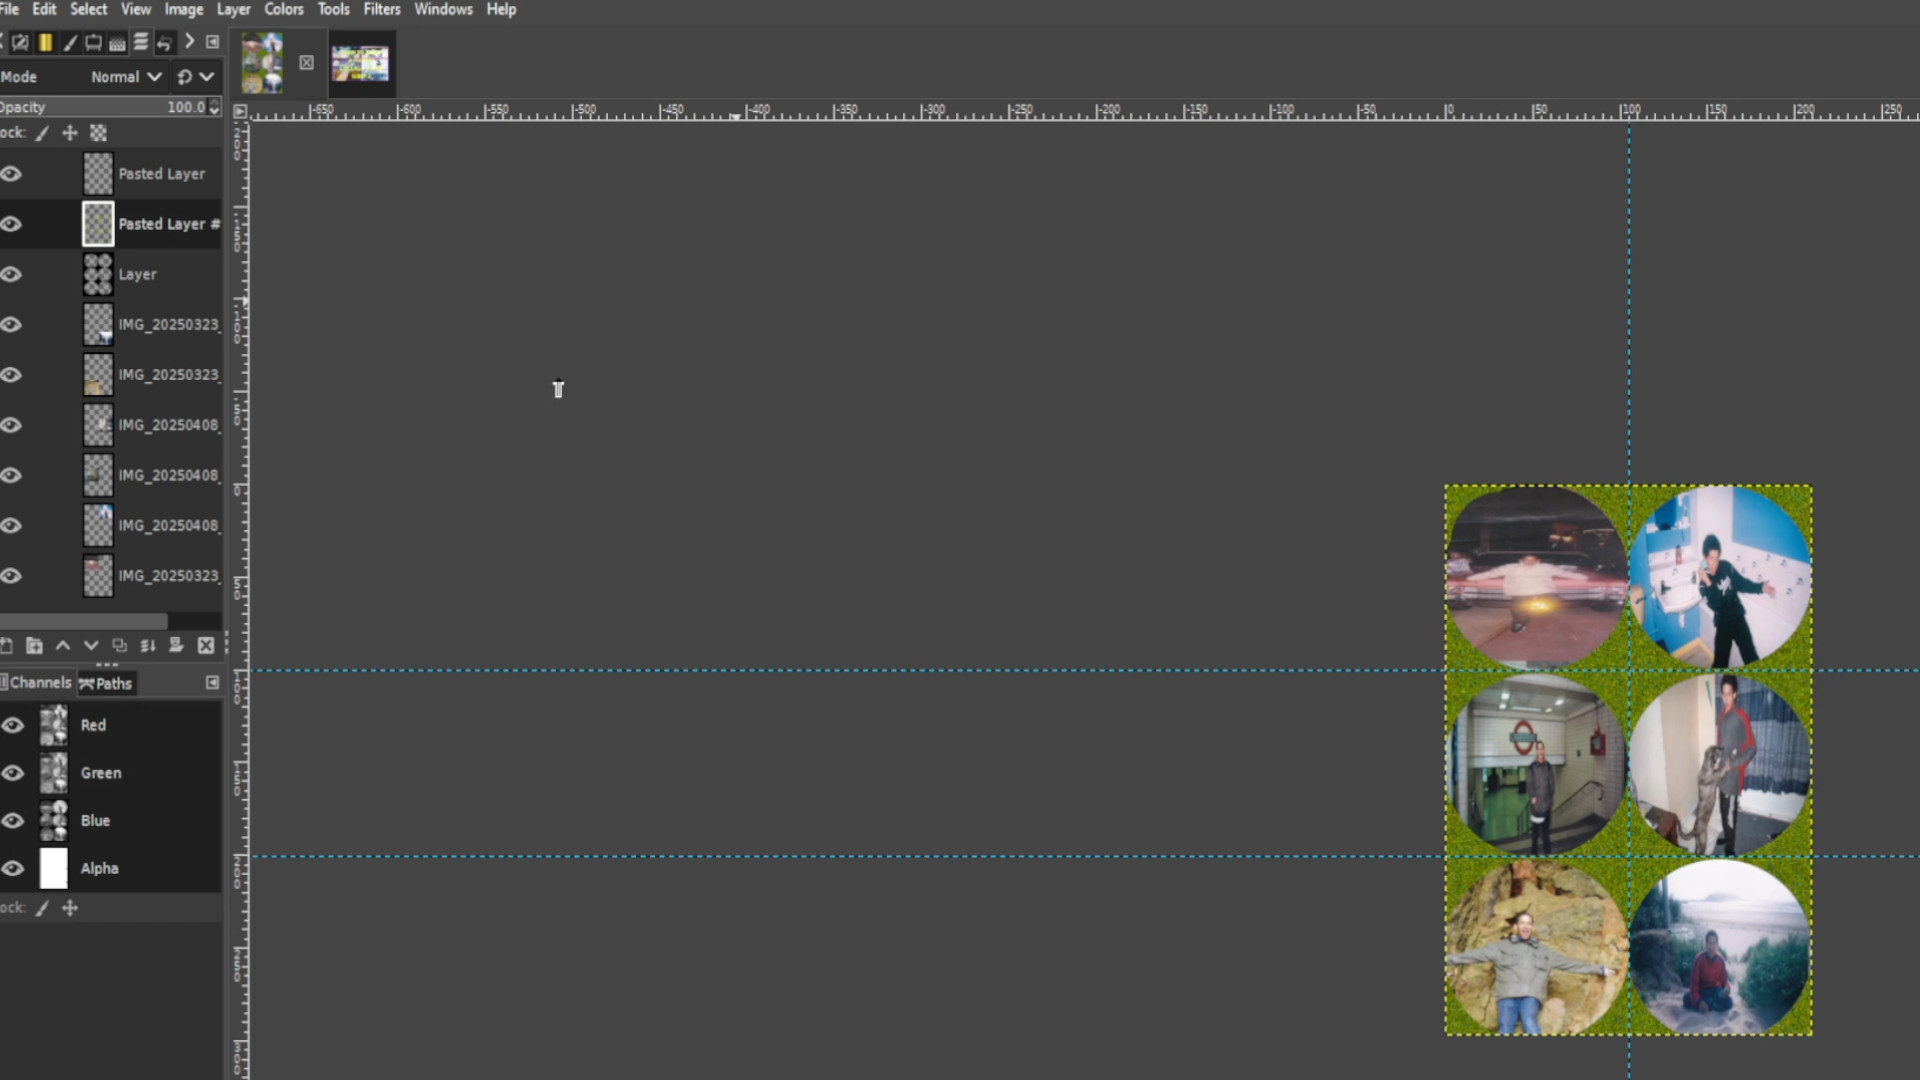
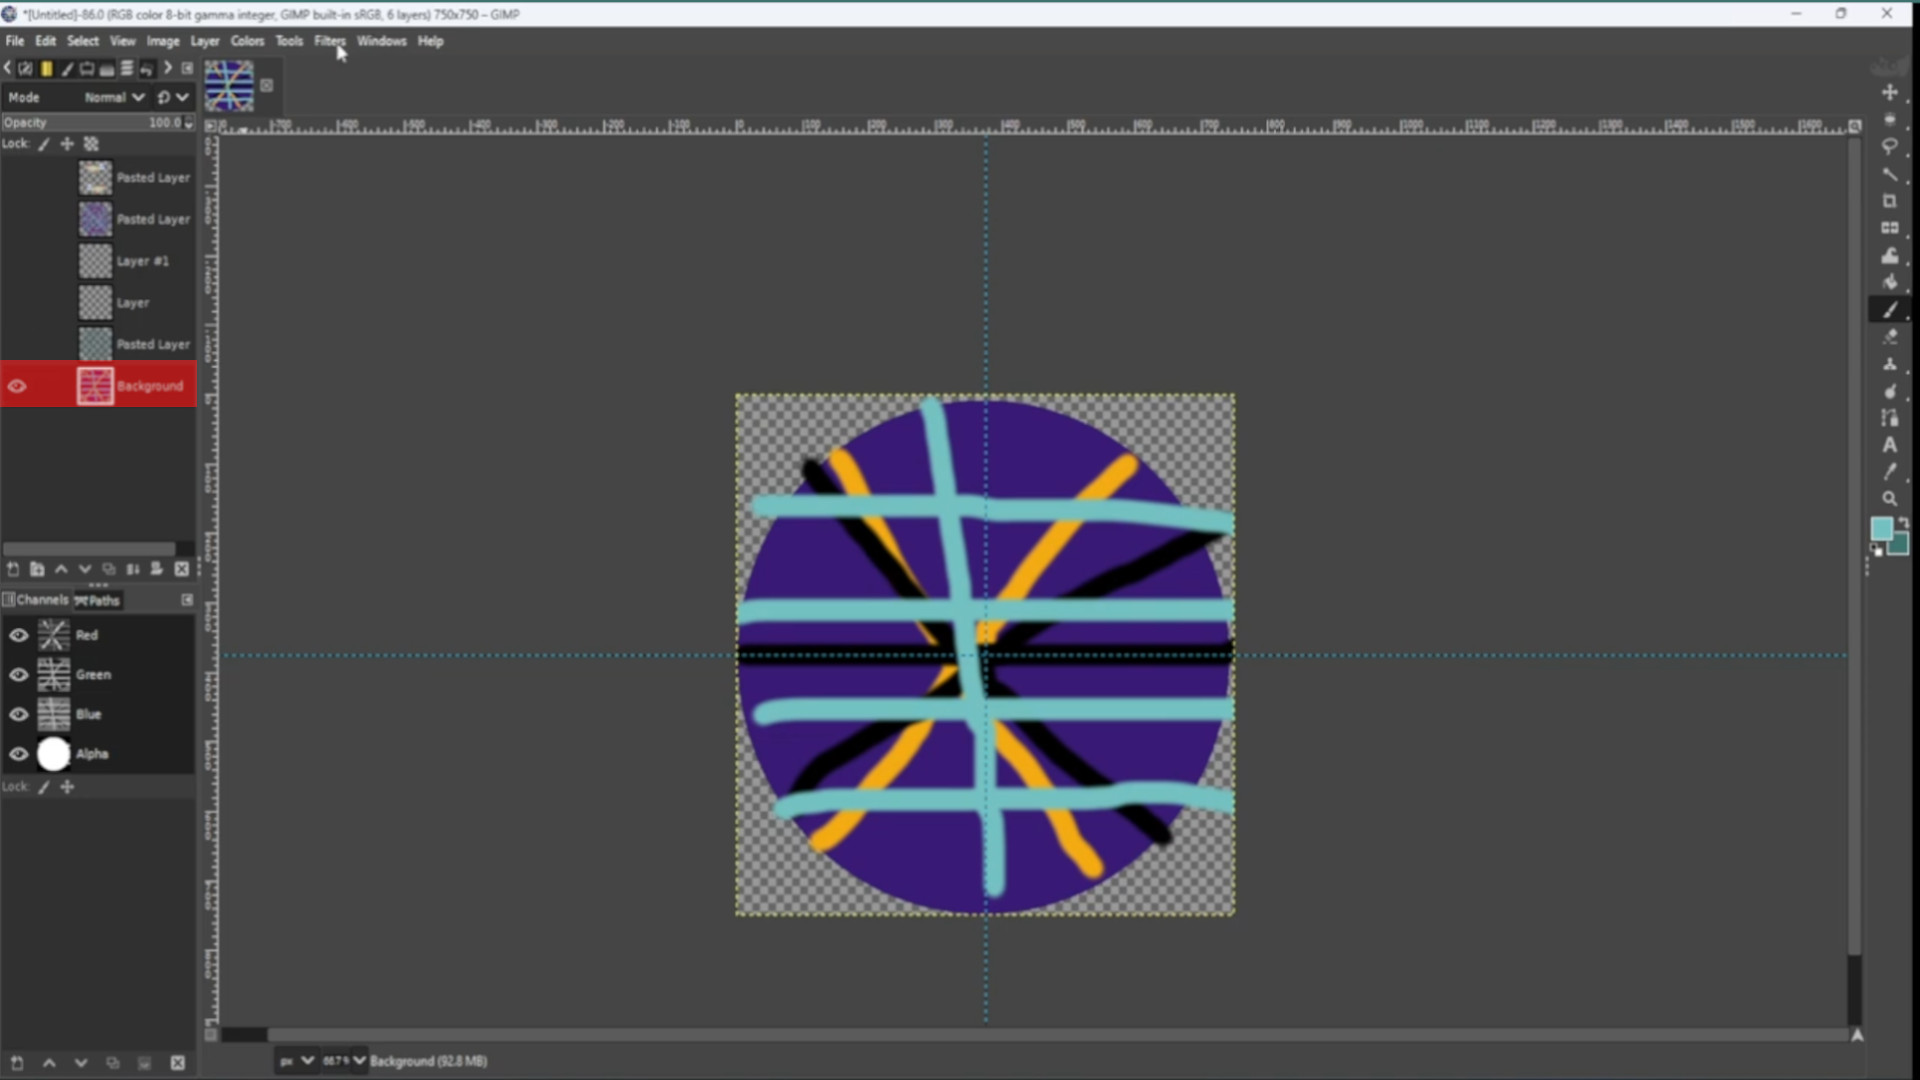
With the>>>BOTTOM LAYER SELECTED and>>>SELECTING A COLOUR use the>>>PAINT BRUSH to>>>DRAW LINES and>>>REPEAT with a>>>COUPLE OF COLOURS or as many as you want.
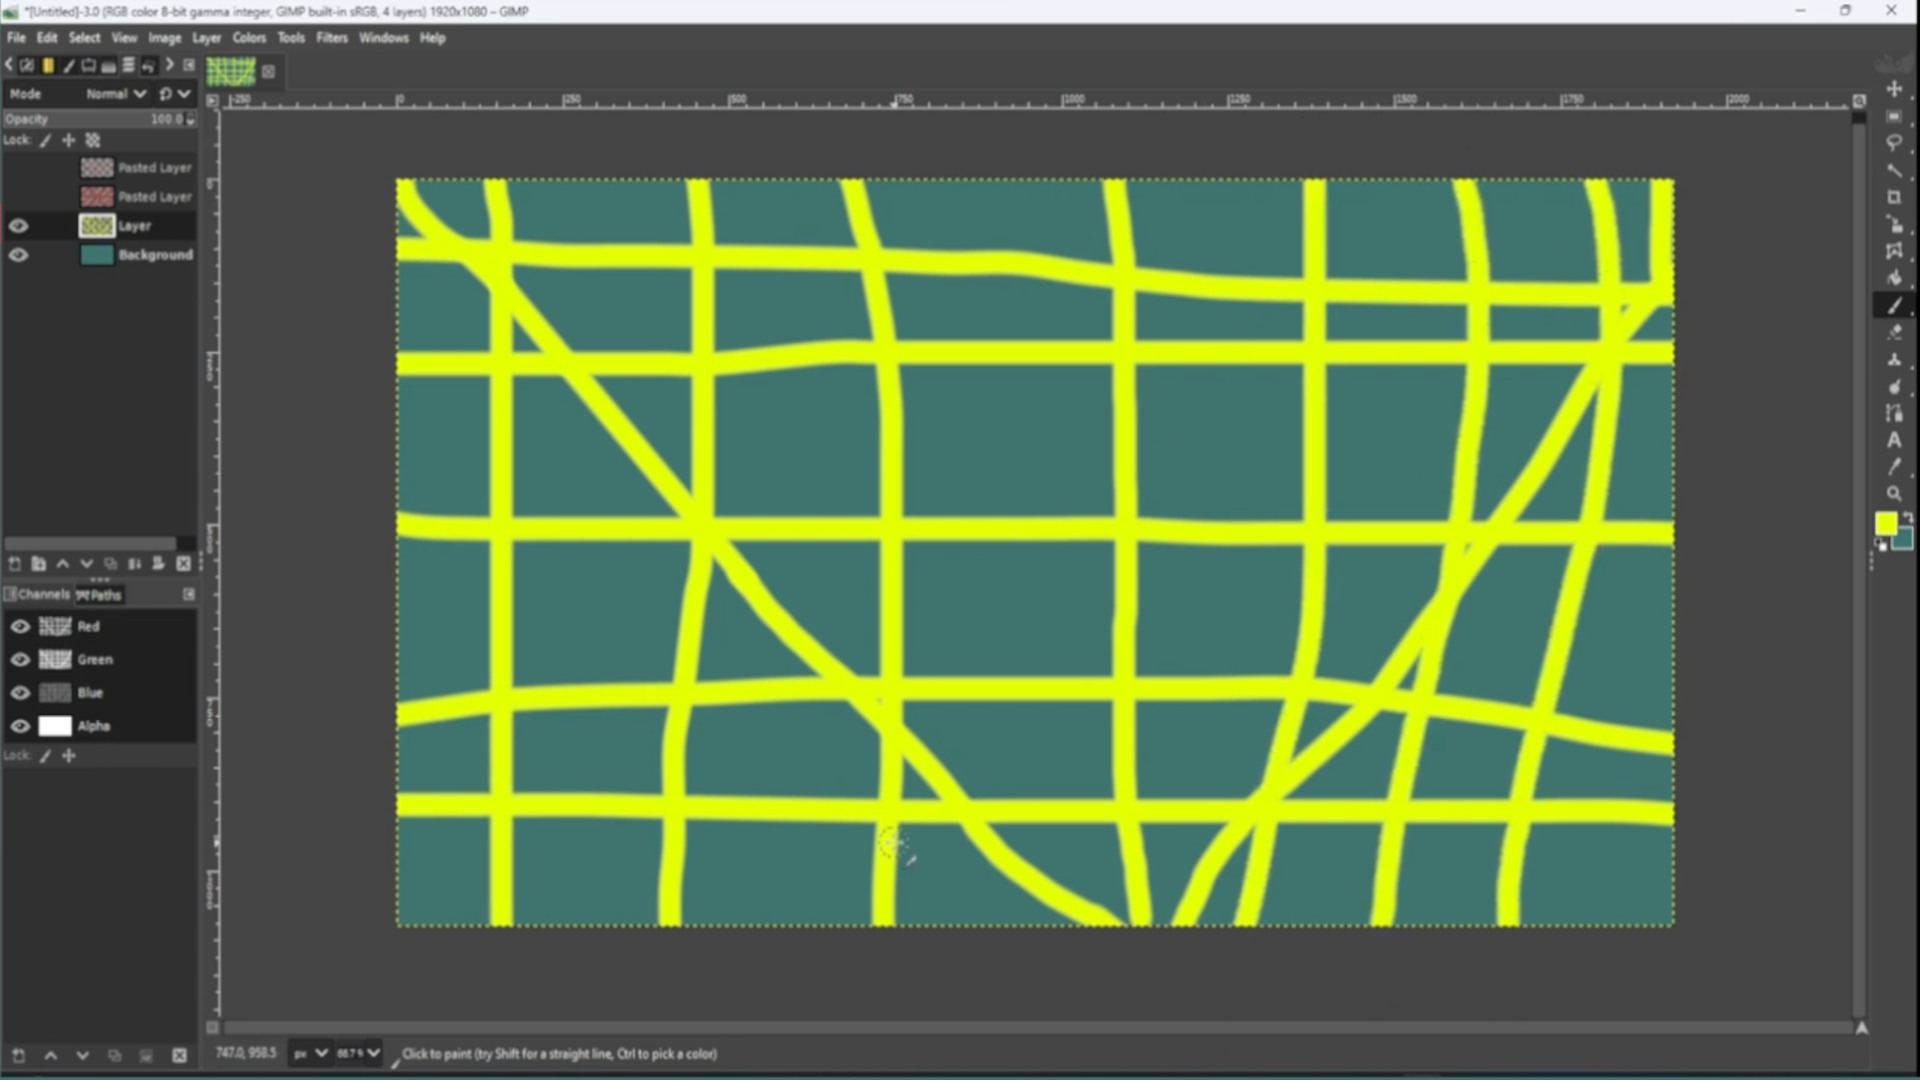
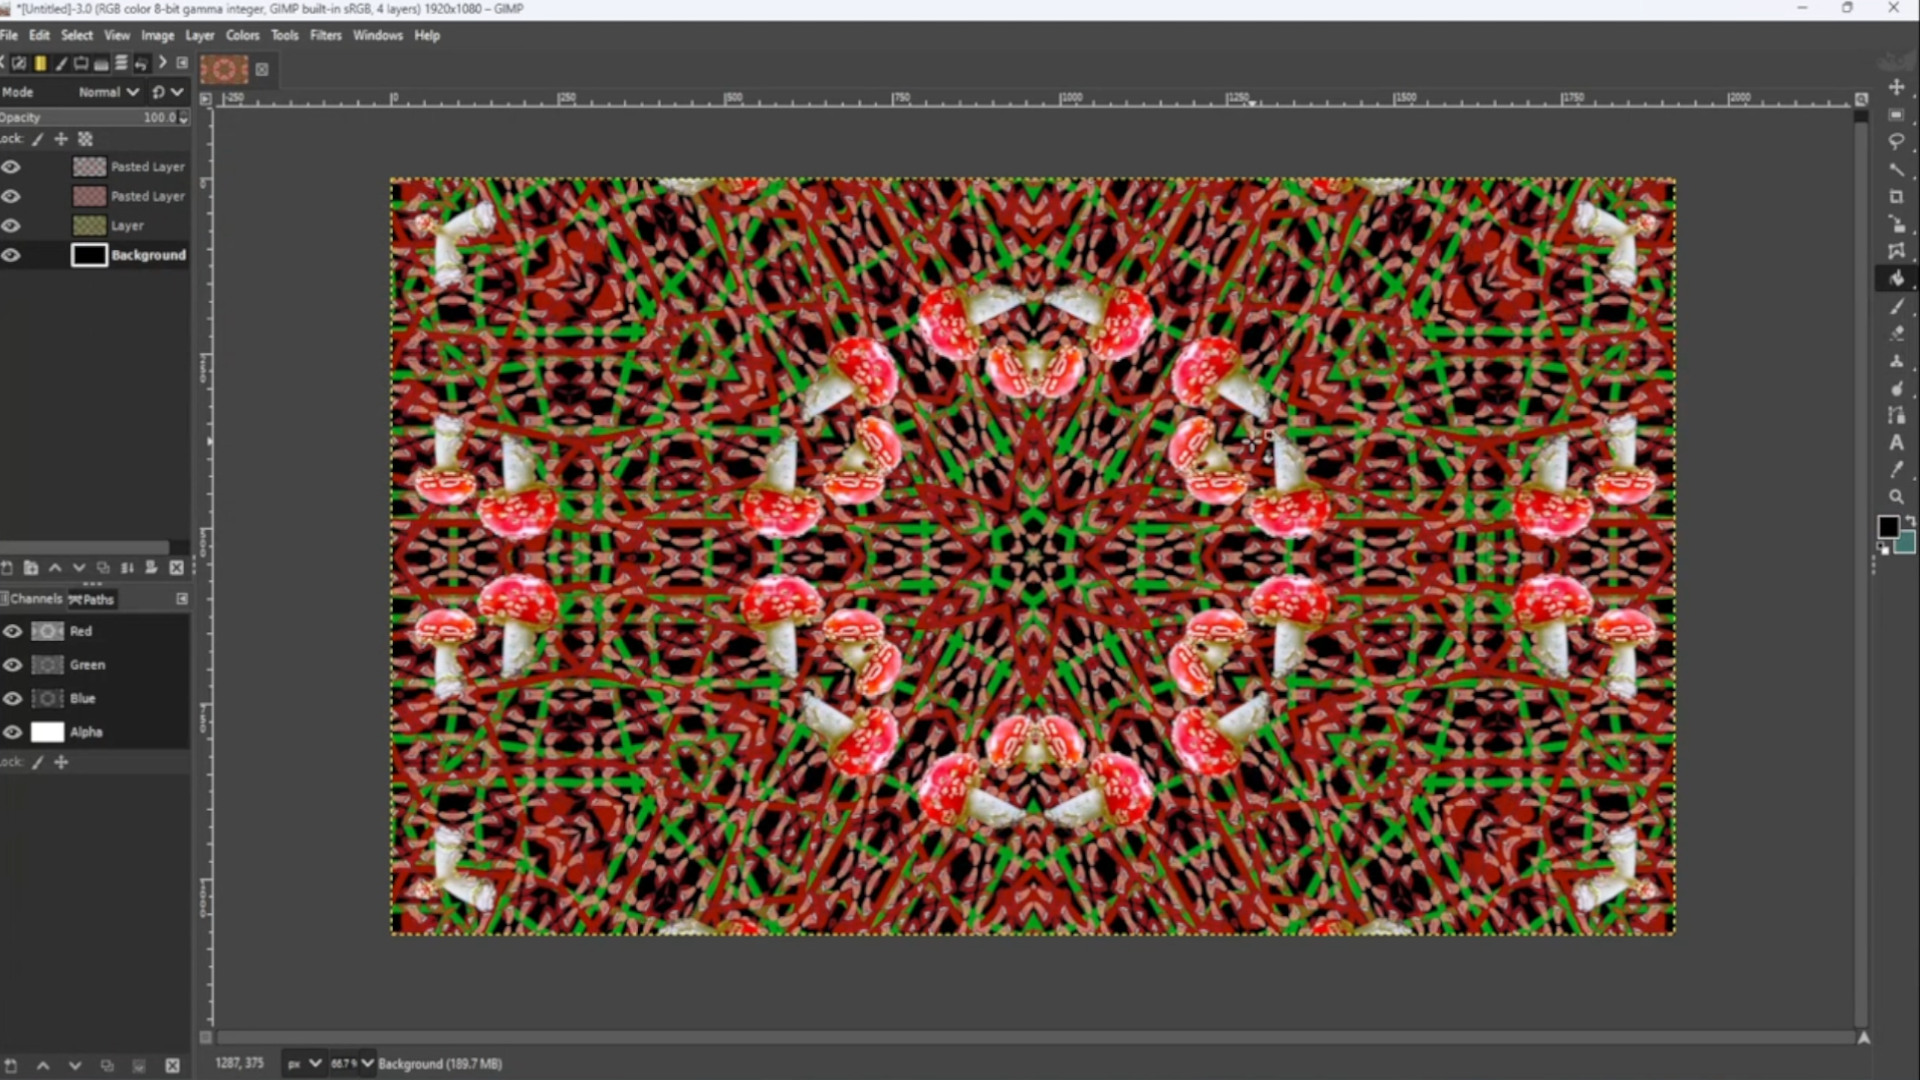
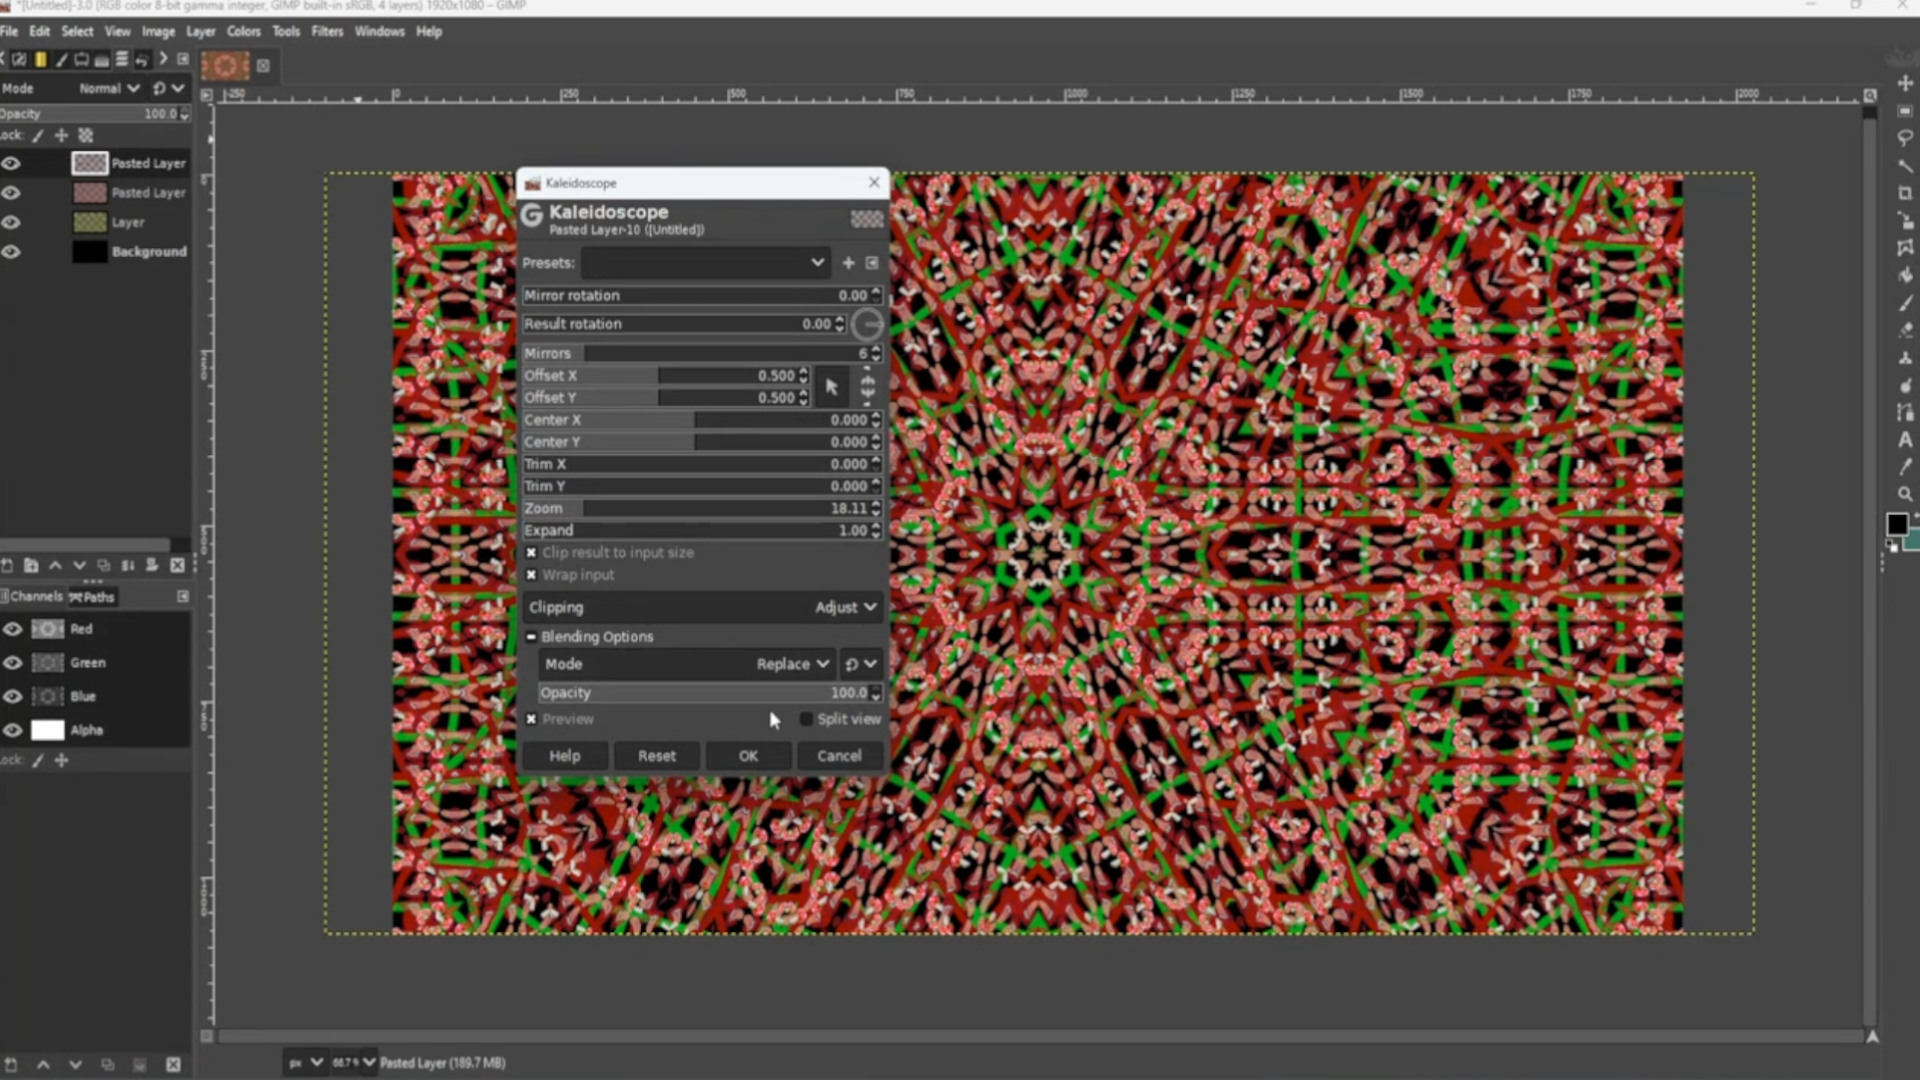
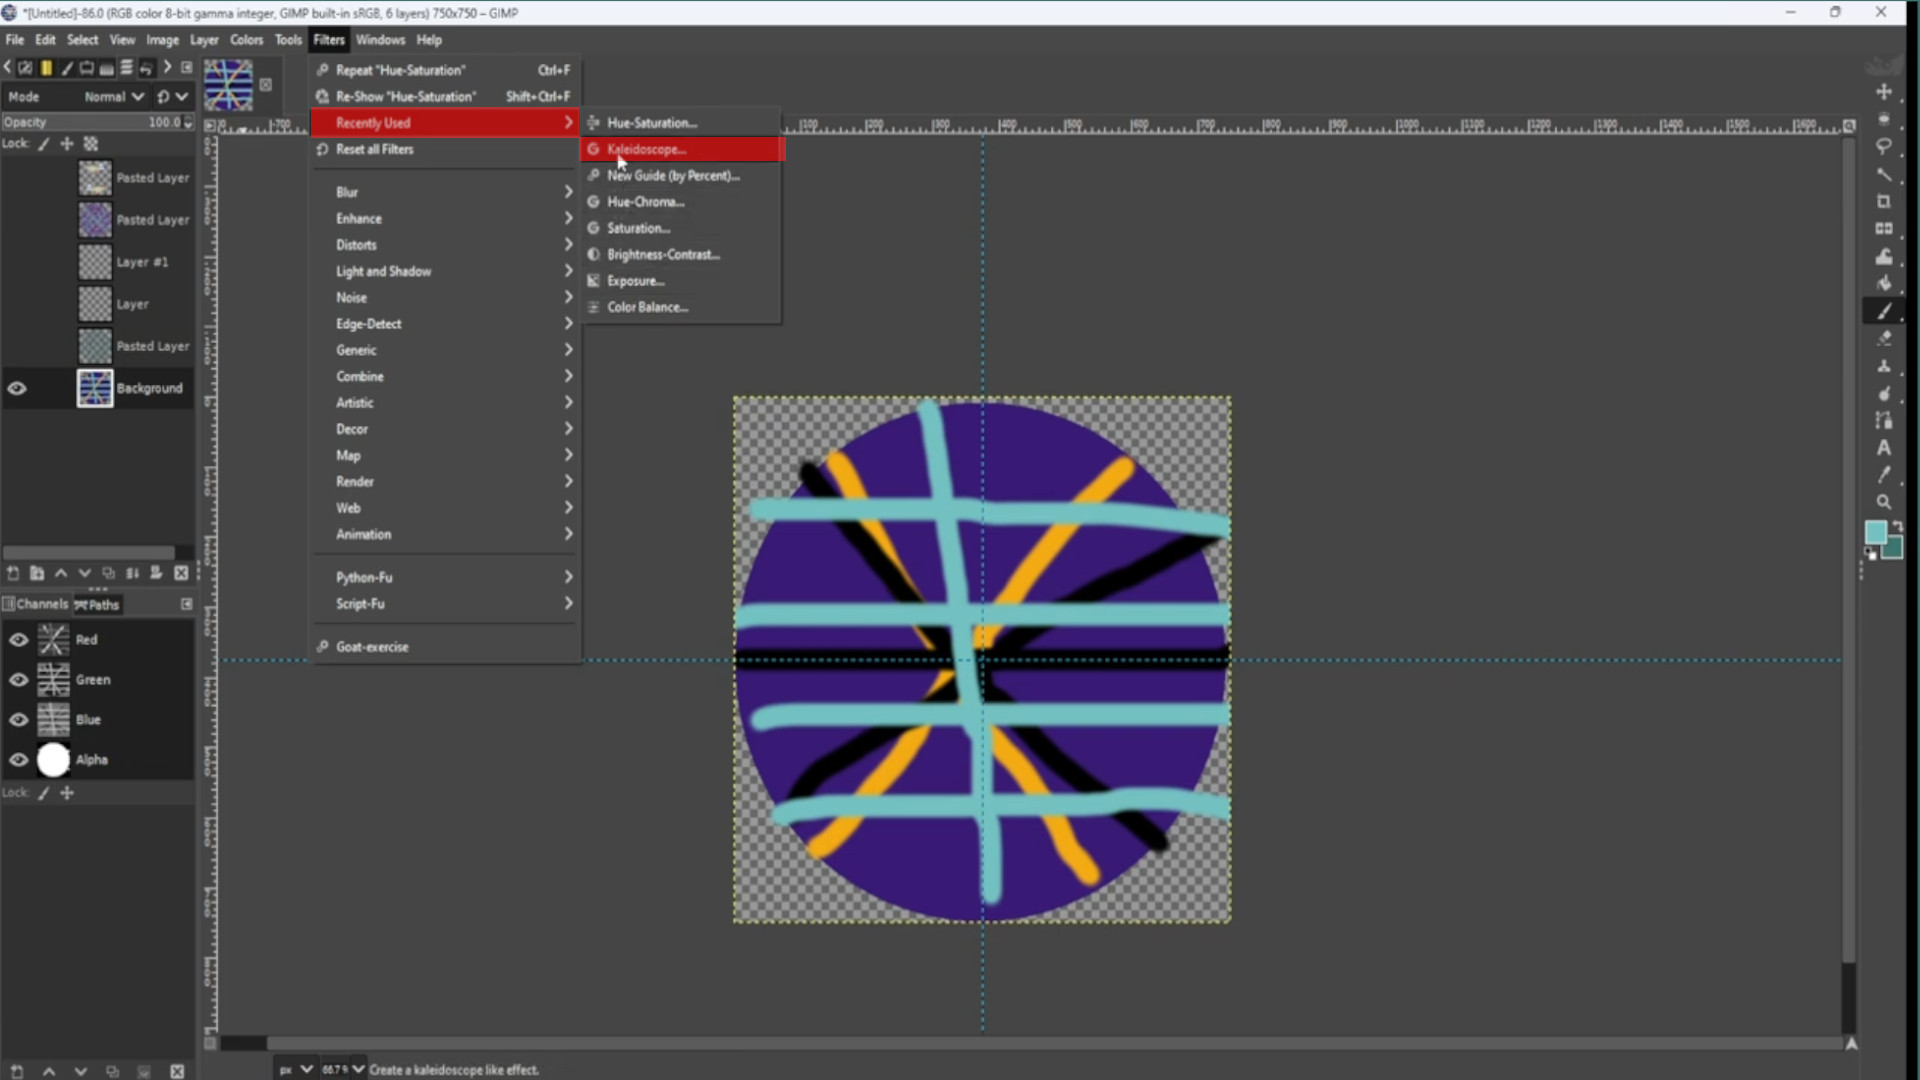
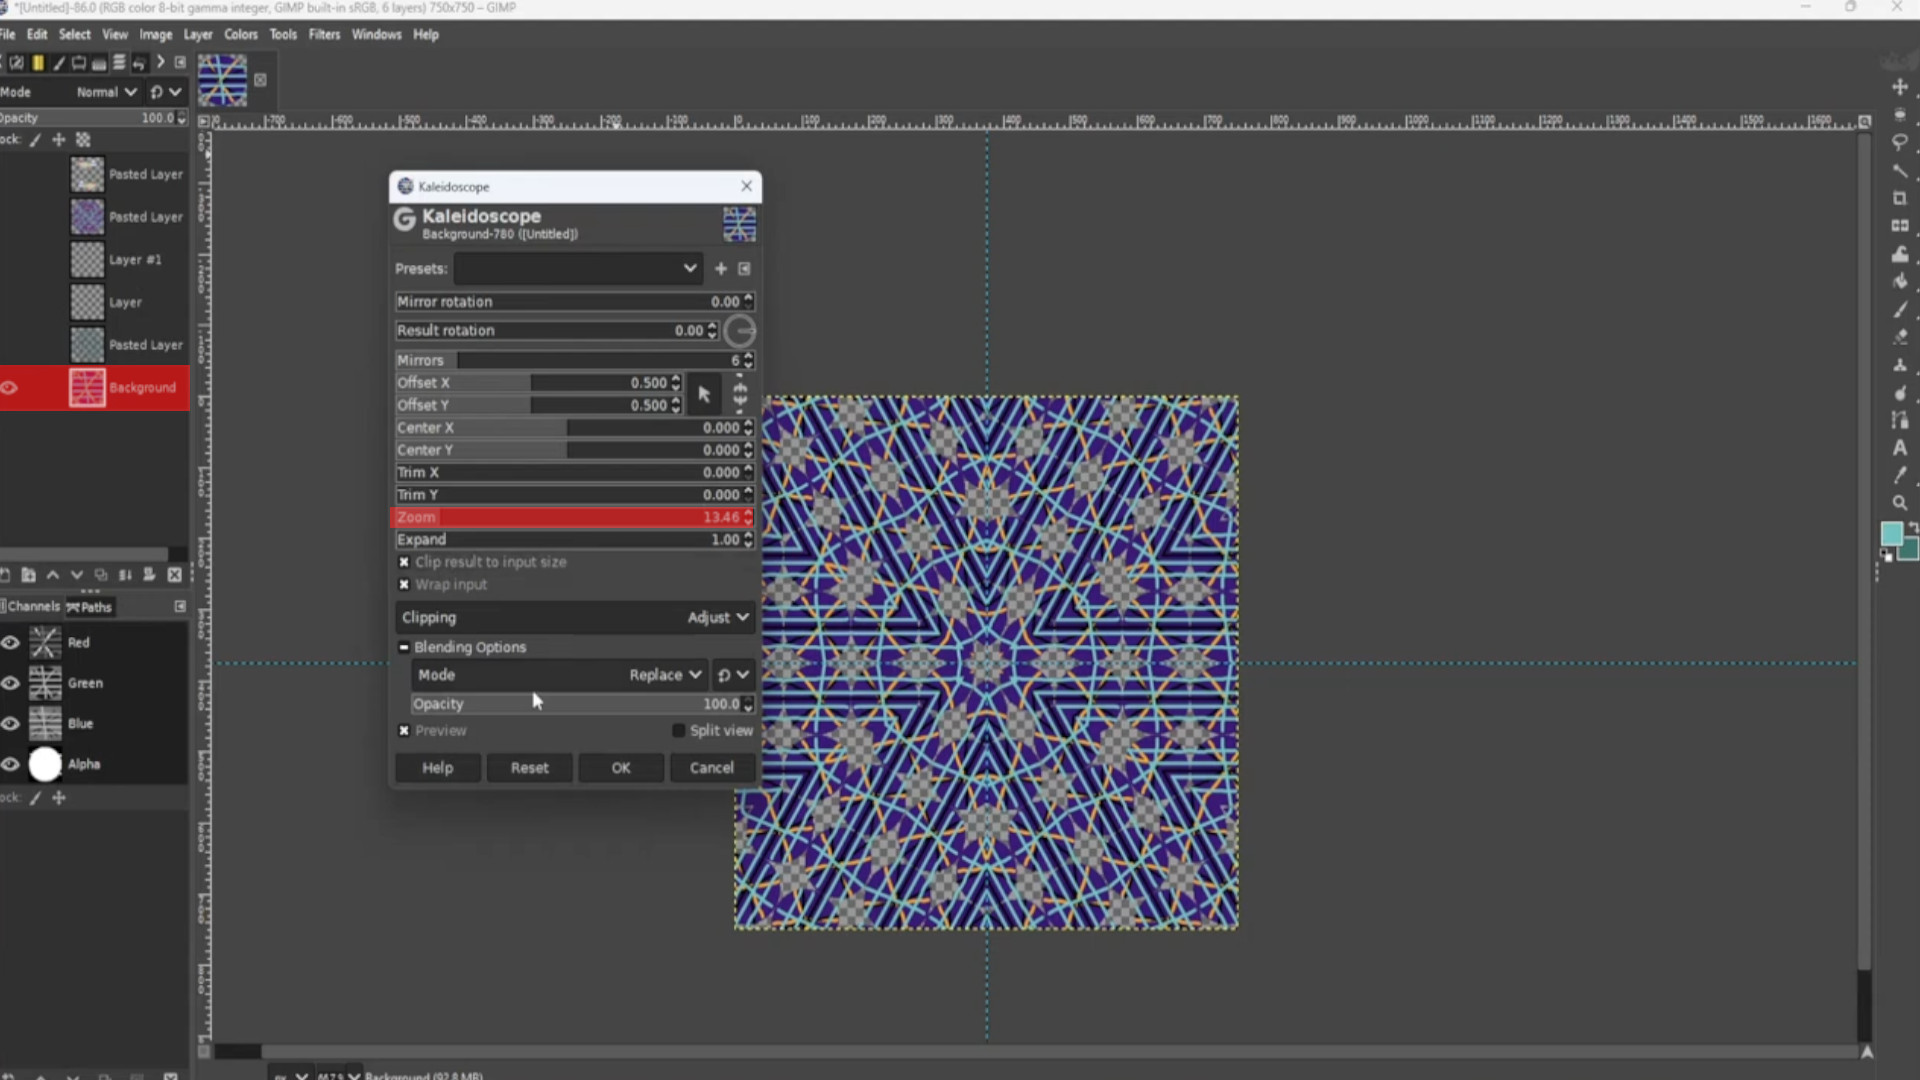
With the>>>BOTTOM LAYER SELECTED go to>>>FILTERS>>>RECENTLY USED>>>KALEIDOSCOPE and change to taste using the>>>ZOOM OPTION to make a repeated pattern.
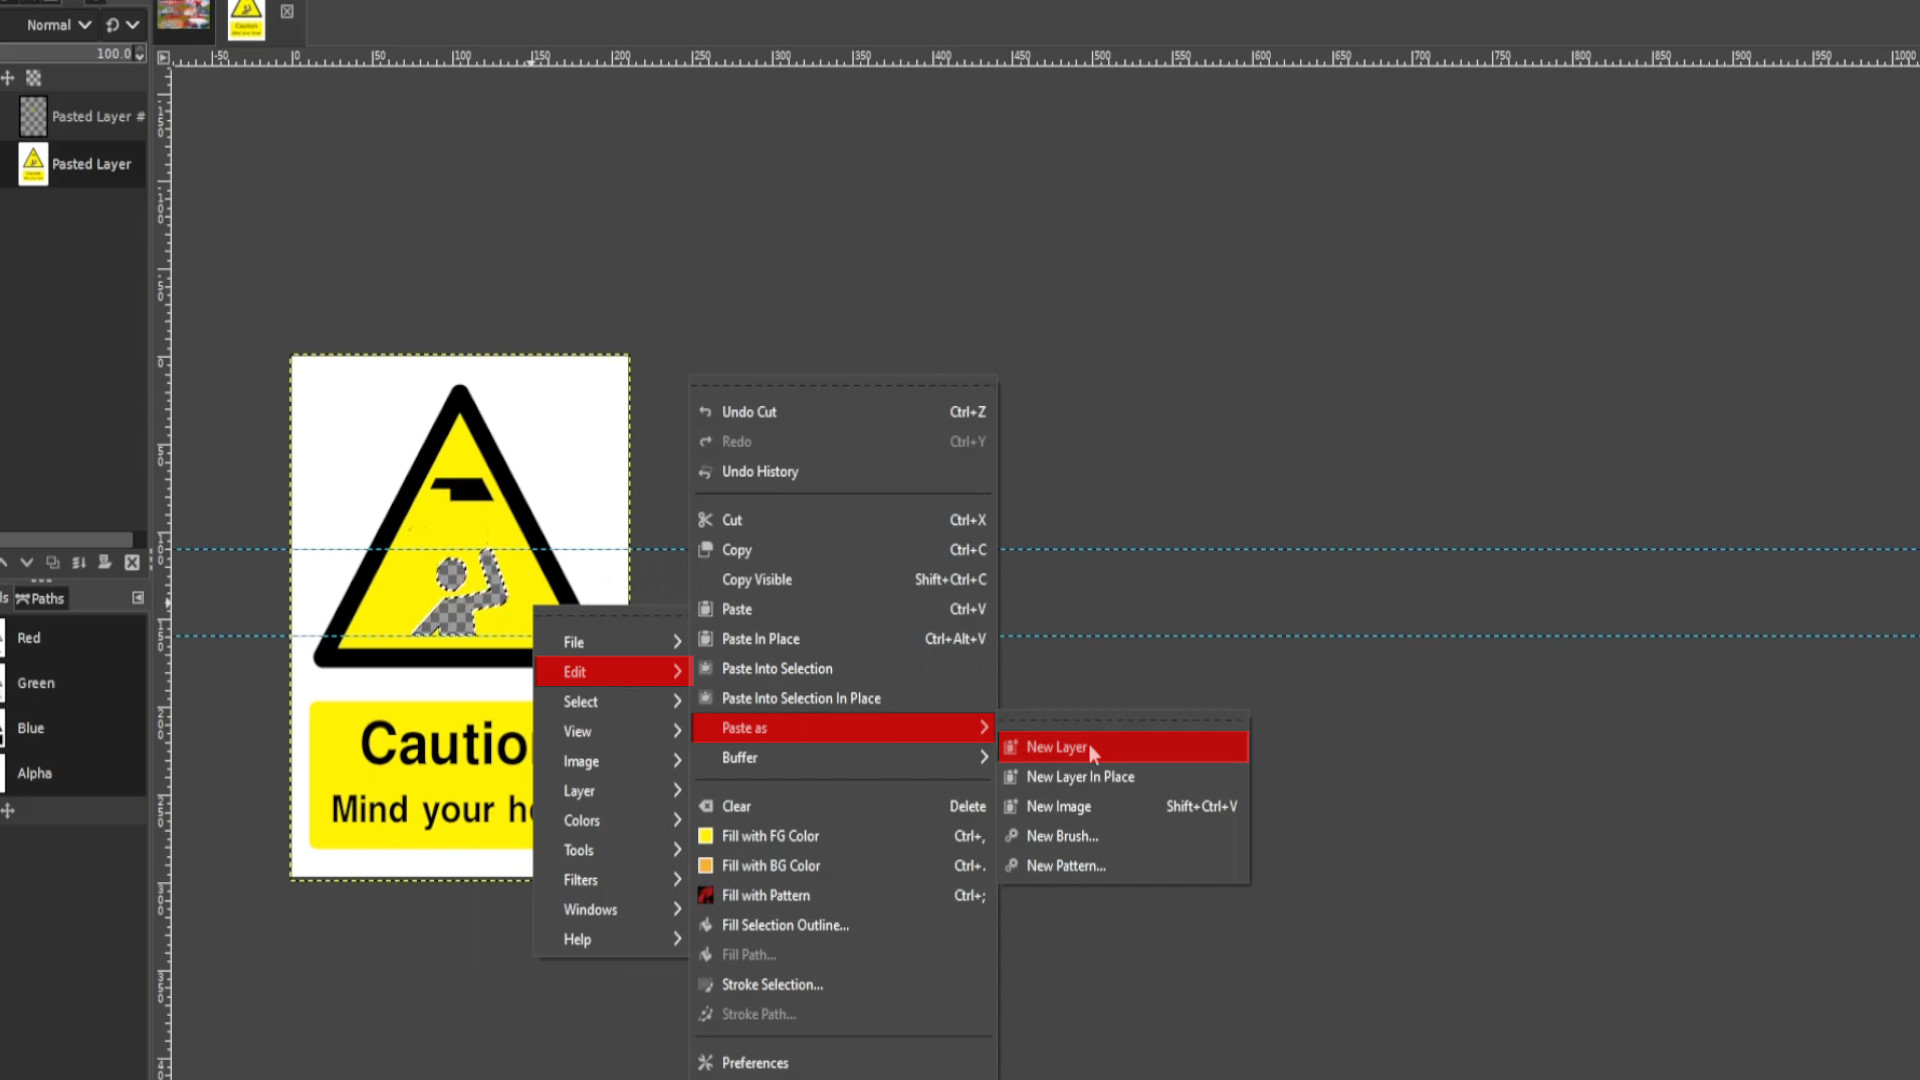
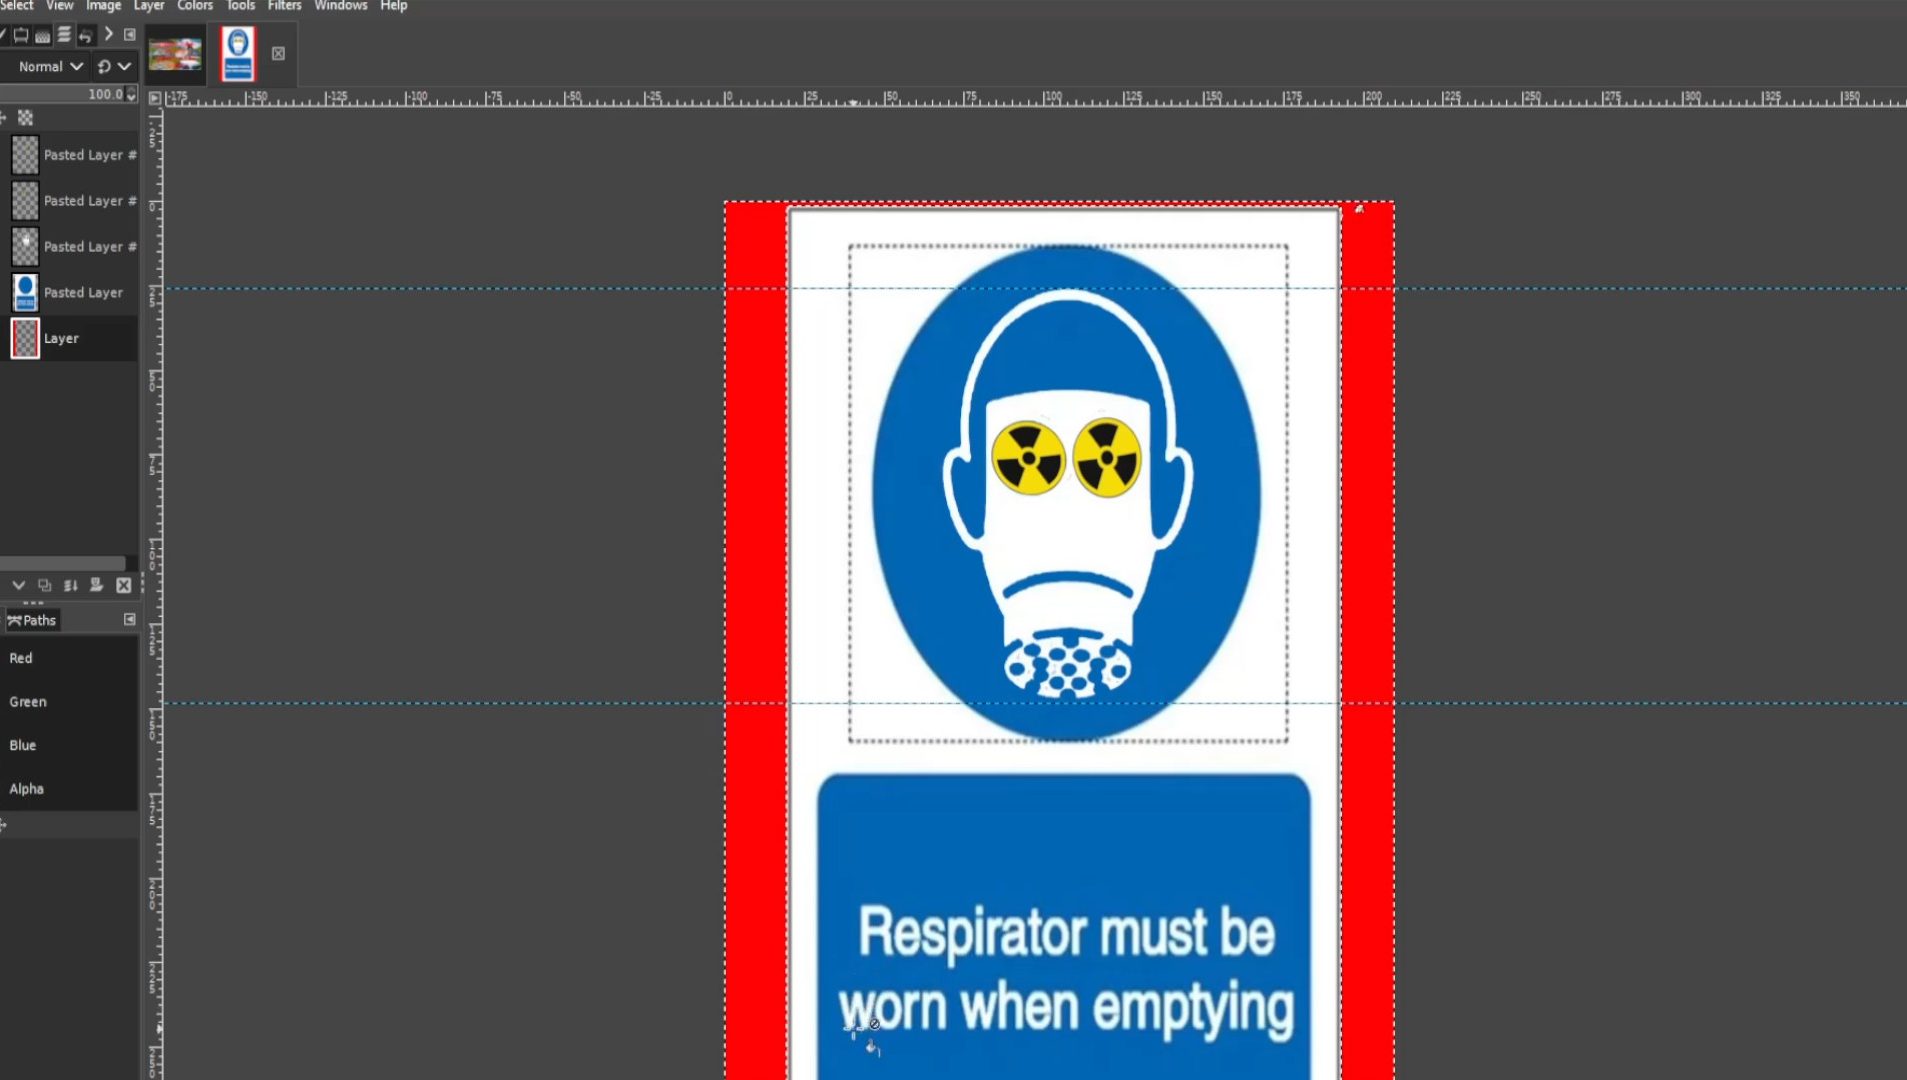
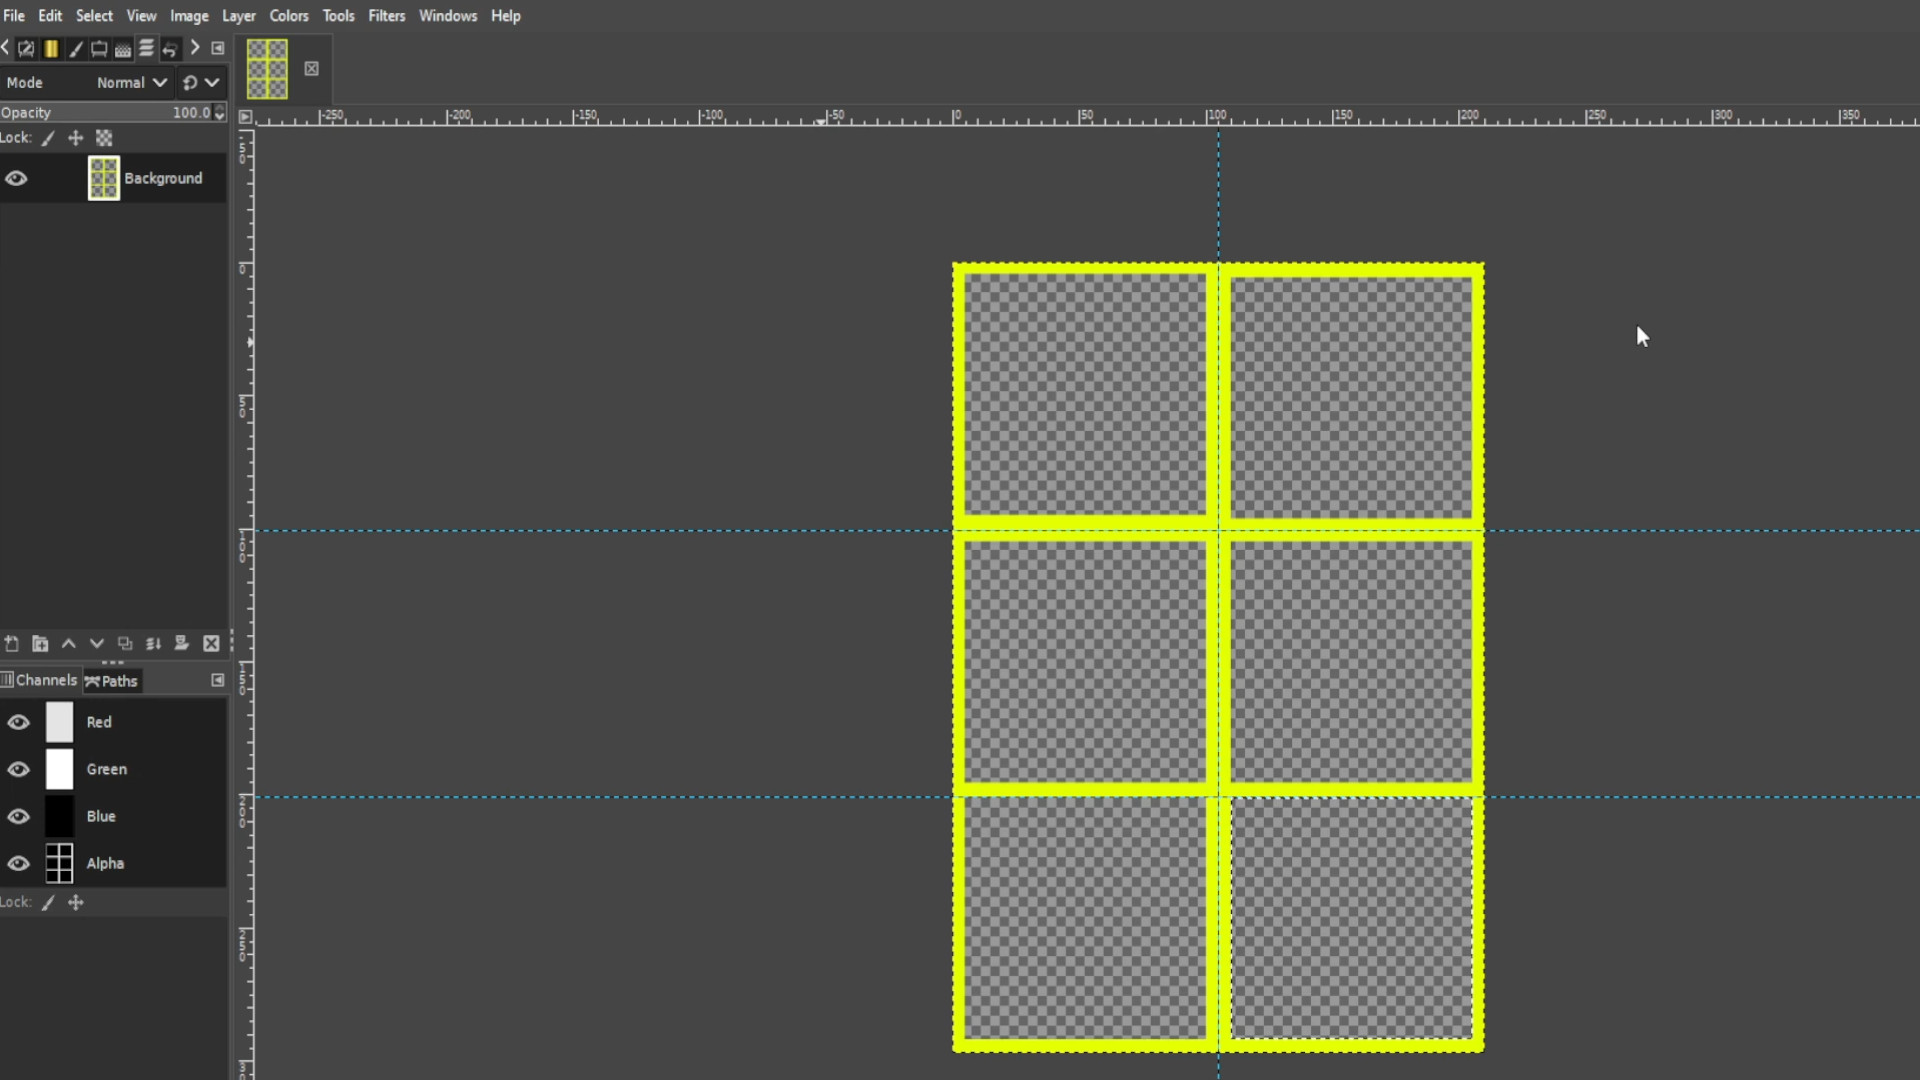
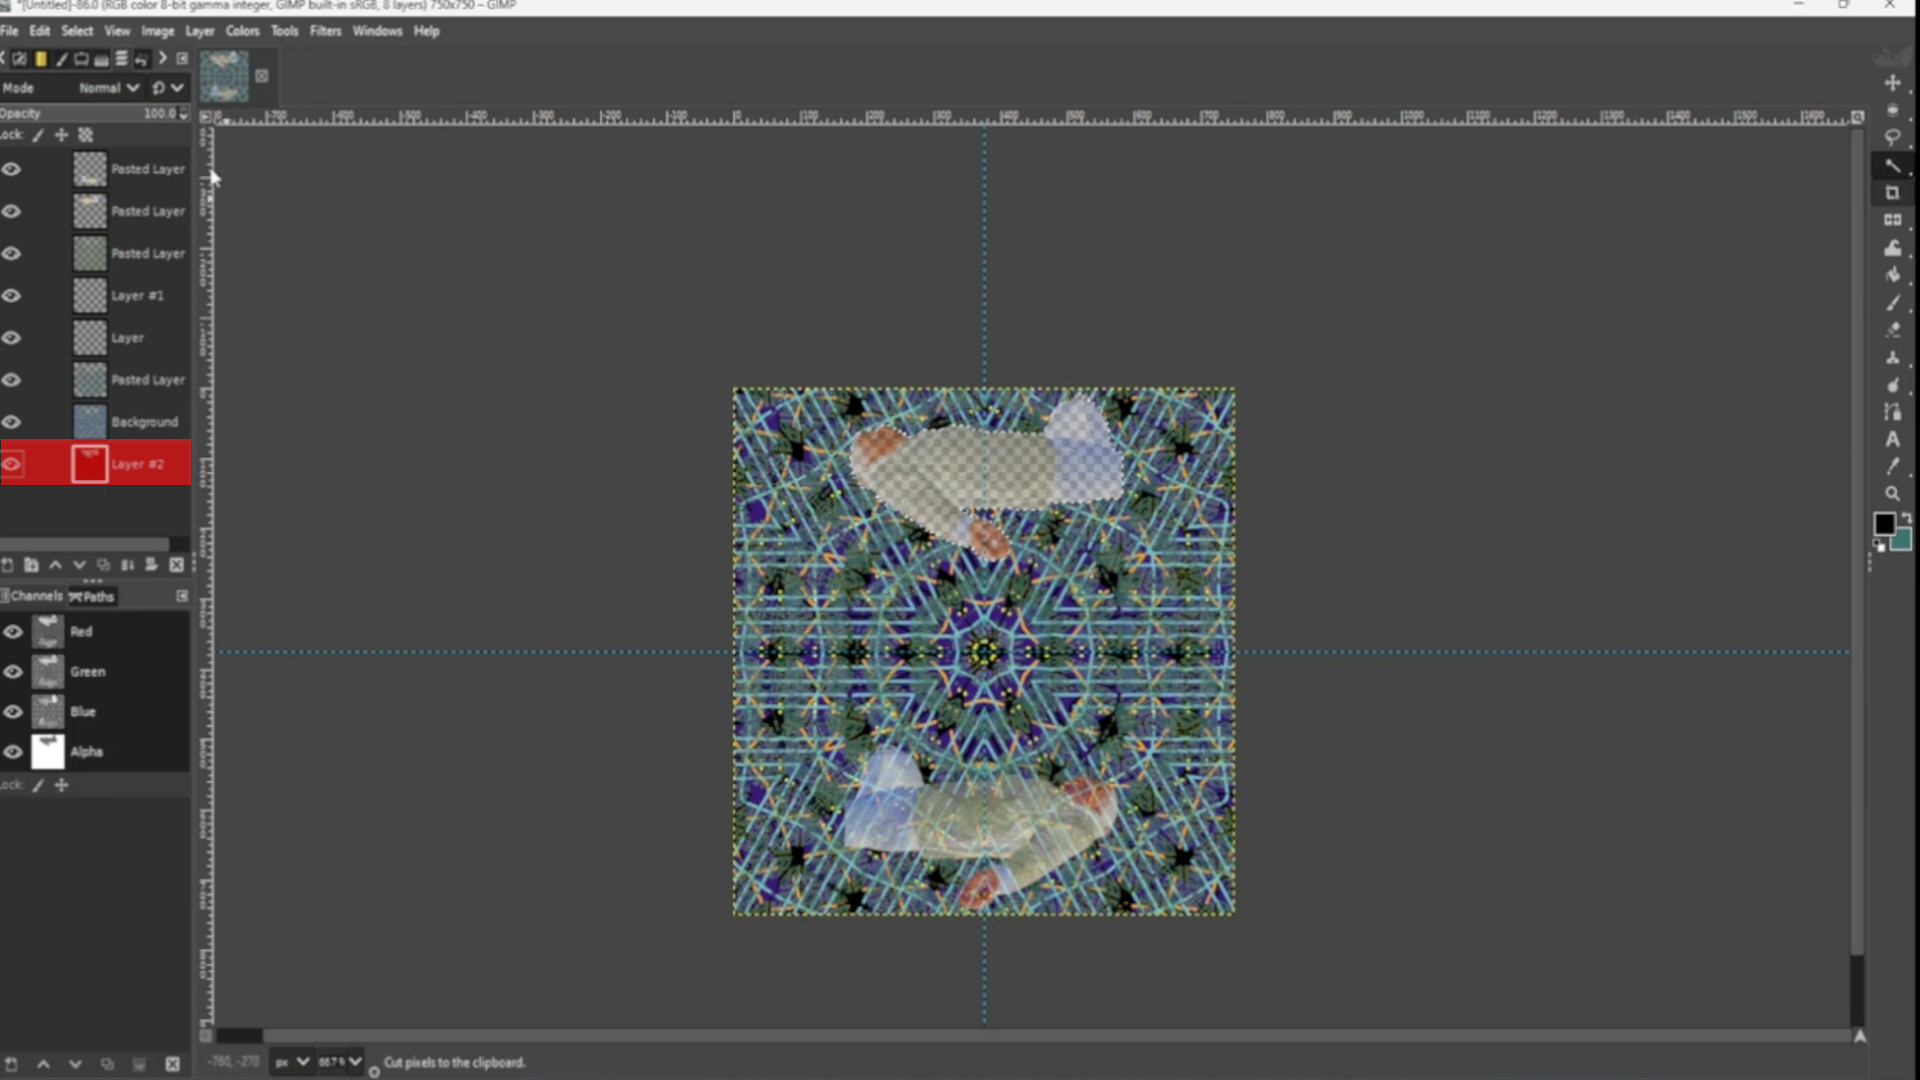
>>>TURN OFF ALL LAYERS except the>>>LAST LAYER and with the>>>BOTTOM LAYER SELECTED go to>>>LAYERS>>>ADD NEW LAYER and>>>PLACE the>>>LAYER at the>>>BOTTOM of the>>>LAYERS pile in the>>>LEFT HAND SIDE>>>LAYERS PANEL then>>>SELECTING a>>>COLOUR use the>>>BUCKET FILL TOOL to fill in the transparent bits.

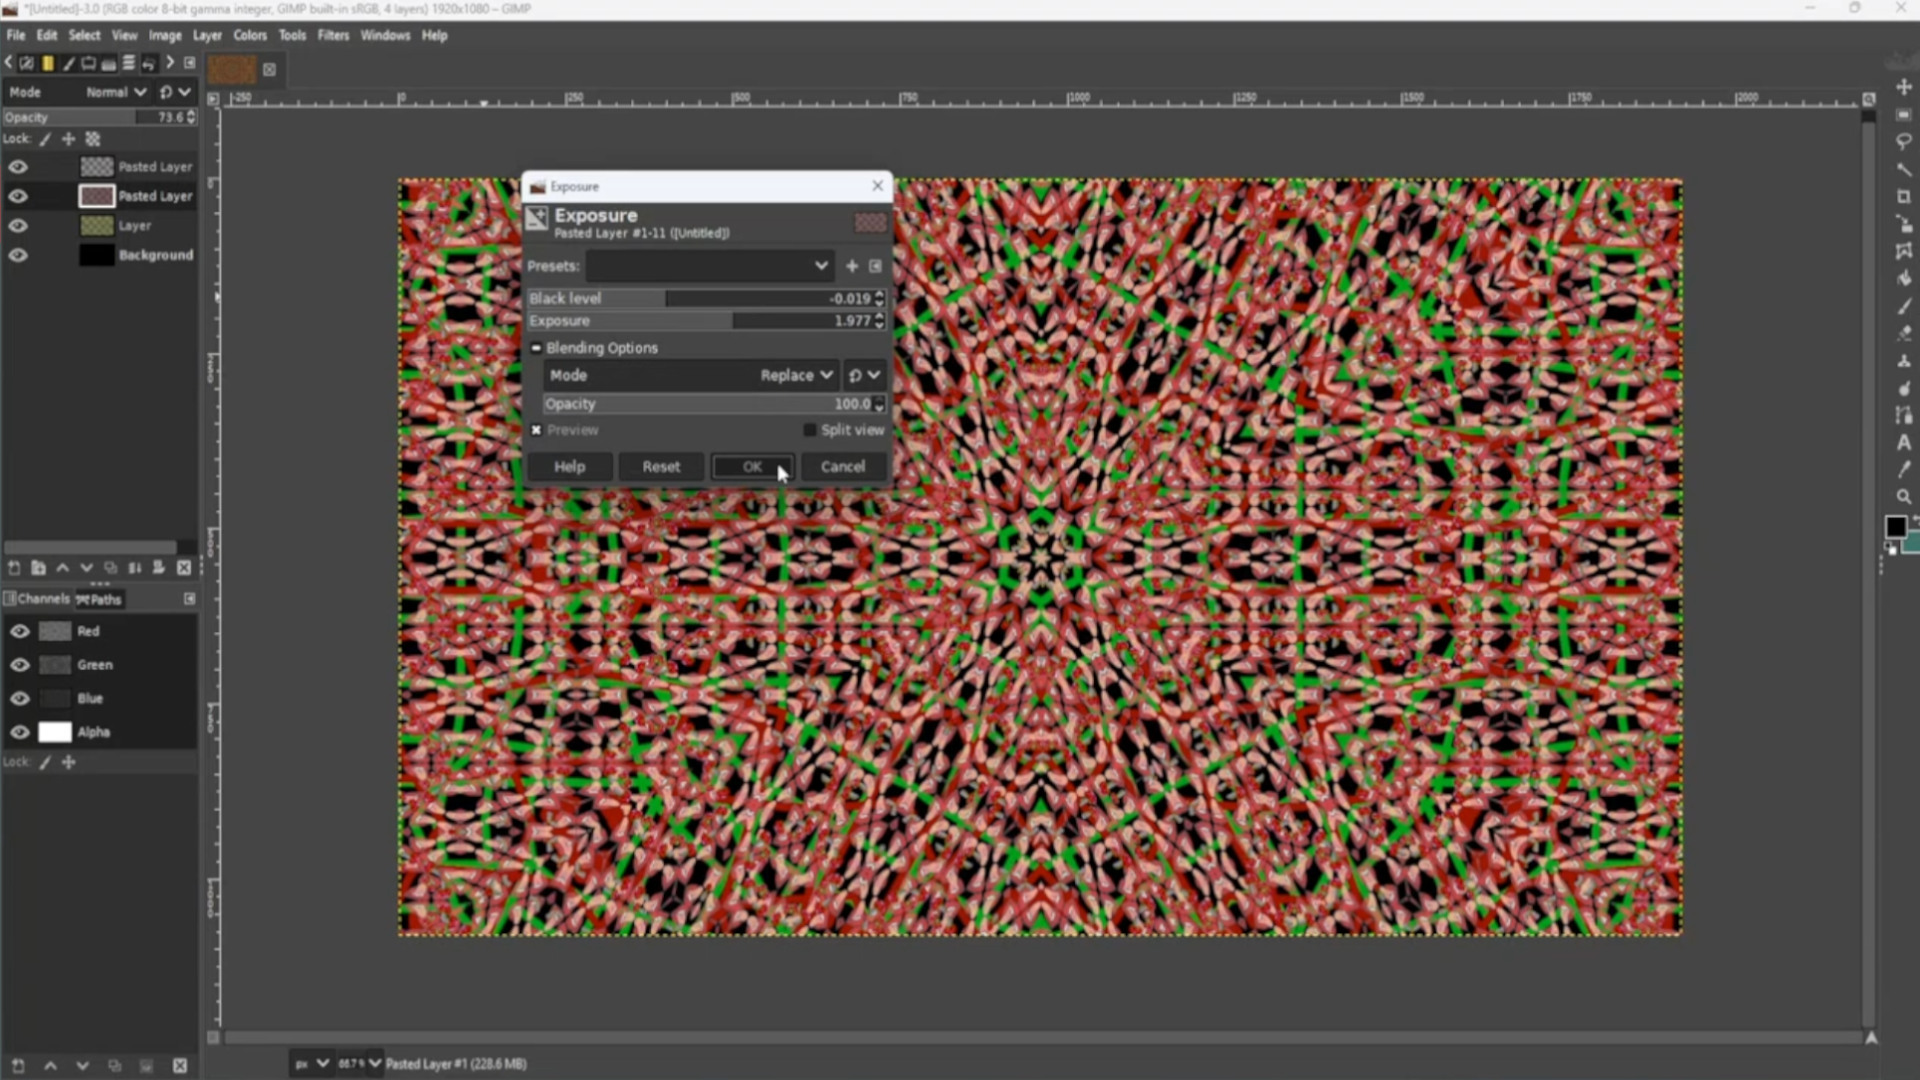
Experiment with>>>COLOURS and>>>FILTERS to taste.
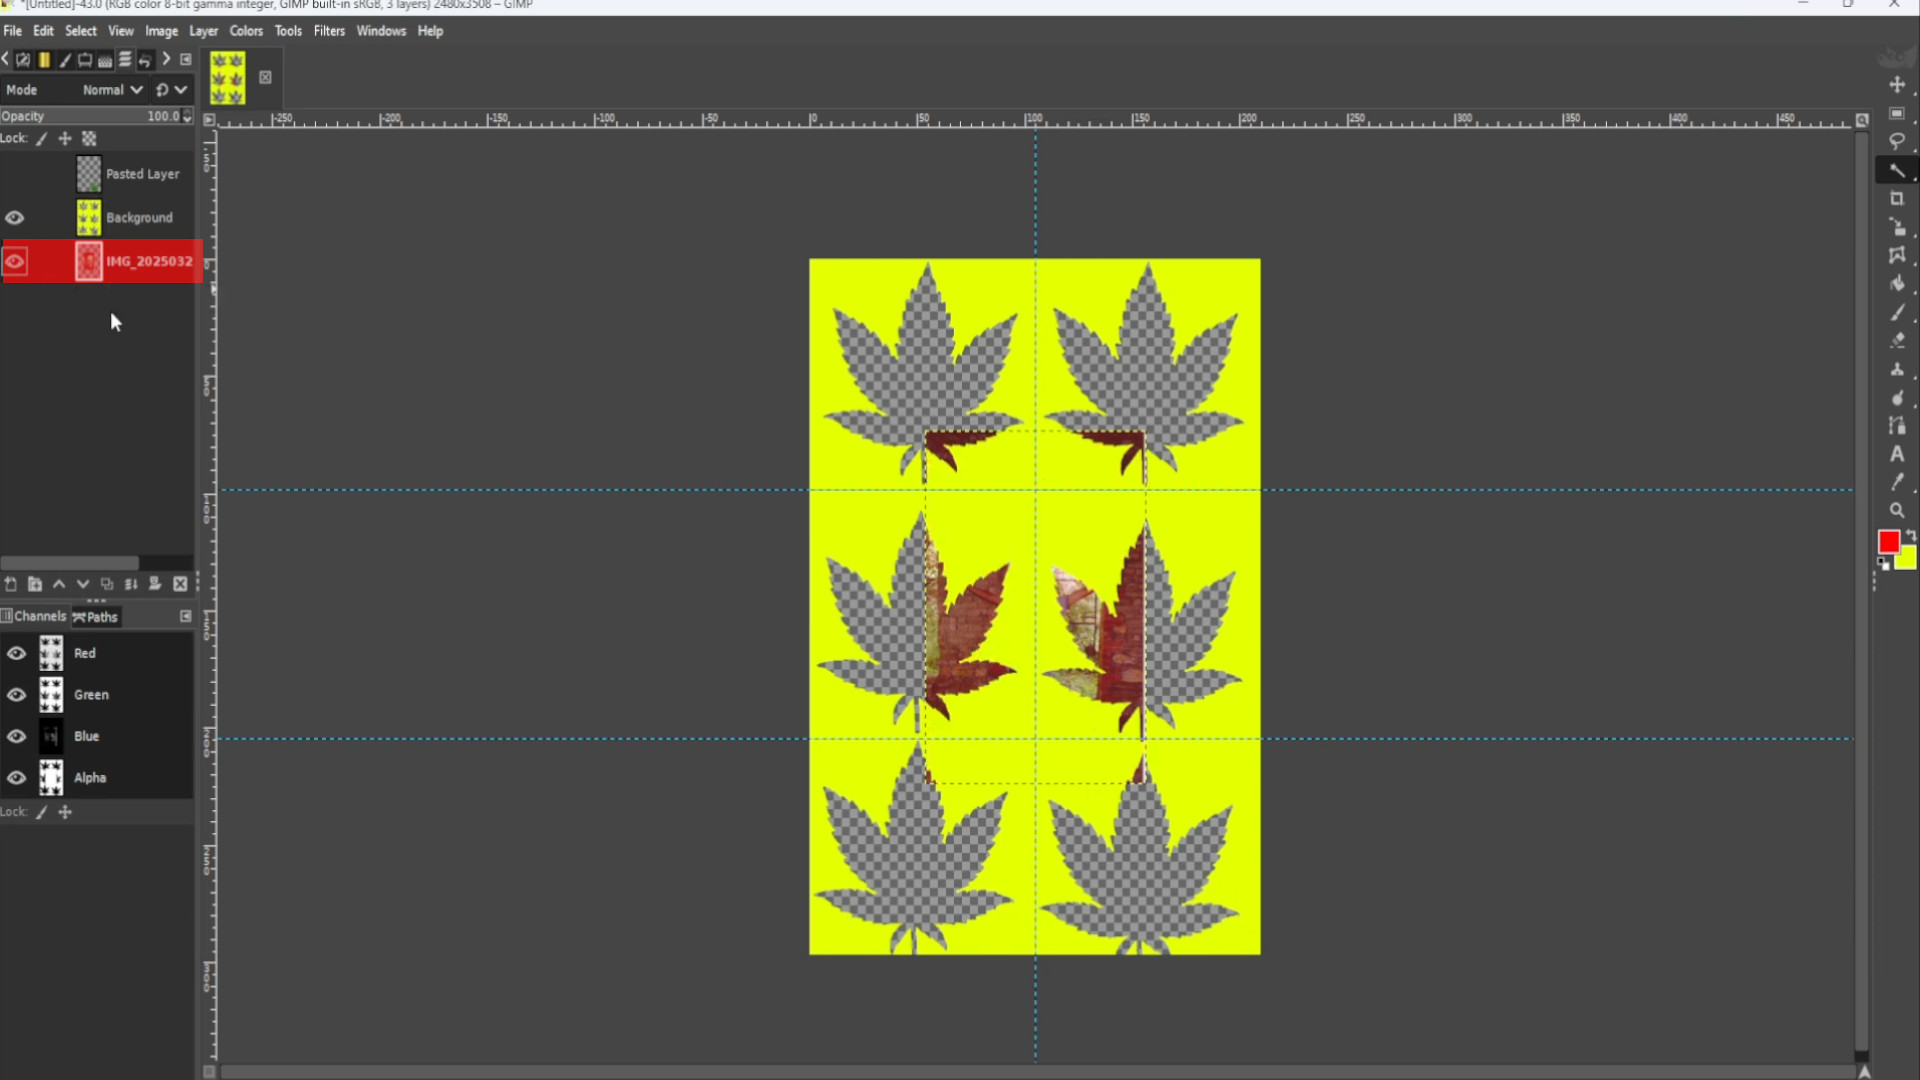
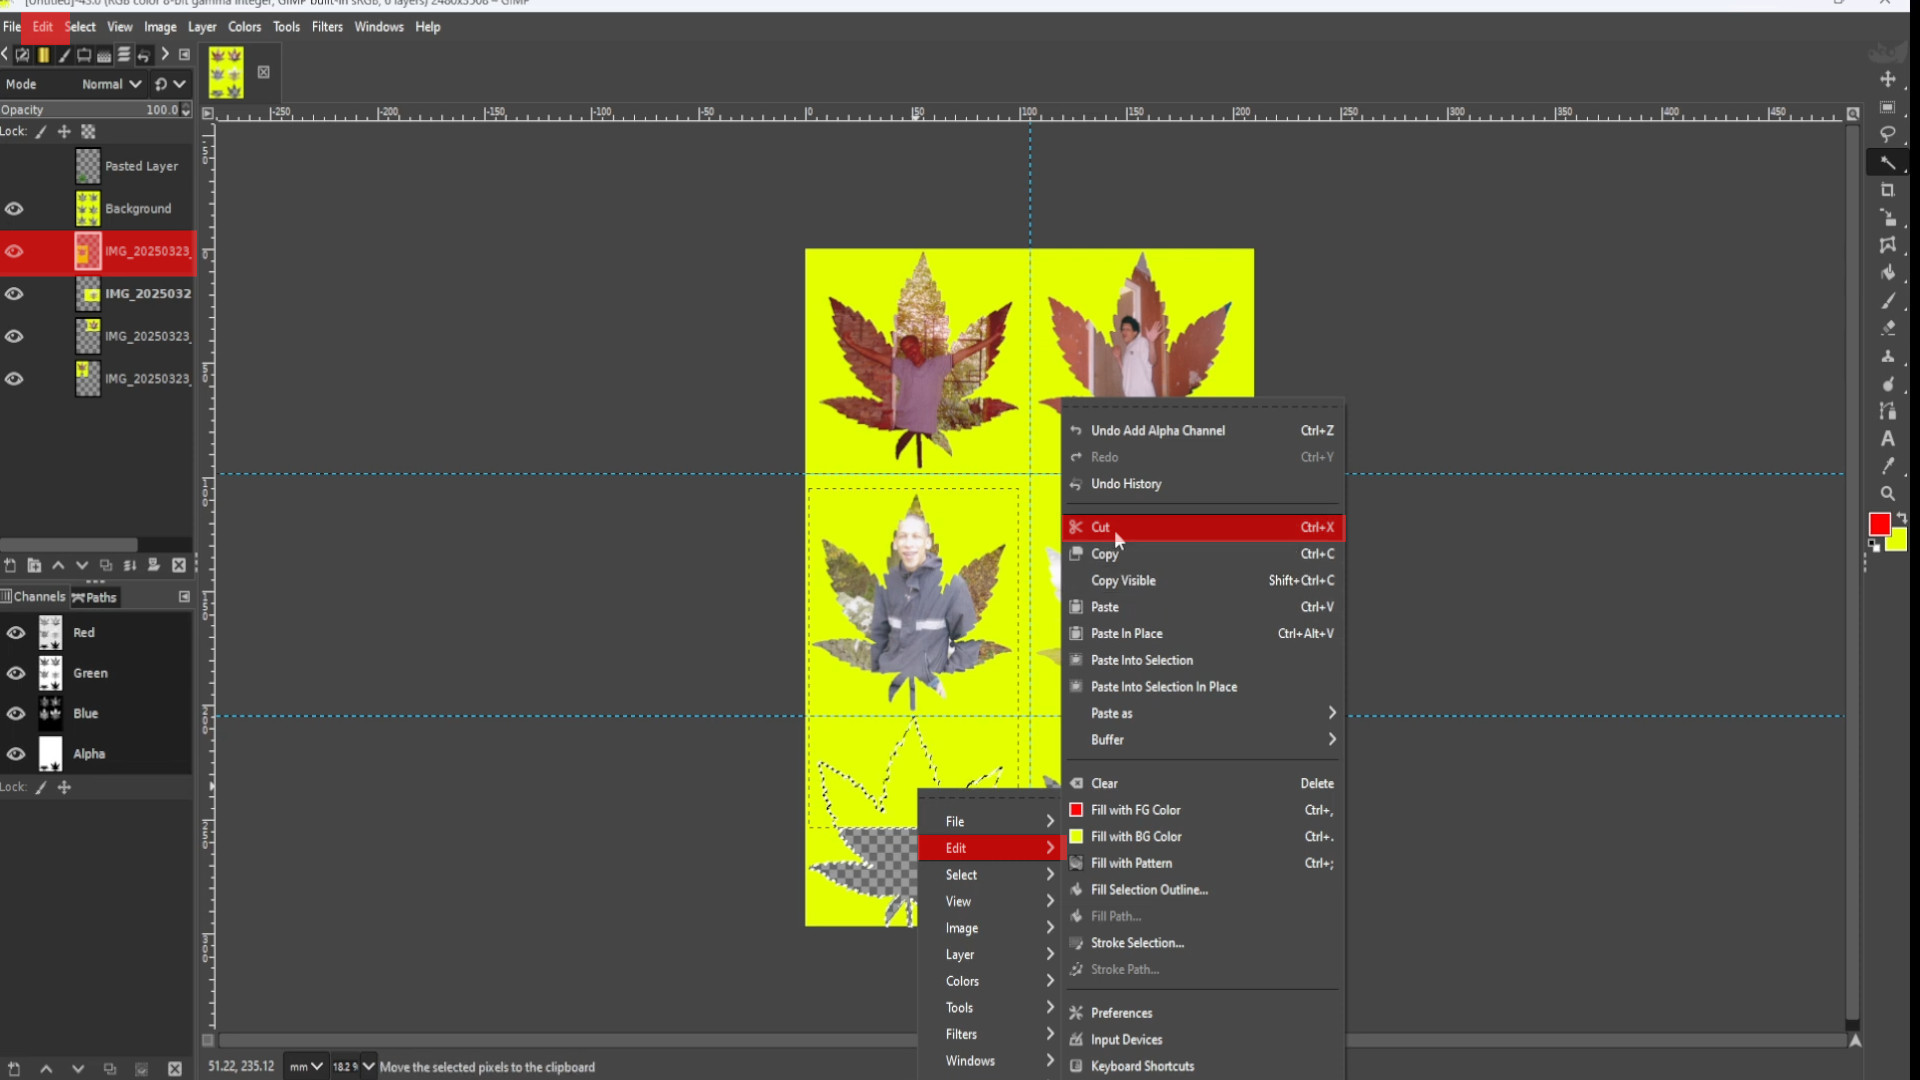
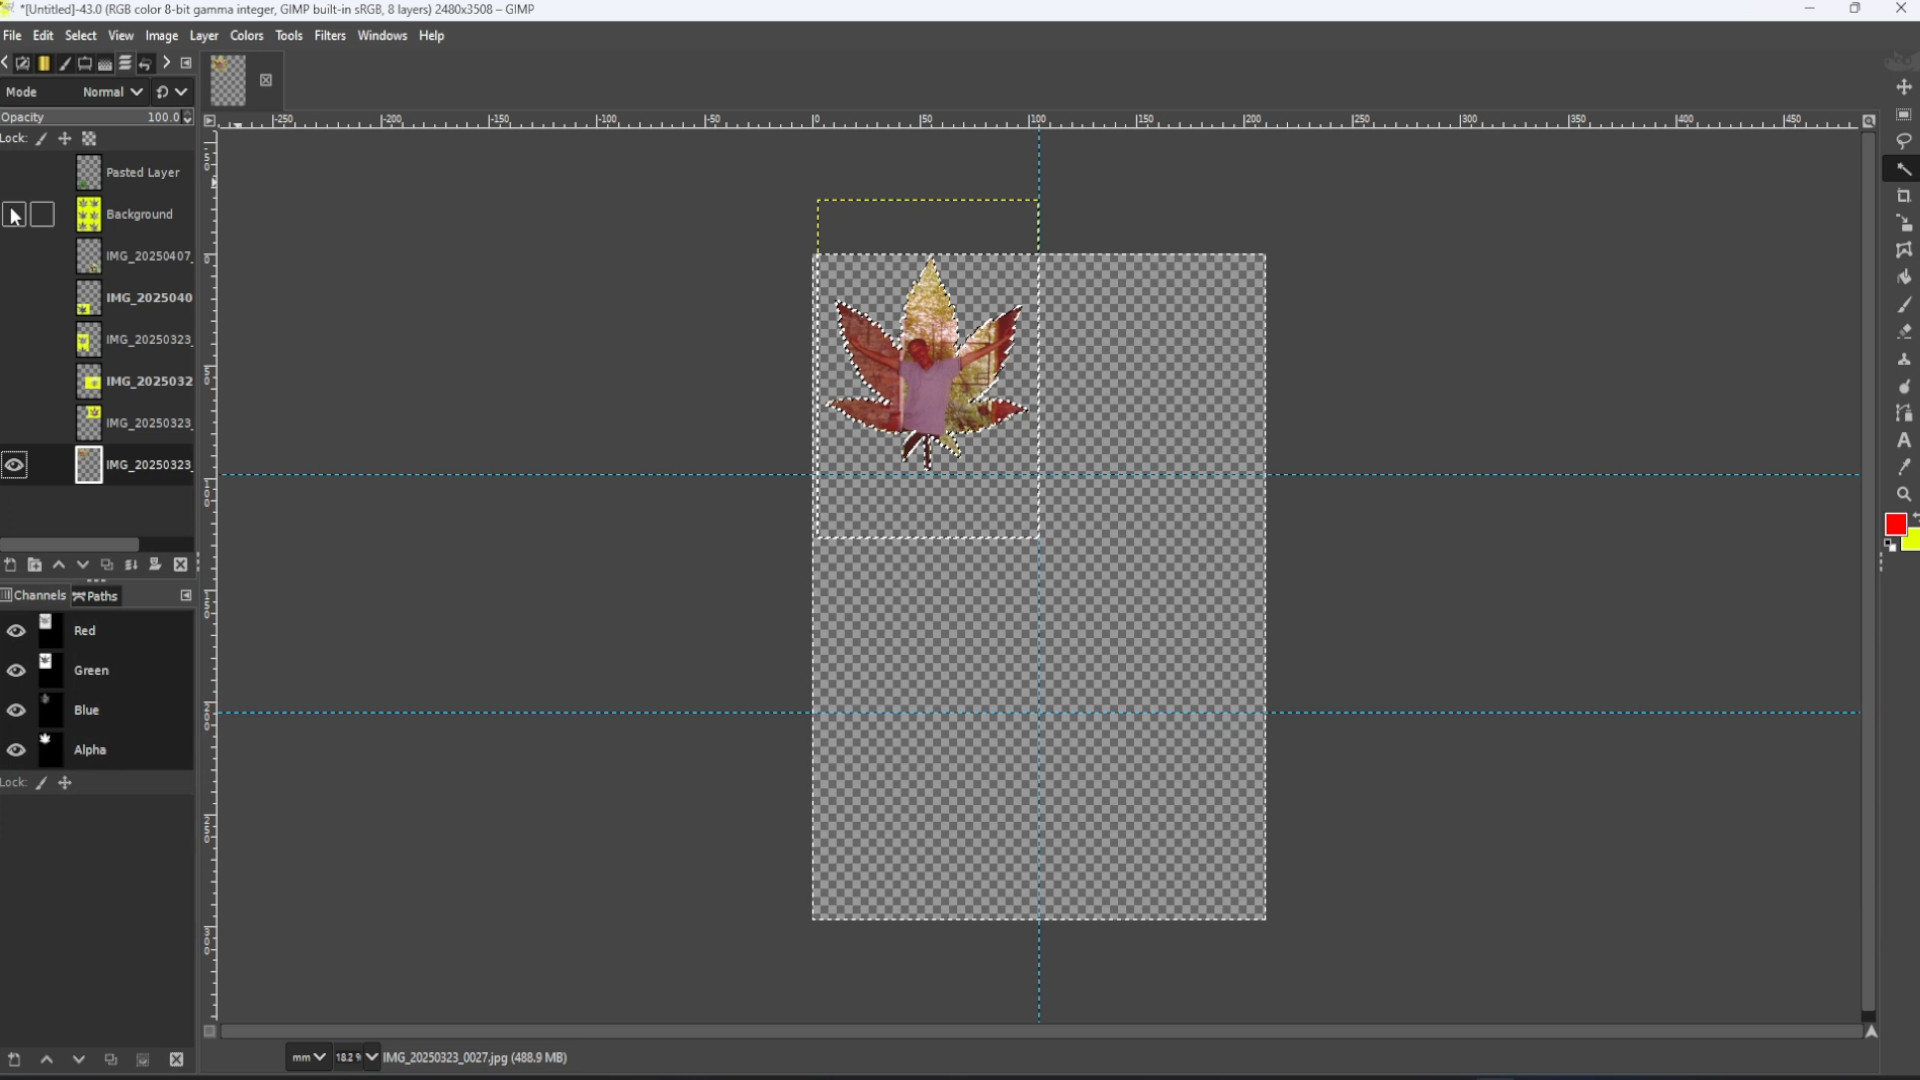
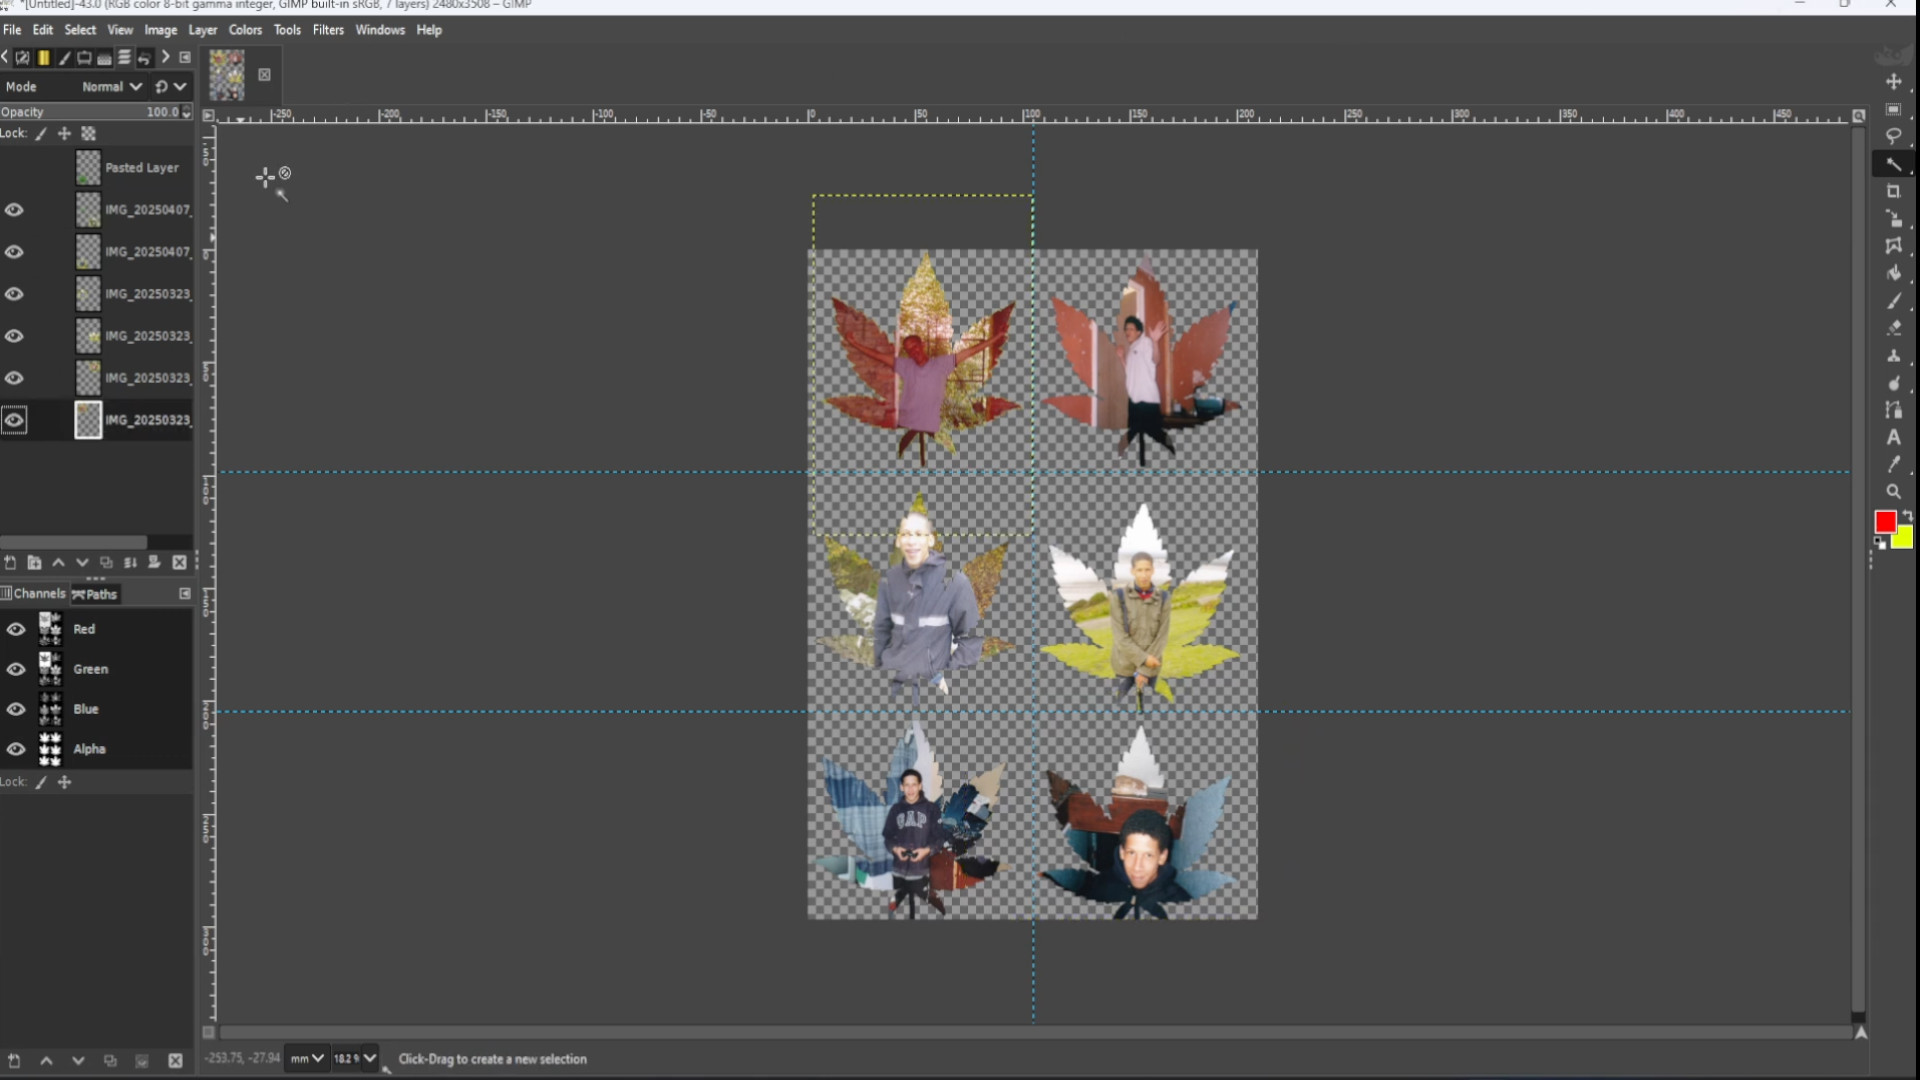
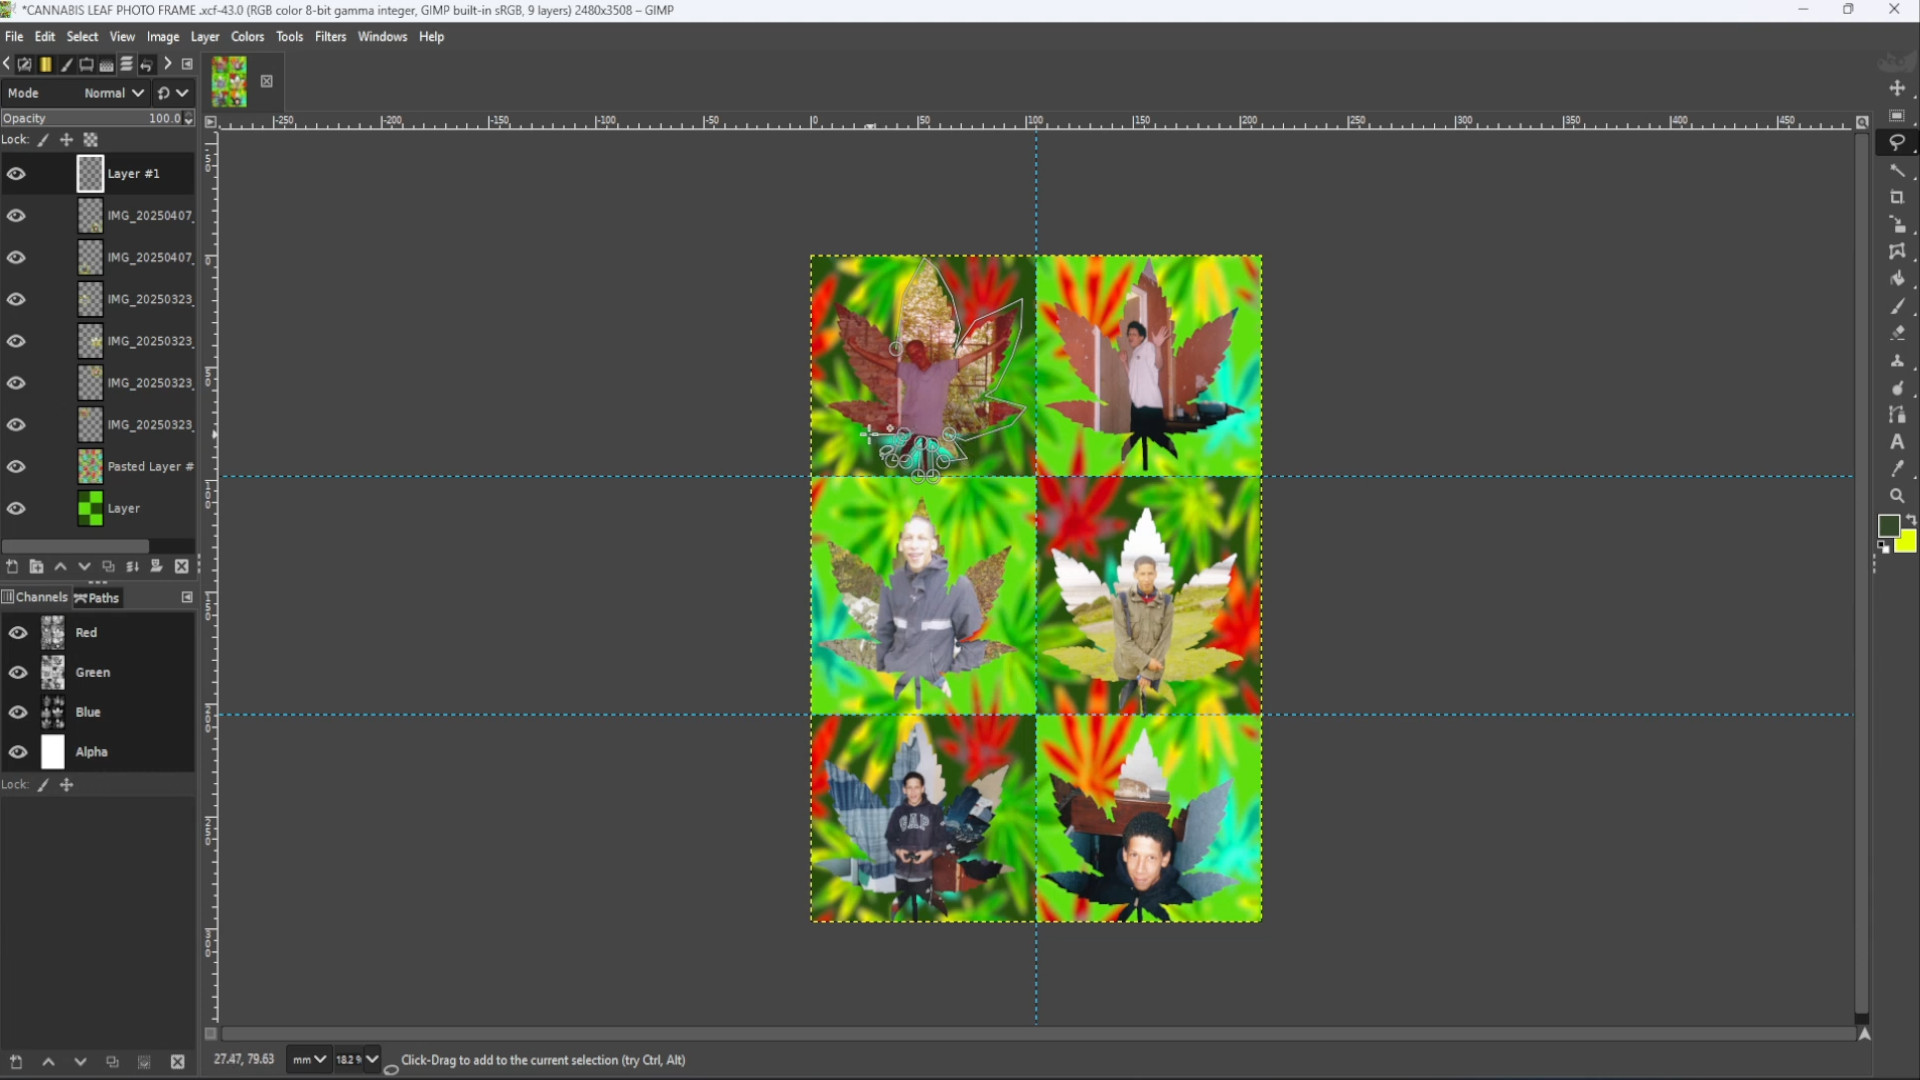
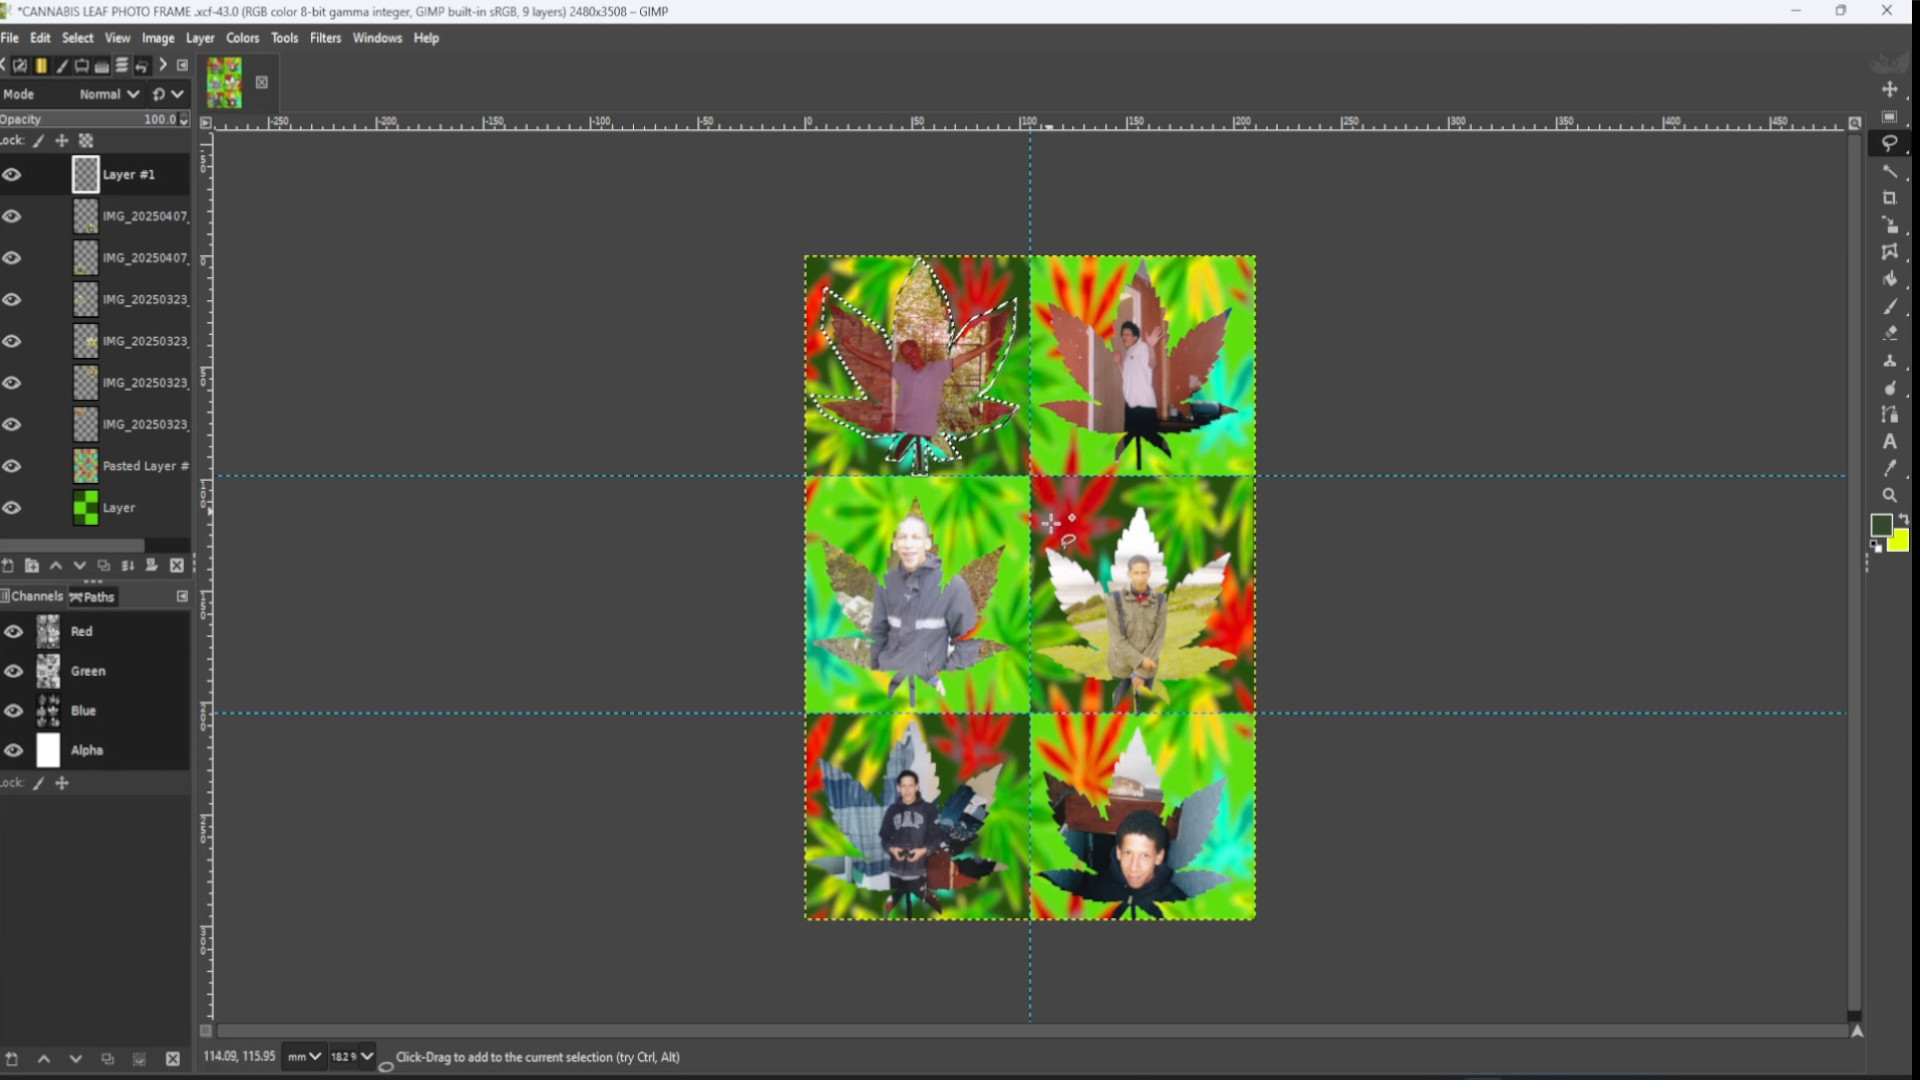
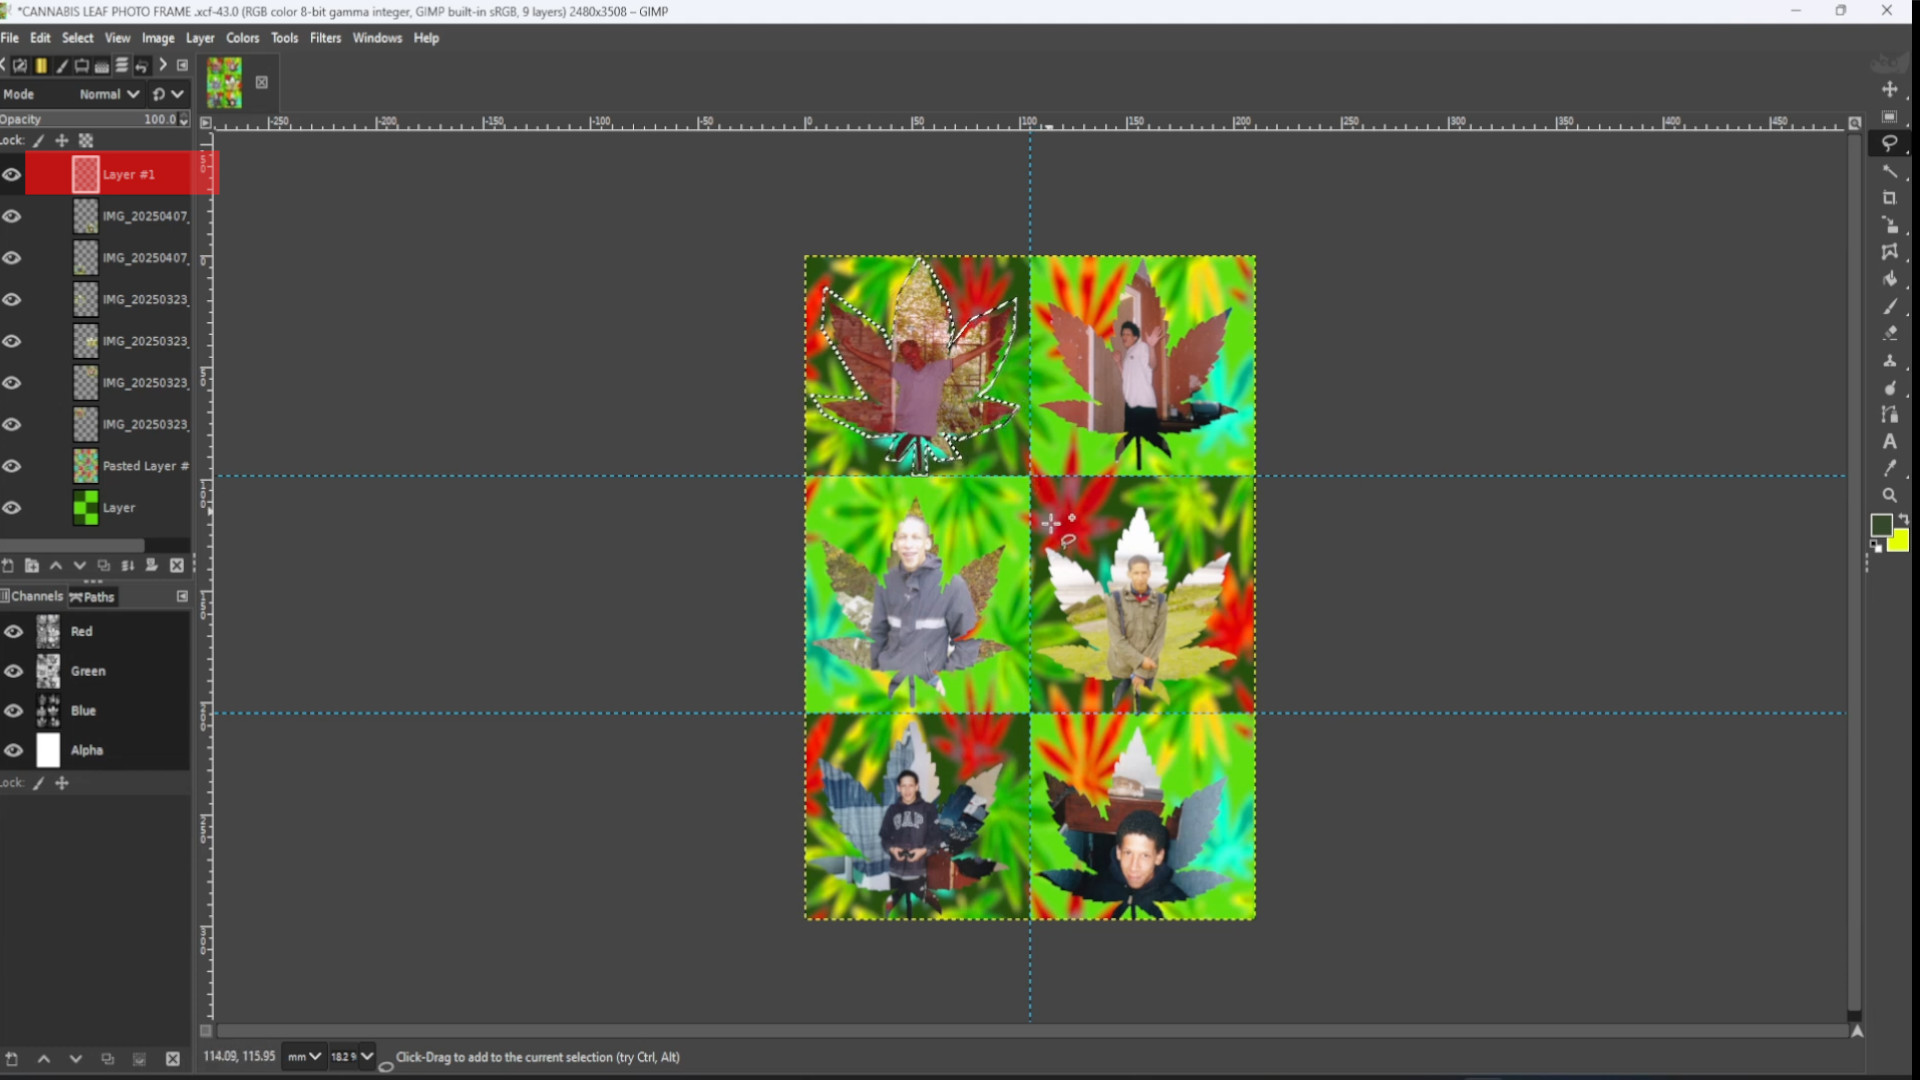
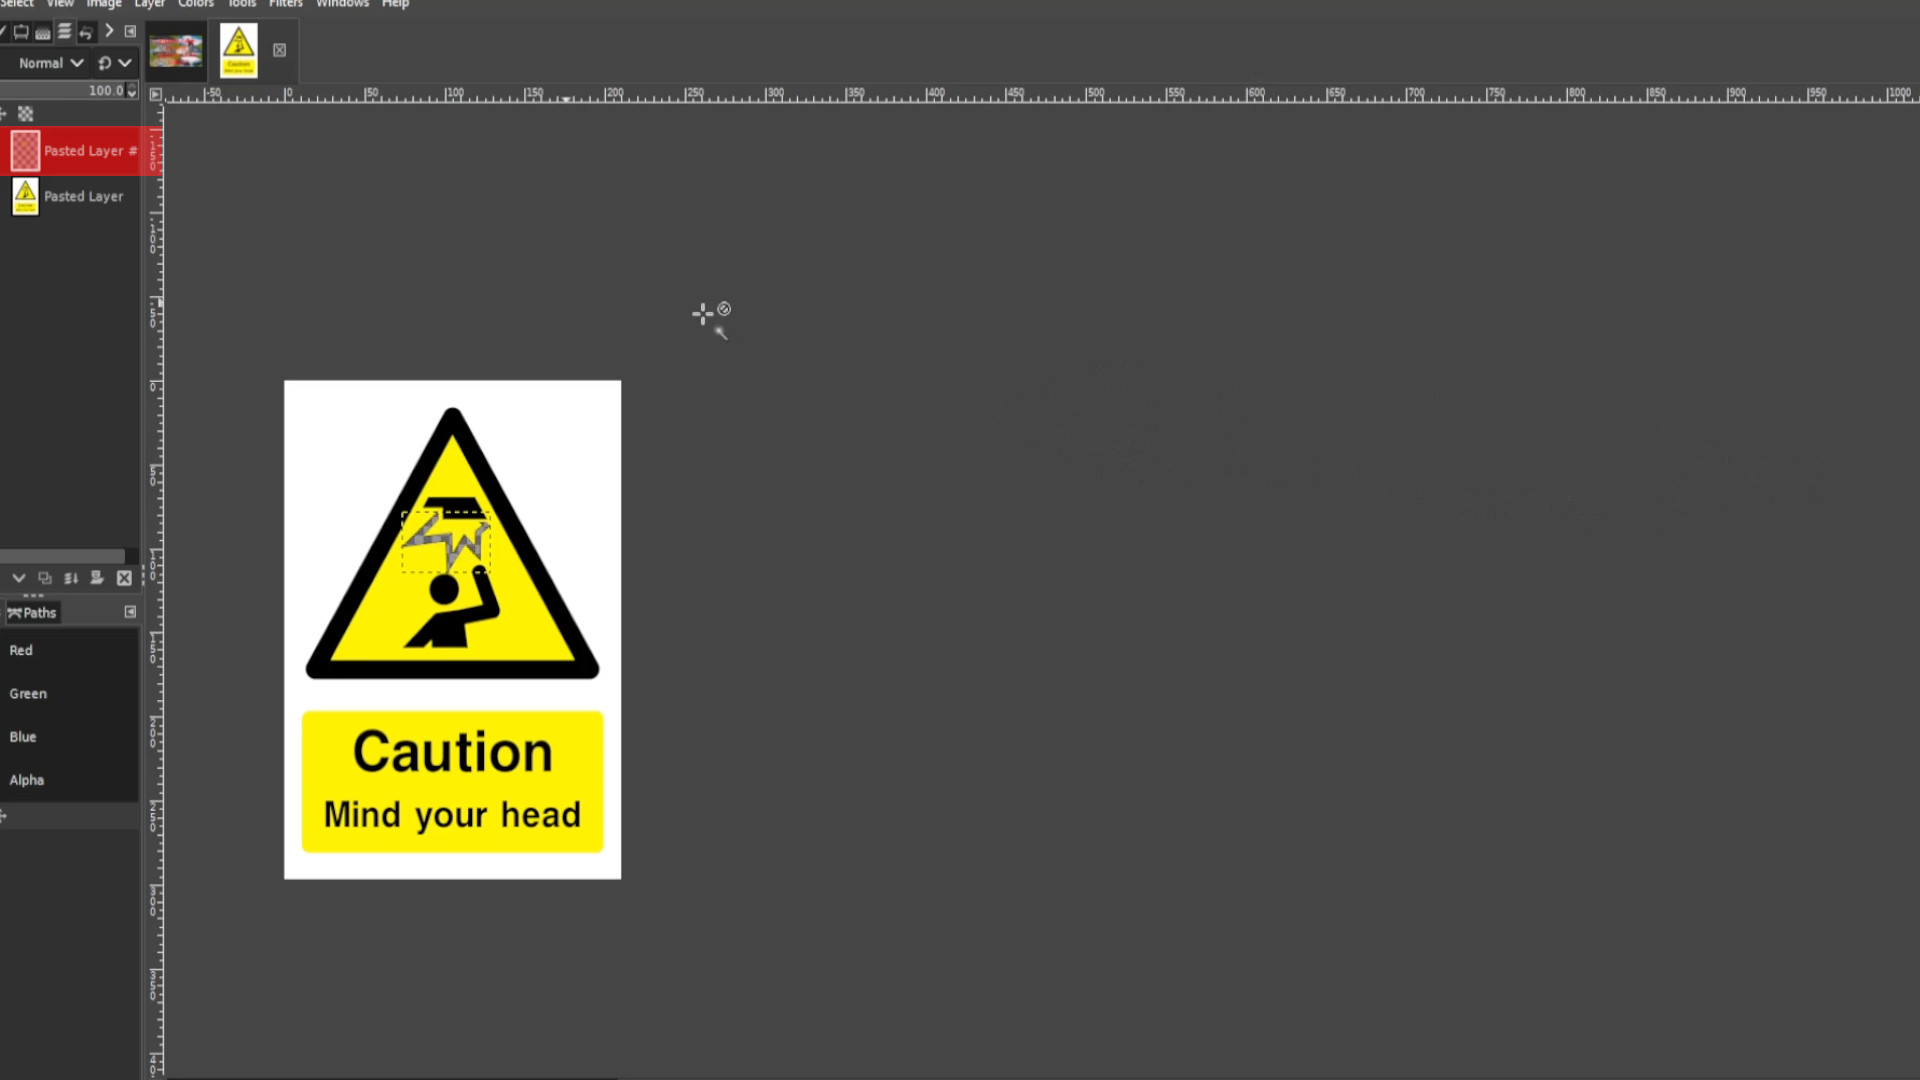
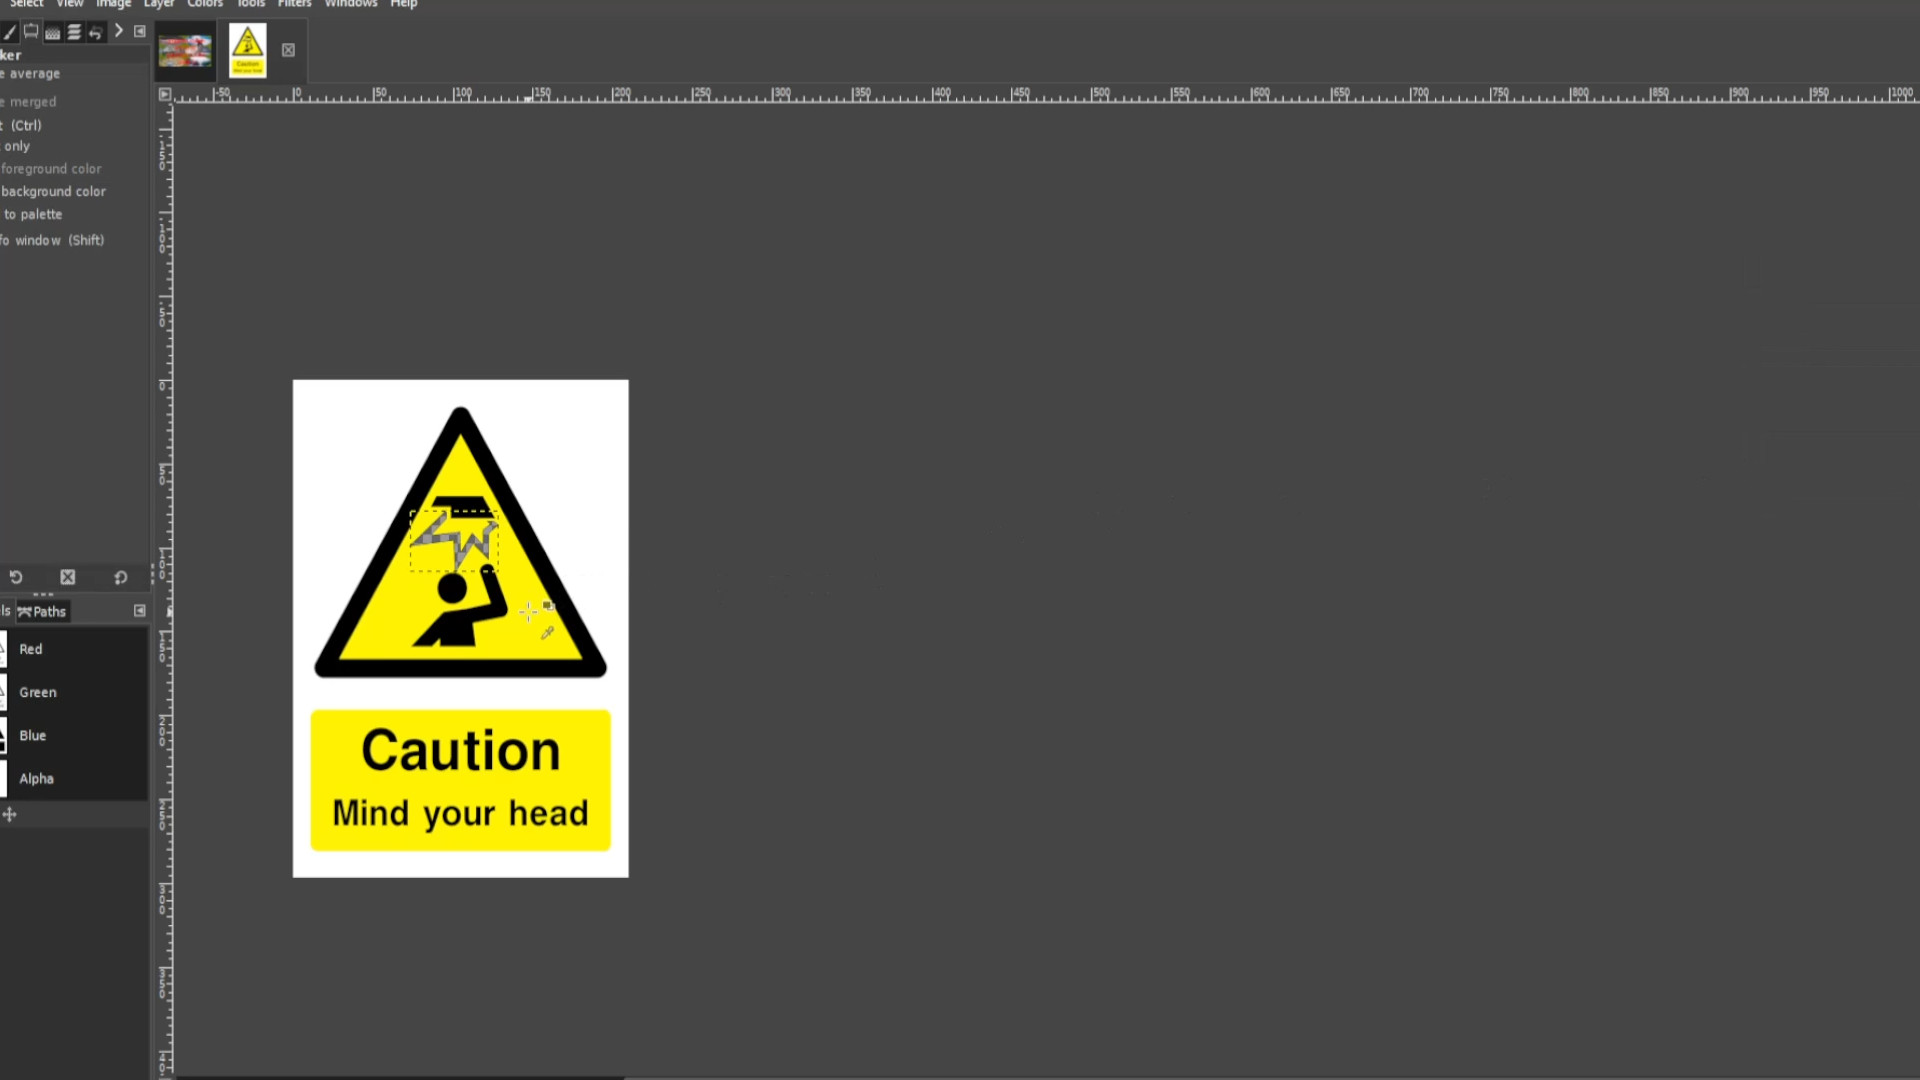
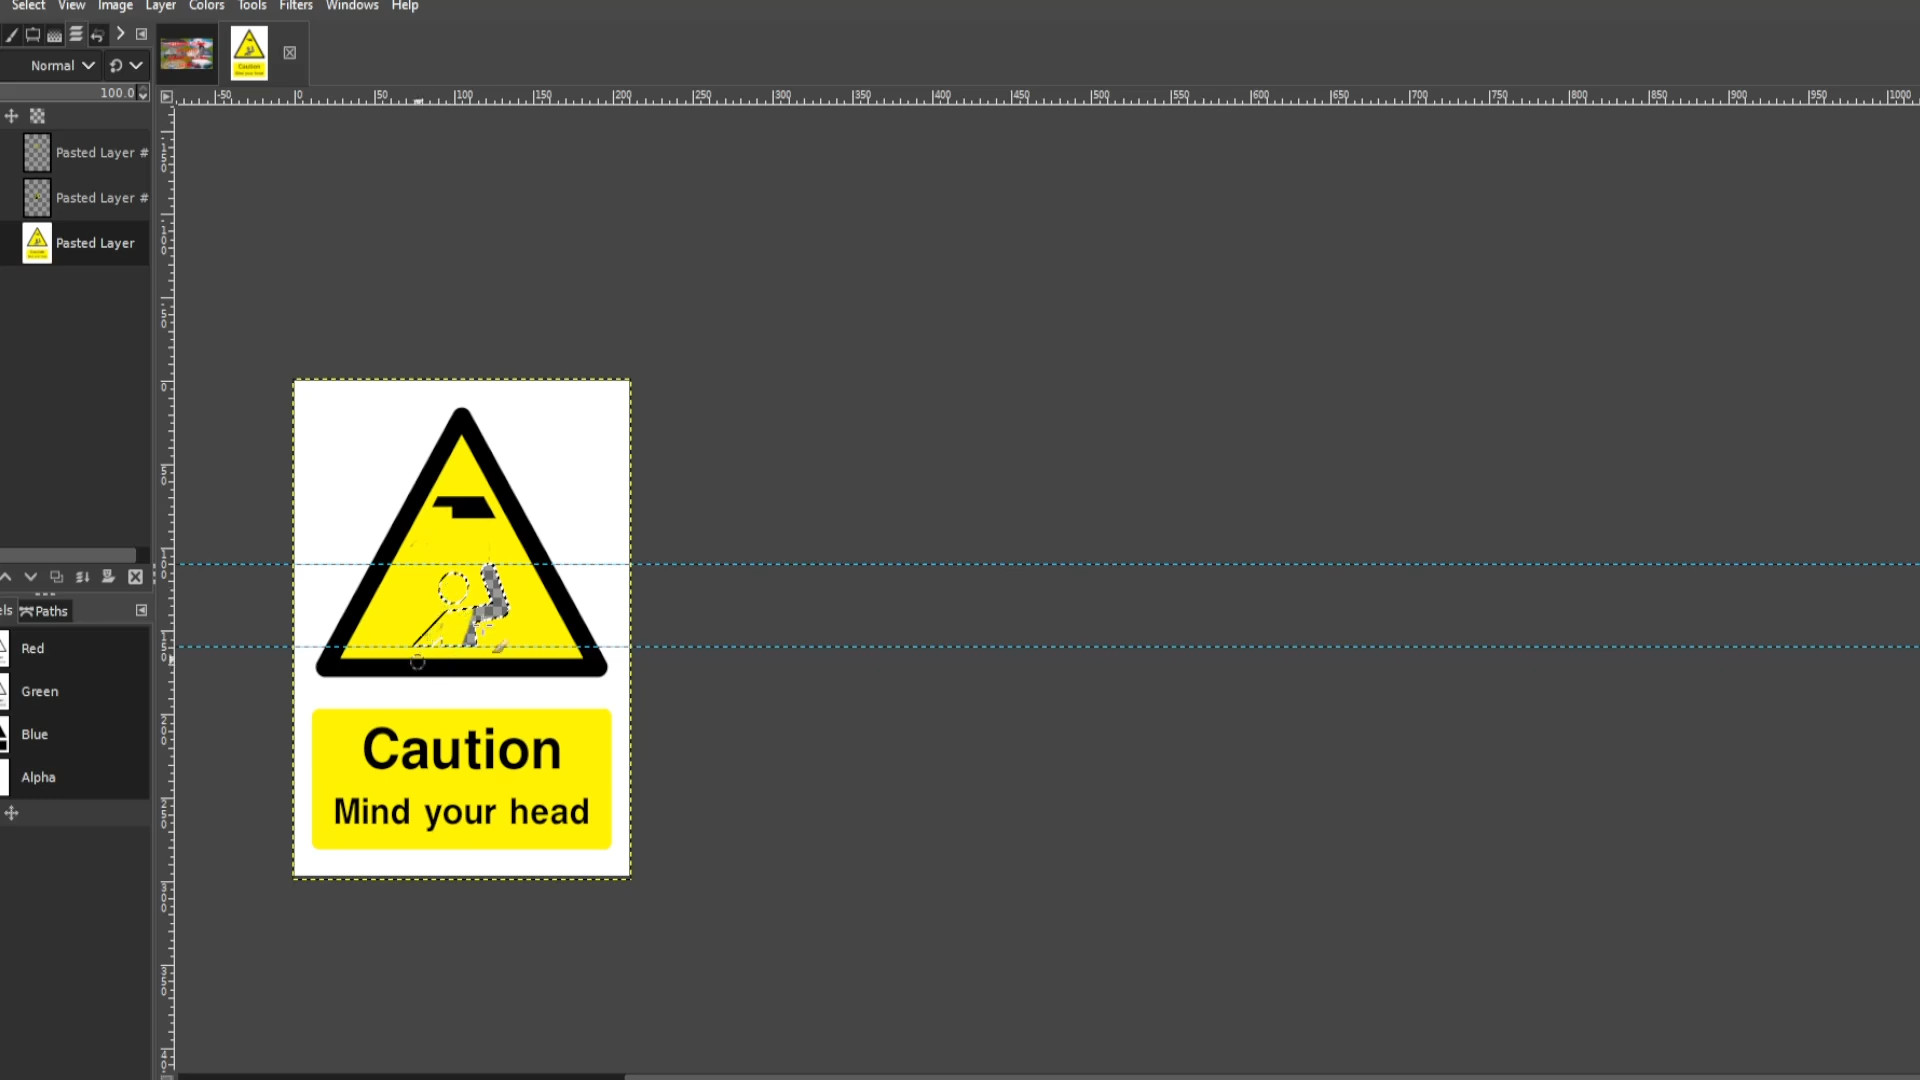
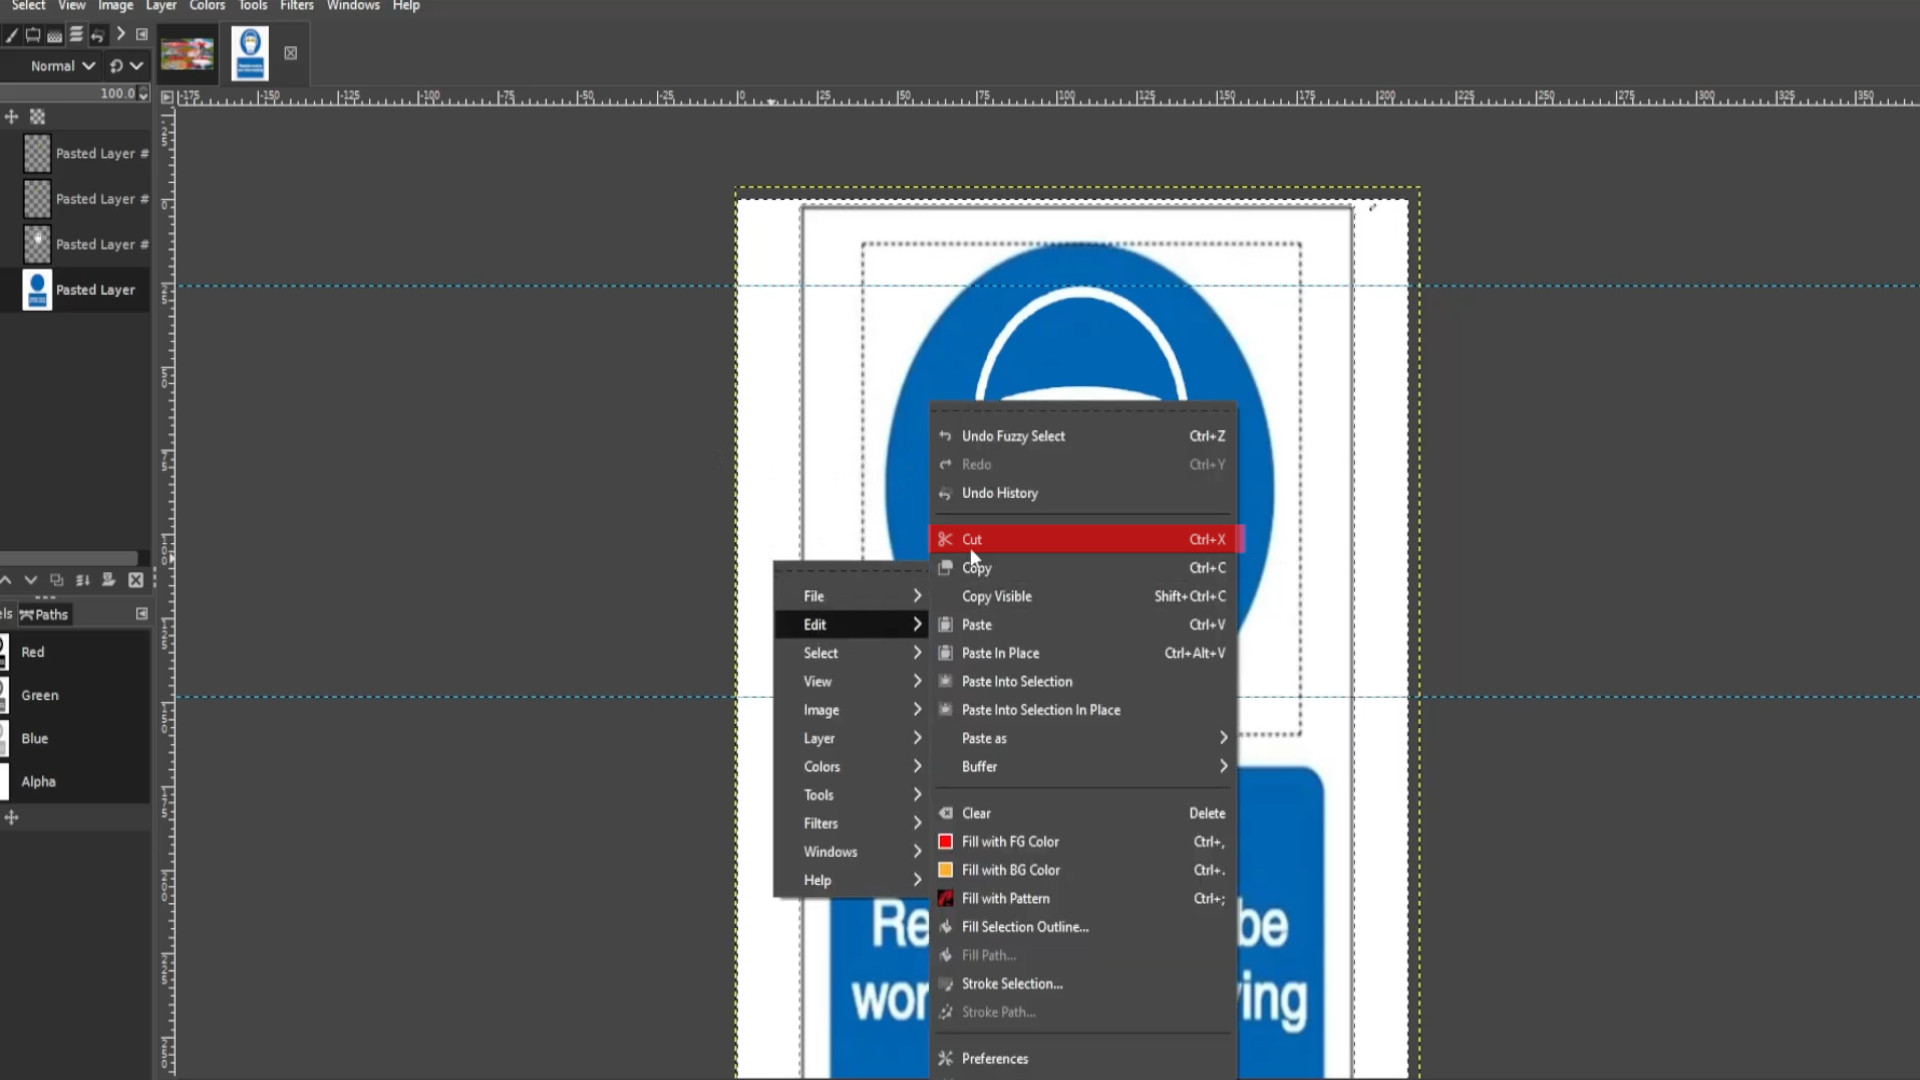
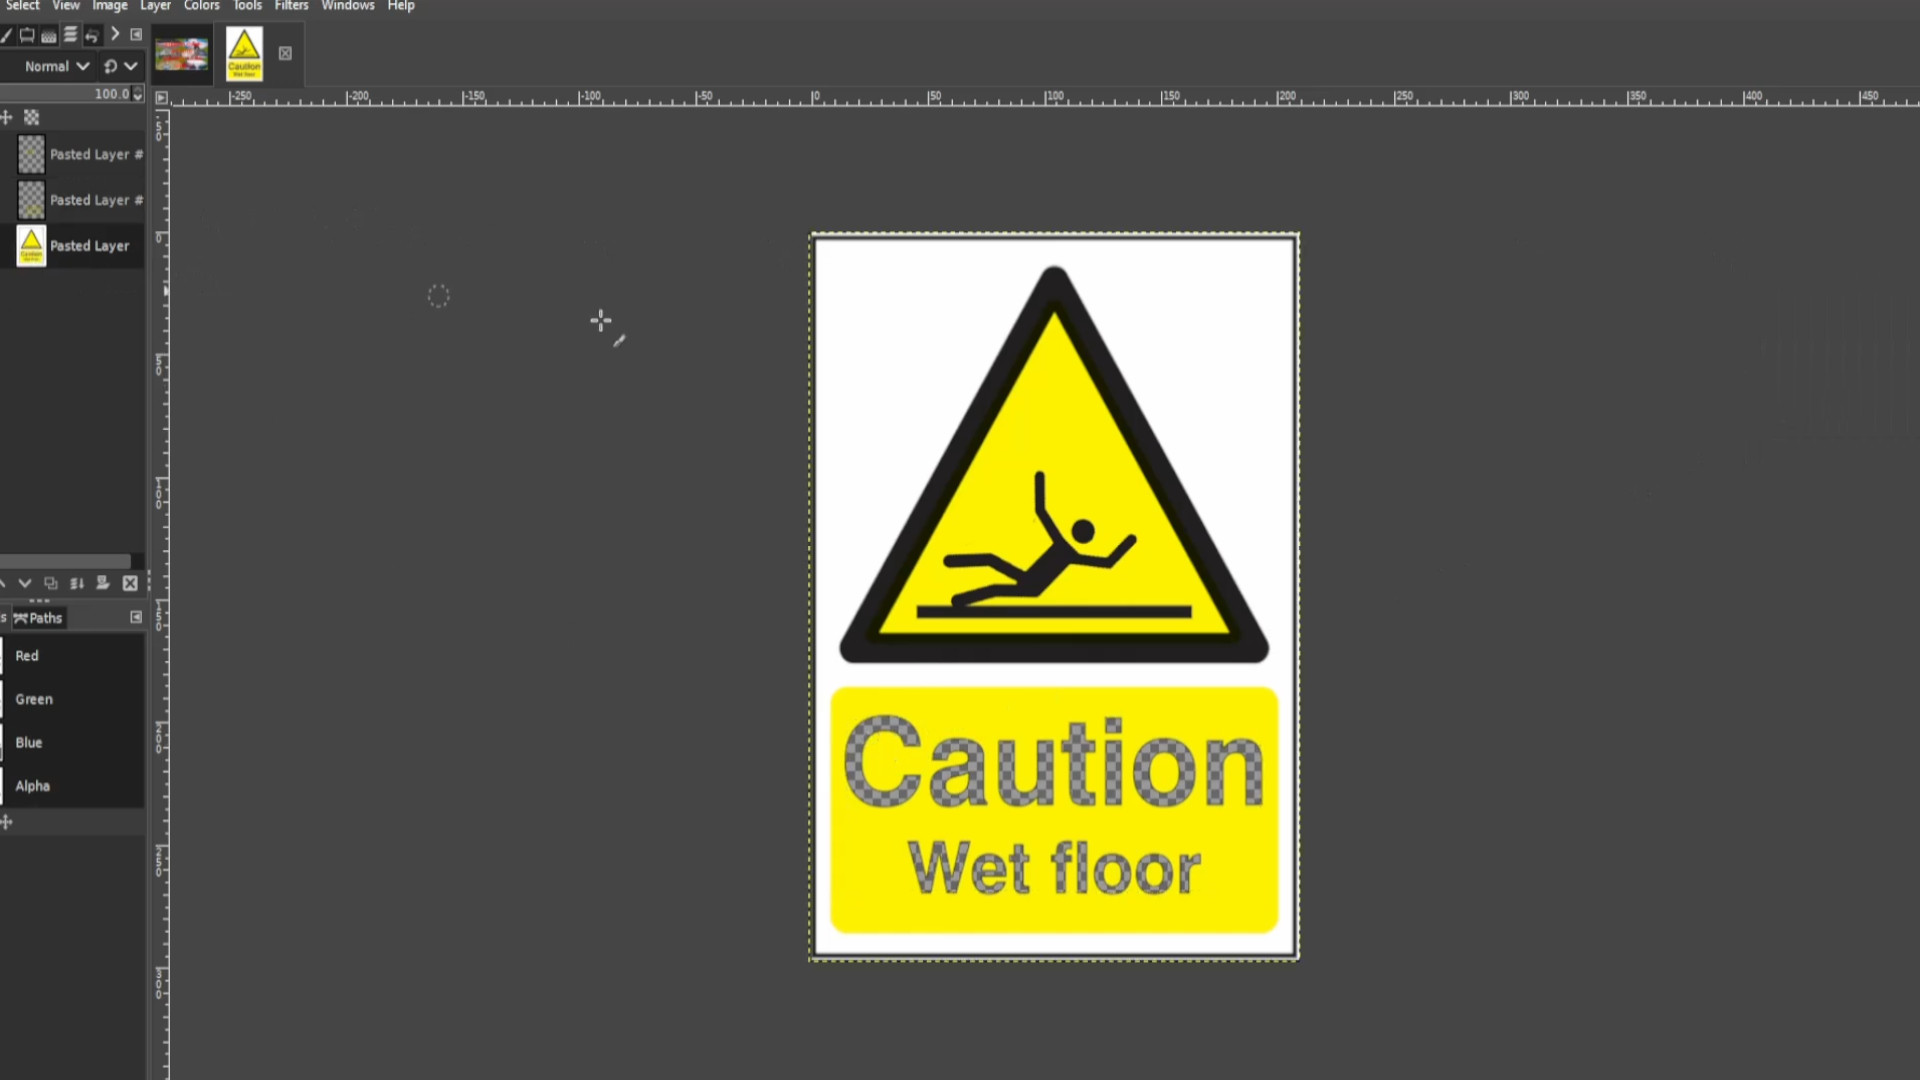
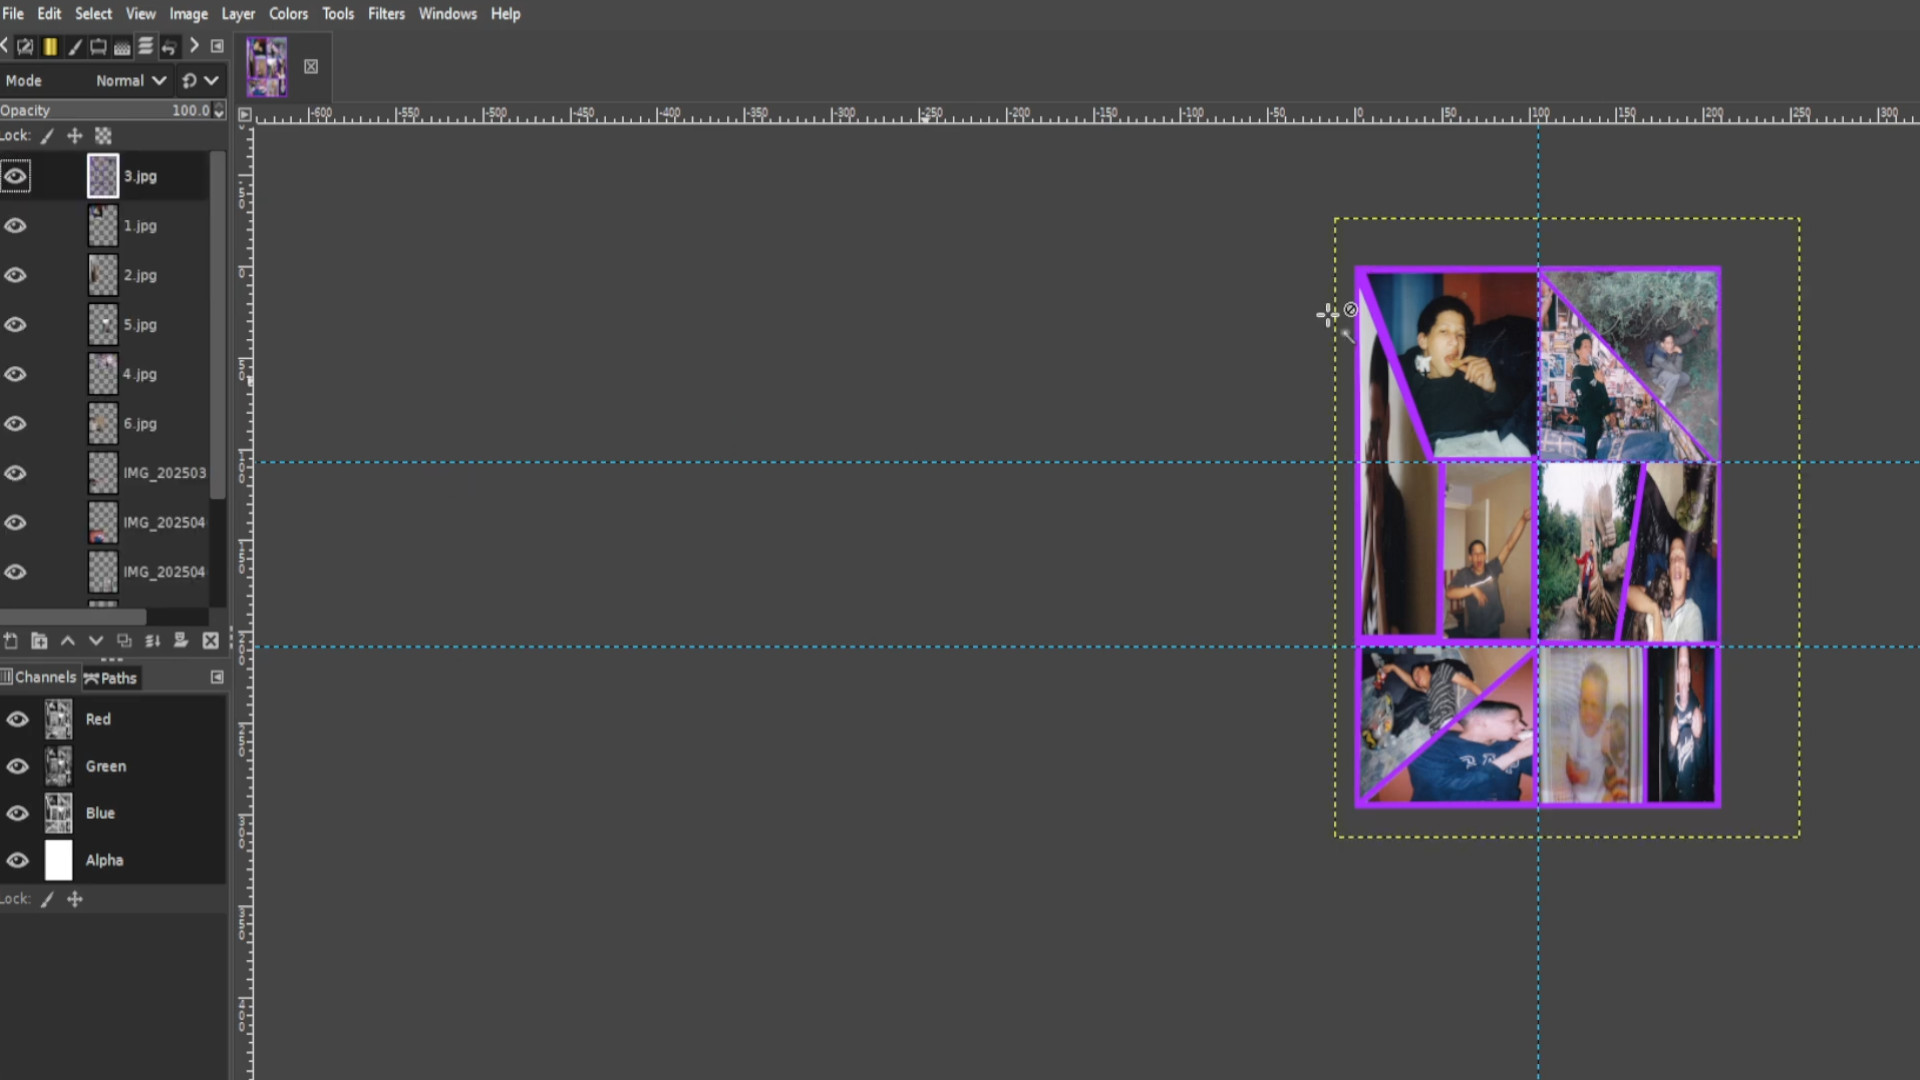
With>>>ANY of the>>>TOP>>>TWO LAYERS SELECTED use the>>>FUZZY TOOL to>>>DRAG OVER THE IMAGE SELECTING it. Then going to the>>>THIRD LAYER and using the>>>CUT TOOL cut away the image repeating for the other layers below the>>>TOP TWO LAYERS you can use shortcut>>>HOLD>>>CTRL and>>>PRESSING>>>X to cut.
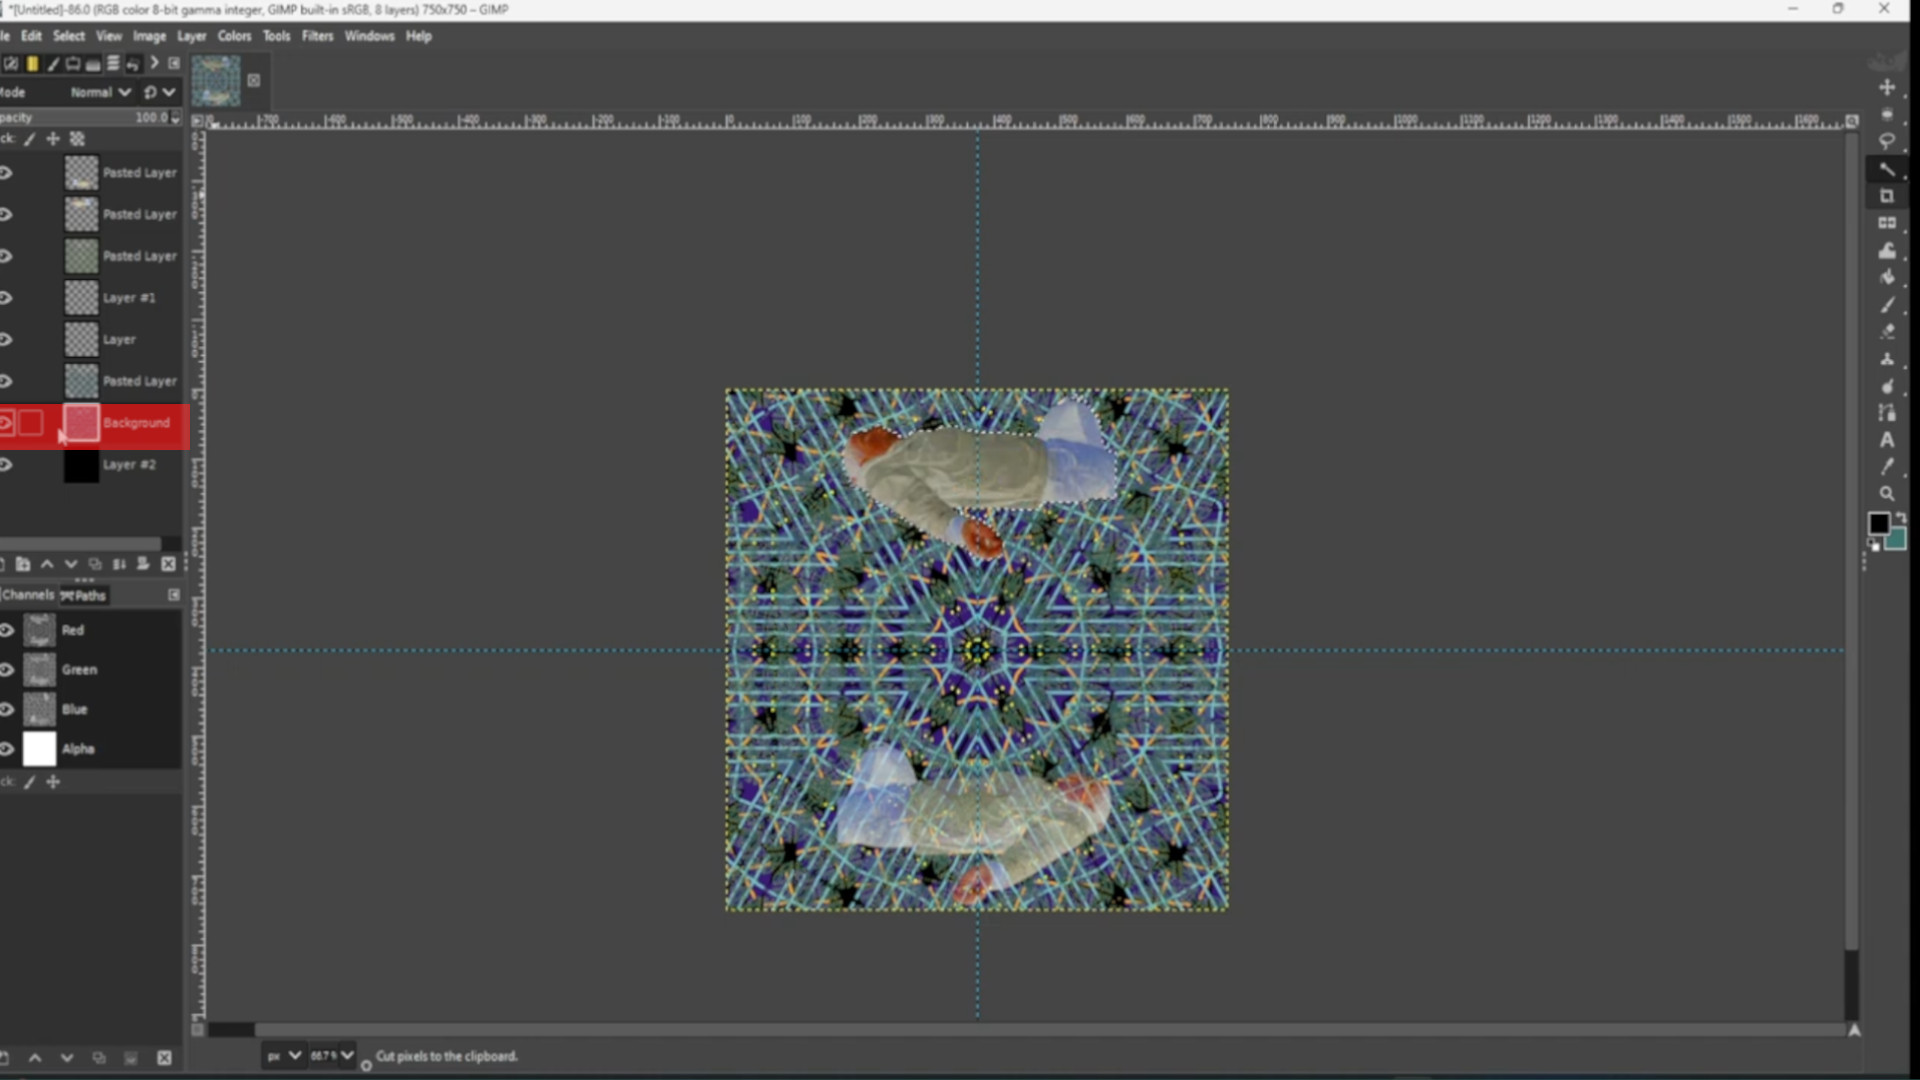
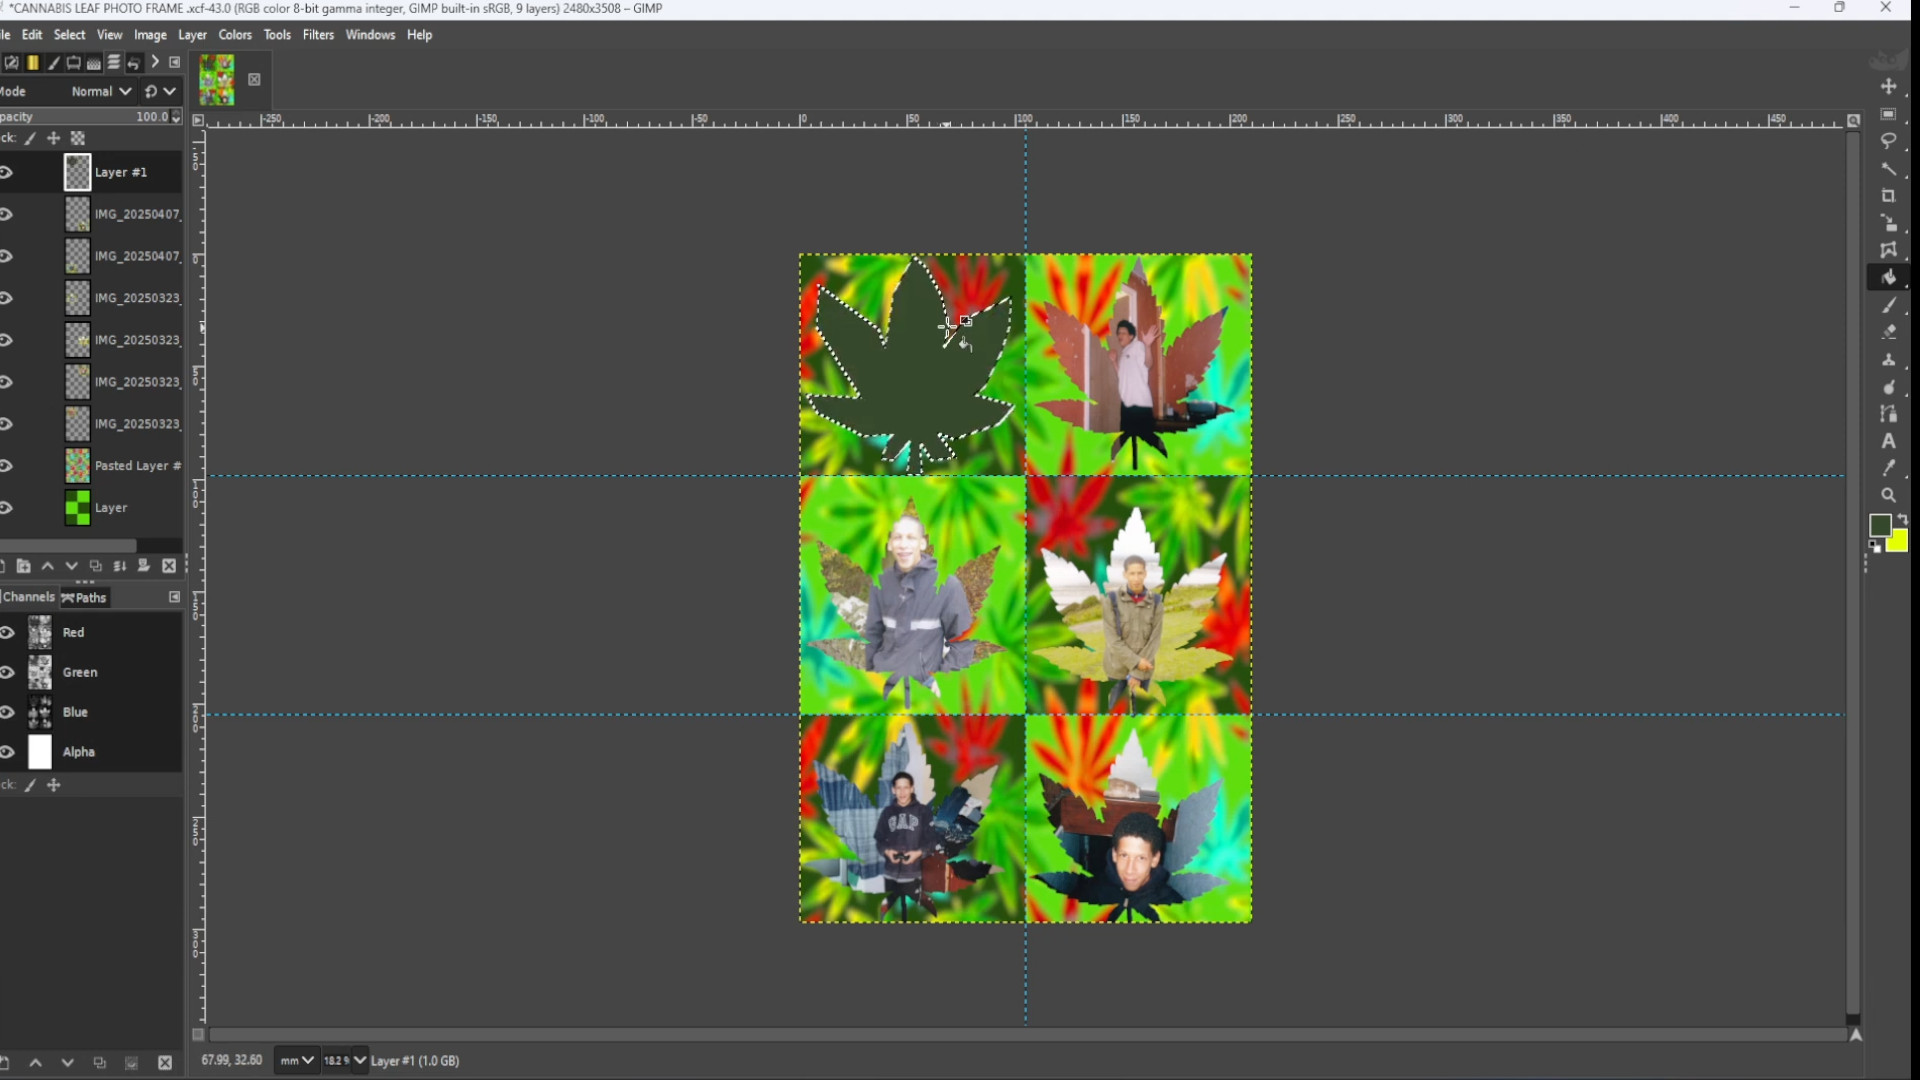
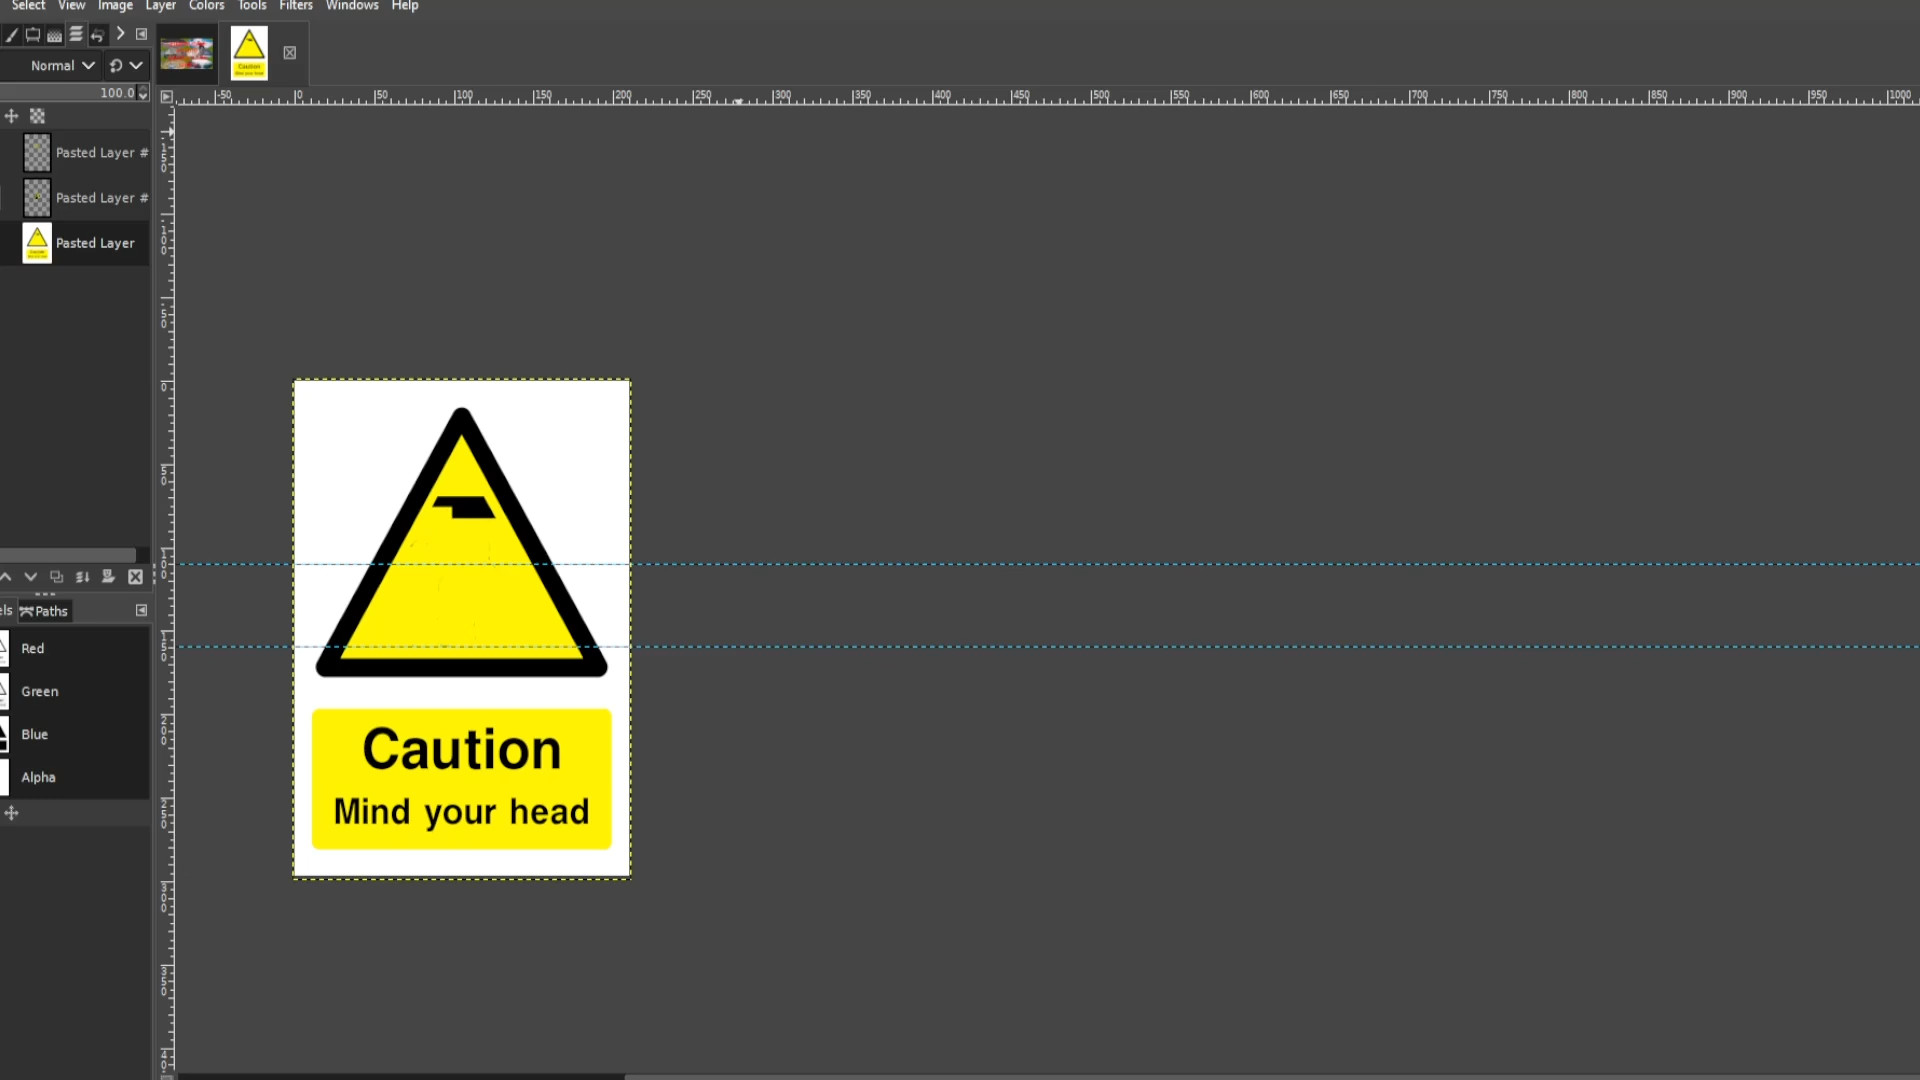
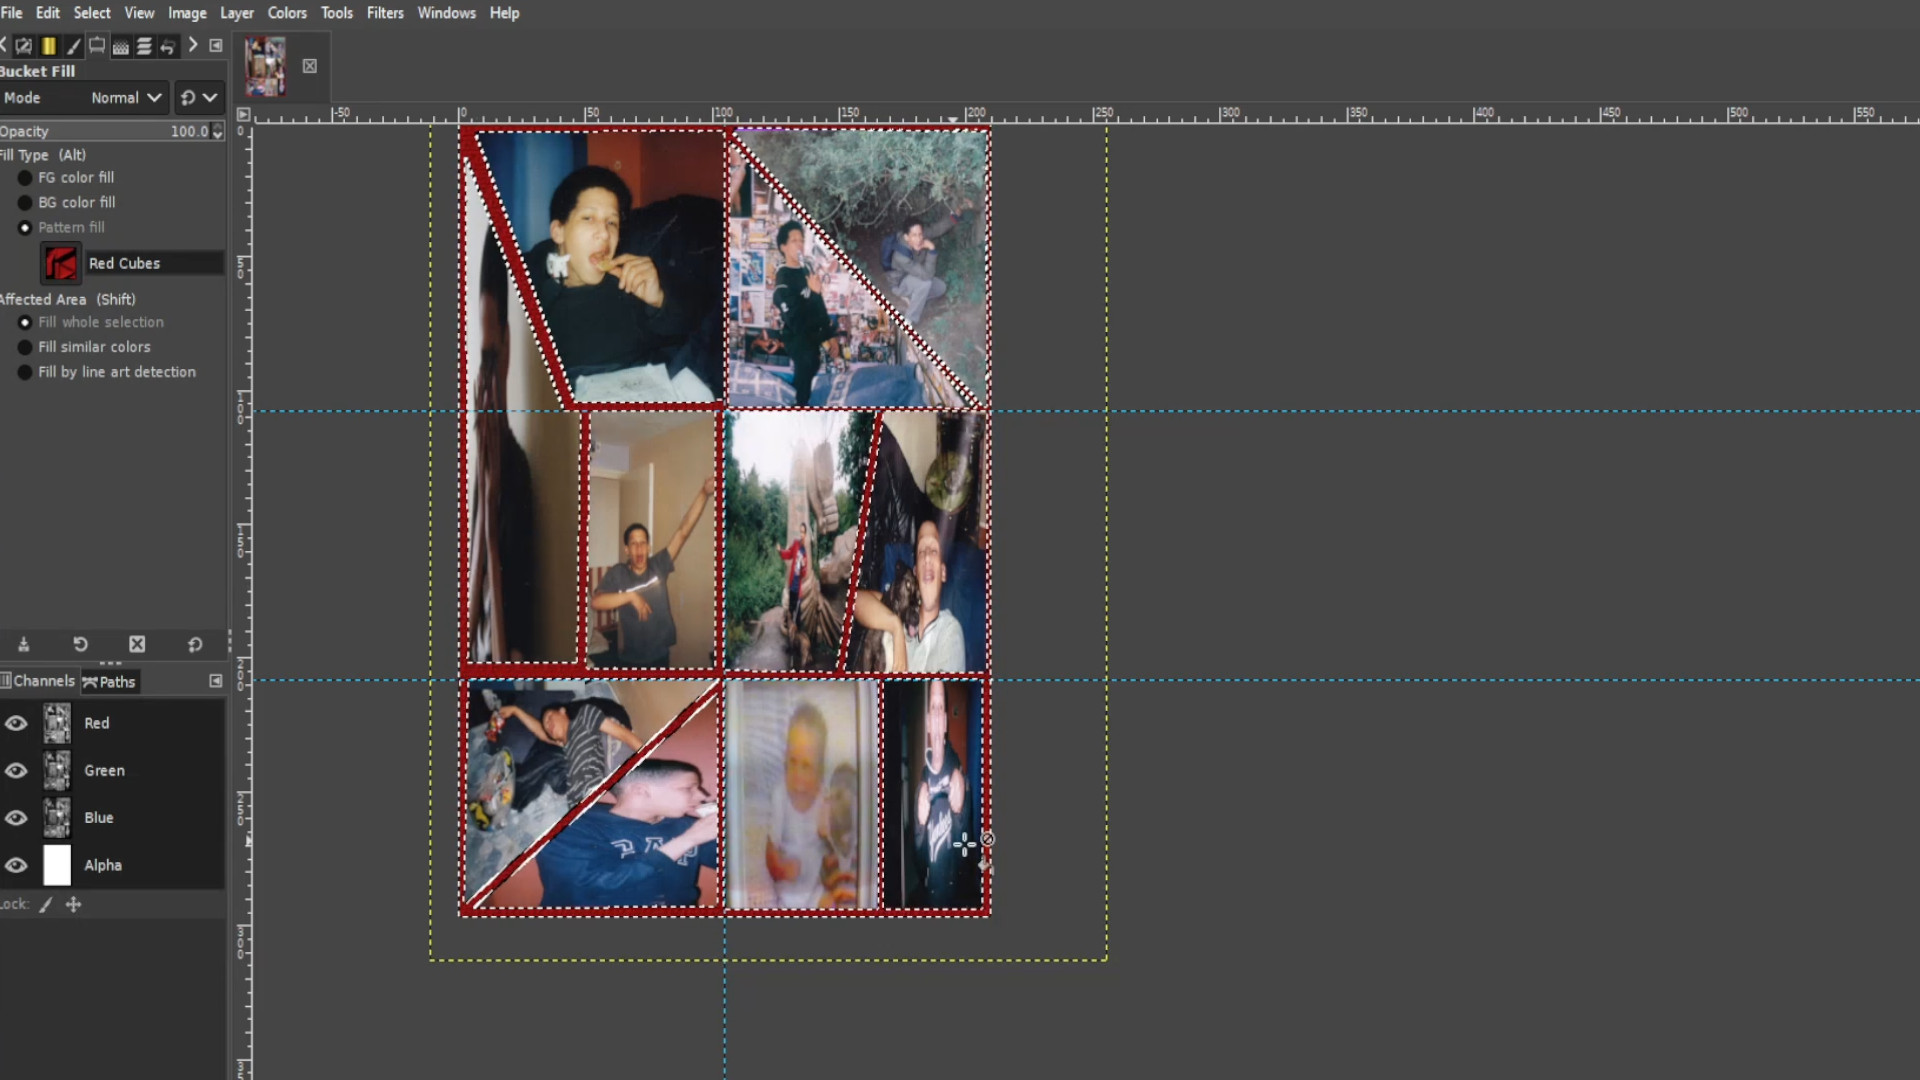
With>>>ANY of the>>>TOP>>>TWO LAYERS HIGHLIGHTED and the>>>BOTTOM LAYER SELECTED use the>>>CUT TOOL to>>>CUT AWAY the>>>BACKGROUND of the>>>LAST LAYER in the>>>LAYERS TAB. You can use shortcut>>>HOLD>>>CTRL and>>>PRESSING>>>C to cut then>>>SELECTING A DARK COLOUR use the>>>BUCKET FILL to>>>FILL IN the hole.
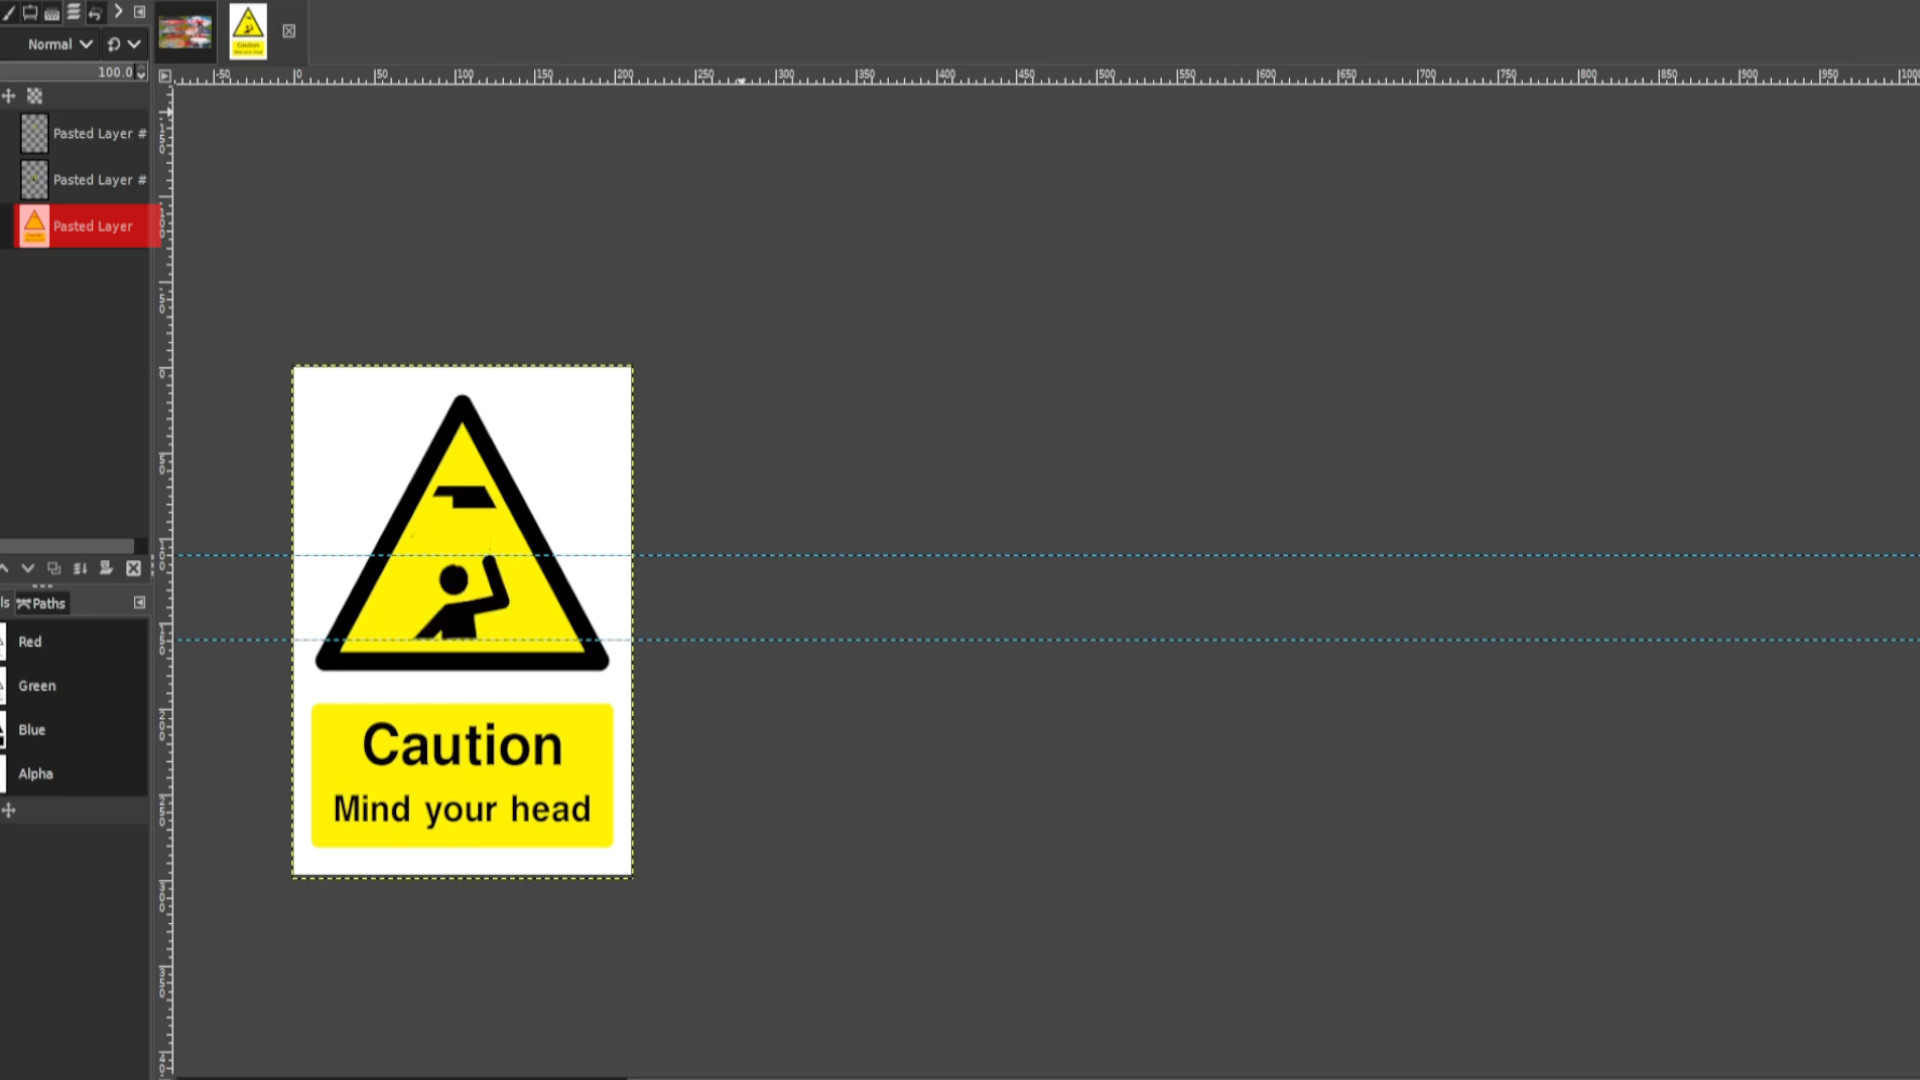
>>>REPEAT>>>STEP>>>29-30 if you have a second image if not proceed to the next step.

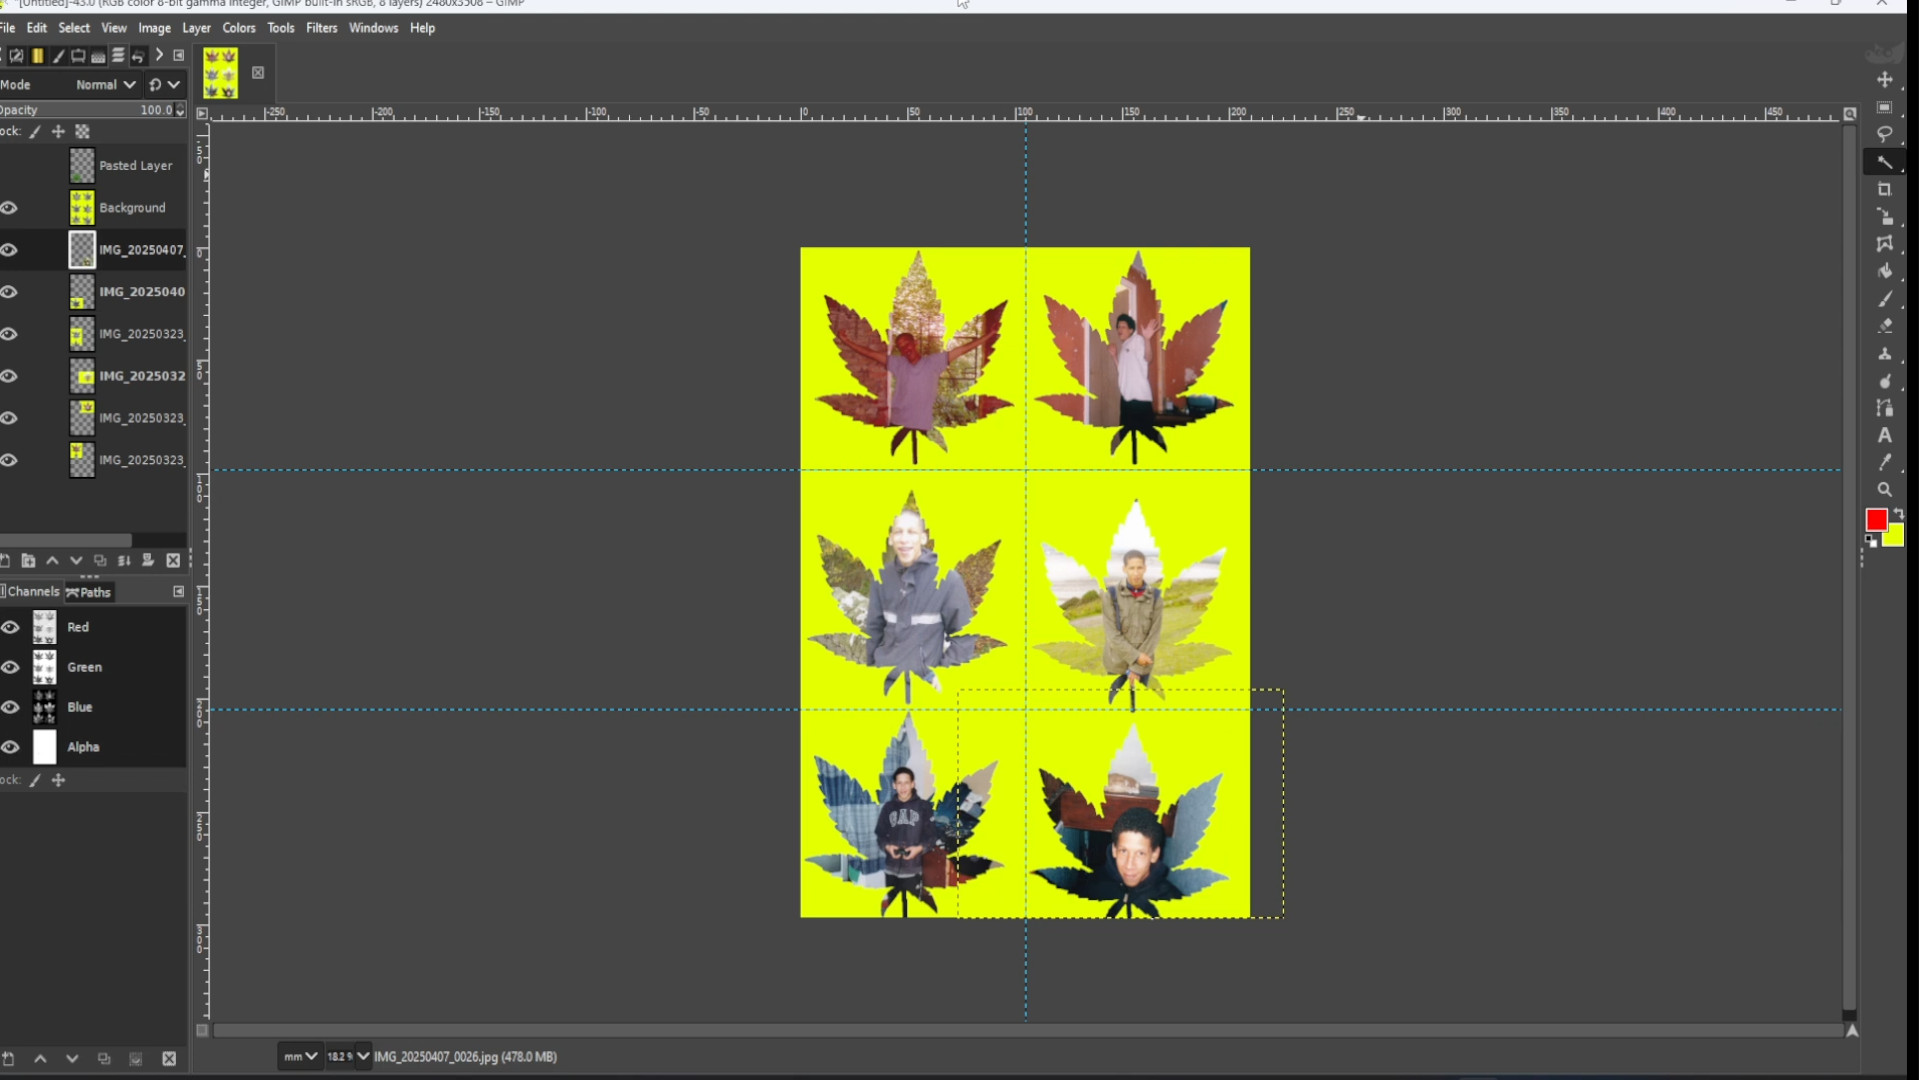
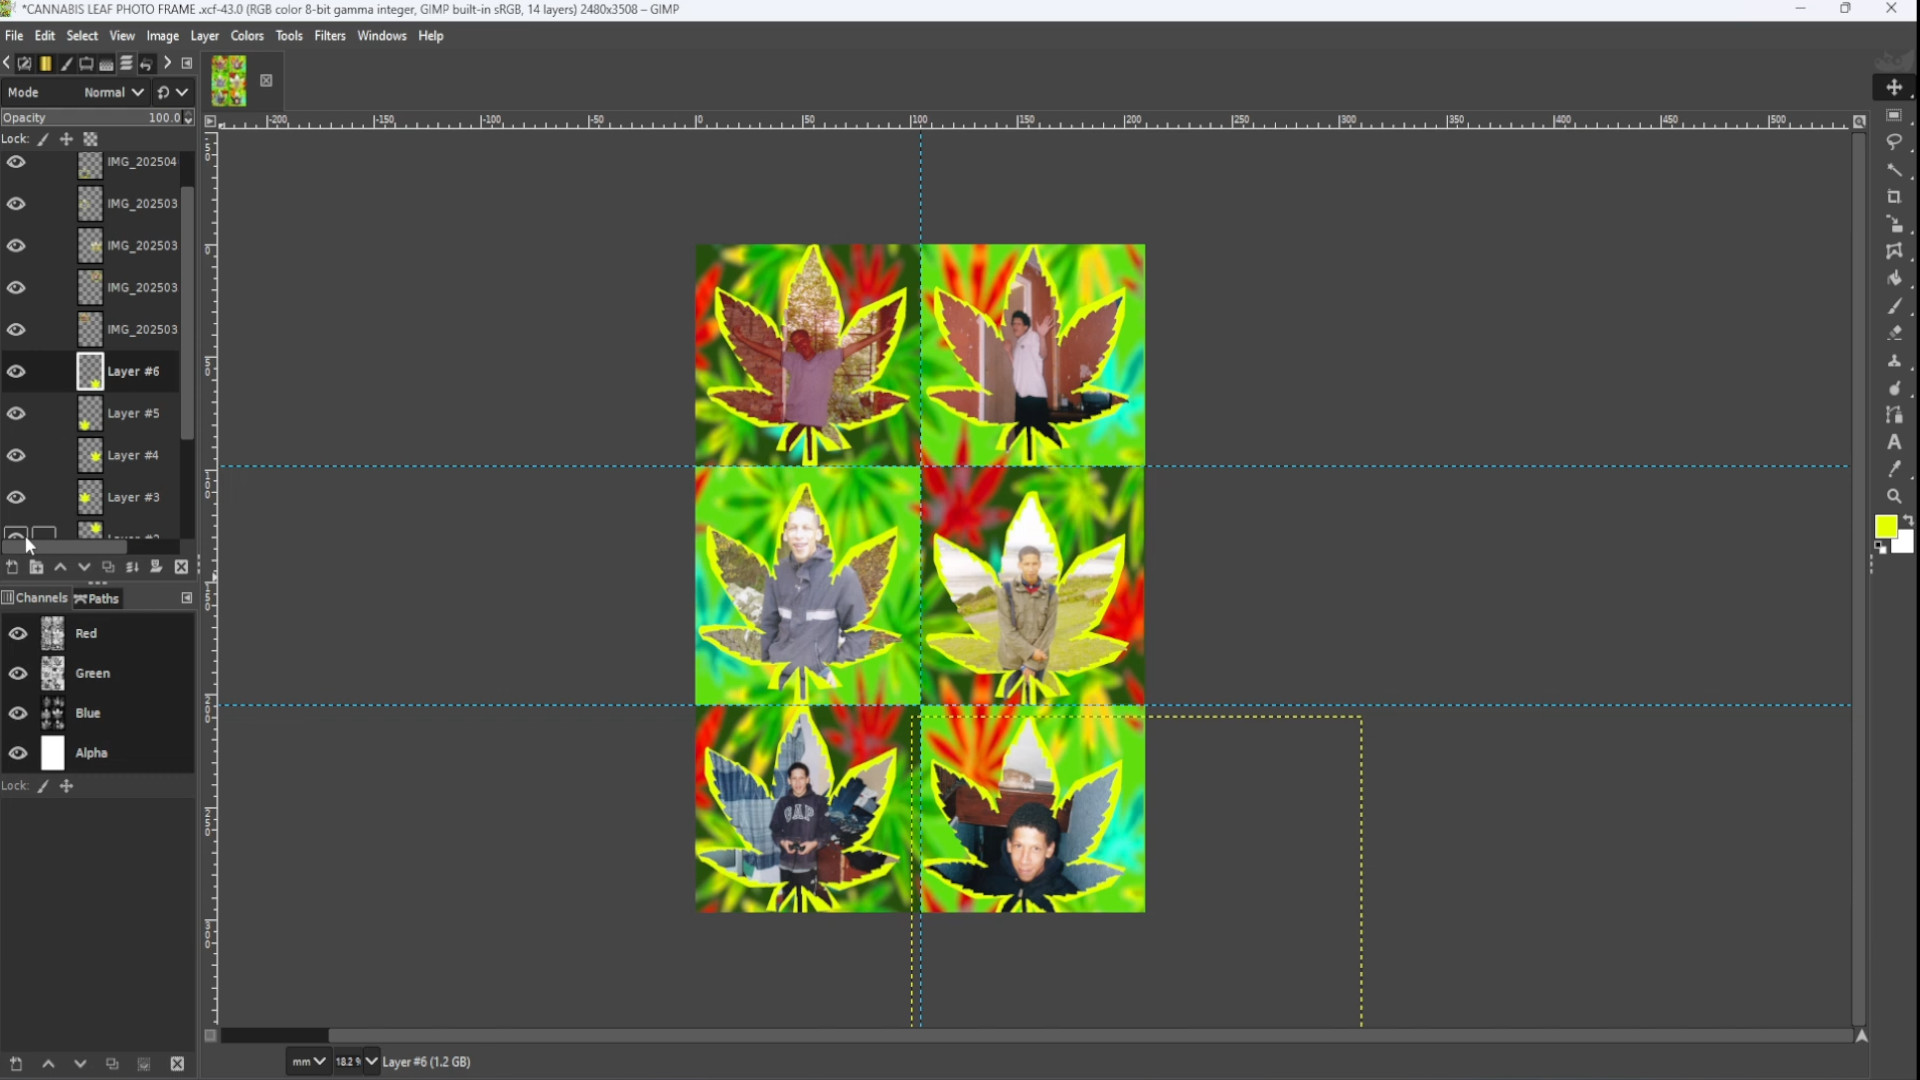
With the>>>SECOND >>>TO>>>BOTTOM LAYER SELECTED go to>>>FILTERS>>>RECENTLY USED>>>KALEIDOSCOPE and change to taste using the>>>ZOOM OPTION to make a repeated pattern. Then use the>>>SCALE TOOL to get the image to fit the canvas you can use shortcut>>>HOLD>>>SHIFT and>>>PRESS S to get the scale options to come up.
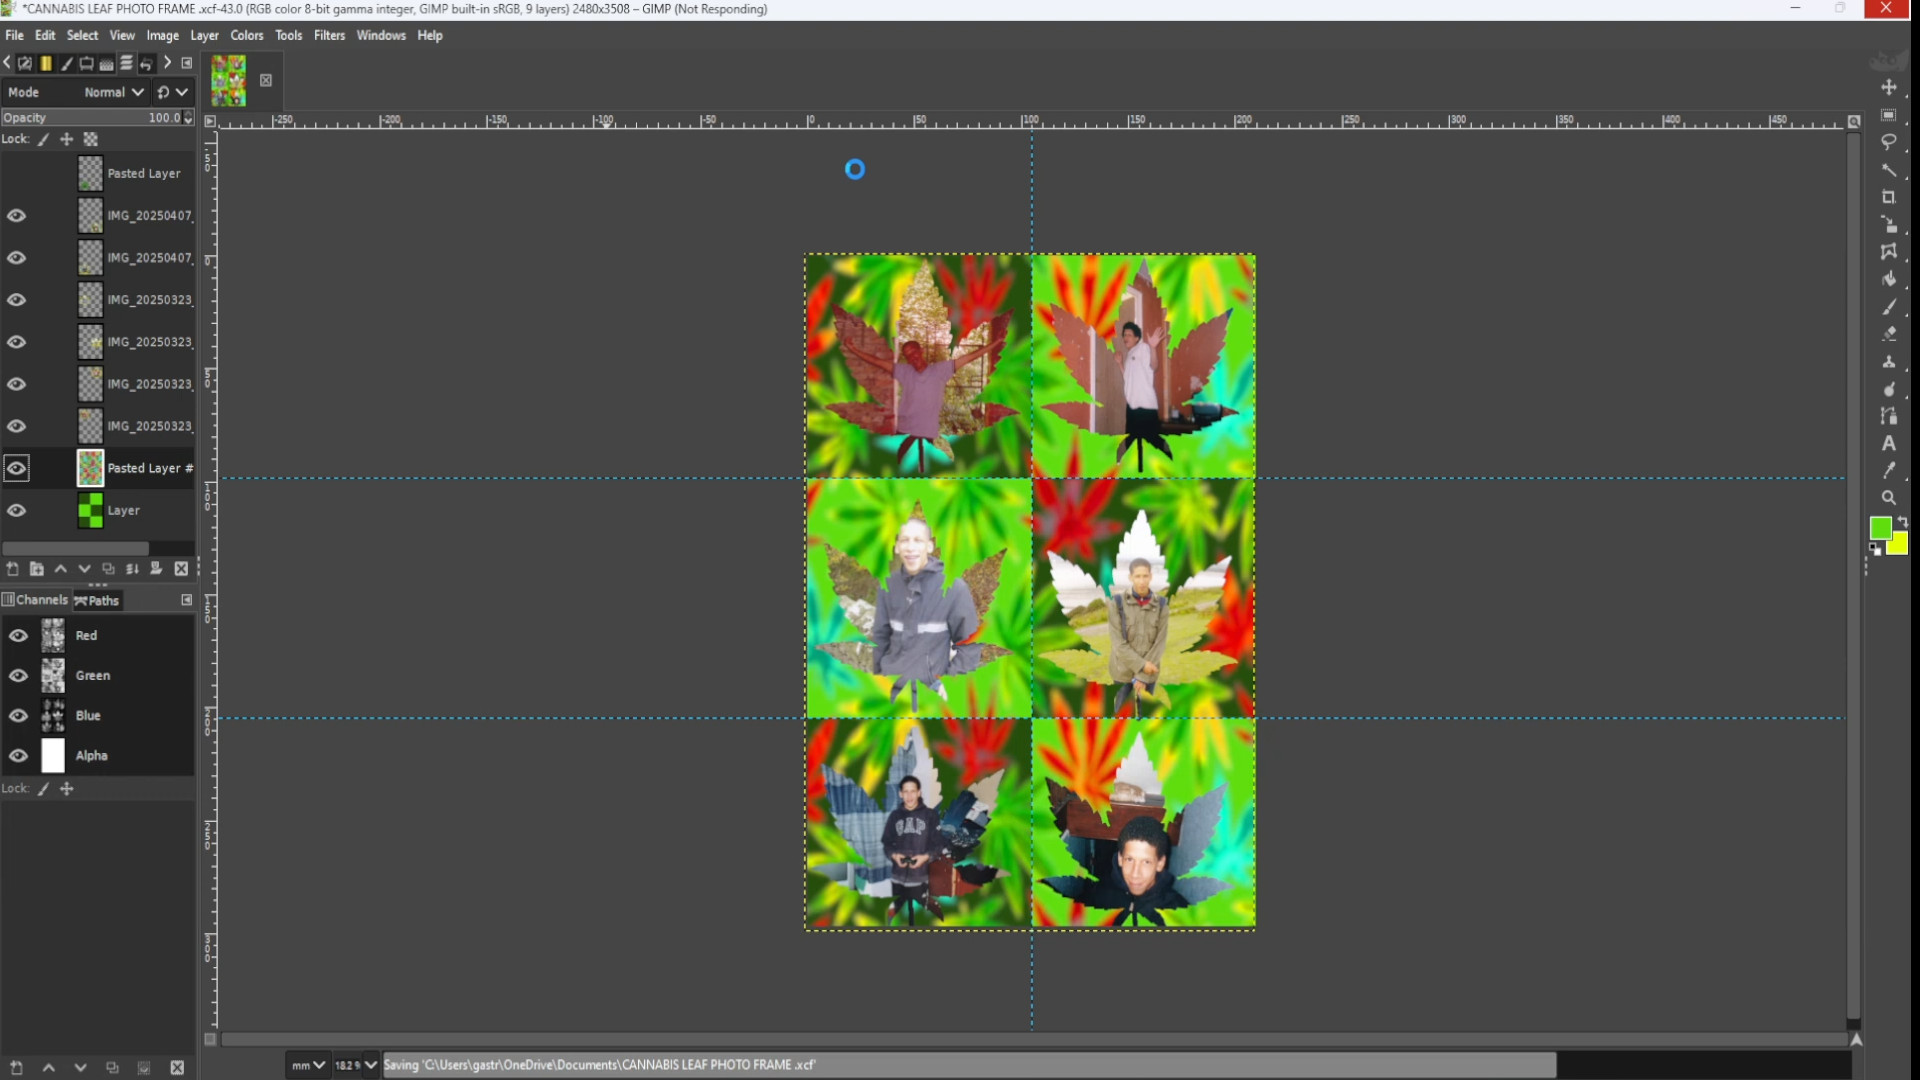
>>>SELECTING the>>>THIRD LAYER FROM THE BOTTOM>>>EXPERIMENT with the>>>COLOURS OPTIONS to taste.
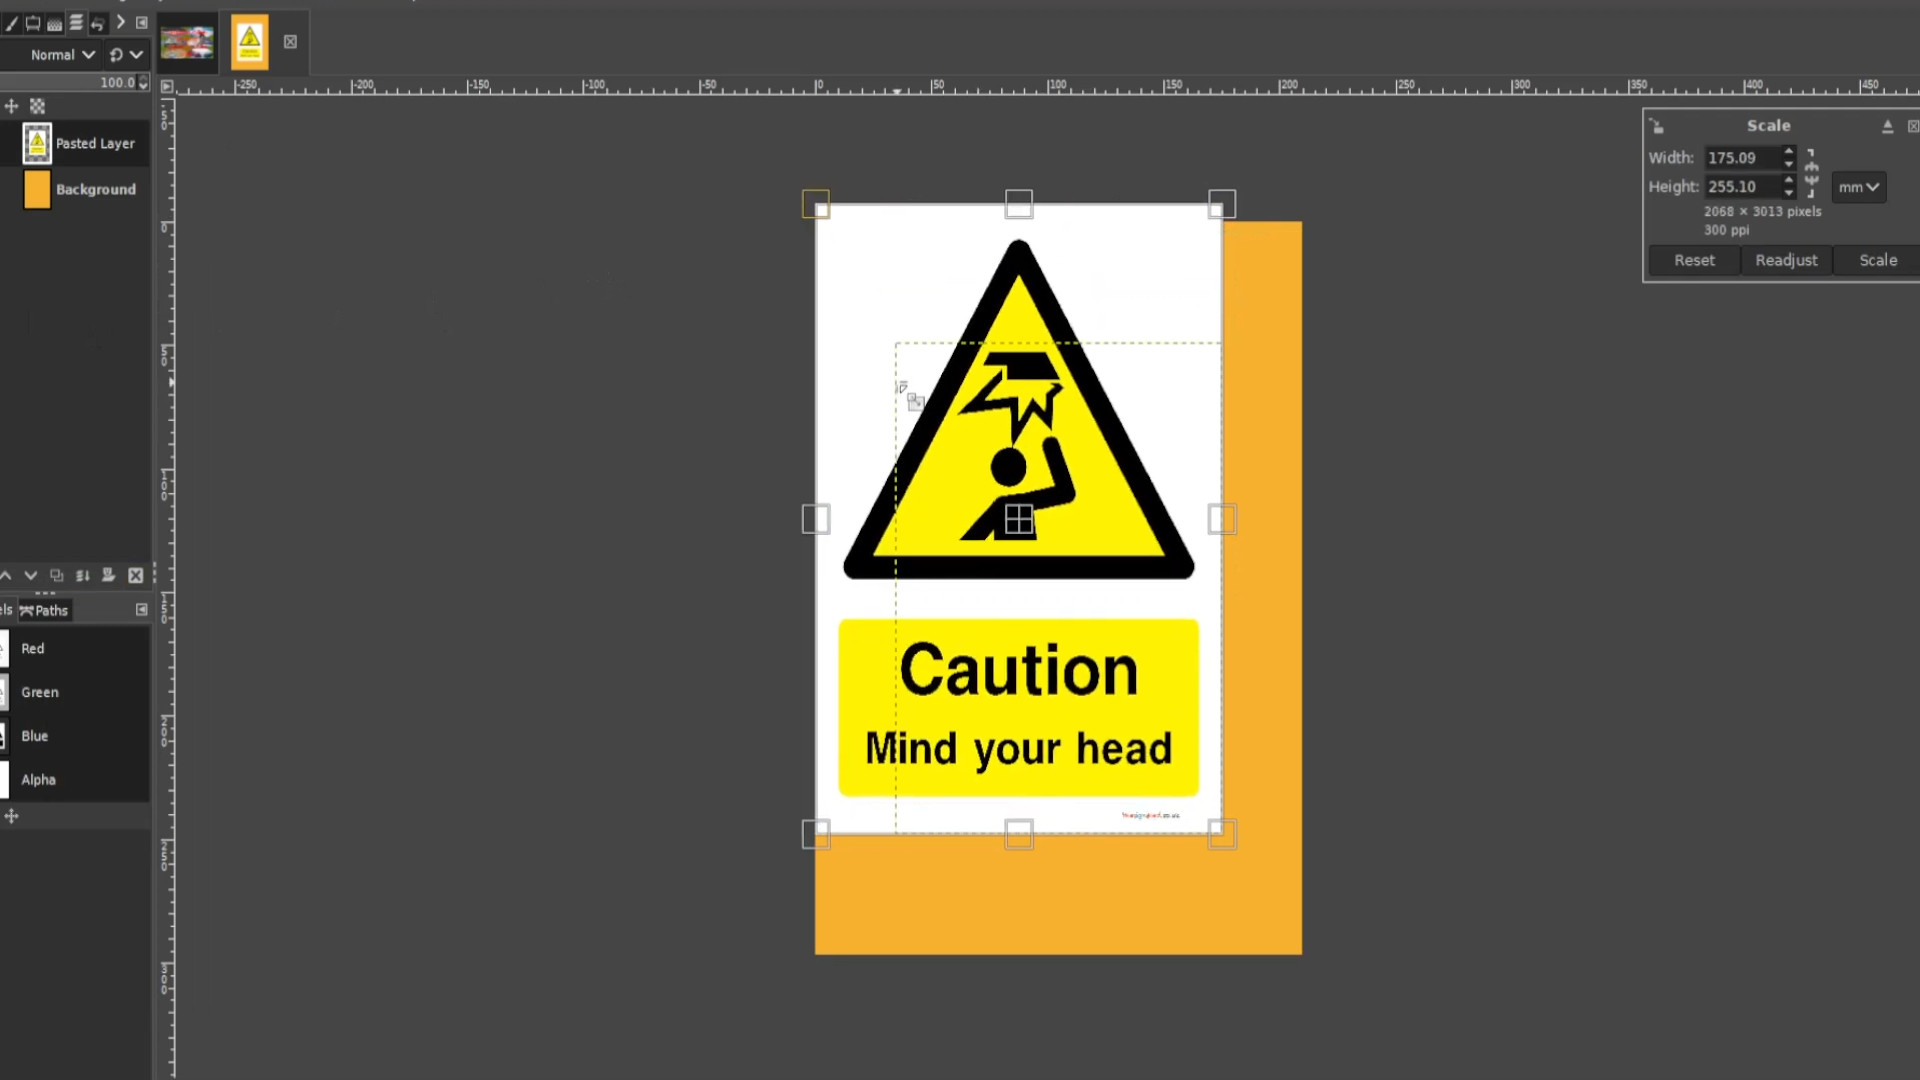
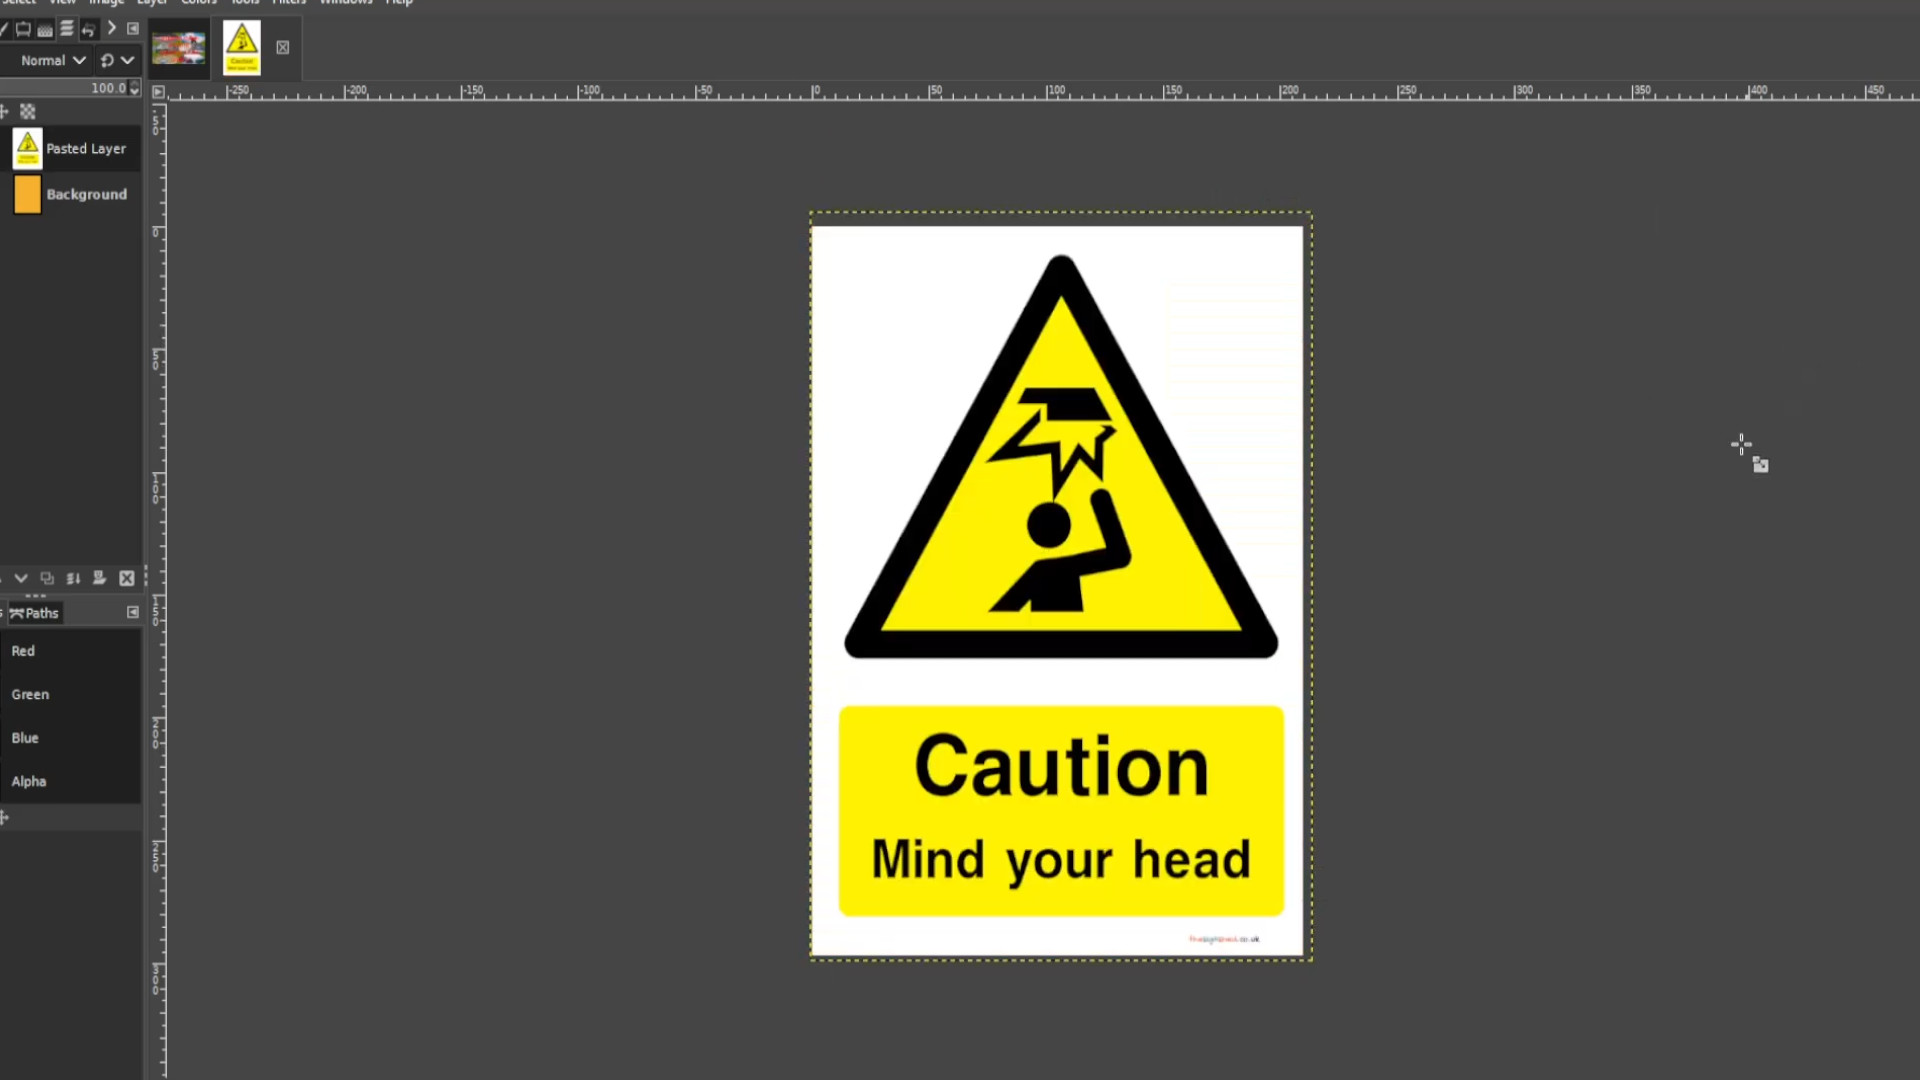
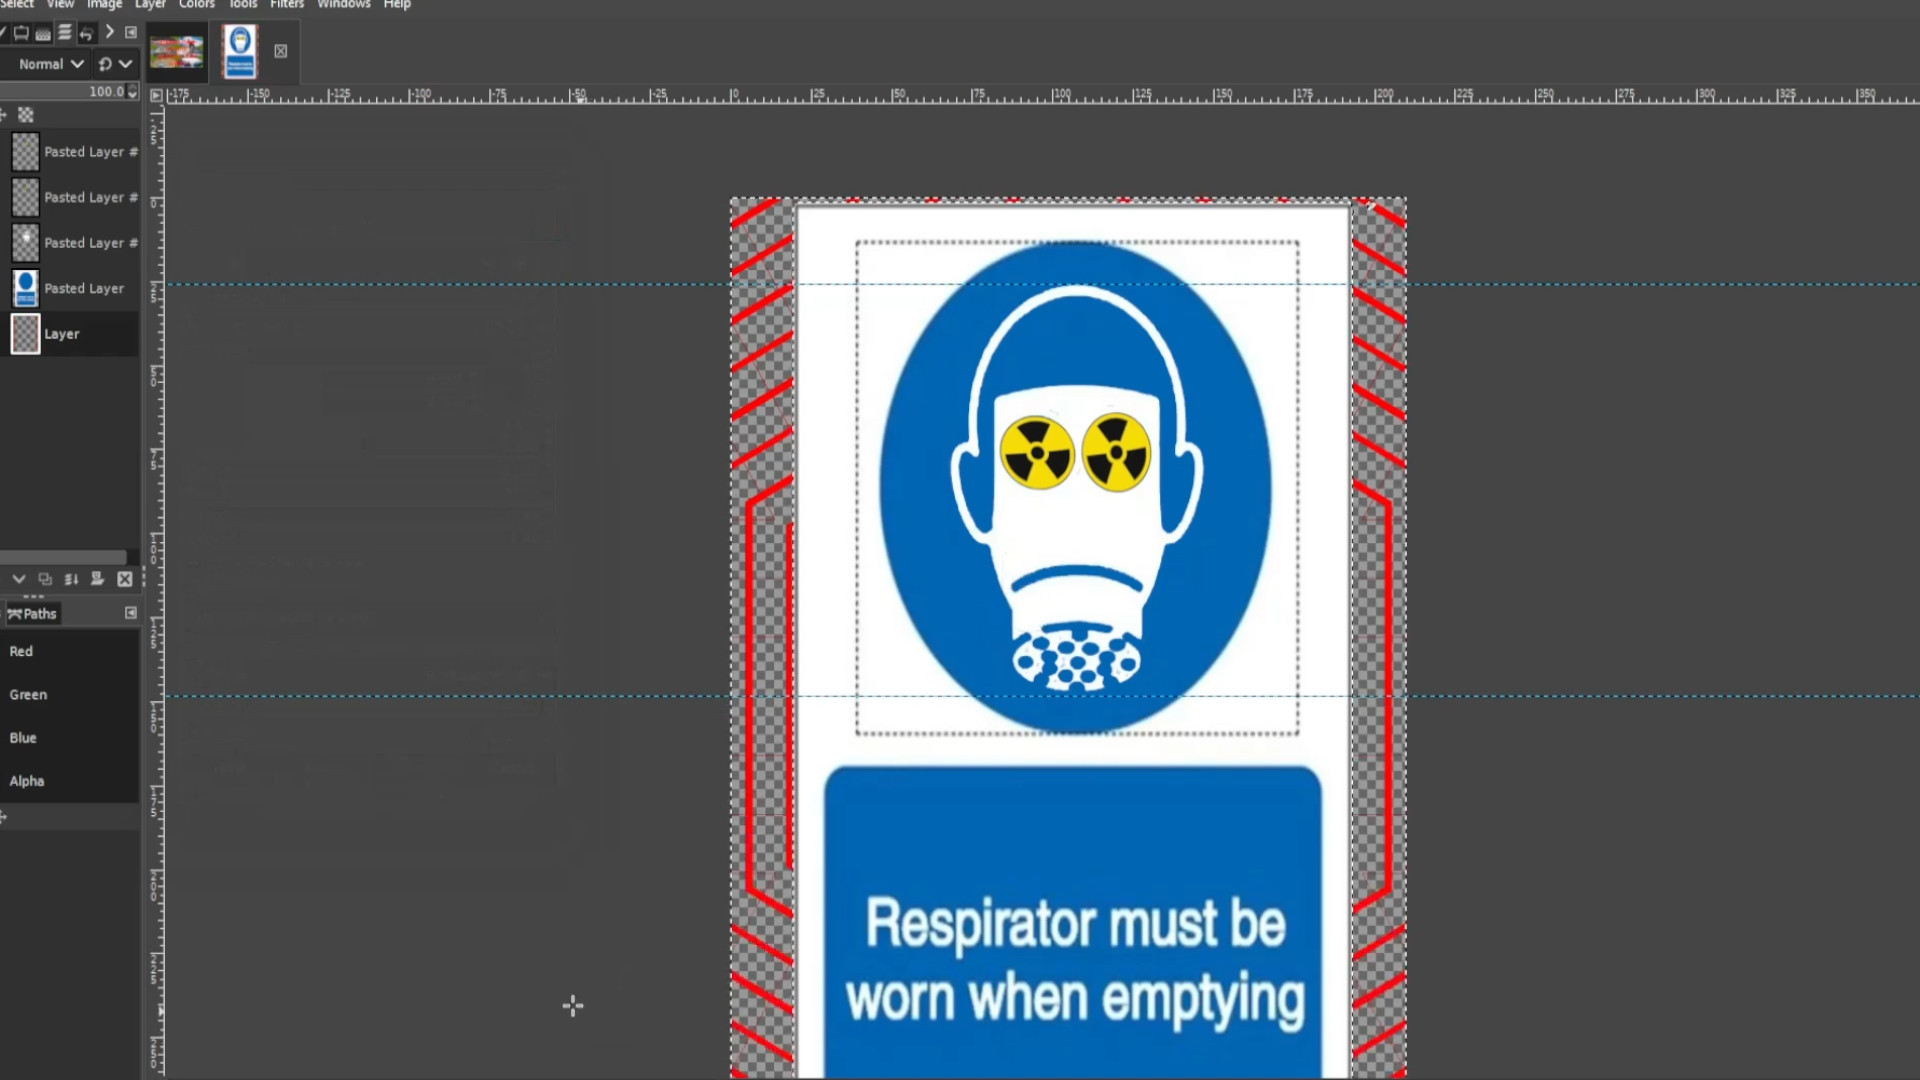
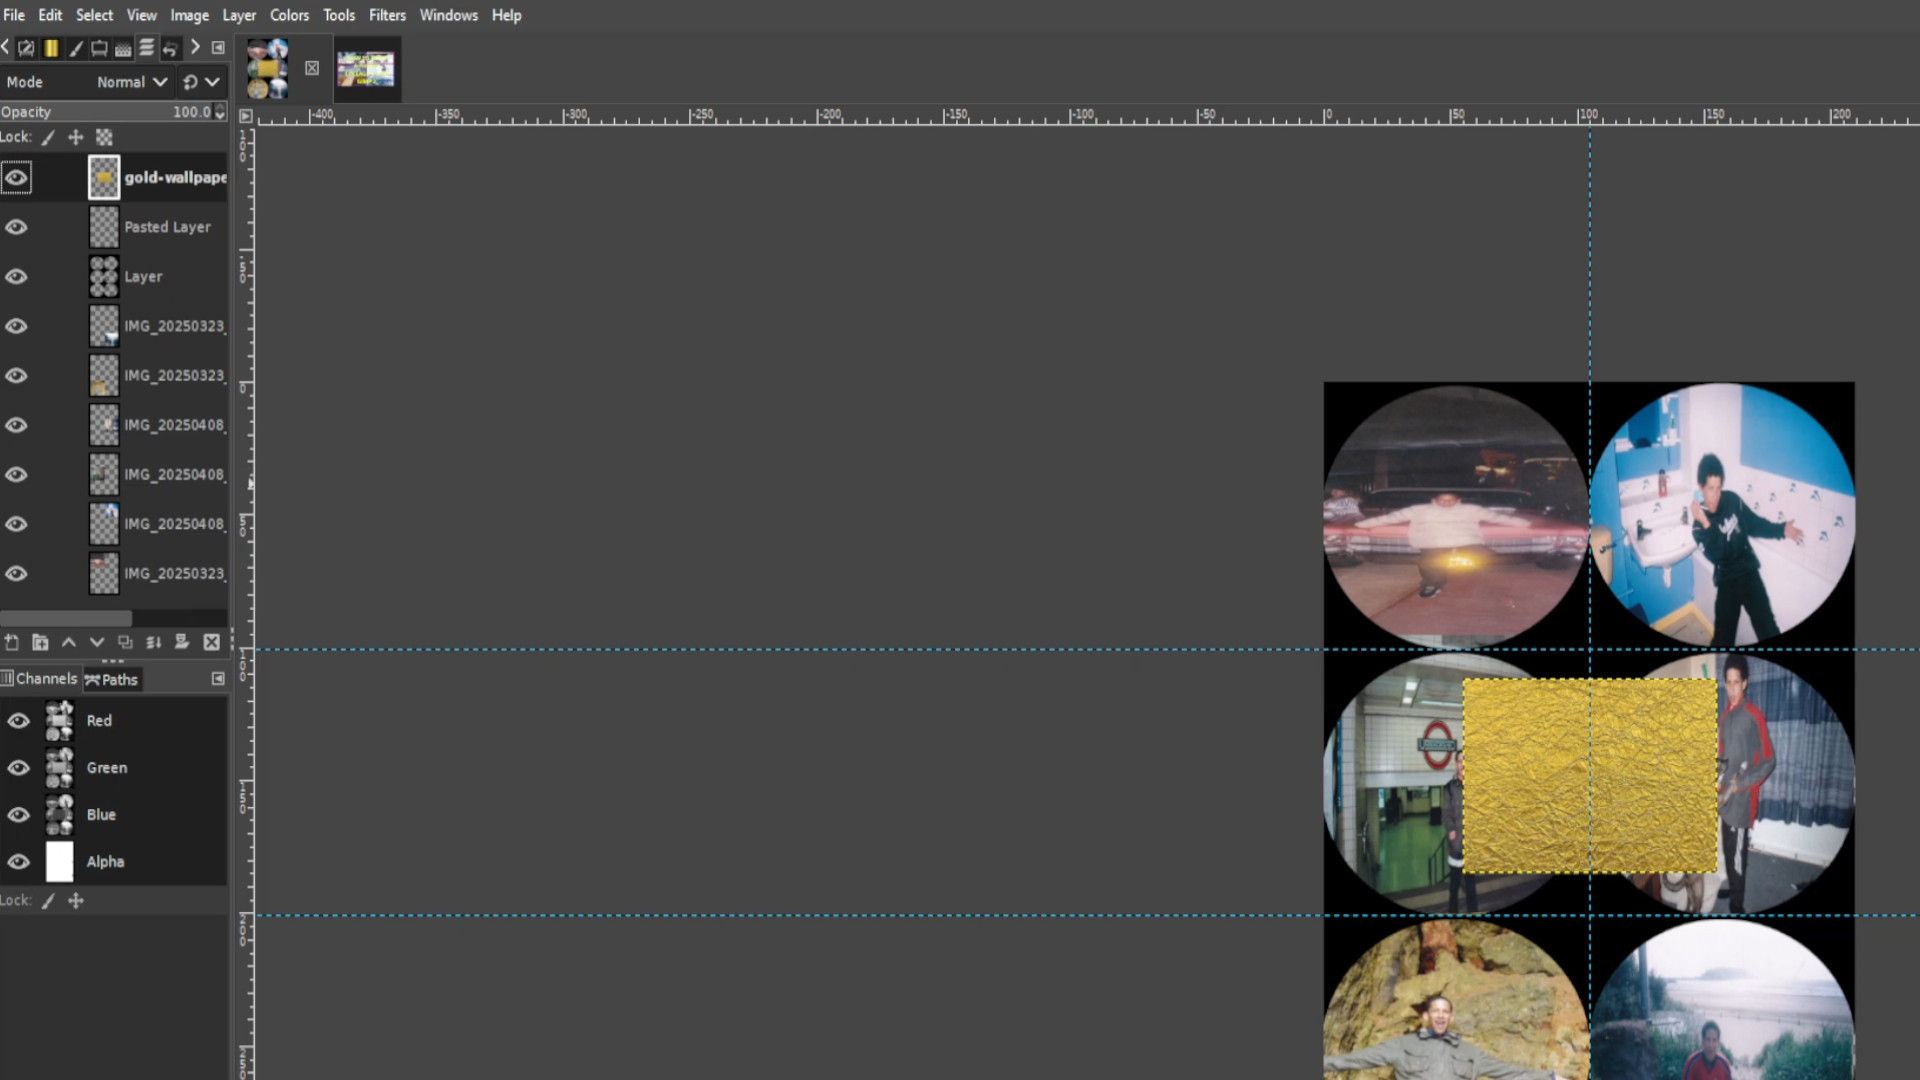
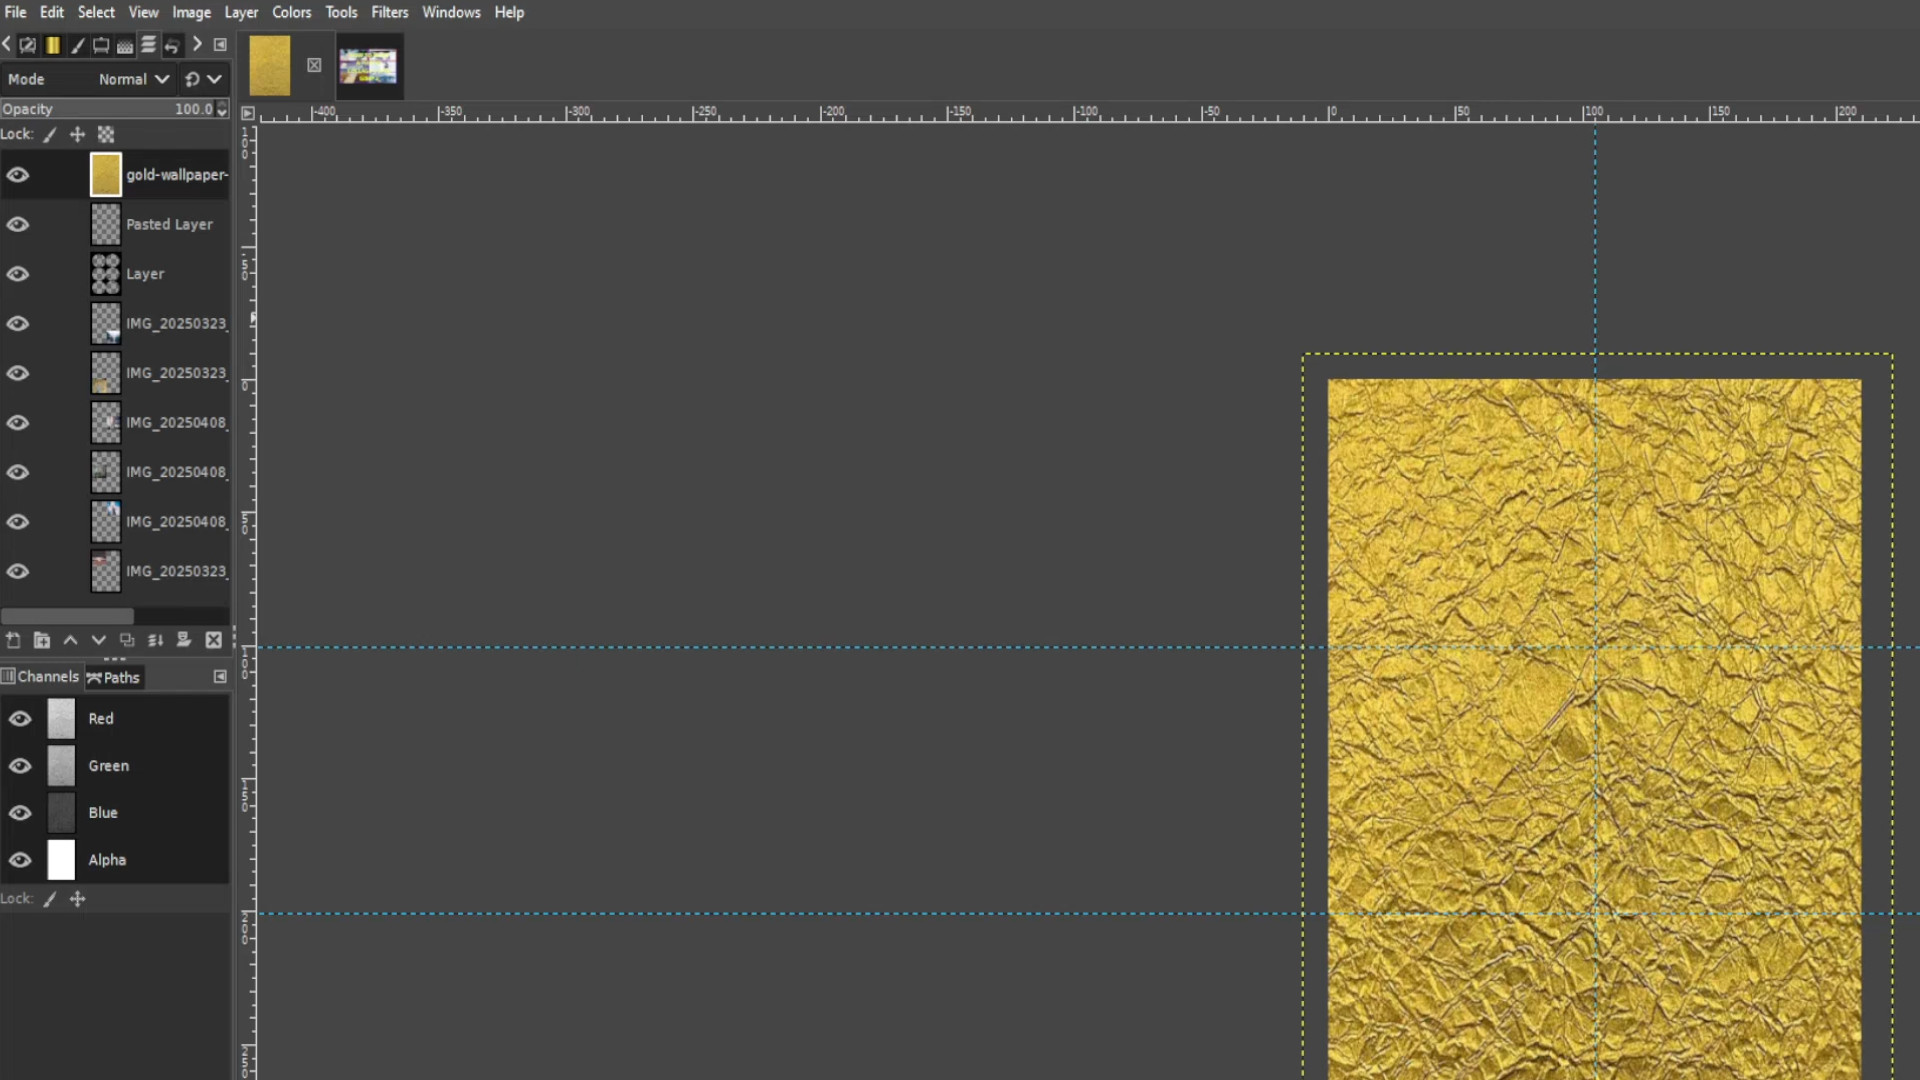
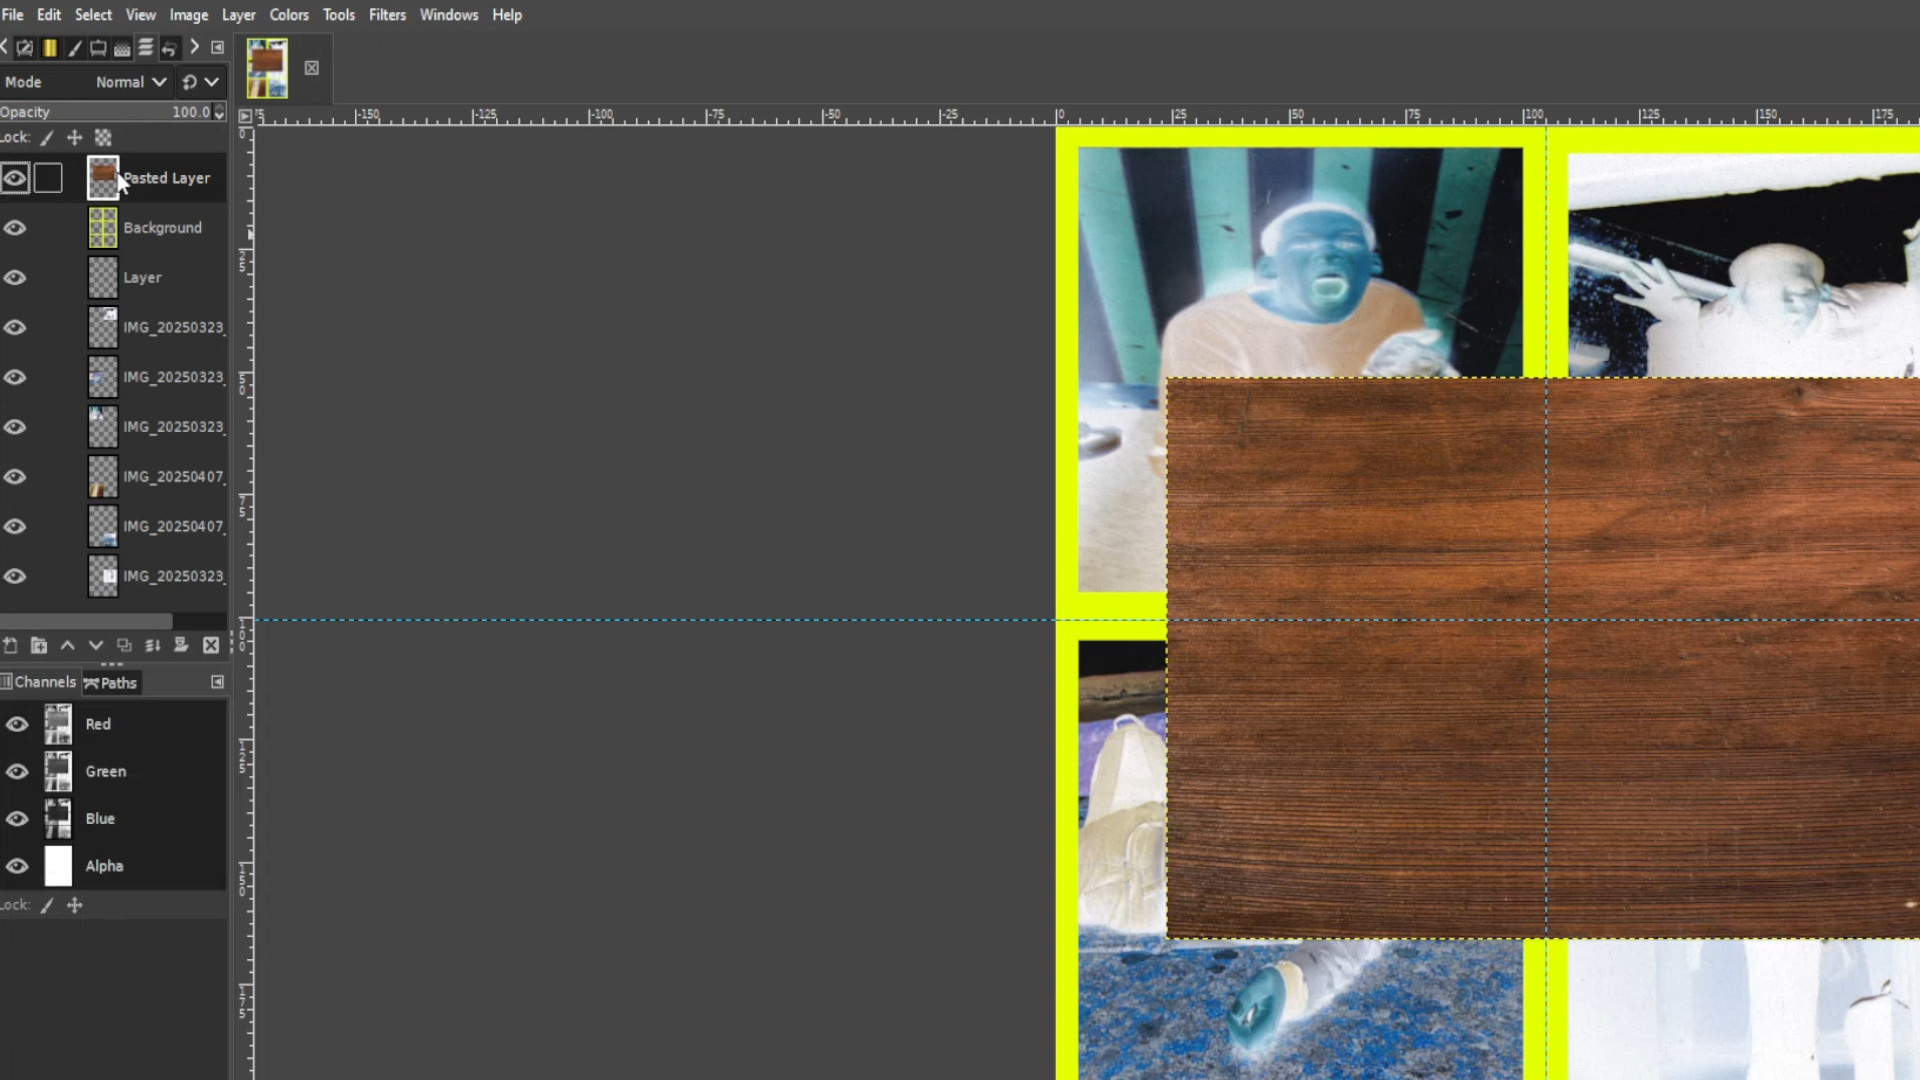
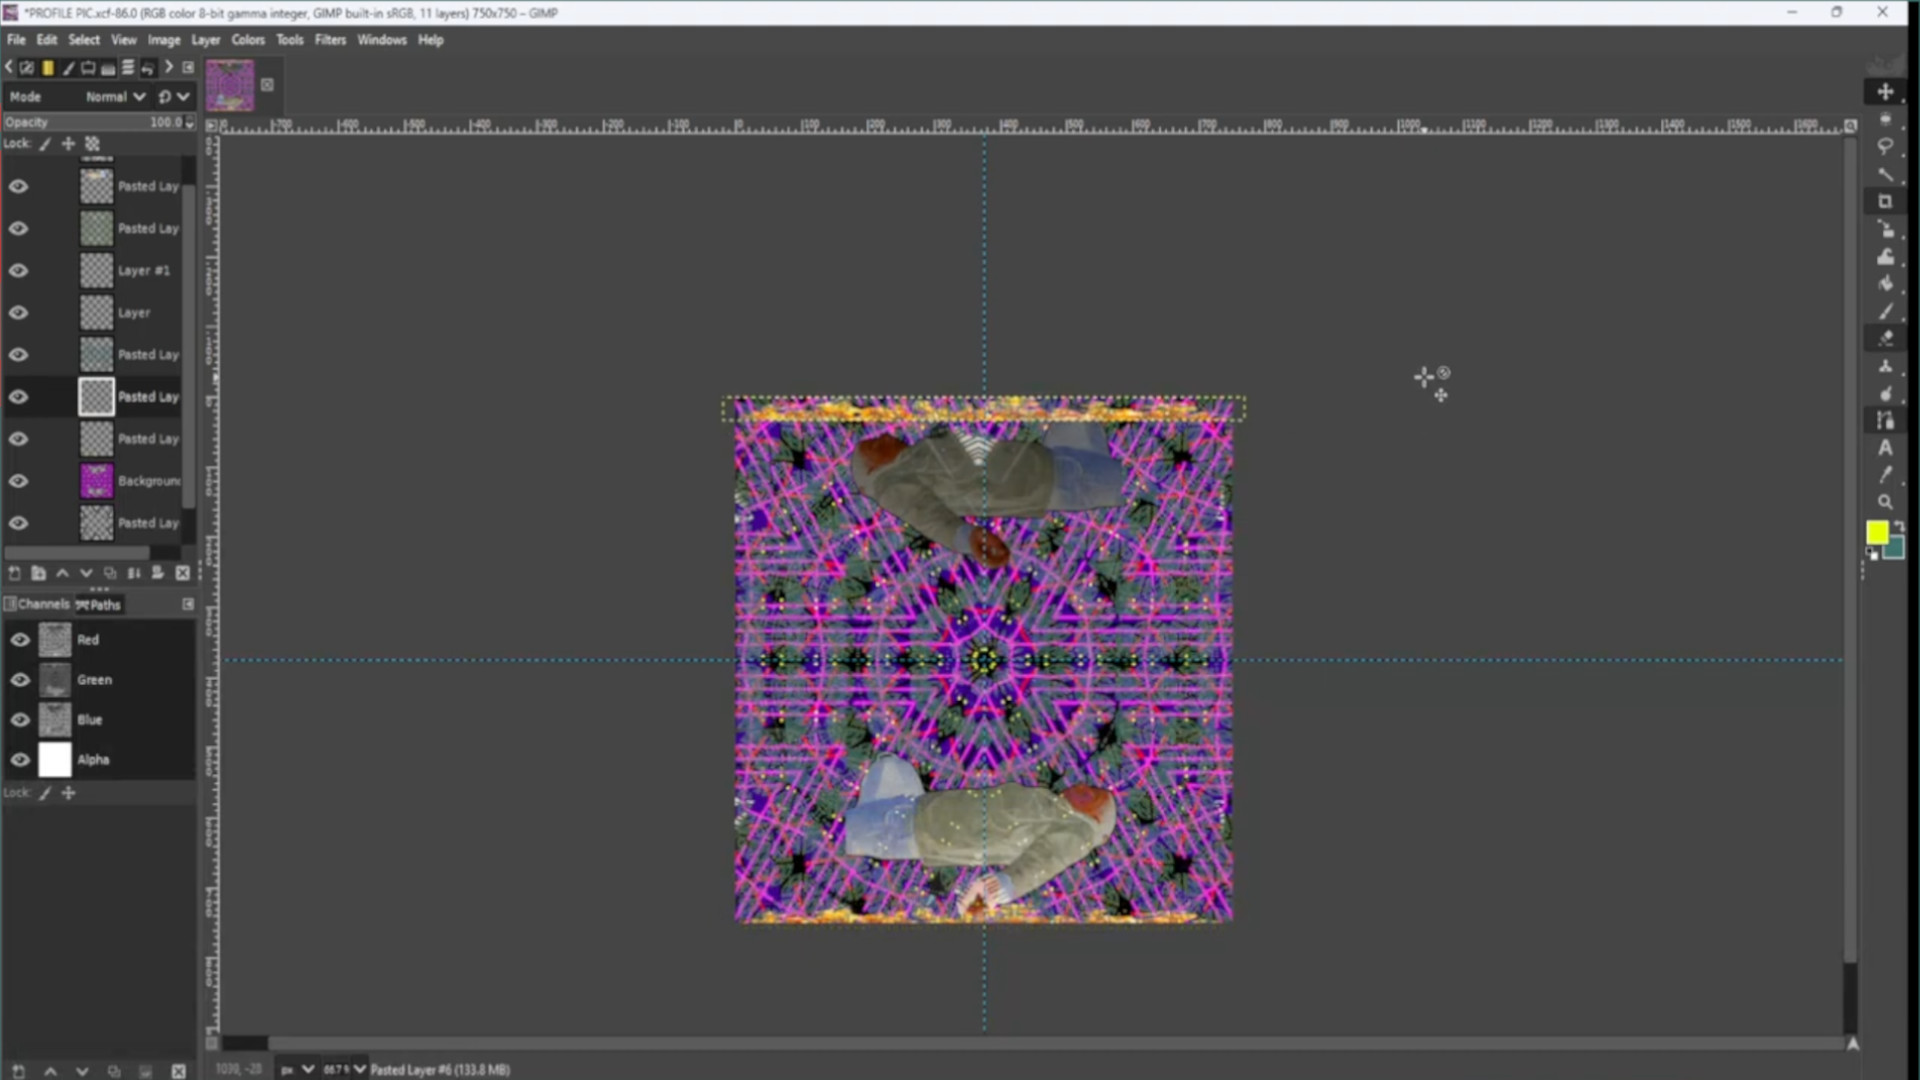
>>OPEN UP a>>>BORDER or>>>DRAG AND DROP image into Gimp. I used flames but you can use wood, metal and random textures. If not already>>>PLACE THE LAYER>>>THIRD FROM THE BOTTOM and use the>>>MOVE TOOL to>>>MOVE IT INTO POSITION and the>>>SCALE TOOL to>>>SCALE the>>>IMAGE up or down or use shortcut>>>HOLD>>>SHIFT and>>>PRESS>>>S to get the scale options to come up.
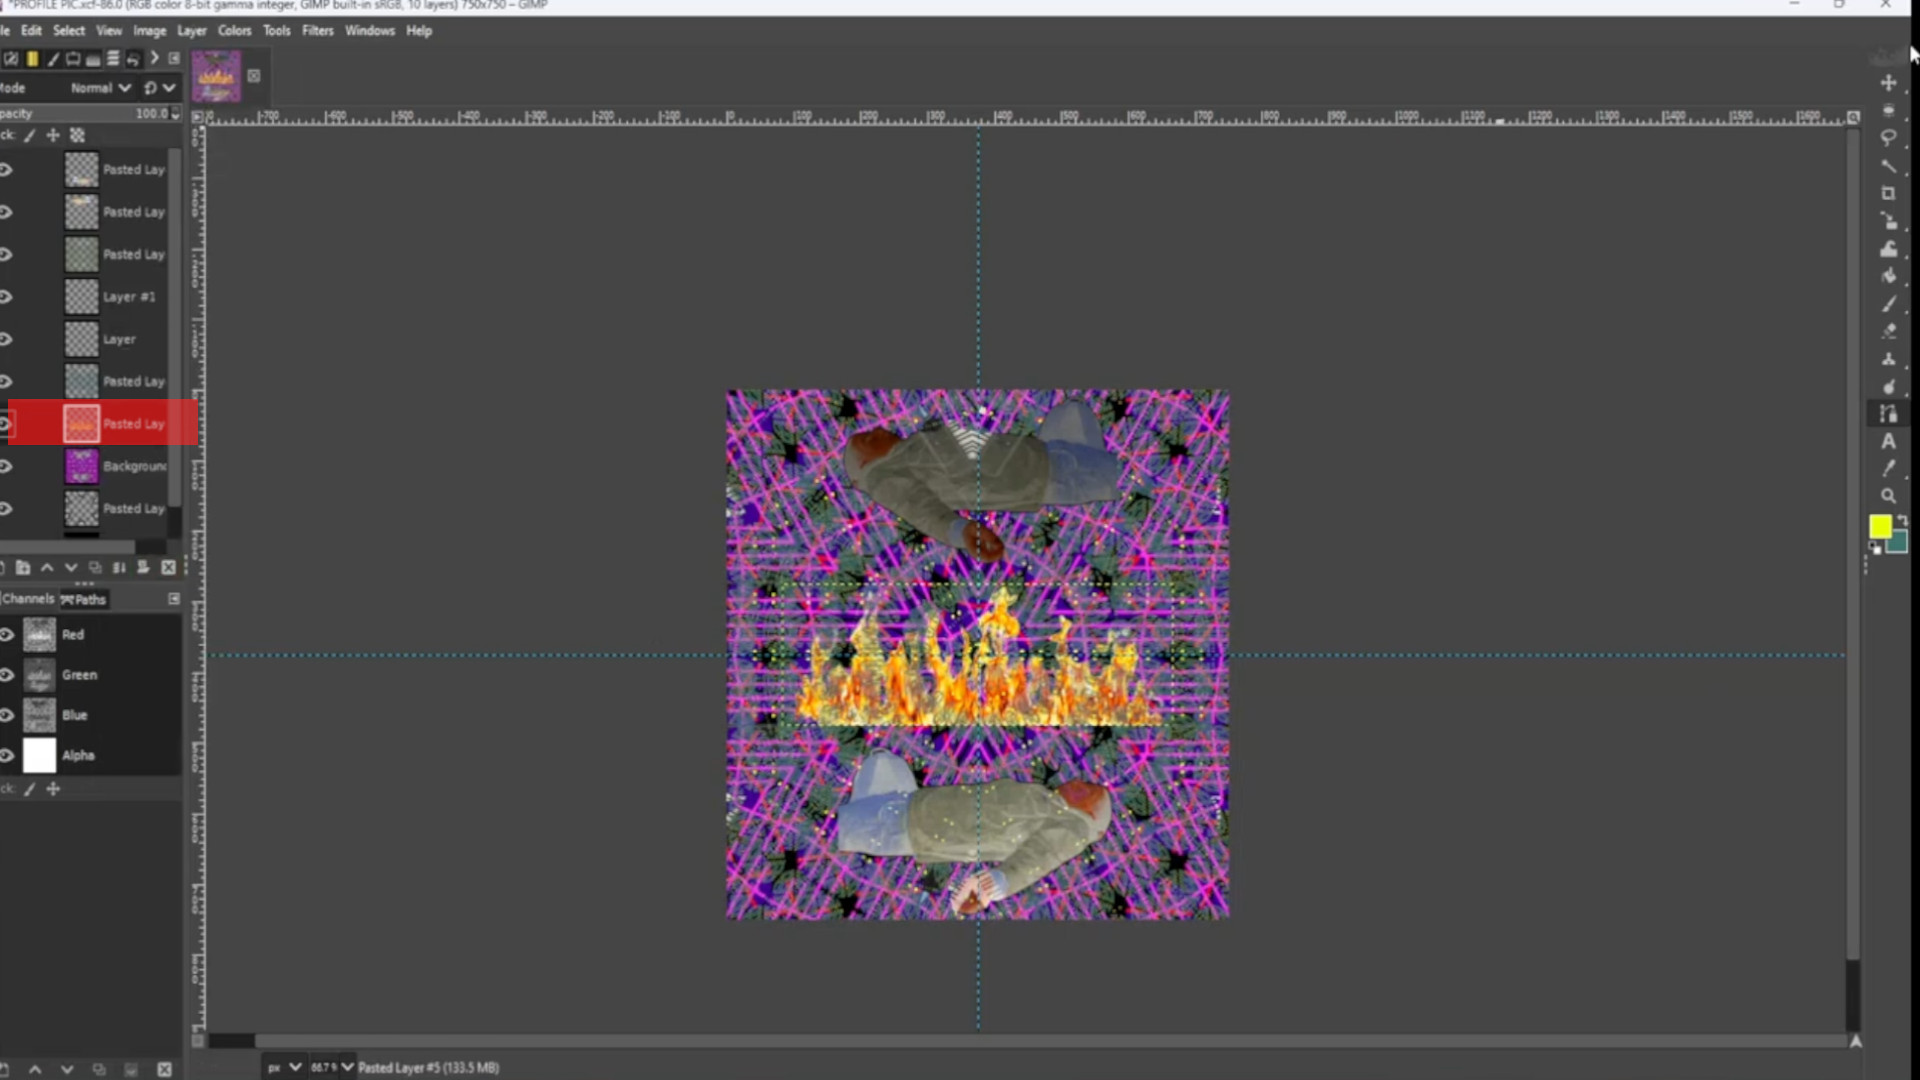
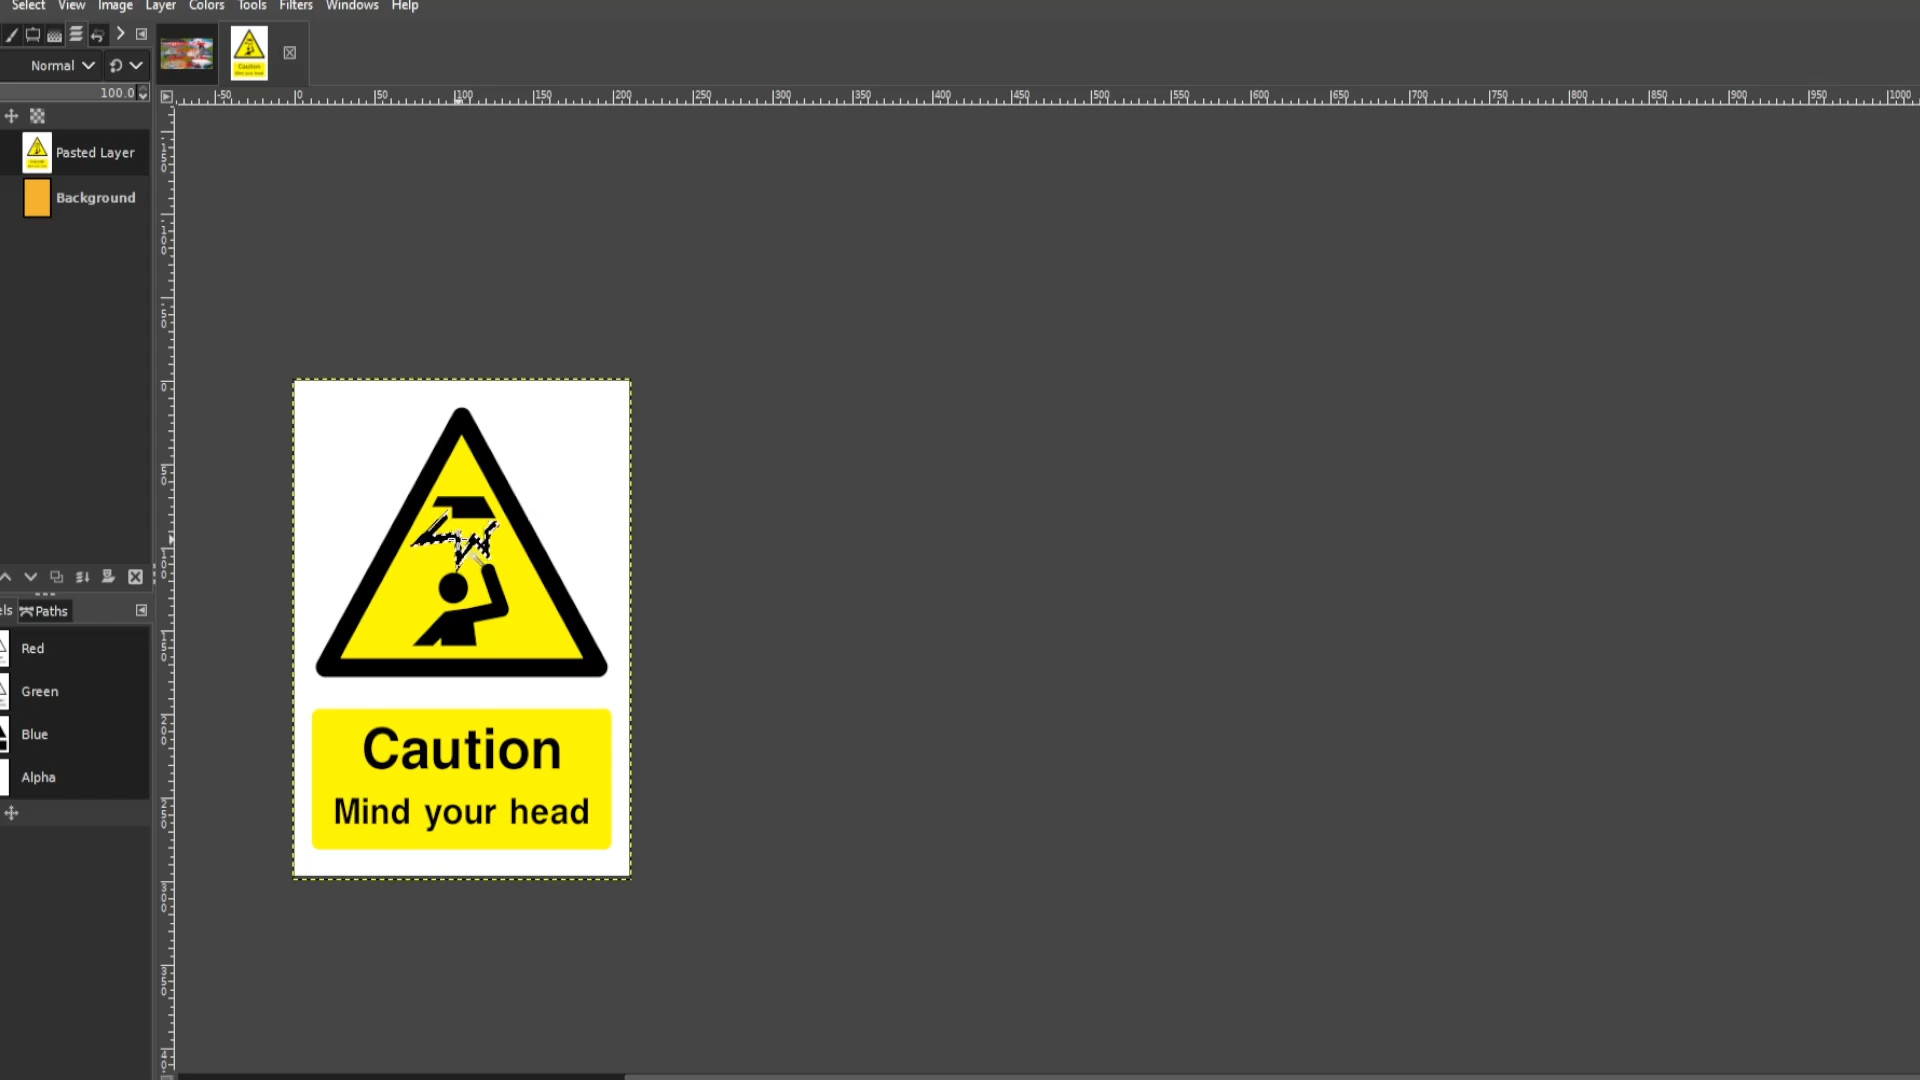
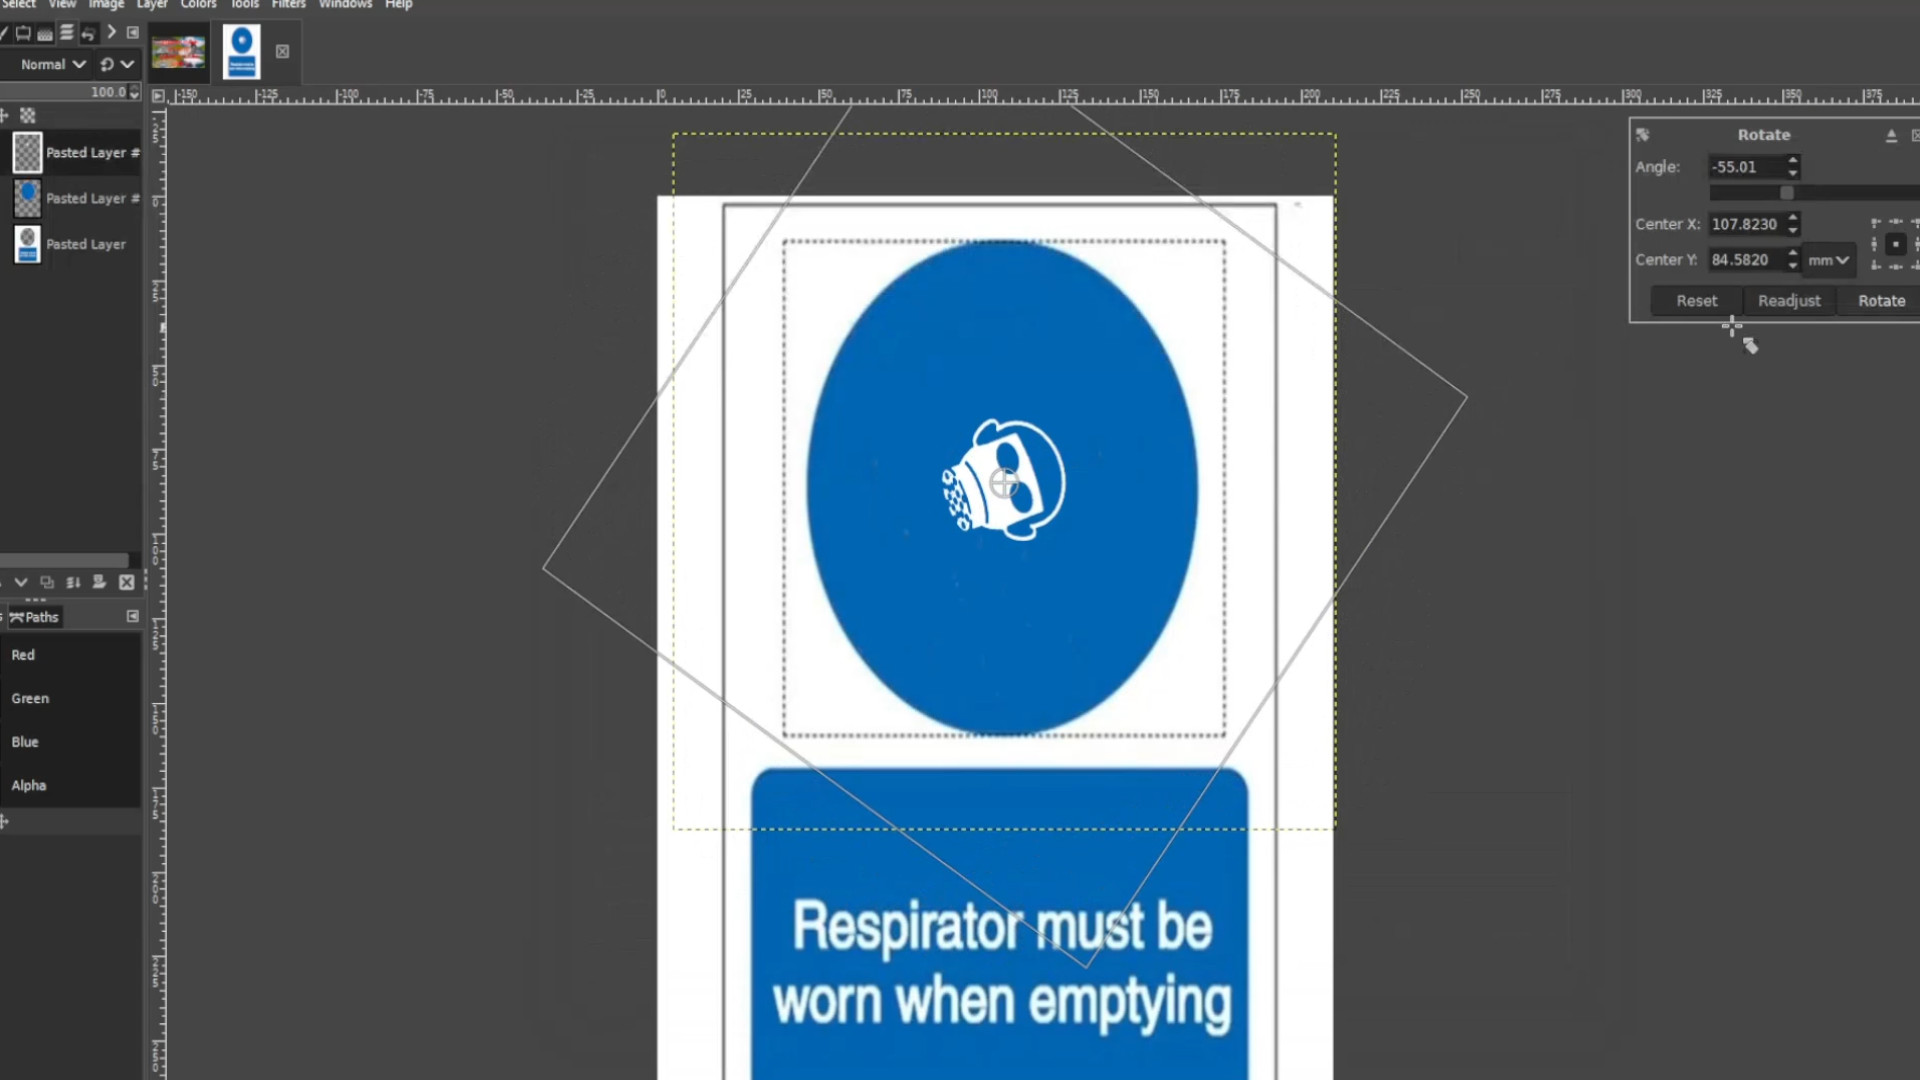
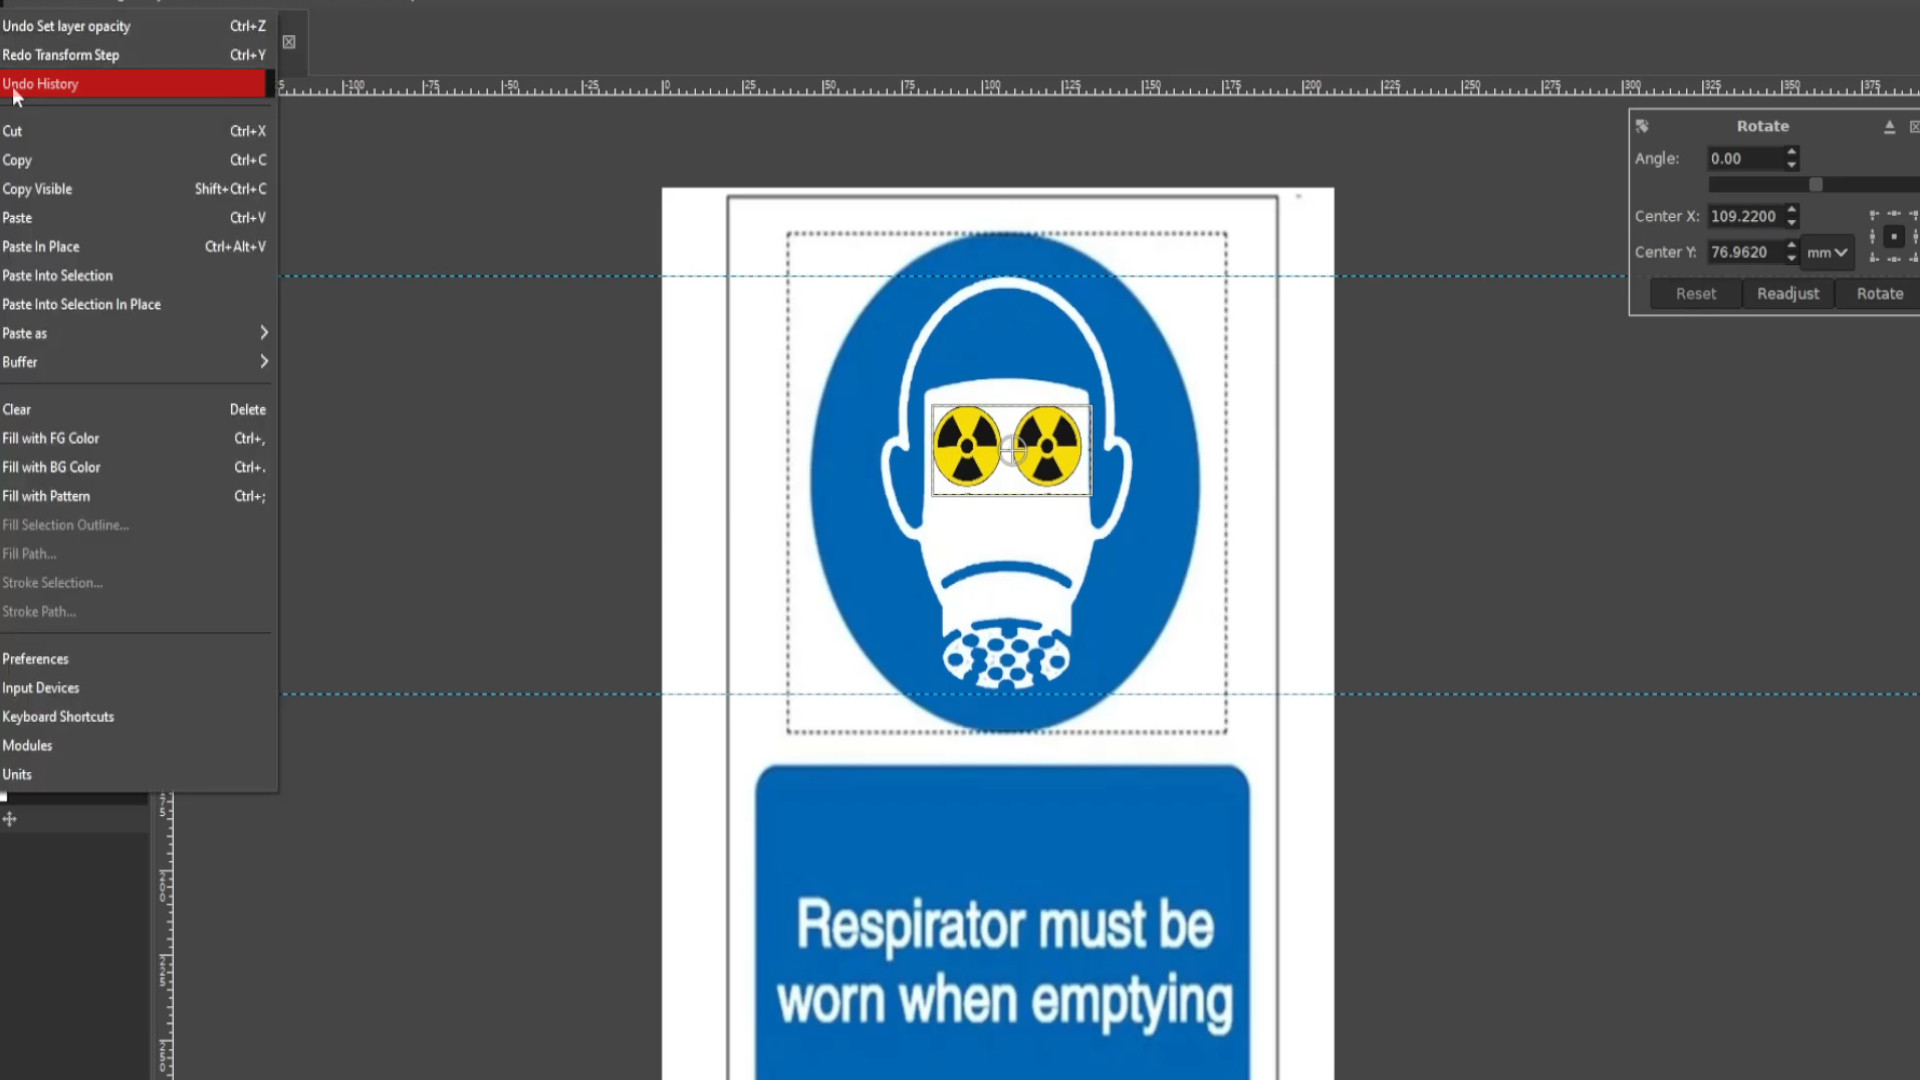
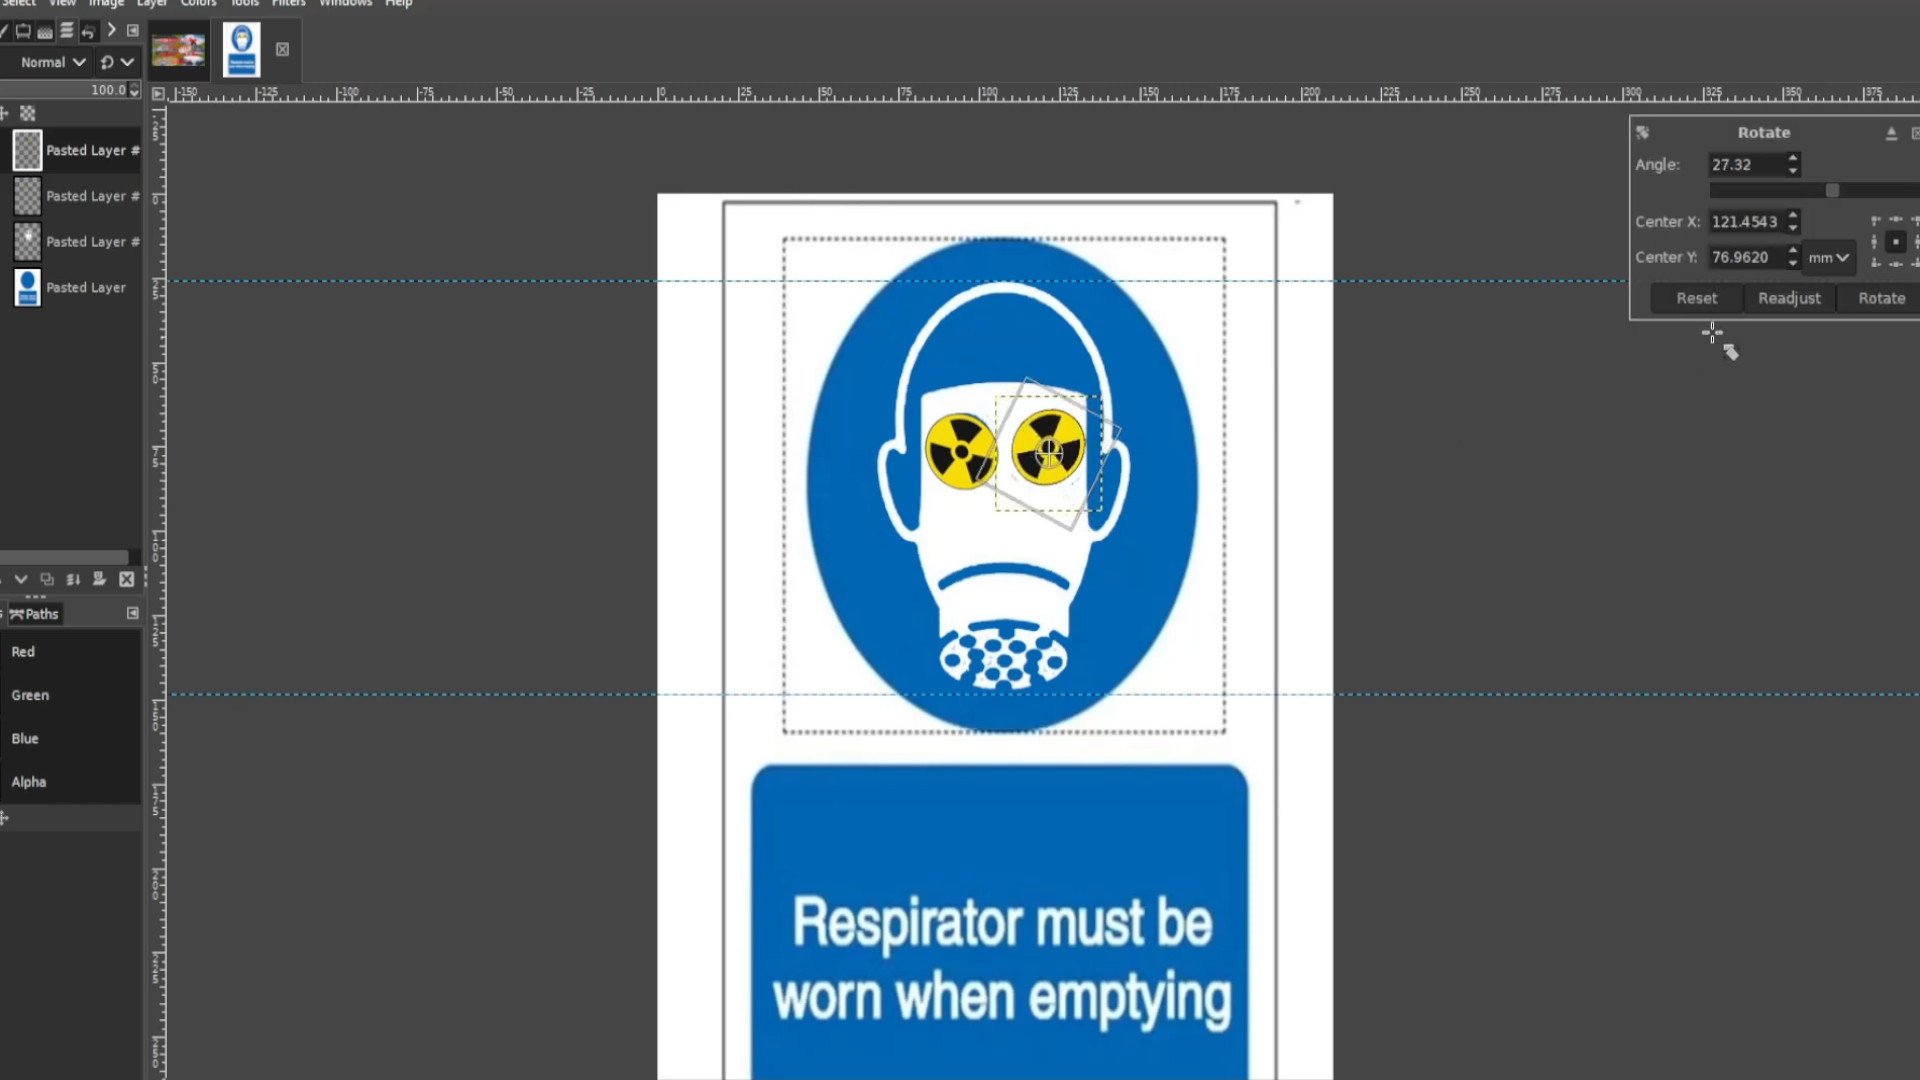
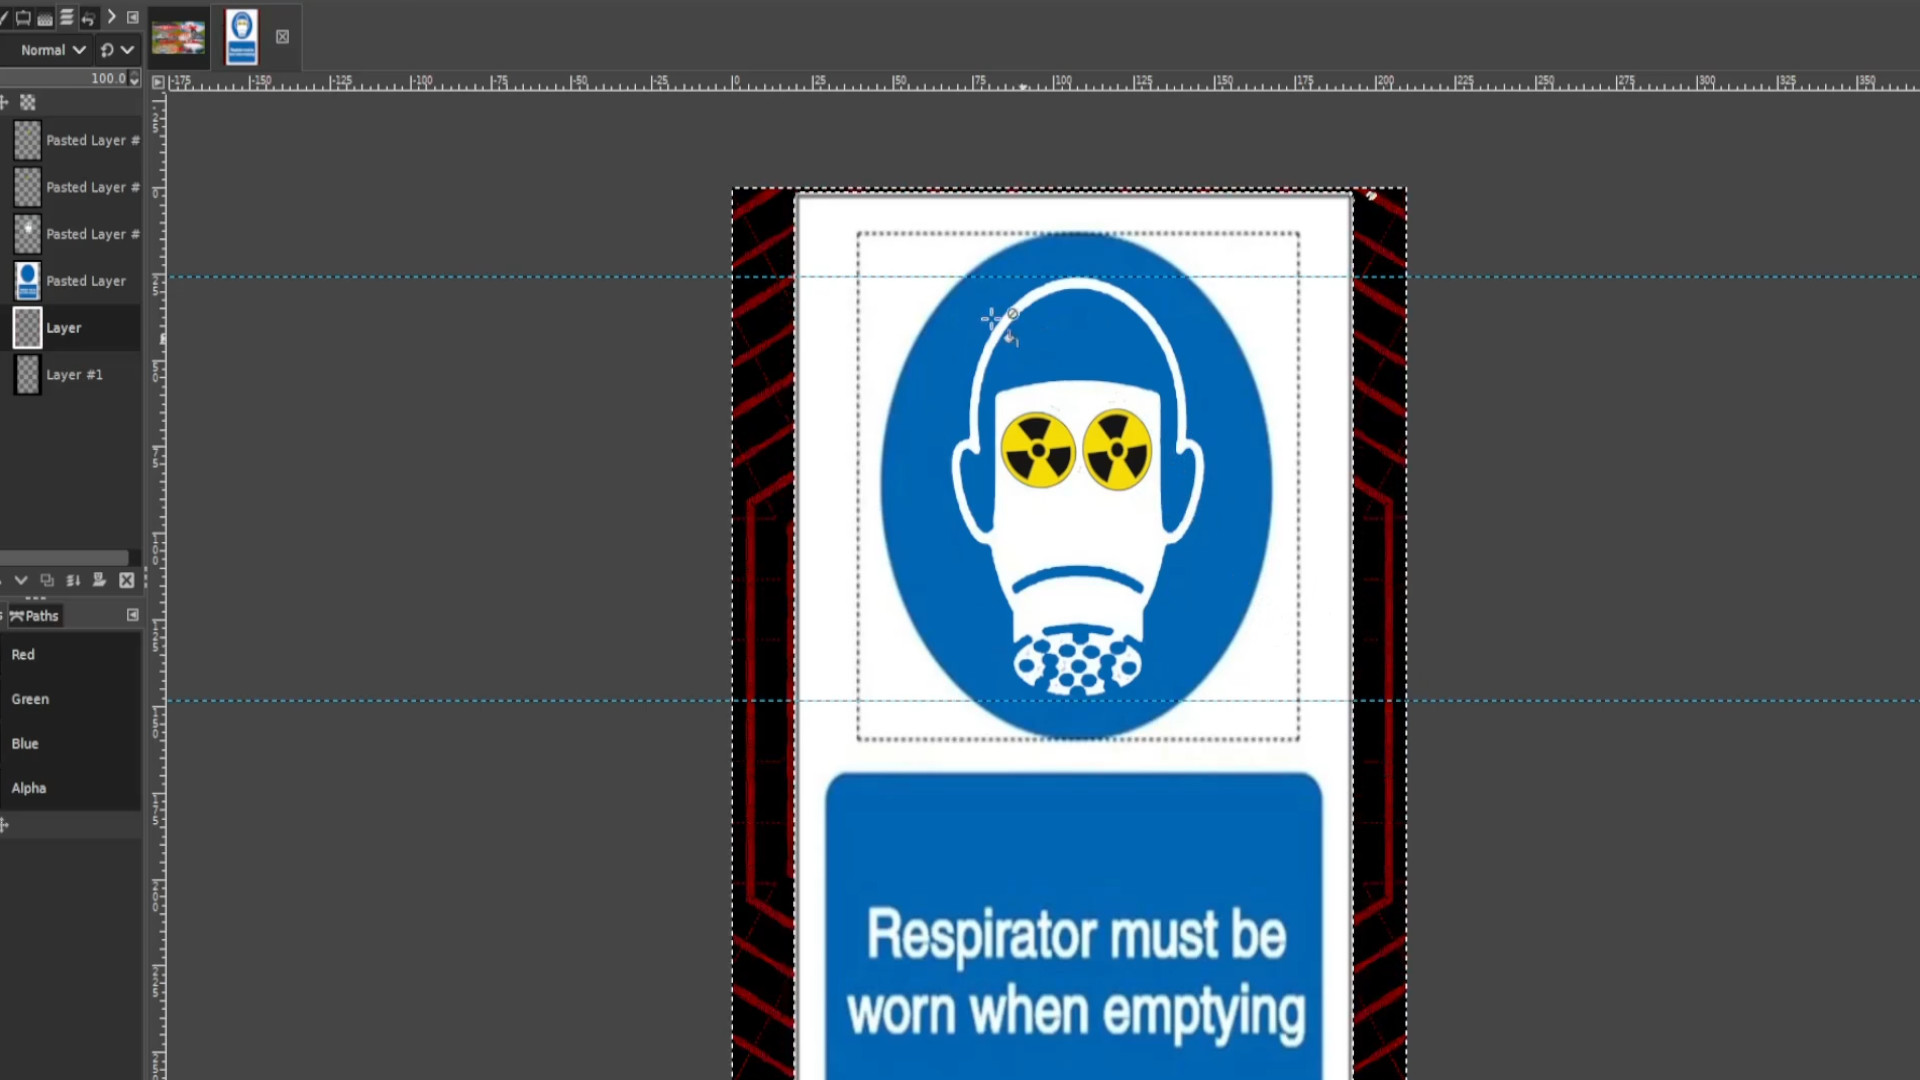
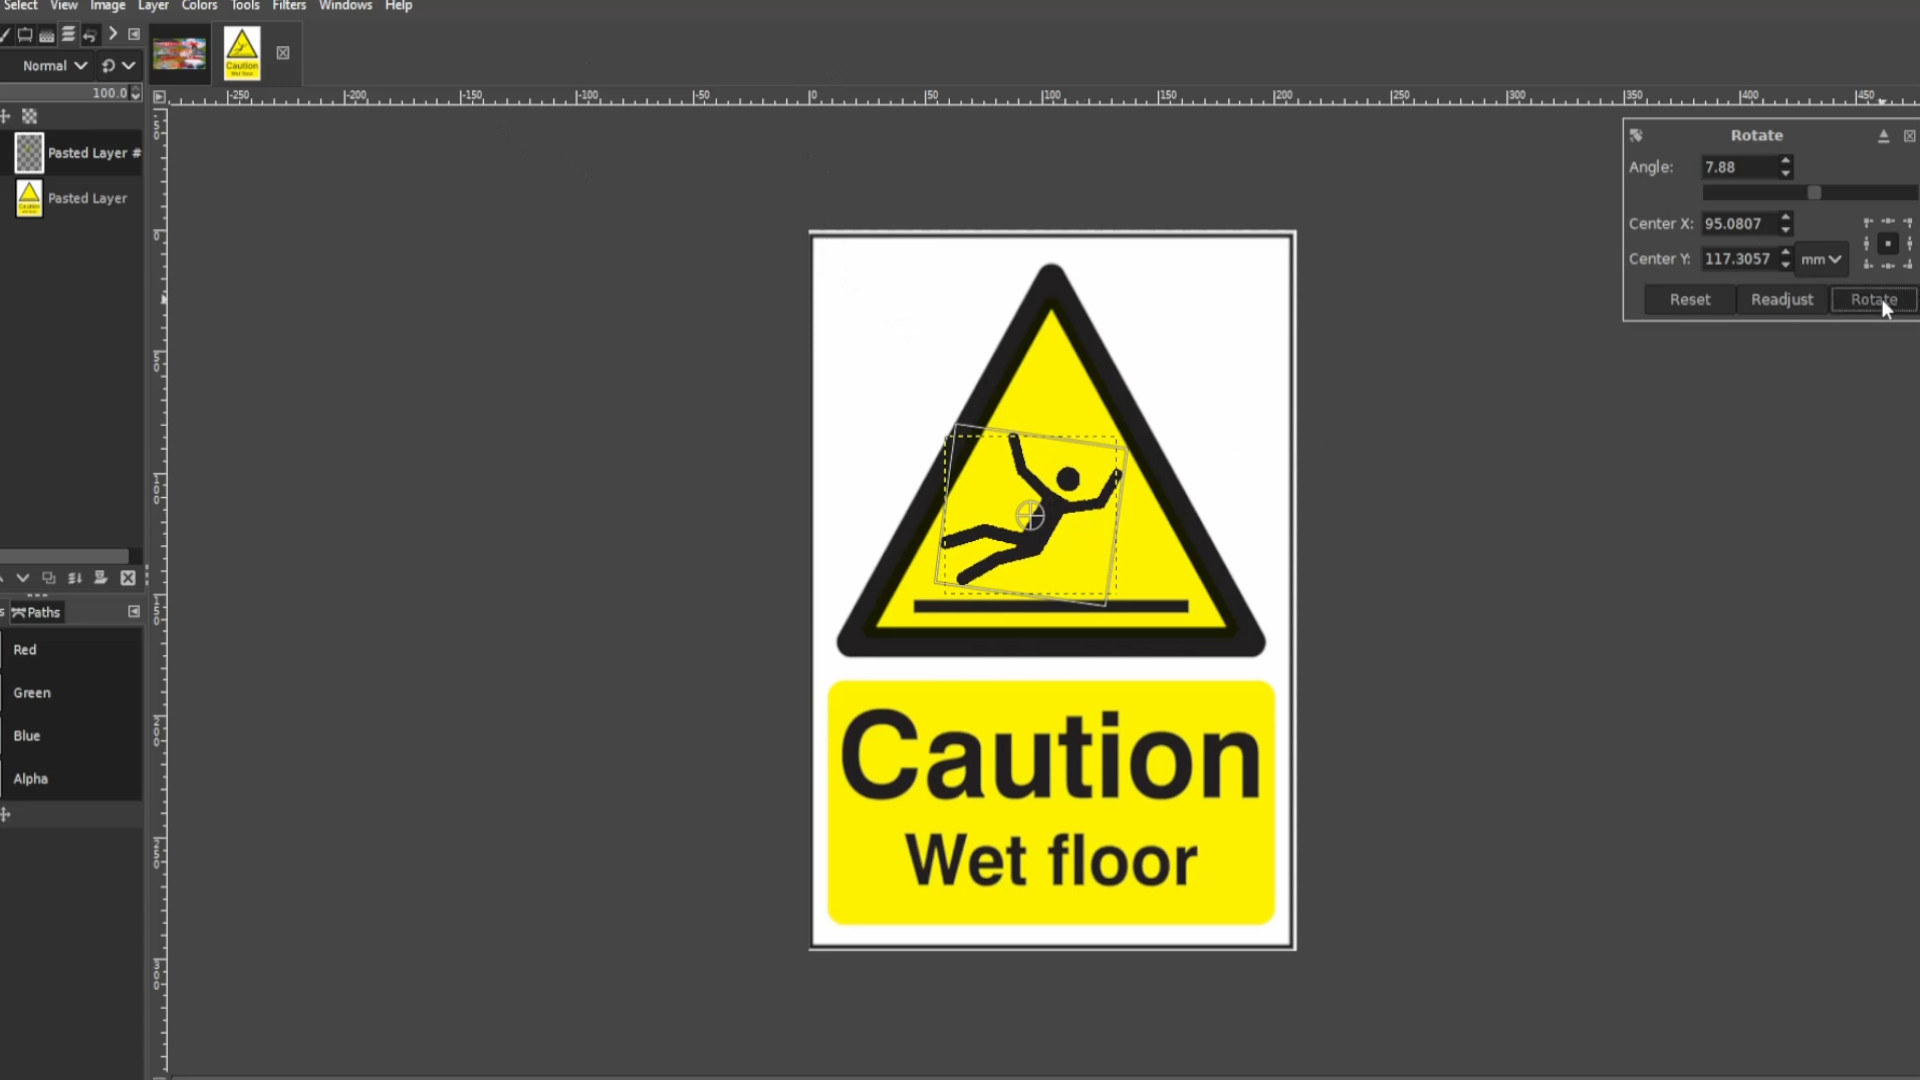
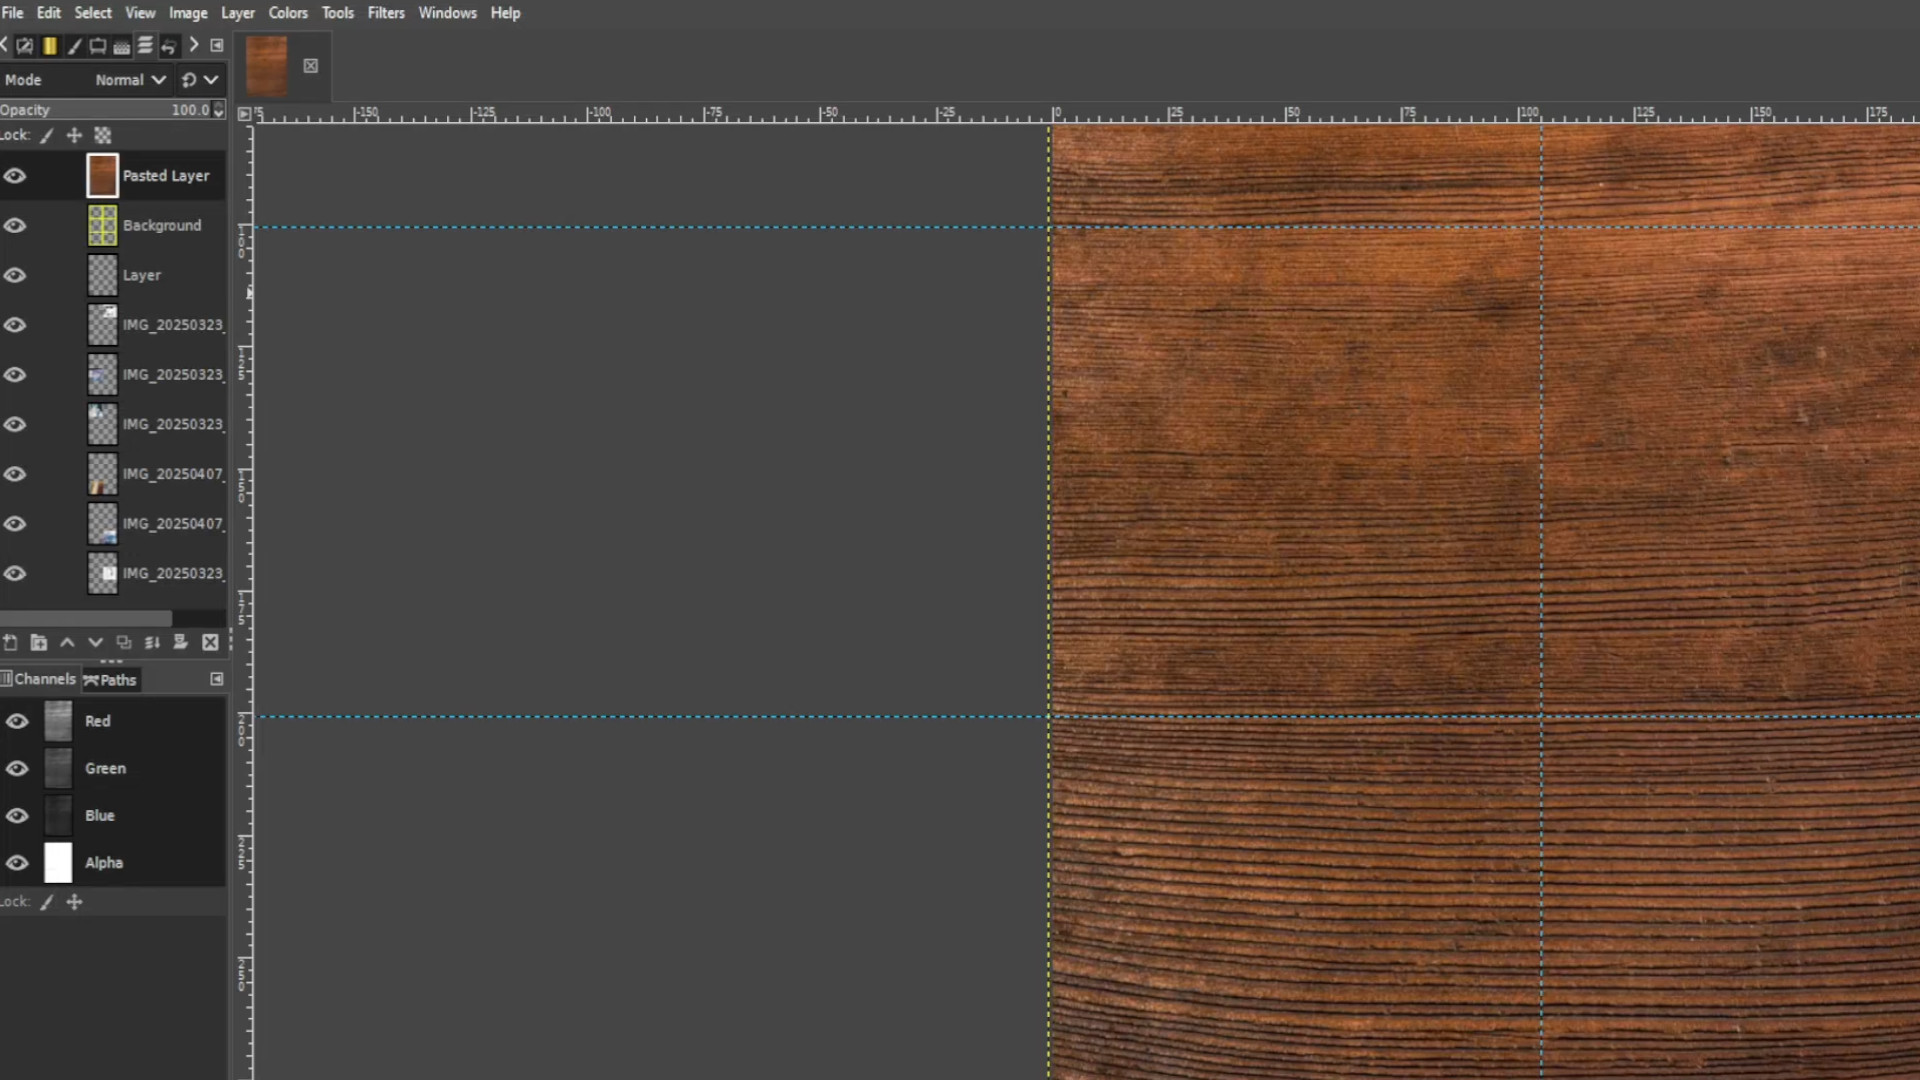
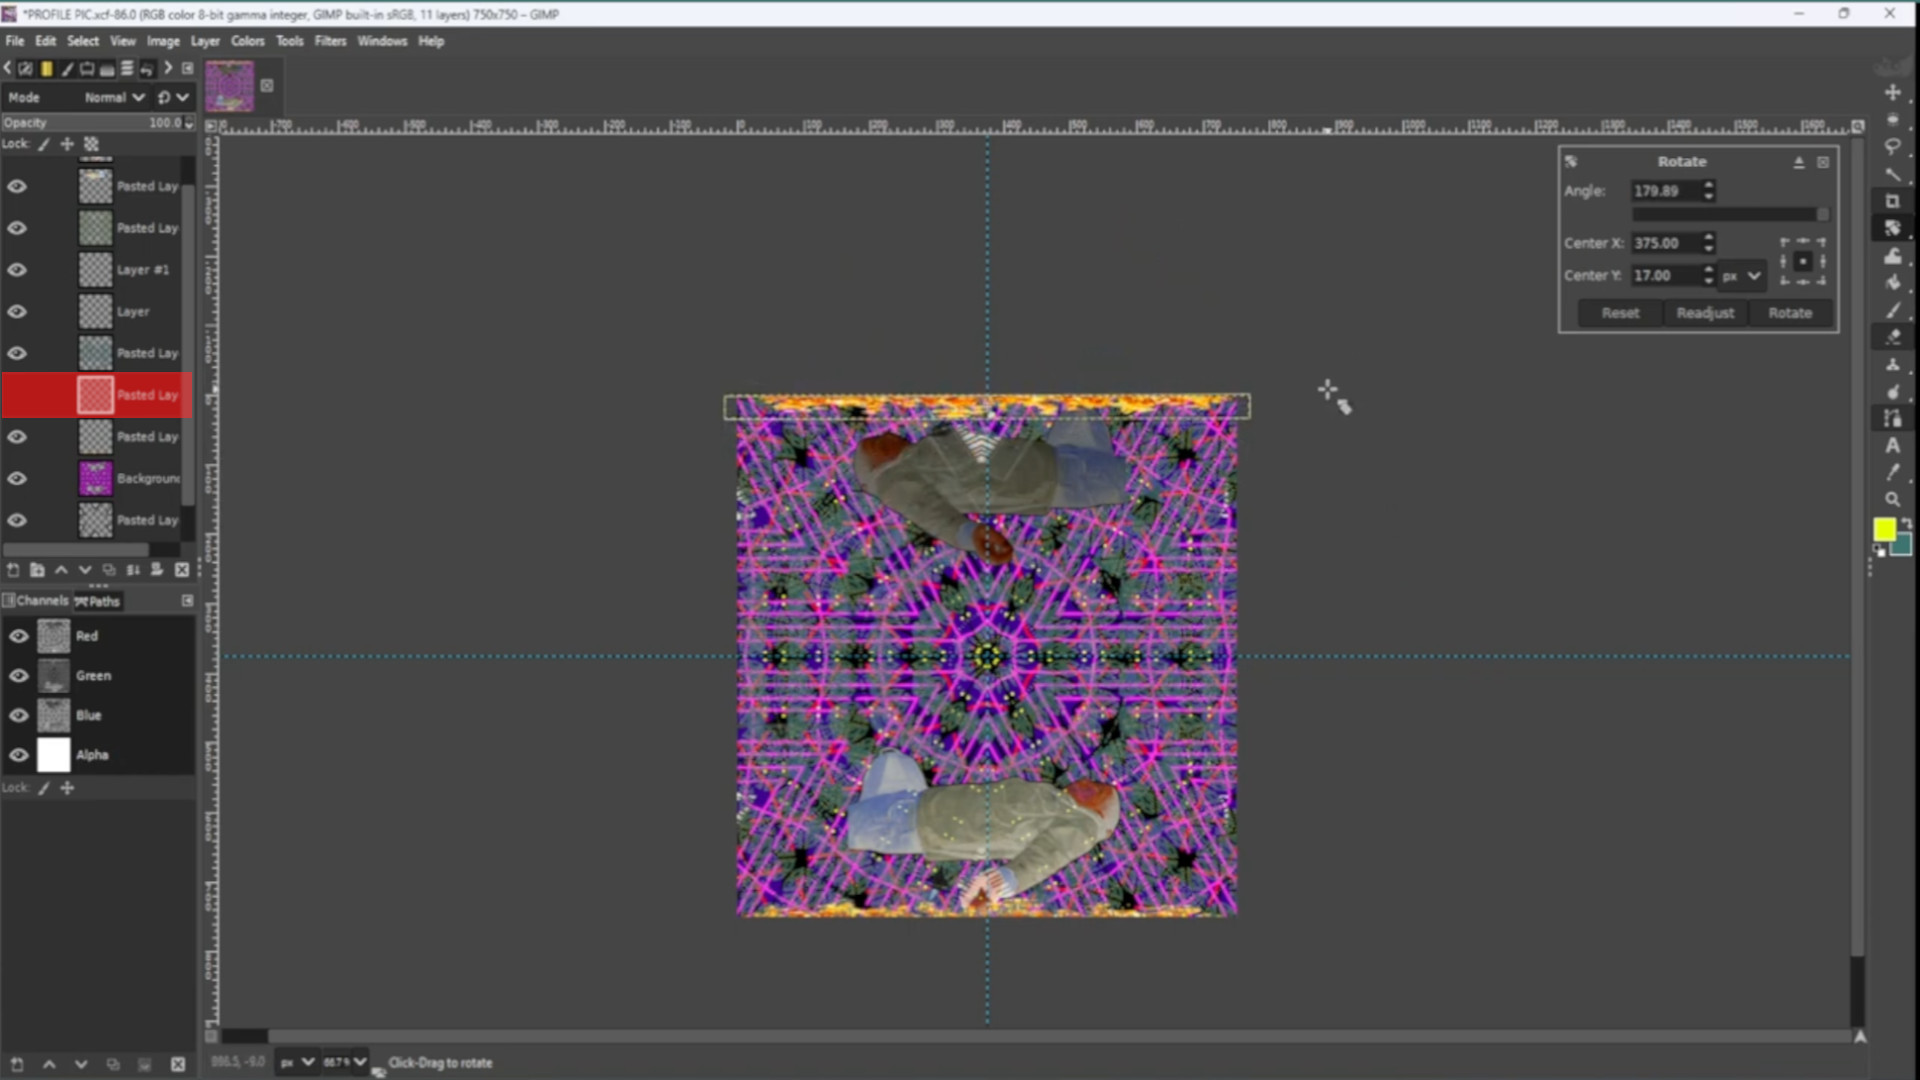
>>>RIGHT CLICK on the>>>THIRD FROM THE BOTTOM LAYER in the>>>LAYERS TAB on the>>>LEFT HAND SIDE and>>>SELECT>>>DUPLICATE LAYER. With the>>>FOURTH LAYER FROM THE BOTTOM SELECTED use the>>>MOVE TOOL to drag it into position then use the>>>ROTATE TOOL to rotate the image so it’s facing downwards or use the shortcut>>>HOLD>>>SHIFT and>>>PRESS>>>R to rotate the image.
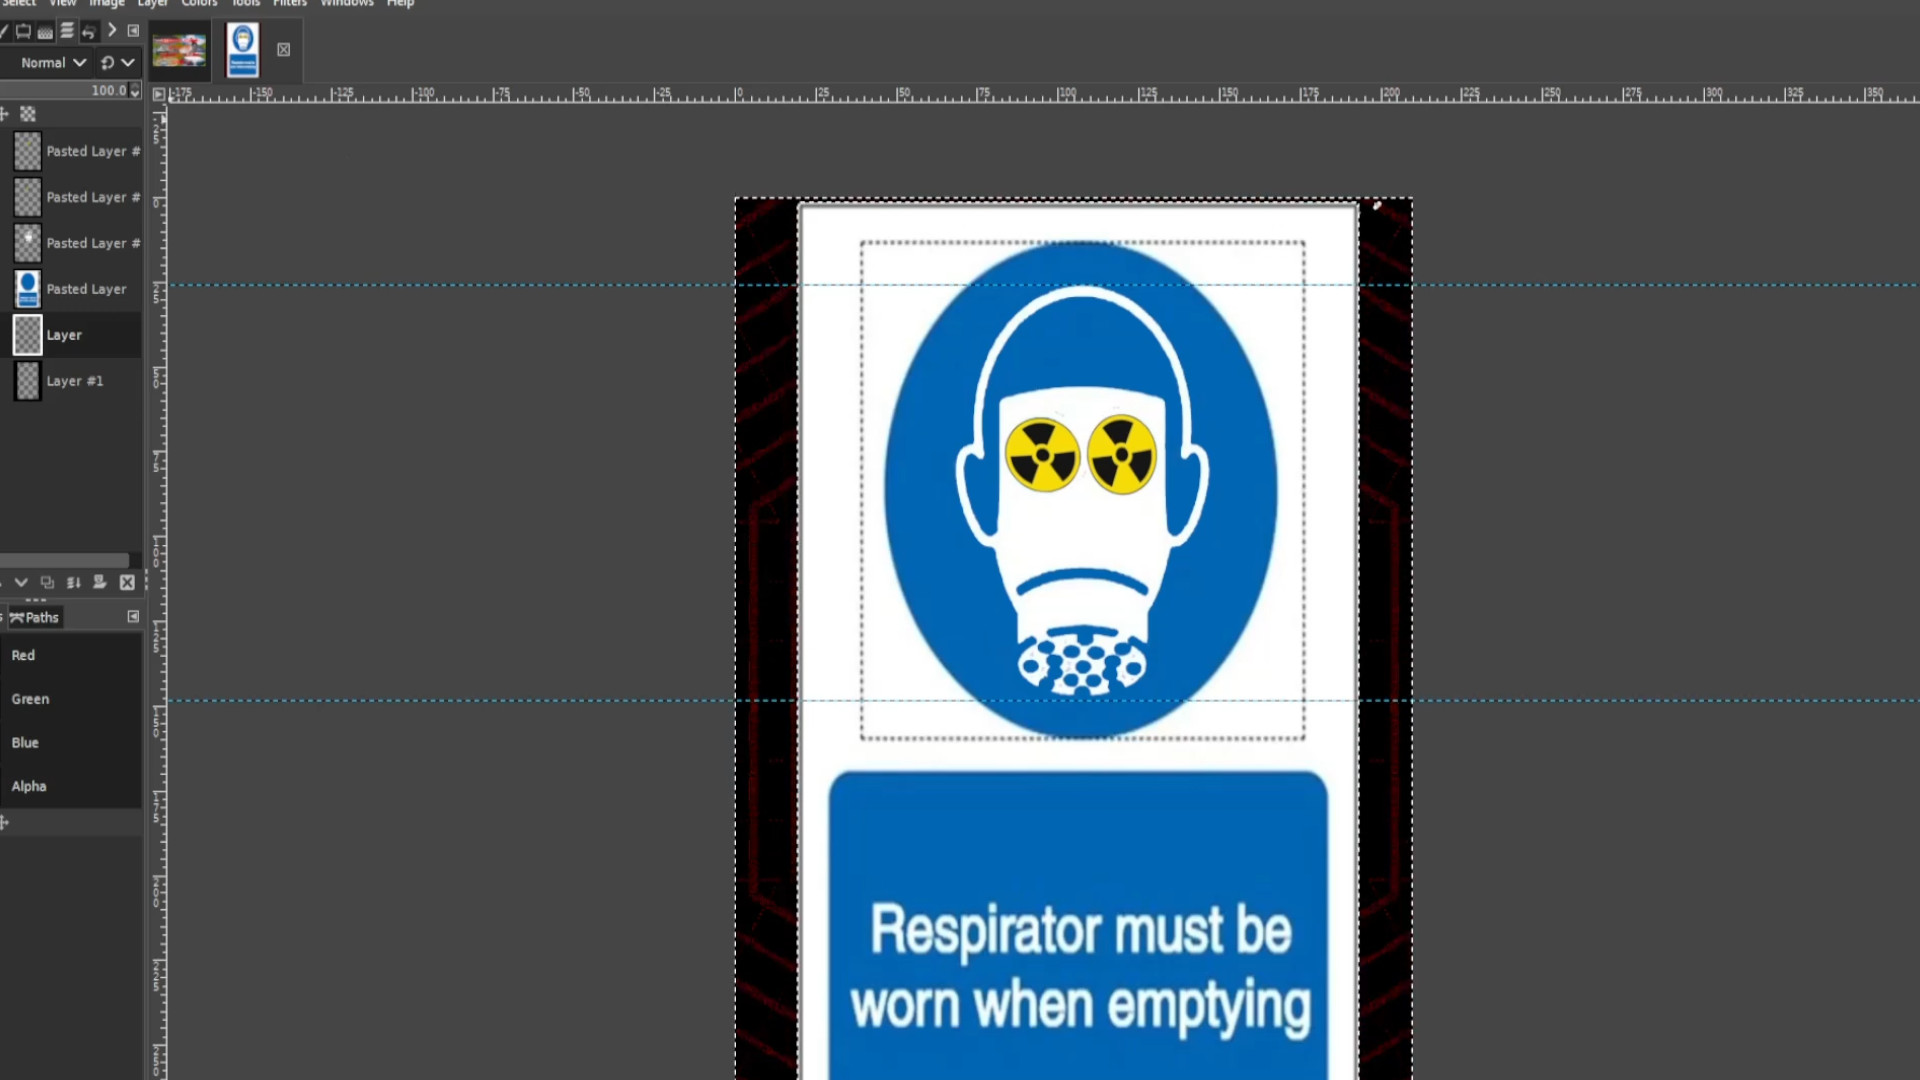
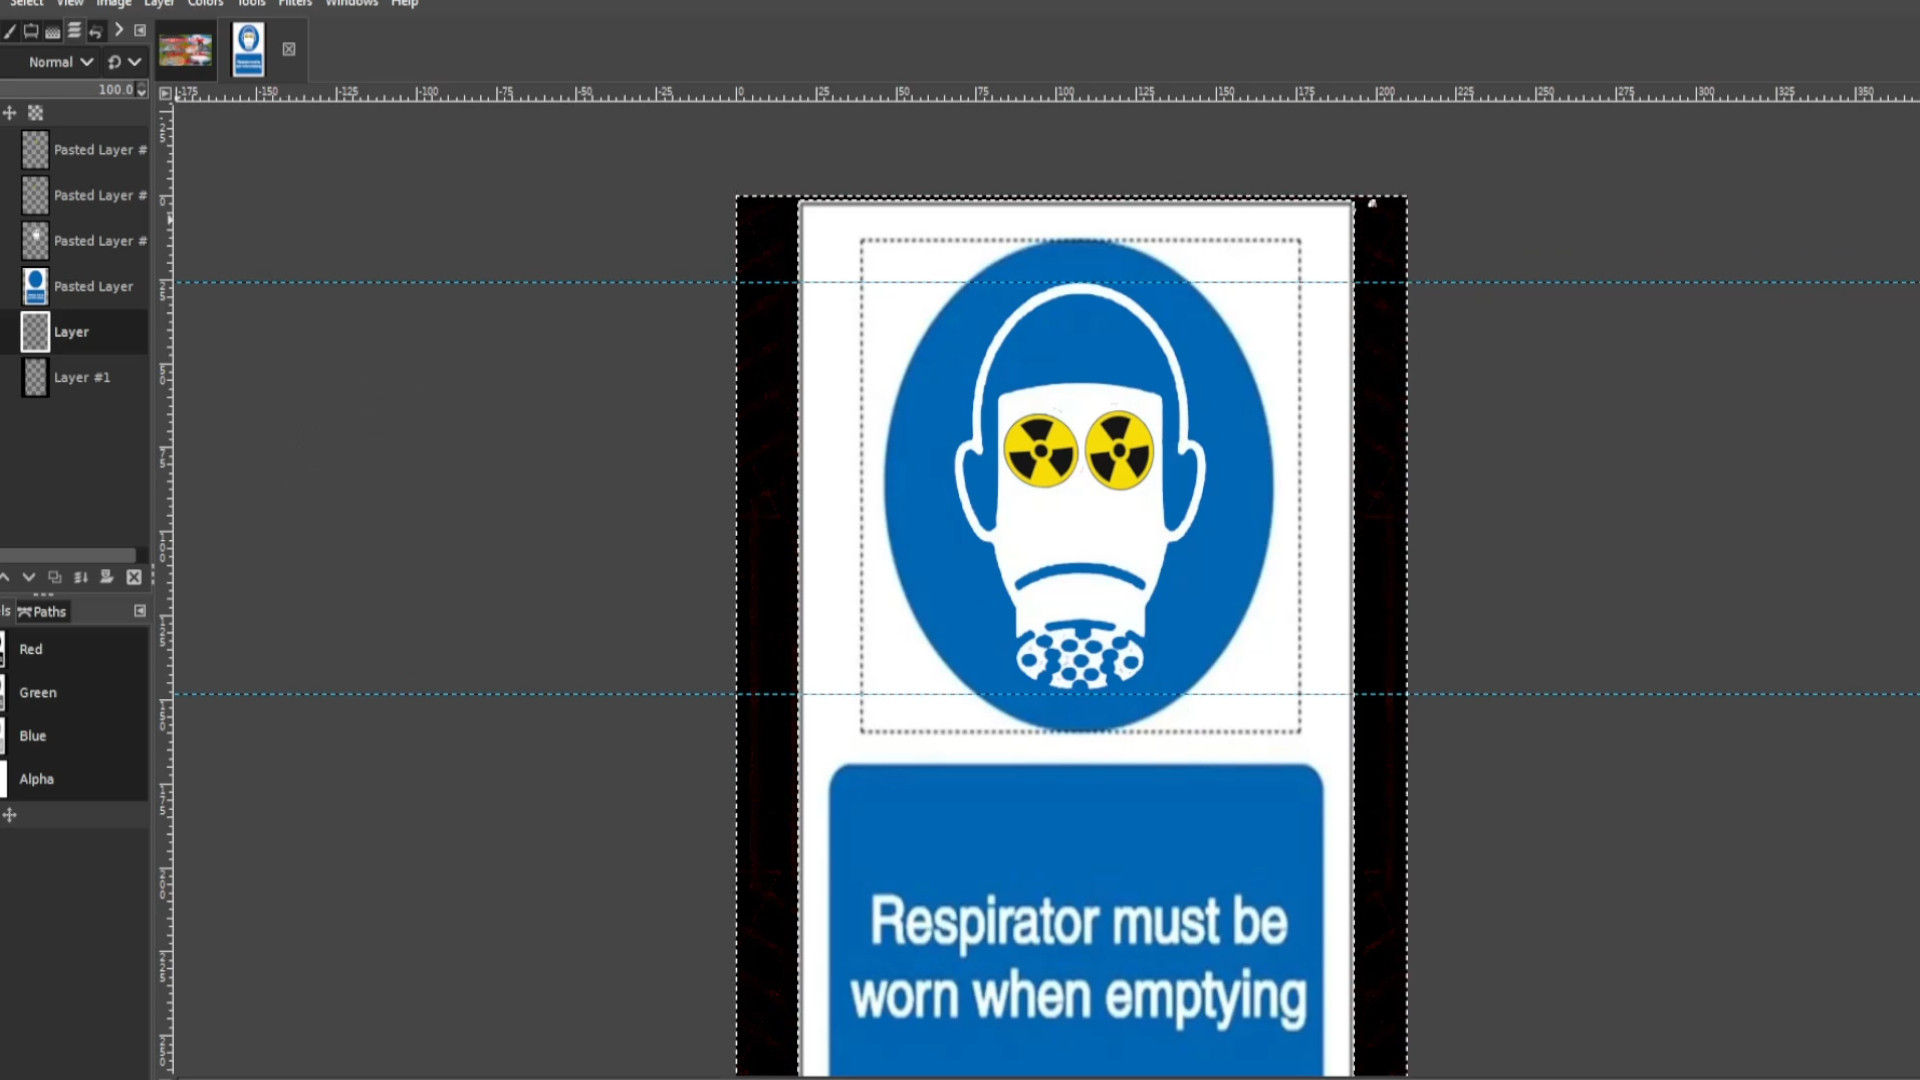
>REPEAT>>>STEP>>>35 for the other sides using the>>>SCALE TOOL to scale the image to fit the border or use shortcut>>>HOLD>>>SHIFT and>>>PRESS>>>S to scale the image and the>>>FLIP TOOL to flip the image horizontally or use the shortcut>>>HOLD>>>SHIFT and press>>>F to flip the image.
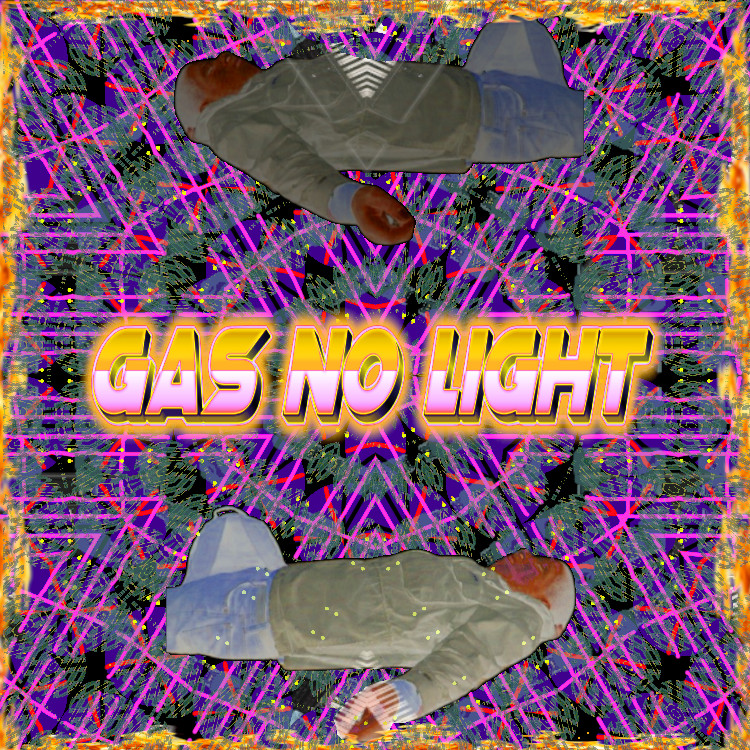
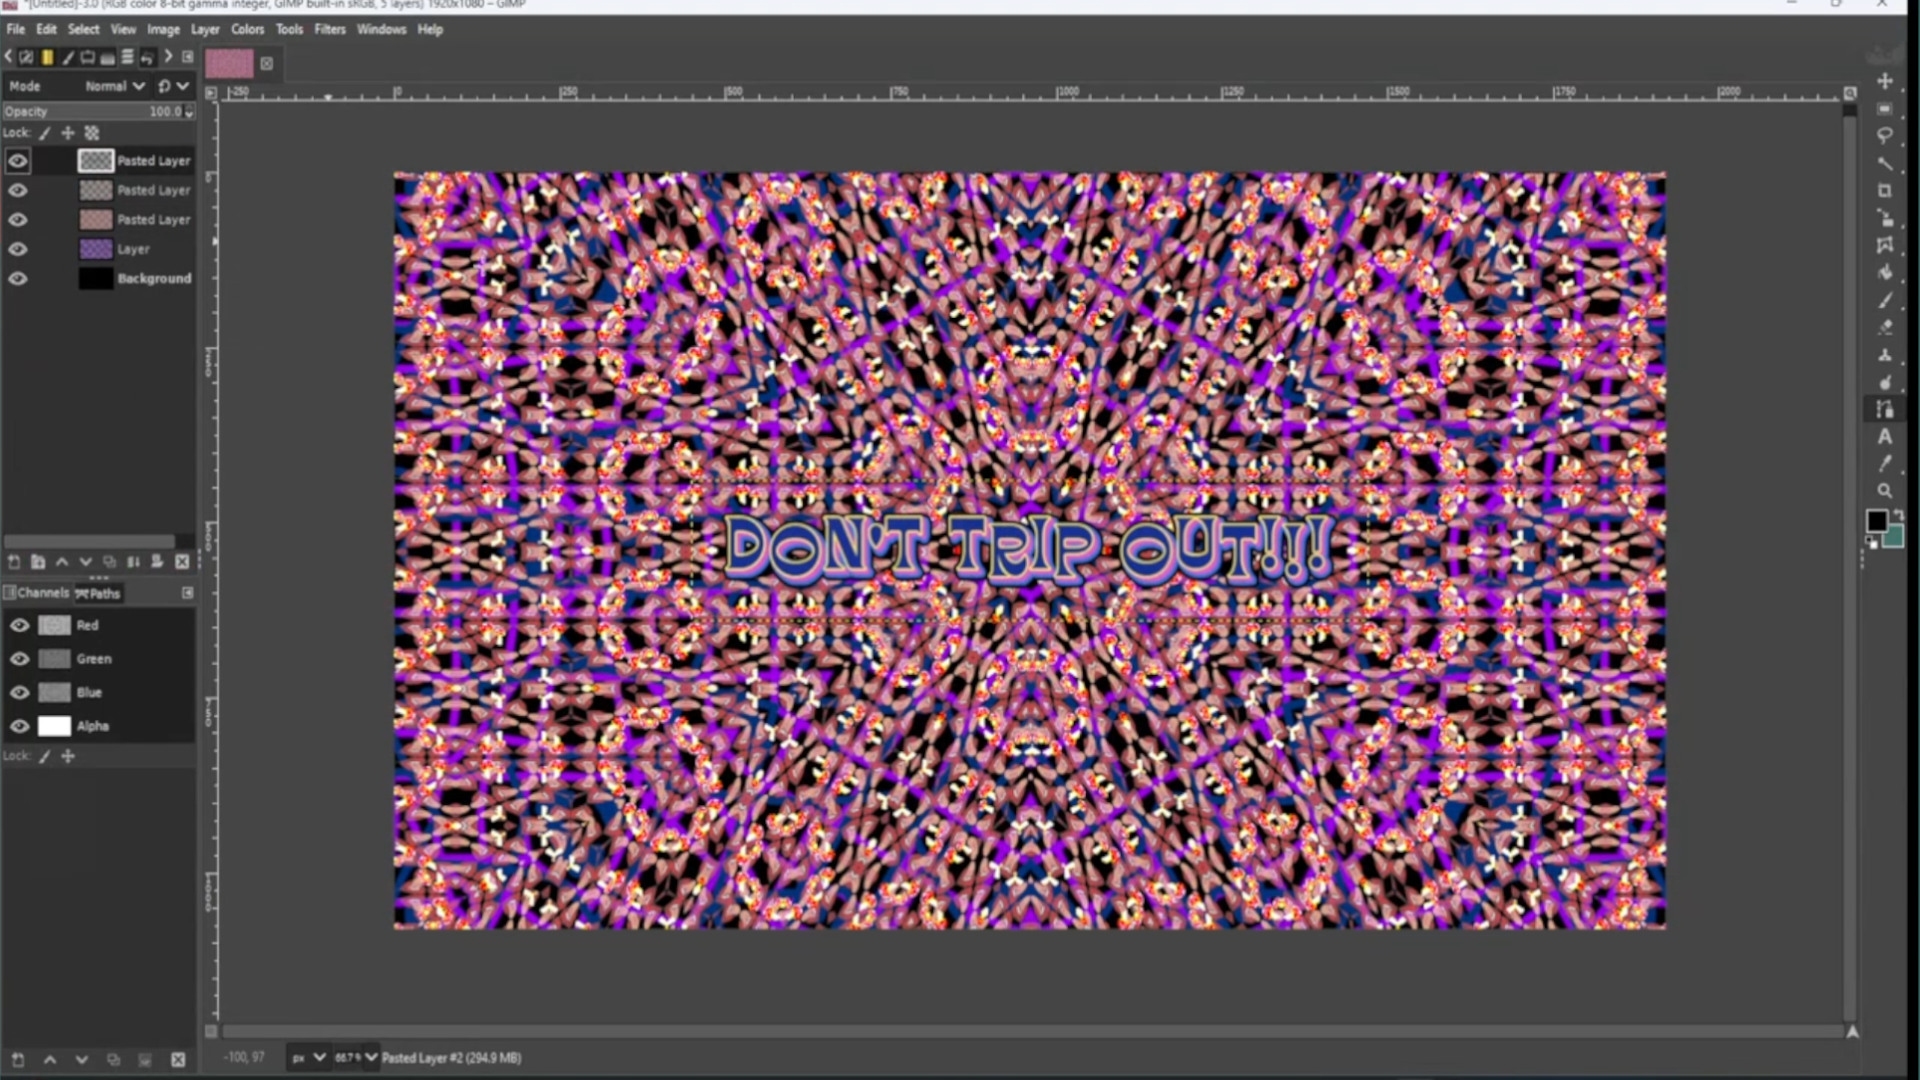
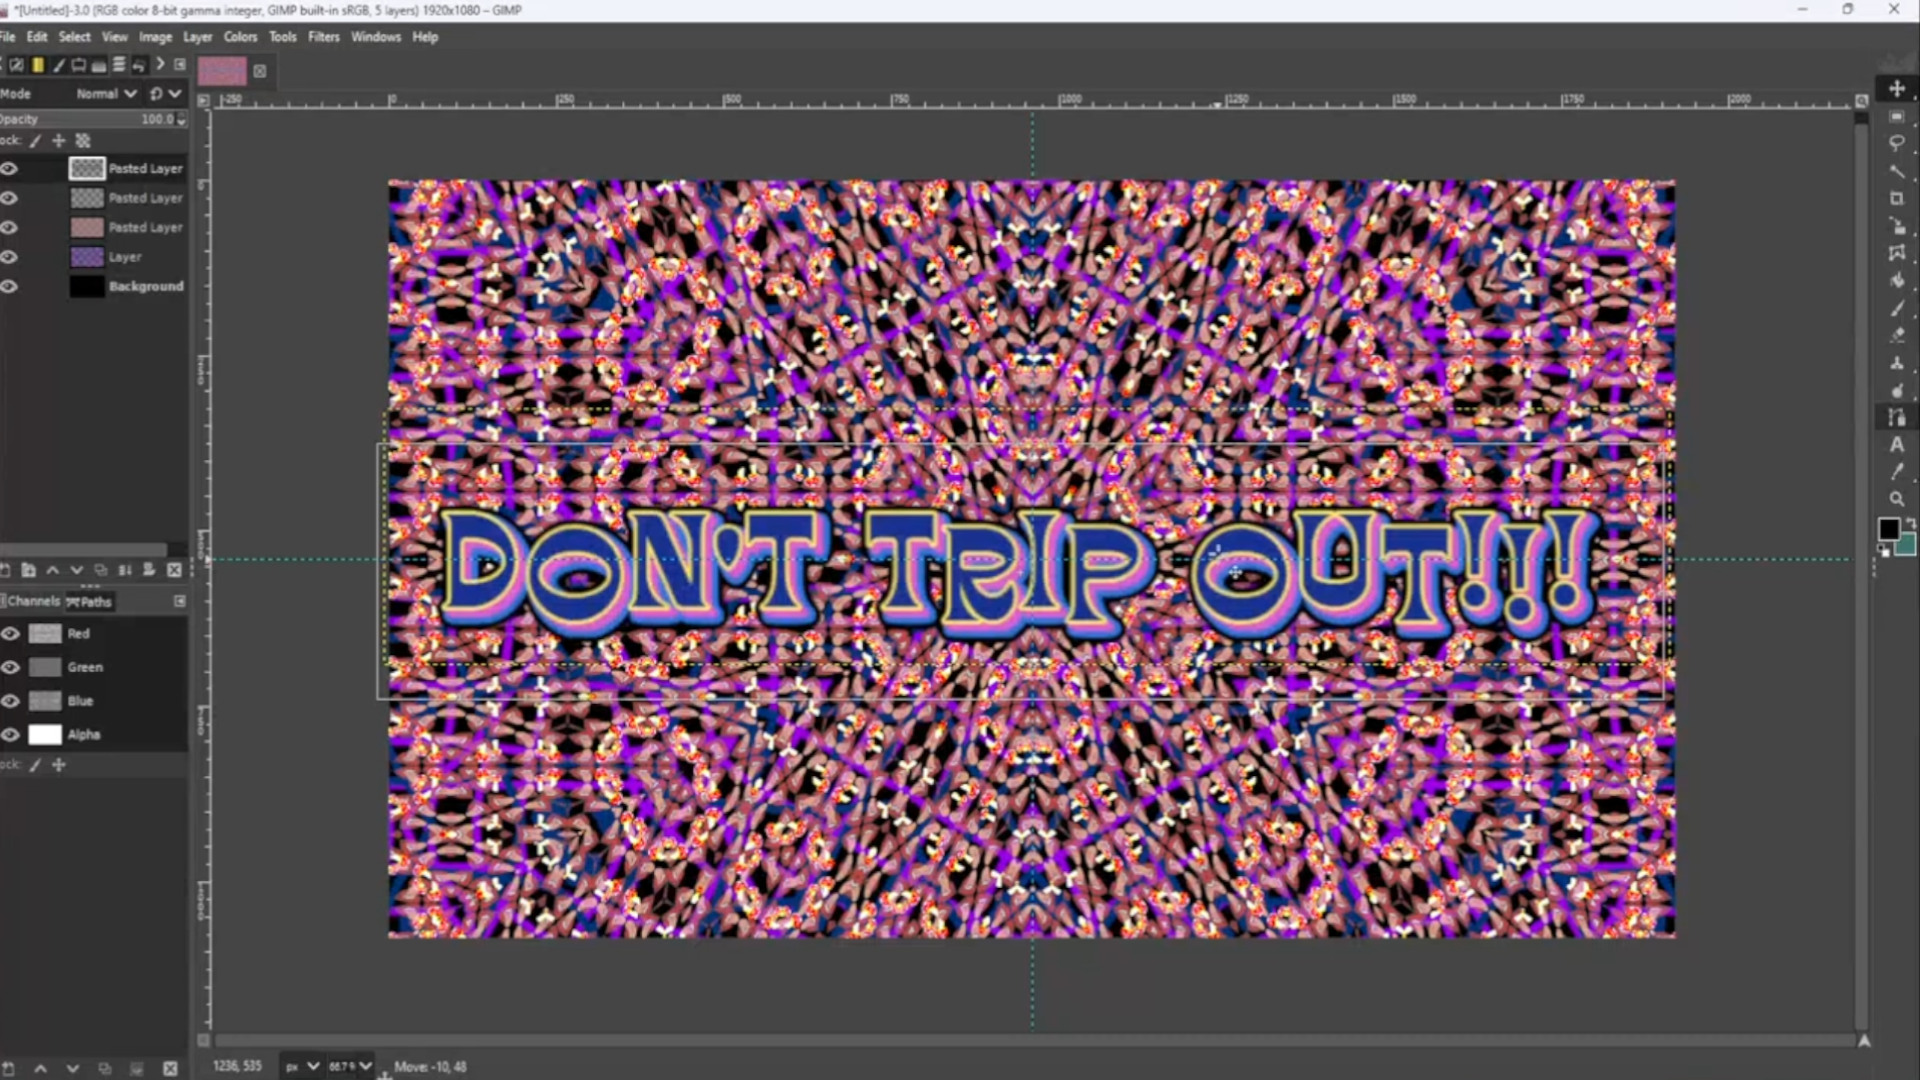
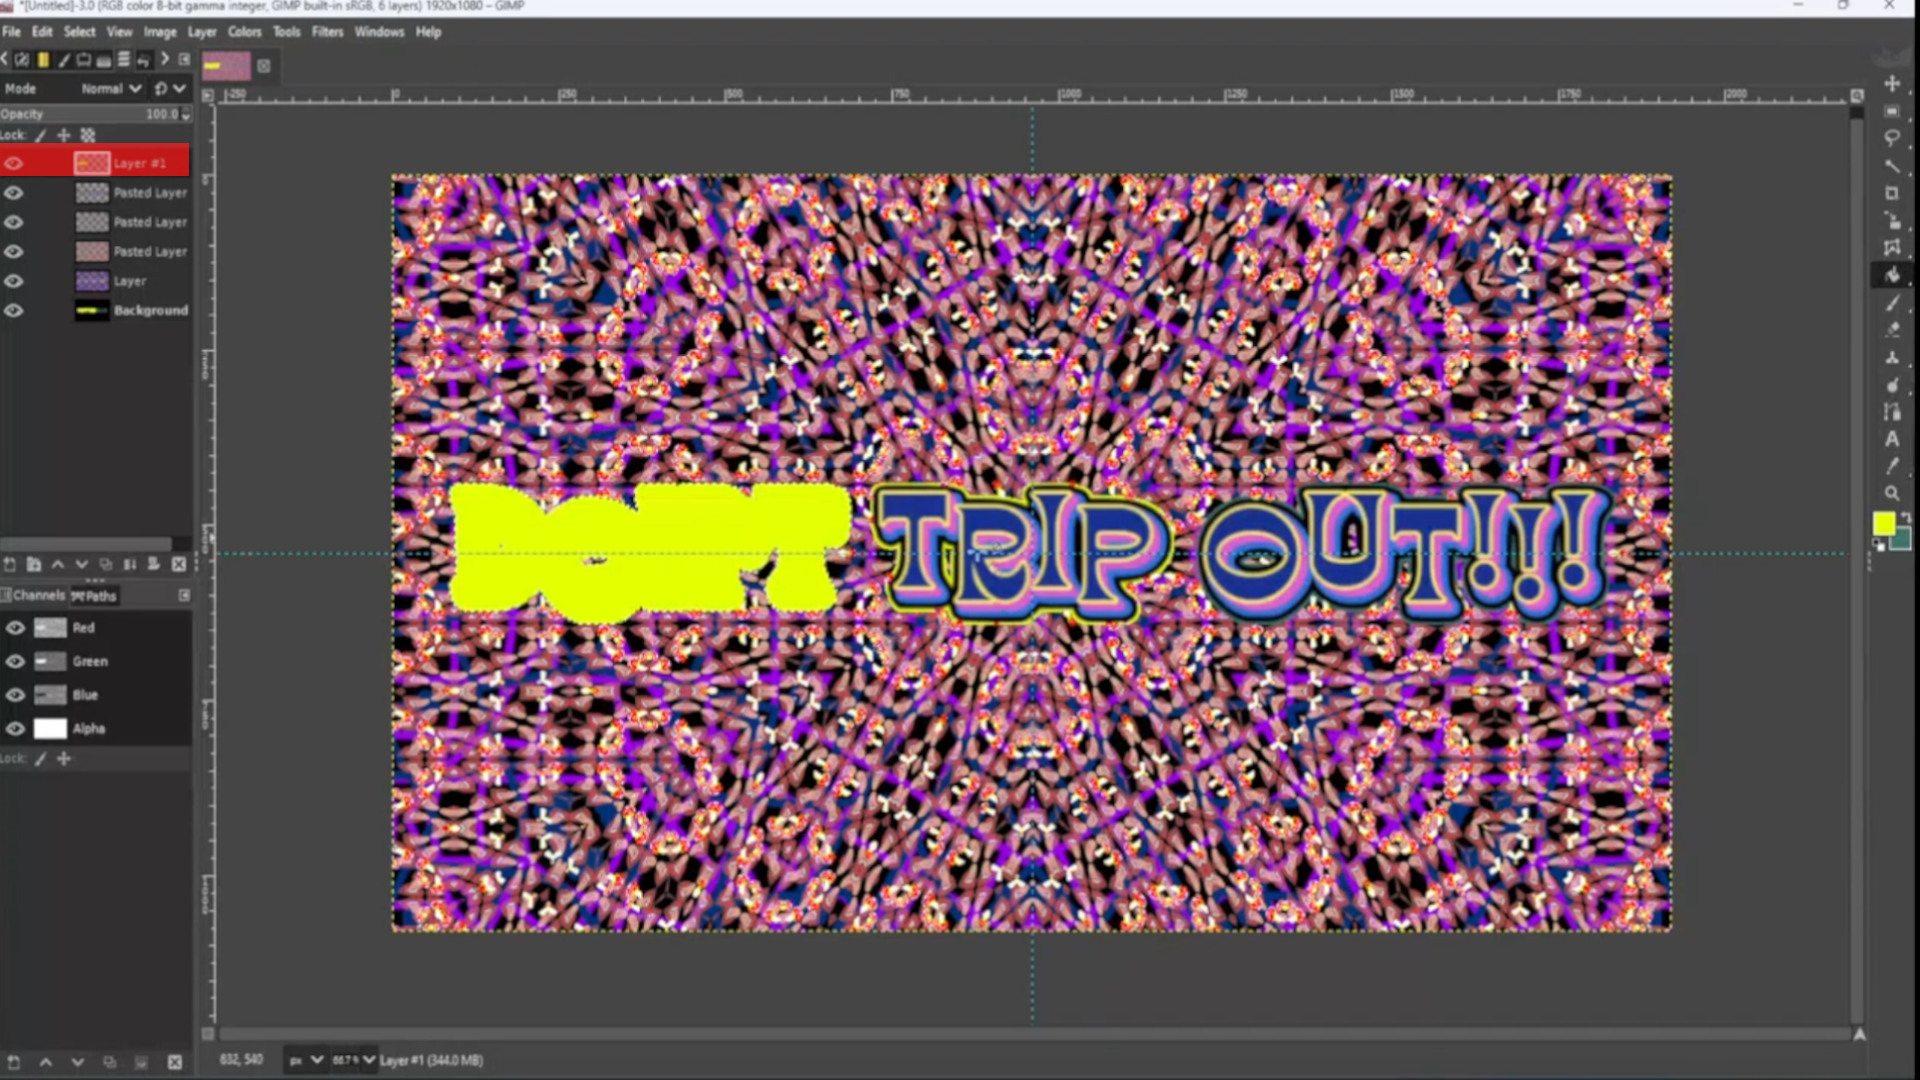
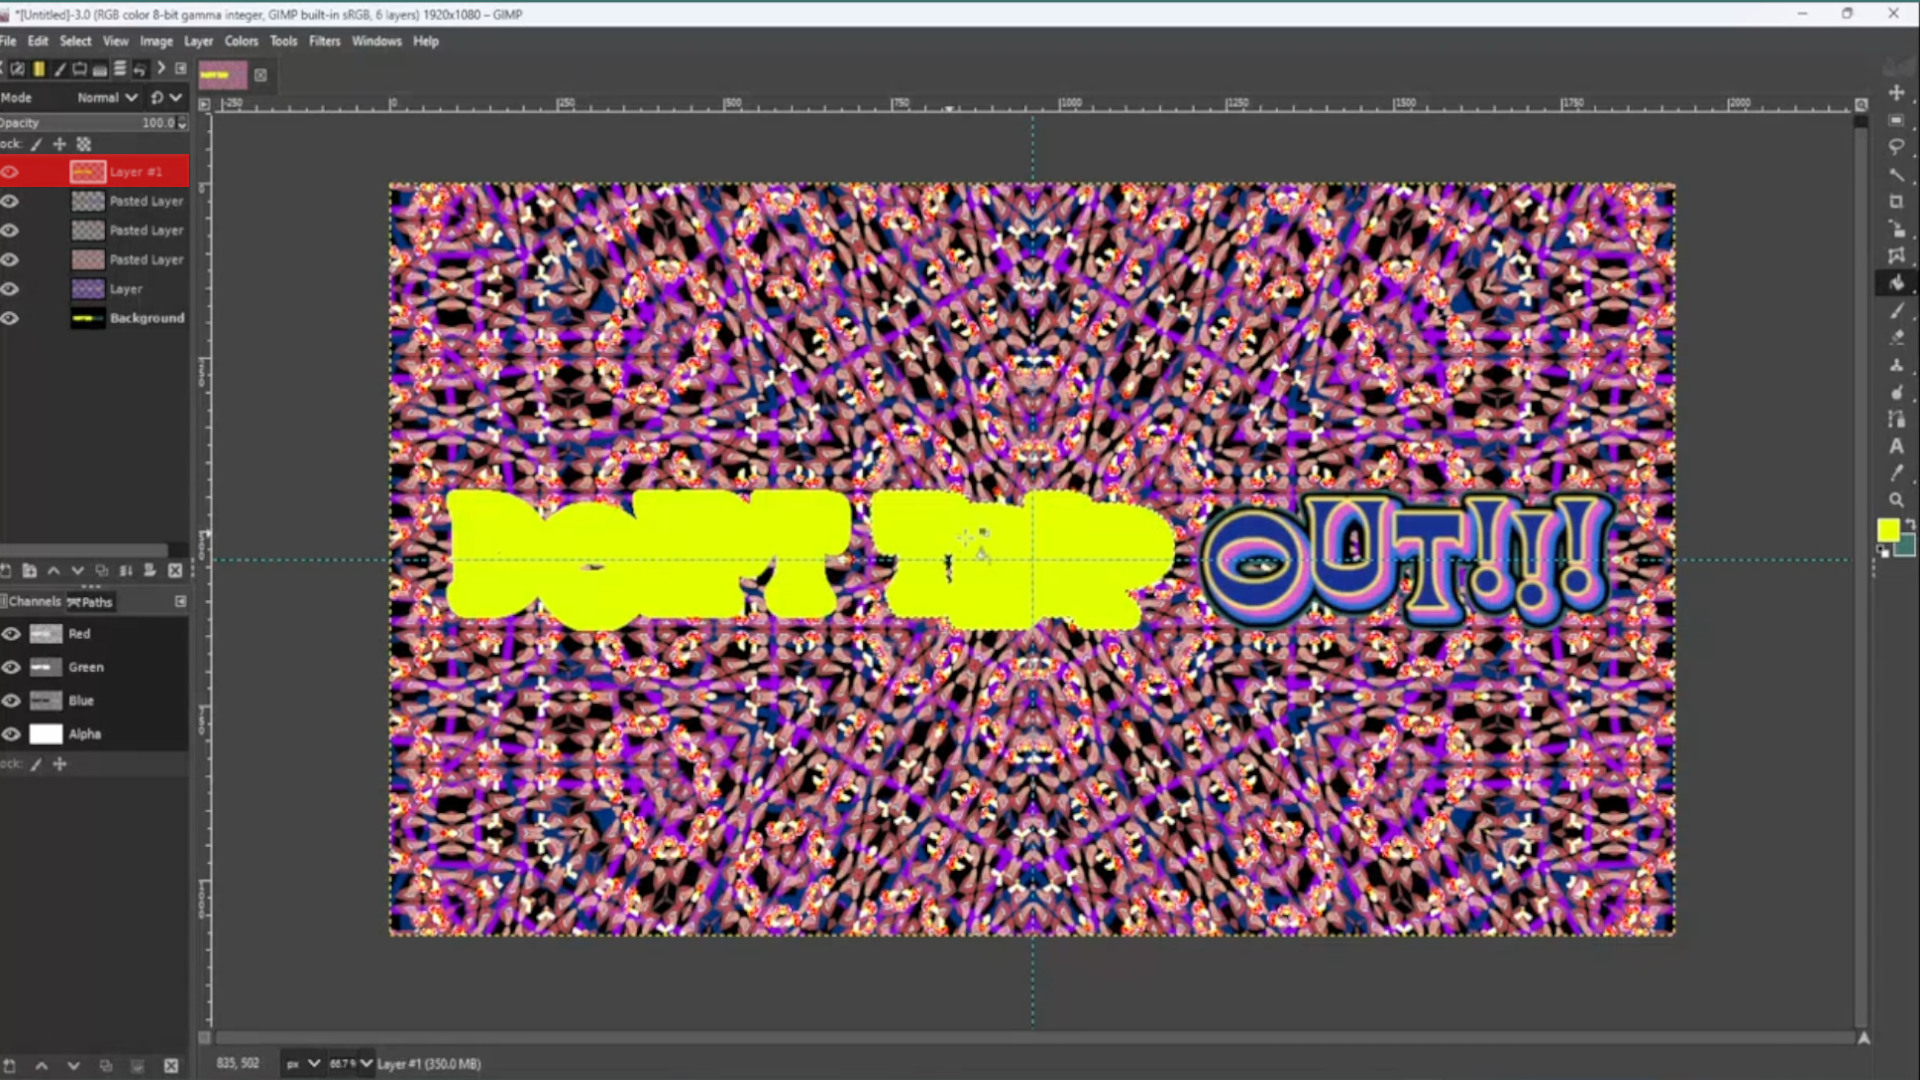
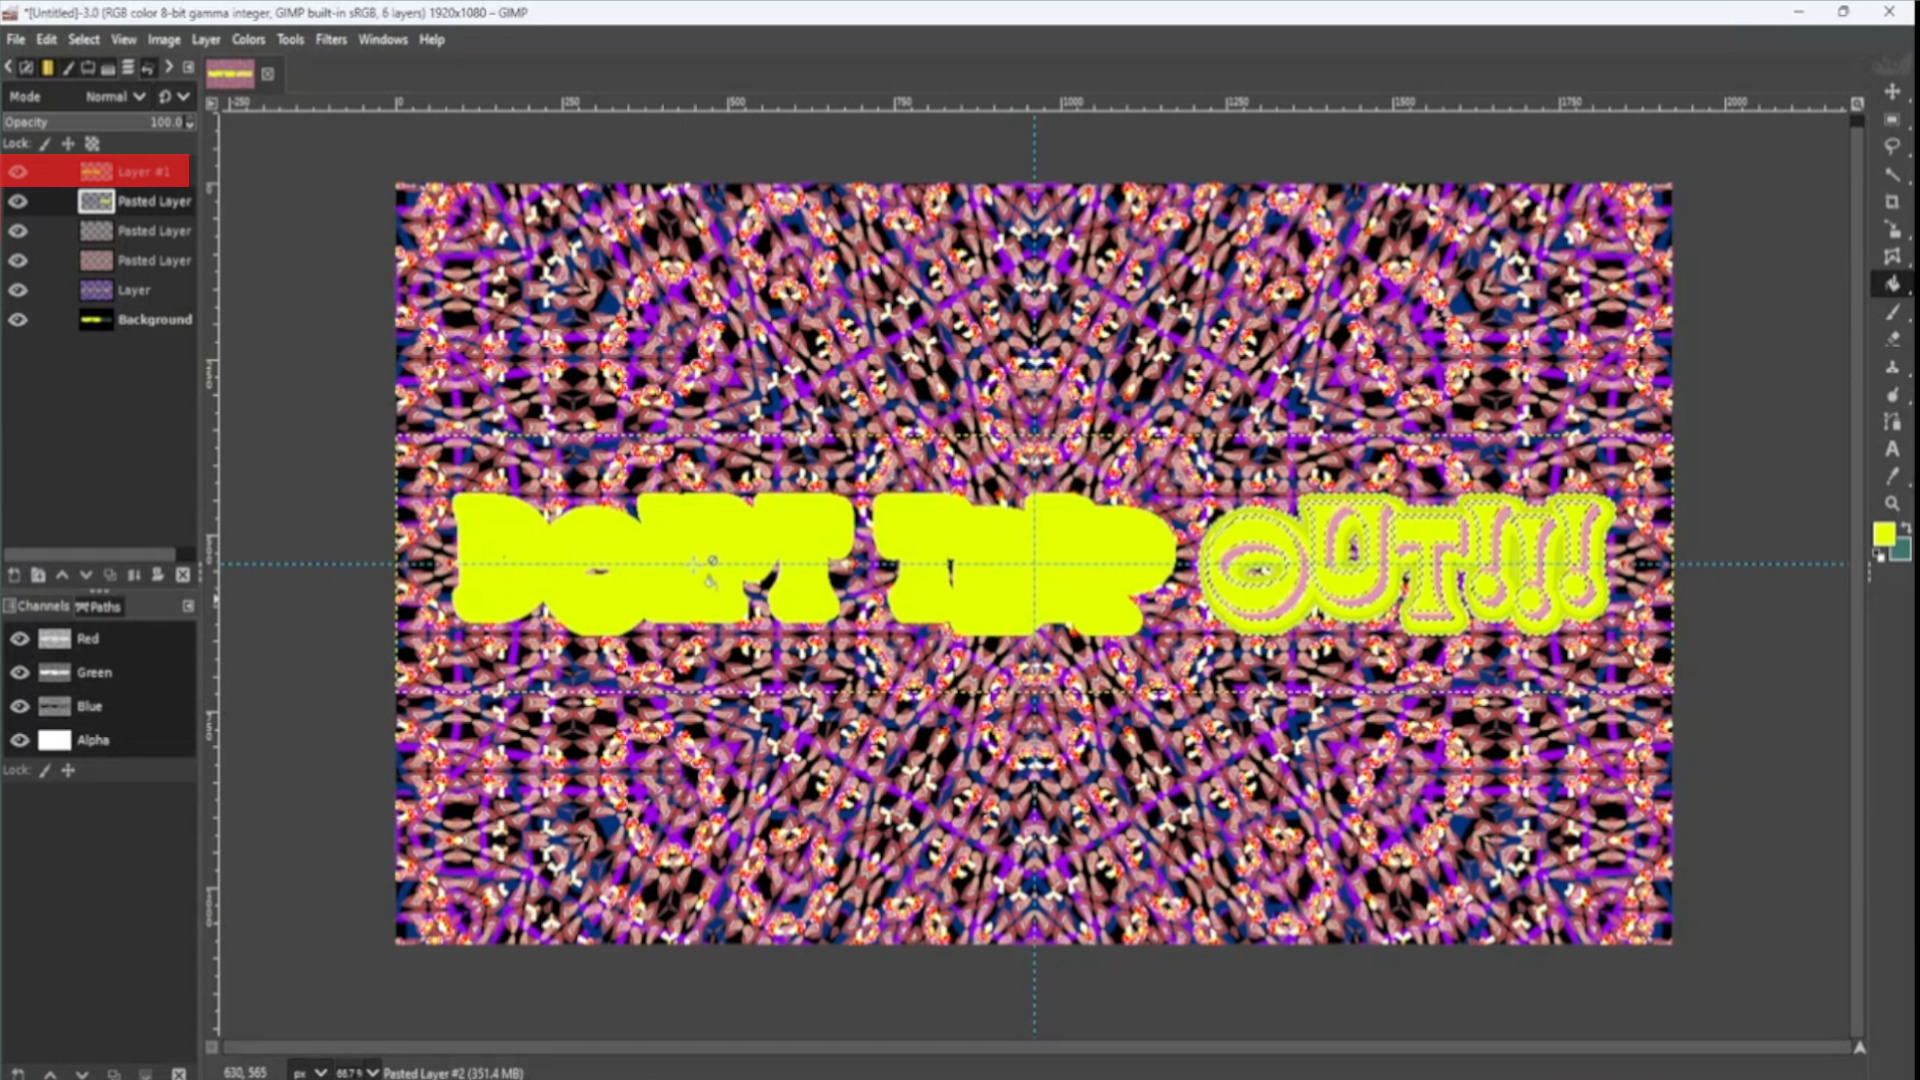
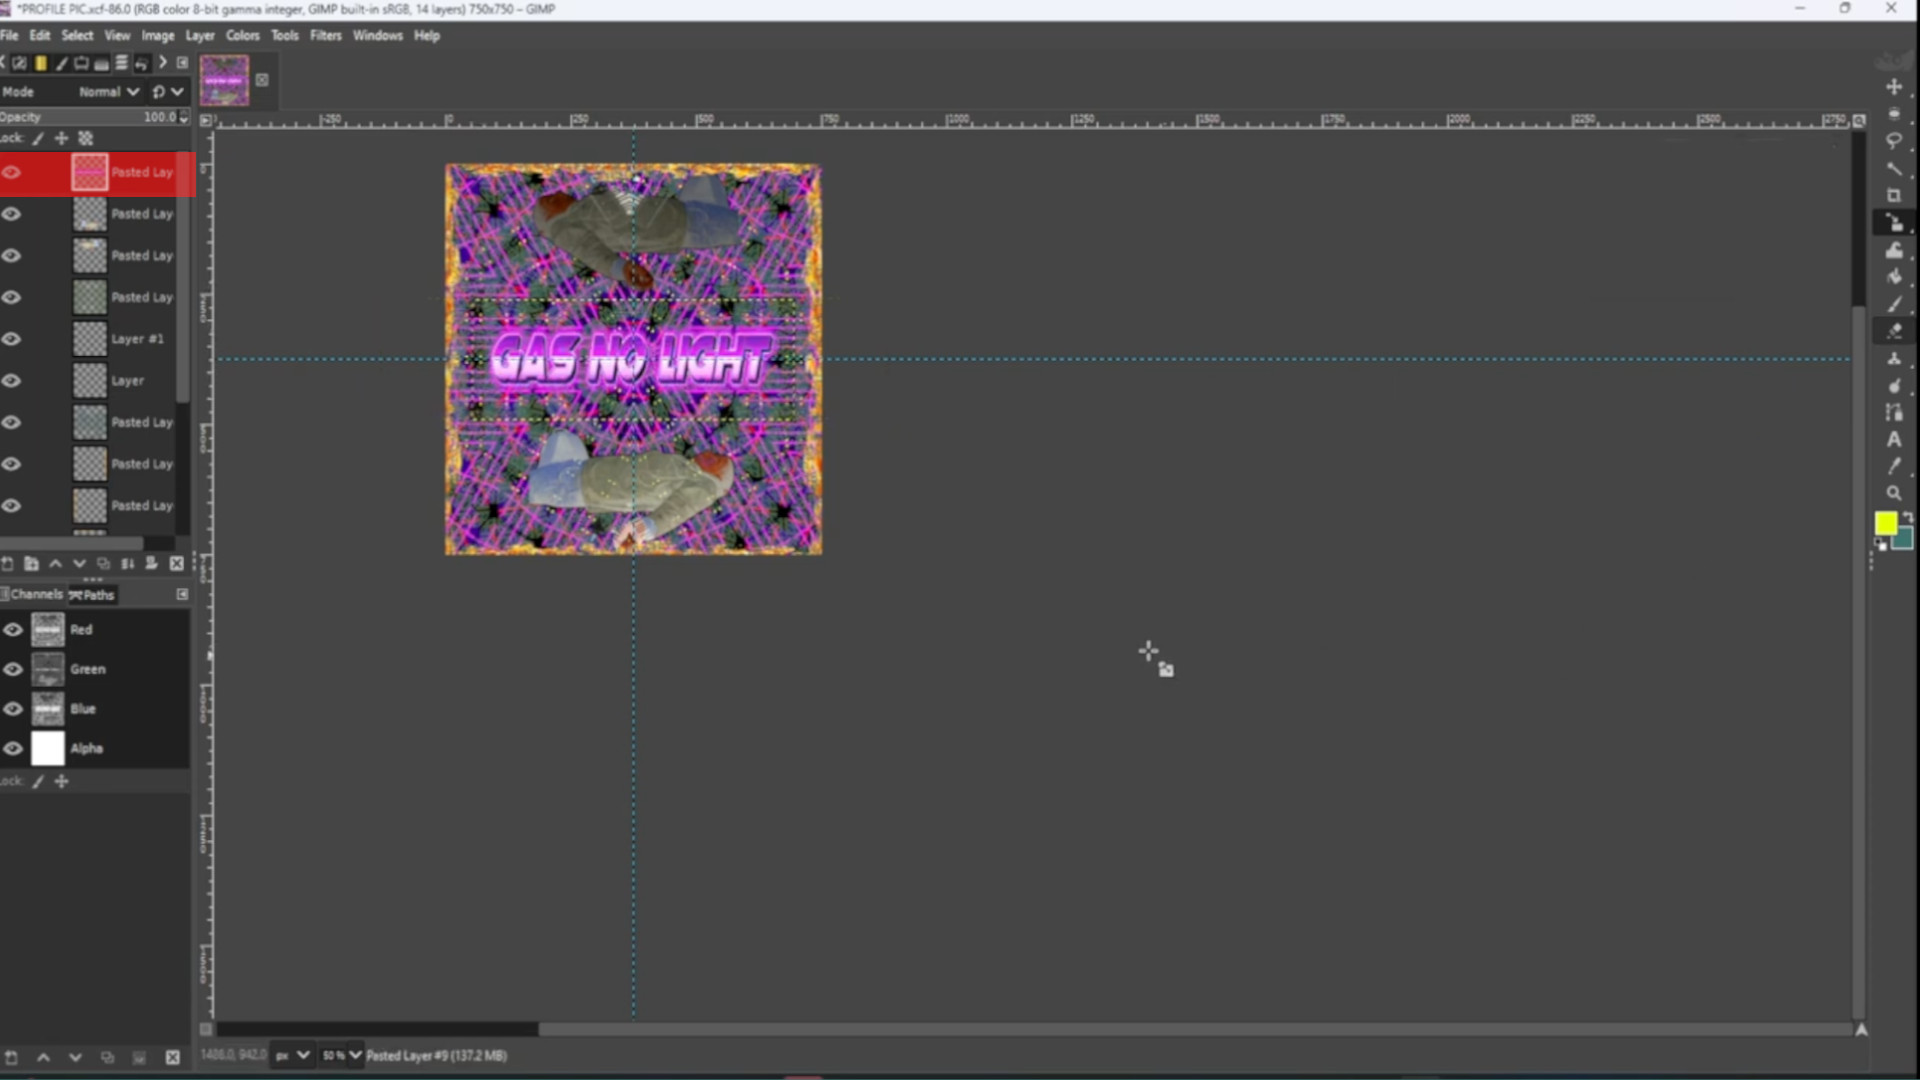
Now to add the font I used TextStudio.com but you can use your own fonts inside GIMP or other font websites.>>>OPEN FONT IMAGE or>>>DRAG AND DROP into Gimp and use the>>>SCALE TOOL to scale the image or use the shortcut>>>HOLD>>>SHIFT and>>>PRESS>>>S to get the scale options to come up. Make sure the>>>LAYER is at the>>>TOP of the>>>LAYERS PILE in the>>>LAYERS TAB on the>>>LEFT HAND SIDE. You should leave a quarter of the canvas size of space enough space to crop a circle like most social profile pictures are.

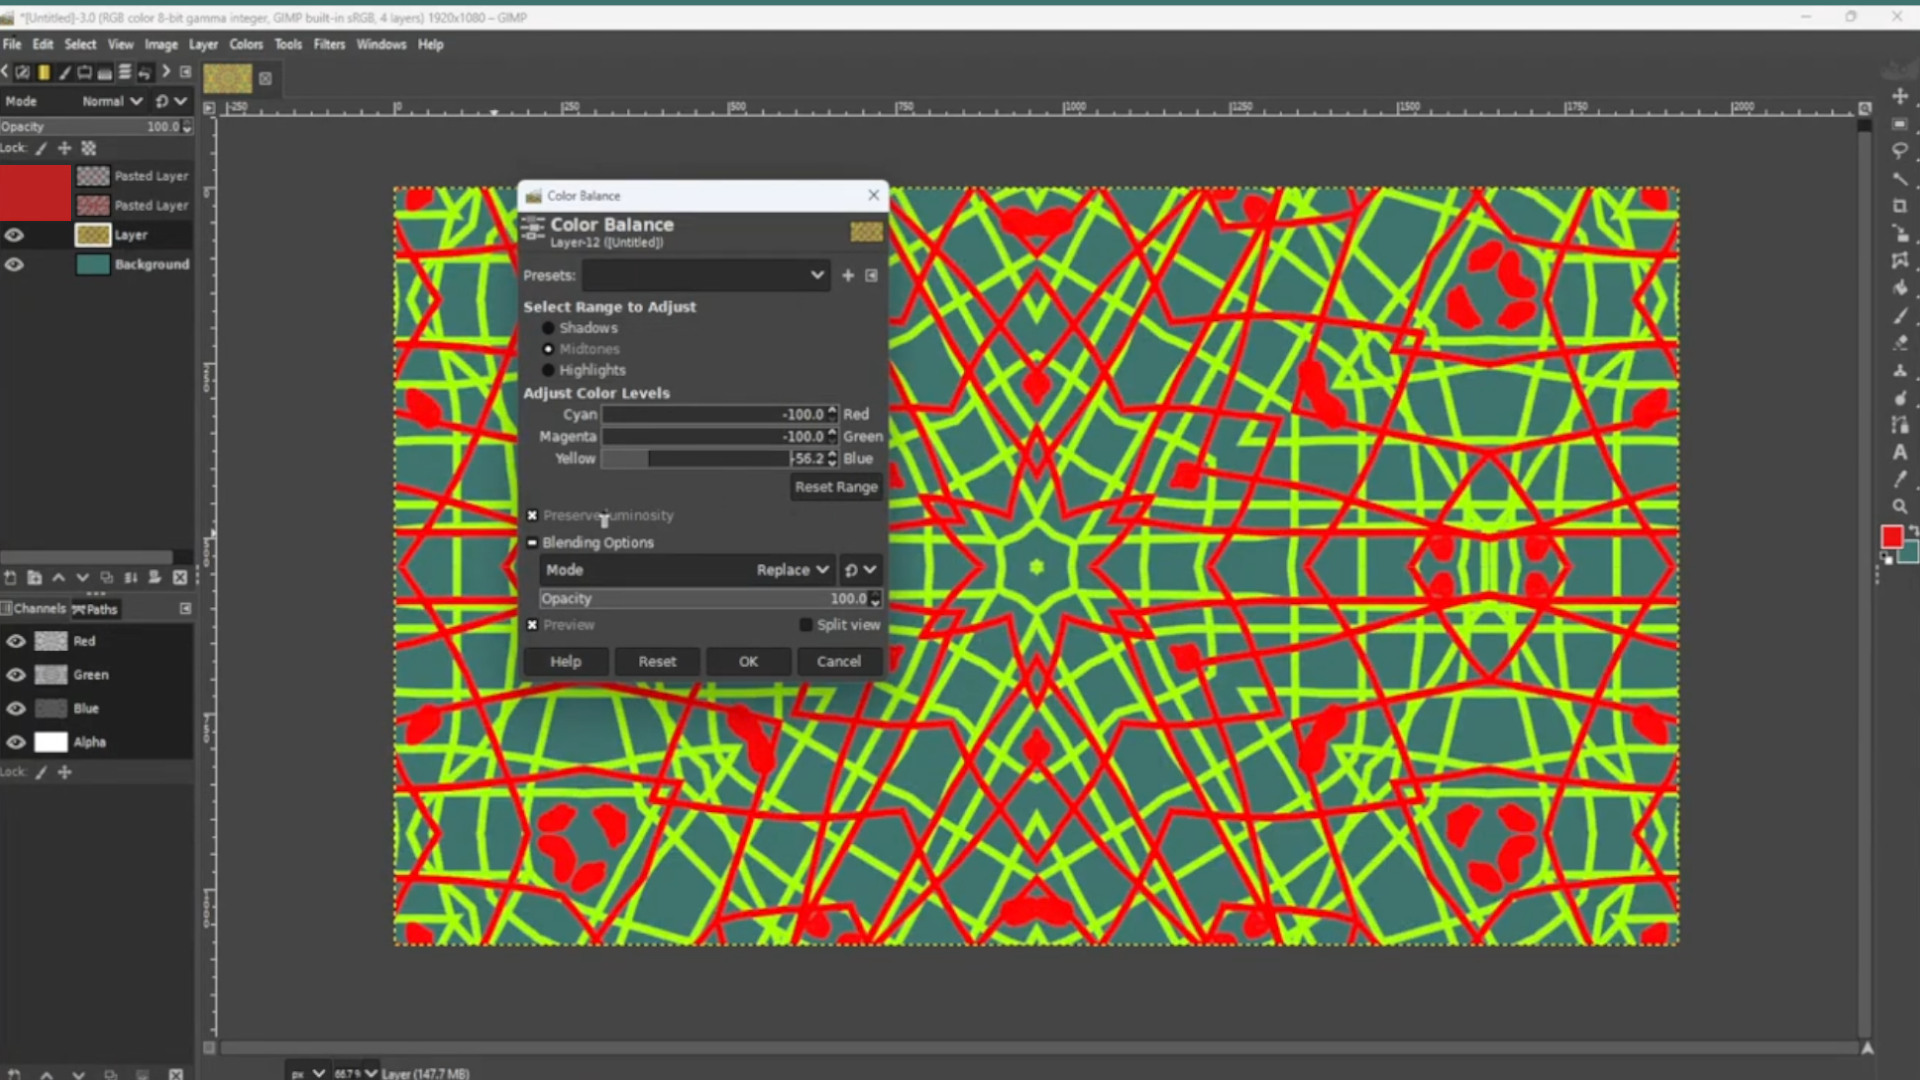
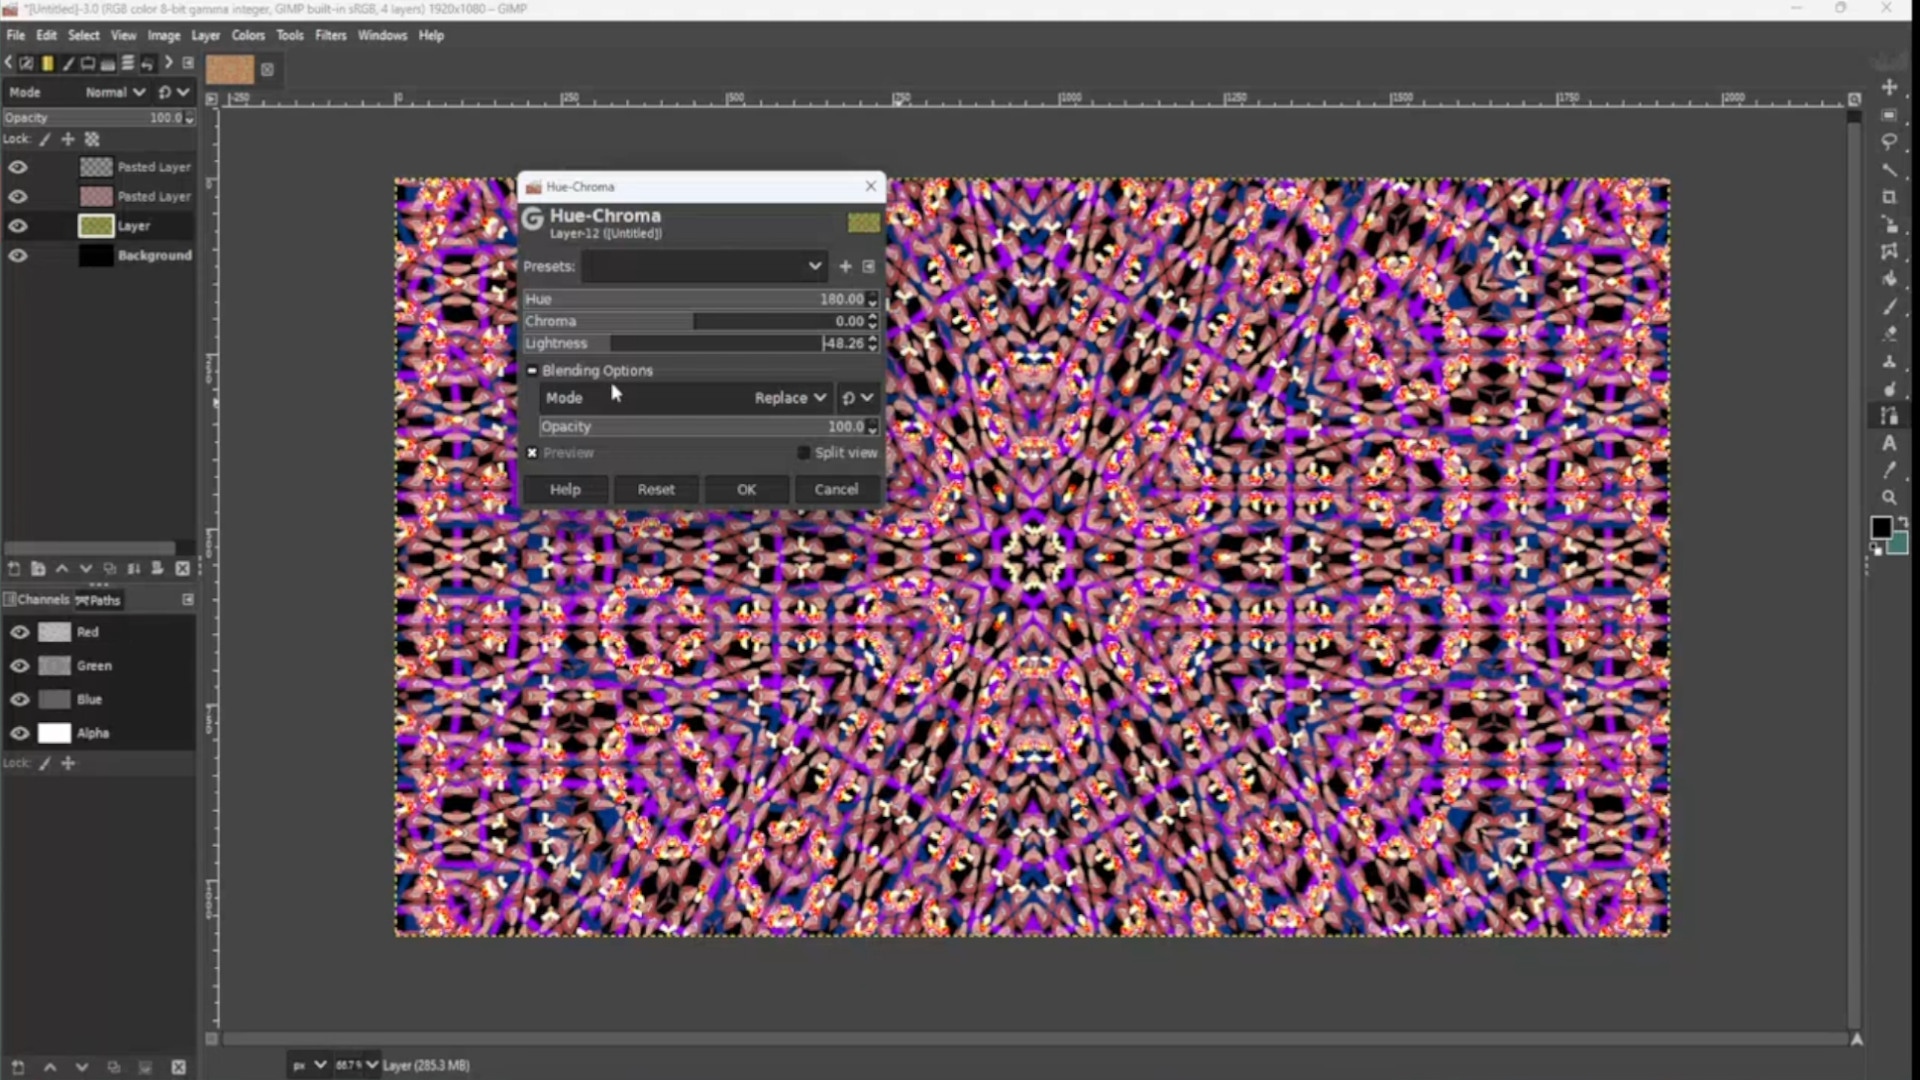
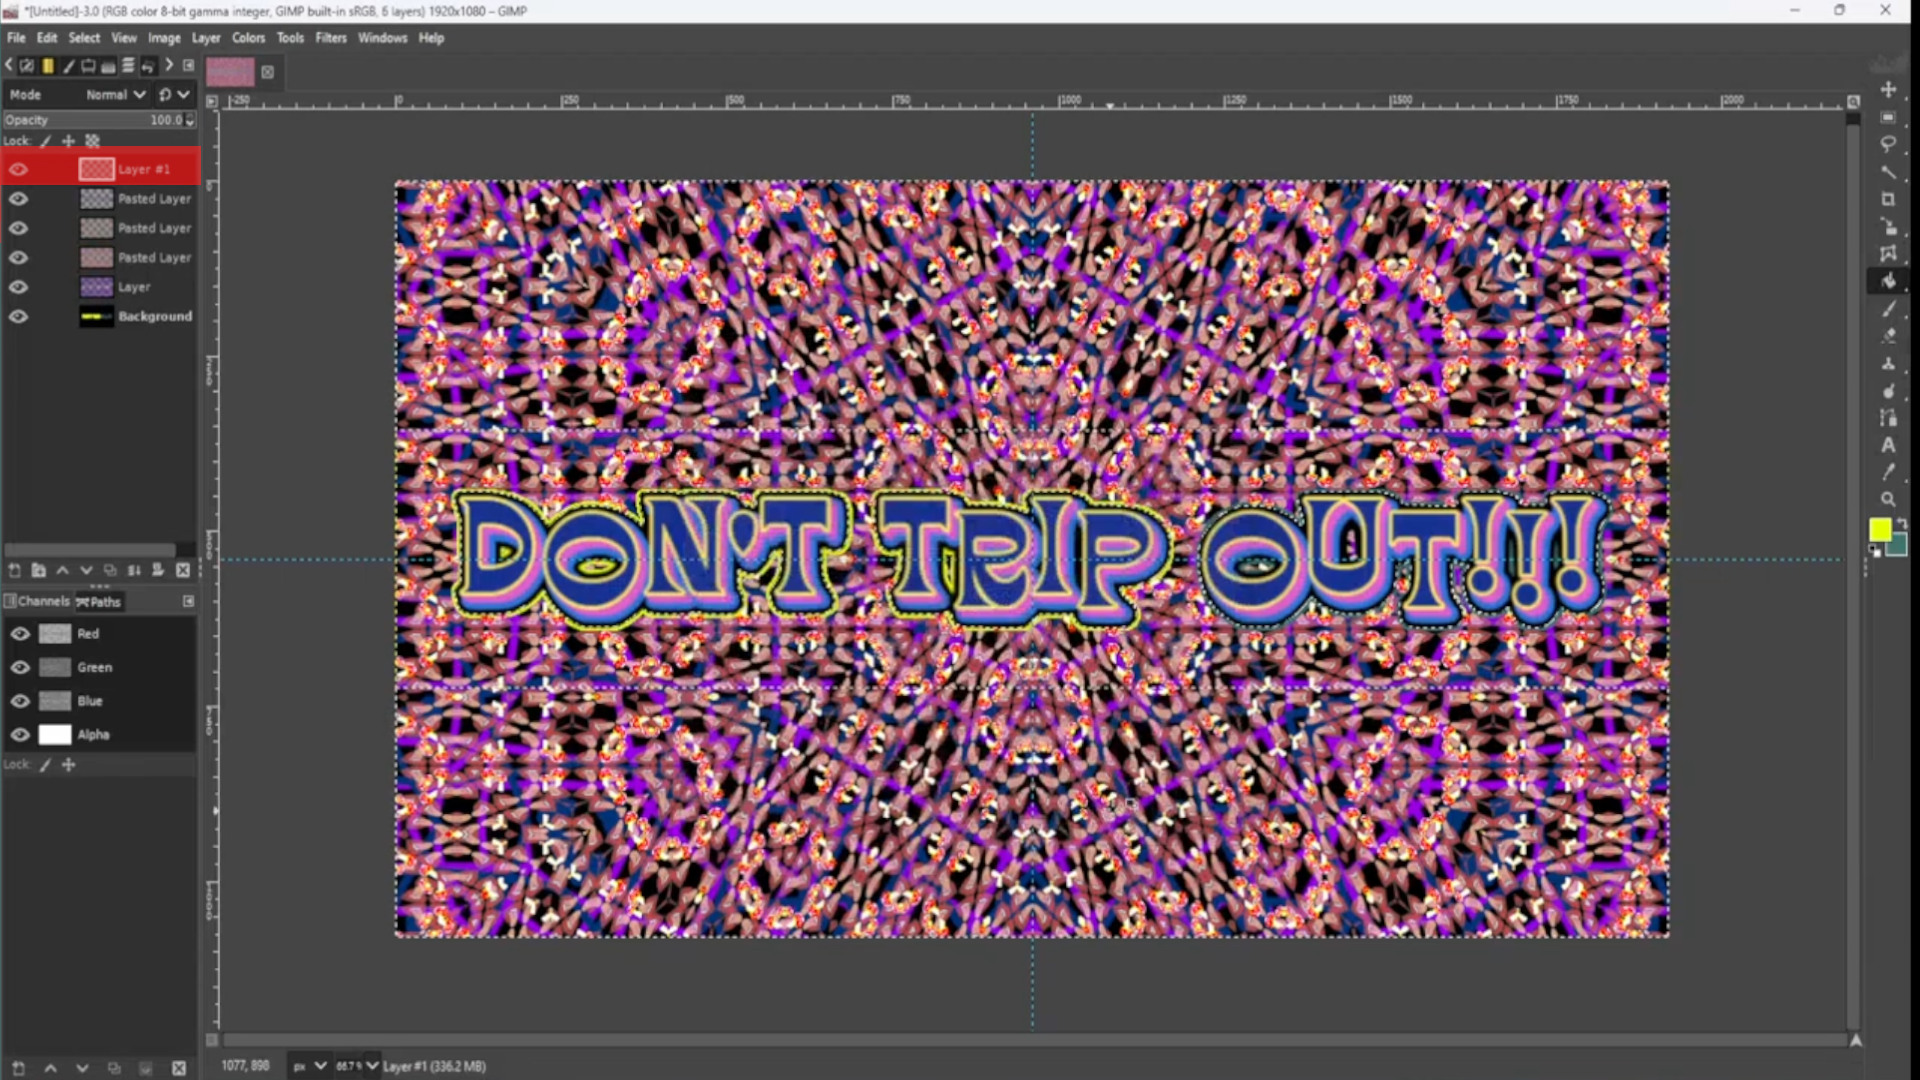
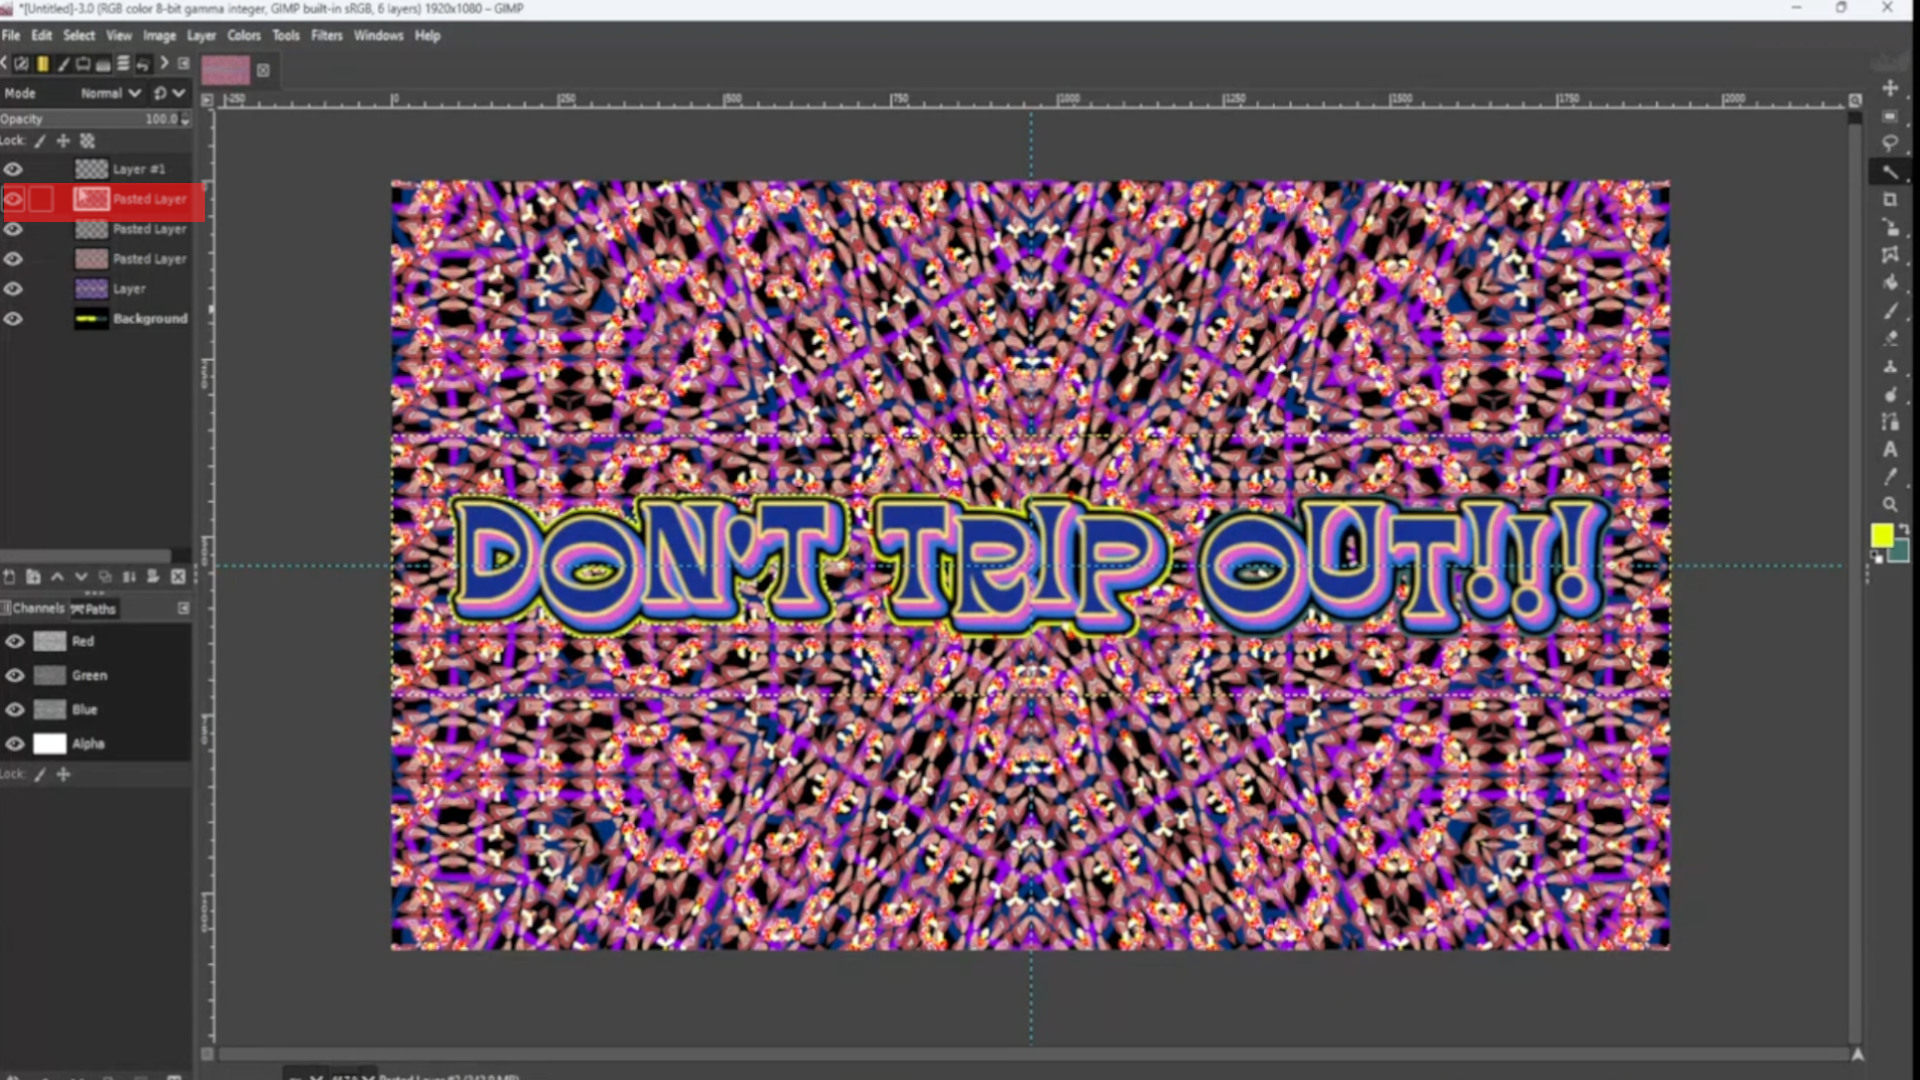
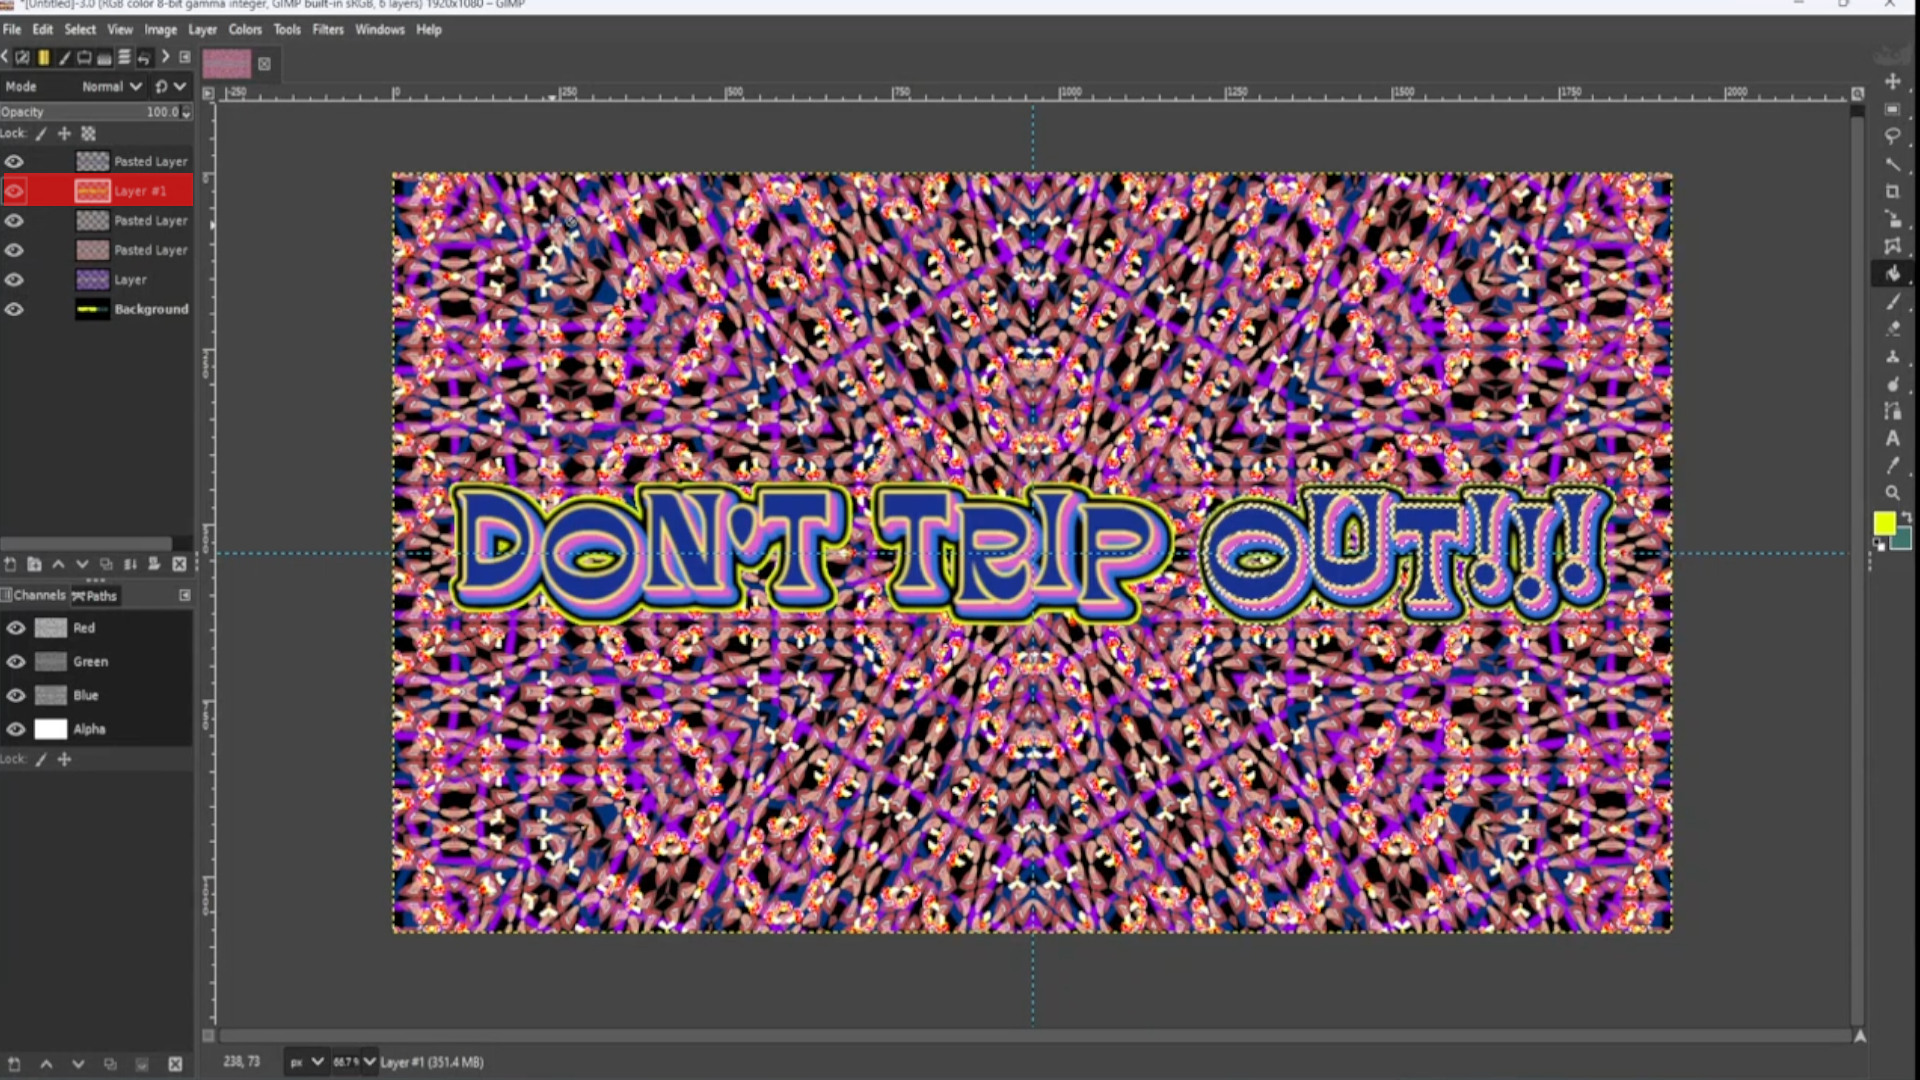
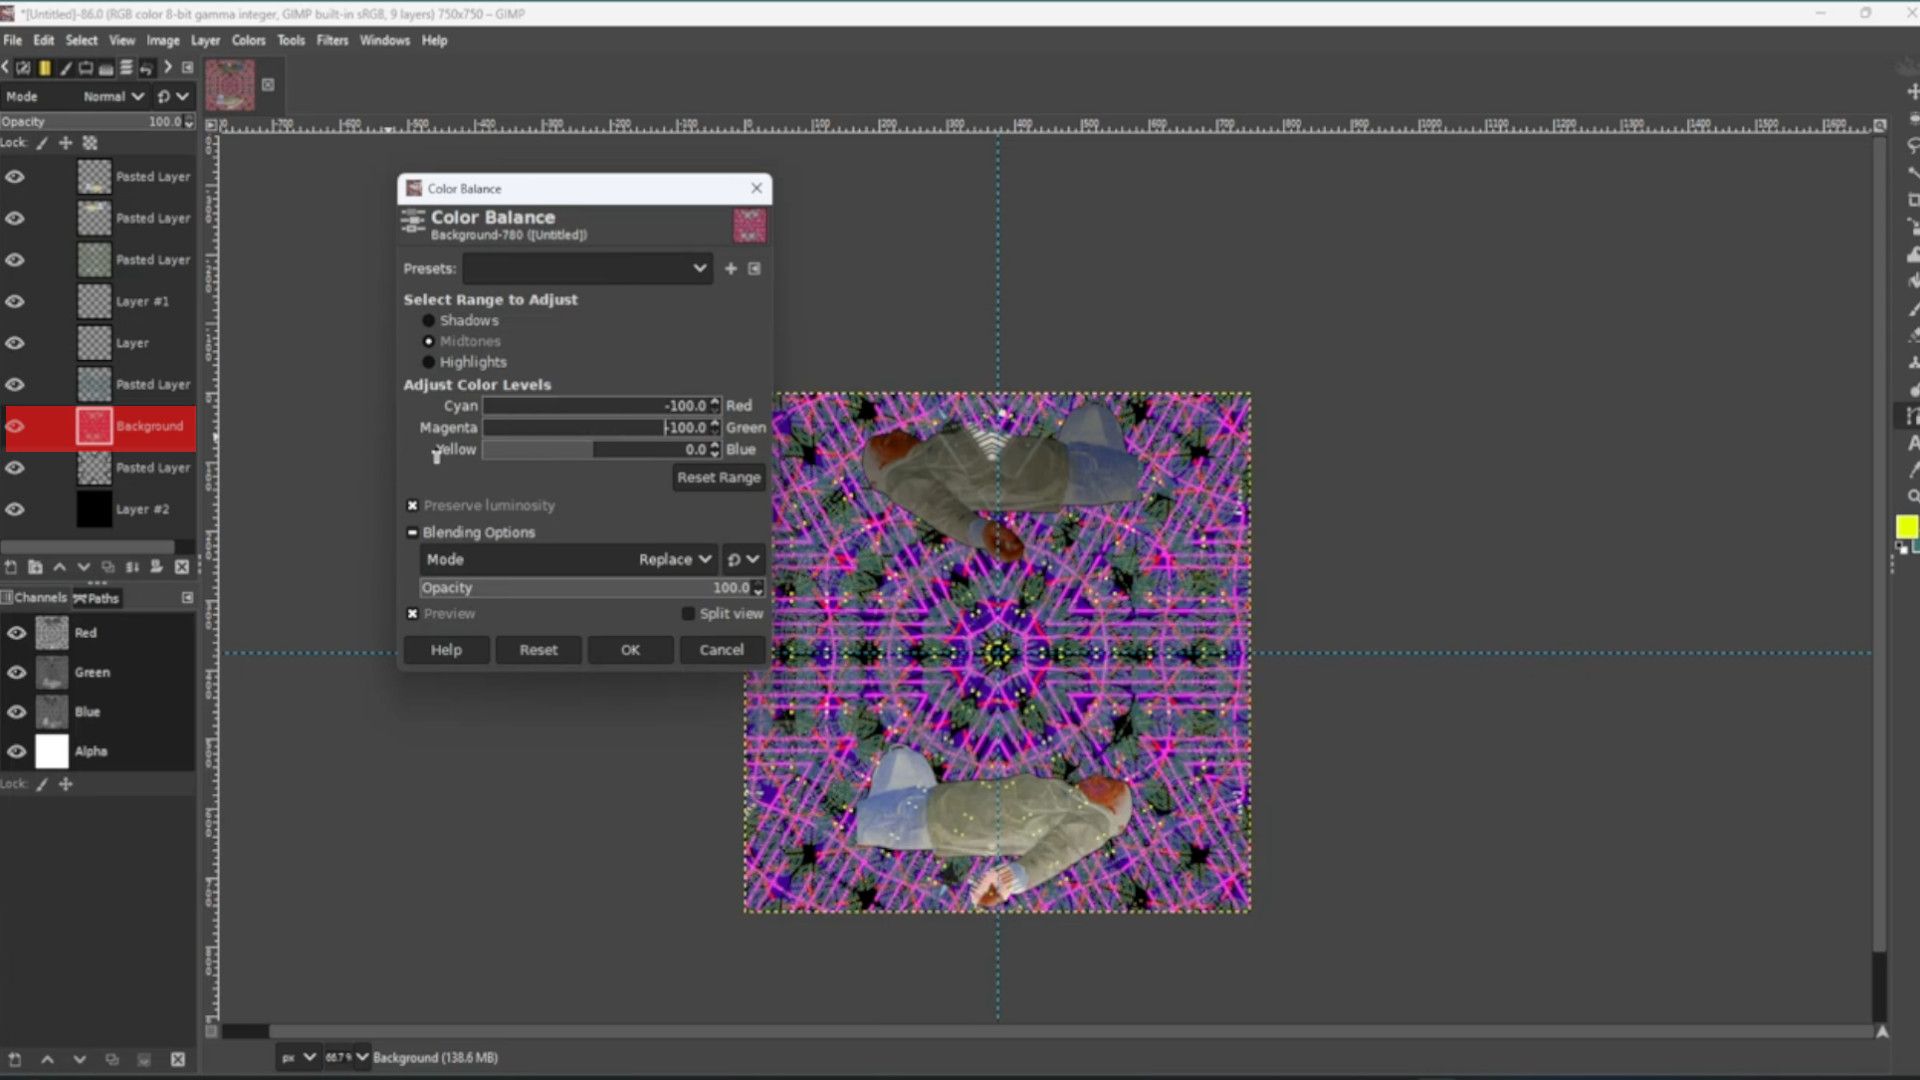
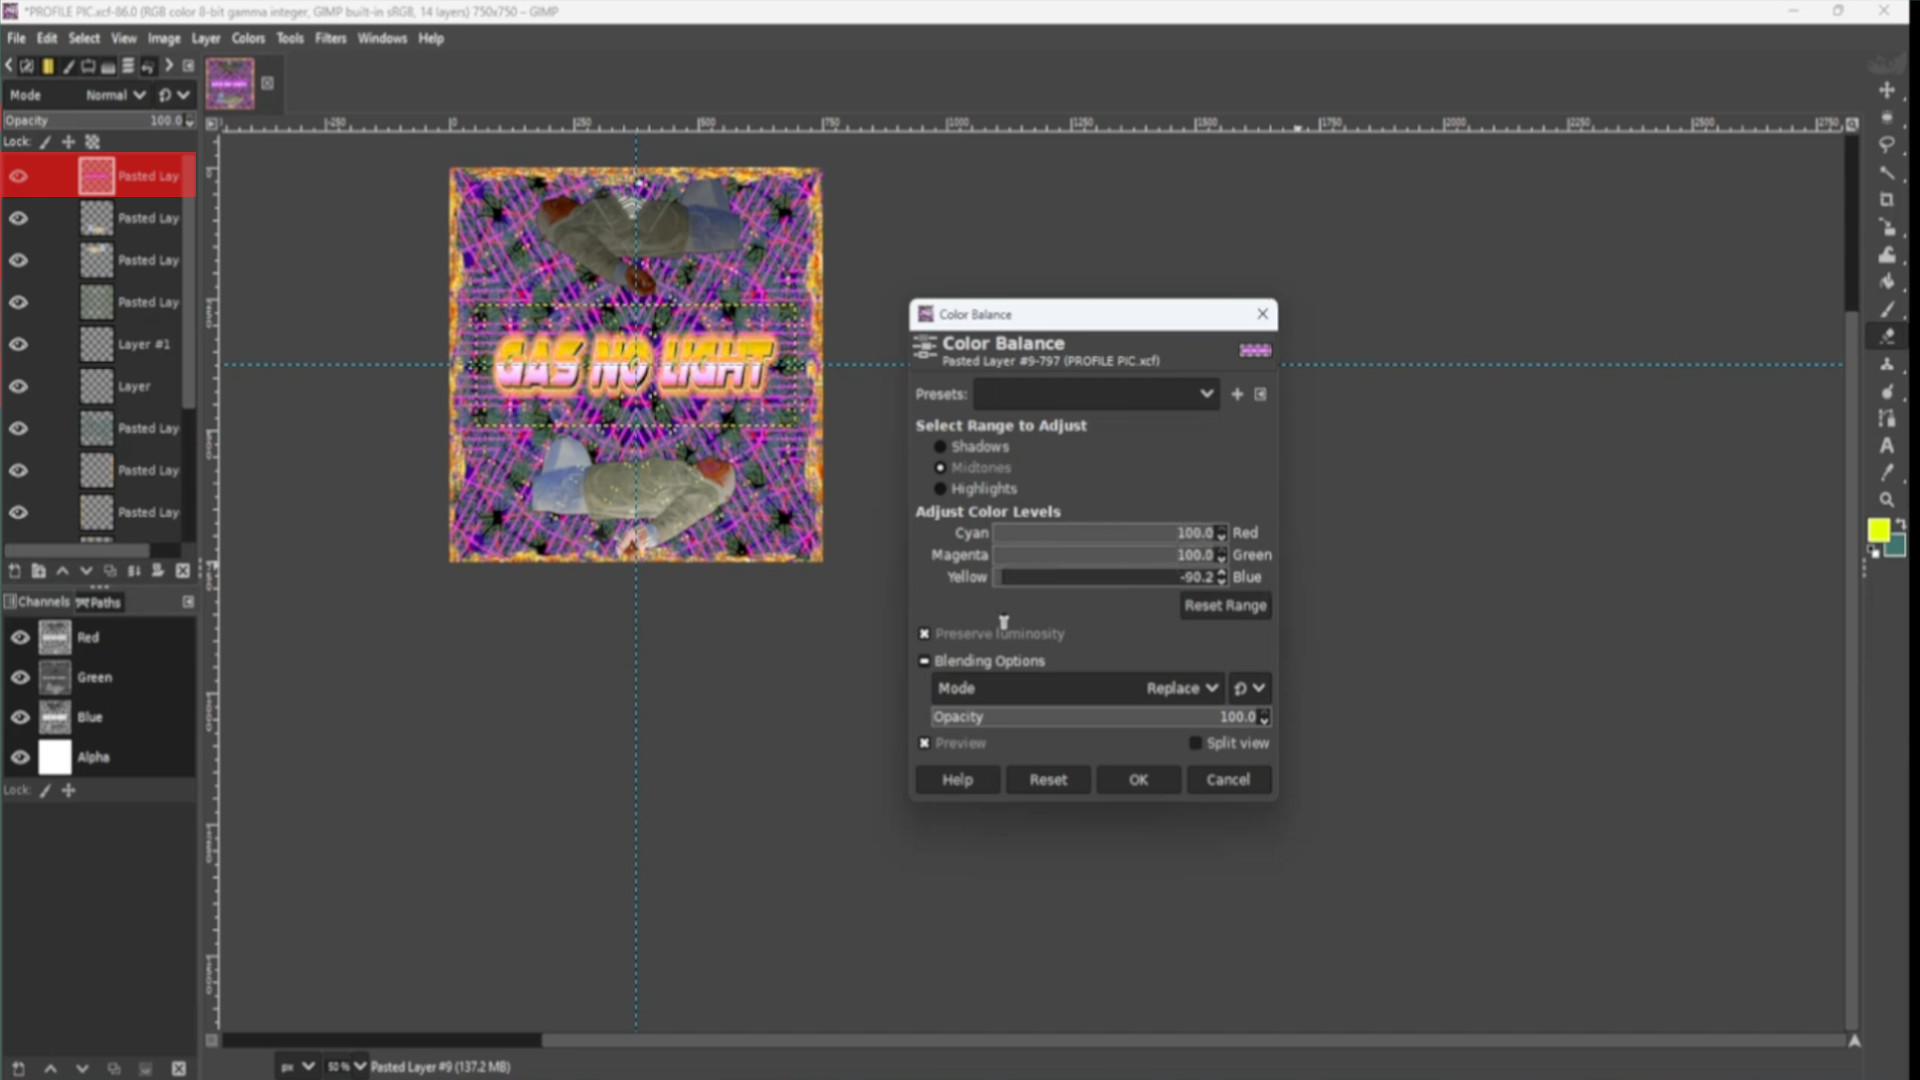
If you want to change the colour of the font image>>>SELECT the>>>FIRST LAYER in the>>>LEFT HAND LAYERS TAB and mess about with the>>>COLOURS OPTIONS: COLOUR BALANCE, COLOUR TEMPTURE, HUE CHROMA, HUE SATURATION and SHADOW HIGHLIGHTS to taste.
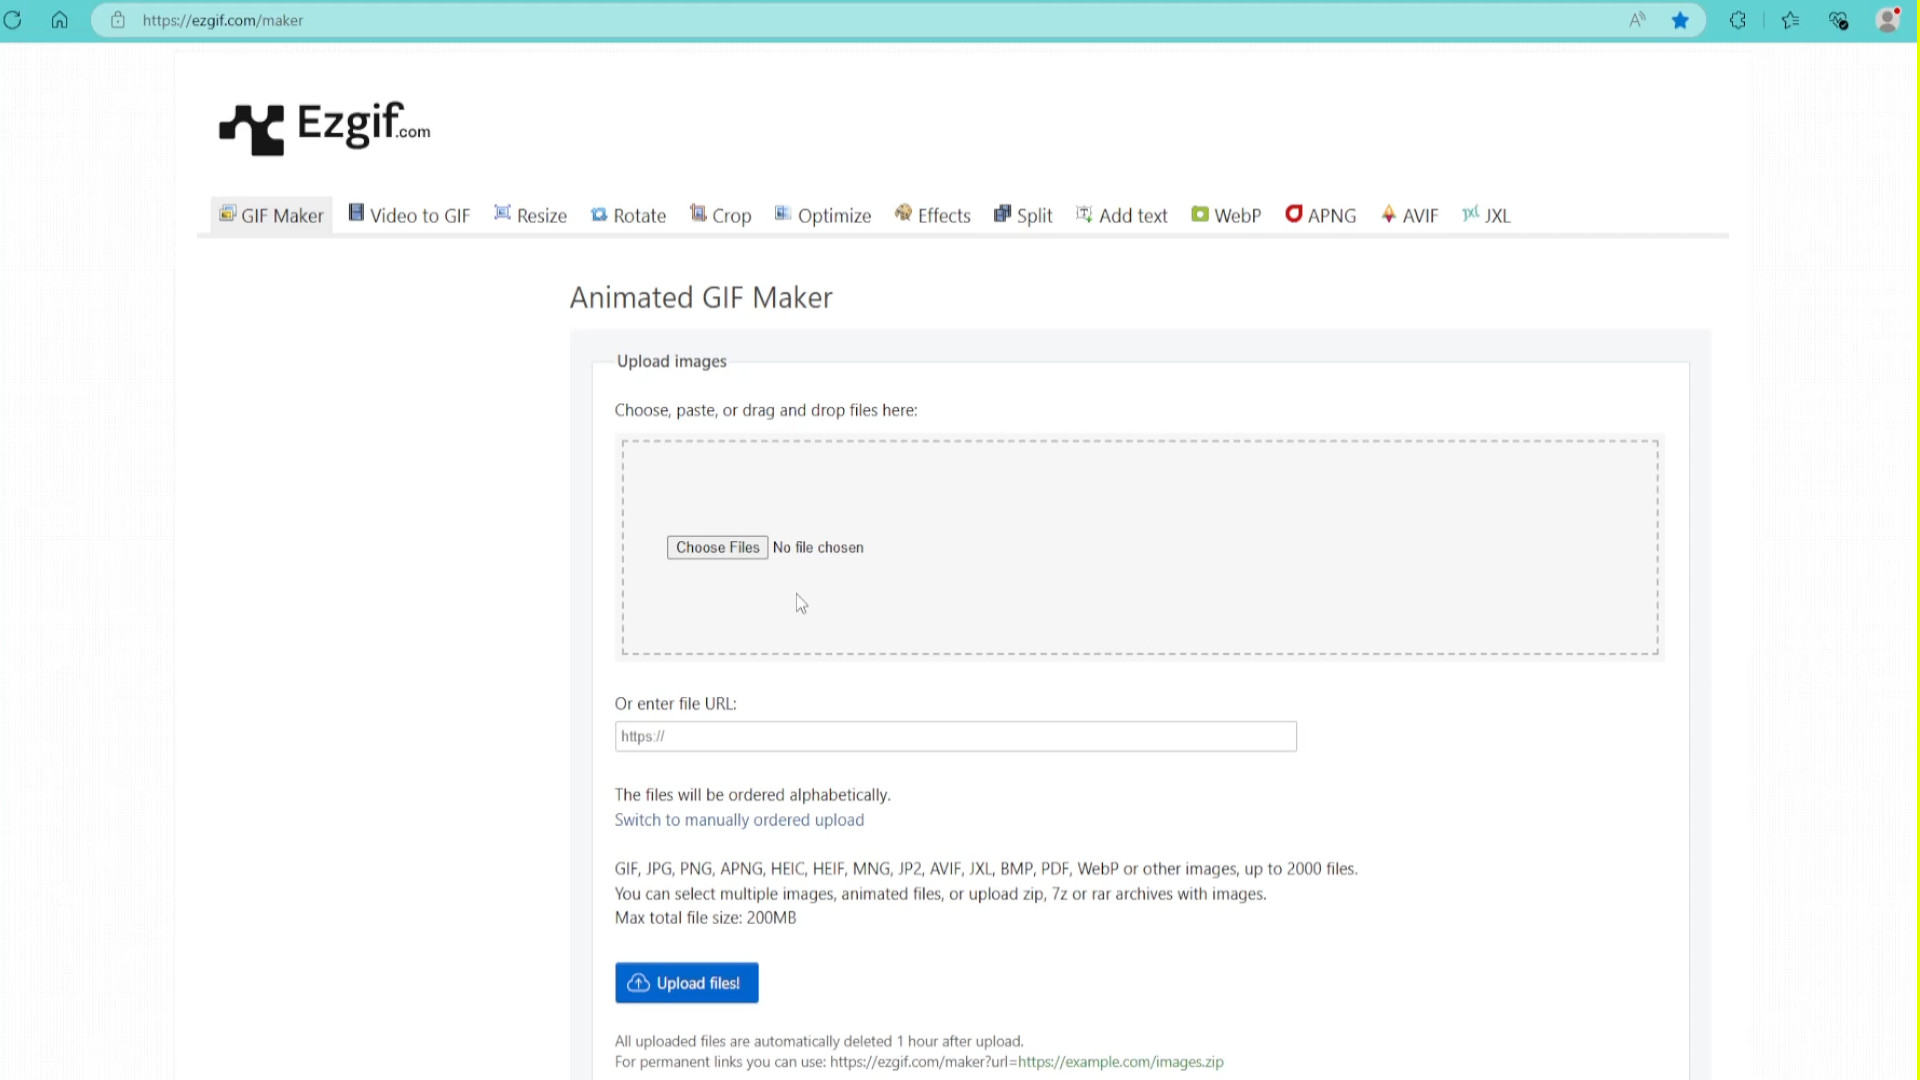
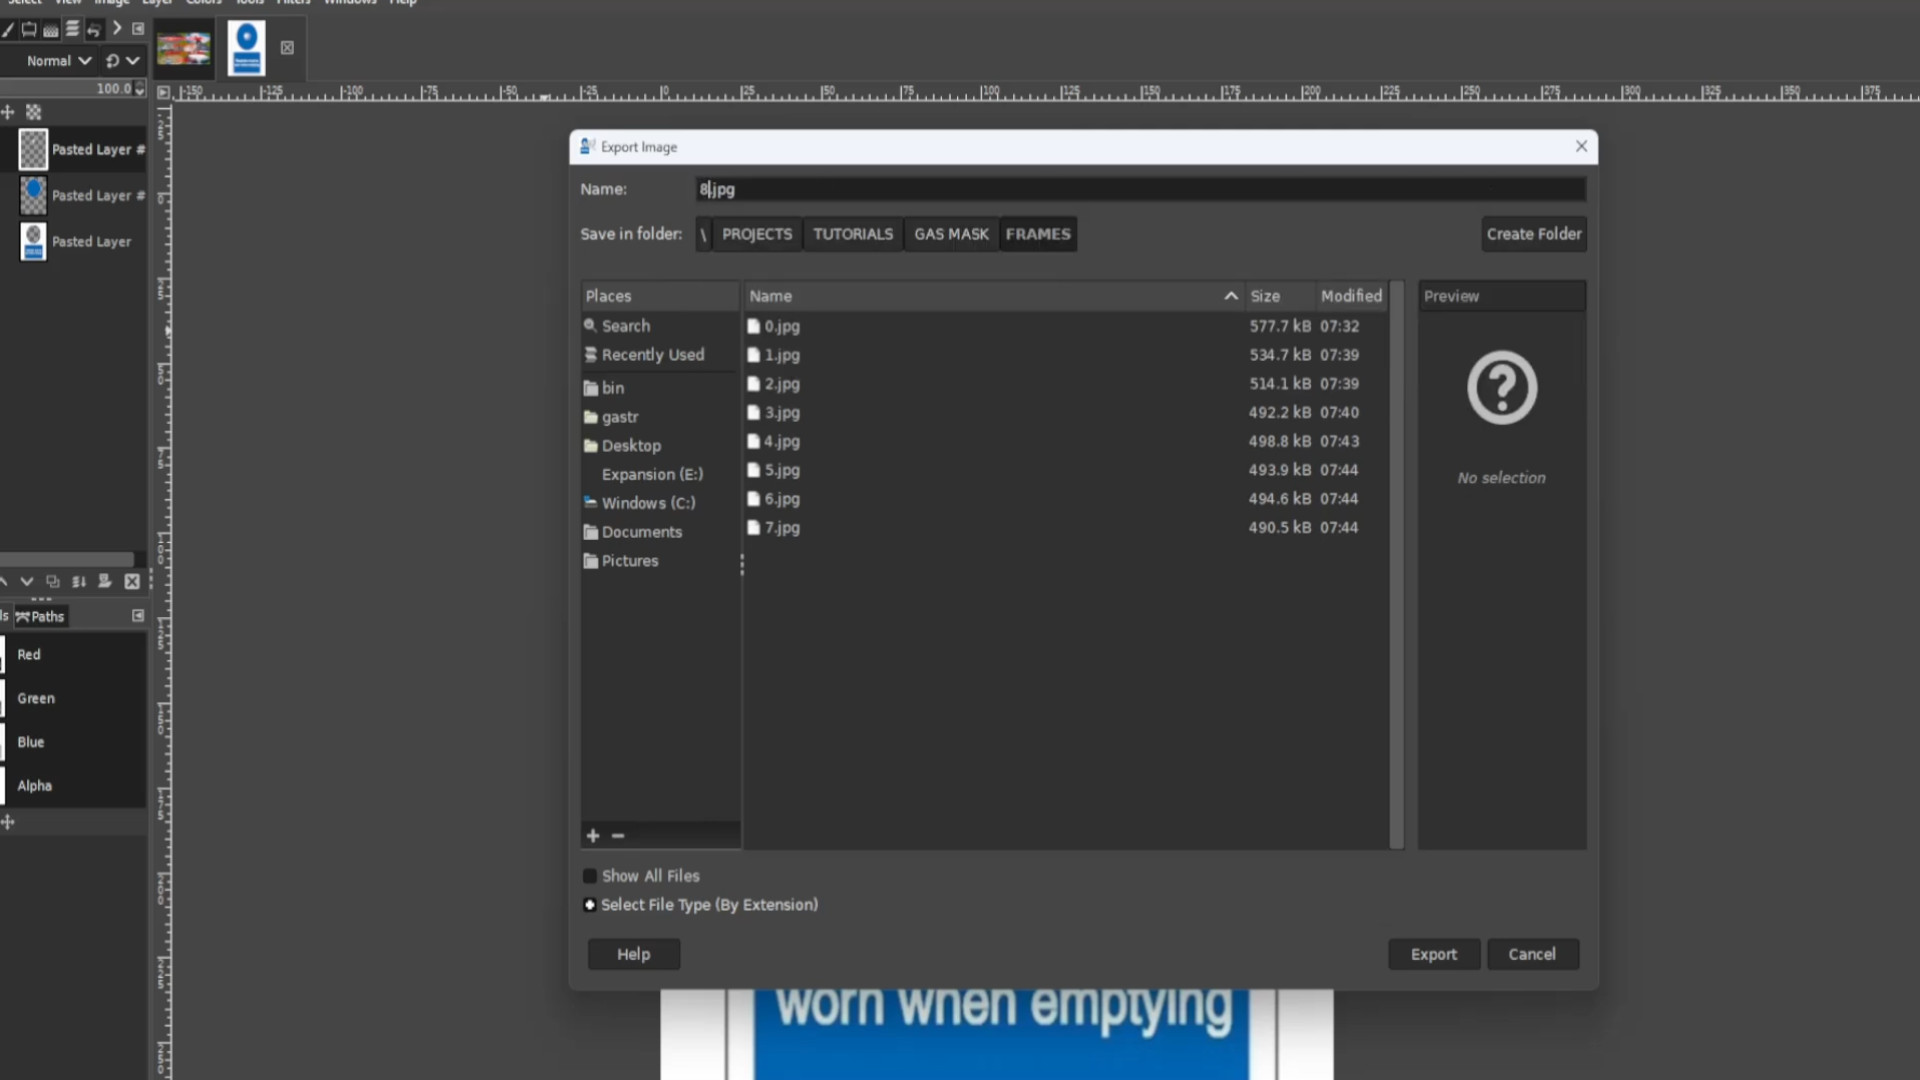
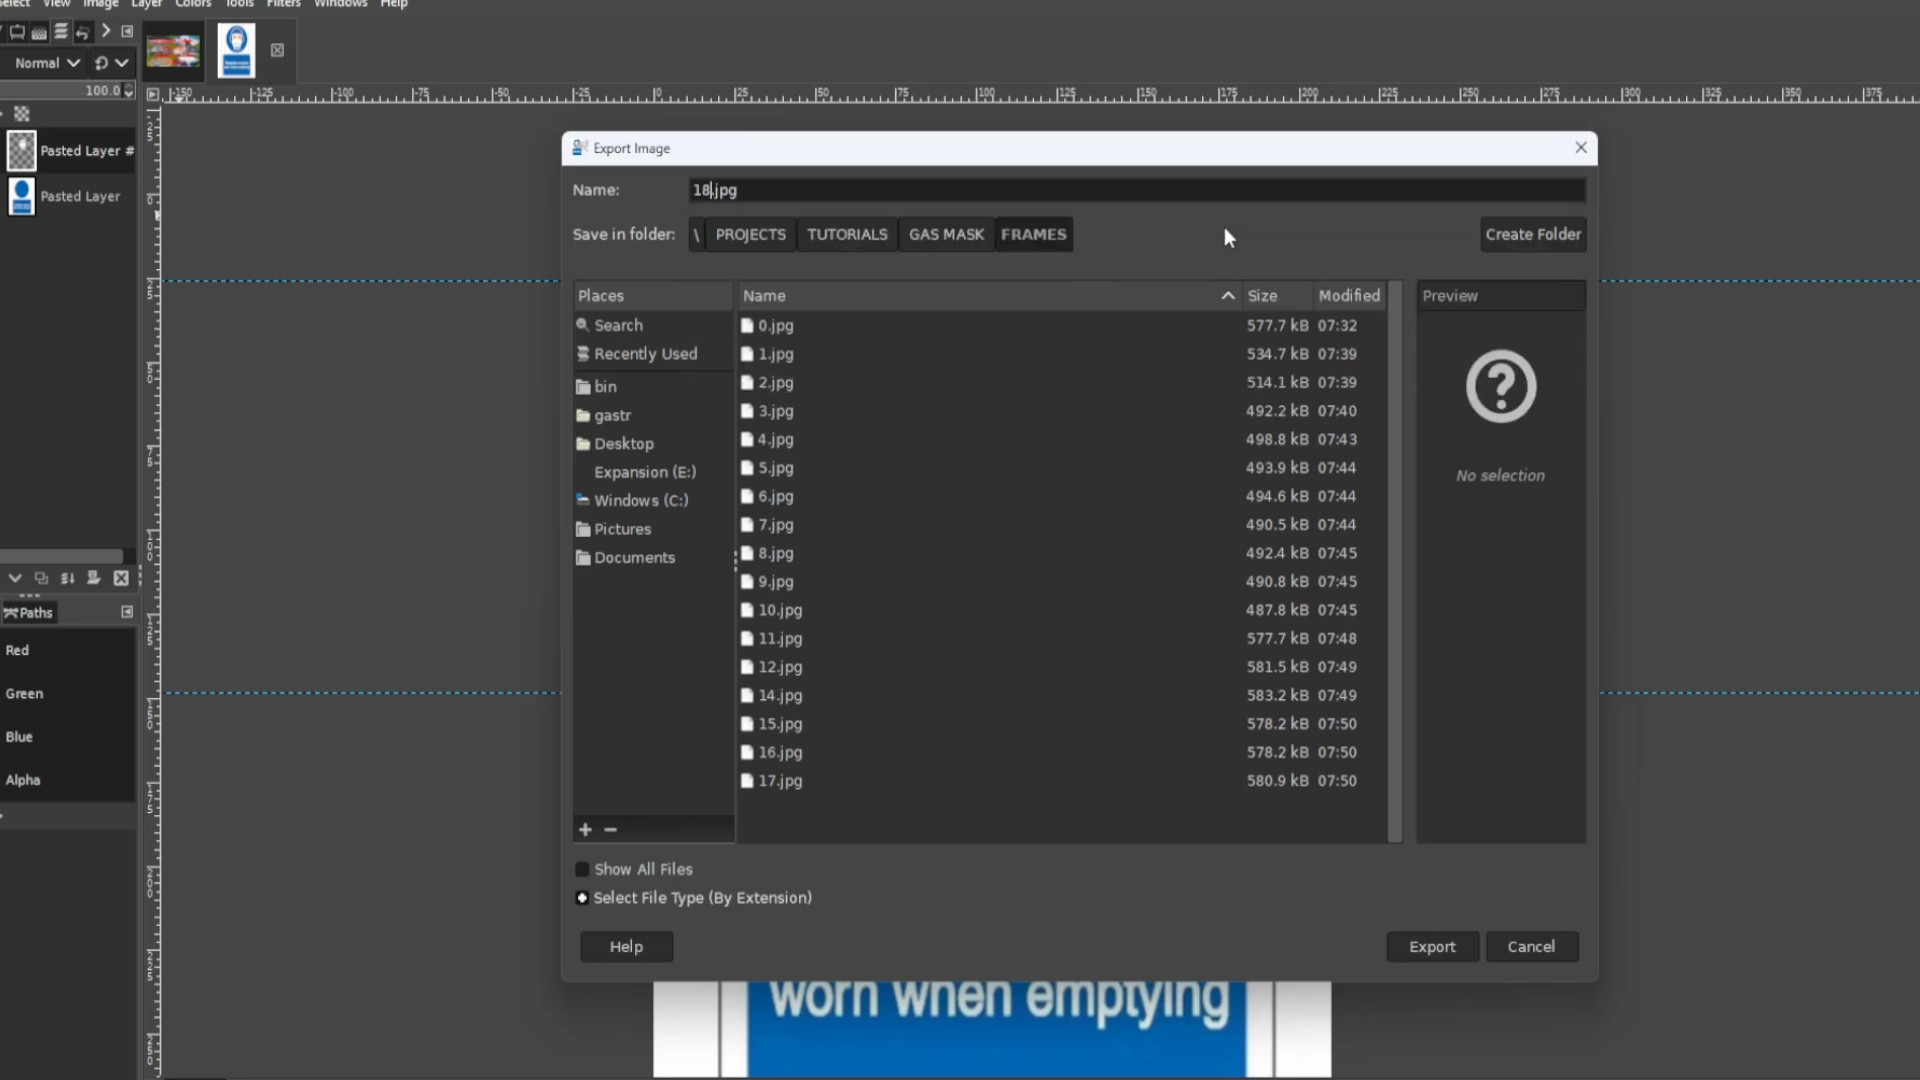
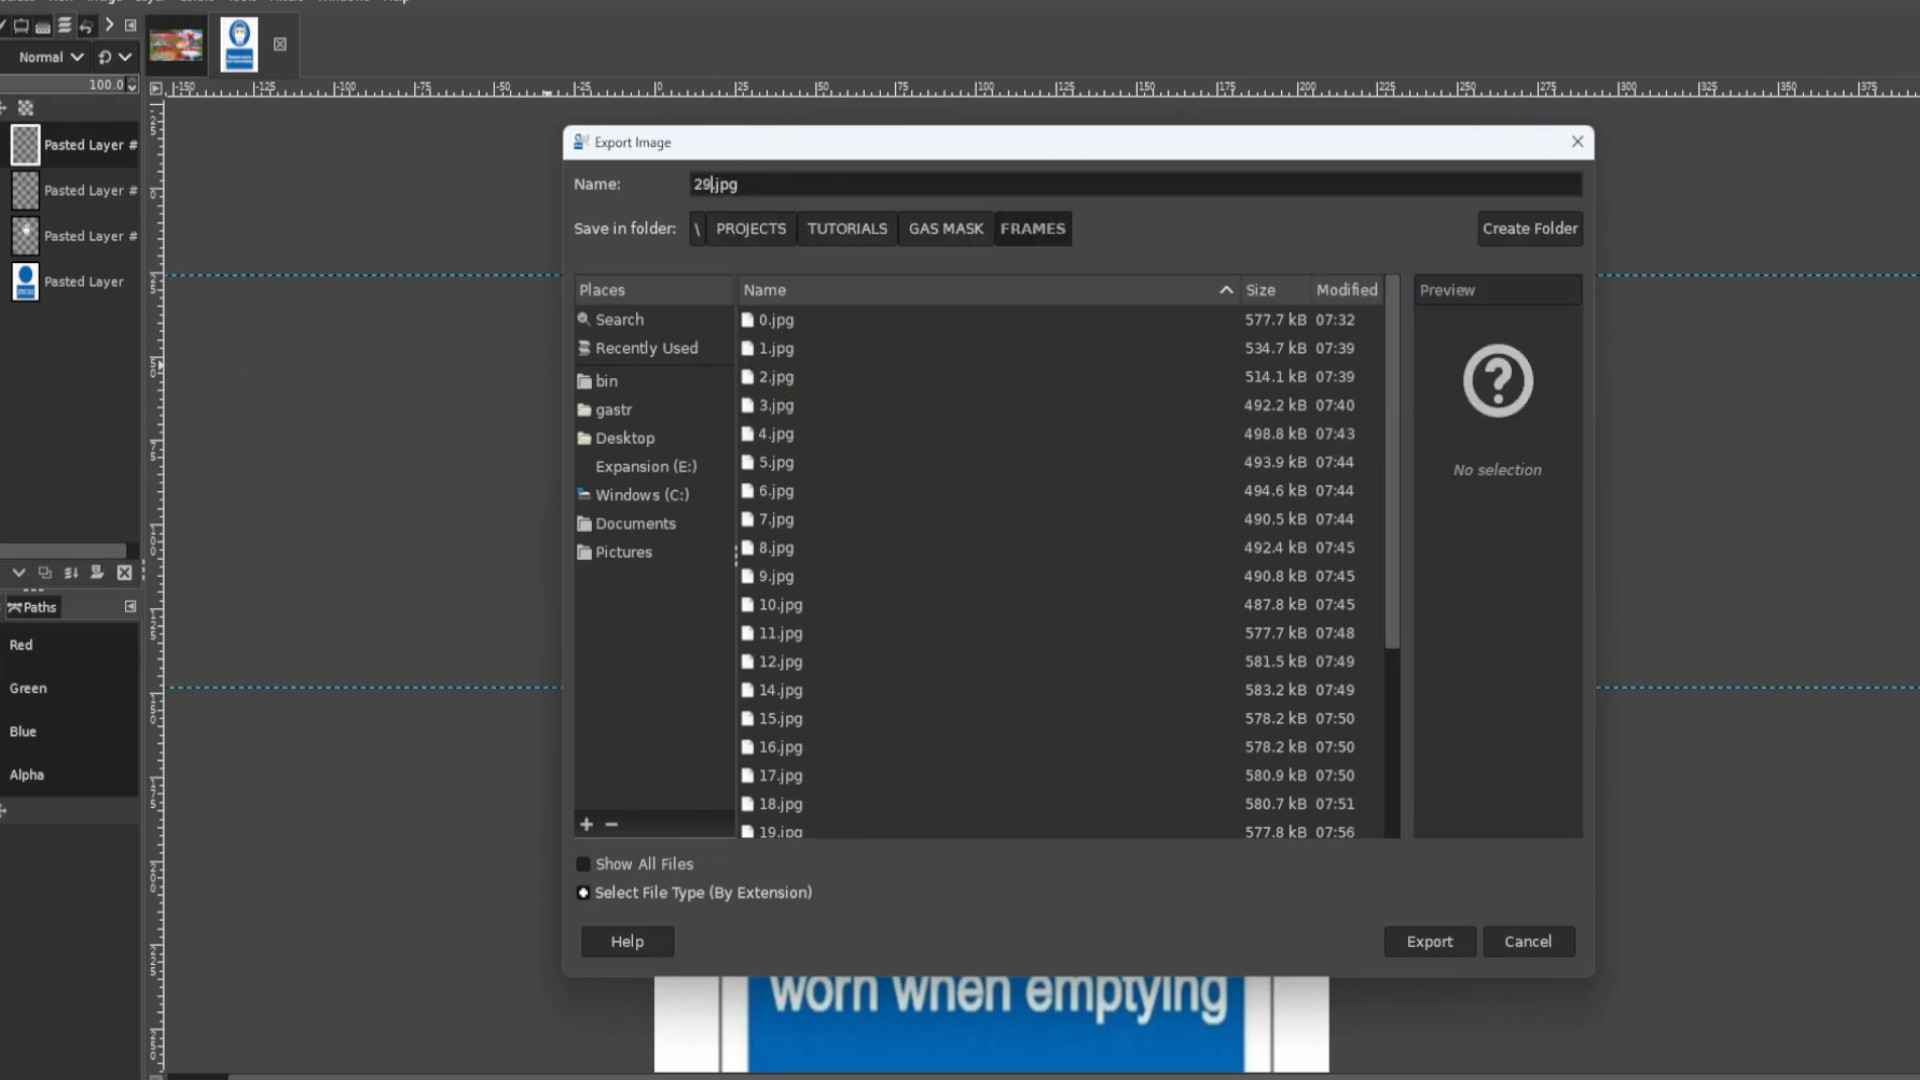
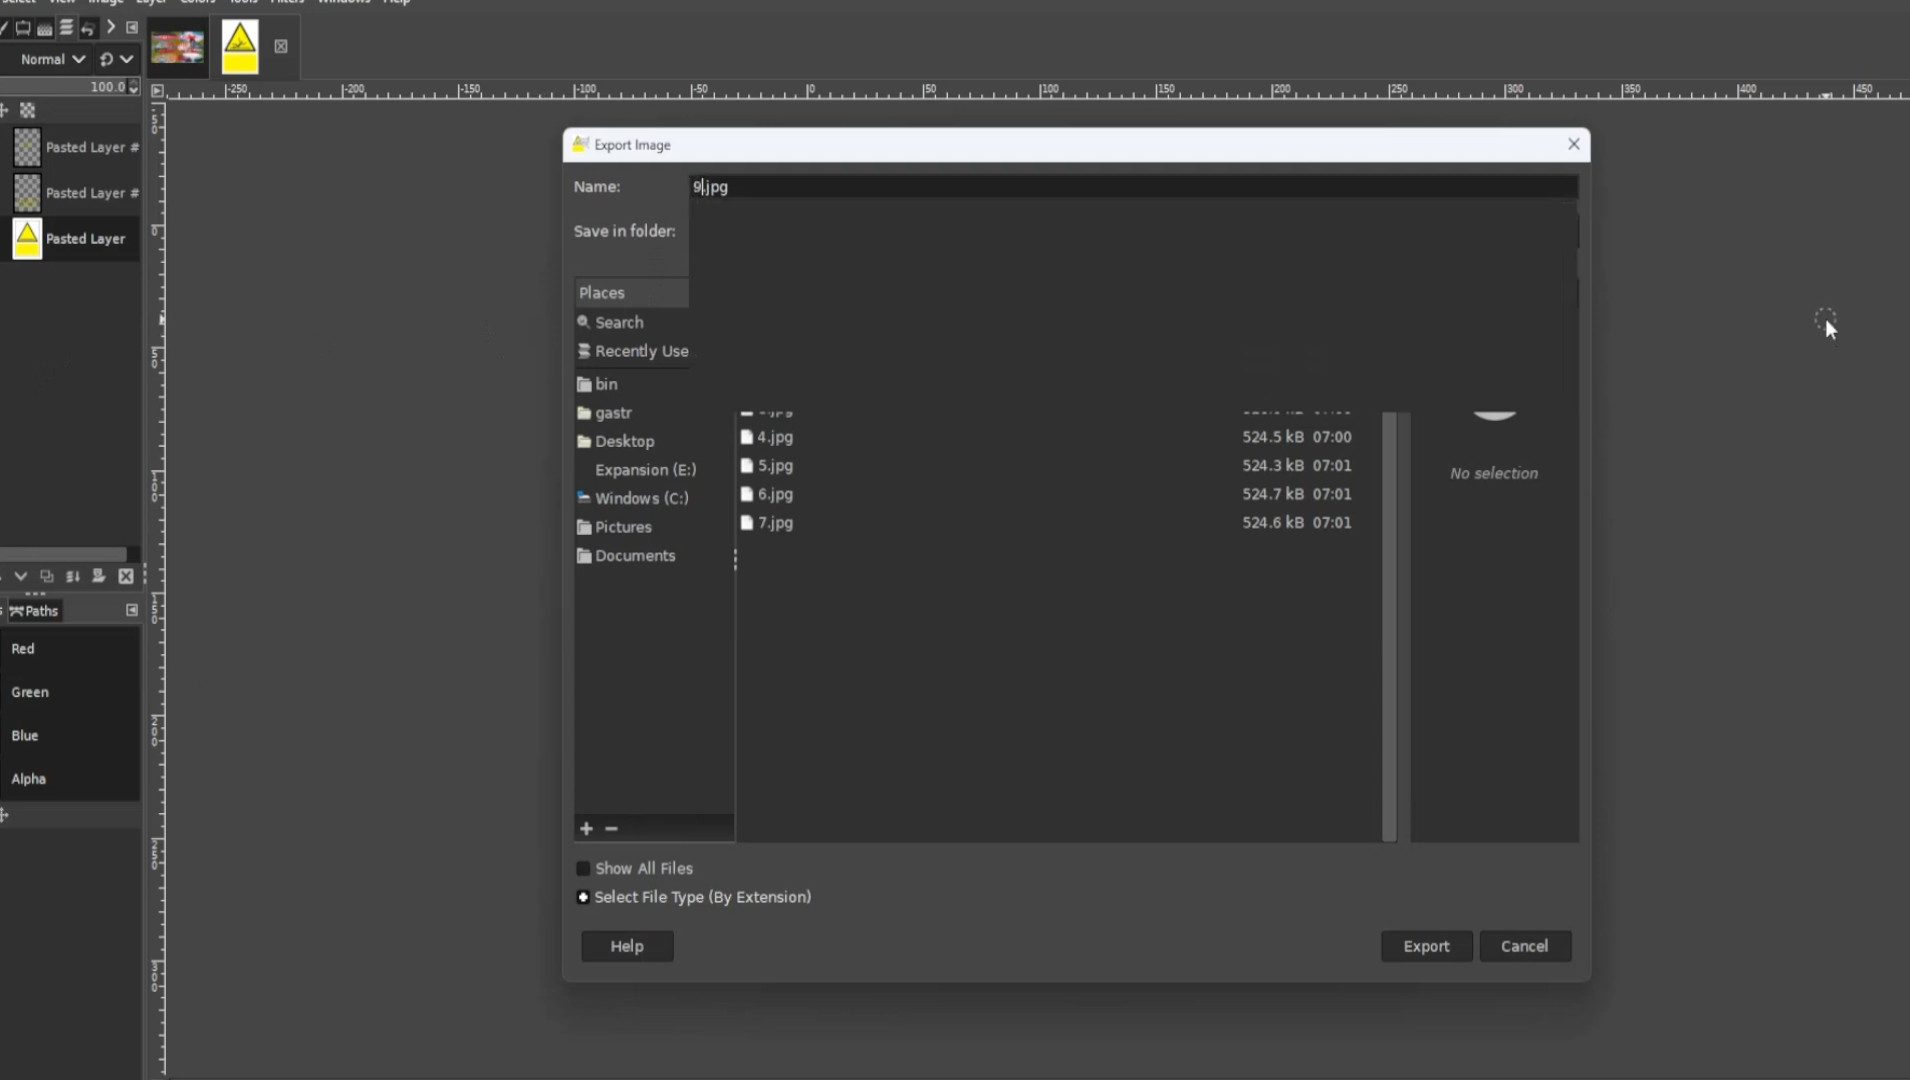
Export image by going to>>>FILE>>>EXPORT TO or>>>EXPORT AS and save with a JPG or PNG extension EG; INSERT NAME__PROFILE PIC.jpg or INSERT NAME__PROFILE PIC.png. Now you can upload them to your socials across all boards.