Crash Bandicoot 2 Cortex Strikes Back June 7, 2025 by Random Gas 909 with No Comment CLASSIC ARCADEGAMING ROOMPLAYSTATION 1 GAMES >>>>>>>INSTRUCTIONS>>>>>>>>SELECT BACK_Right ShiftSTART FORWARD_EnterD PAD UP_Up ArrowD PAD DOWN_Down ArrowD PAD LEFT_Left ArrowD PAD RIGHT_Right ArrowBUTTON 1_ZBUTTON 2_XBUTTON 3_ABUTTON 4_STOP LEFT SHOULDER_QTOP RIGHT SHOULDER_EBOTTOM LEFT SHOULDER_RBOTTOM RIGHT SHOULDER_T INSTRUCTIONS FOR JOYPAD no images were found
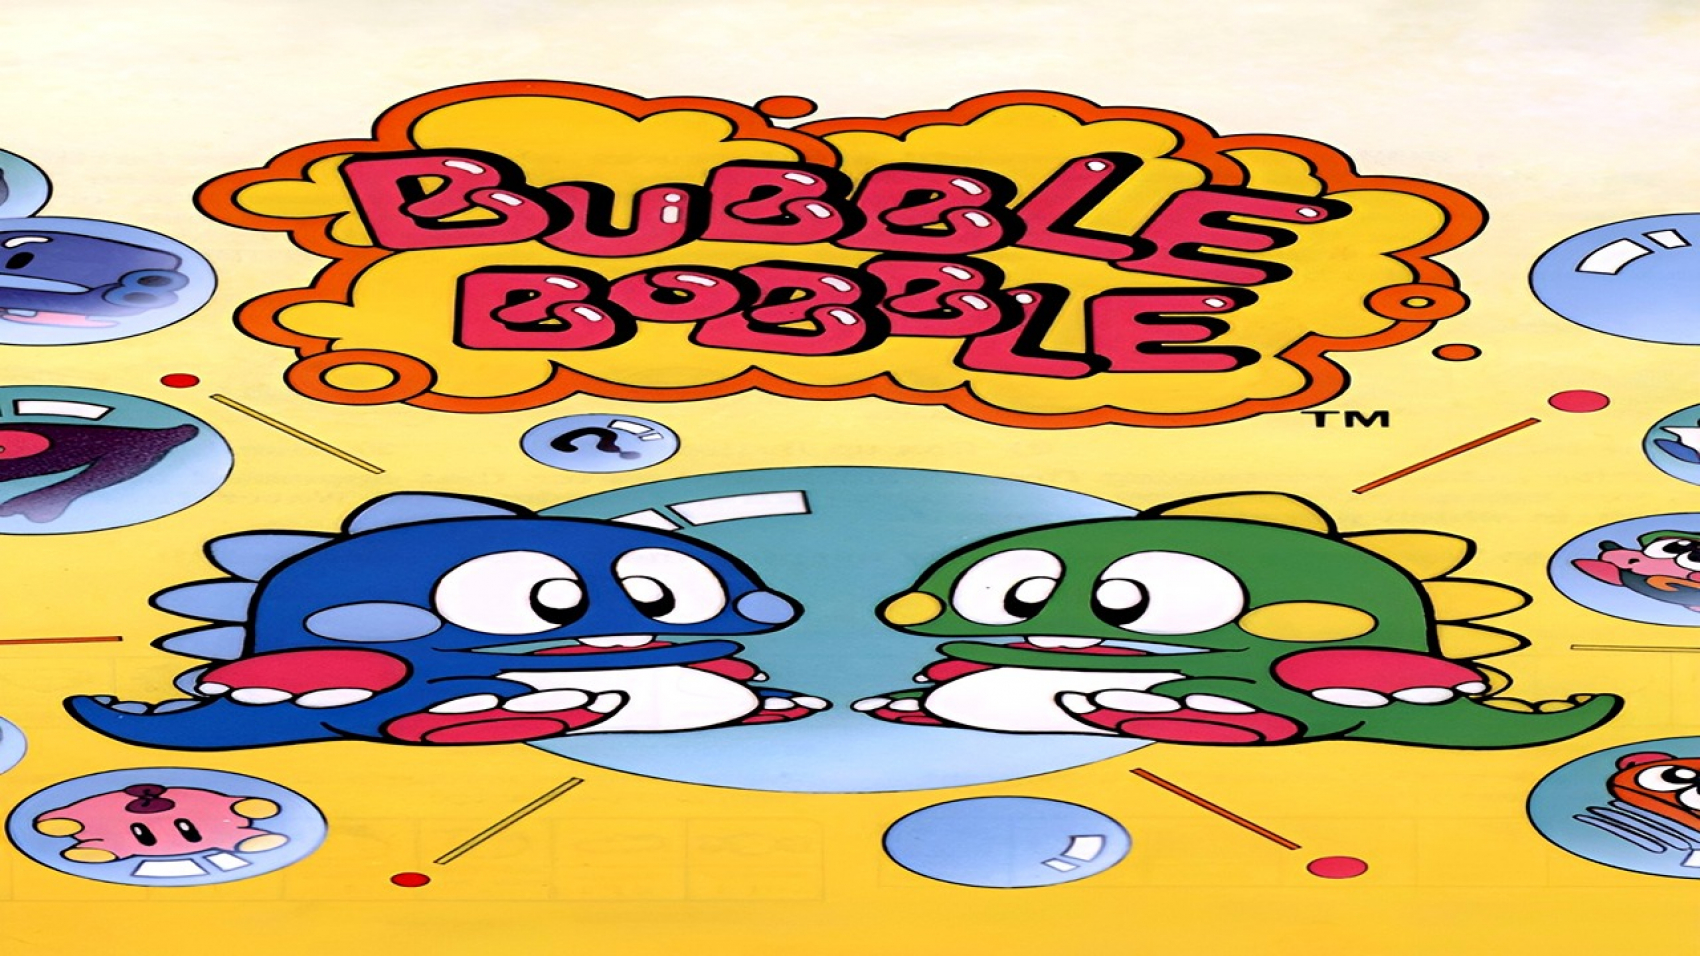
Bubble Bobble June 7, 2025 by Random Gas 909 with No Comment CLASSIC ARCADECLASSIC PUZZLE GAMESGAMING ROOMNINTENDO GAMES >>>>>>>INSTRUCTIONS>>>>>>>>SELECT BACK_Right ShiftSTART FORWARD_EnterD PAD UP_Up ArrowD PAD DOWN_Down ArrowD PAD LEFT_Left ArrowD PAD RIGHT_Right ArrowBUTTON 1_ZBUTTON 2_XBUTTON 3_ABUTTON 4_STOP LEFT SHOULDER_QTOP RIGHT SHOULDER_EBOTTOM LEFT SHOULDER_RBOTTOM RIGHT SHOULDER_T INSTRUCTIONS FOR JOYPAD no images were found
Batman Returns June 7, 2025 by Random Gas 909 with No Comment CLASSIC ARCADECLASSIC PLATFORM GAMESGAMING ROOMSEGA GAMES >>>>>>>INSTRUCTIONS>>>>>>>>SELECT BACK_Right ShiftSTART FORWARD_EnterD PAD UP_Up ArrowD PAD DOWN_Down ArrowD PAD LEFT_Left ArrowD PAD RIGHT_Right ArrowBUTTON 1_ZBUTTON 2_XBUTTON 3_ABUTTON 4_STOP LEFT SHOULDER_QTOP RIGHT SHOULDER_EBOTTOM LEFT SHOULDER_RBOTTOM RIGHT SHOULDER_T INSTRUCTIONS FOR JOYPAD no images were found
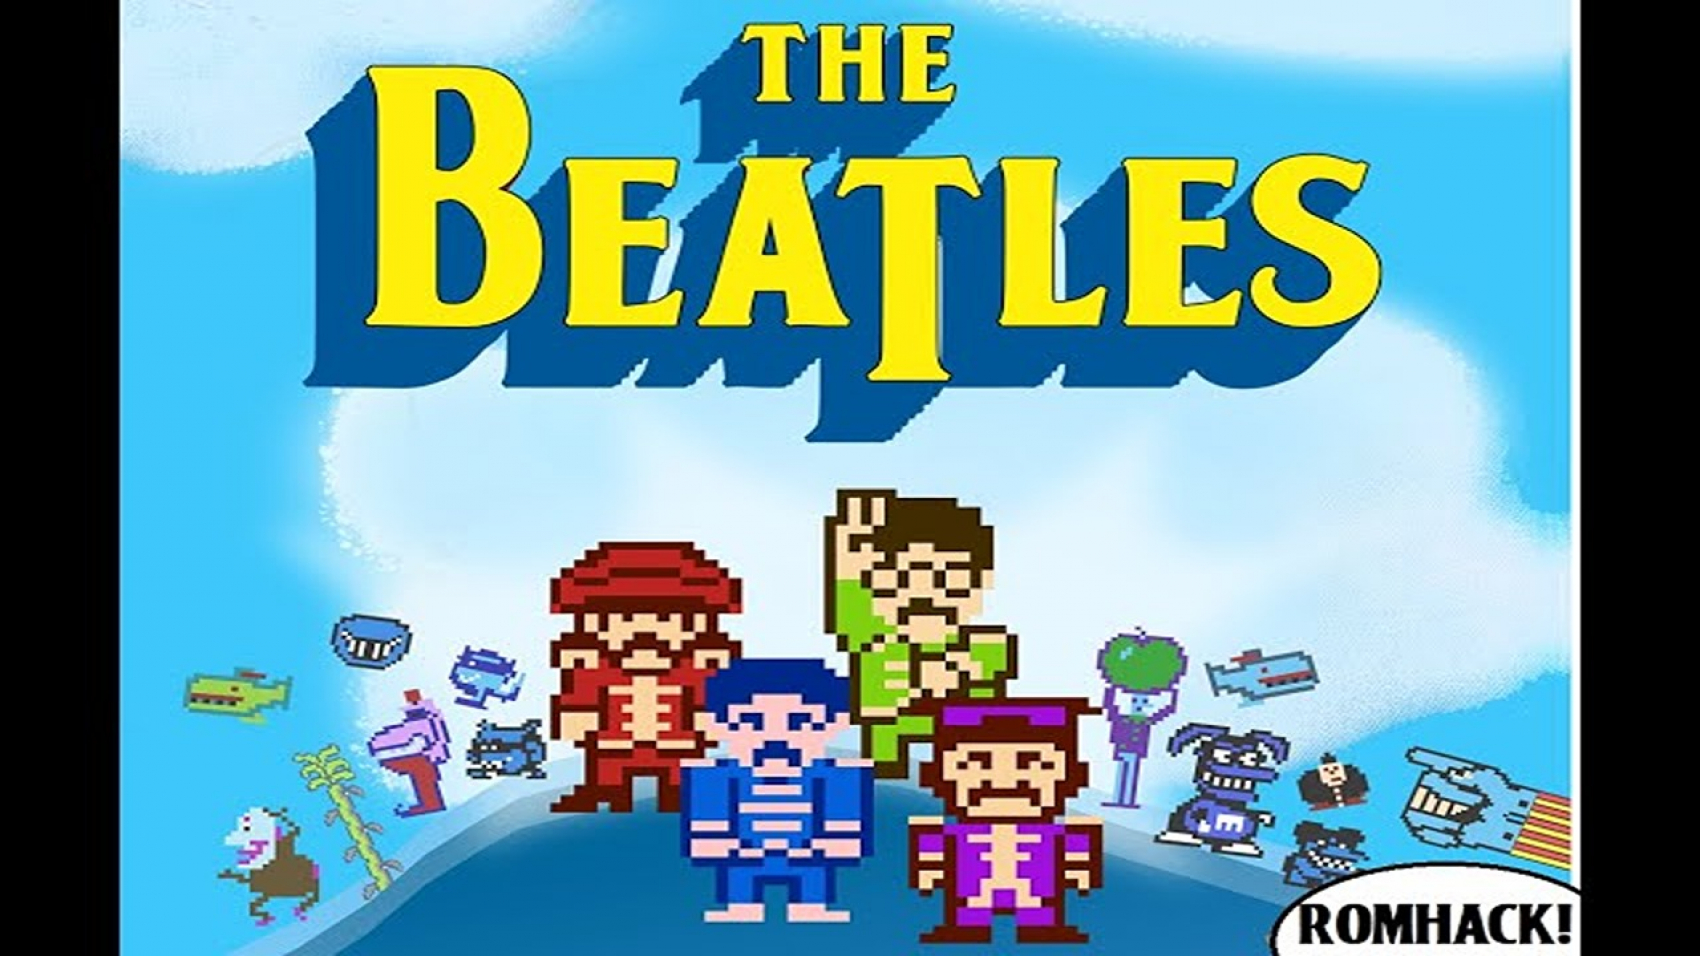
The Beatles Adventures in Pepperland June 7, 2025 by Random Gas 909 with No Comment CLASSIC ARCADECLASSIC PLATFORM GAMESGAMING ROOMNINTENDO GAMESPLAYSTATION 1 GAMES >>>>>>>INSTRUCTIONS>>>>>>>>SELECT BACK_Right ShiftSTART FORWARD_EnterD PAD UP_Up ArrowD PAD DOWN_Down ArrowD PAD LEFT_Left ArrowD PAD RIGHT_Right ArrowBUTTON 1_ZBUTTON 2_XBUTTON 3_ABUTTON 4_STOP LEFT SHOULDER_QTOP RIGHT SHOULDER_EBOTTOM LEFT SHOULDER_RBOTTOM RIGHT SHOULDER_T INSTRUCTIONS FOR JOYPAD no images were found
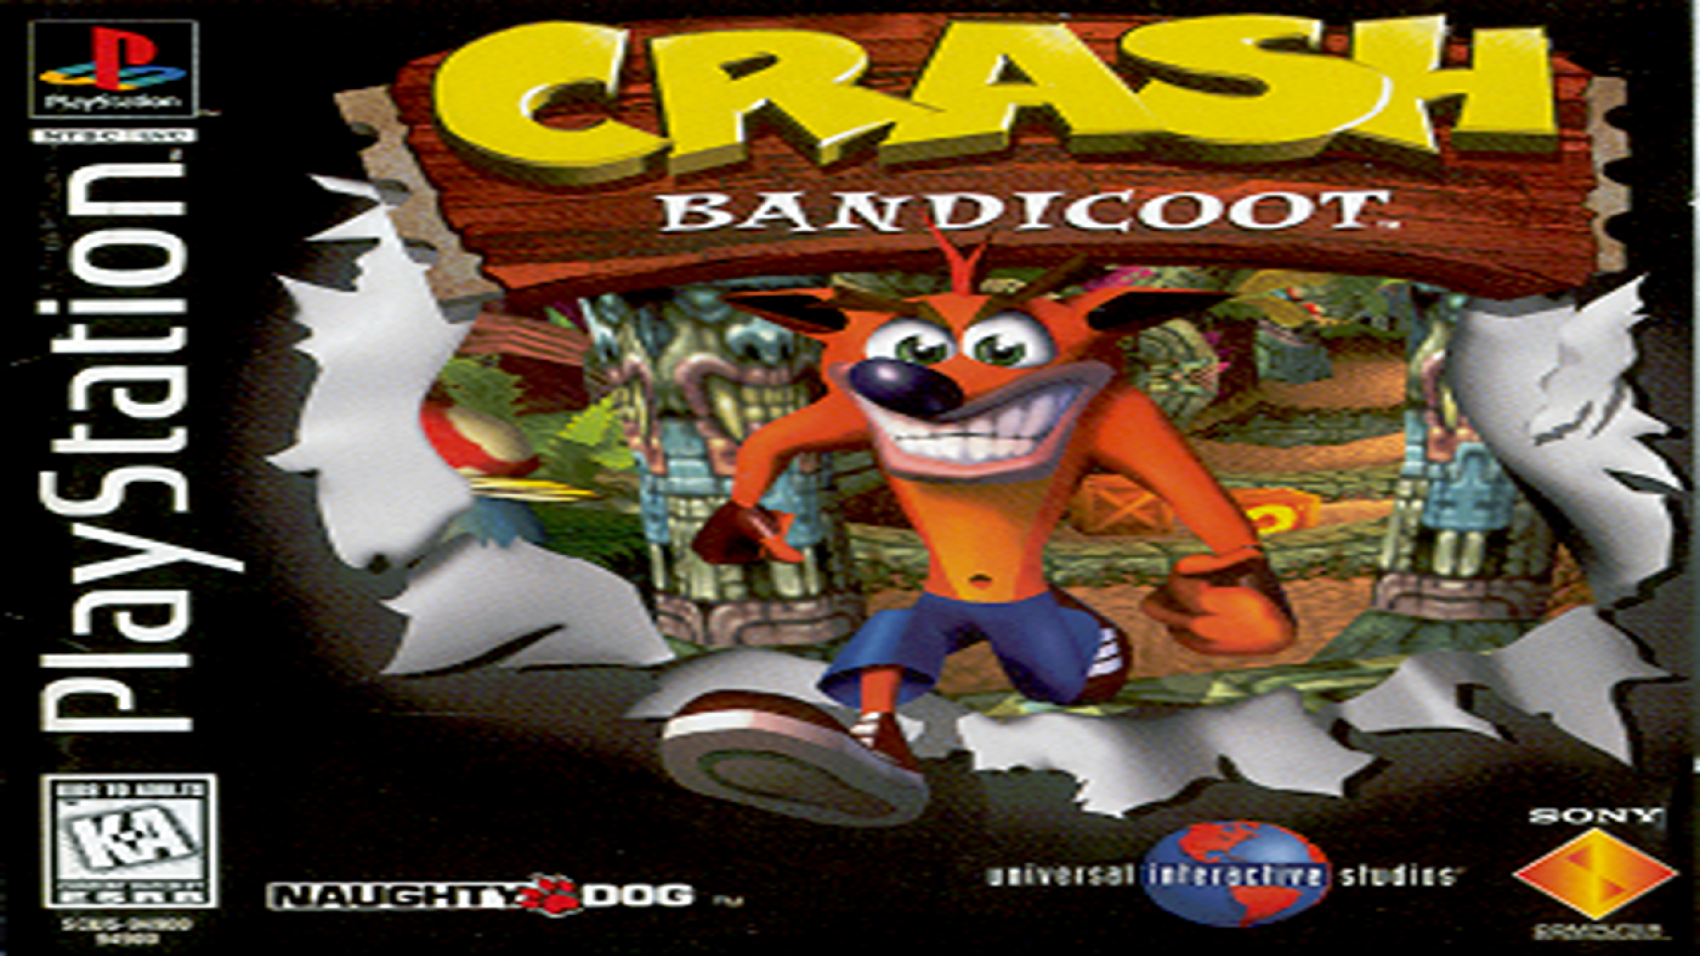
Crash Bandicoot June 7, 2025 by Random Gas 909 with No Comment CLASSIC ARCADECLASSIC PLATFORM GAMESGAMING ROOMPLAYSTATION 1 GAMES >>>>>>>INSTRUCTIONS>>>>>>>>SELECT BACK_Right ShiftSTART FORWARD_EnterD PAD UP_Up ArrowD PAD DOWN_Down ArrowD PAD LEFT_Left ArrowD PAD RIGHT_Right ArrowBUTTON 1_ZBUTTON 2_XBUTTON 3_ABUTTON 4_STOP LEFT SHOULDER_QTOP RIGHT SHOULDER_EBOTTOM LEFT SHOULDER_RBOTTOM RIGHT SHOULDER_T INSTRUCTIONS FOR JOYPAD no images were found
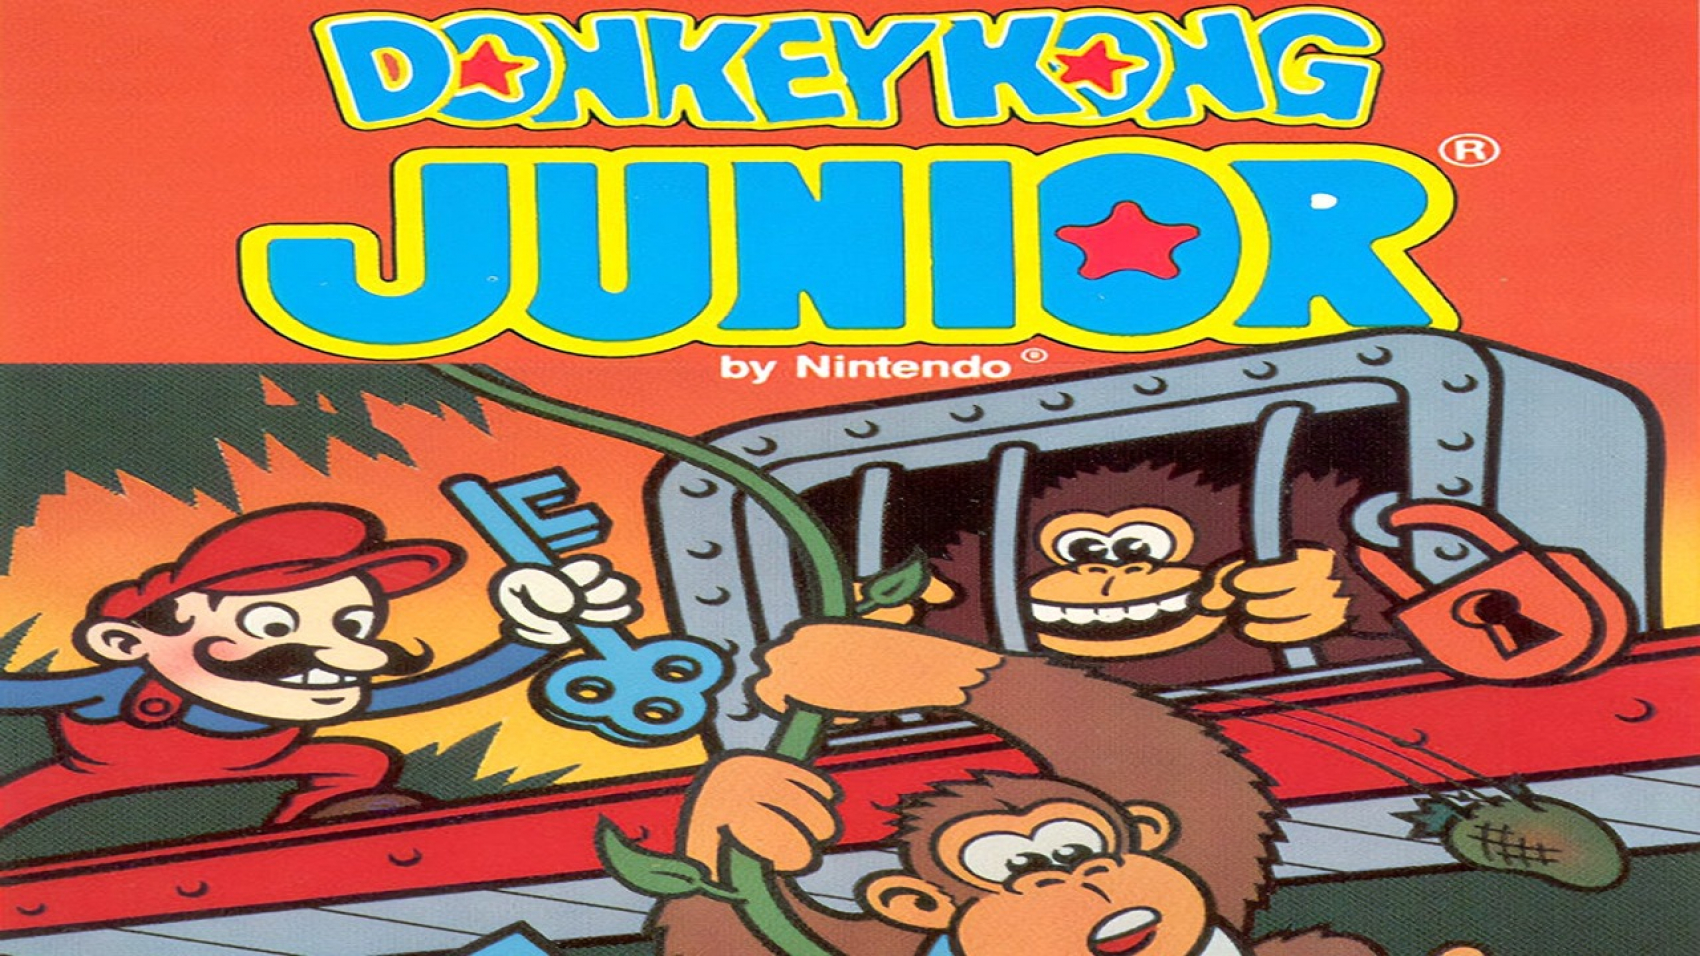
Donkey Kong Jr June 7, 2025 by Random Gas 909 with No Comment CLASSIC ARCADECLASSIC PLATFORM GAMESGAMING ROOMNINTENDO GAMES >>>>>>>INSTRUCTIONS>>>>>>>>SELECT BACK_Right ShiftSTART FORWARD_EnterD PAD UP_Up ArrowD PAD DOWN_Down ArrowD PAD LEFT_Left ArrowD PAD RIGHT_Right ArrowBUTTON 1_ZBUTTON 2_XBUTTON 3_ABUTTON 4_STOP LEFT SHOULDER_QTOP RIGHT SHOULDER_EBOTTOM LEFT SHOULDER_RBOTTOM RIGHT SHOULDER_T INSTRUCTIONS FOR JOYPAD no images were found
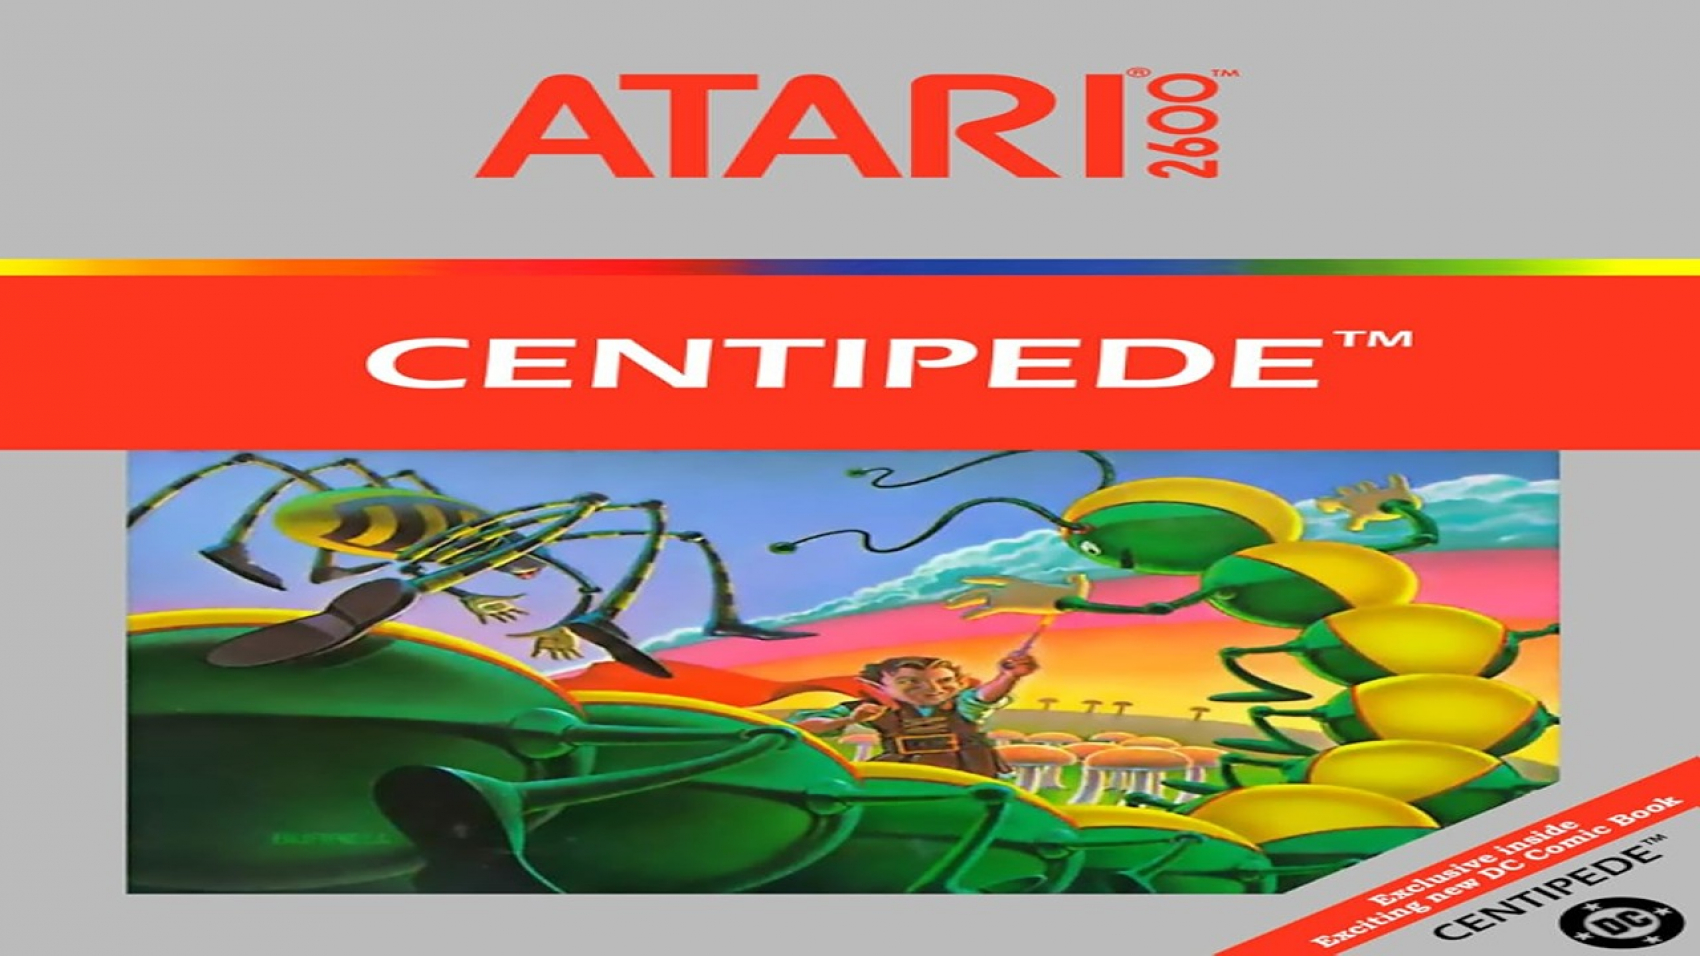
Centipede June 7, 2025 by Random Gas 909 with No Comment CLASSIC ARCADECLASSIC ARCADE GAMESGAMING ROOM >>>>>>>INSTRUCTIONS>>>>>>>>SELECT BACK_Right ShiftSTART FORWARD_EnterD PAD UP_Up ArrowD PAD DOWN_Down ArrowD PAD LEFT_Left ArrowD PAD RIGHT_Right ArrowBUTTON 1_ZBUTTON 2_XBUTTON 3_ABUTTON 4_STOP LEFT SHOULDER_QTOP RIGHT SHOULDER_EBOTTOM LEFT SHOULDER_RBOTTOM RIGHT SHOULDER_T INSTRUCTIONS FOR JOYPAD no images were found
3 in 1 – Asteroids, Yar’s Revenge and Pong June 7, 2025 by Random Gas 909 with No Comment CLASSIC ARCADECLASSIC ARCADE GAMESGAMING ROOM >>>>>>>INSTRUCTIONS>>>>>>>>SELECT BACK_Right ShiftSTART FORWARD_EnterD PAD UP_Up ArrowD PAD DOWN_Down ArrowD PAD LEFT_Left ArrowD PAD RIGHT_Right ArrowBUTTON 1_ZBUTTON 2_XBUTTON 3_ABUTTON 4_STOP LEFT SHOULDER_QTOP RIGHT SHOULDER_EBOTTOM LEFT SHOULDER_RBOTTOM RIGHT SHOULDER_T INSTRUCTIONS FOR JOYPAD no images were found
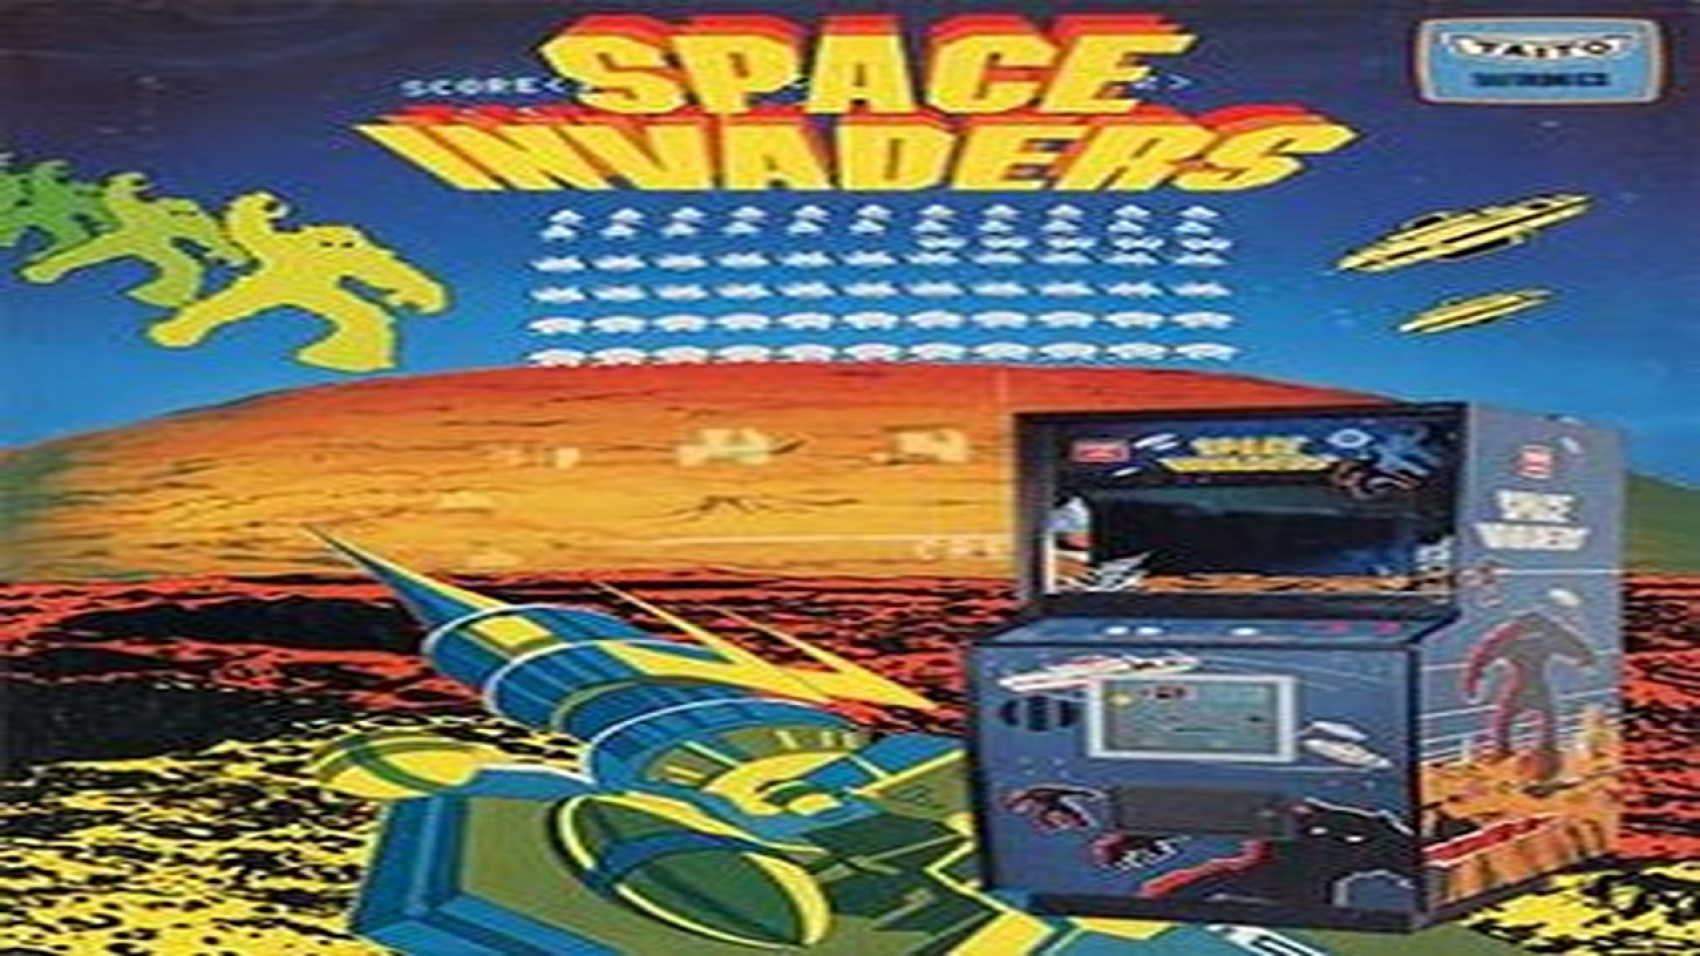
Space Invaders June 7, 2025 by Random Gas 909 with No Comment CLASSIC ARCADECLASSIC ARCADE GAMESGAMING ROOM >>>>>>>INSTRUCTIONS>>>>>>>>SELECT BACK_Right ShiftSTART FORWARD_EnterD PAD UP_Up ArrowD PAD DOWN_Down ArrowD PAD LEFT_Left ArrowD PAD RIGHT_Right ArrowBUTTON 1_ZBUTTON 2_XBUTTON 3_ABUTTON 4_STOP LEFT SHOULDER_QTOP RIGHT SHOULDER_EBOTTOM LEFT SHOULDER_RBOTTOM RIGHT SHOULDER_T INSTRUCTIONS FOR JOYPAD no images were found
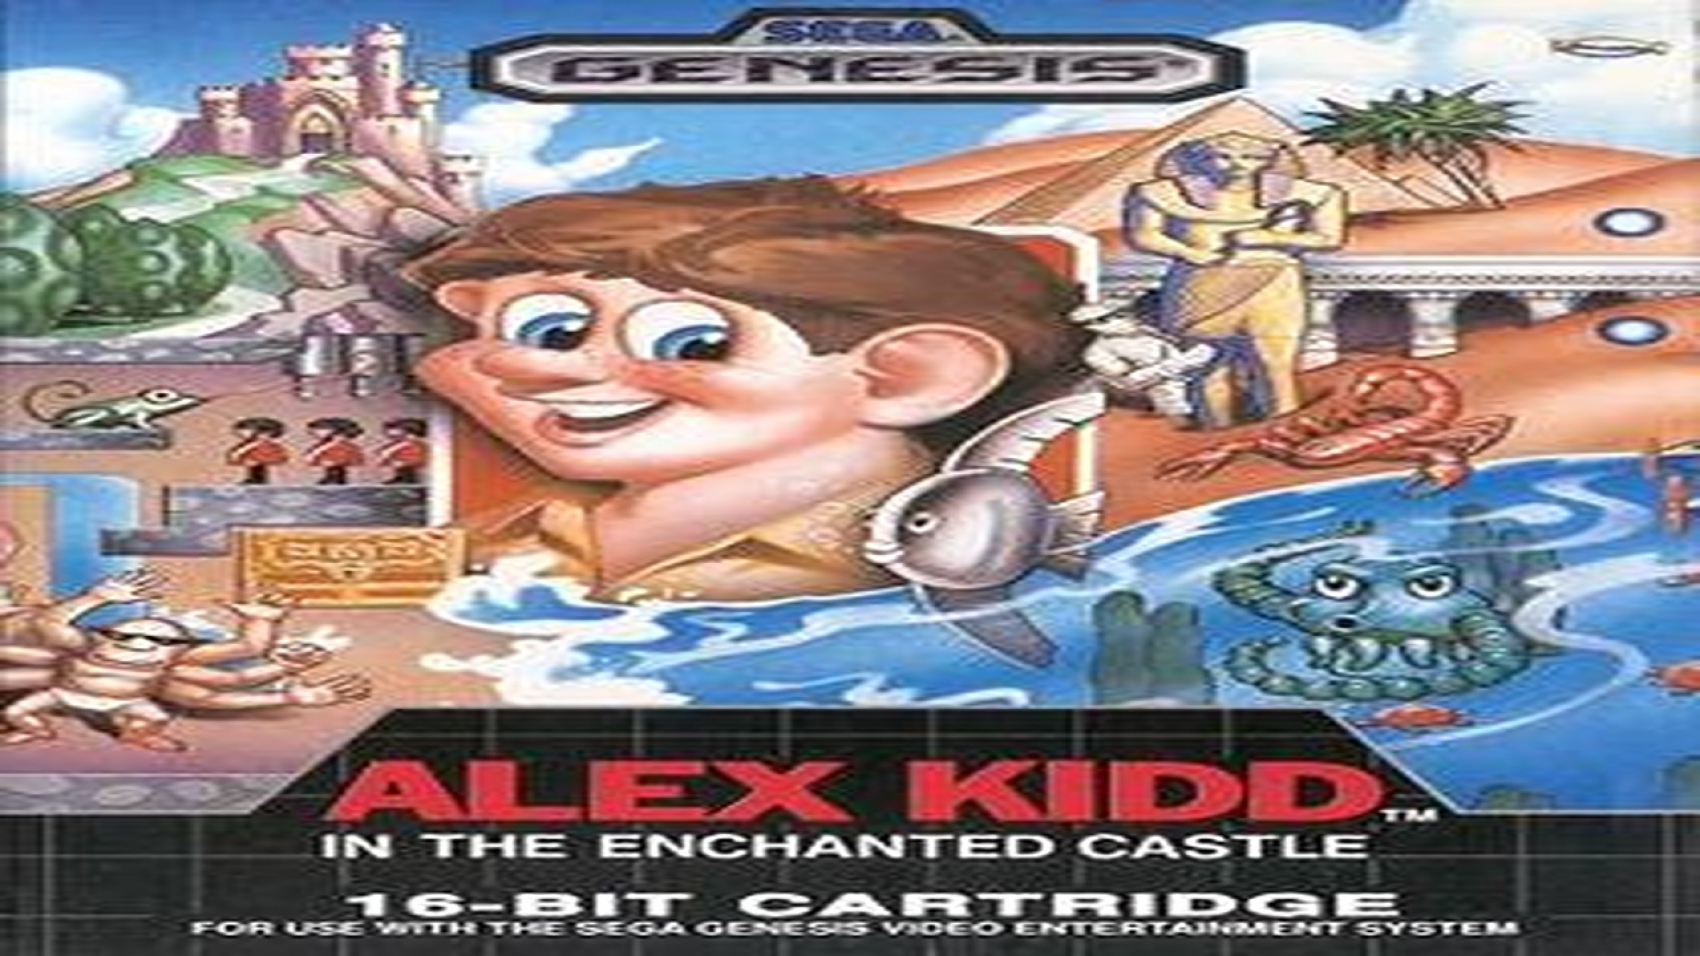
Alex The Kidd Enchanted Castles June 7, 2025 by Random Gas 909 with No Comment CLASSIC ARCADECLASSIC PLATFORM GAMESGAMING ROOMSEGA GAMES >>>>>>>INSTRUCTIONS>>>>>>>>SELECT BACK_Right ShiftSTART FORWARD_EnterD PAD UP_Up ArrowD PAD DOWN_Down ArrowD PAD LEFT_Left ArrowD PAD RIGHT_Right ArrowBUTTON 1_ZBUTTON 2_XBUTTON 3_ABUTTON 4_STOP LEFT SHOULDER_QTOP RIGHT SHOULDER_EBOTTOM LEFT SHOULDER_RBOTTOM RIGHT SHOULDER_T INSTRUCTIONS FOR JOYPAD no images were found