
Open up Gimp and go to >>>FILE>>>NEW>>>TEMPLATE and pick the>>>A4 SIZE;
209.97 Width,
297.01 Height
in mm.
2480 Width
3508 Height
in px
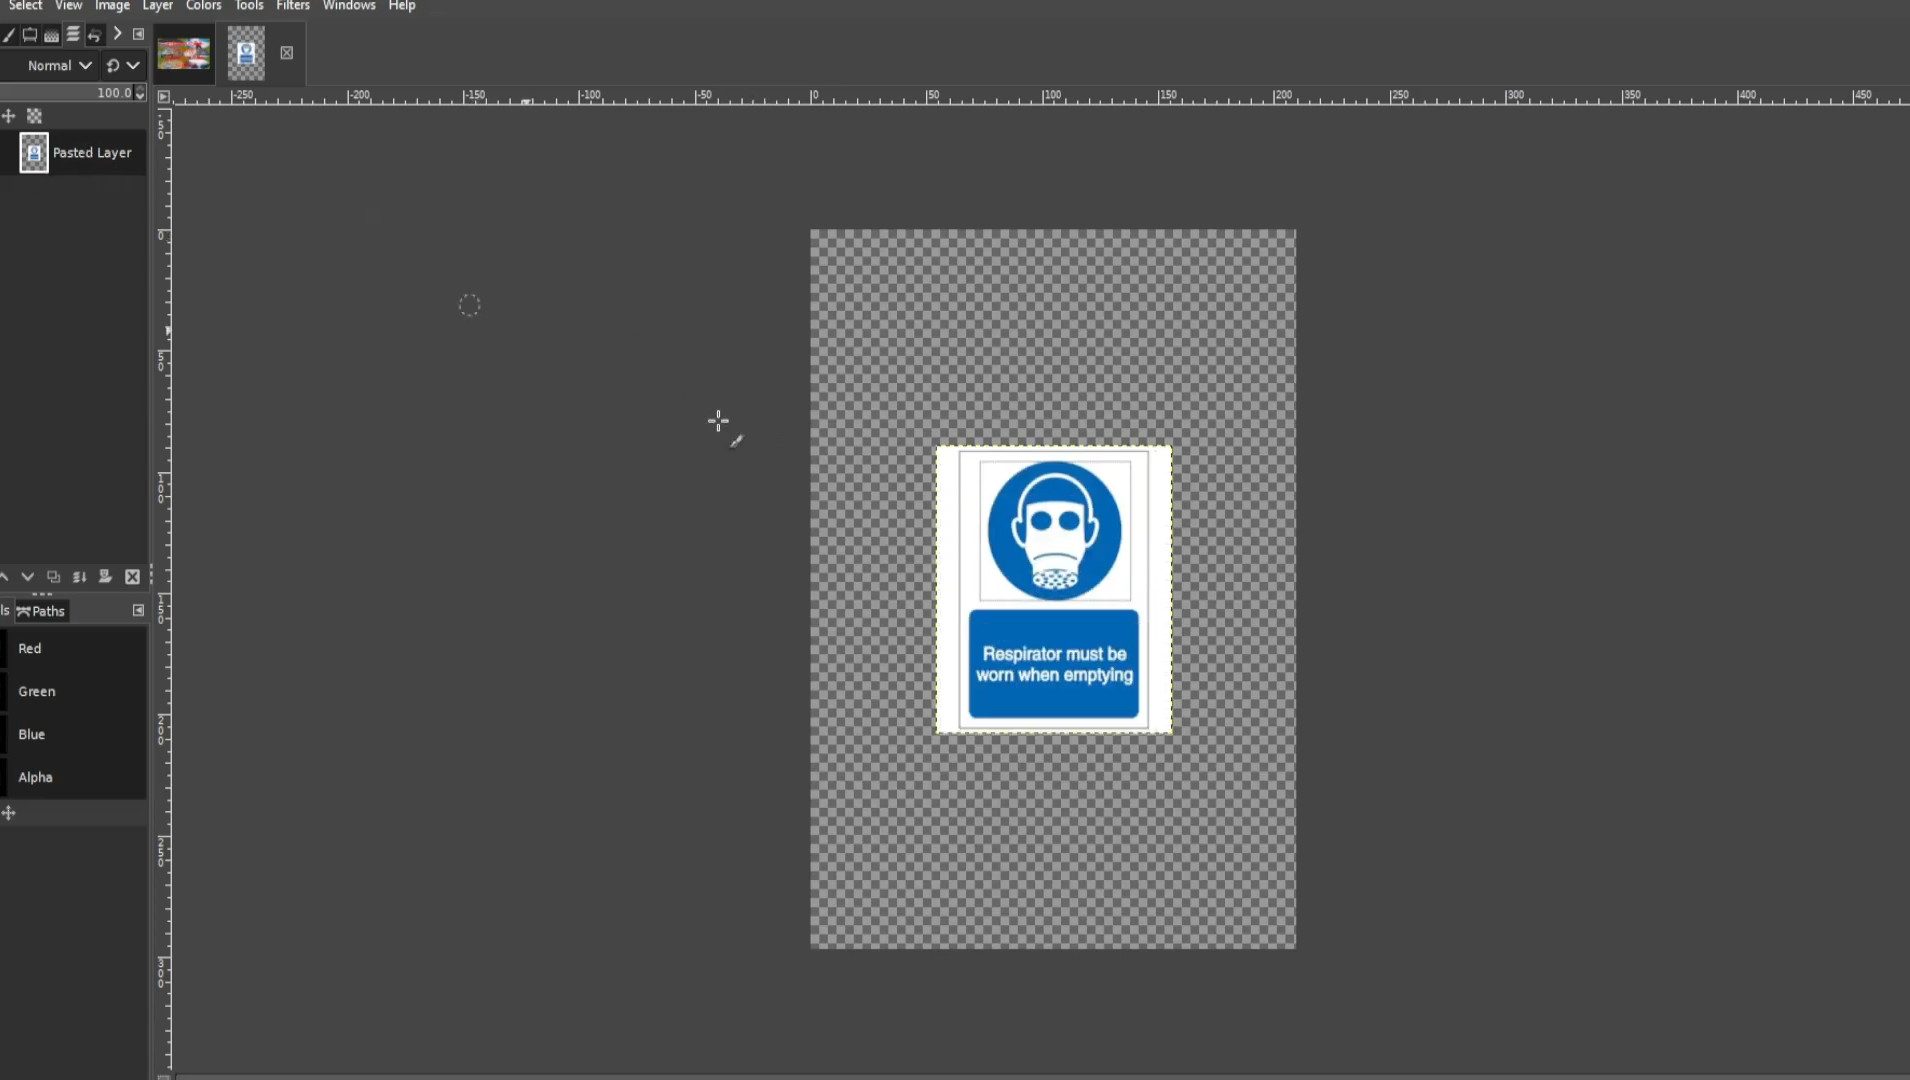
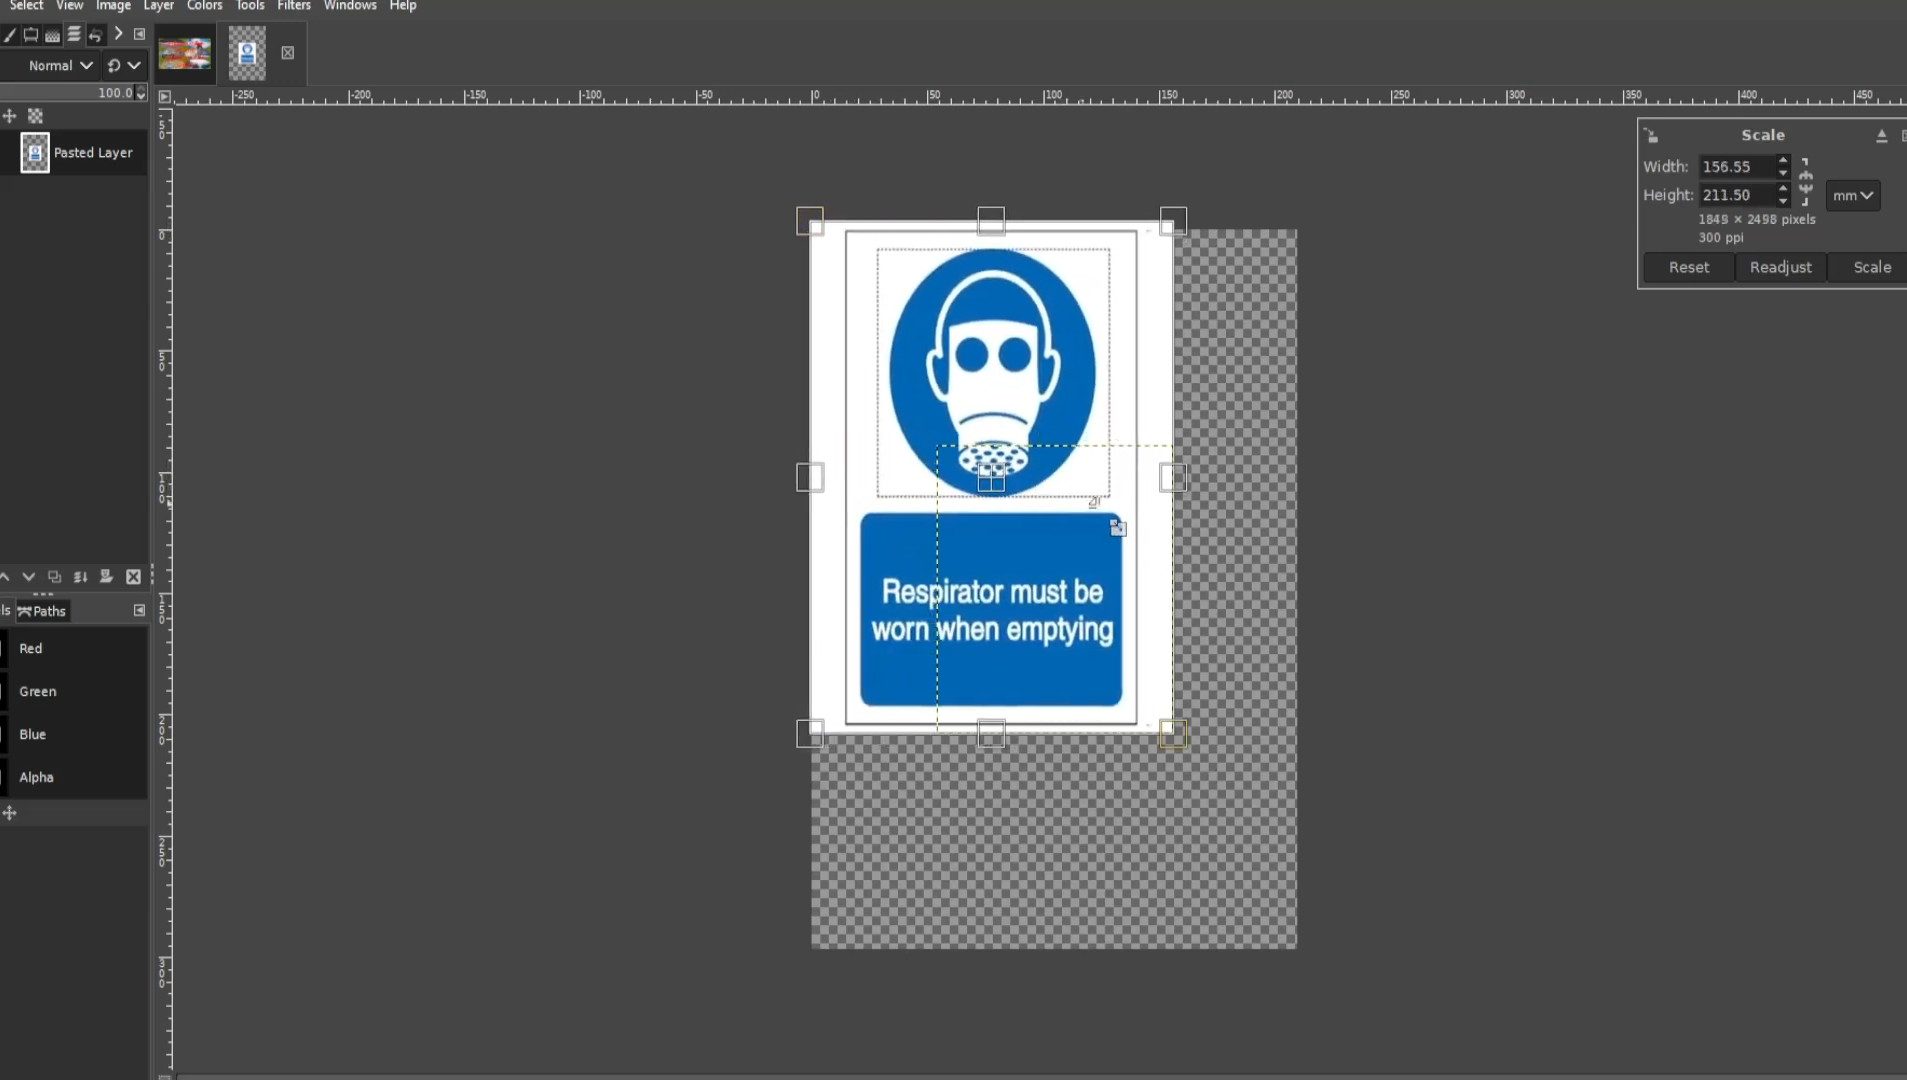
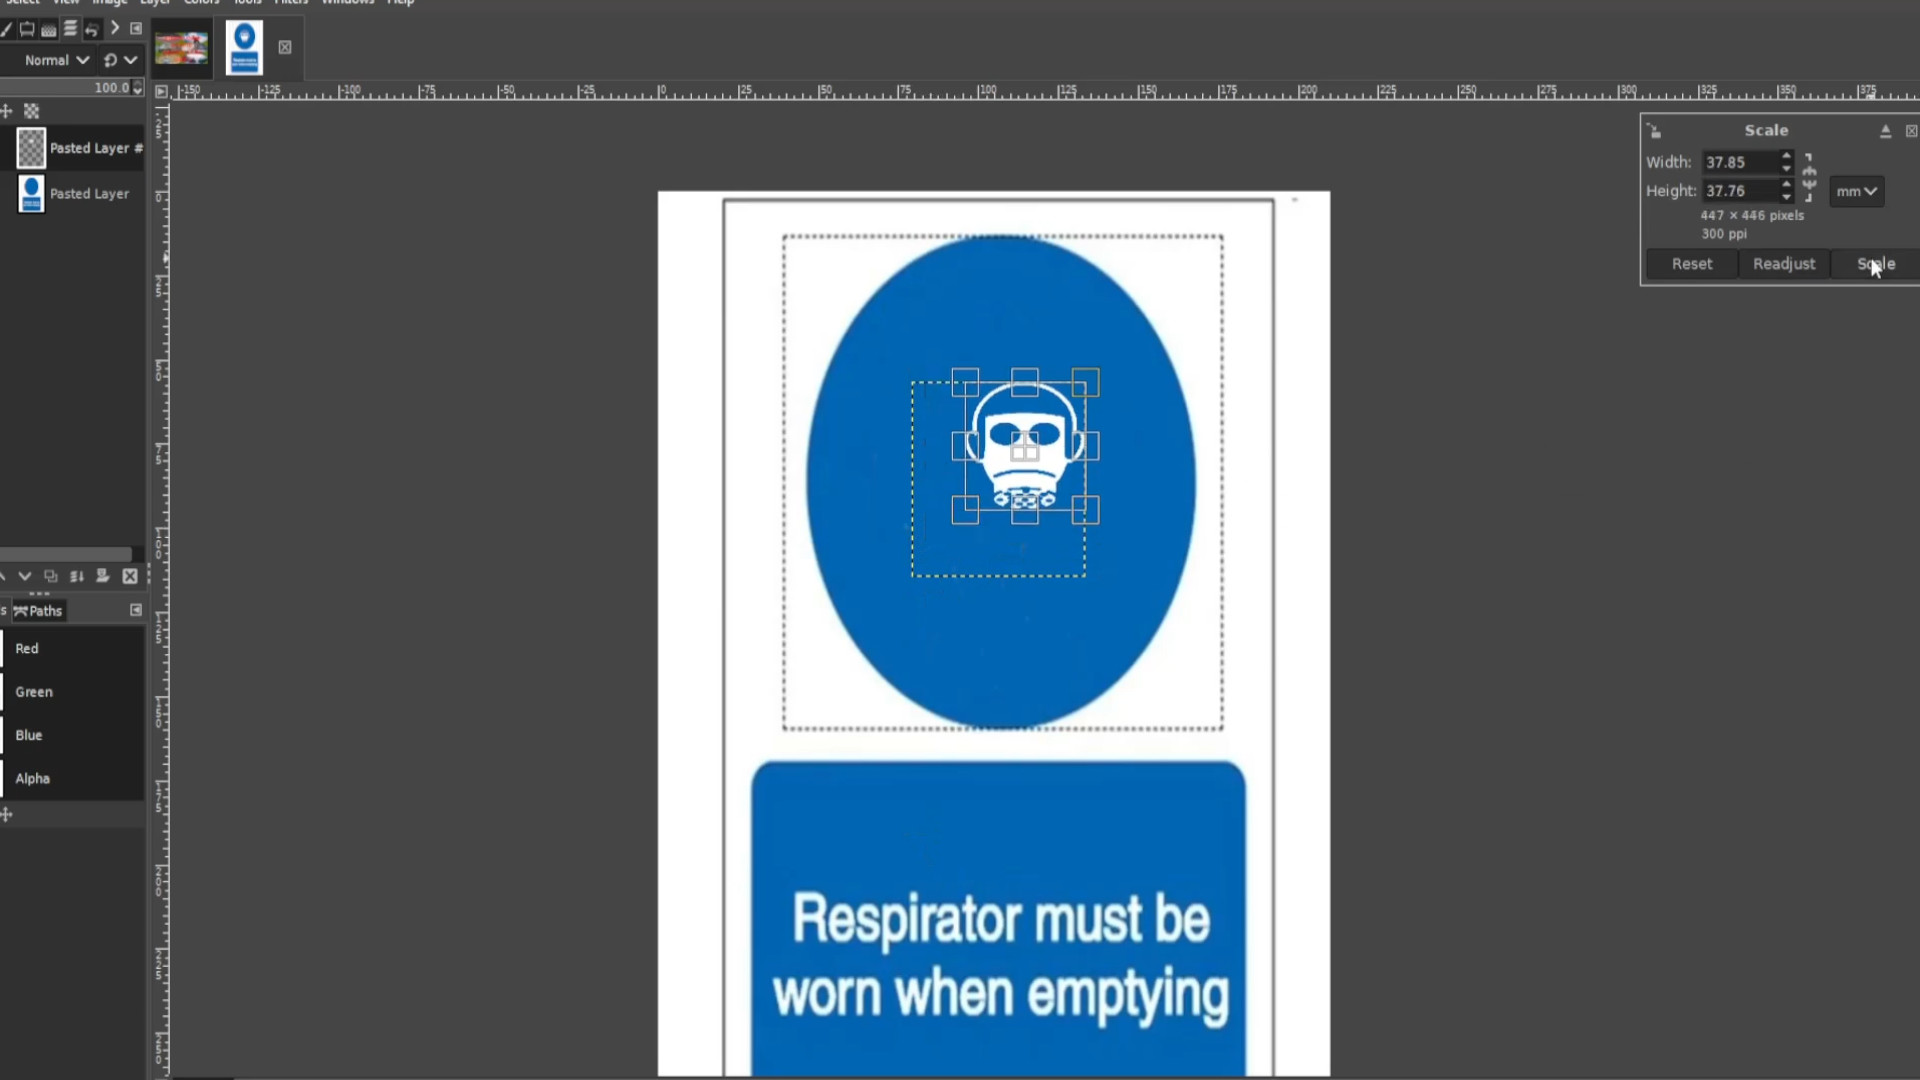
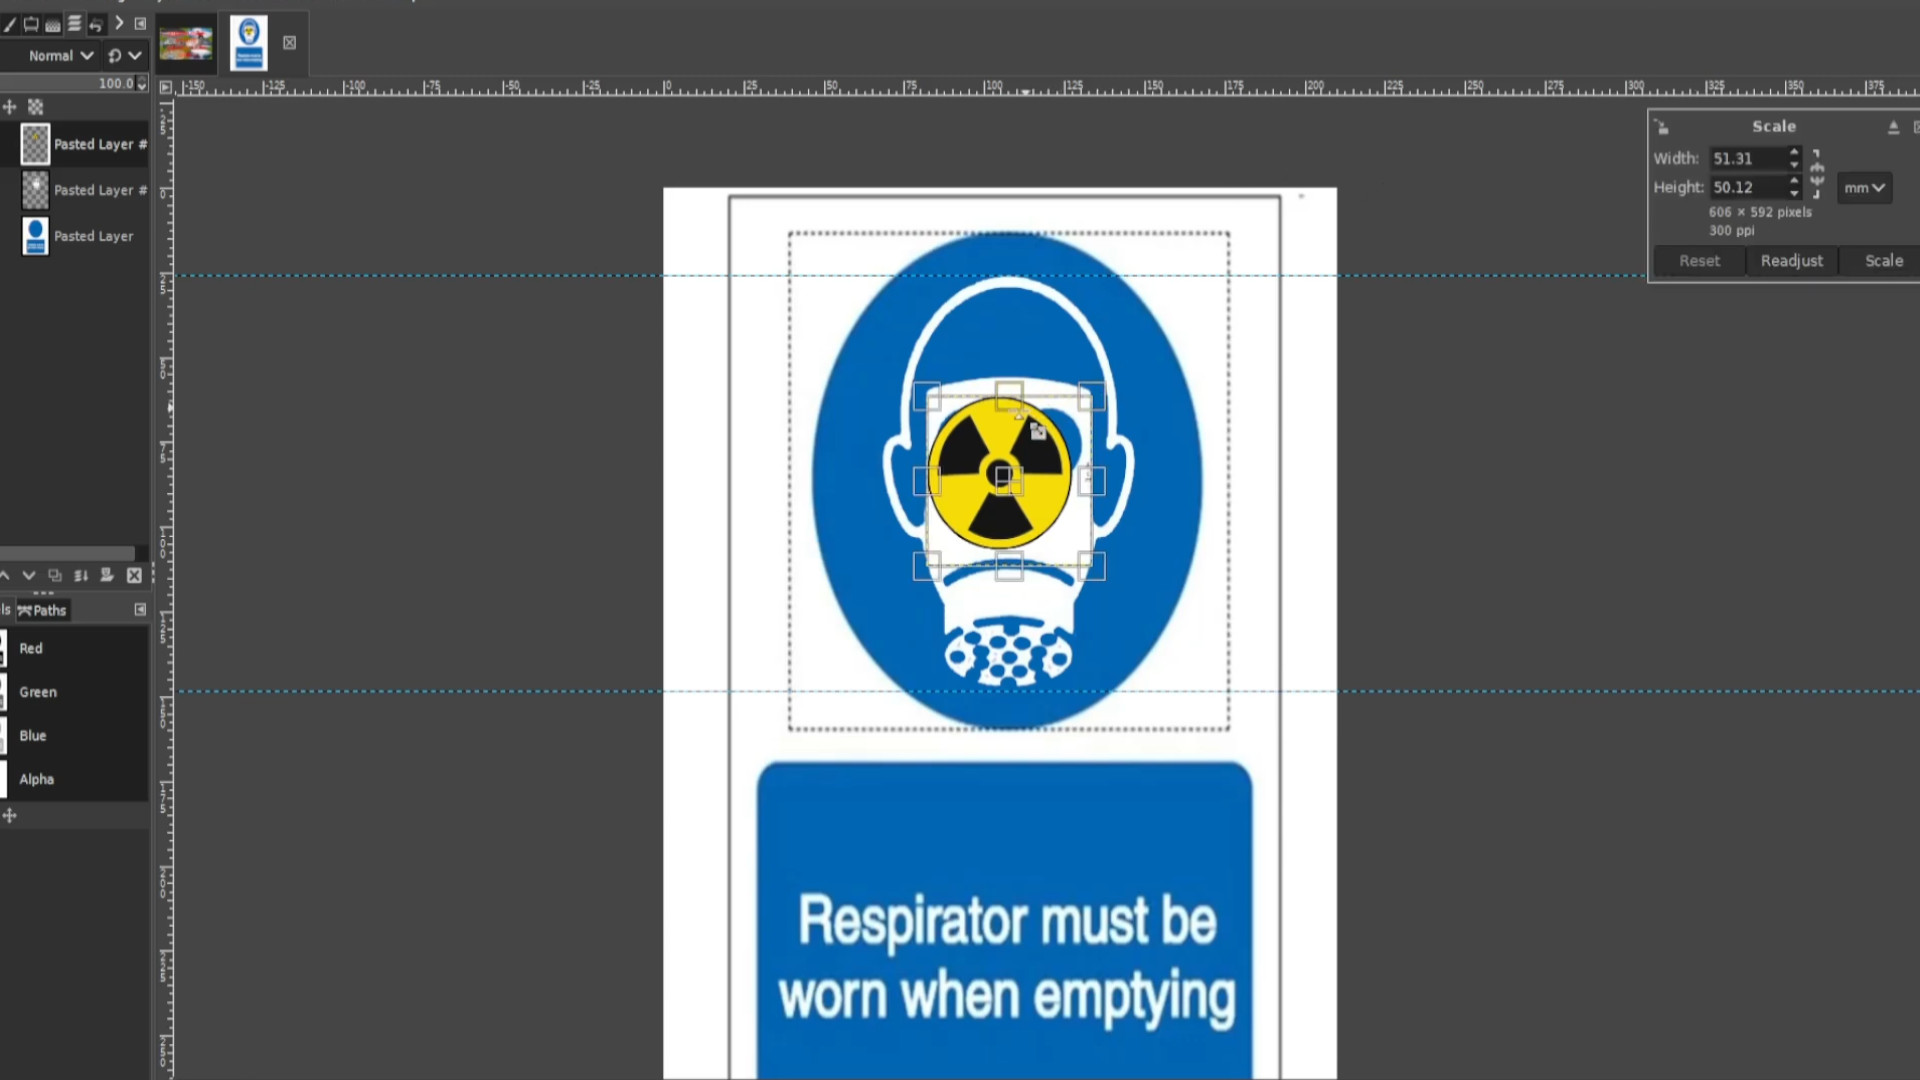
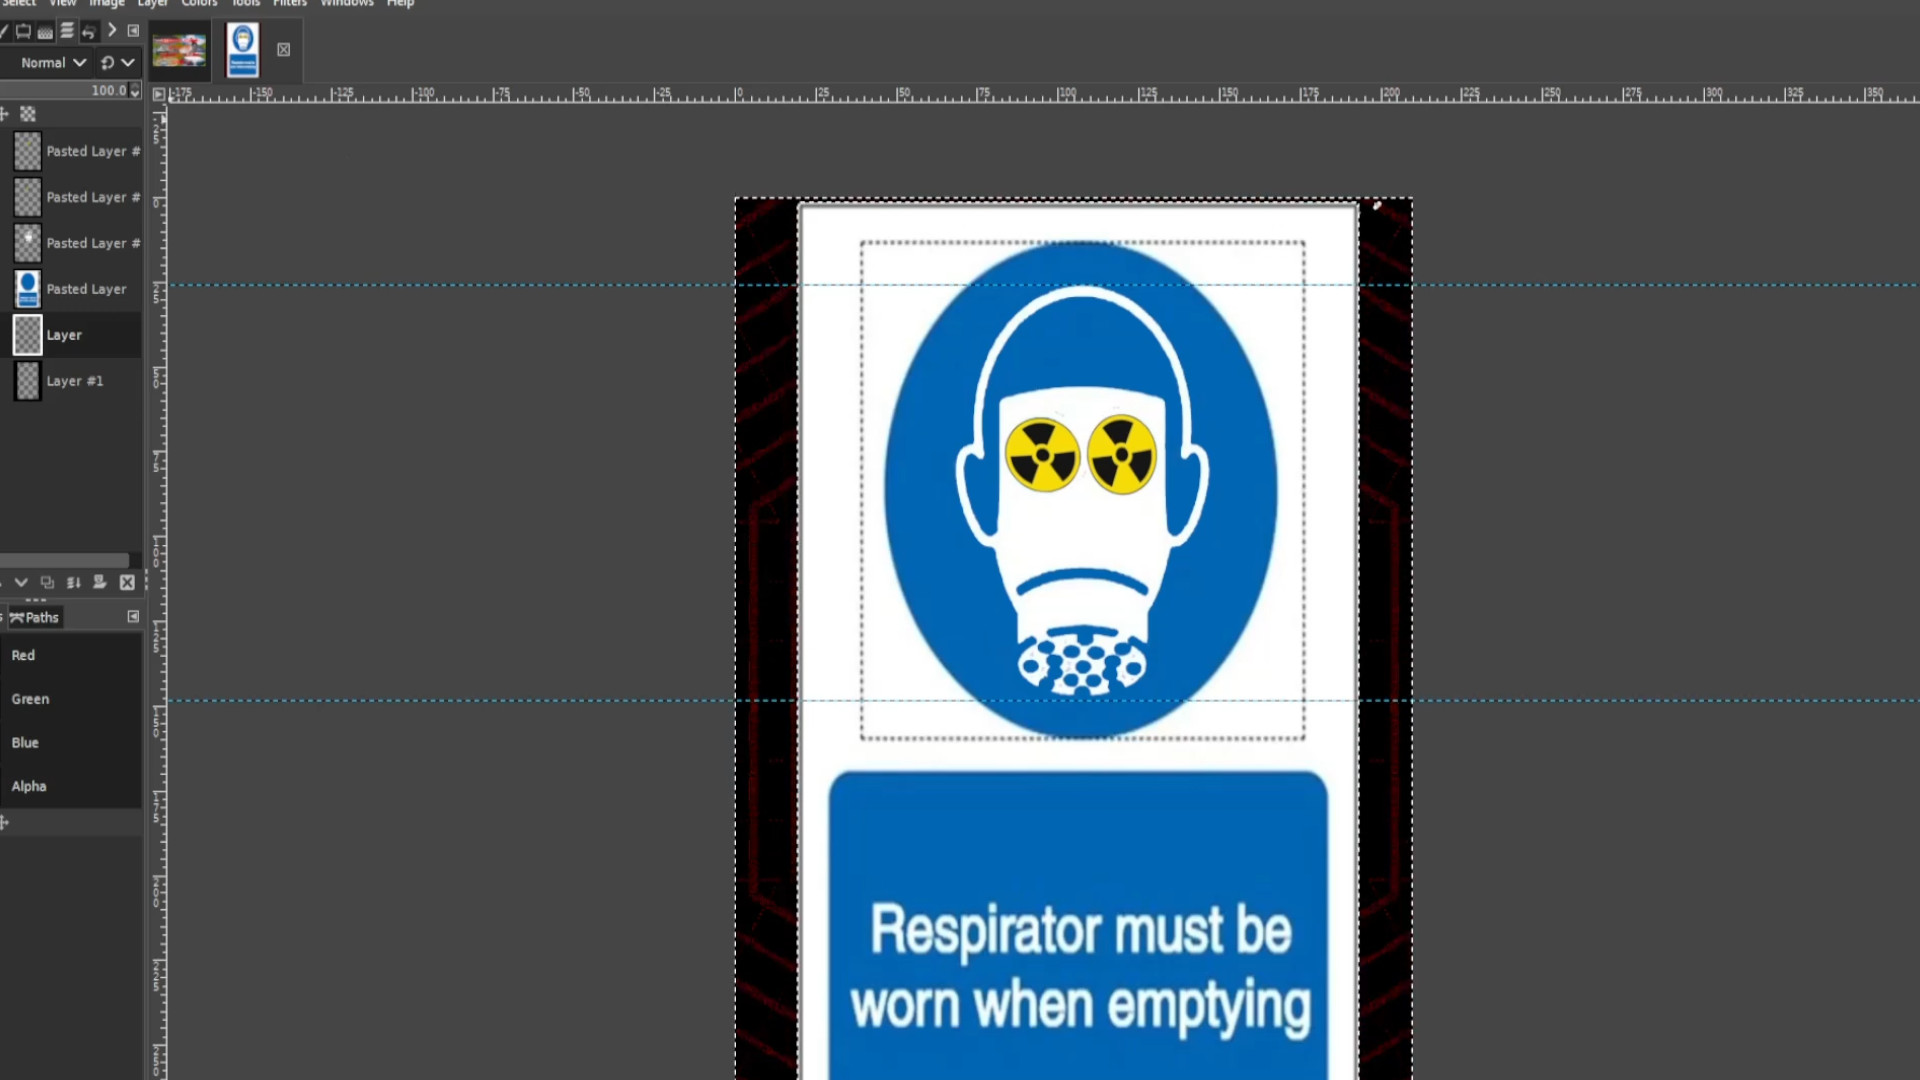
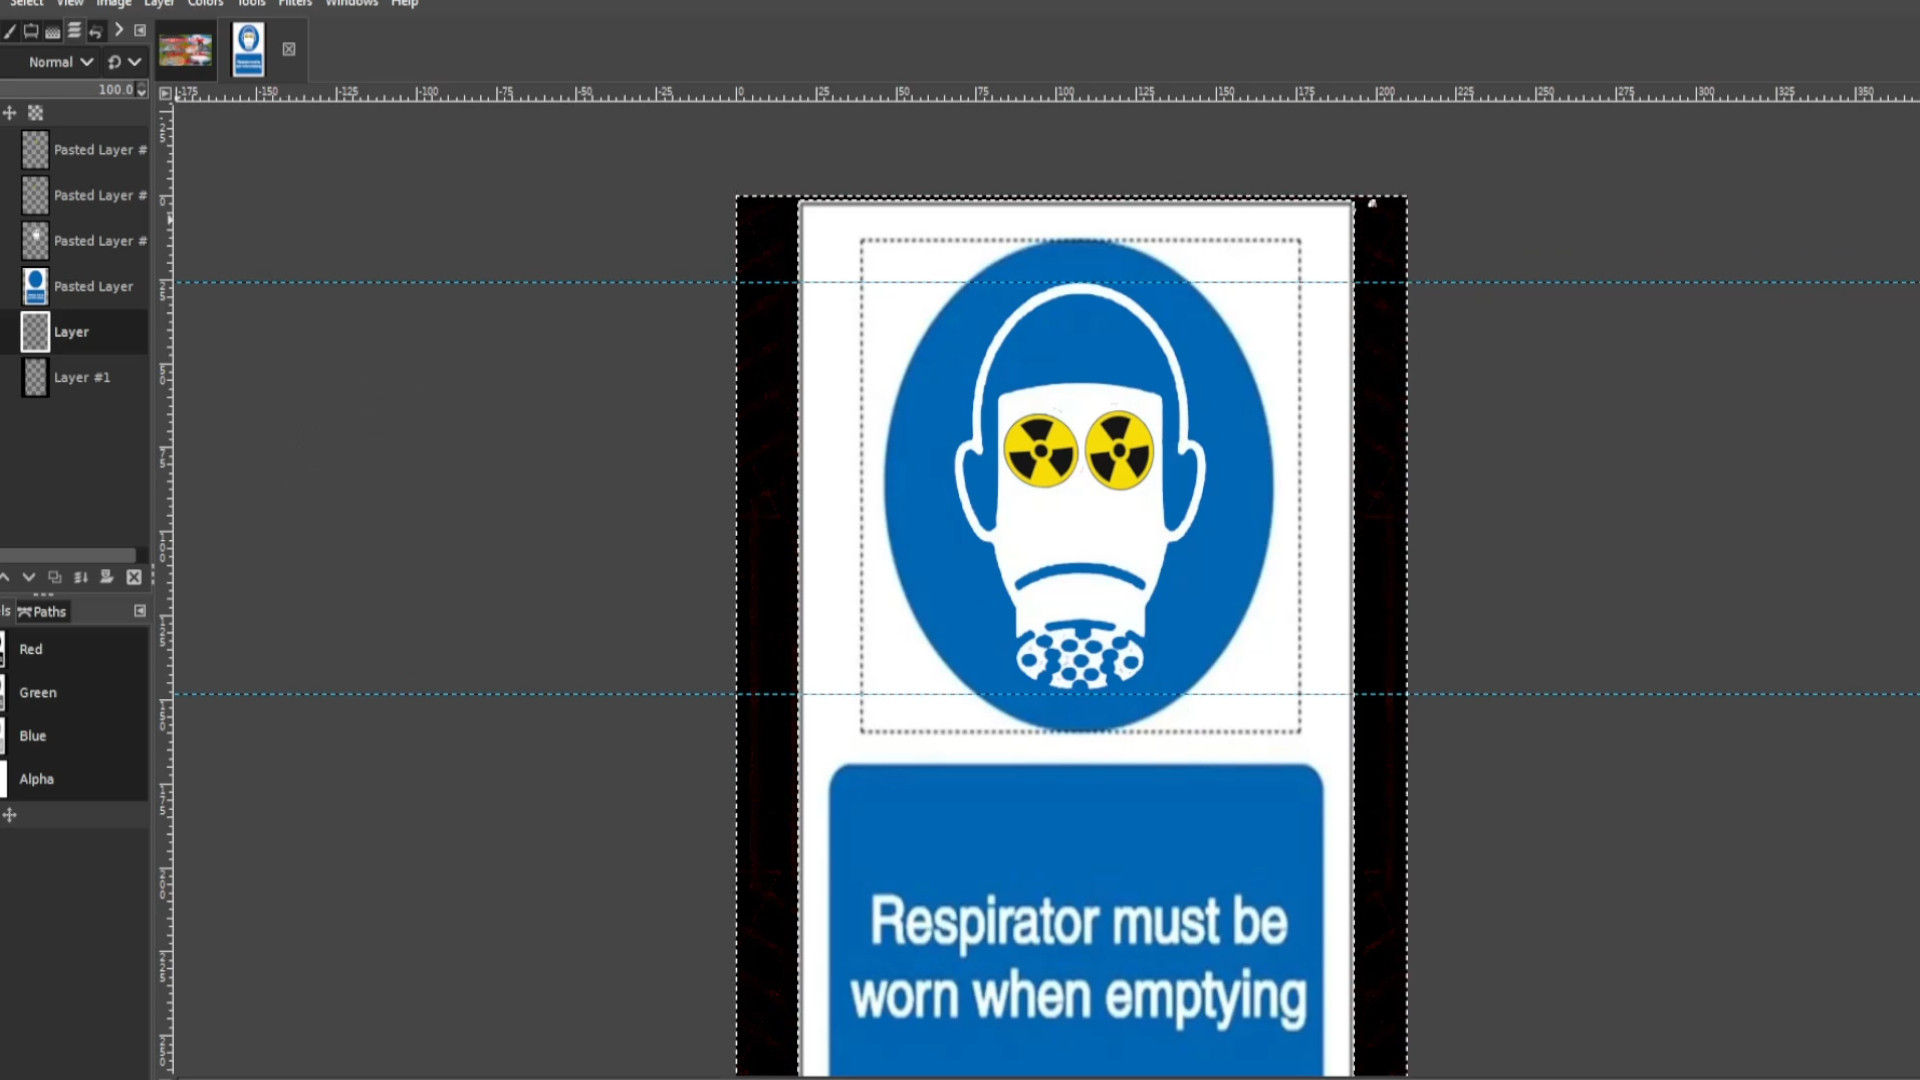
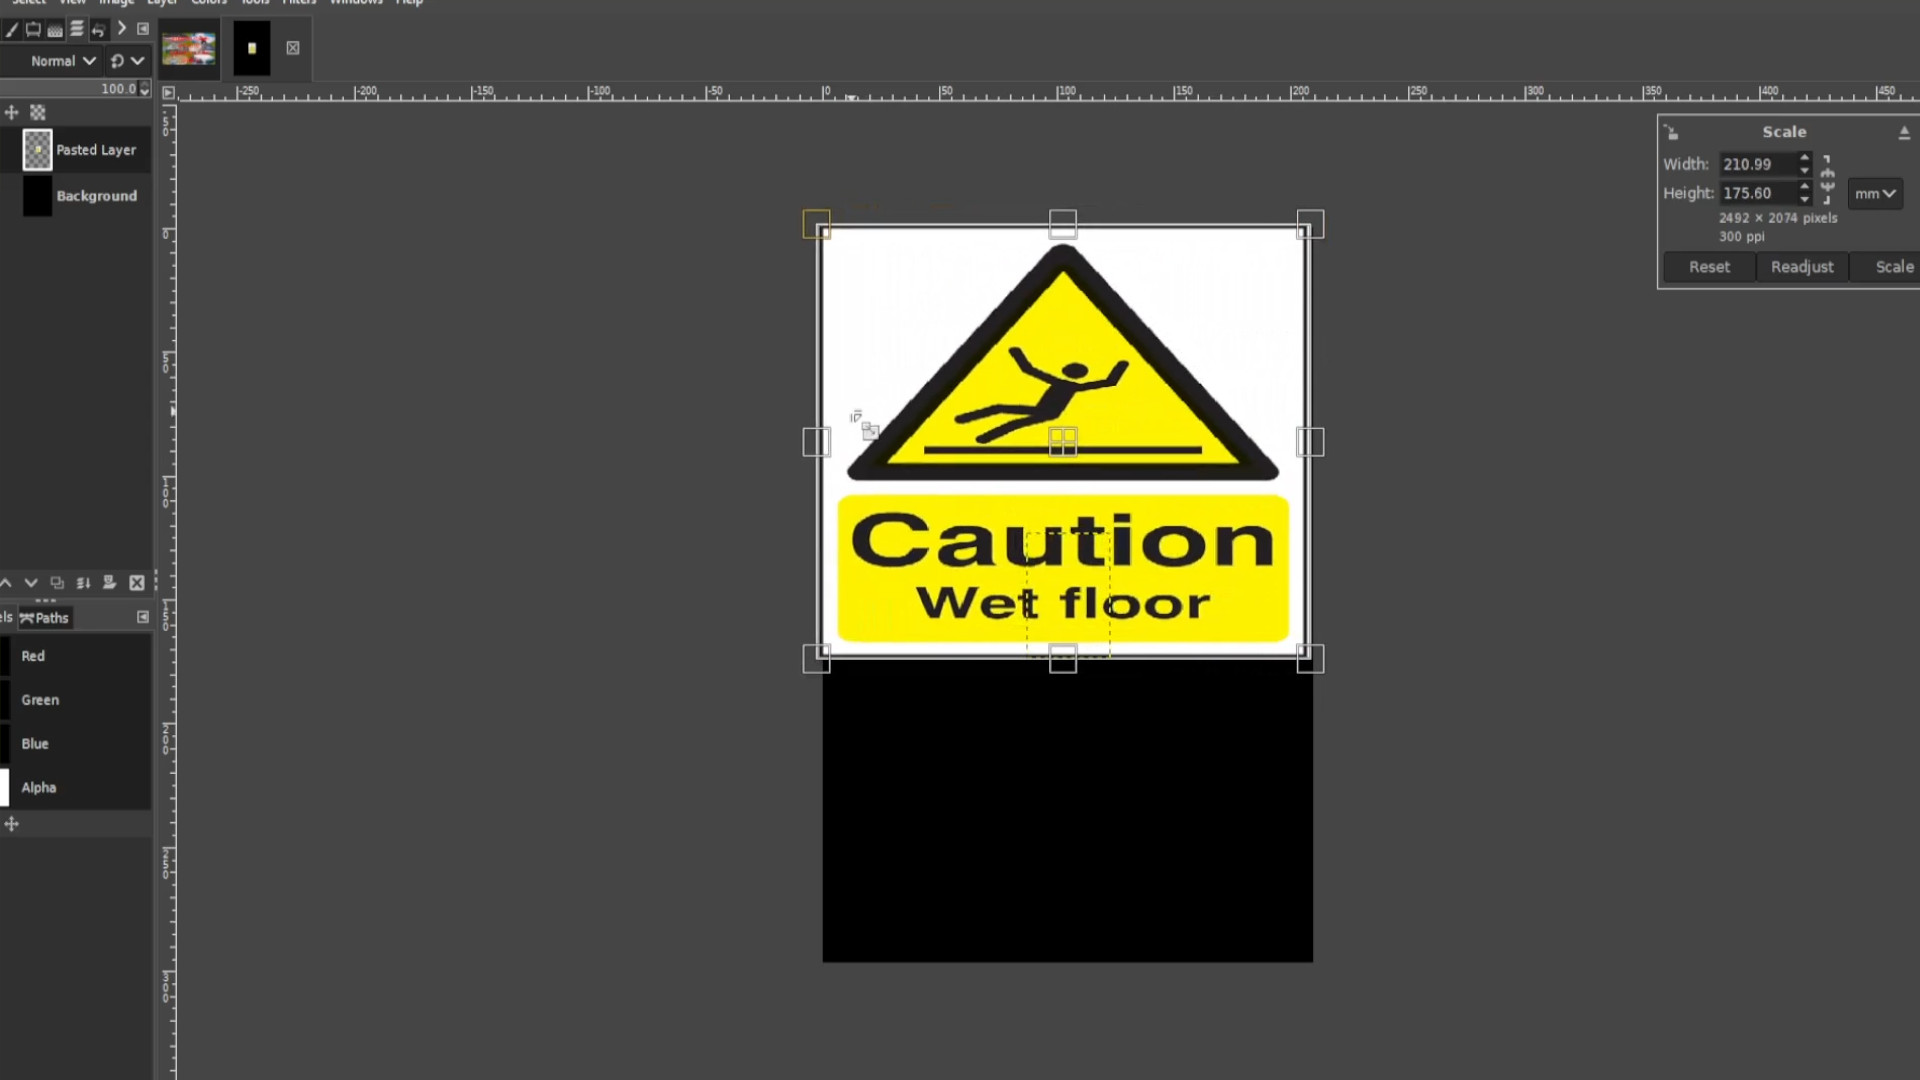
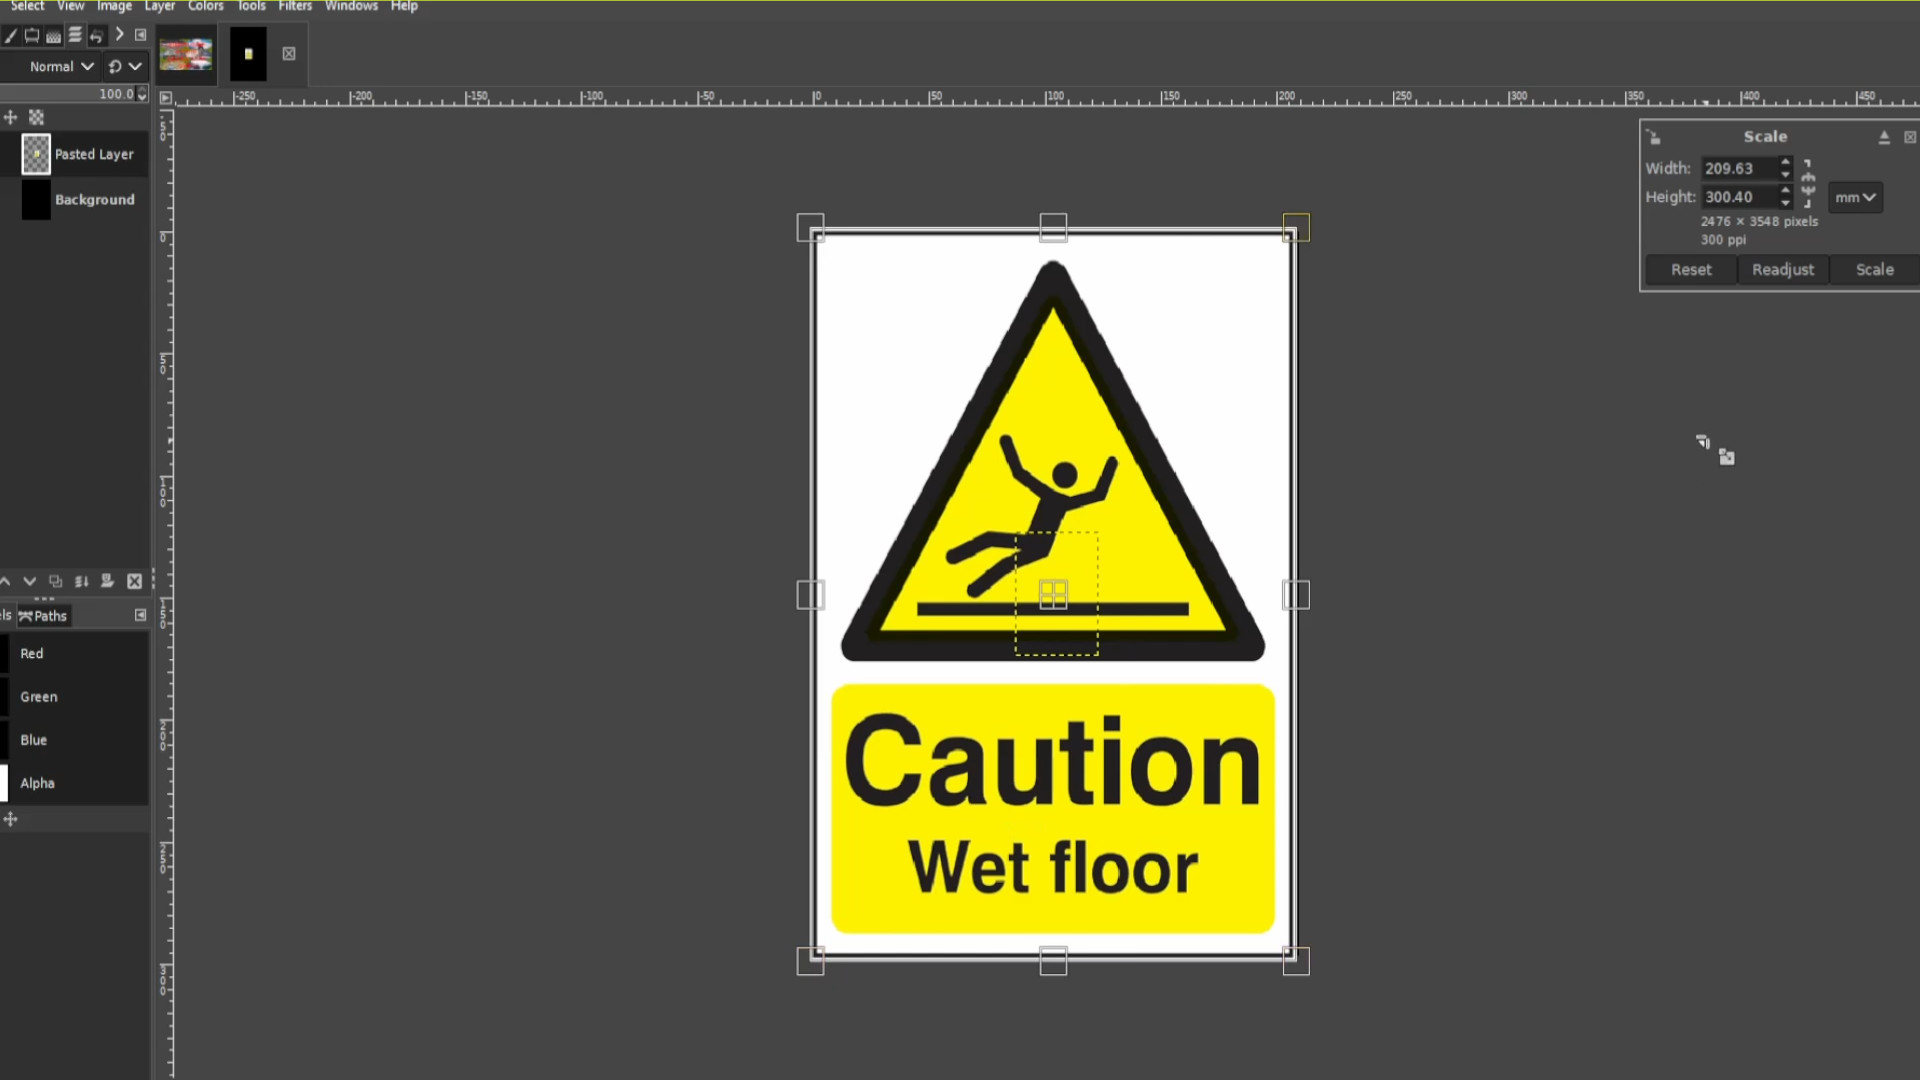
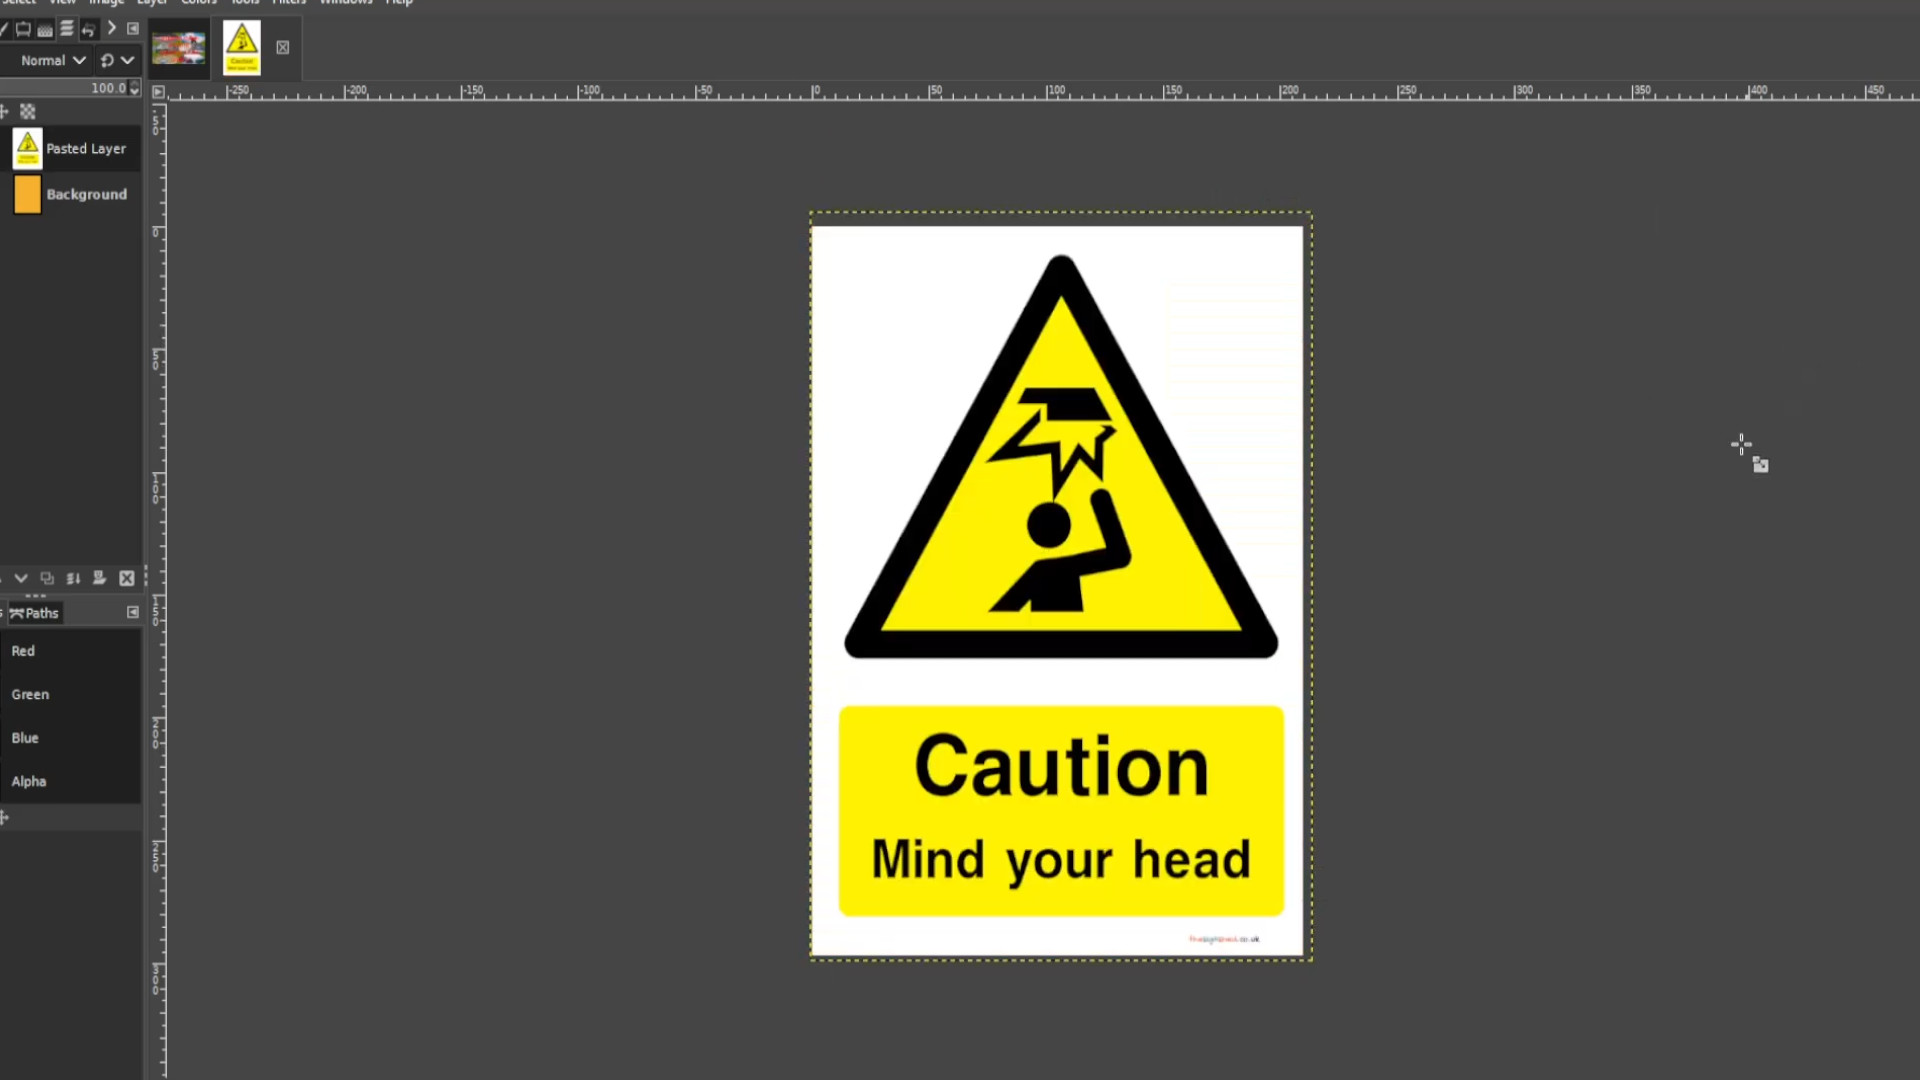
>>LOAD FILE or >>>DRAG AND DROP file into Gimp. You can use the resize tool or use shortcut>>>HOLD SHIFT and PRESS R to resize the picture. You might see on the left hand side in the layers panel it says>>>FLOATING SELECTION. >>>RIGHT CLICK on the>>>LAYER and select>>>NEW LAYER now you can resize the picture.

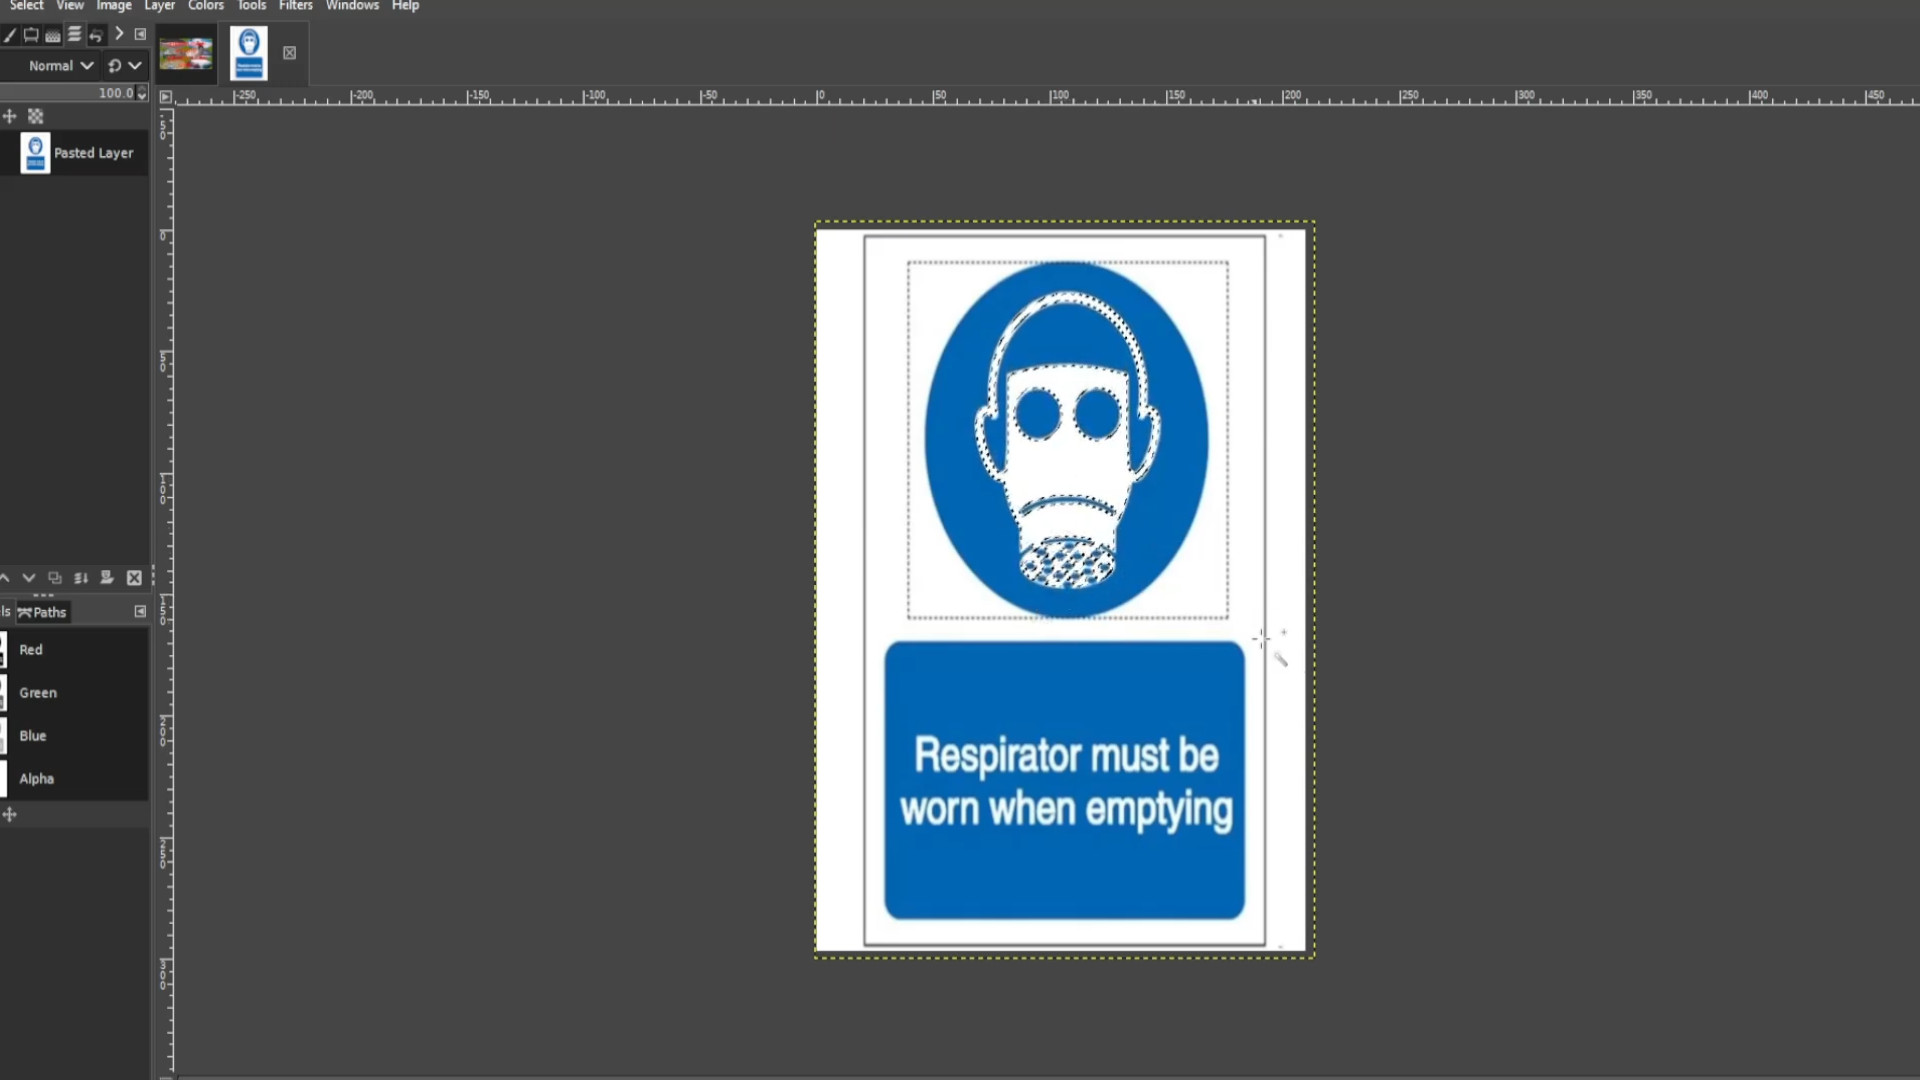
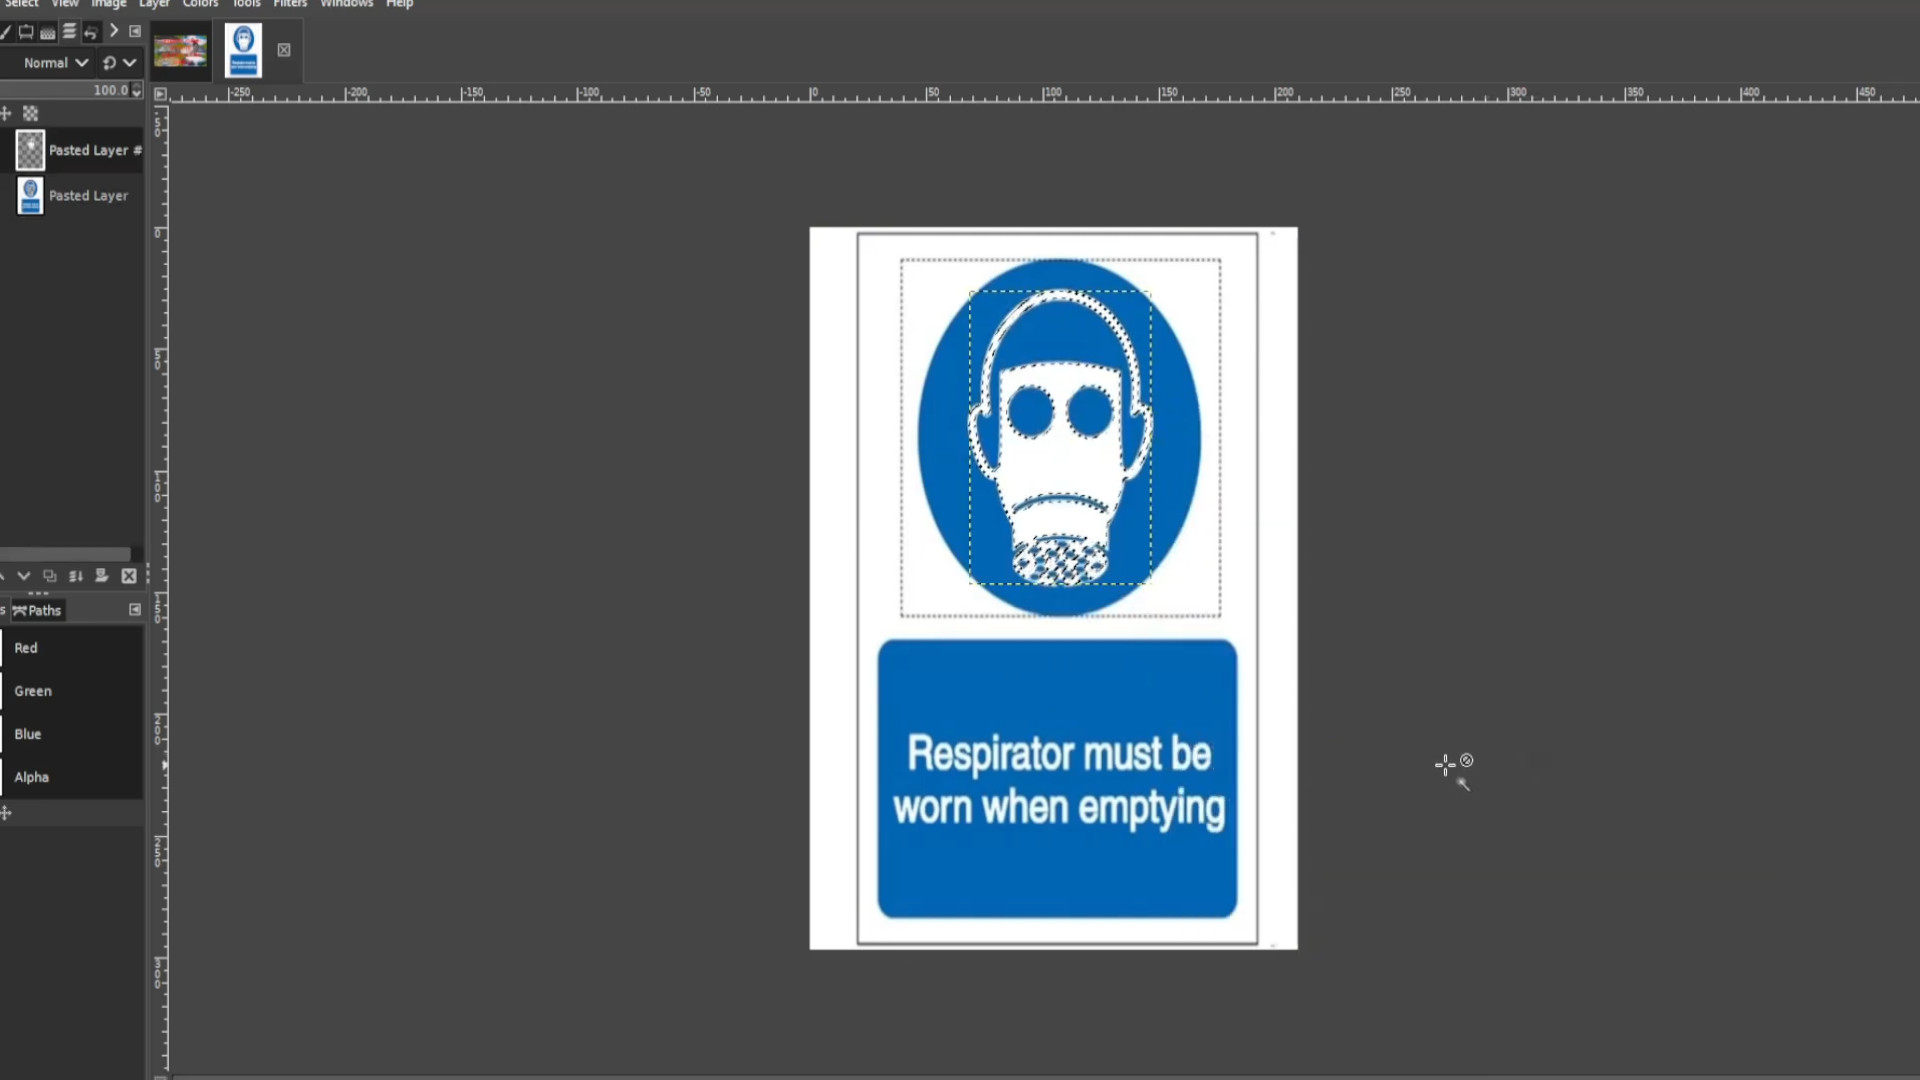
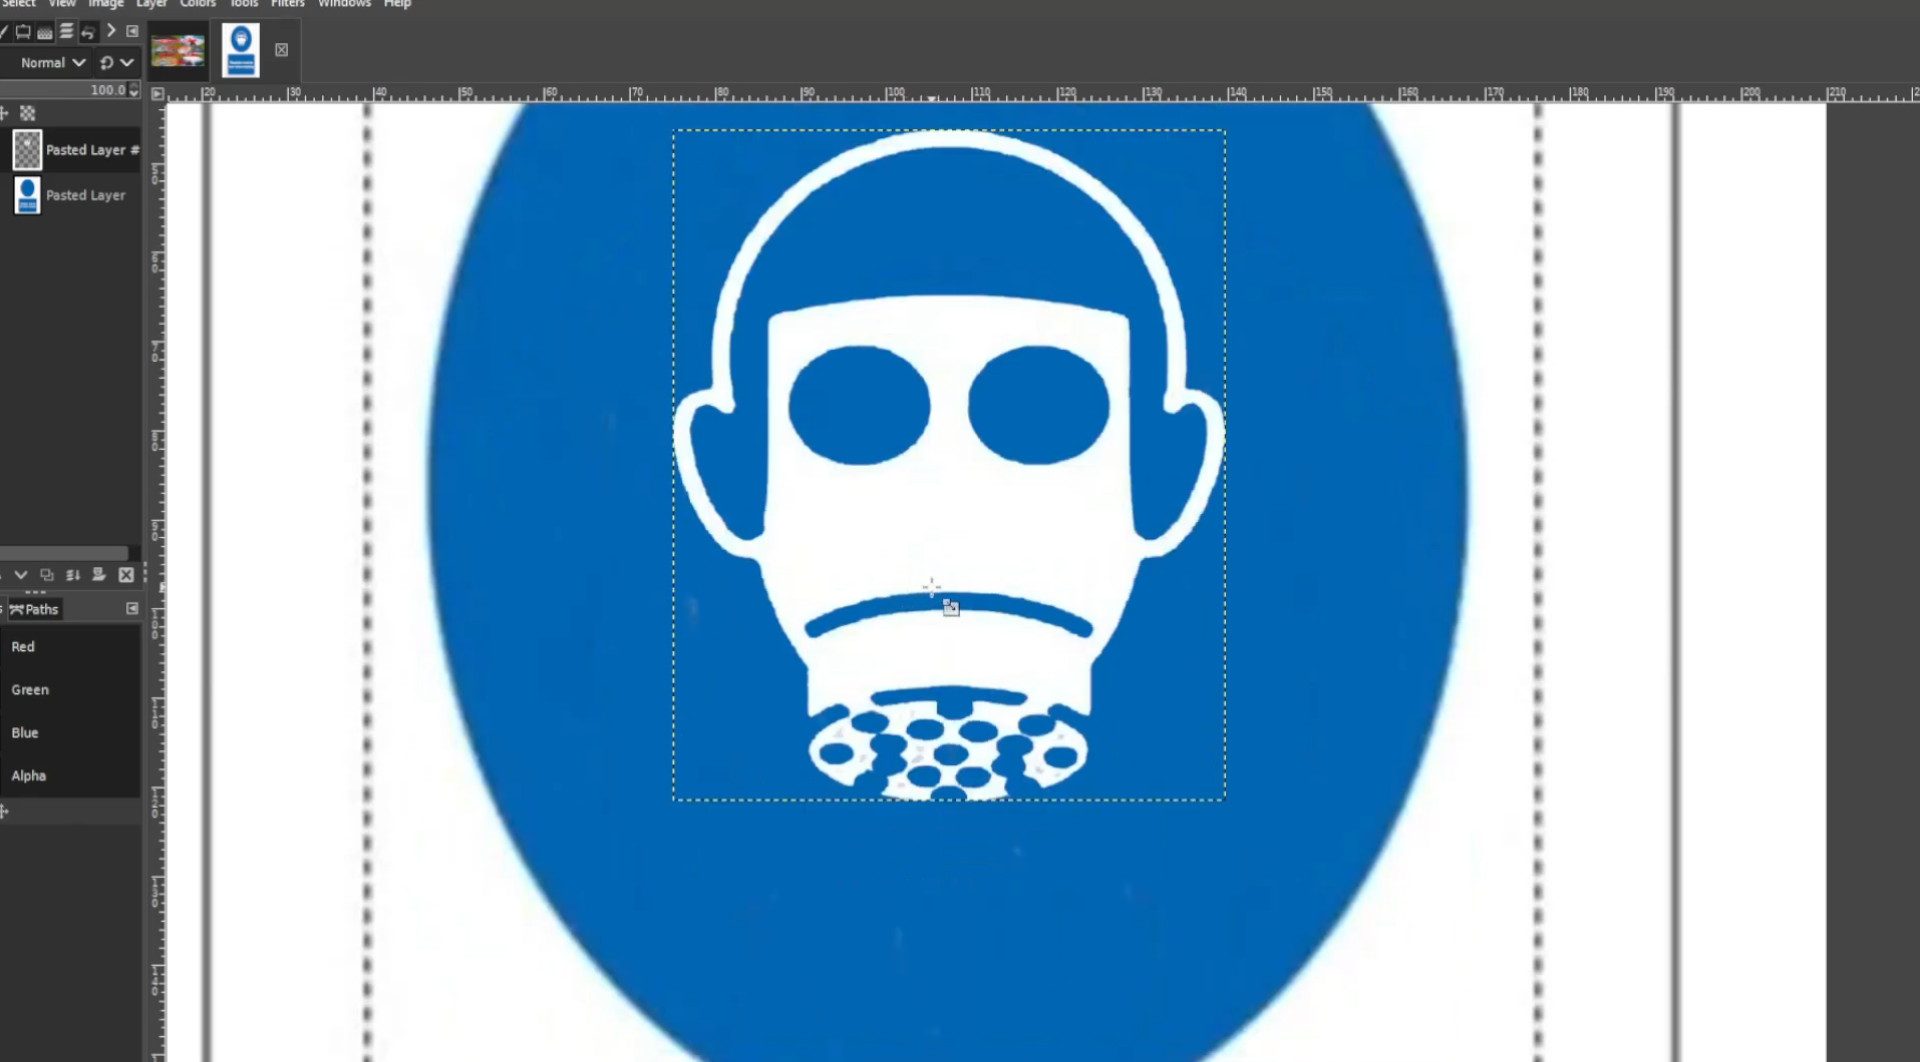
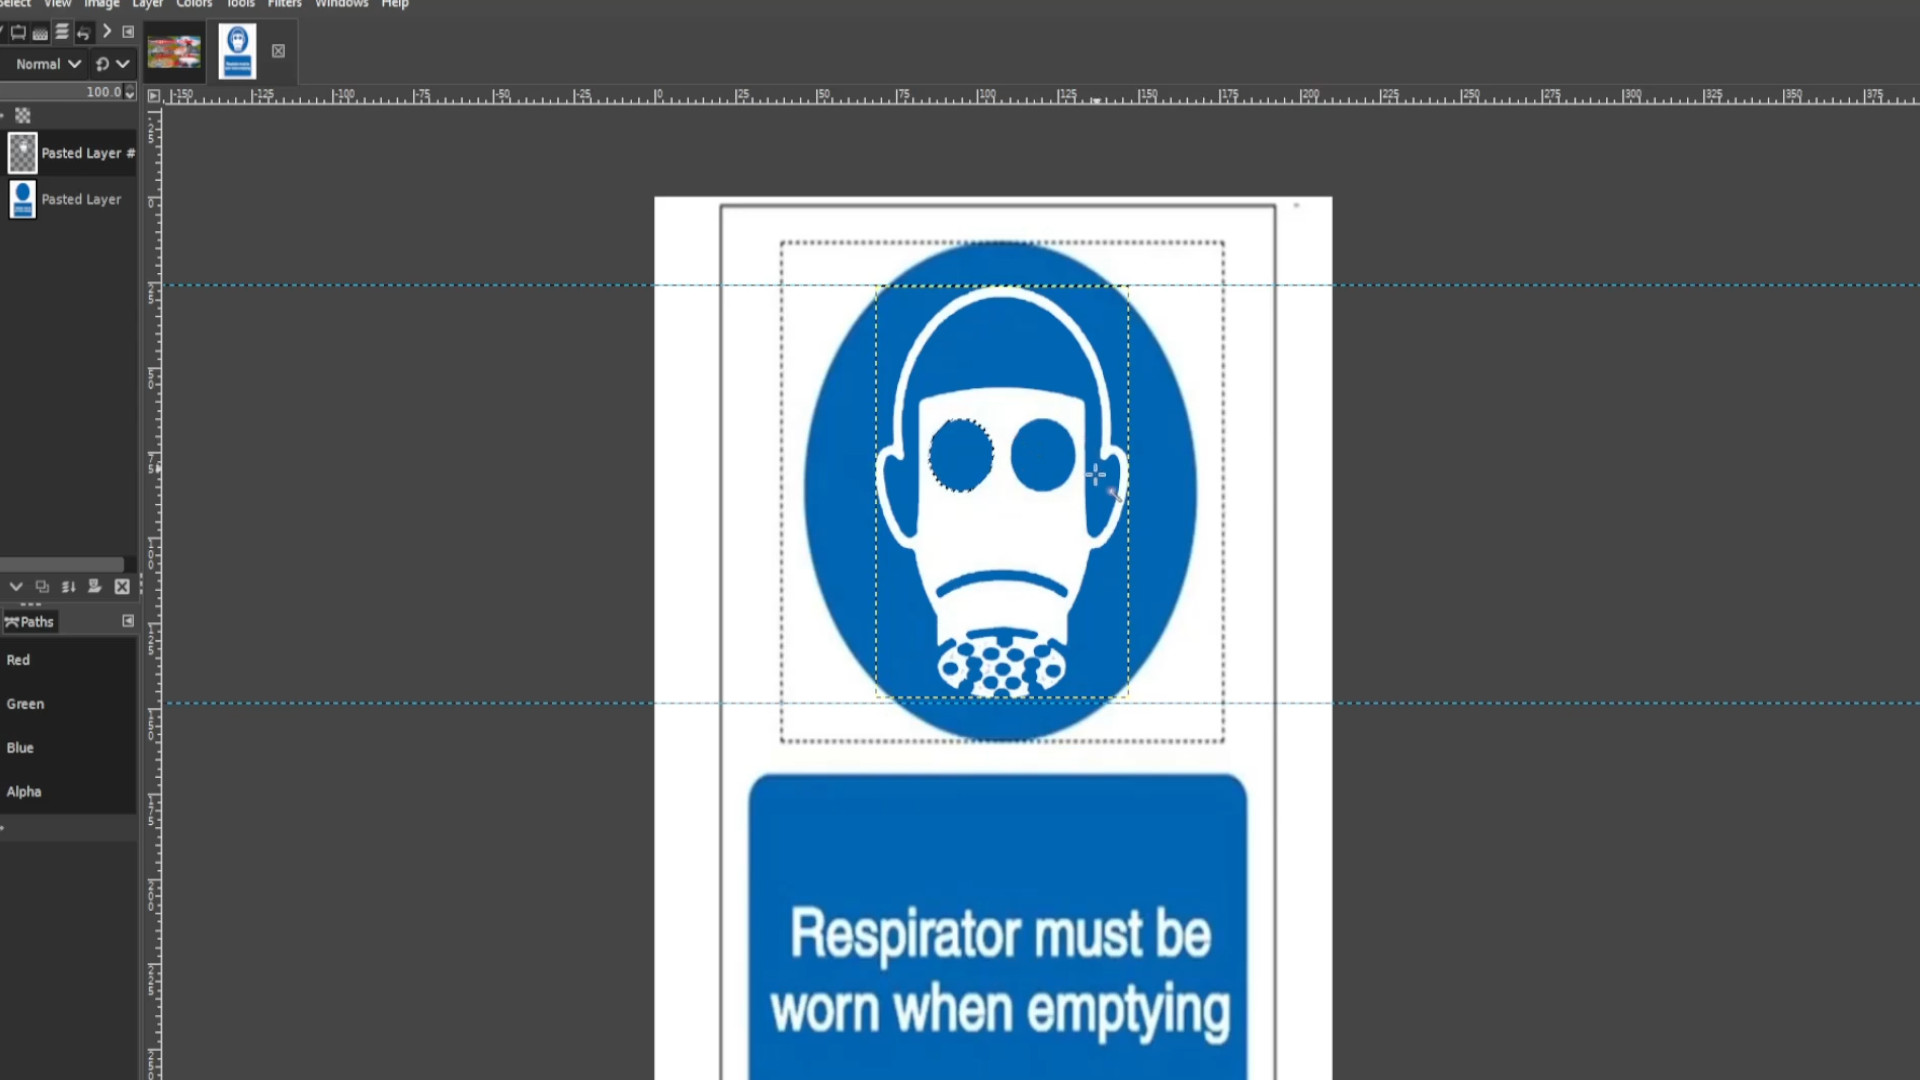
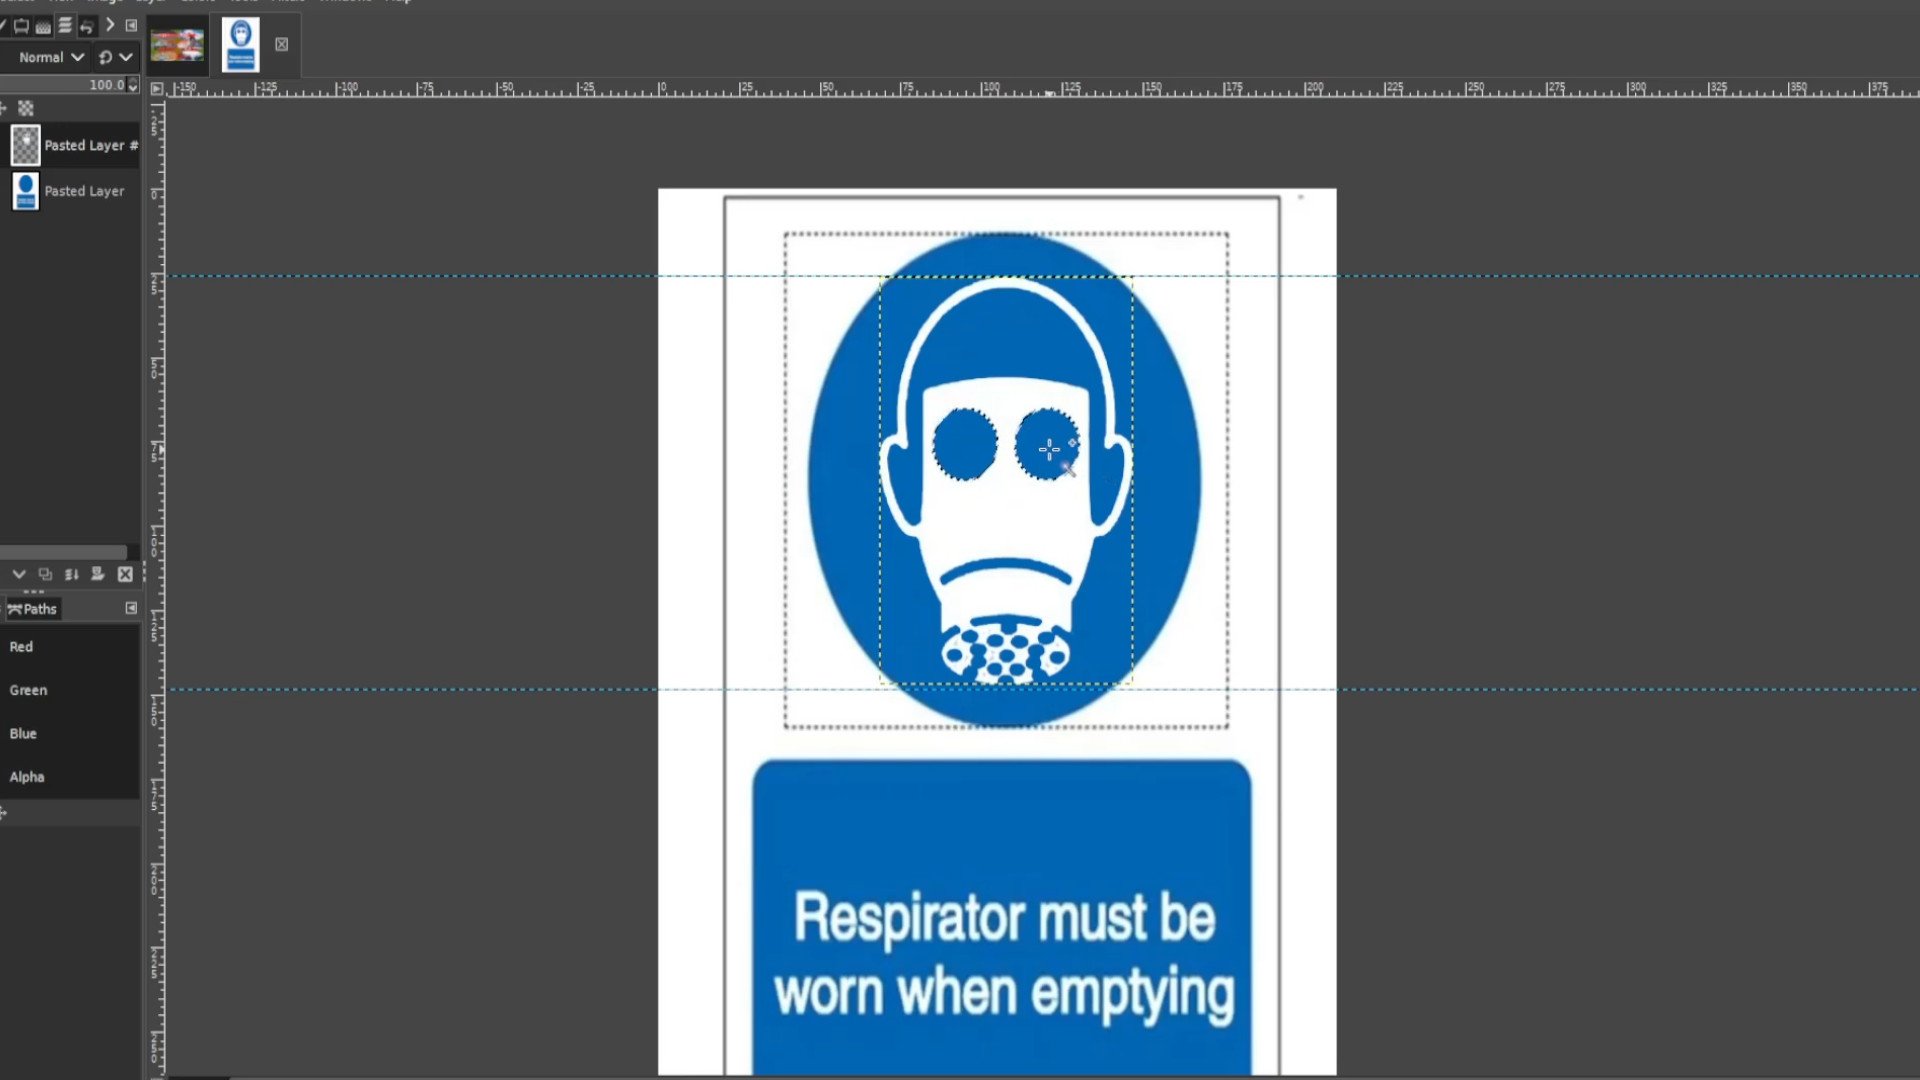
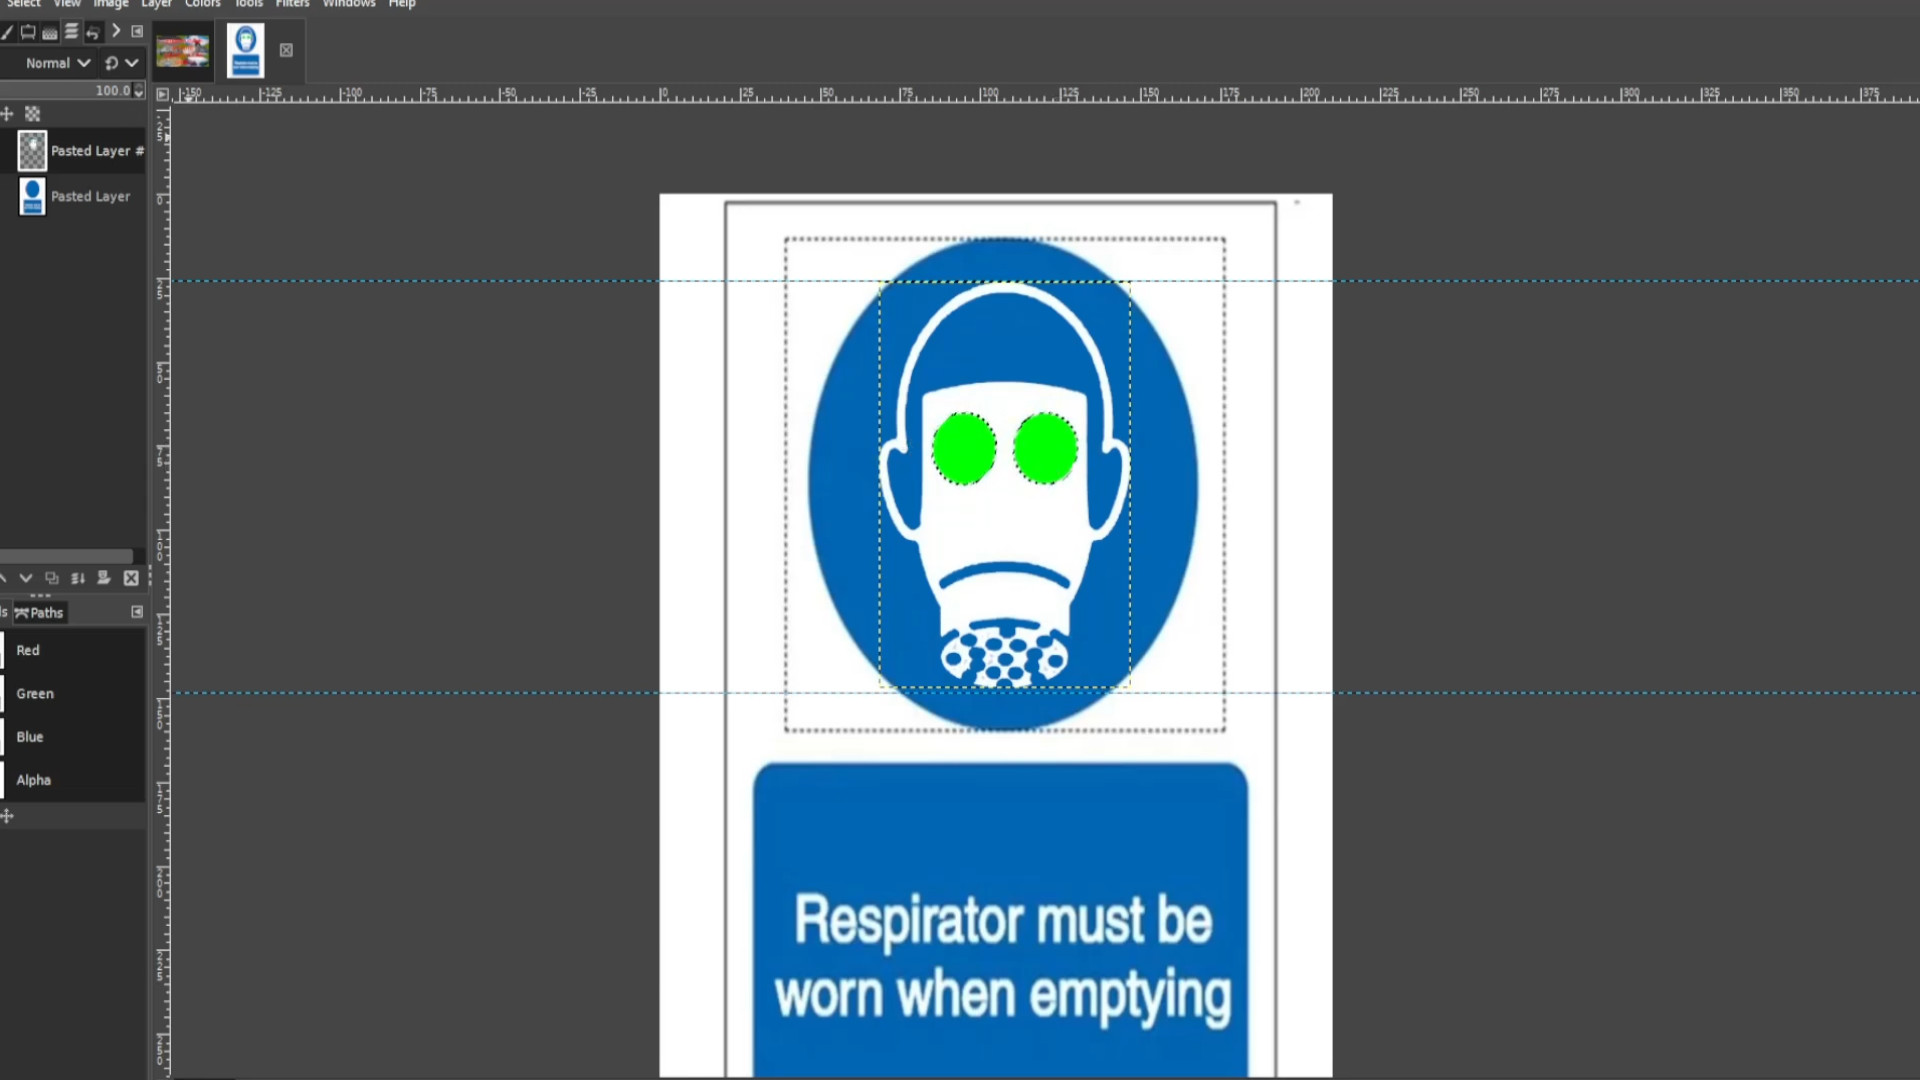
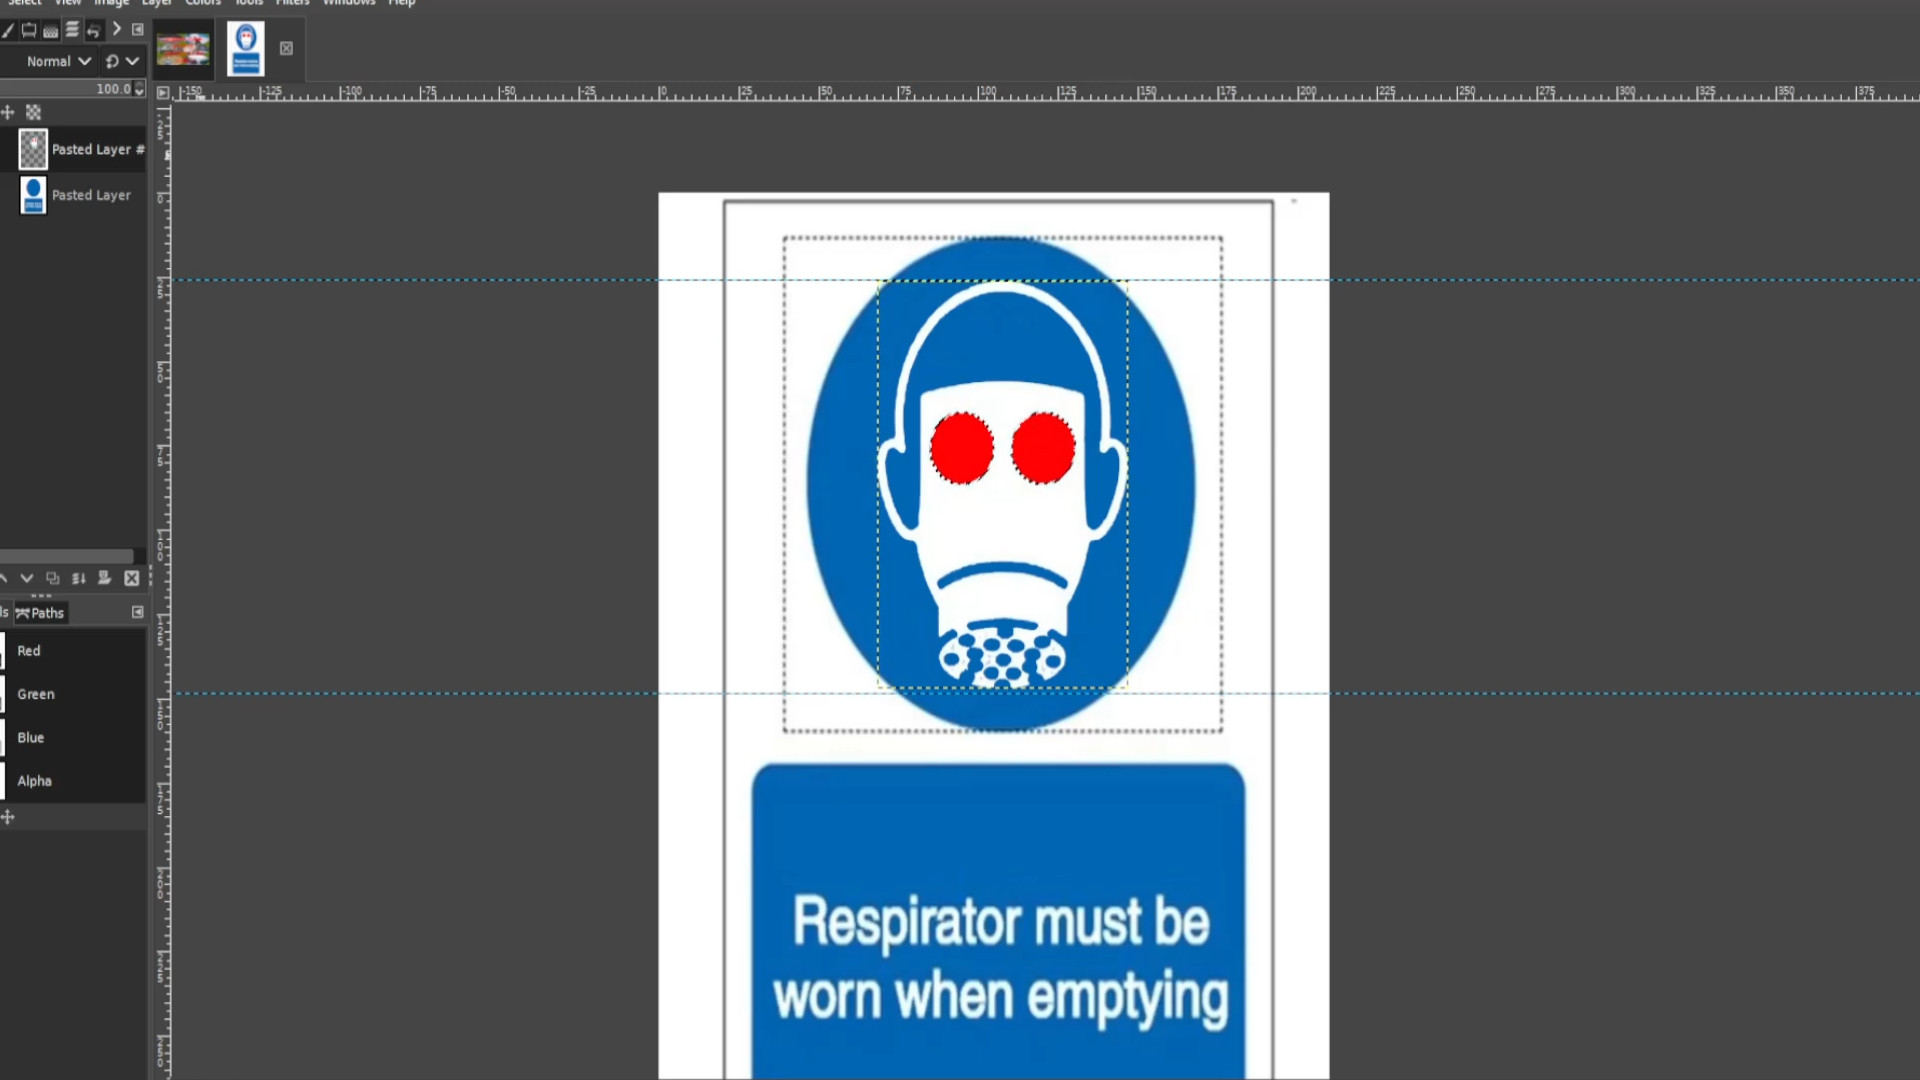
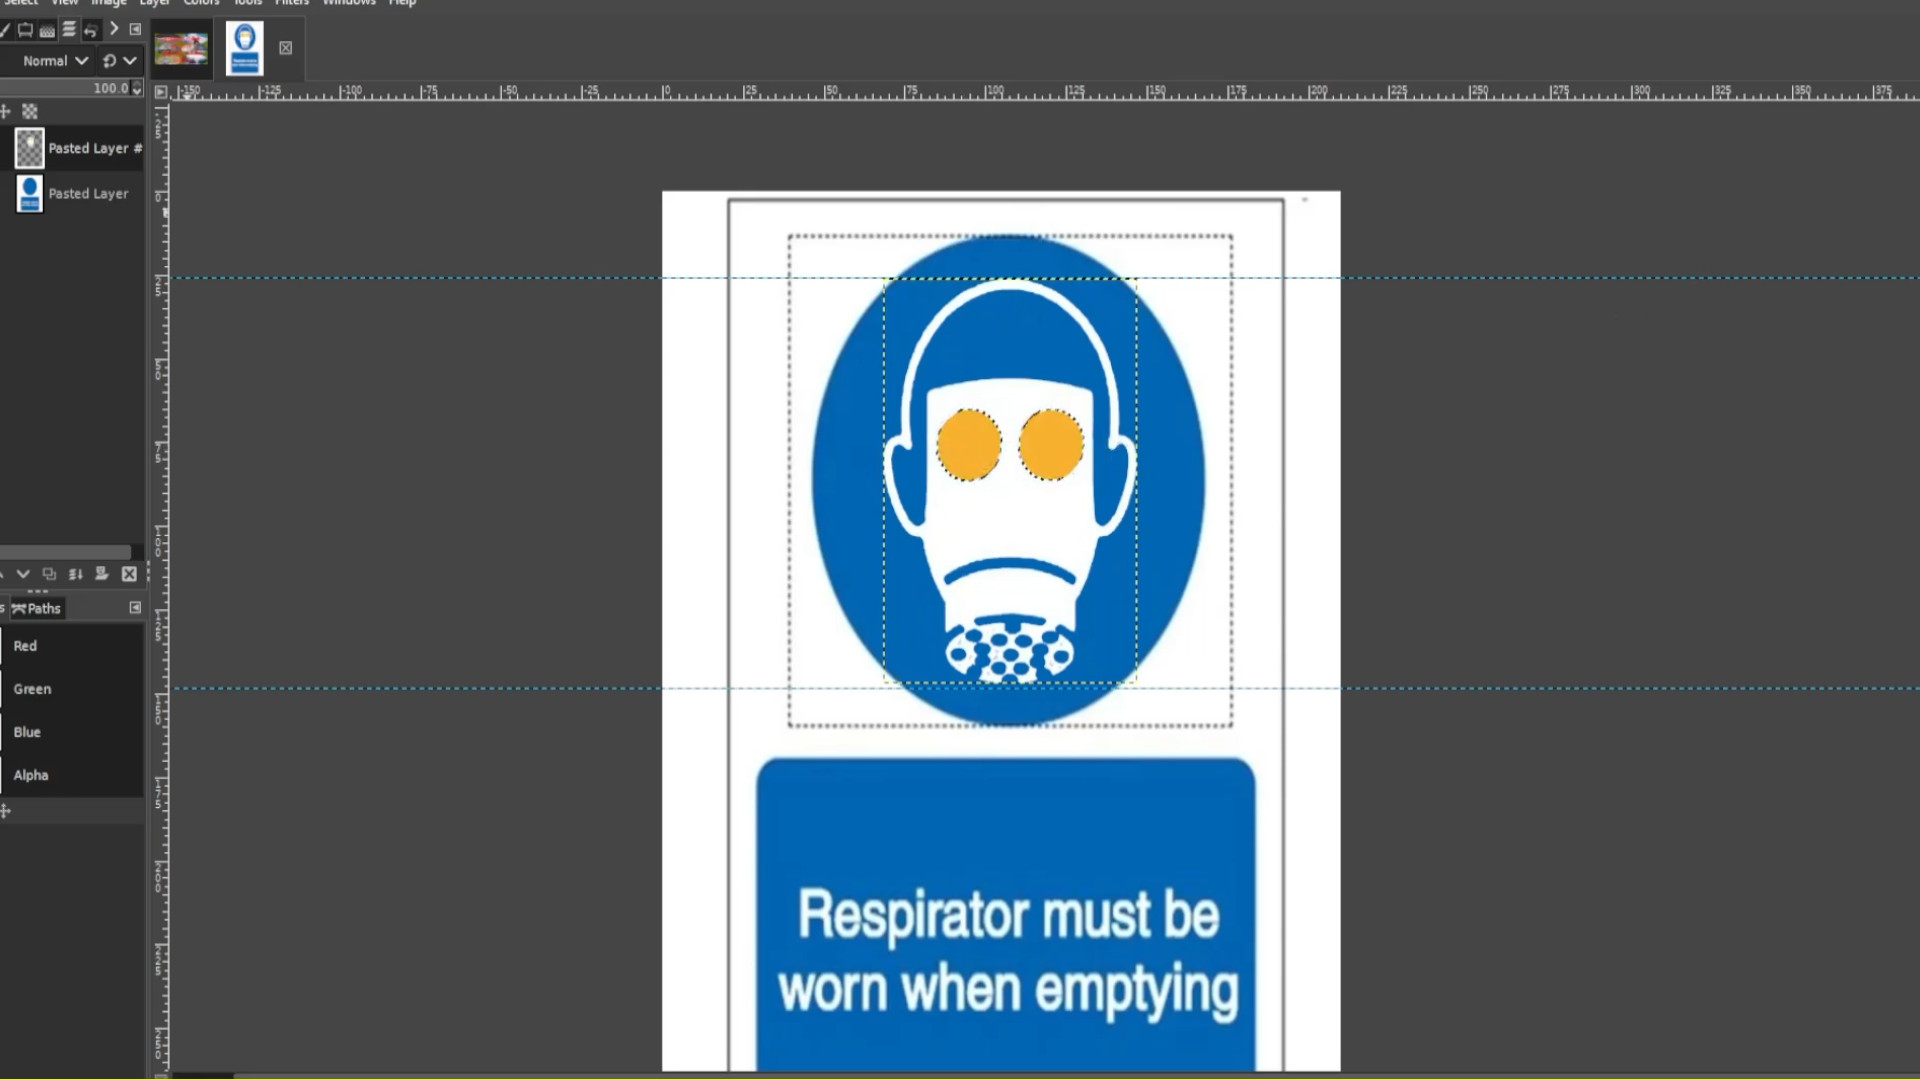
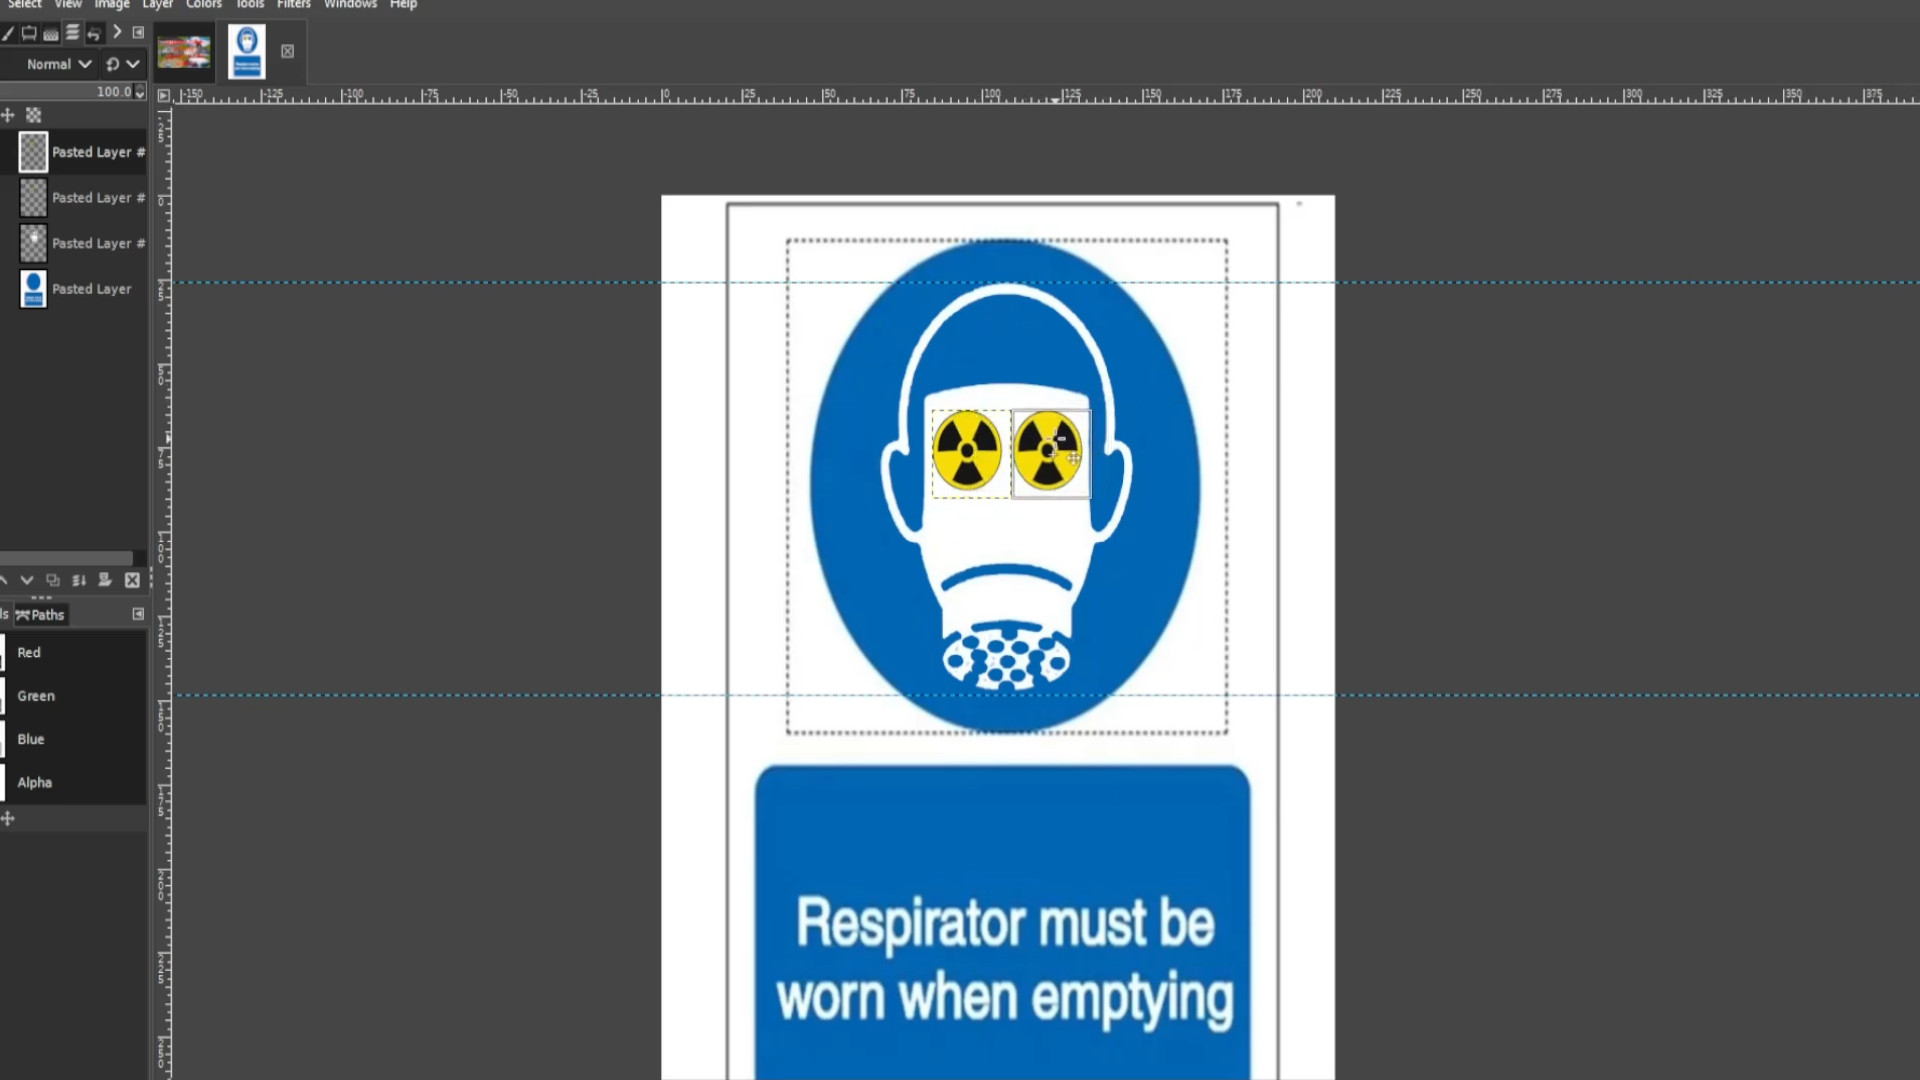
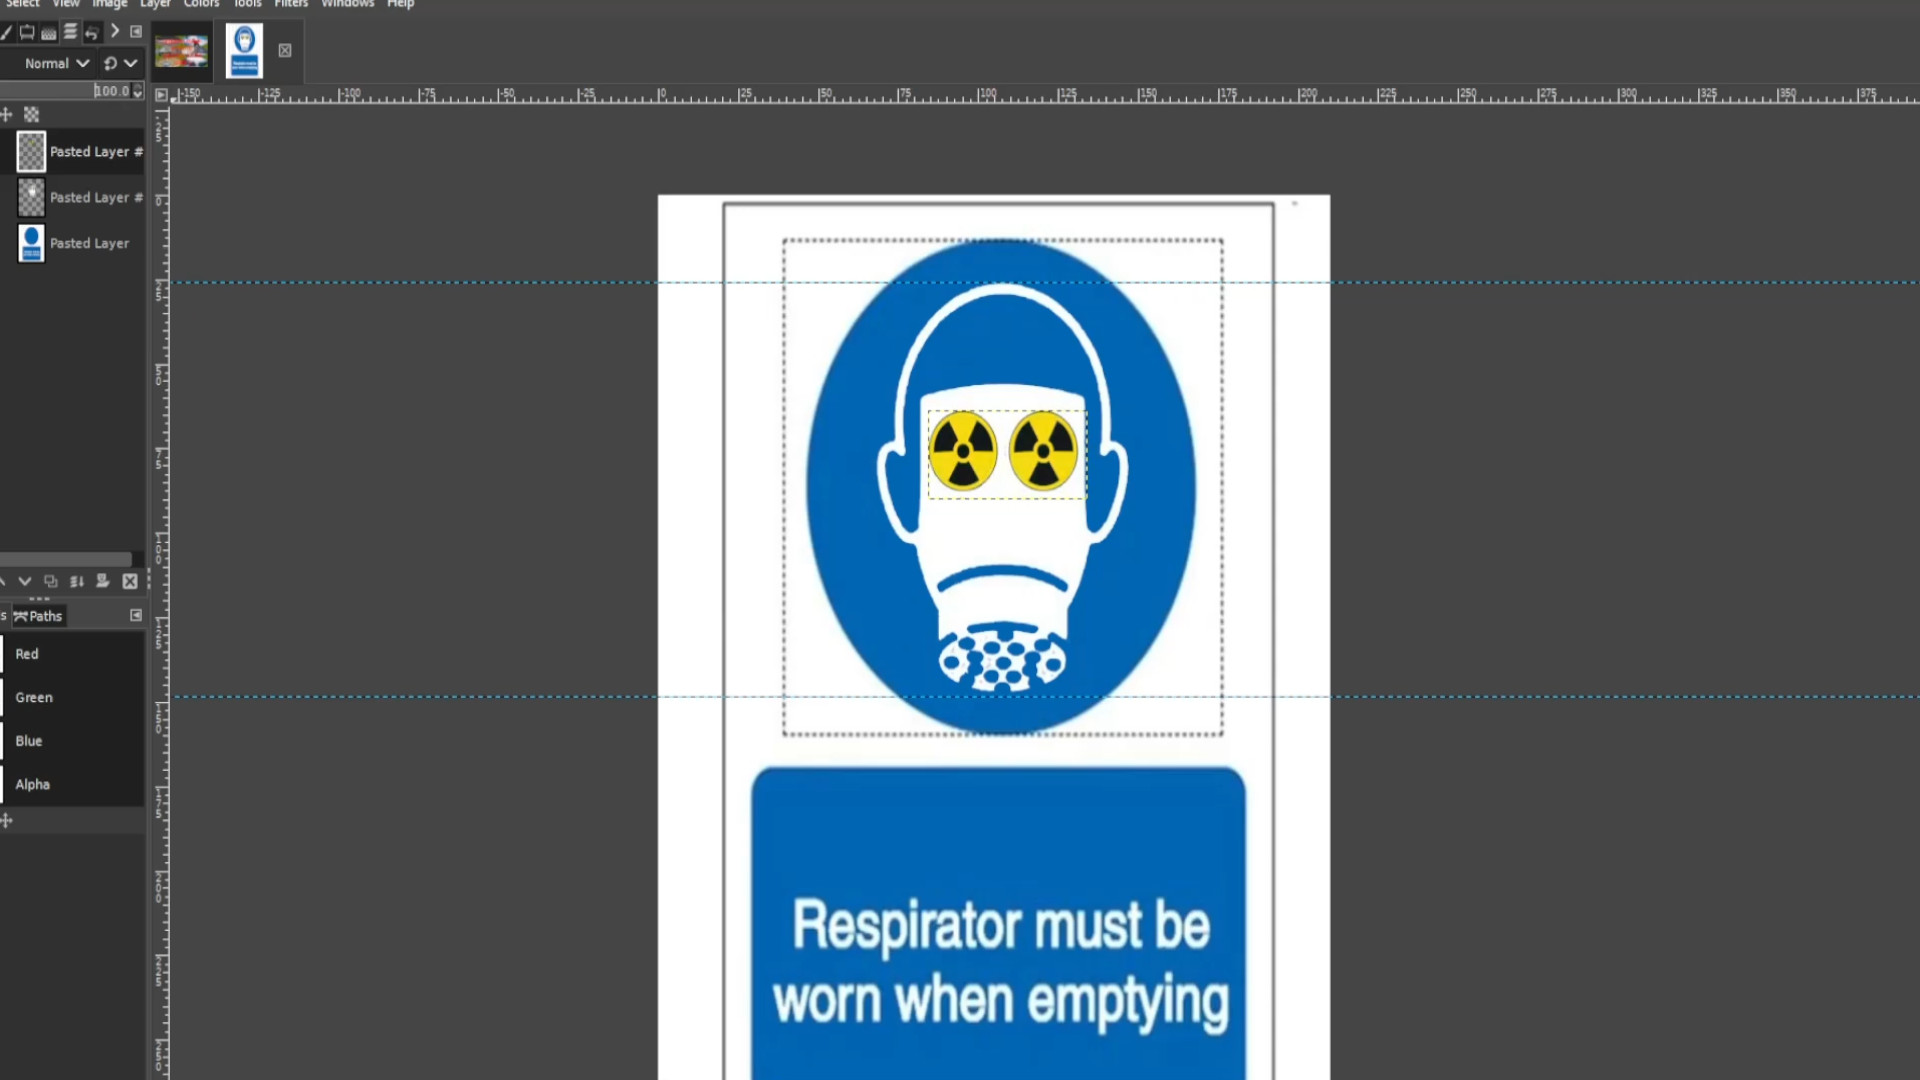
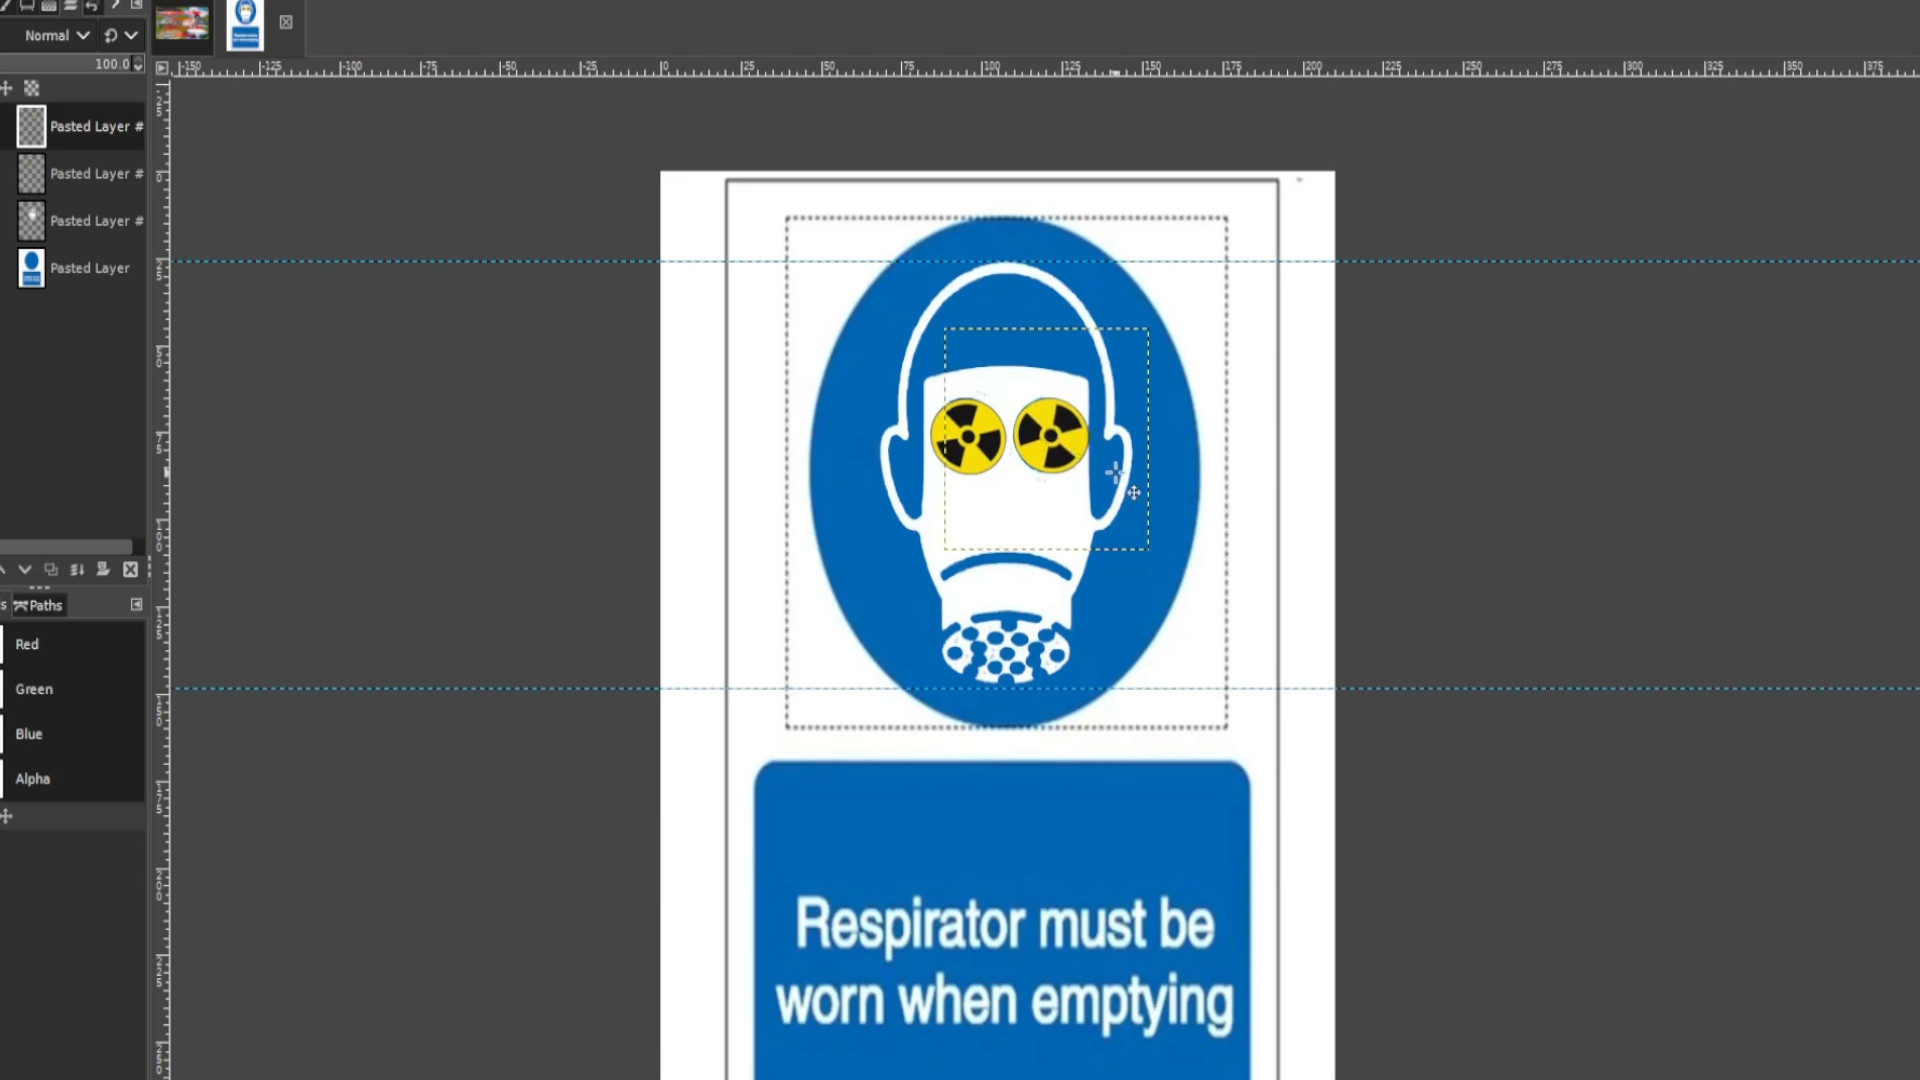
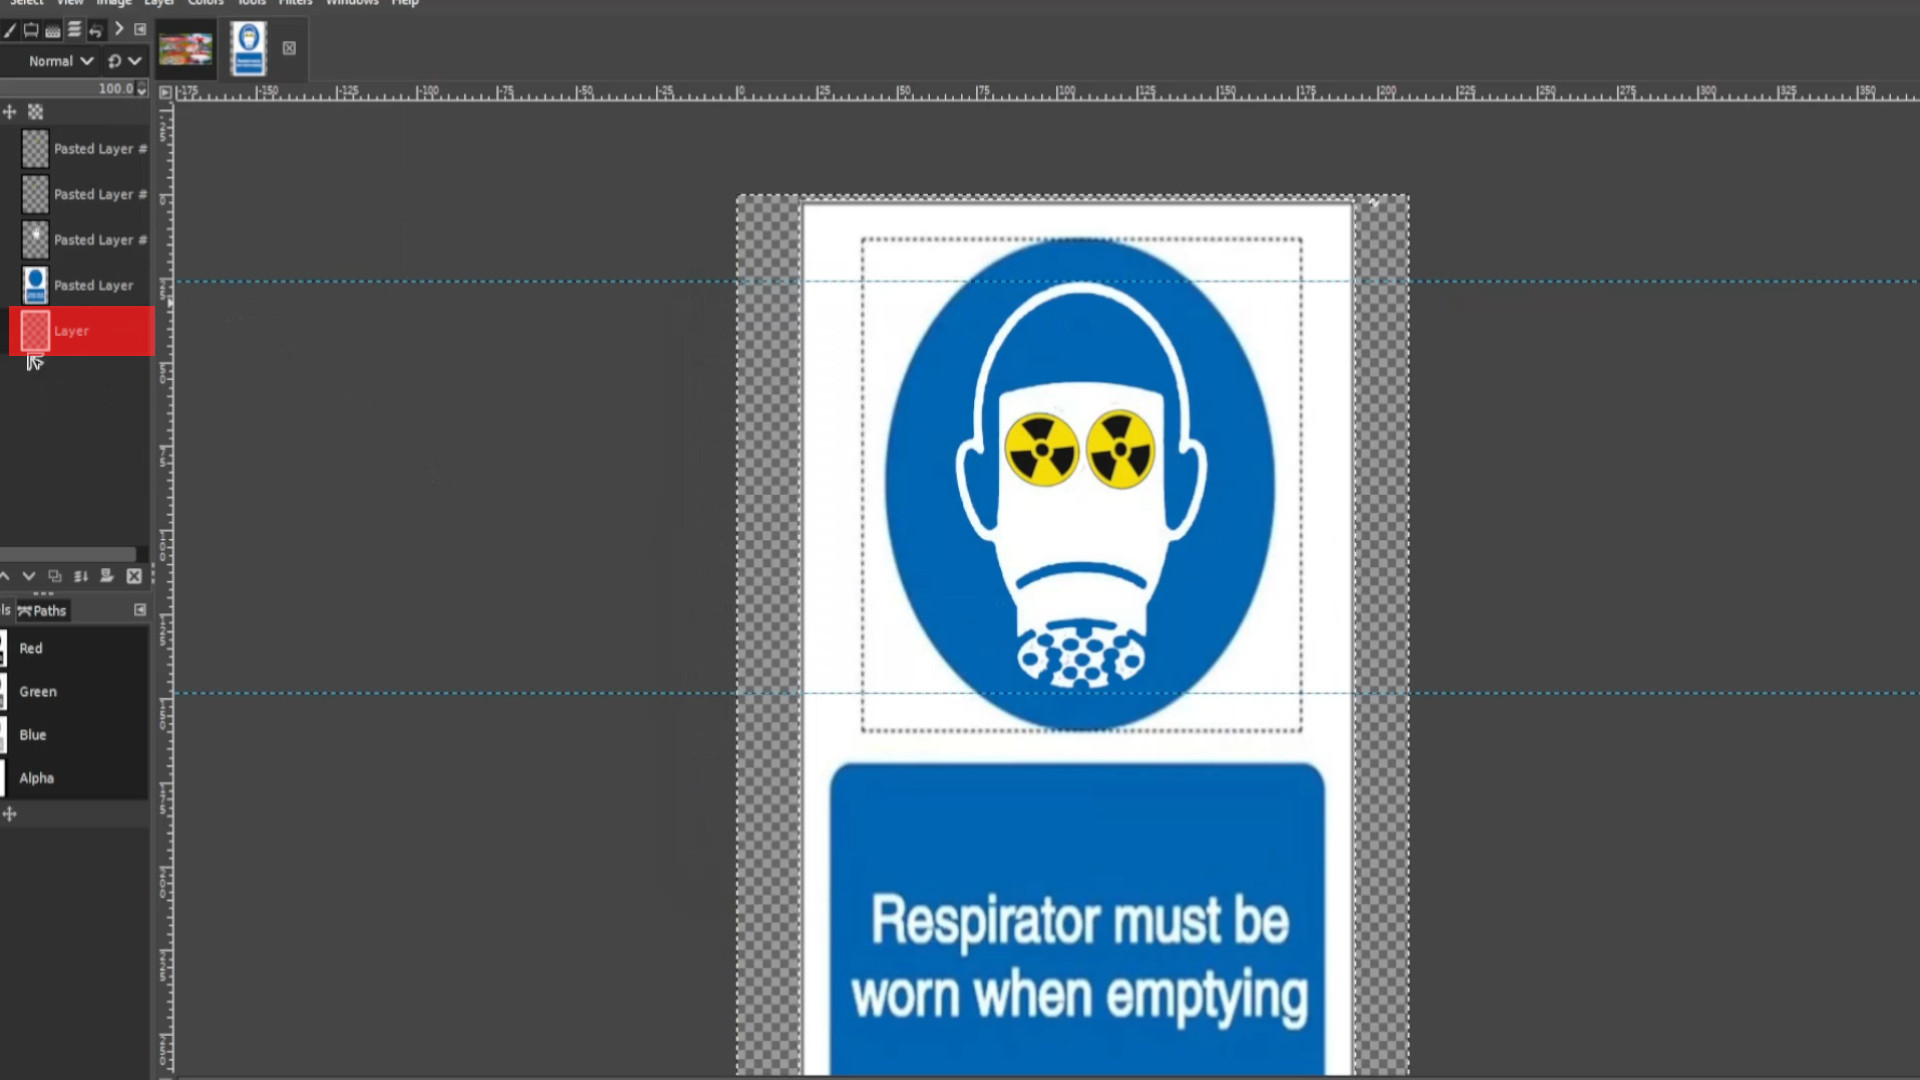
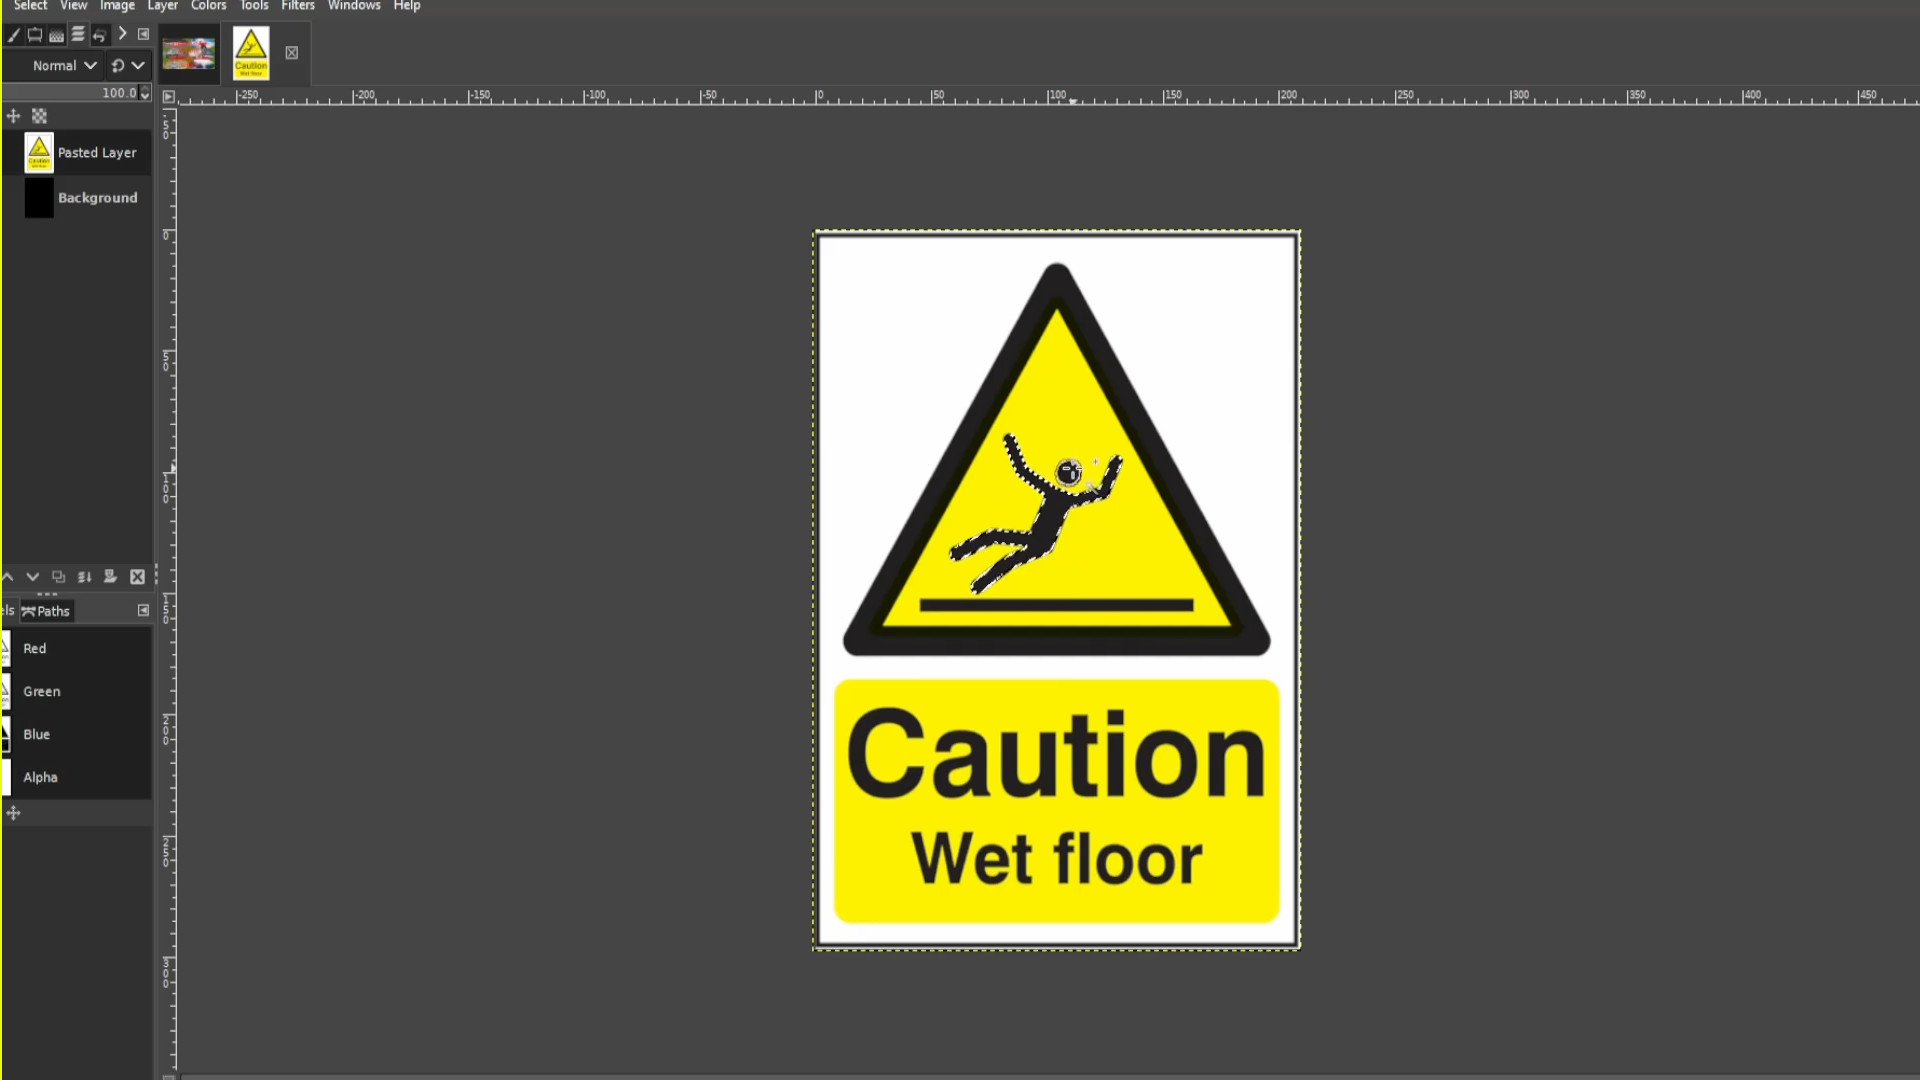
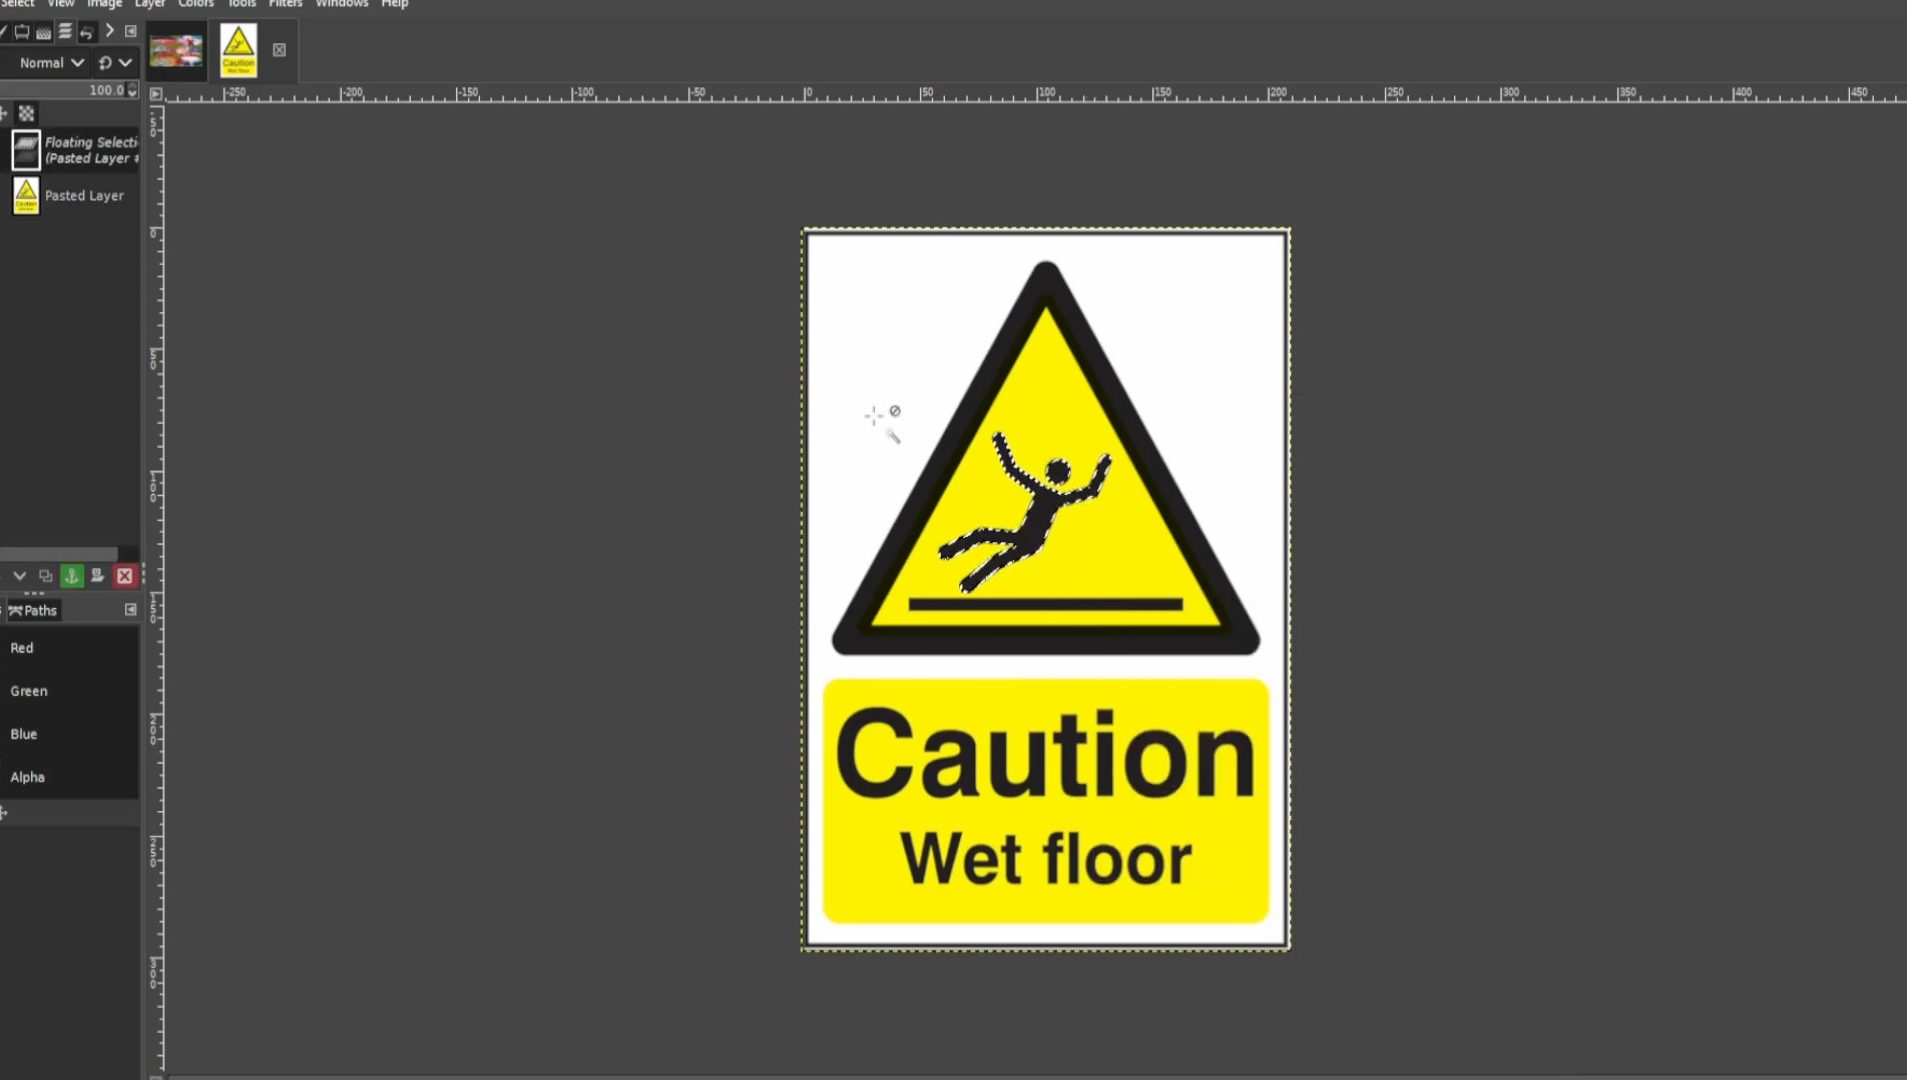
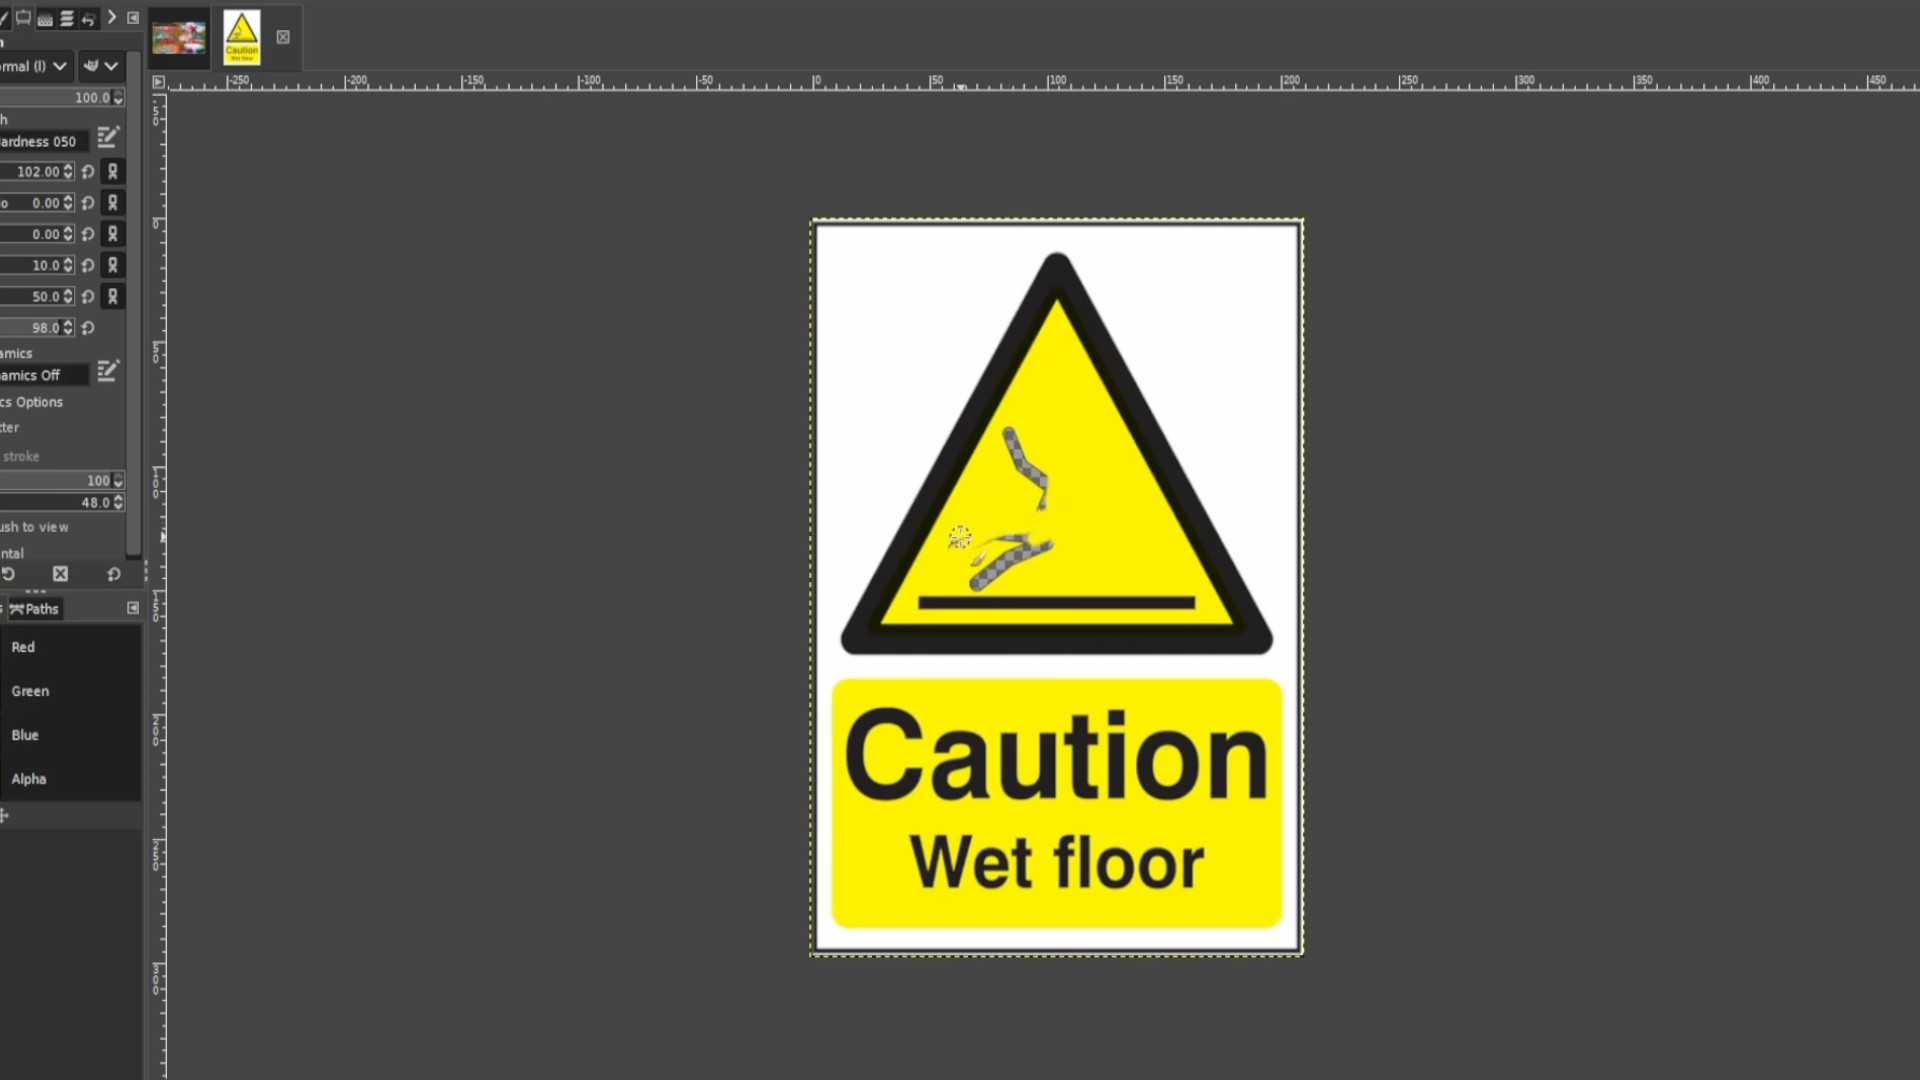
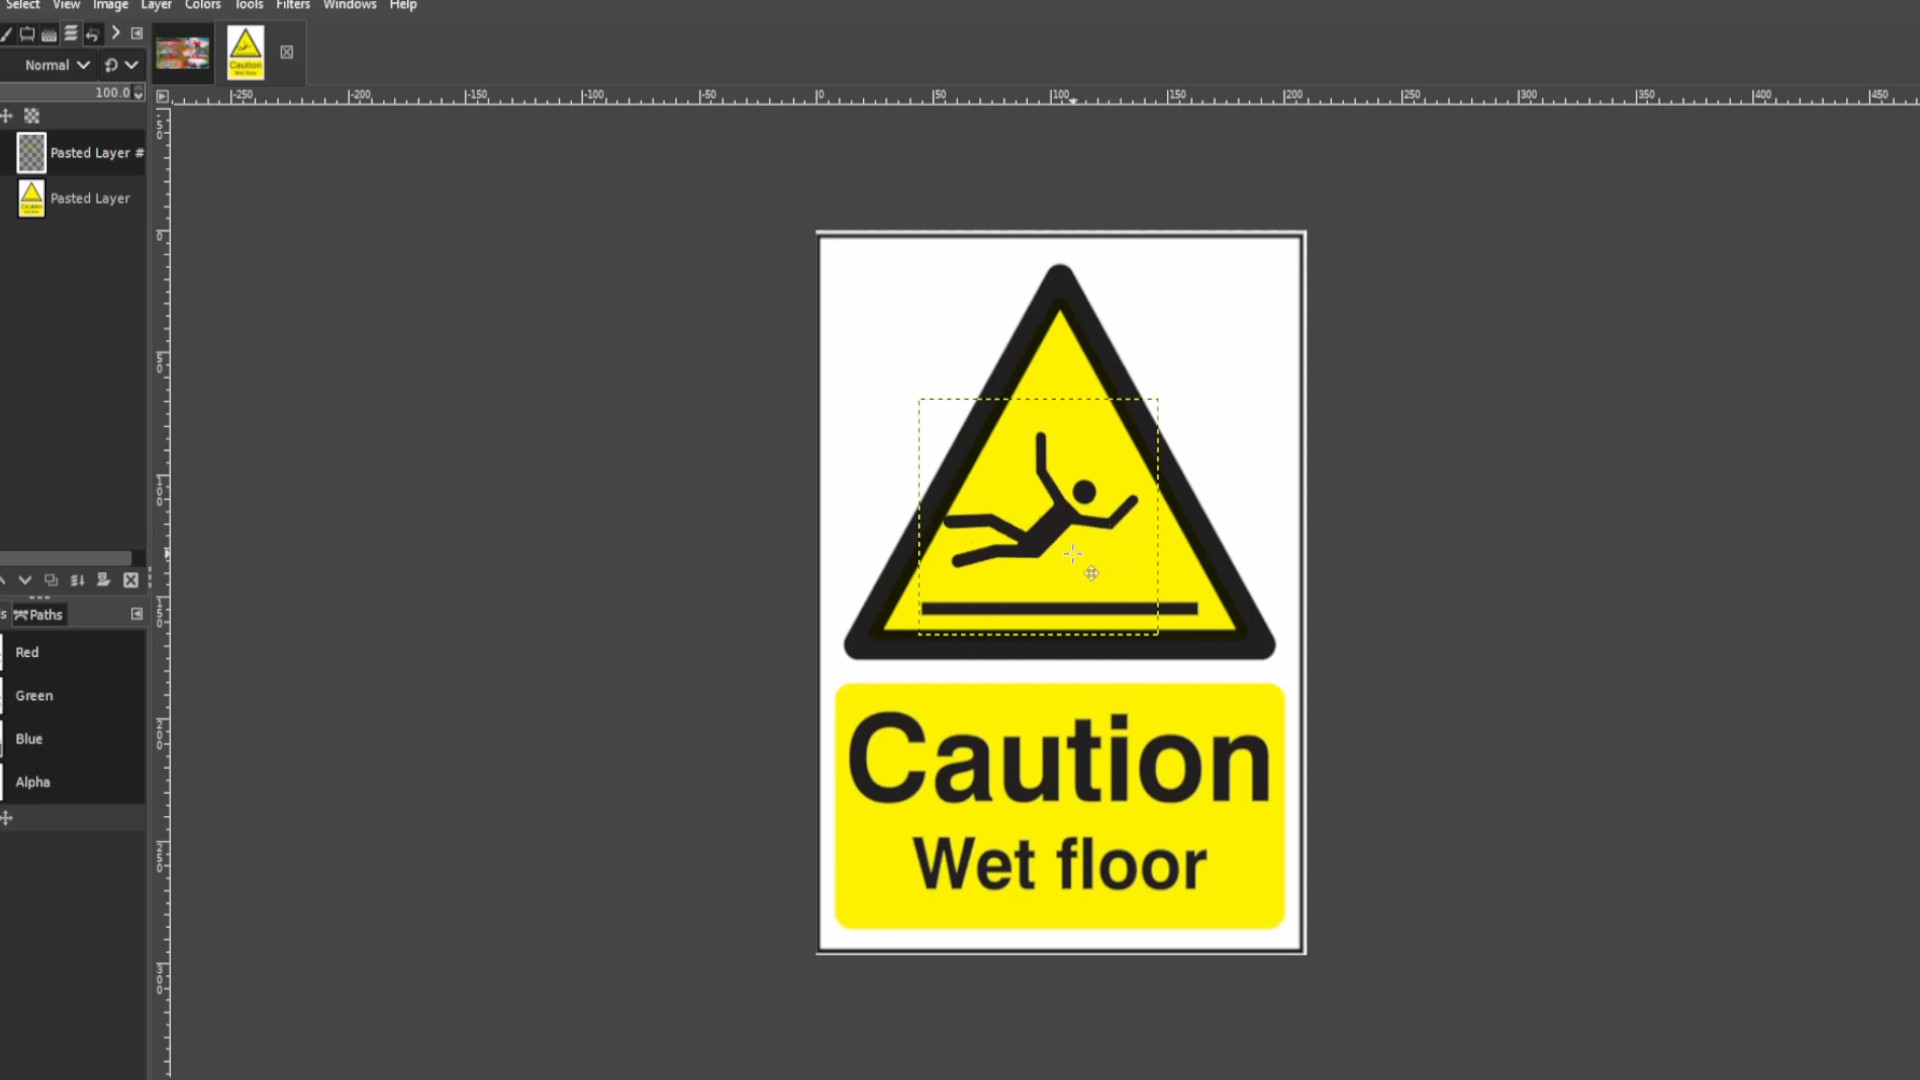
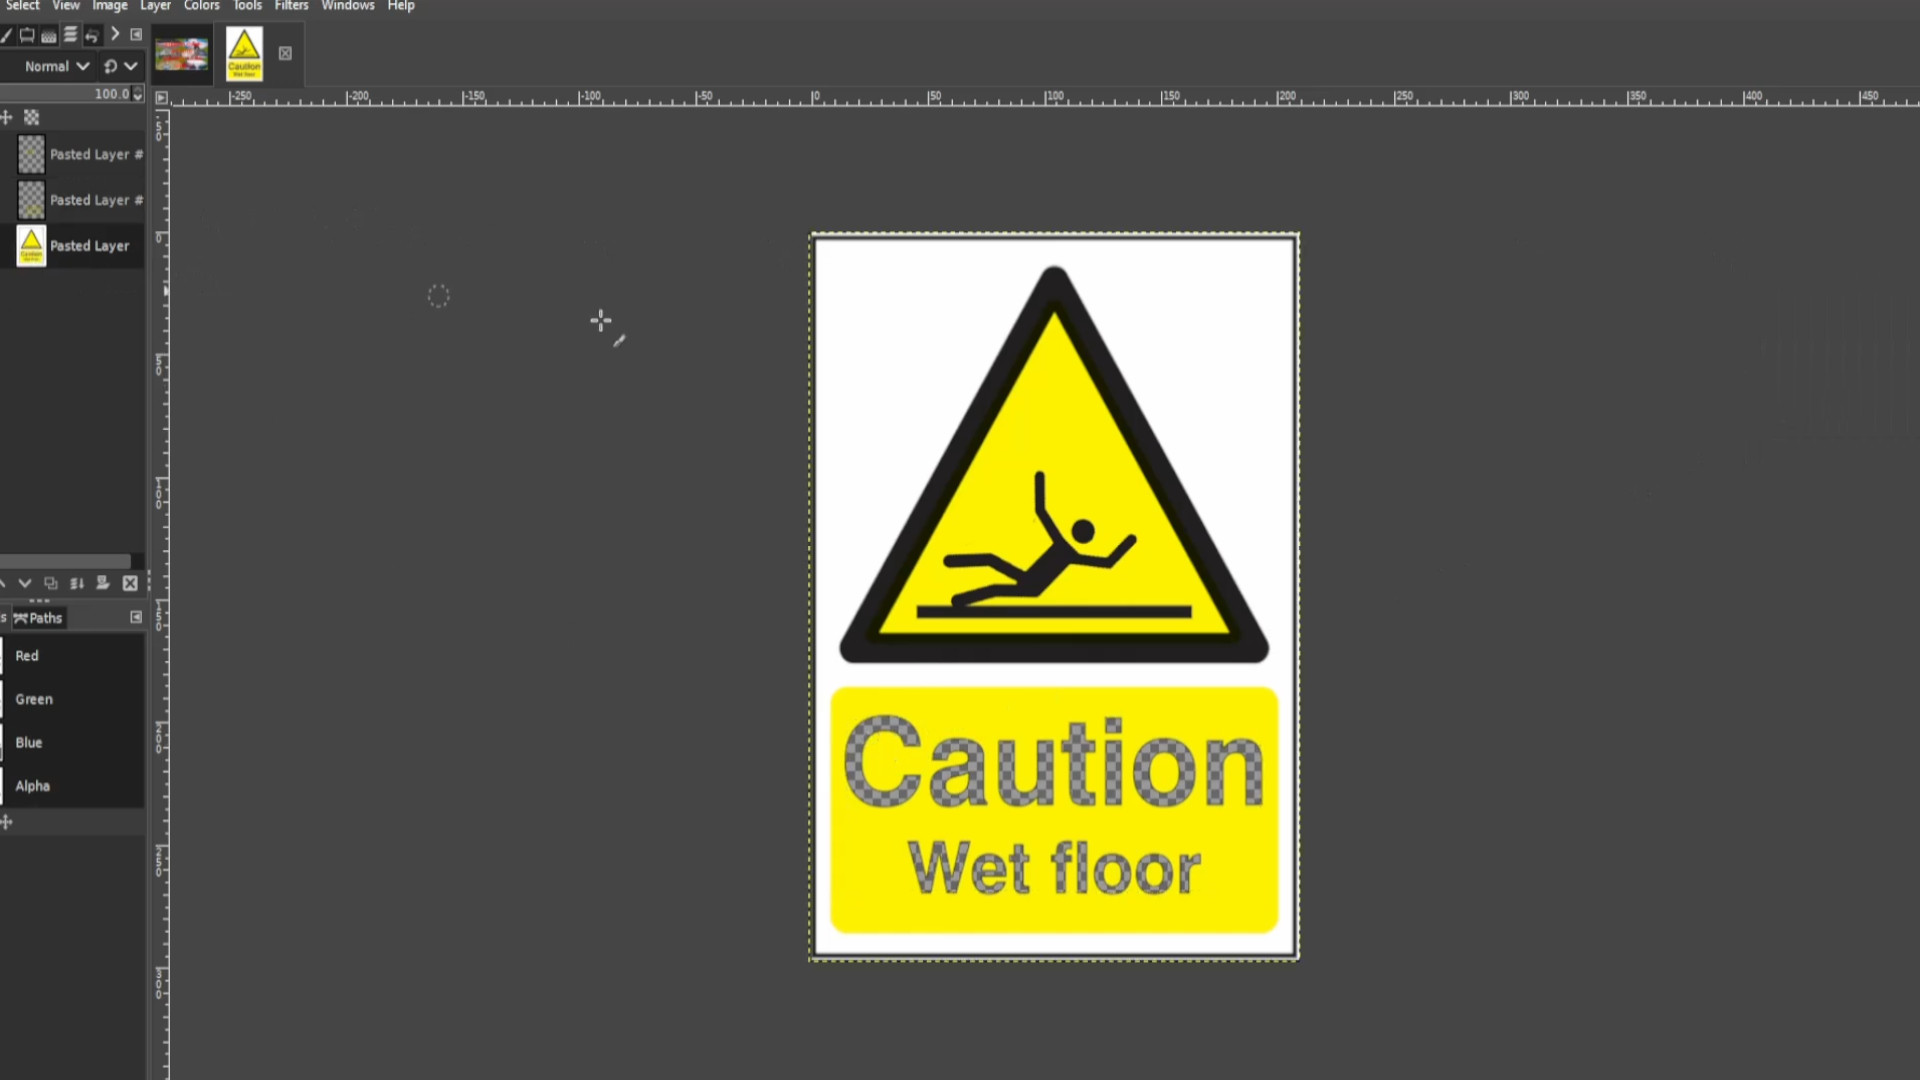
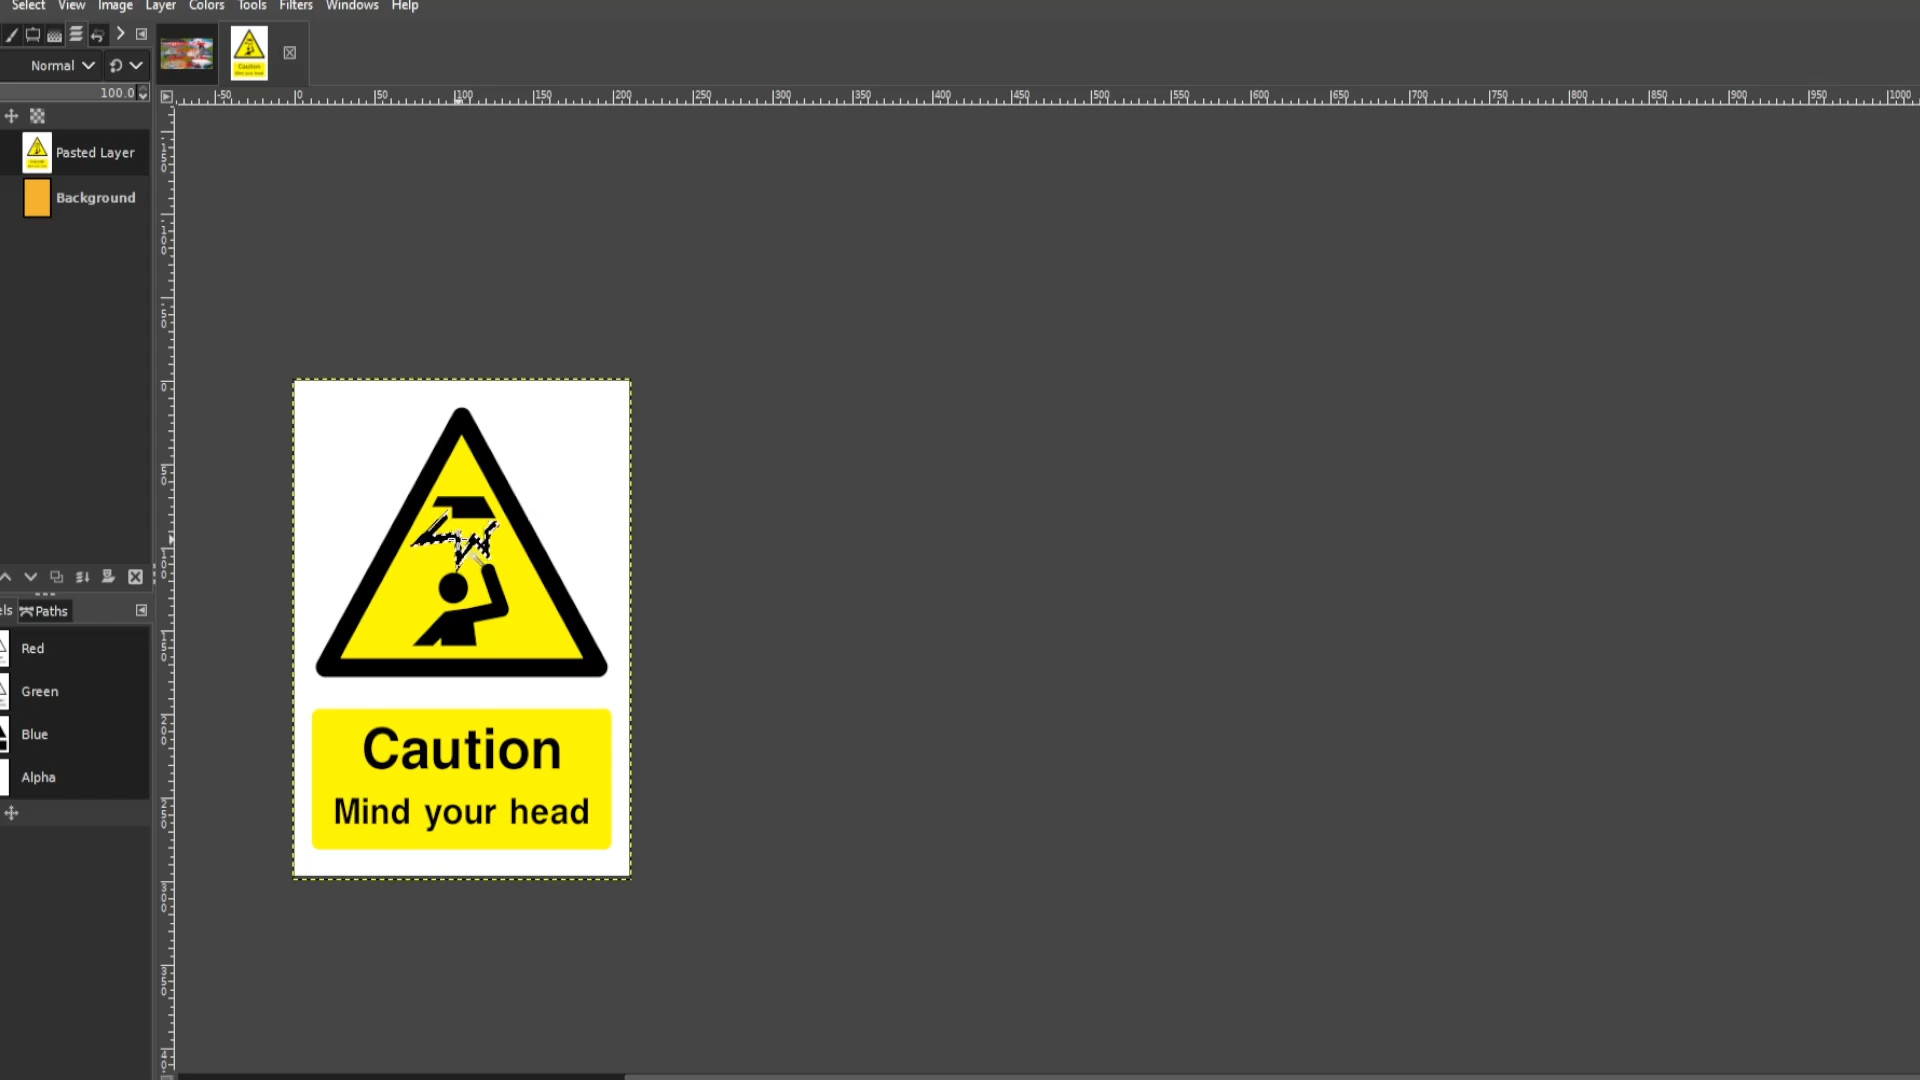
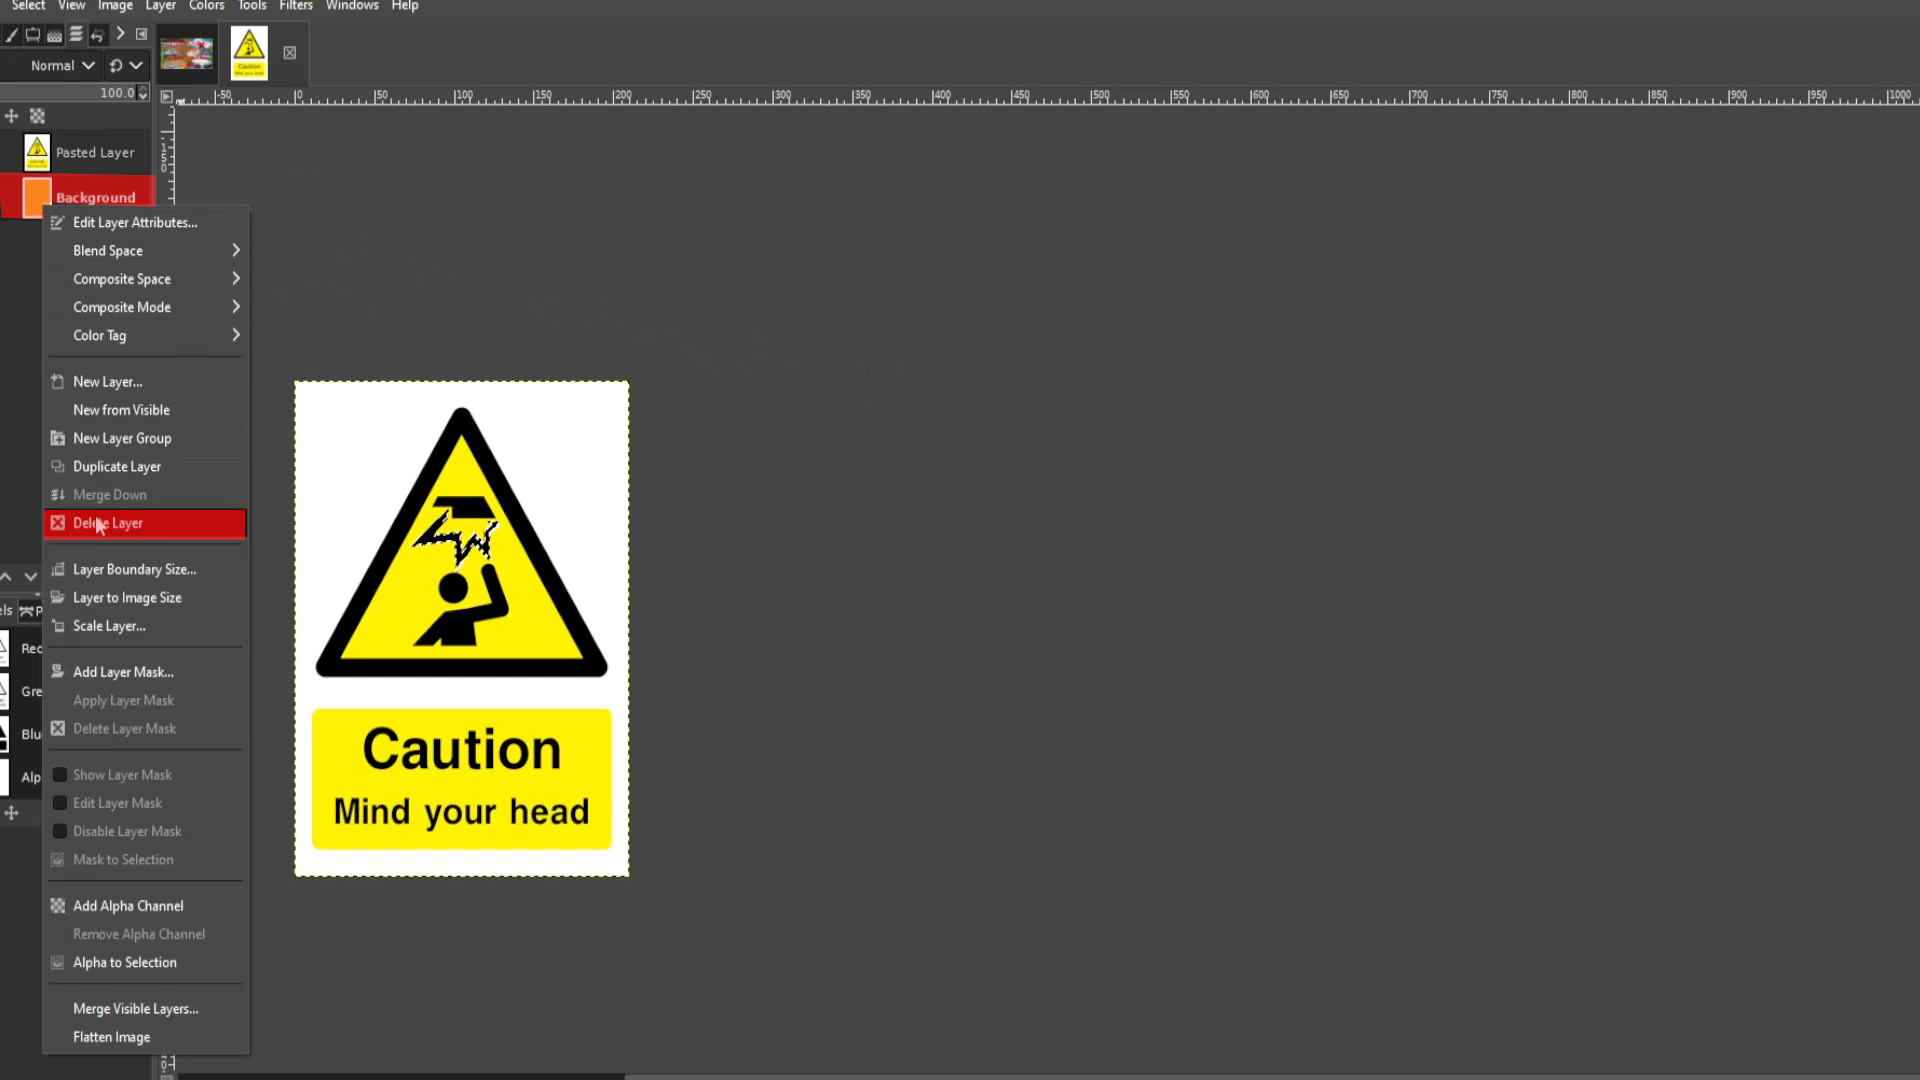
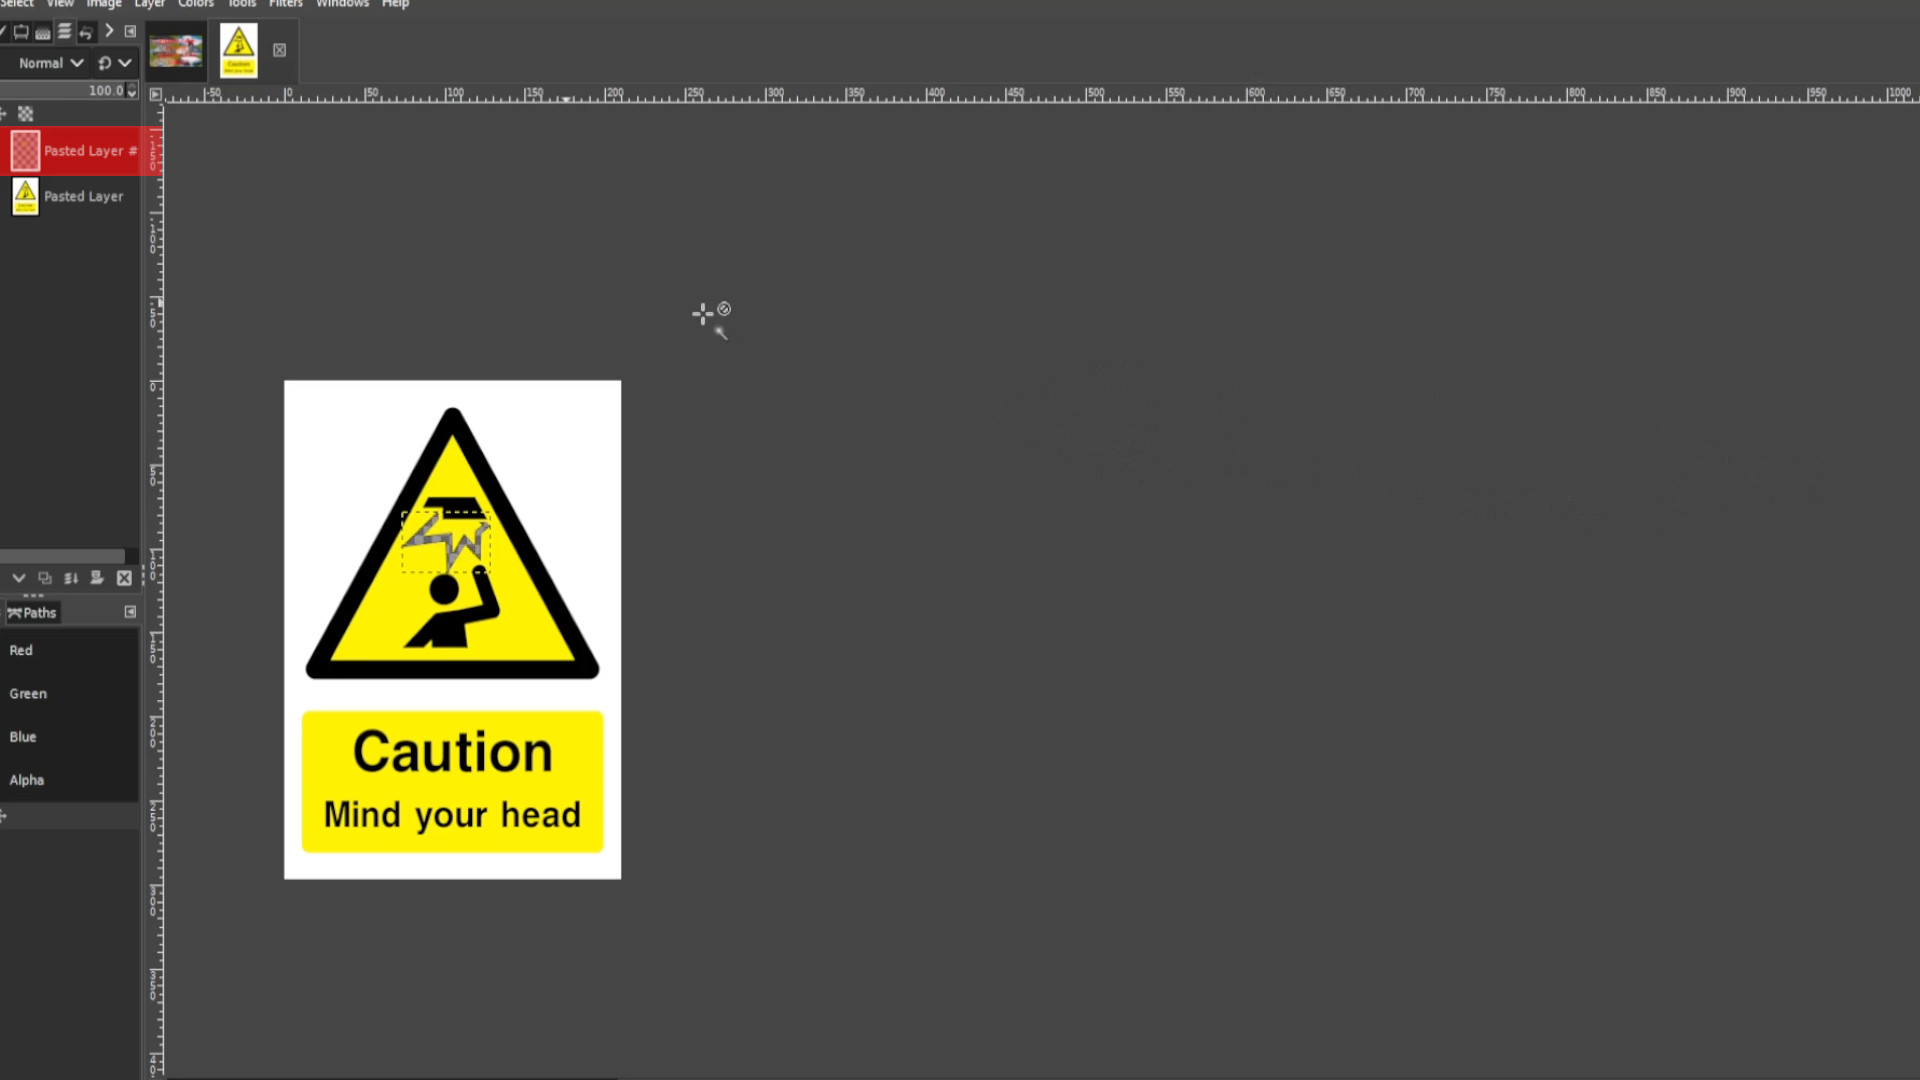
Use the>>>FUZZY SELECT TOOL to select in this case the jagged bit. You can >>>HOLD>>>SHIFT and>>>CLICK on the>>>LEFT BUTTON of the>>>MOUSE to select more than one bit. If you have a bottom layer remove it by>>>CLICKING on the last>>>LAYER and>>>PRESSING DELETE LAYER
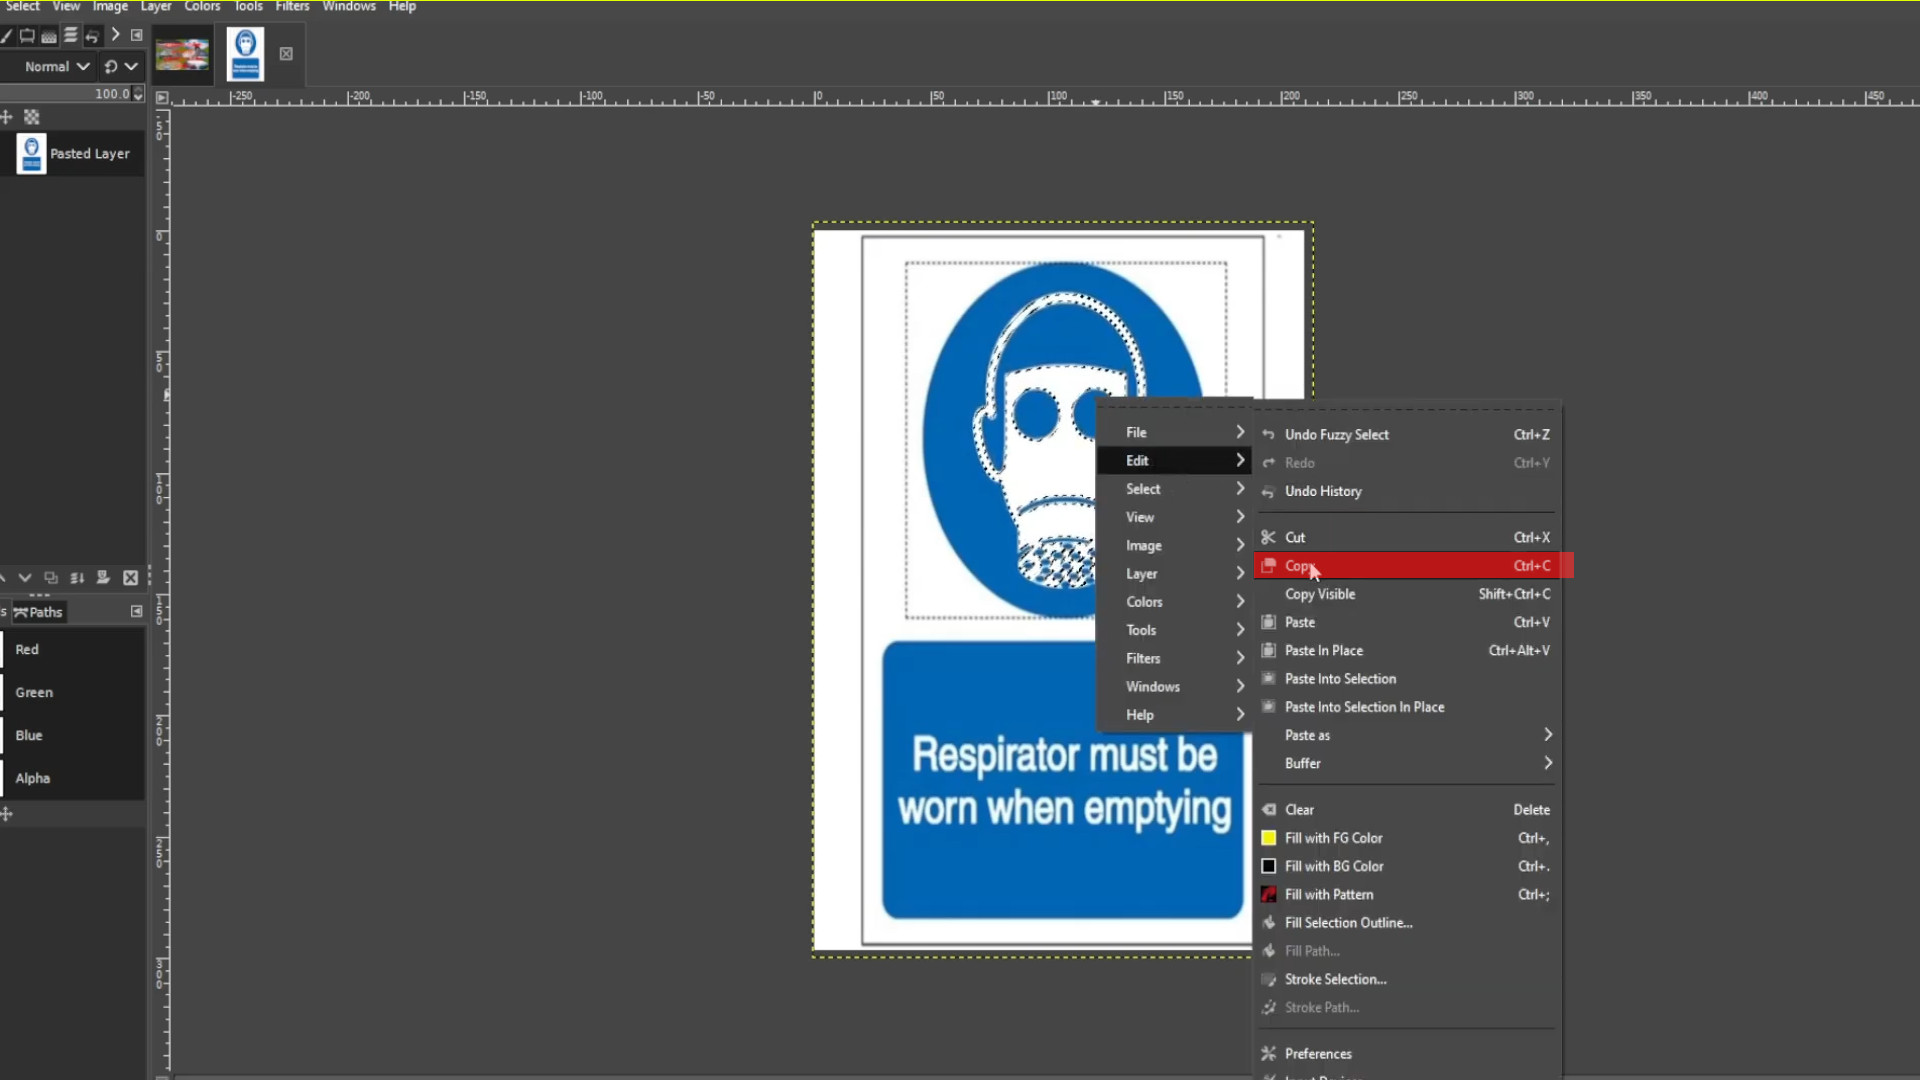
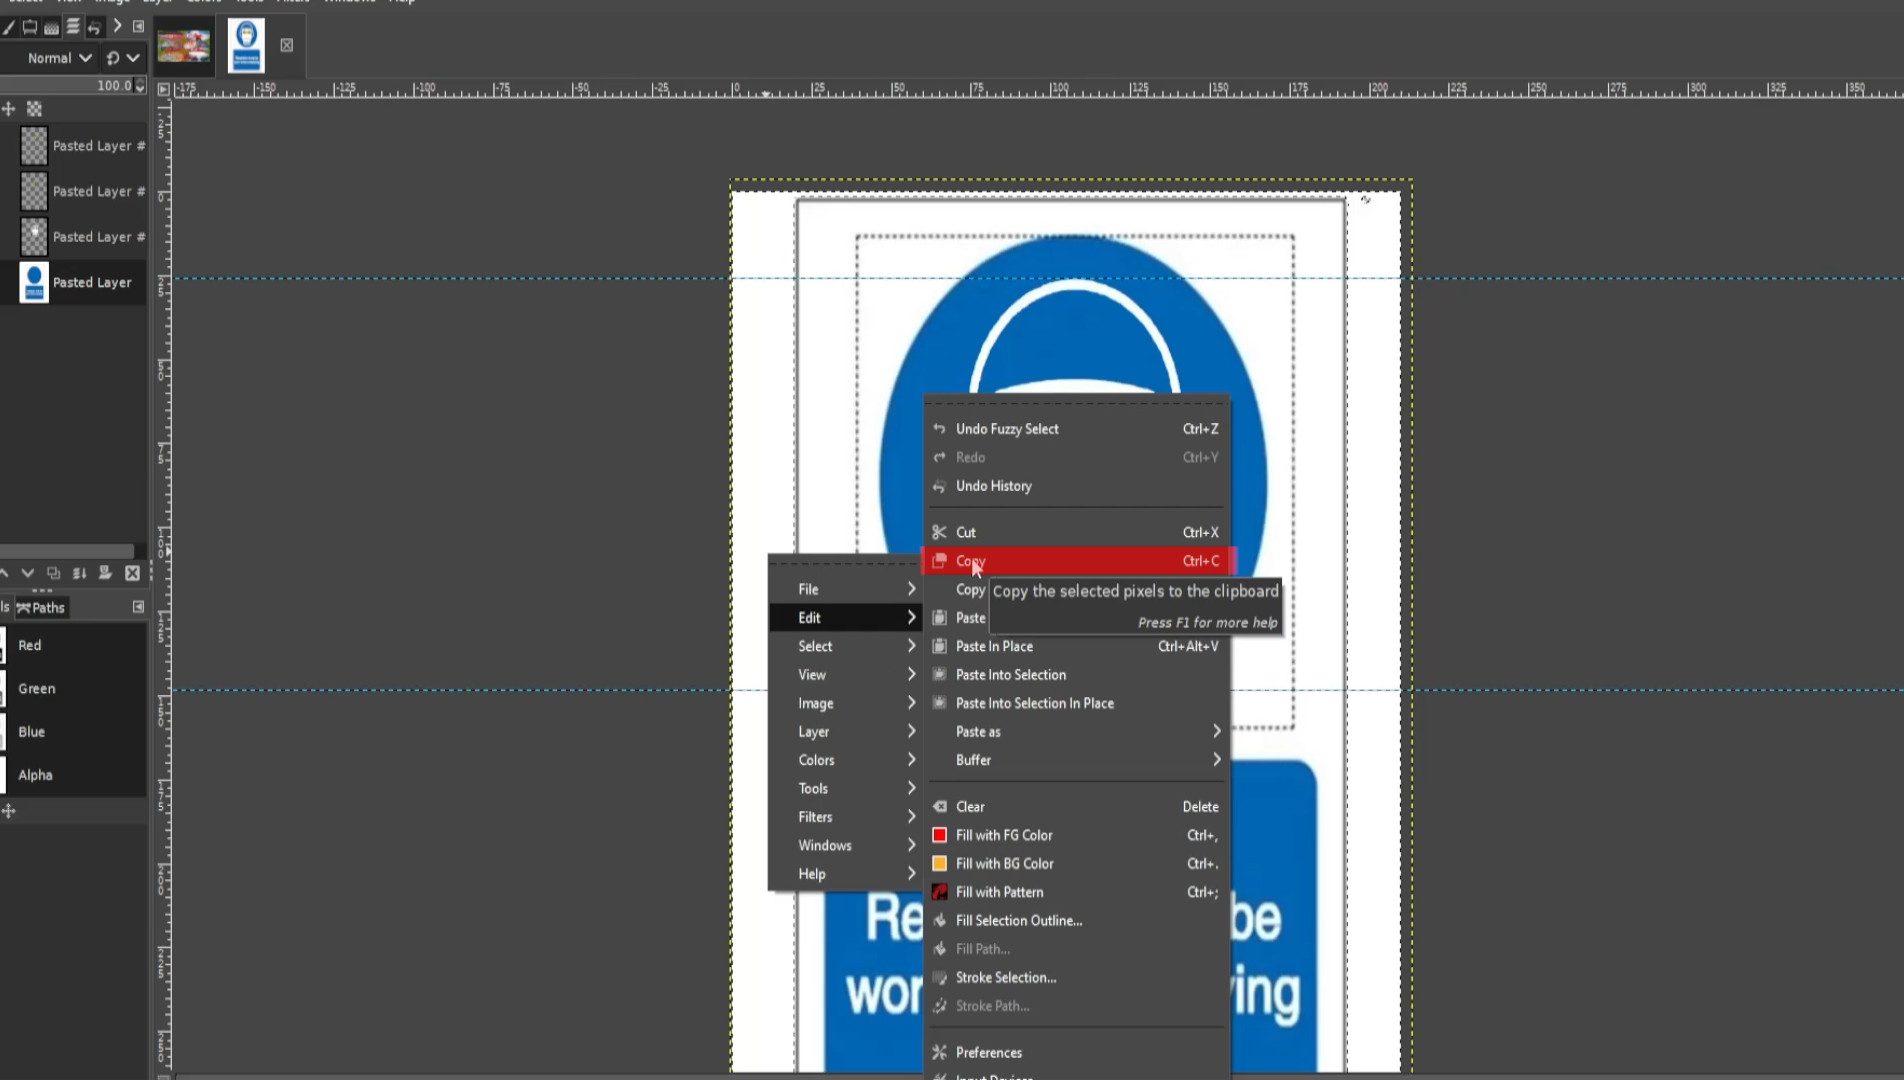
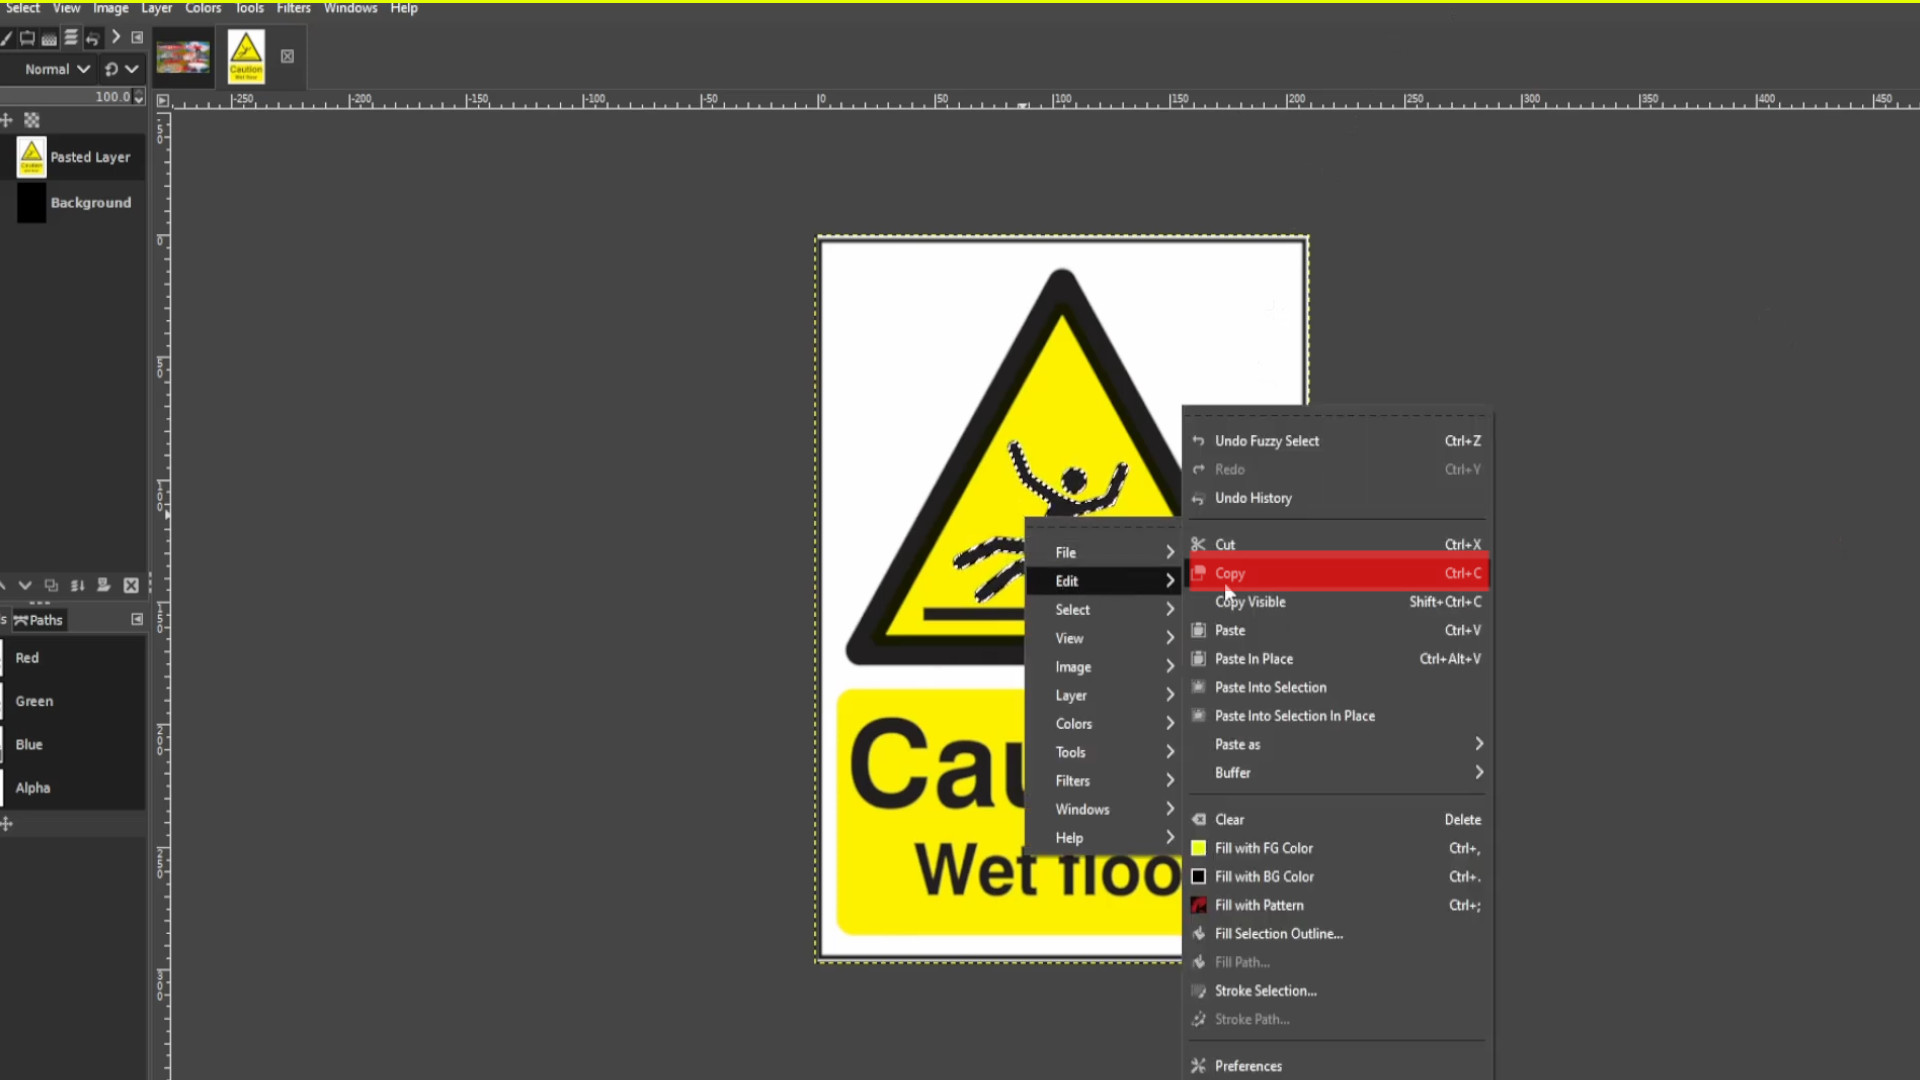
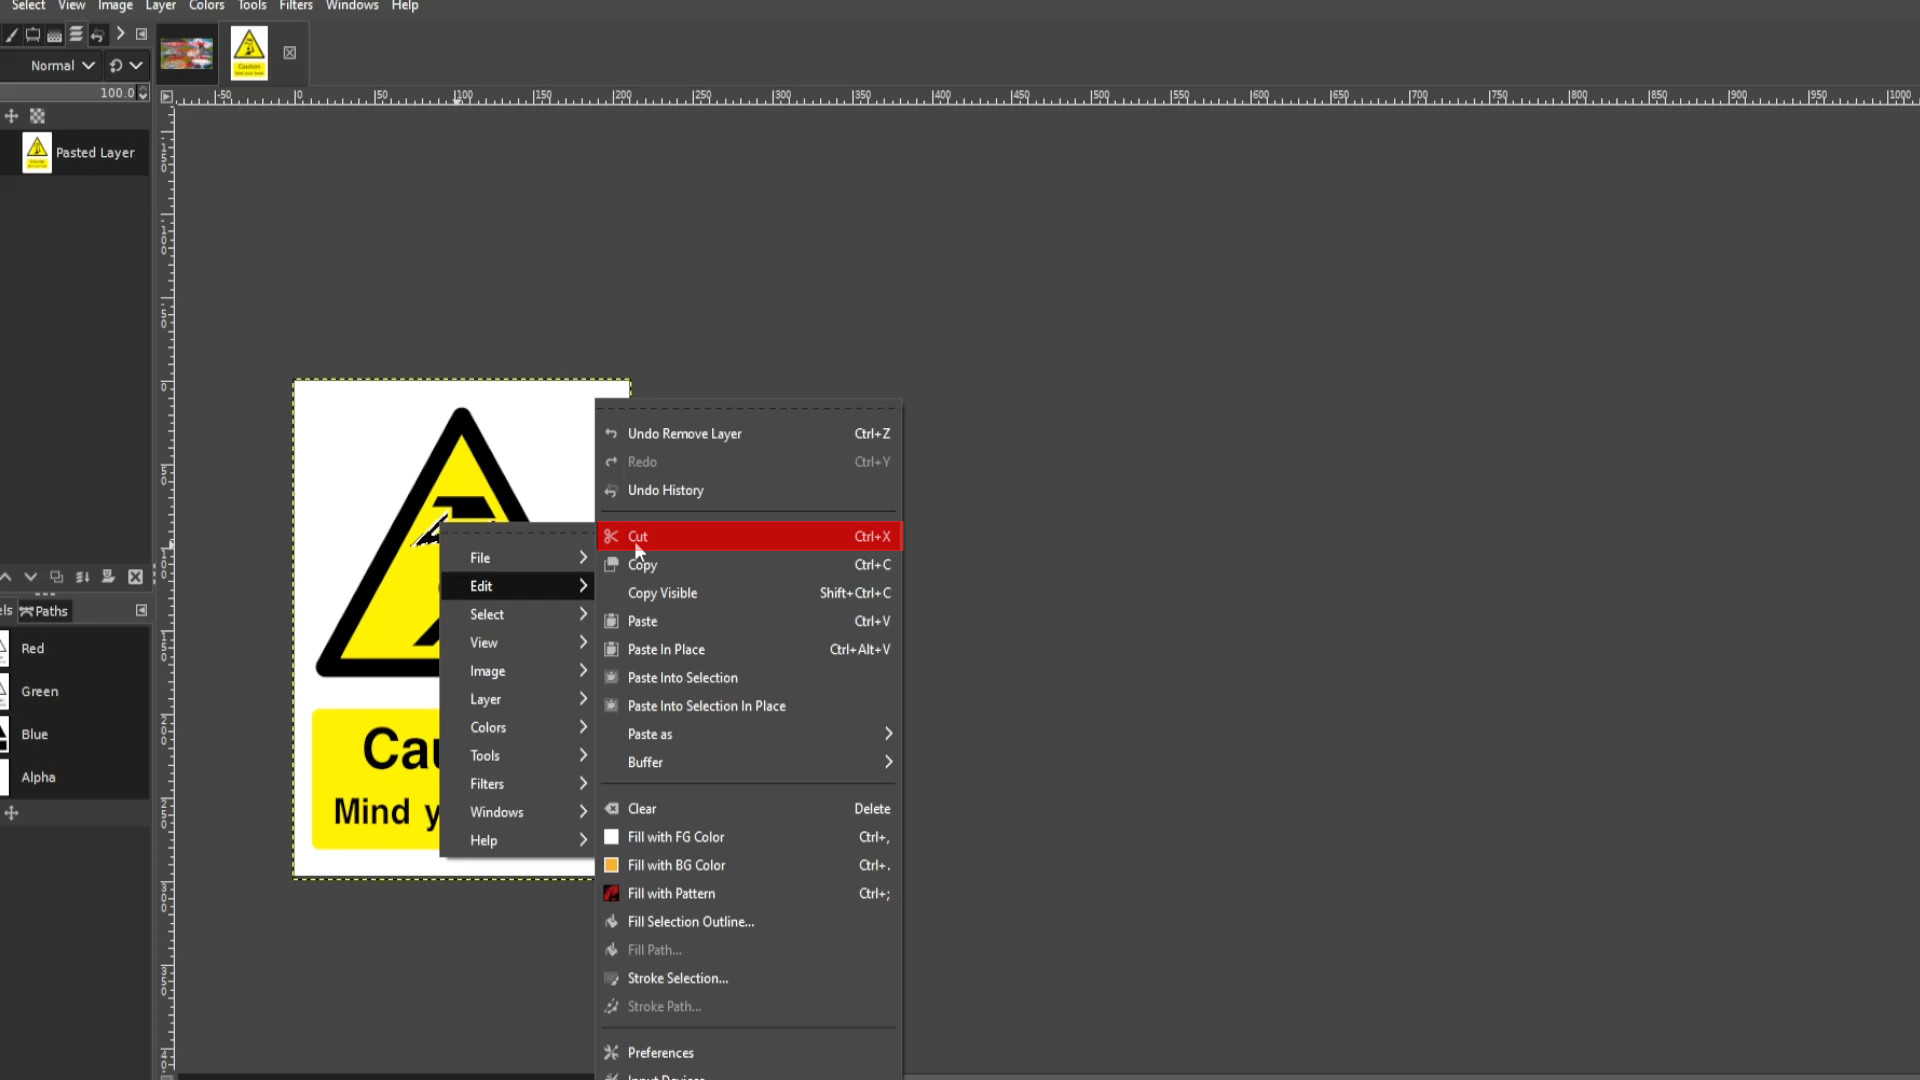
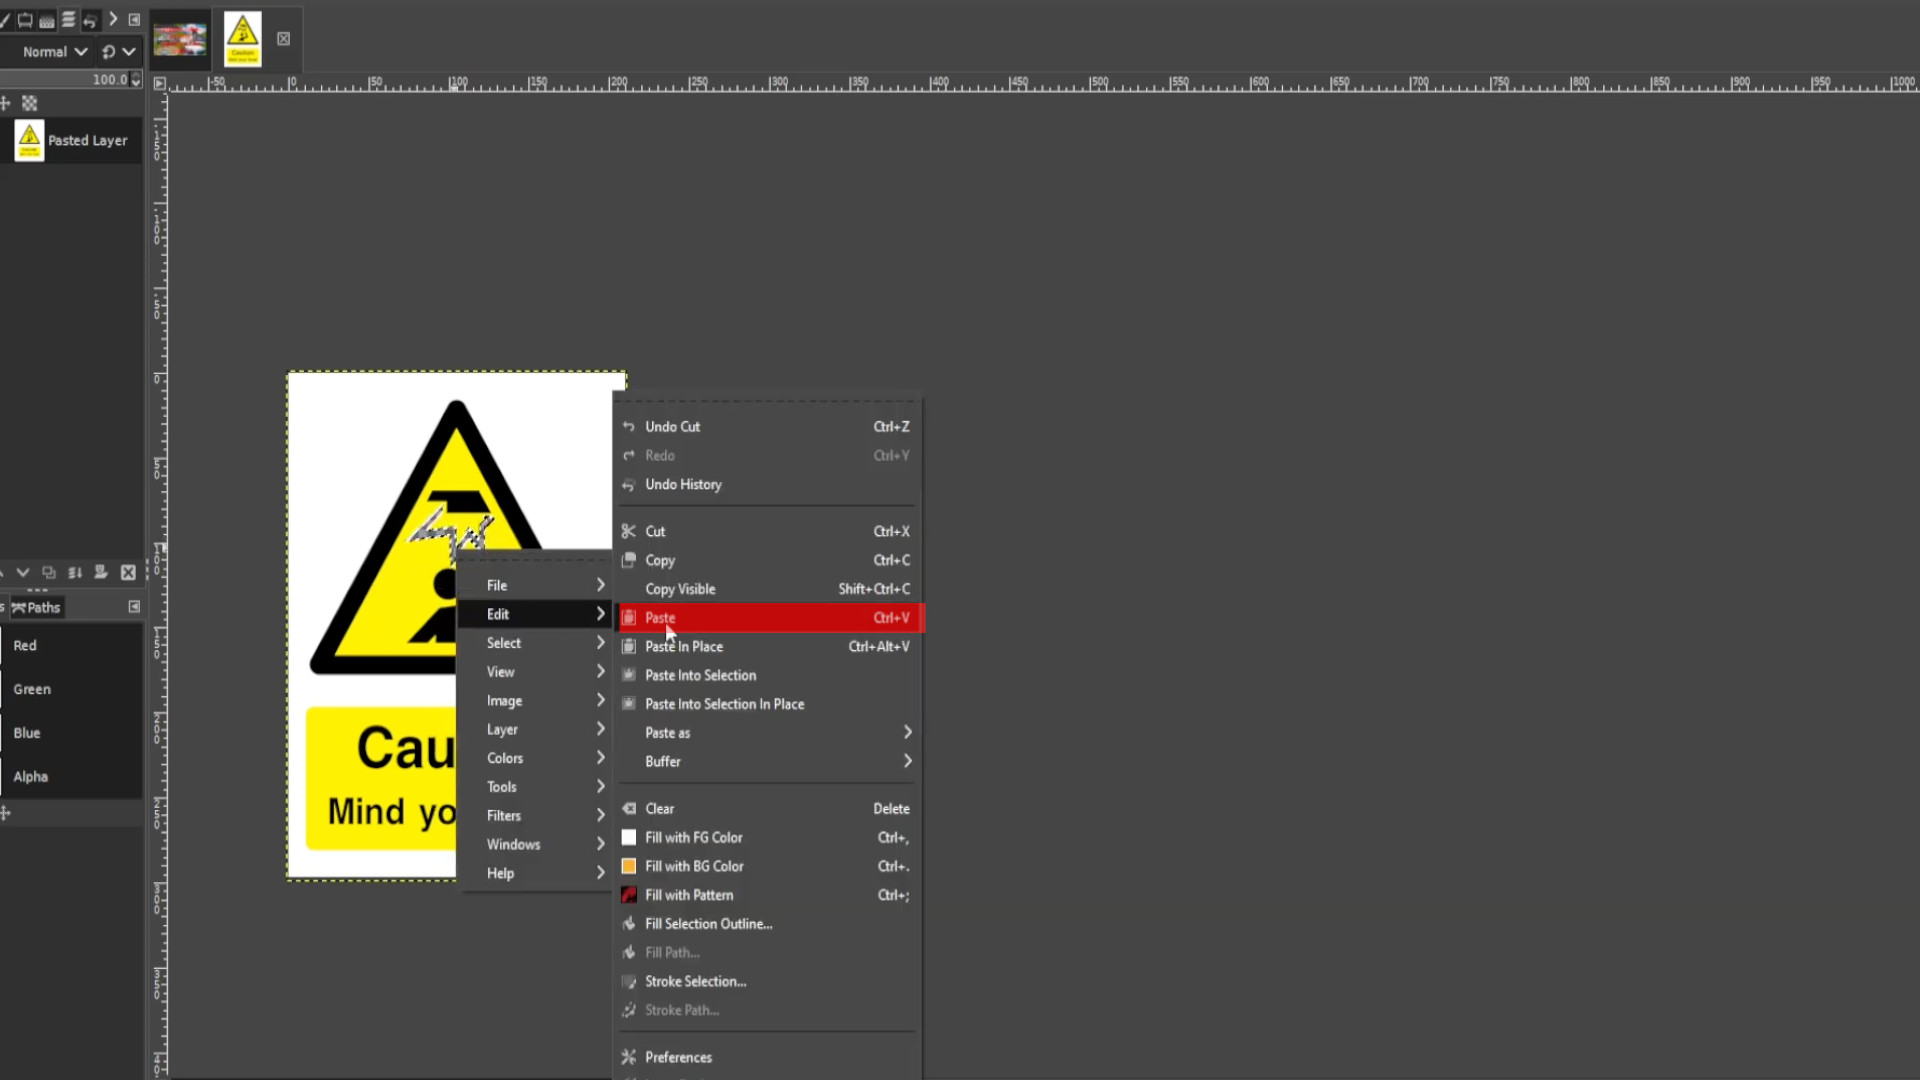
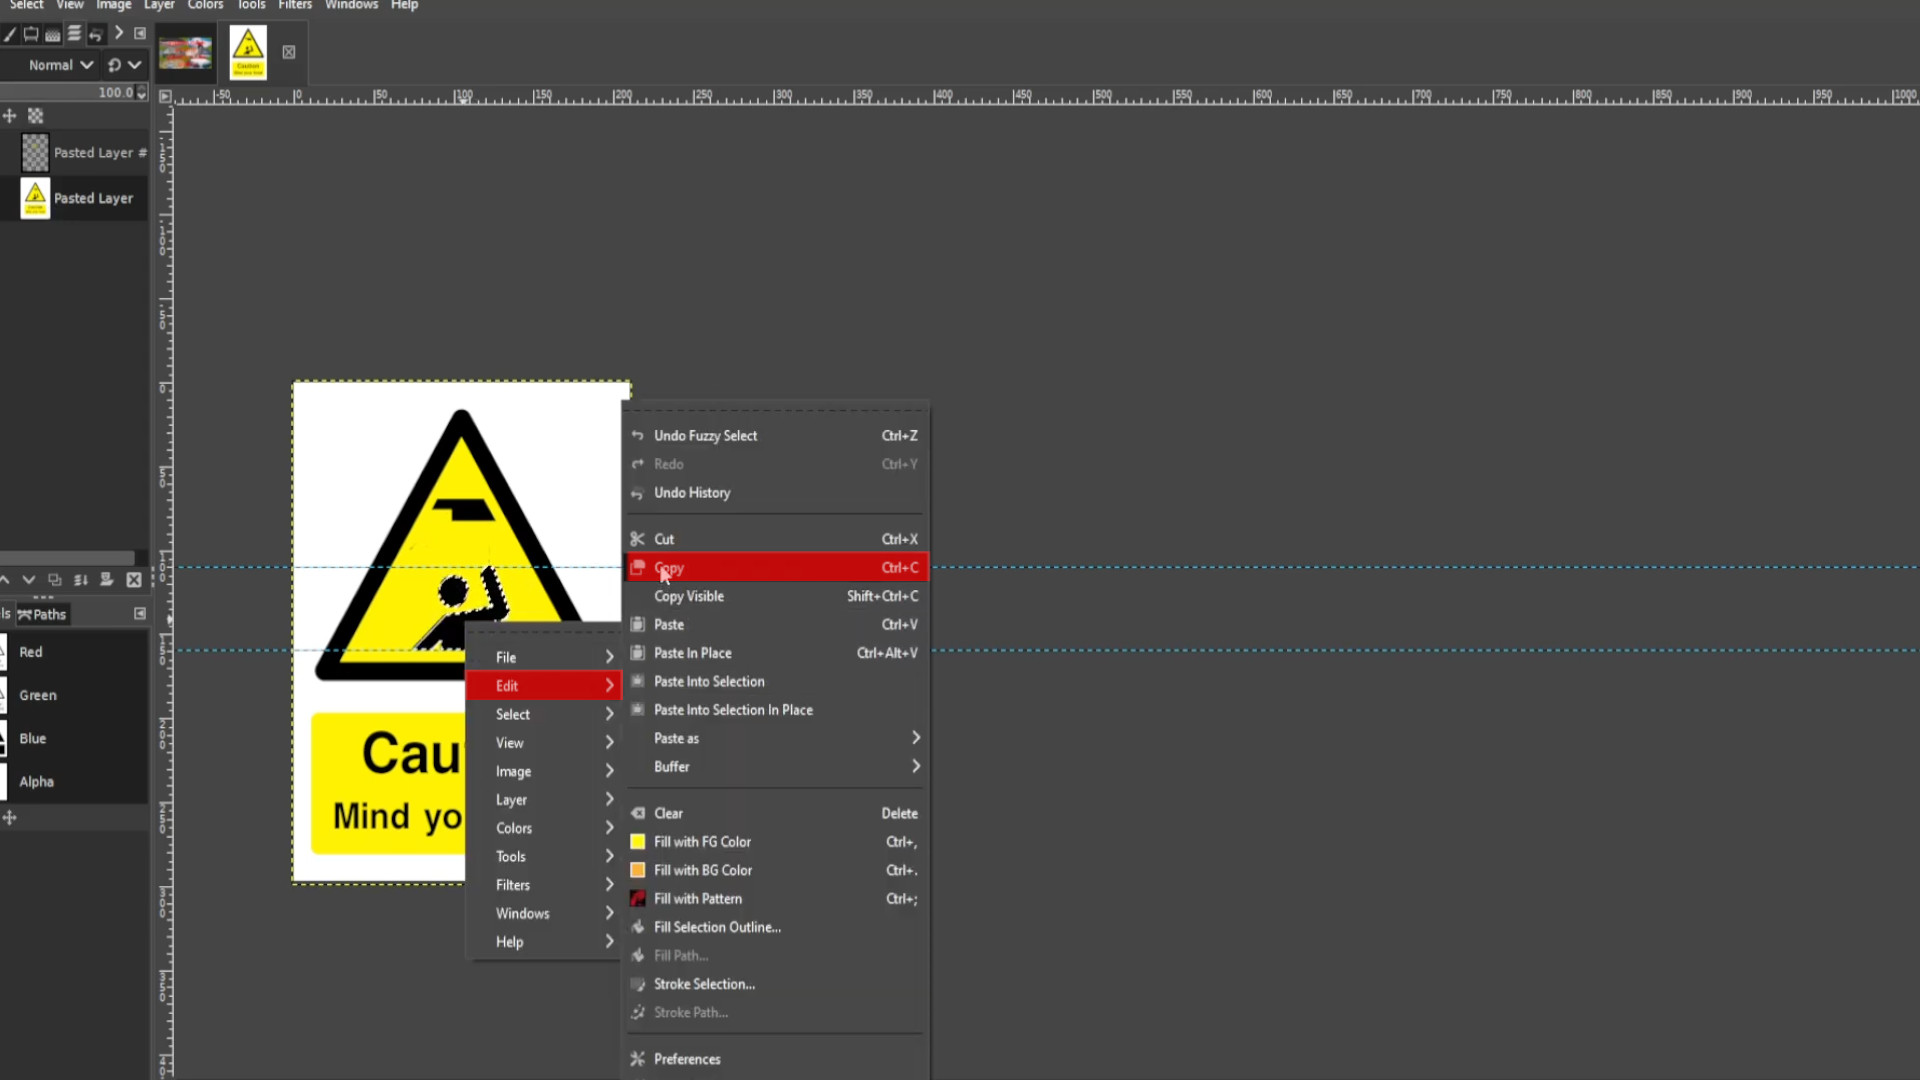
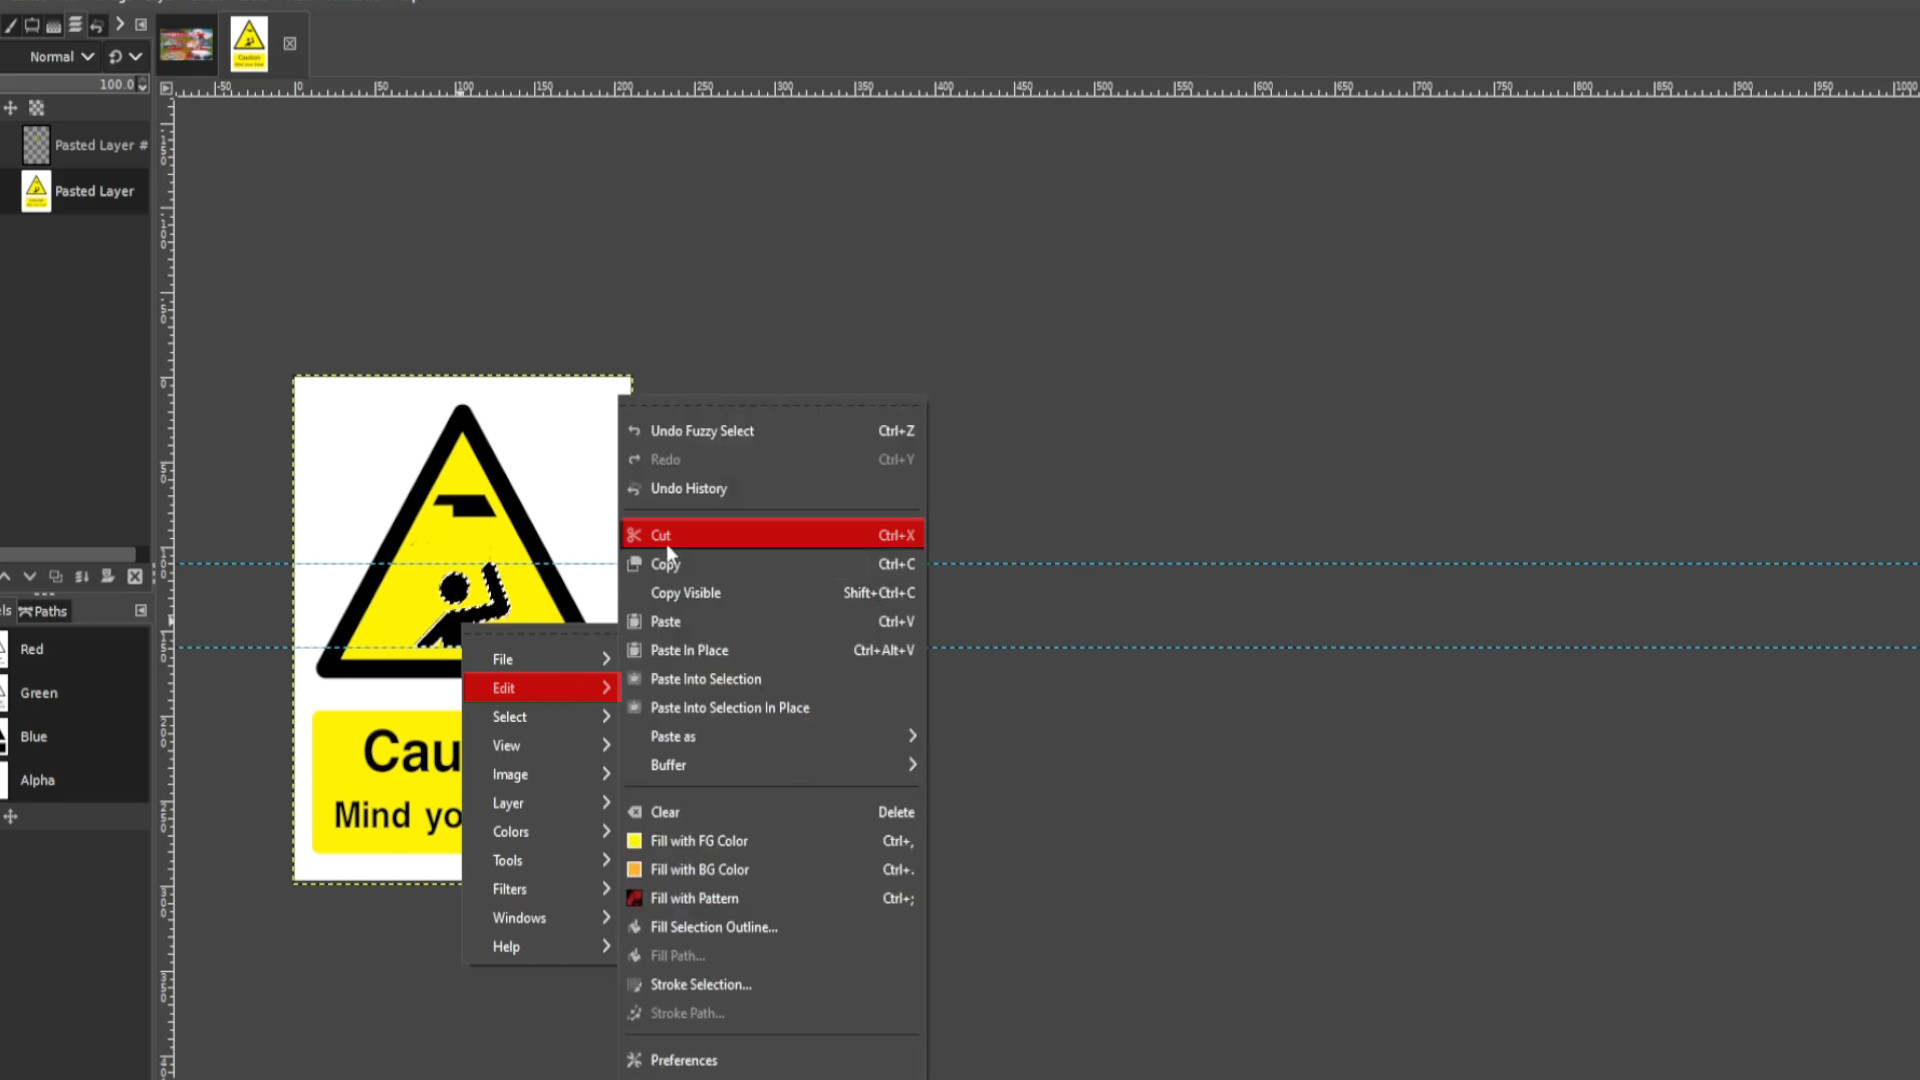
With the first layer selected>>>RIGHT CLICK on the picture and hover your cursor over>>>EDIT and>>>PRESS>>>COPY or use shortcut>>>HOLD>>>CTRL and>>>PRESS C to copy the selected bit.

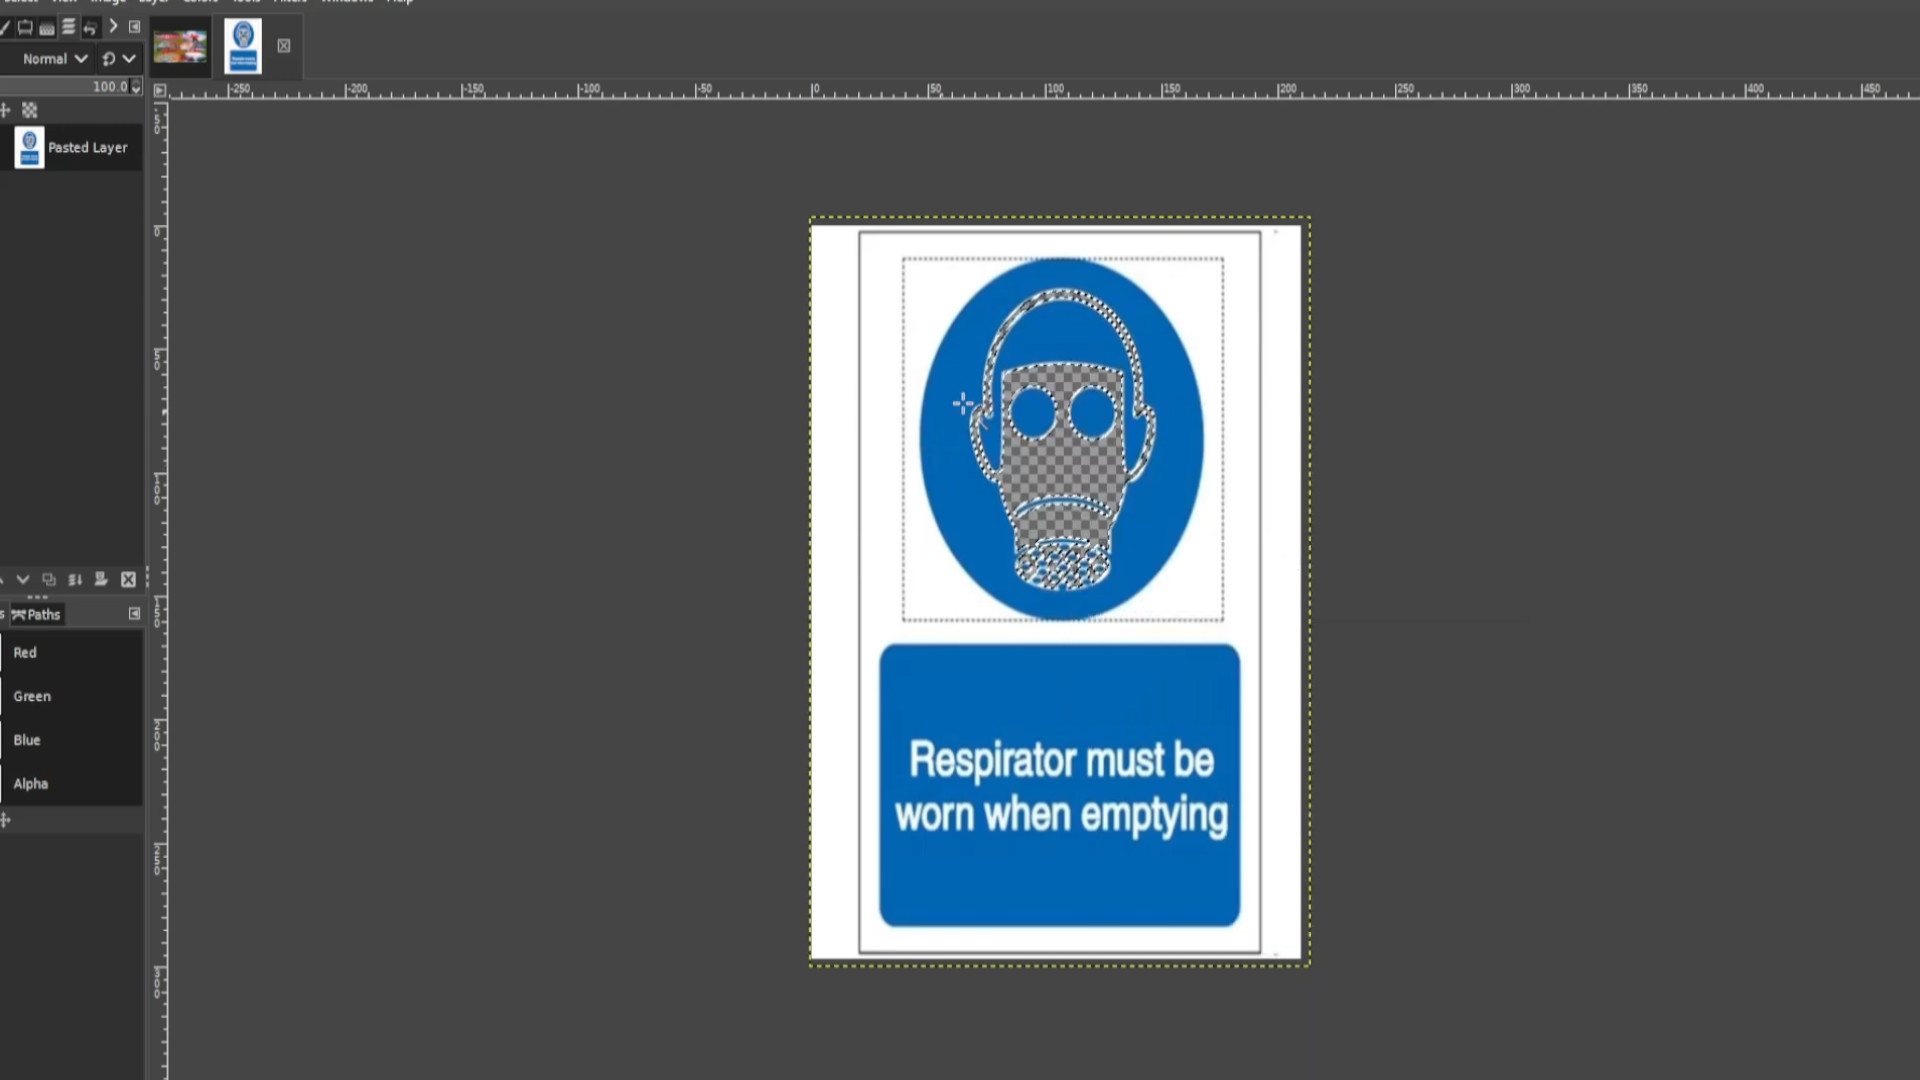
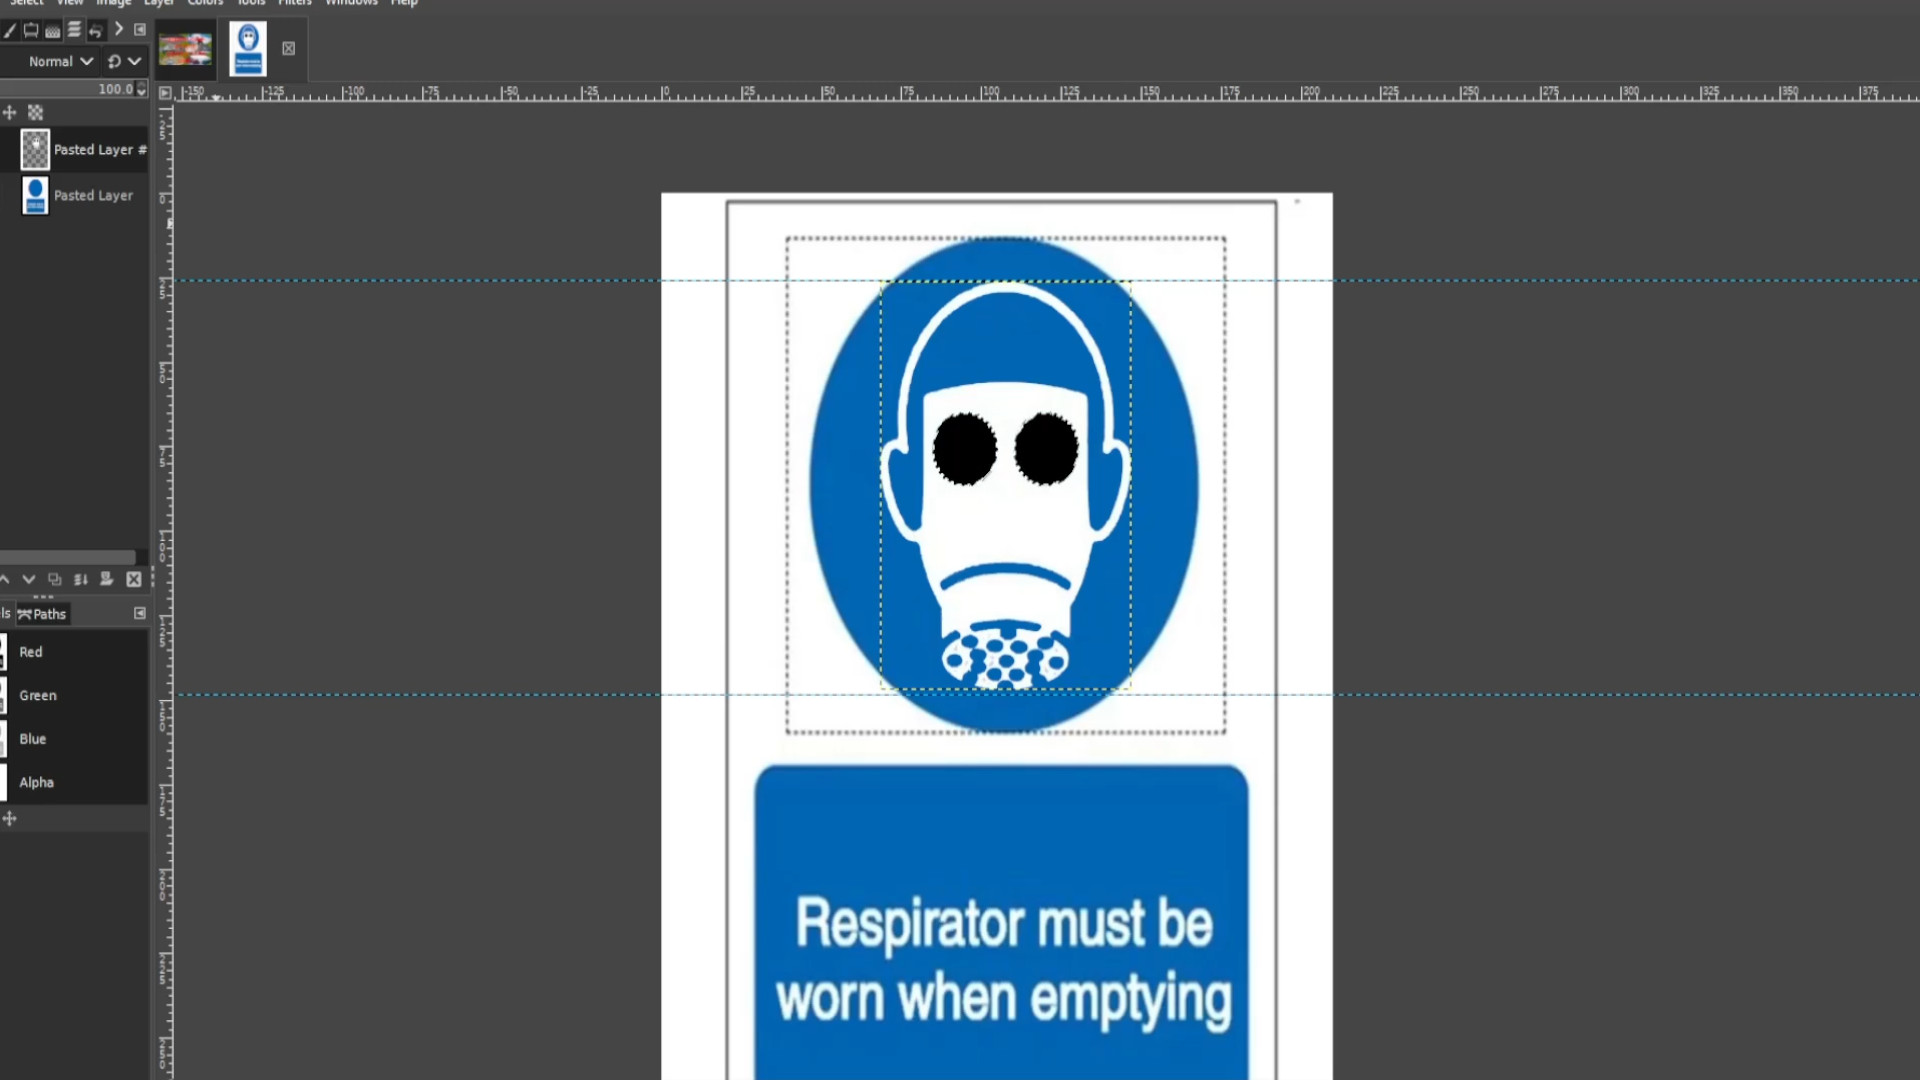
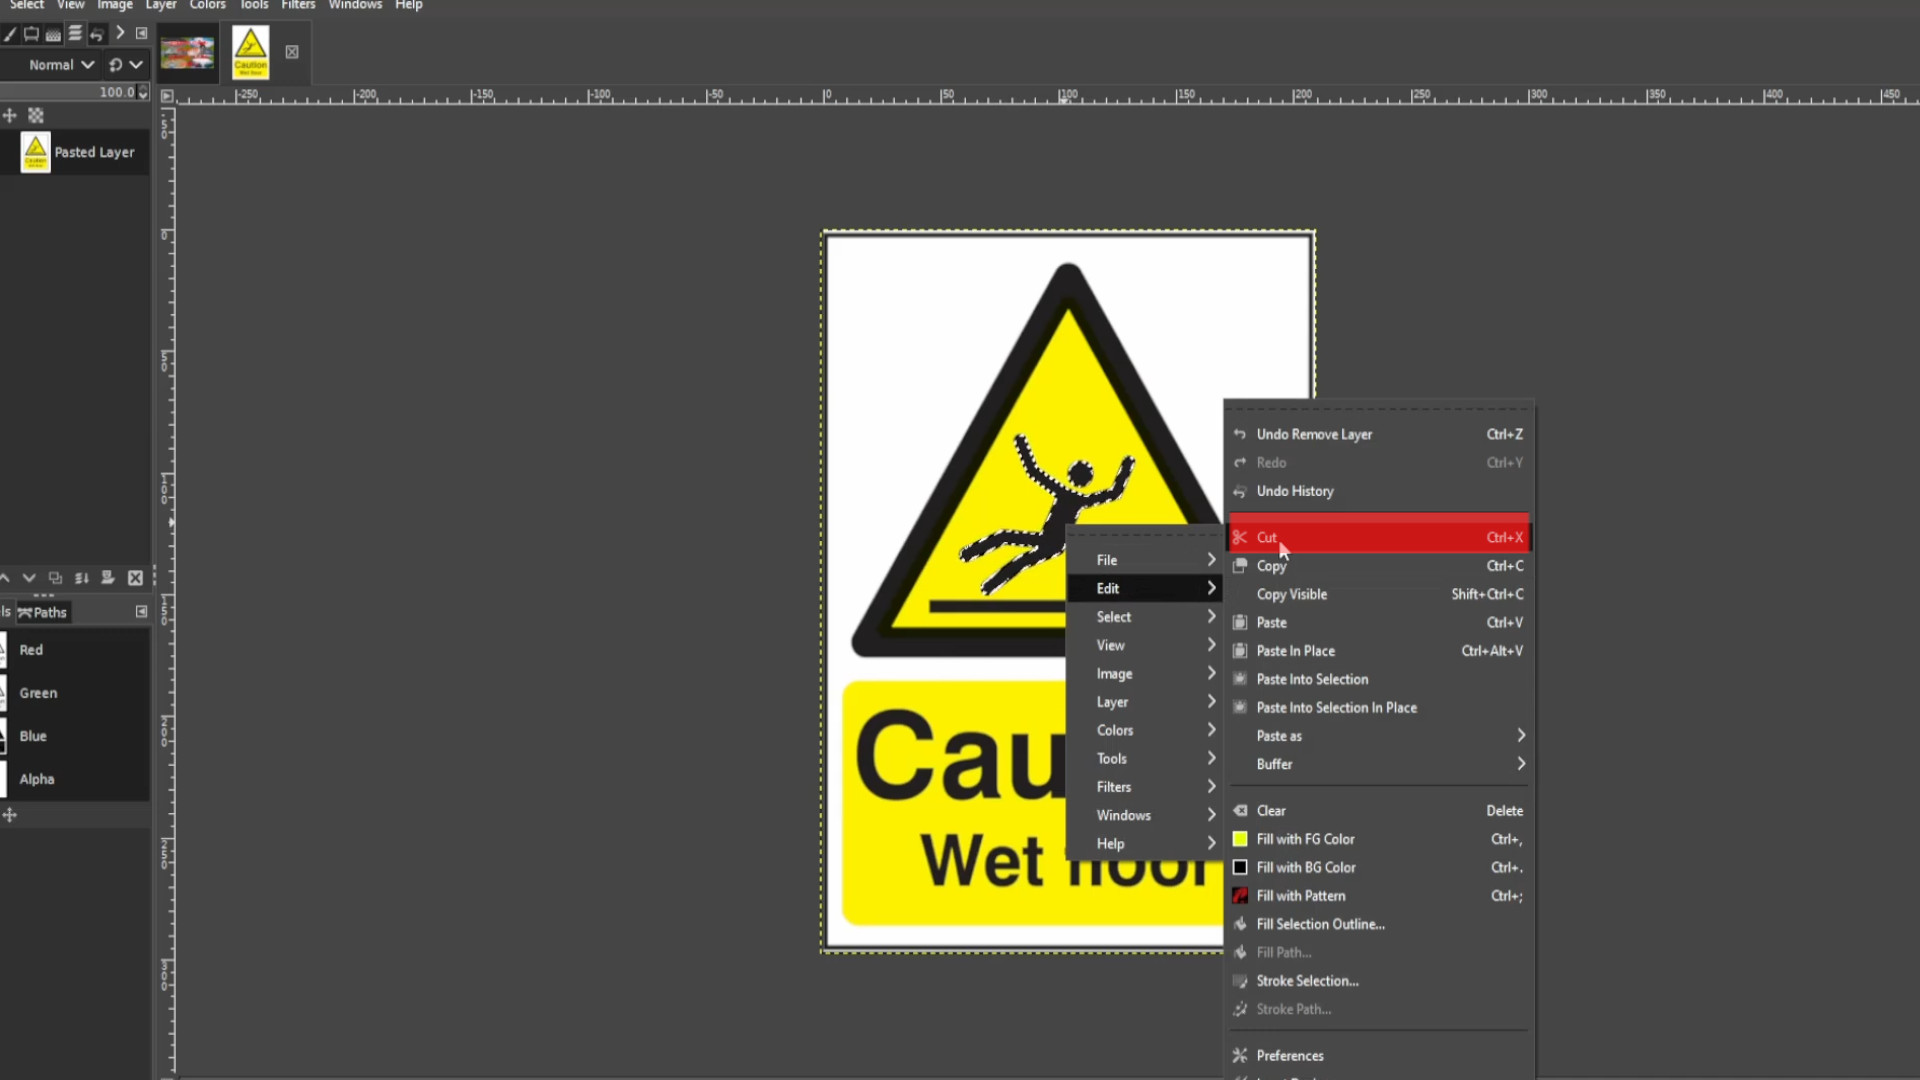
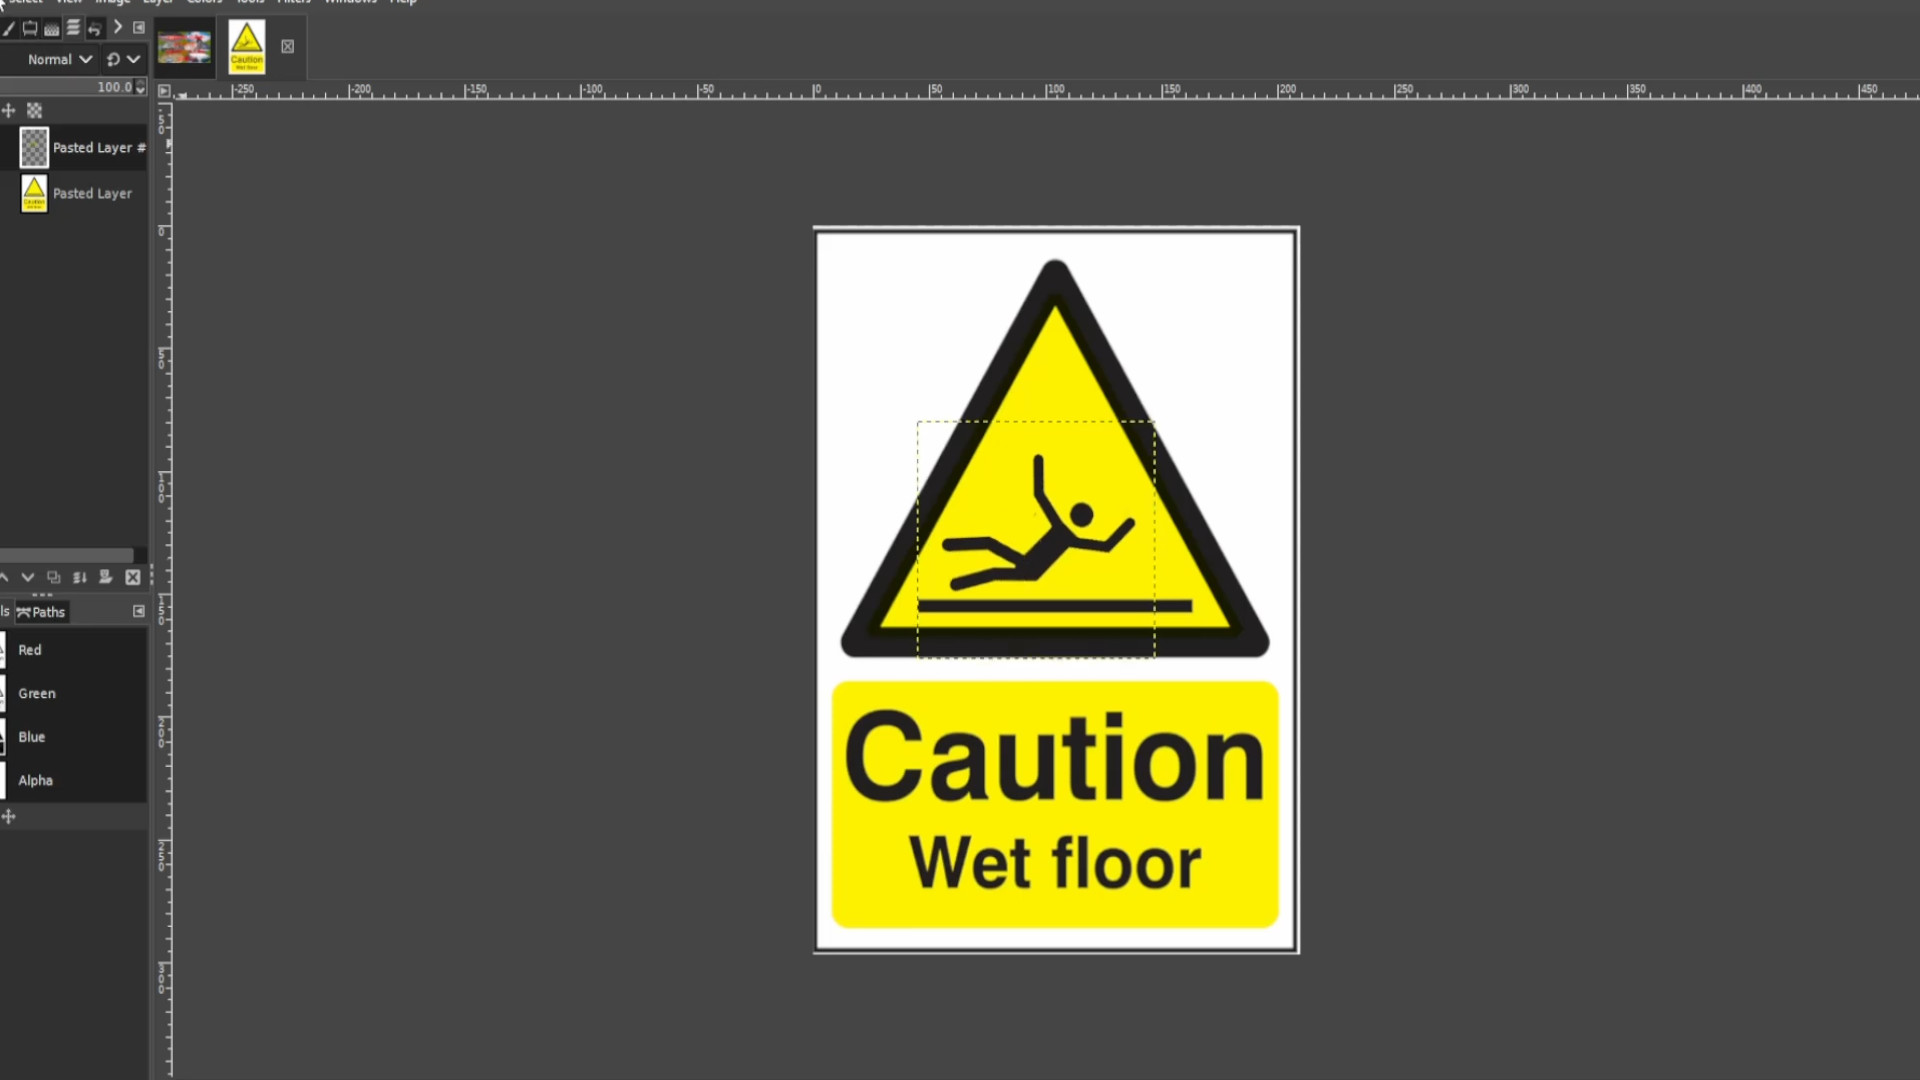
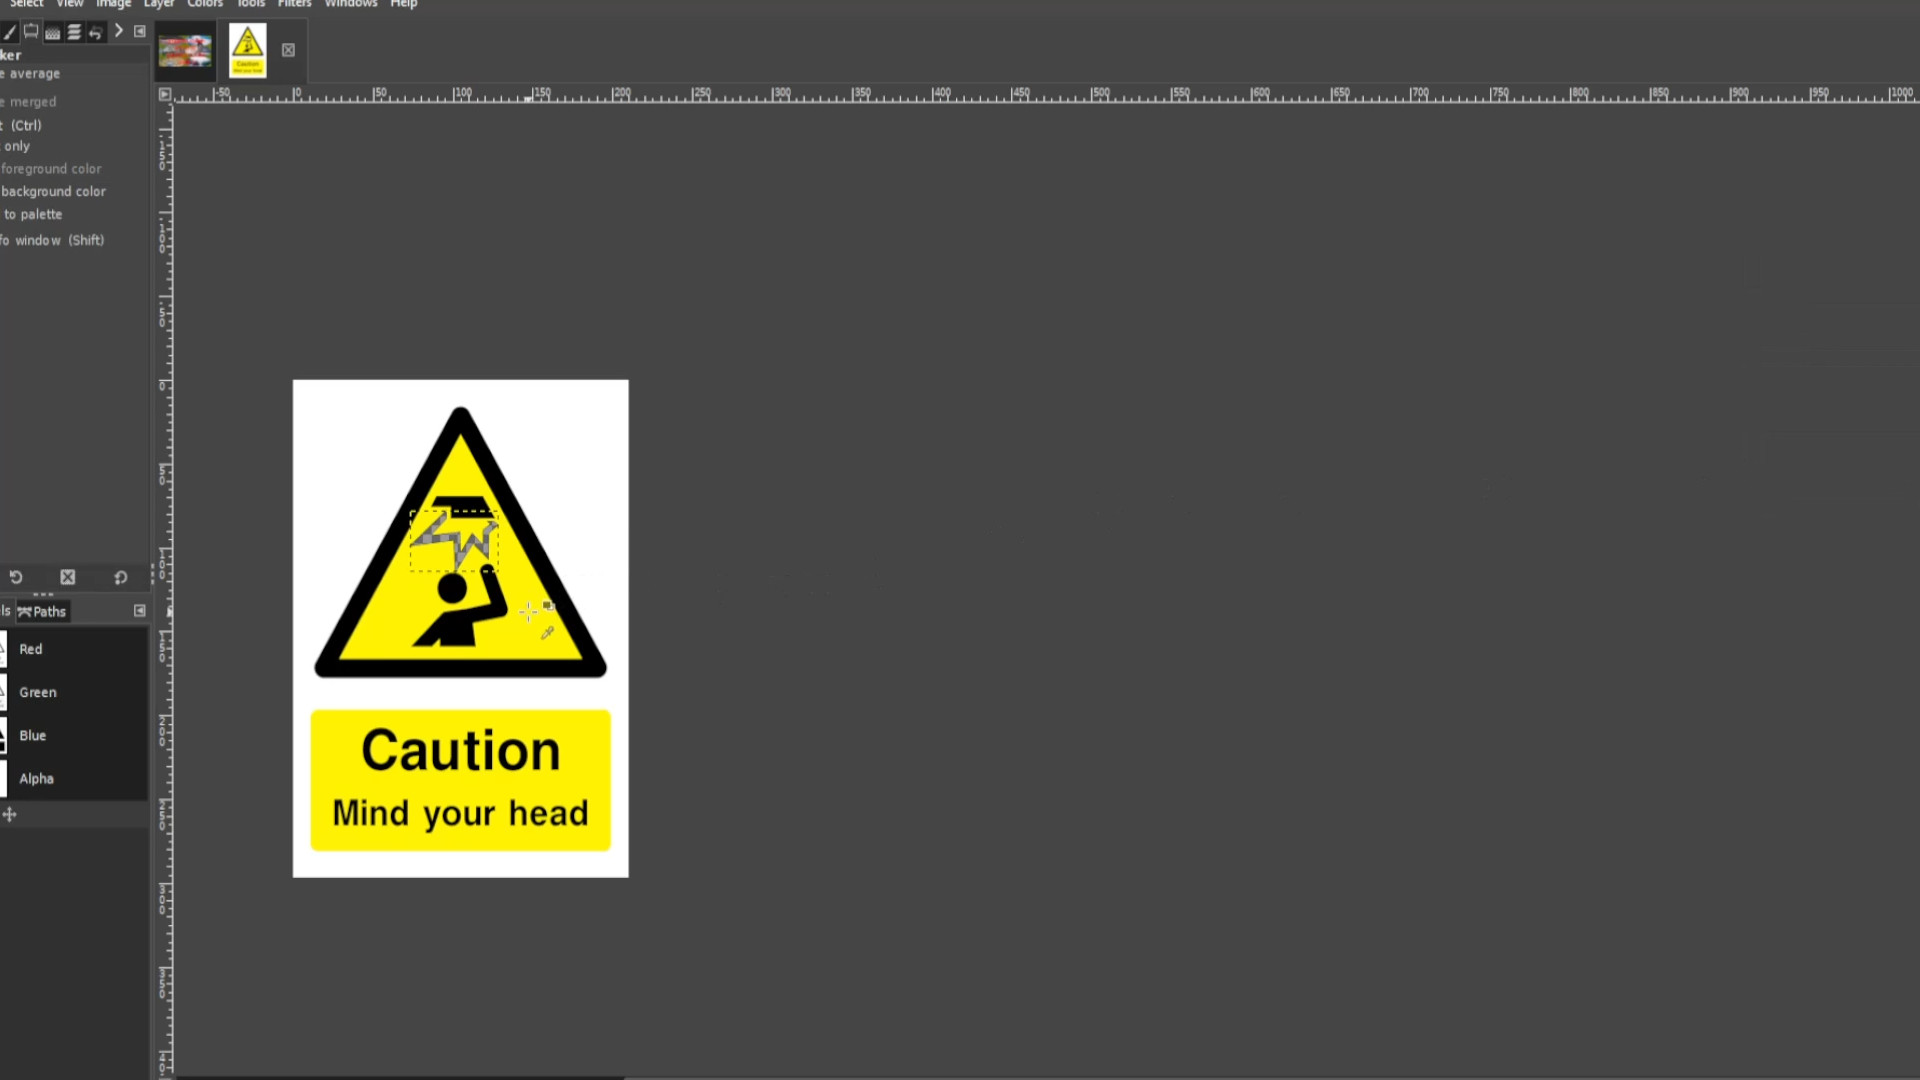
With the first layer selected>>>RIGHT CLICK on the picture and hover your cursor over>>>EDIT and>>>PRESS>>>CUT or use shortcut>>>HOLD>>>CTRL and>>>PRESS X to cut the selected bits. The jagged bit should now be transparent as I did one bit at a time.

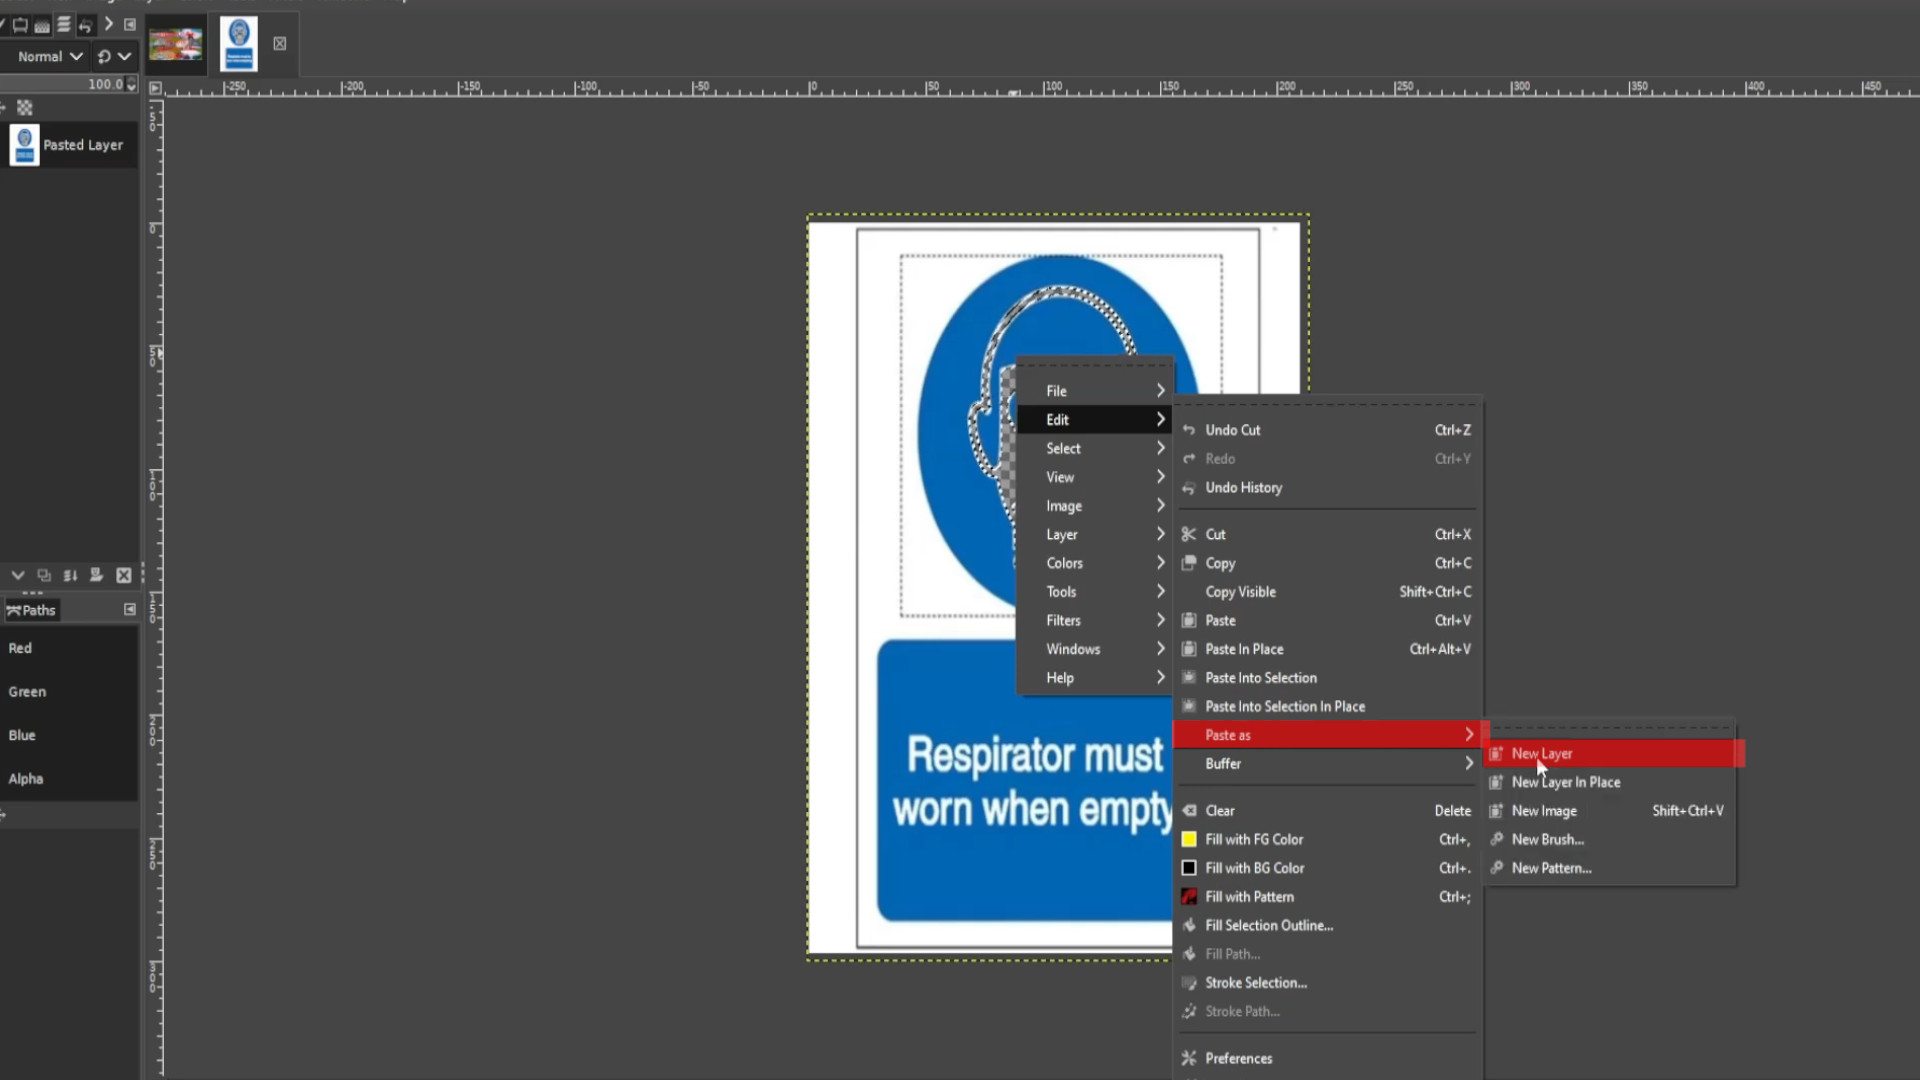
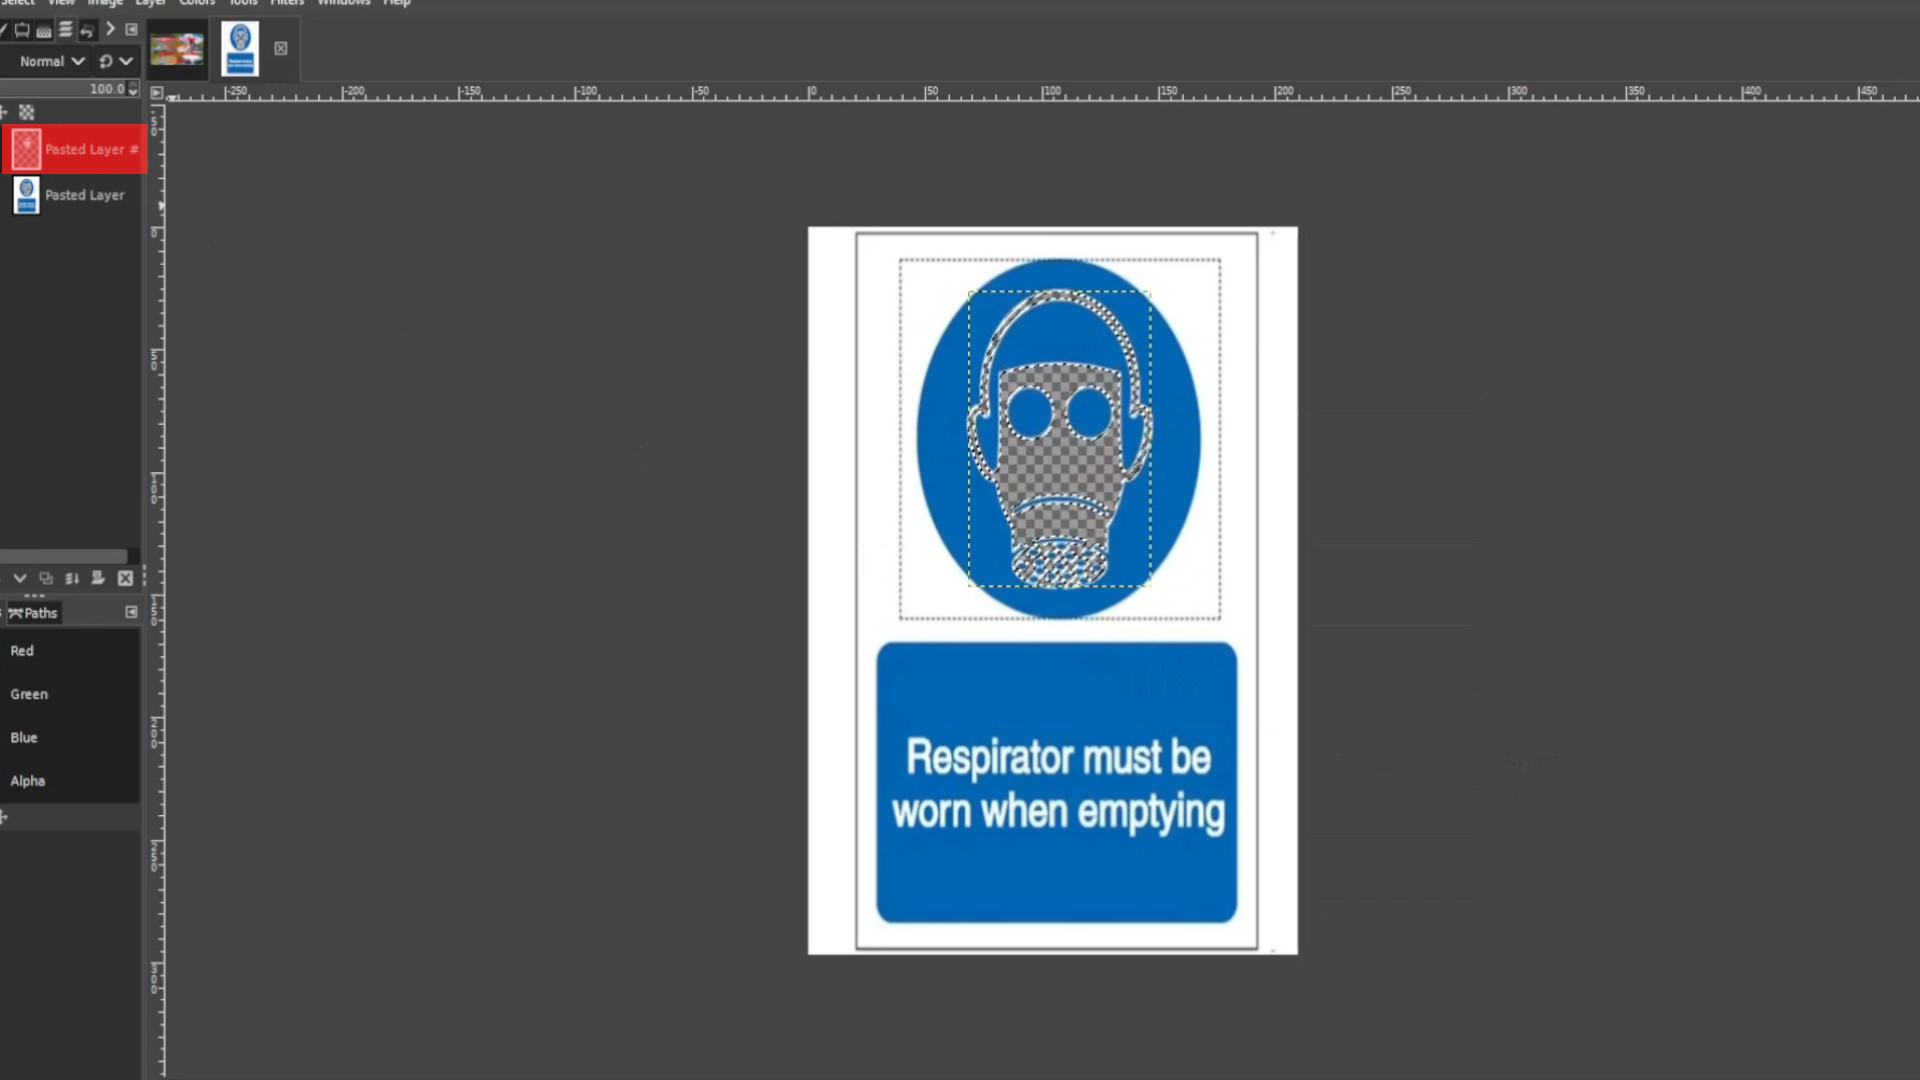
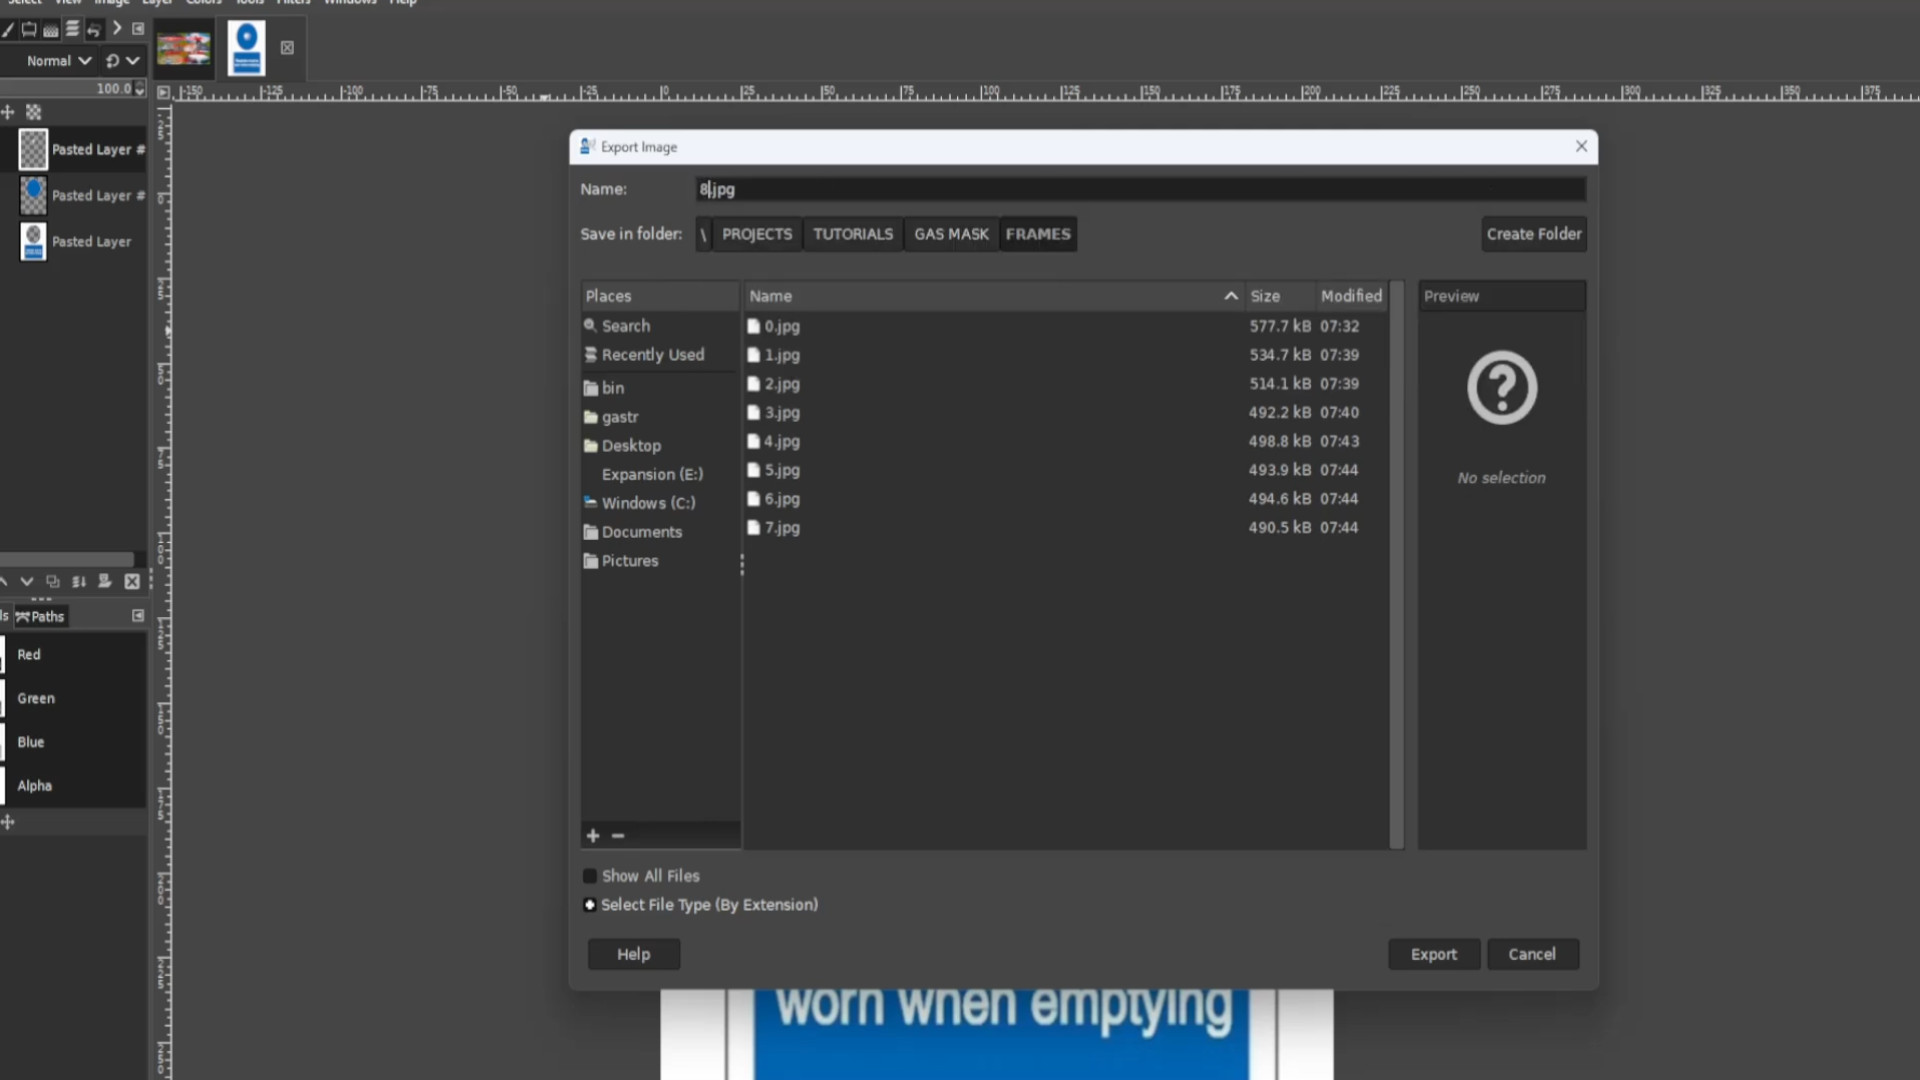
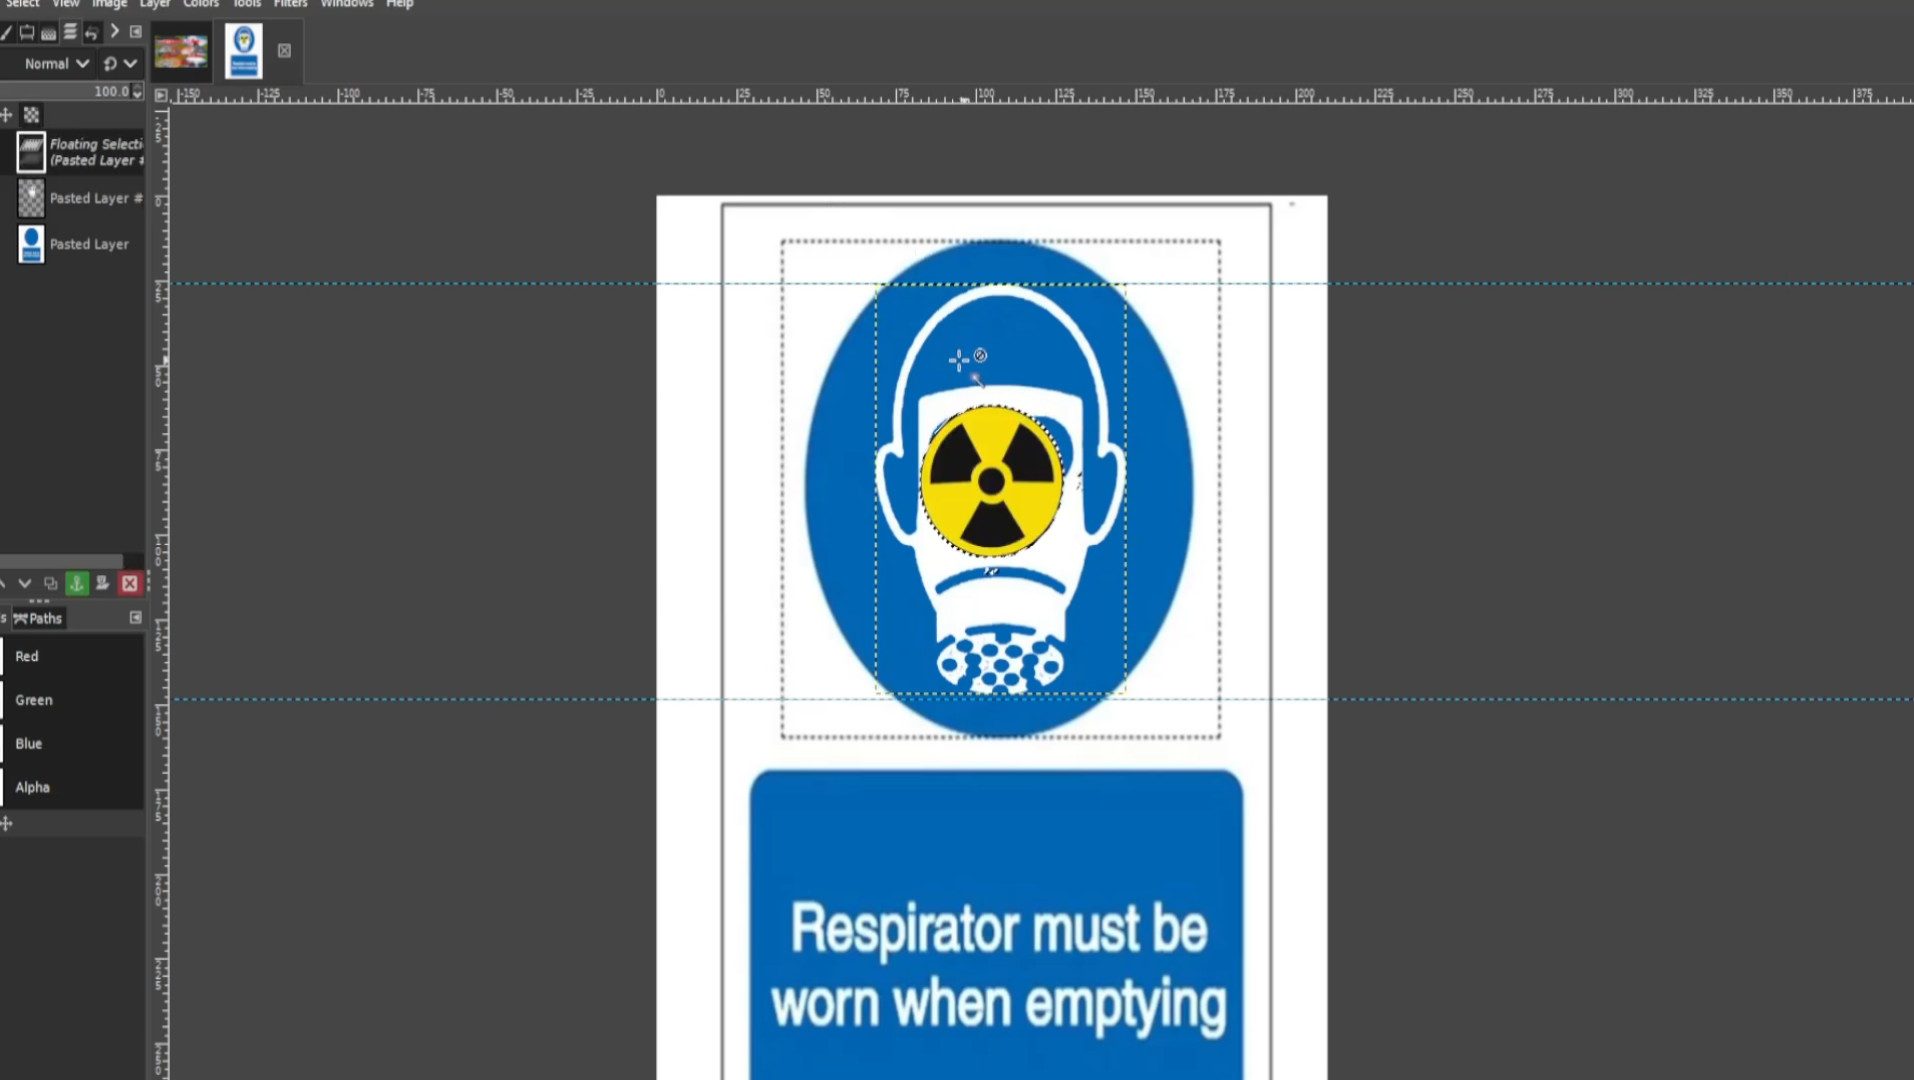
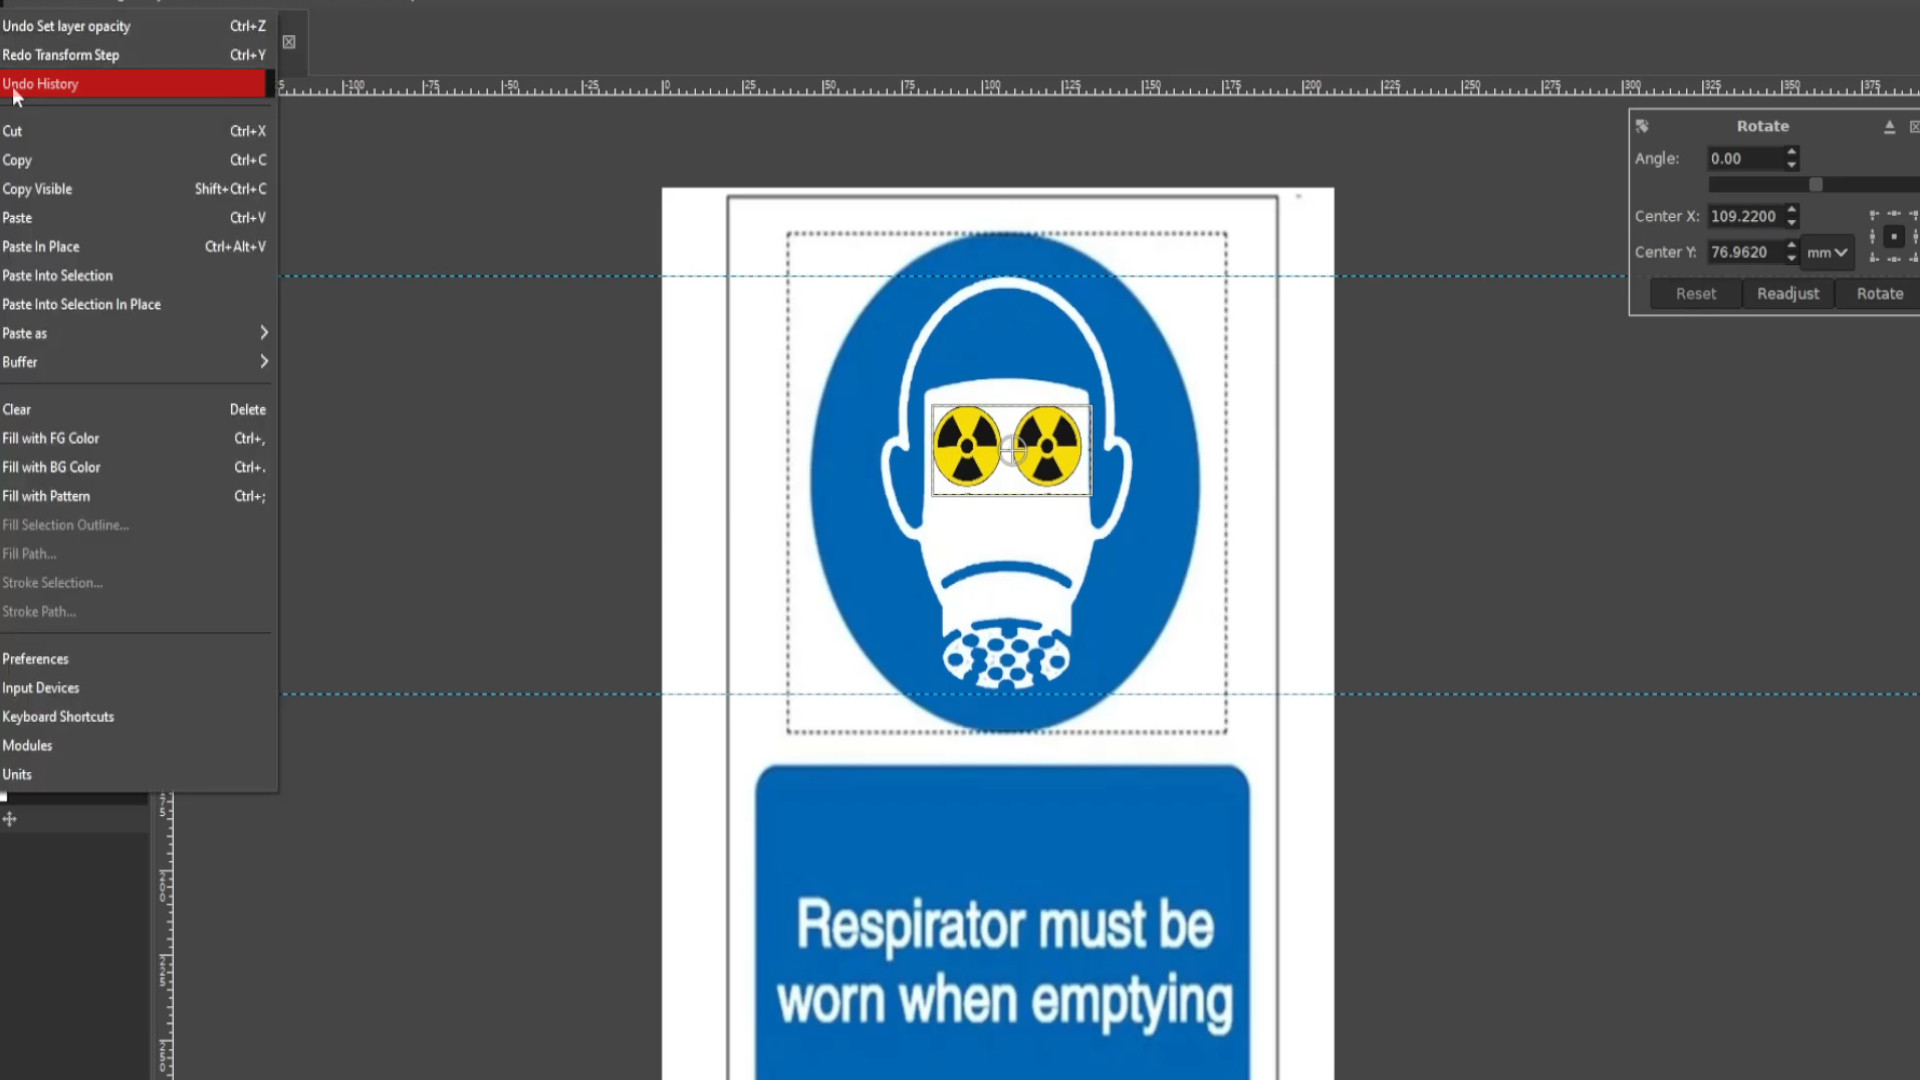
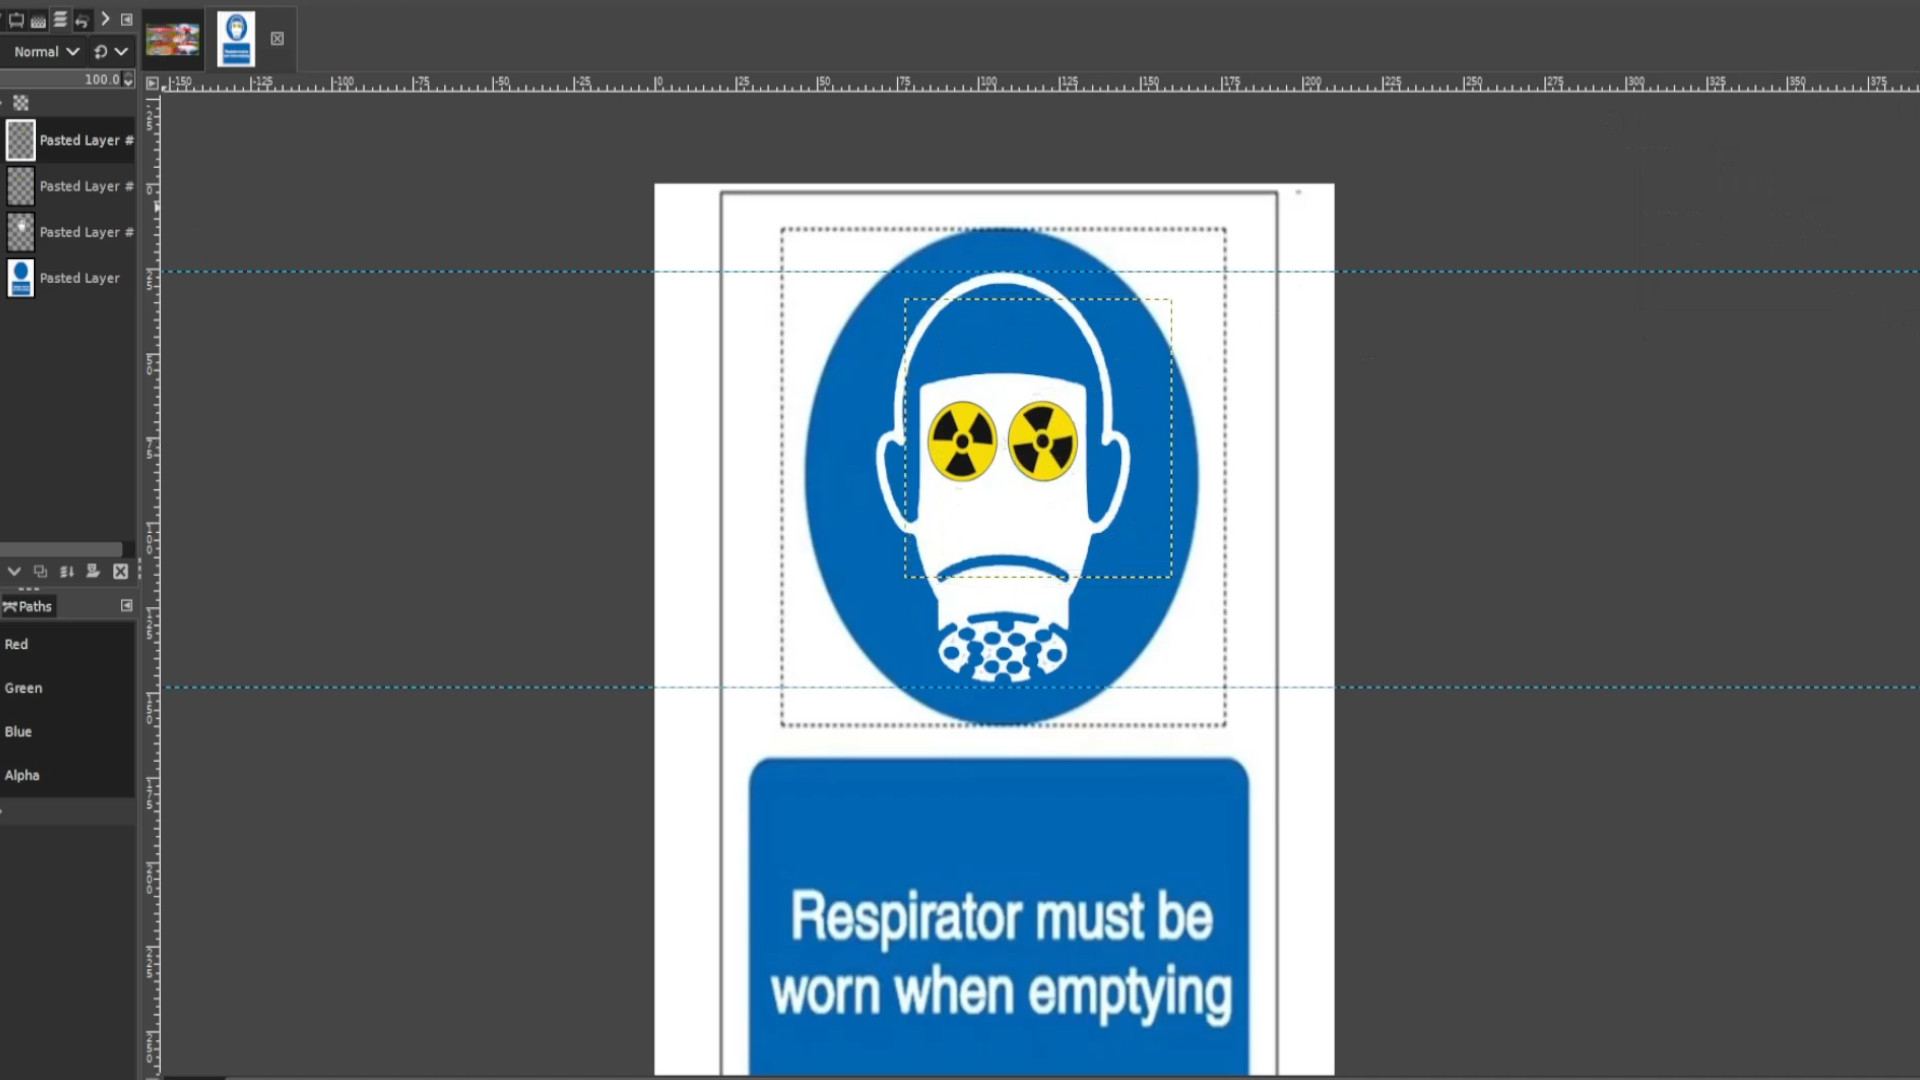
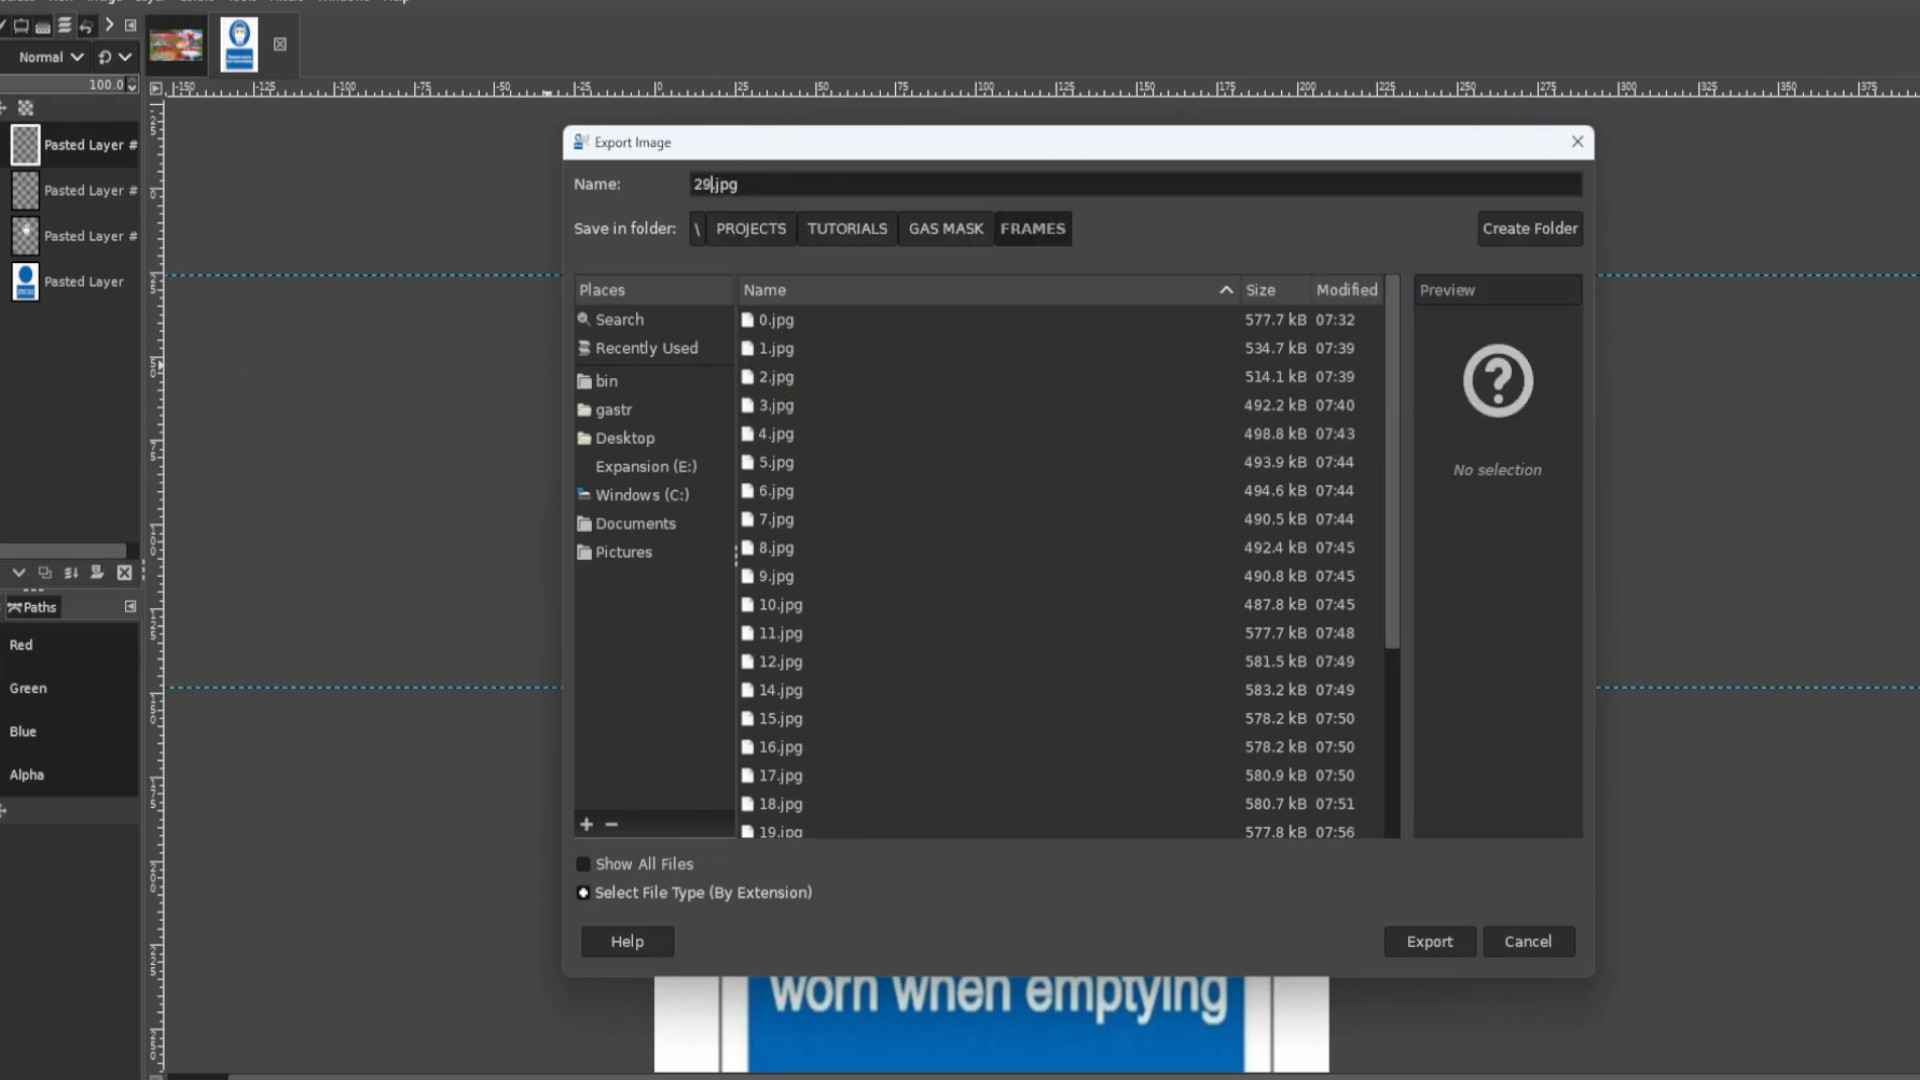
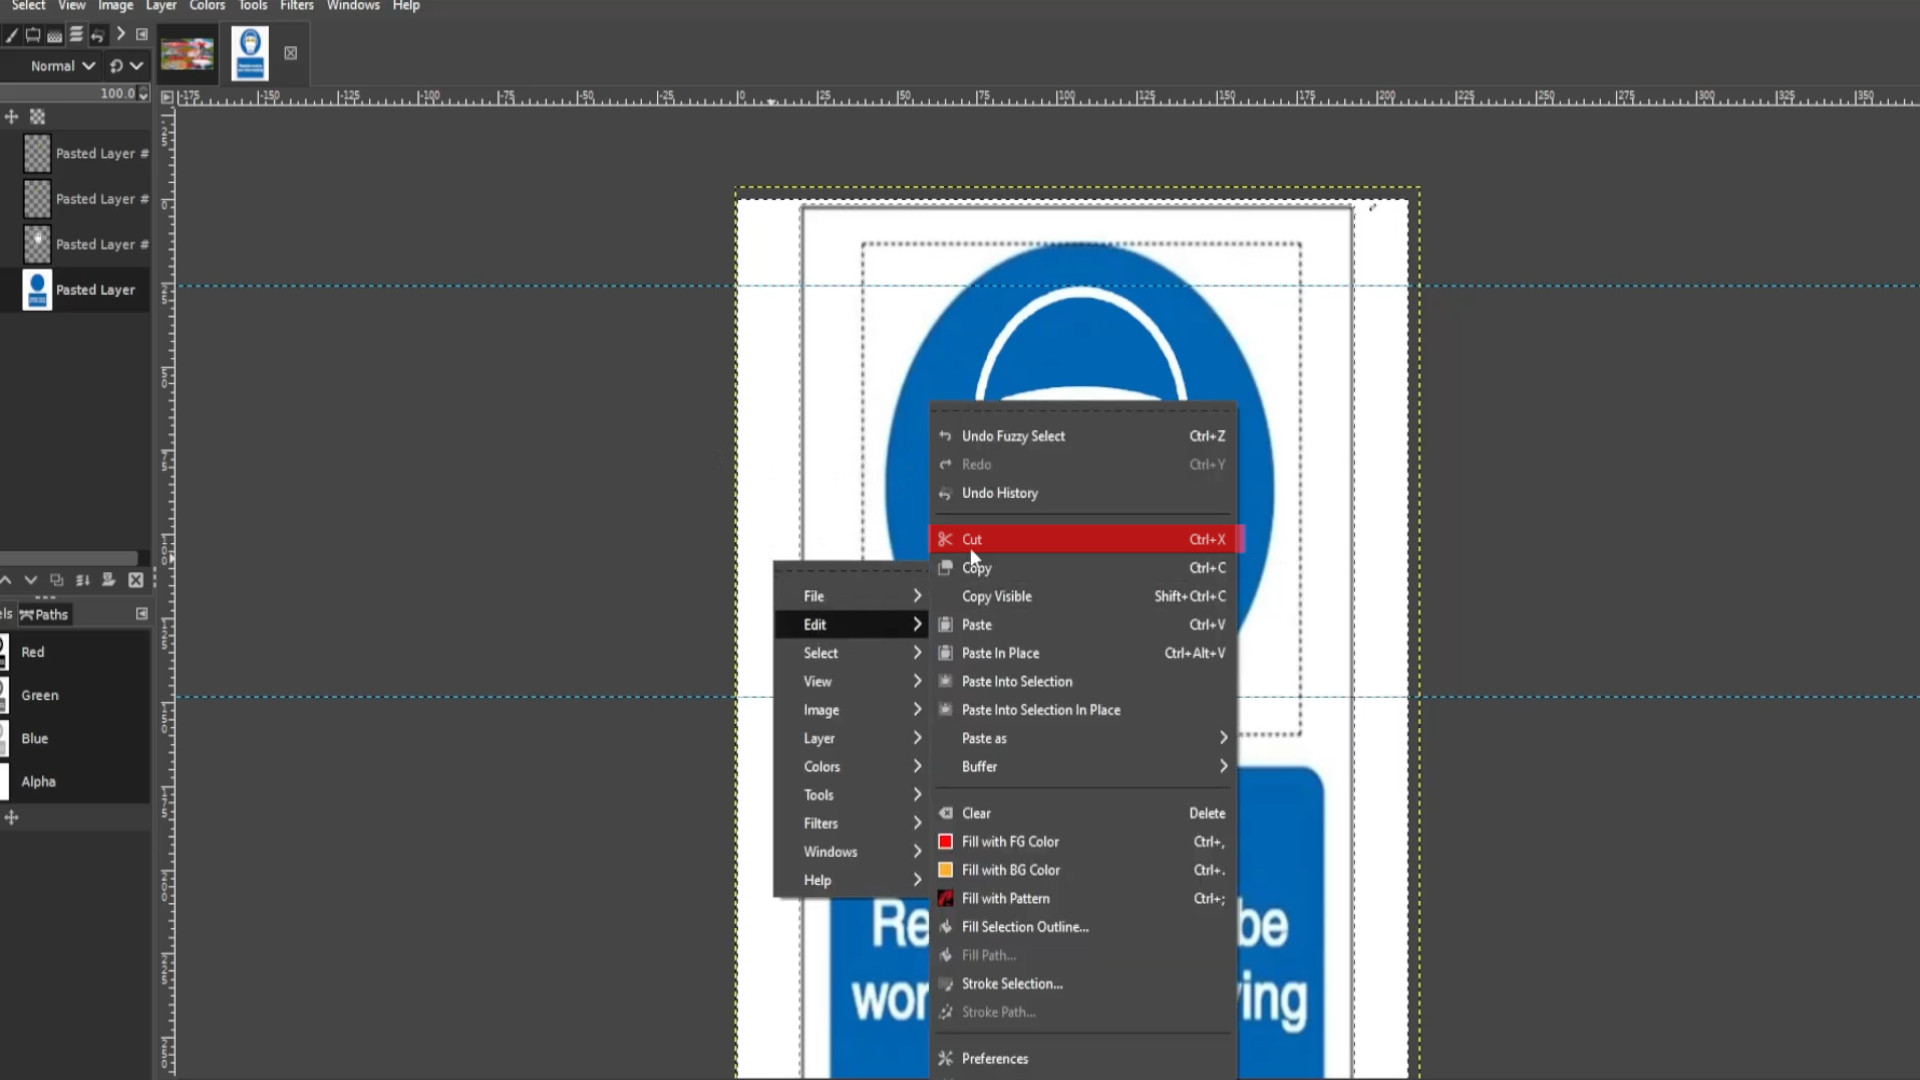
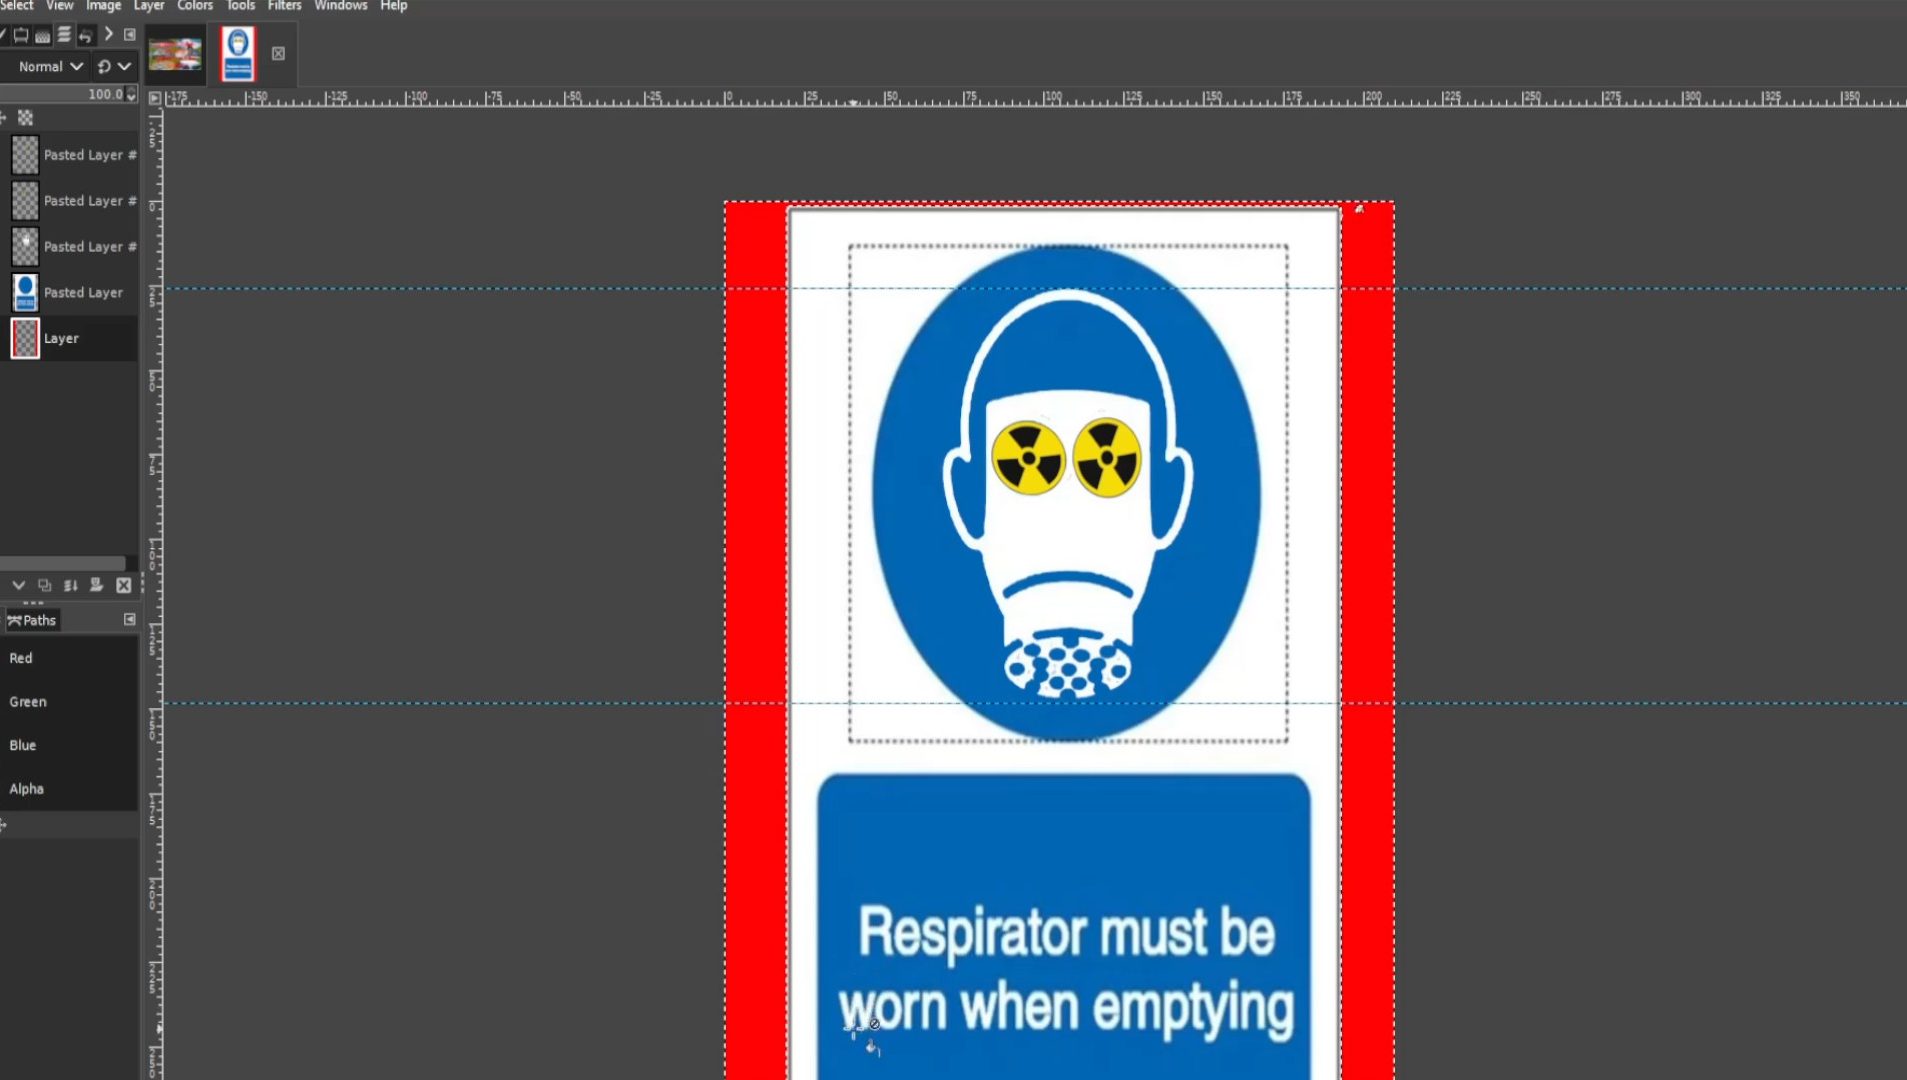
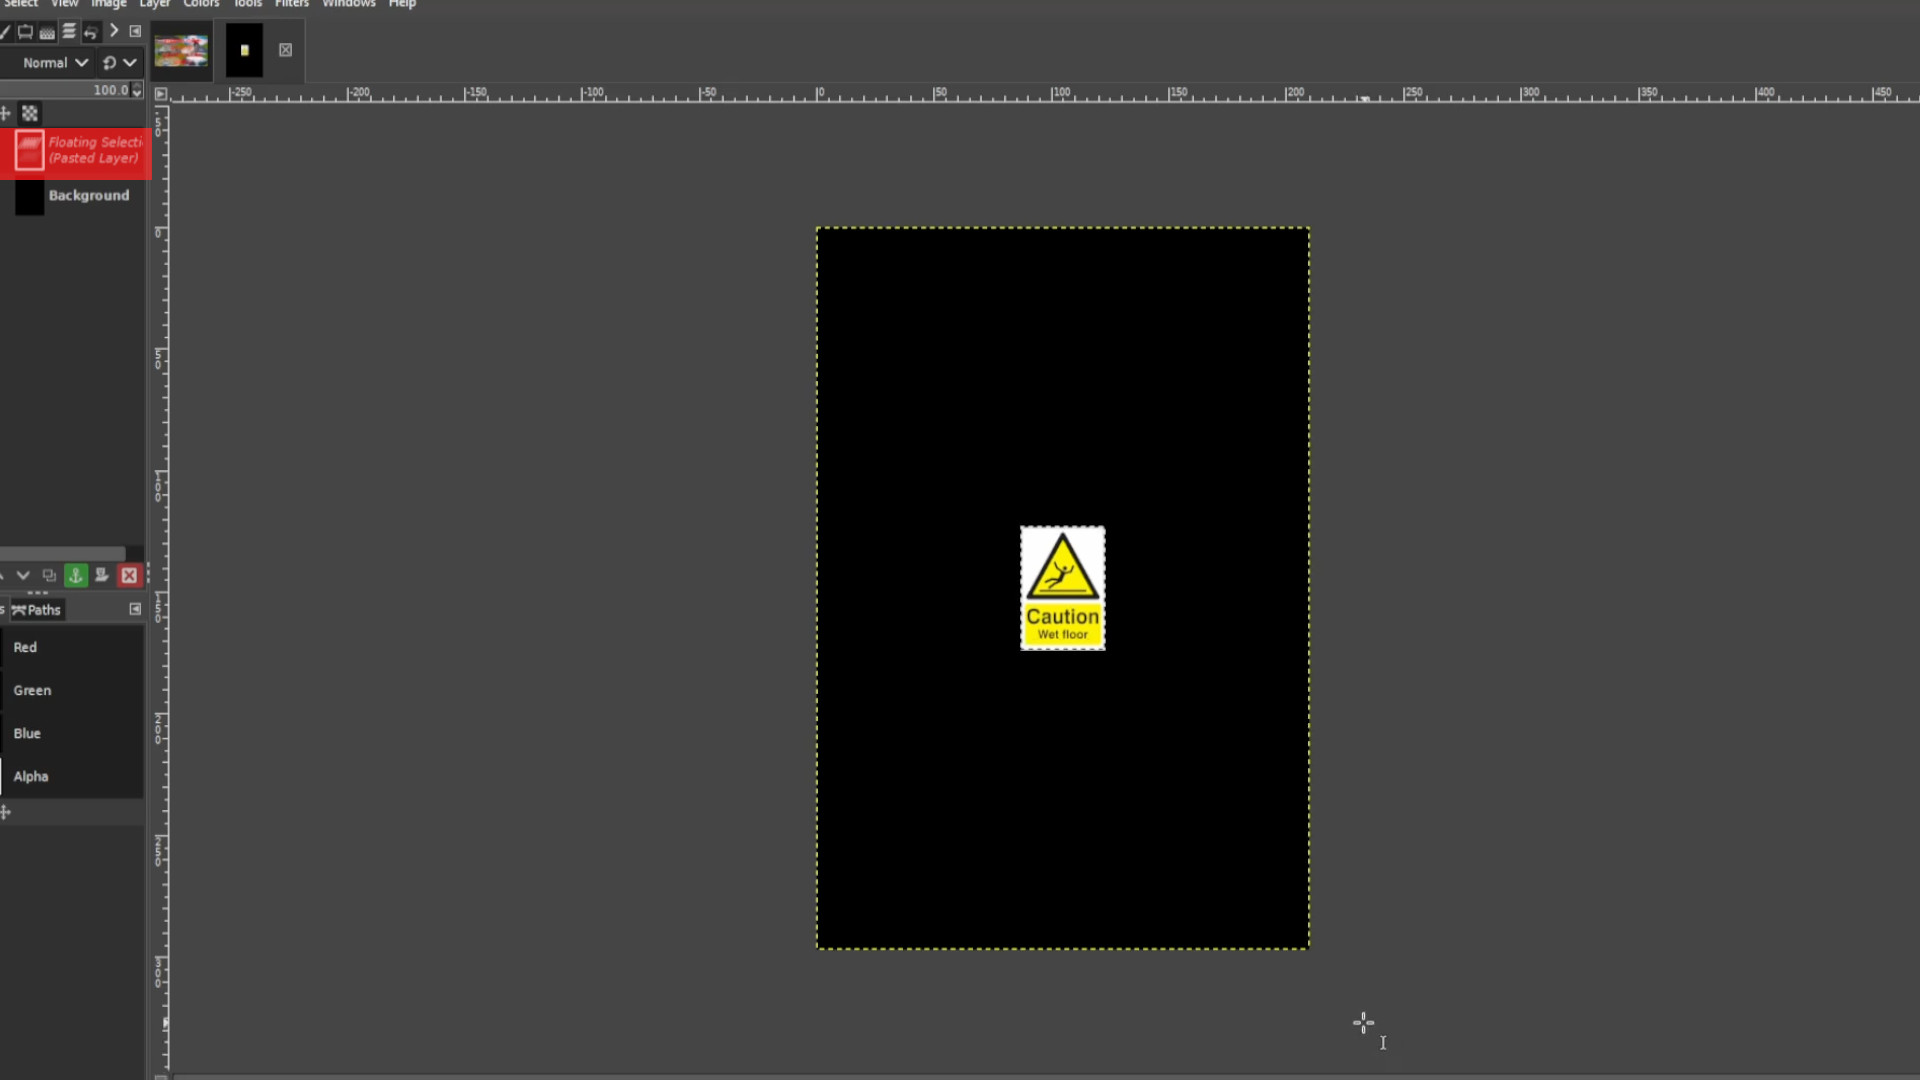
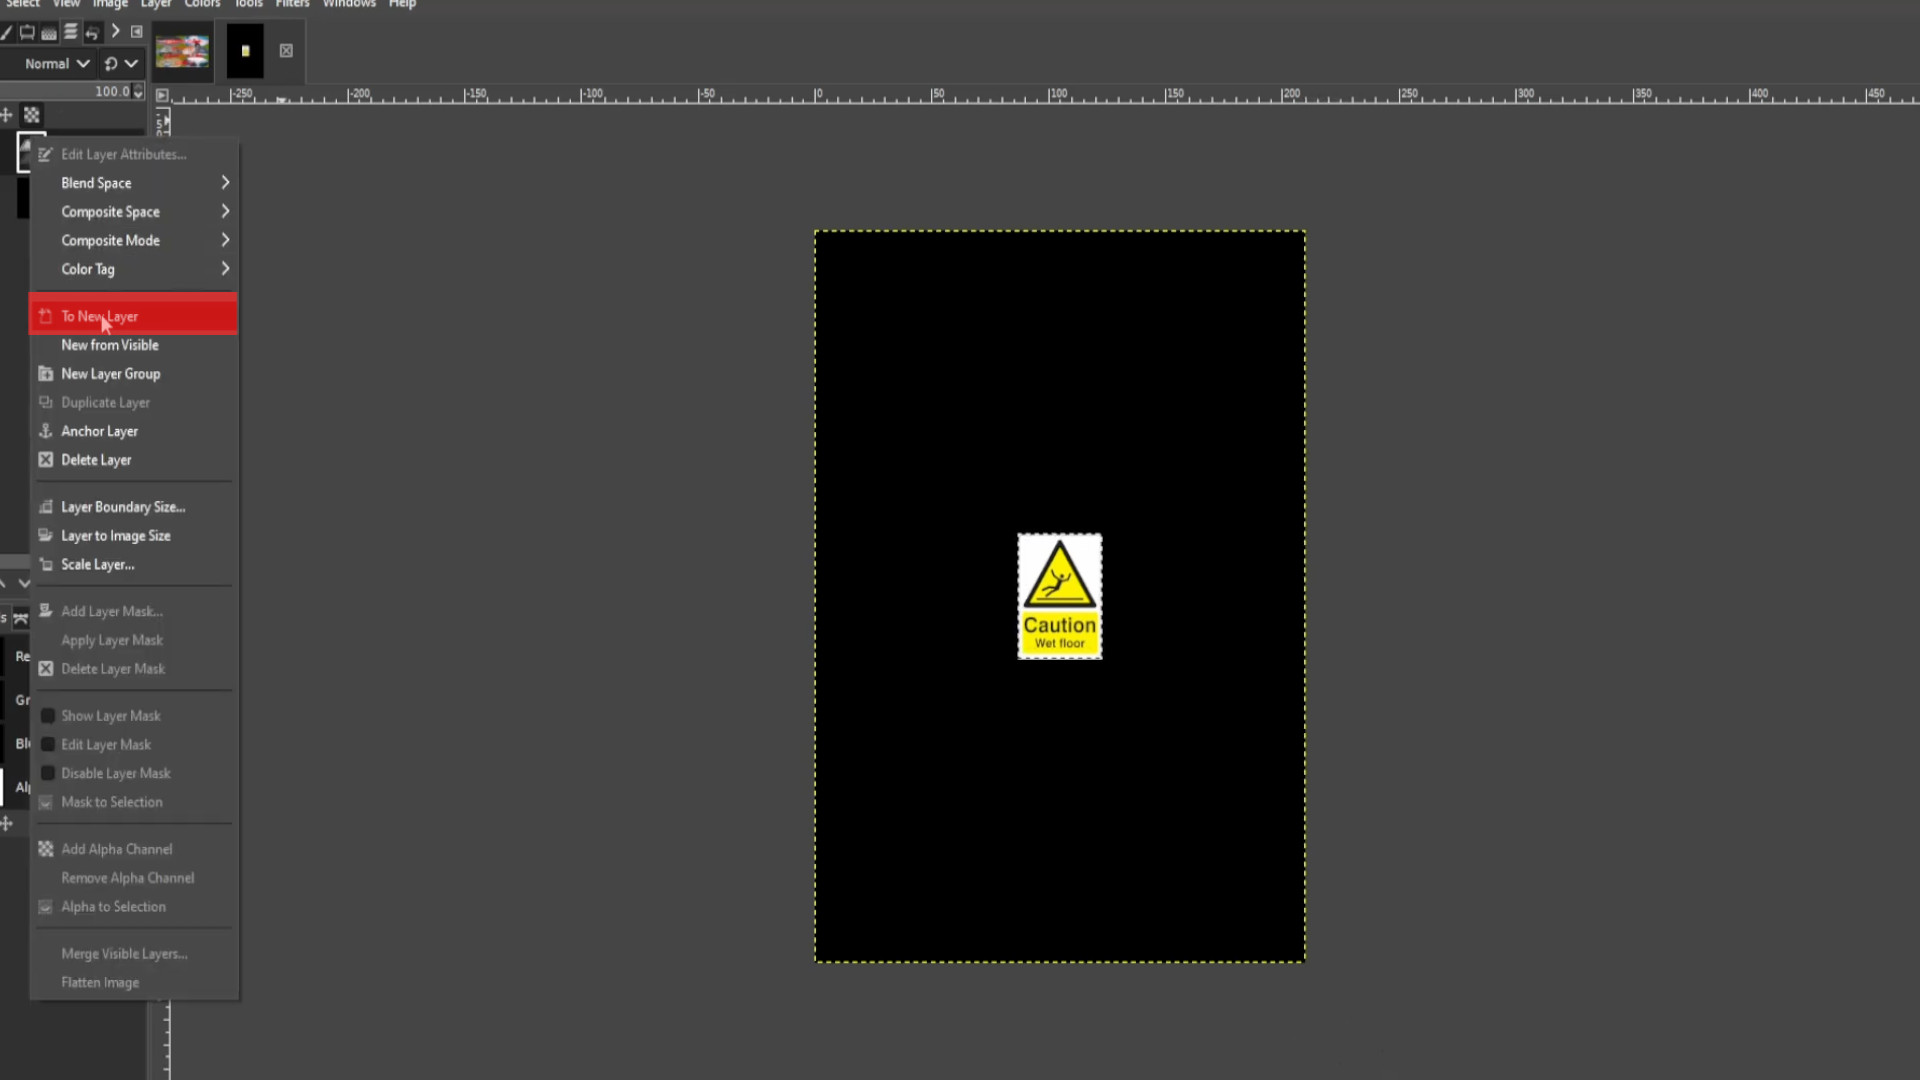
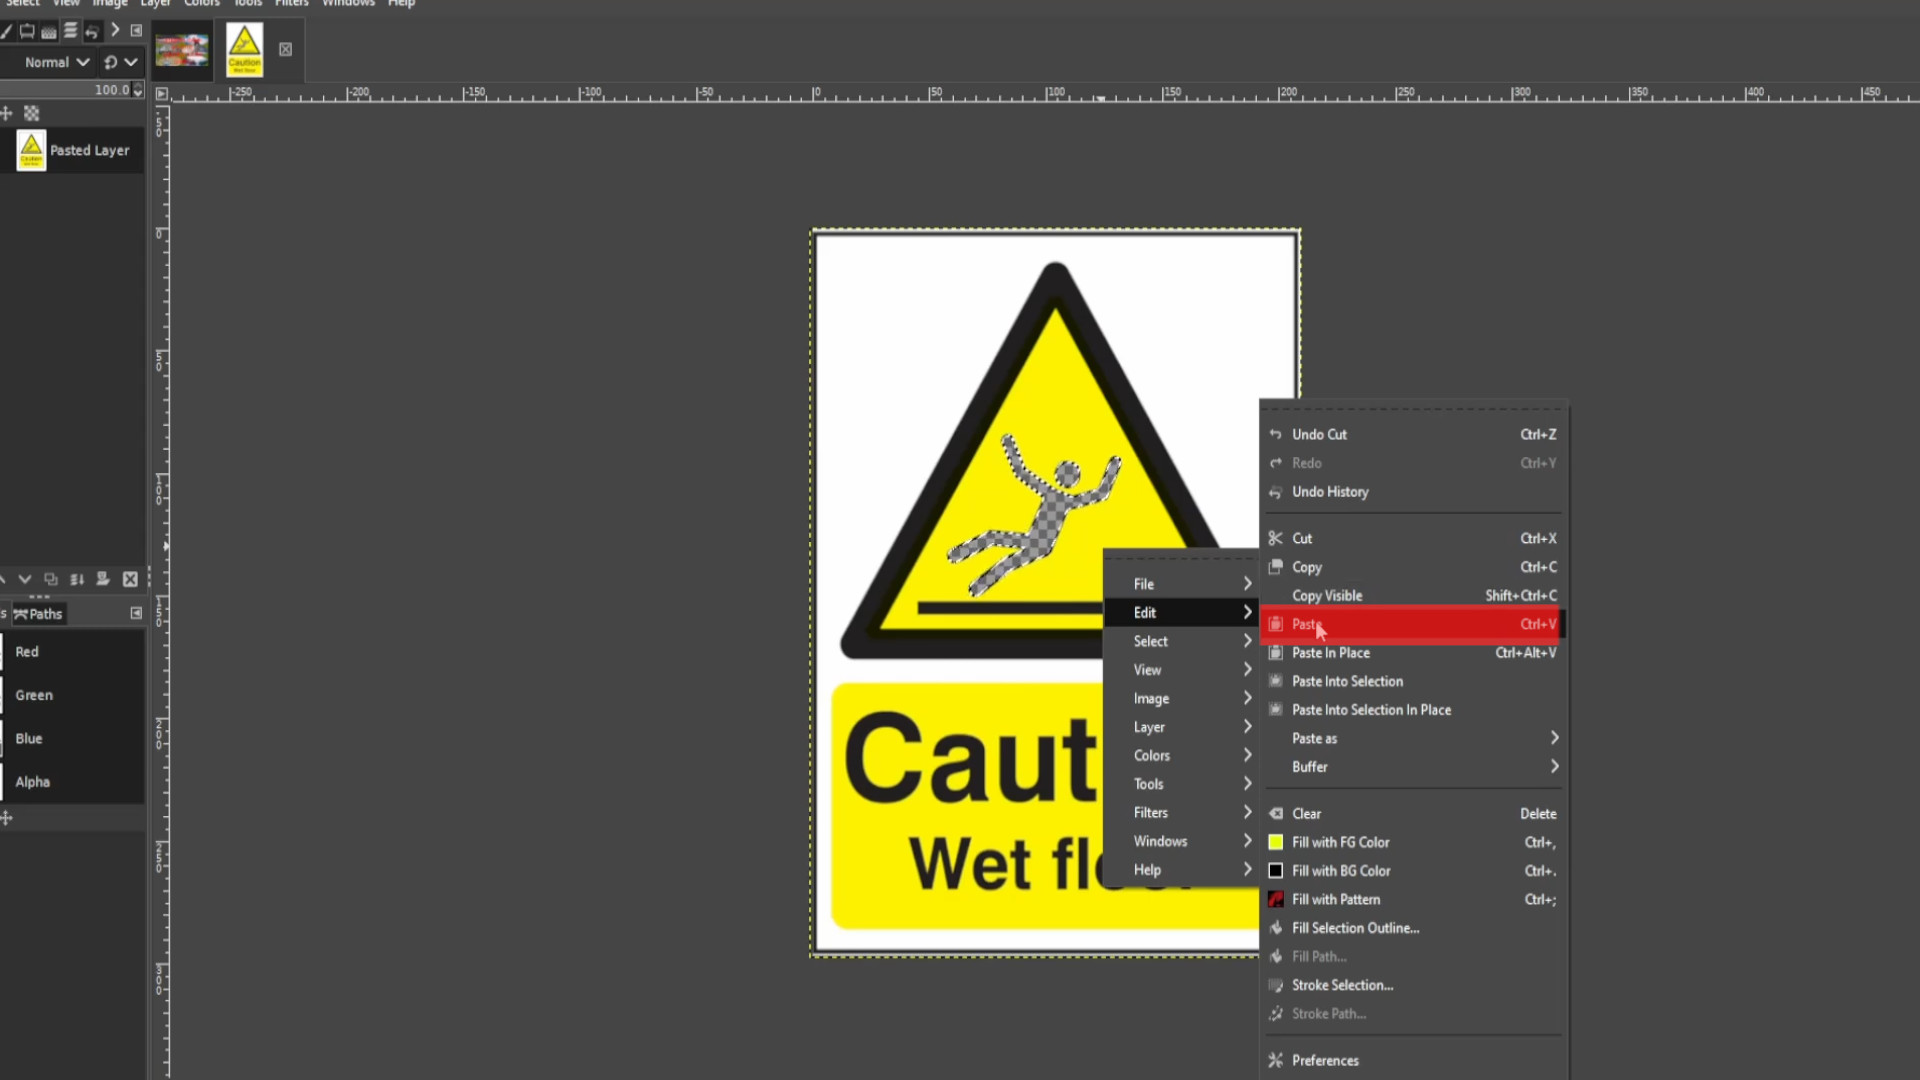
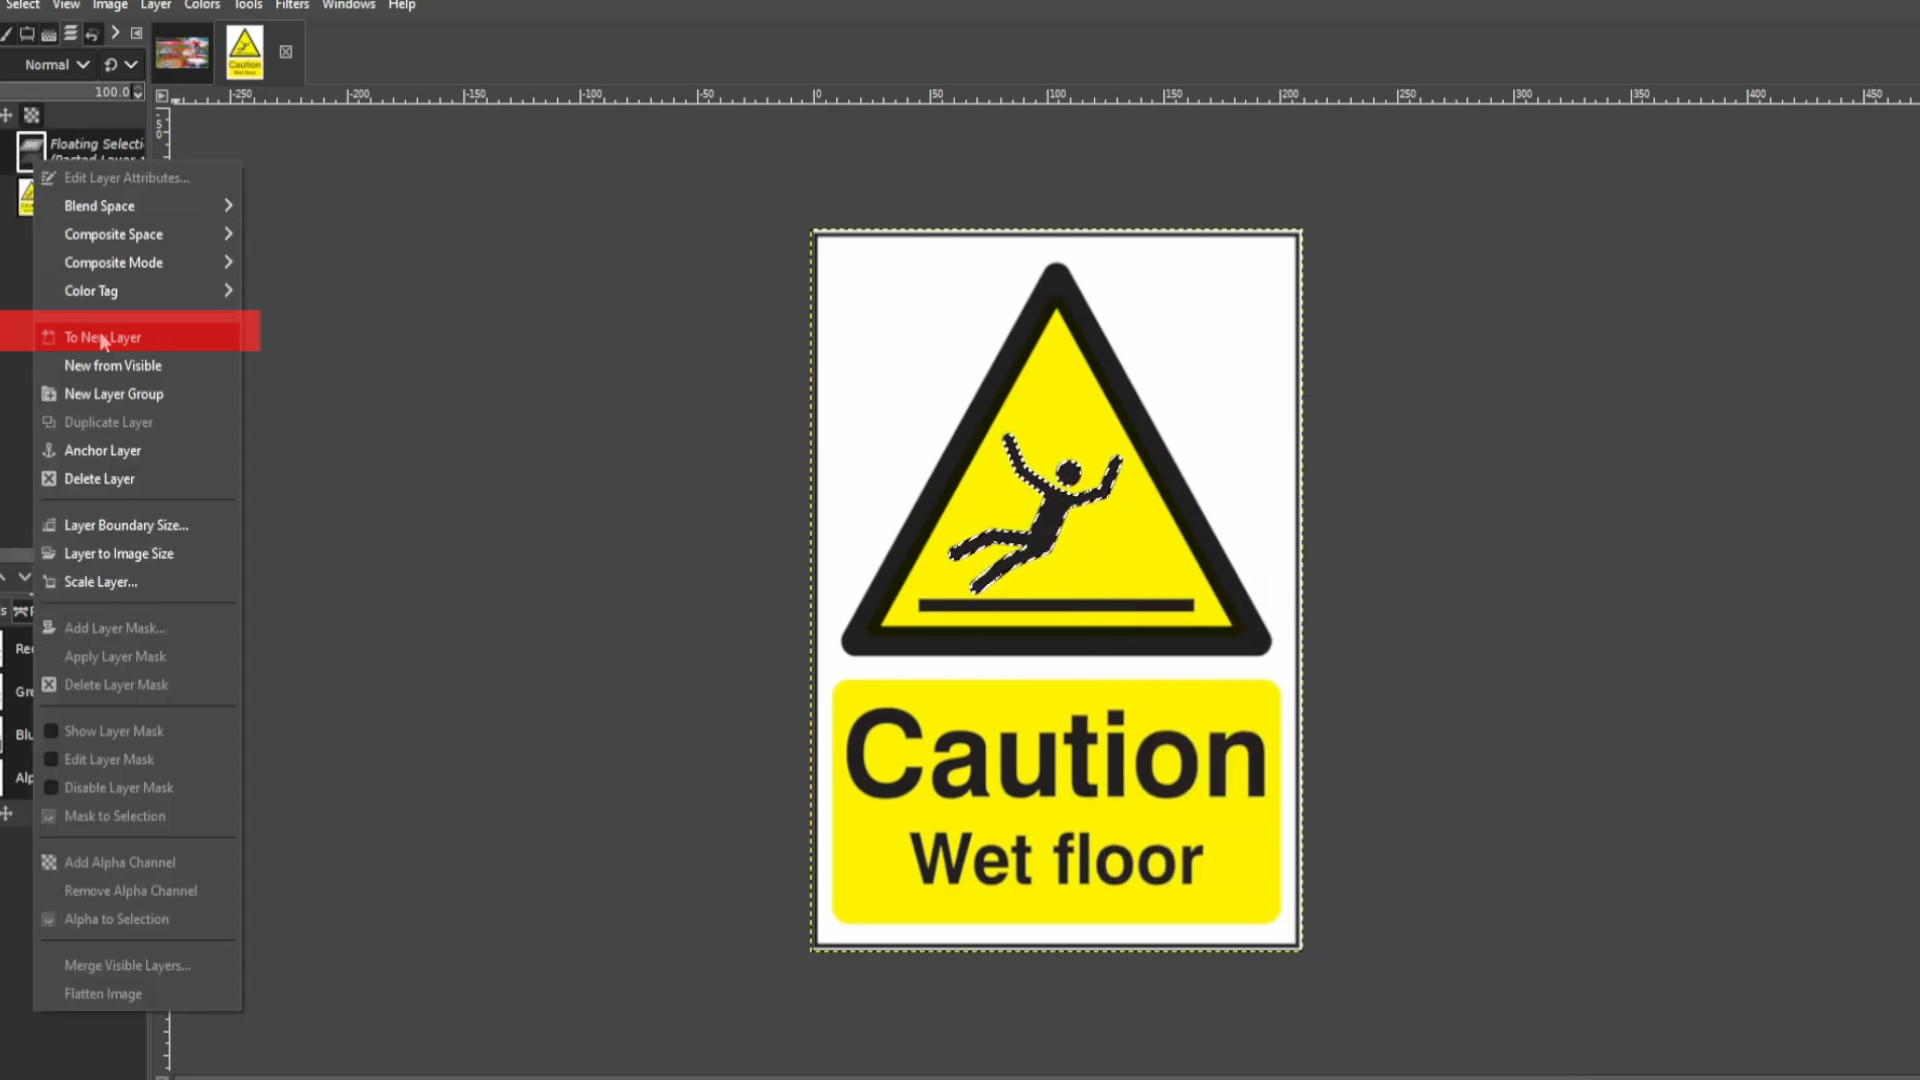
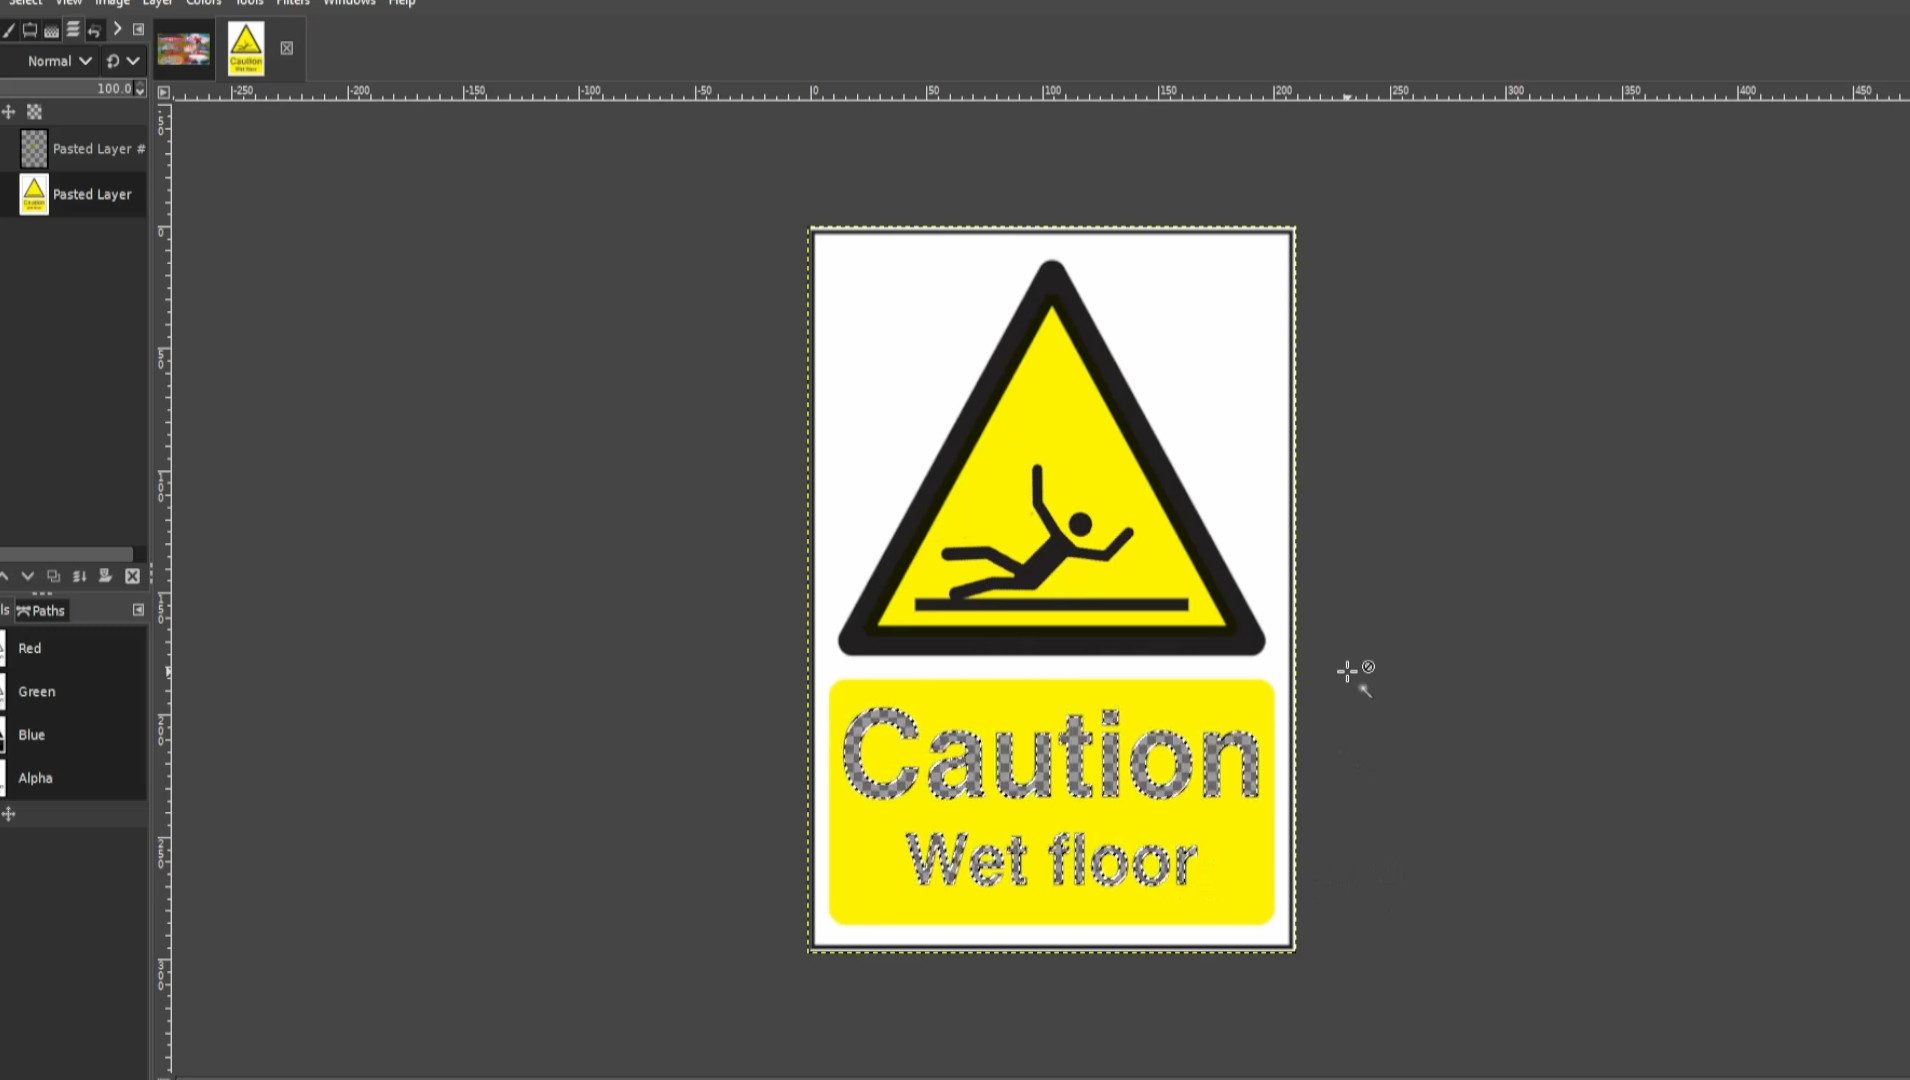
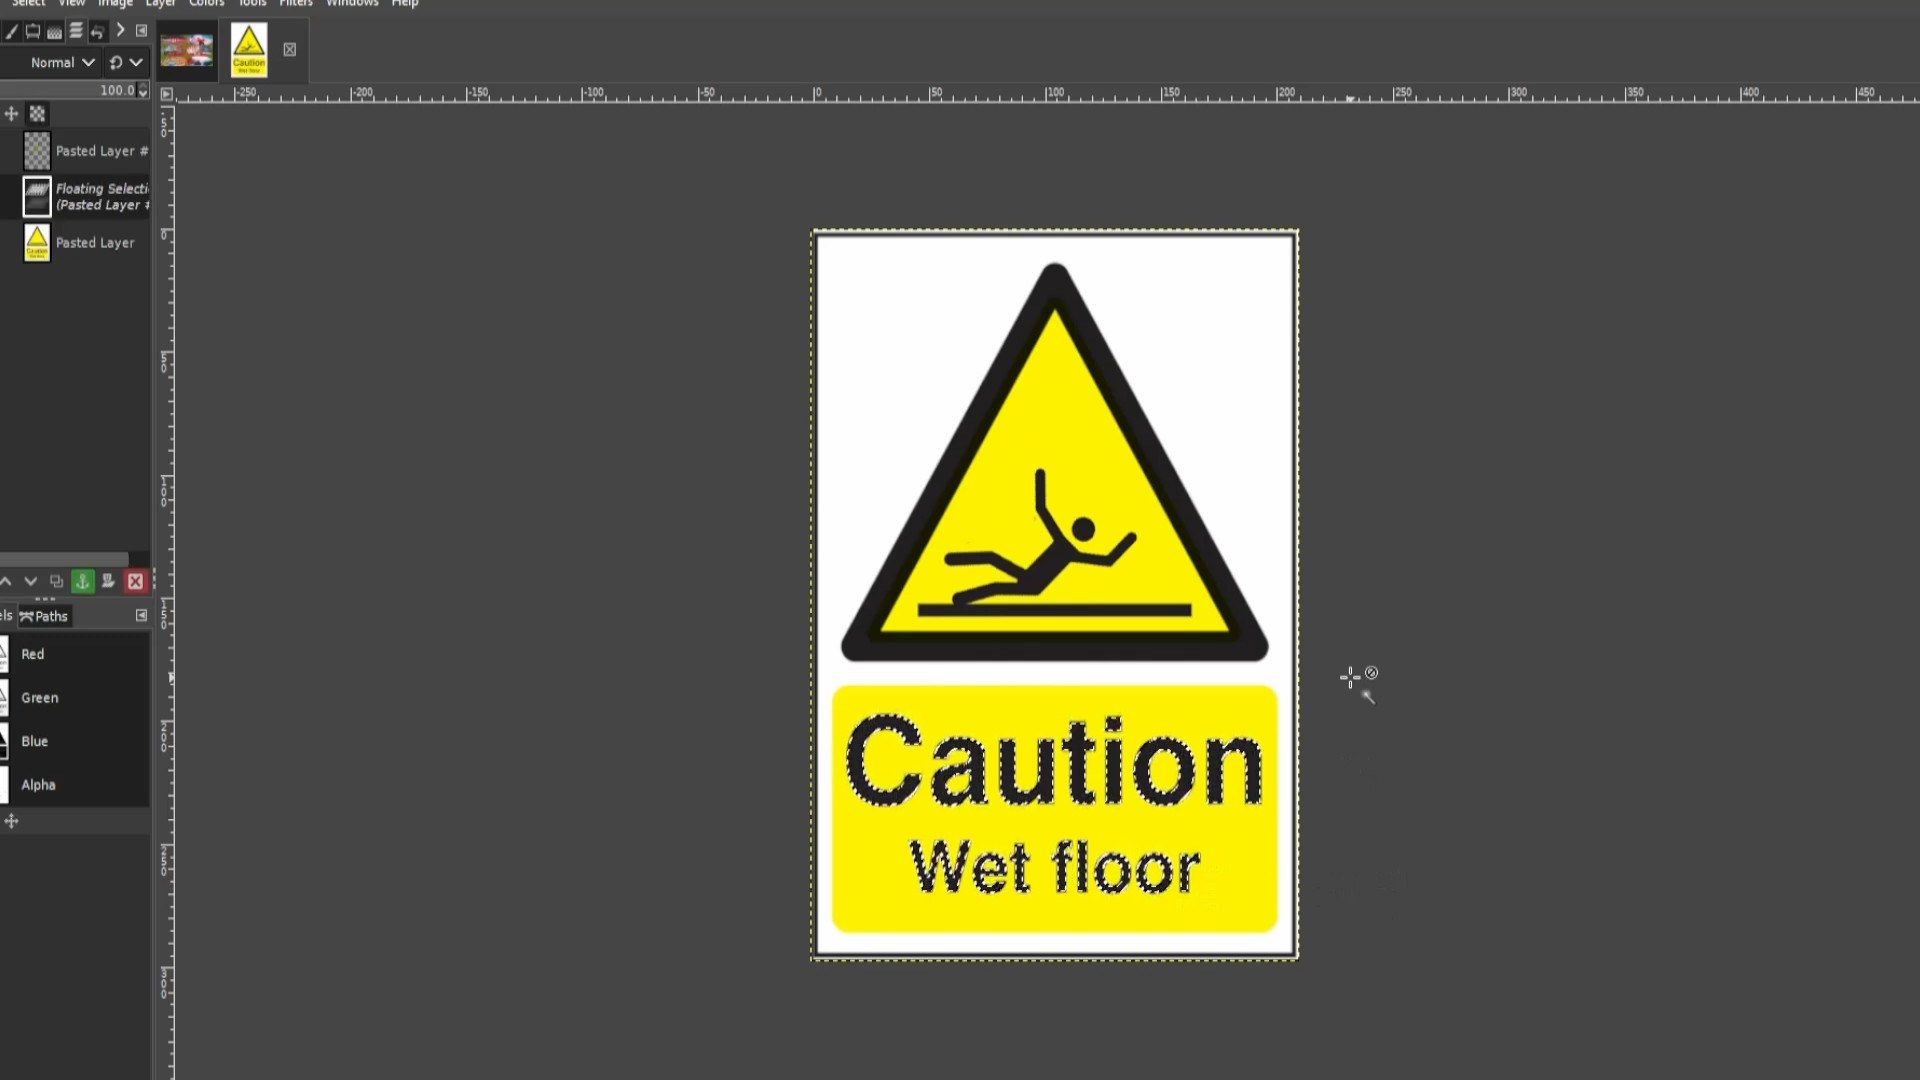
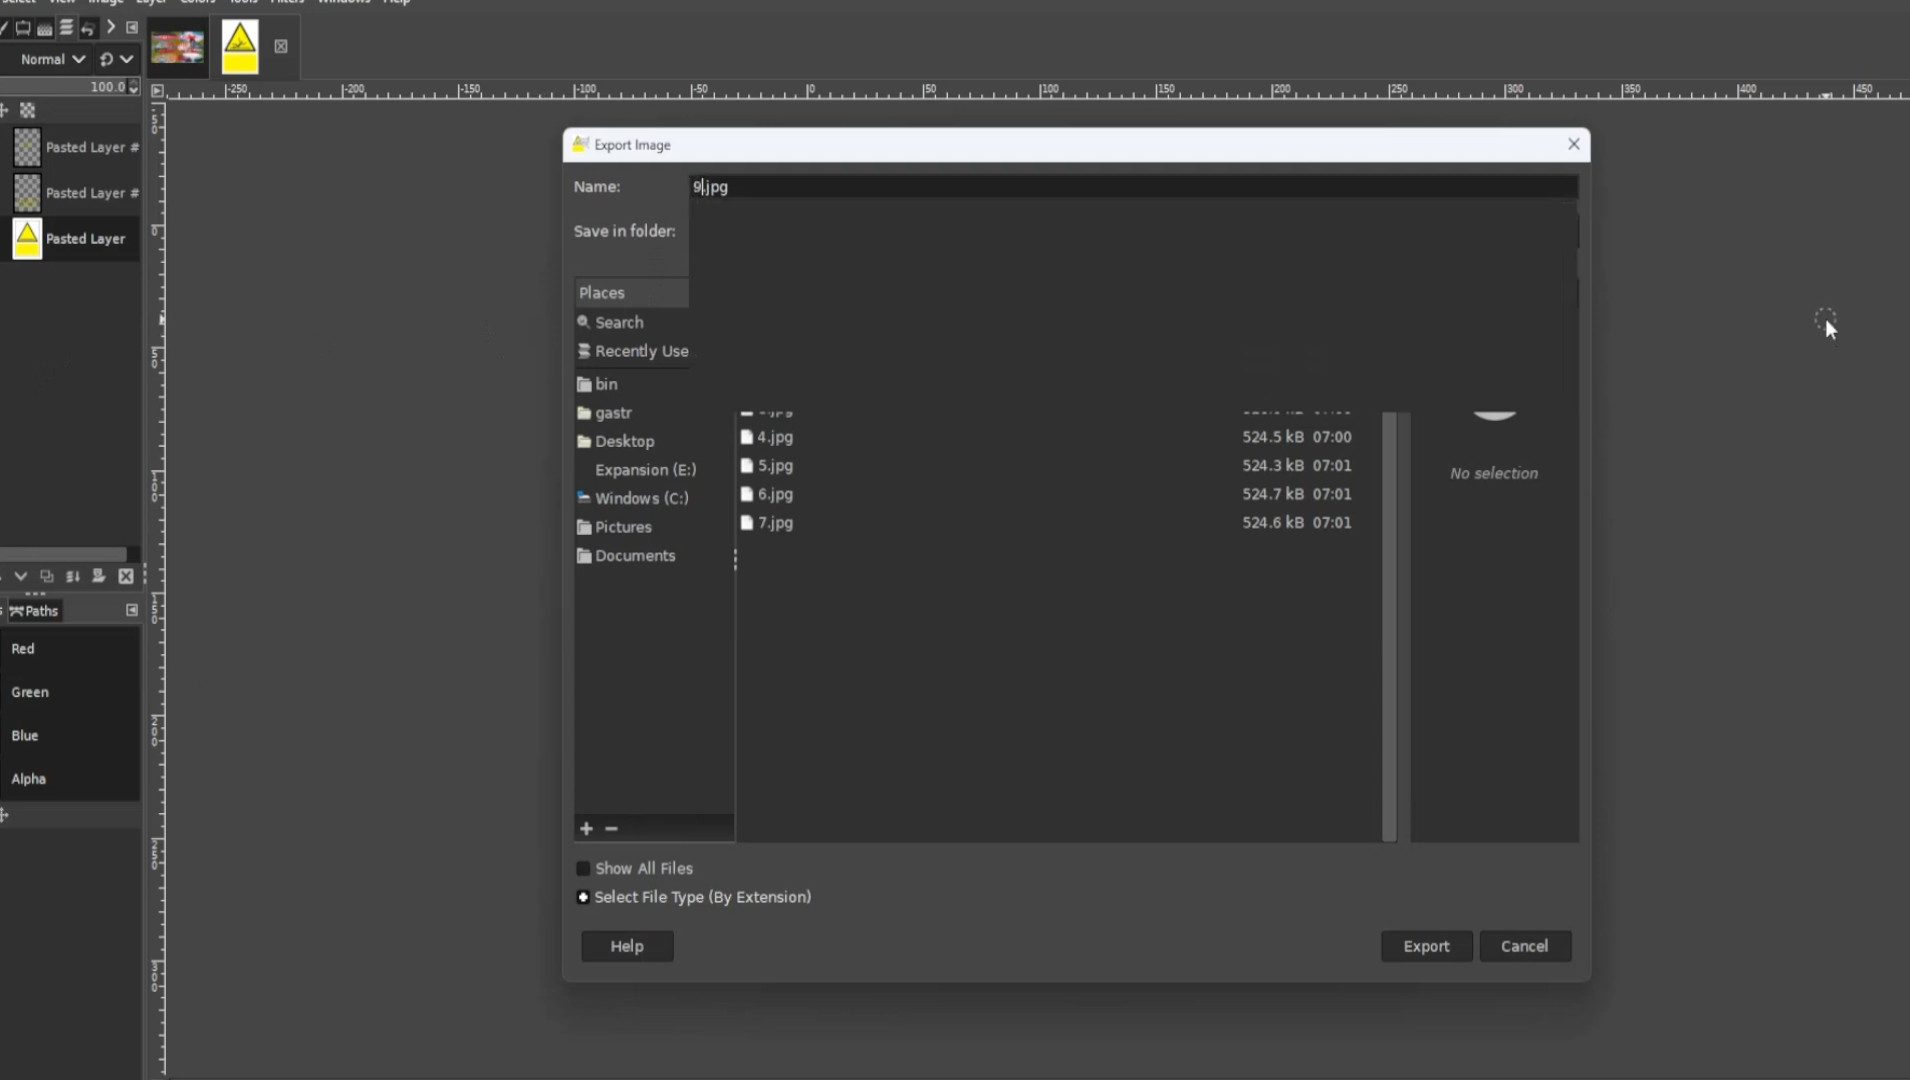
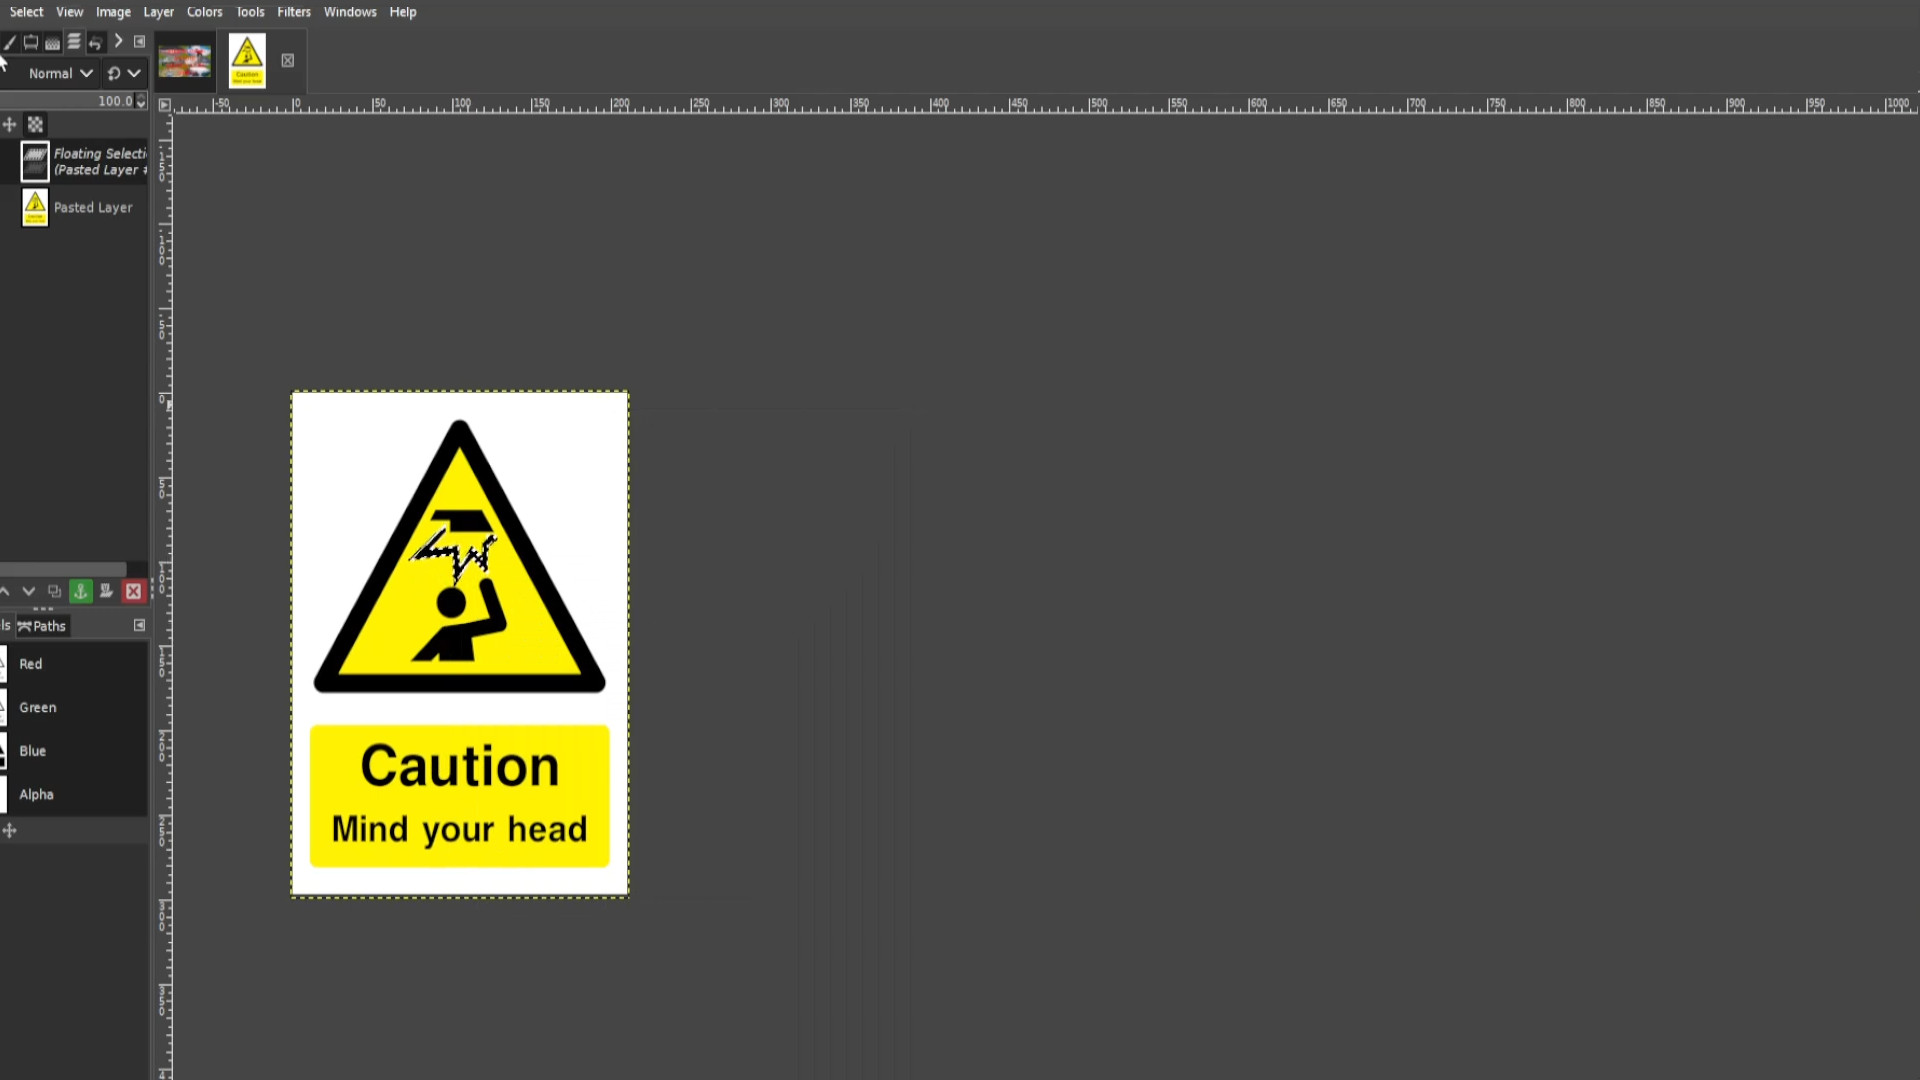
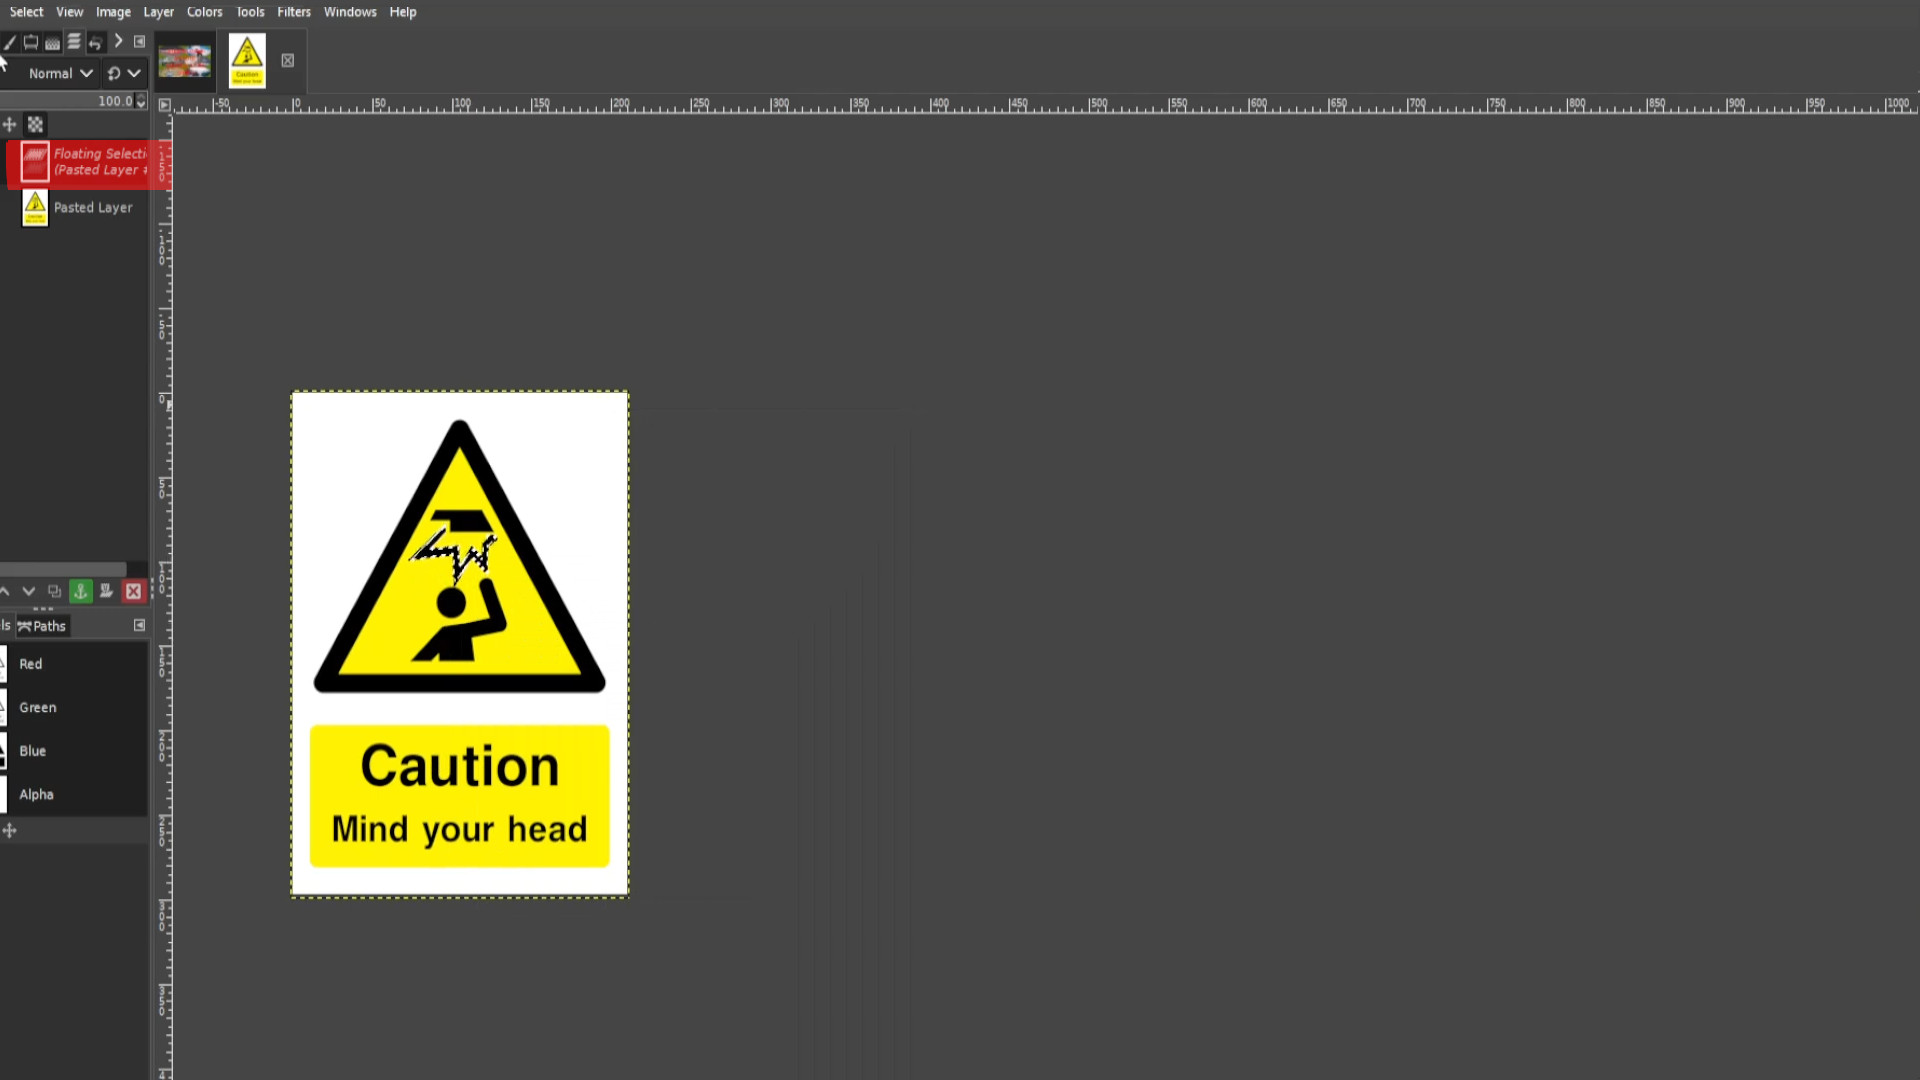
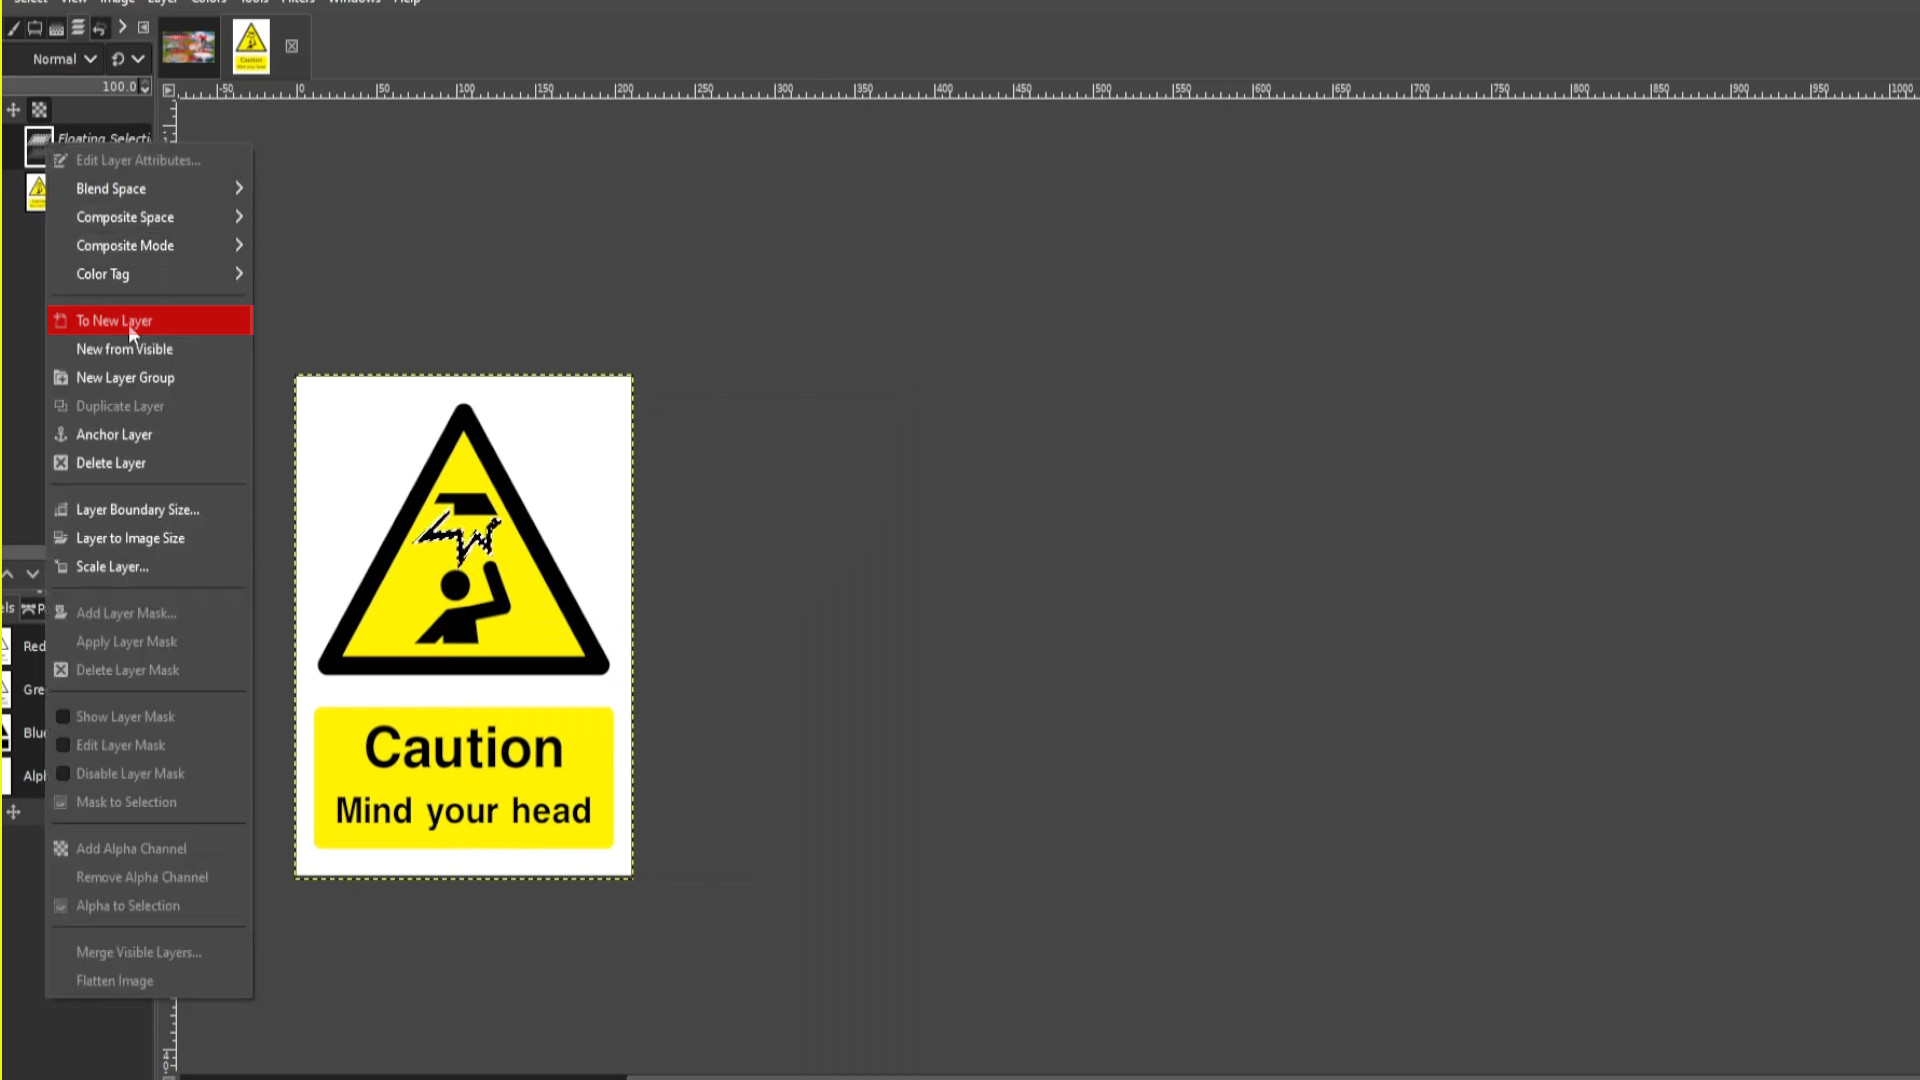
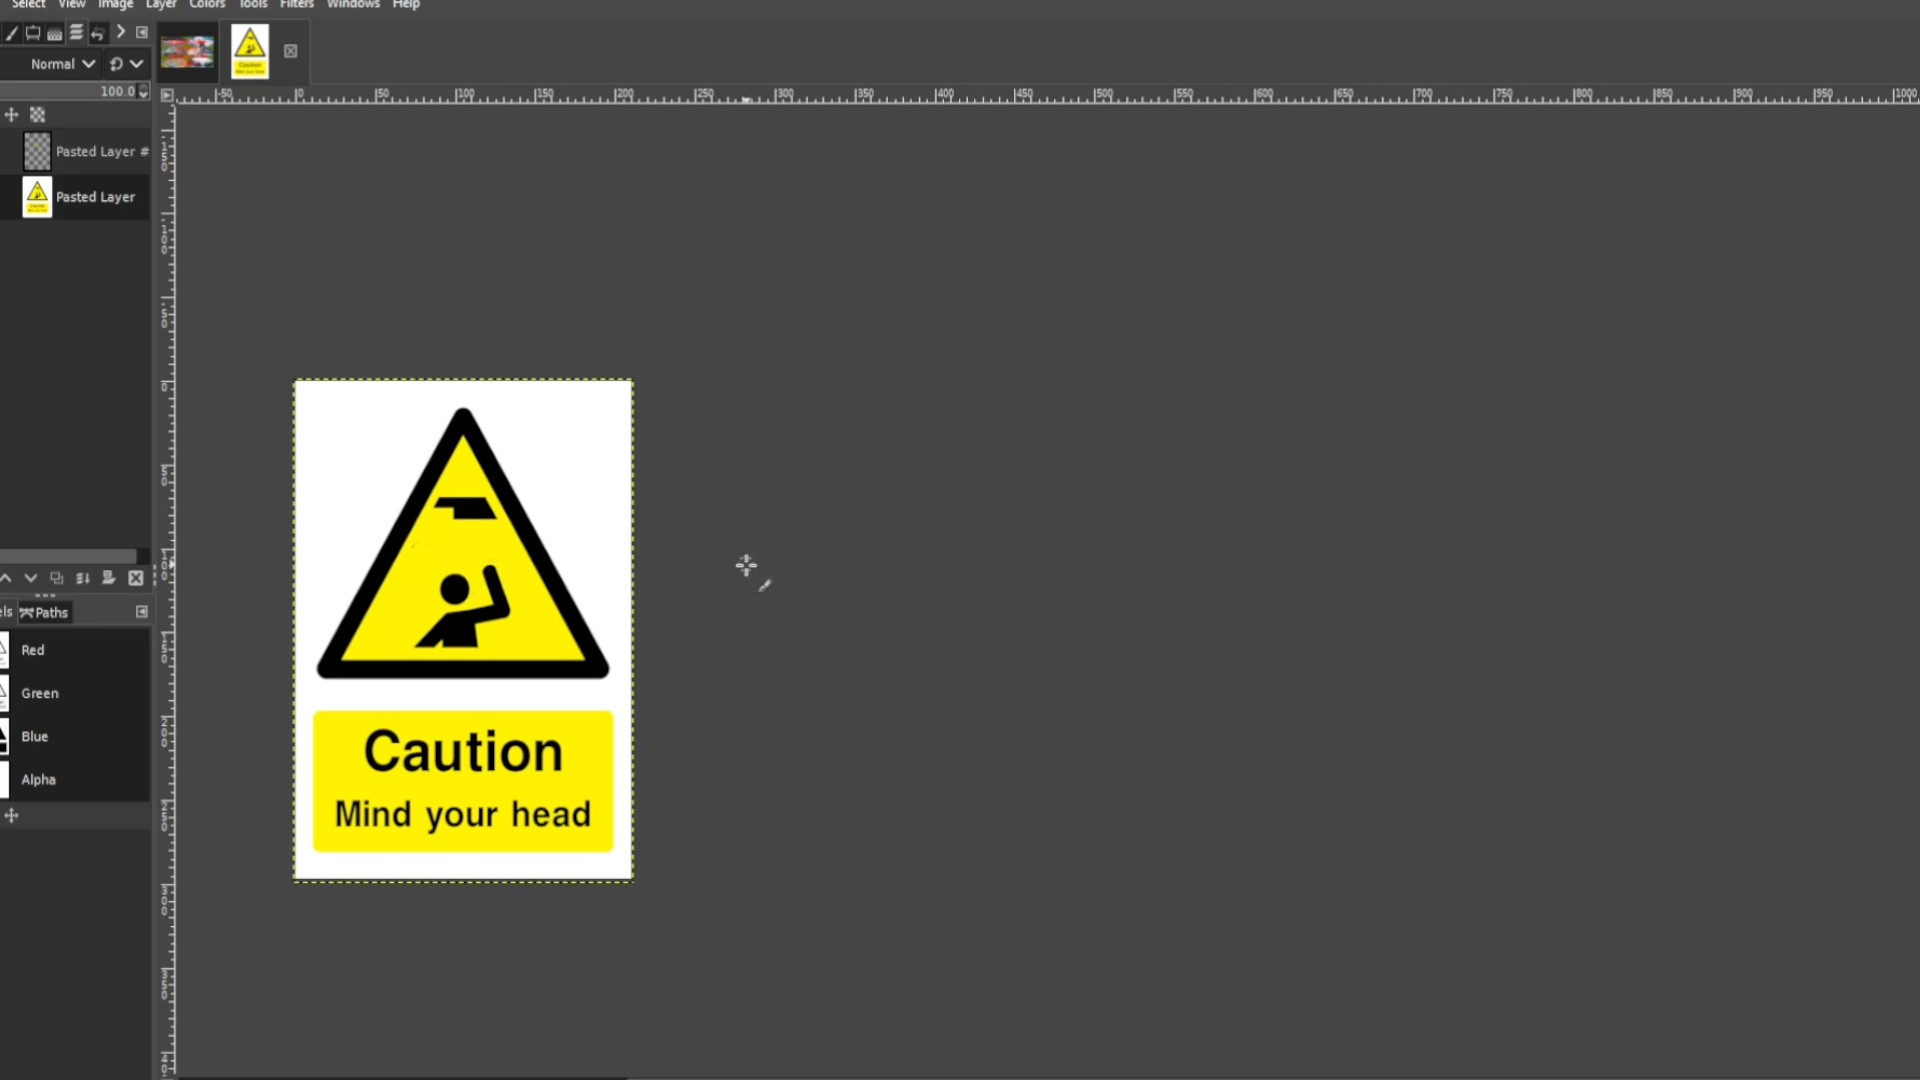
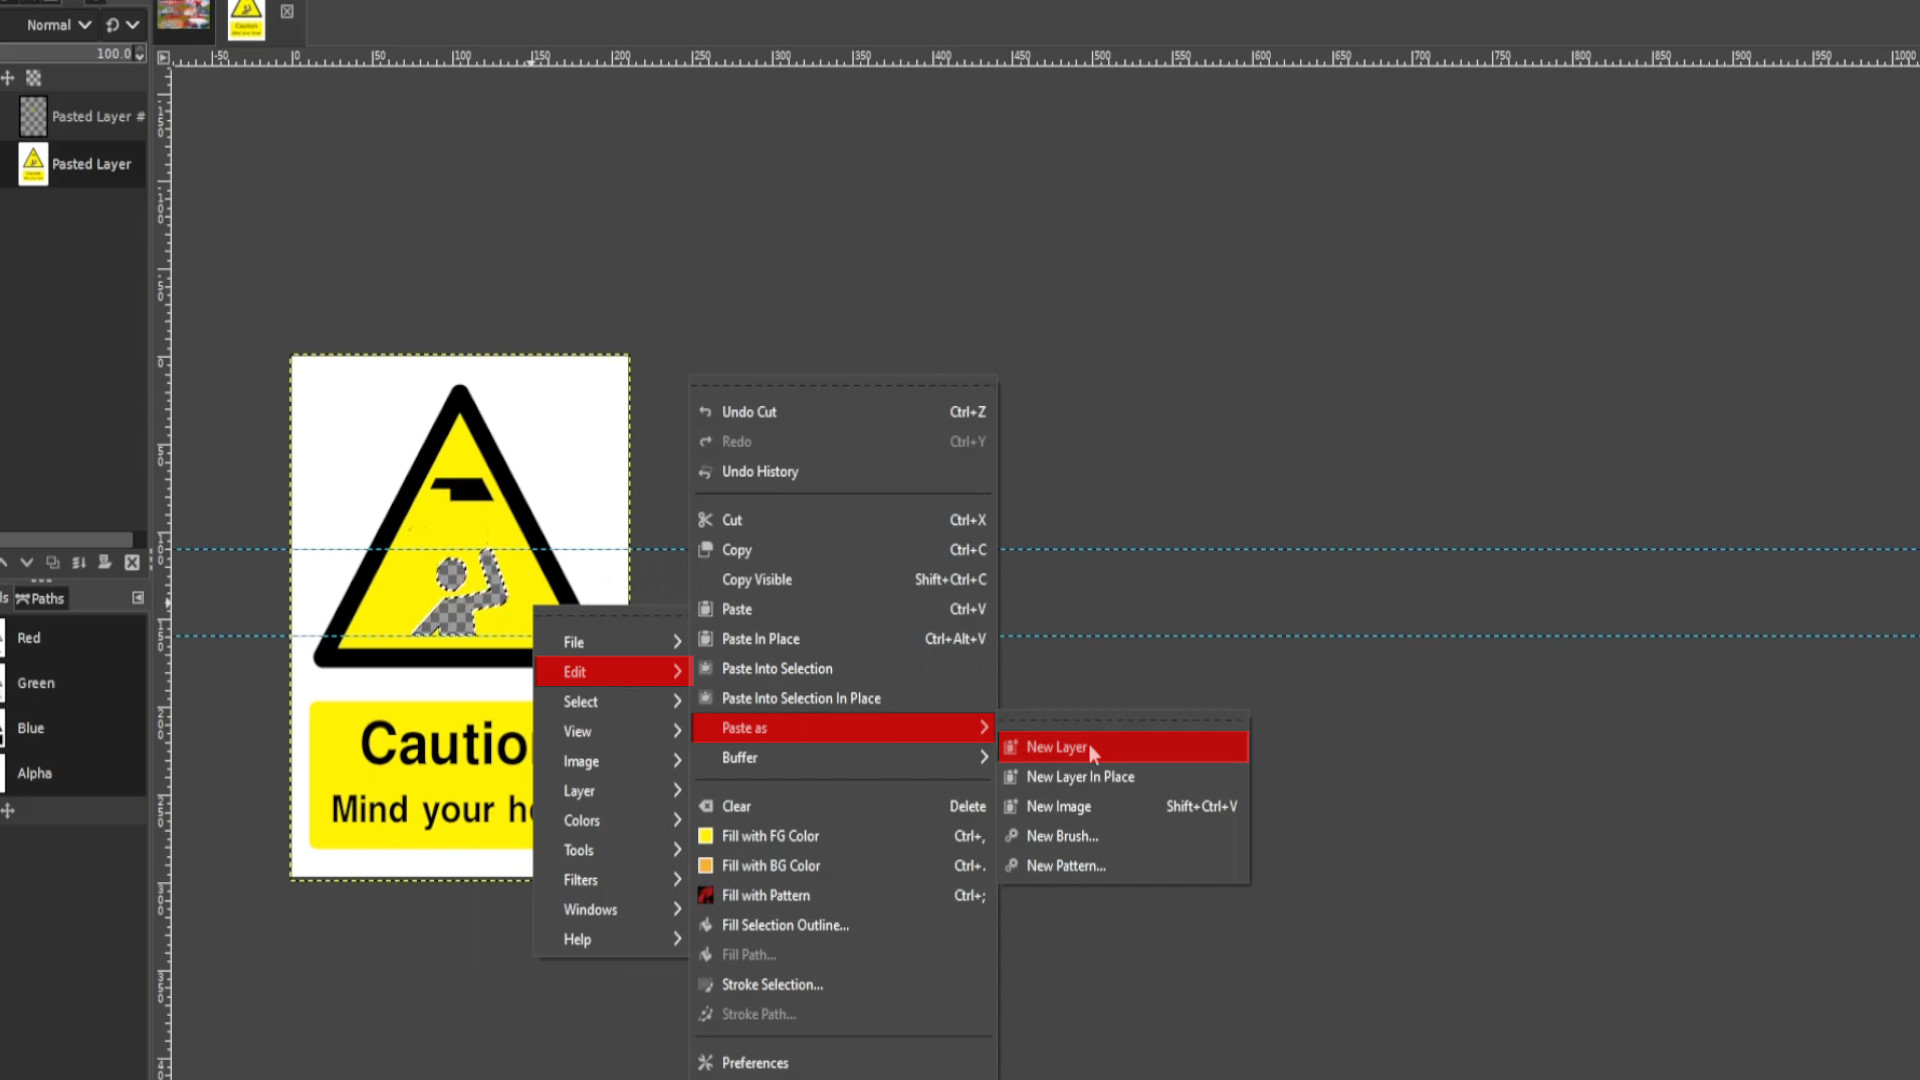
With the first layer selected>>>RIGHT CLICK on the picture and hover your cursor over>>>EDIT and>>>PRESS>>>PASTE or use shortcut>>>HOLD>>>CTRL and>>>PRESS V to paste the selected bits. If you see>>>FLOATING SELECTION in the>>>LEFT HAND SIDE in the LAYERS PANEL>>>RIGHT CLICK on the>>>FIRST LAYER and>>>SELECT>>>TO NEW LAYER>>>EXPORT AS the first frame with a JPG or PNG extension for example 0.jpg or 0.png.
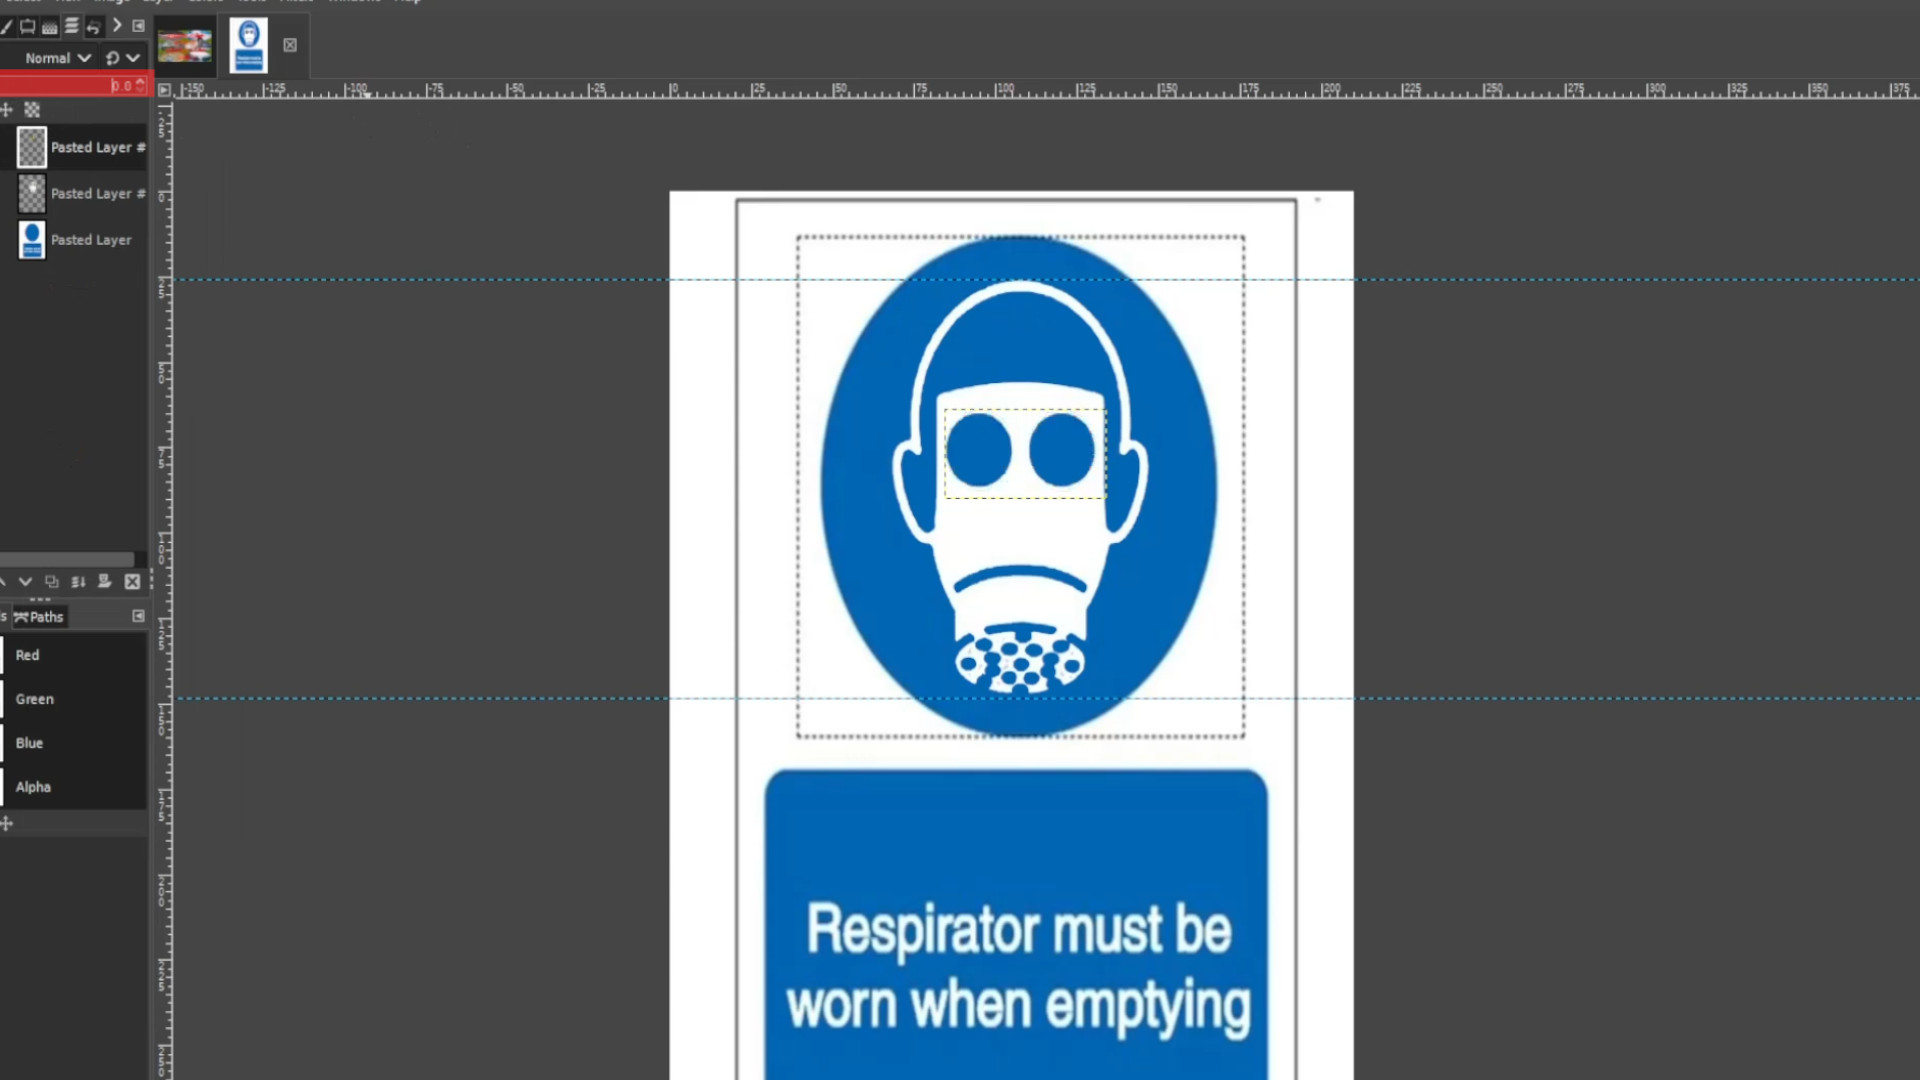
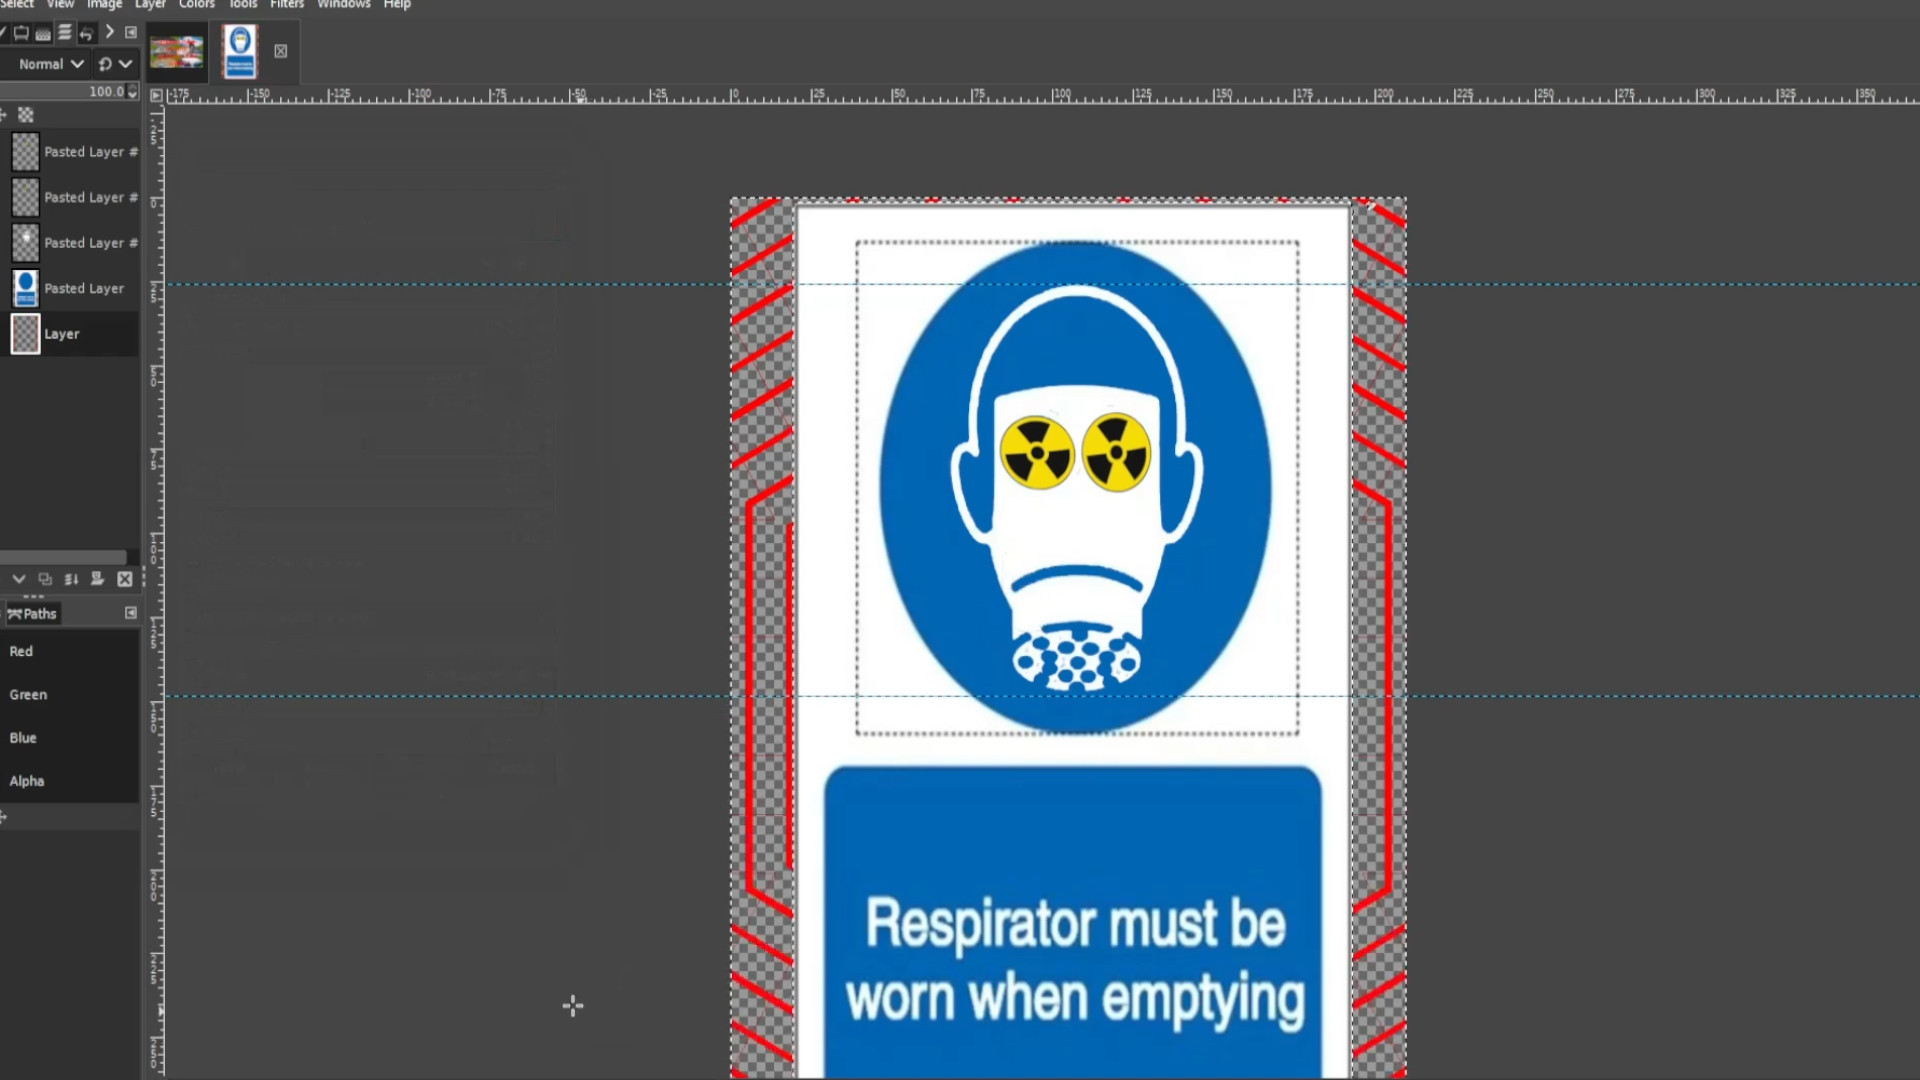
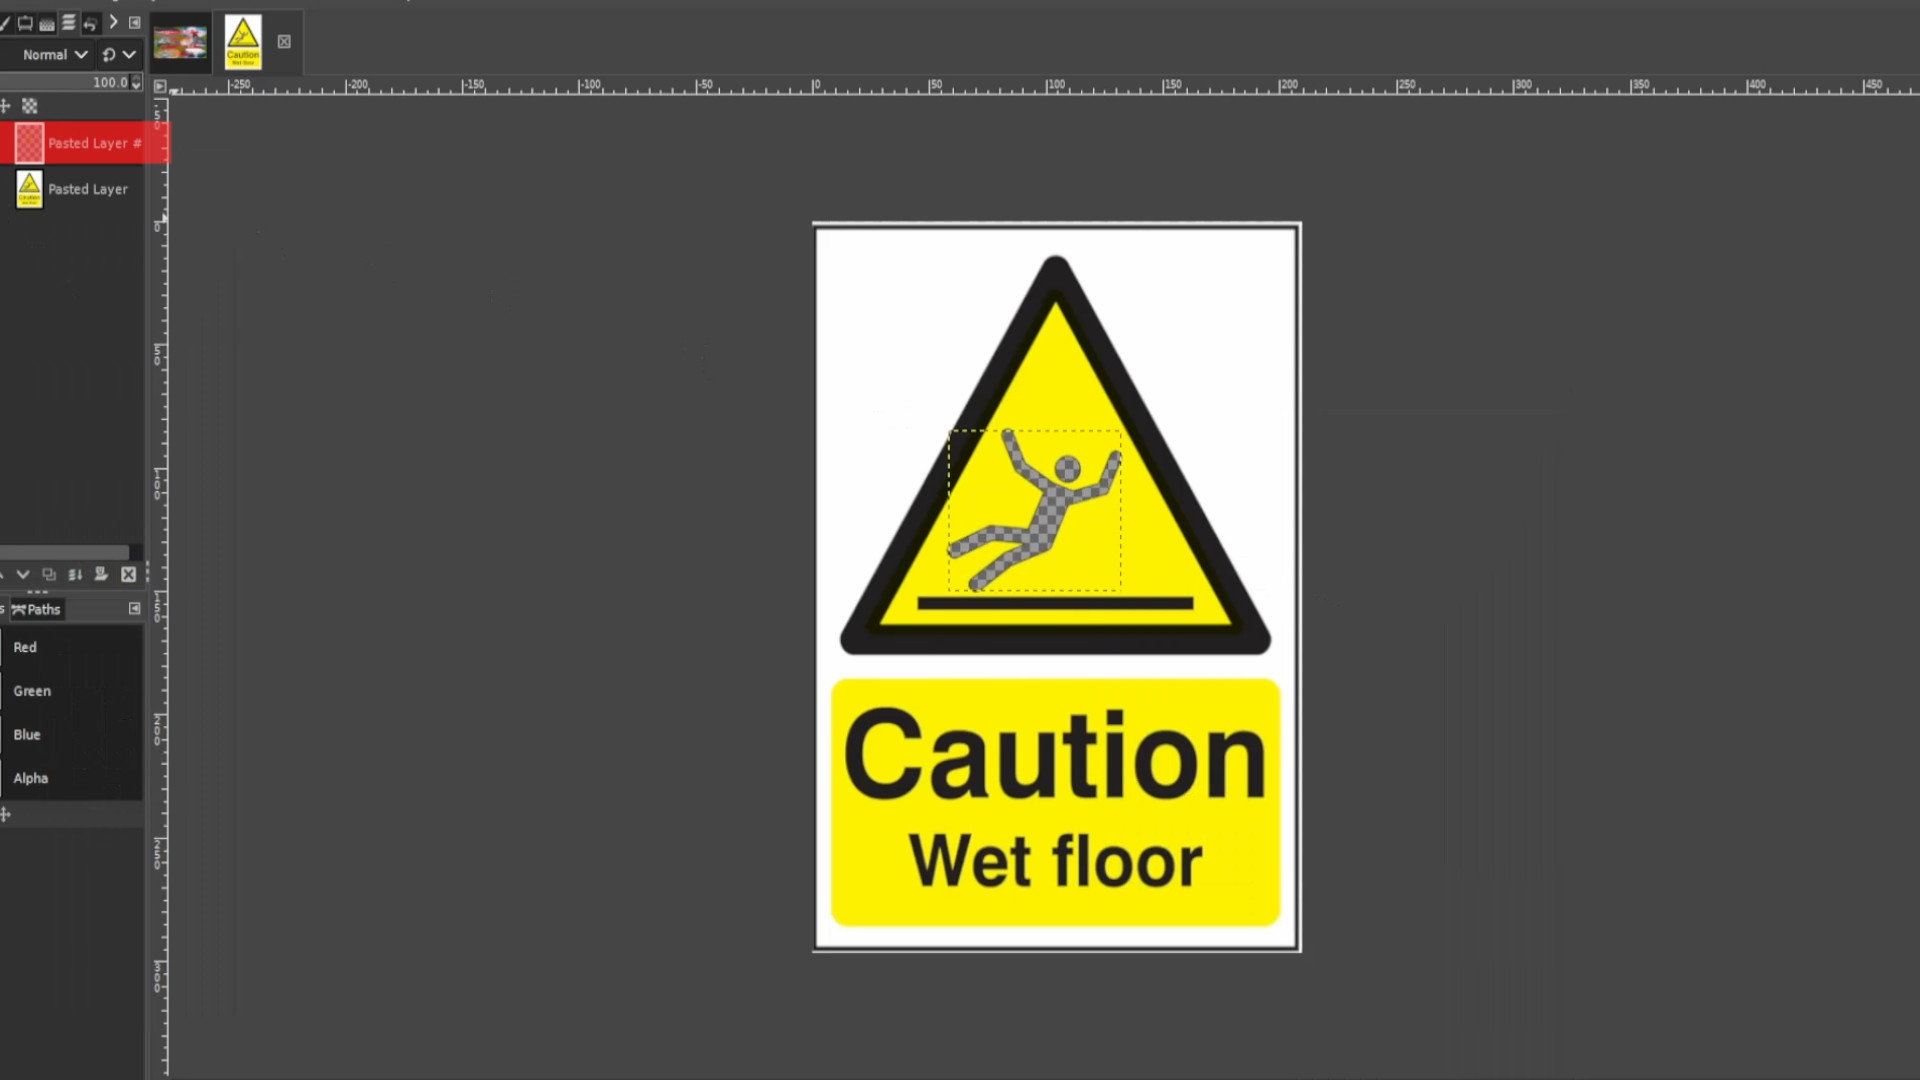
With the first layer selected PRESS the FIRST>>>EYE to hide the layer it should be transparent. If it’s not >>>DELETE the last >>>LAYER in the left hand side>>>LAYERS PANEL and go to >>>LAYER>>>TRANSPARENCY>>>ADD ALPHA CHANNEL.
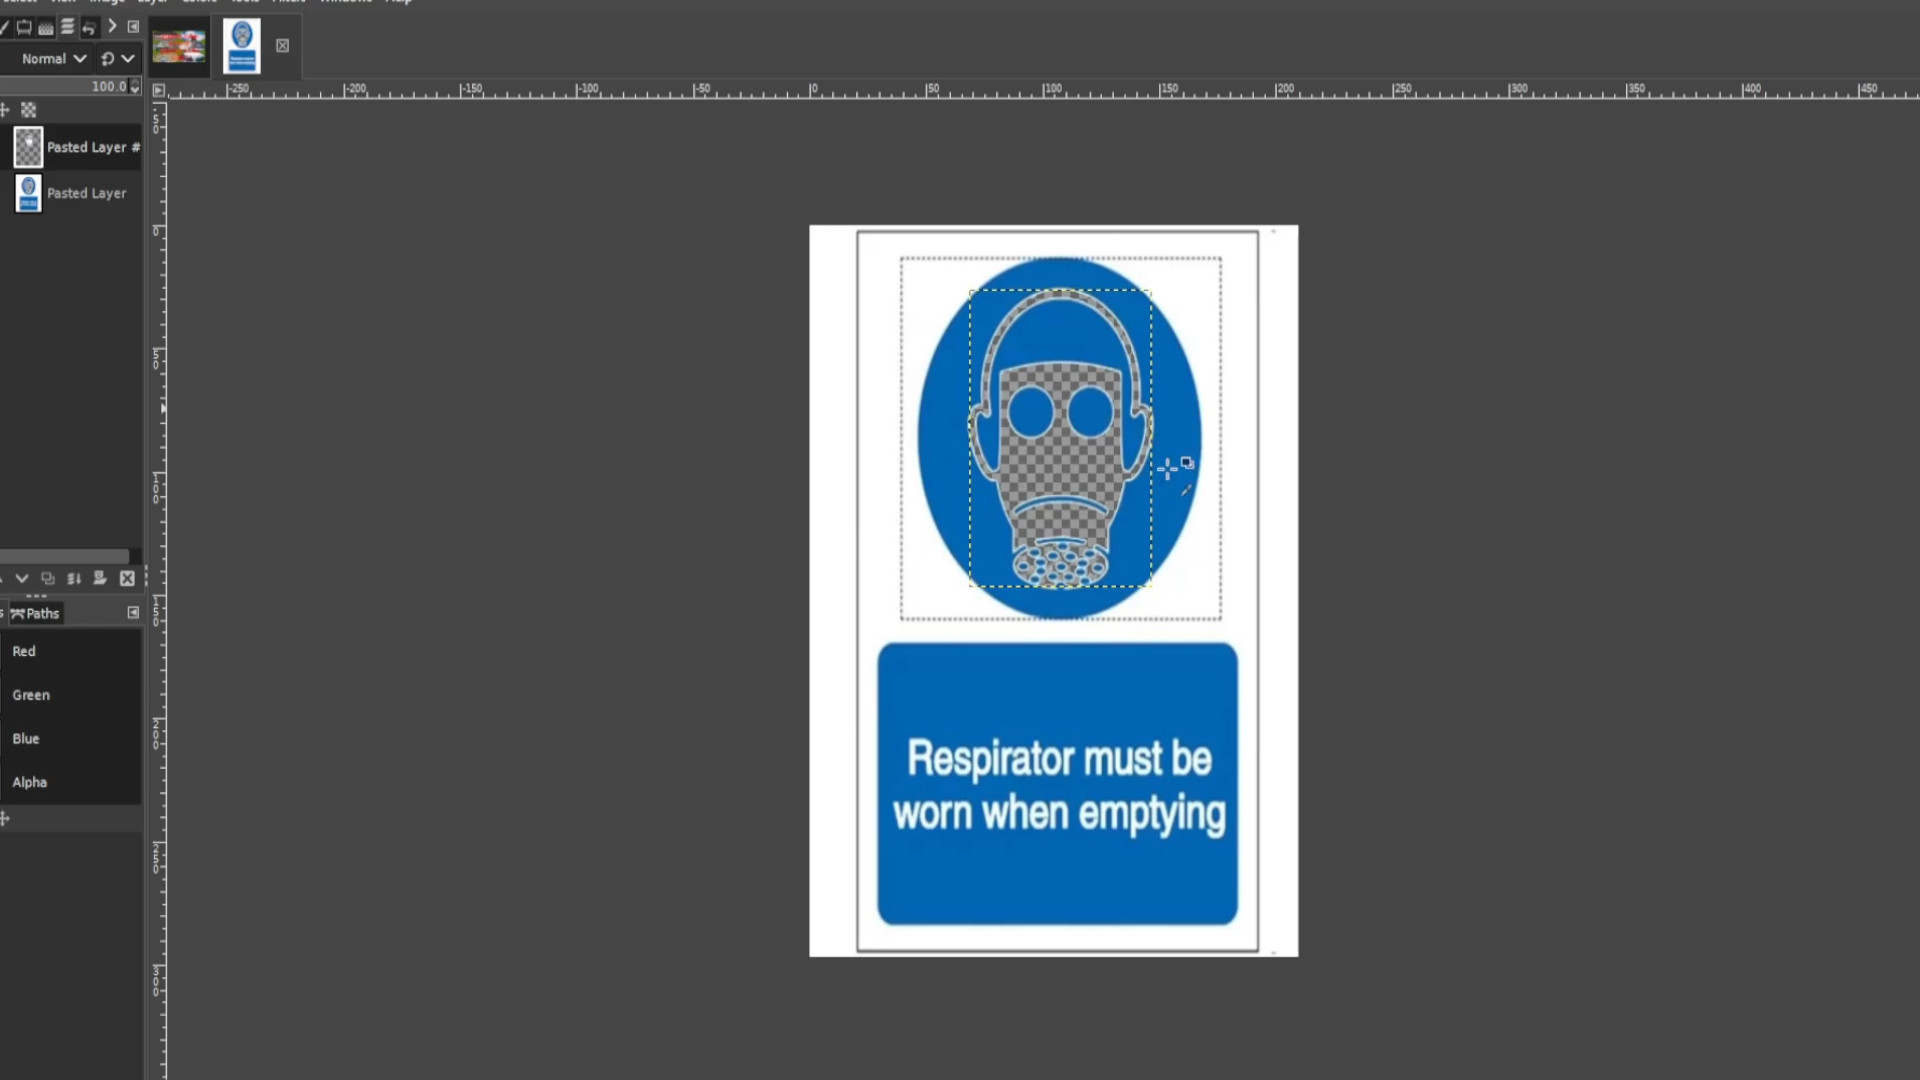
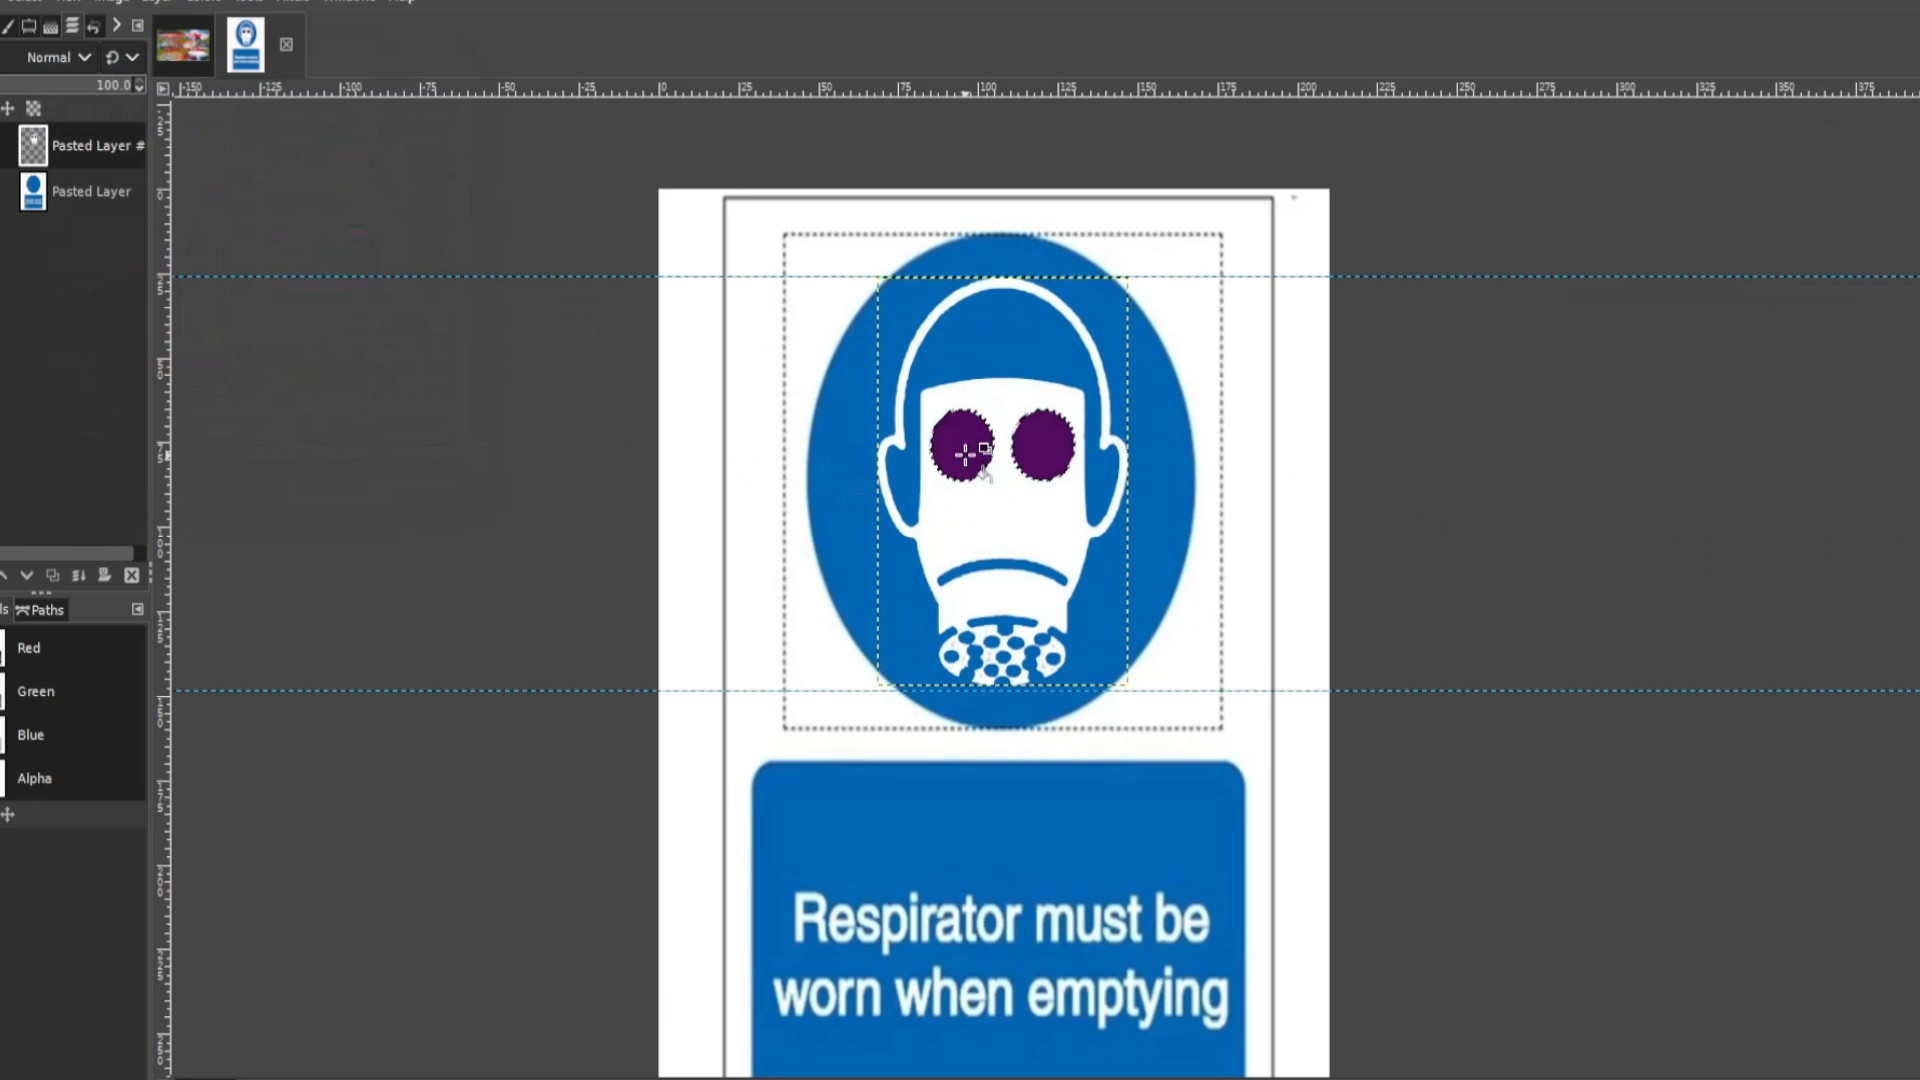
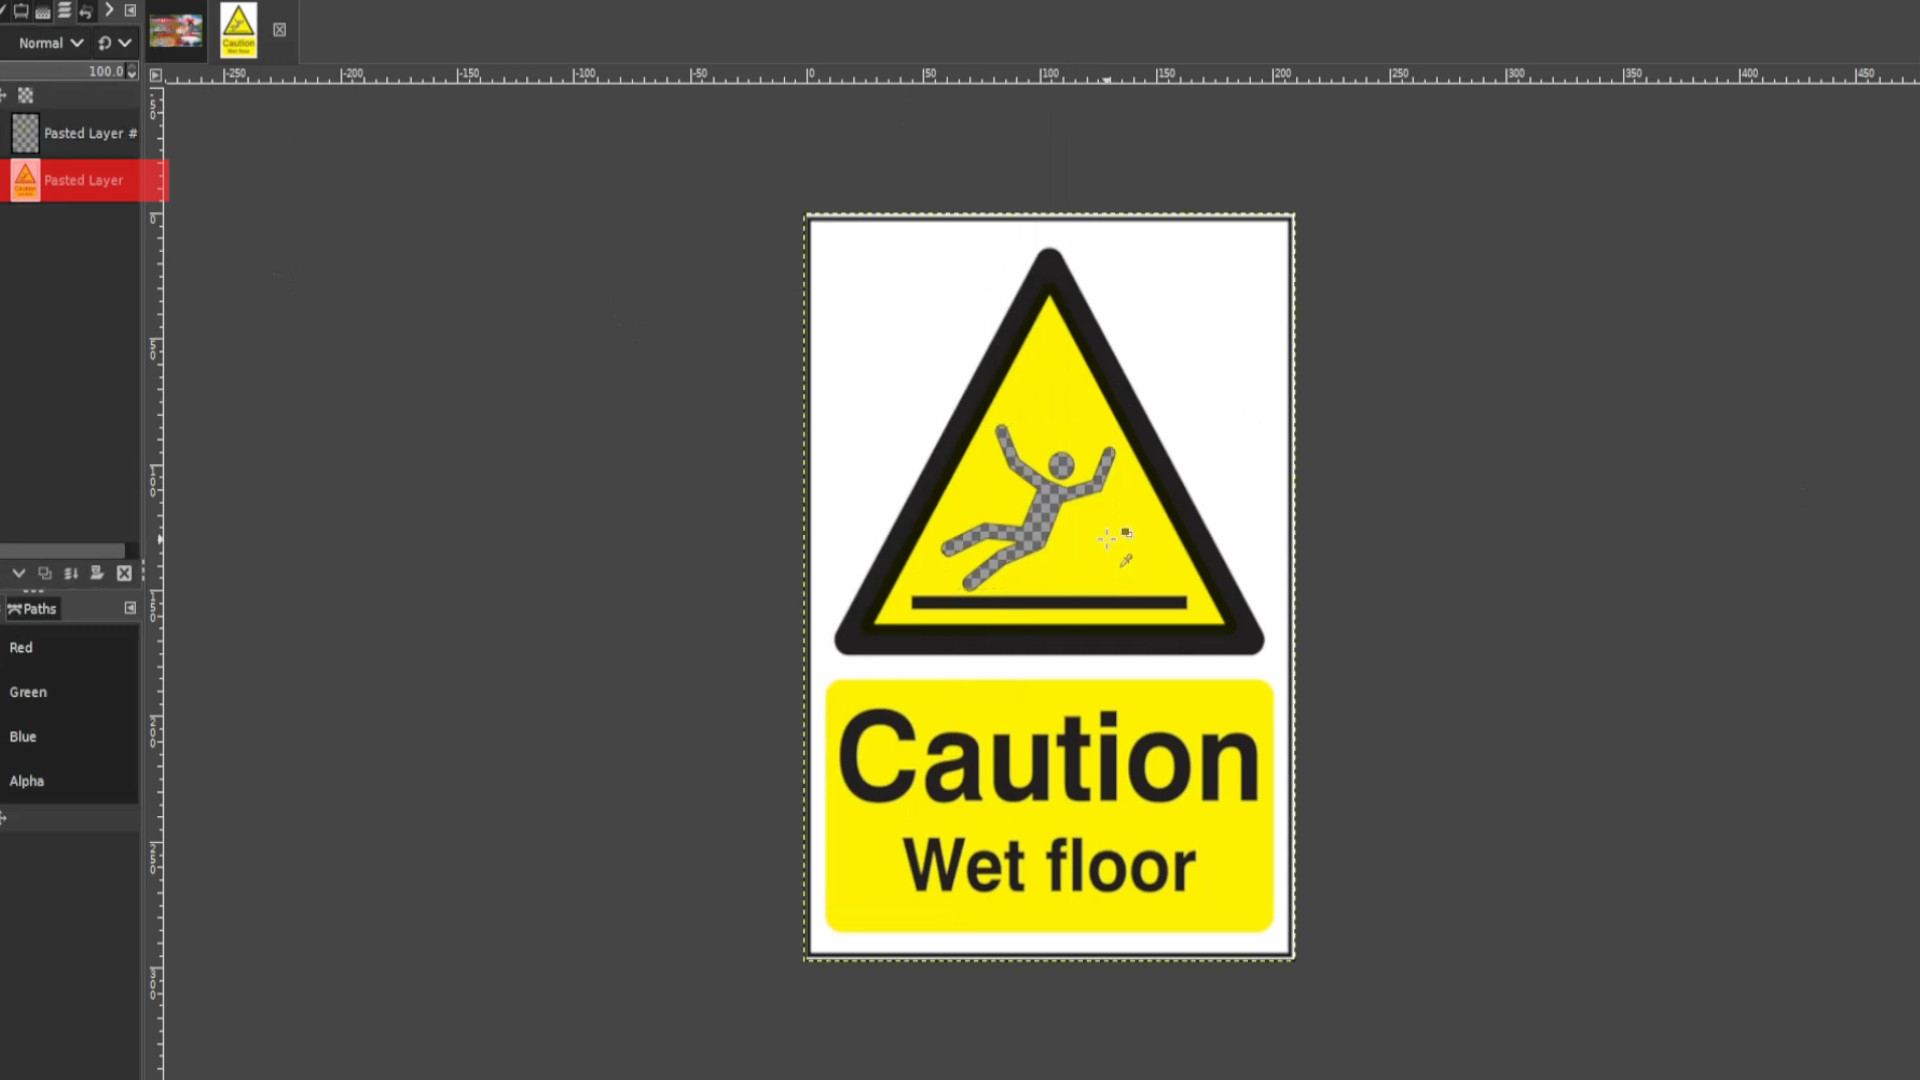
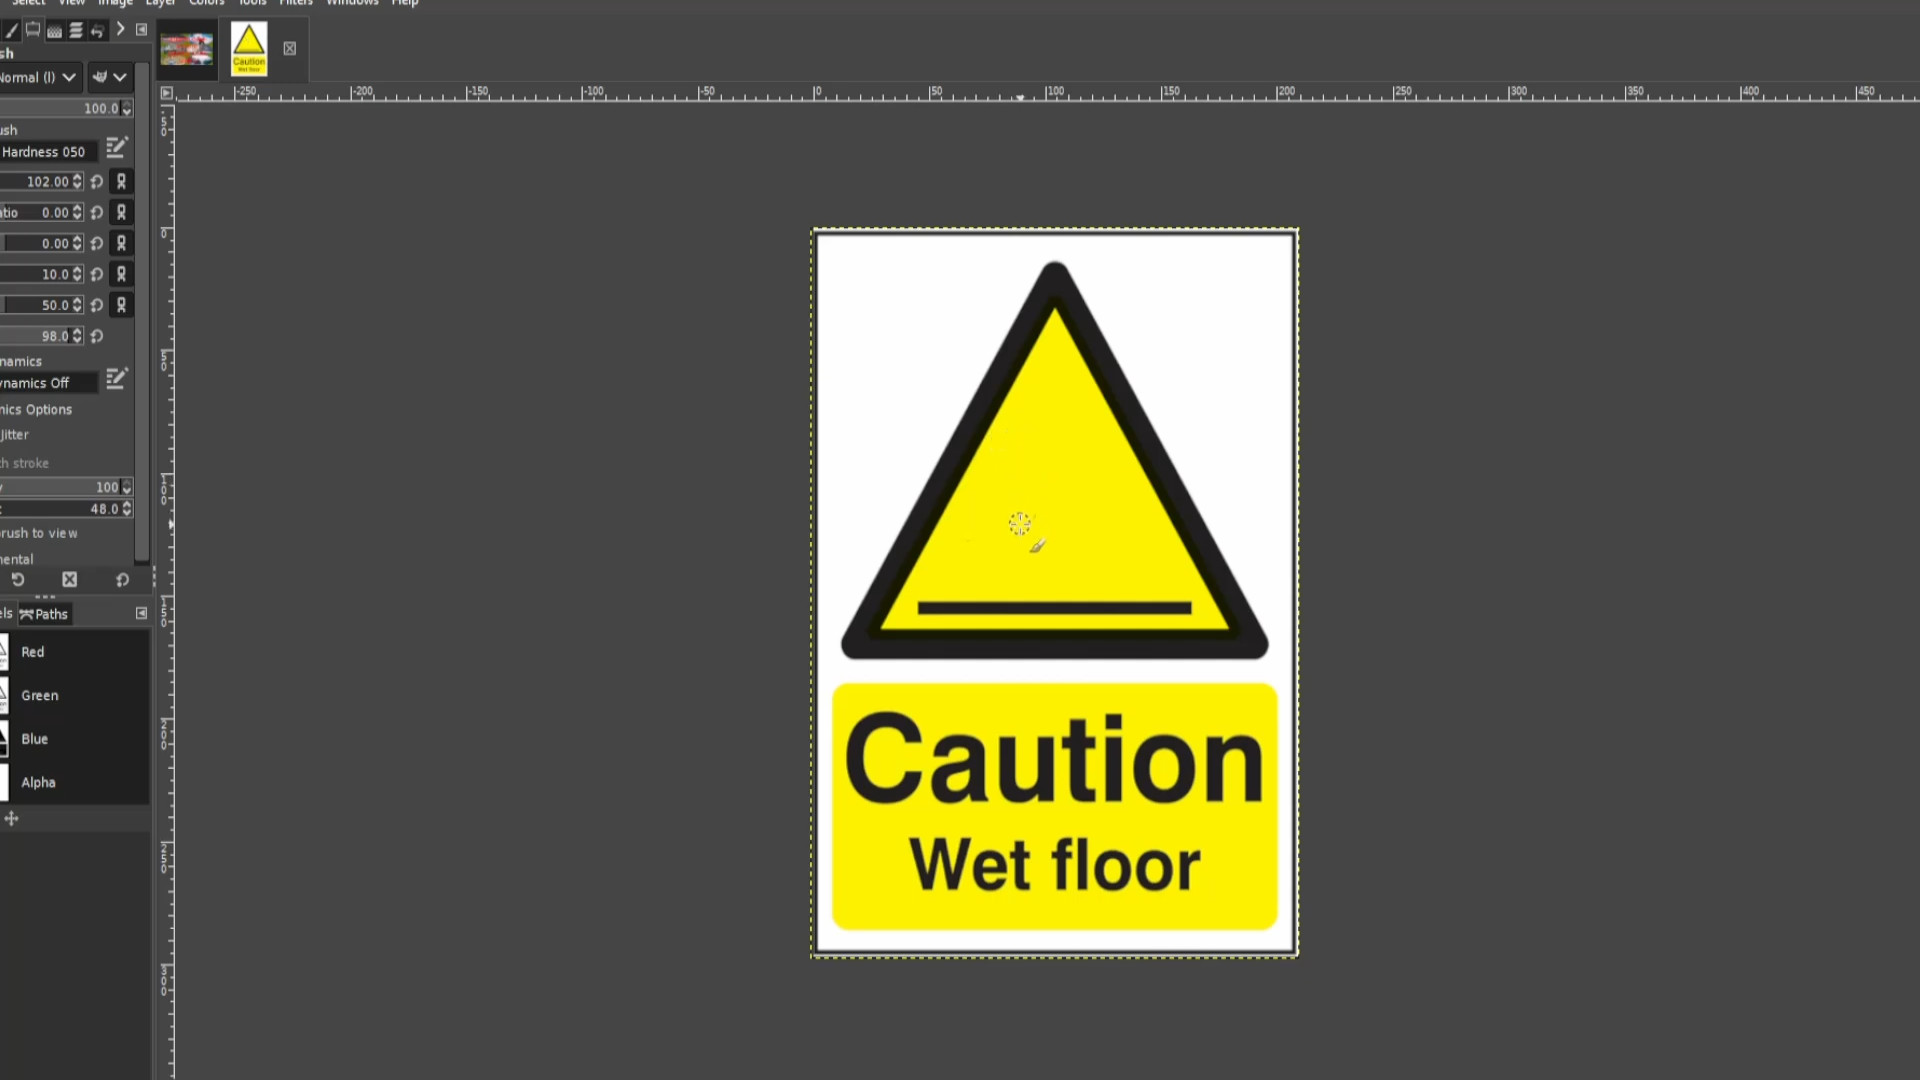
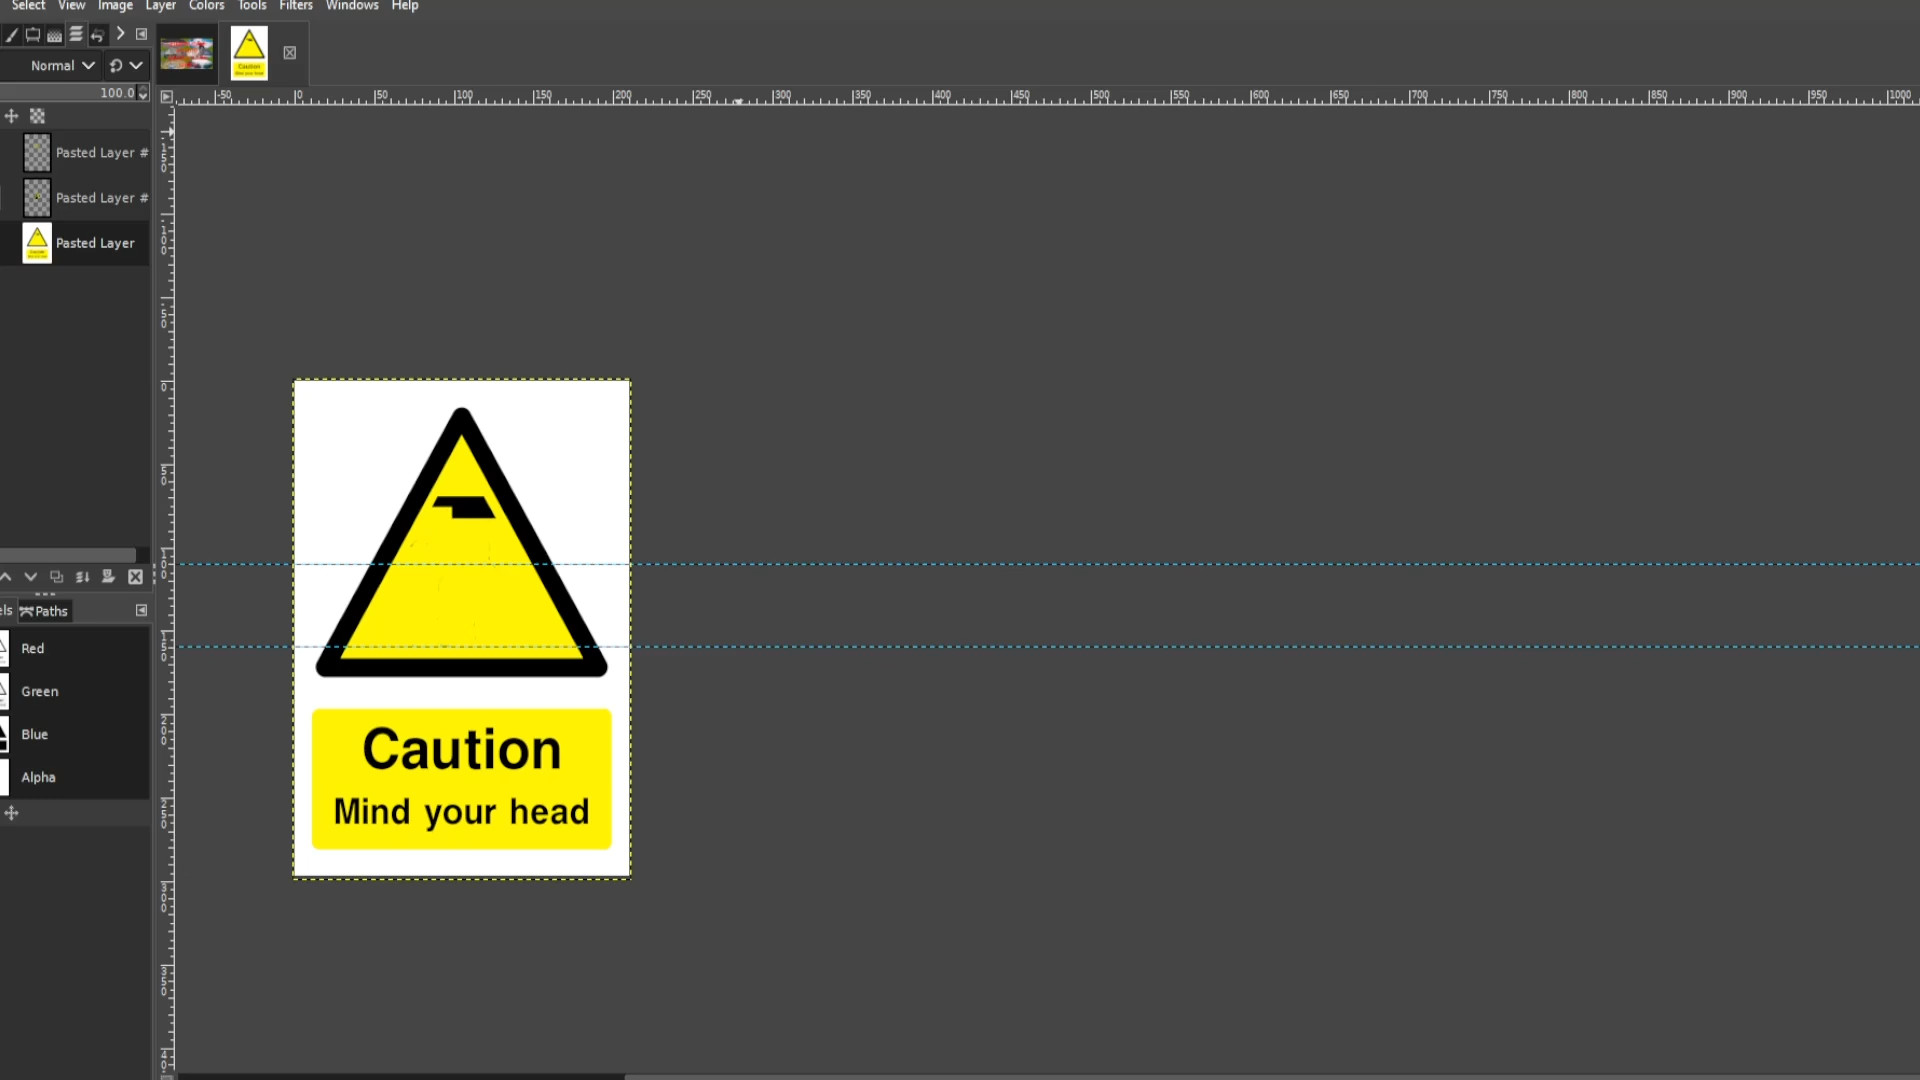
With the>>>BOTTOM LAYER SELECTED use the>>>COLOUR PICKER to select in this case ANY>>>YELLOW BIT.
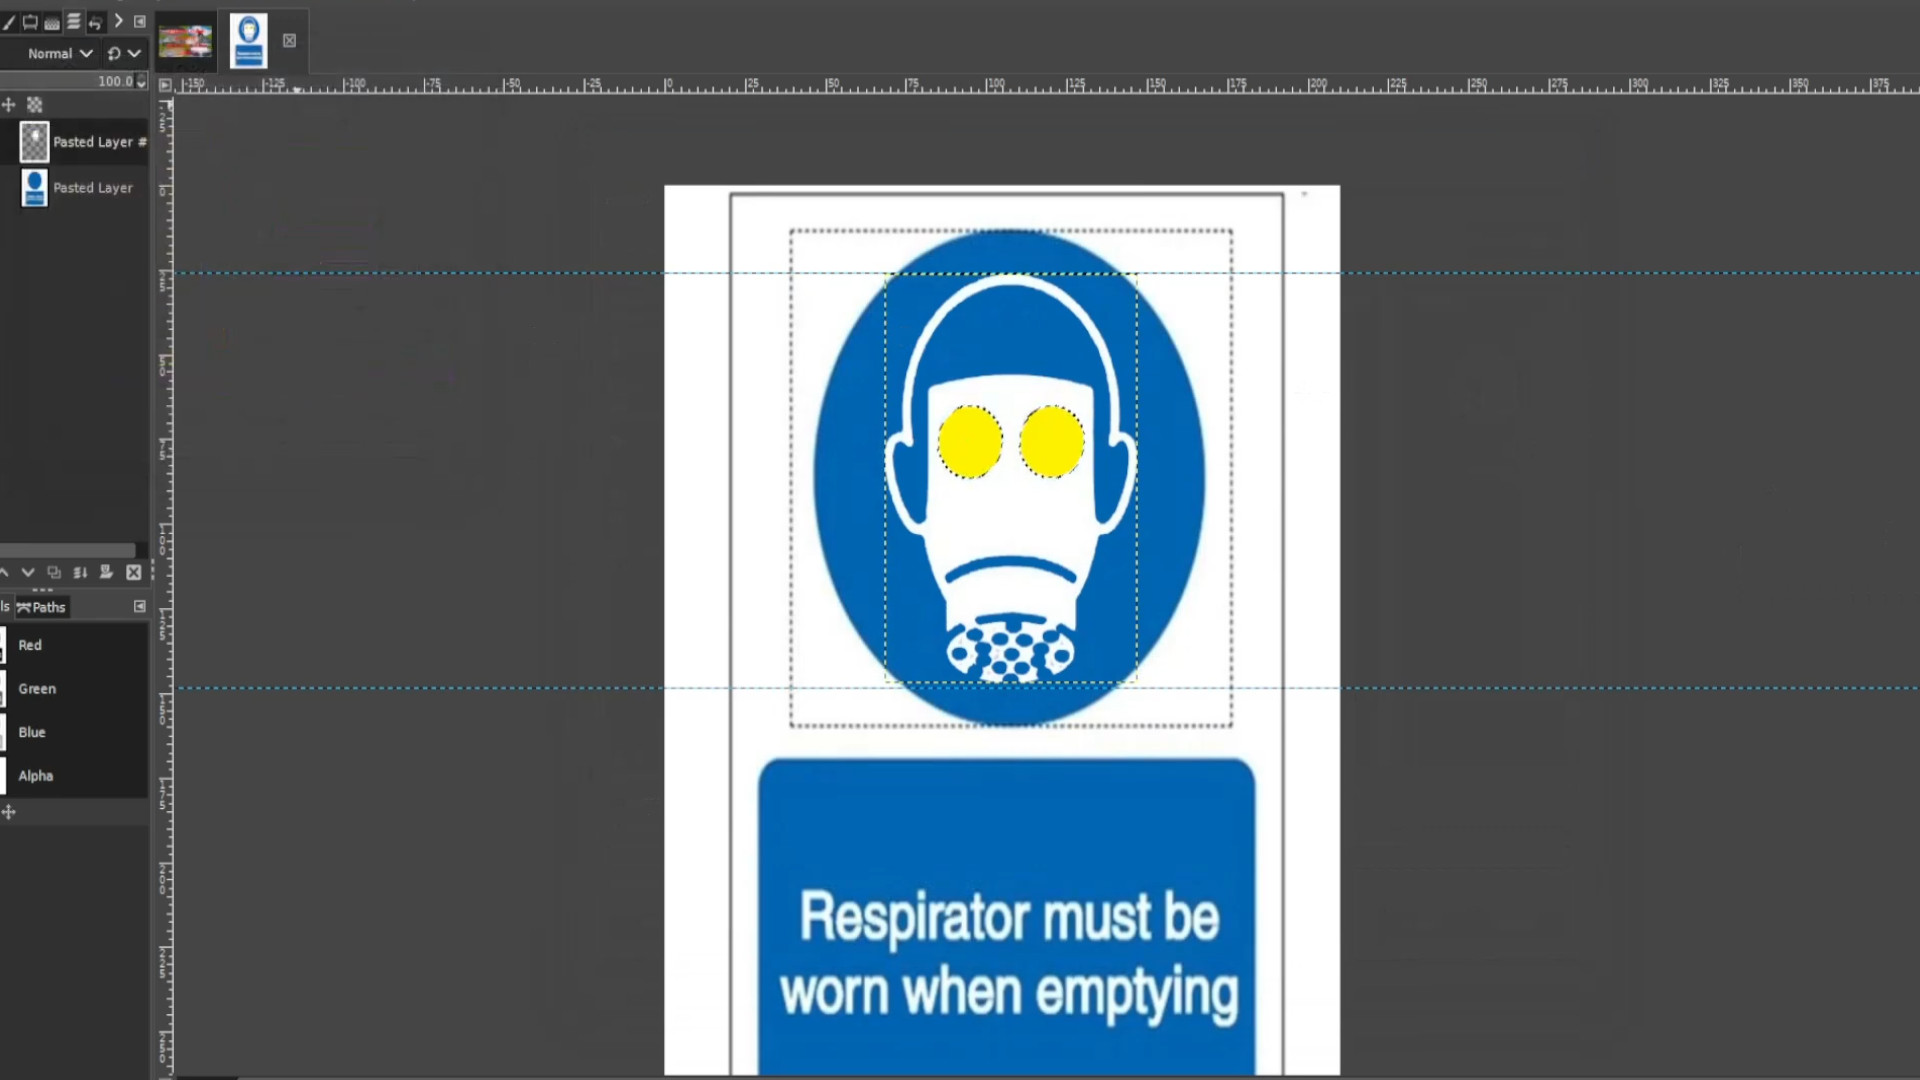
With the bottom layer selected Use the>>>PAINT BRUSH to fill in the transparent bit leaving in this case the jagged transparent bit completely yellow. If you can’t see the layers tab go to>>>WINDOWS>>>DOCKABLE DIALOGS>>>LAYERS to make it appear.

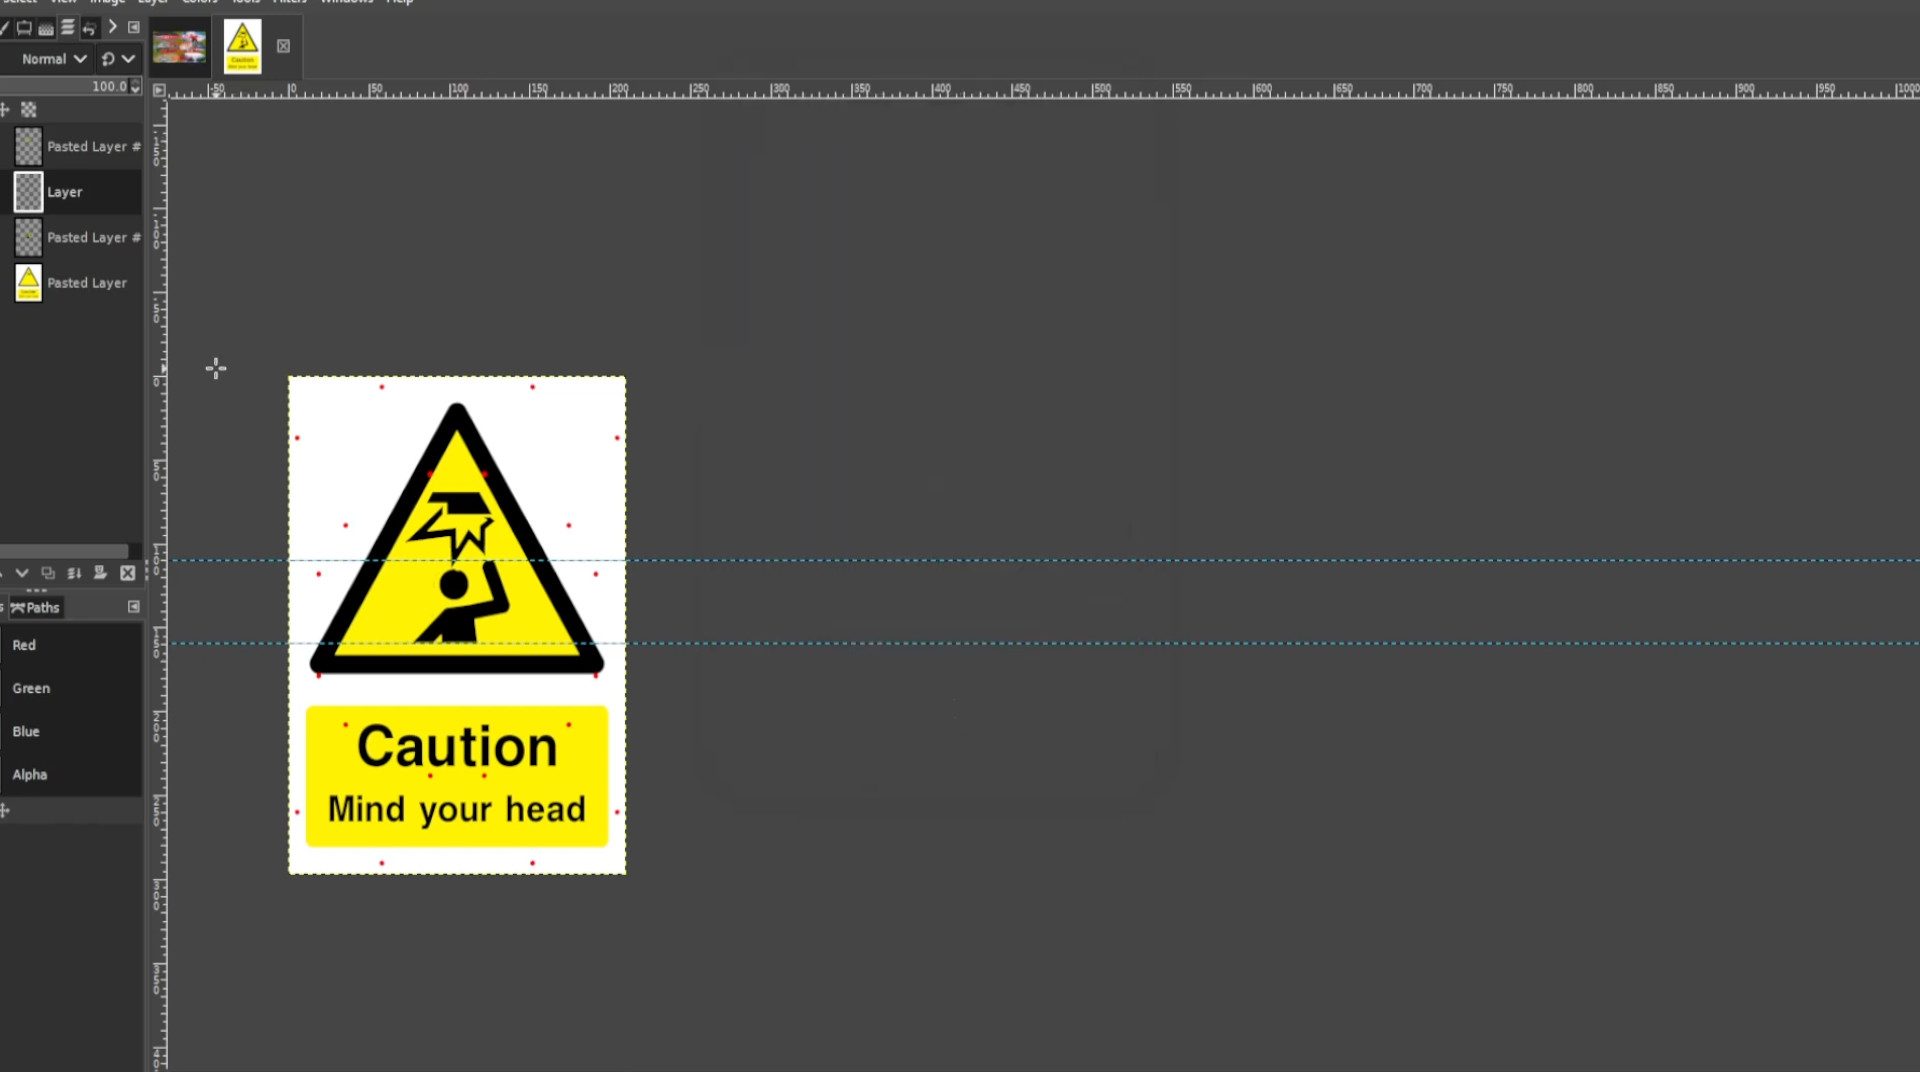
Go to>>>IMAGE>>>HOVER over>>>GUIDES and>>>SELECT>>>NEW GUIDE (BY PERCENTAGE) leave the options as they are >>>DIRECTION>>>HORIZONTAL>>>POSITION>>>50.00 and press ok. Now drag the line in the middle of the picture by>>>HOLDING SHIFT and>>>HOLDING the>>>LEFT MOUSE BUTTON or>>>LEFT OF THE TOUCHPAD and dragging into position in this case the>>>BOTTOM of the>>>STICKMAN. Now repeat the step moving the guides now at the>>>TOP of the stickman>>>EXPORT AS changing the file name.


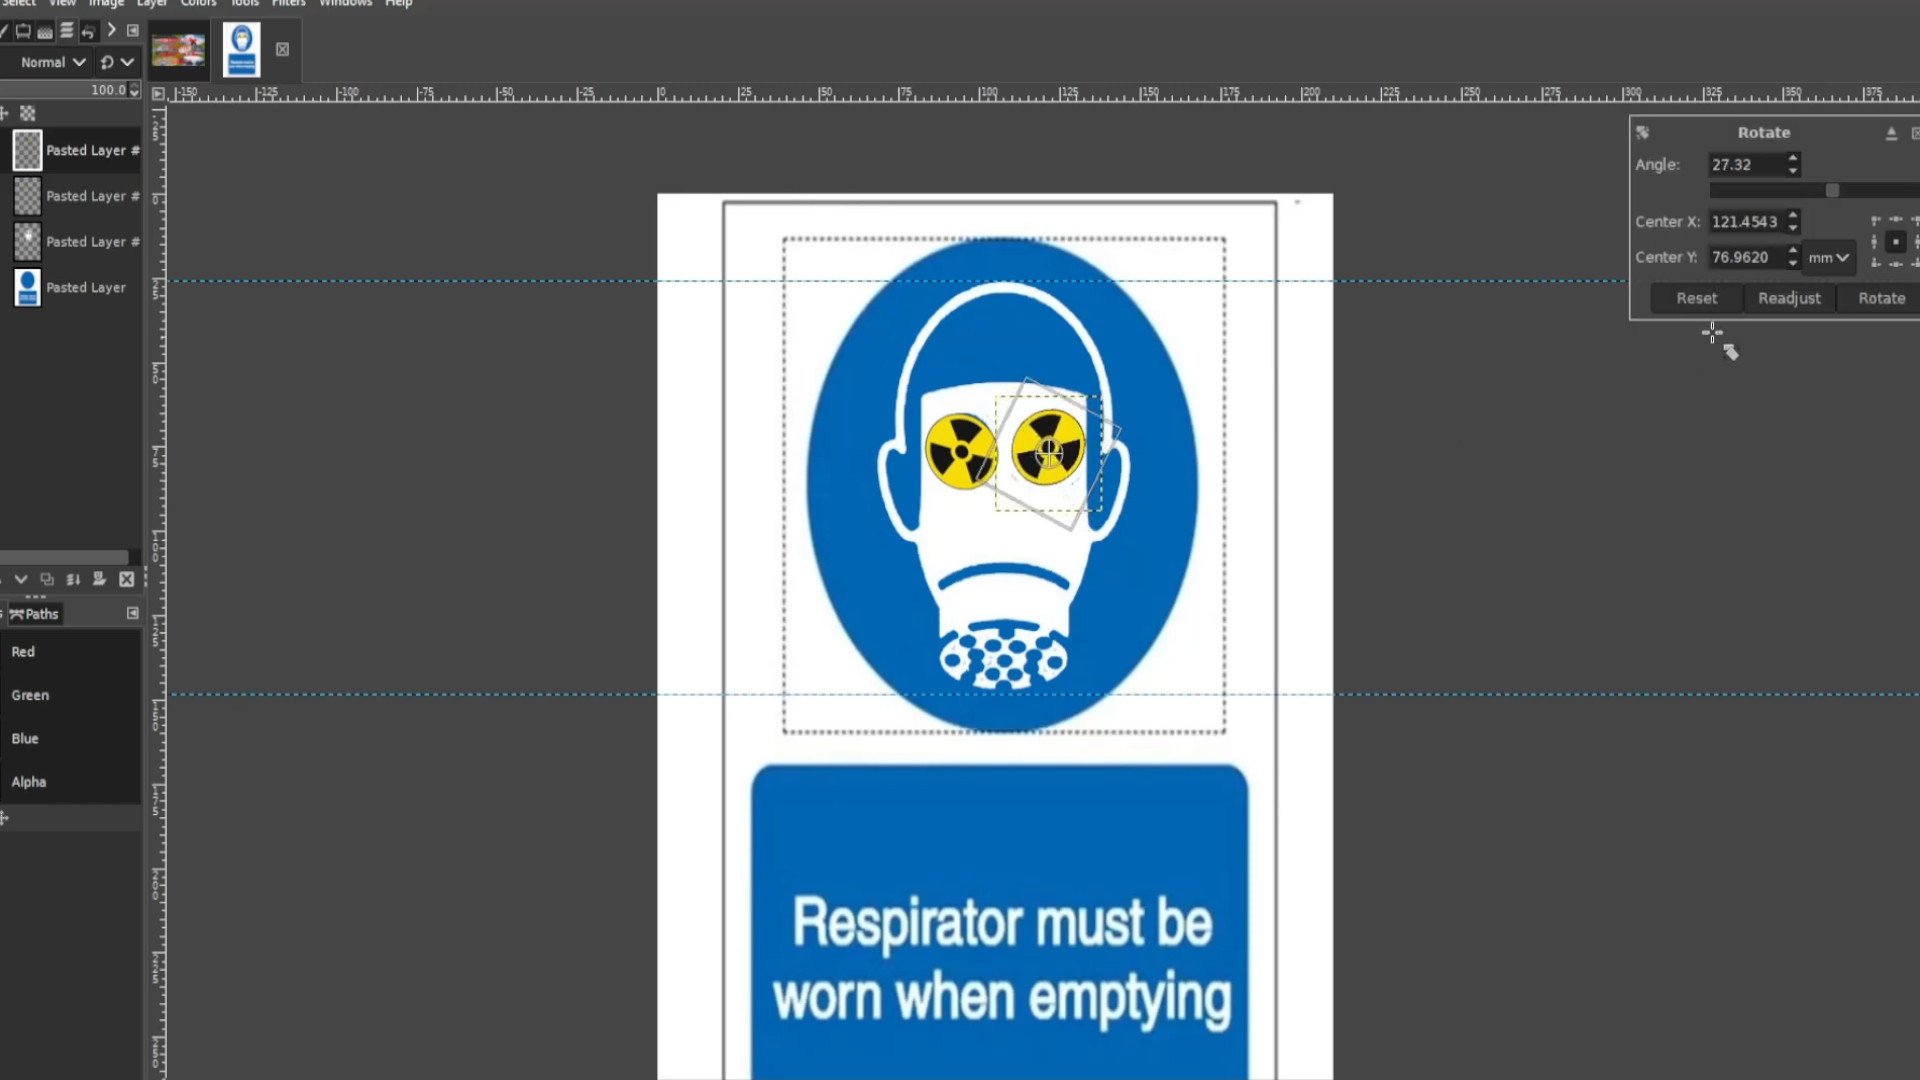
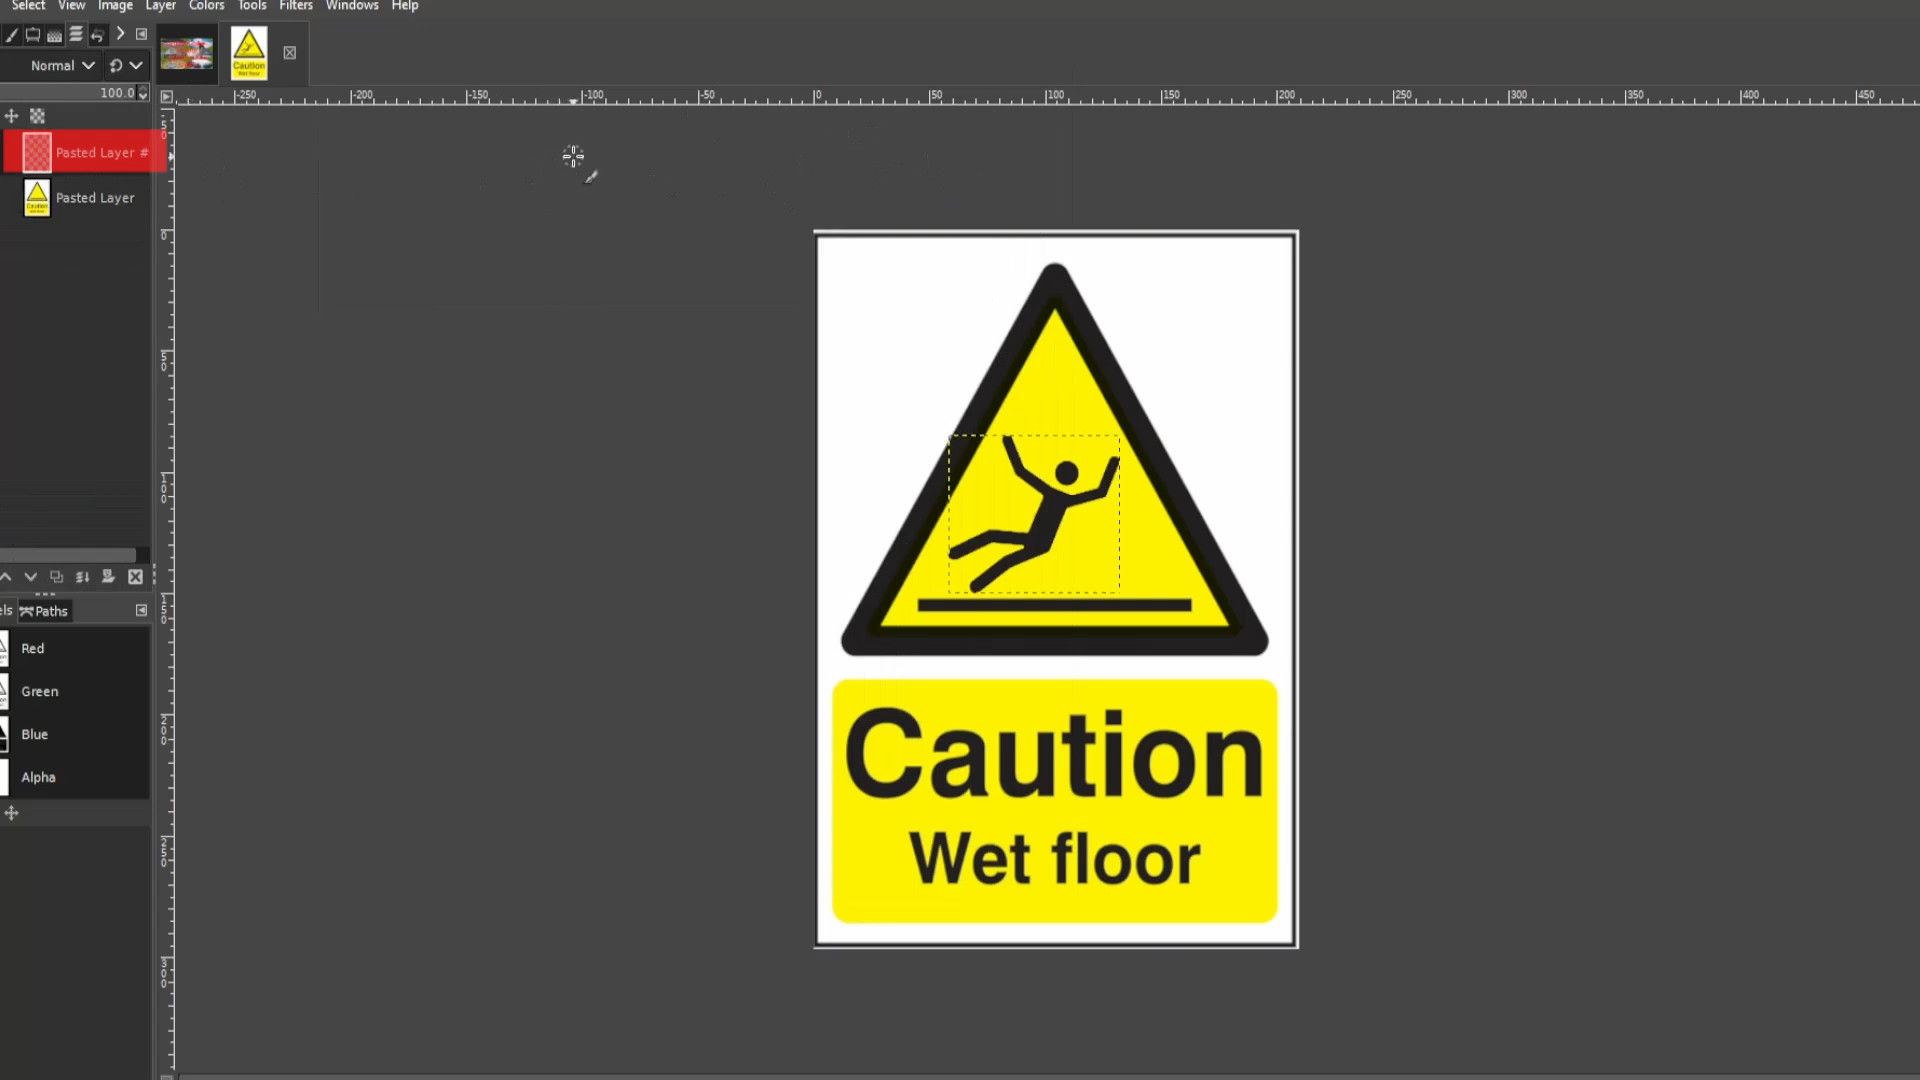
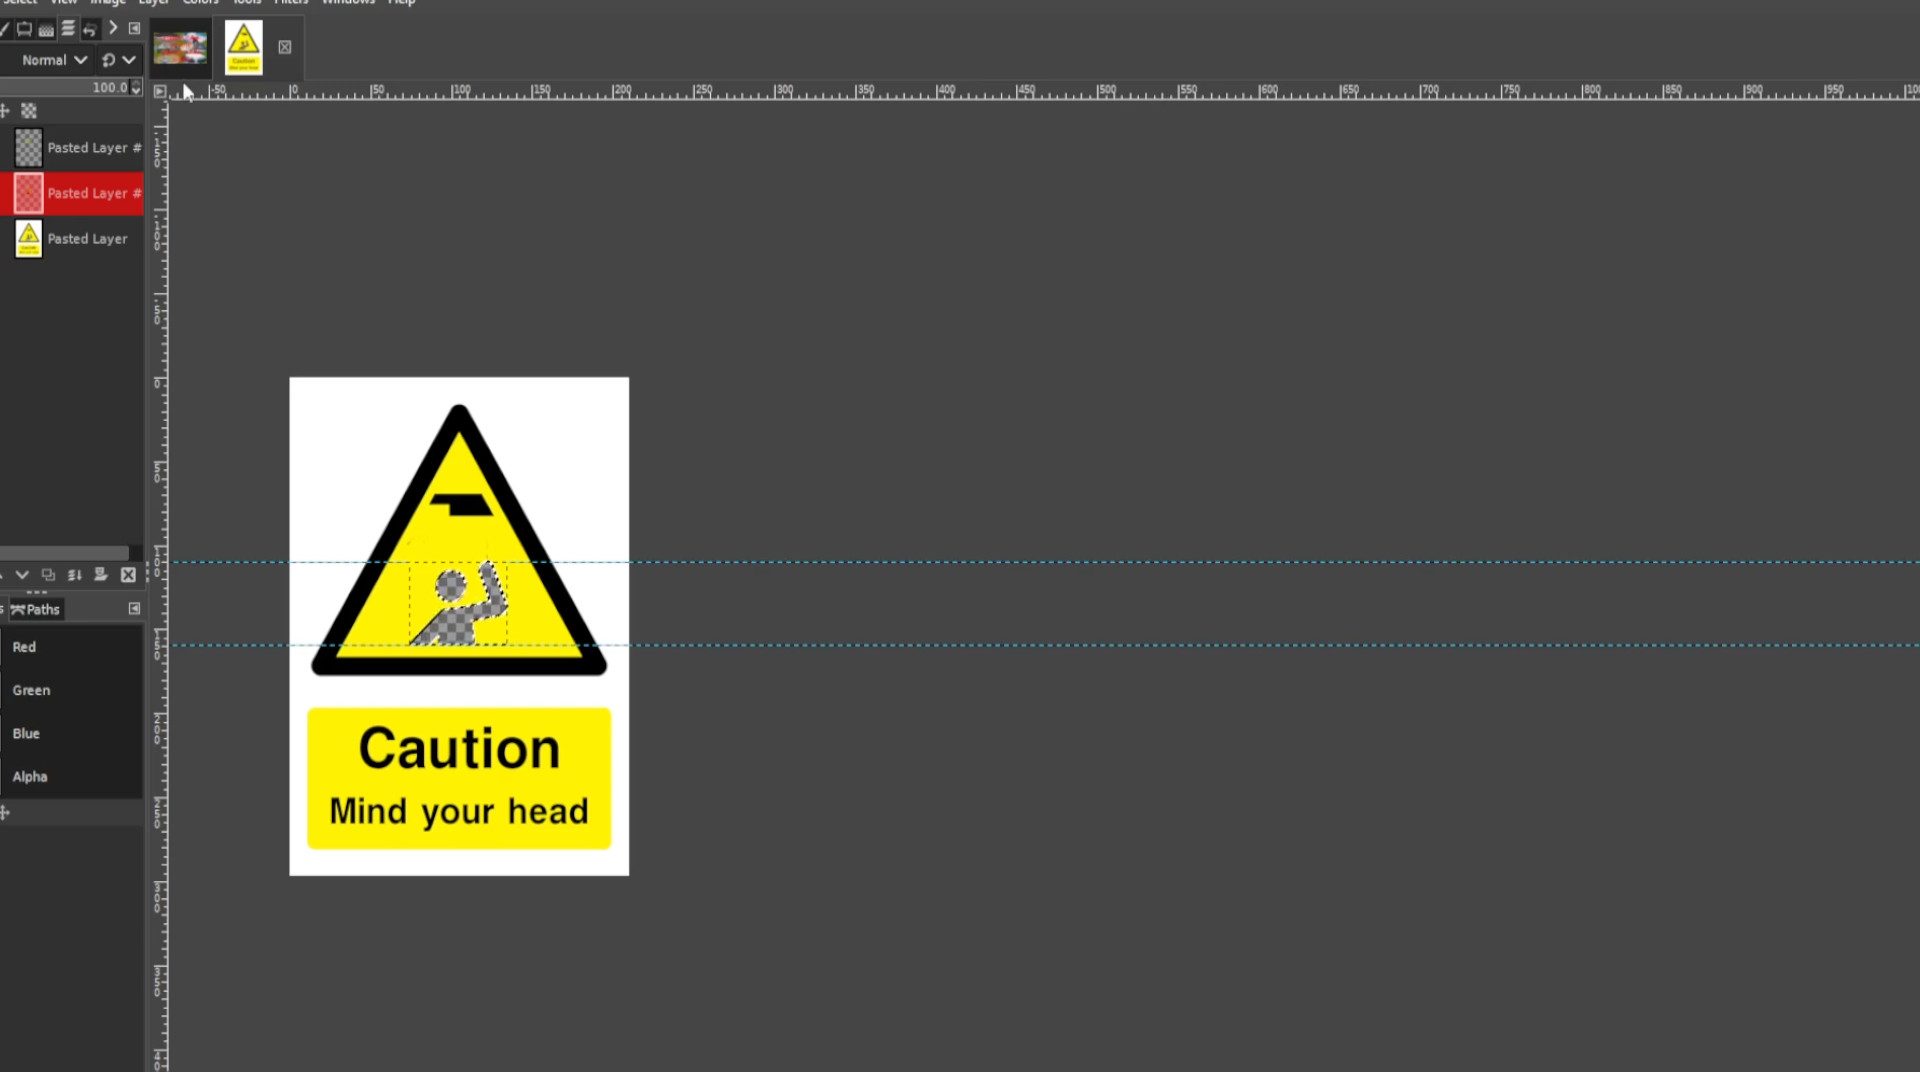
Repeat>>>STEP 3-6 to>>>SELECT>>>COPY>CUT and>>>PASTE the stickman

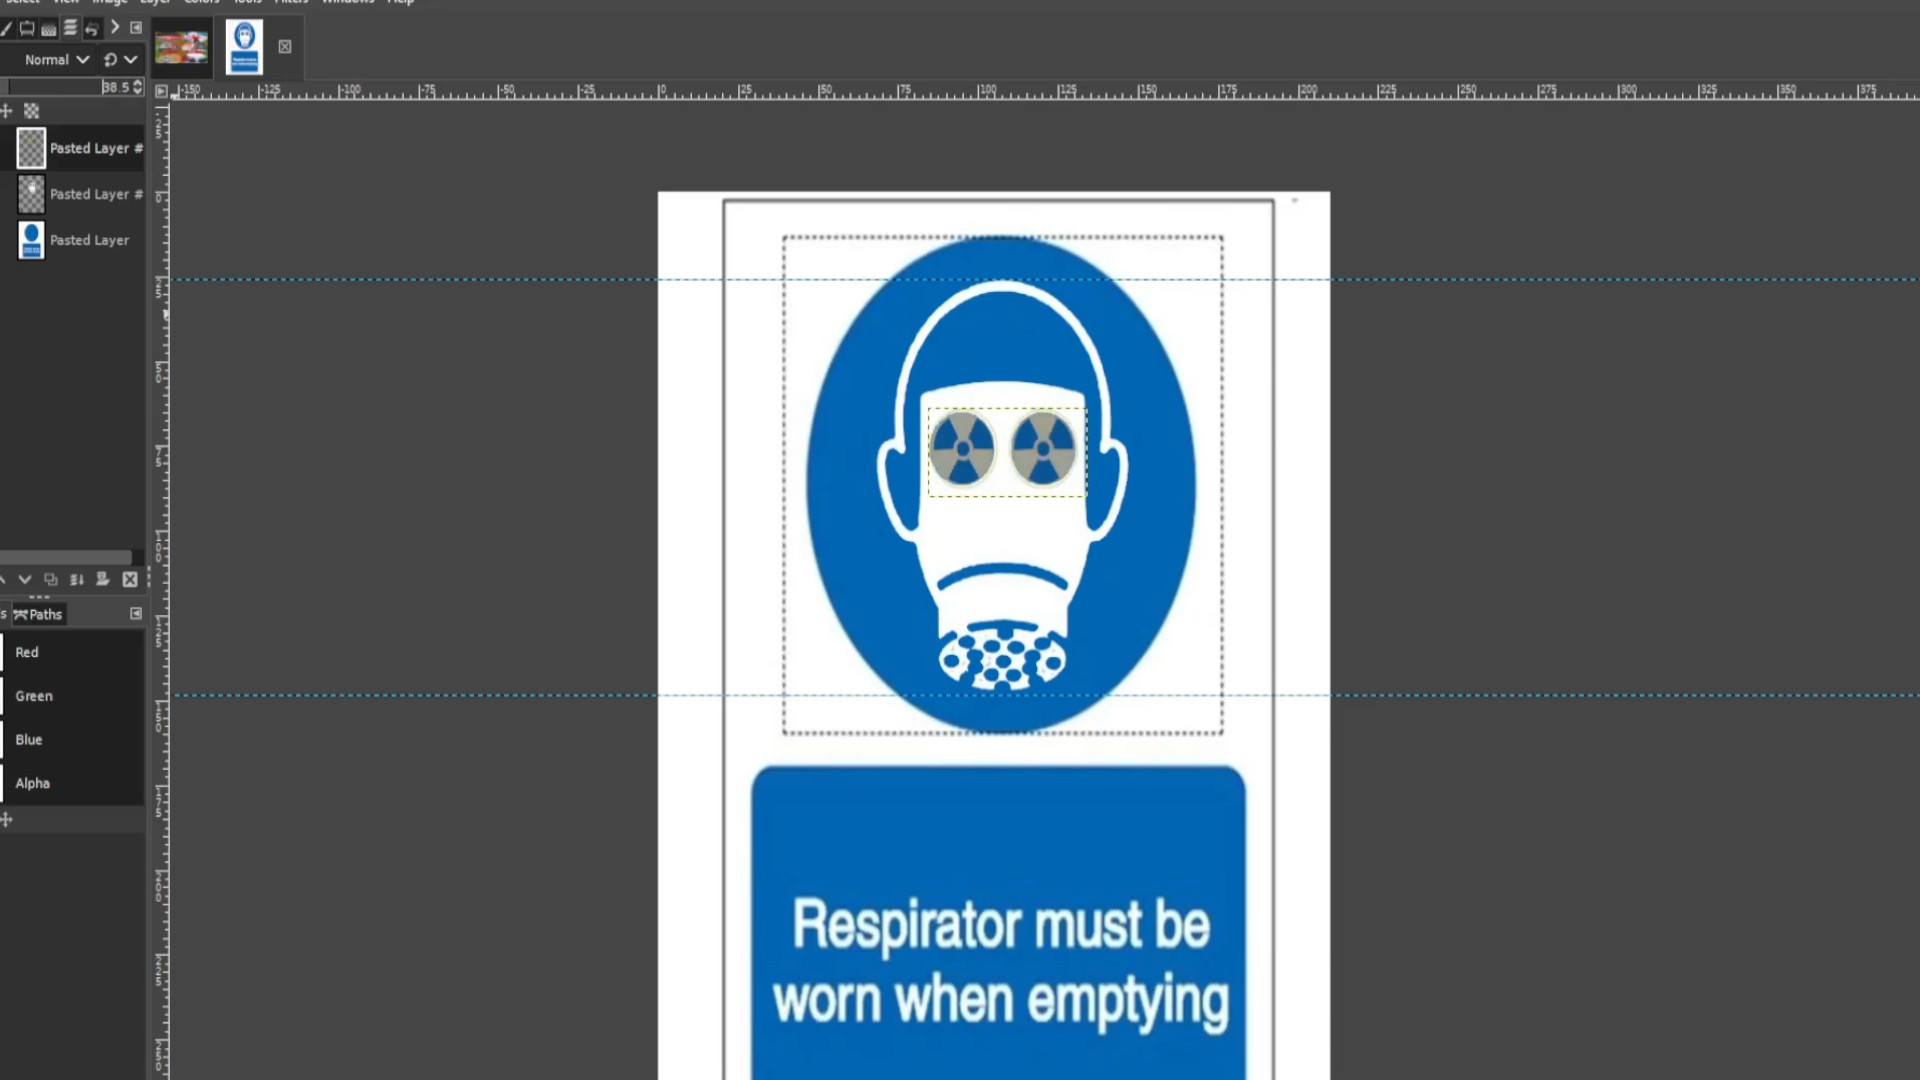
With the >>>FIRST or >>>SECOND >>>LAYER>>>SELECTED in the left hand side layers panel>>>HIDE the LAYER by clicking on the on the first or second >>>LAYERS >>>EYE to hide the layer.
With the>>>BOTTOM LAYER>>>SELECTED fill in the transparent background by using the>>>COLOUR PICKER TOOL and>>>SELECTING the>>>COLOUR in this case >>>SELECTING ANY OF THE YELLOW and using the>>>BRUSH to fill in the hole.
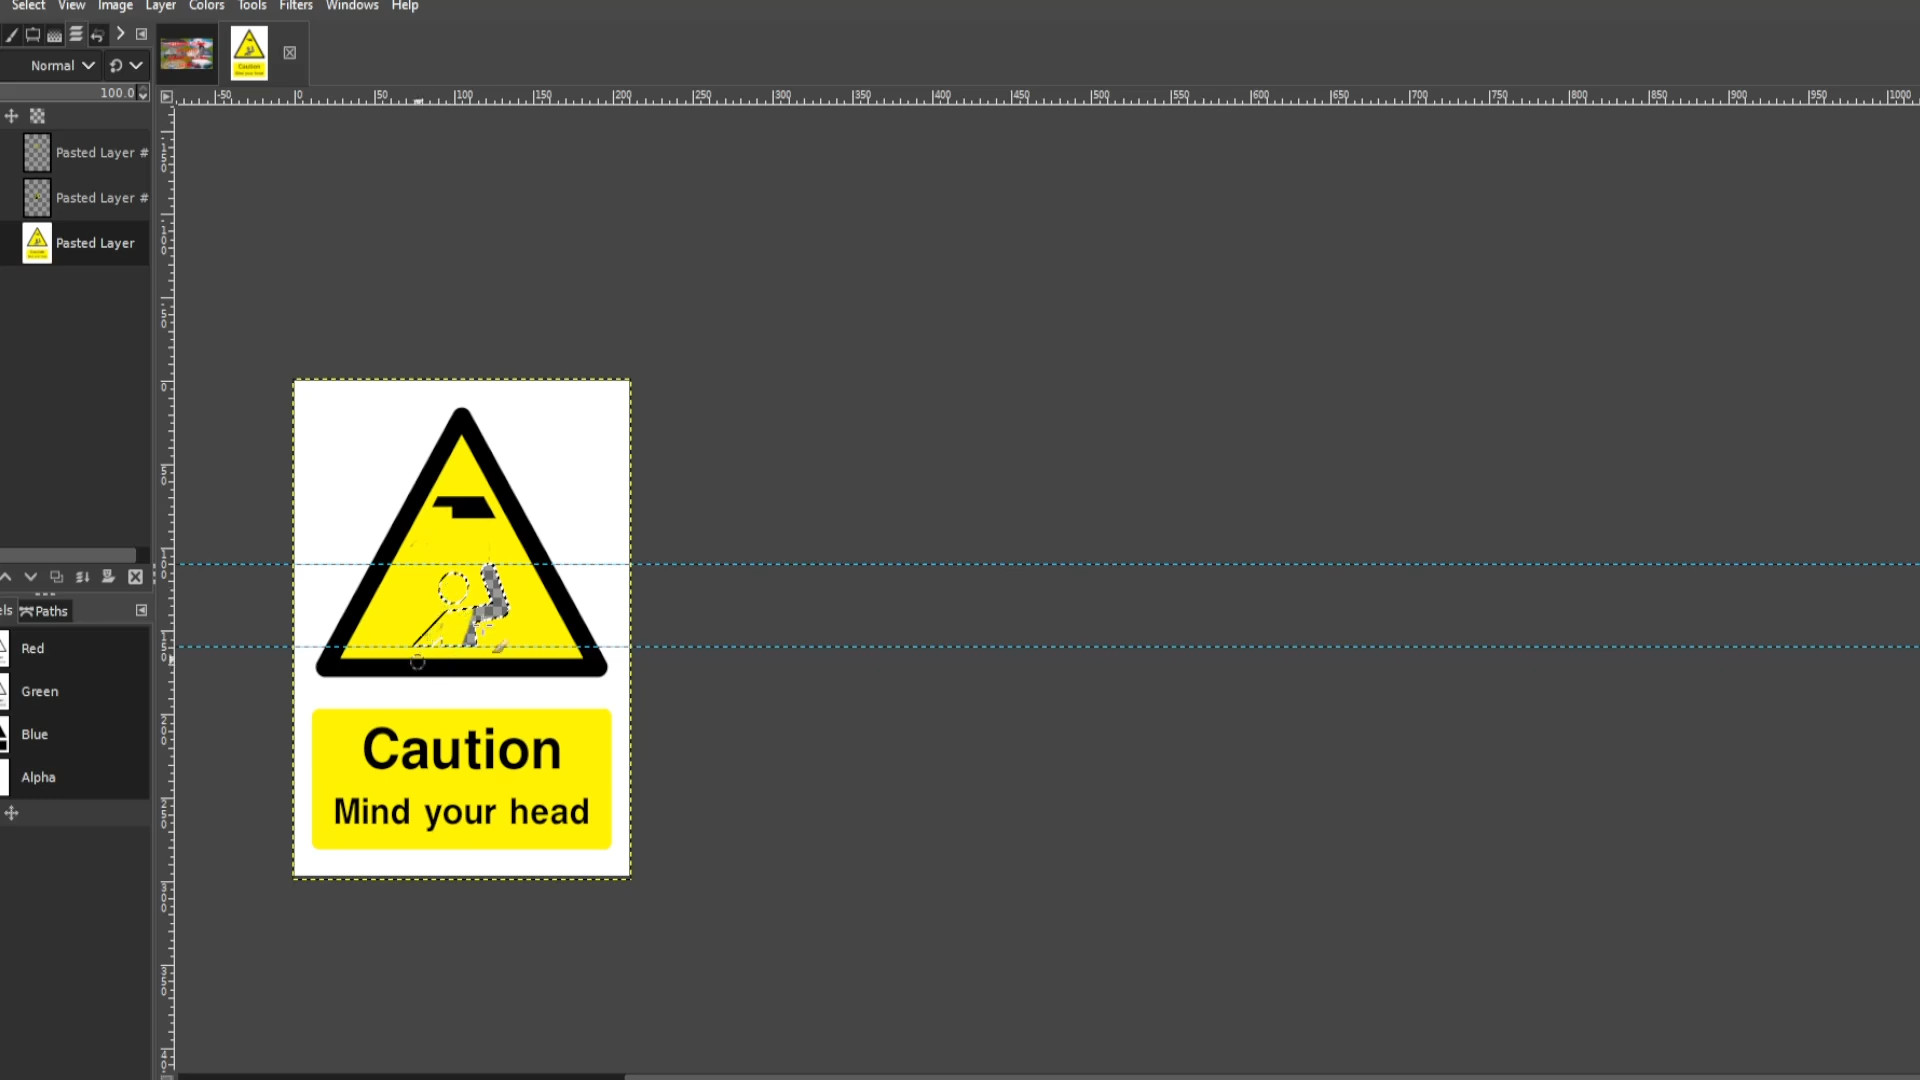
>>>SELECTING the>>>BOTTOM LAYER>>>UNHIDE the>>>LAYER by>>>SELECTING THE LAYERS EYE to make it>>>VISBLE.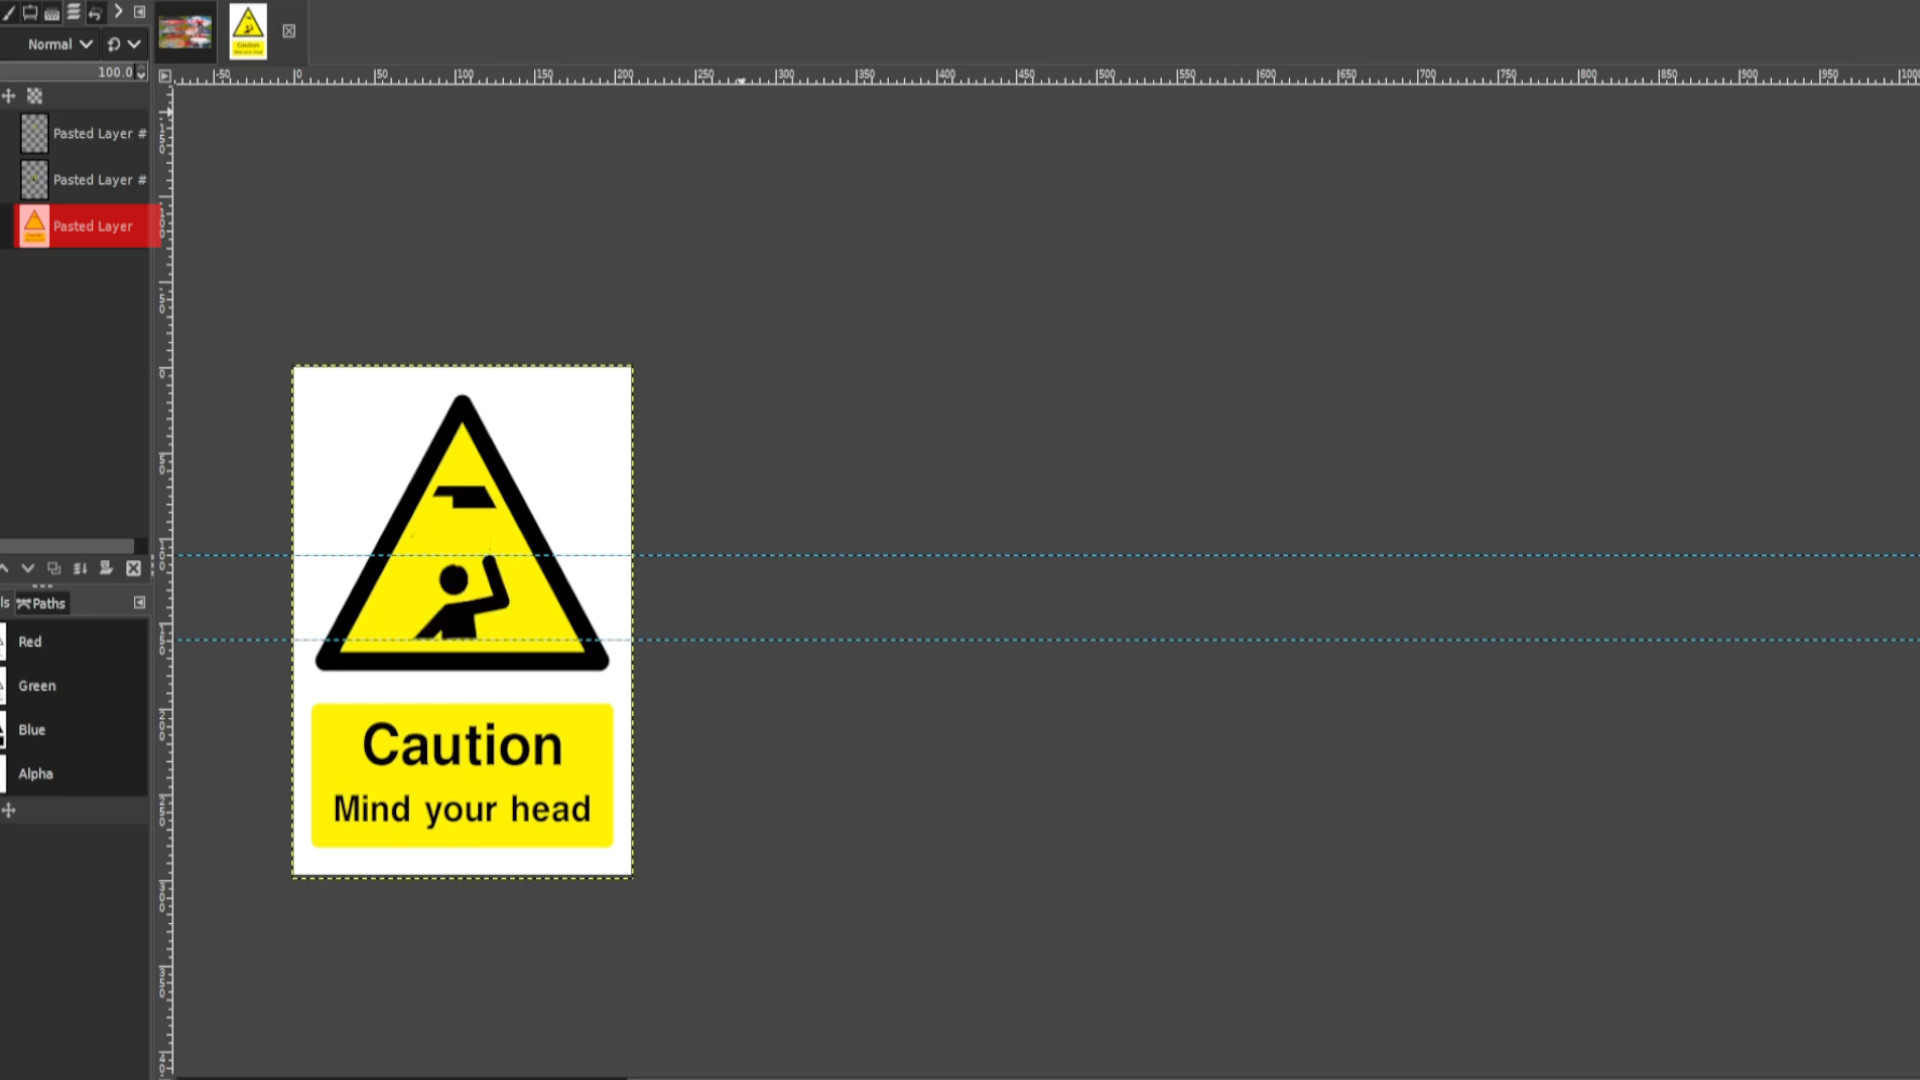
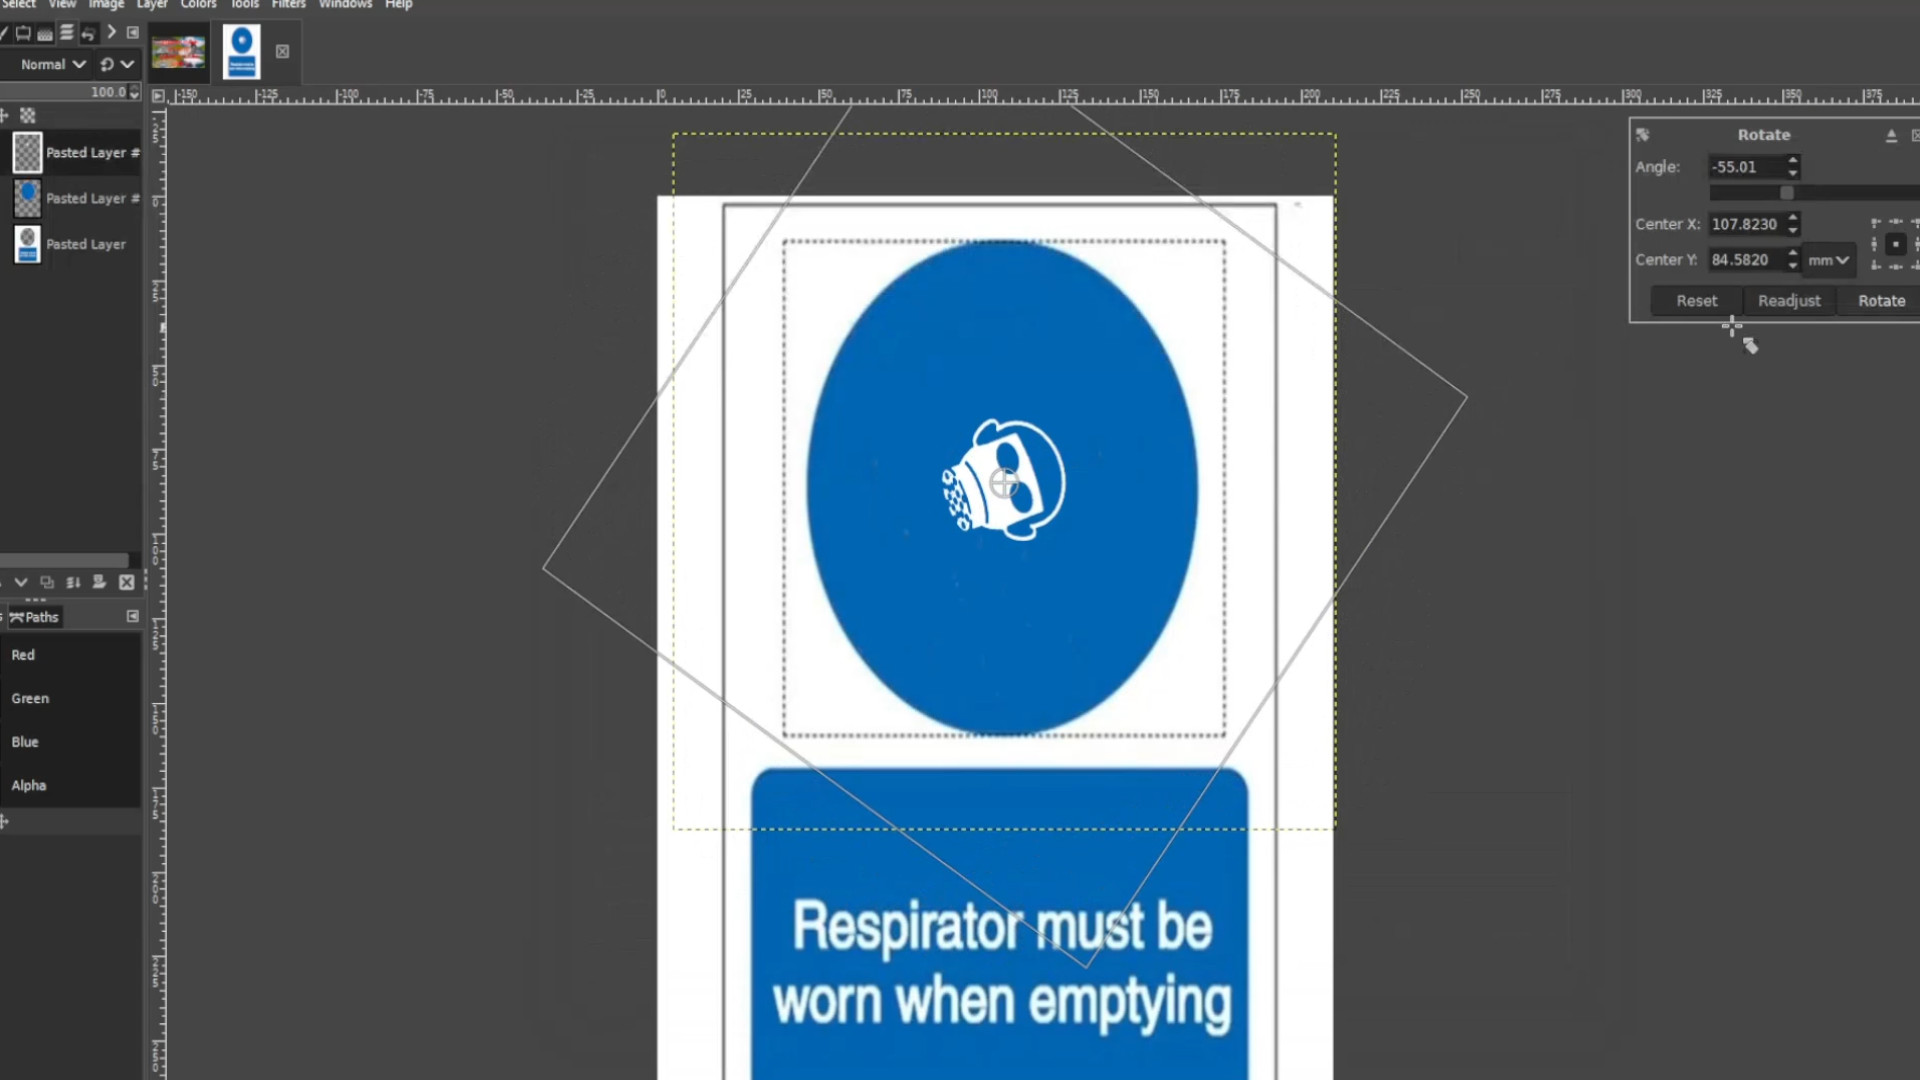
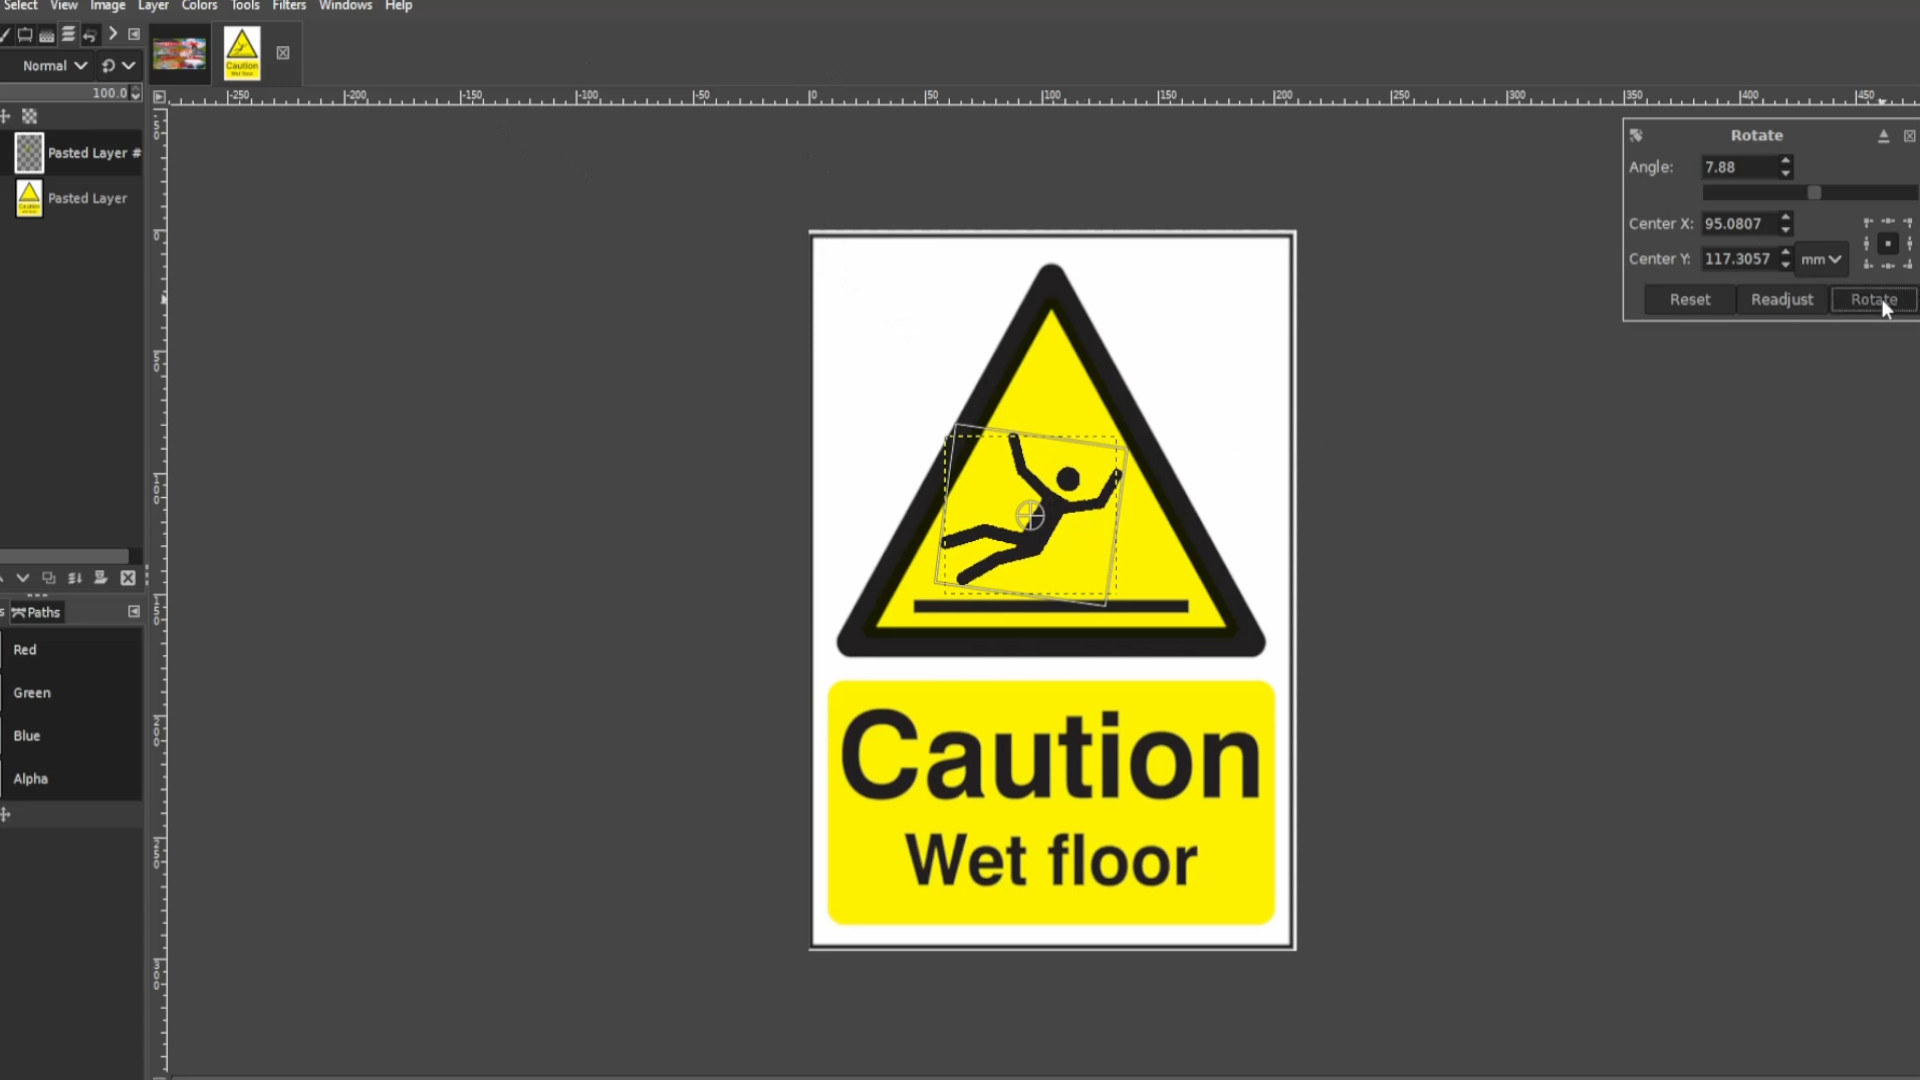
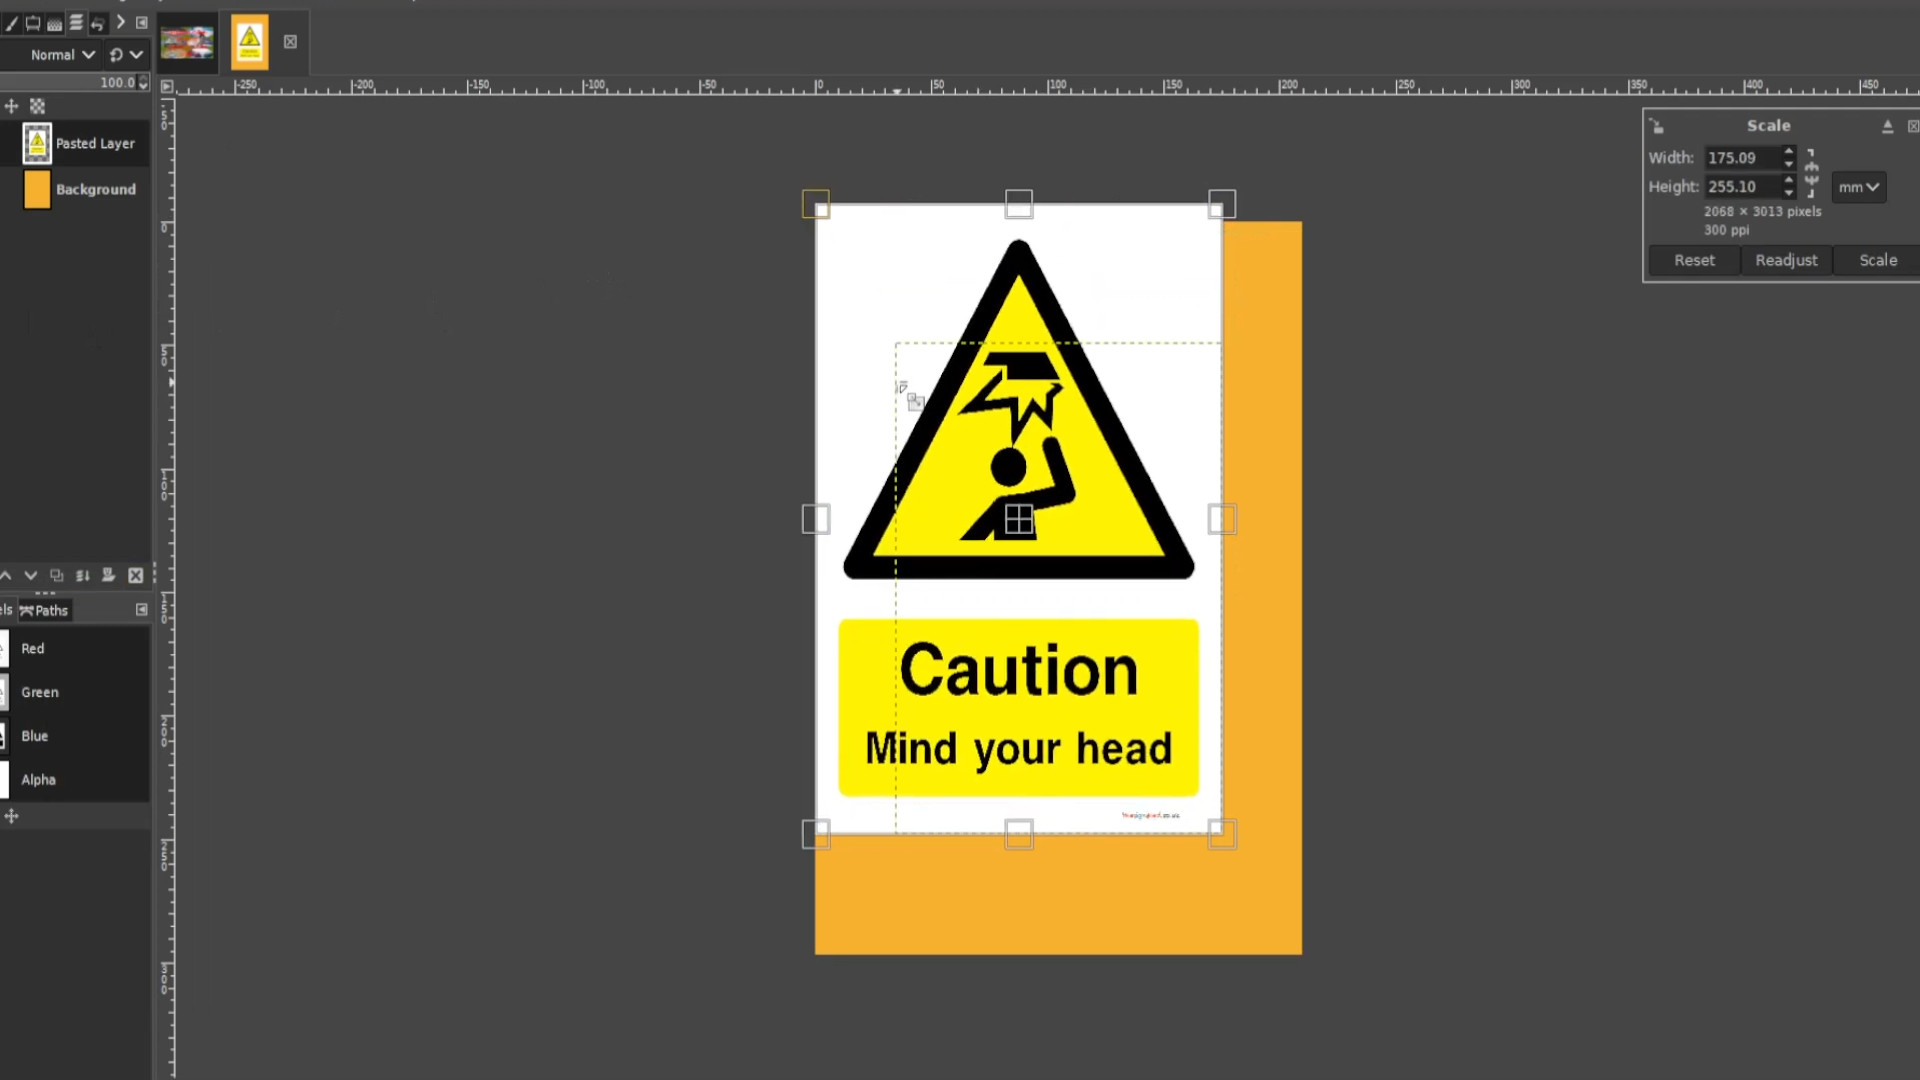
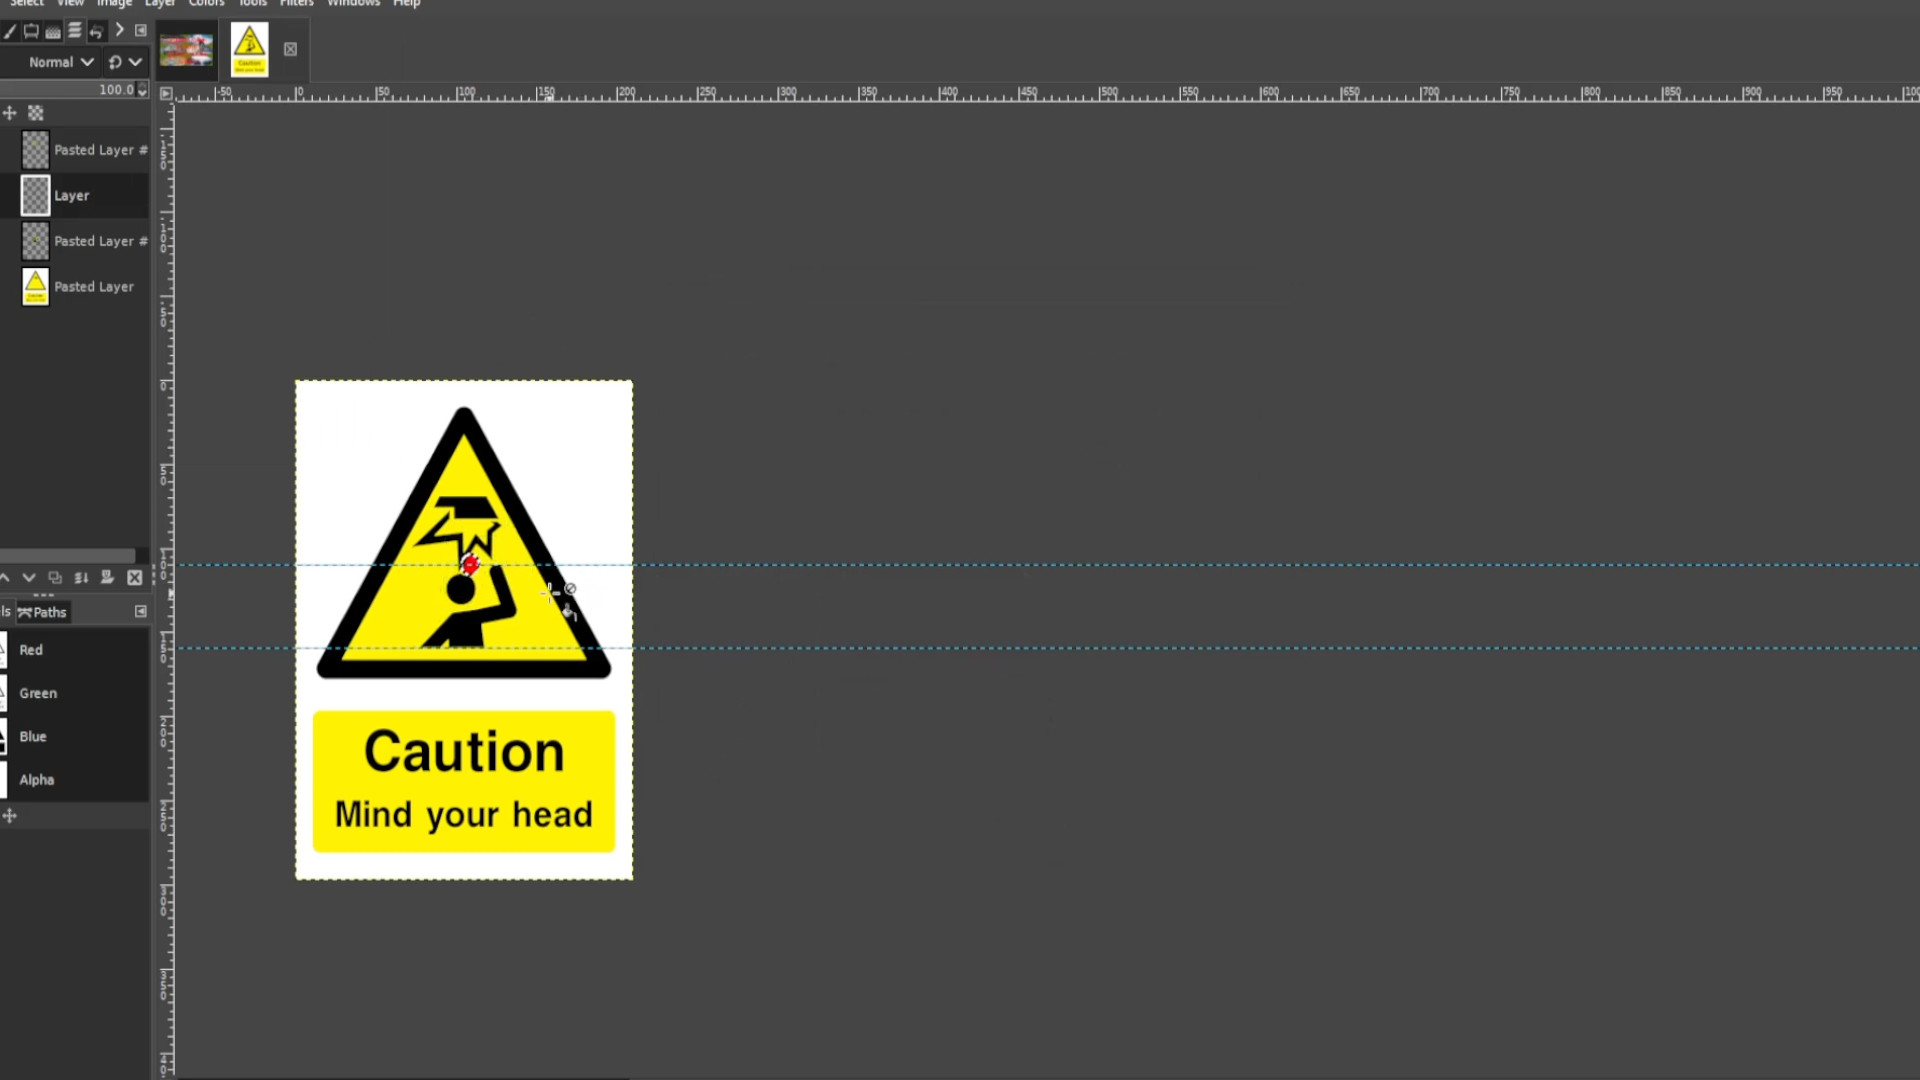
I want to make it look like the stickman has banged his head on the hovering object to do this use the>>>MOVE TOOL to move it up slightly and closer to the hovering object>>>EXPORT AS with a different file name when done. You may want to move the stickman closer to the object and>>>EXPORT AS with different file name before doing any of the this step. 

Repeat >>>STEP 15 >>>EXPORTING AS each time you move it up slightly and don’t forget to rename the file I did numbers so this one will be >>>3.jpg or >>>3.png and so forth. Do this until you finished animating the sign in this case until it’s in the original position.


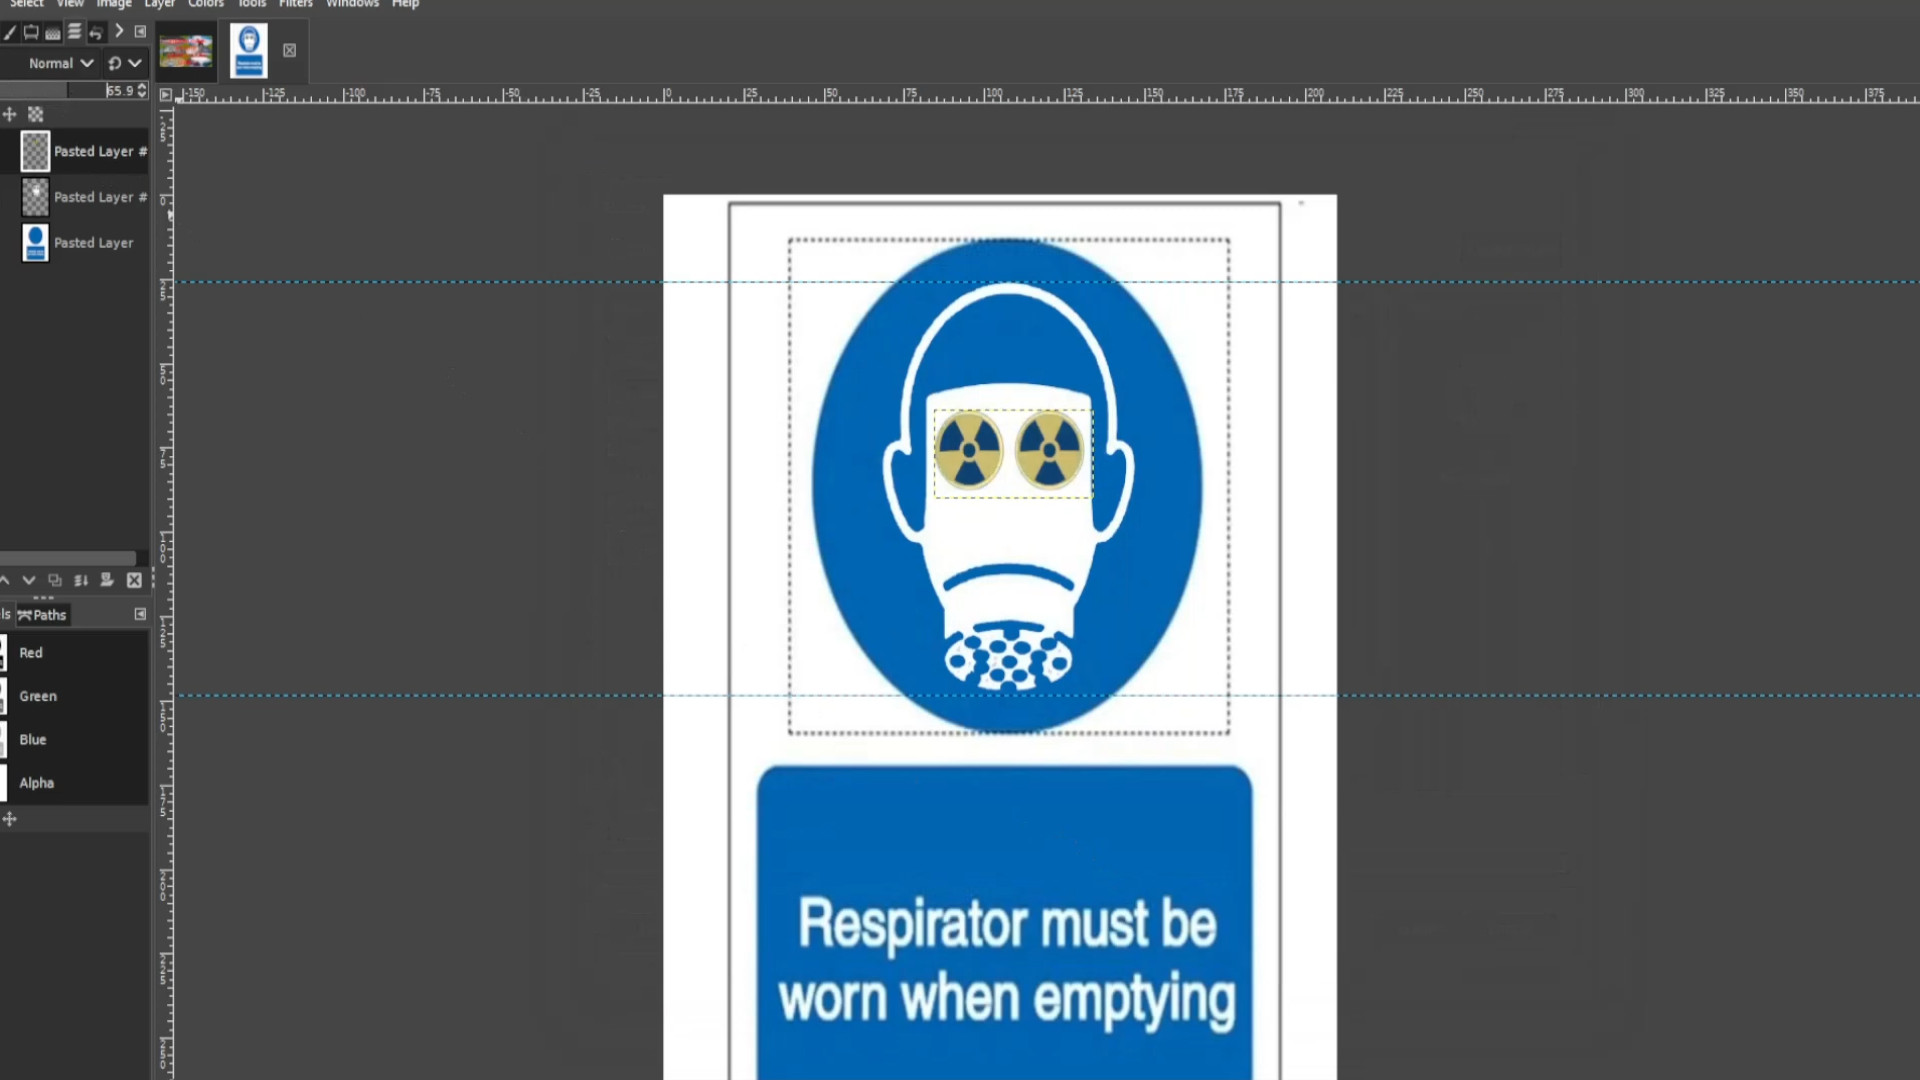
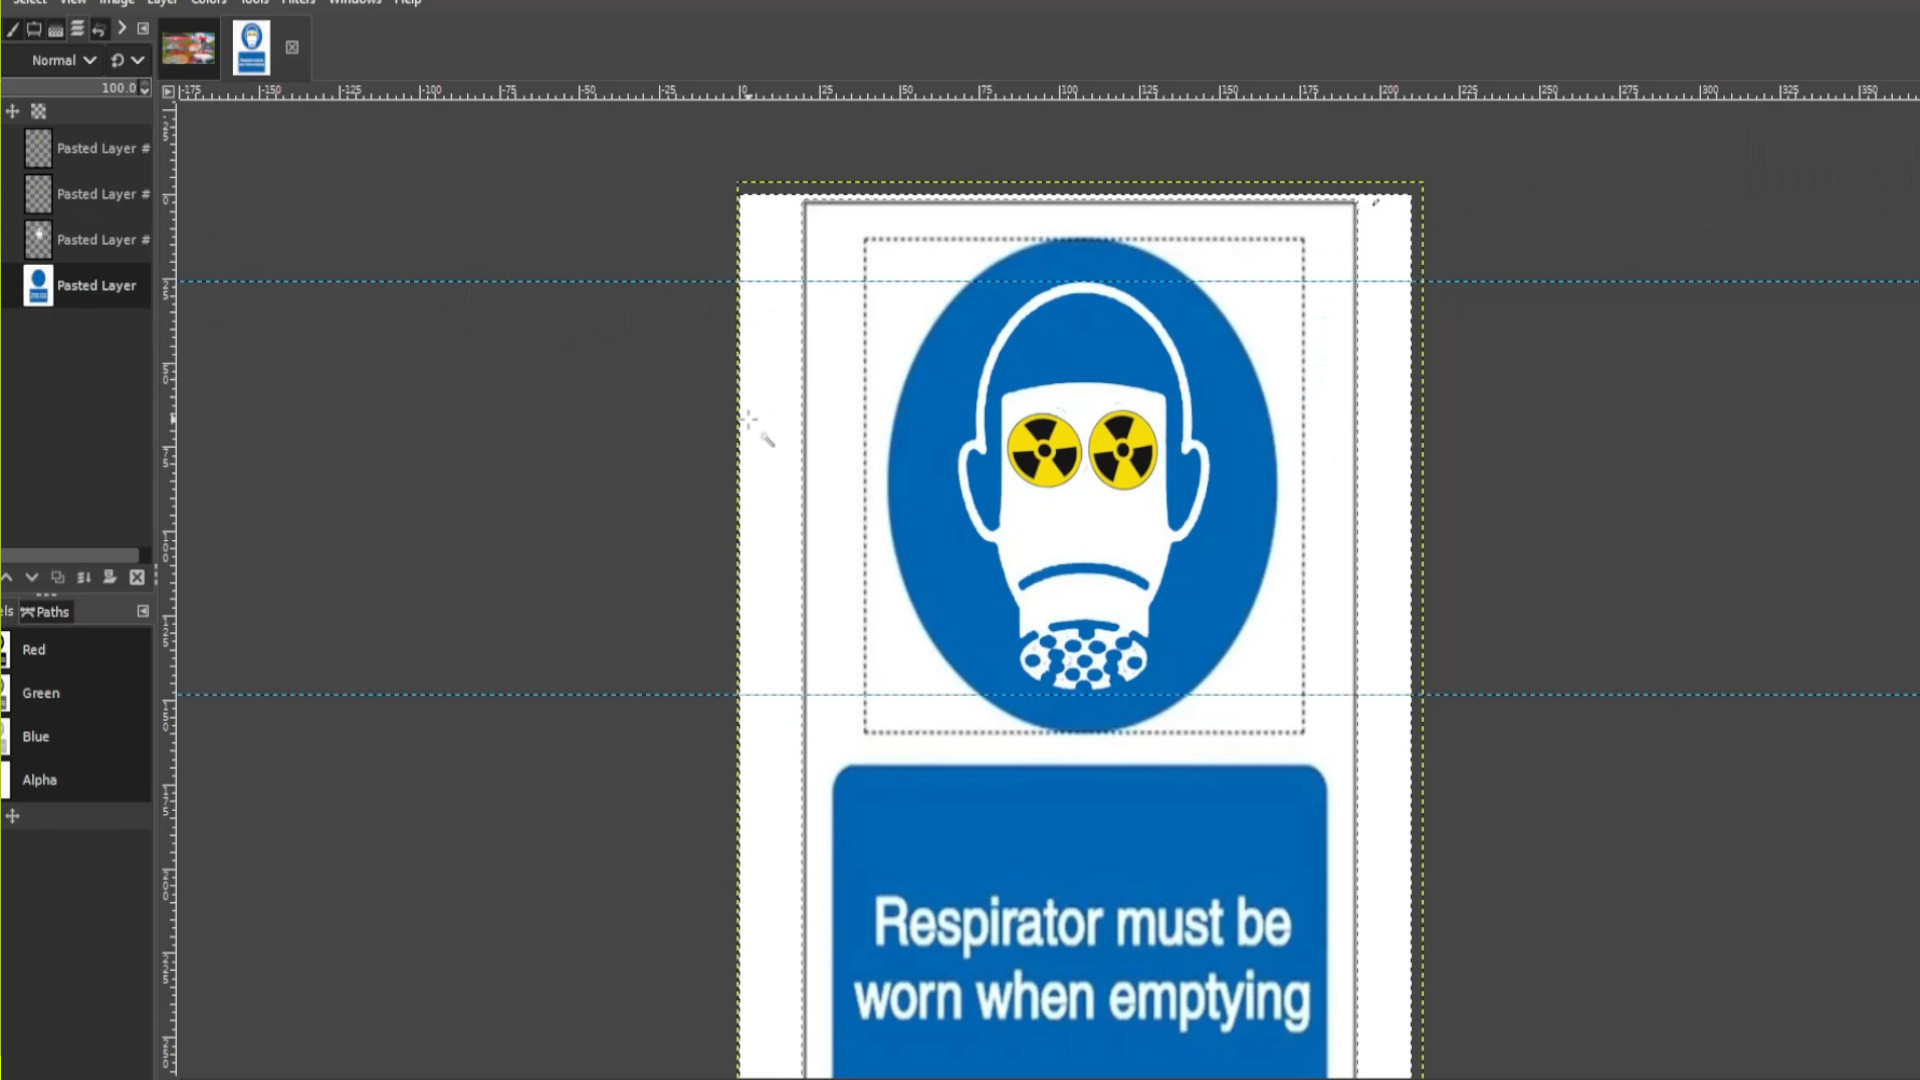
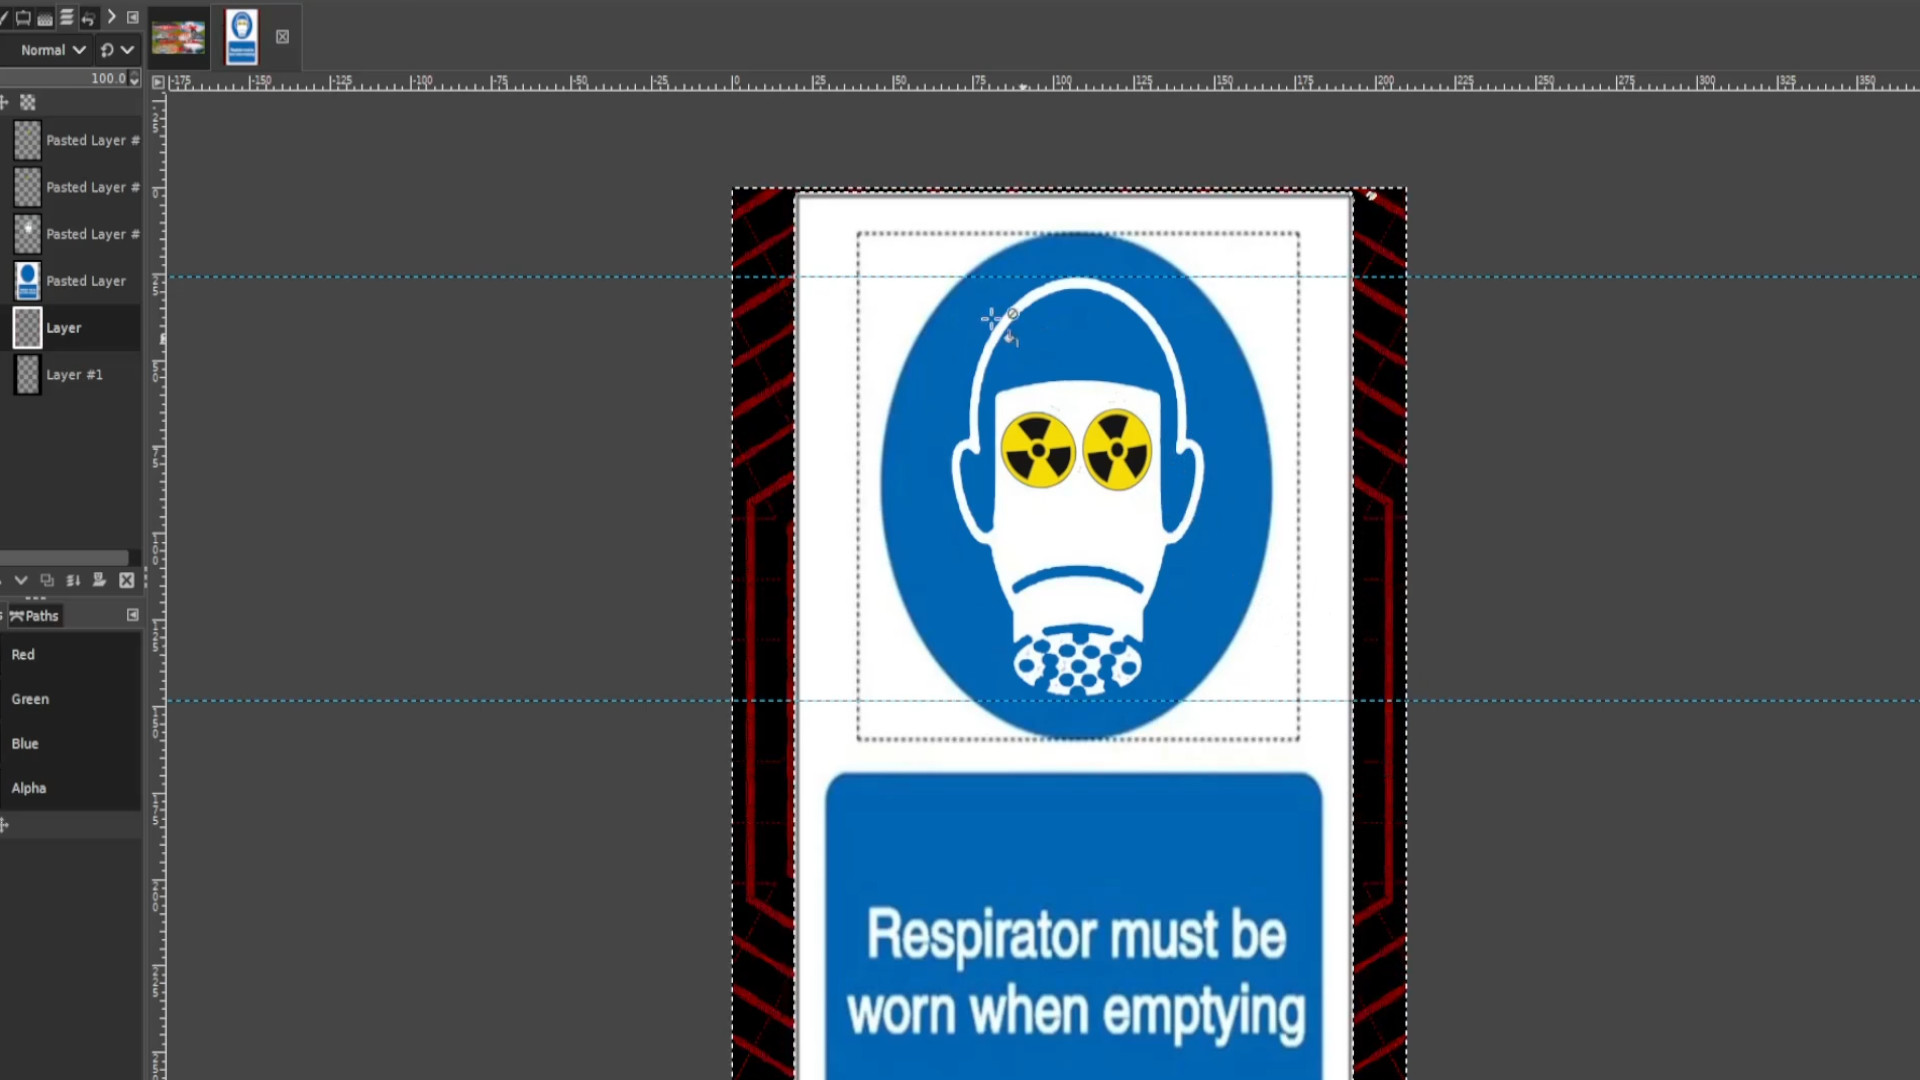
>>>TURN ON the>>>JAGGED EDGE LAYER by>>>CLICKING on the>>>LAYERS EYE SECTION>>>The>>>FIRST or>>>SECOND LAYER in the>>>LAYERS TAB on the>>>LEFT HAND SIDE and>>>EXPORT AS with different file name.

Experiment with>>>COLOURS>>>BUCKET FILL>>>TEXTURES and>>>FILTERS to taste>>>EXPORT AS each time you changed it.
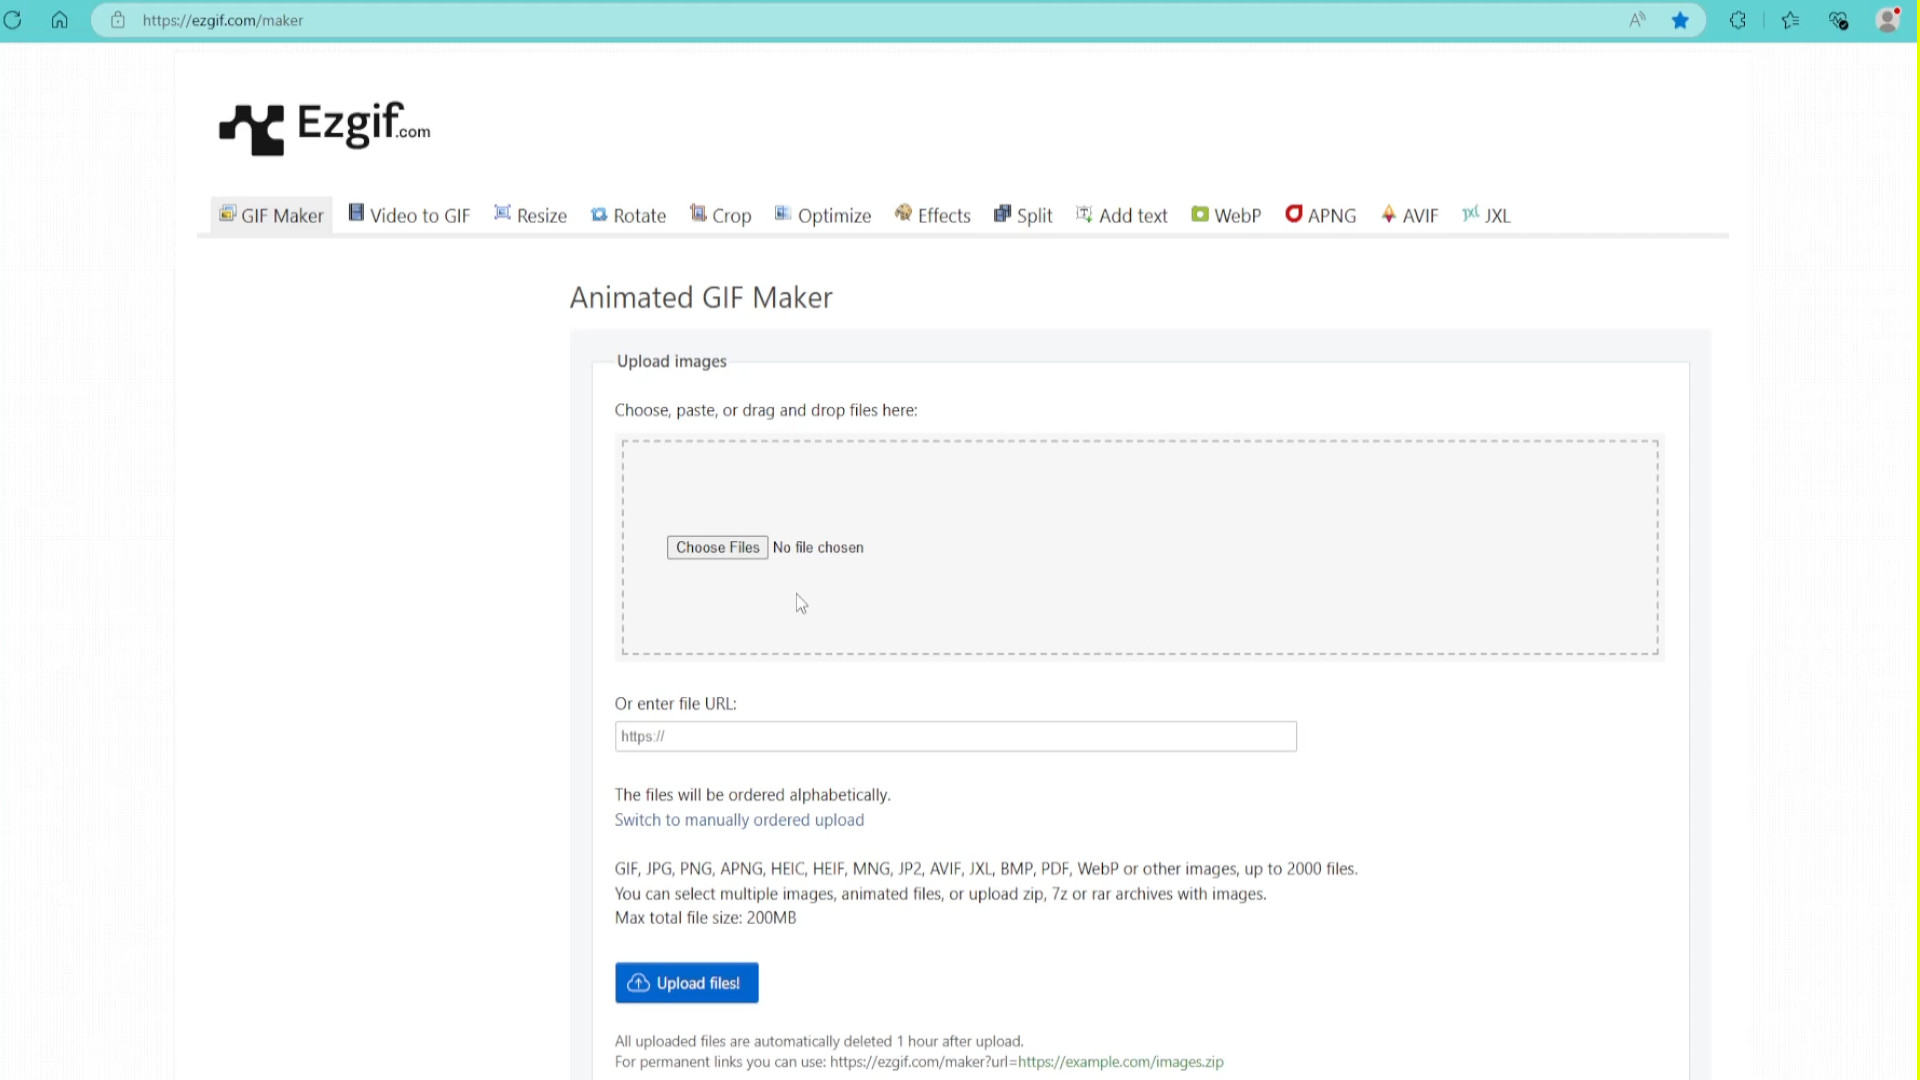
You can use a gif maker like EGIF.com to put the gif together and save as a>>>gif or>>>MP4 file.