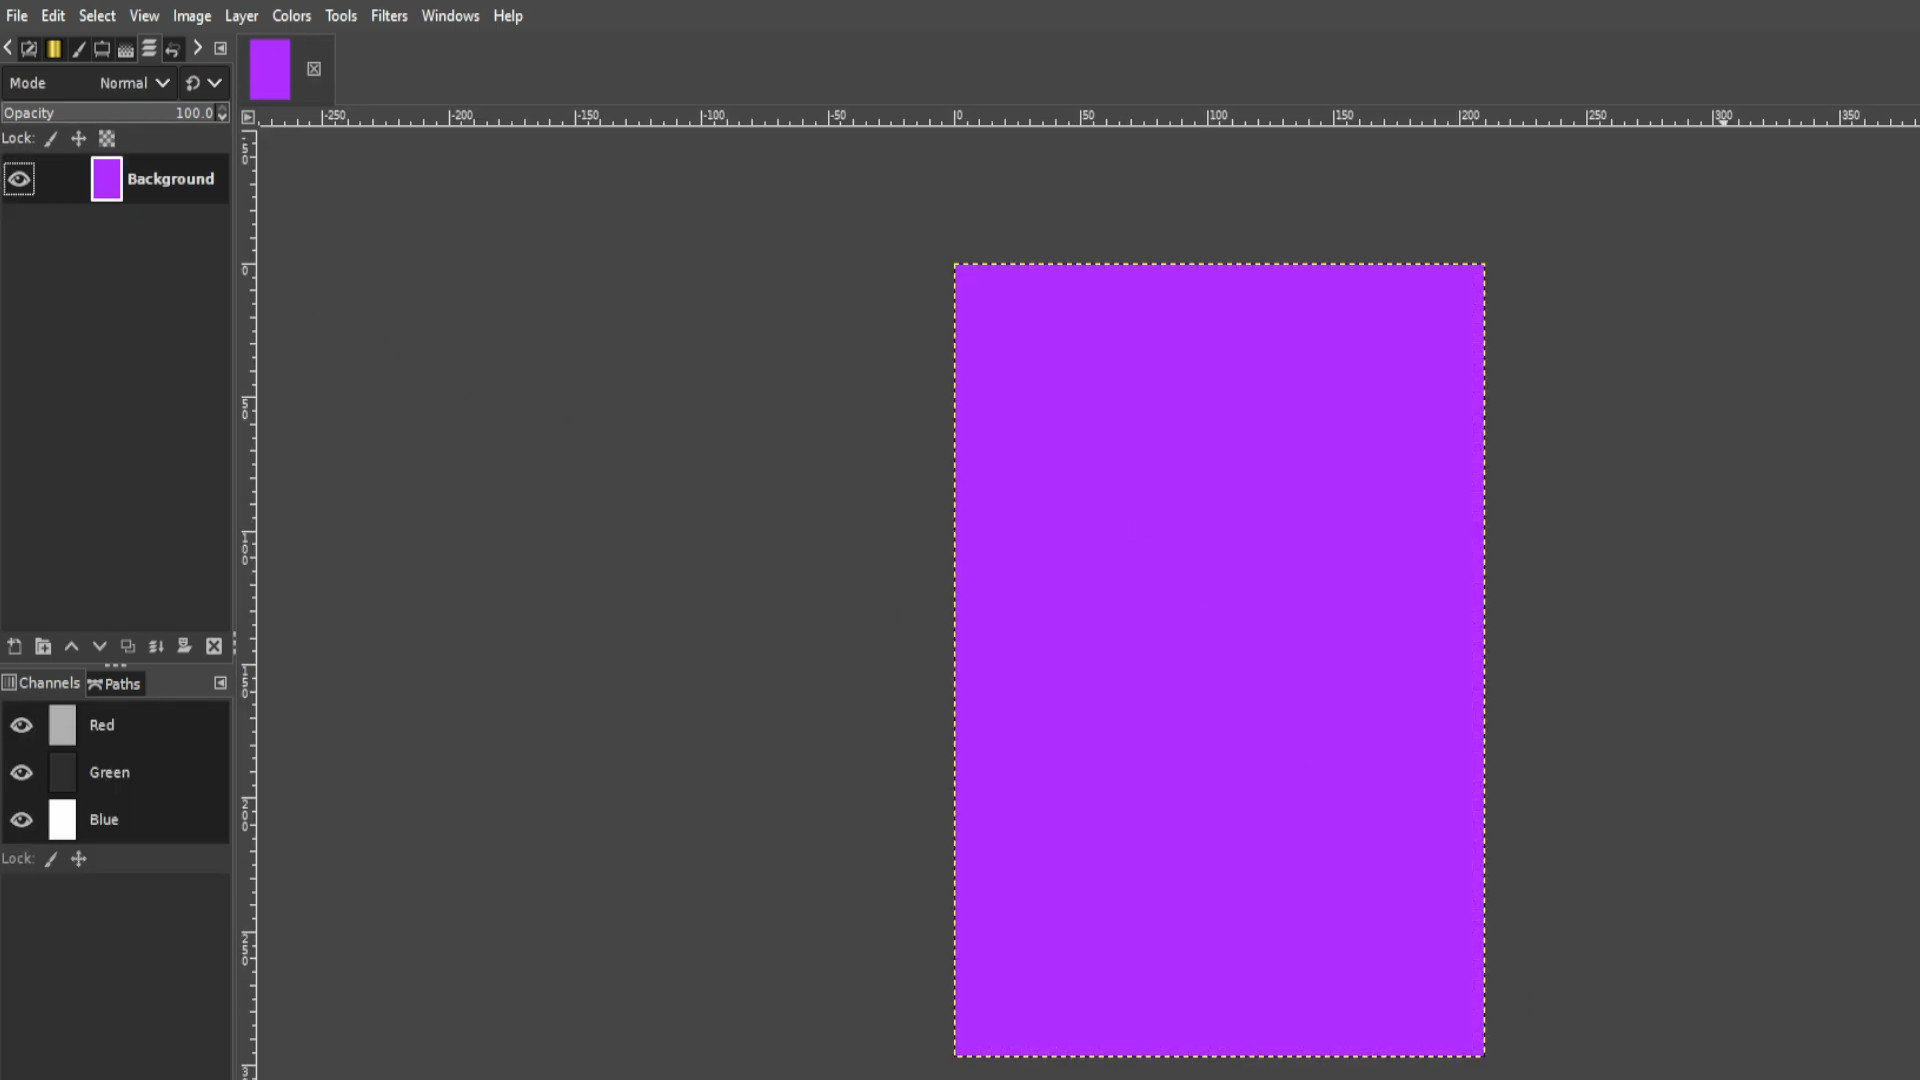
Open up Gimp and go to >>>FILE>>>NEW>>>TEMPLATE and pick the>>>A4 SIZE;
209.97 Width,
297.01 Height
in mm.
2480 Width
3508 Height
in px
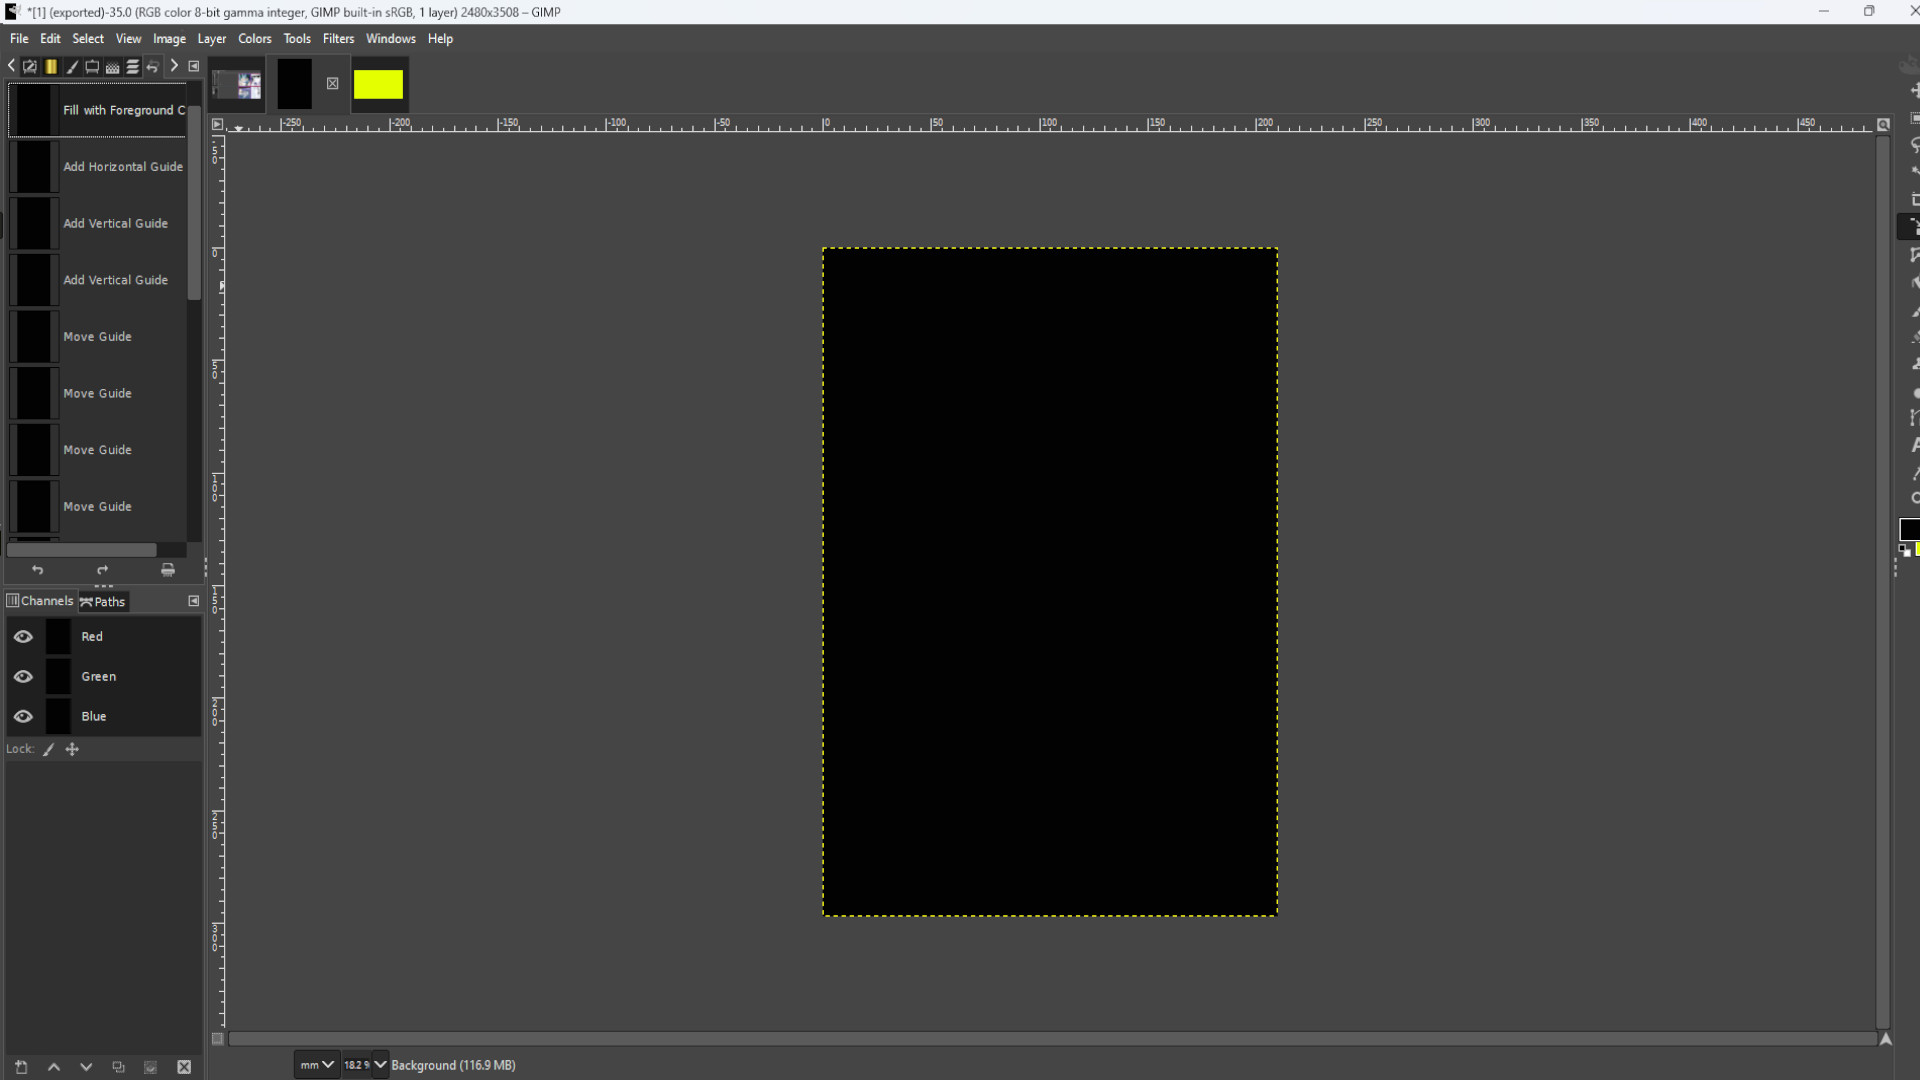
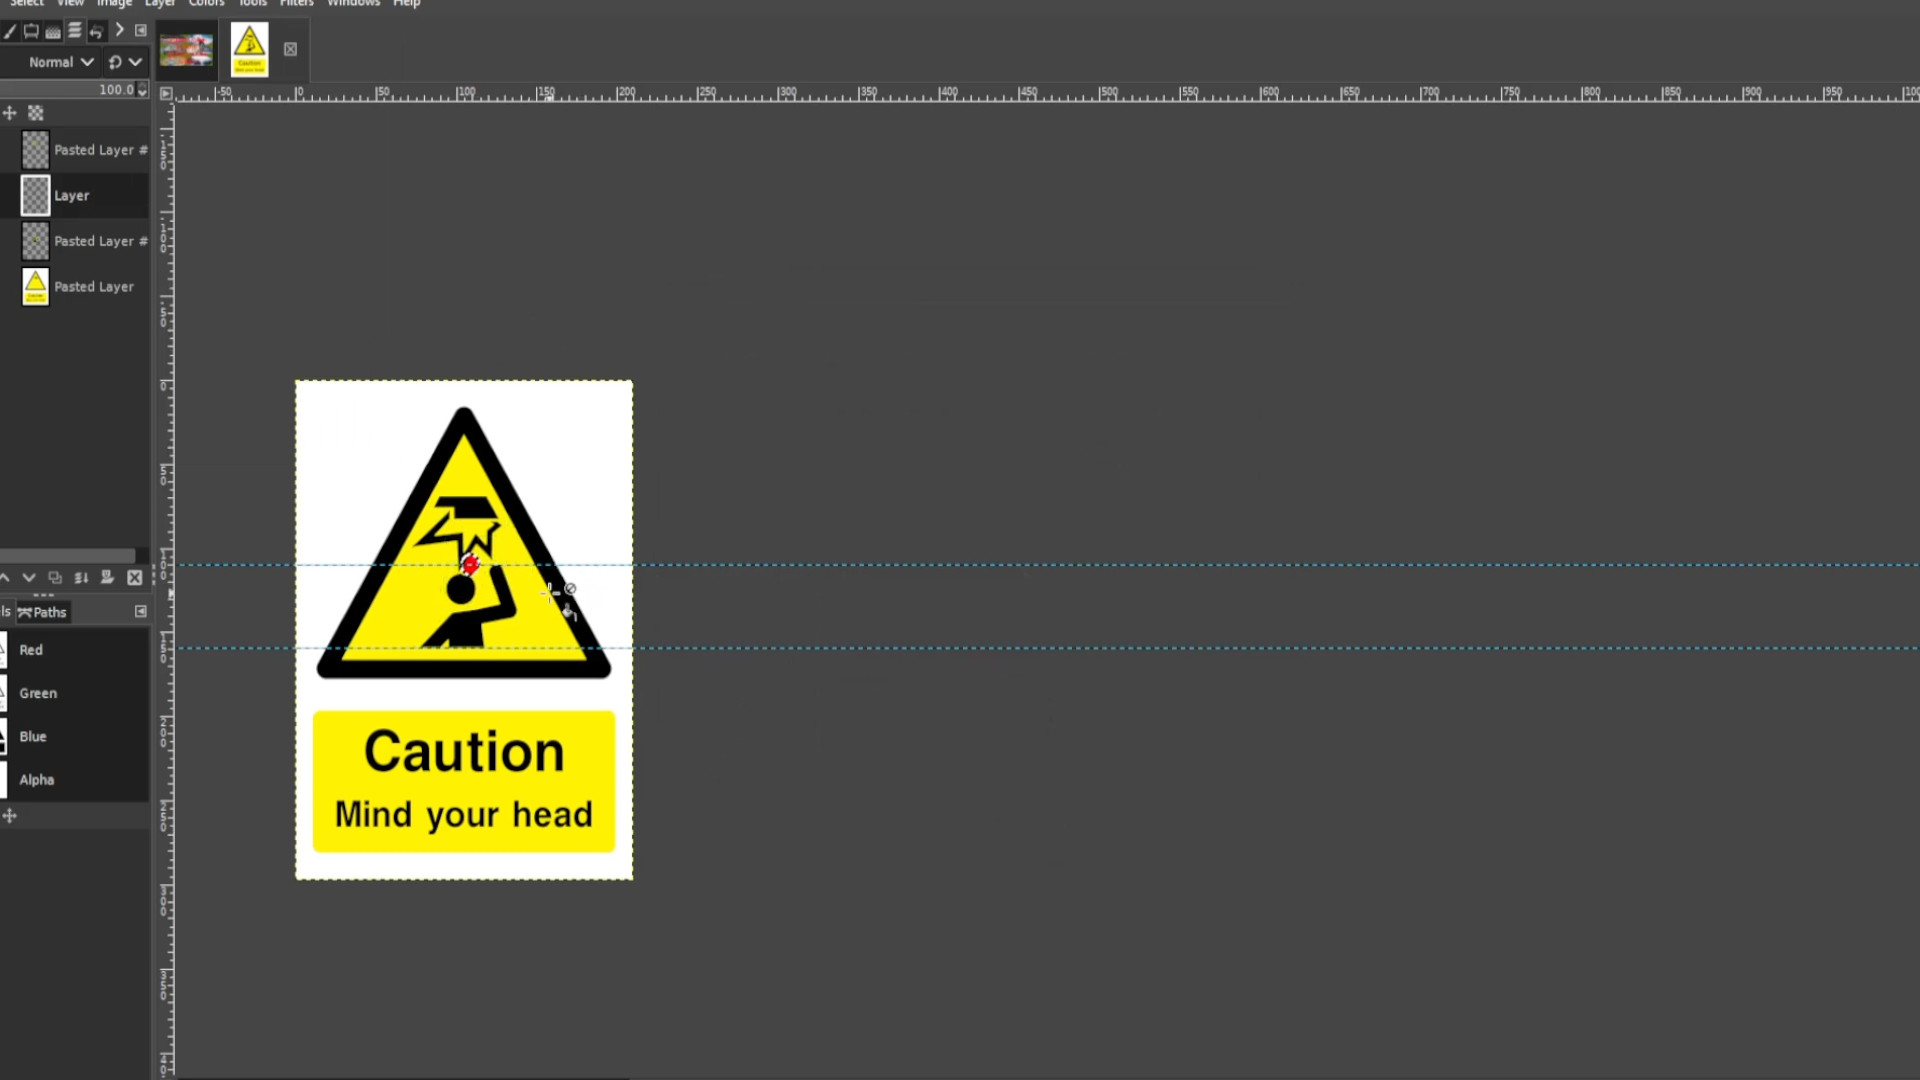
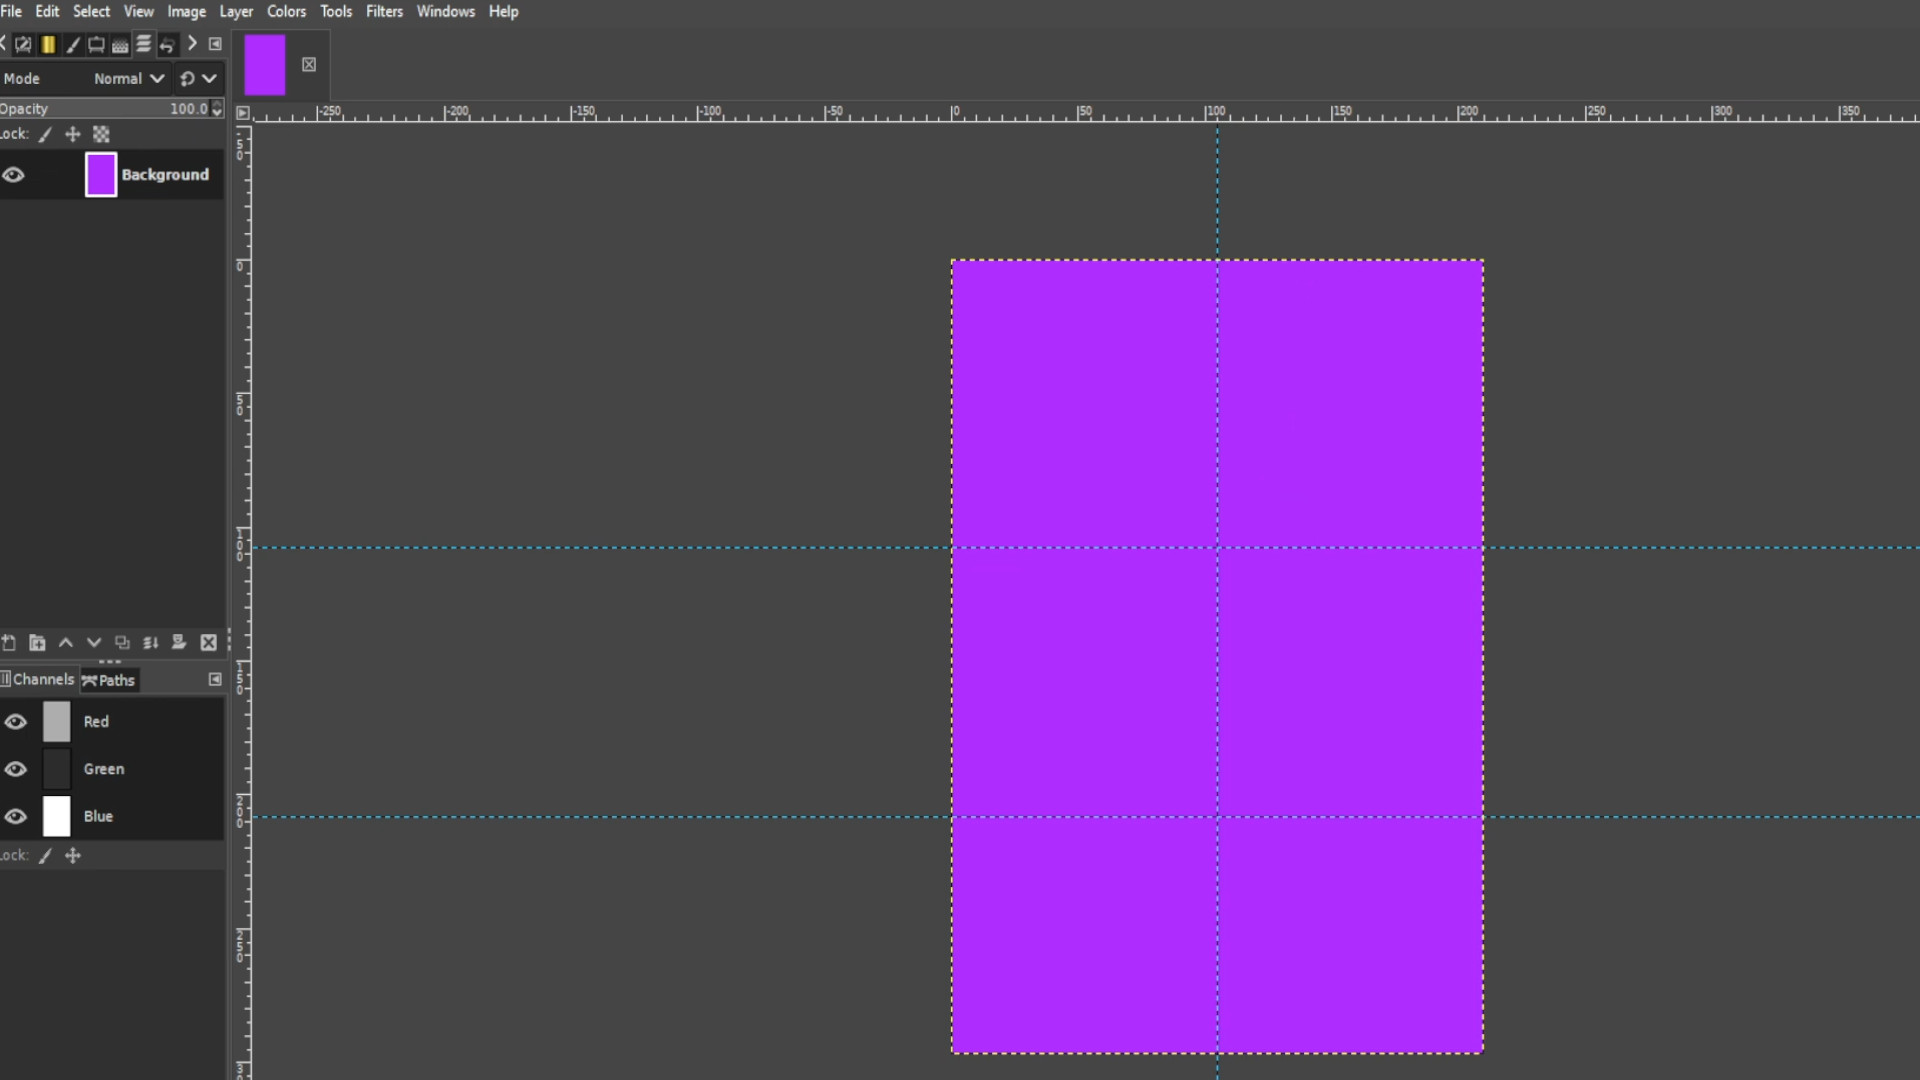
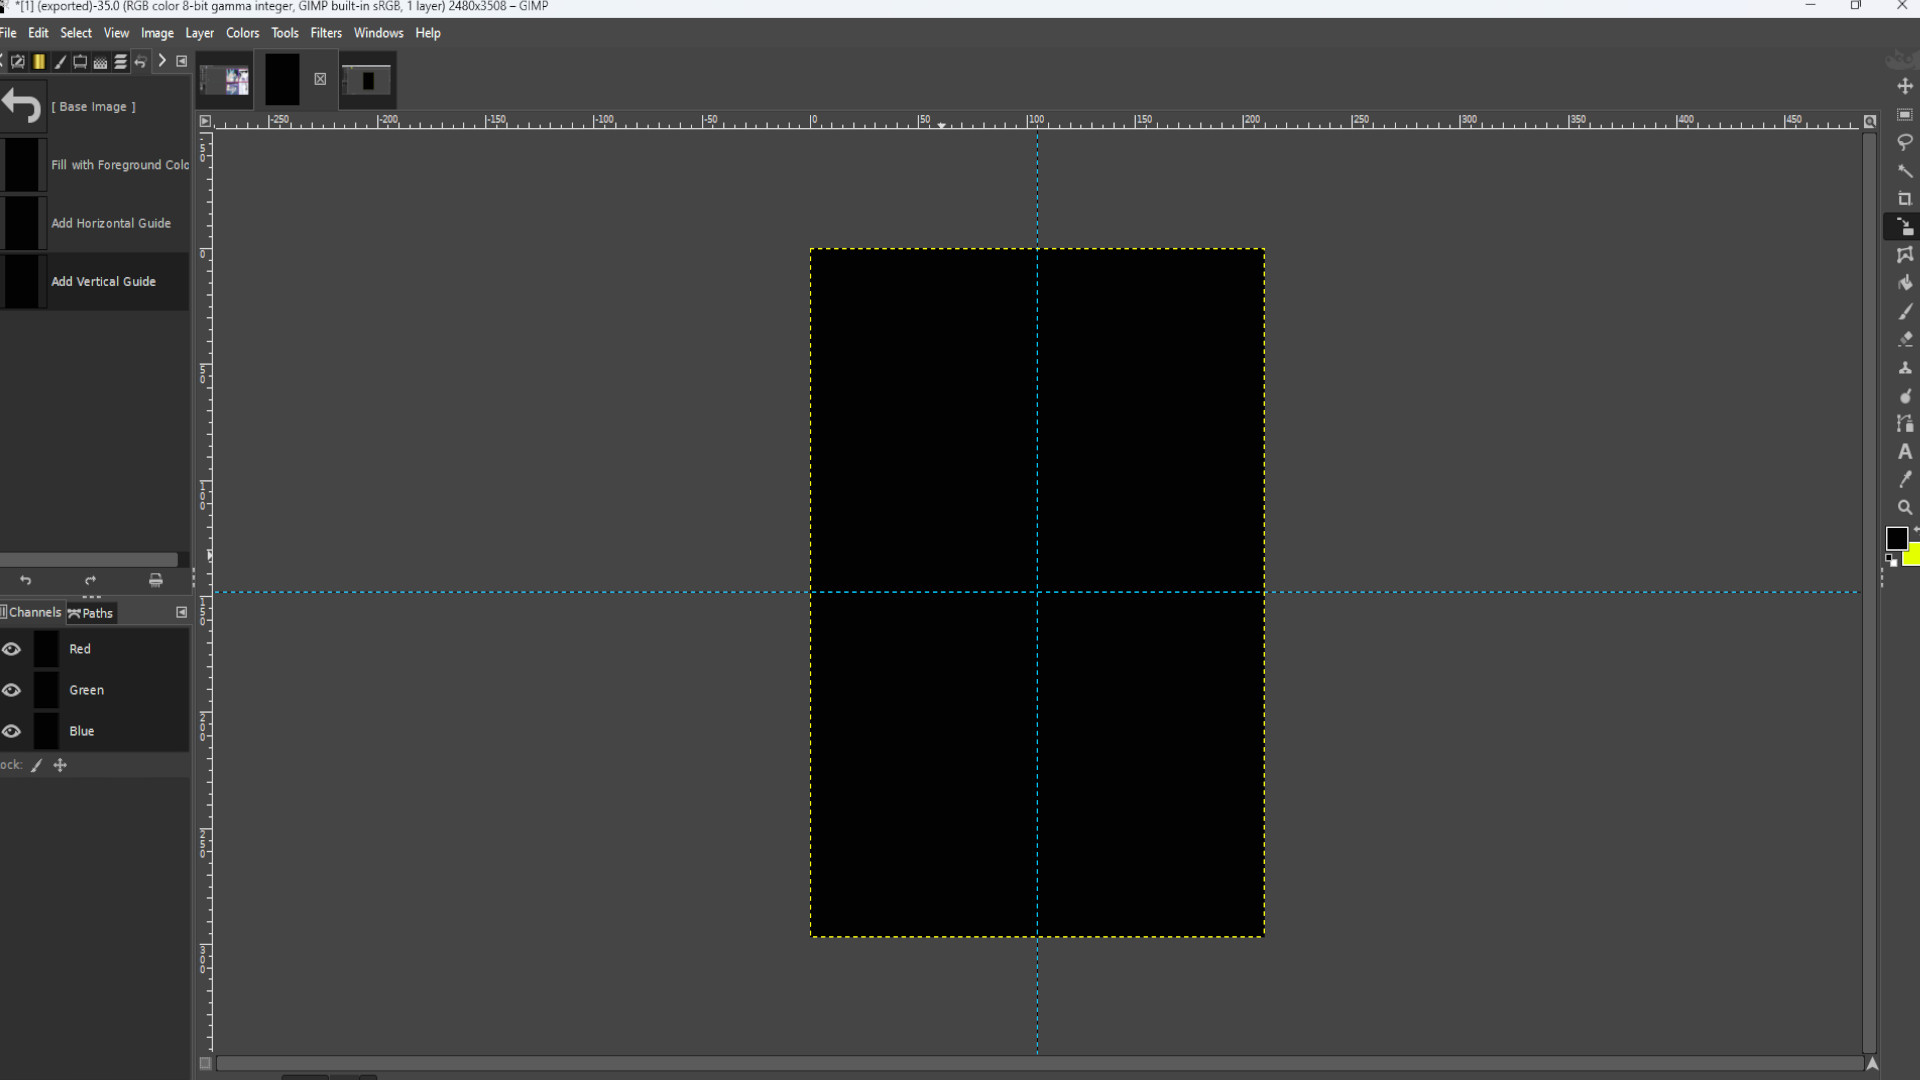
Go to>>>IMAGE>>>GUIDES>>>NEW GUIDE BY PERECENT and pick>>>DIRECTION>>>HORIZONTAL>>>POSTION (In Percent)>>>50.00
And again Go to>>>IMAGE>>>GUIDES>>>NEW GUIDE BY PERECENT and pick>>>DIRECTION>>>VERTICAL>>>POSTION (In Percent)>>>50.00
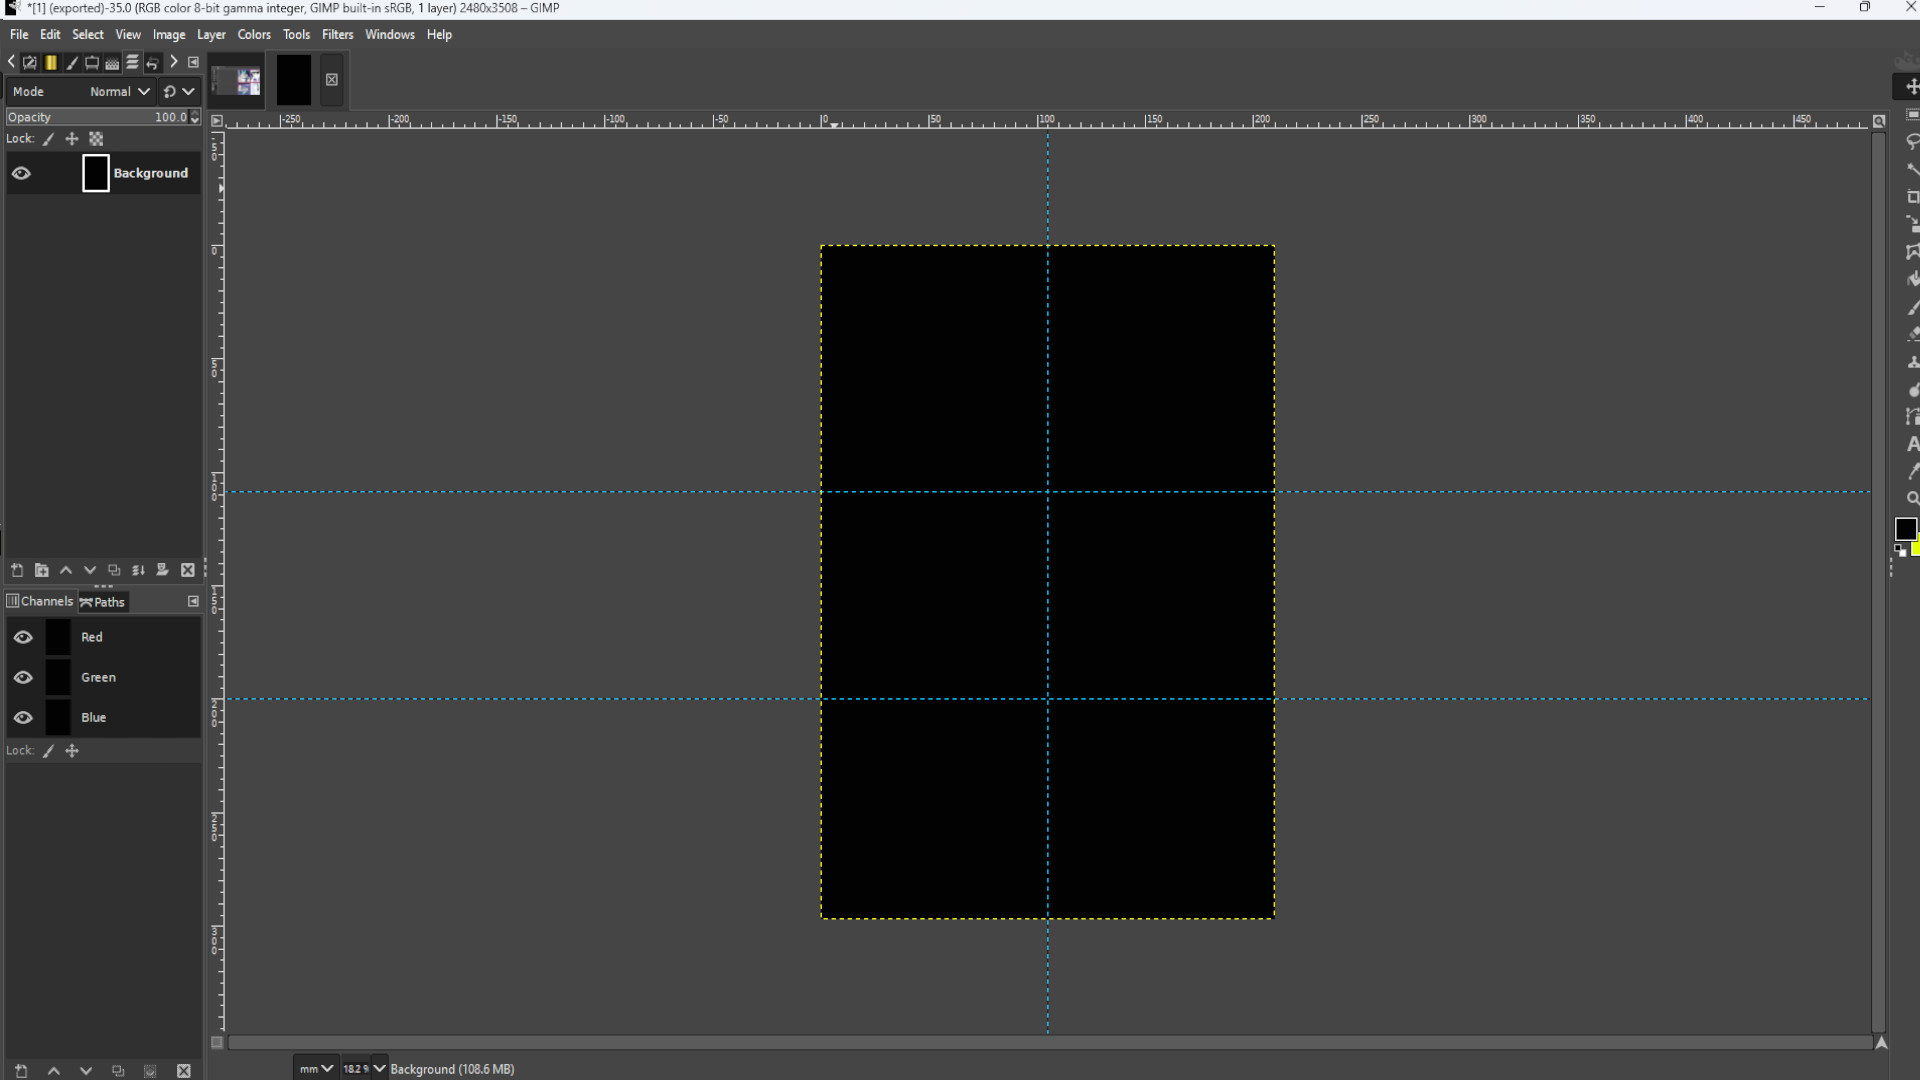
Repeat this for how many photos you want and spread out the guides evenly over the page. I used eight boxes in total and I >>>HOVERED THE CURSOR over the guide and>>>HELD SHIFT to drag around the guide into sections.
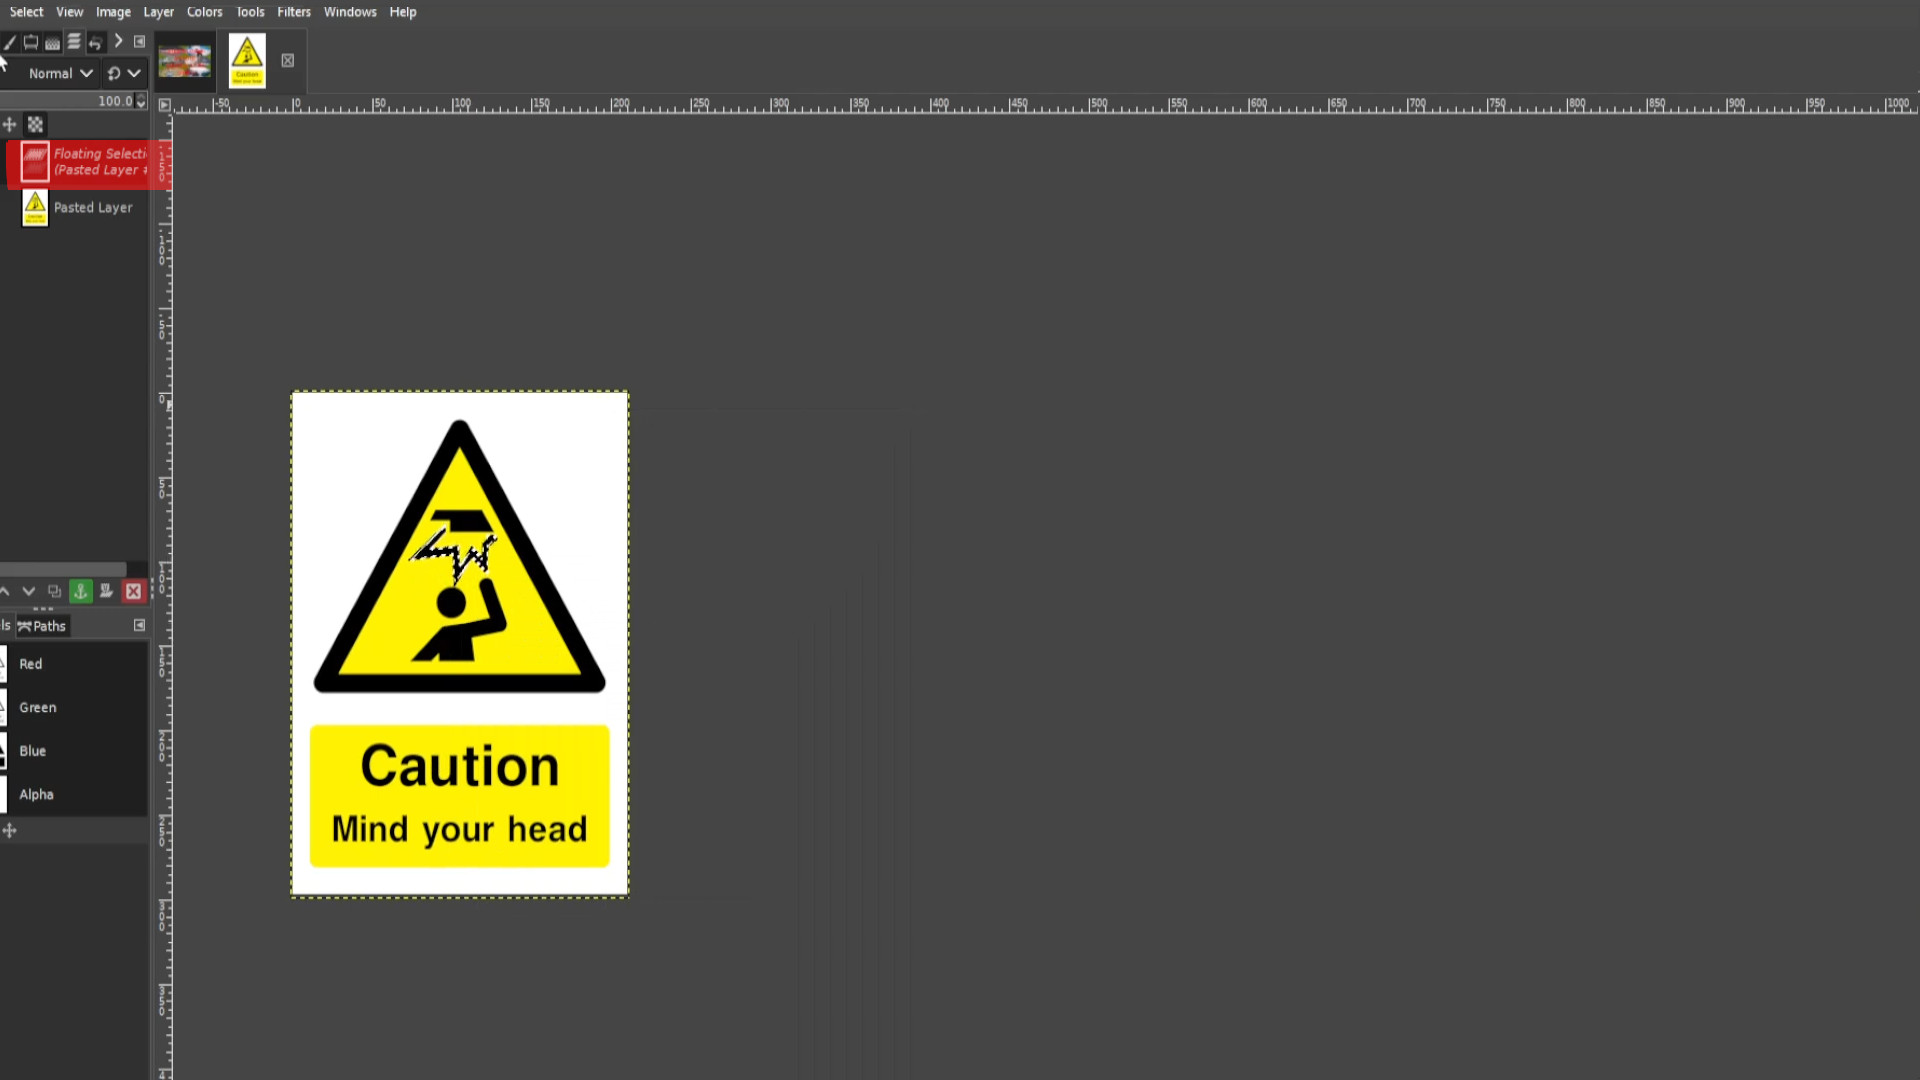
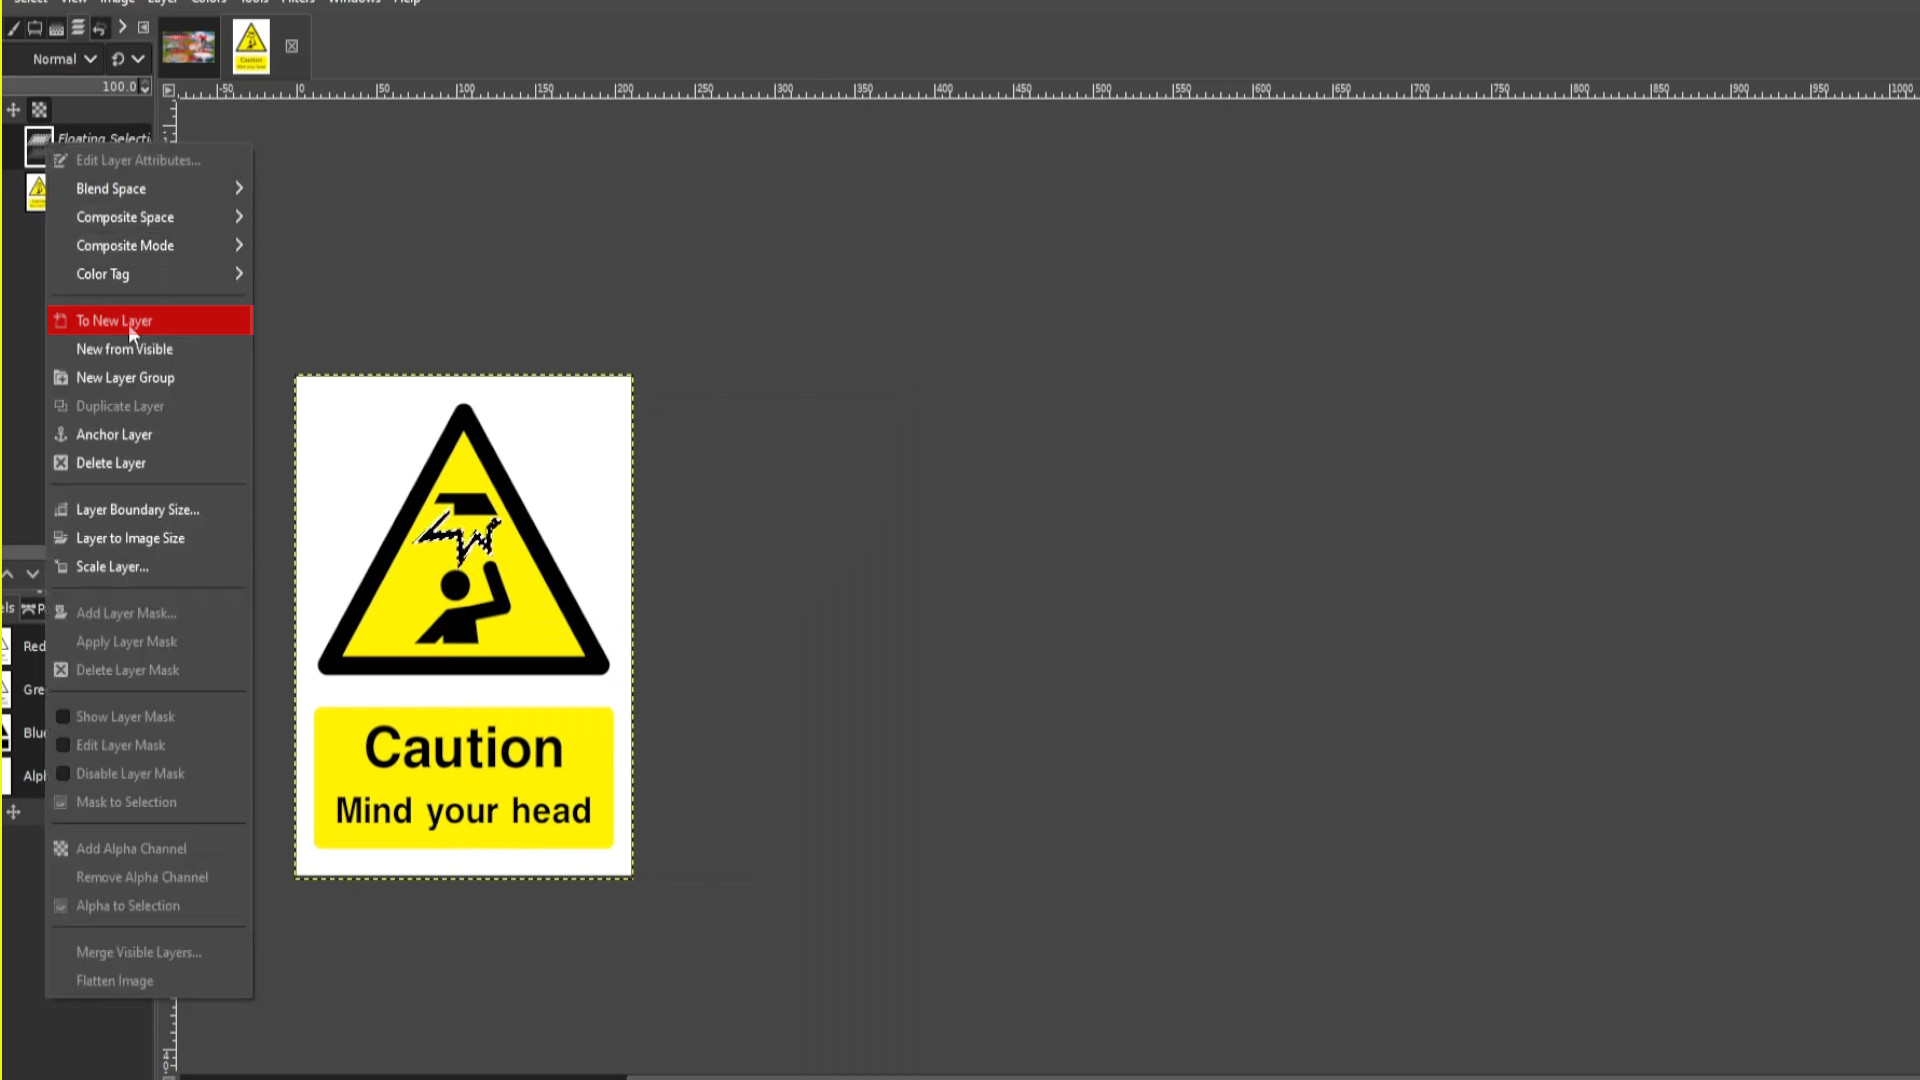
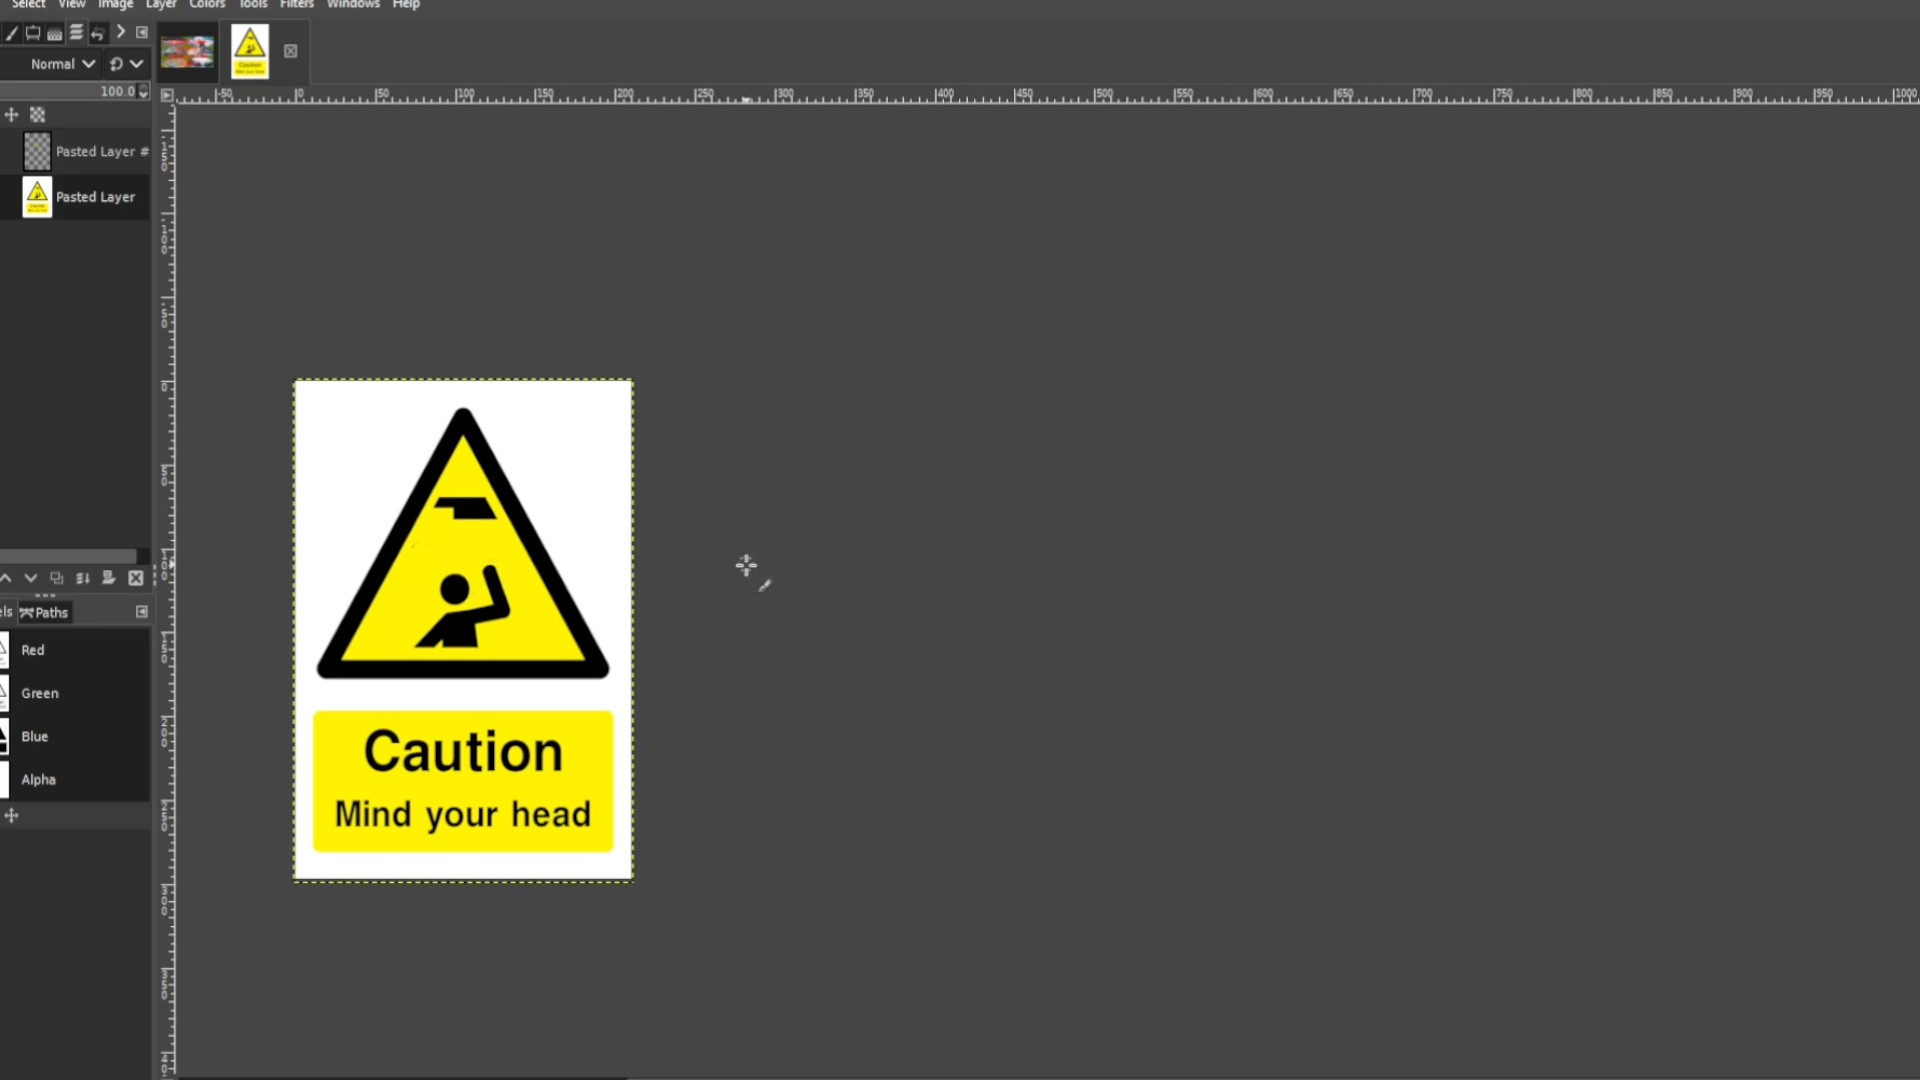
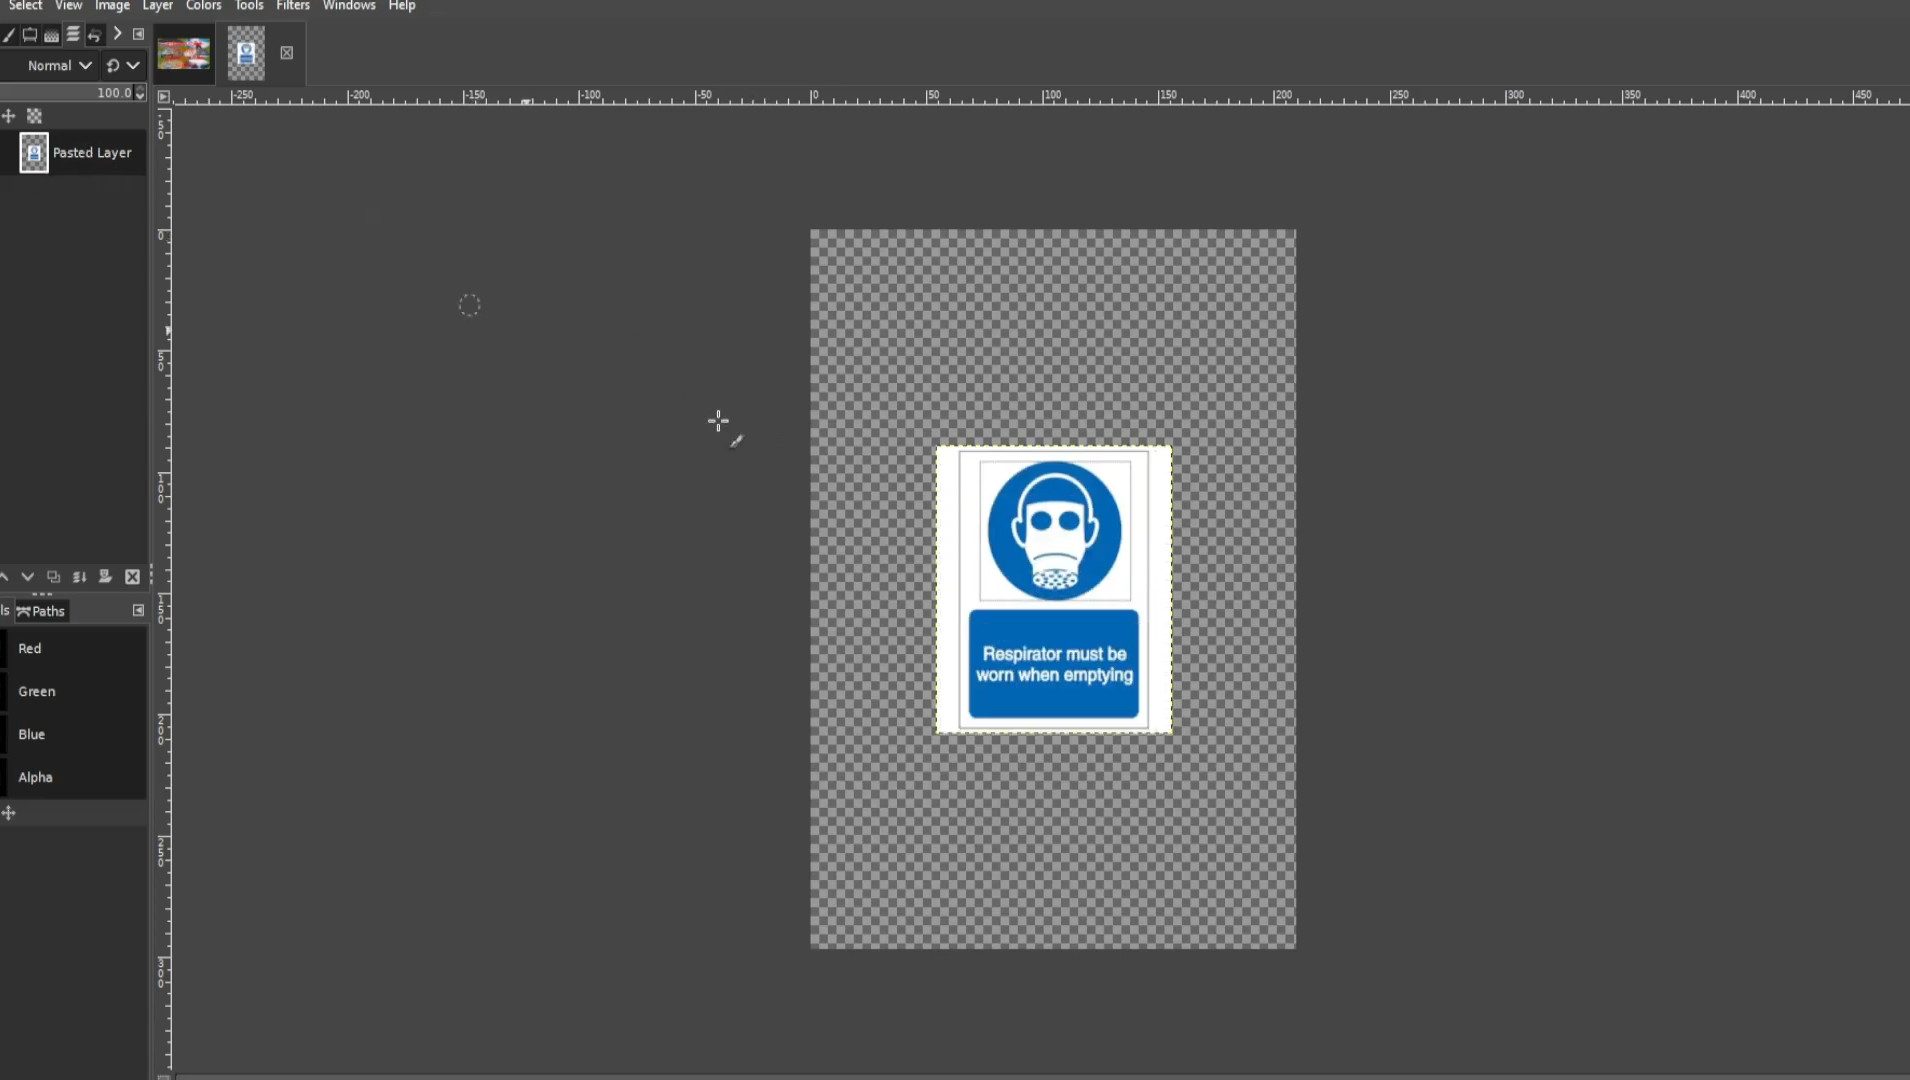
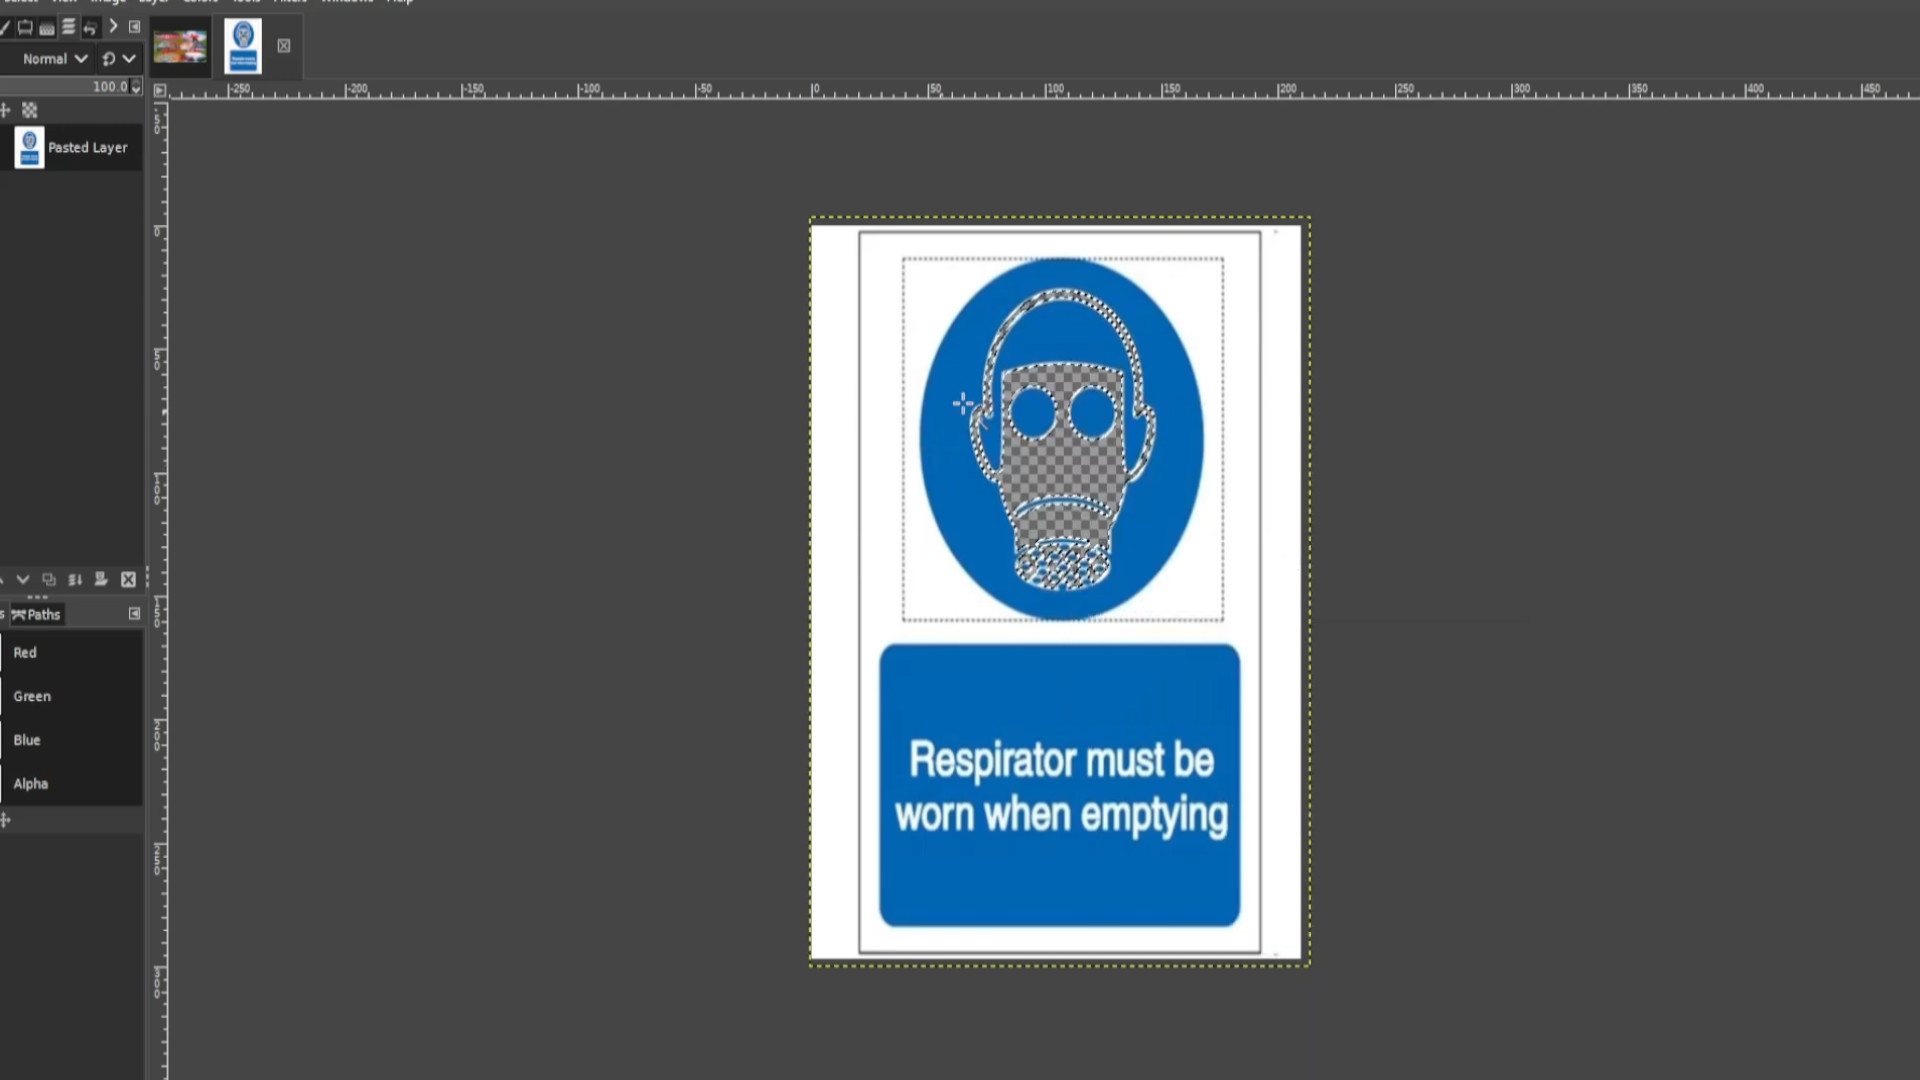
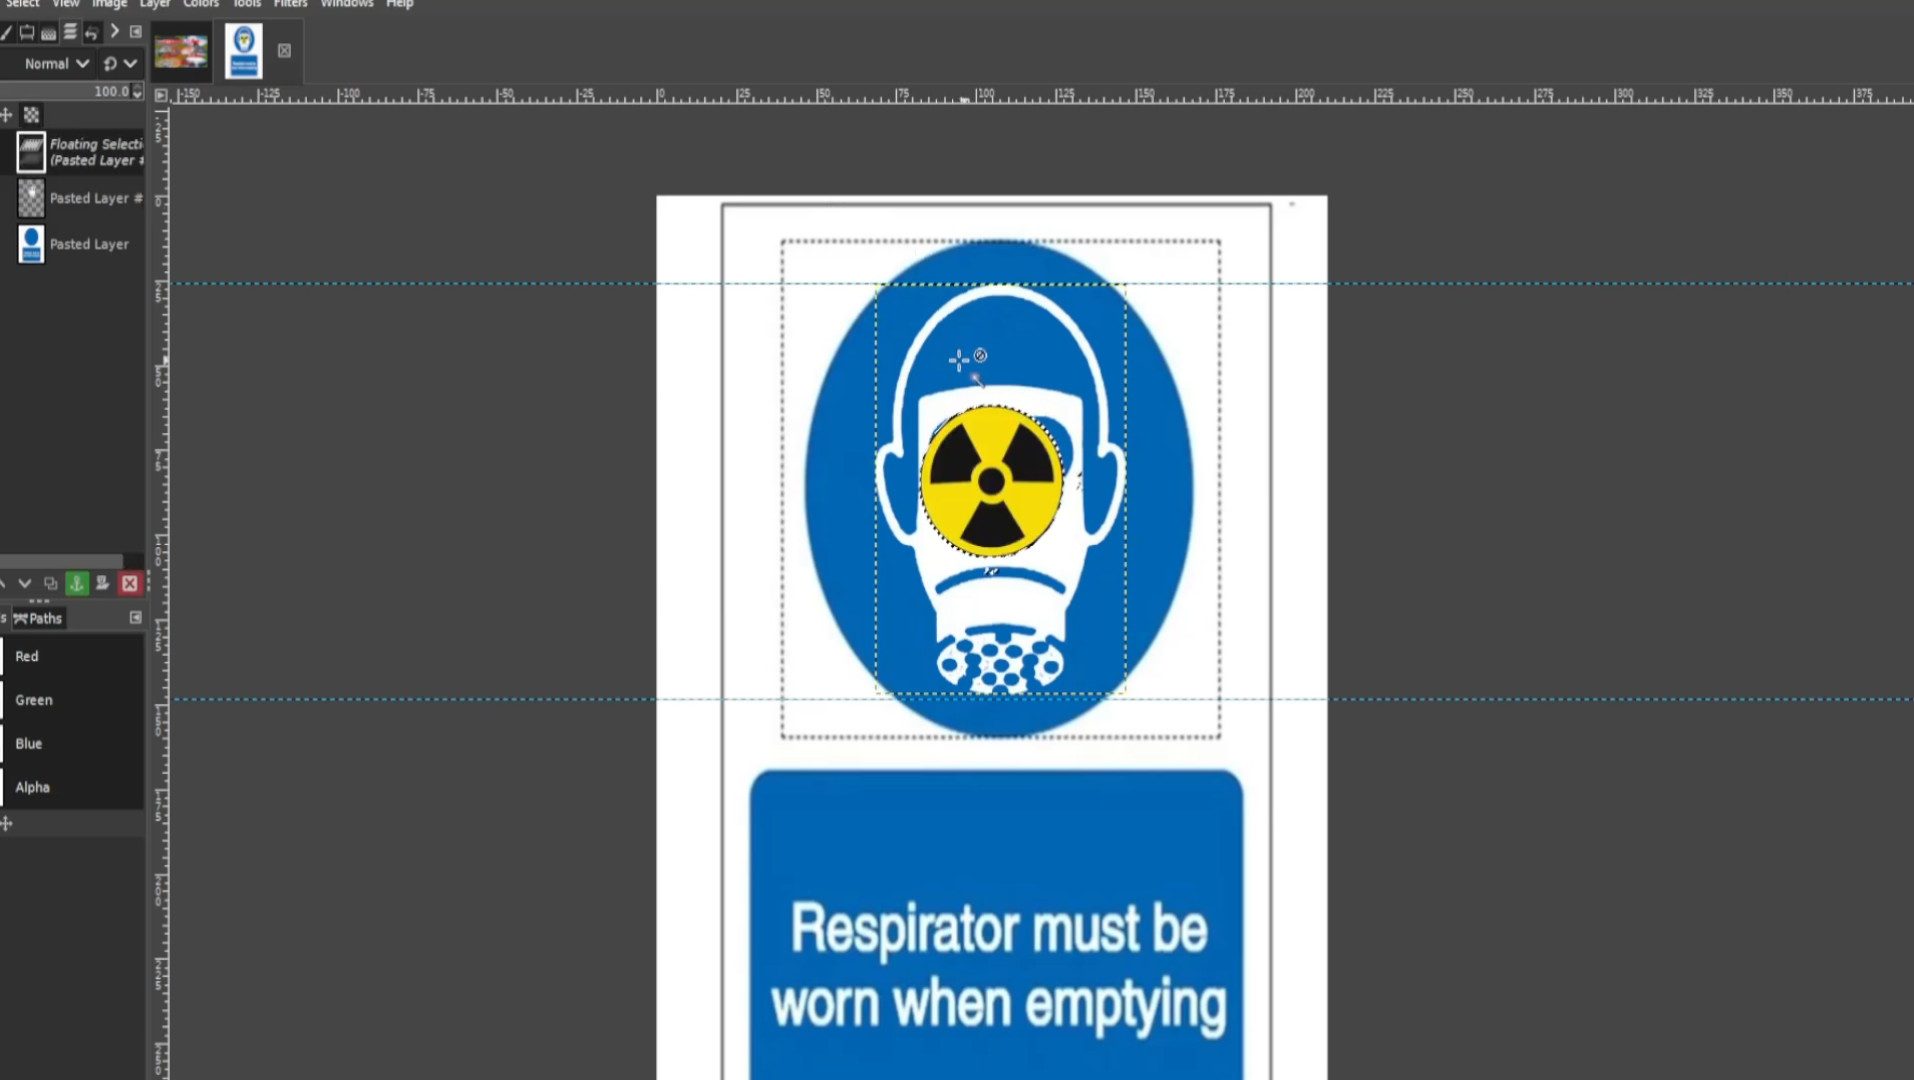
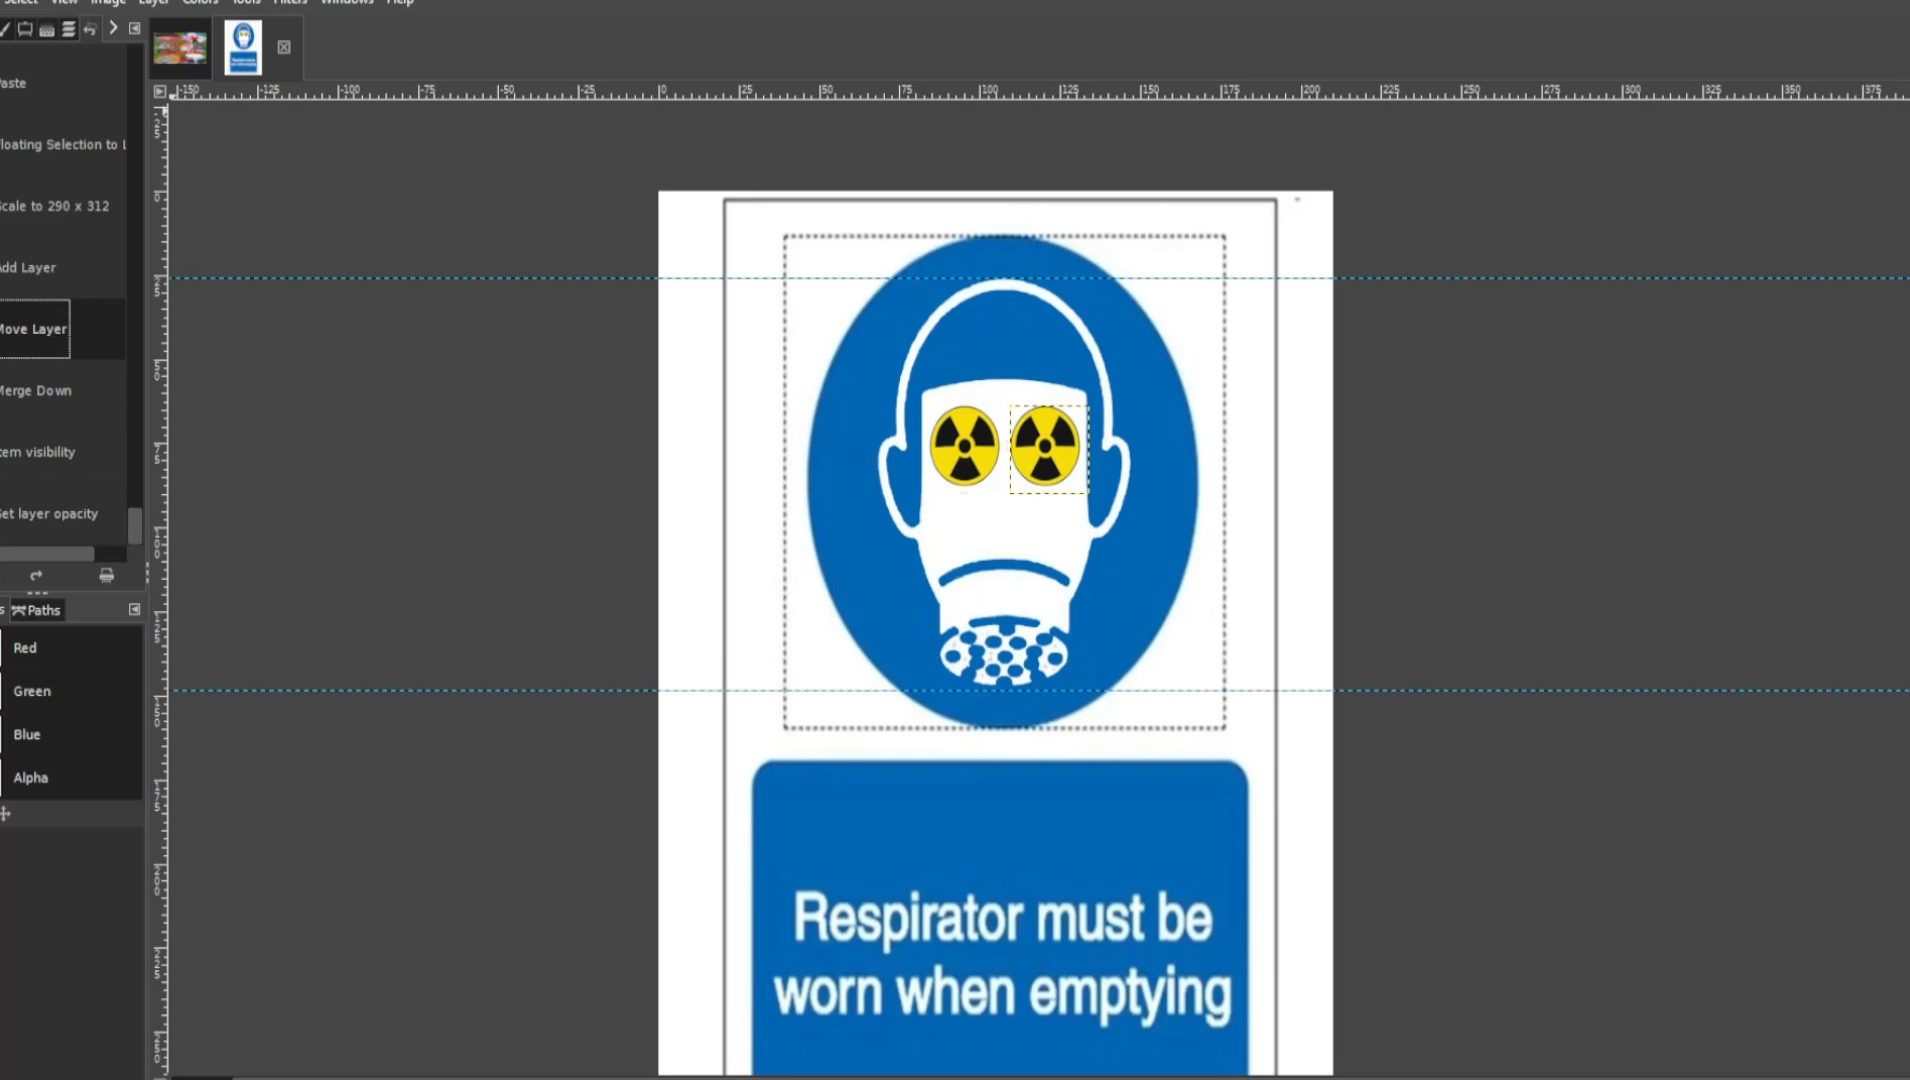
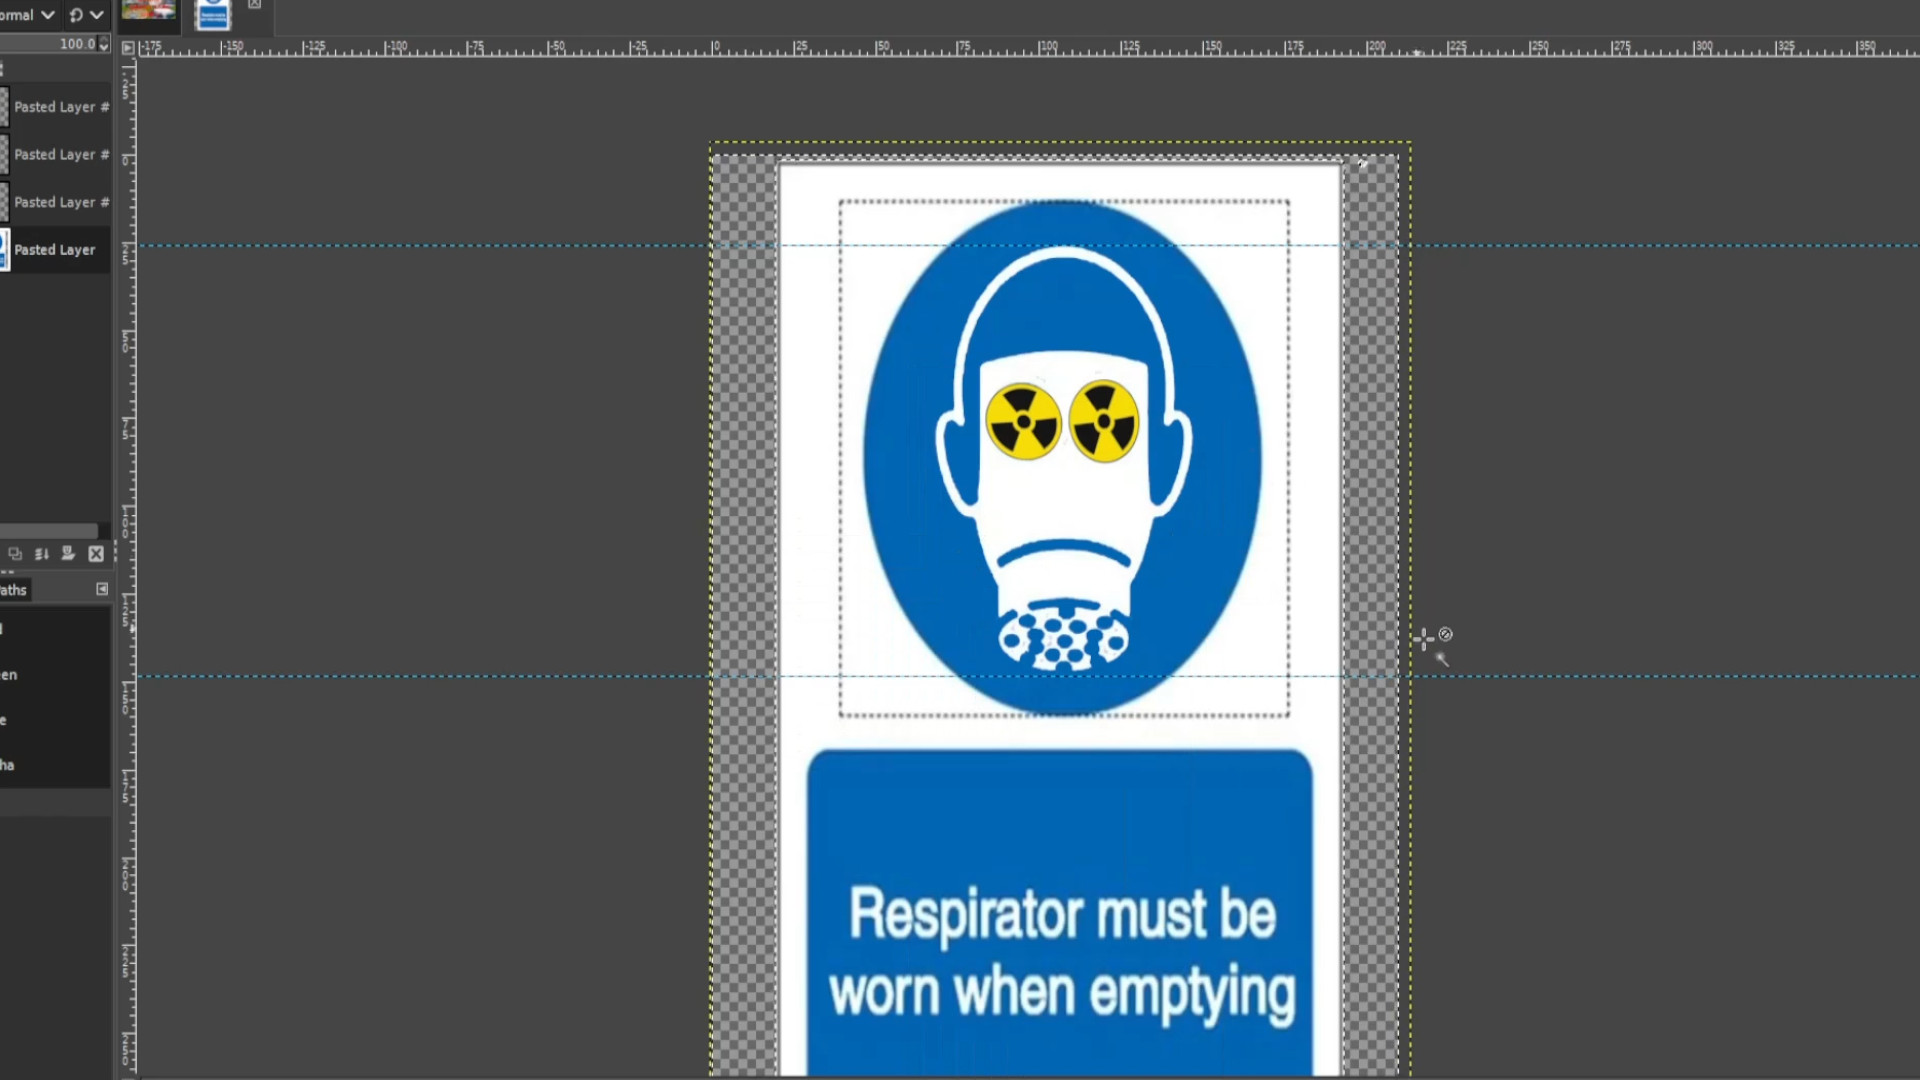
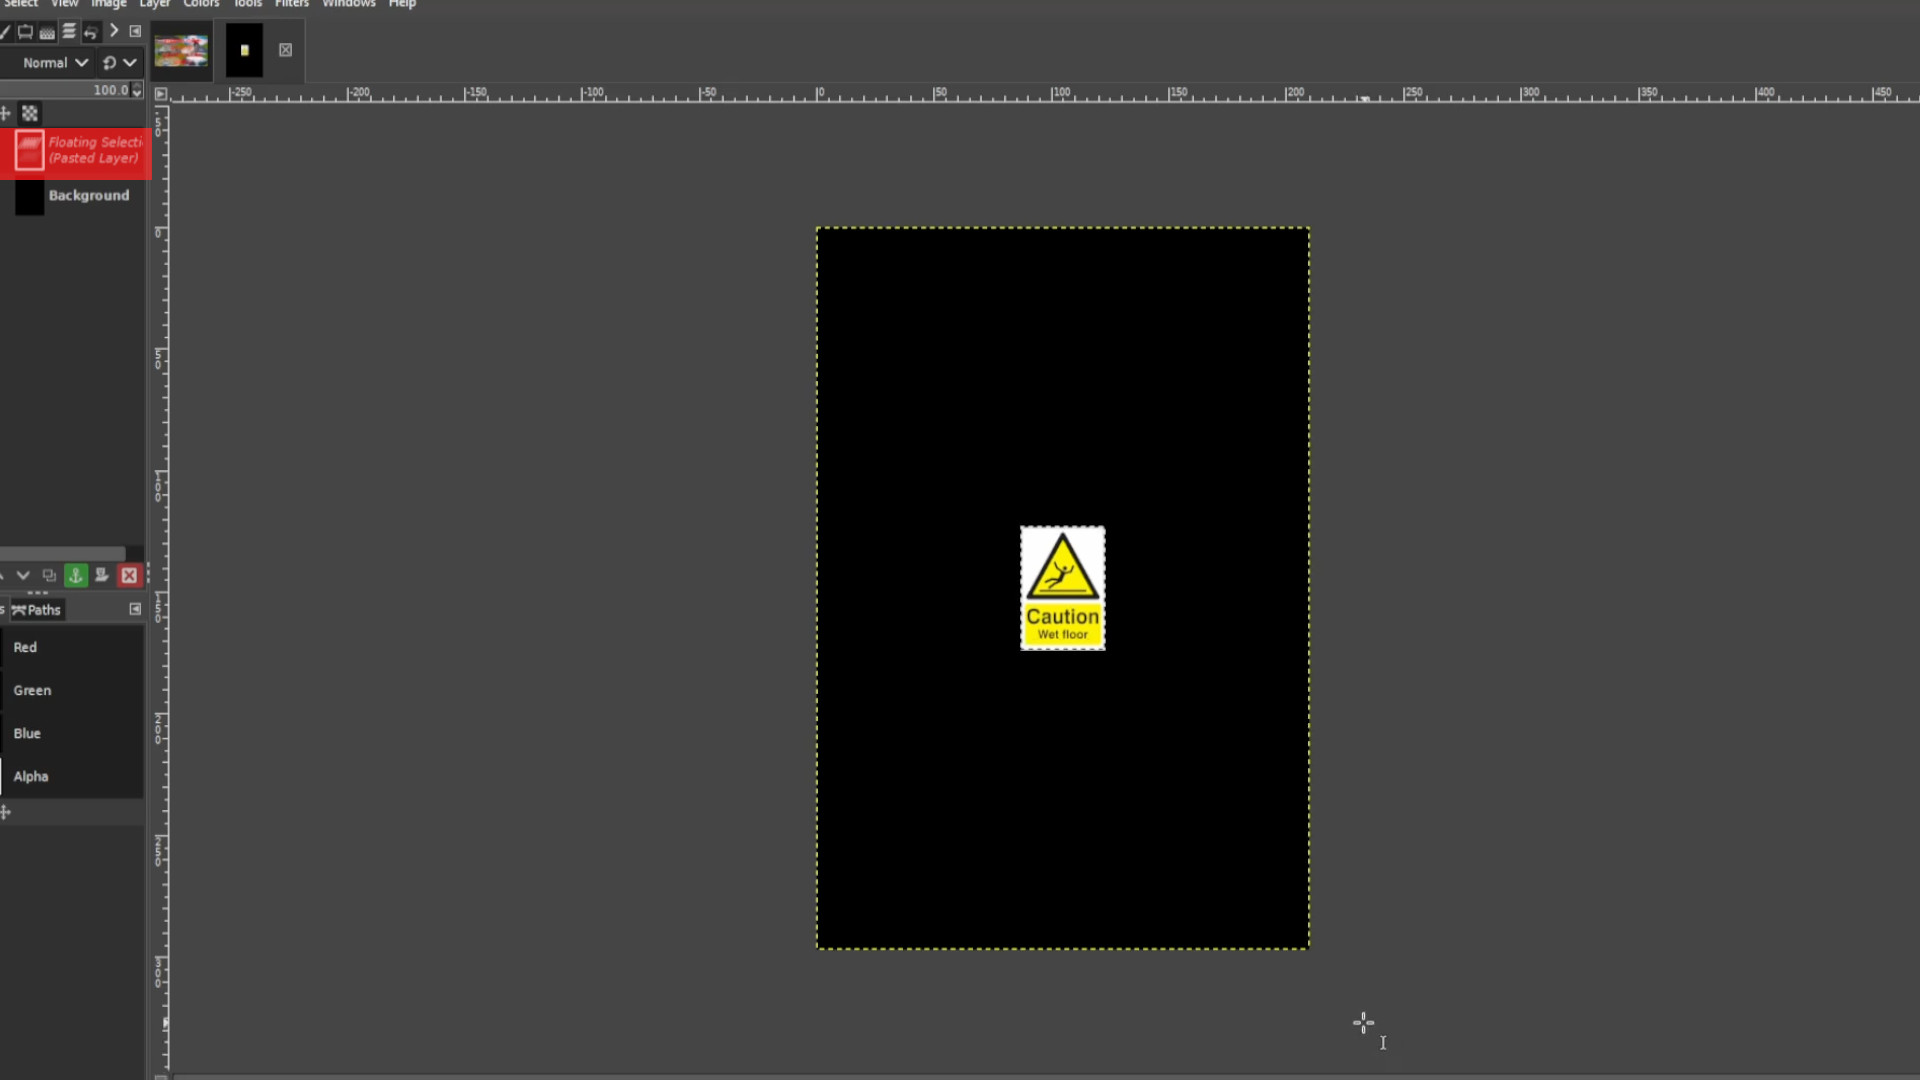
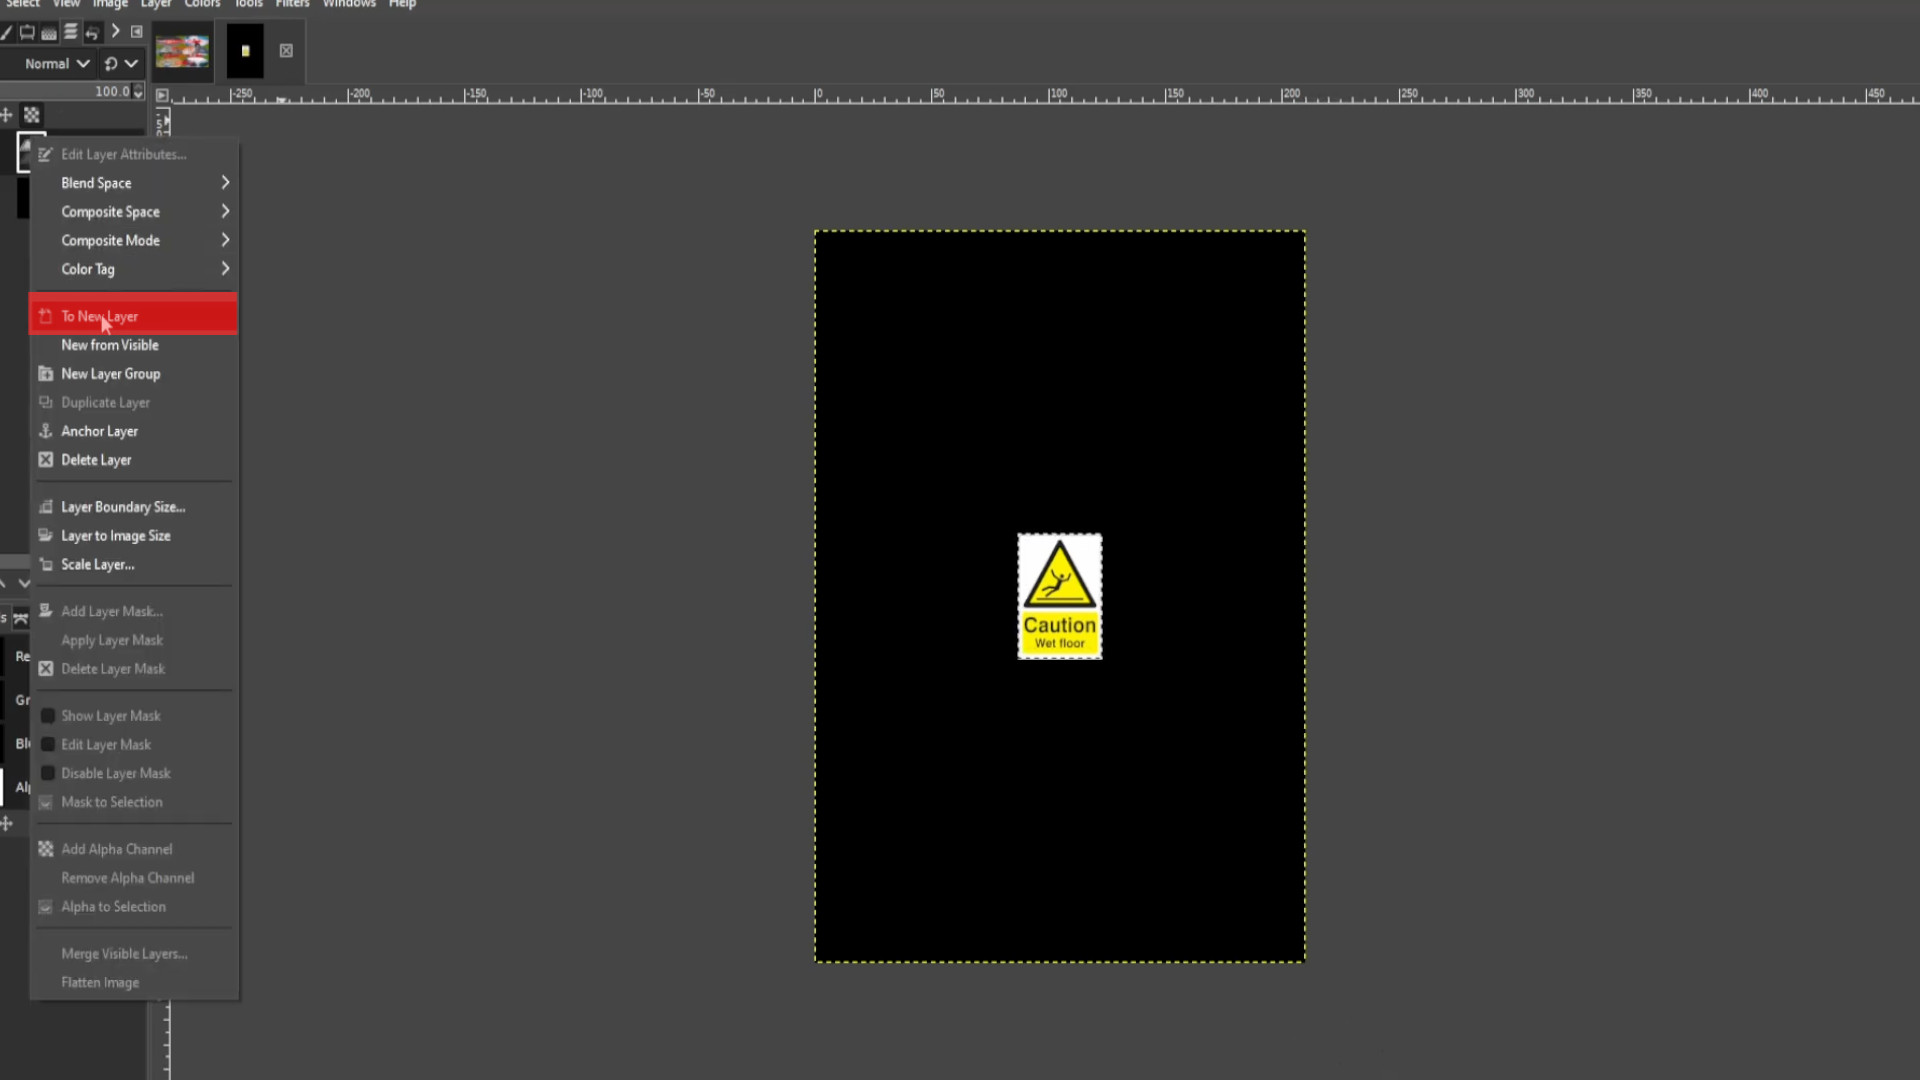
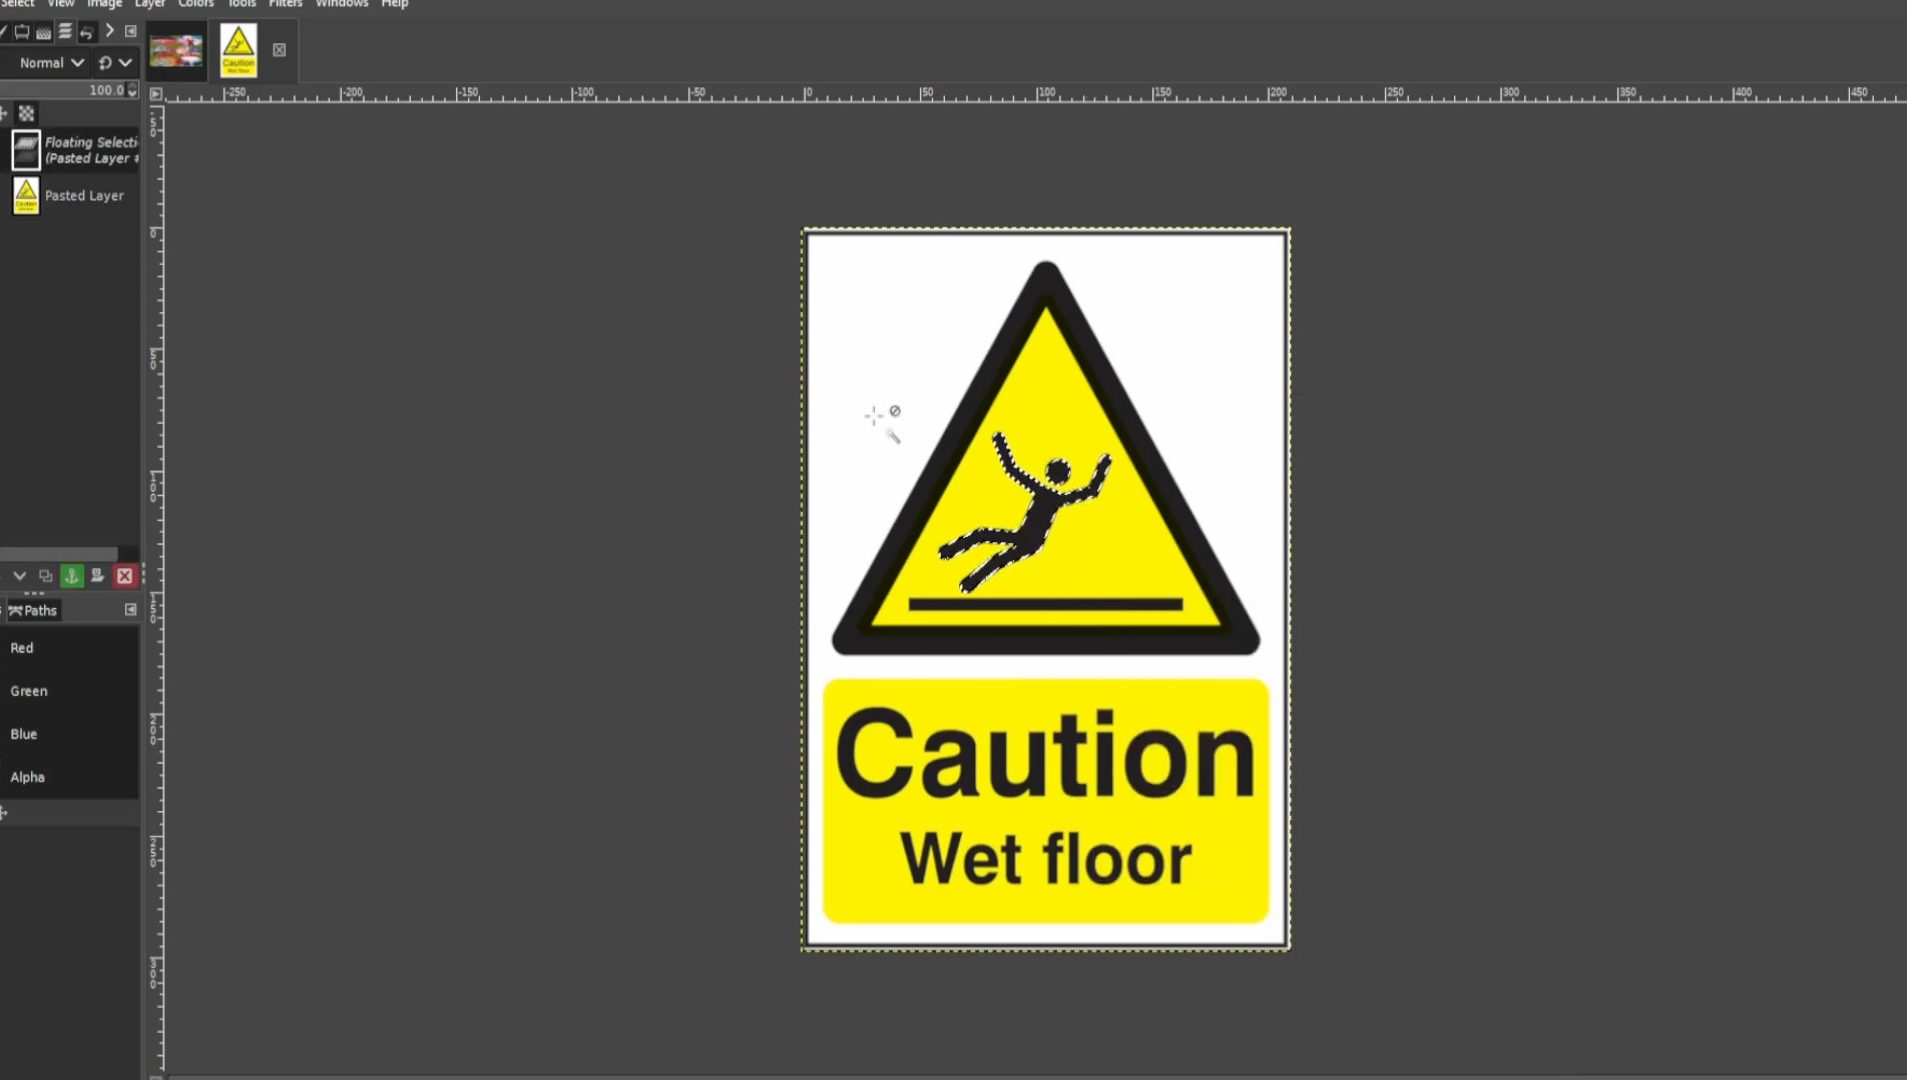
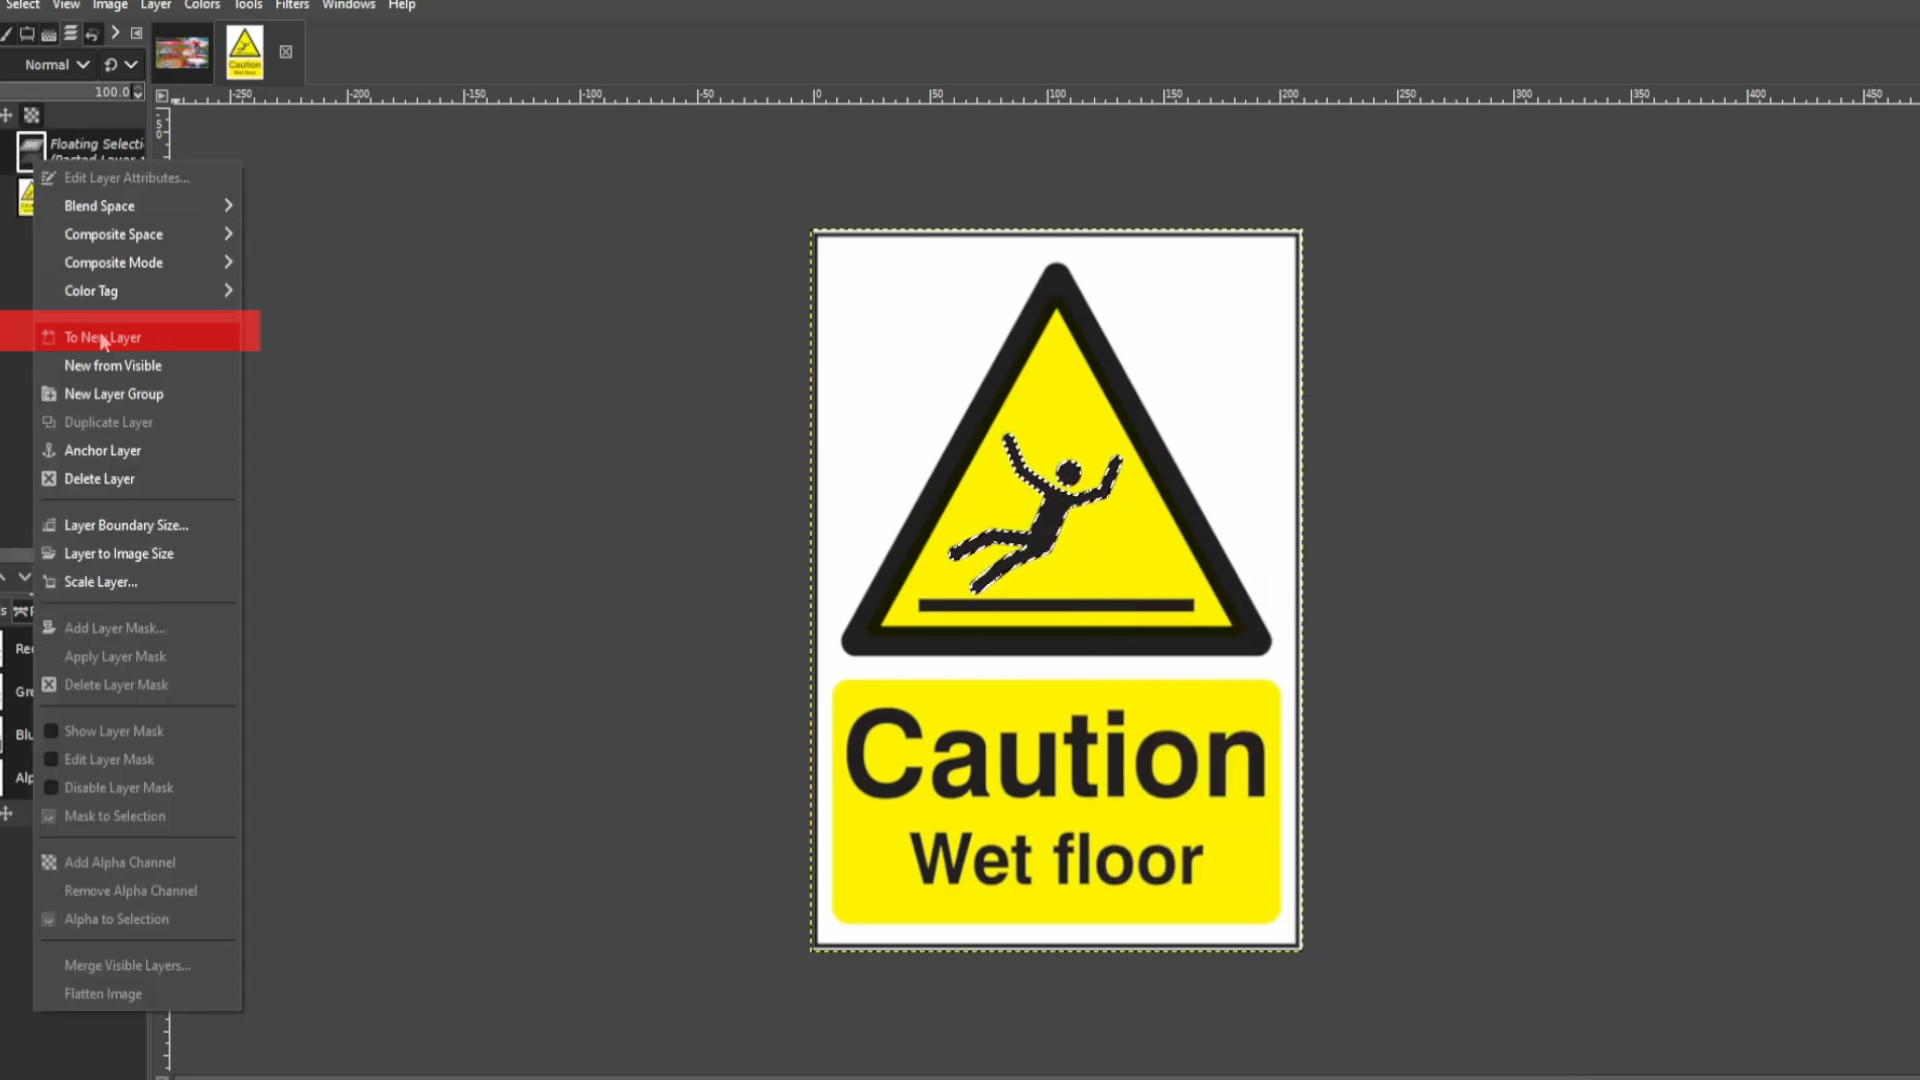
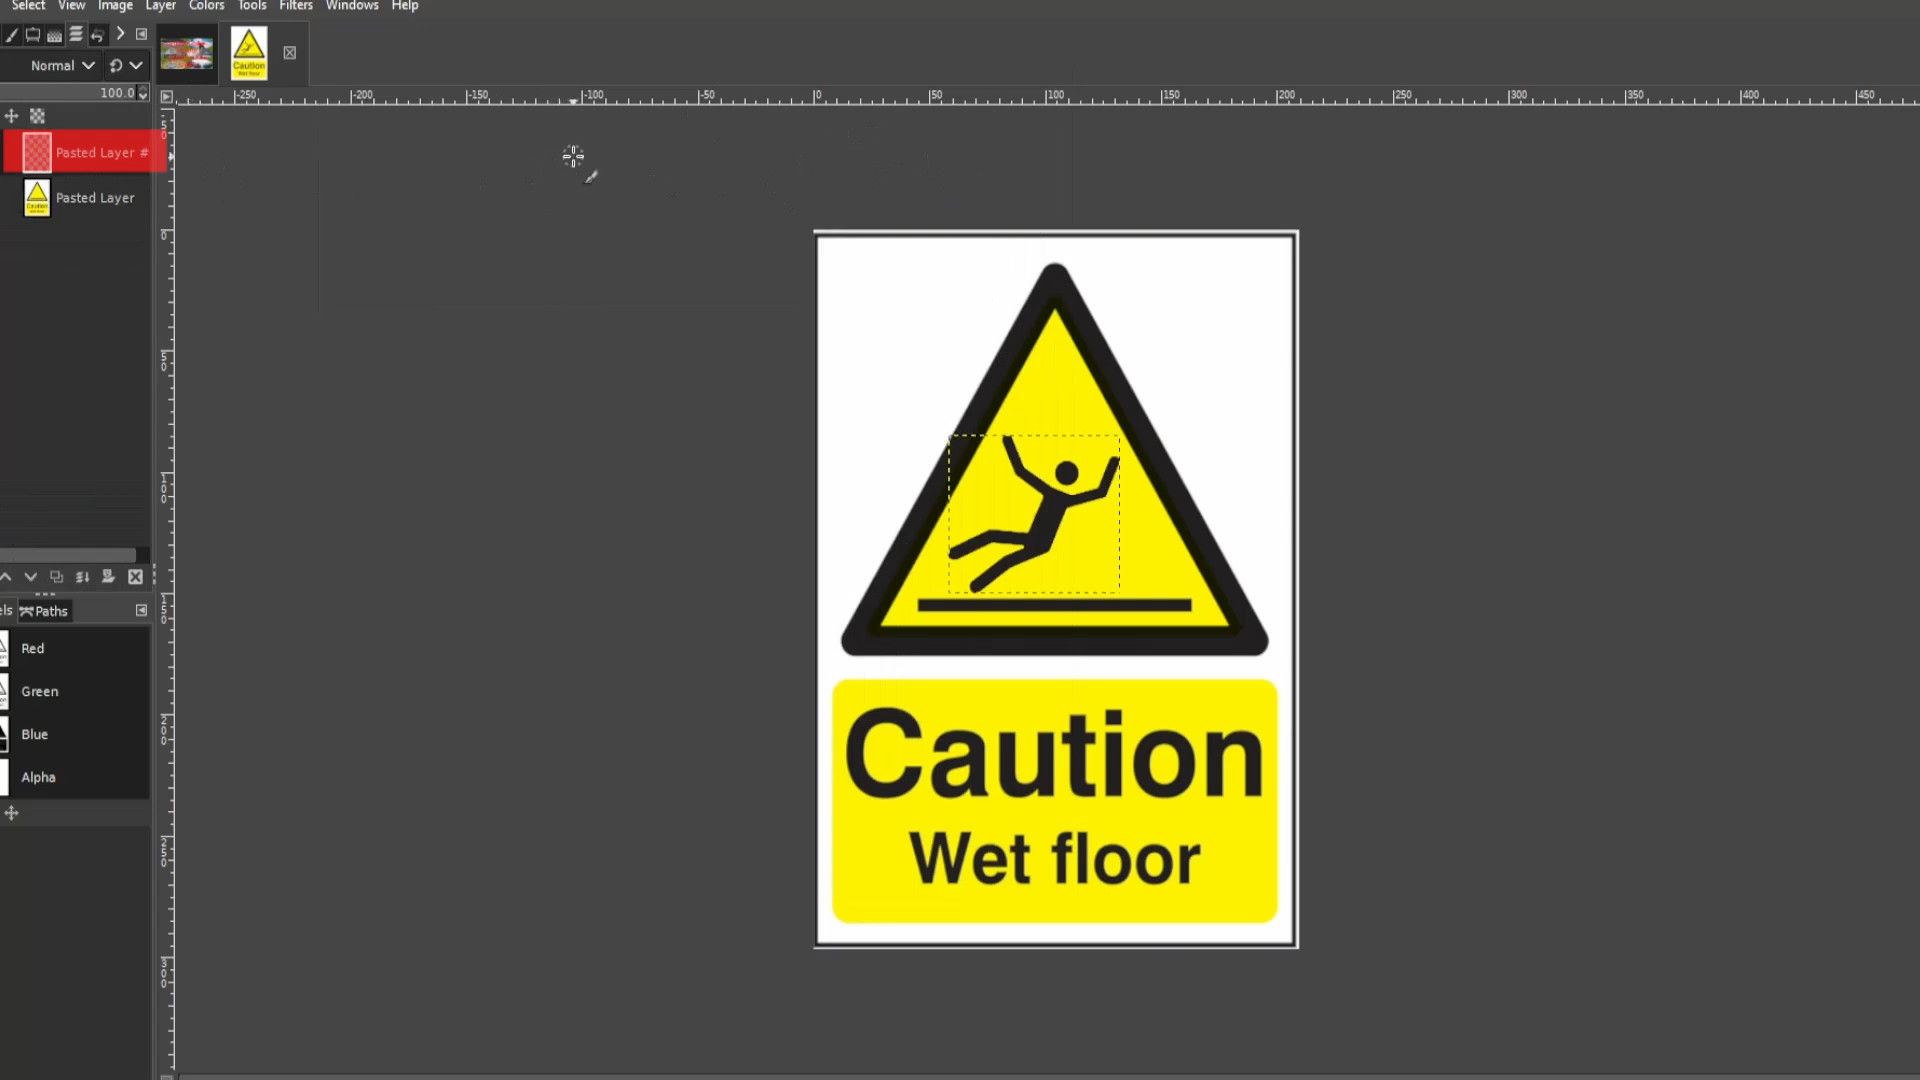
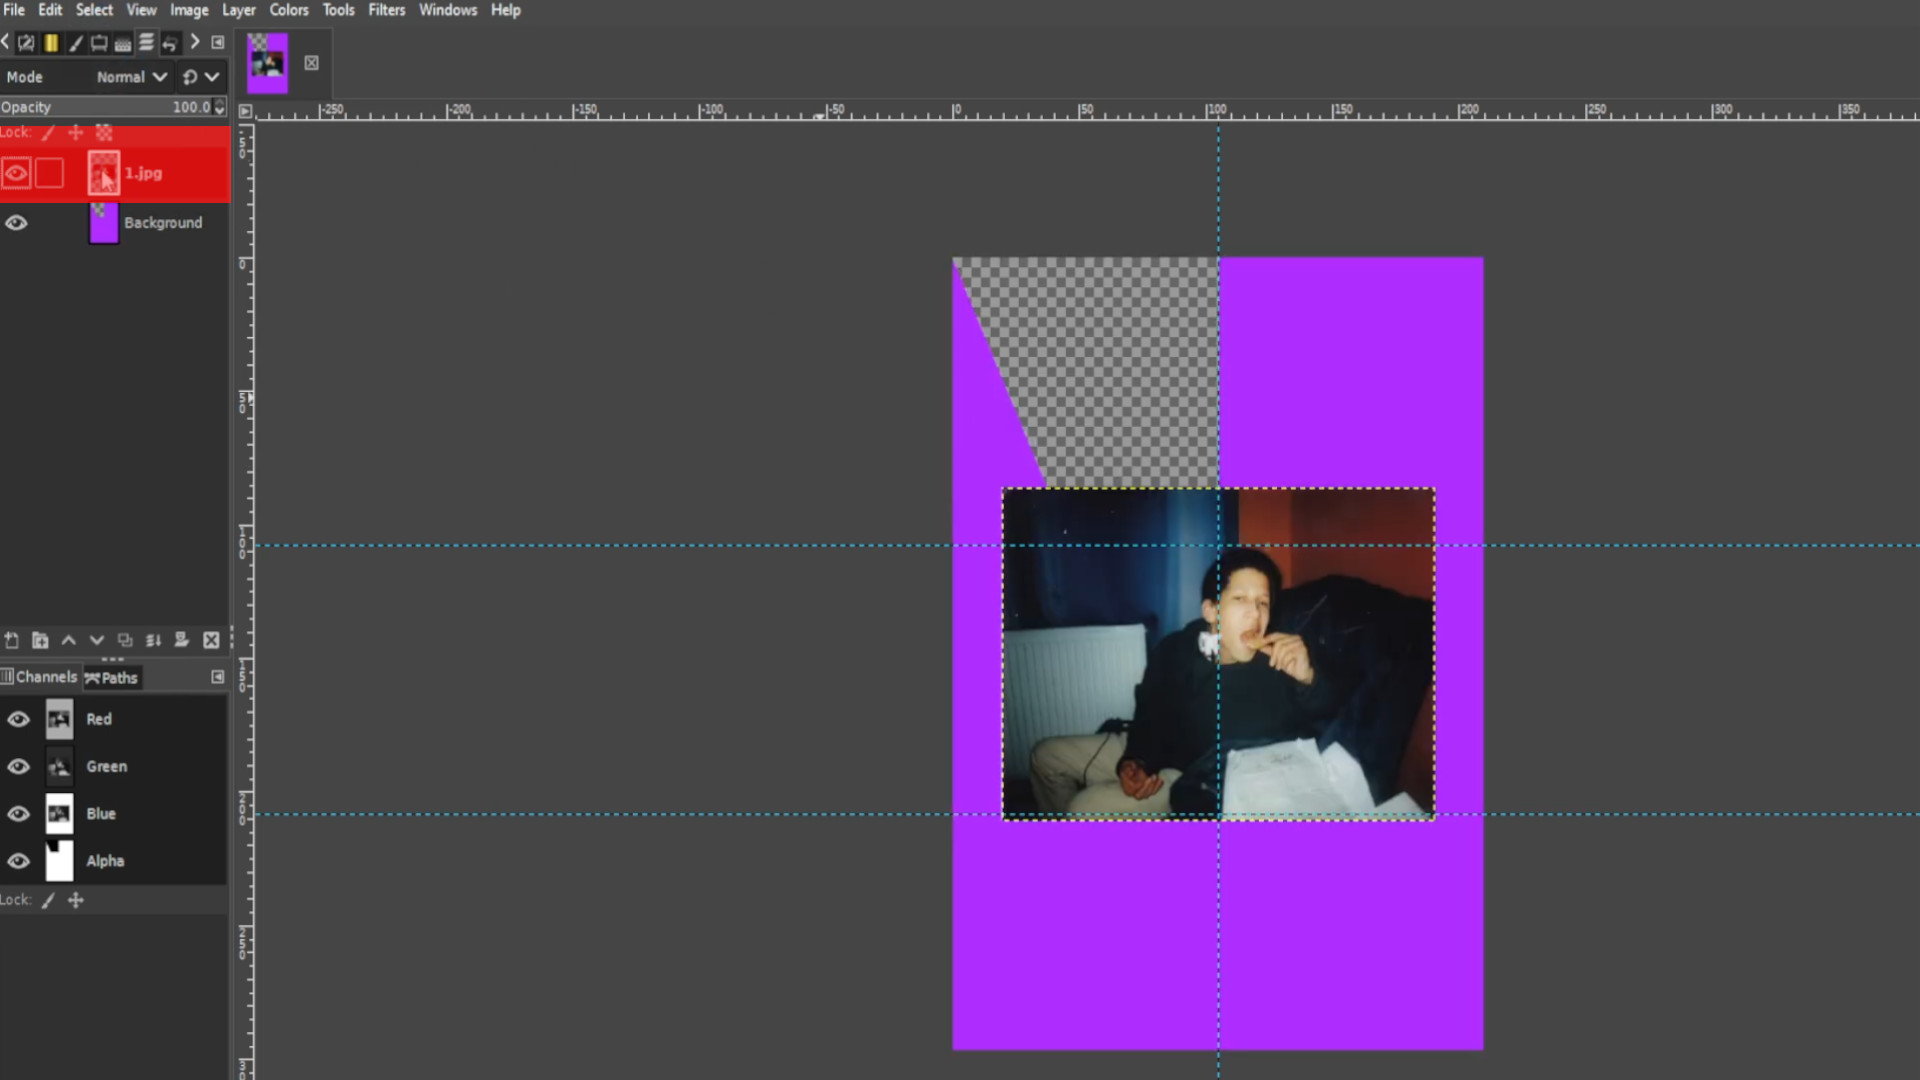
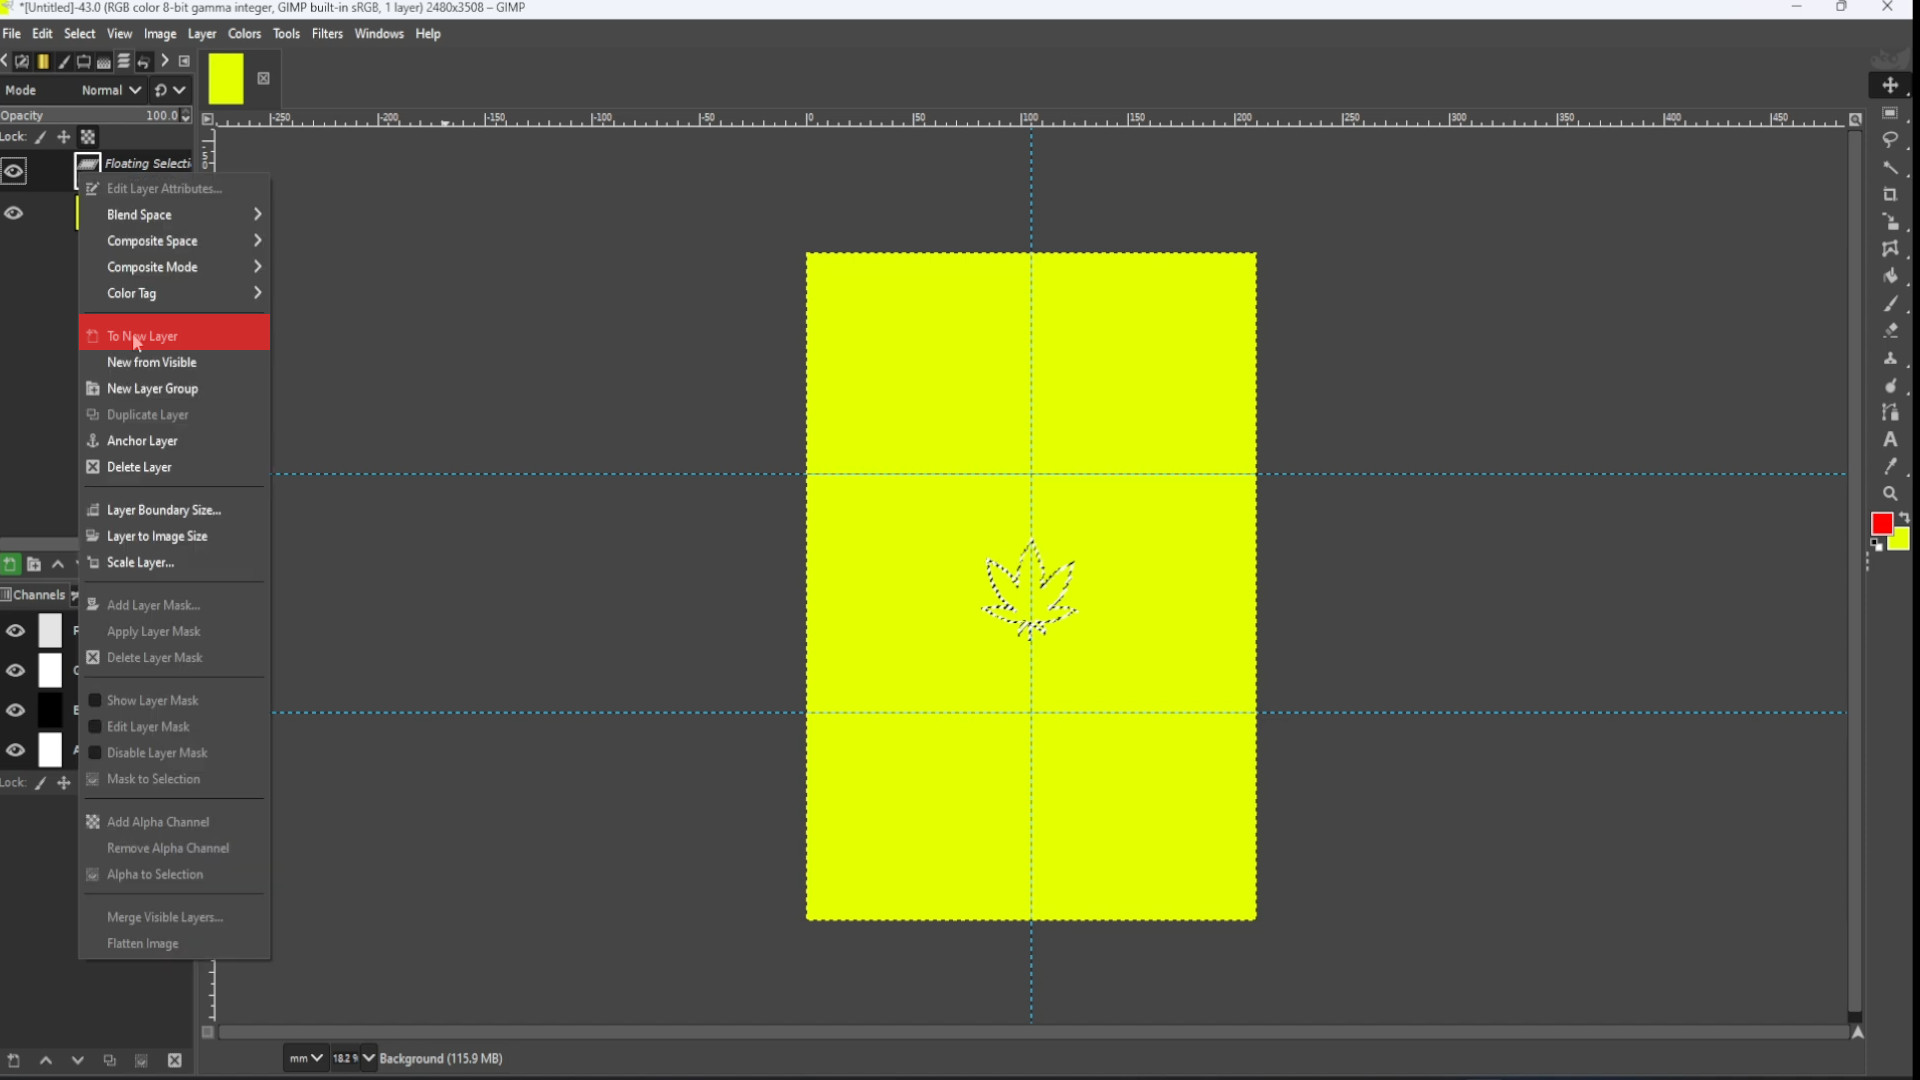
Open up>>>SHAPE in this case a cannabis leaf or>>>DRAG AND DROP file into Gimp. If you see on the>>>LEFT HAND SIDE LAYERS PANEL>>>FLOATING SELECTION>>>RIGHT CLICK on the>>>FIRST LAYER and>>>SELECT>>>TO NEW LAYER.
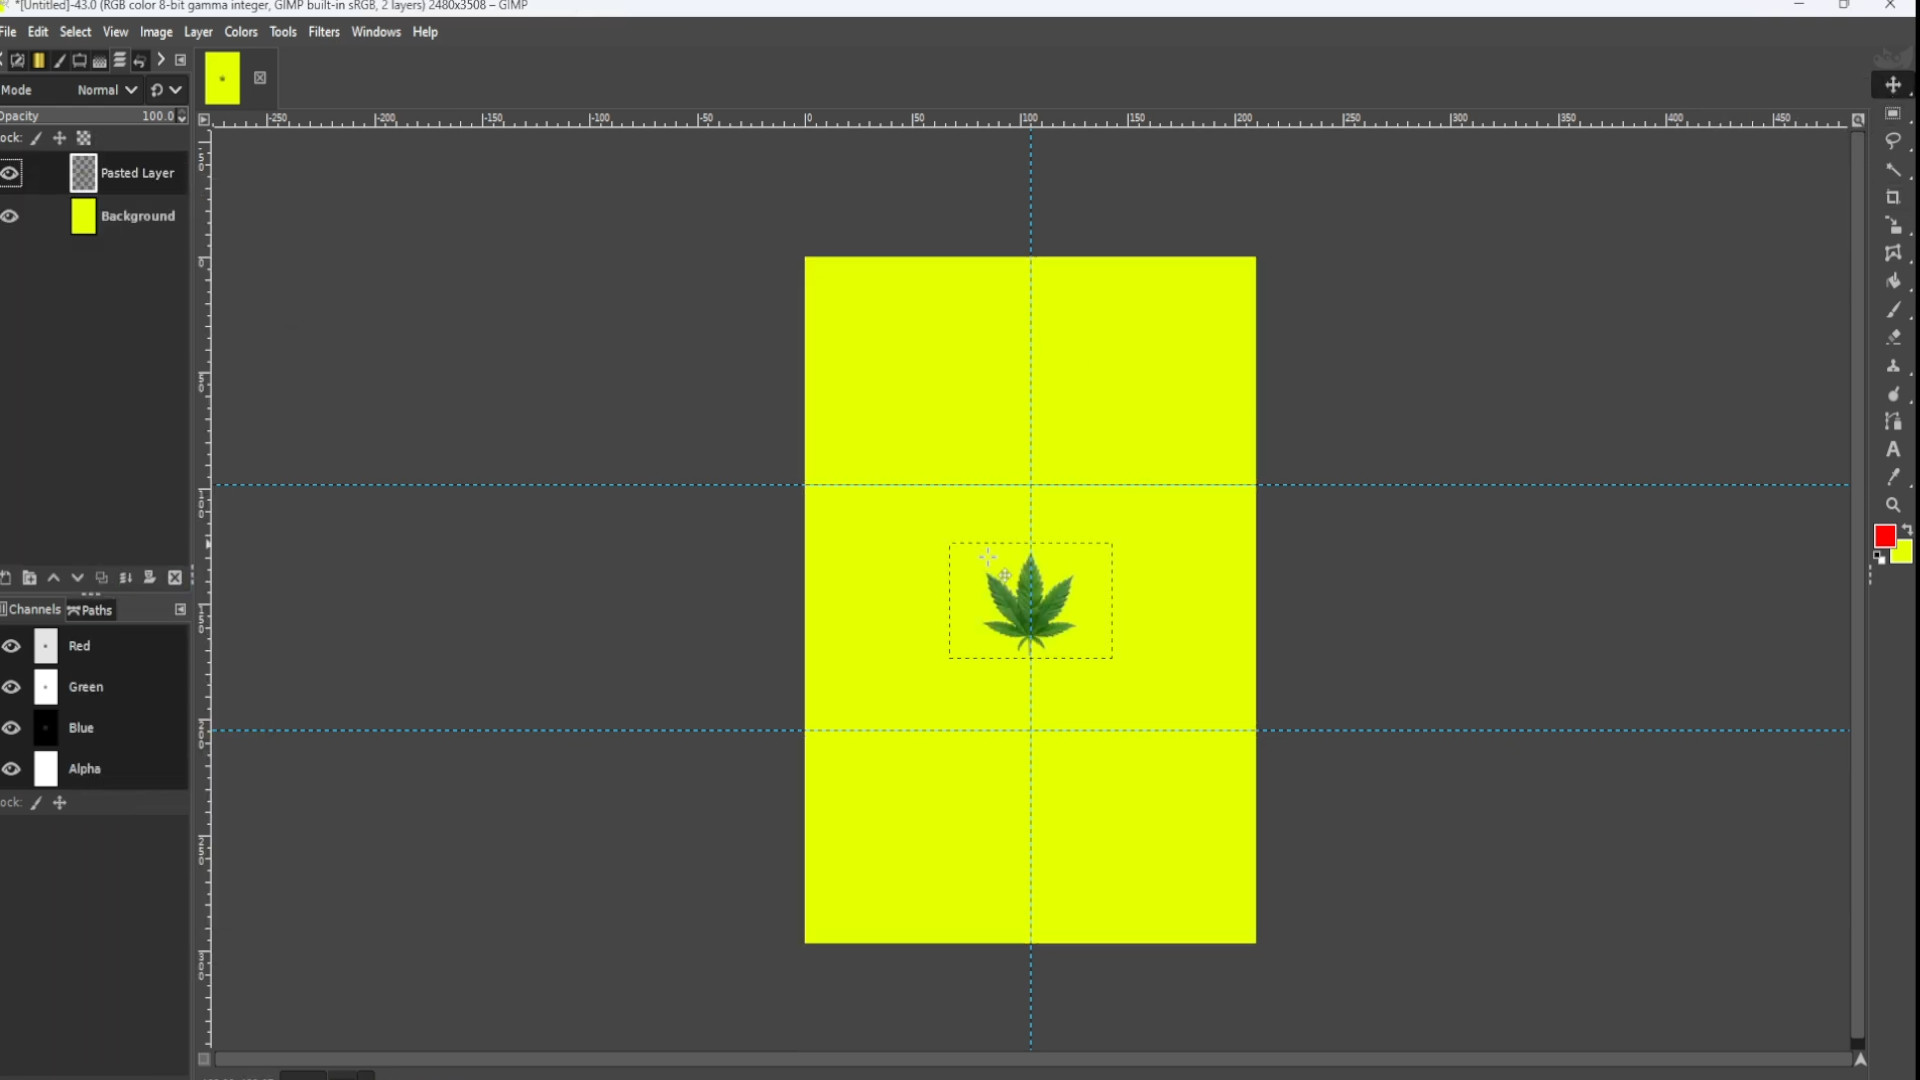
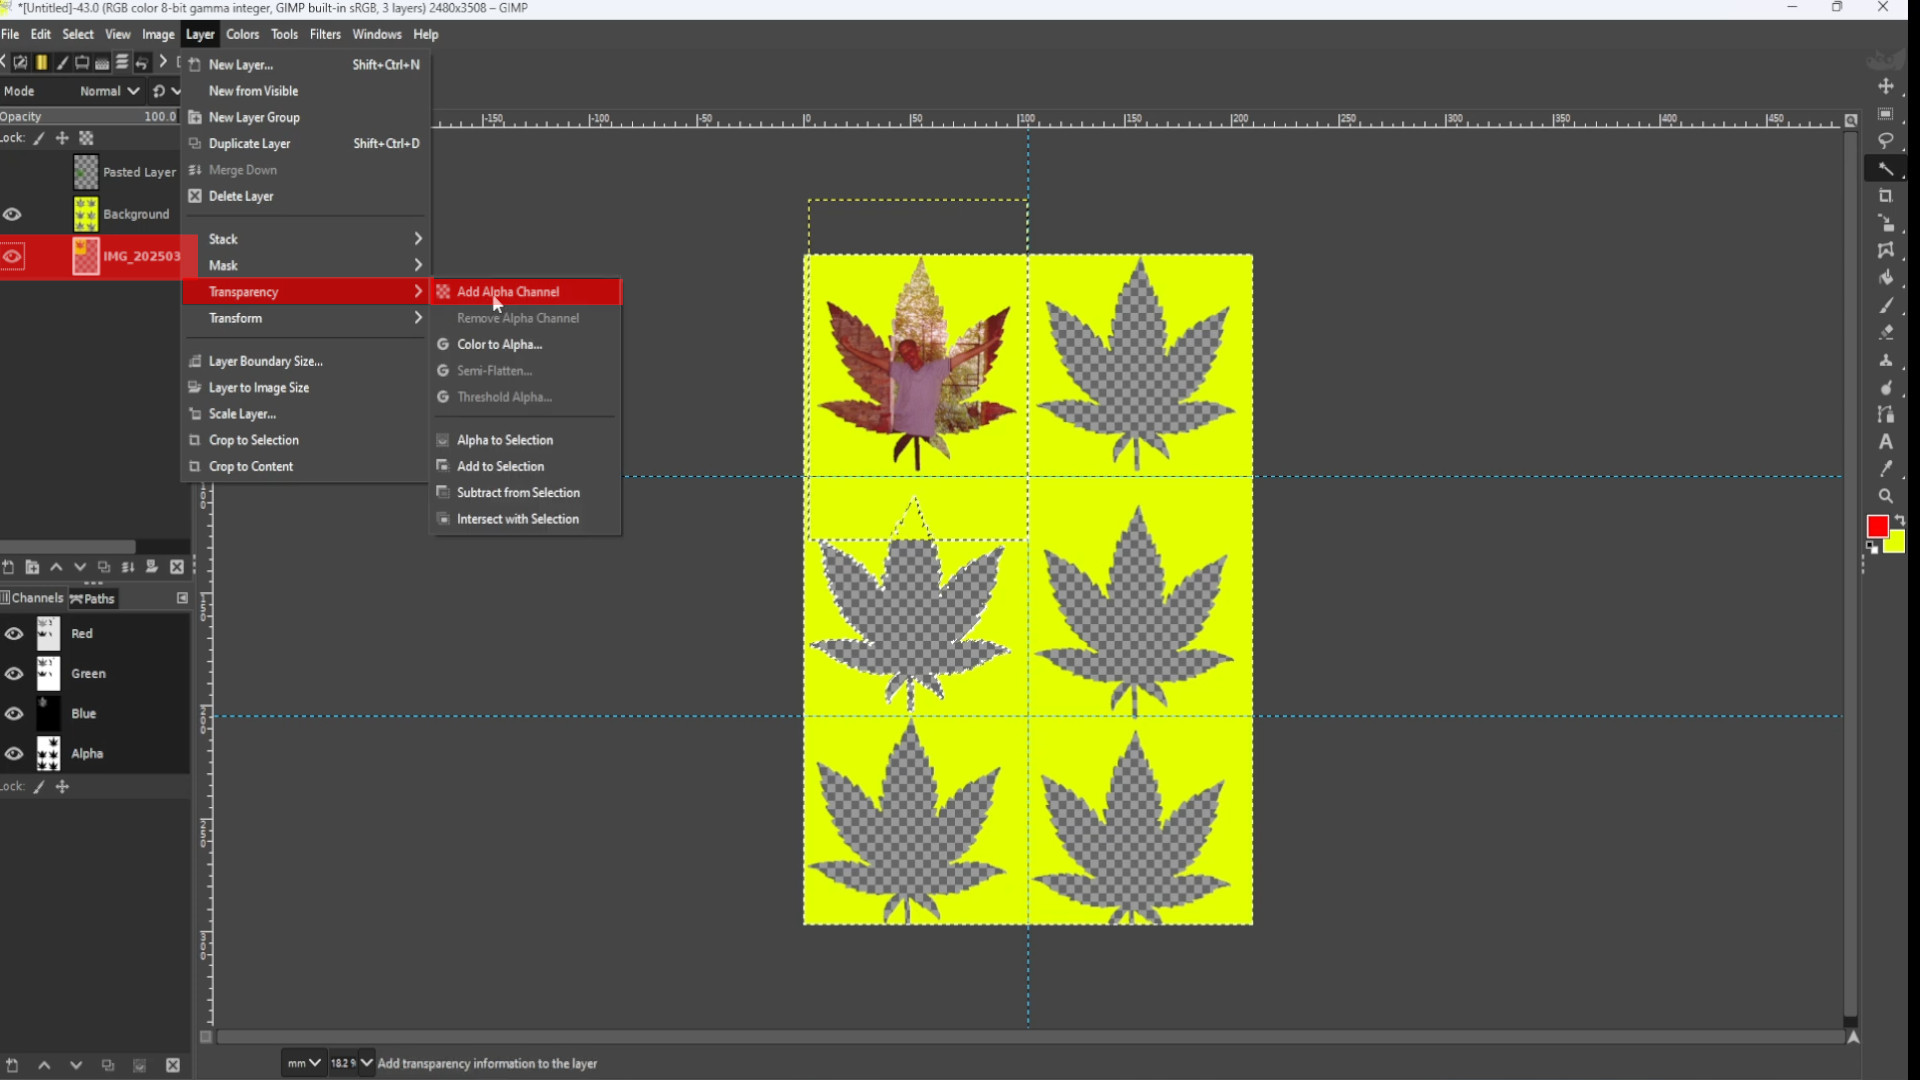
Go to>>>LAYER>>>TRANSPARENCY>>>ADD ALPHA CHANNEL. If it’s greyed out it’s been added and you can ignore this step.
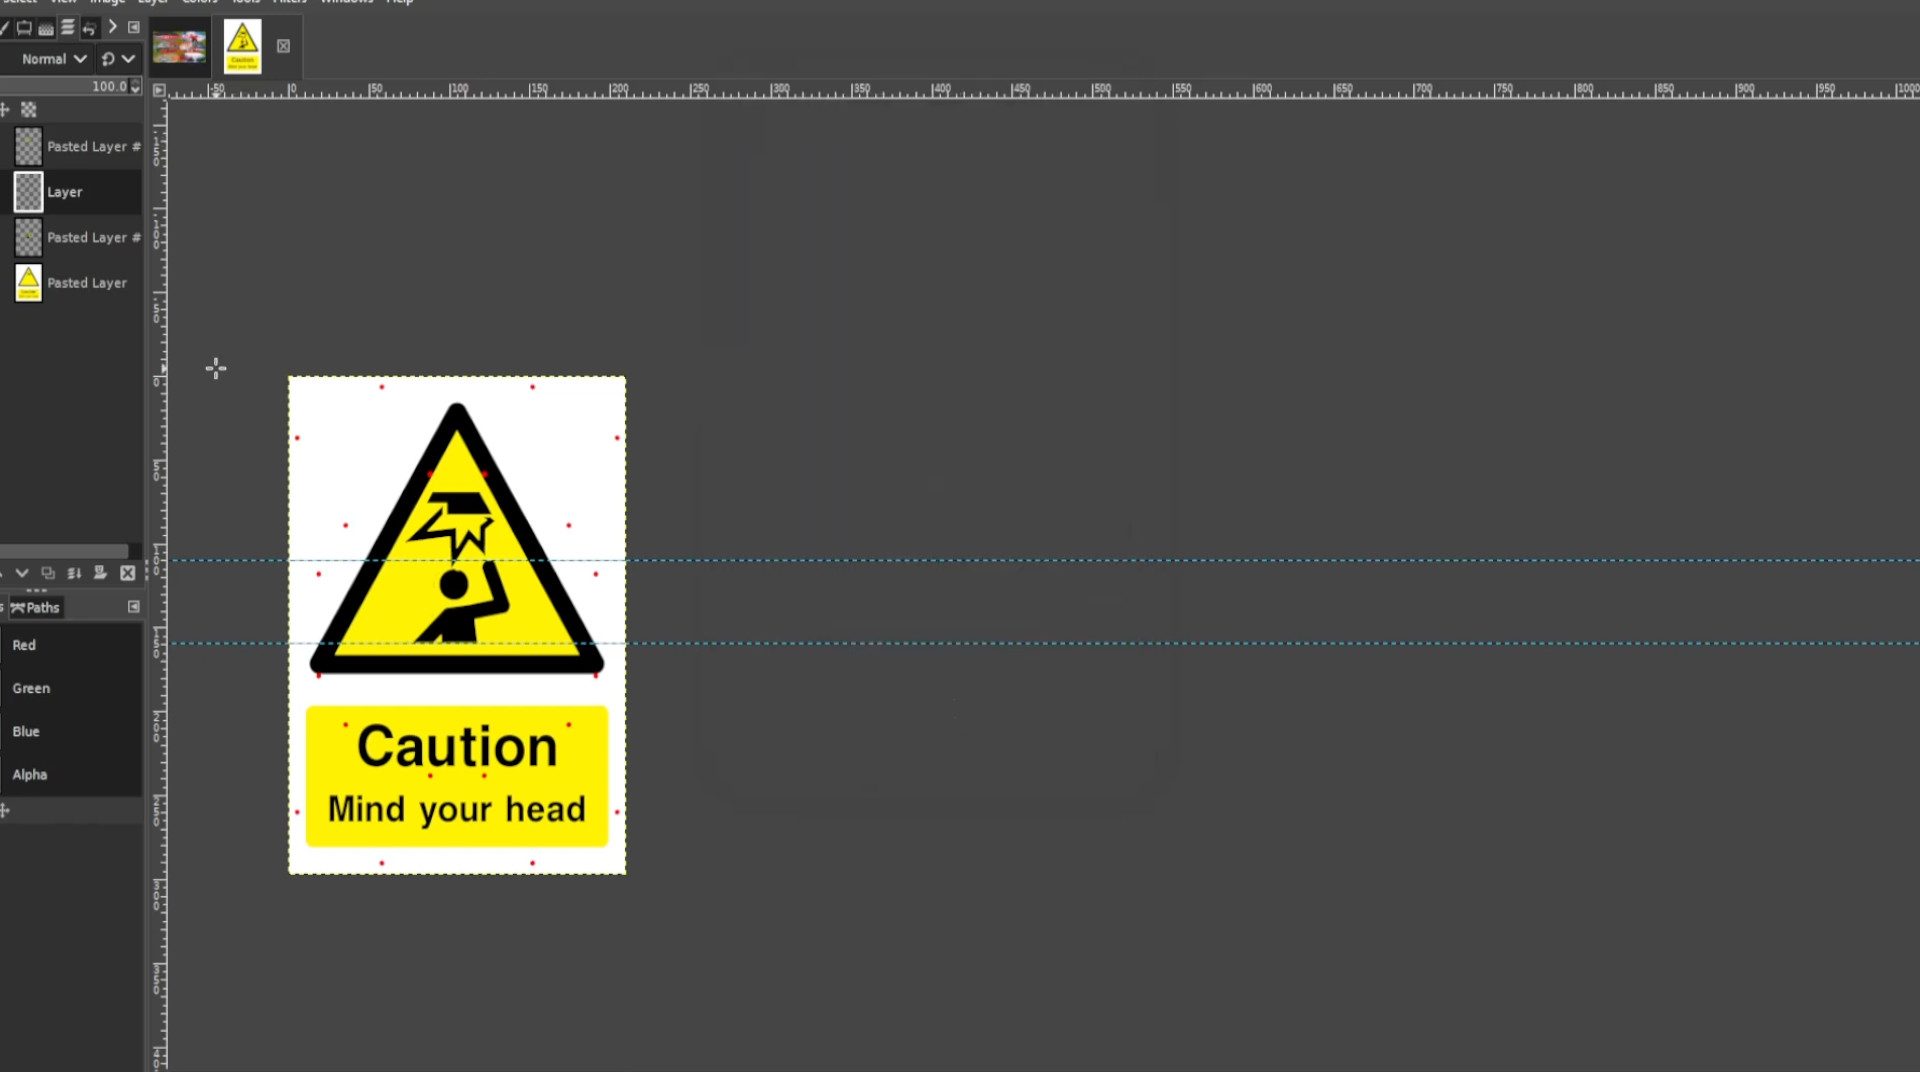
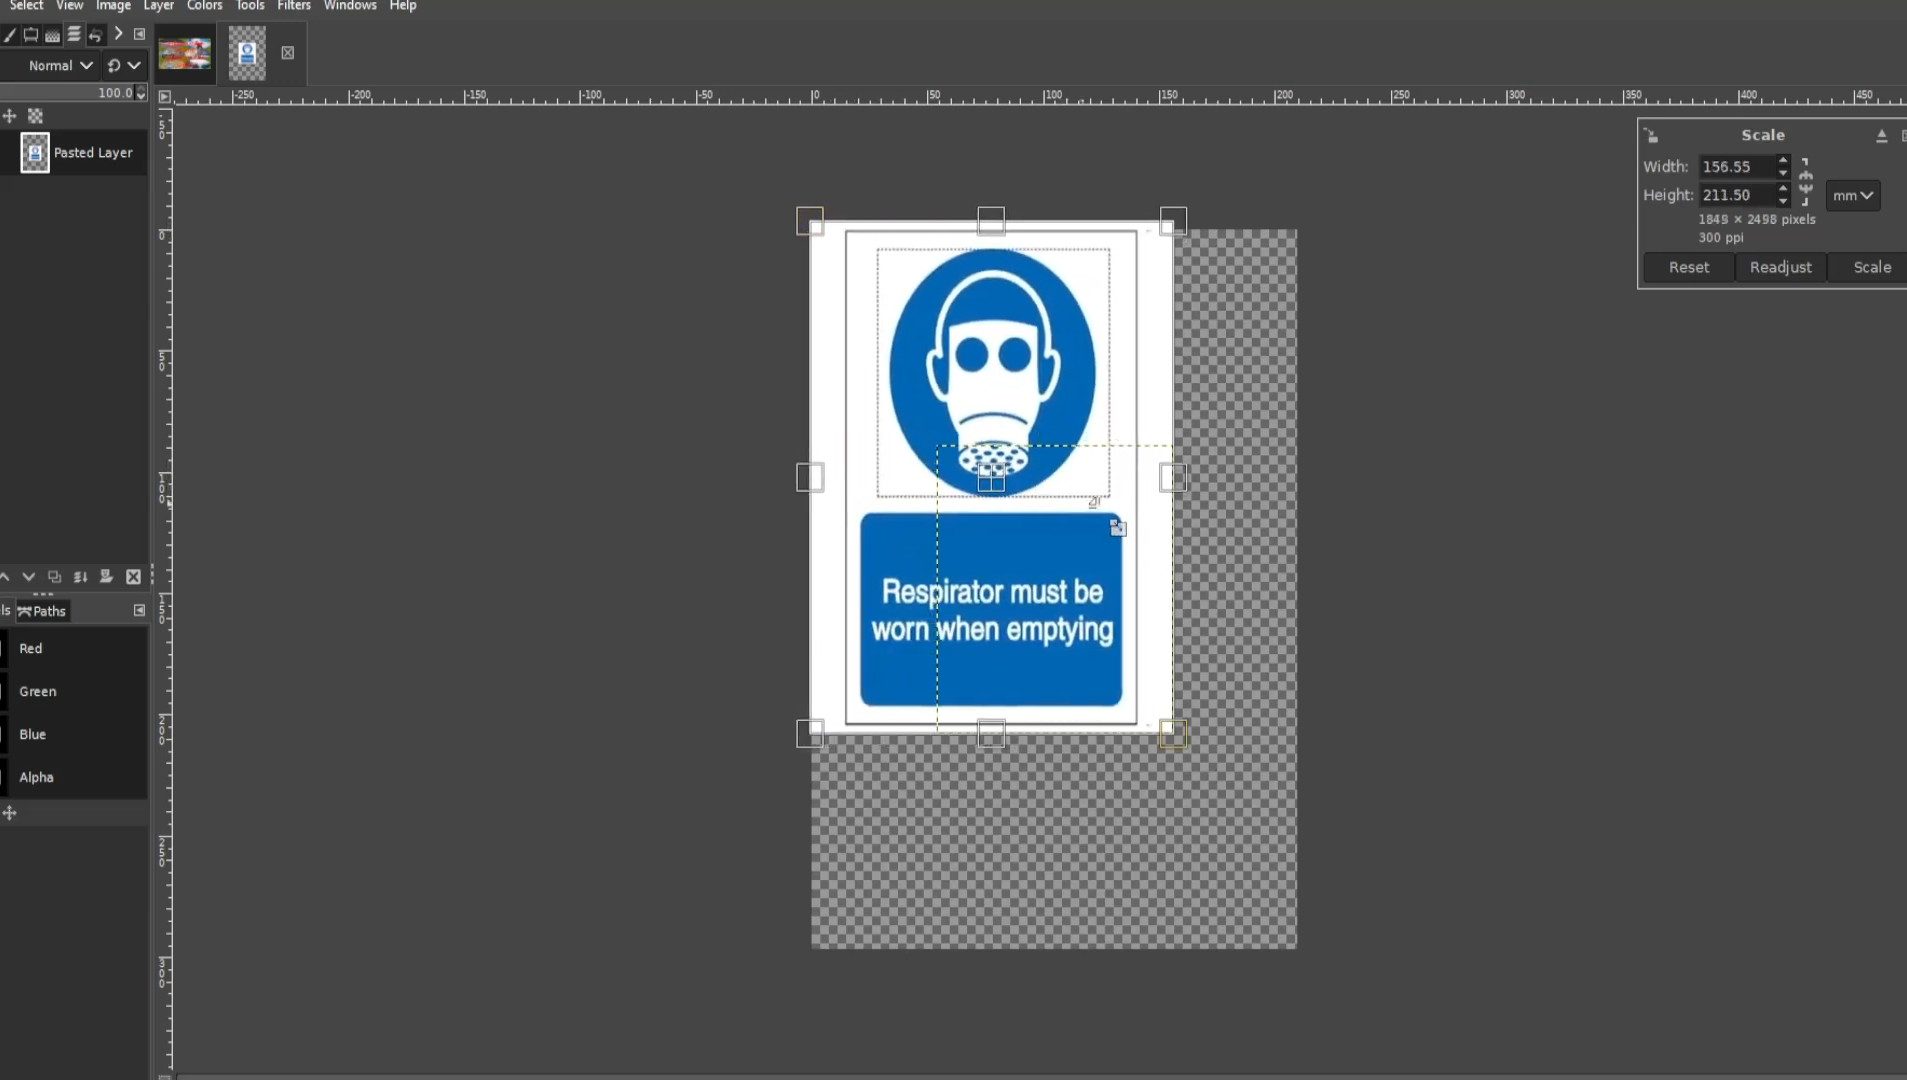
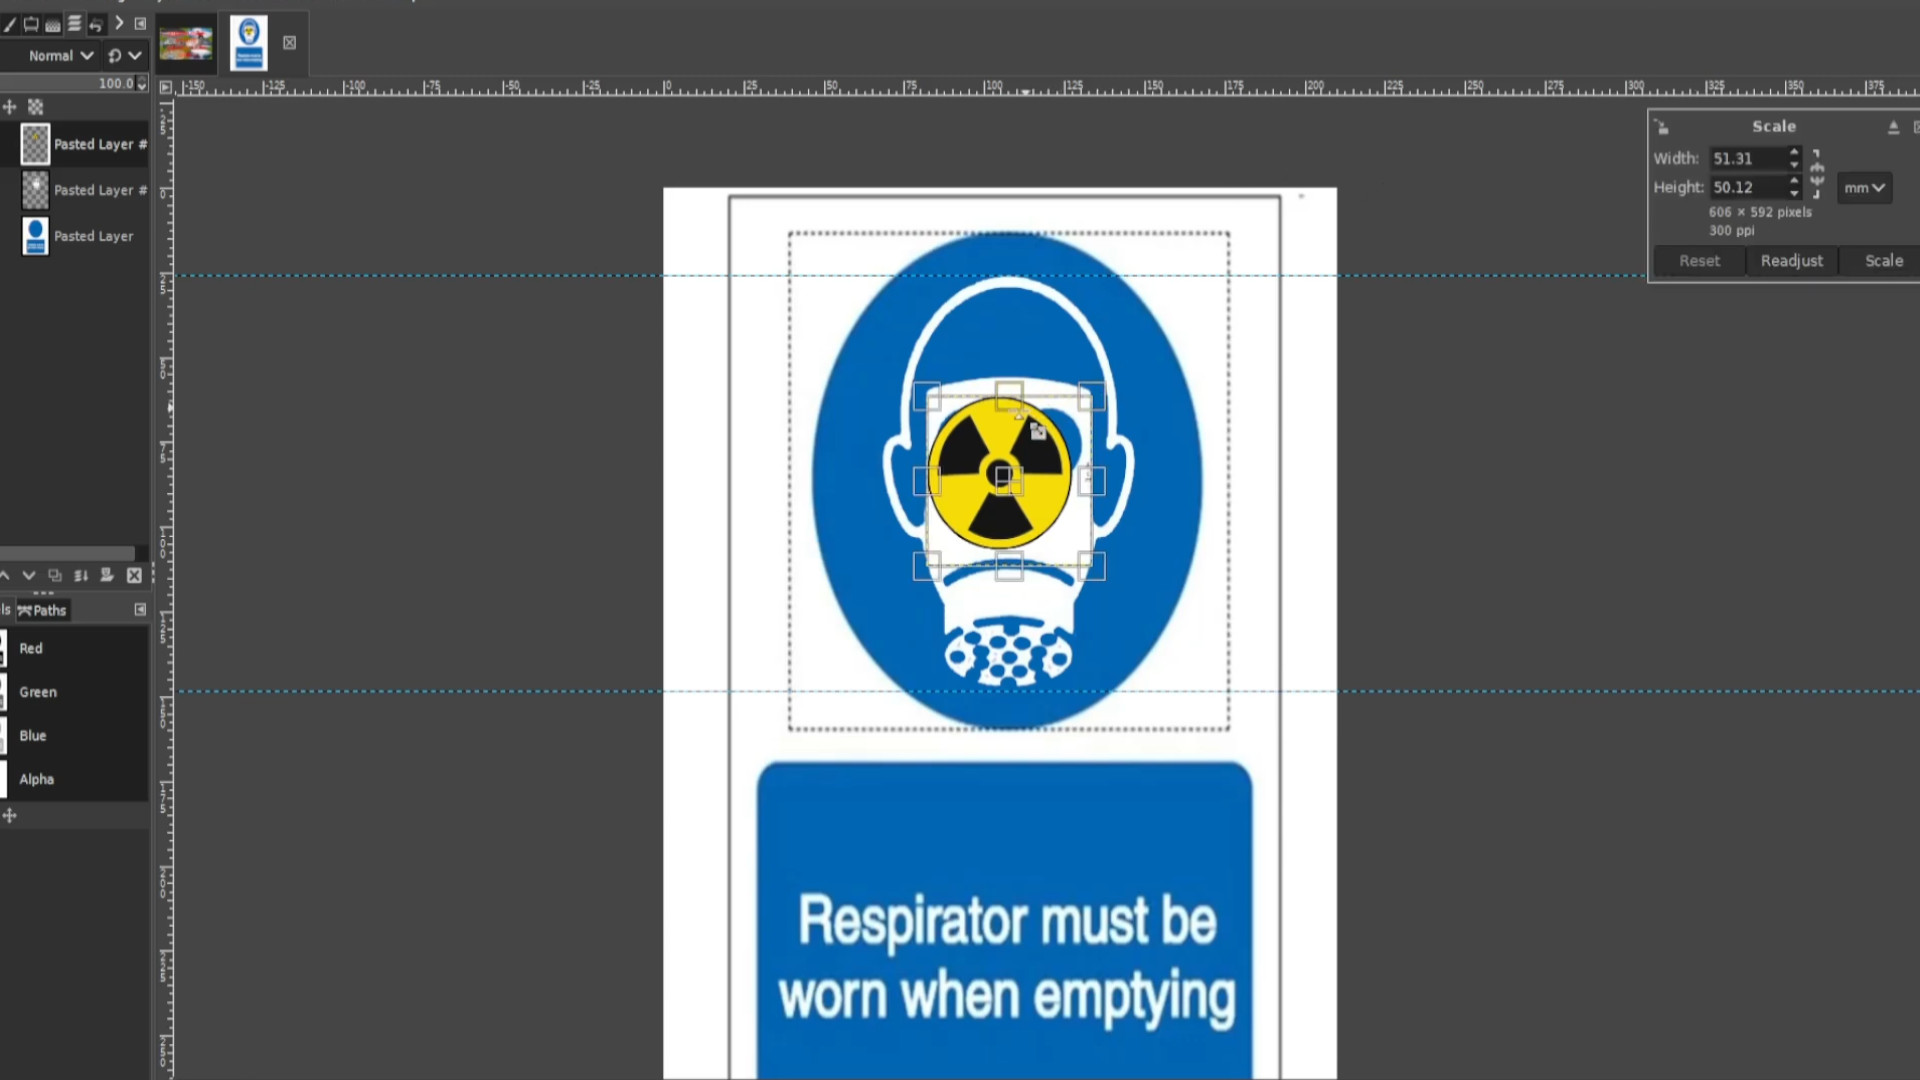
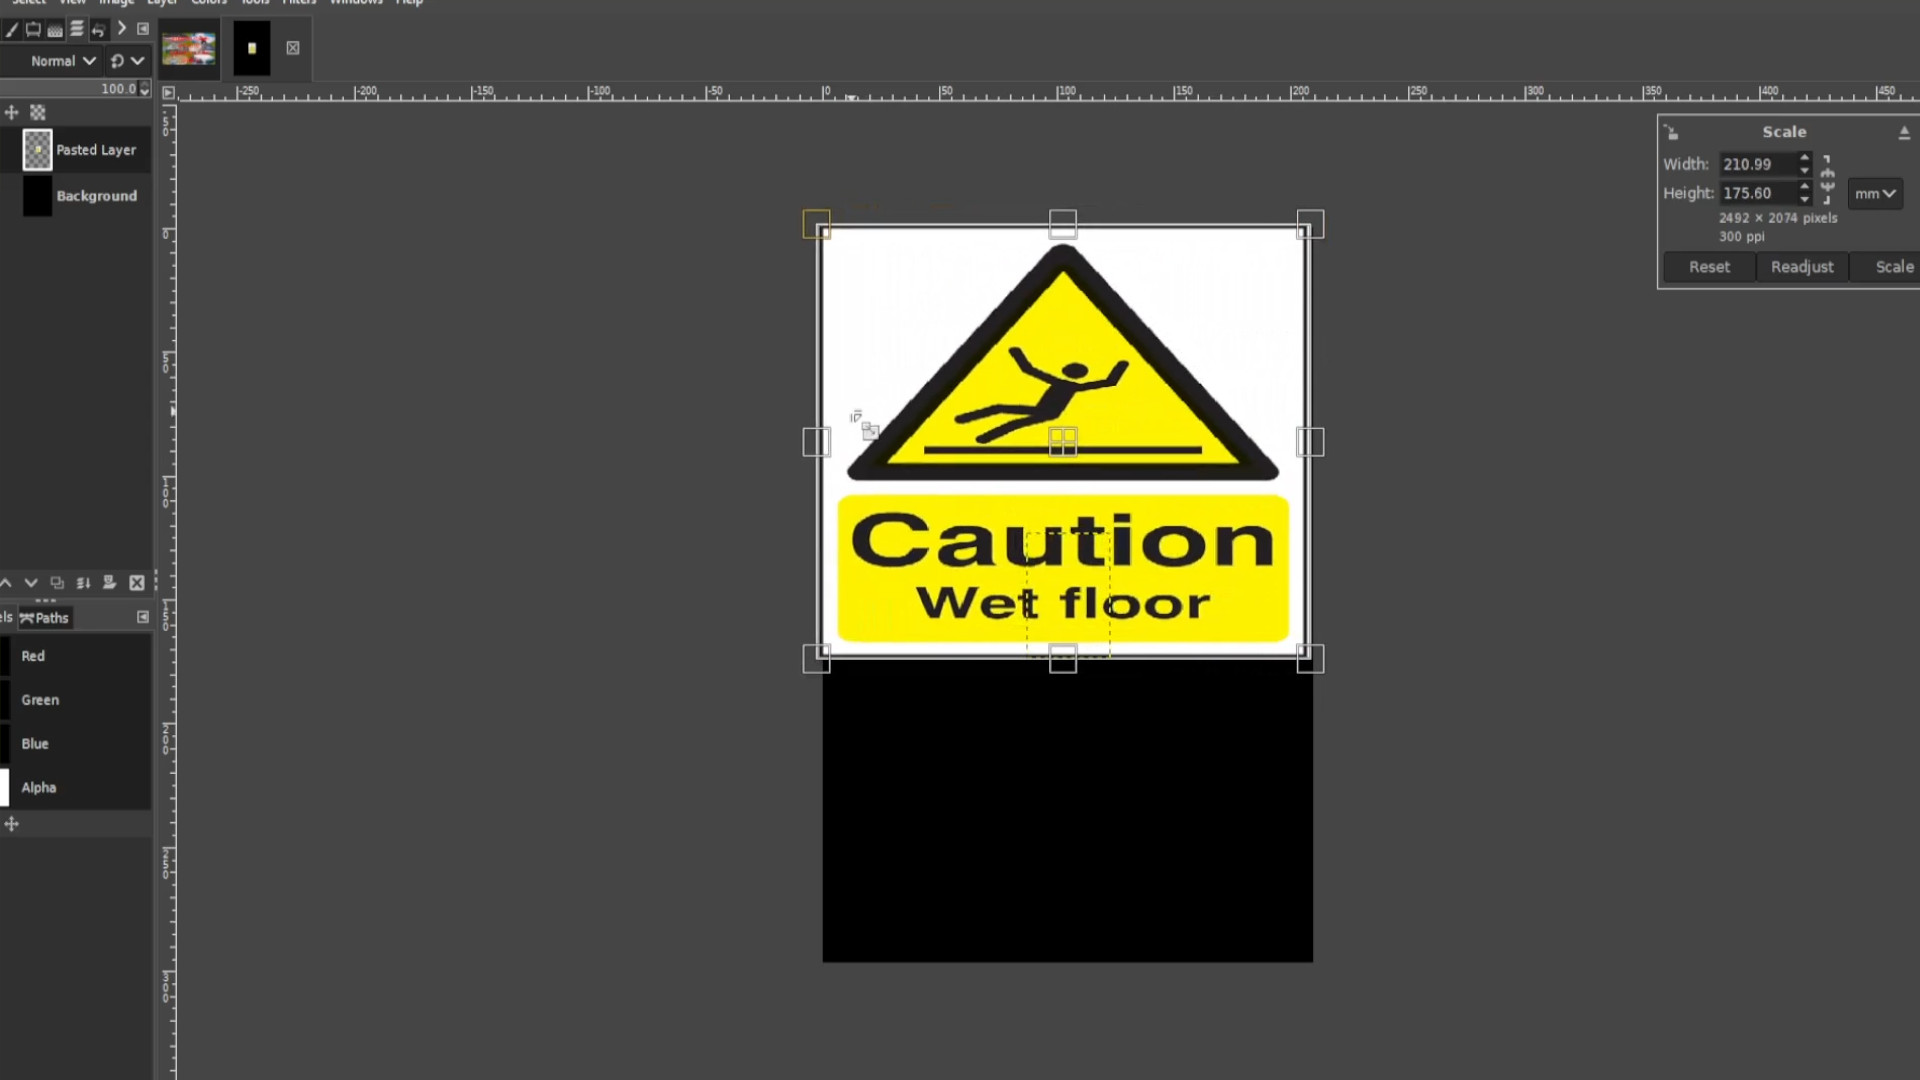
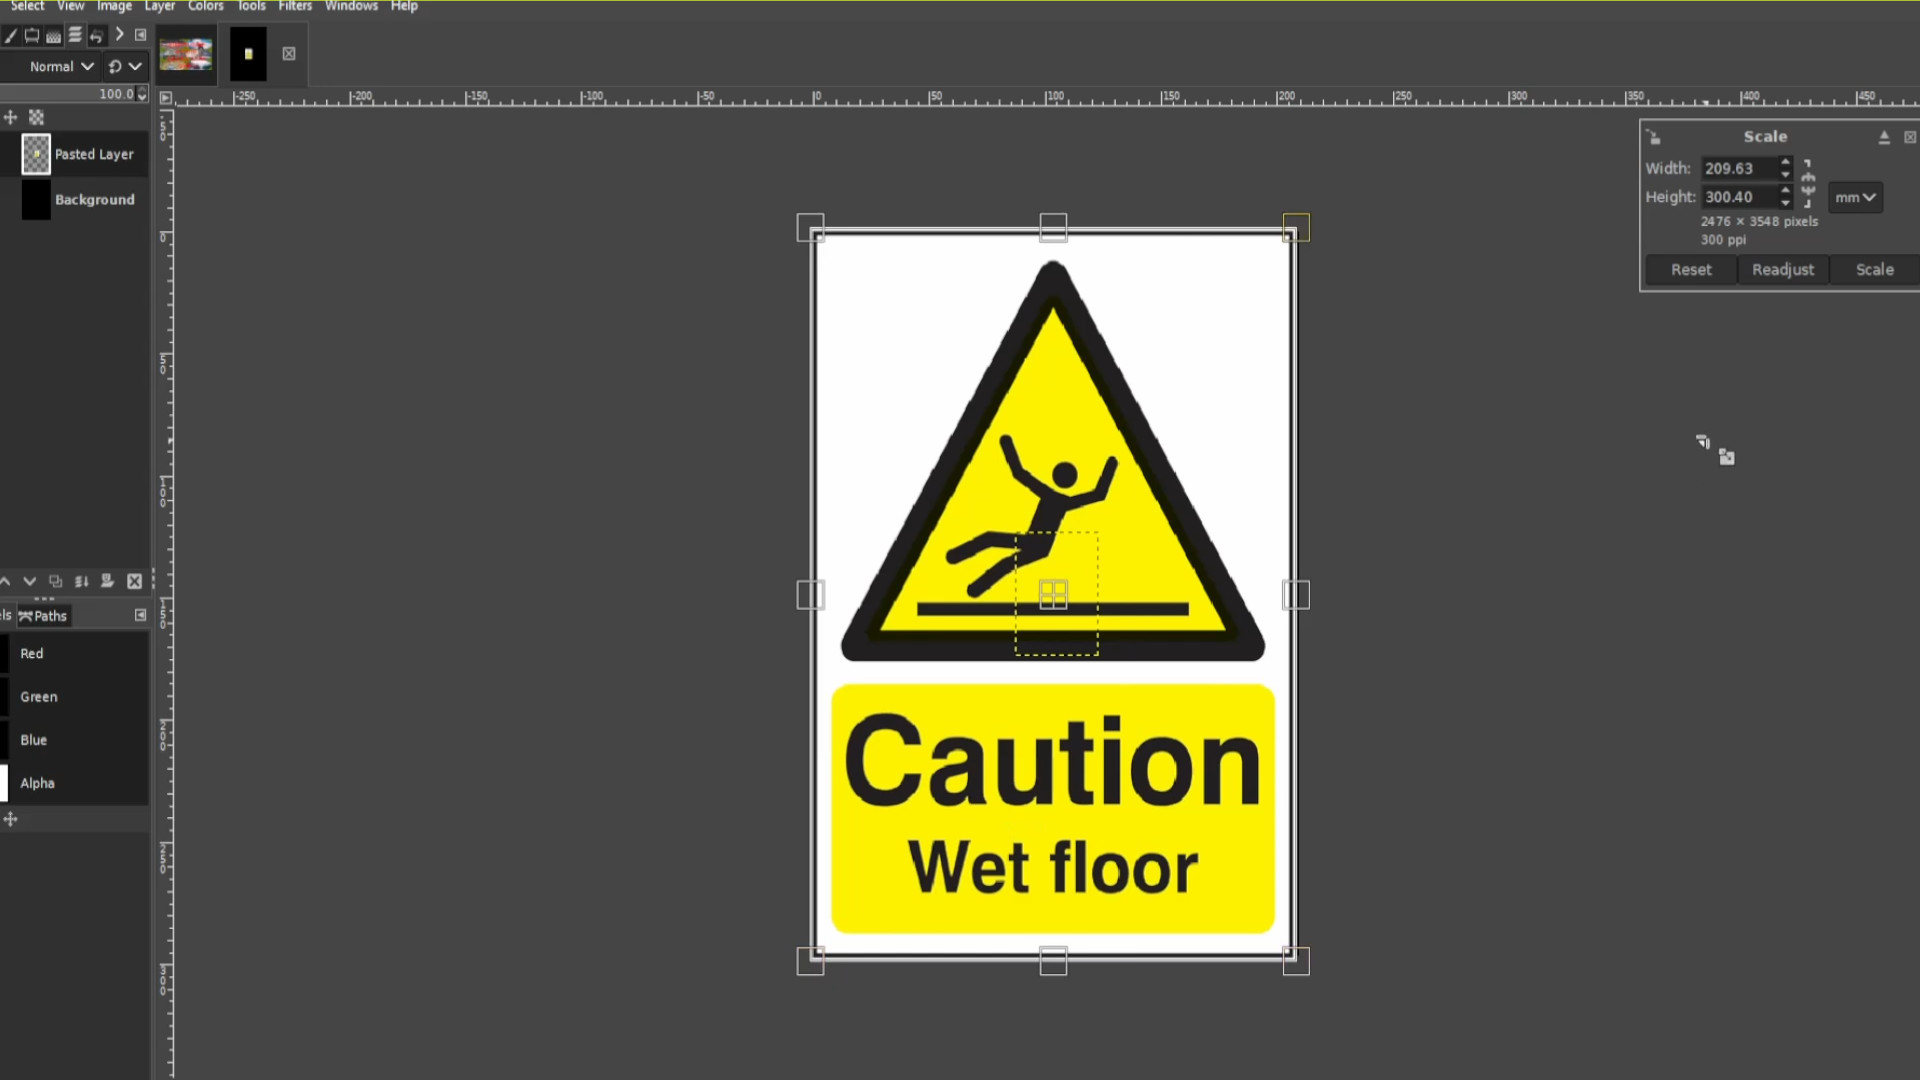
>>RESIZE the image to fit the guides outlines by using the>>>RESIZE TOOL or using shortcut>>>HOLD DOWN>>>SHIFT and>>>PRESS>>>S to get the scale options to come up. It should snap into place but don’t be scared to make it bigger as long as it fits in the guides.

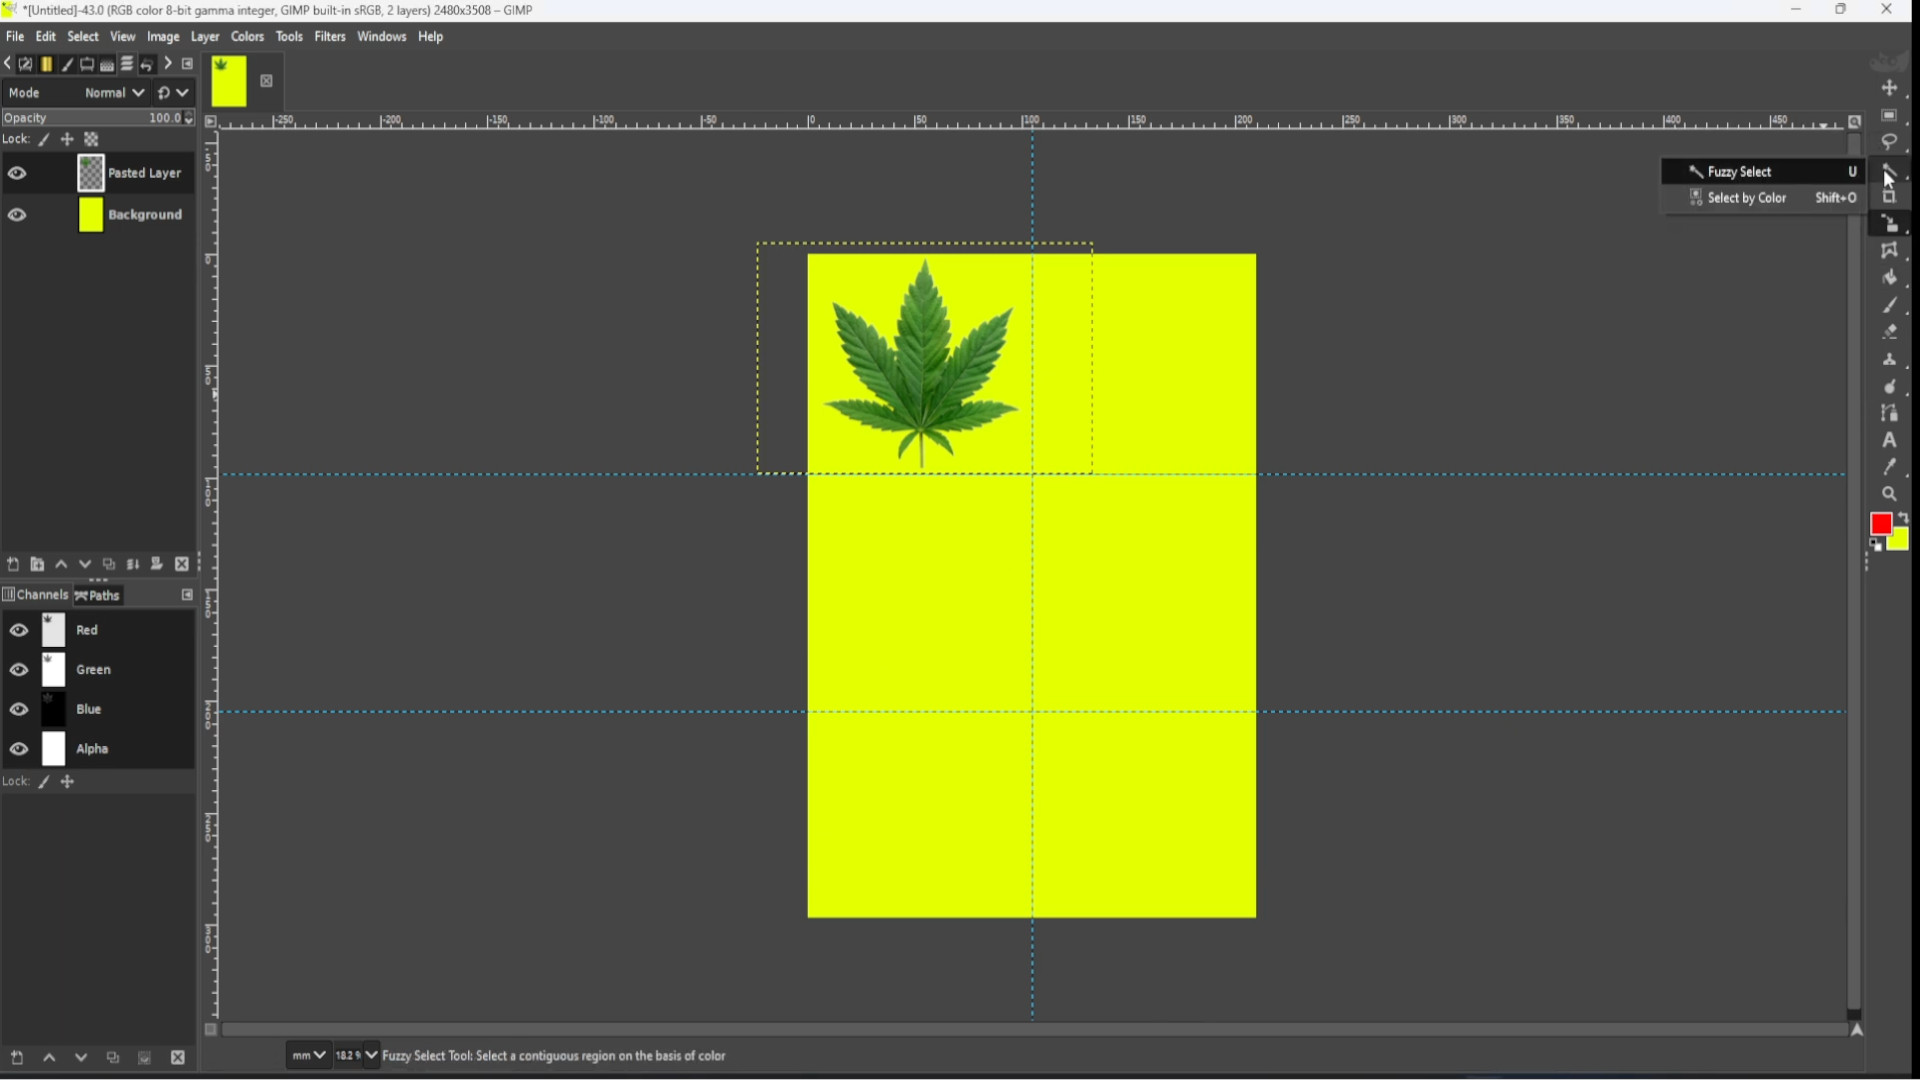
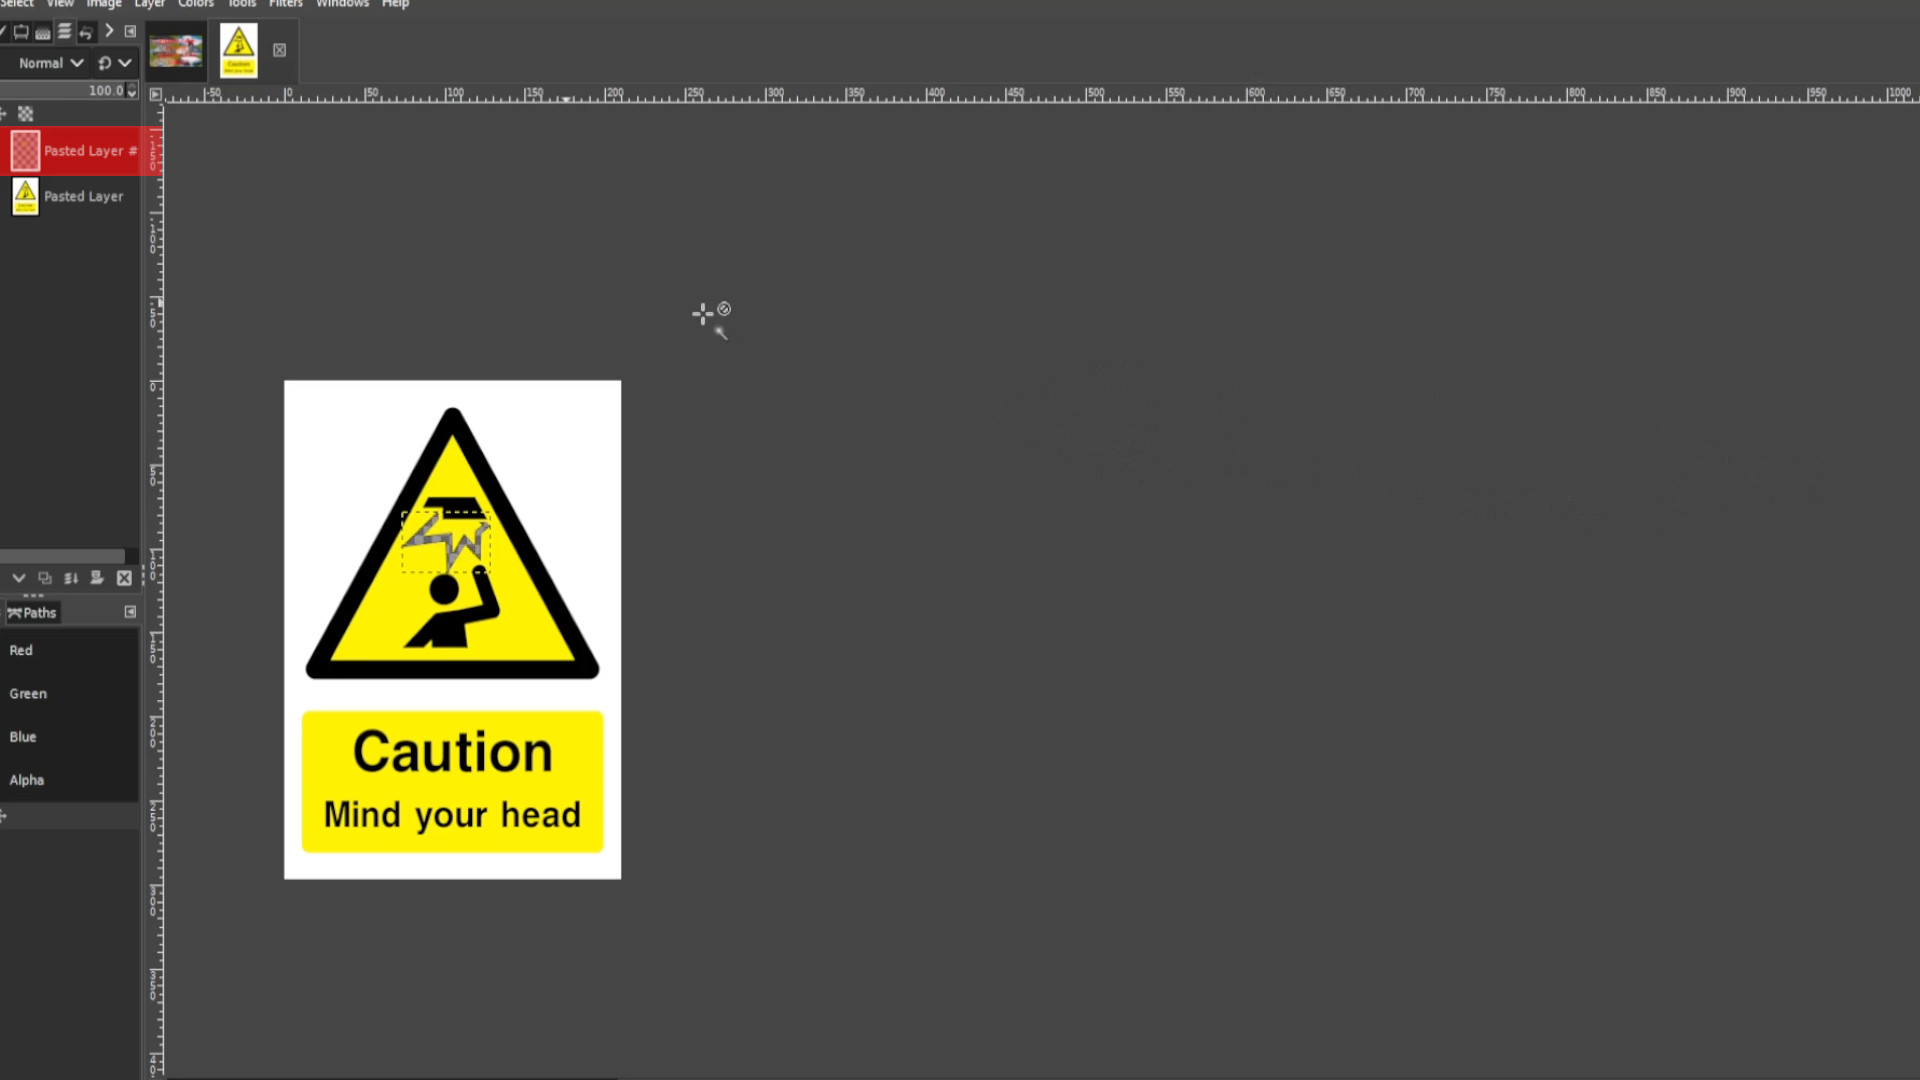
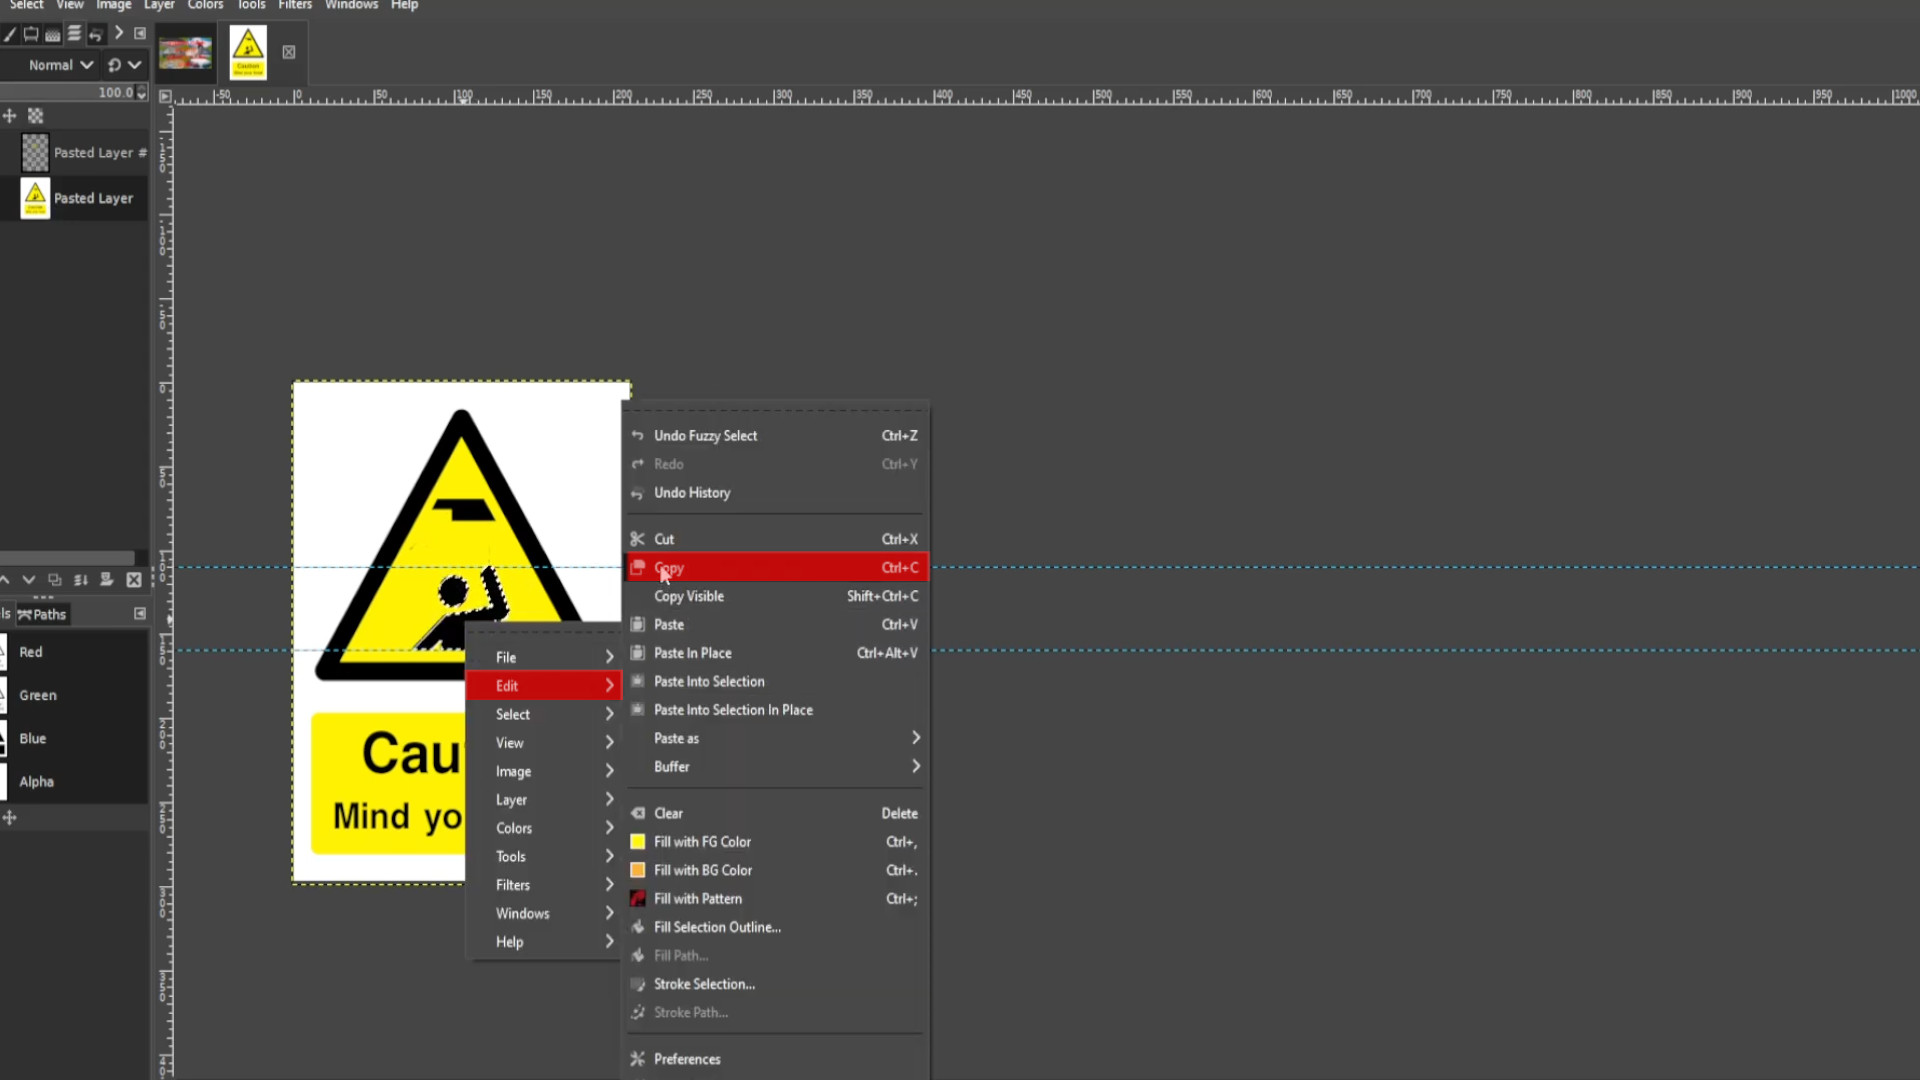
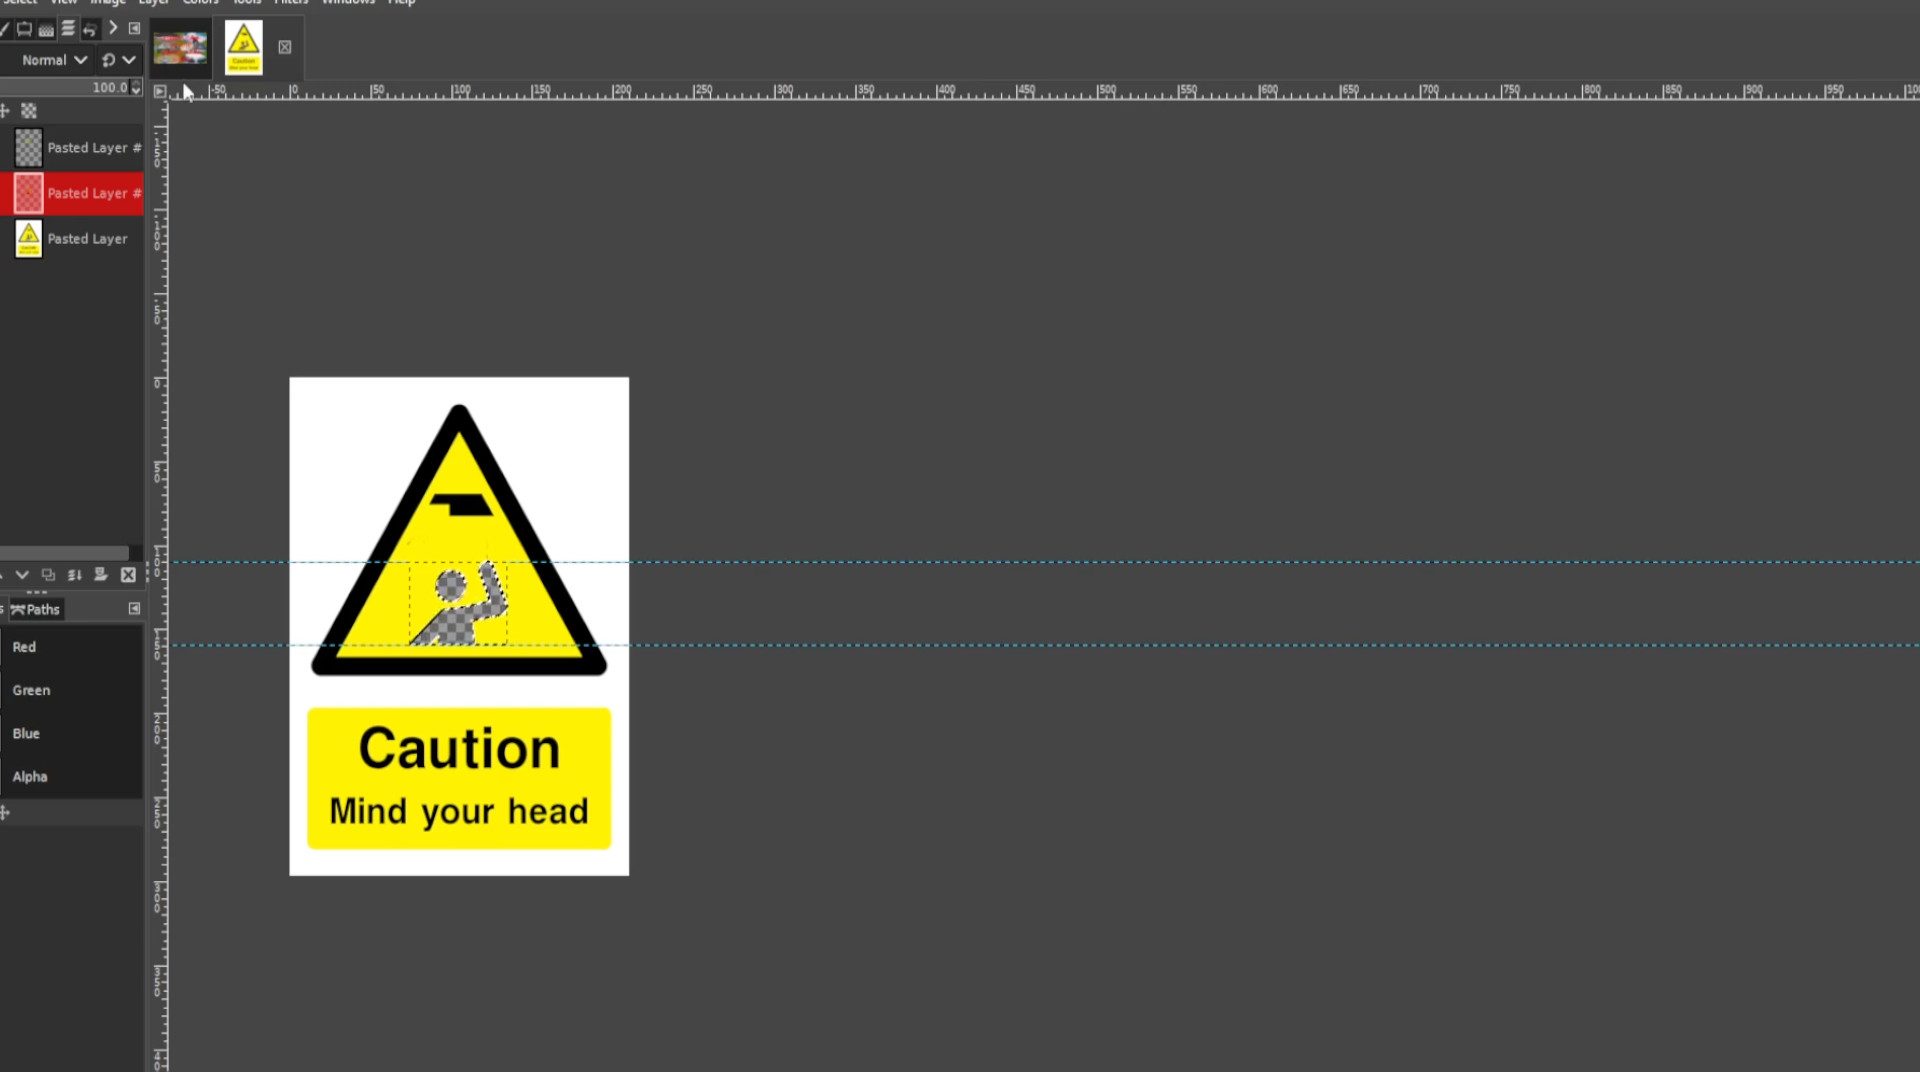
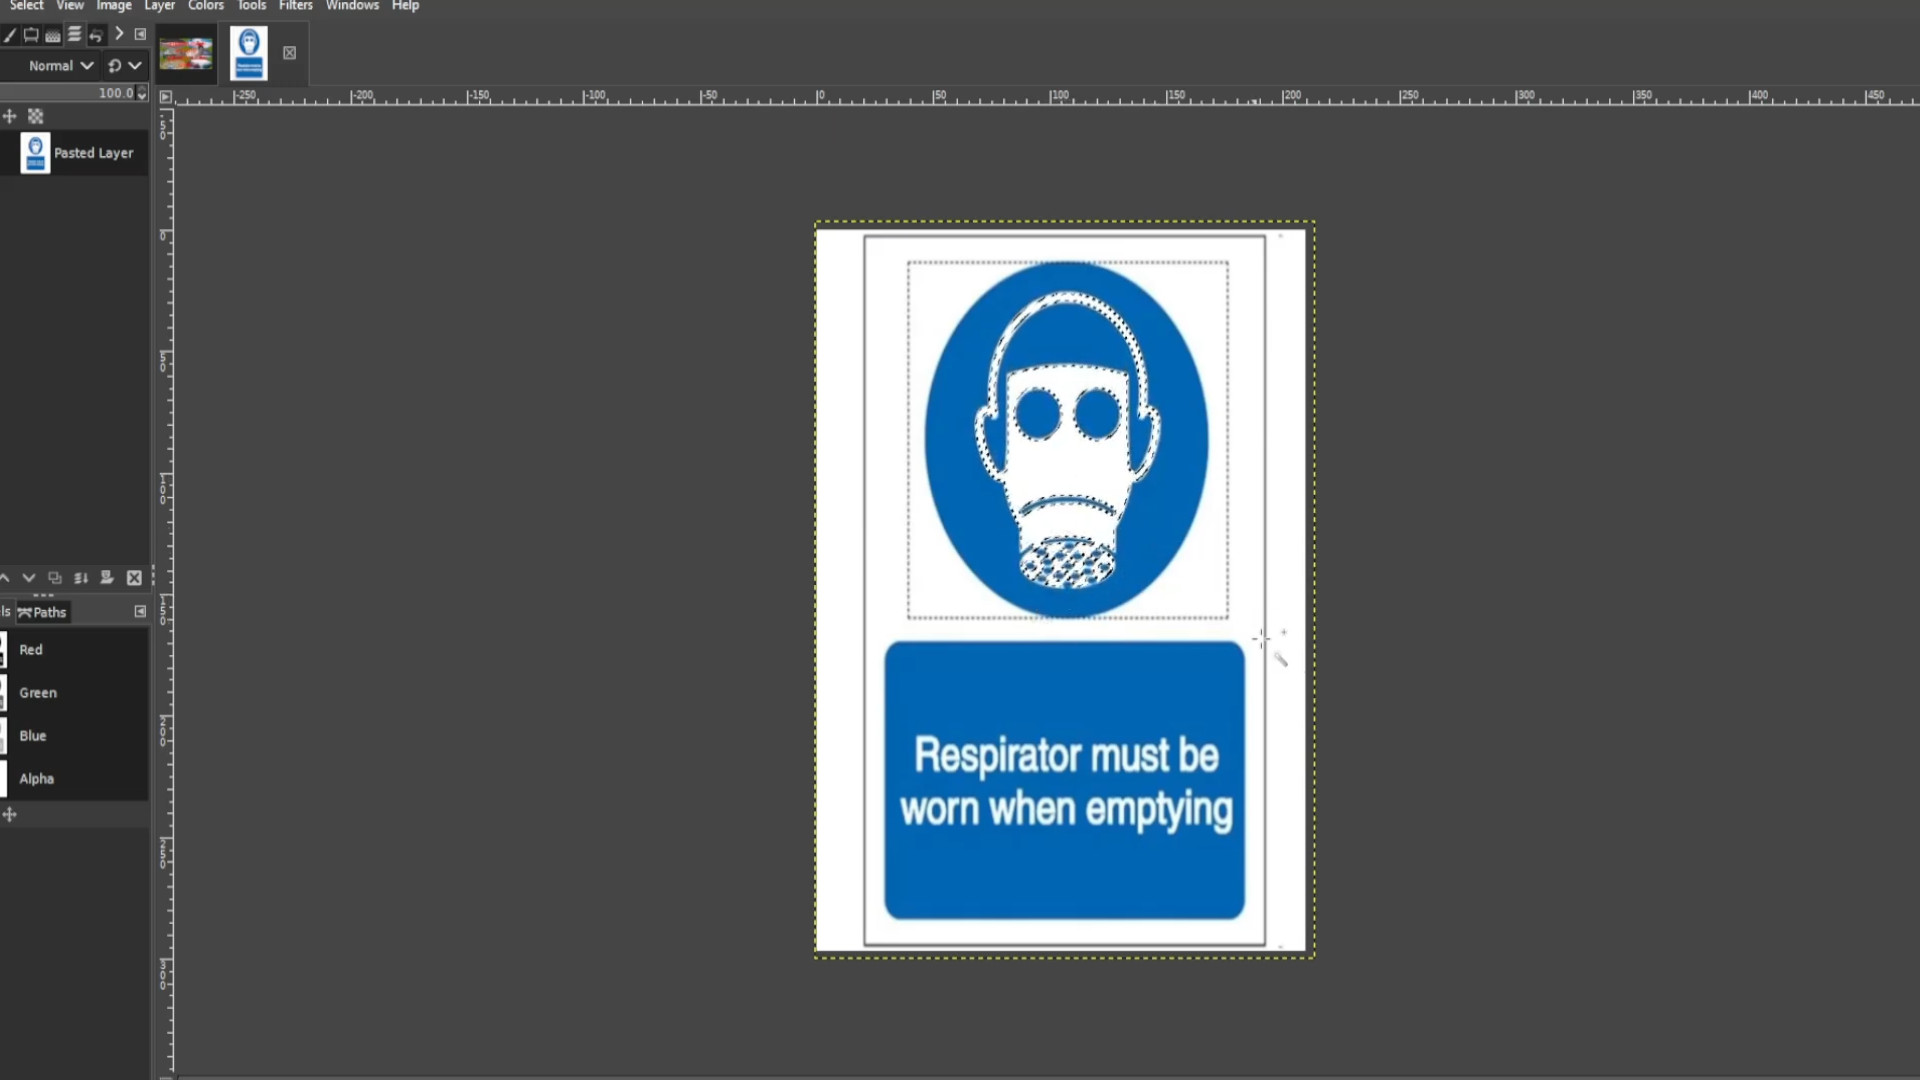
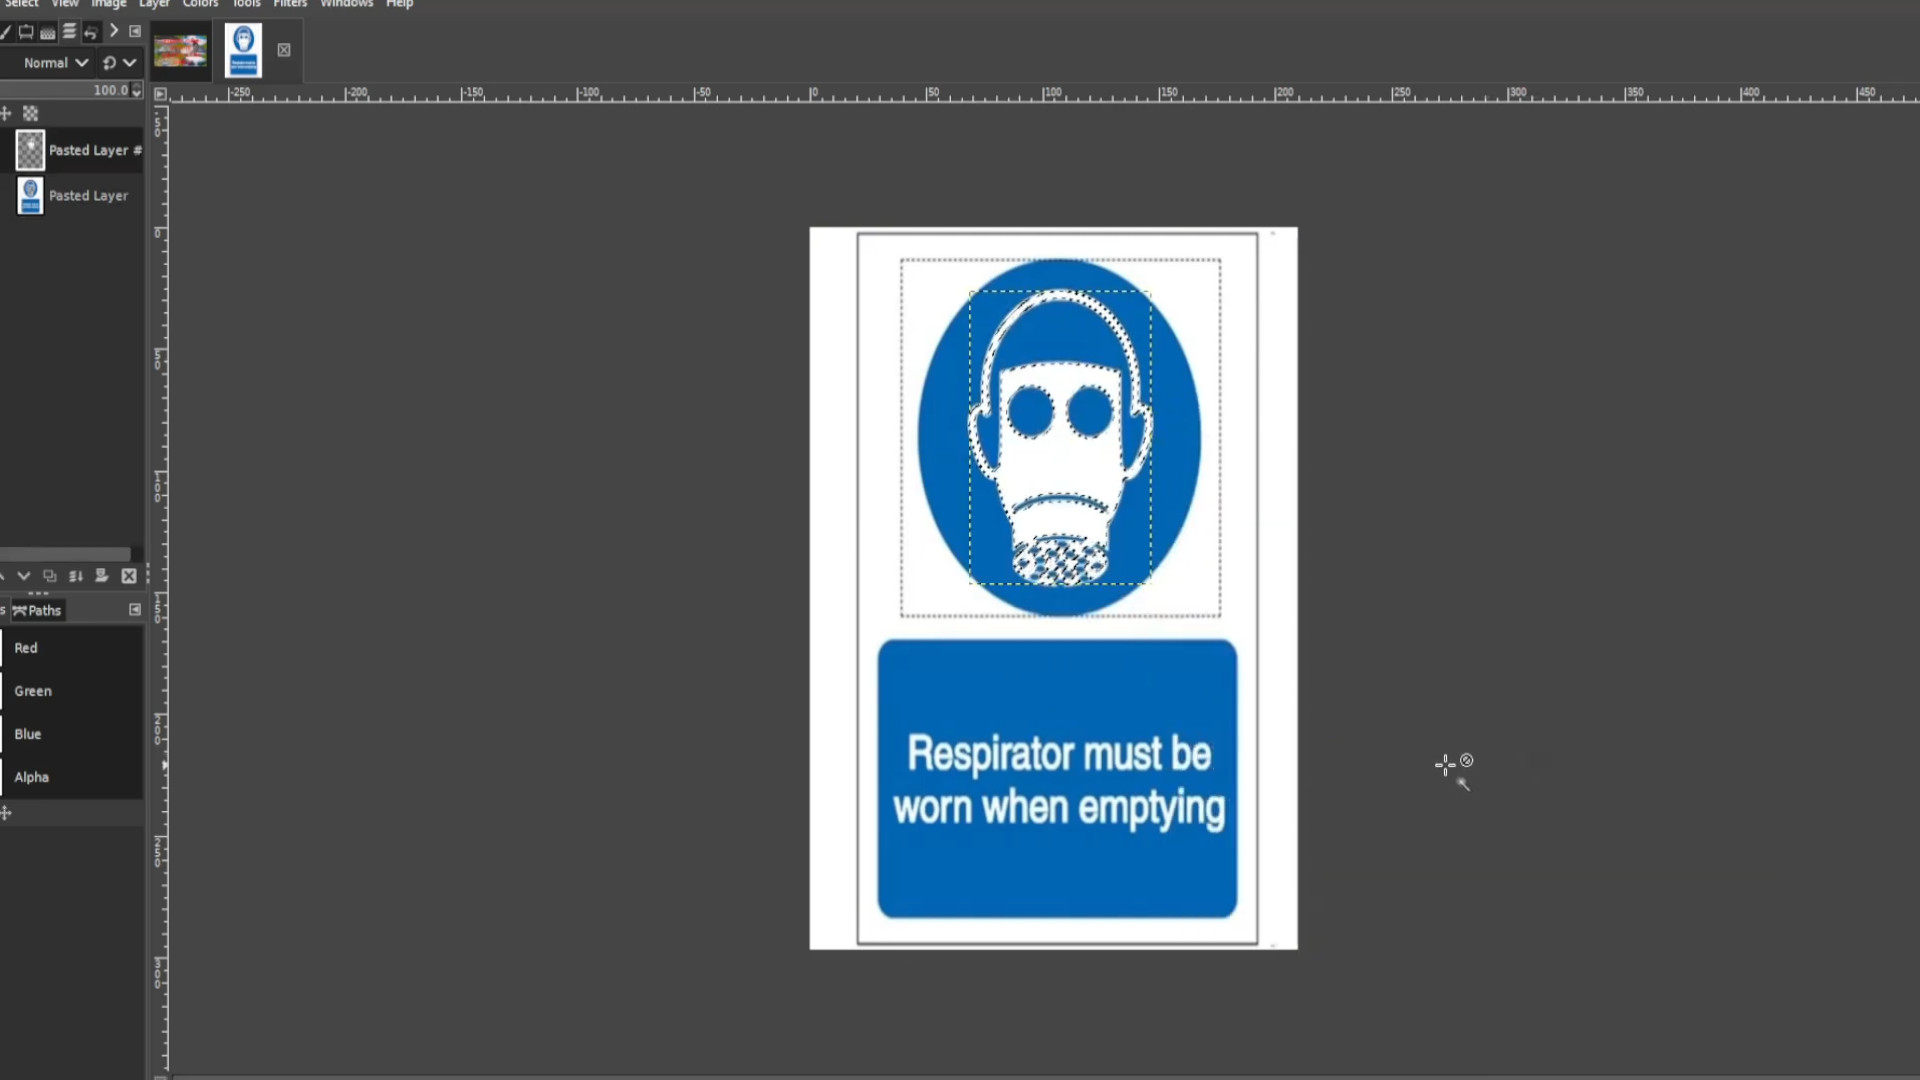
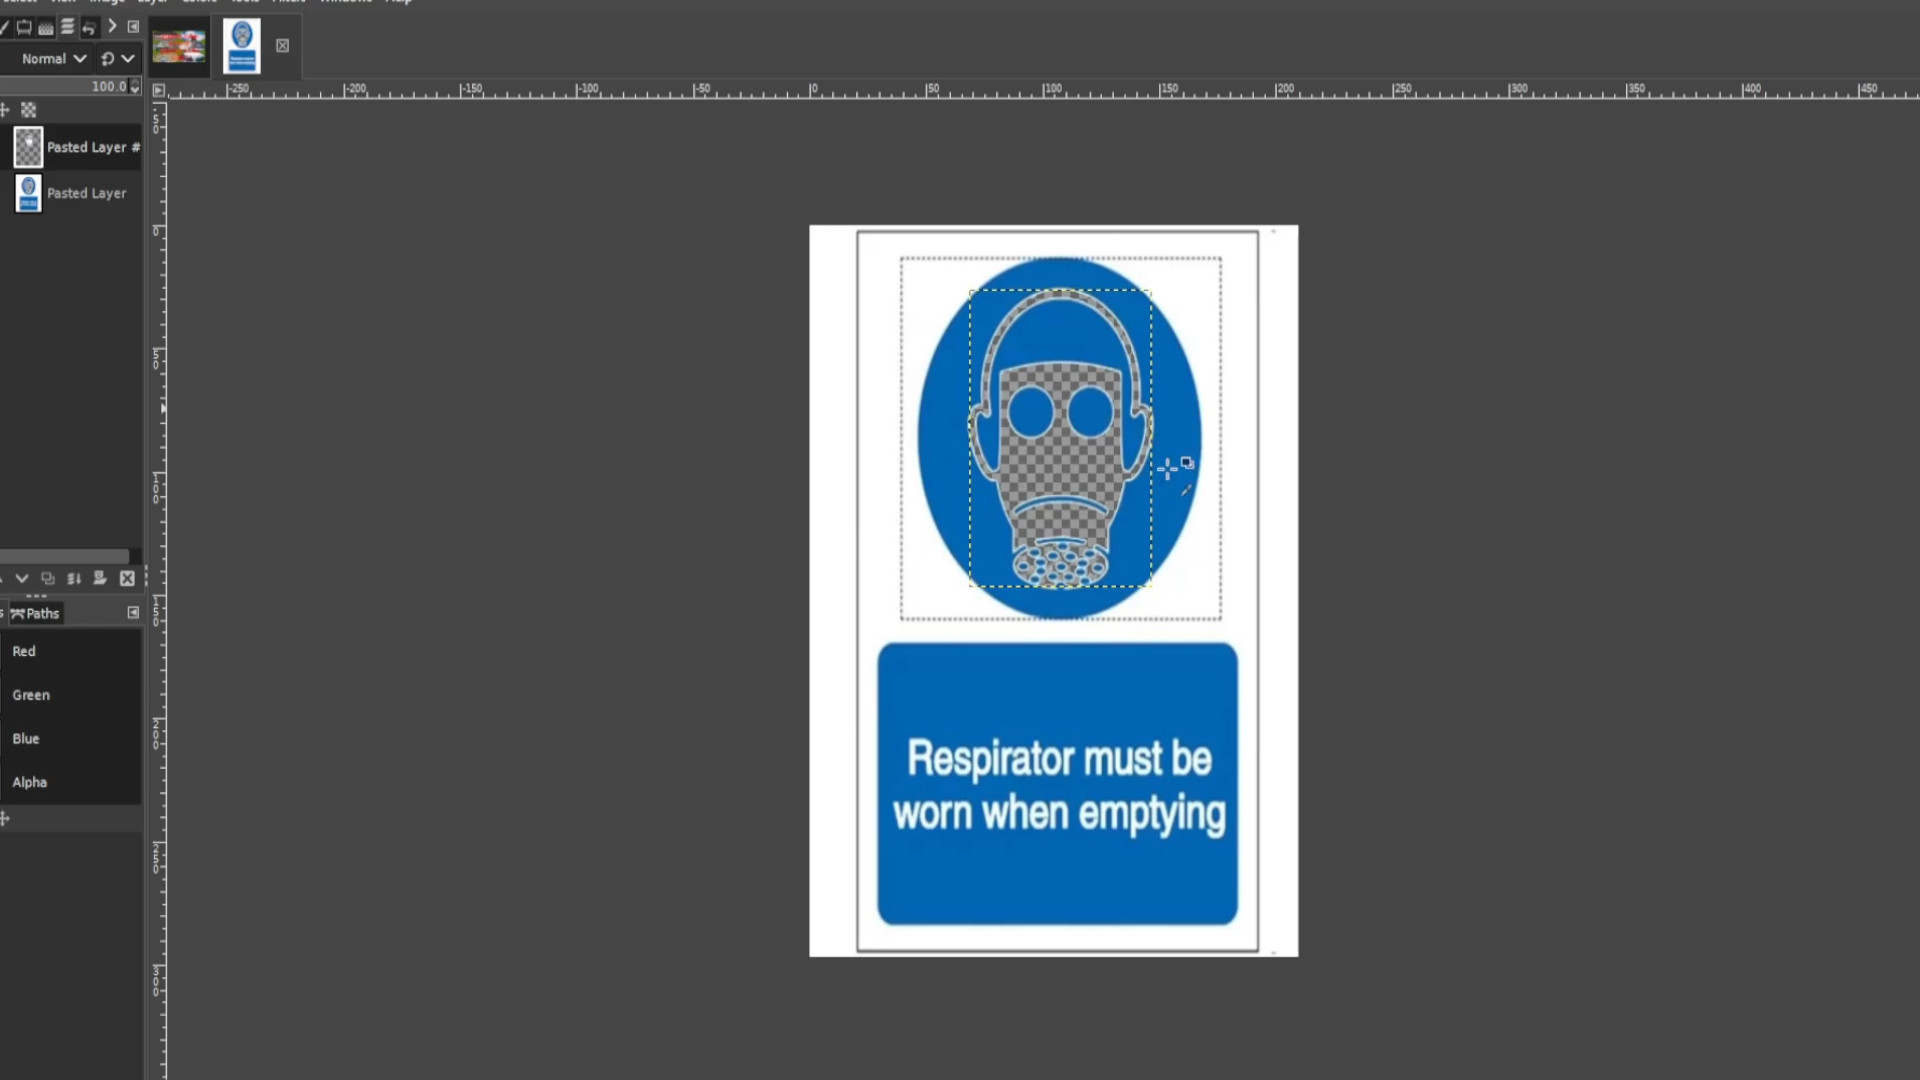
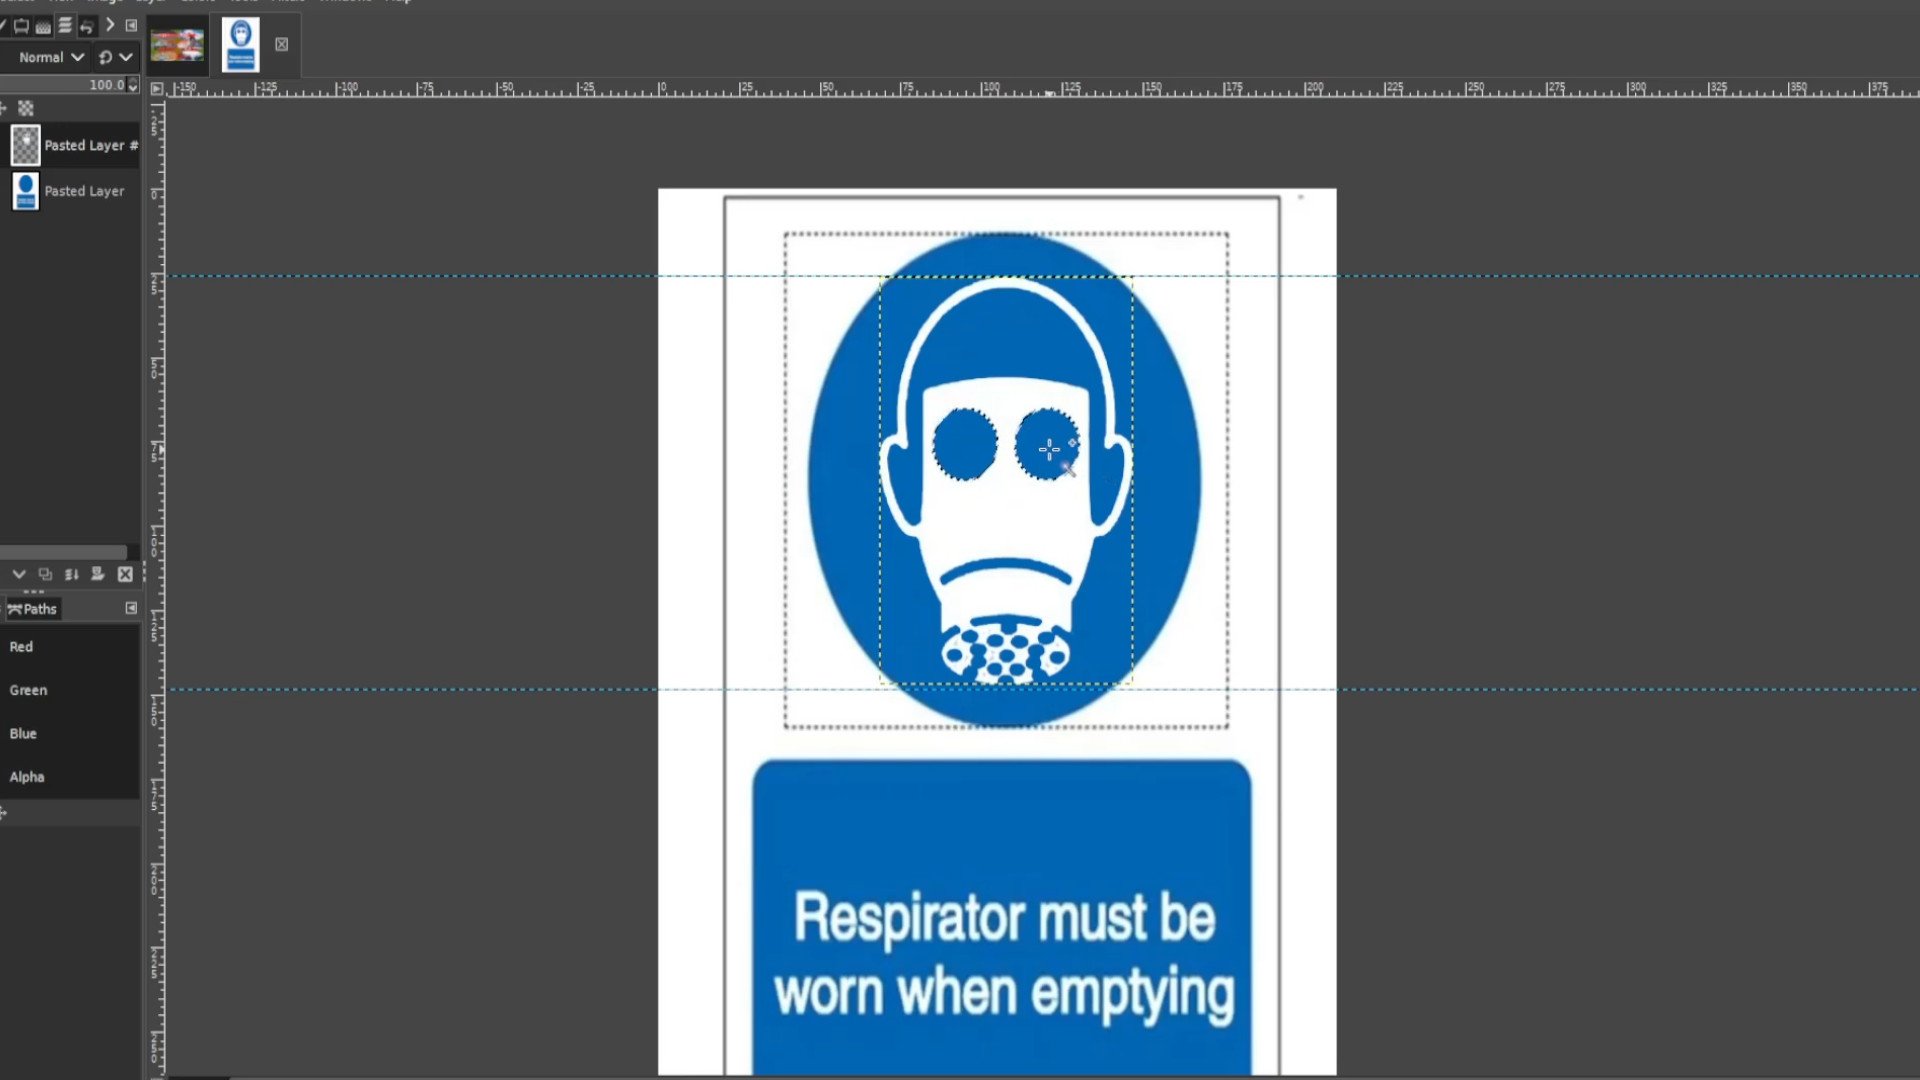
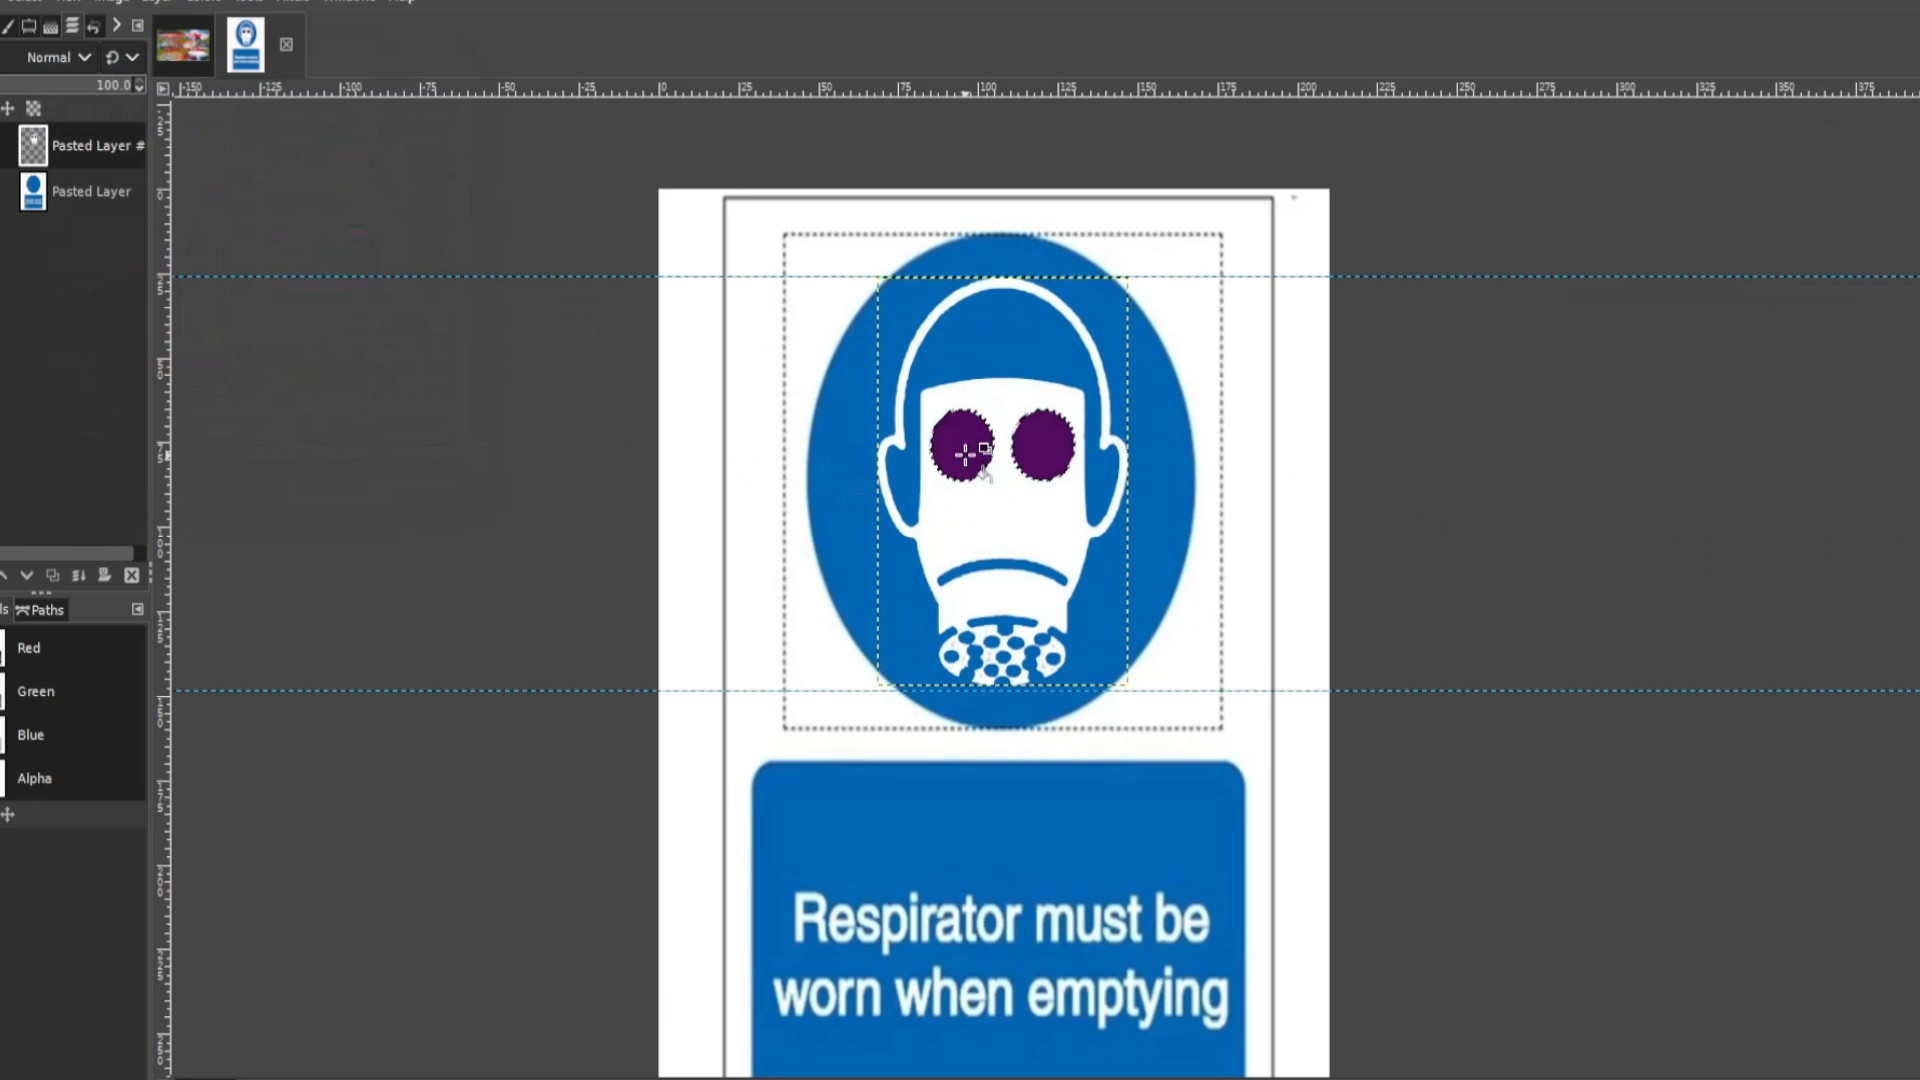
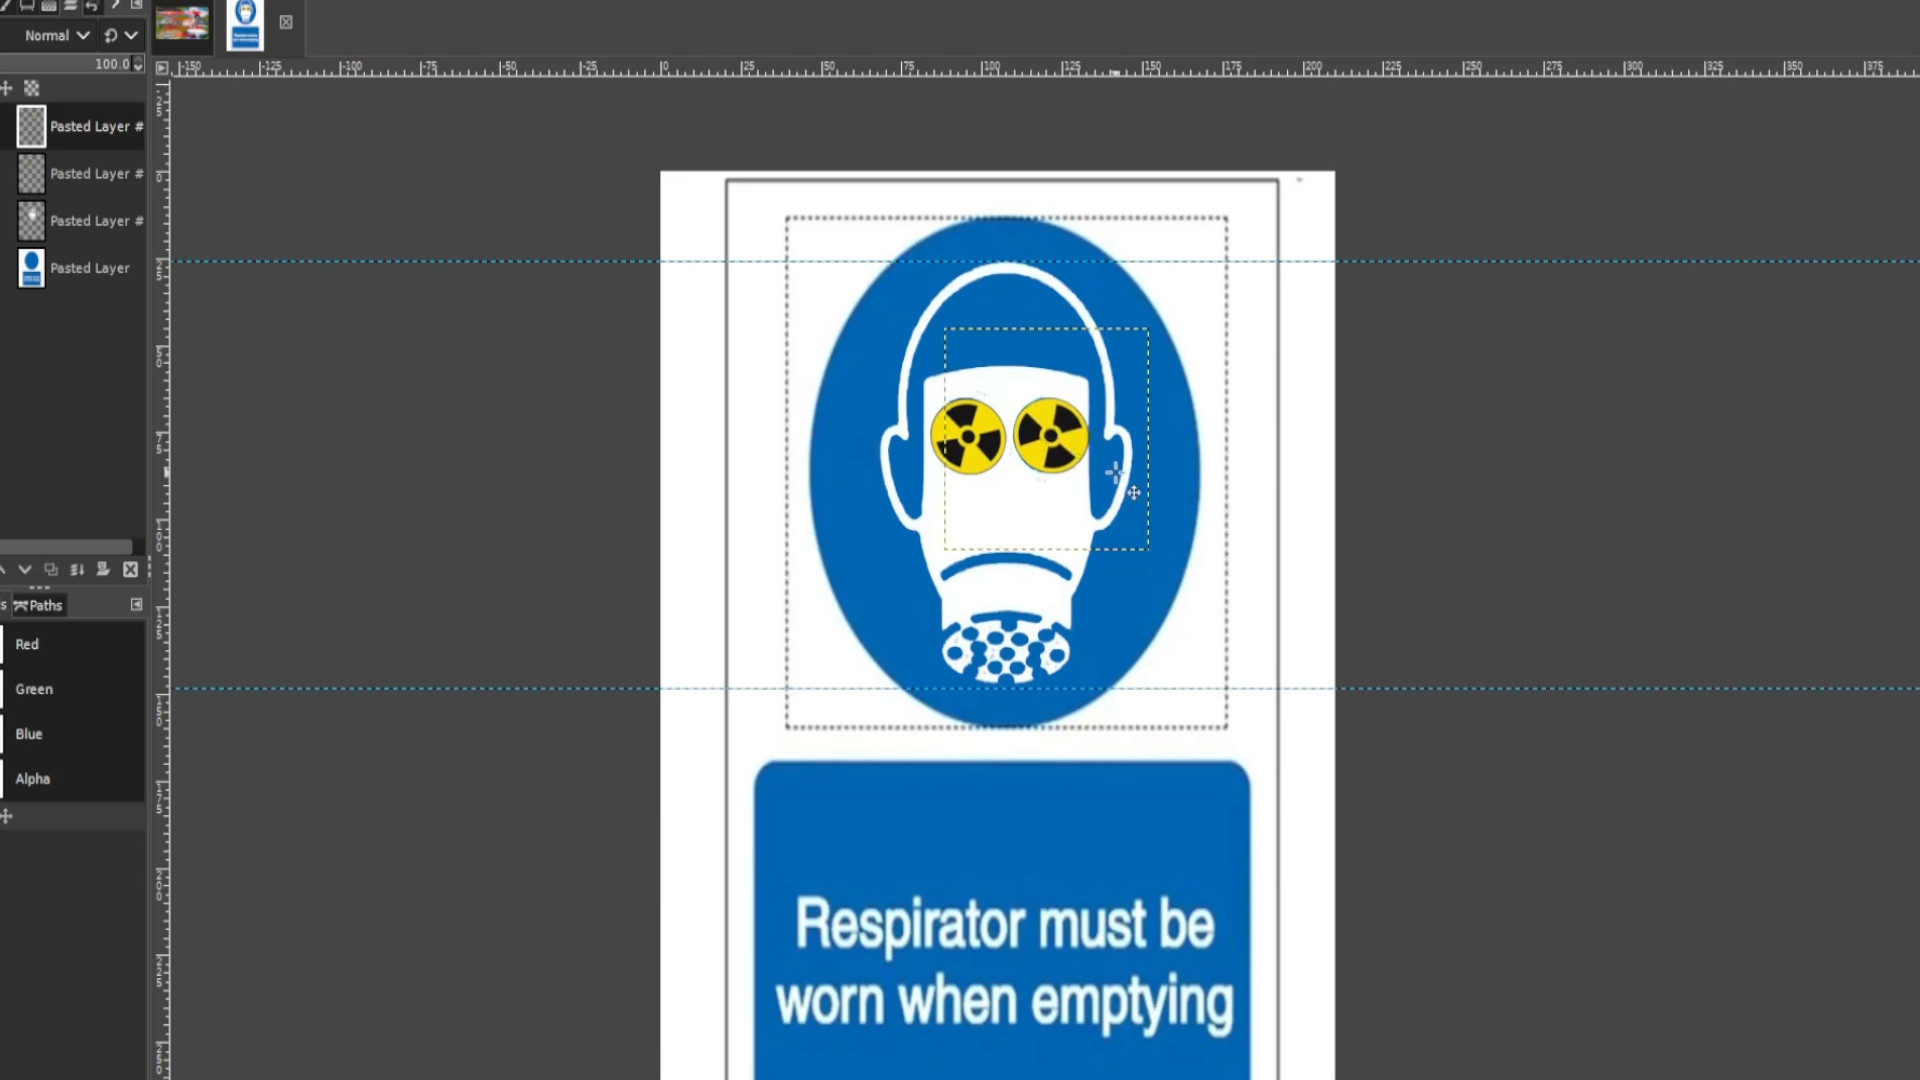
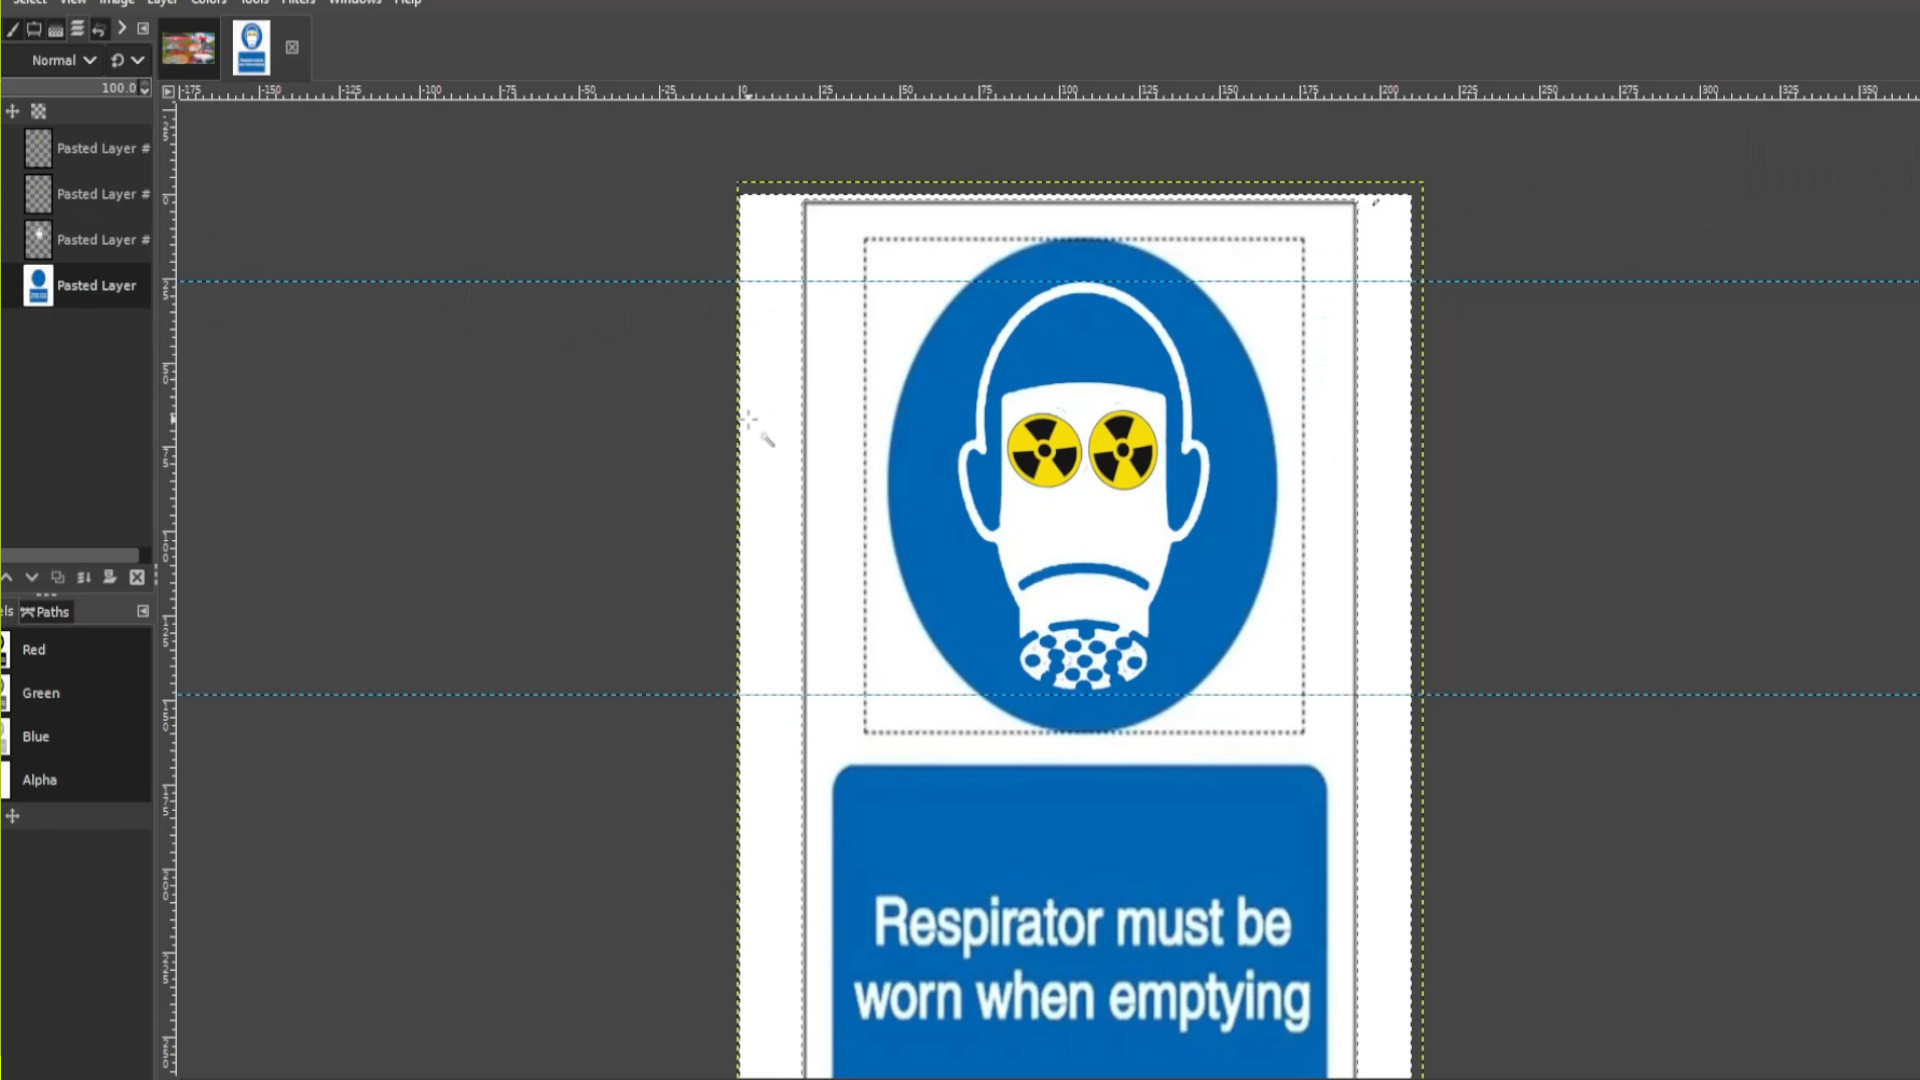
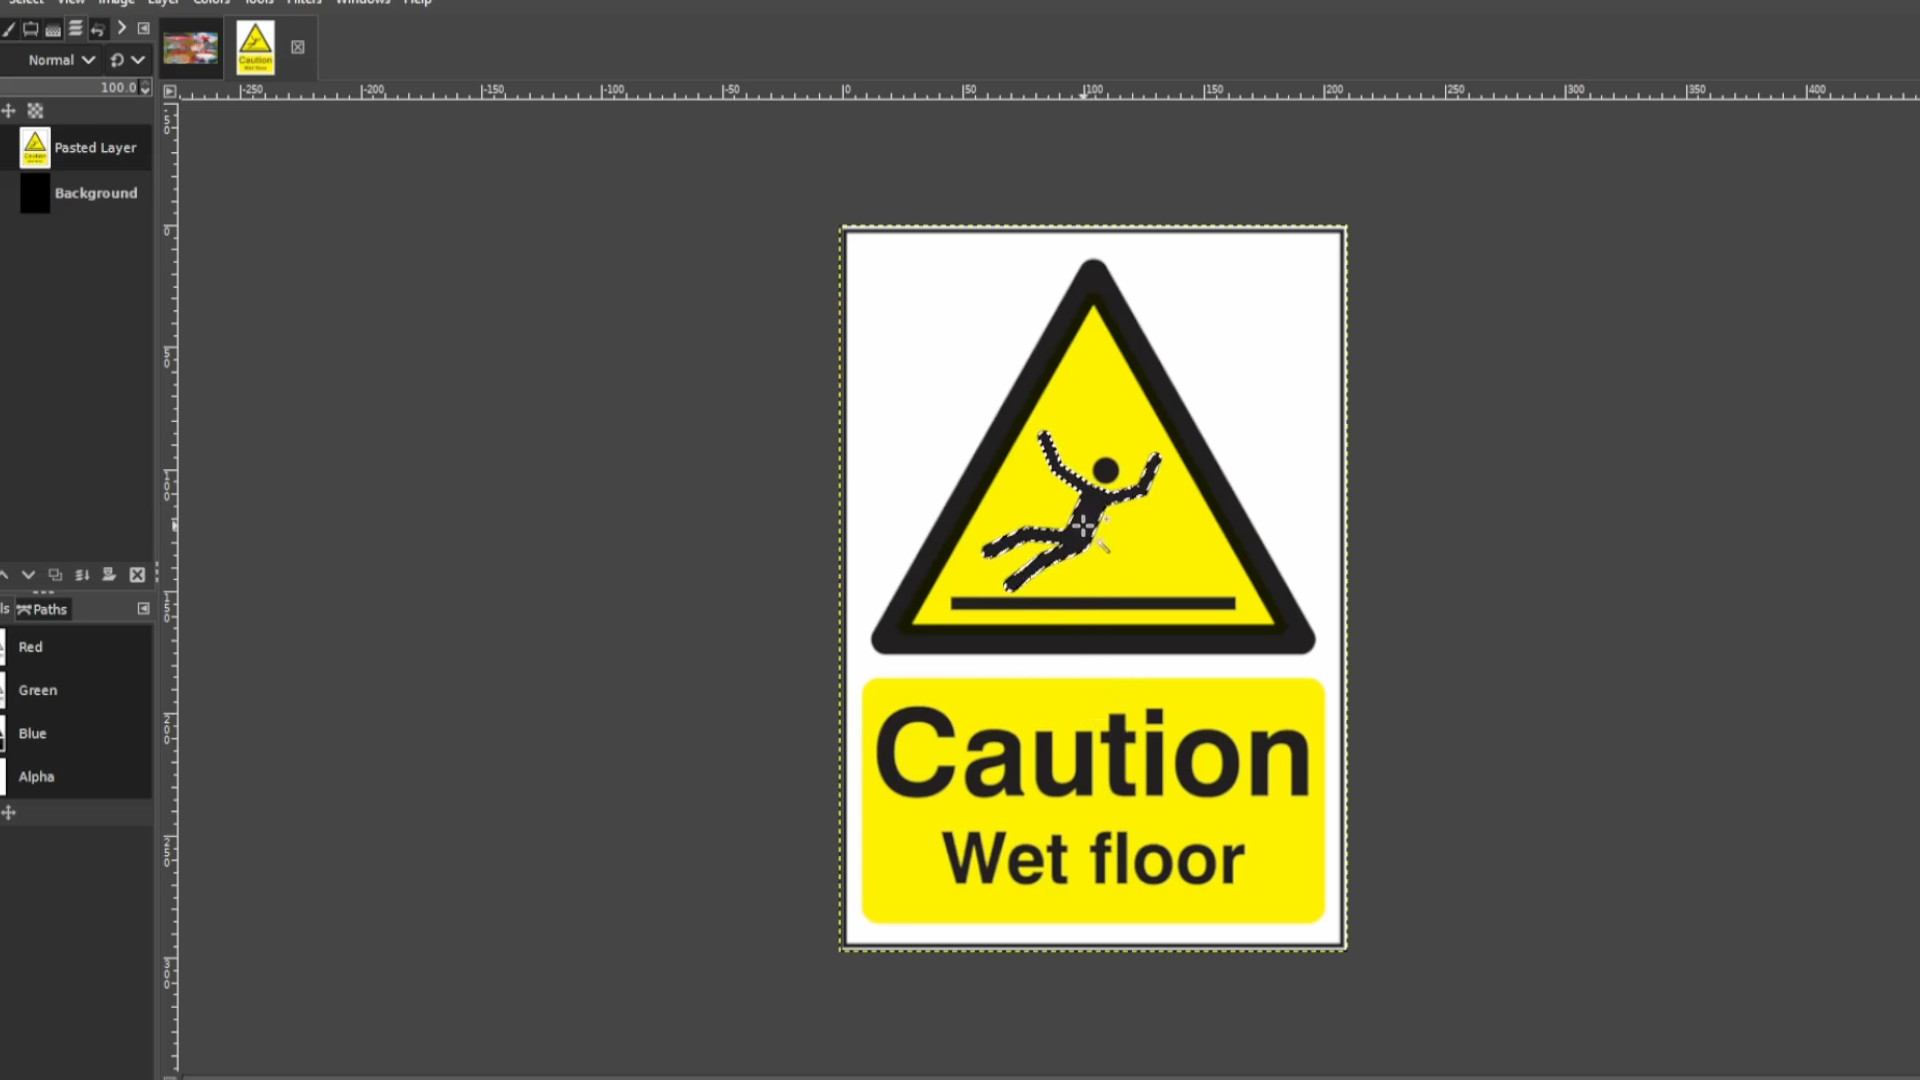
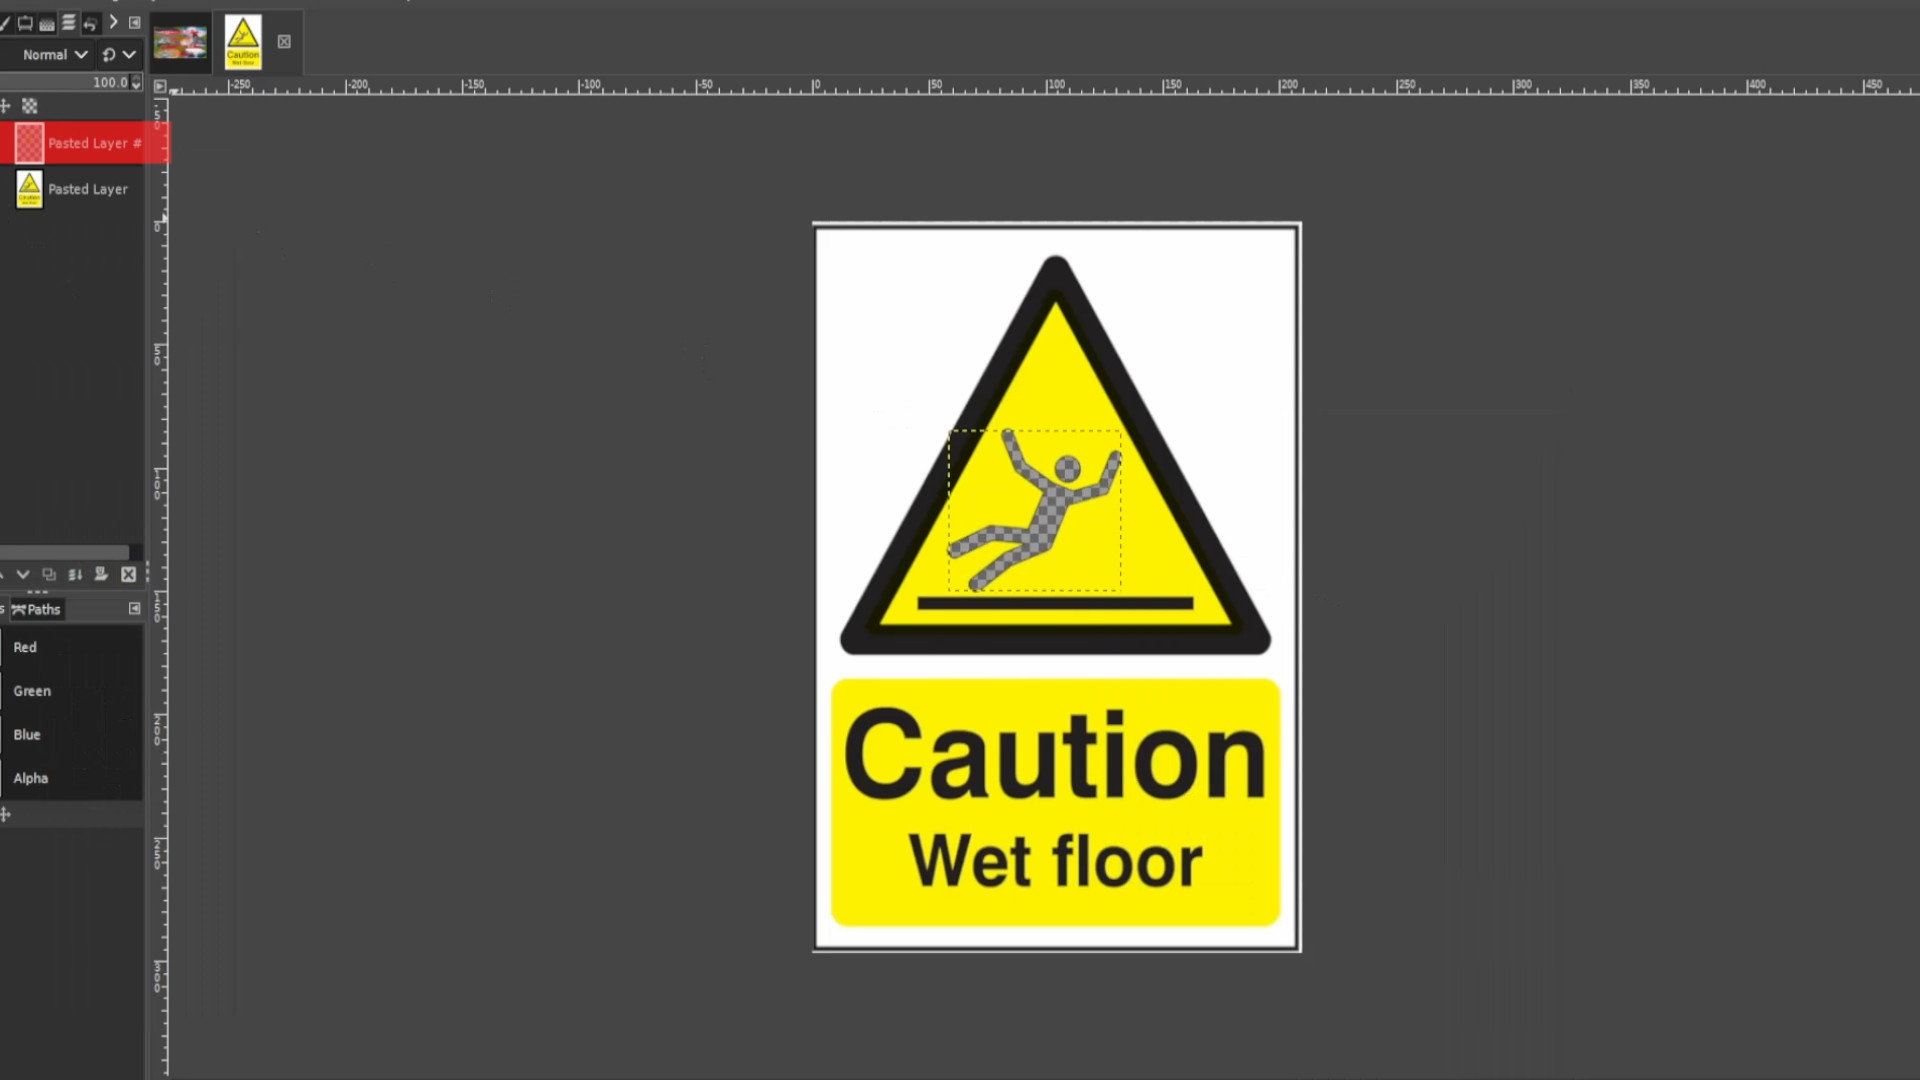
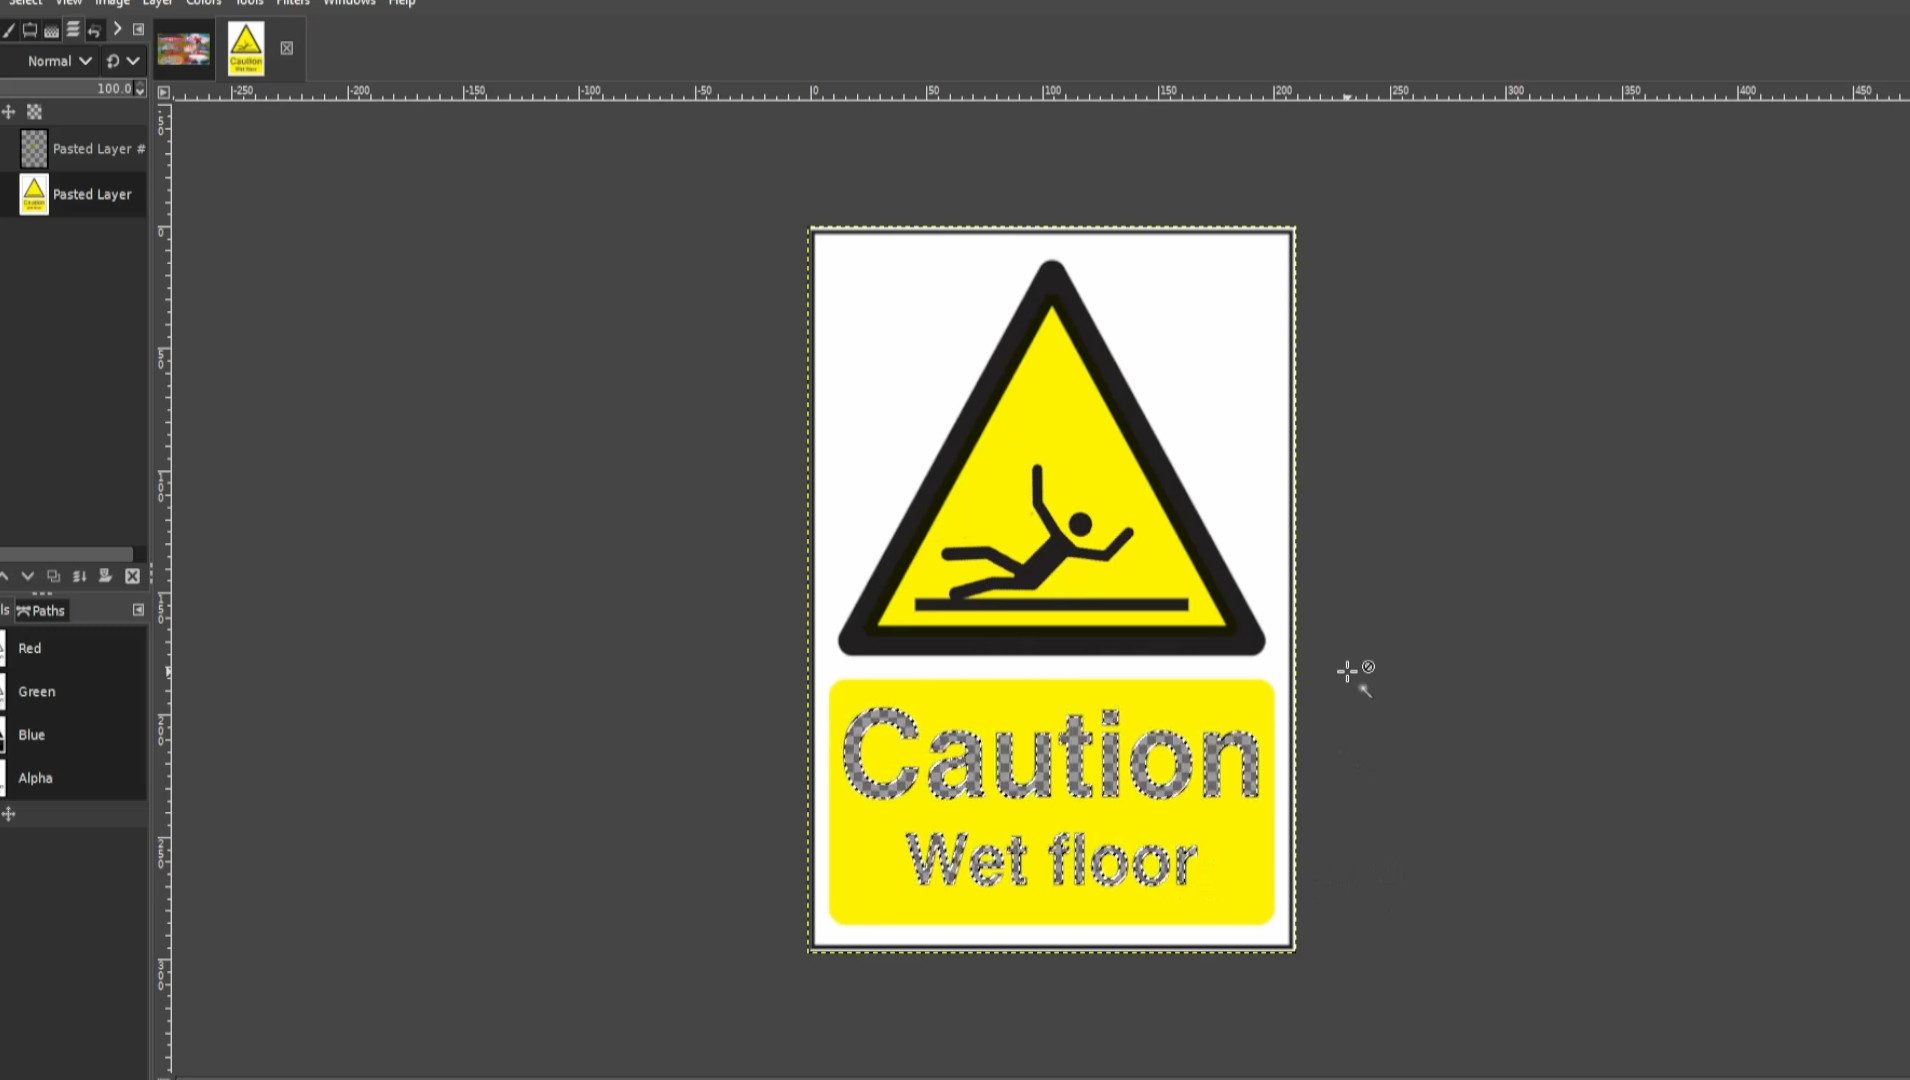
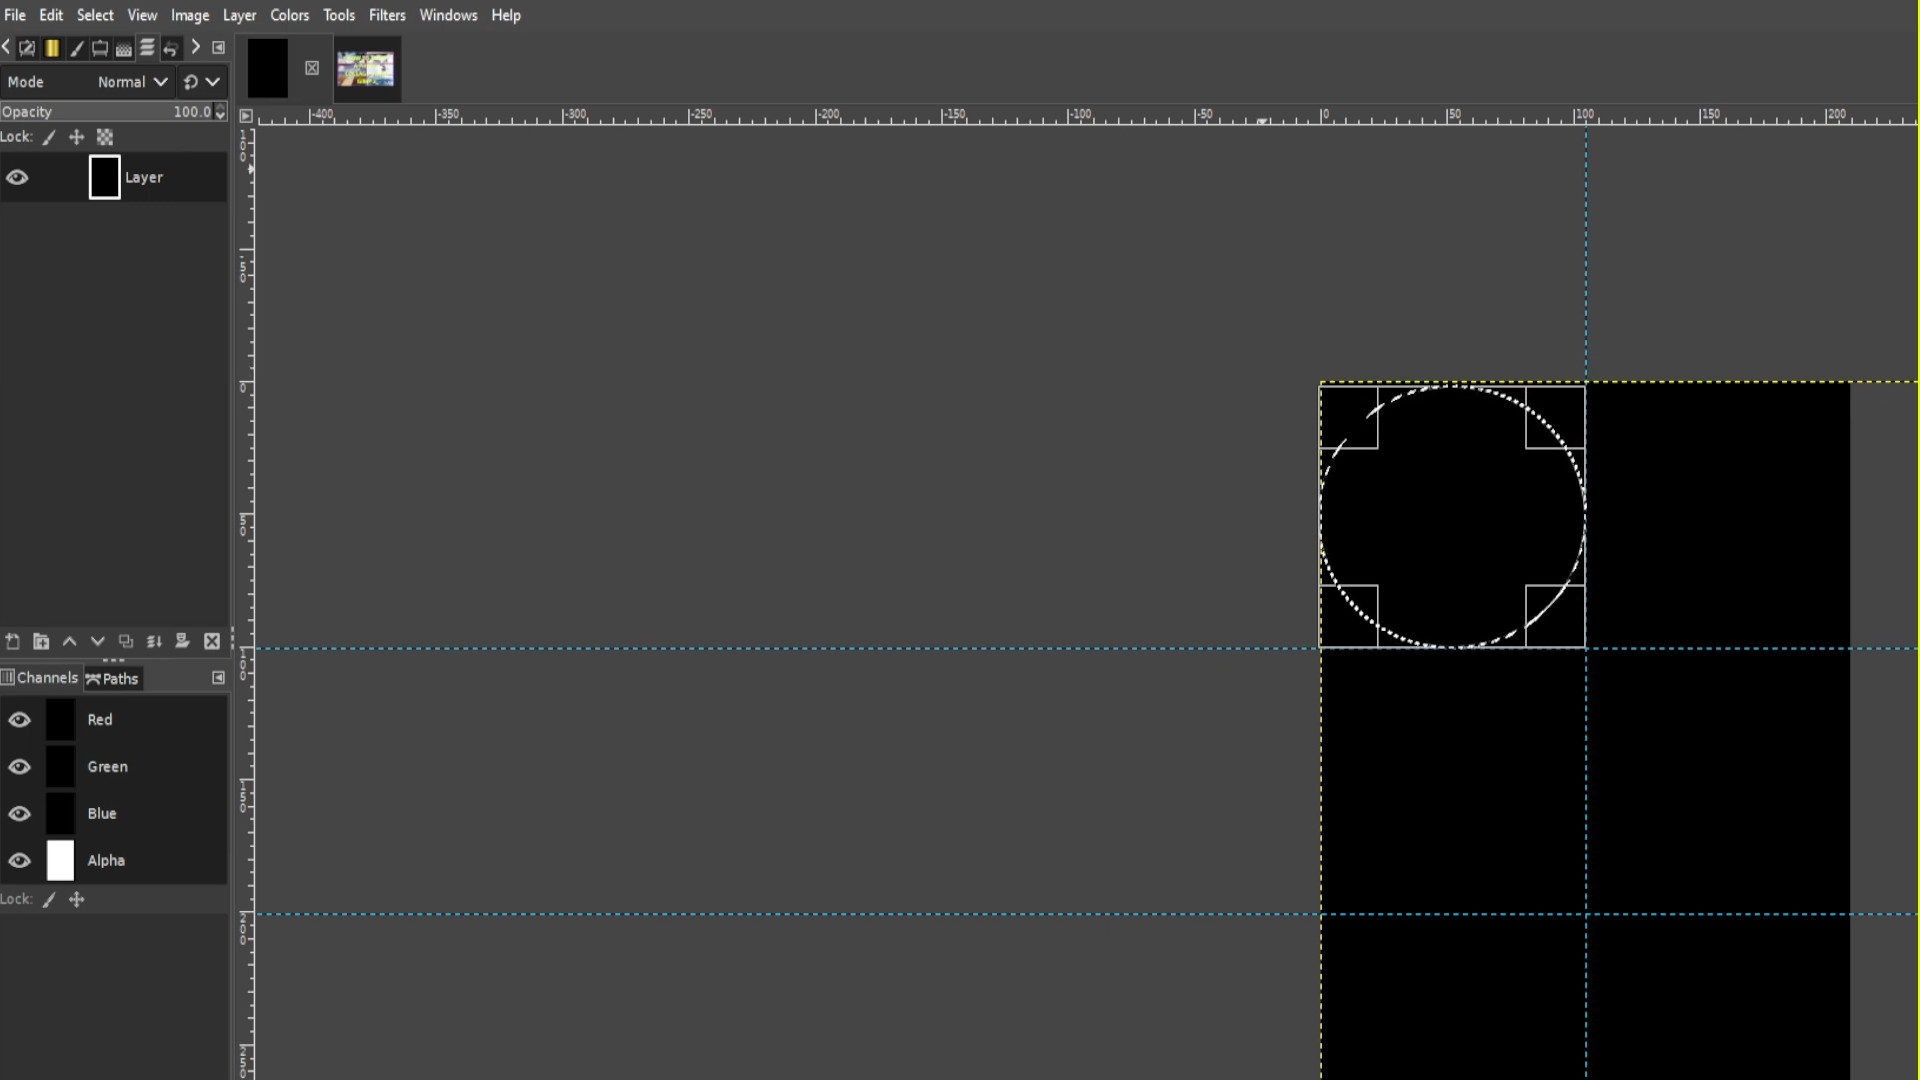
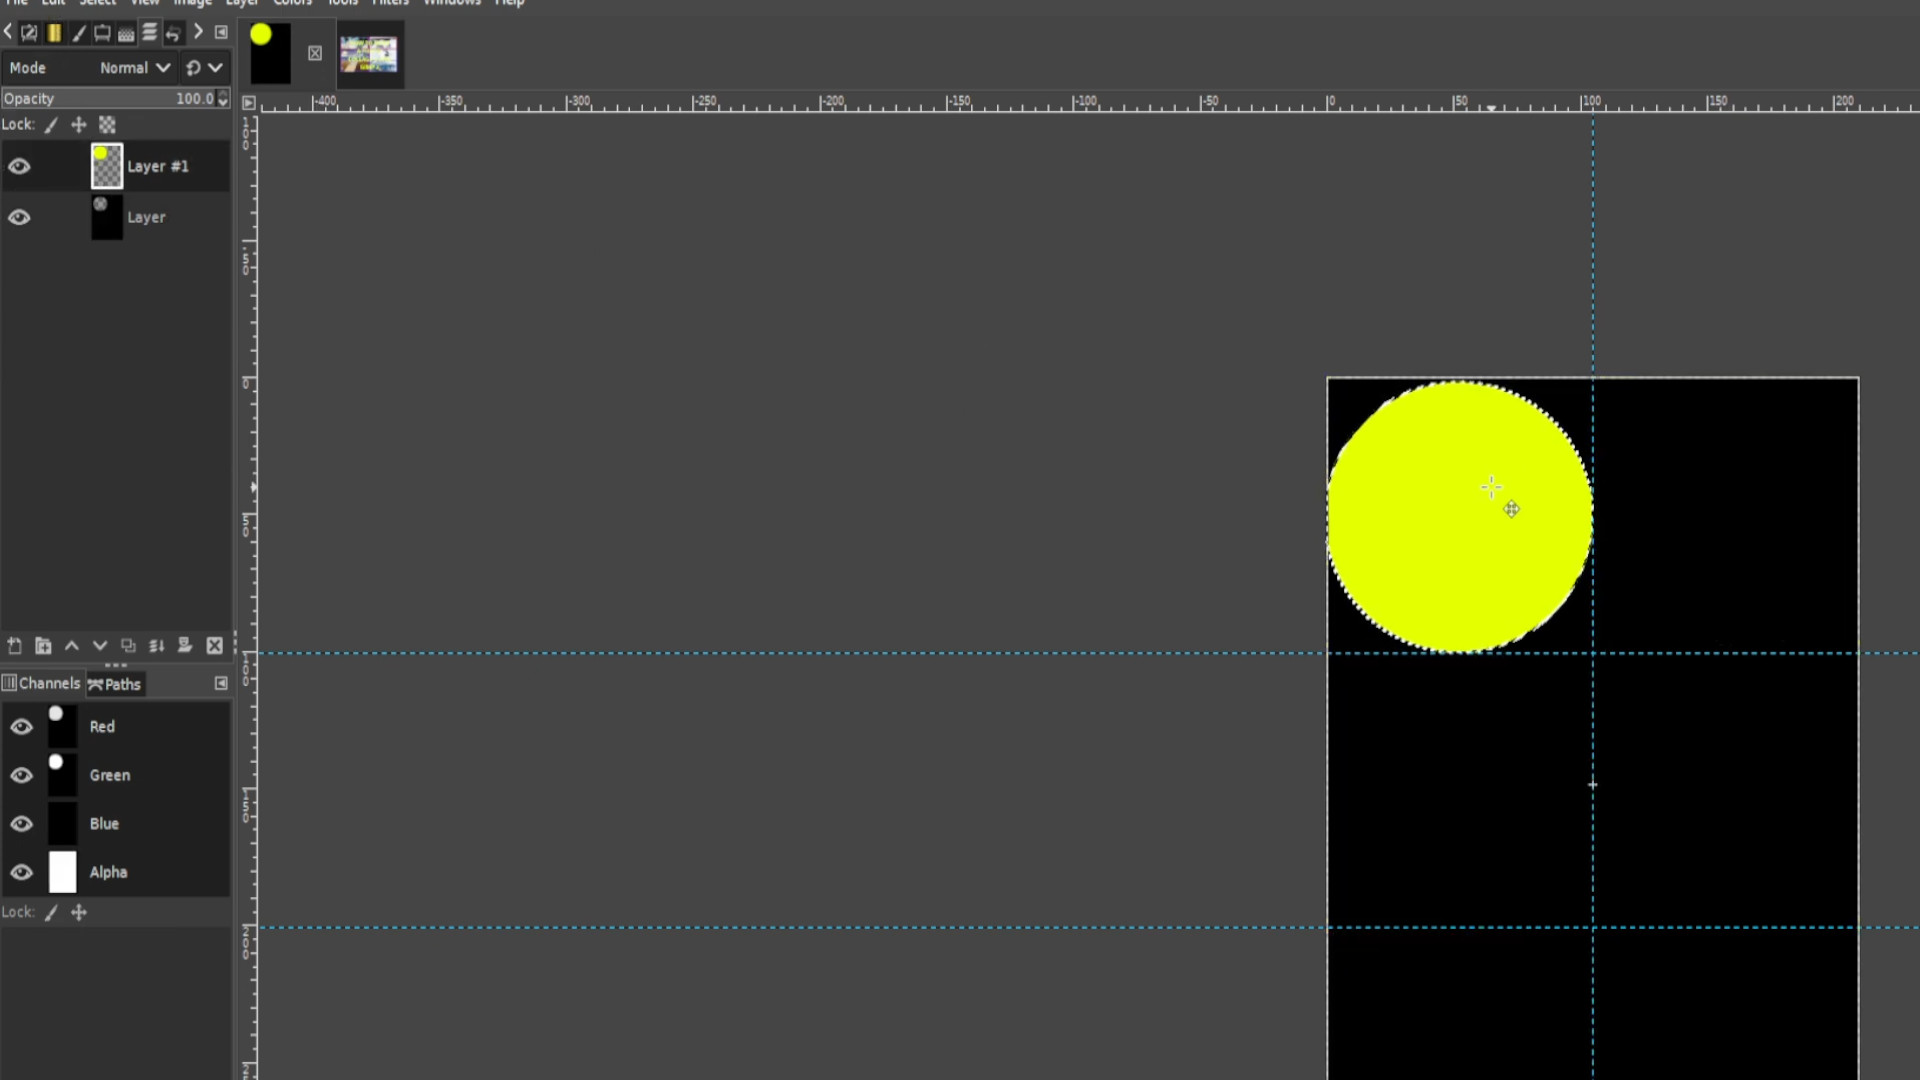
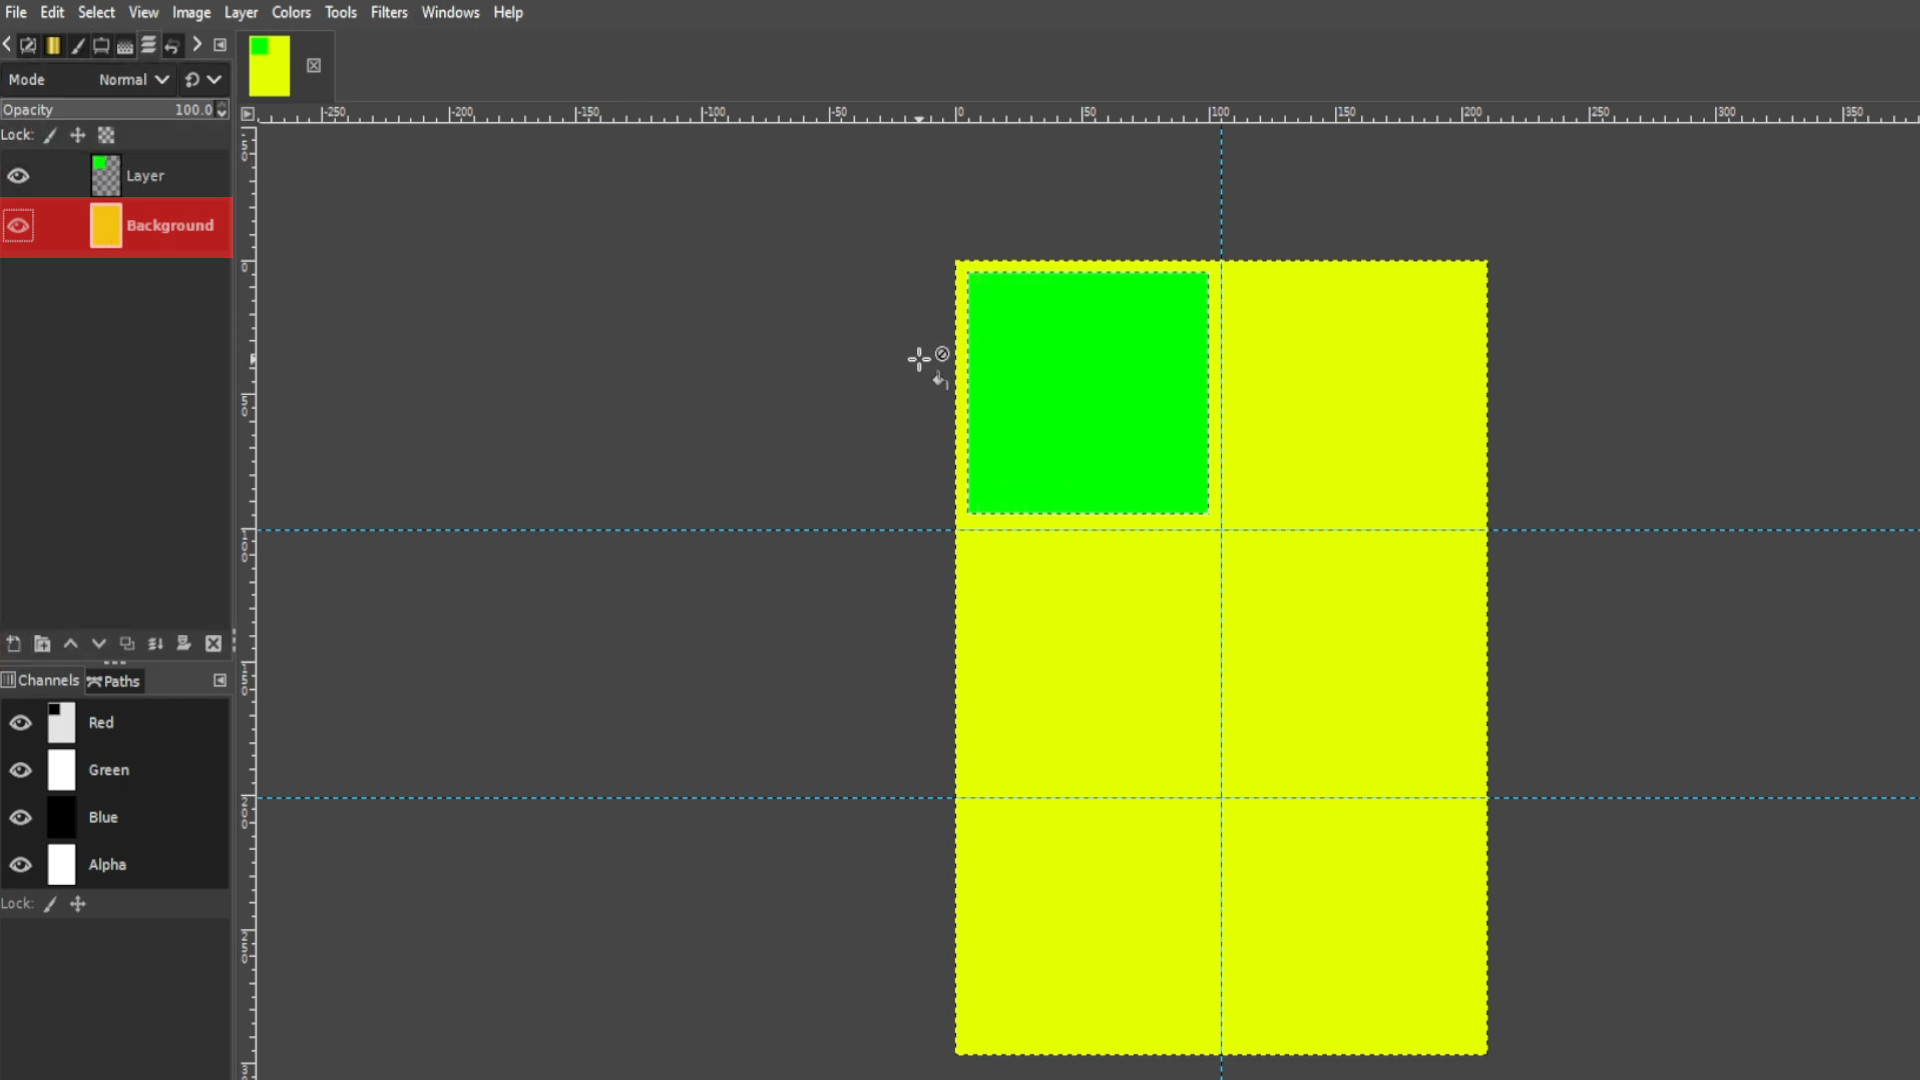
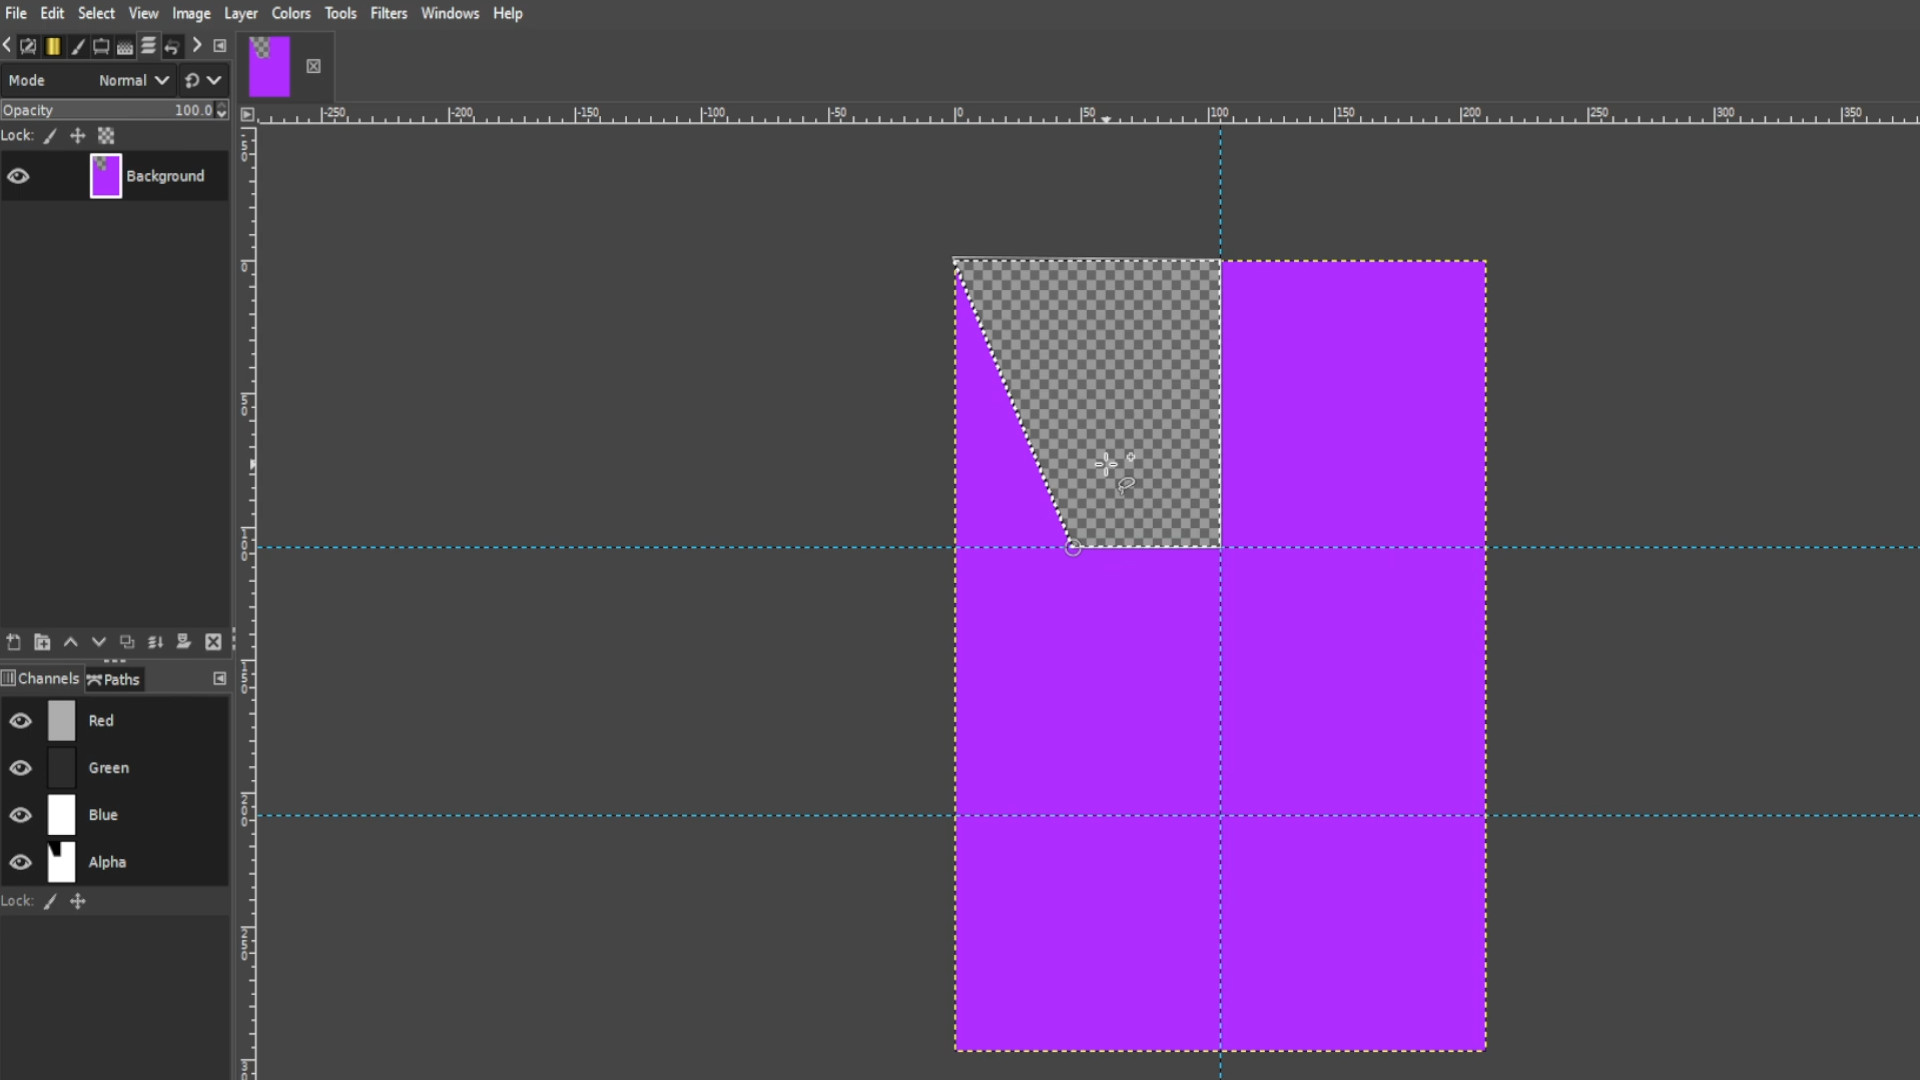
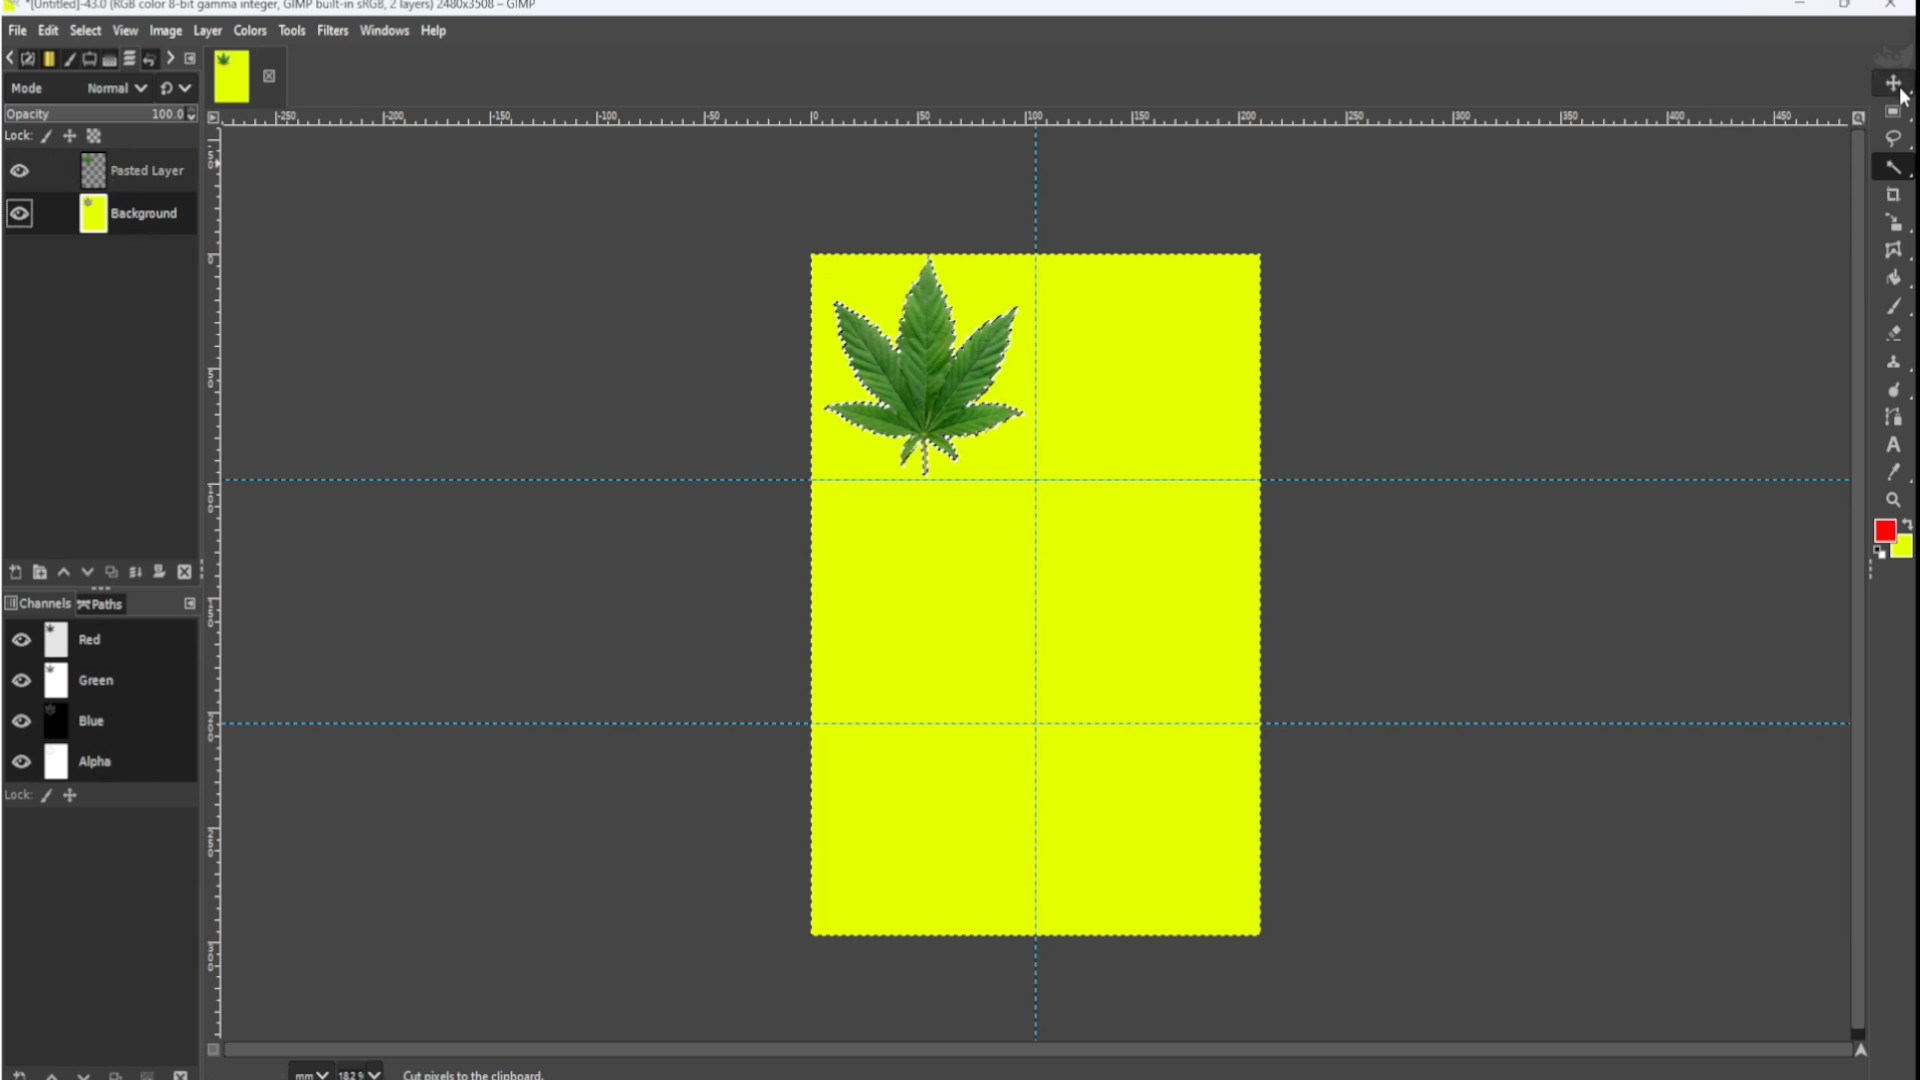
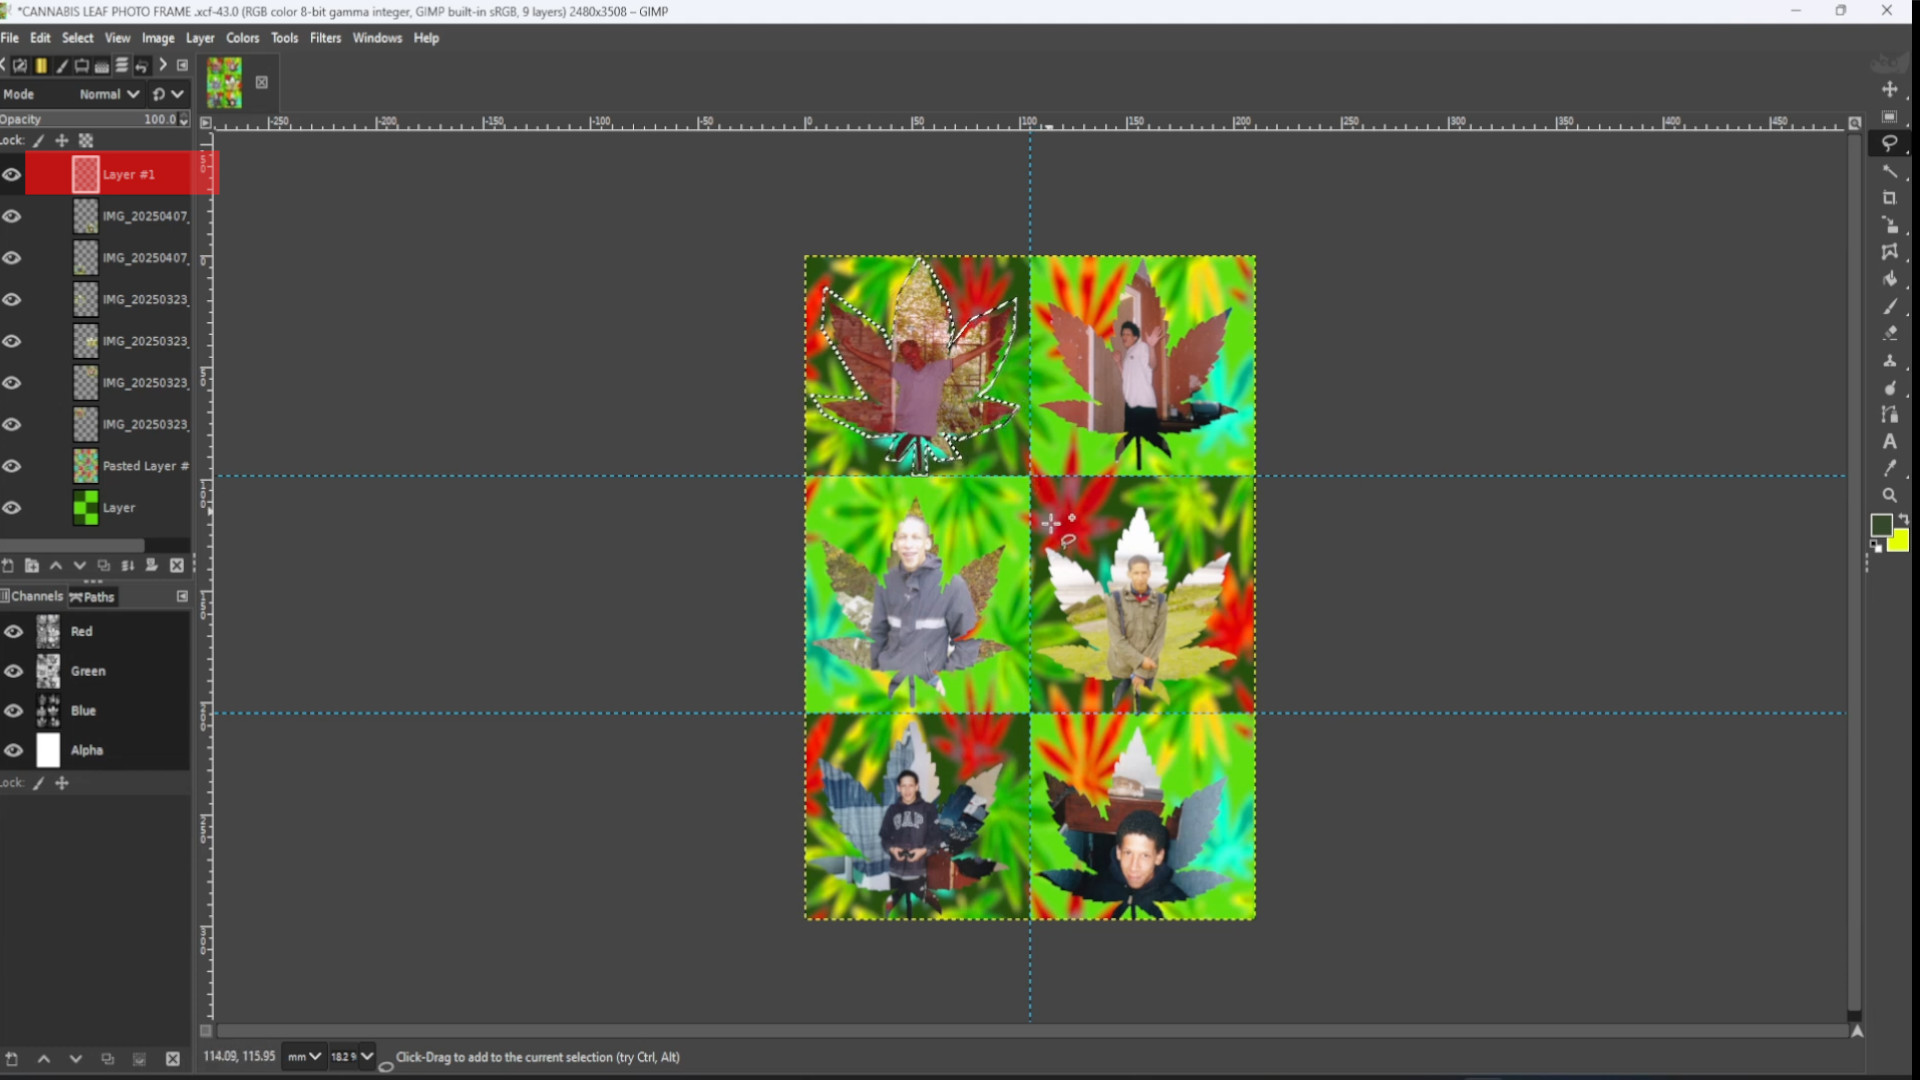
>SELECTING the>>>SHAPES LAYER the>>>FIRST LAYER in the>>>LAYERS PANEL on the>>>LEFT HAND SIDE and with>>>IT SELECTED use the>>>FUZZY TOOL to>>>HIGHLIGHT IT you may want to>>>HOLD SHIFT>>>HOLD the>>>LEFT BUTTON DOWN on your>>>MOUSE or TOUCHPAD and>>>DRAG DOWNWARDS to>>>HIGHLIGHT it.
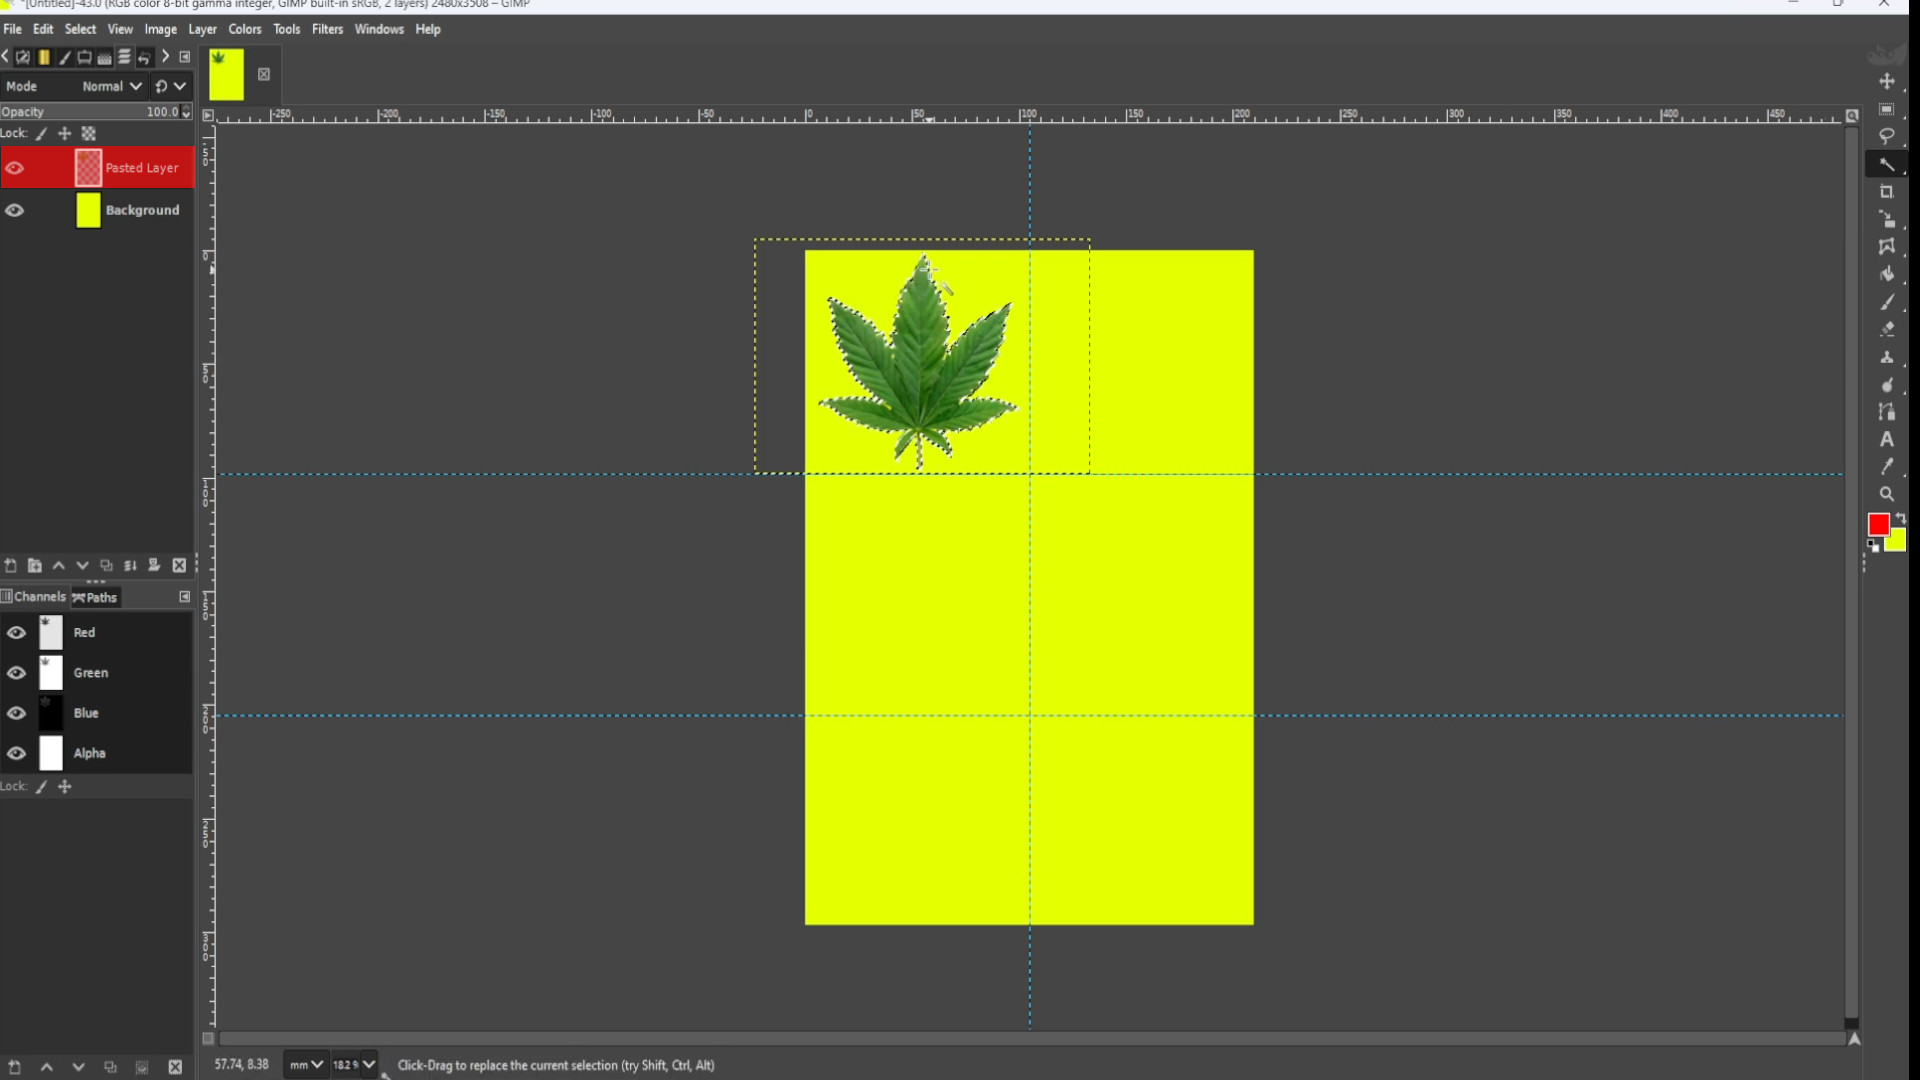
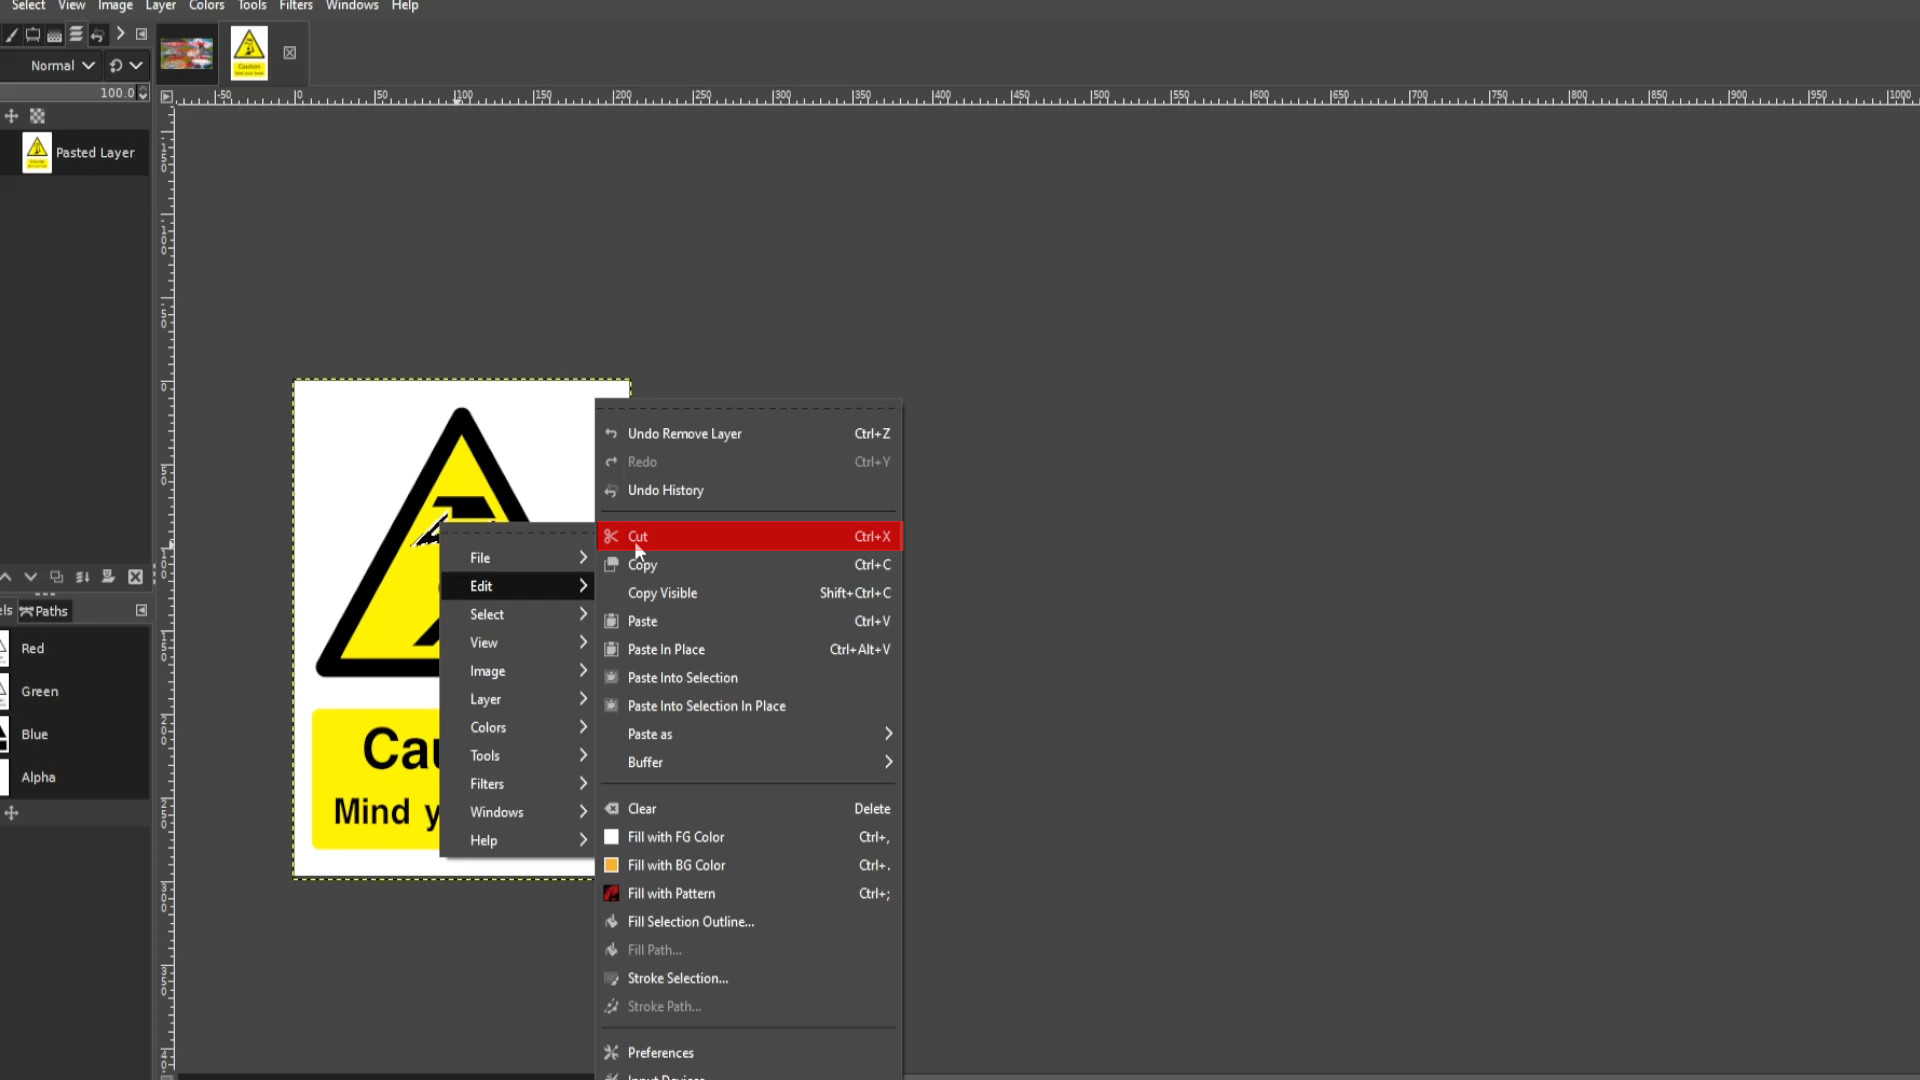
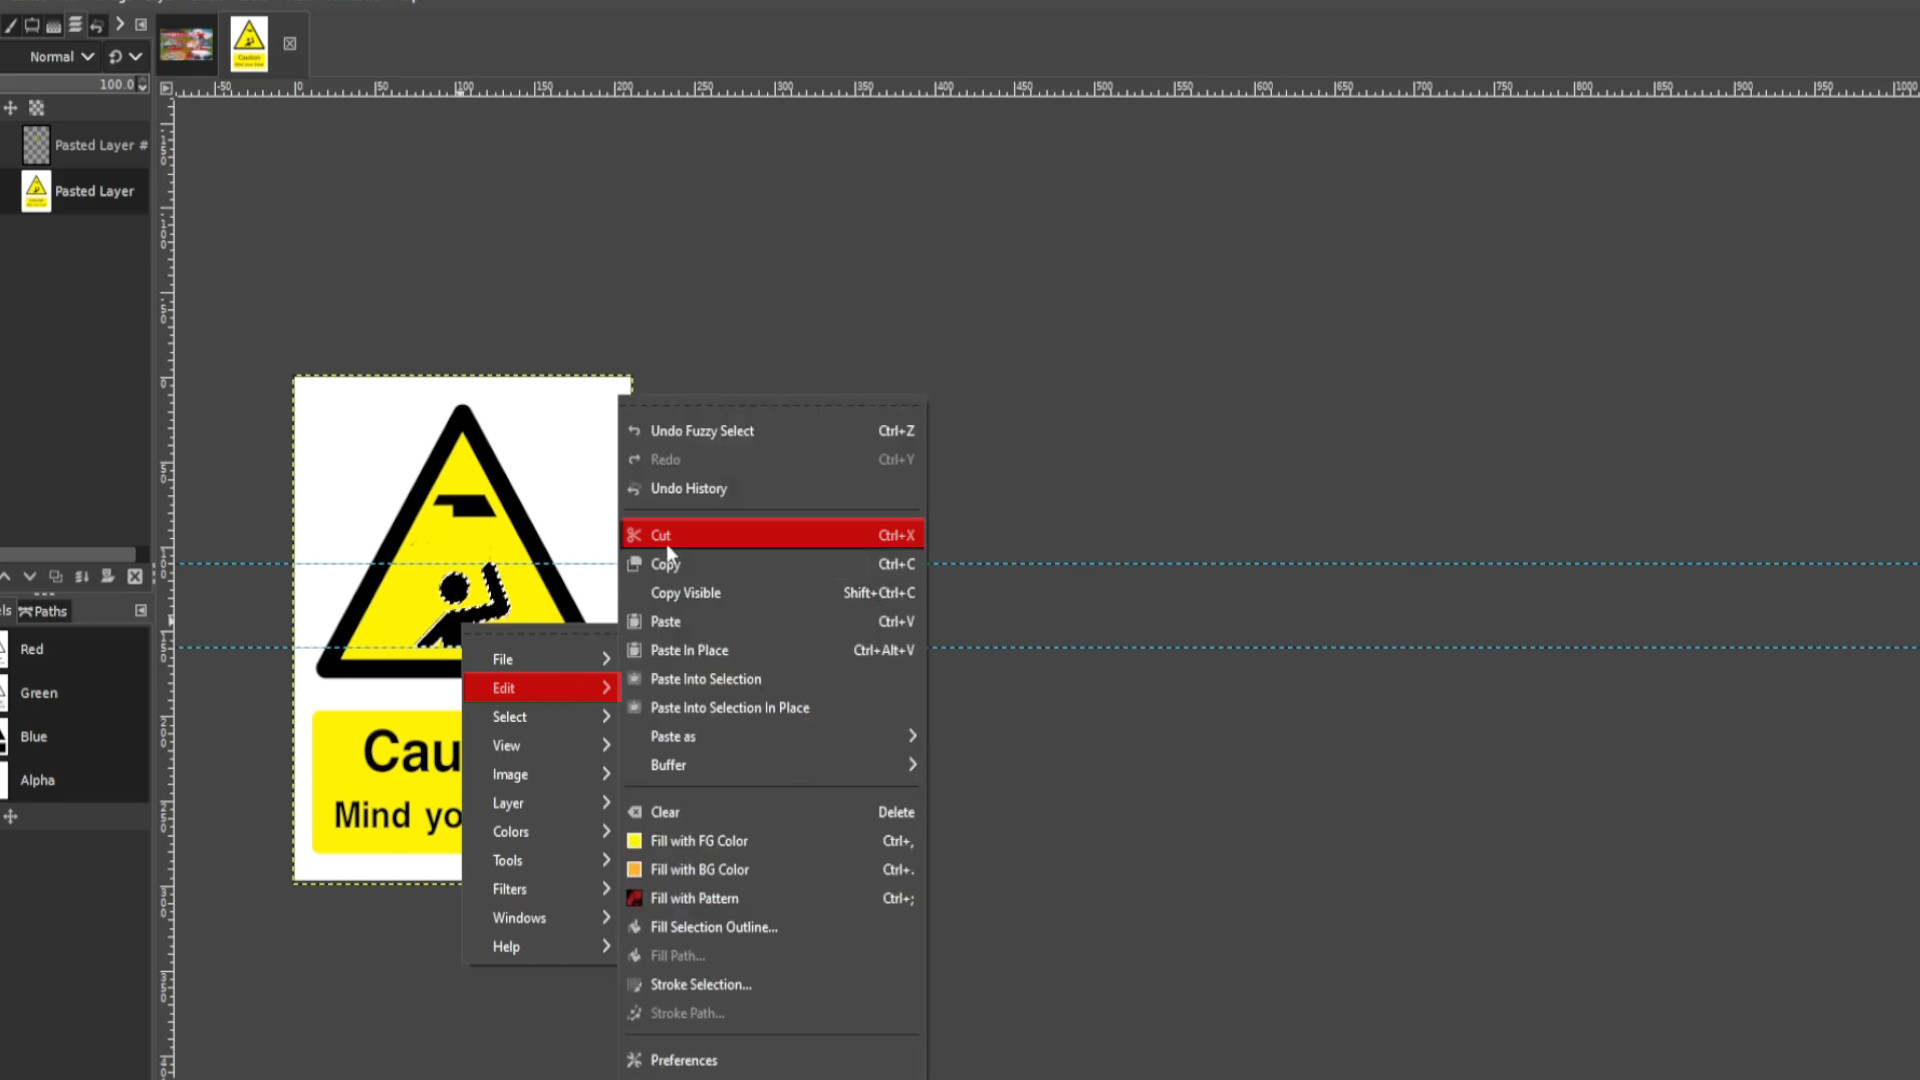
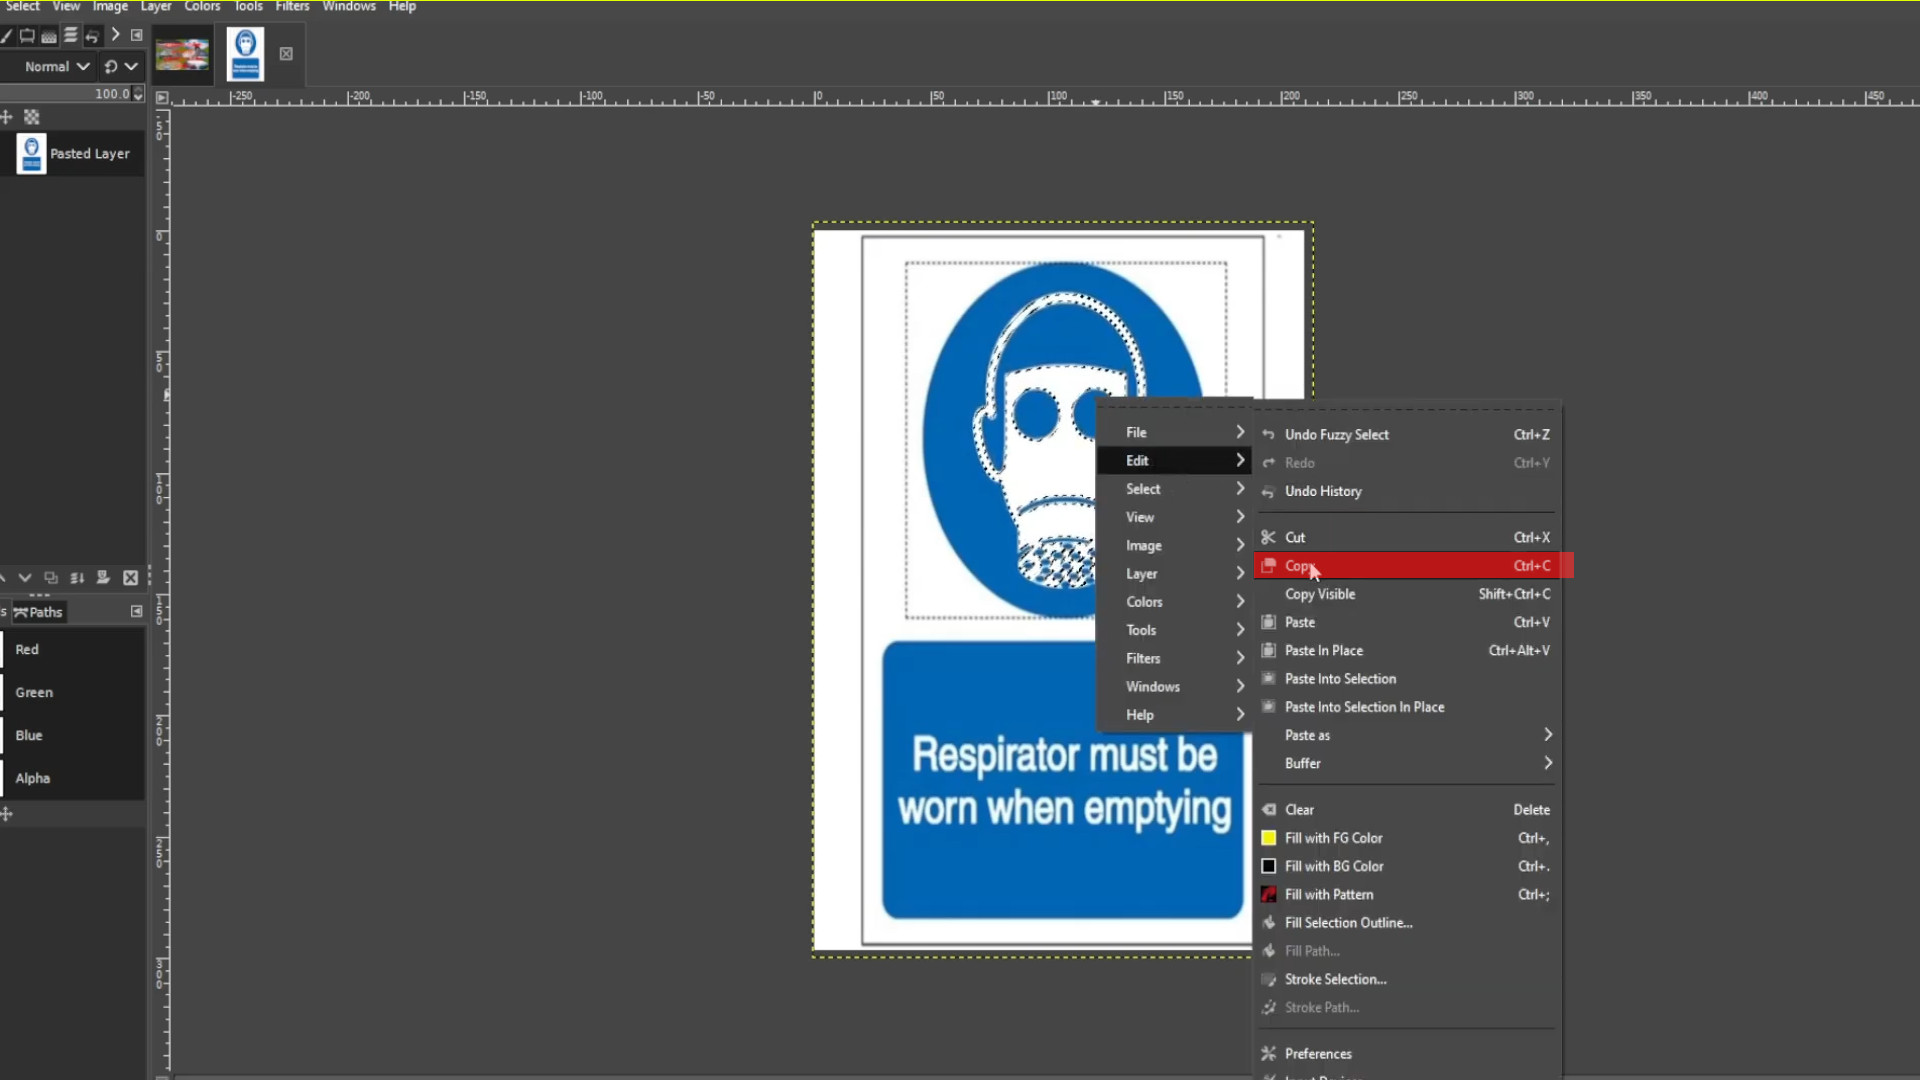
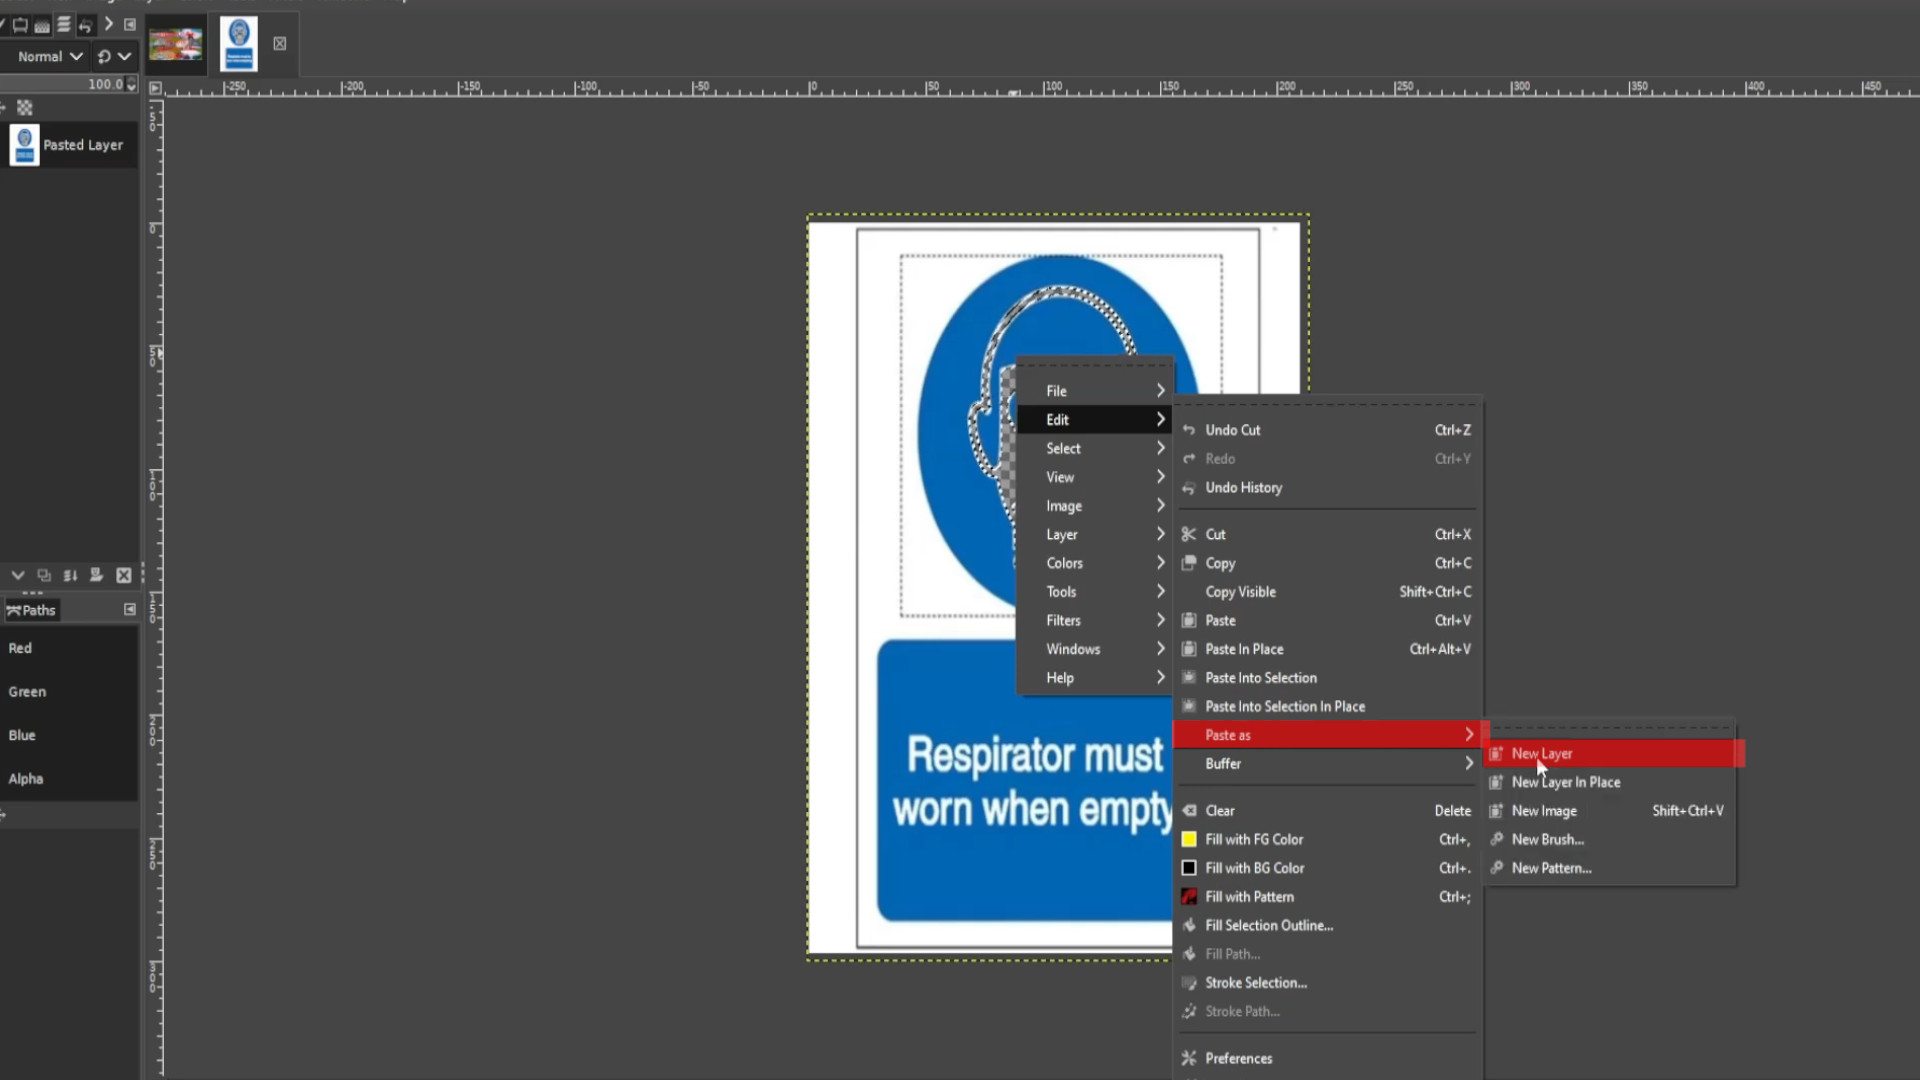
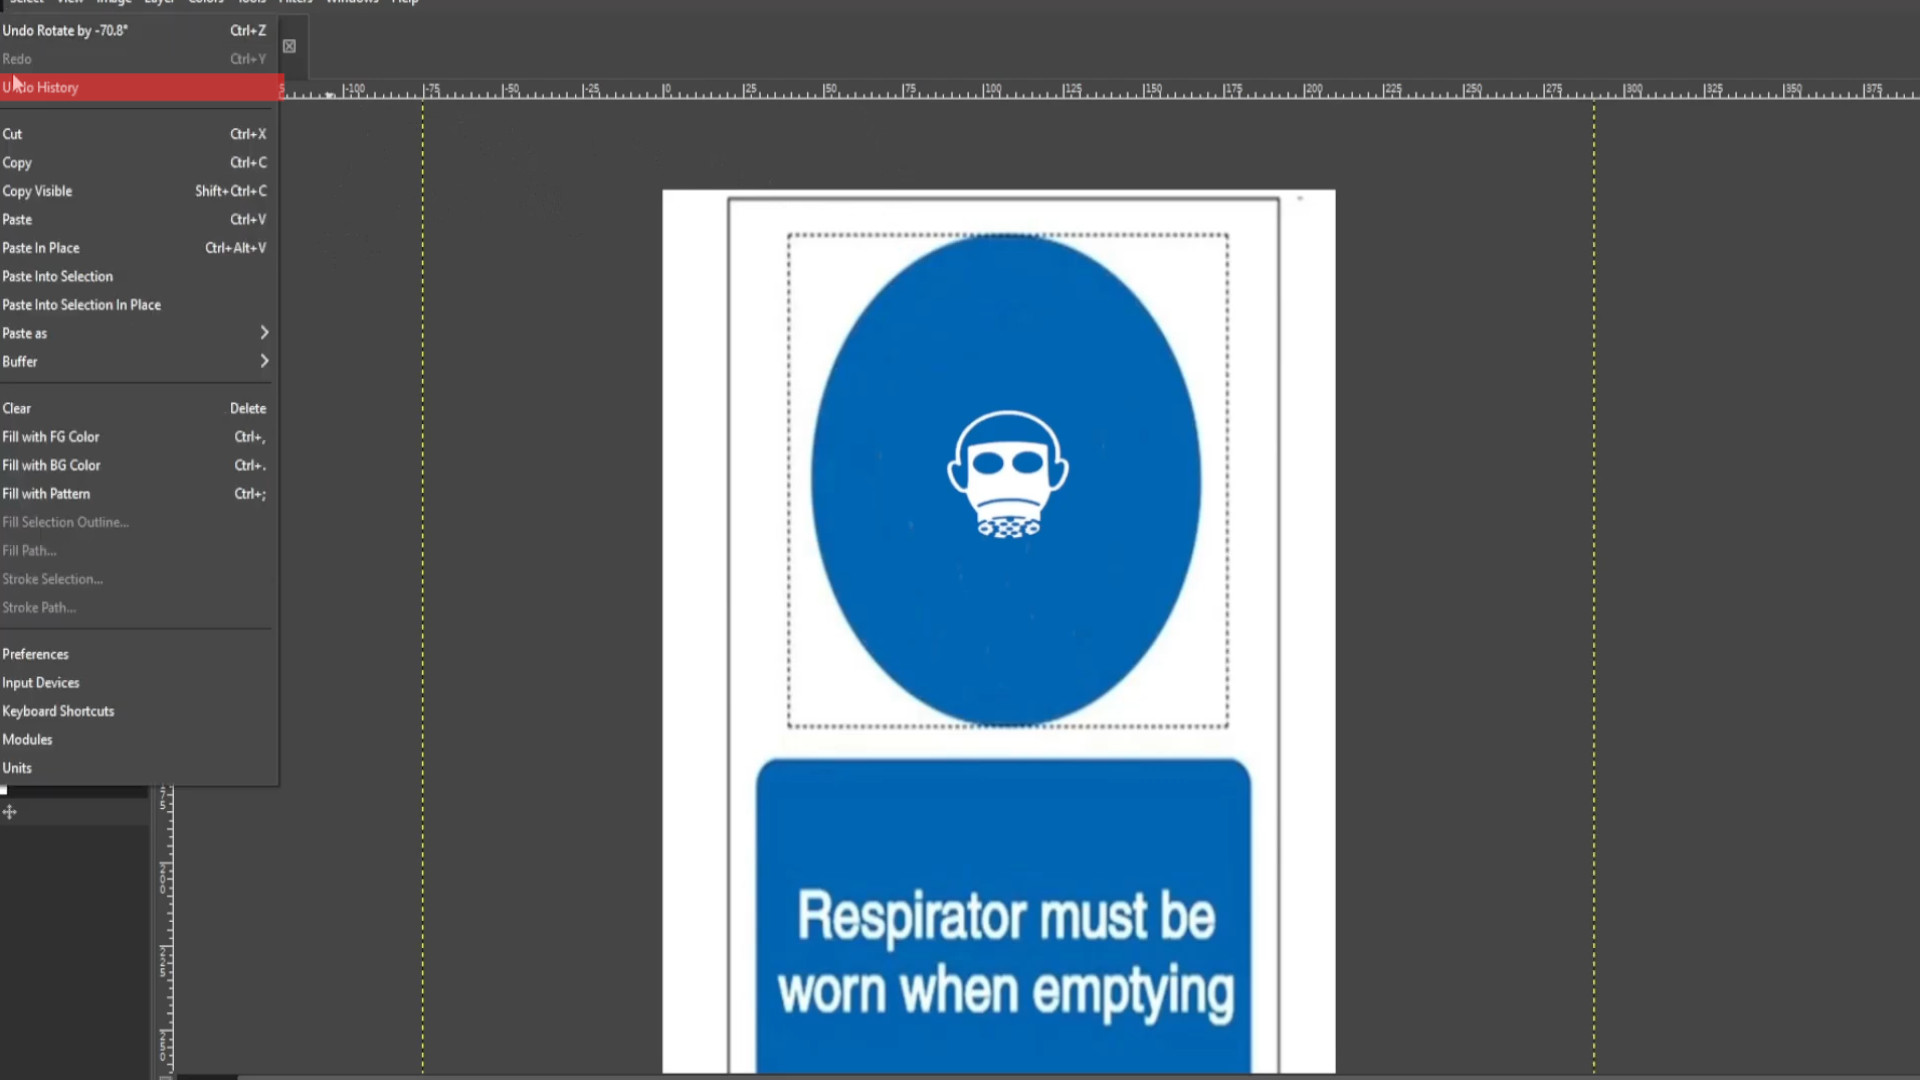
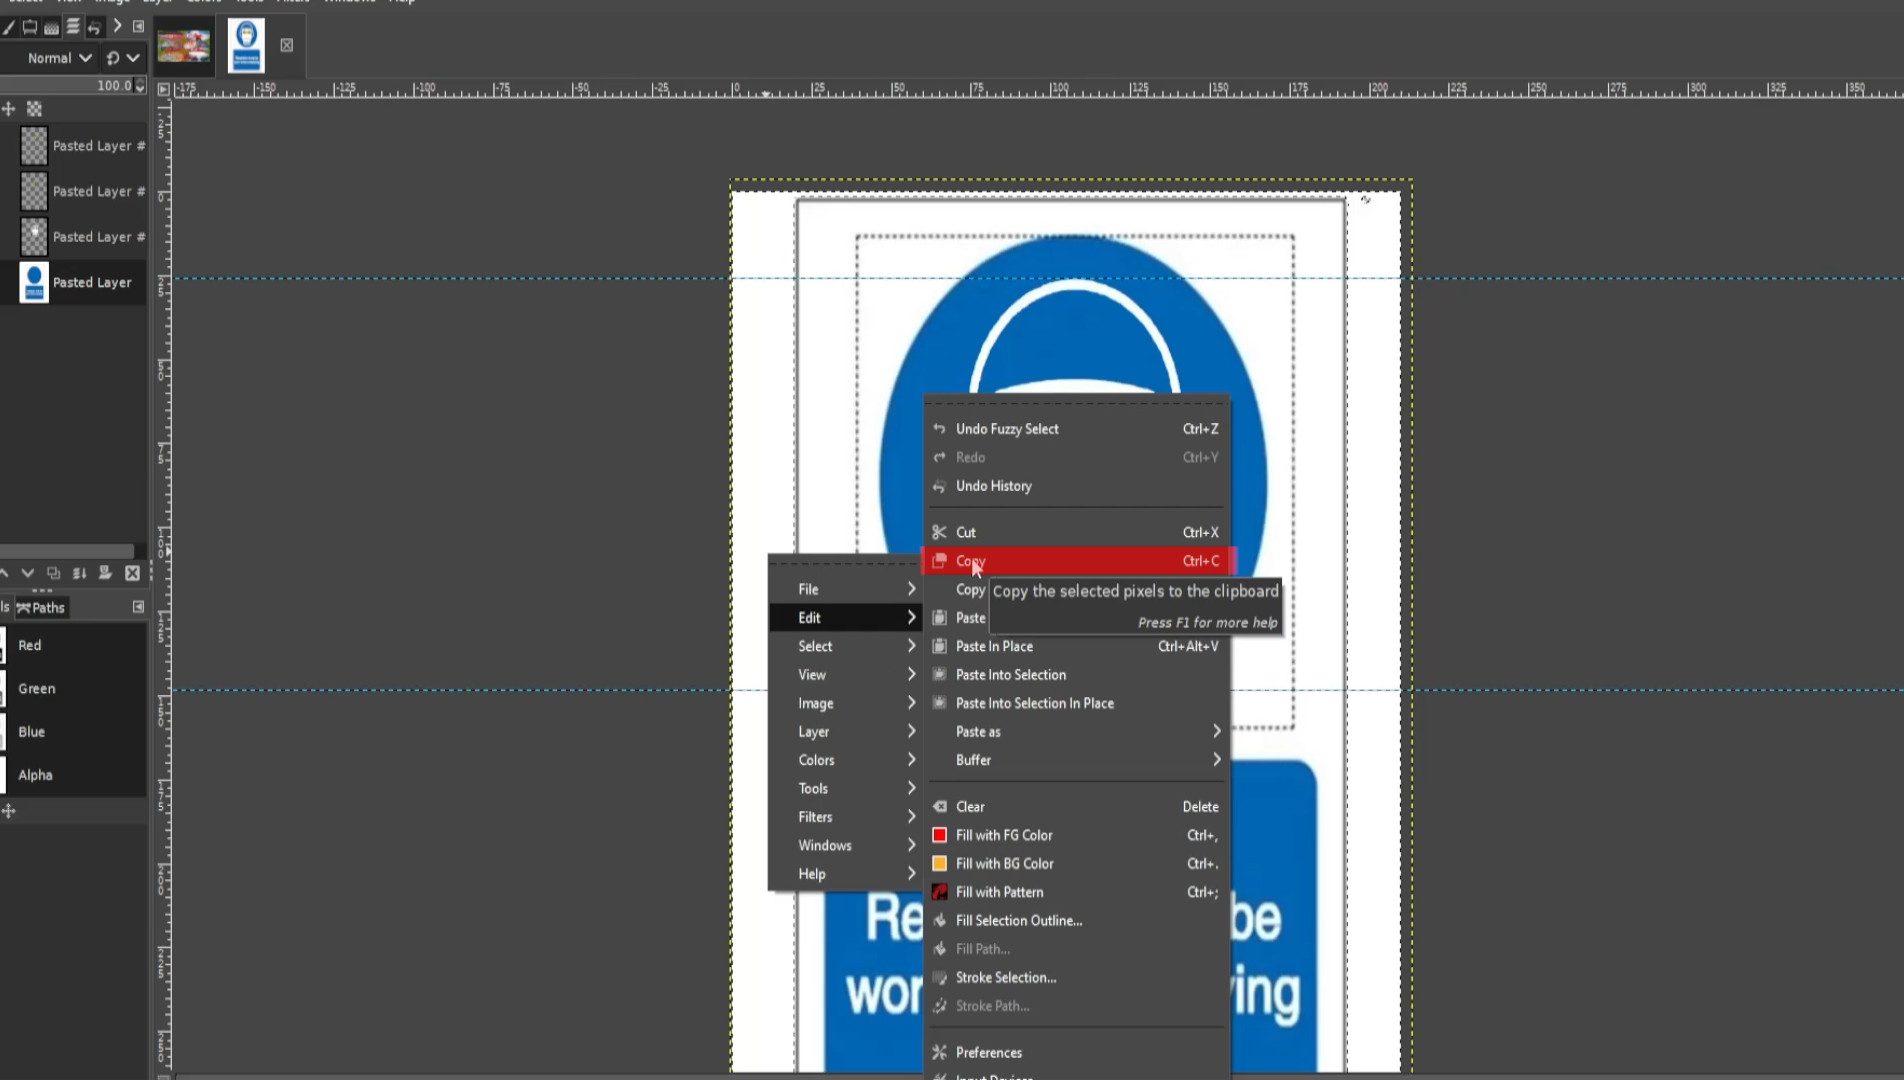
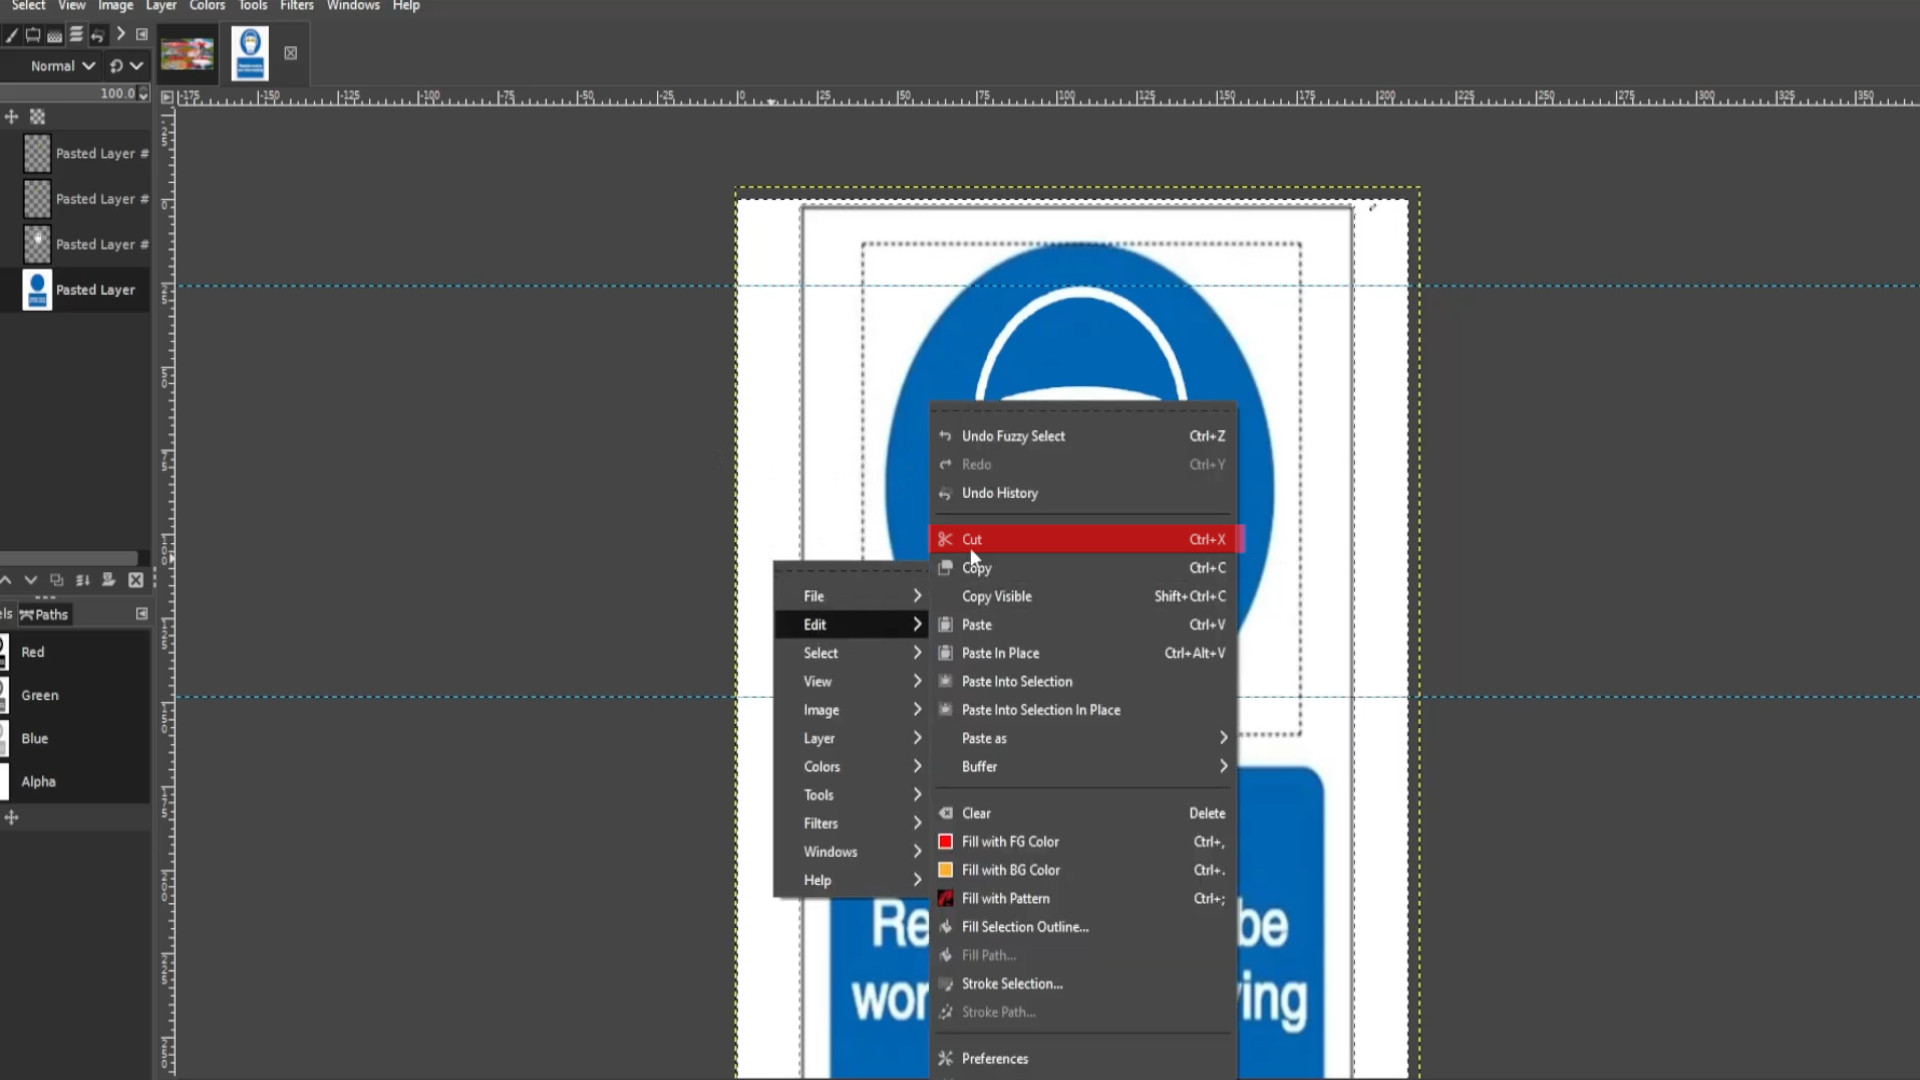
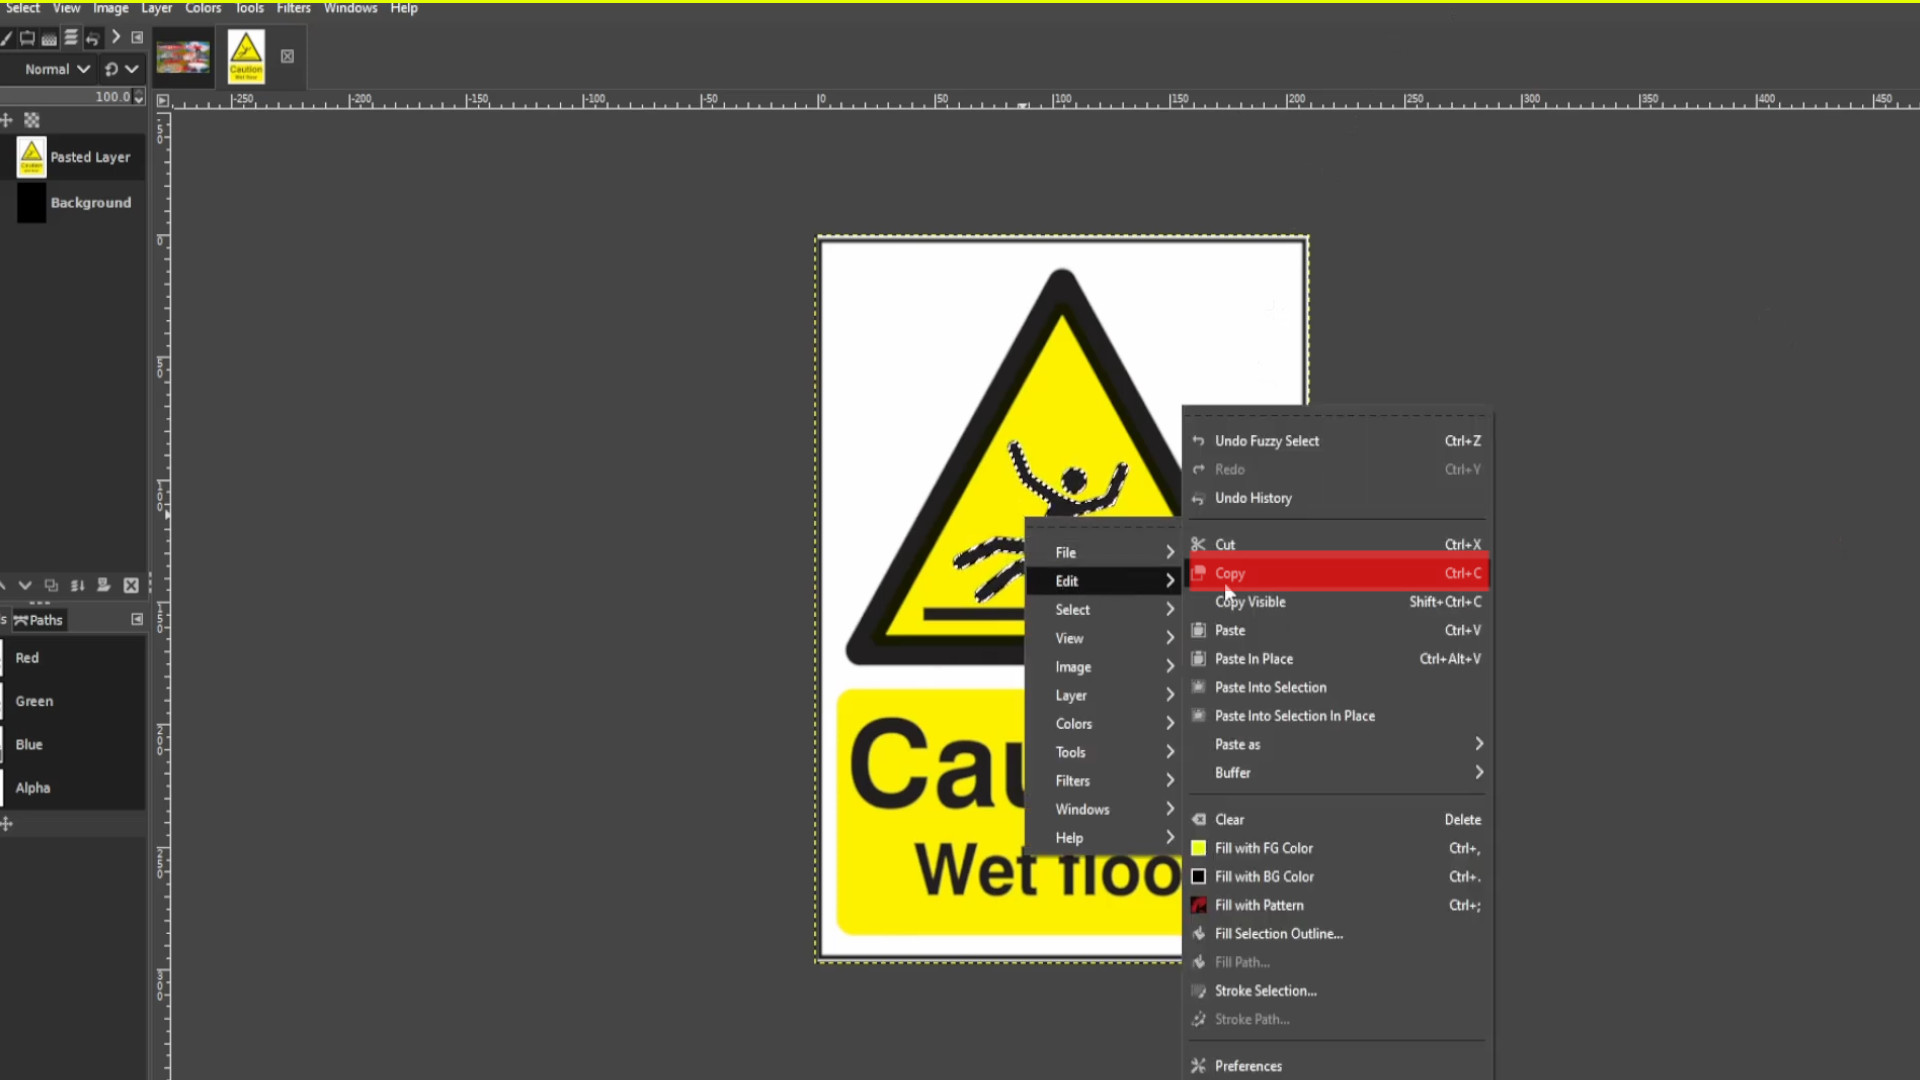
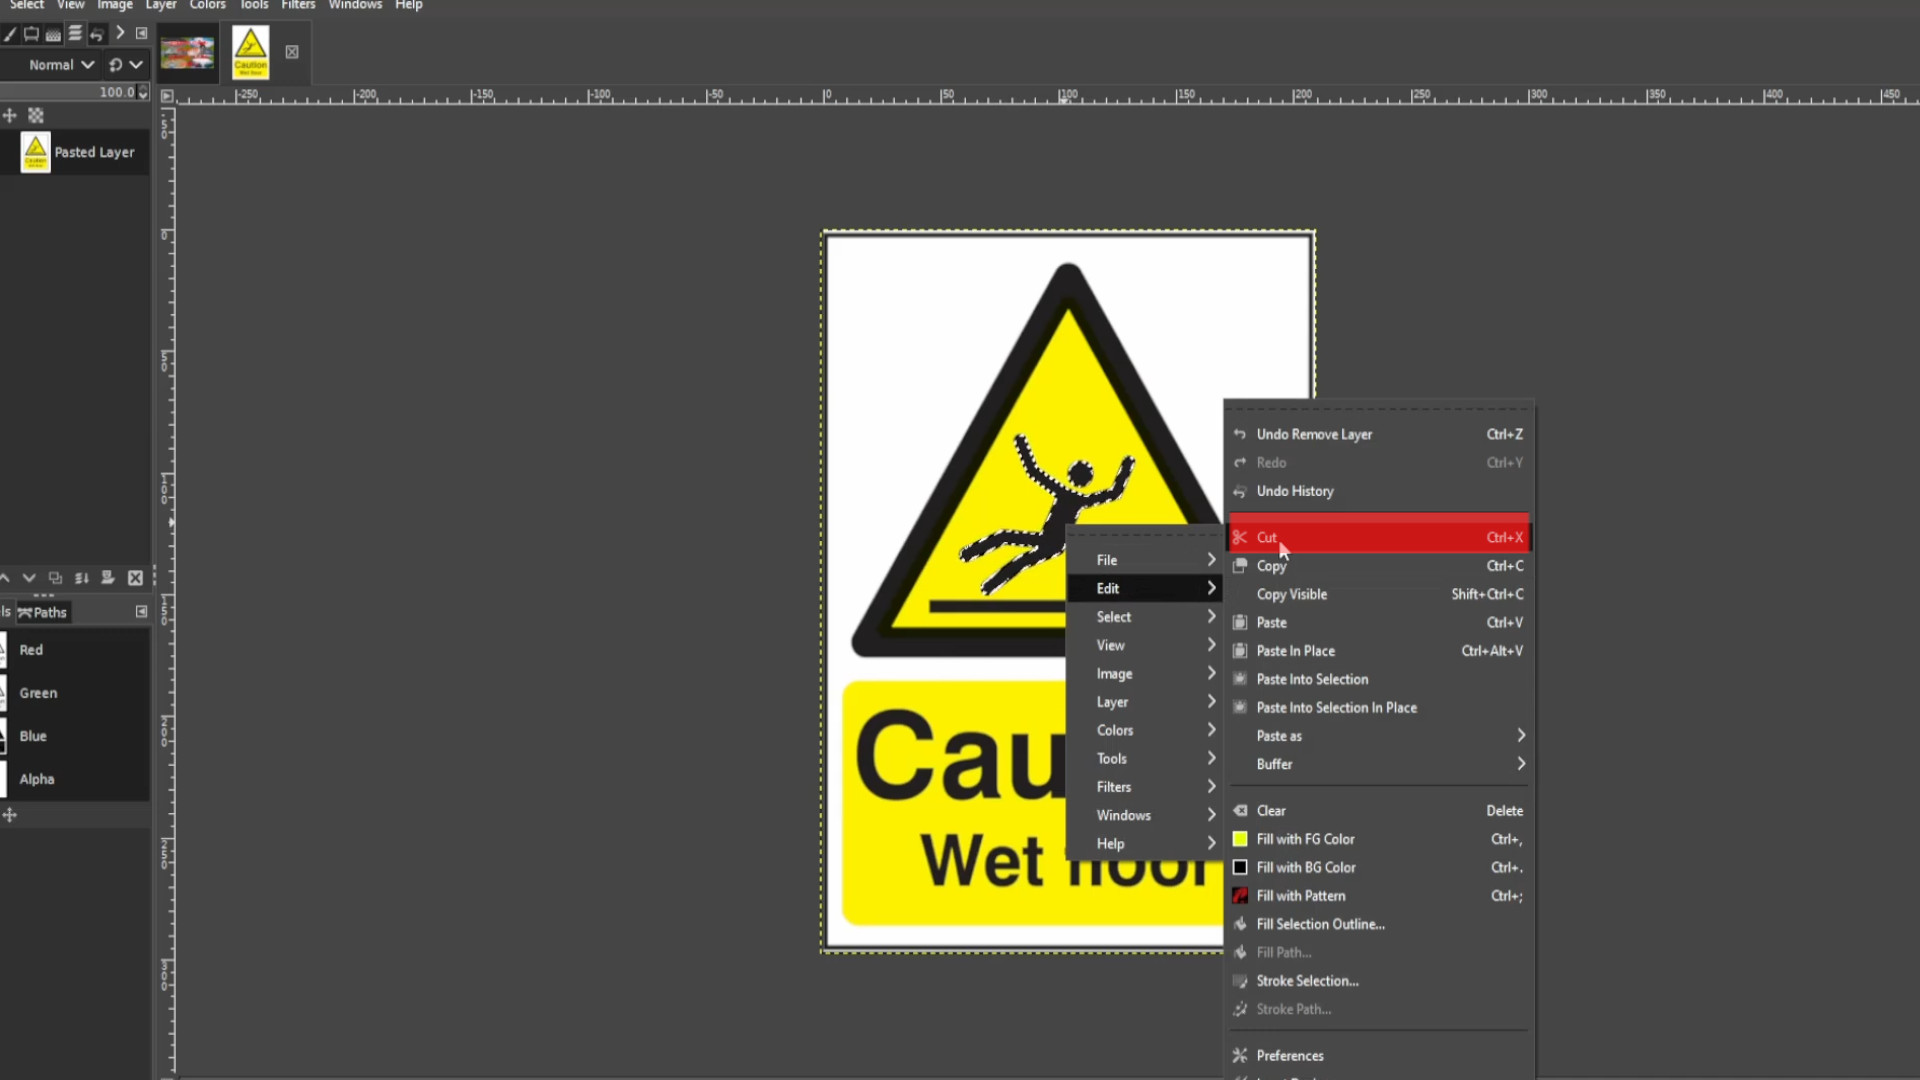
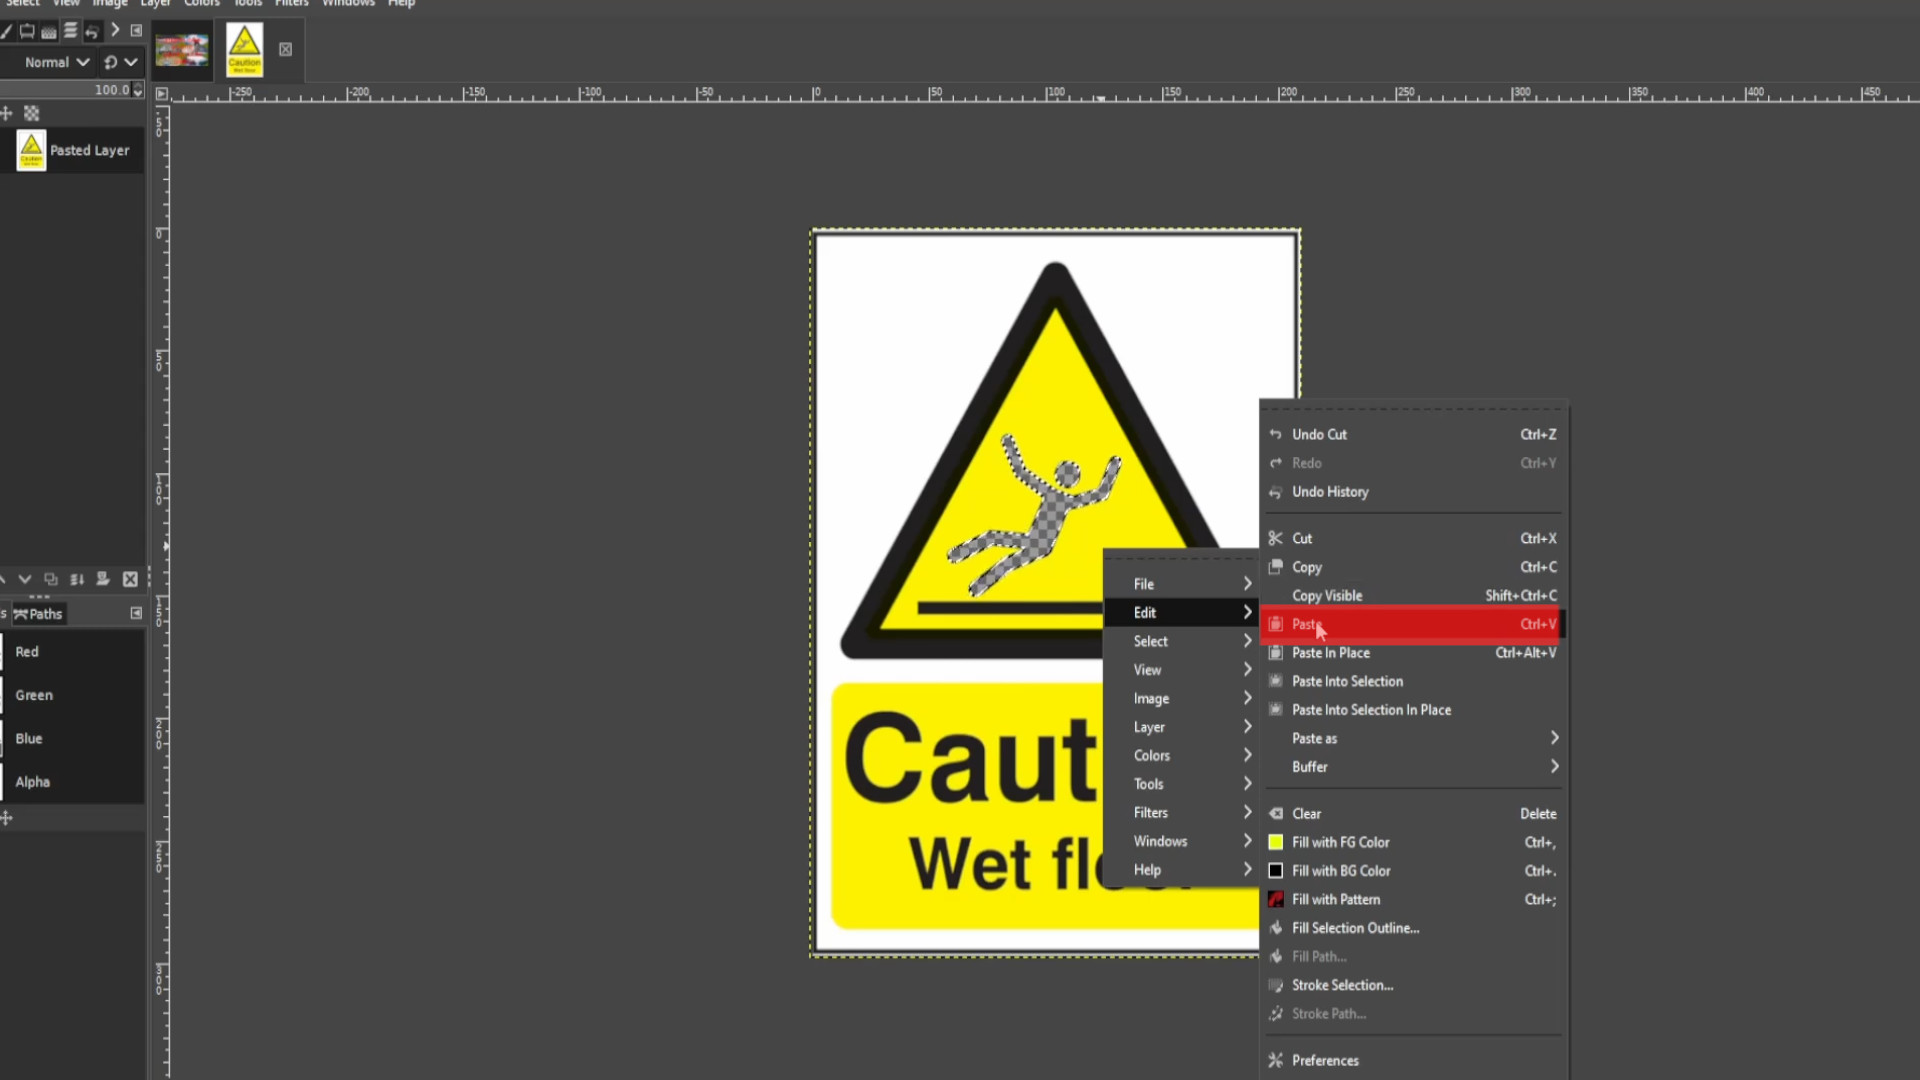
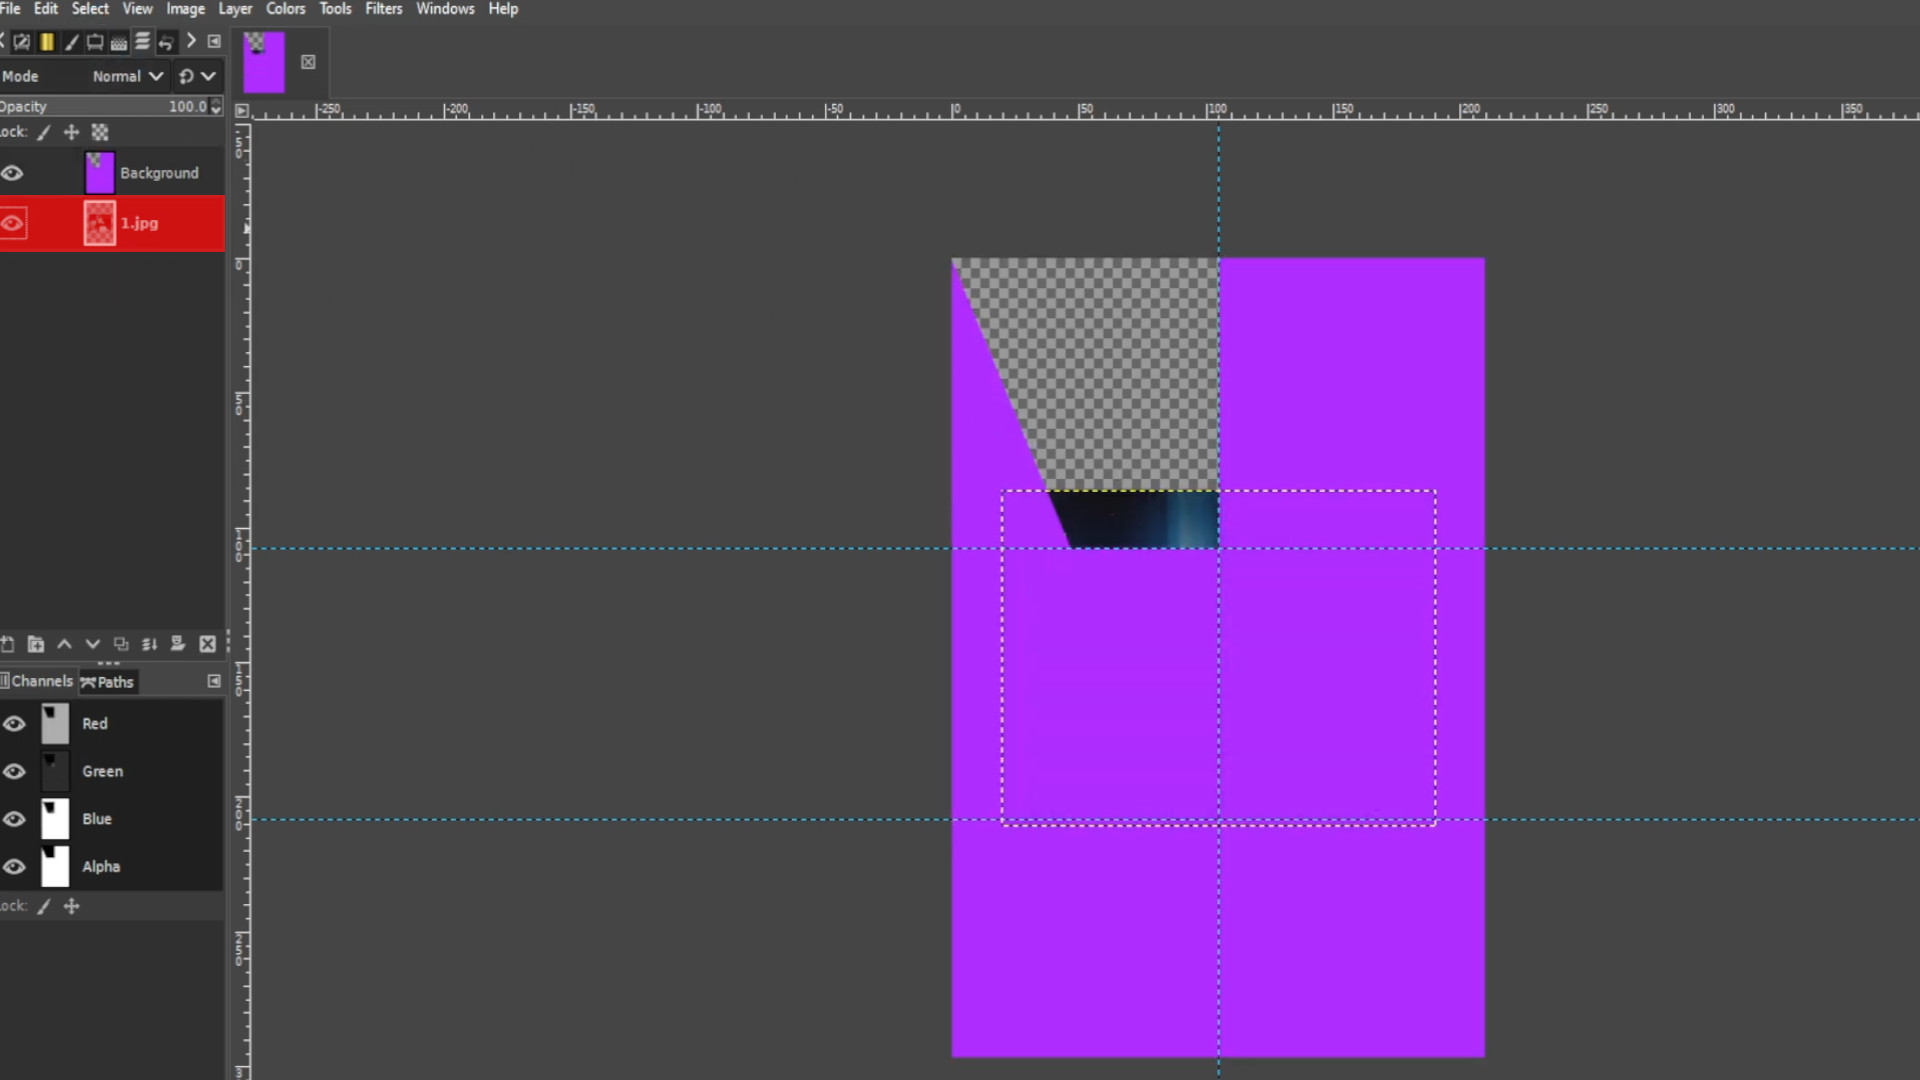
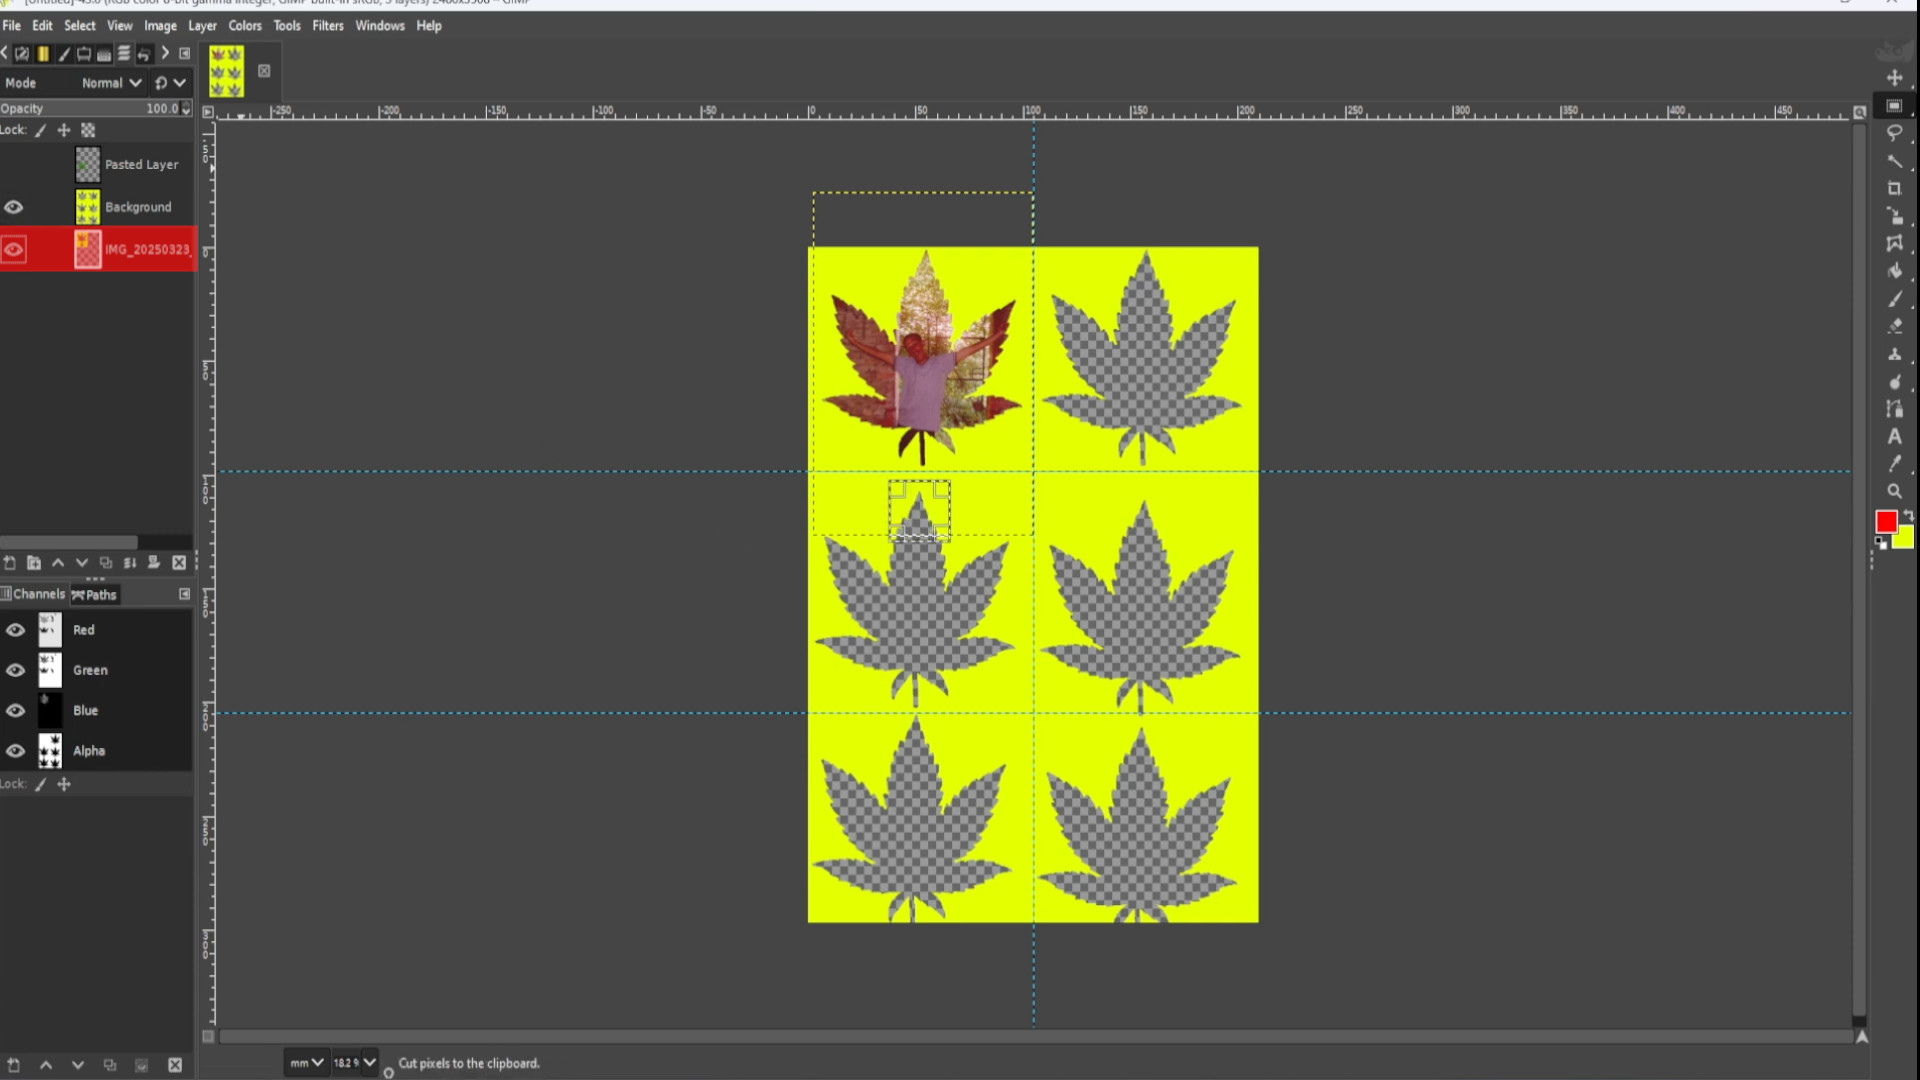
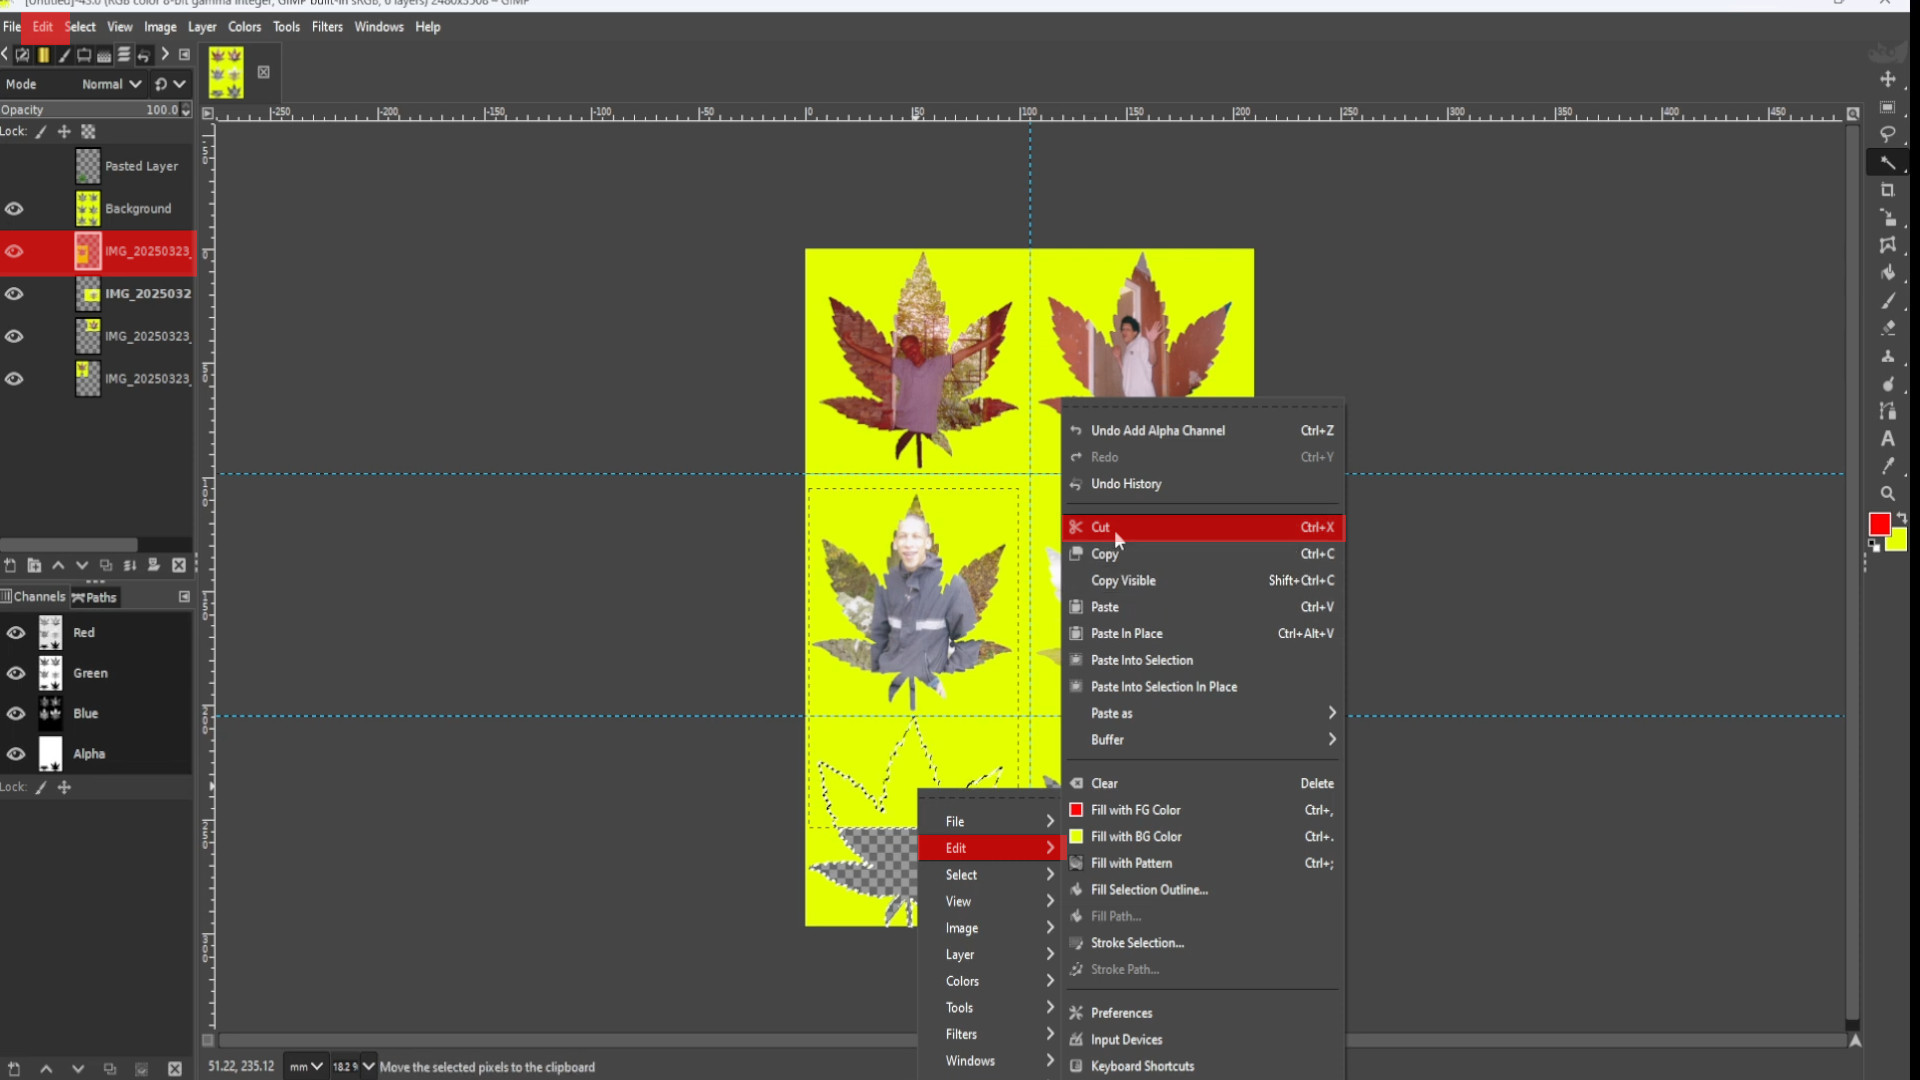
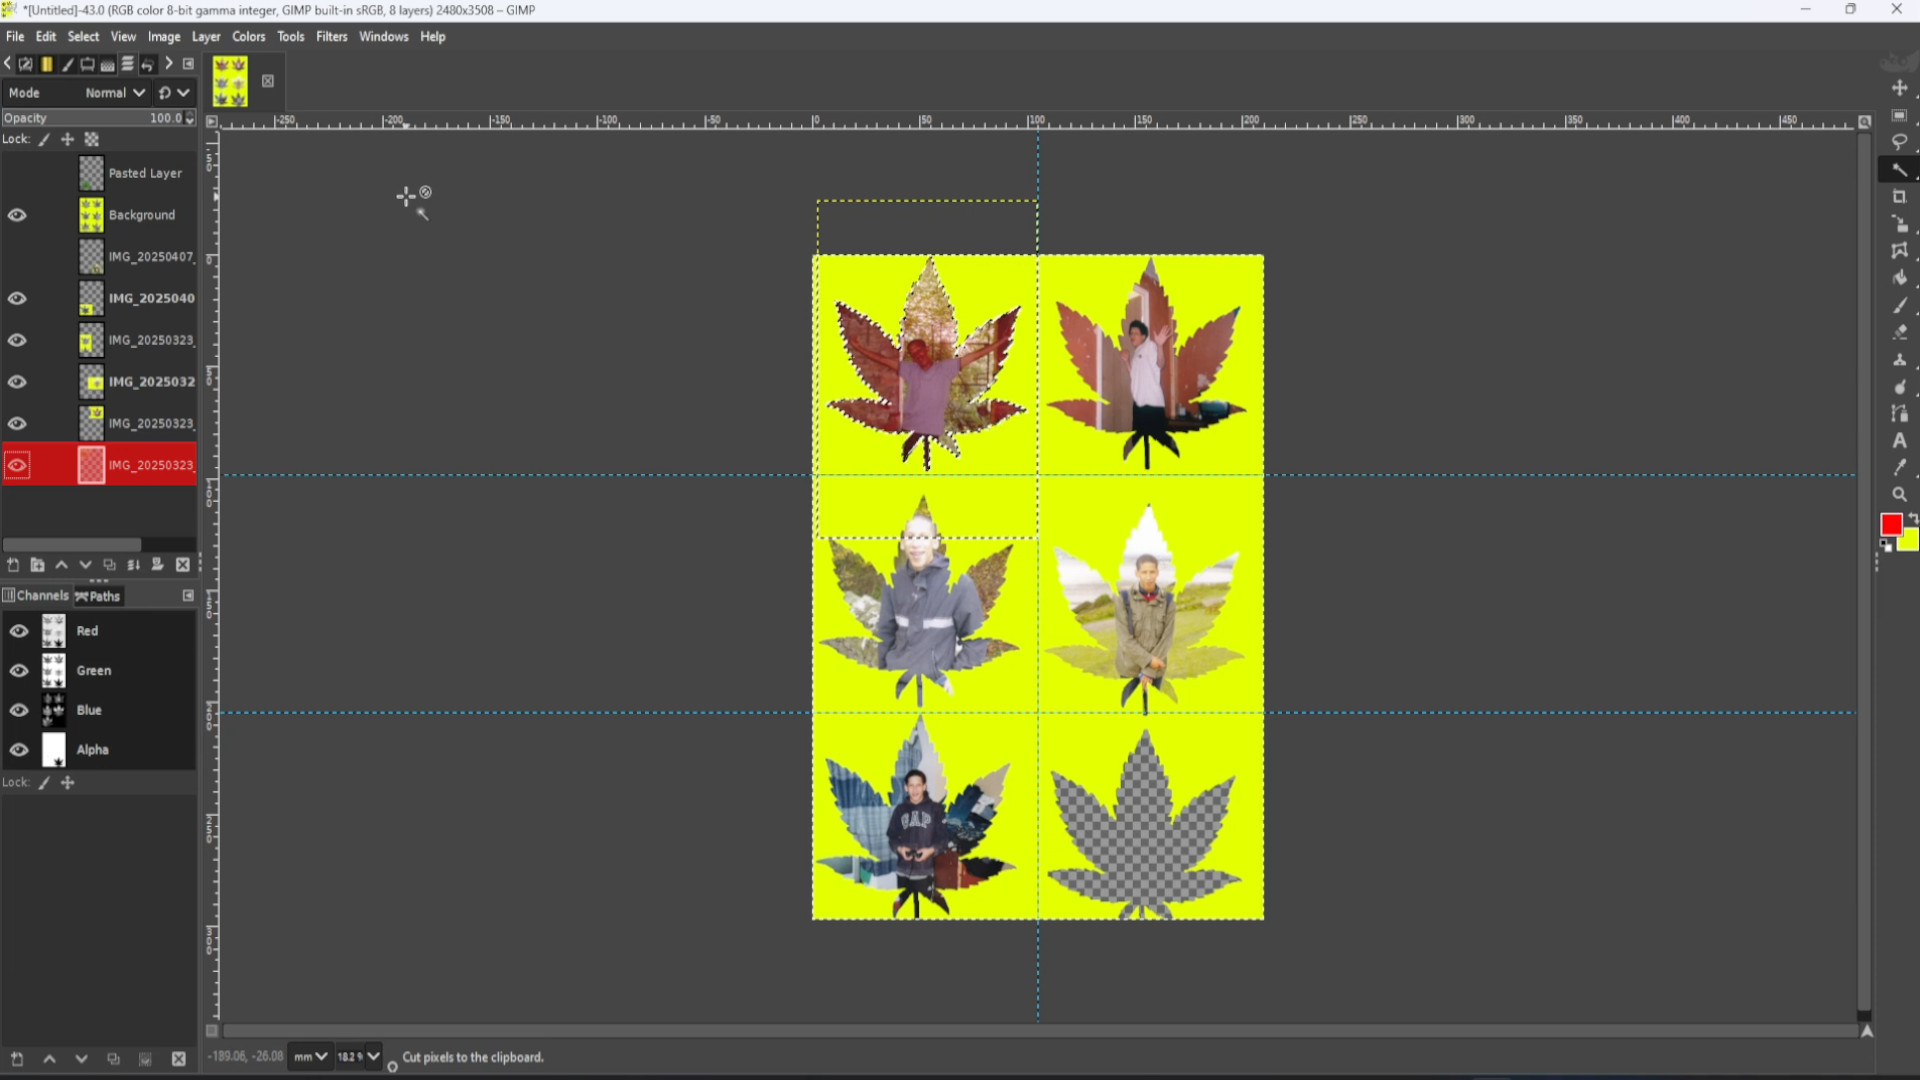
Go to>>>LAYER>>>HOVER>>>over>>>TRANSPARNCY>>>and click on>>>ADD ALPHA CHANNEL. Then with the>>>BOTTOM >>>LAYER>>>HIGHLIGHTED and the>>>SHAPE>>>HIGHLIGHTED>>>RIGHT CLICK on any bit of the canvas>>> and go to>>>EDIT>>>CUT or use the shortcut by>>>HOLDING DOWN>>>CTRL>>>and>>>X to cut the shape into the background.
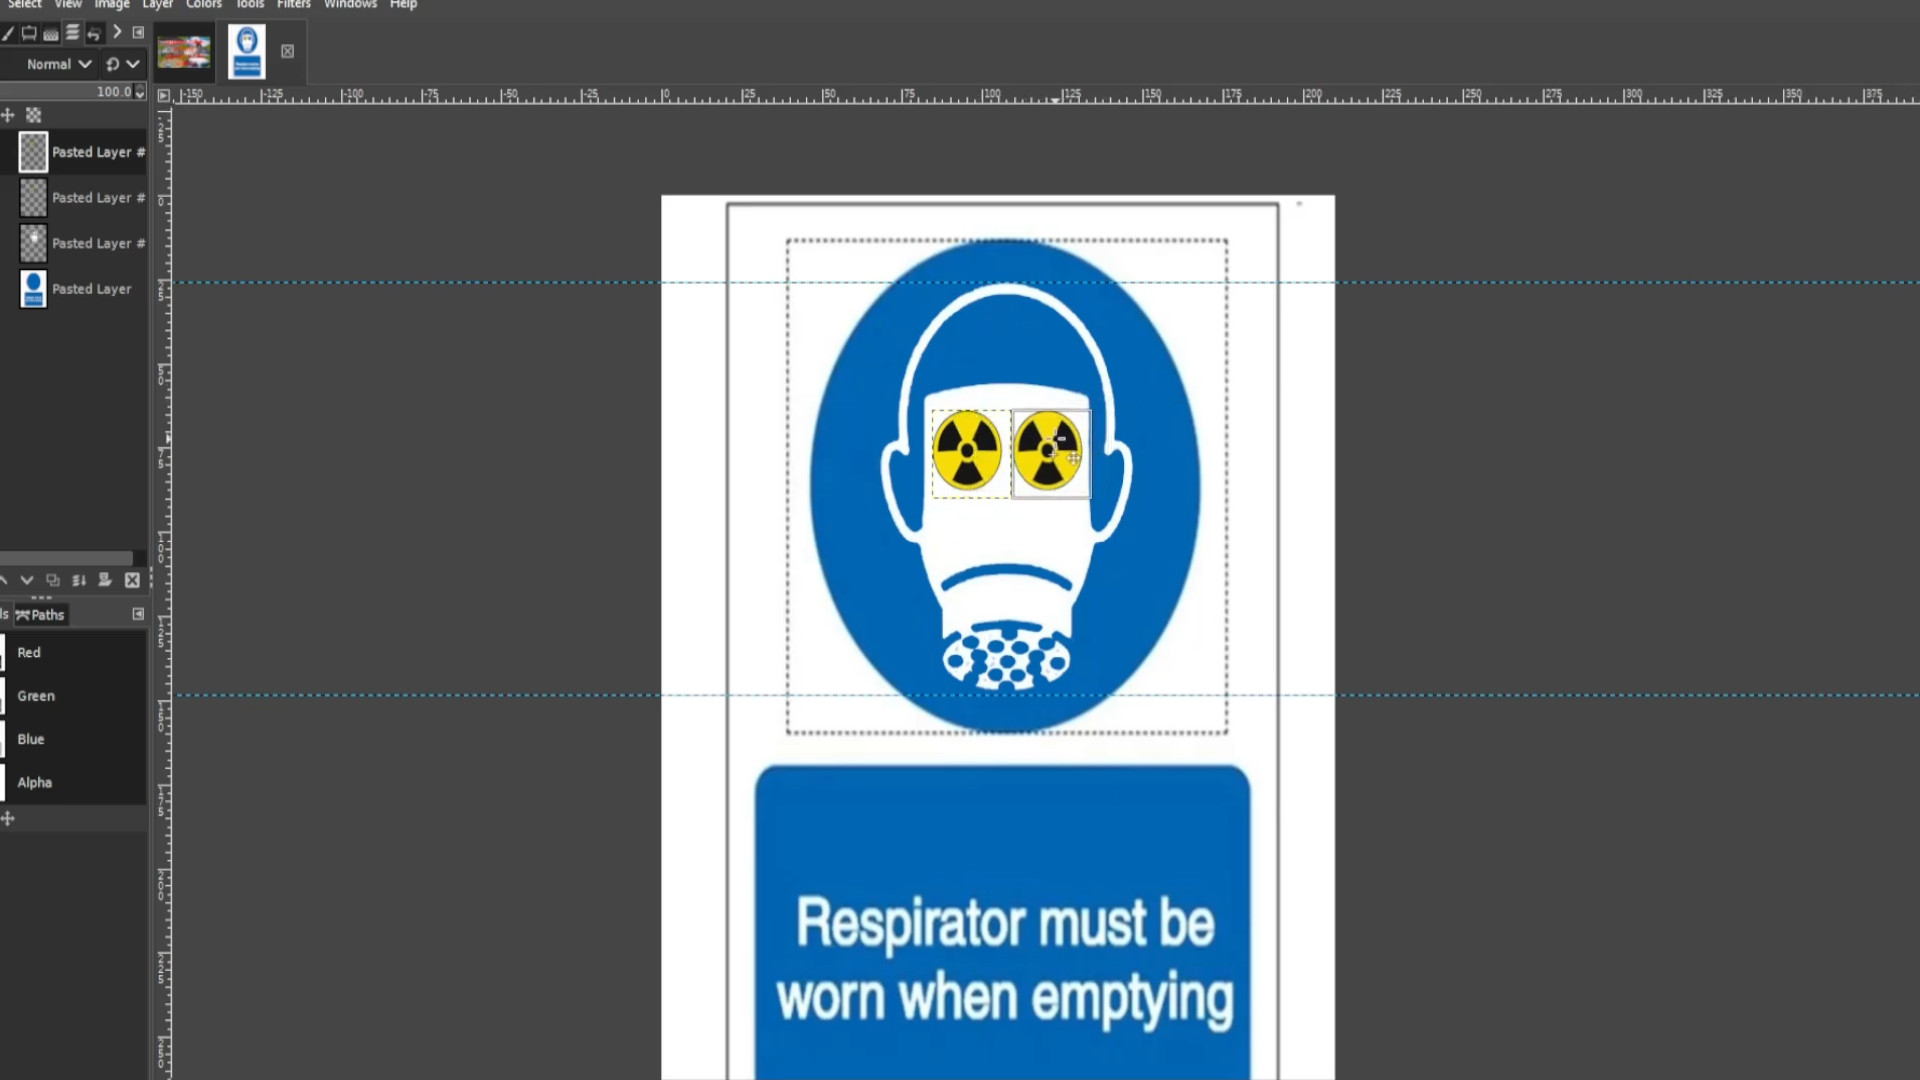
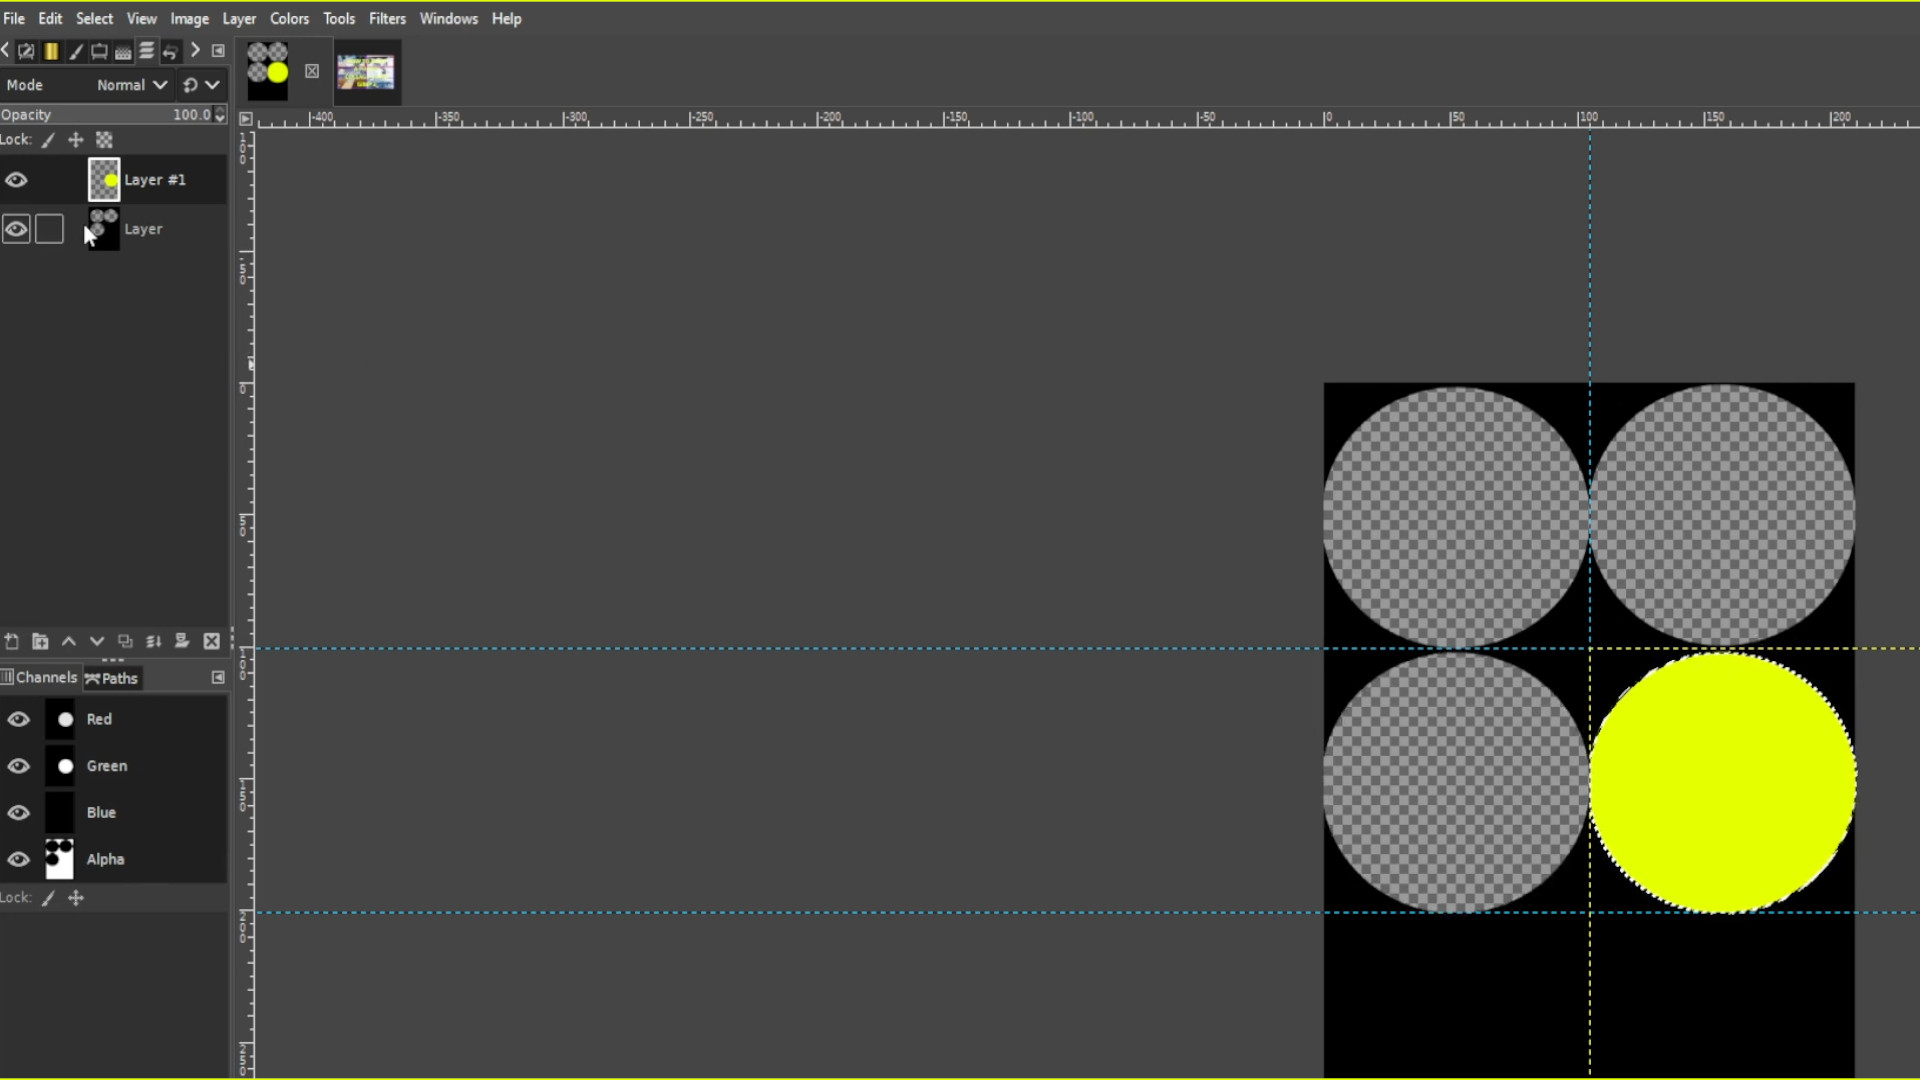
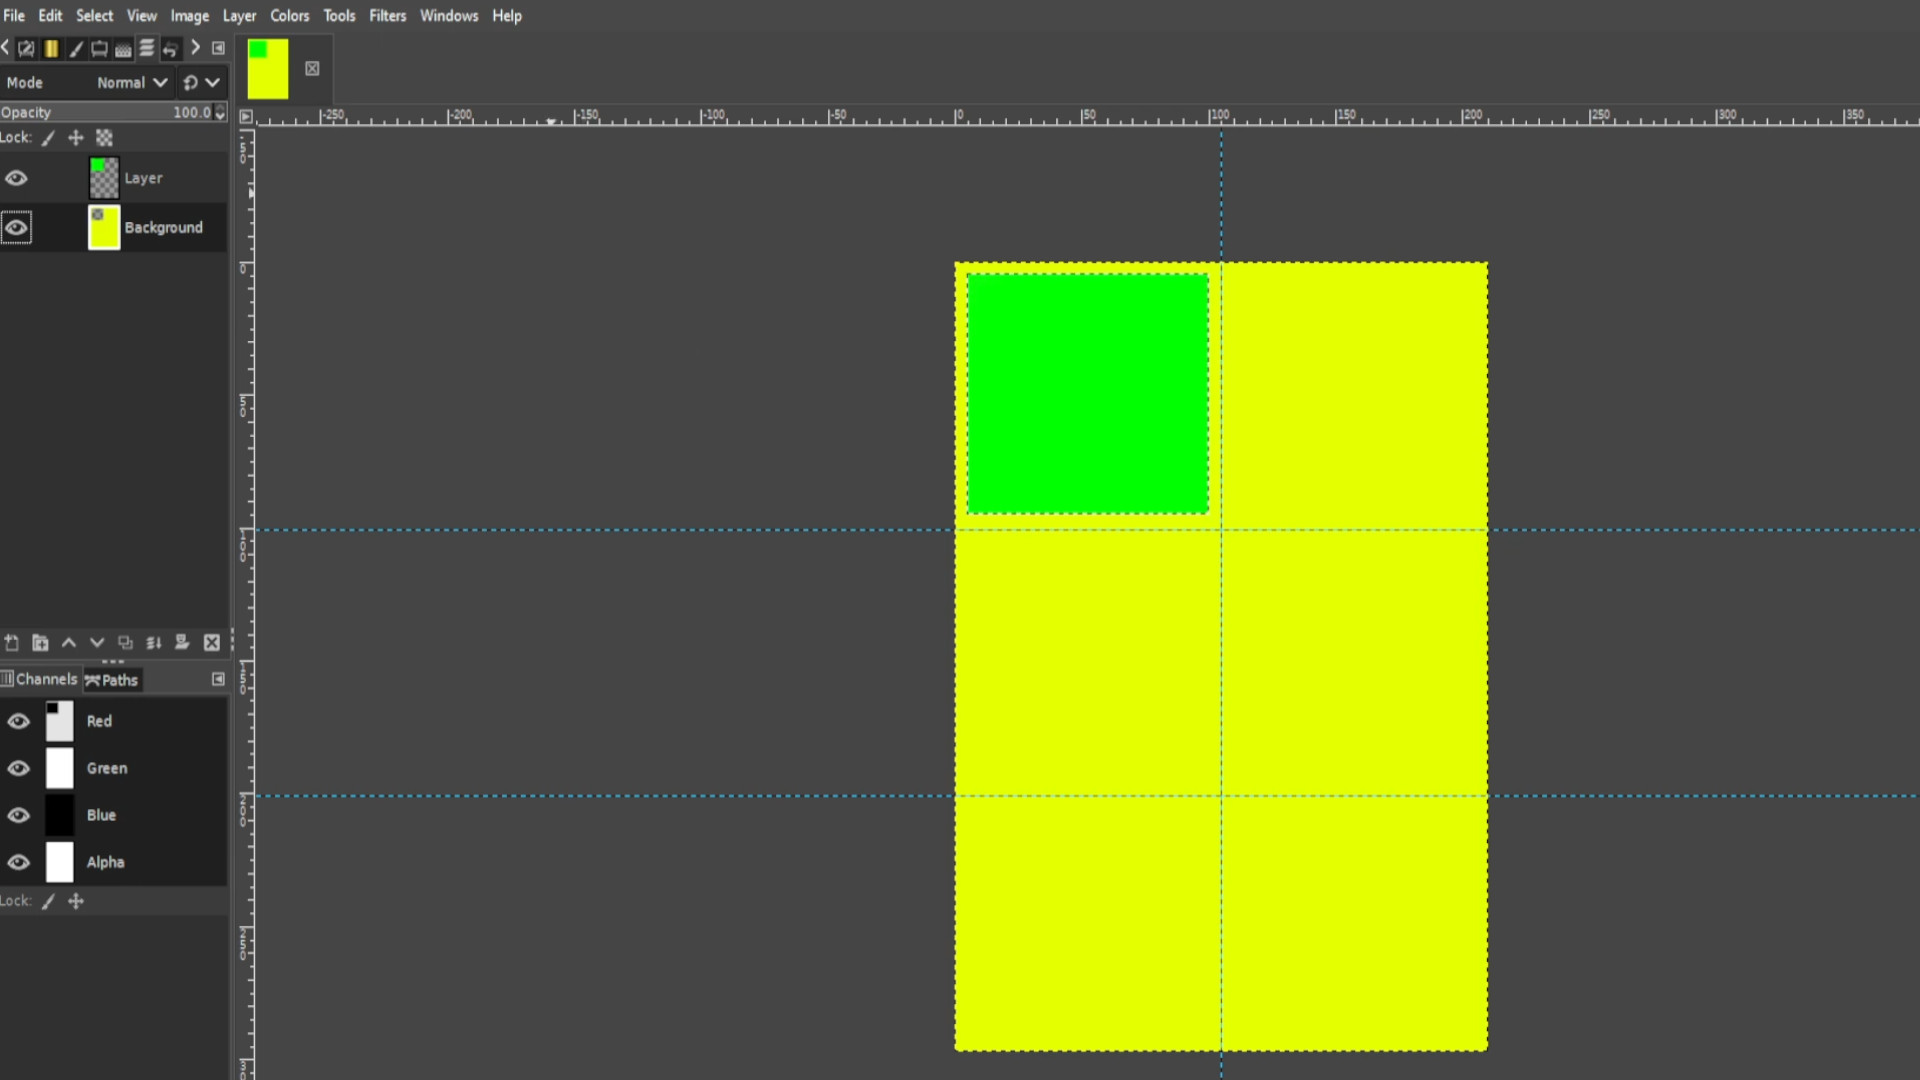
>>>REPEAT>>>STEP>>>6 and>>>7 until you added the>>>BACKGROUND SHAPE to all the boxes.
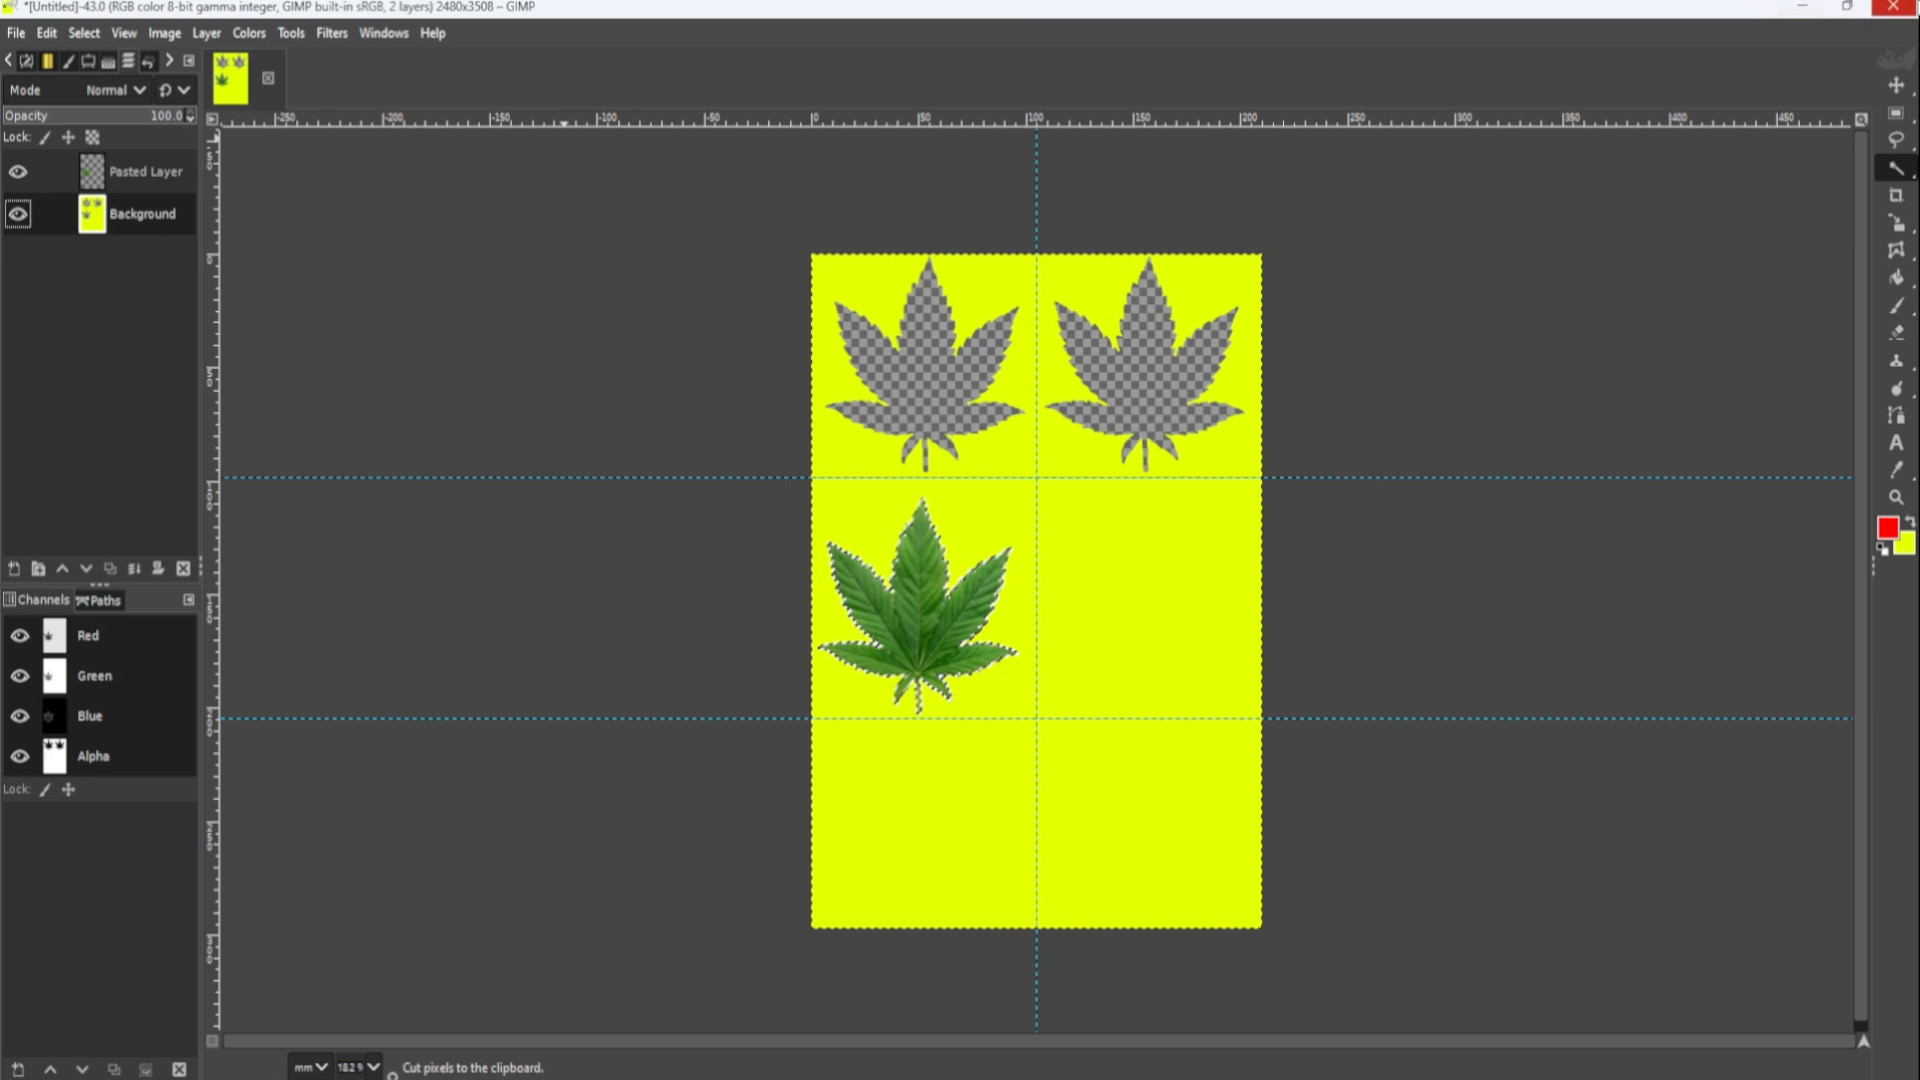
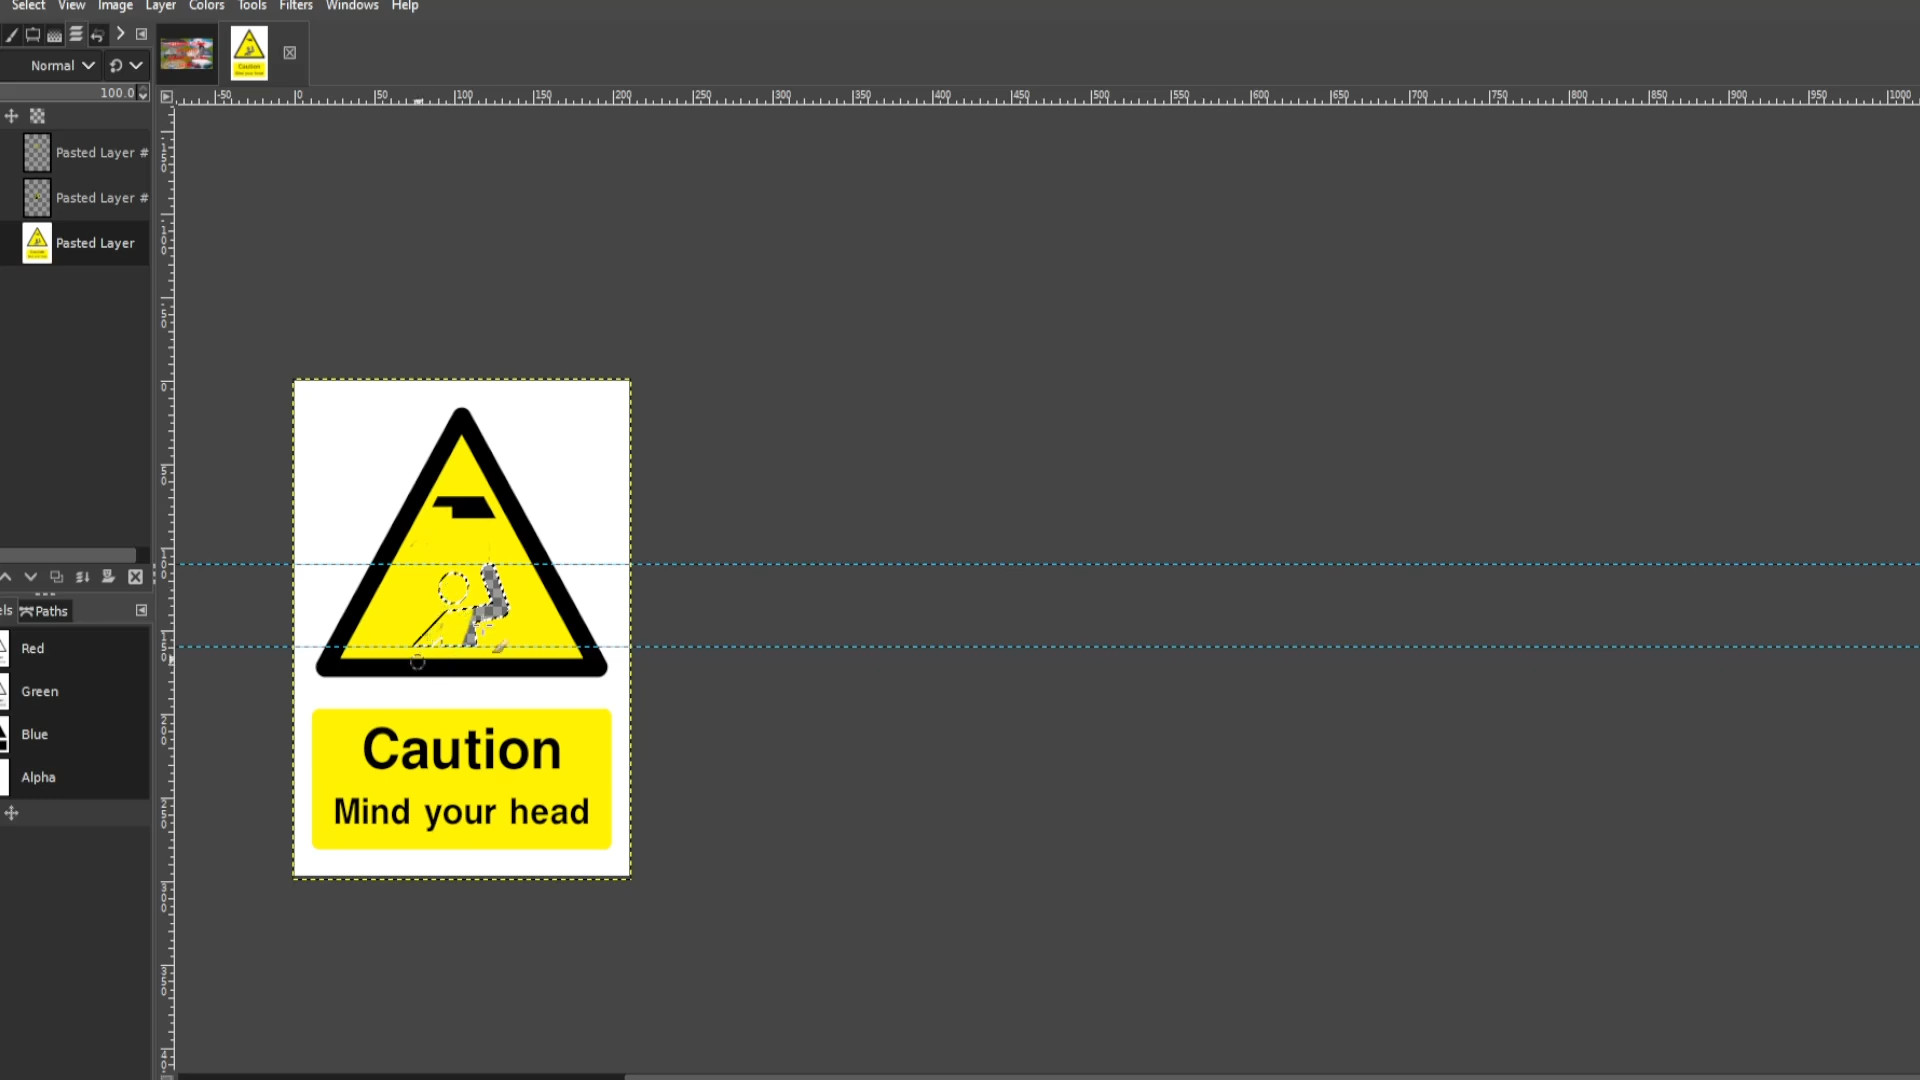
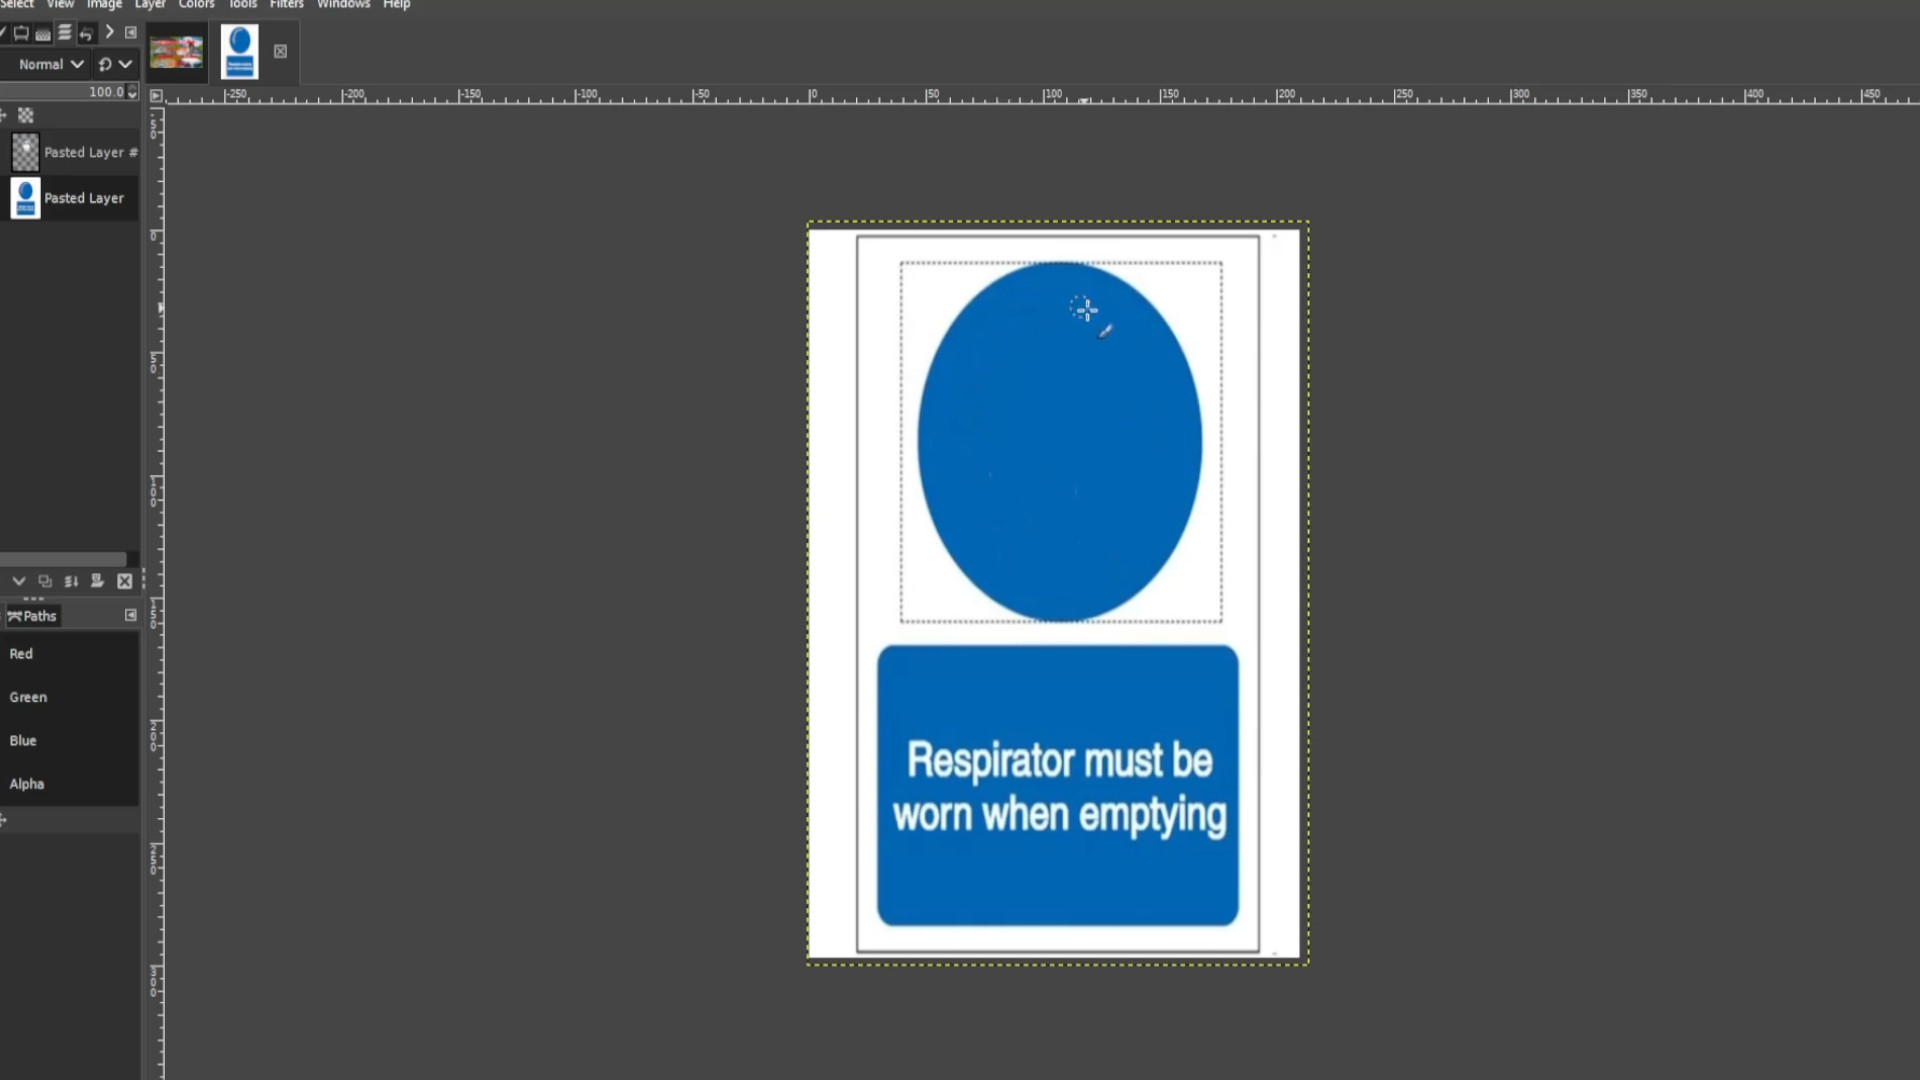
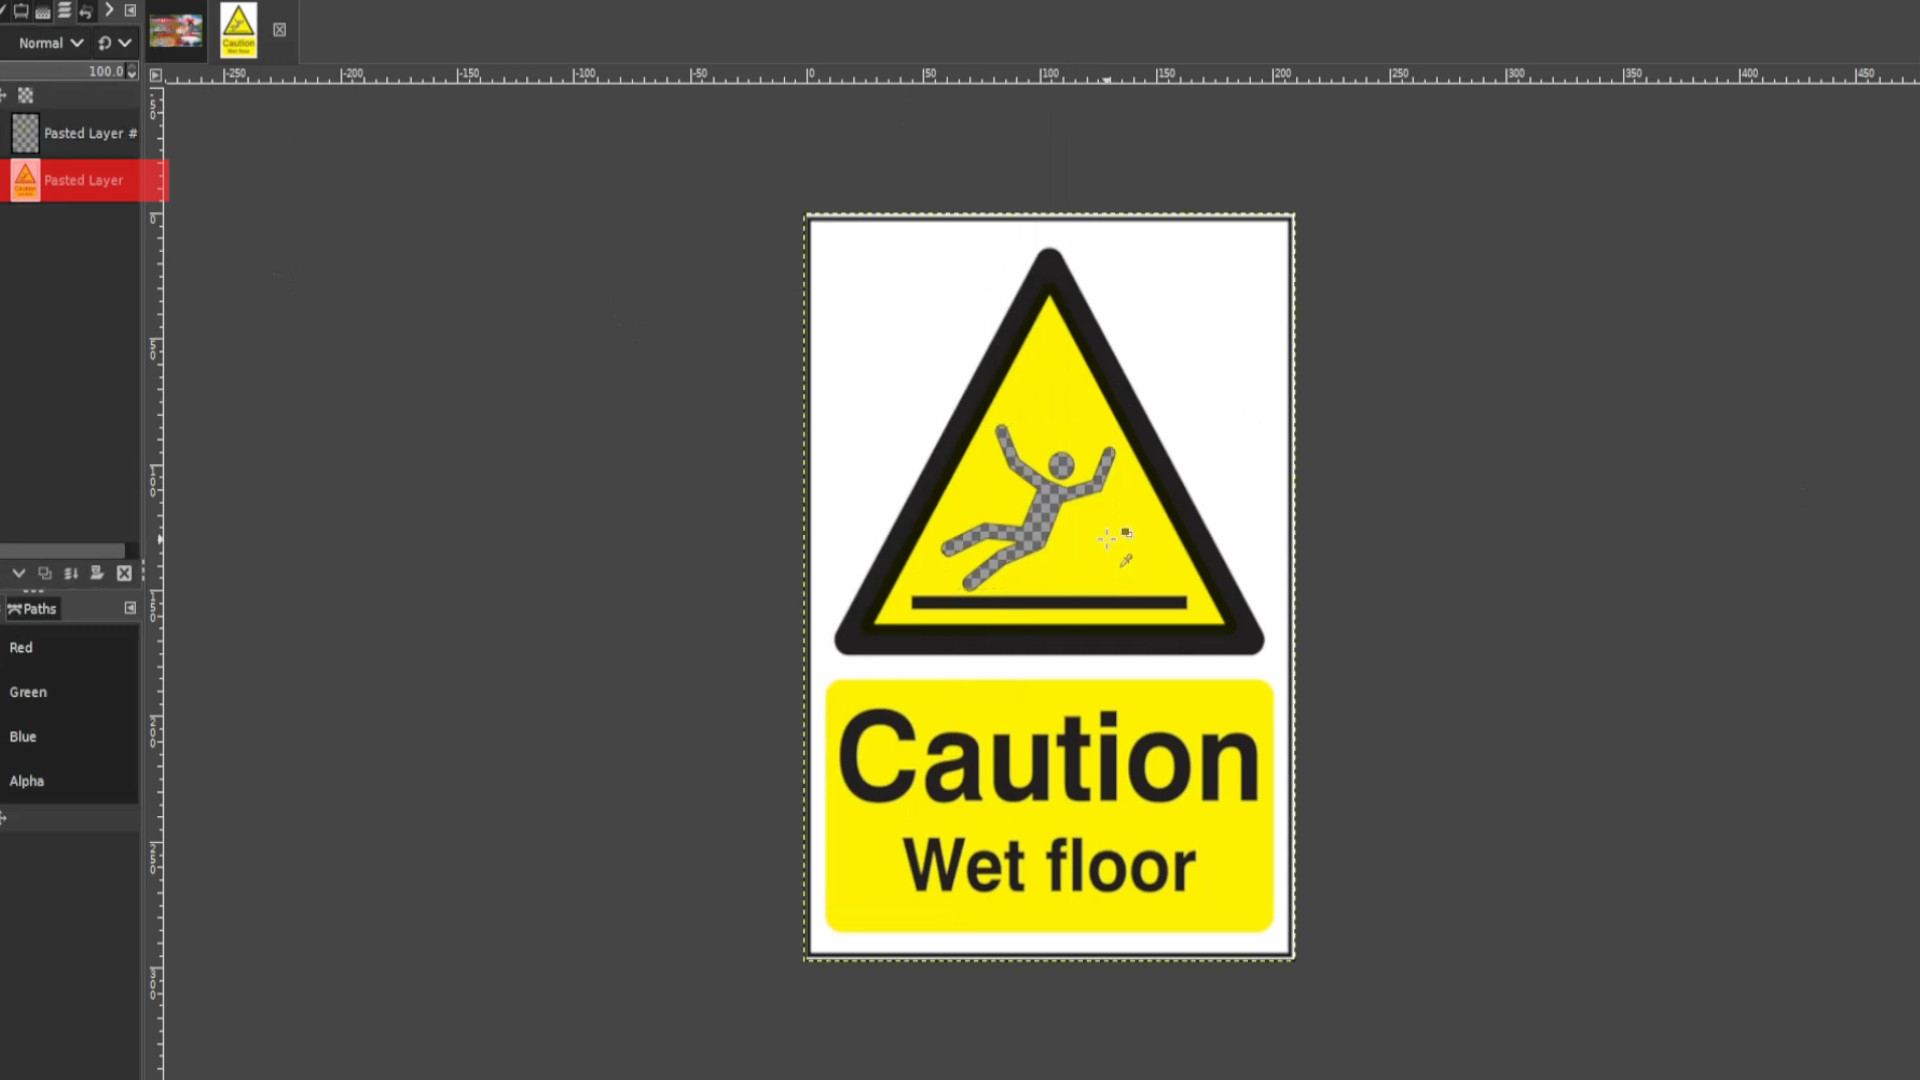
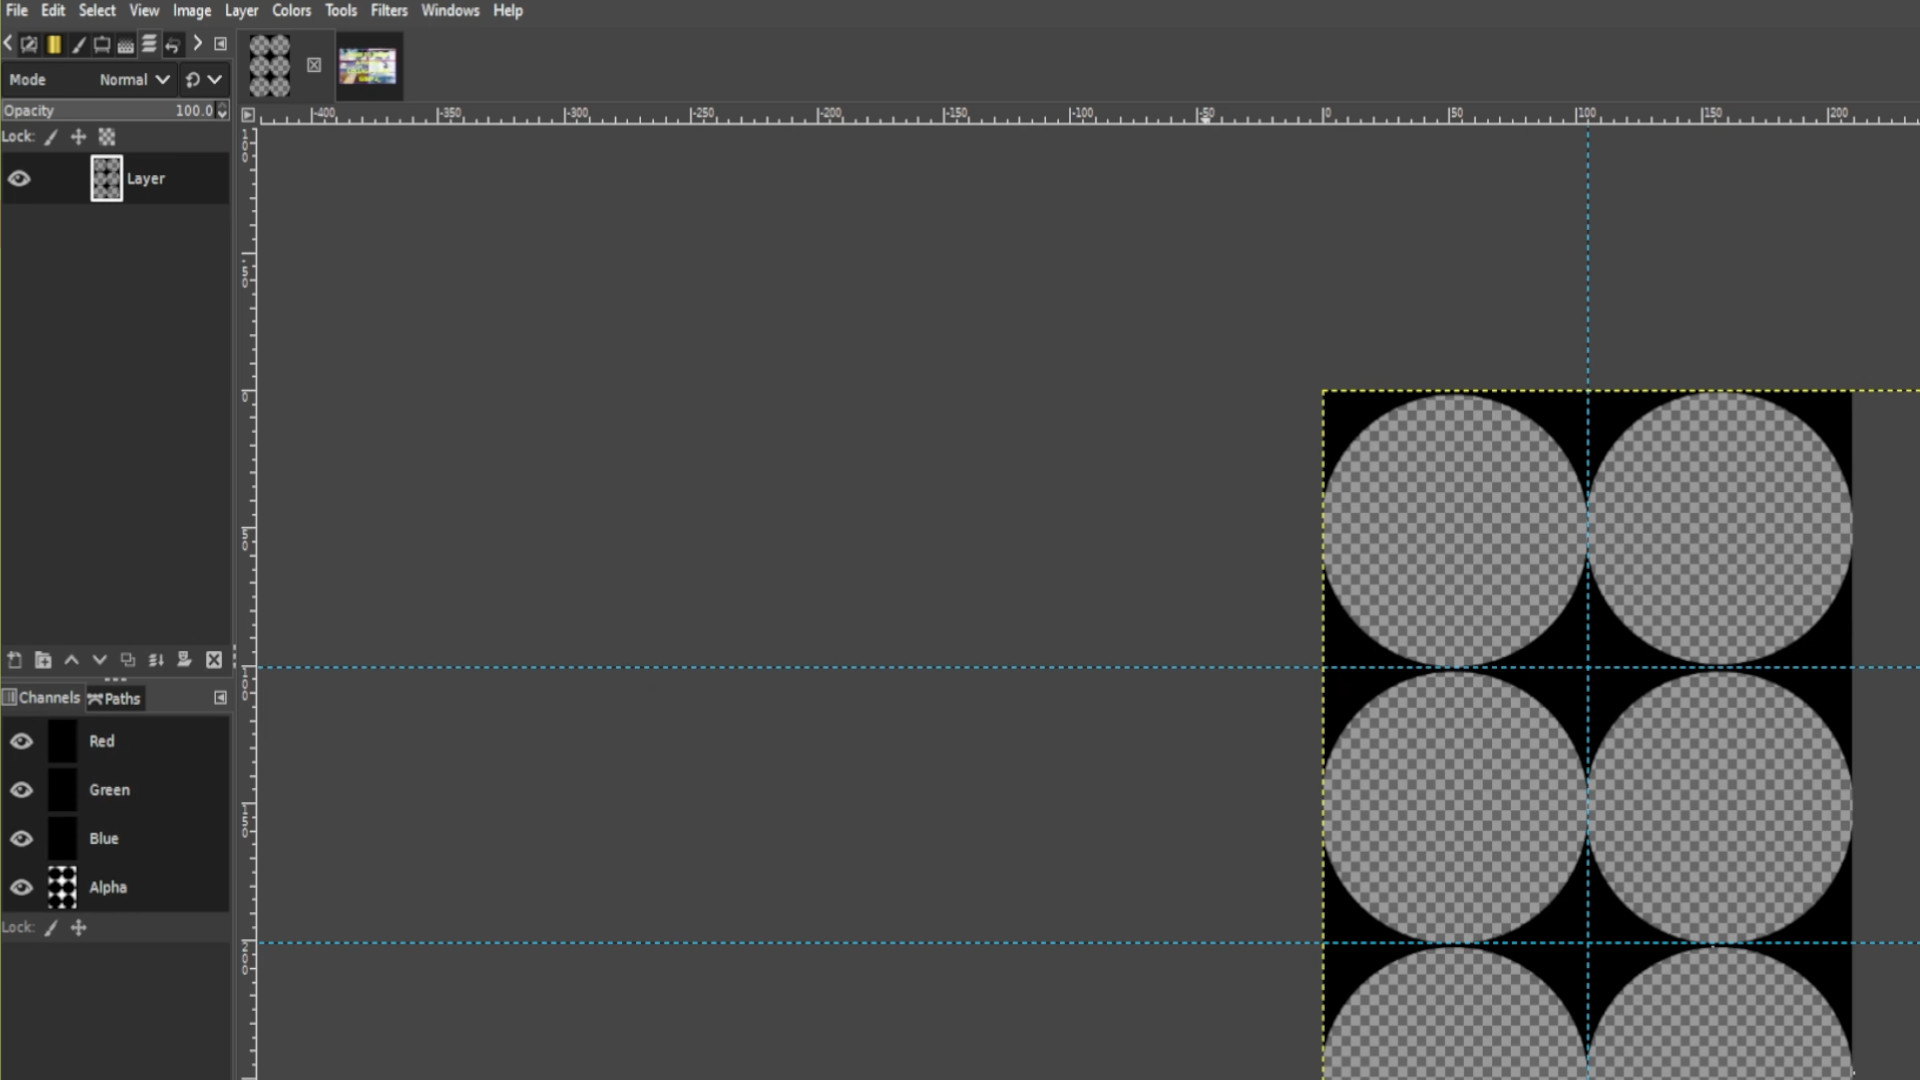
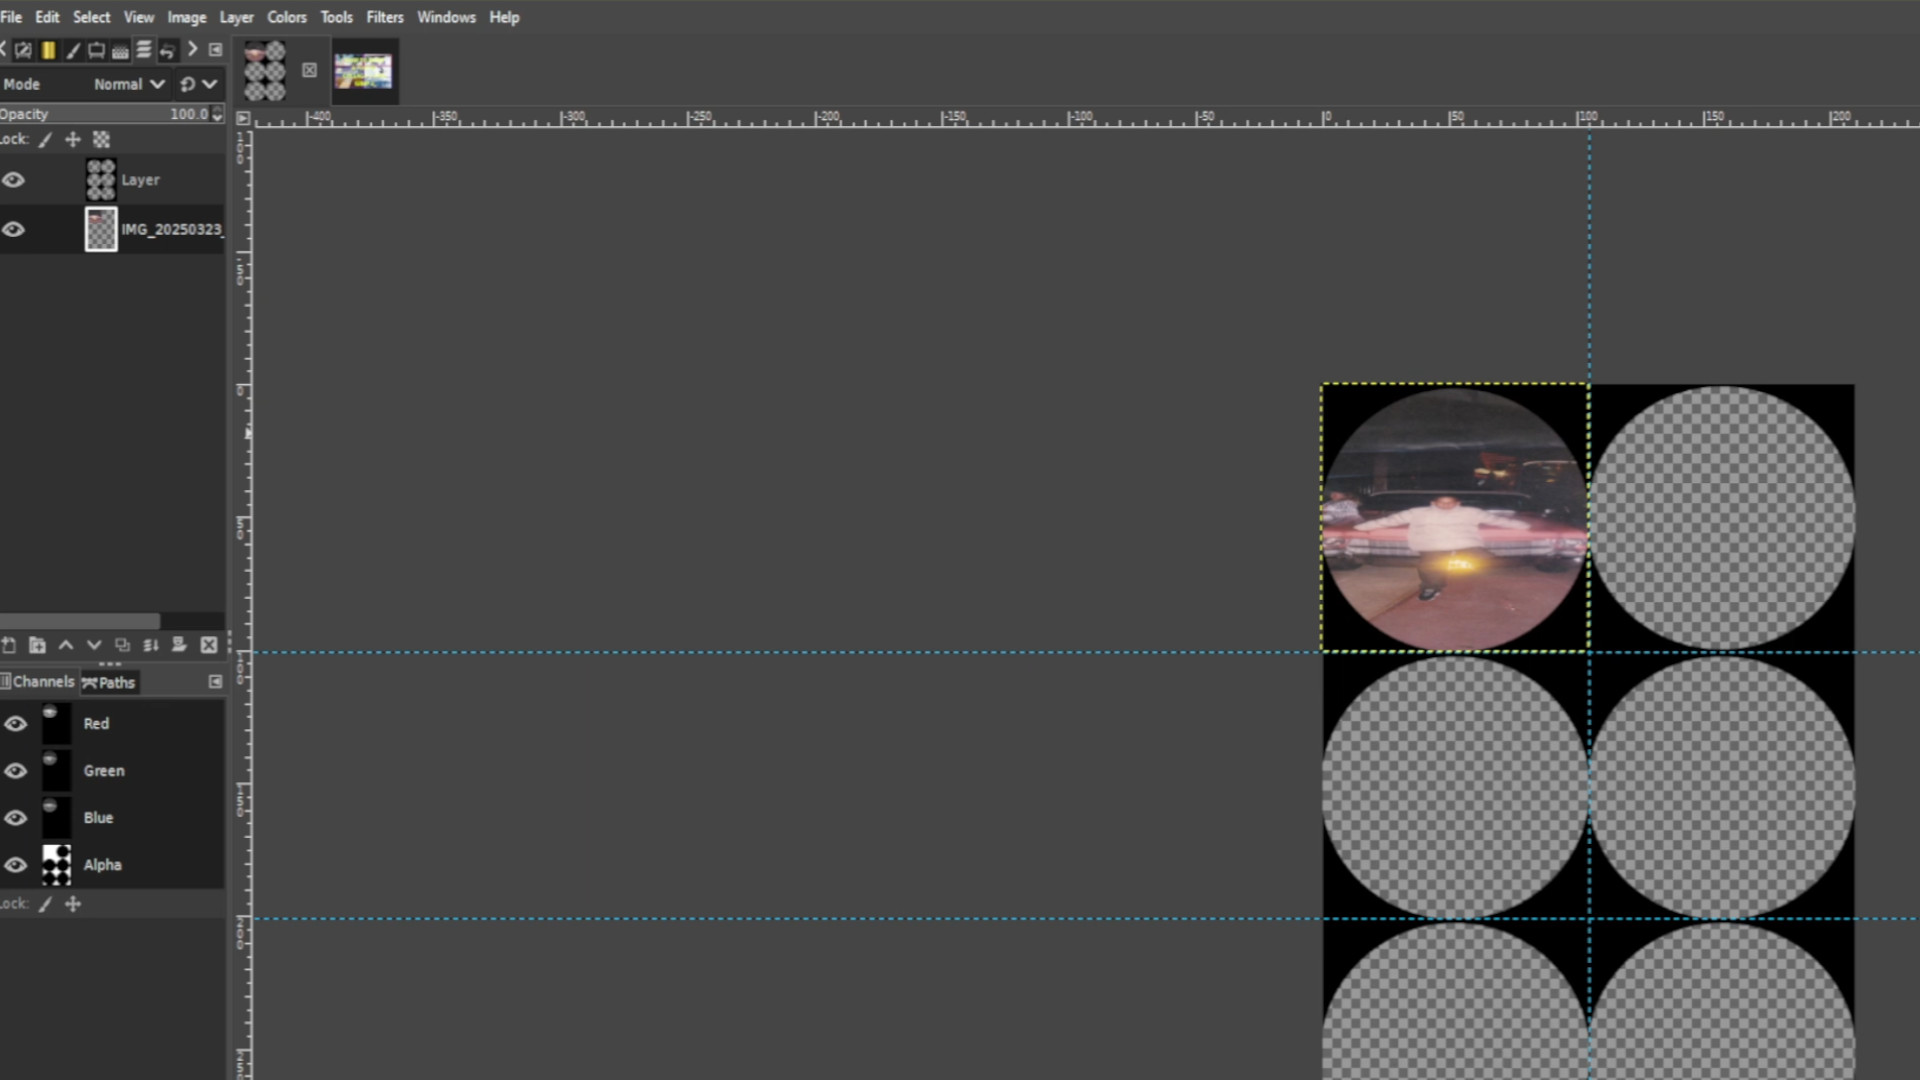
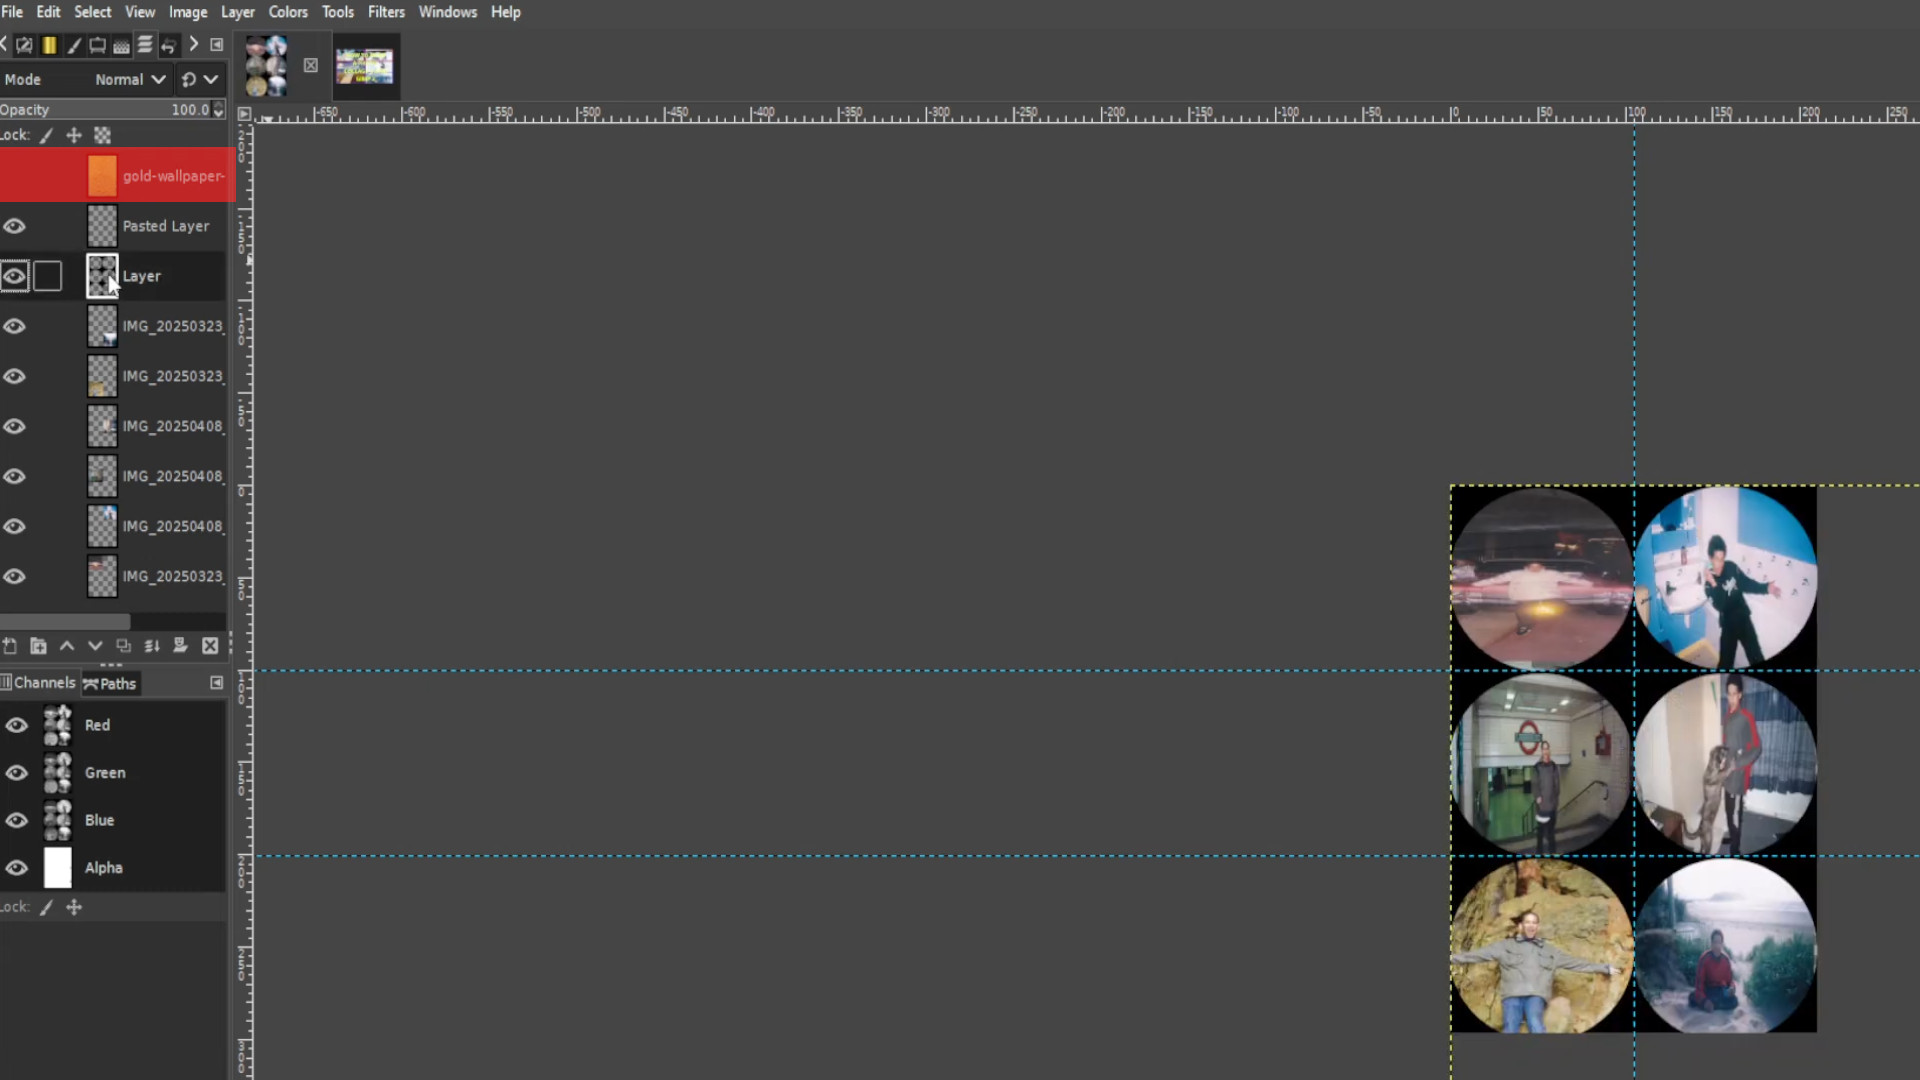
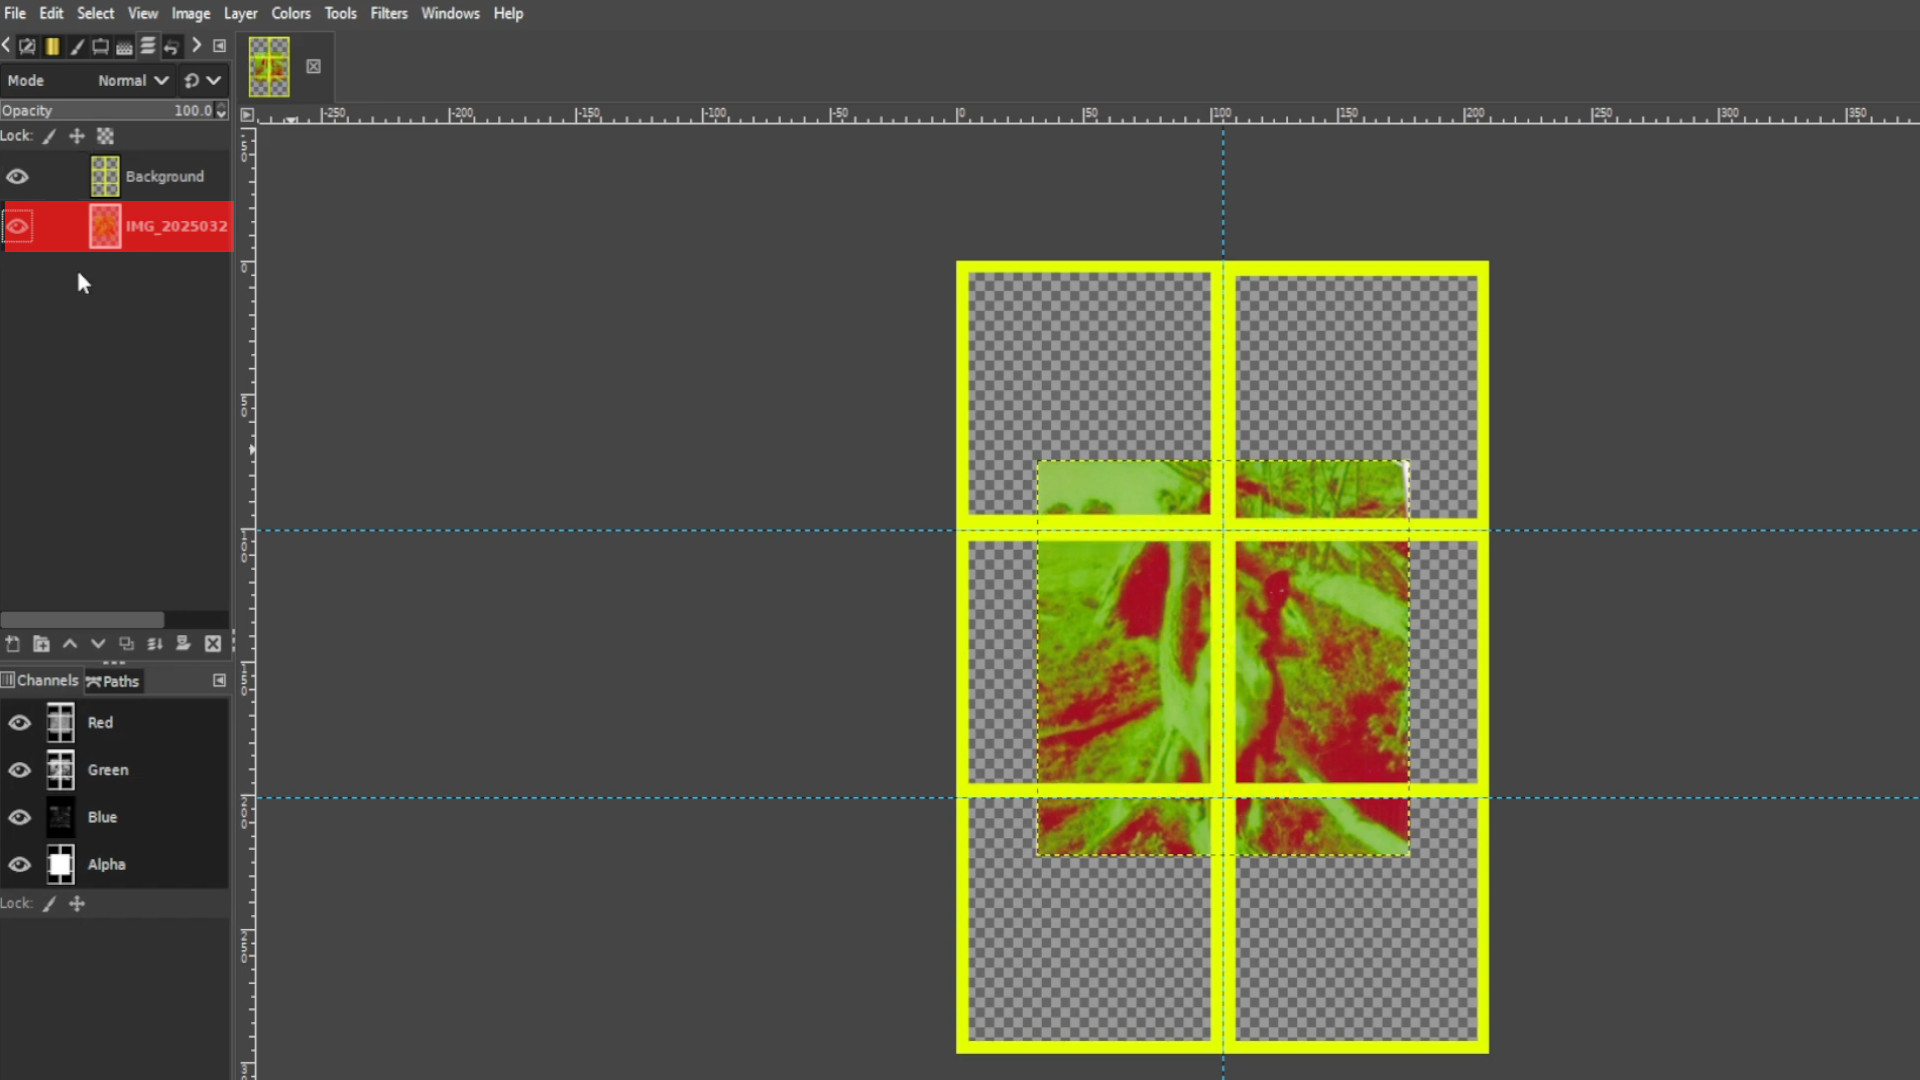
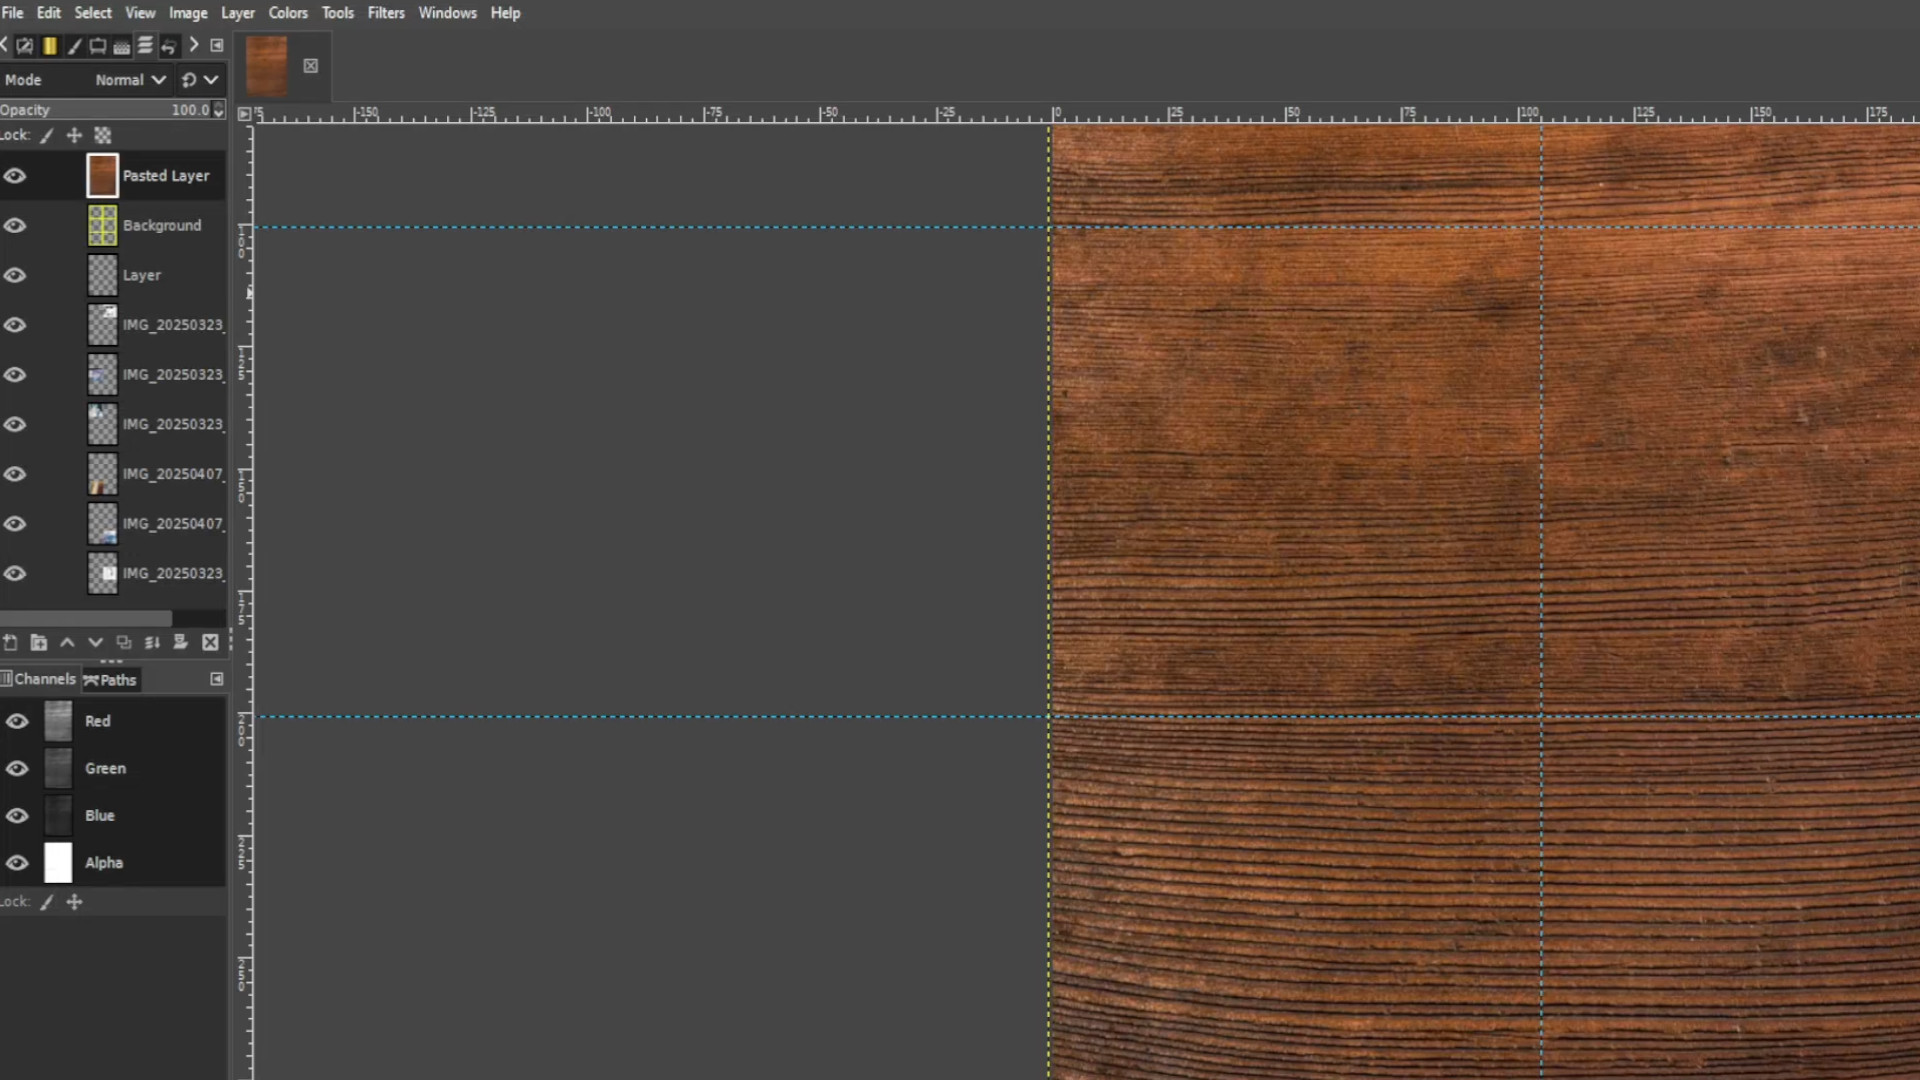
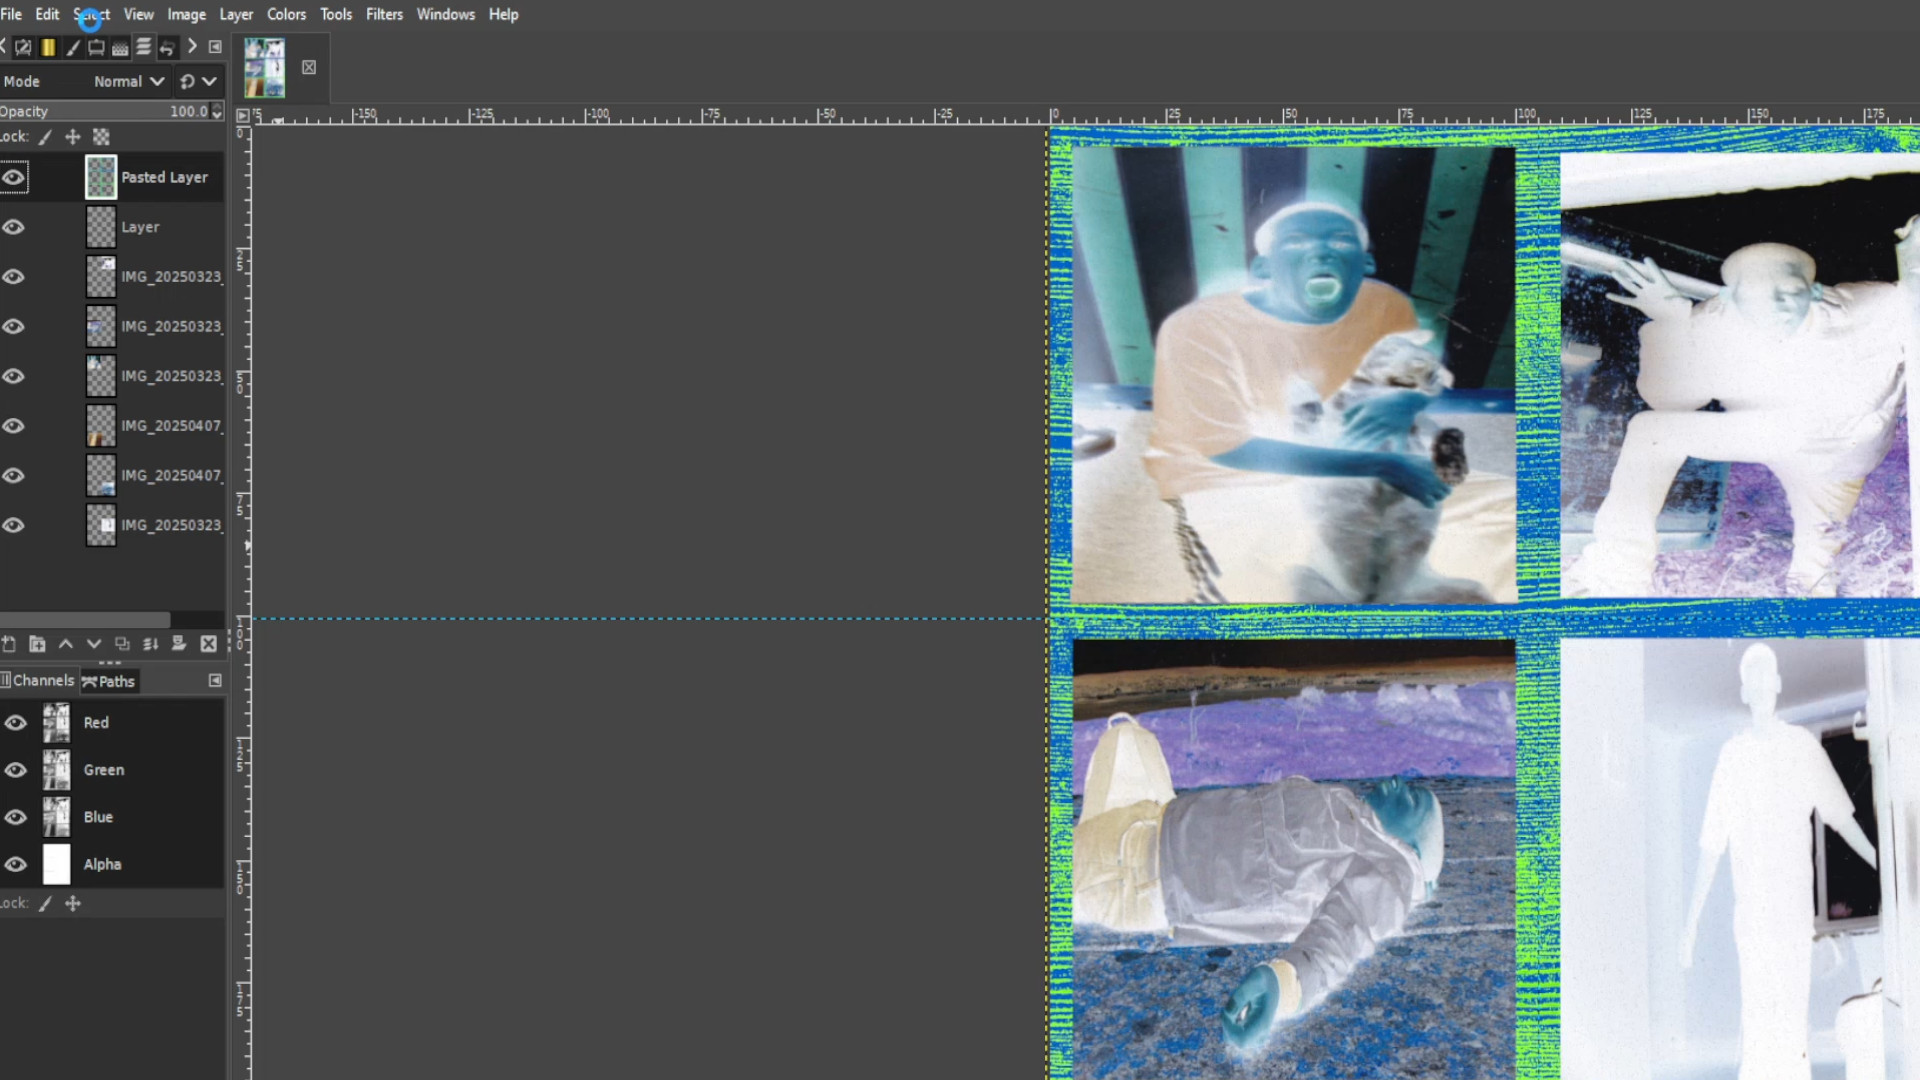
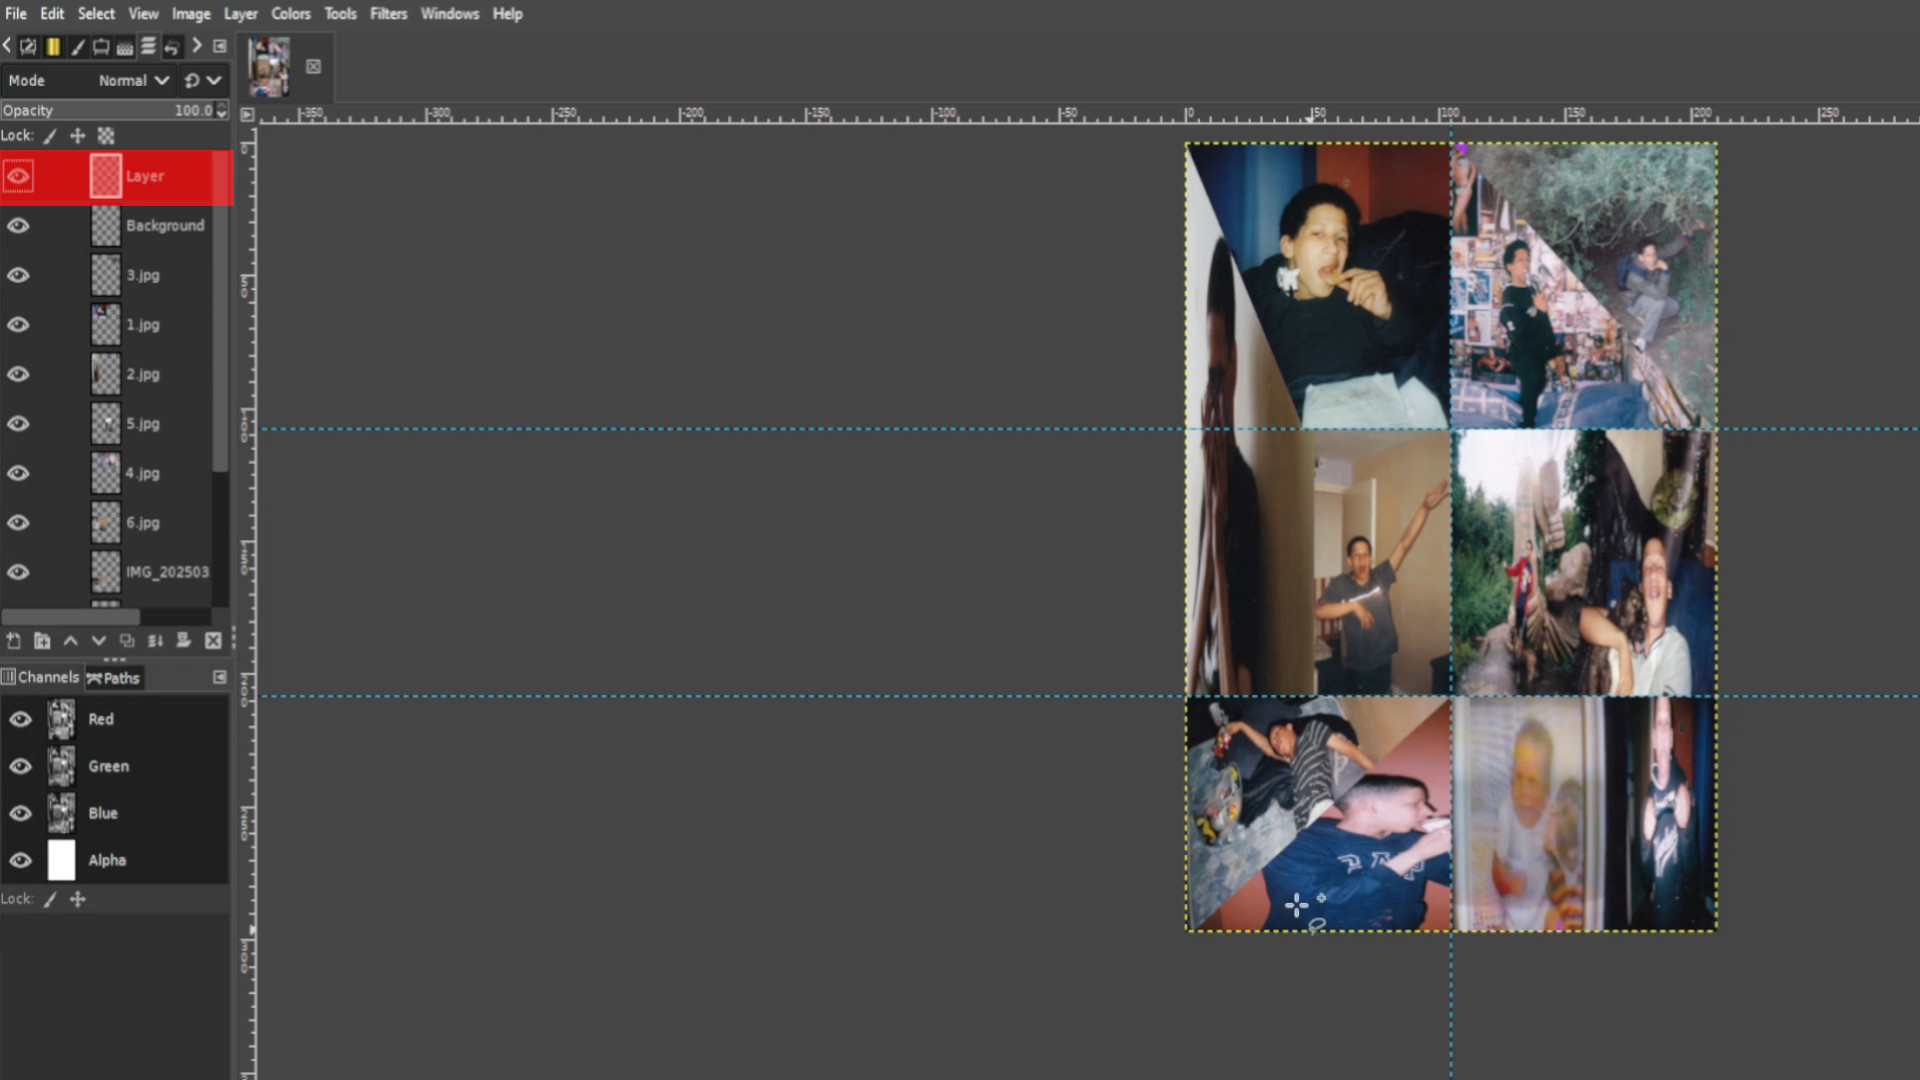
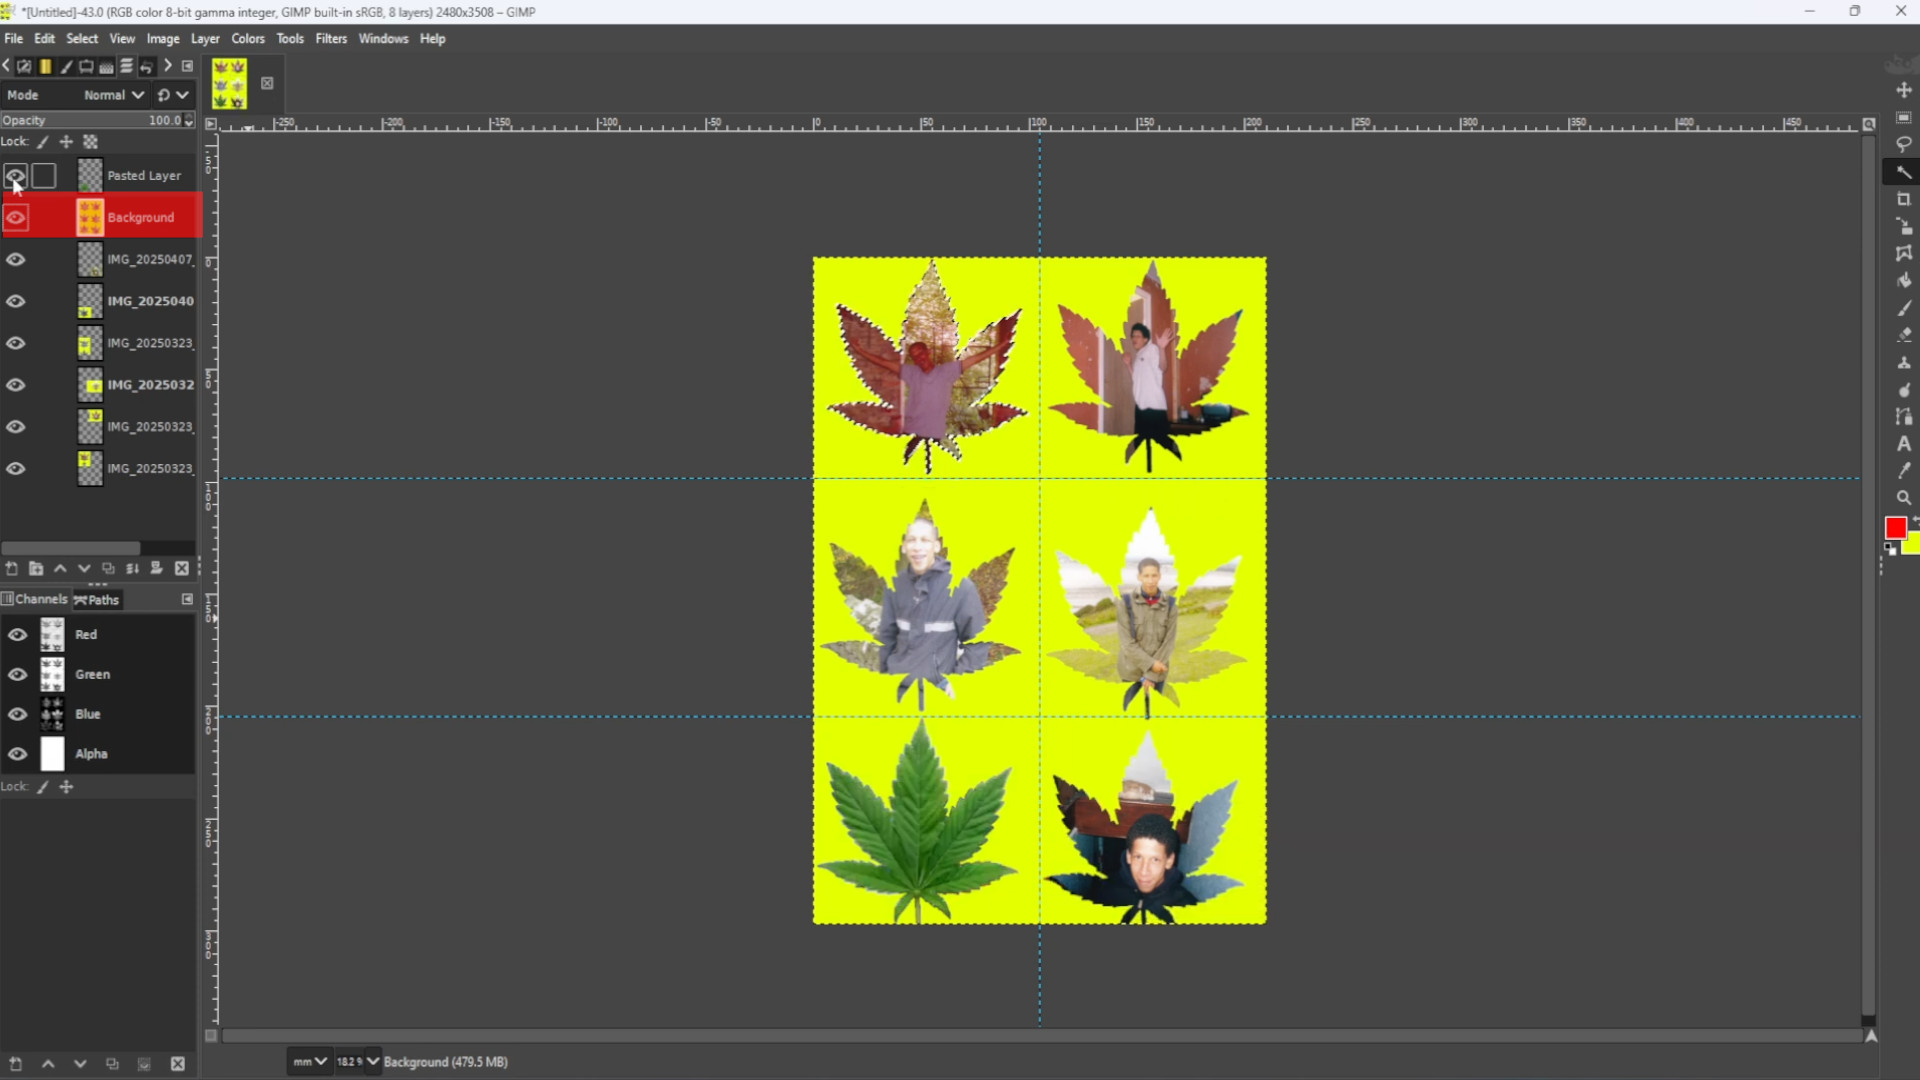
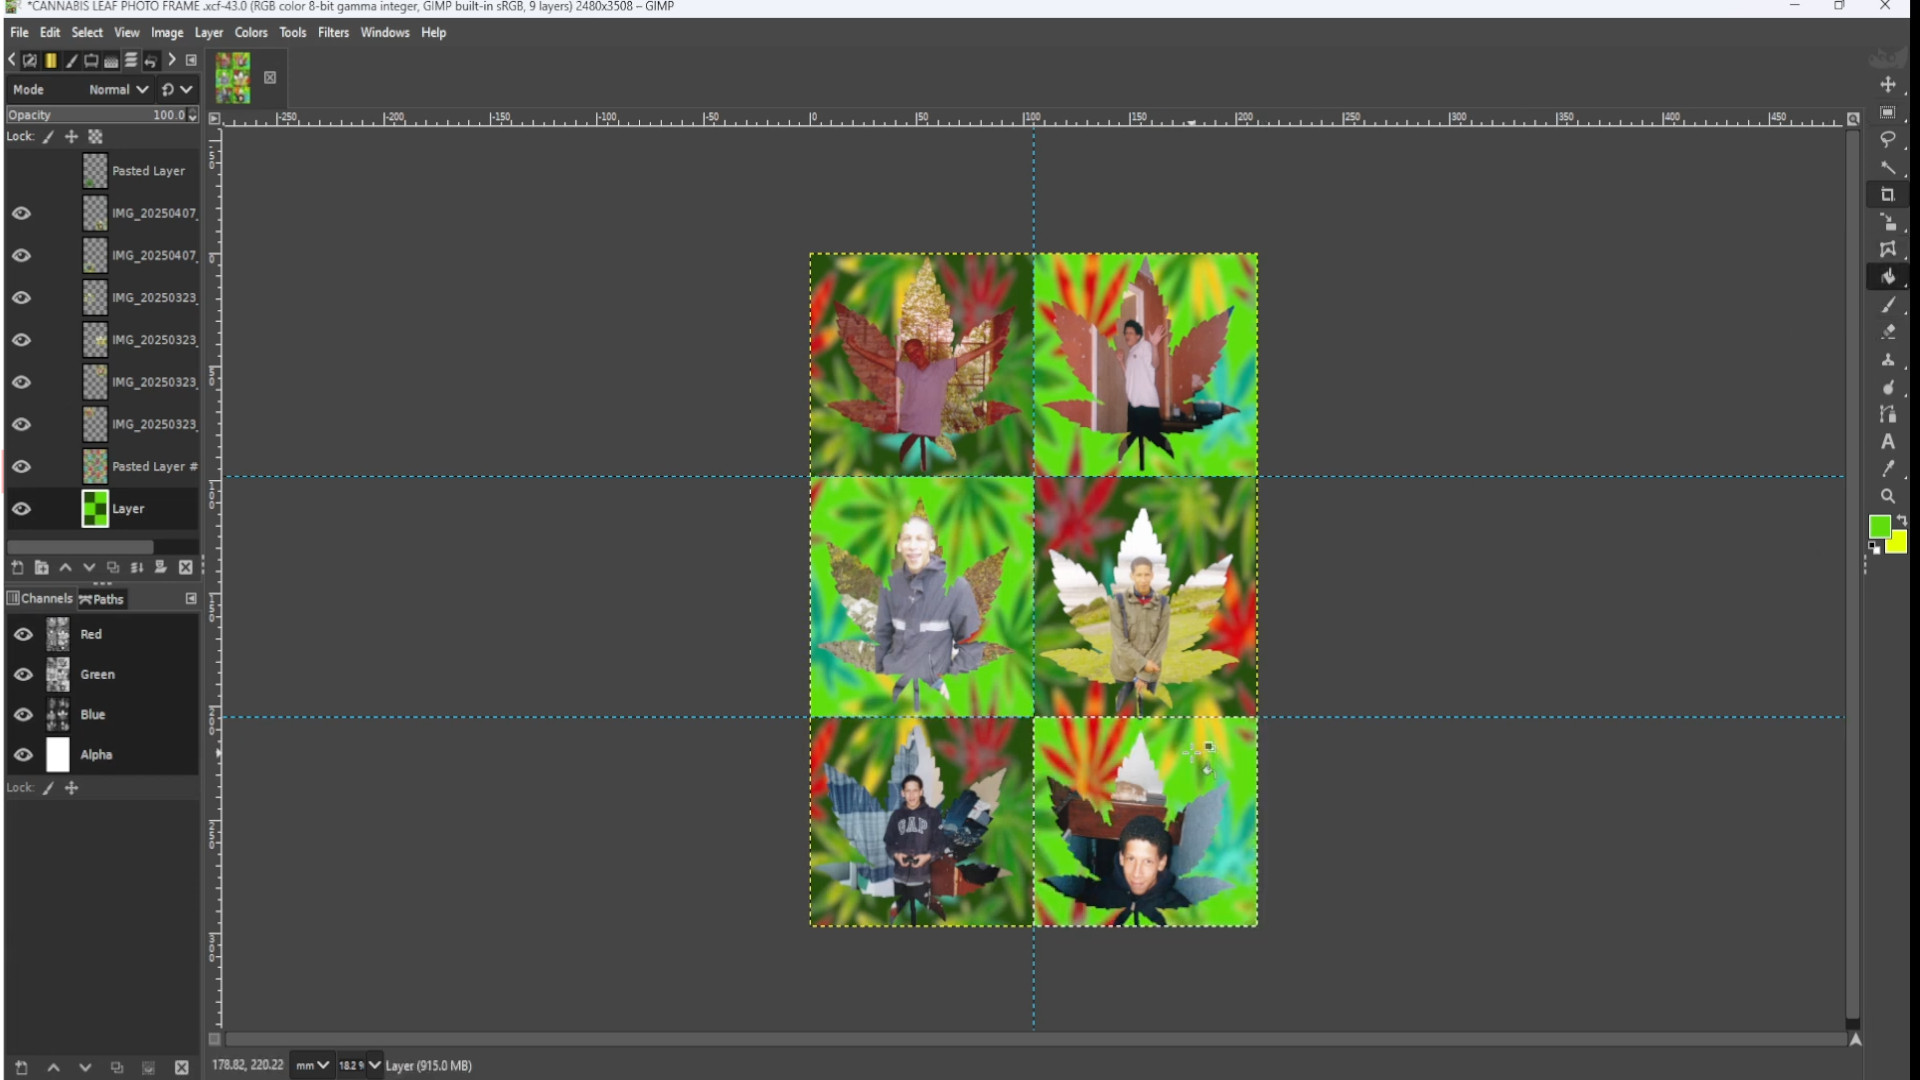
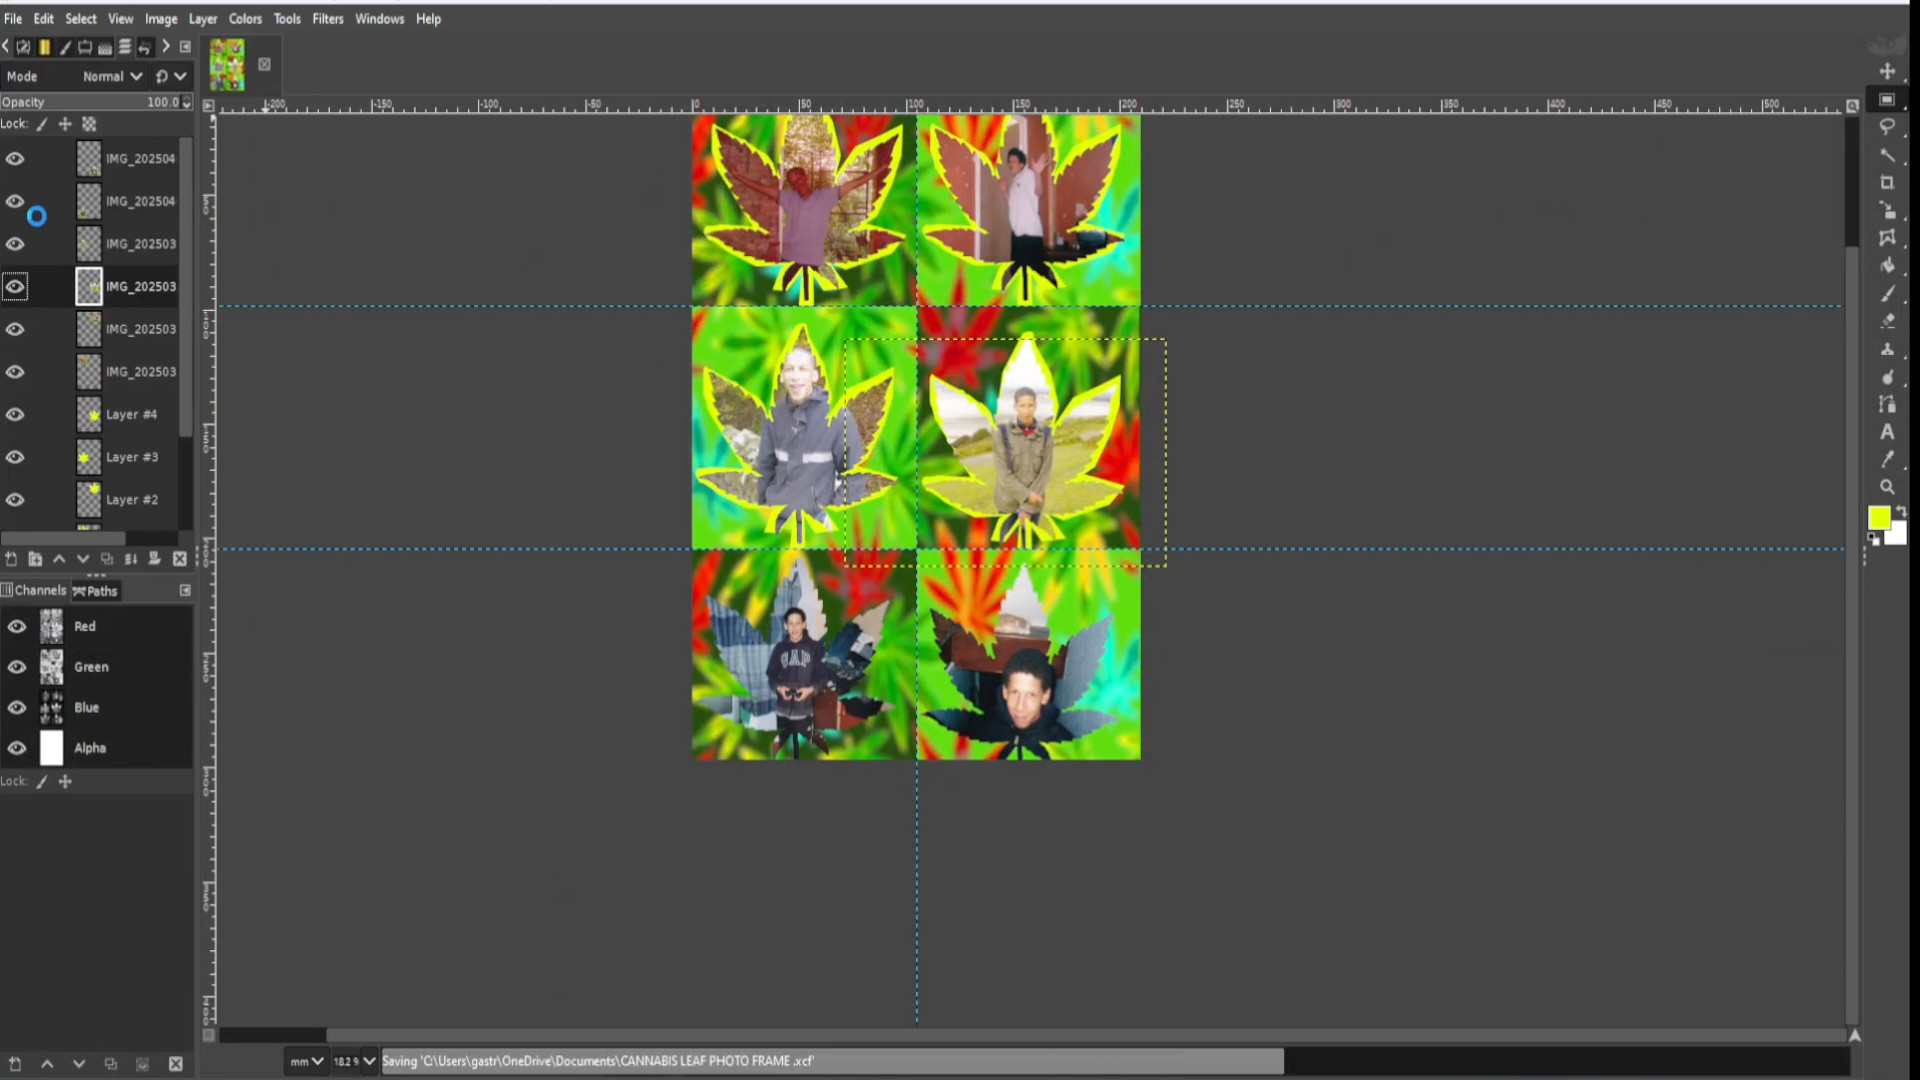
With the>>>SHAPE LAYER in the>>>LEFT HAND SIDE the>>>FIRST LAYER in the>>>LAYERS PANEL>>>TURN OFF the>>>LAYER by>>>CLICKING on the>>>FIRST EYE.
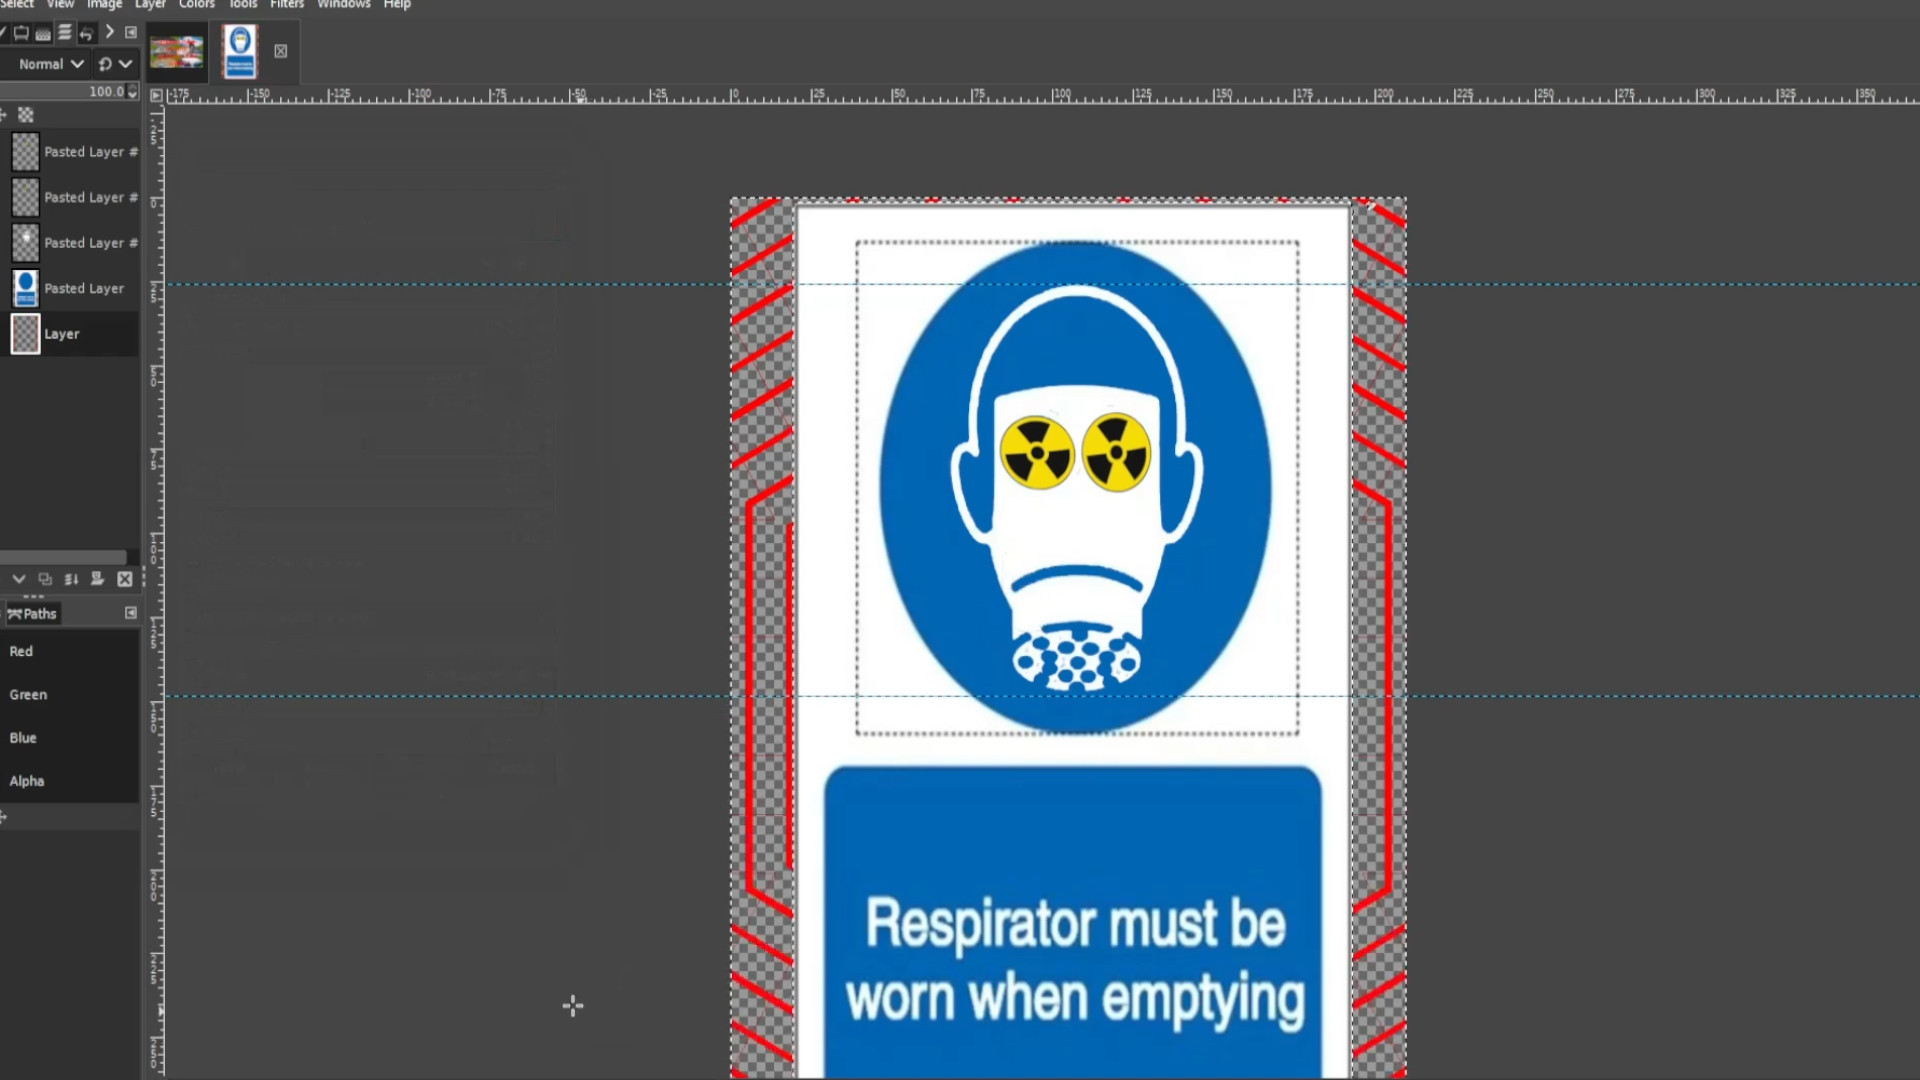
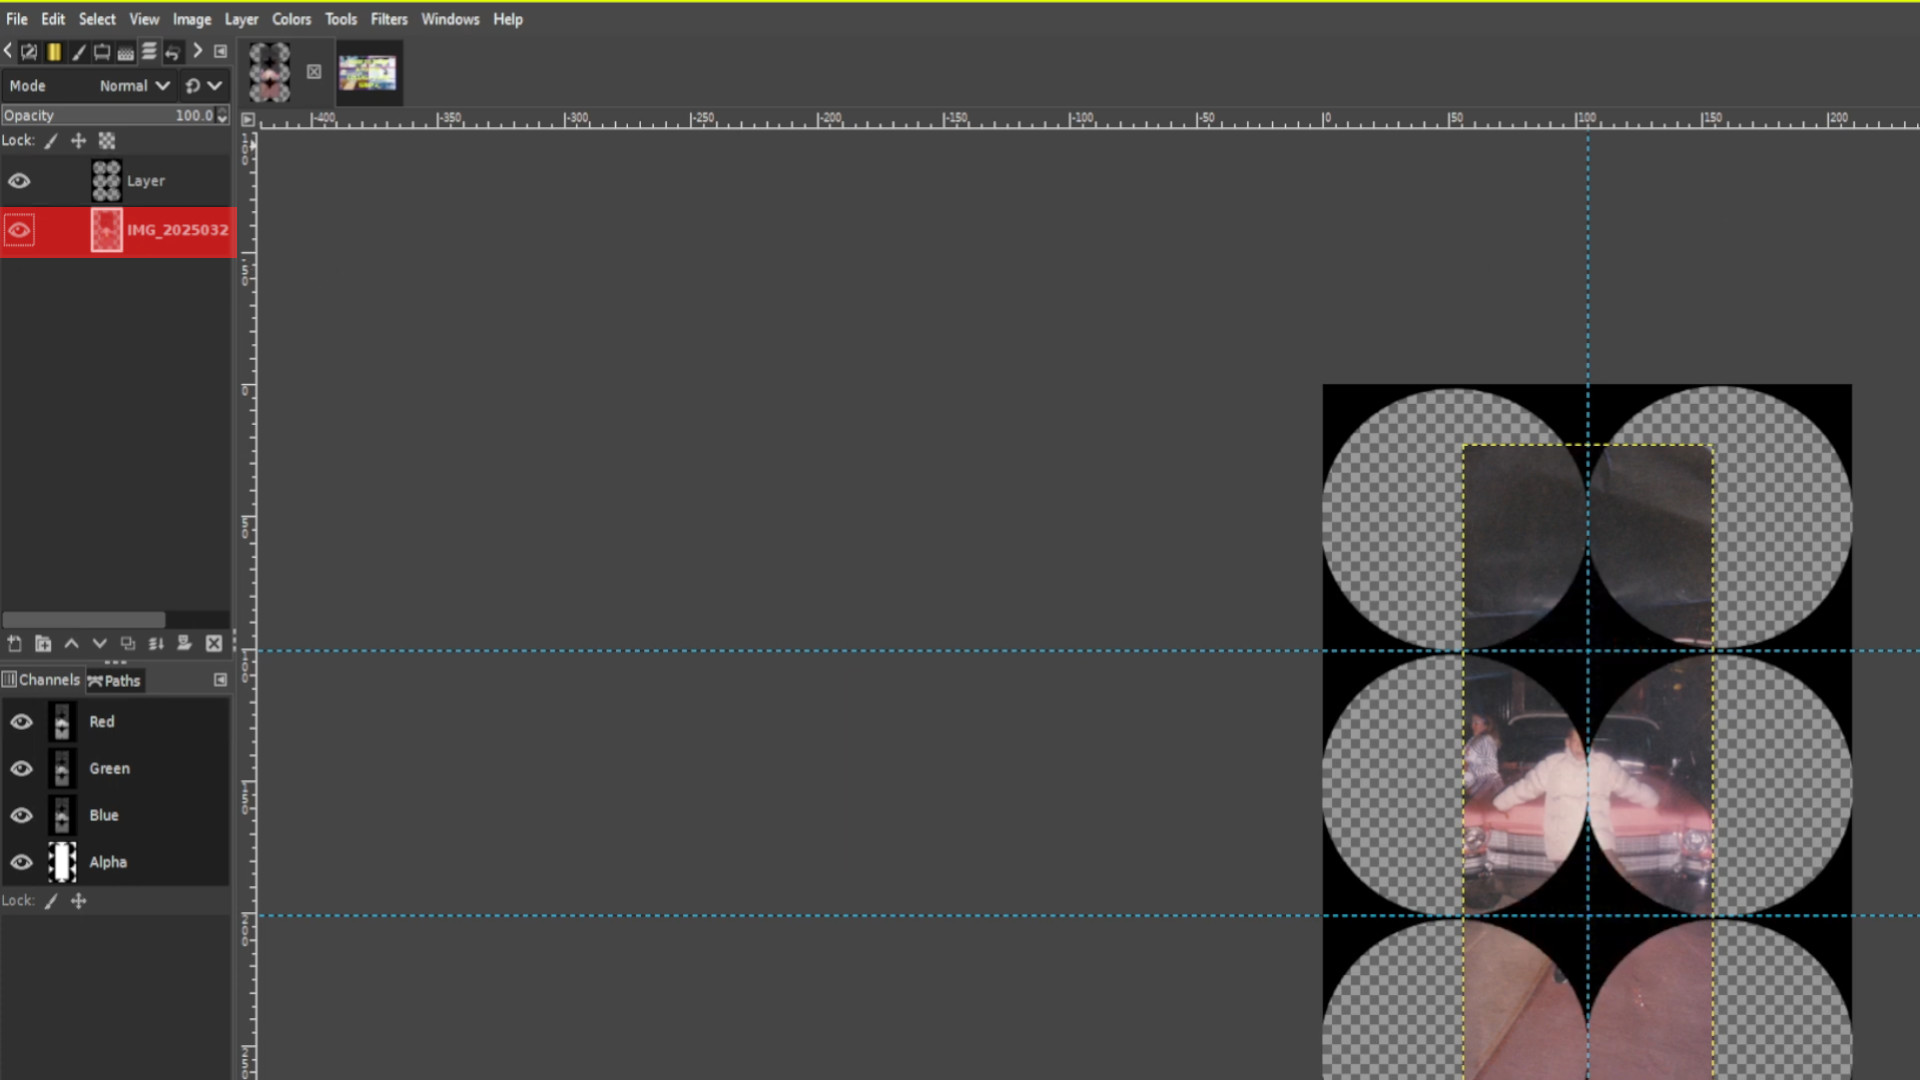
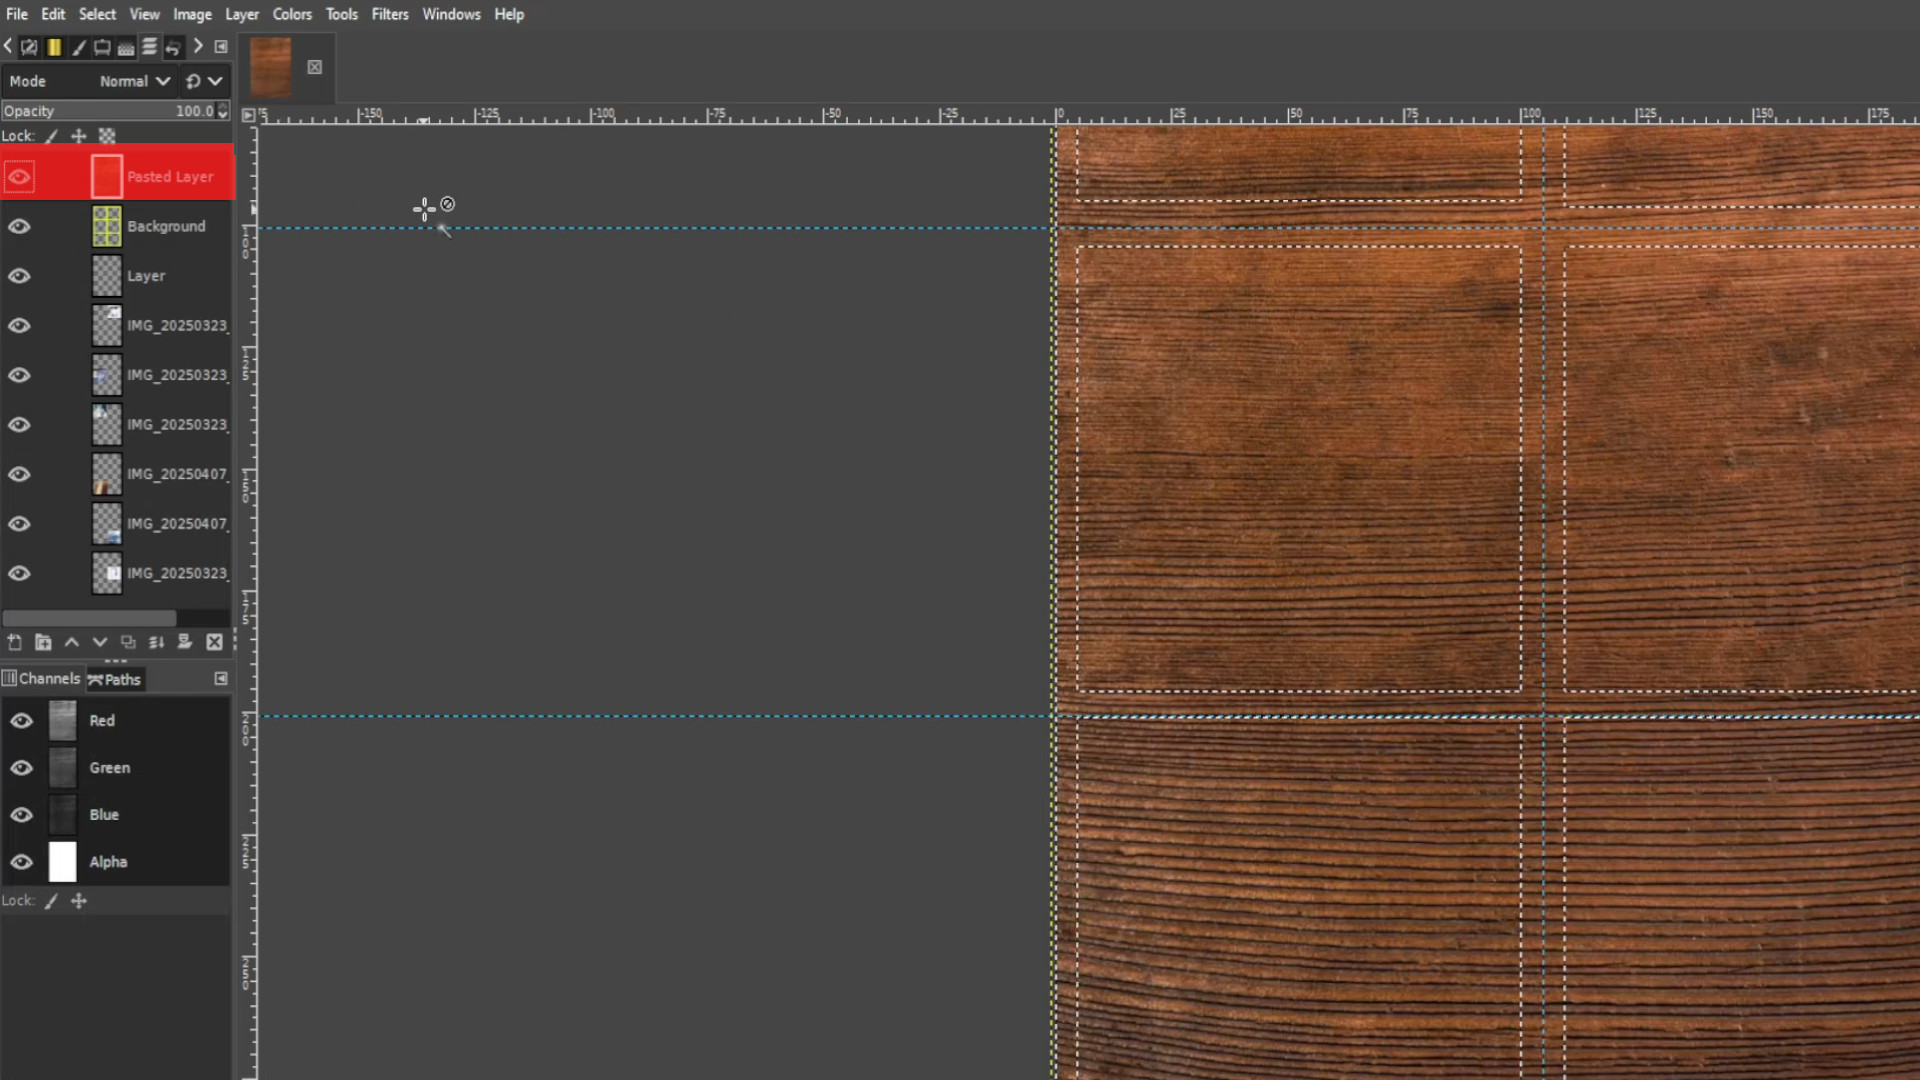
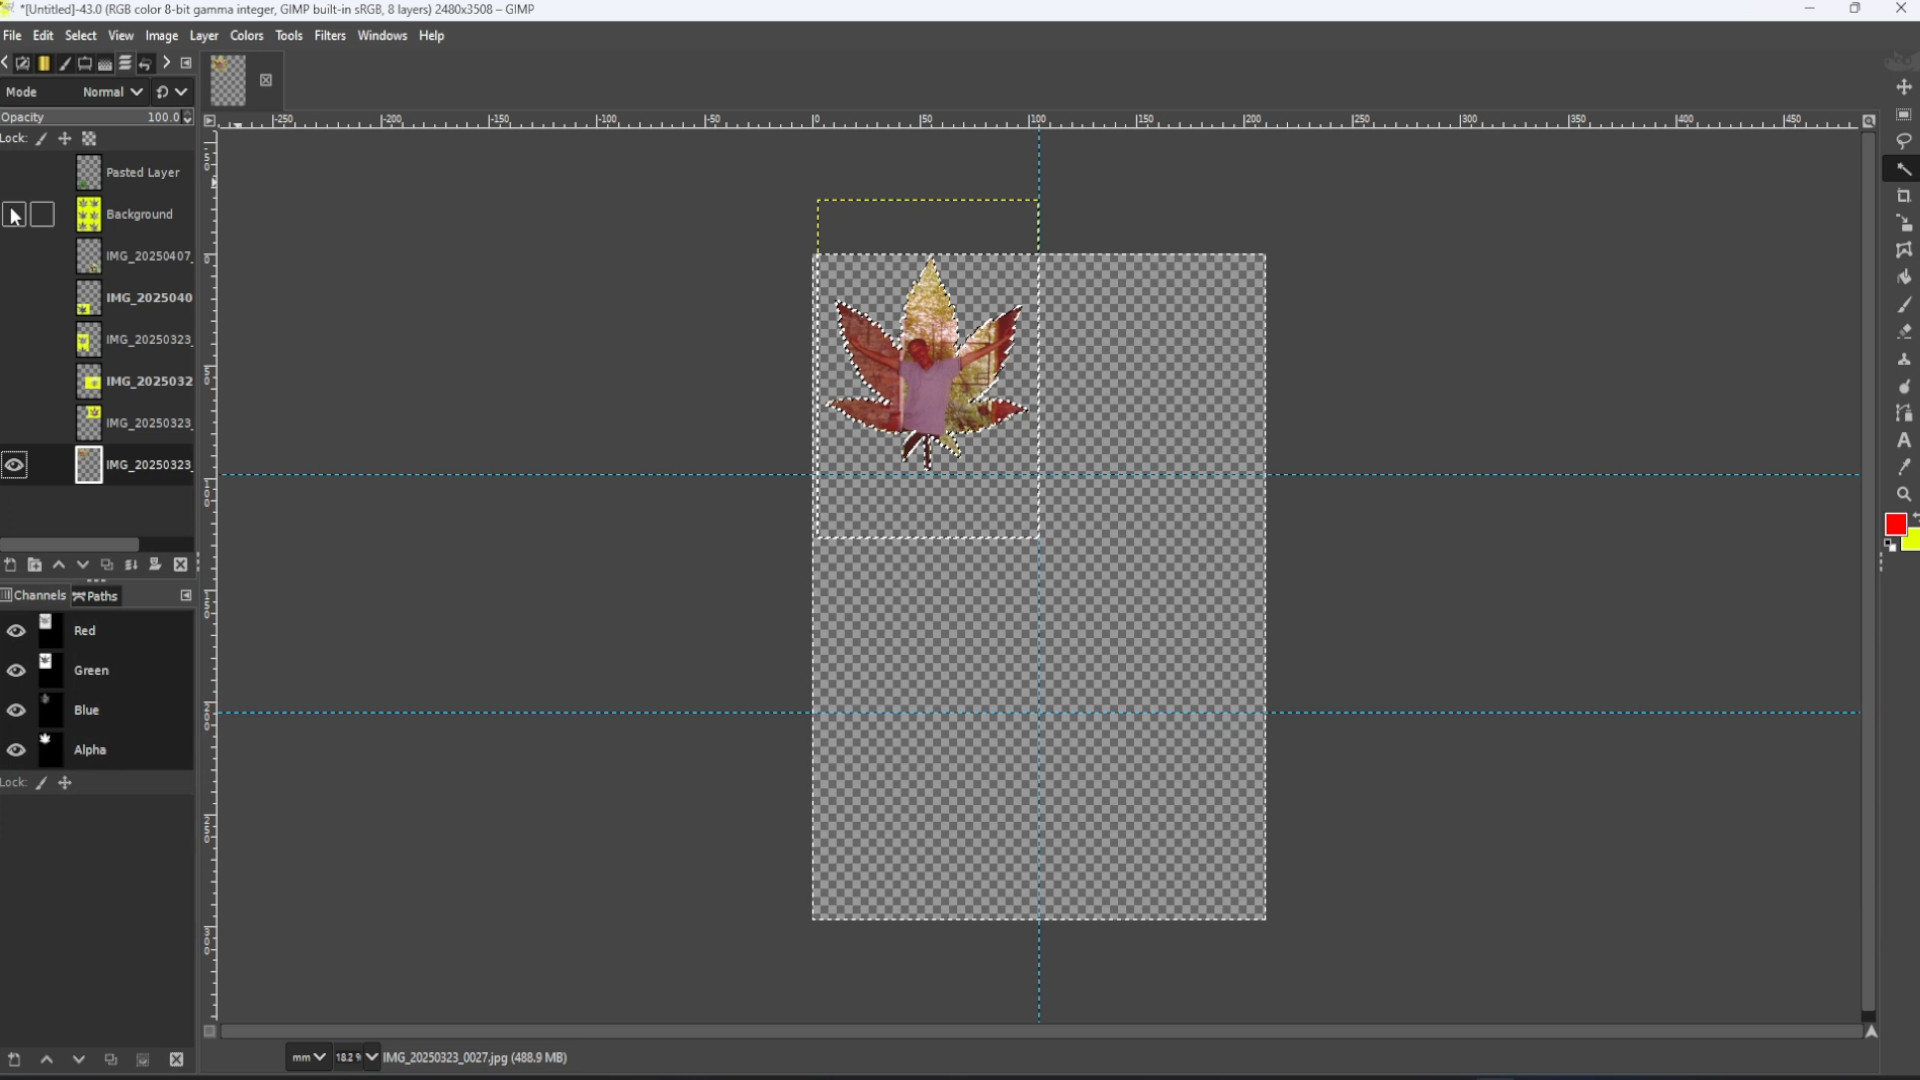
Now with the>>>BOTTOM LAYER SELECTED>>>OPEN a>>>FILE or>>>DRAG AND DROP FILE into Gimp and if not already>>>PLACE at the>>>BOTTOM of the>>>LAYERS in the>>>LAYERS PANEL so the image is behind the shapes.
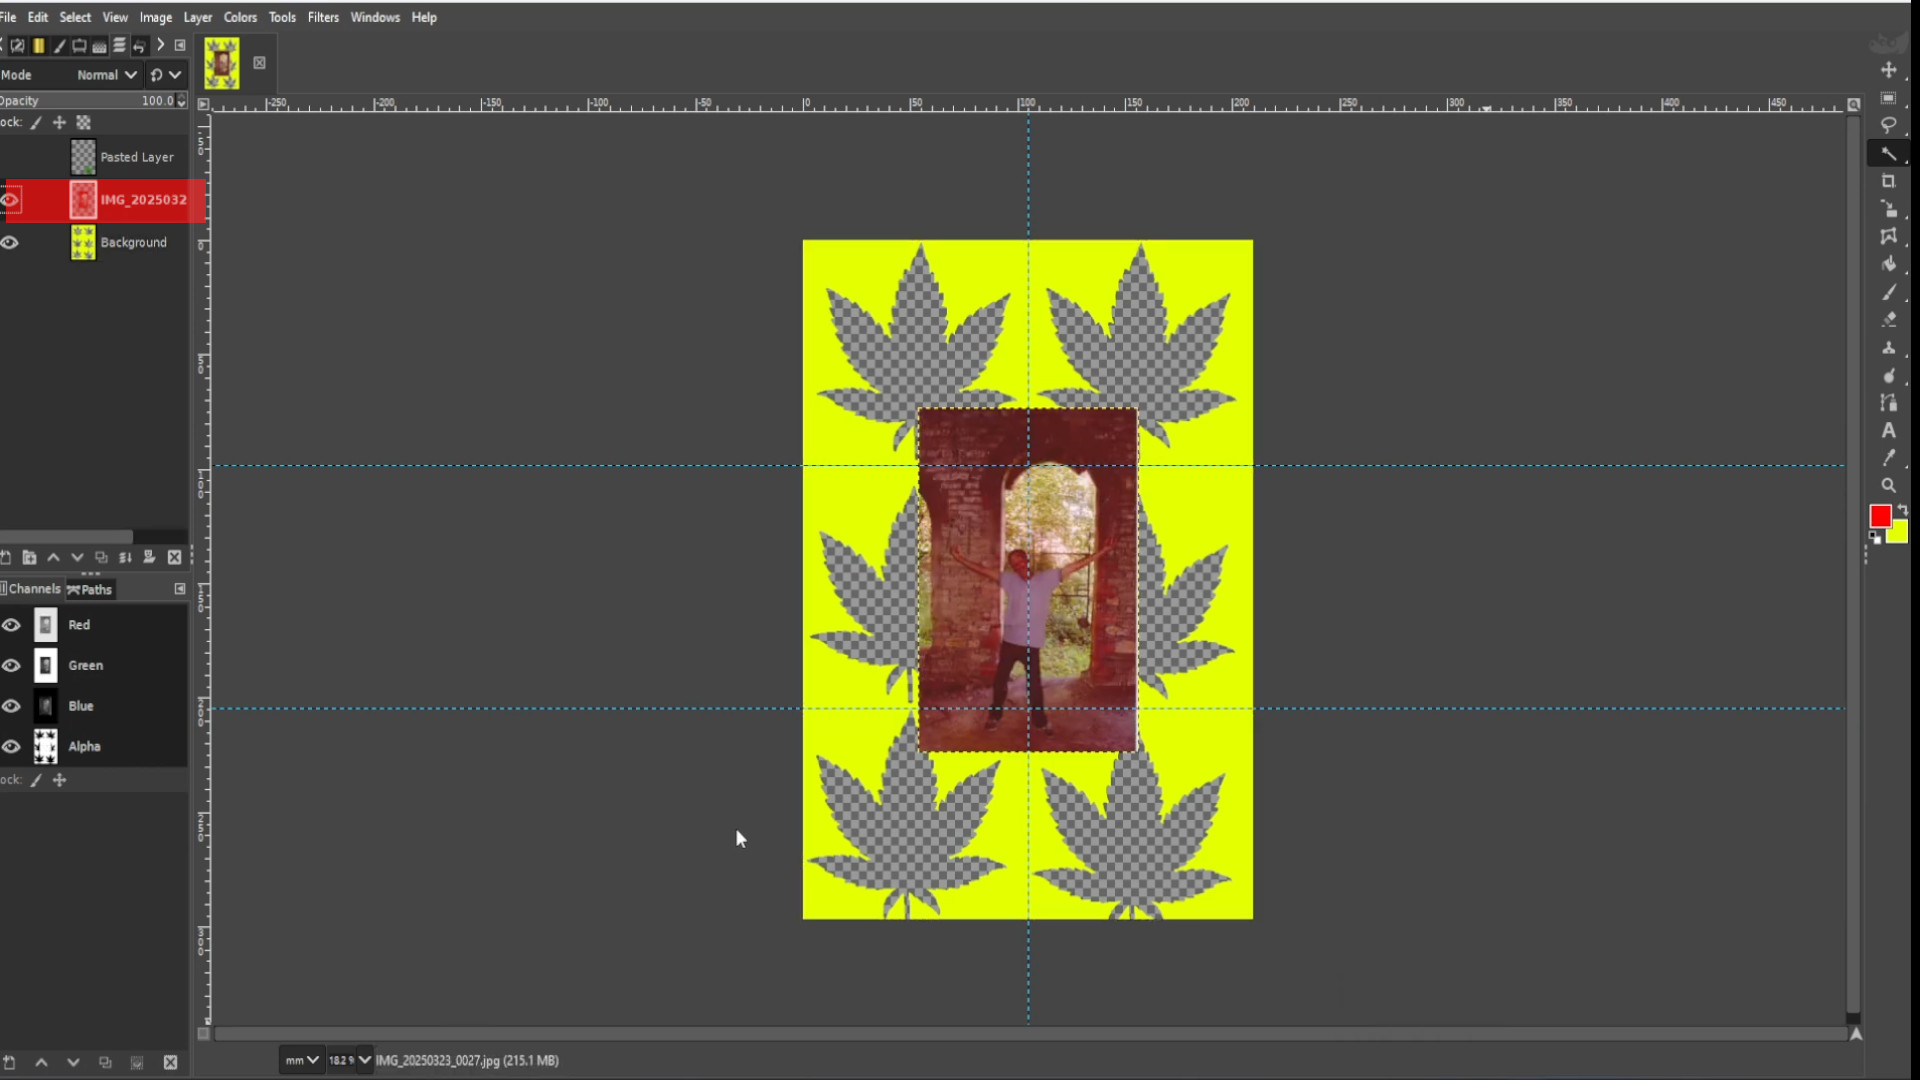
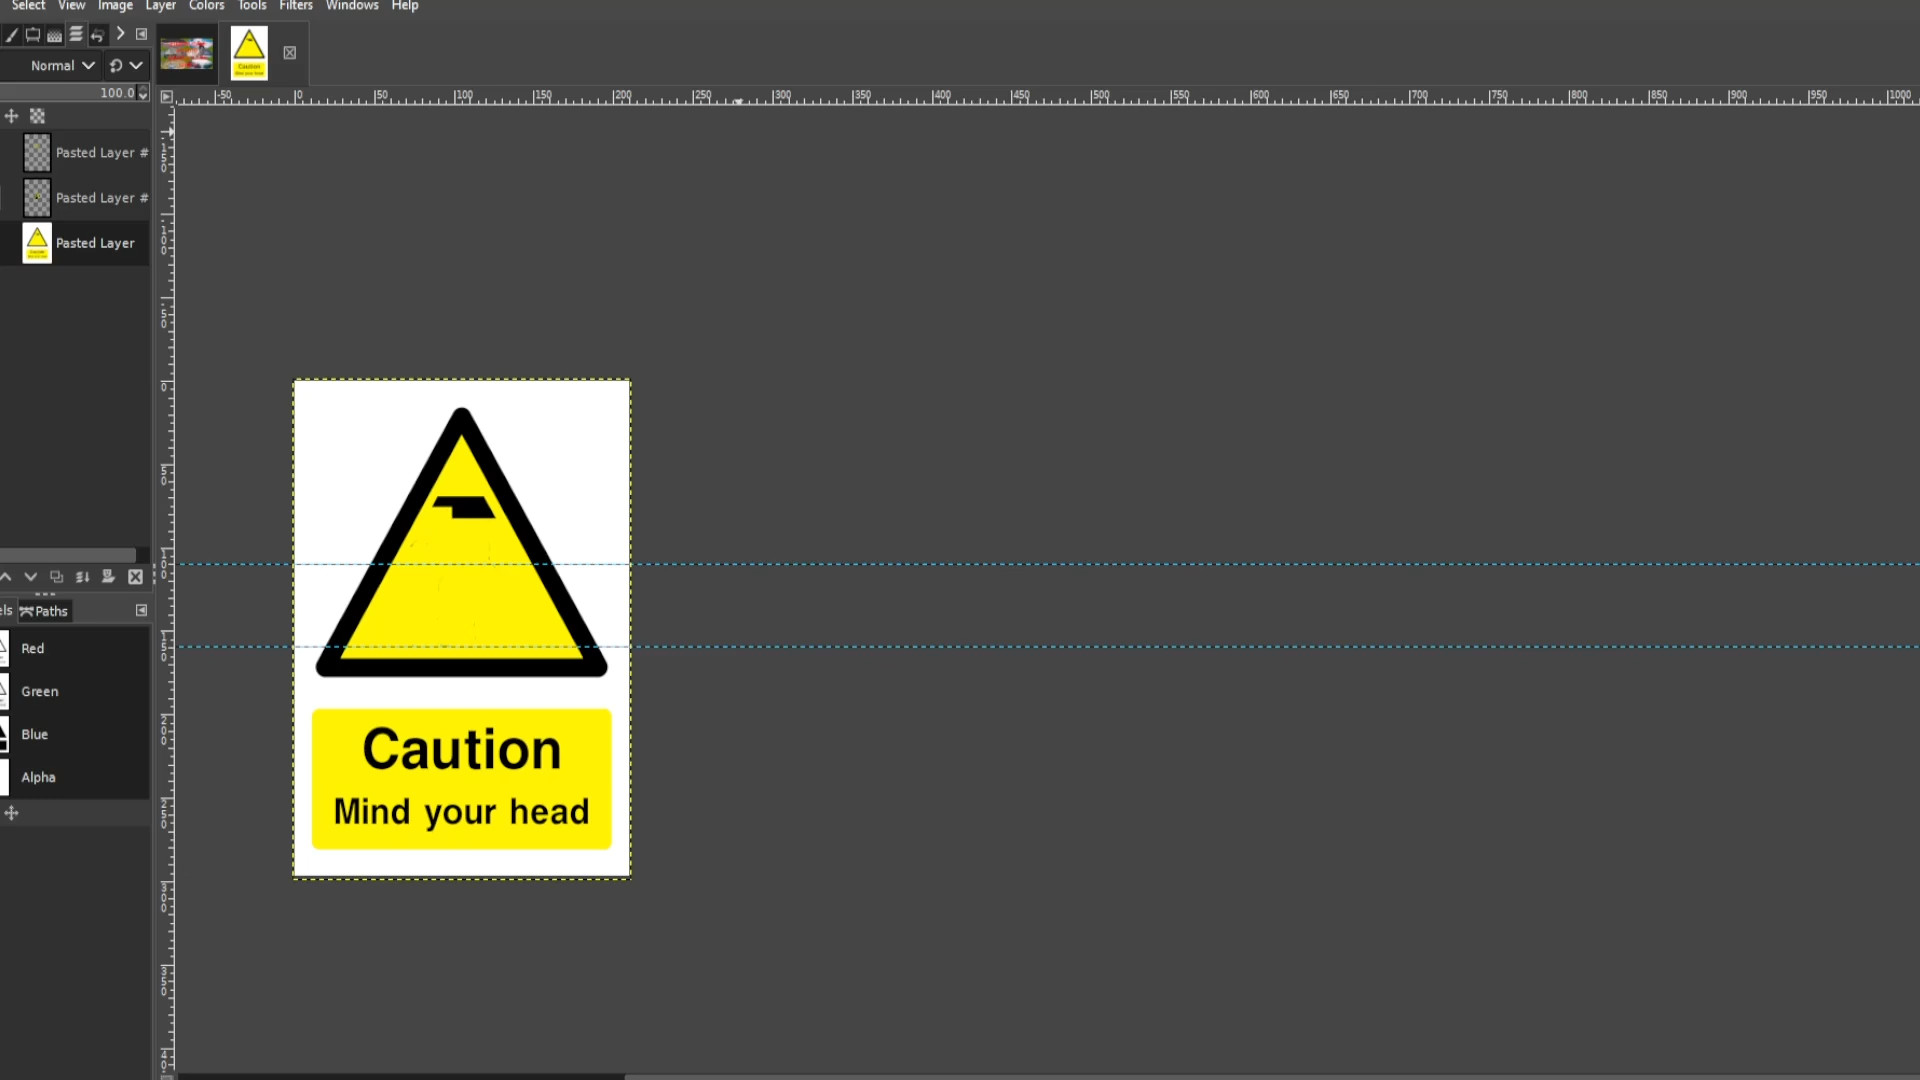
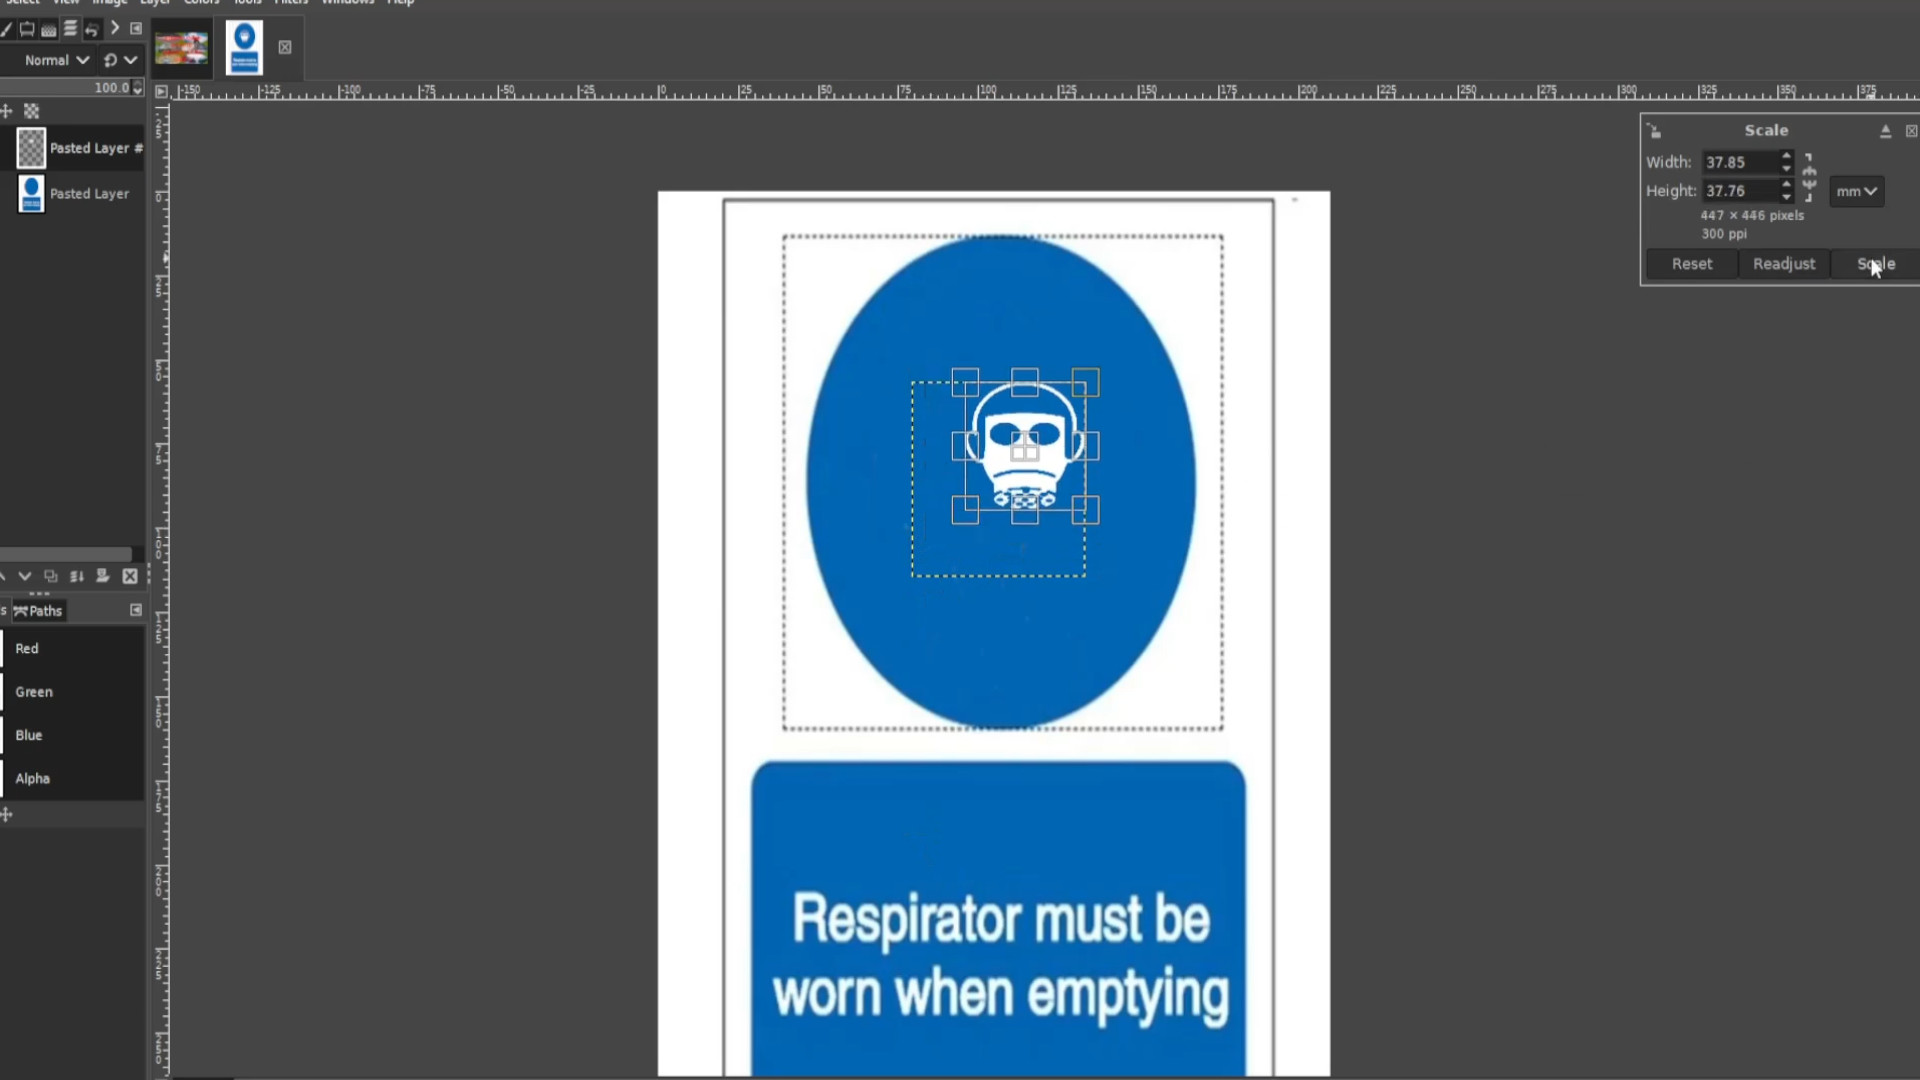
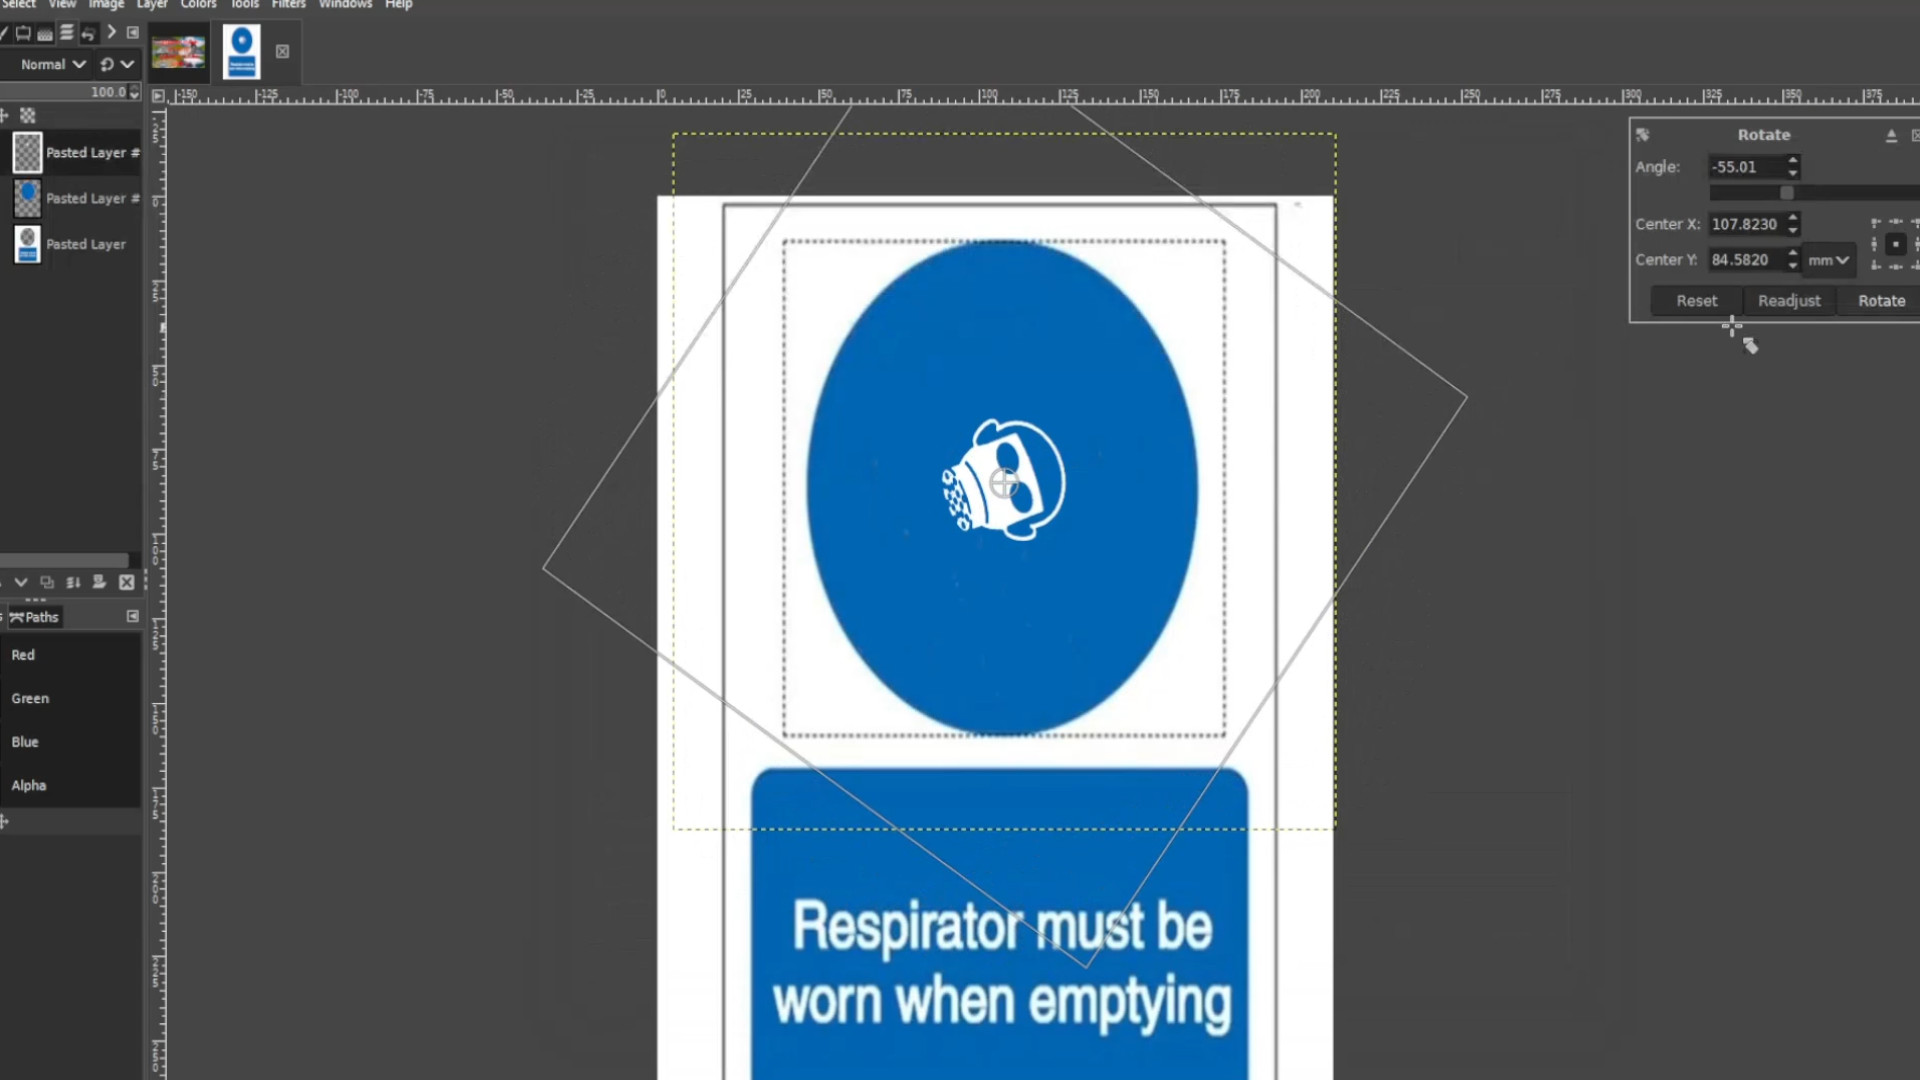
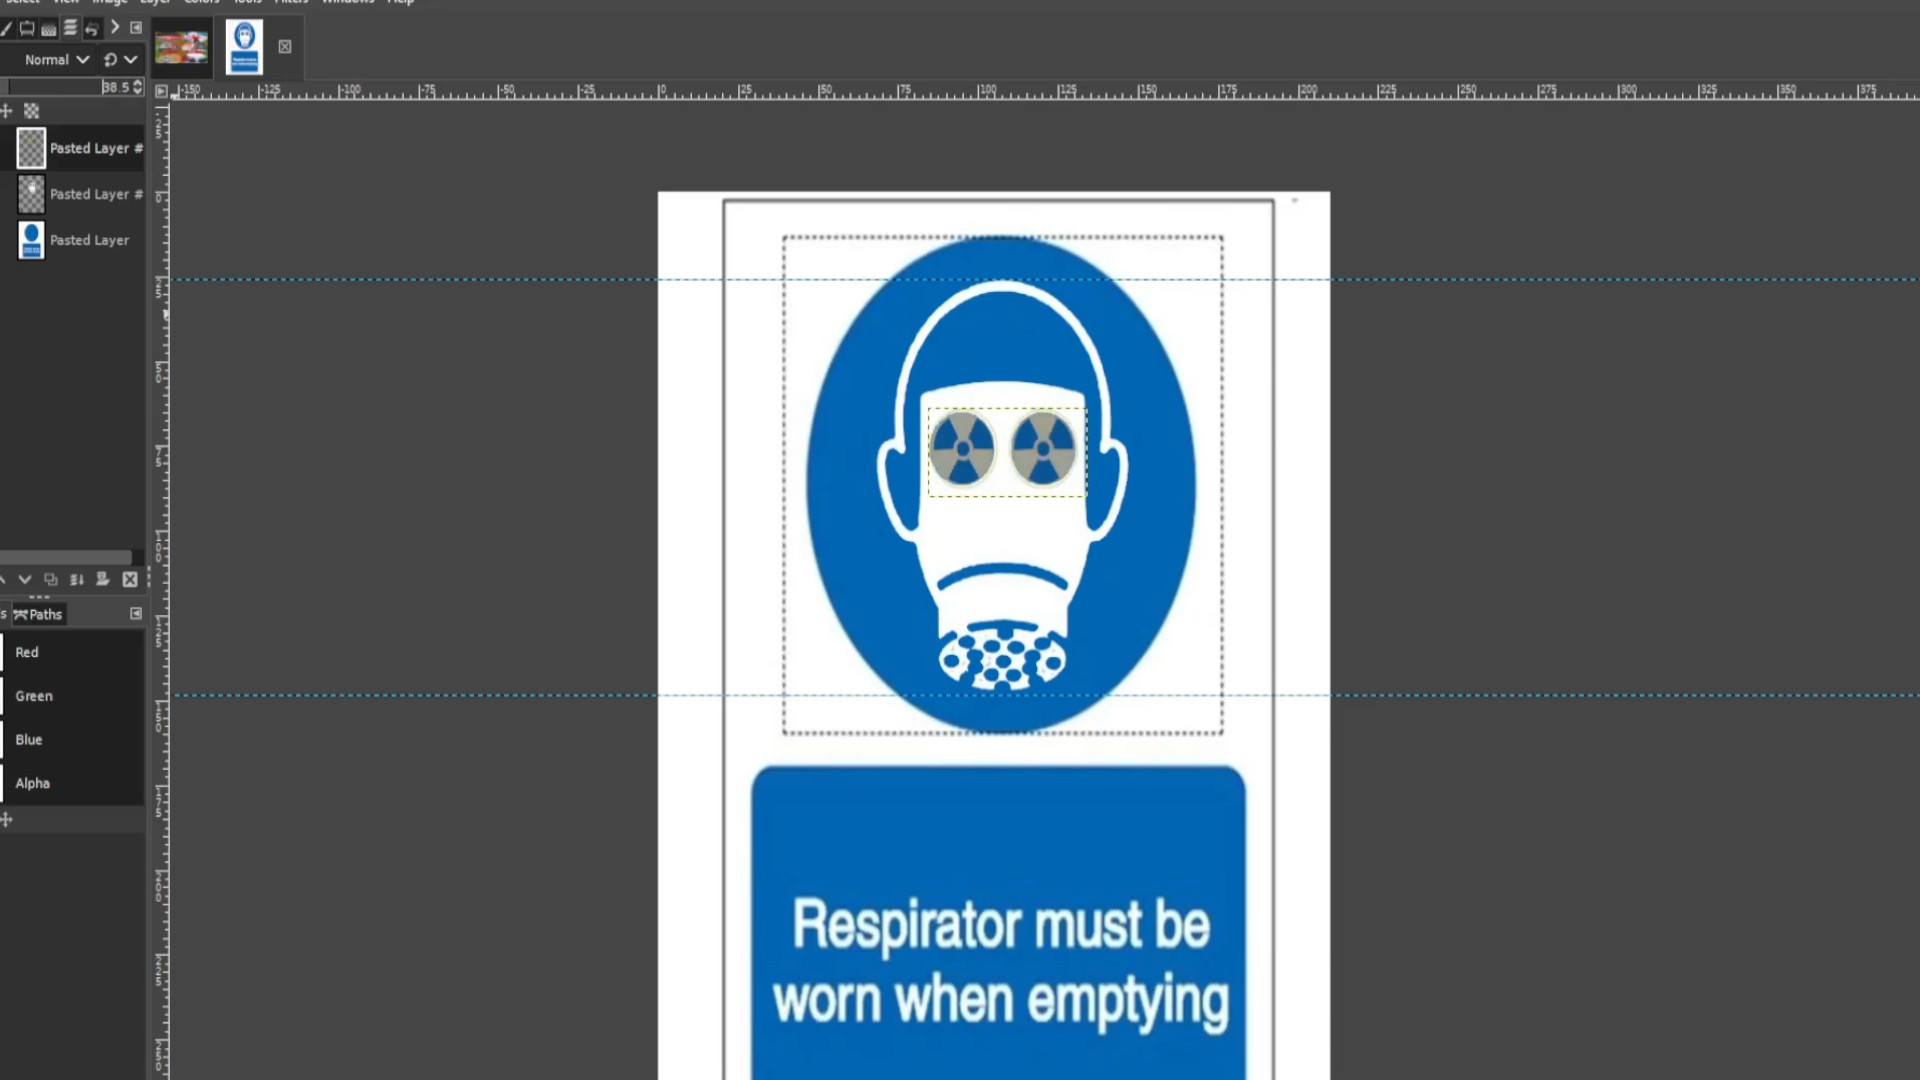
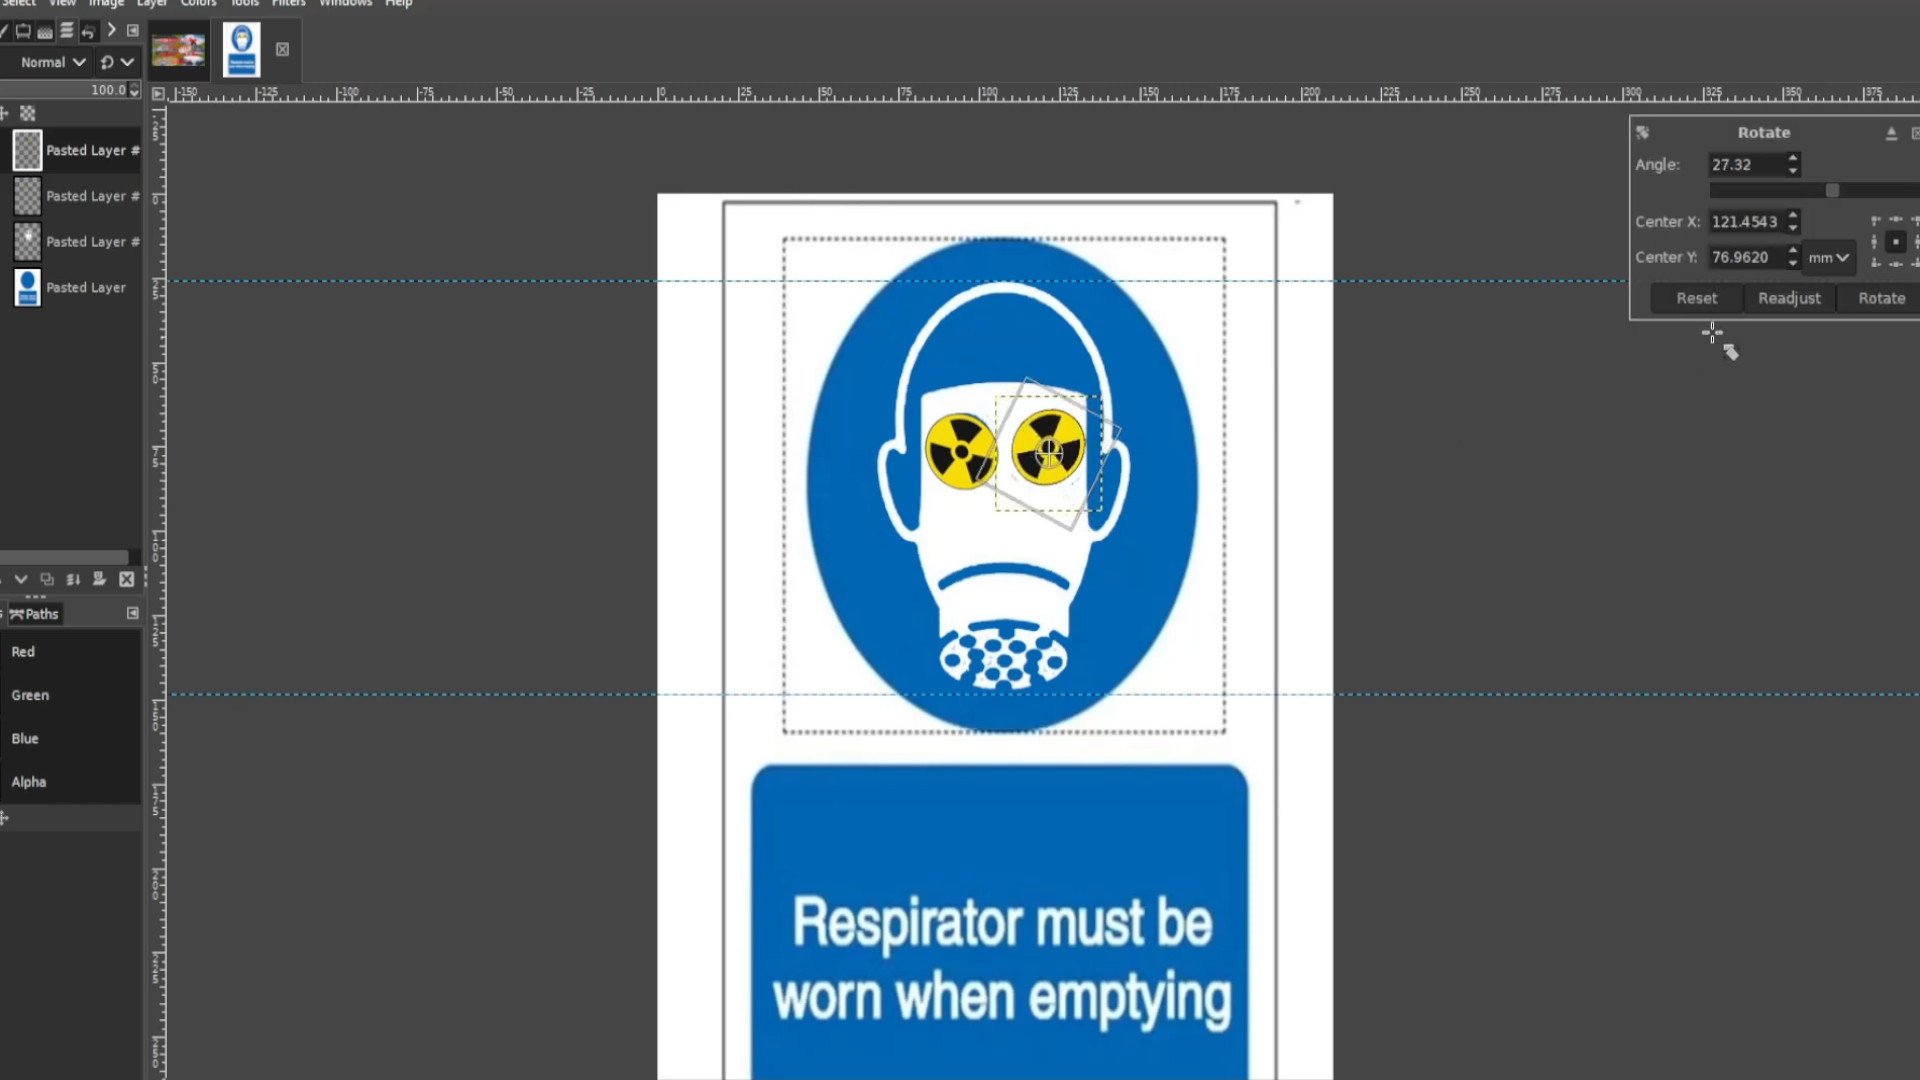
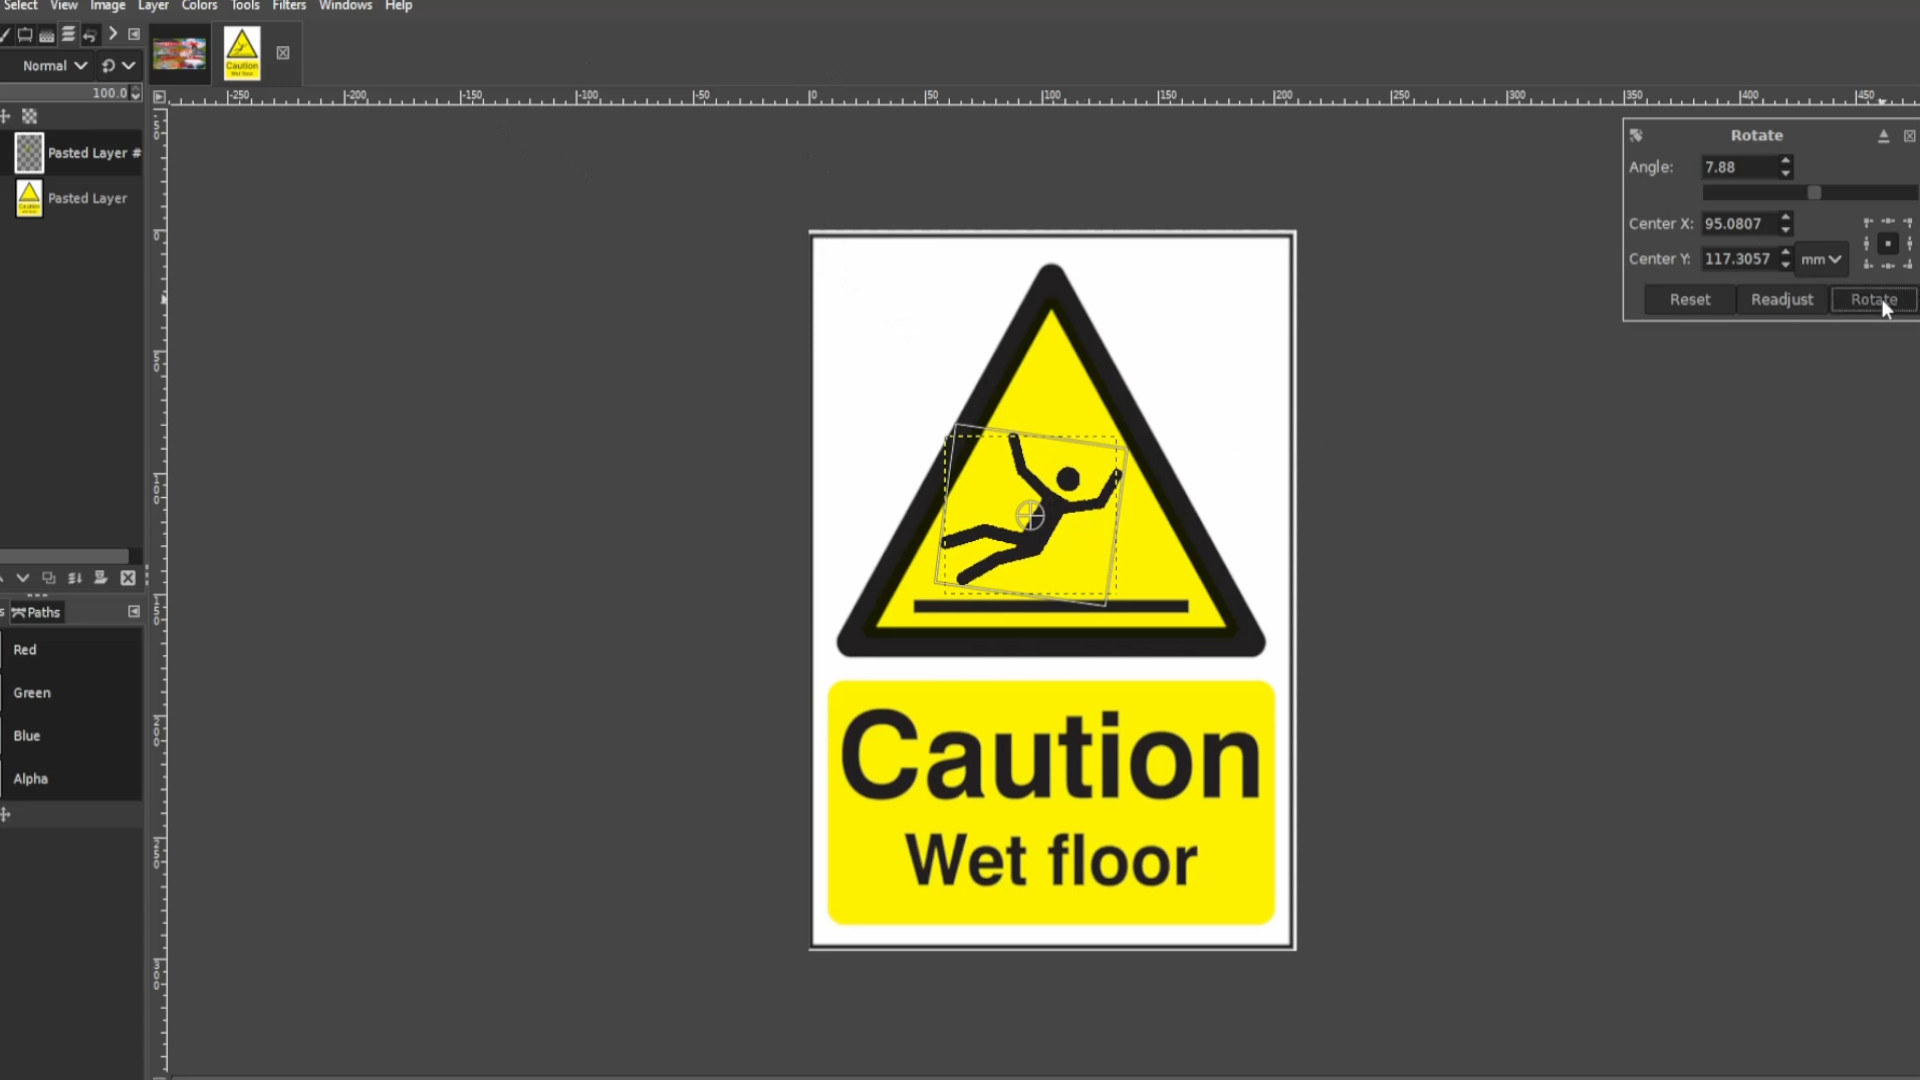
With the>>>BOTTOM LAYER SELECTED use the>>>RESIZE TOOL to>>>RESIZE the>>>IMAGE>>>CENTRING the>>>IMAGE to the>>>SHAPE you can use shortcut by>>>HOLDING>>>CTRL>>>and>>>PRESSING>>>R to get the resize options to come up.
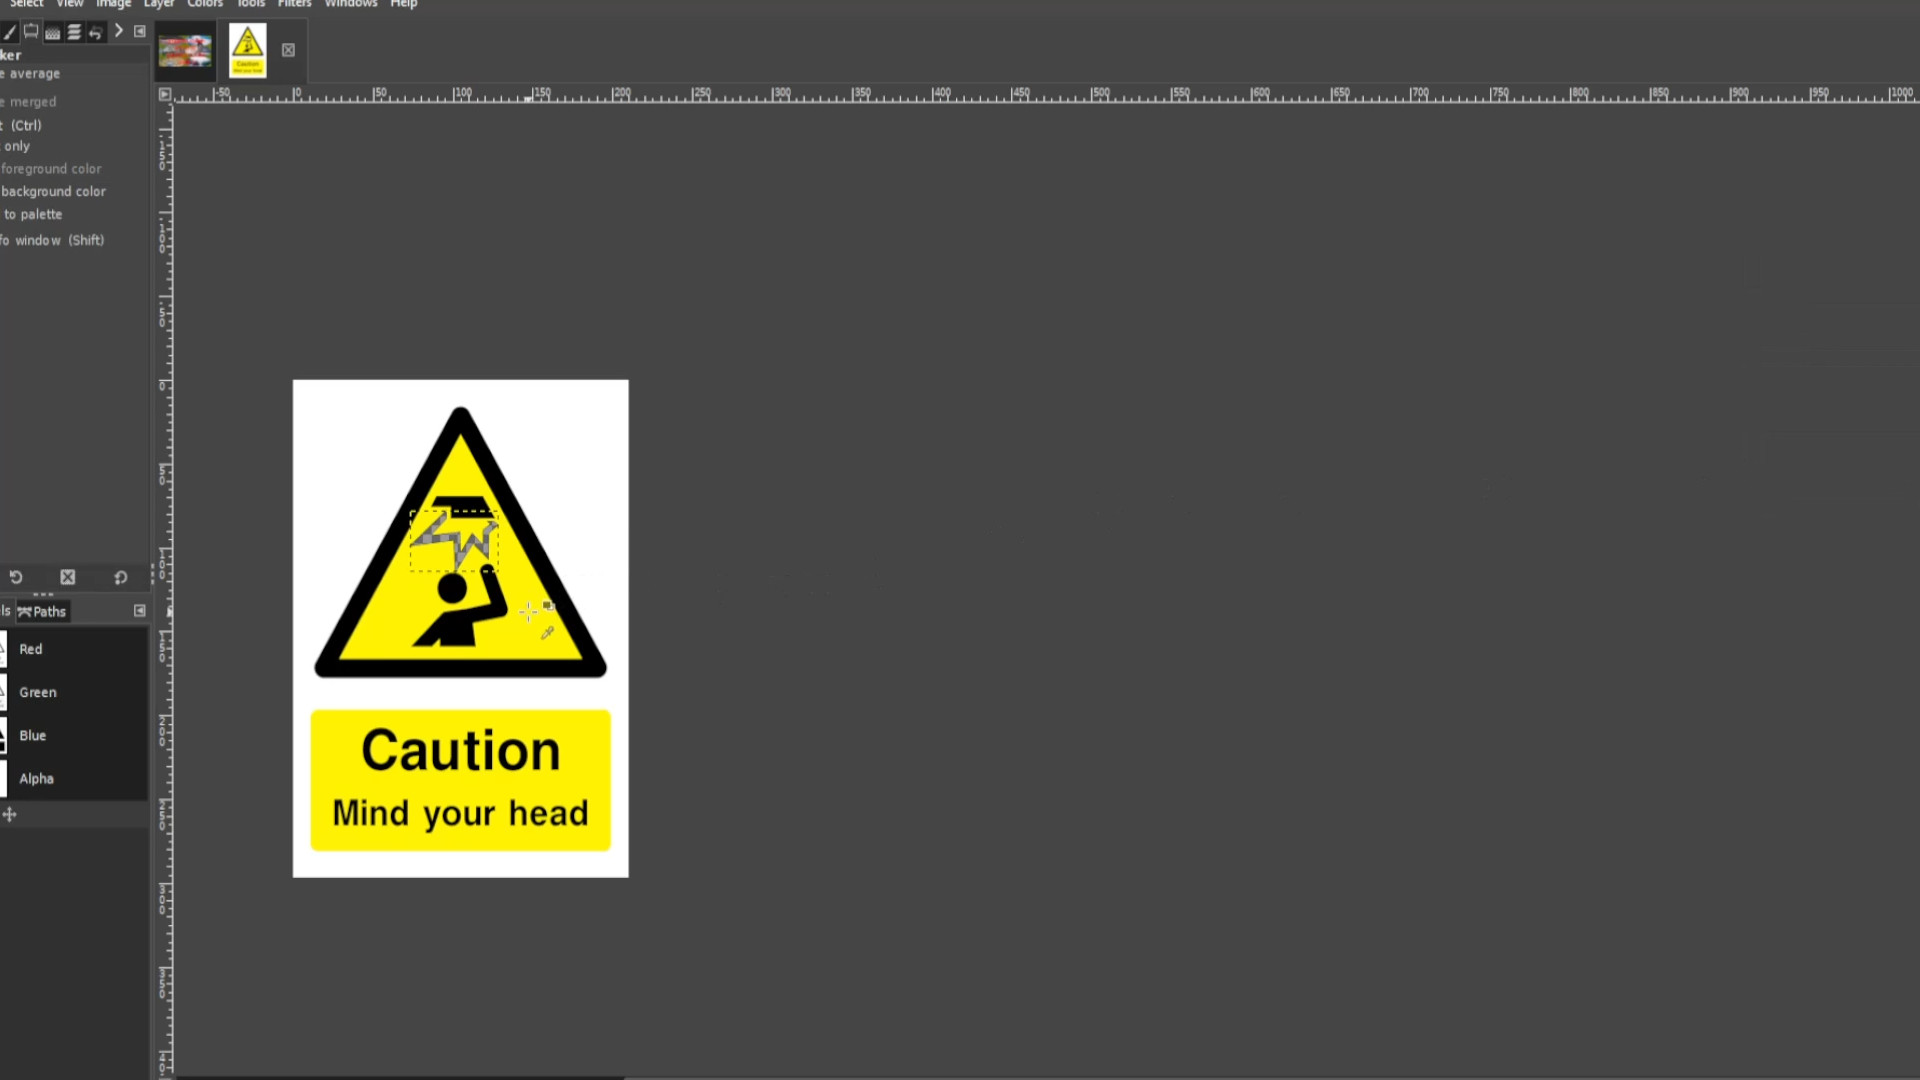
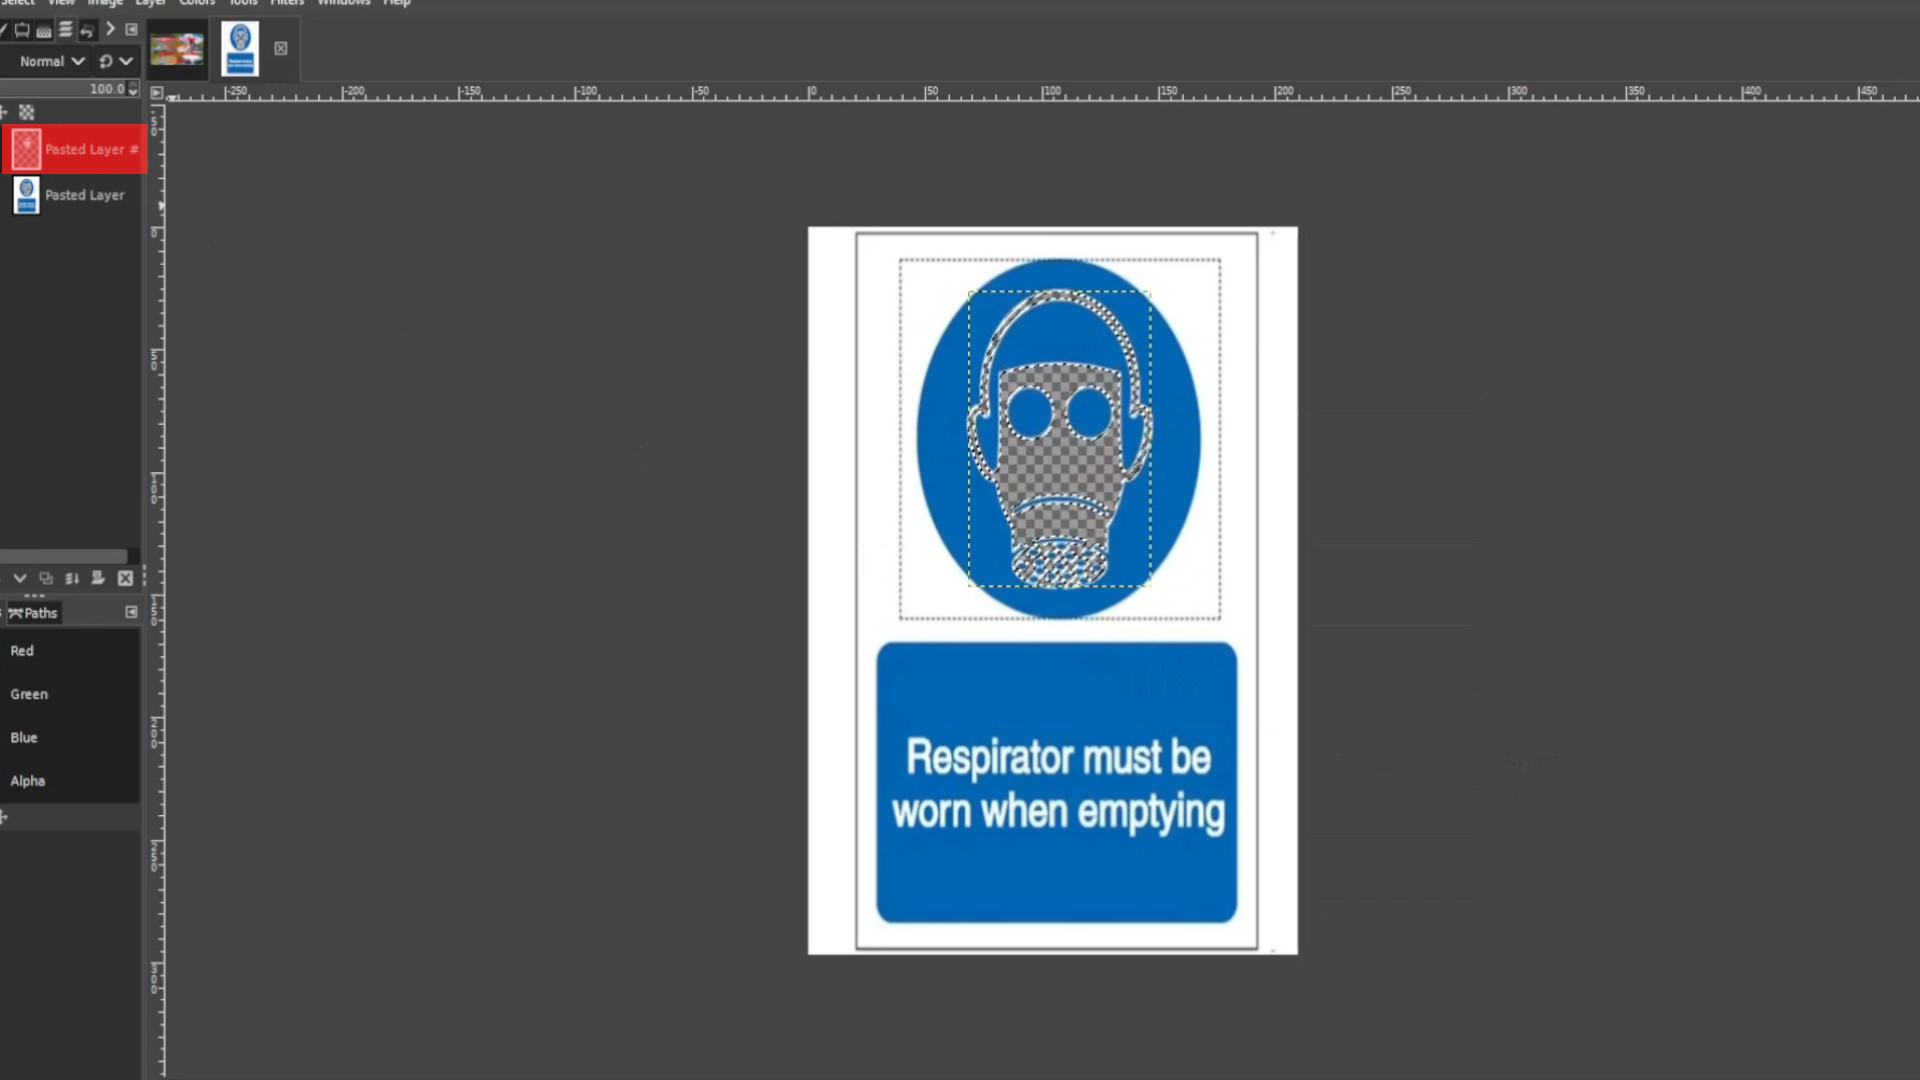
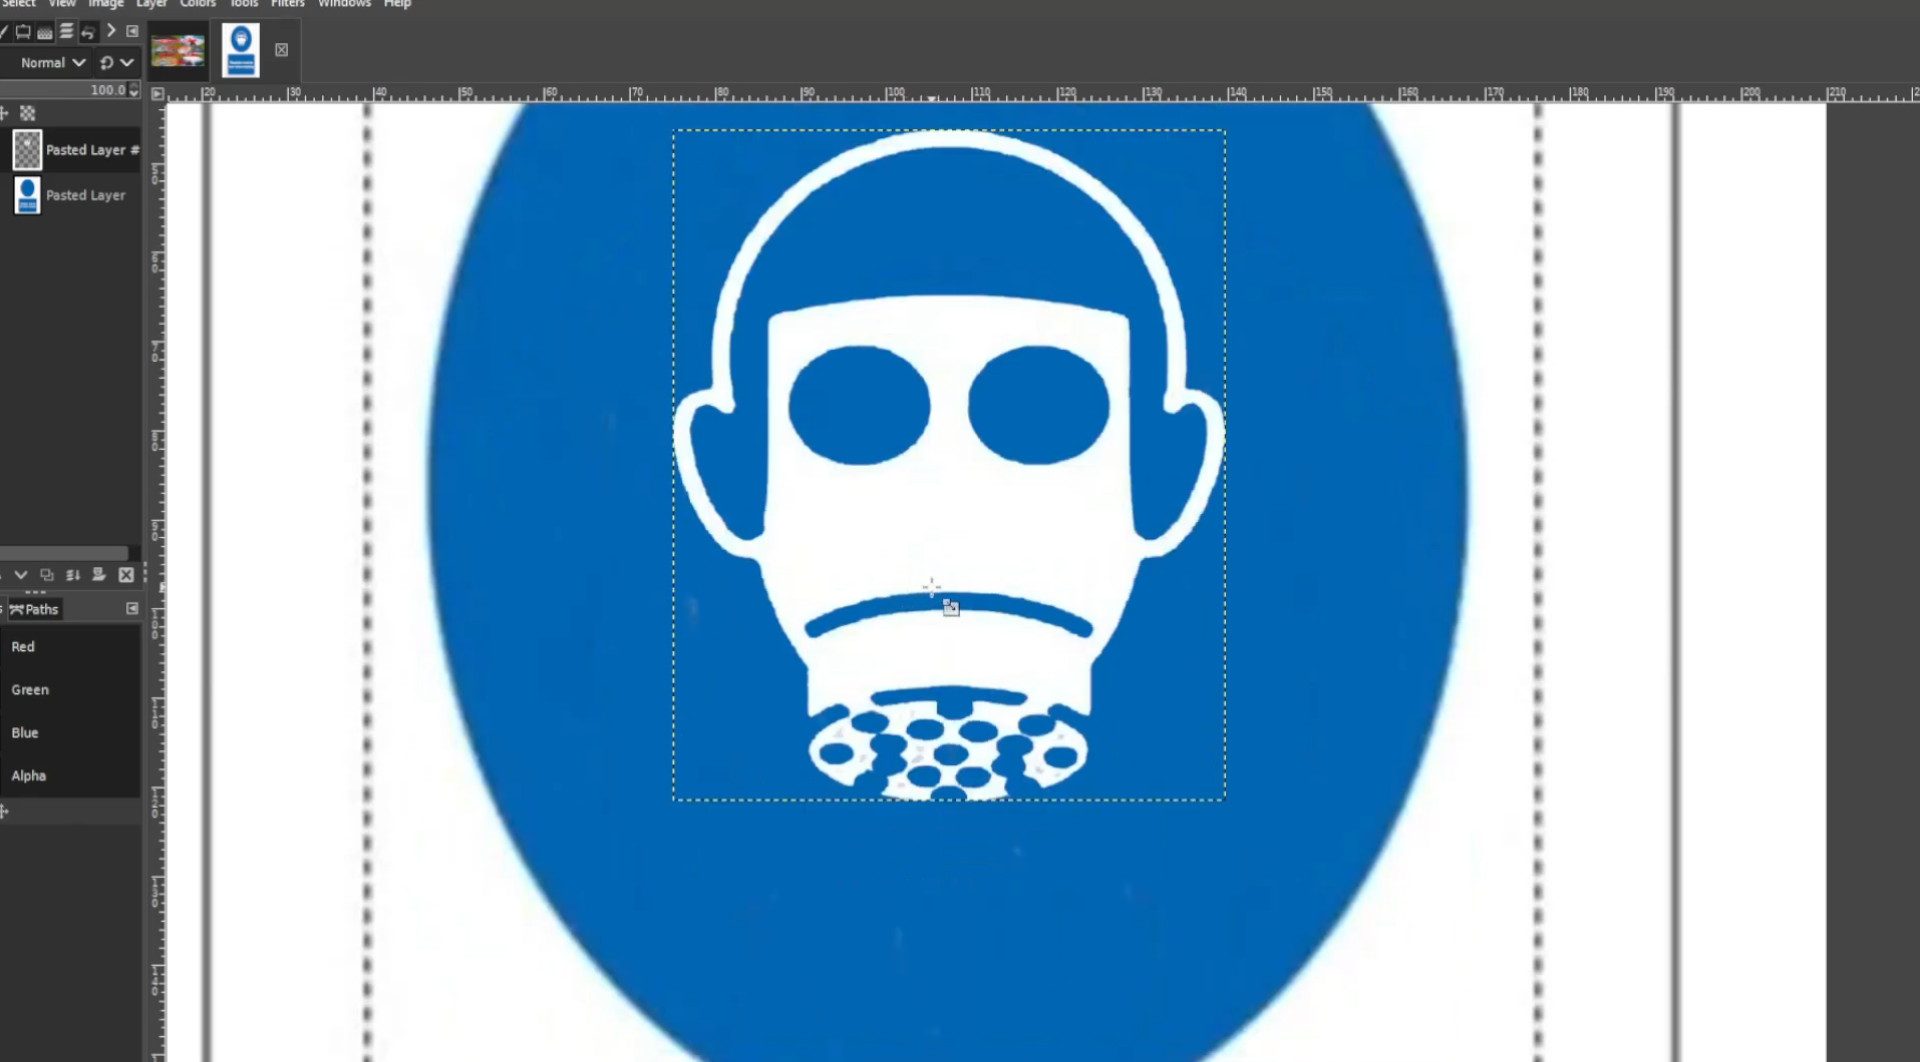
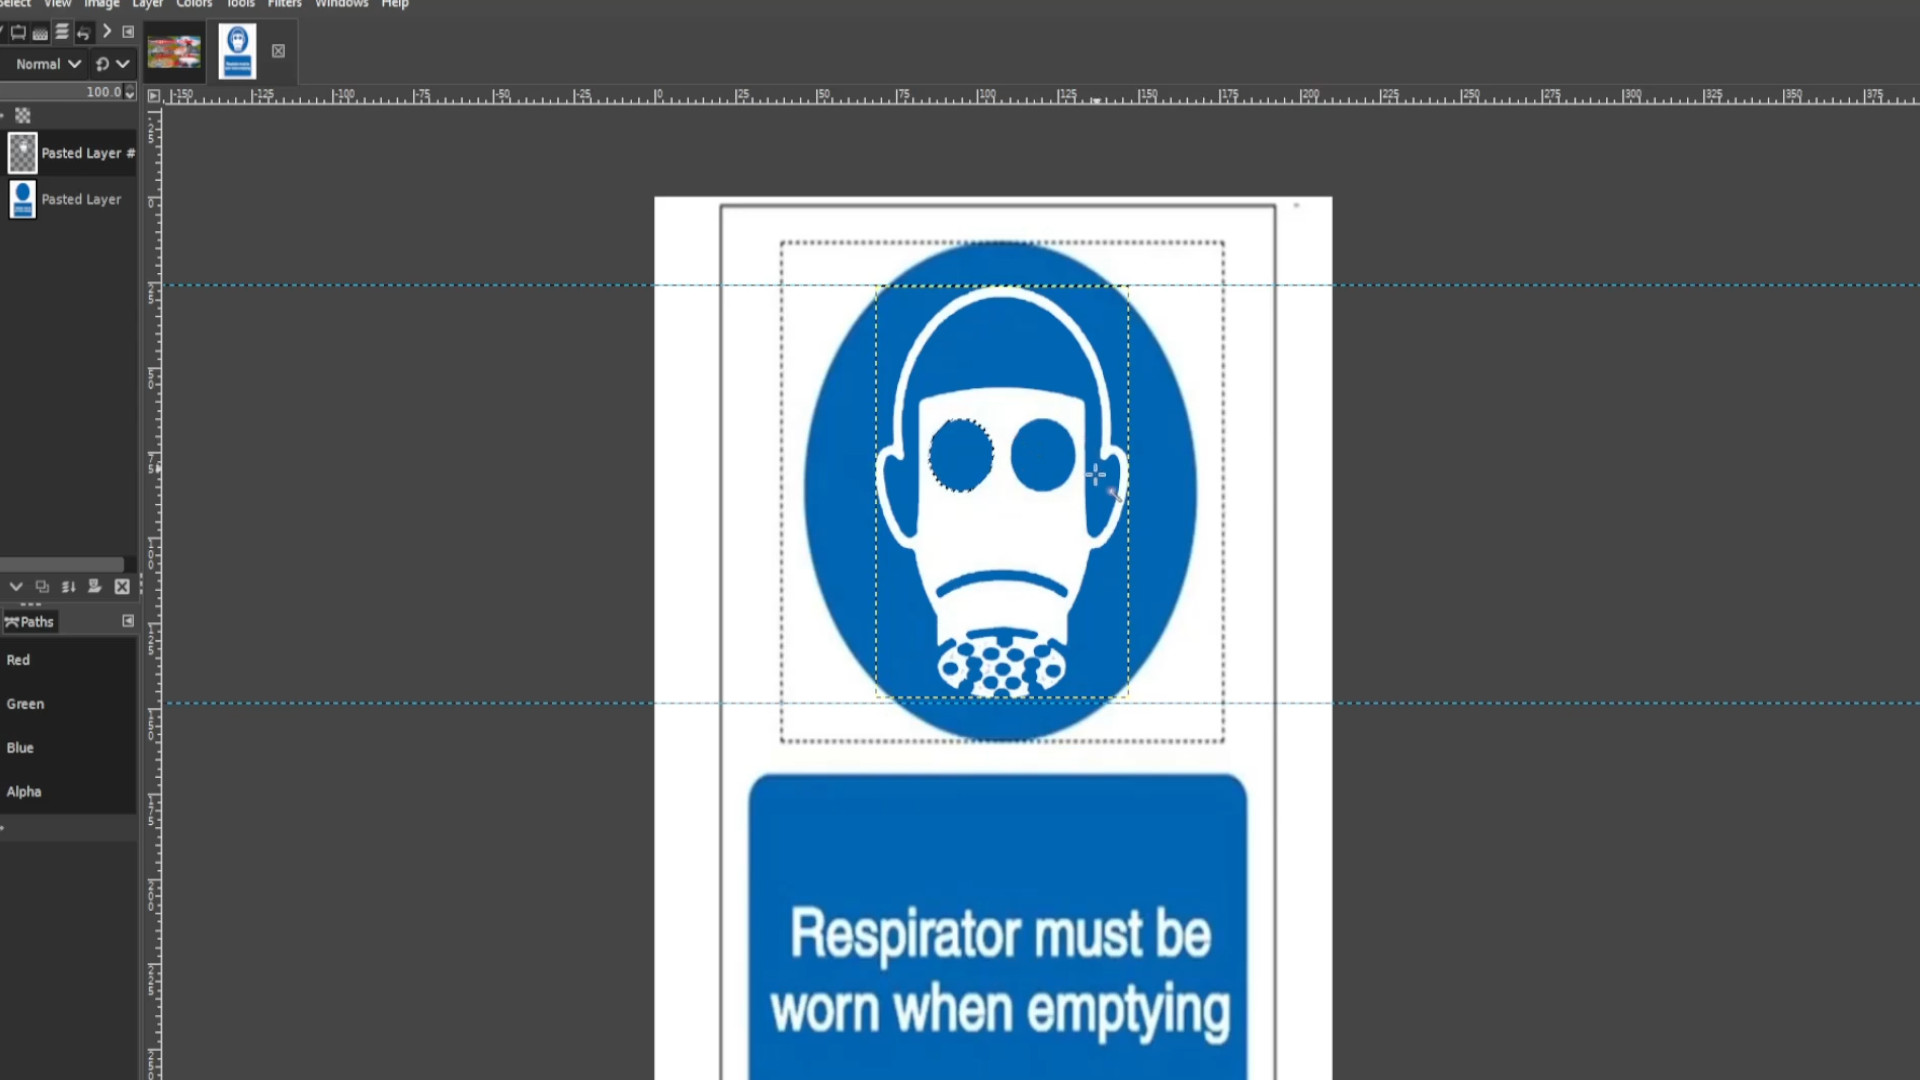
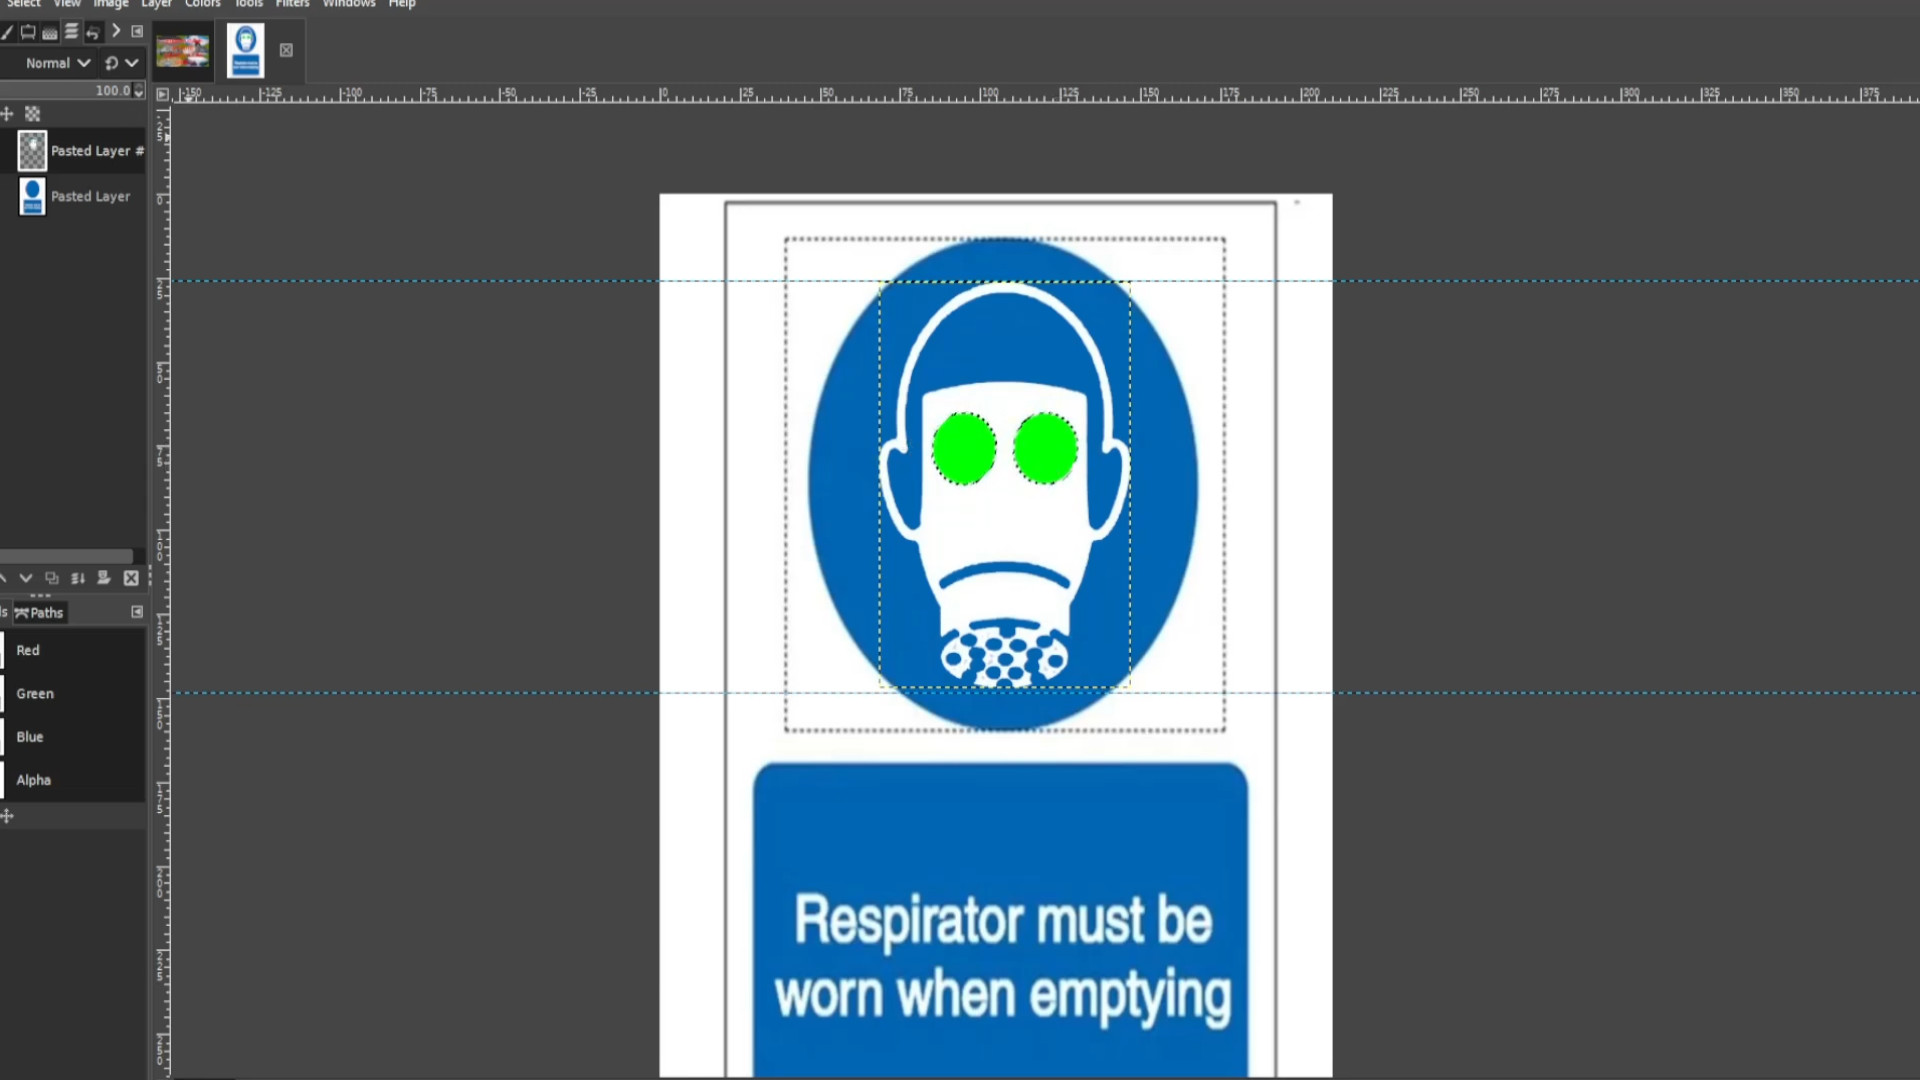
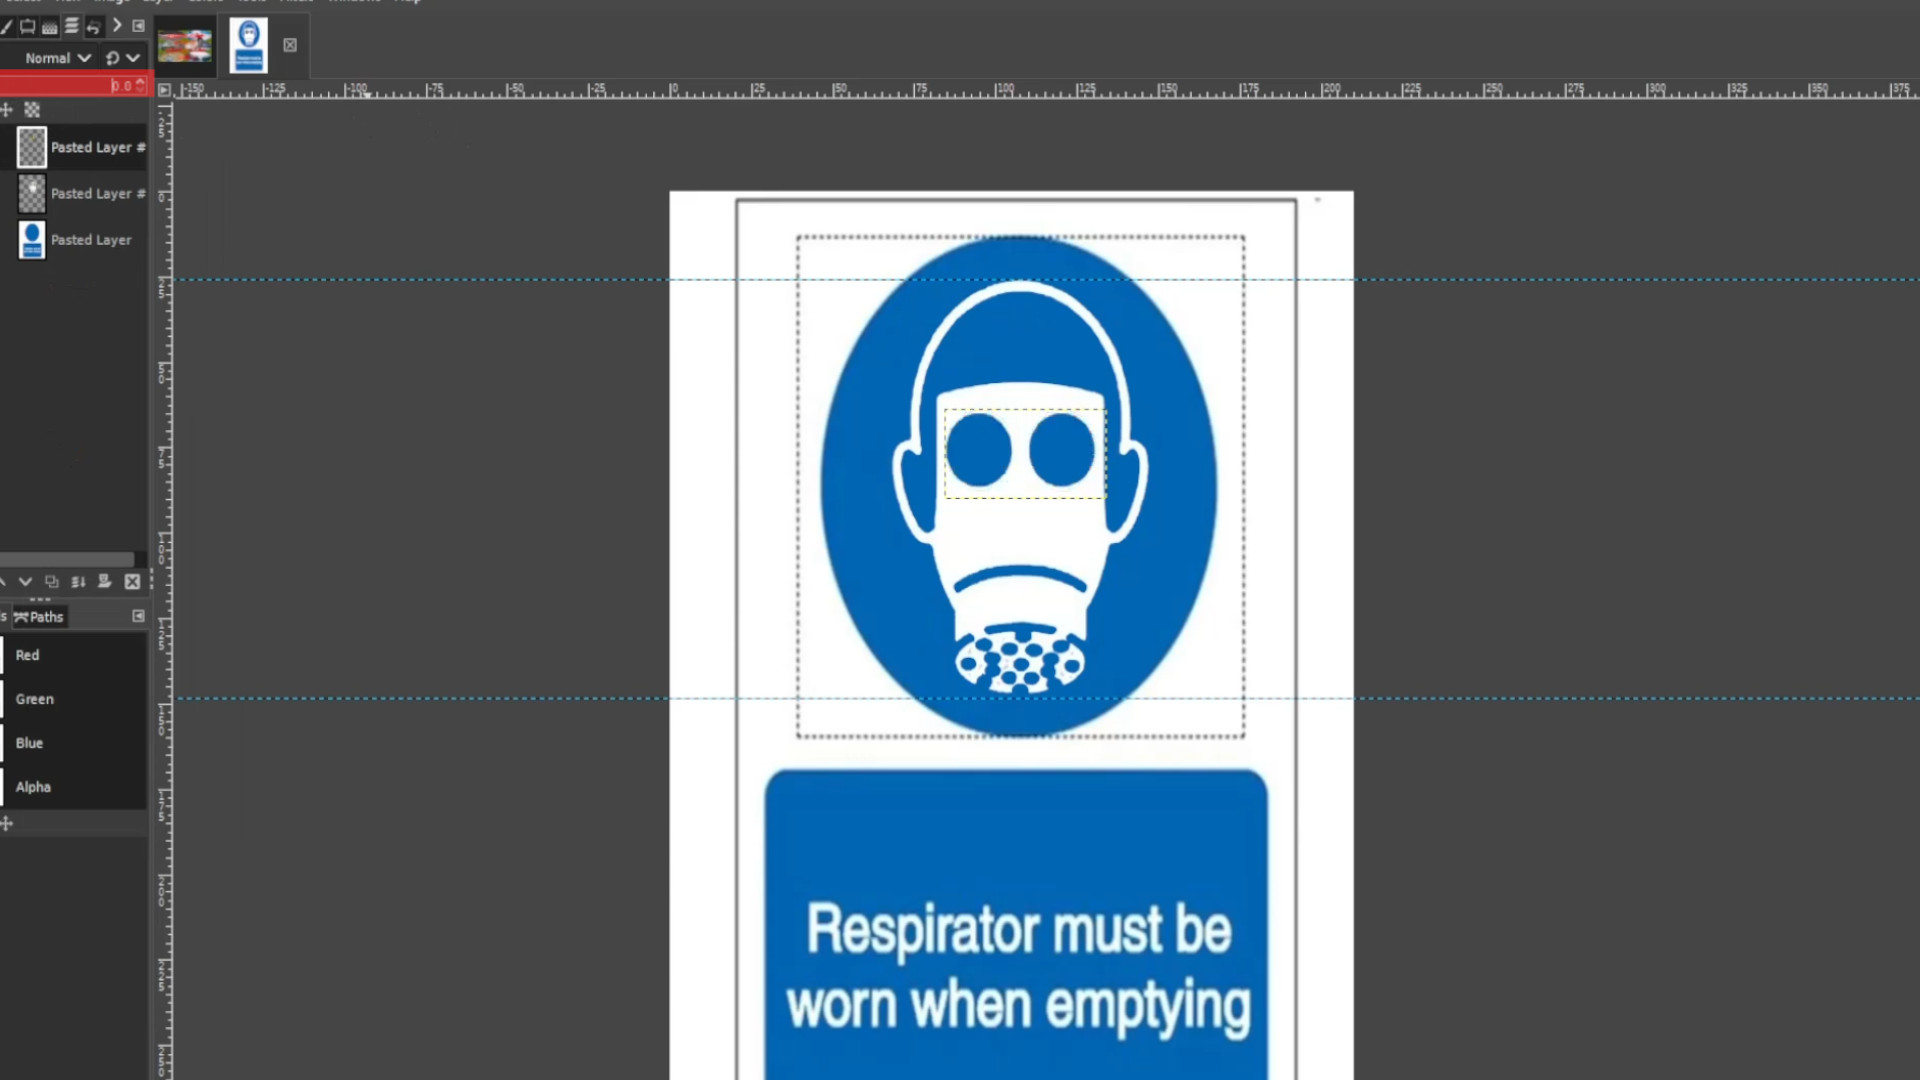
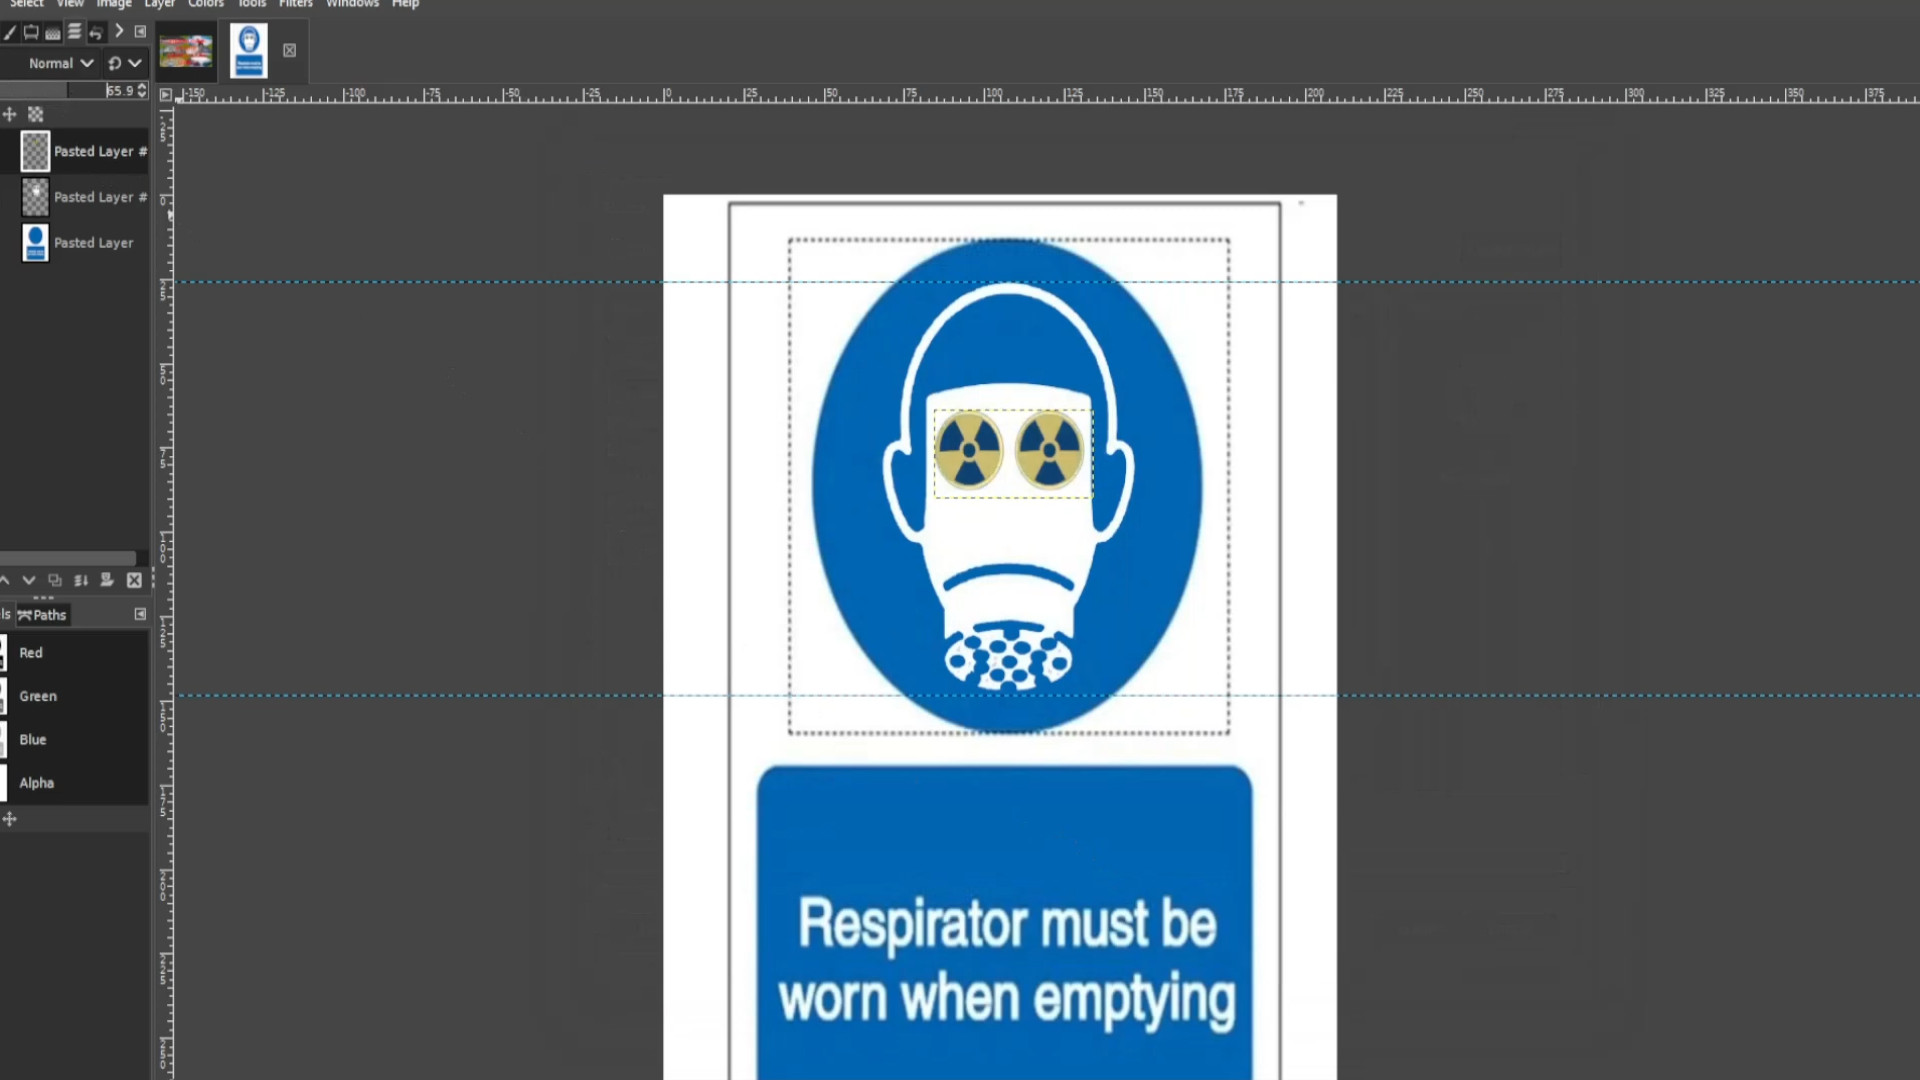
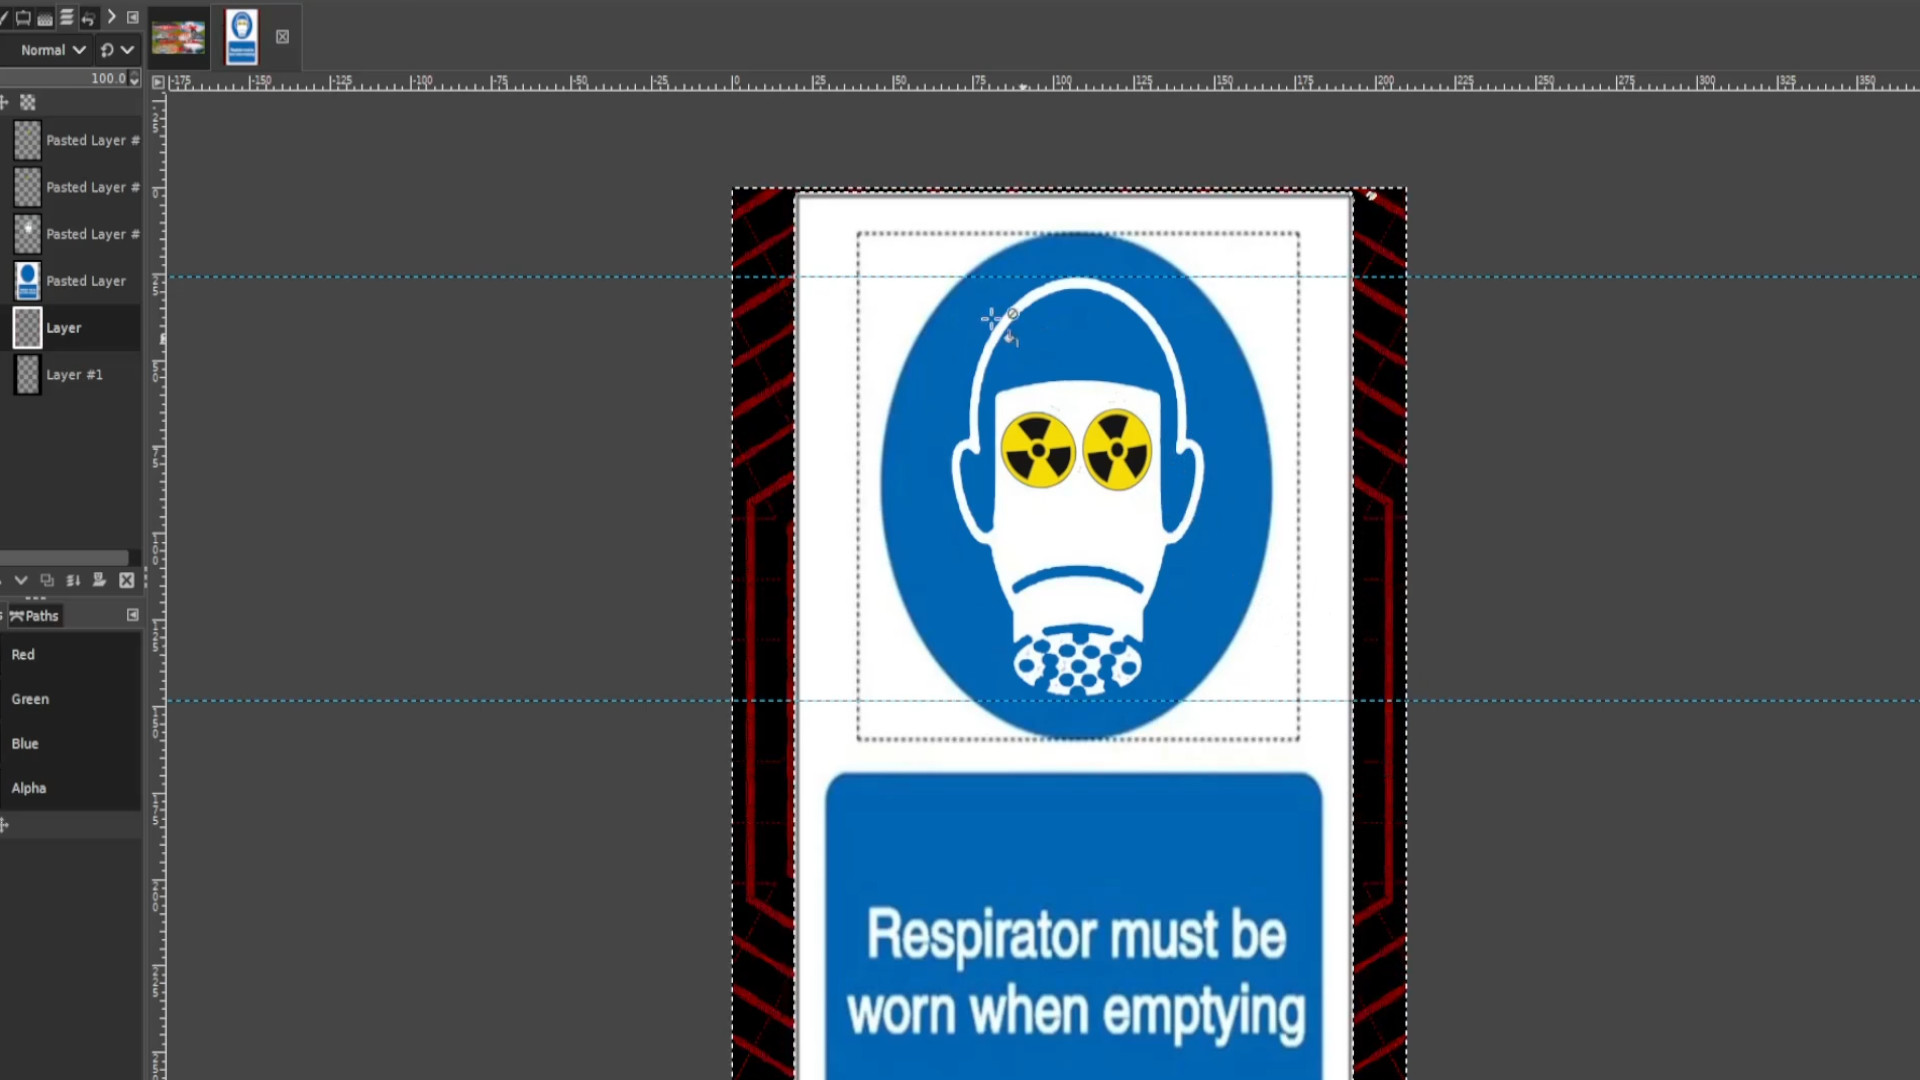
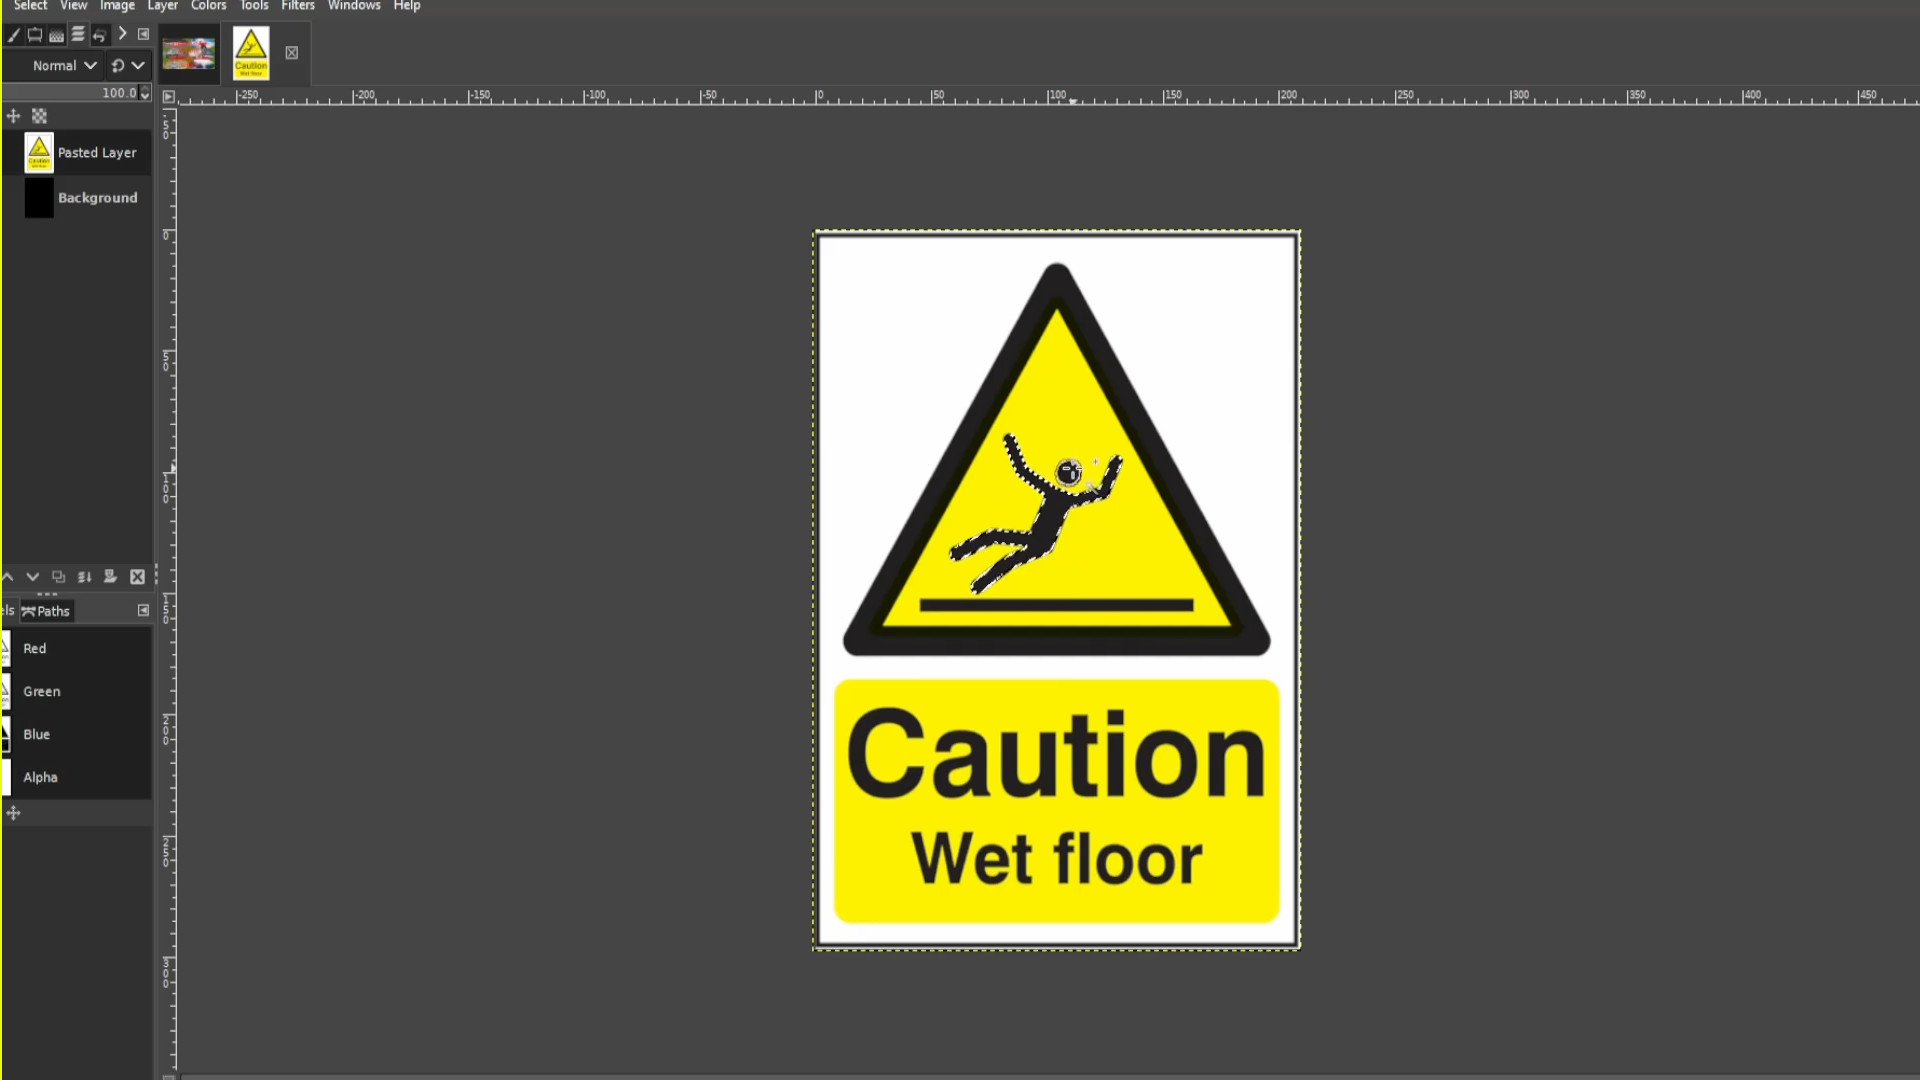
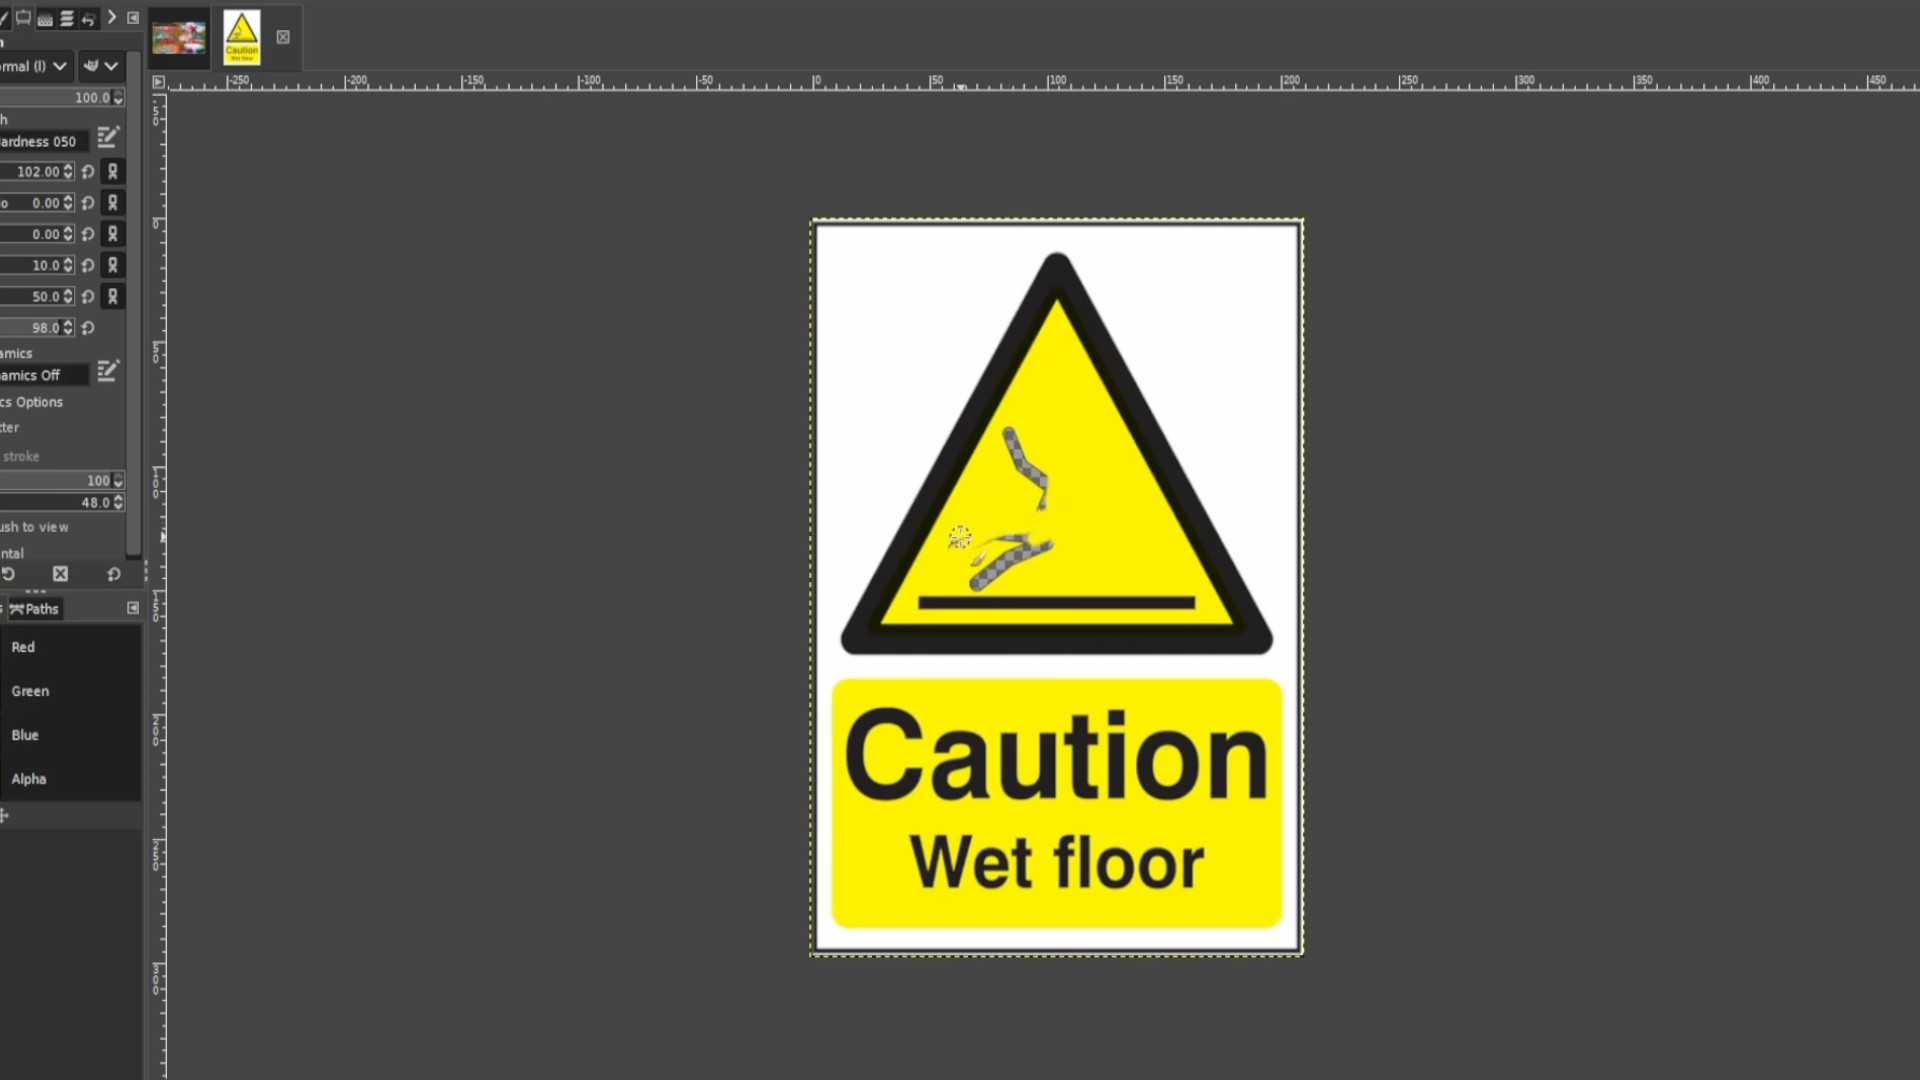
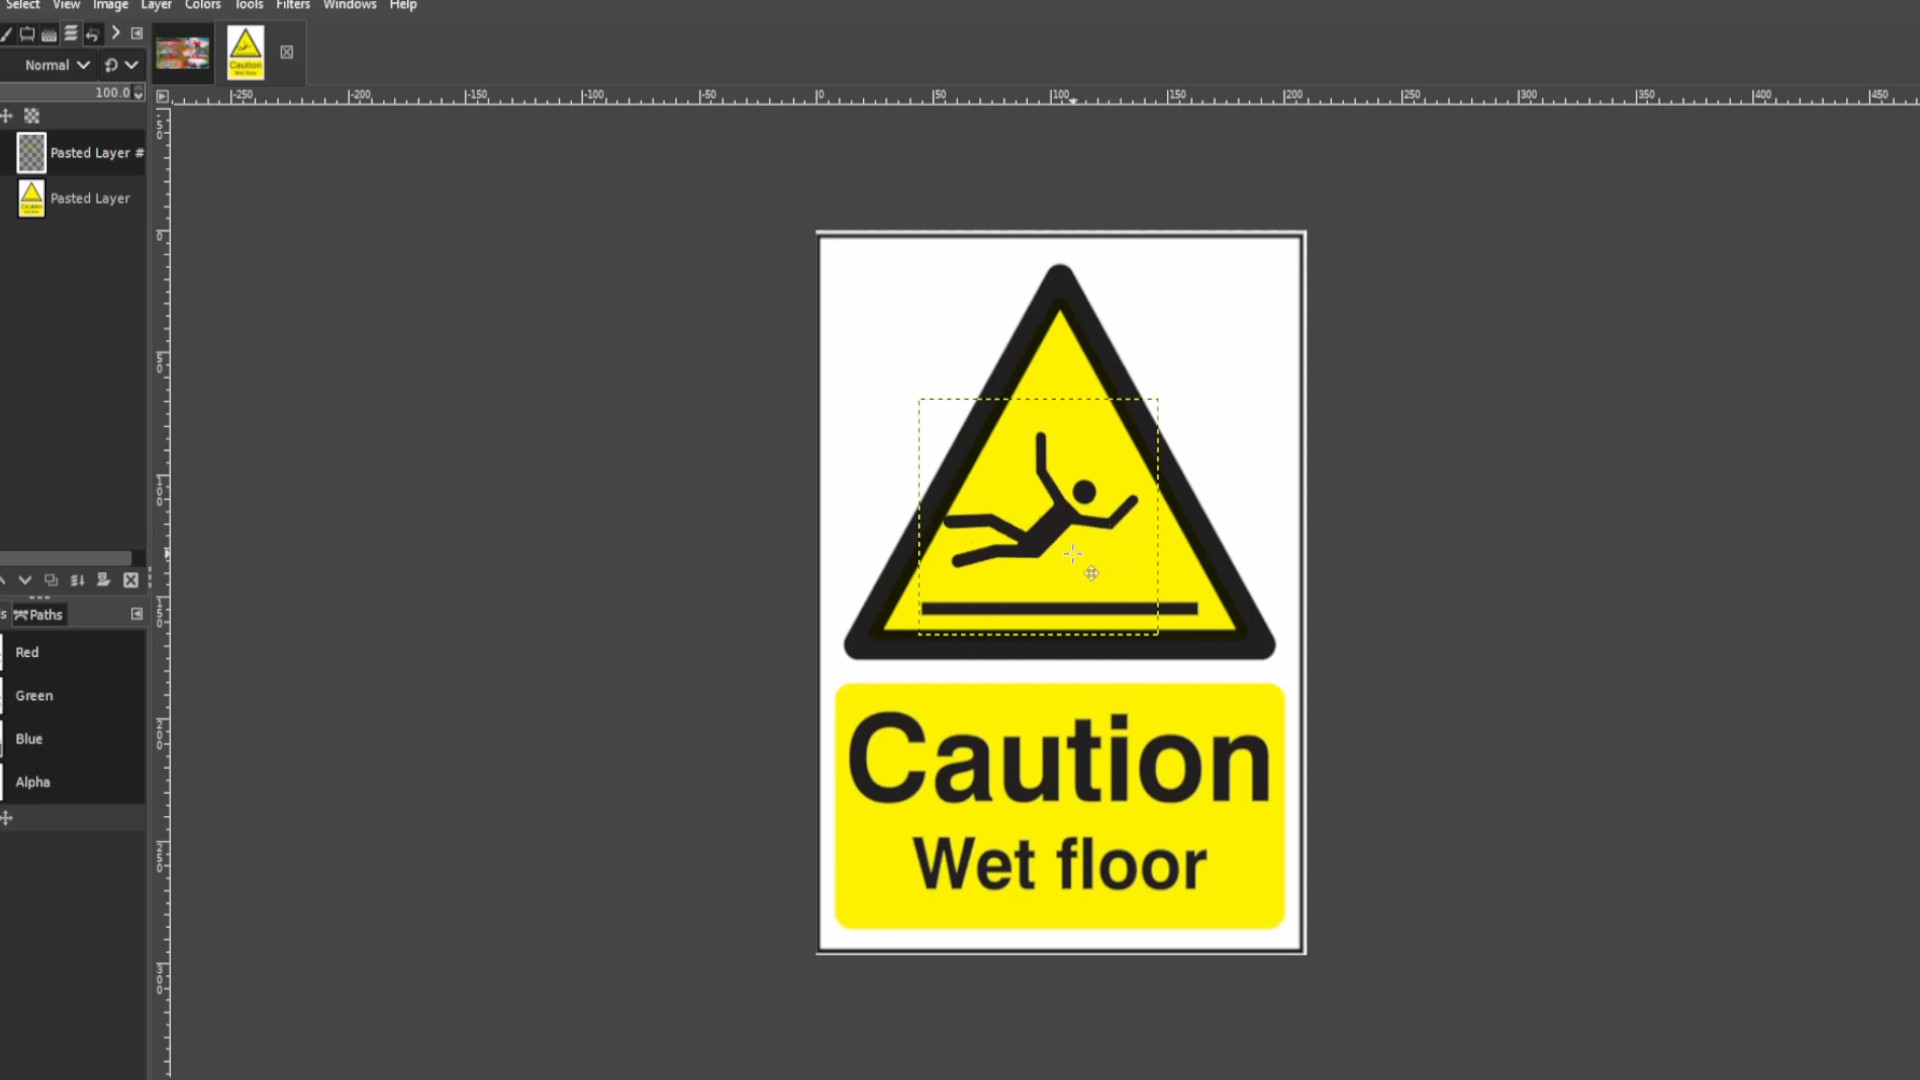
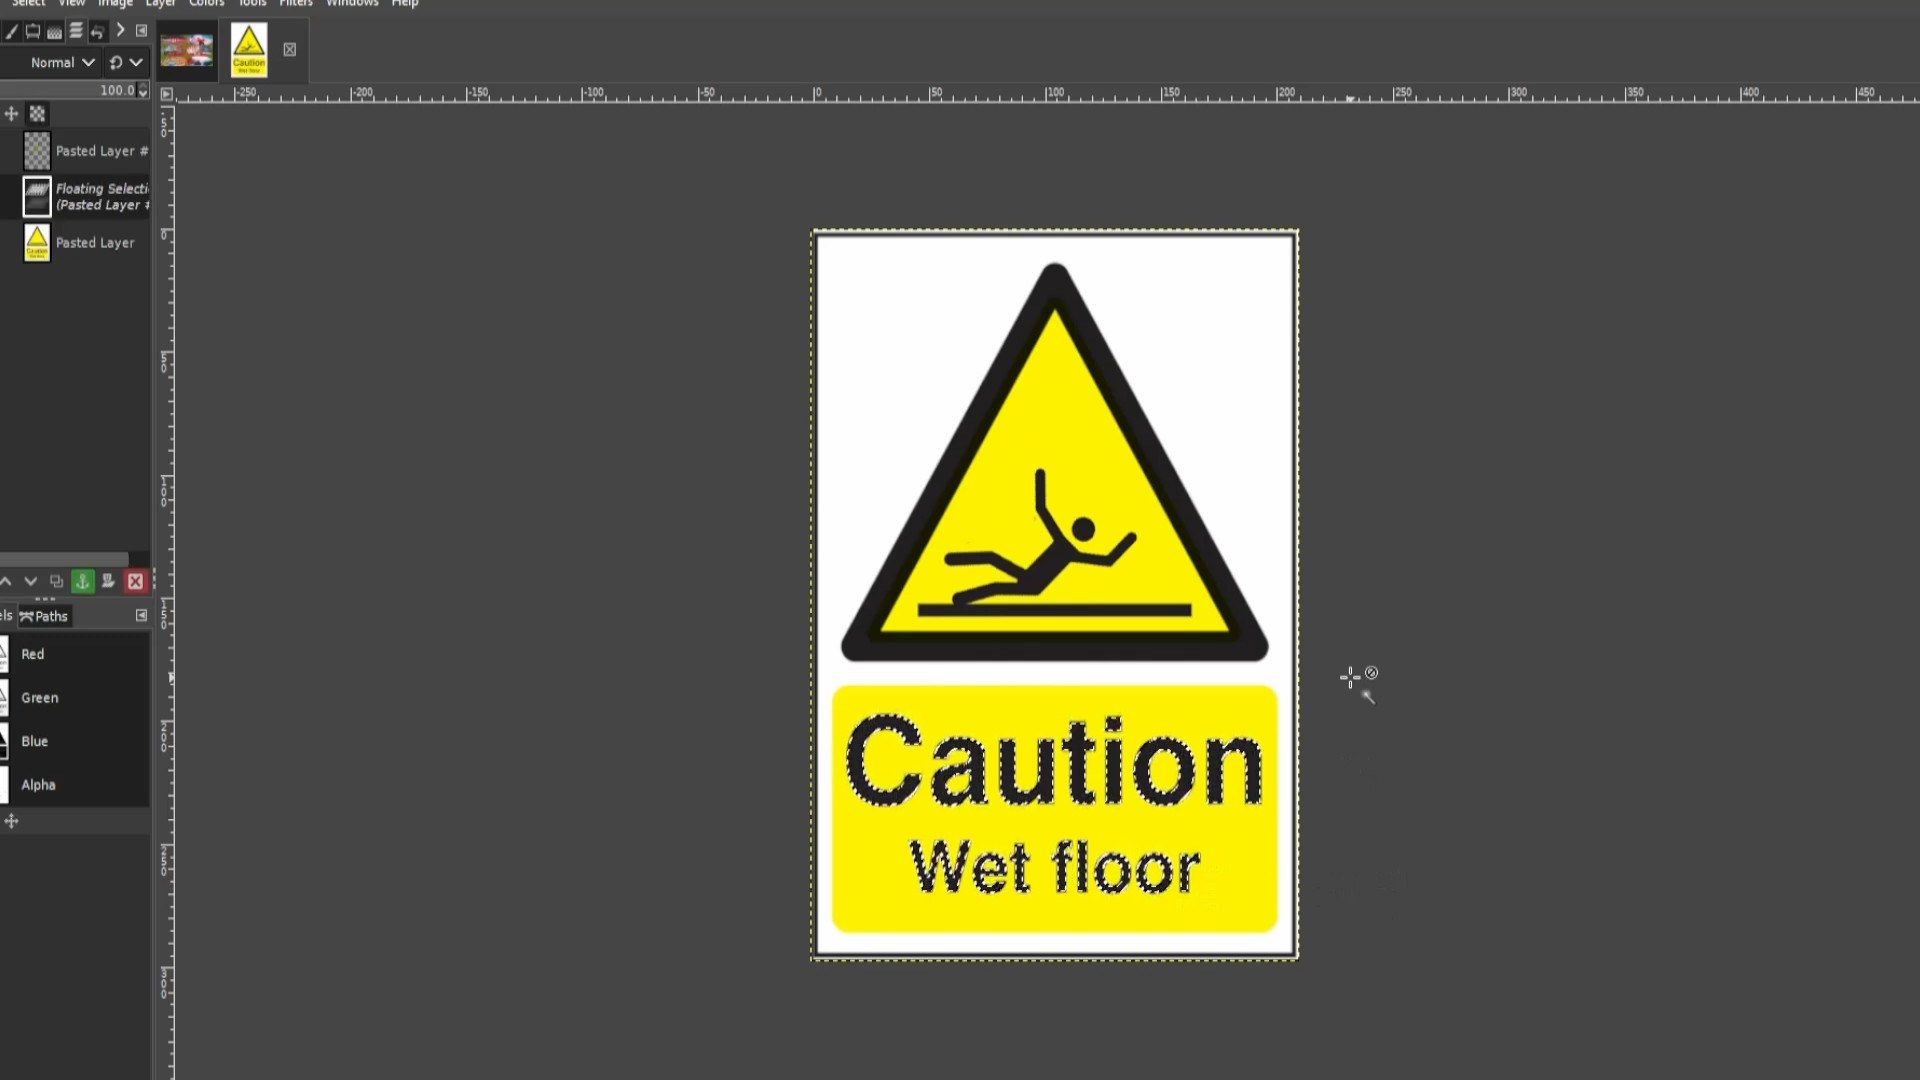
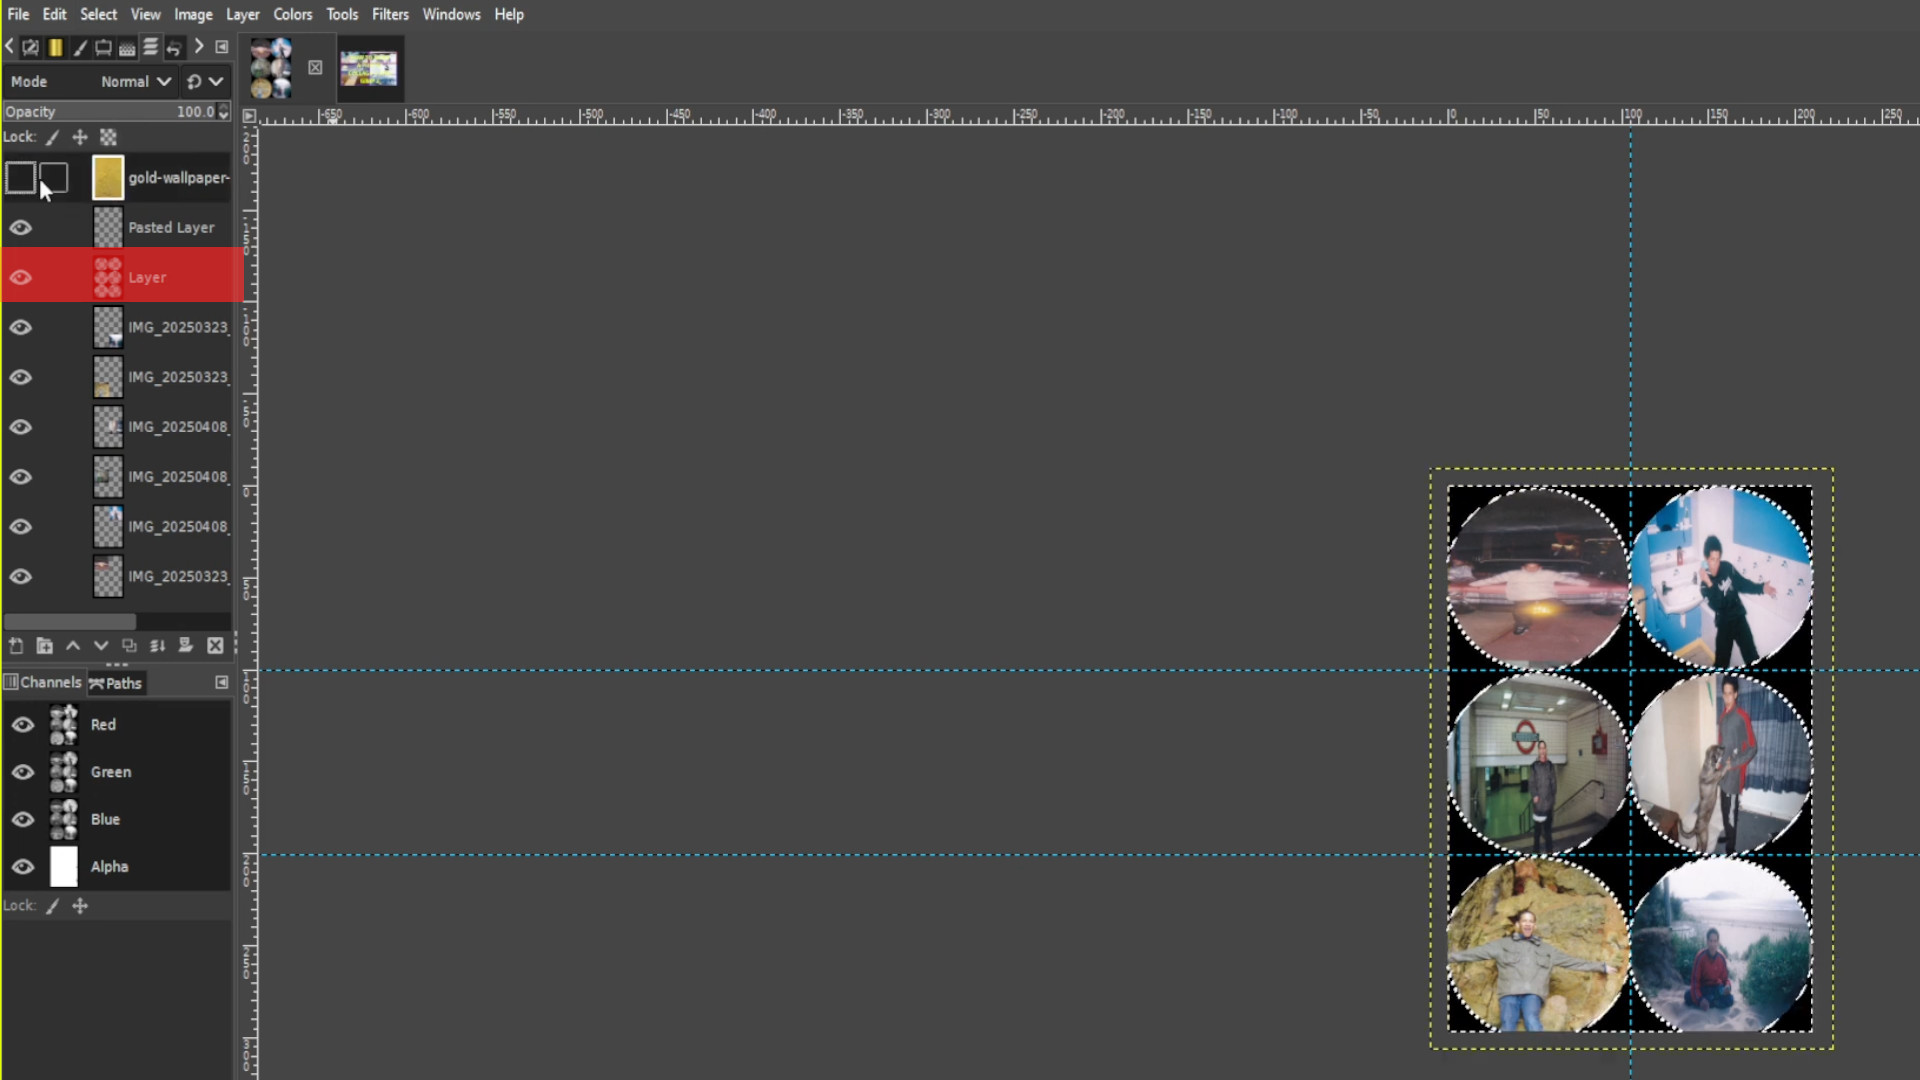
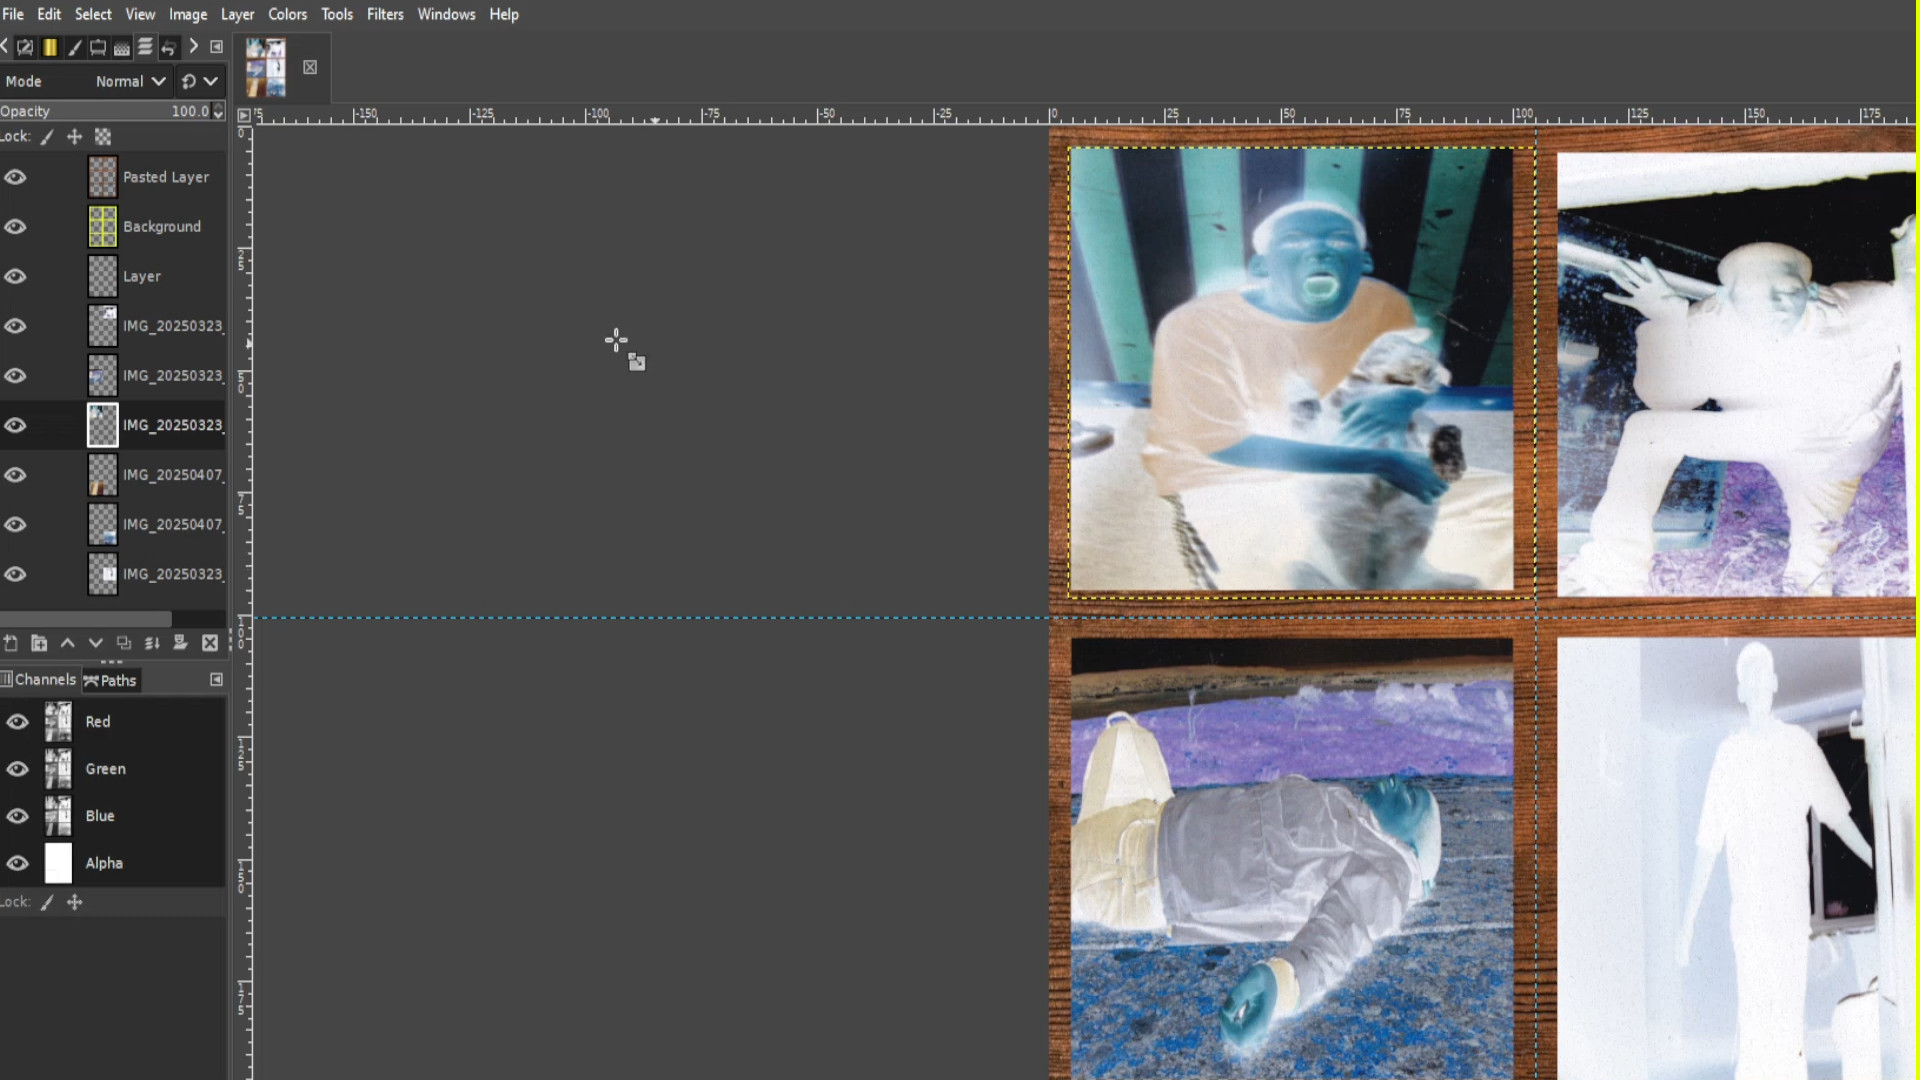
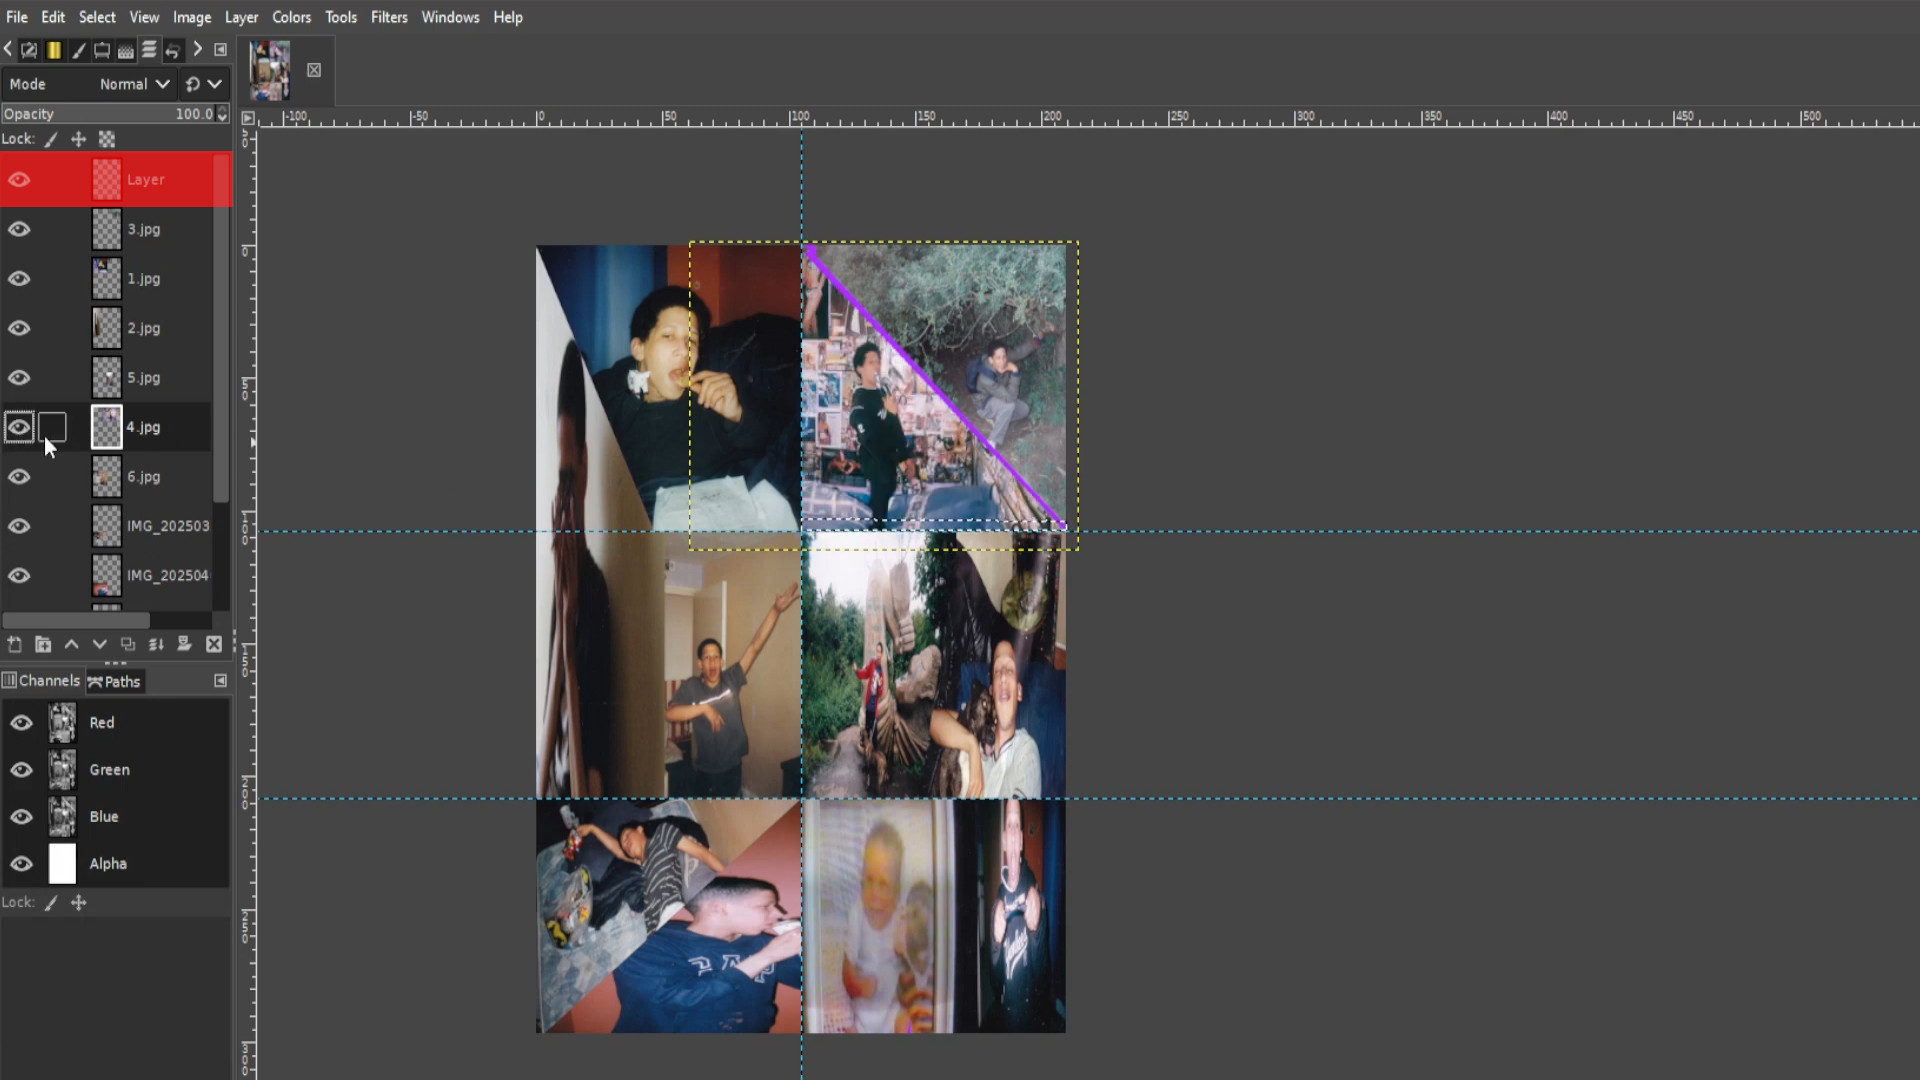
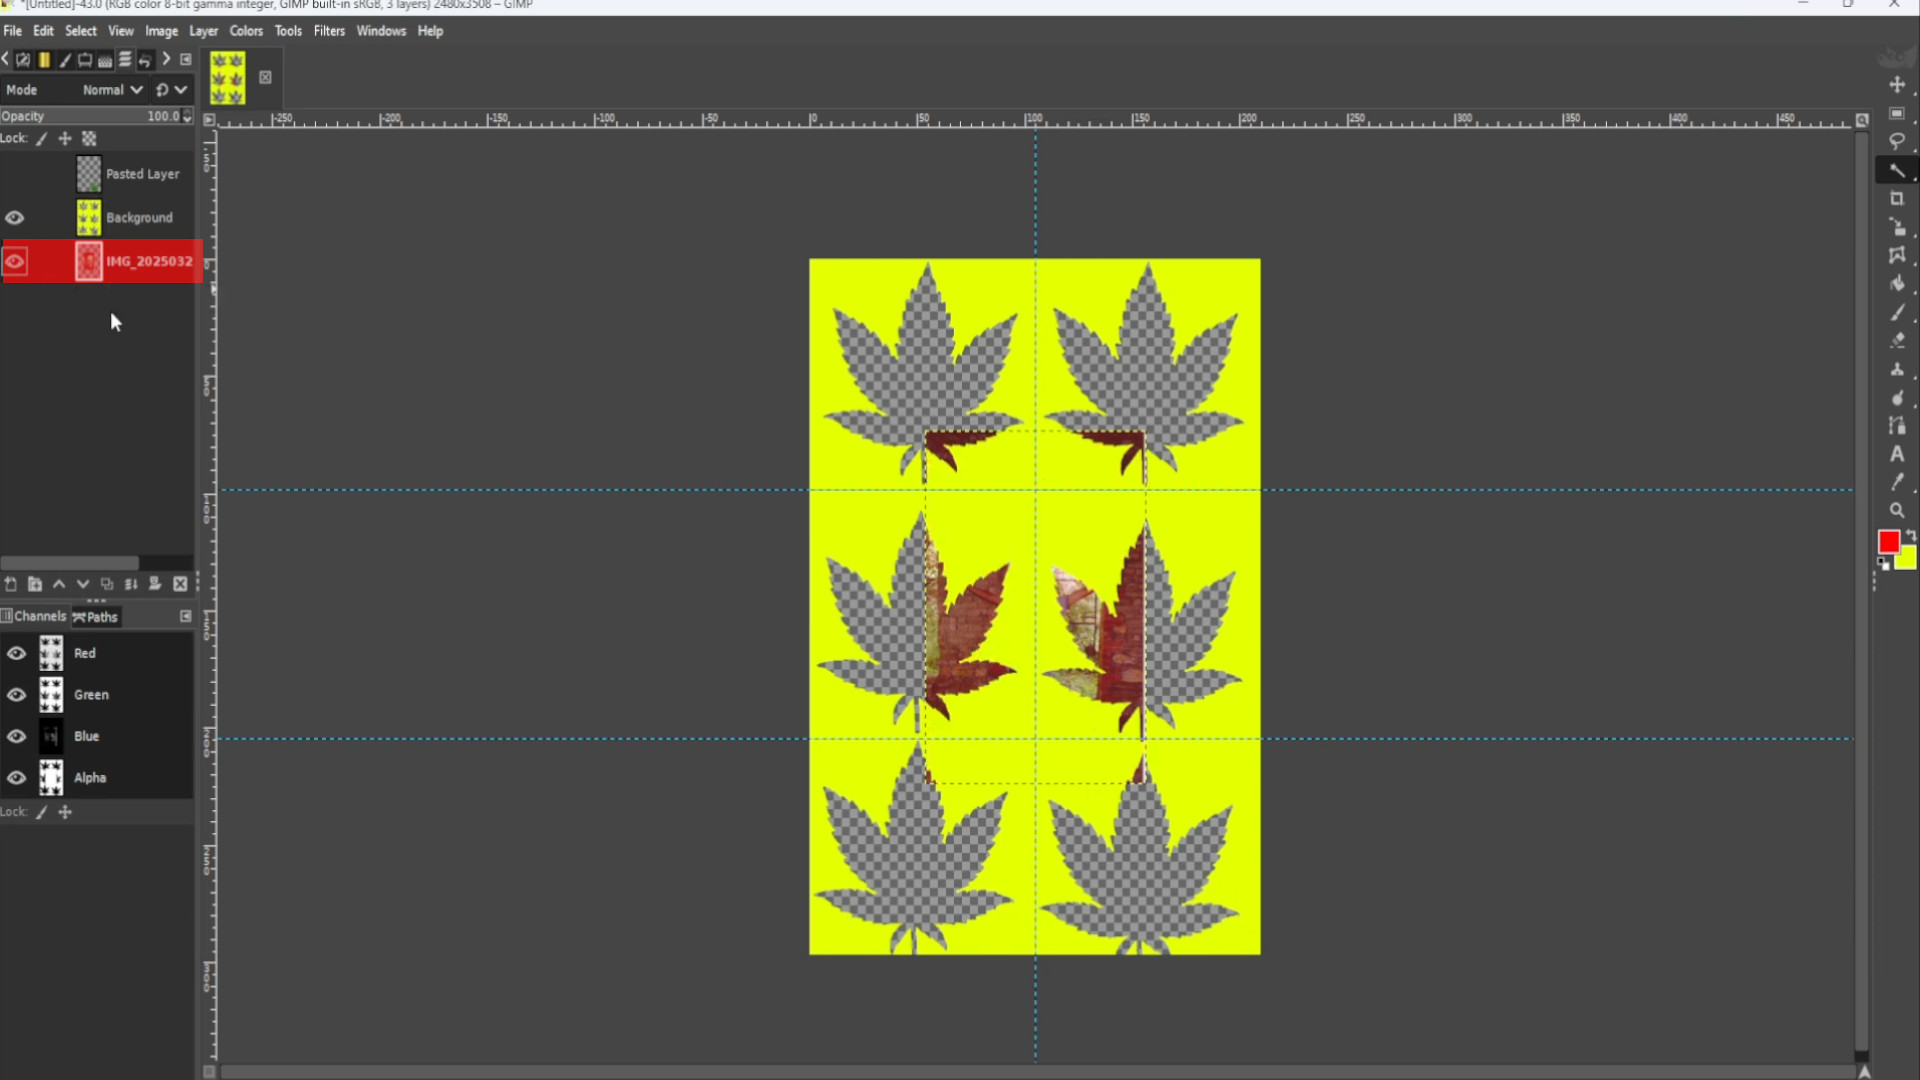
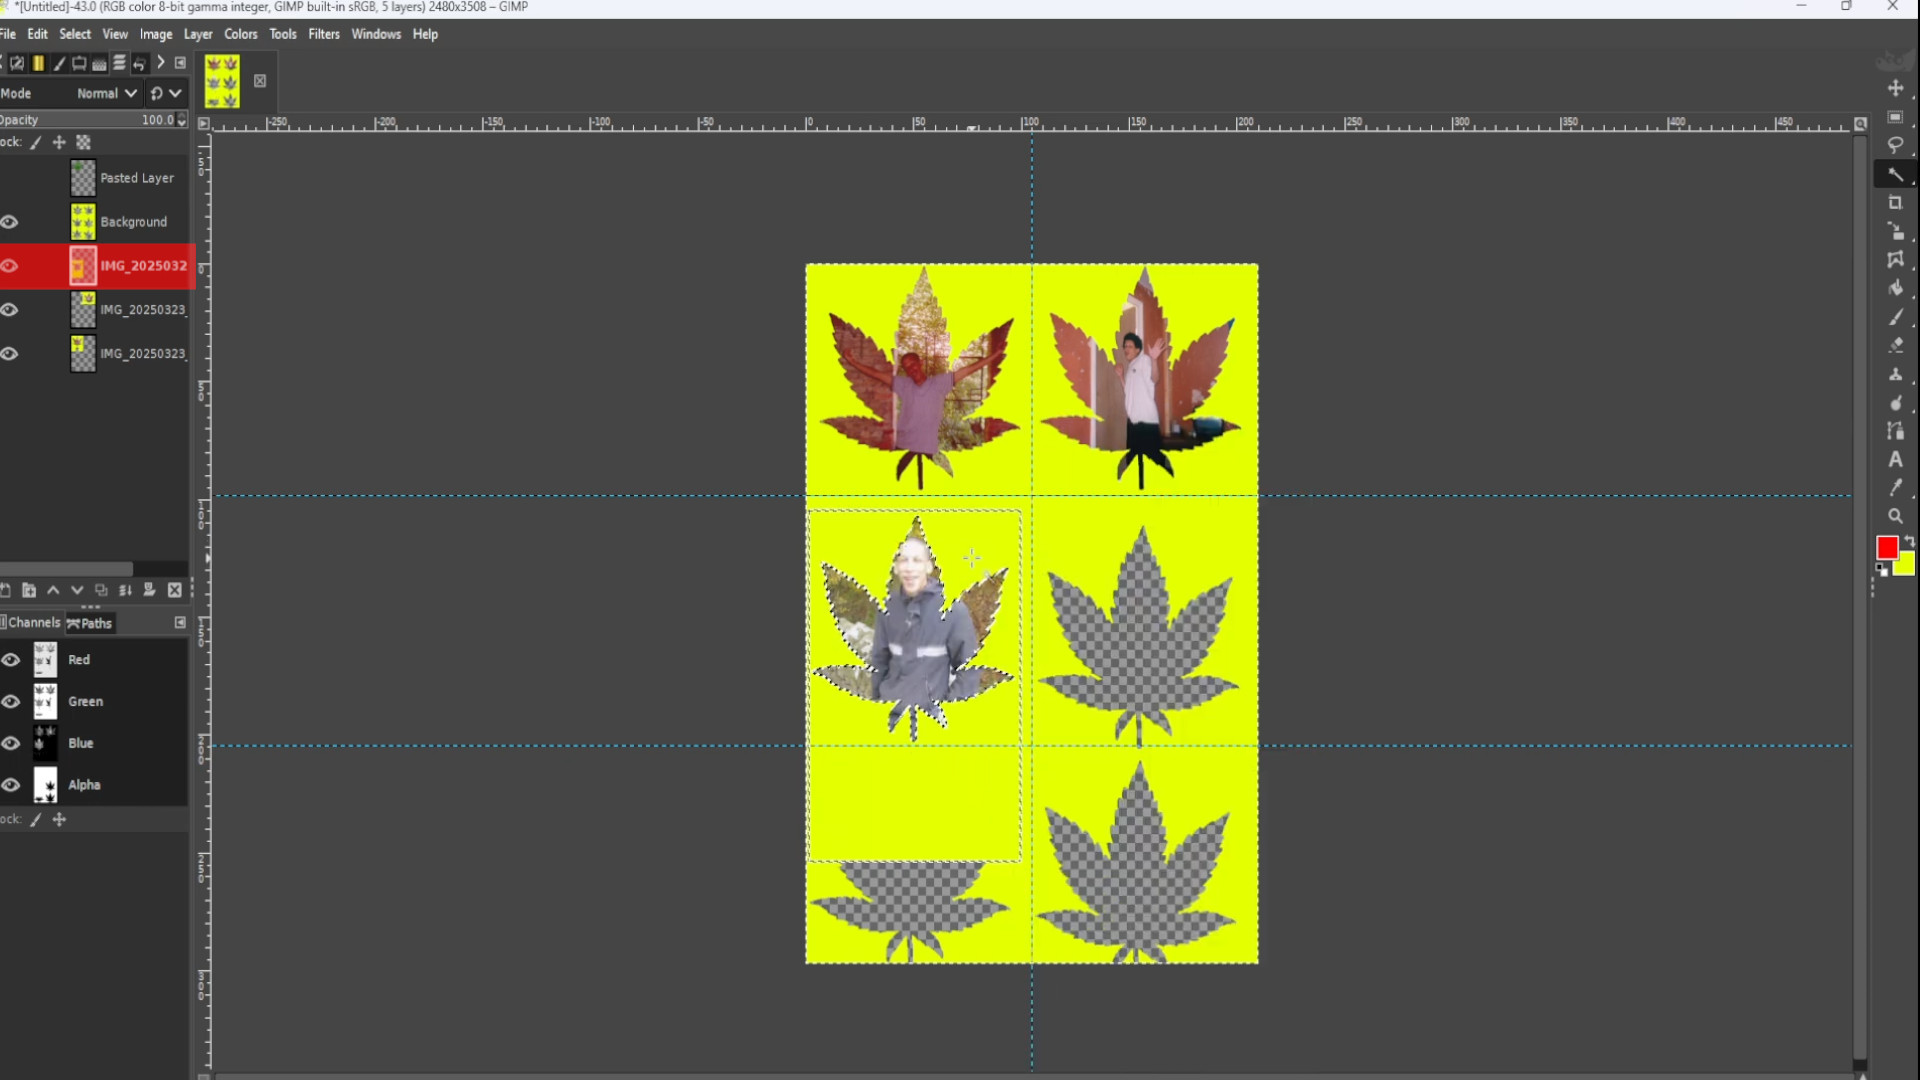
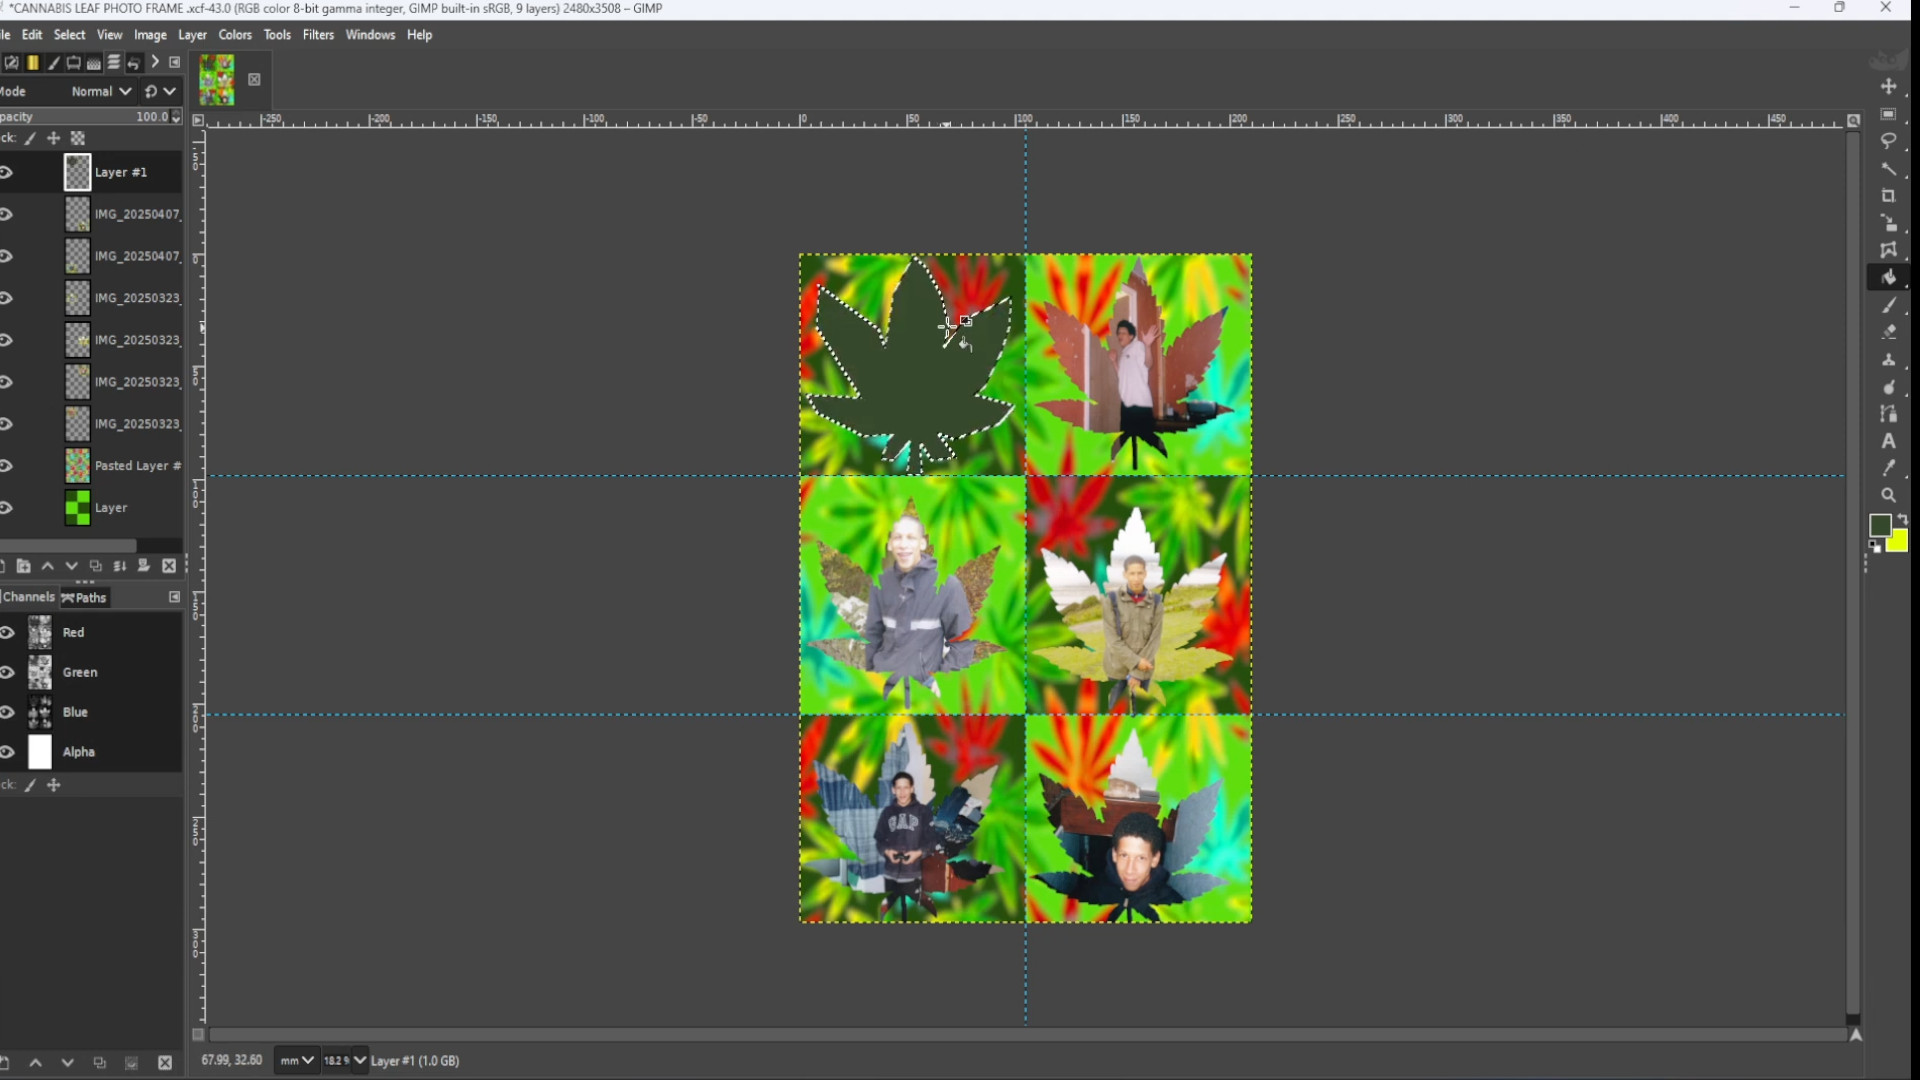
With the>>>SECOND LAYER SELECTED of the>>>CUT>>>OUT >>>SHAPES with>>>BACKGROUND and using the>>>FUZZY TOOL>>>CLICK on the>>>SHAPE with the>>>IMAGE in to>>>HIGHLIGHT it. 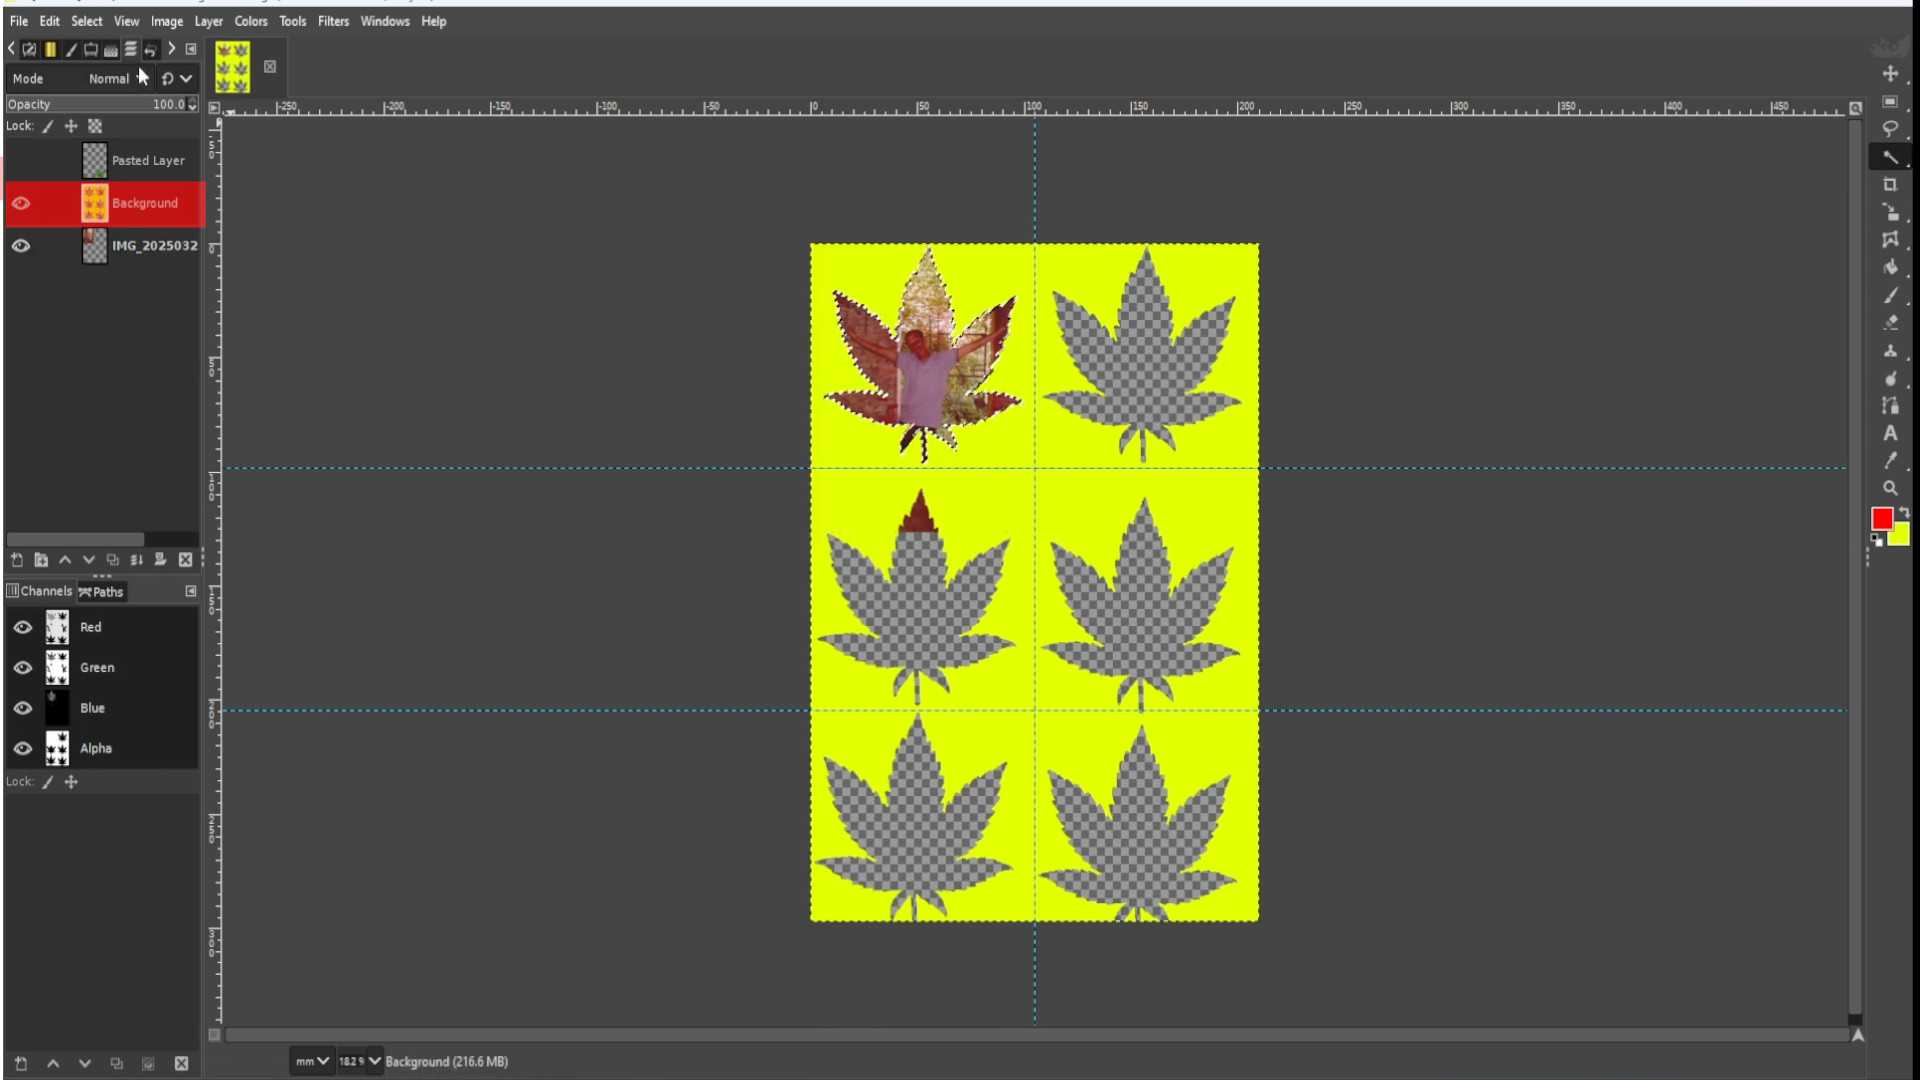
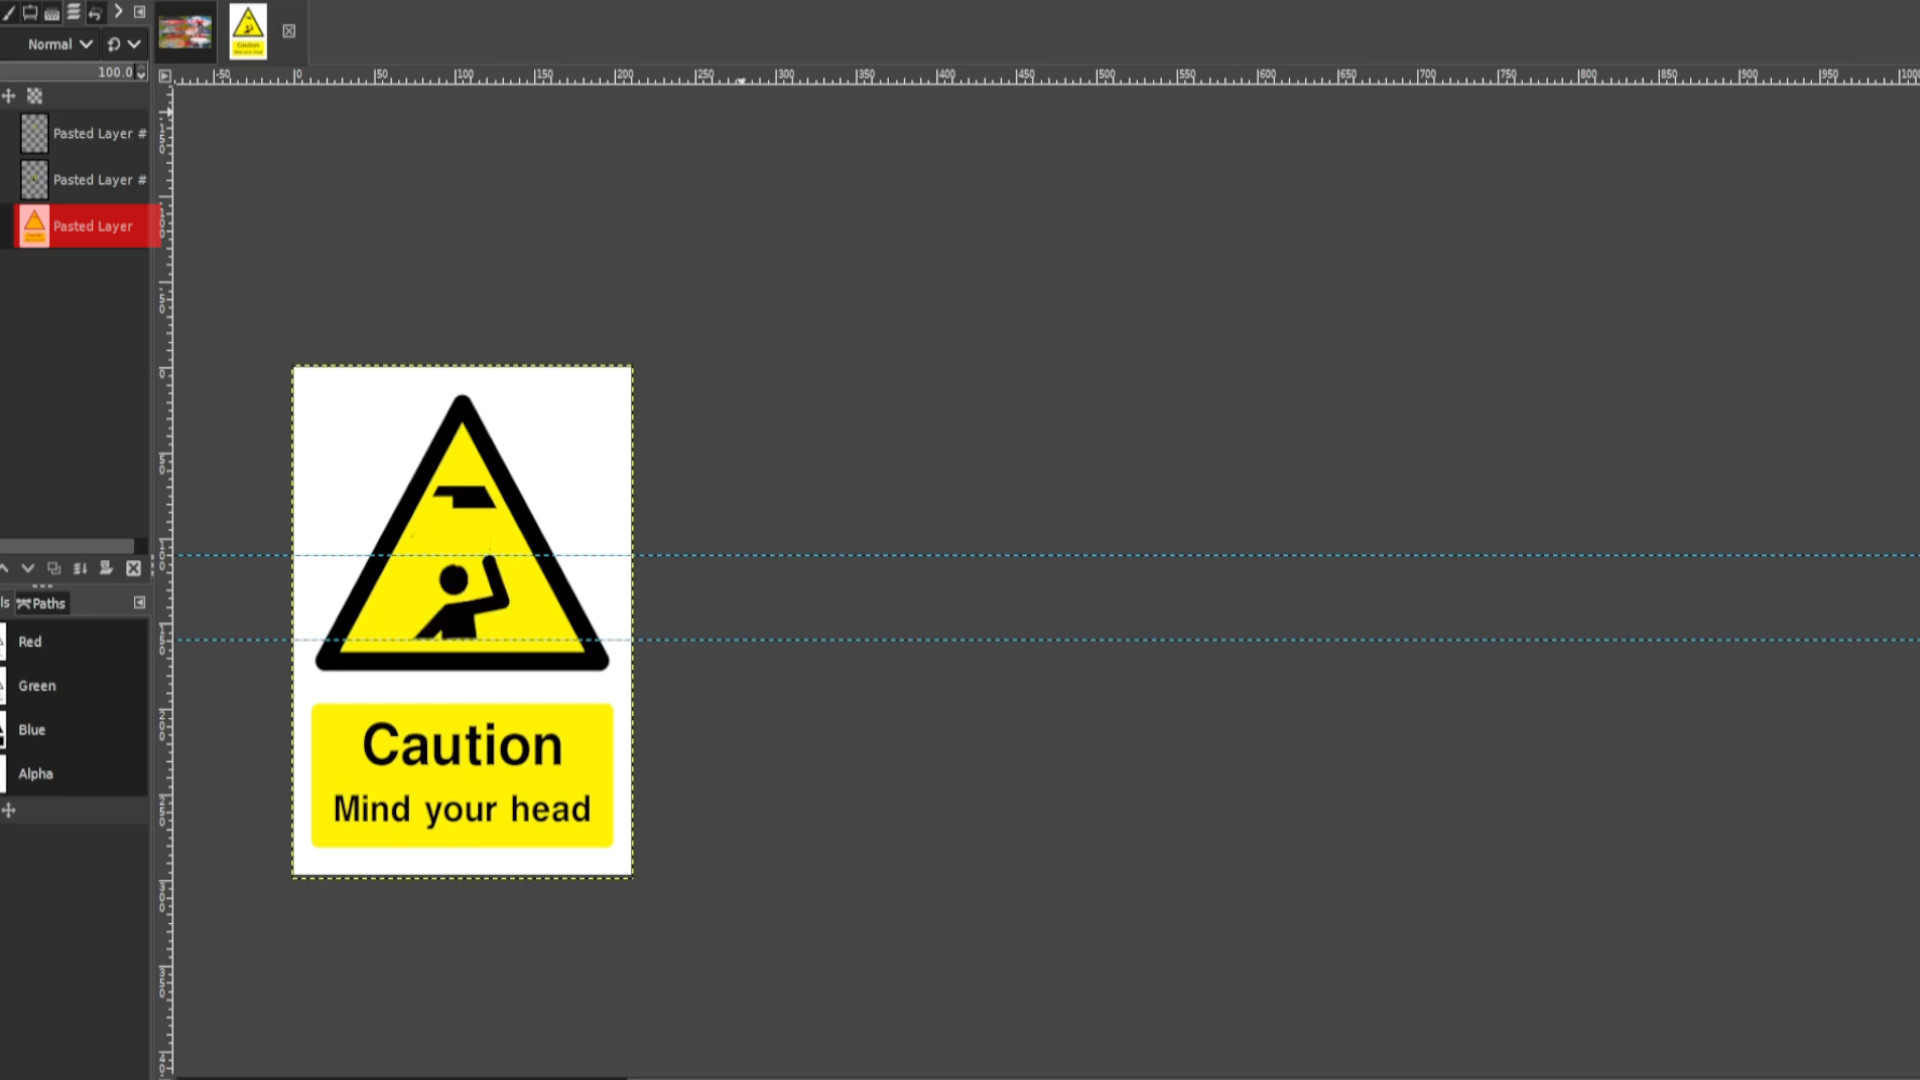
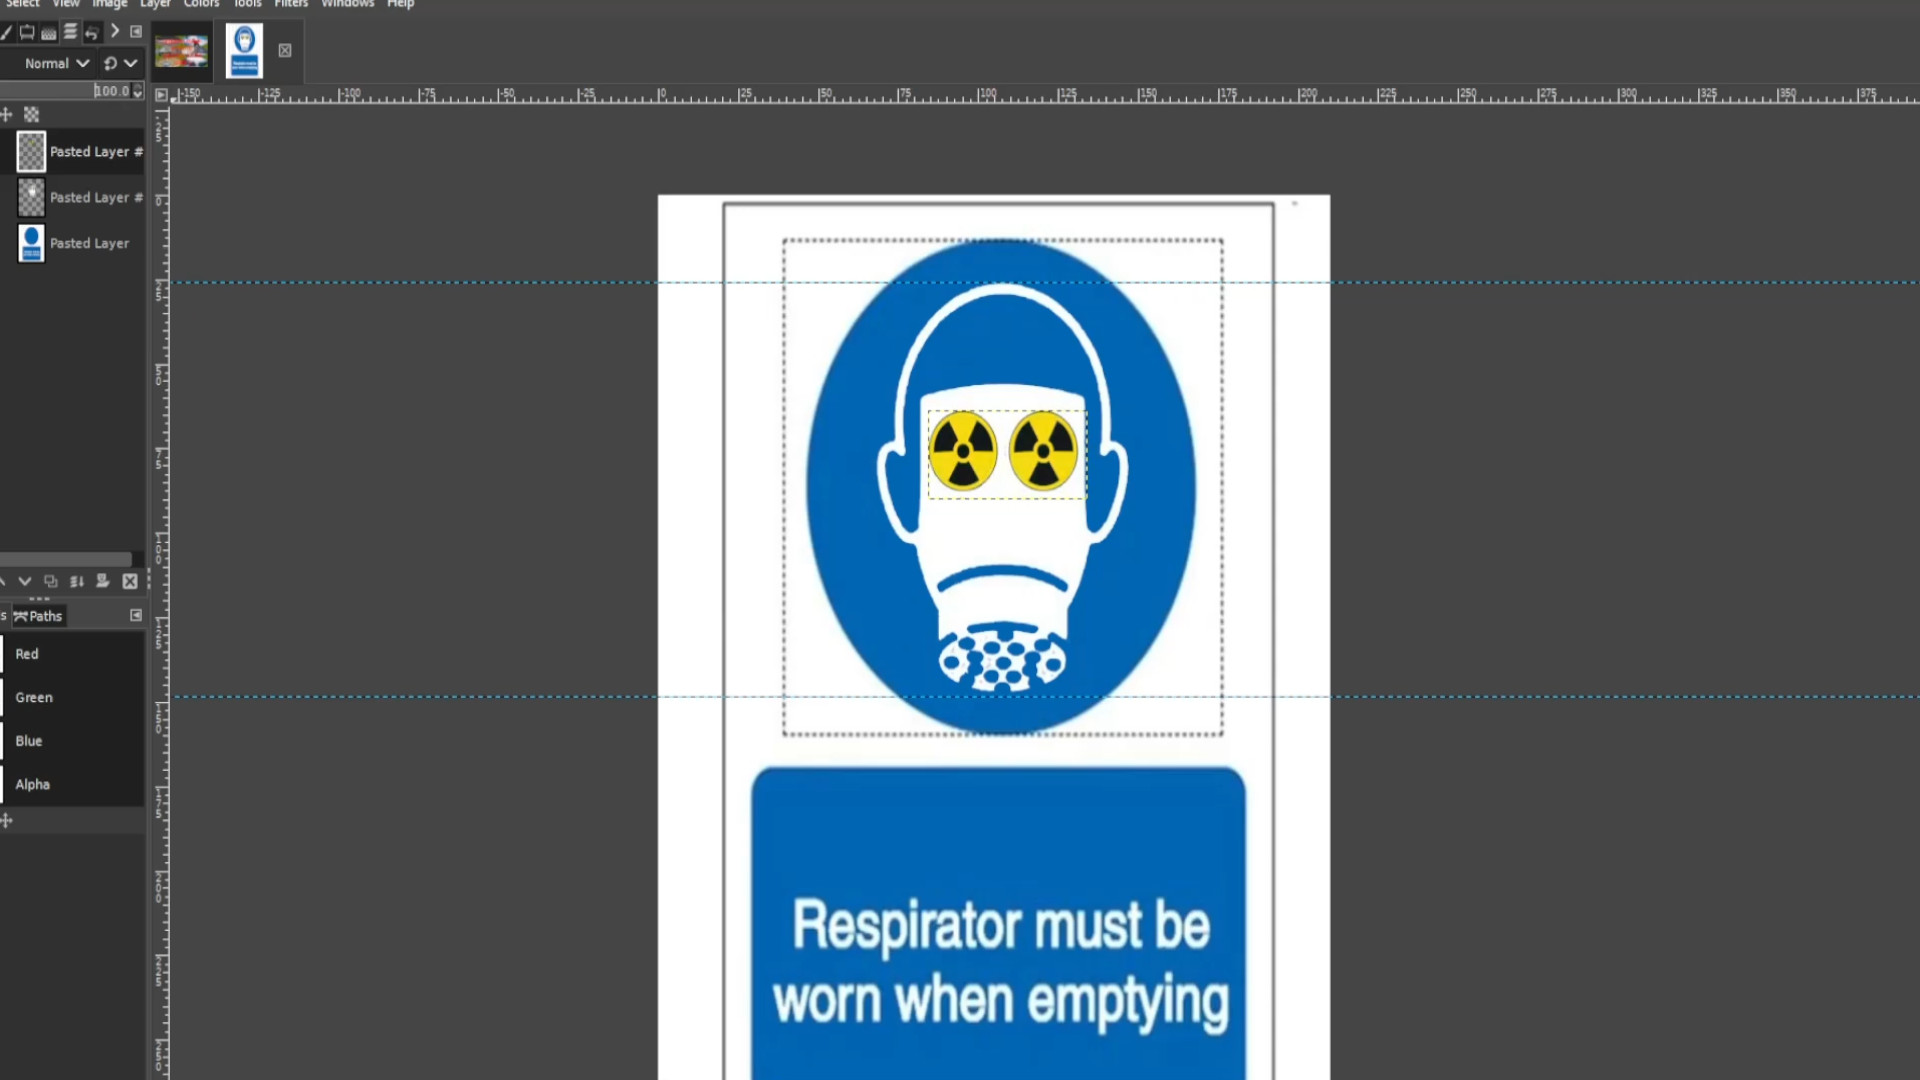
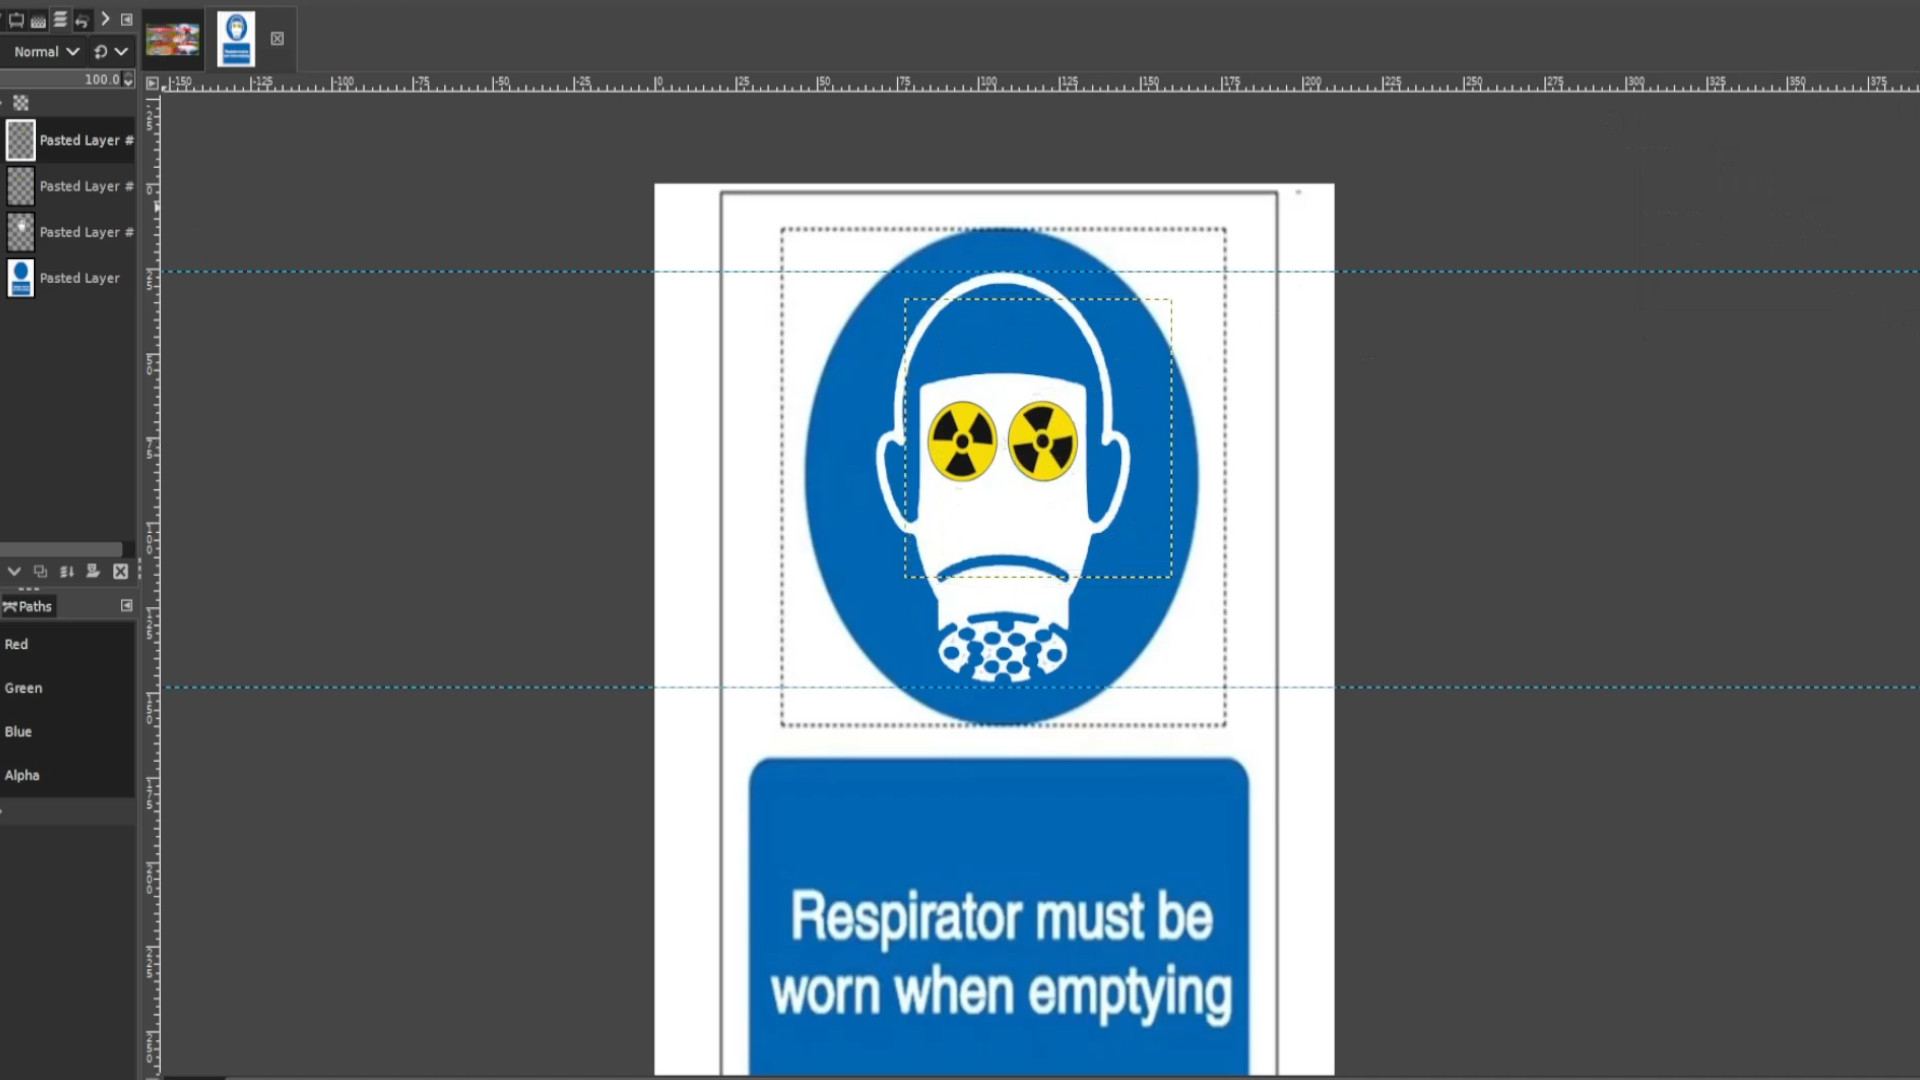
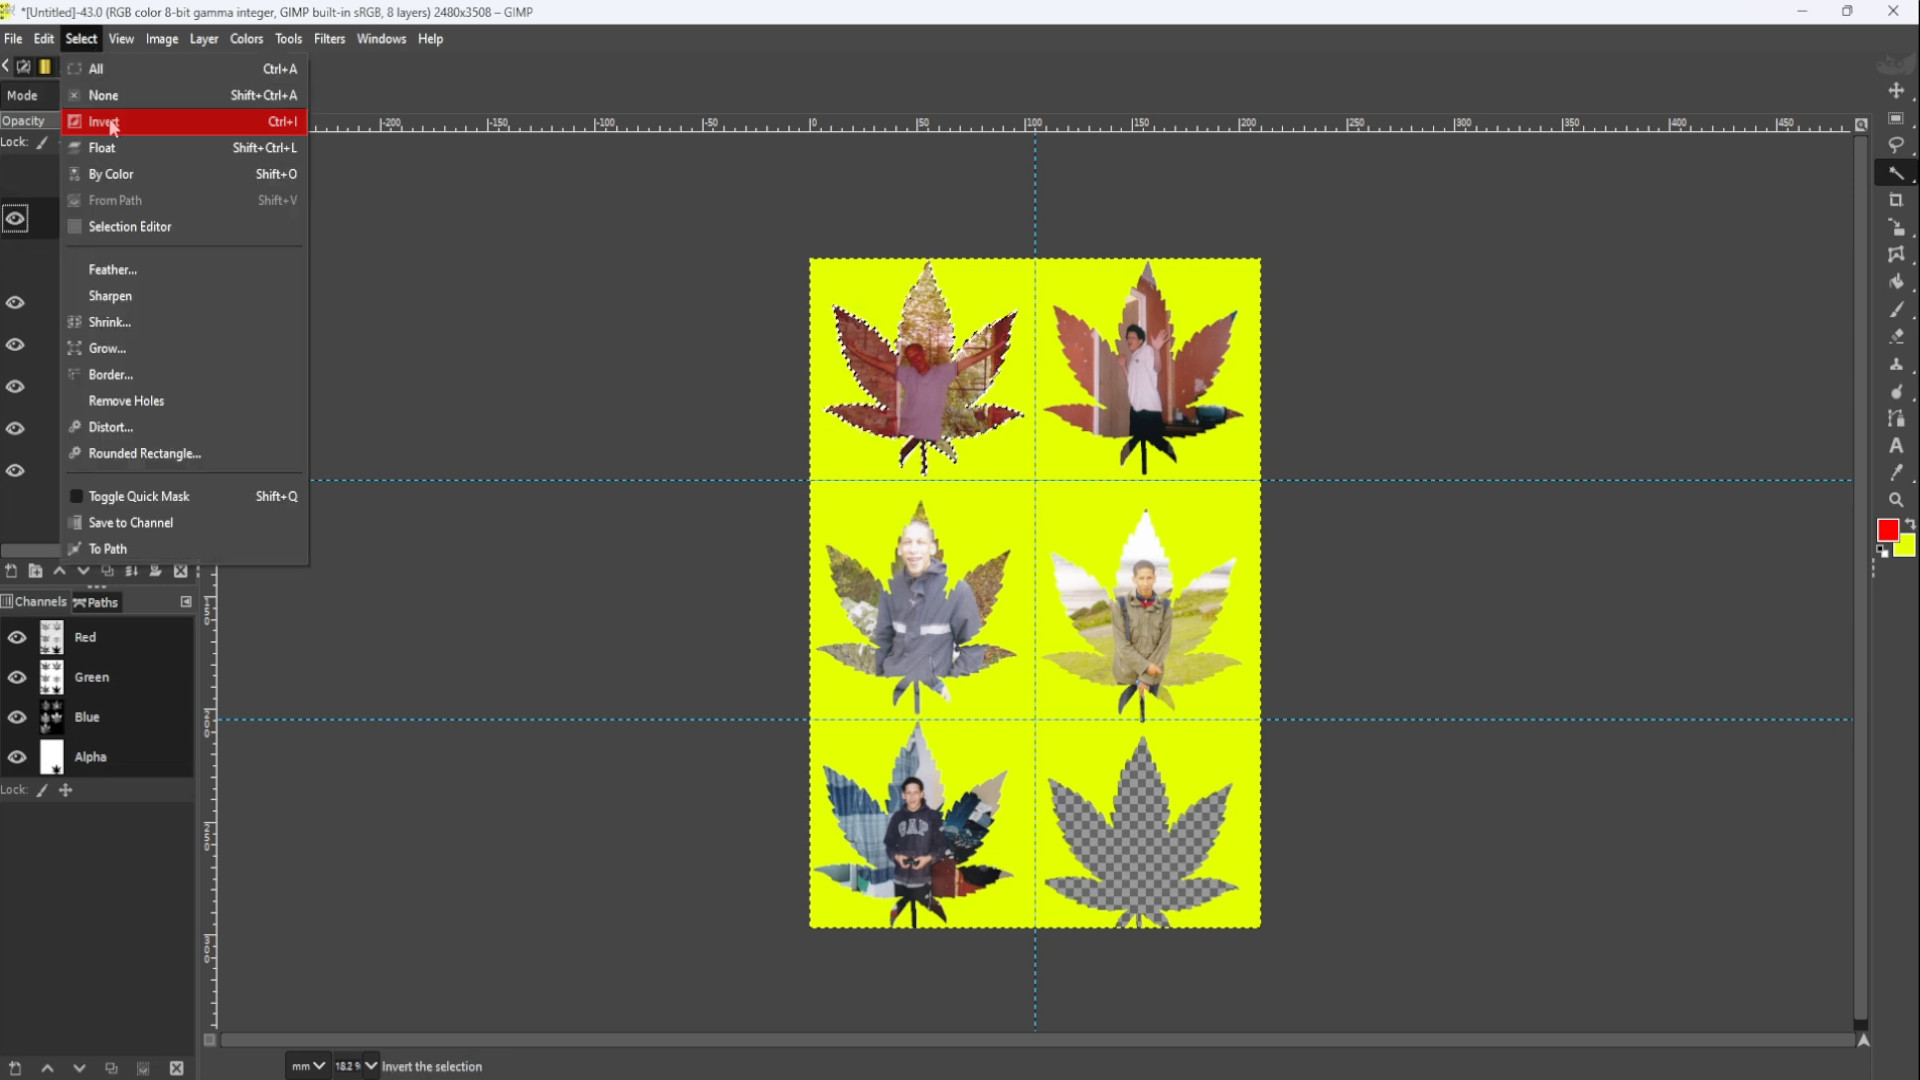
Go to>>>SELECT>>>INVERT to invert the highlighted bit.
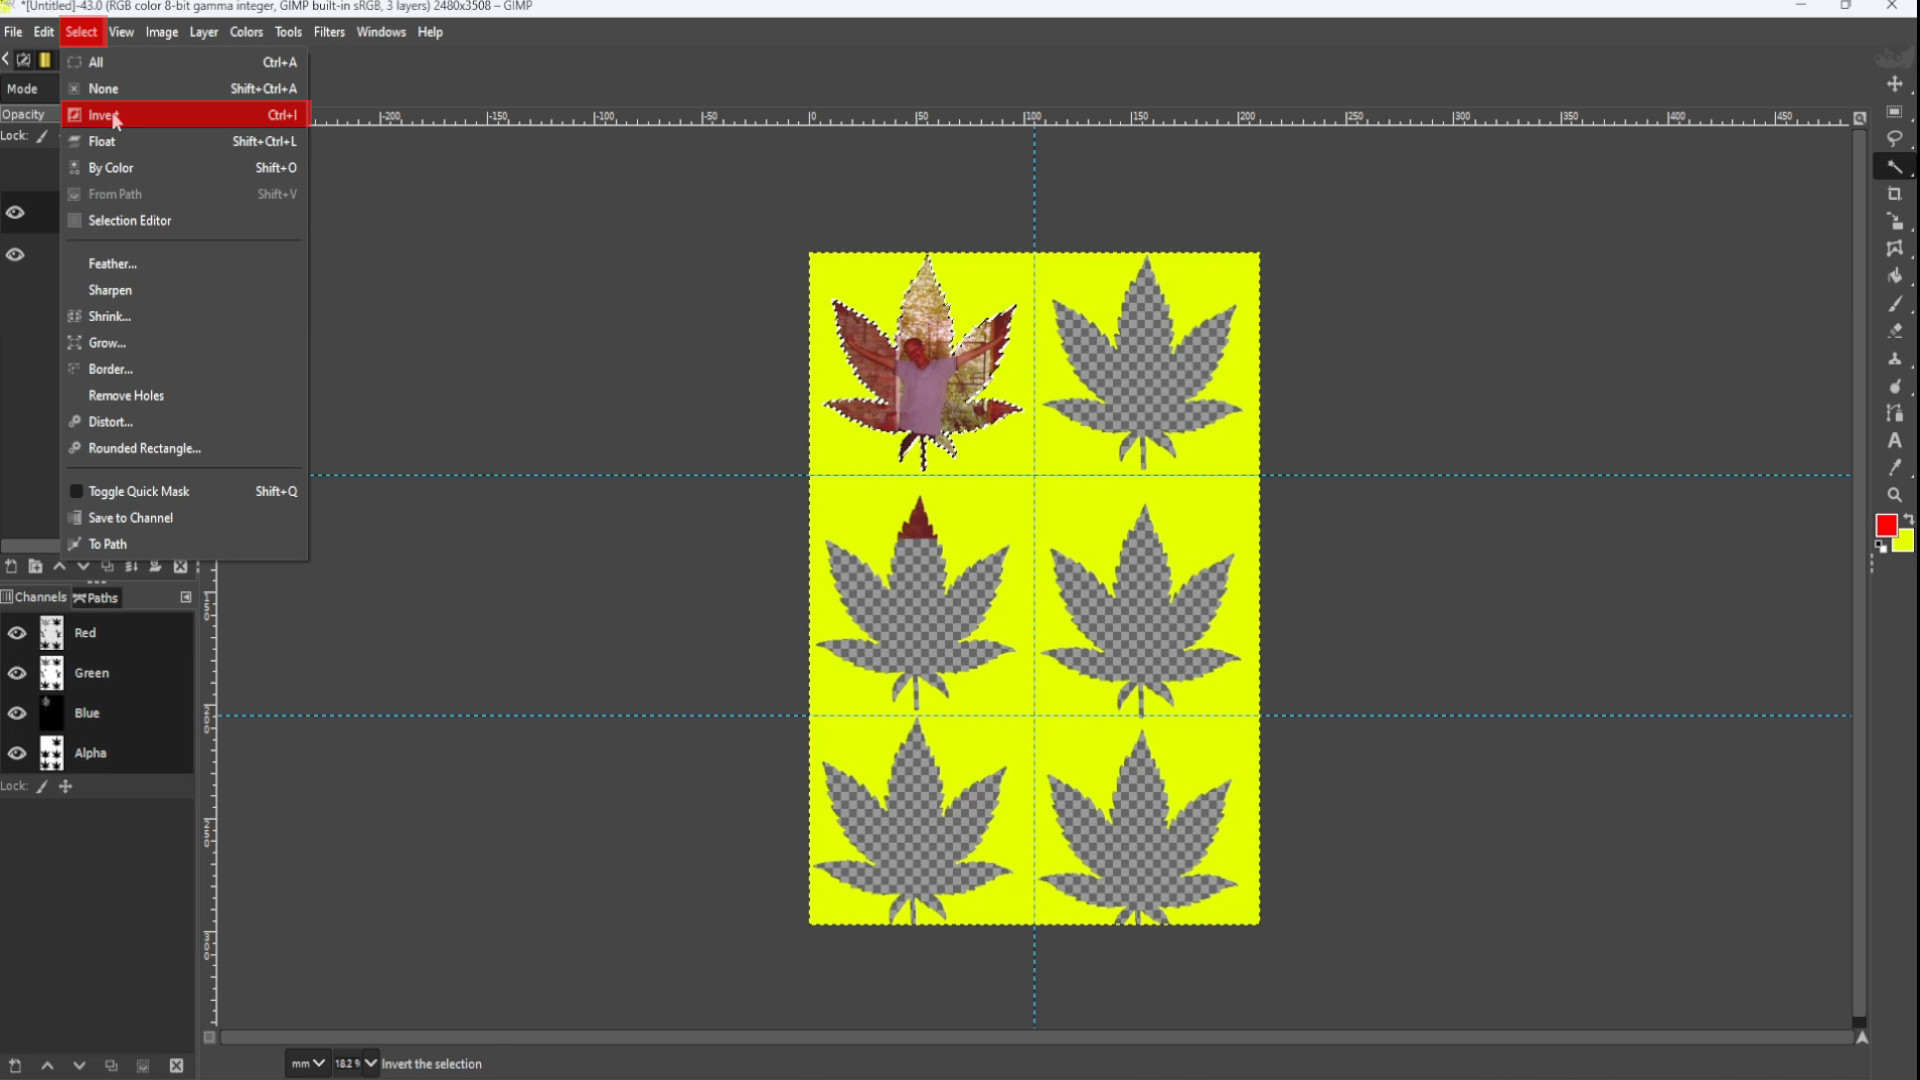
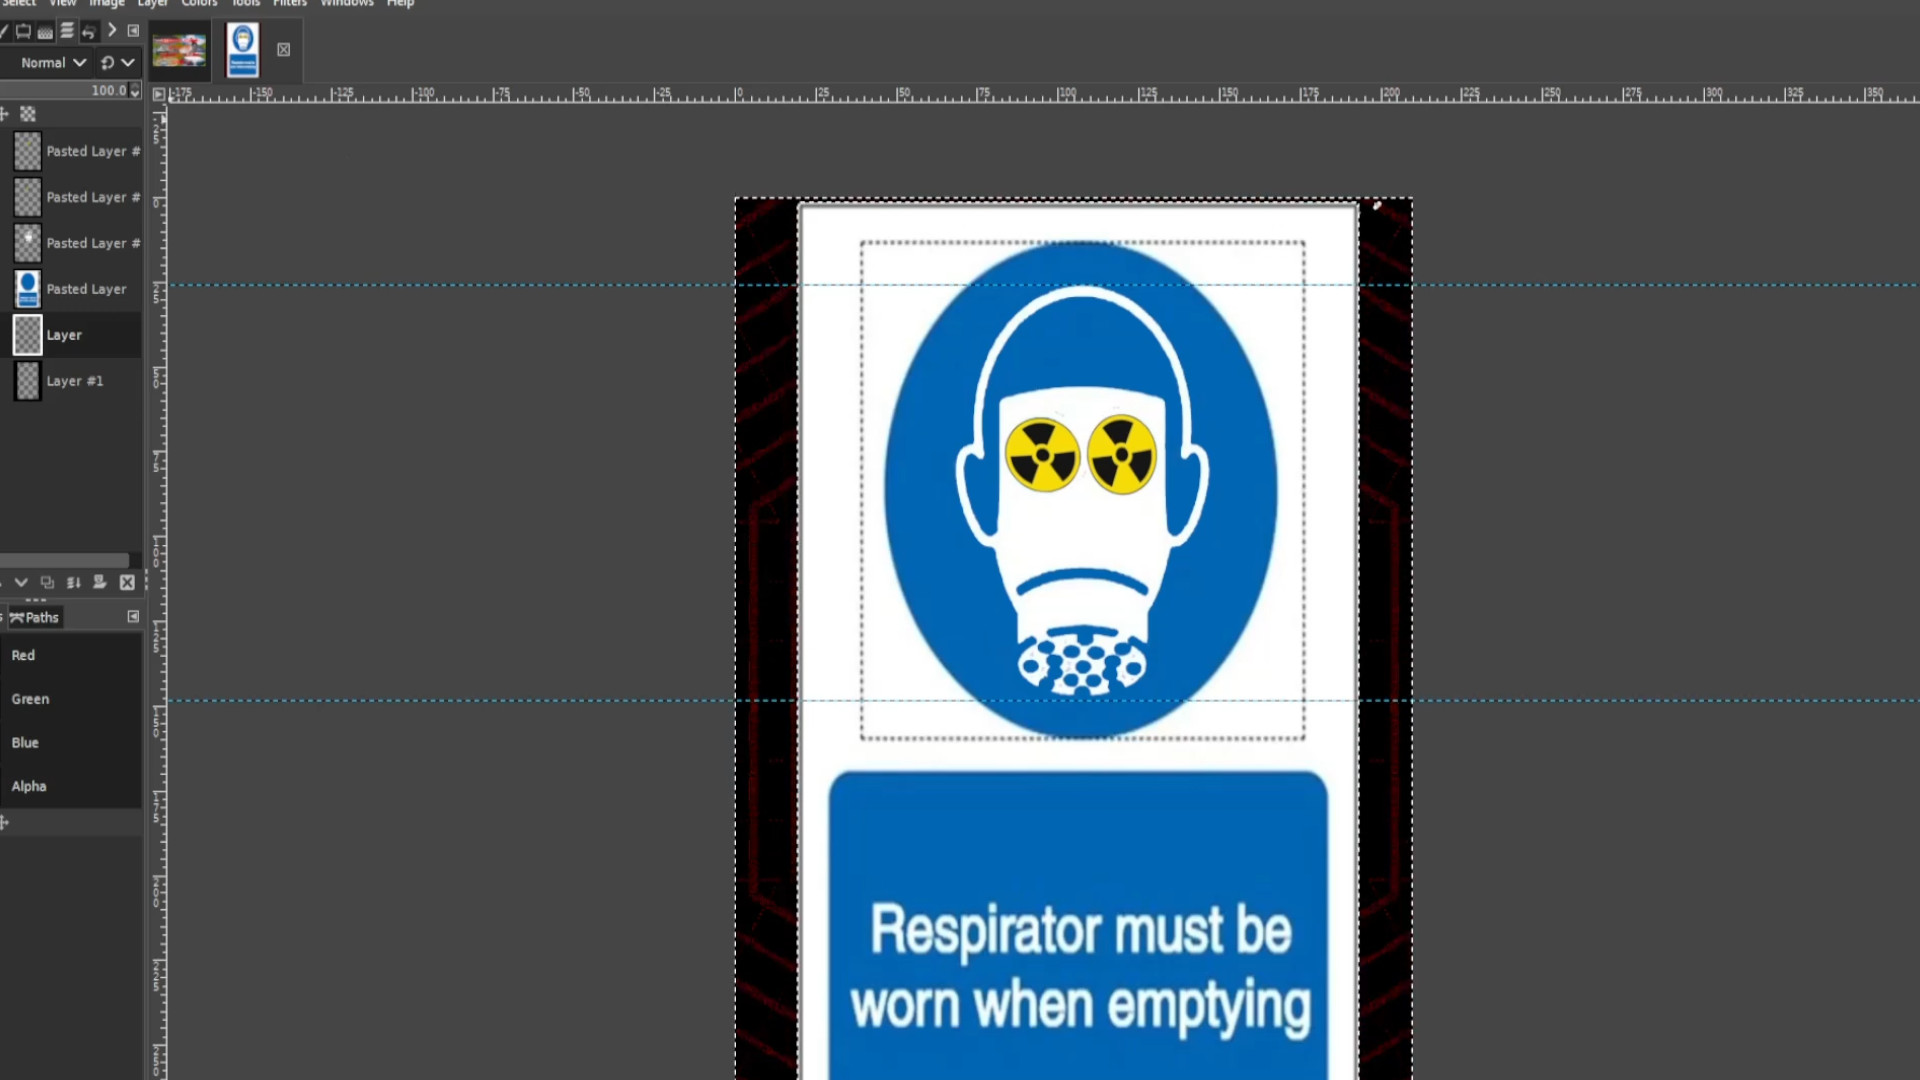
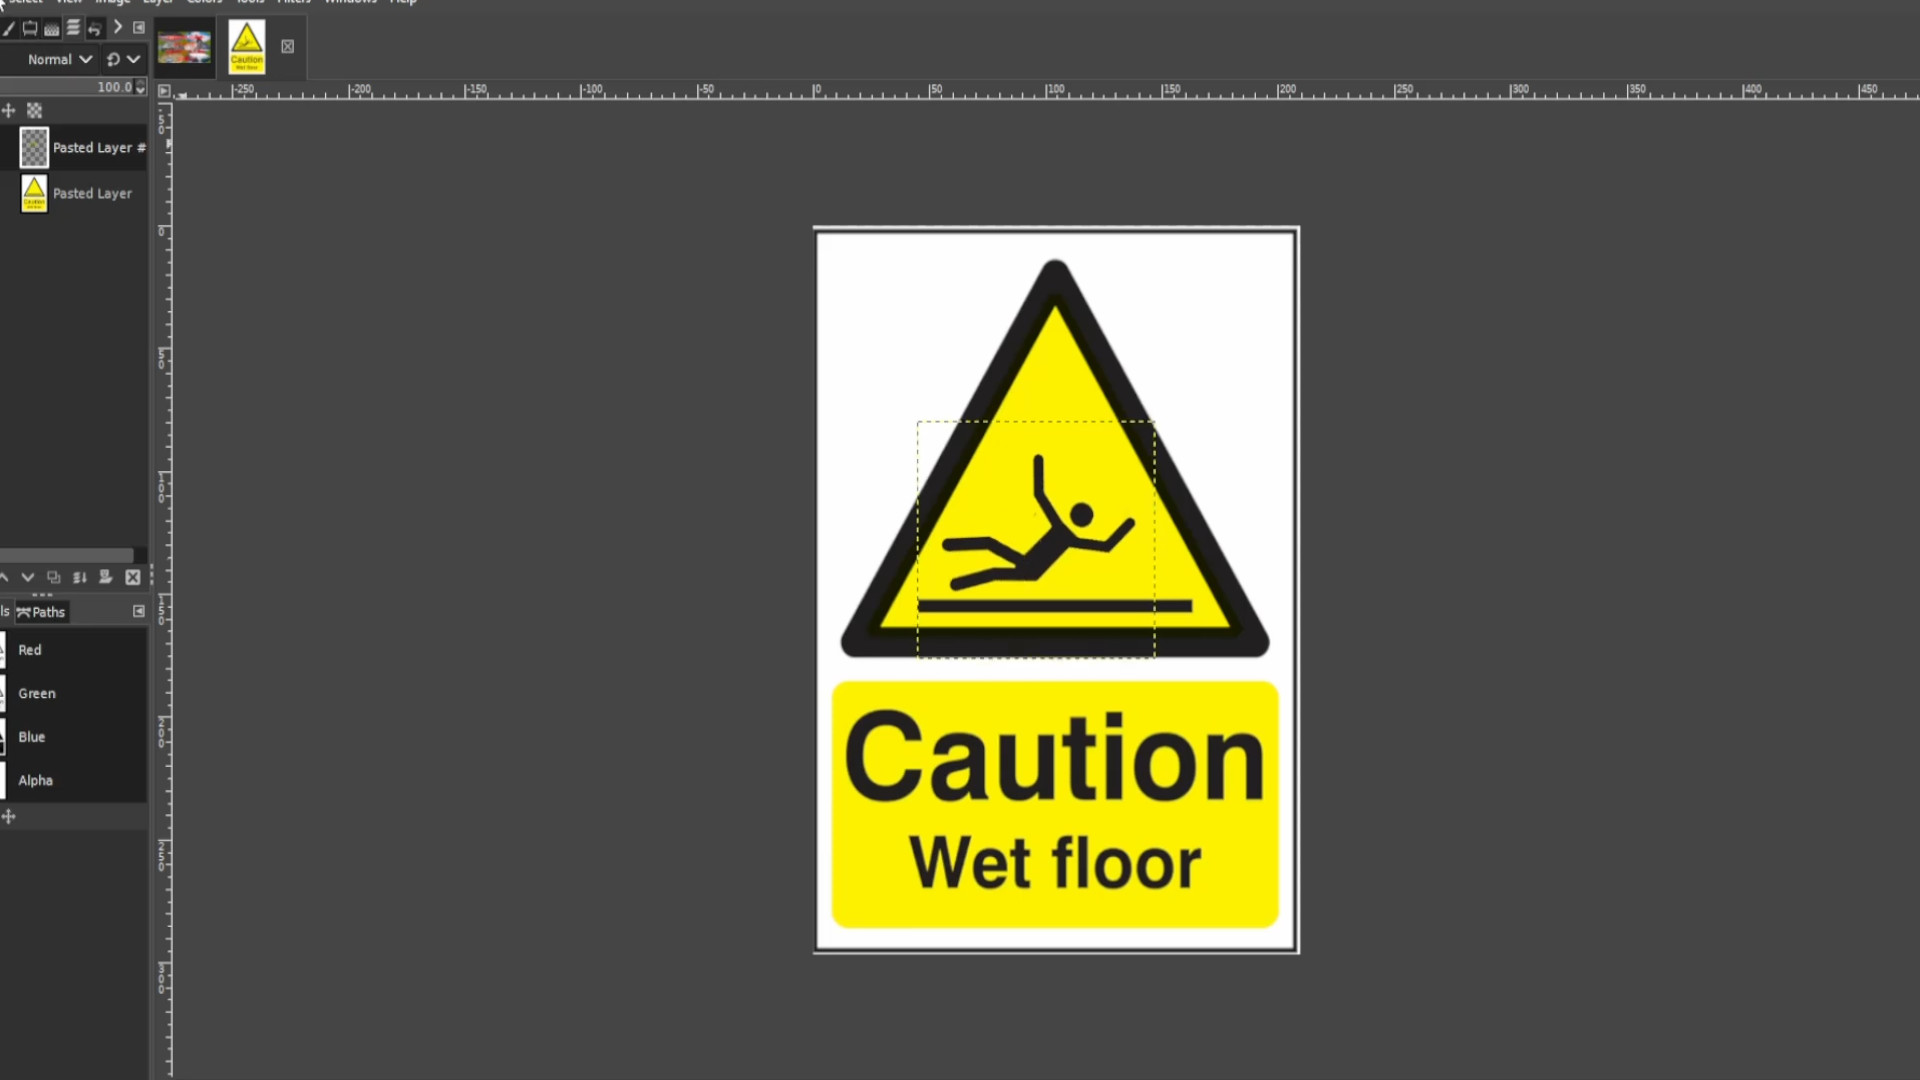
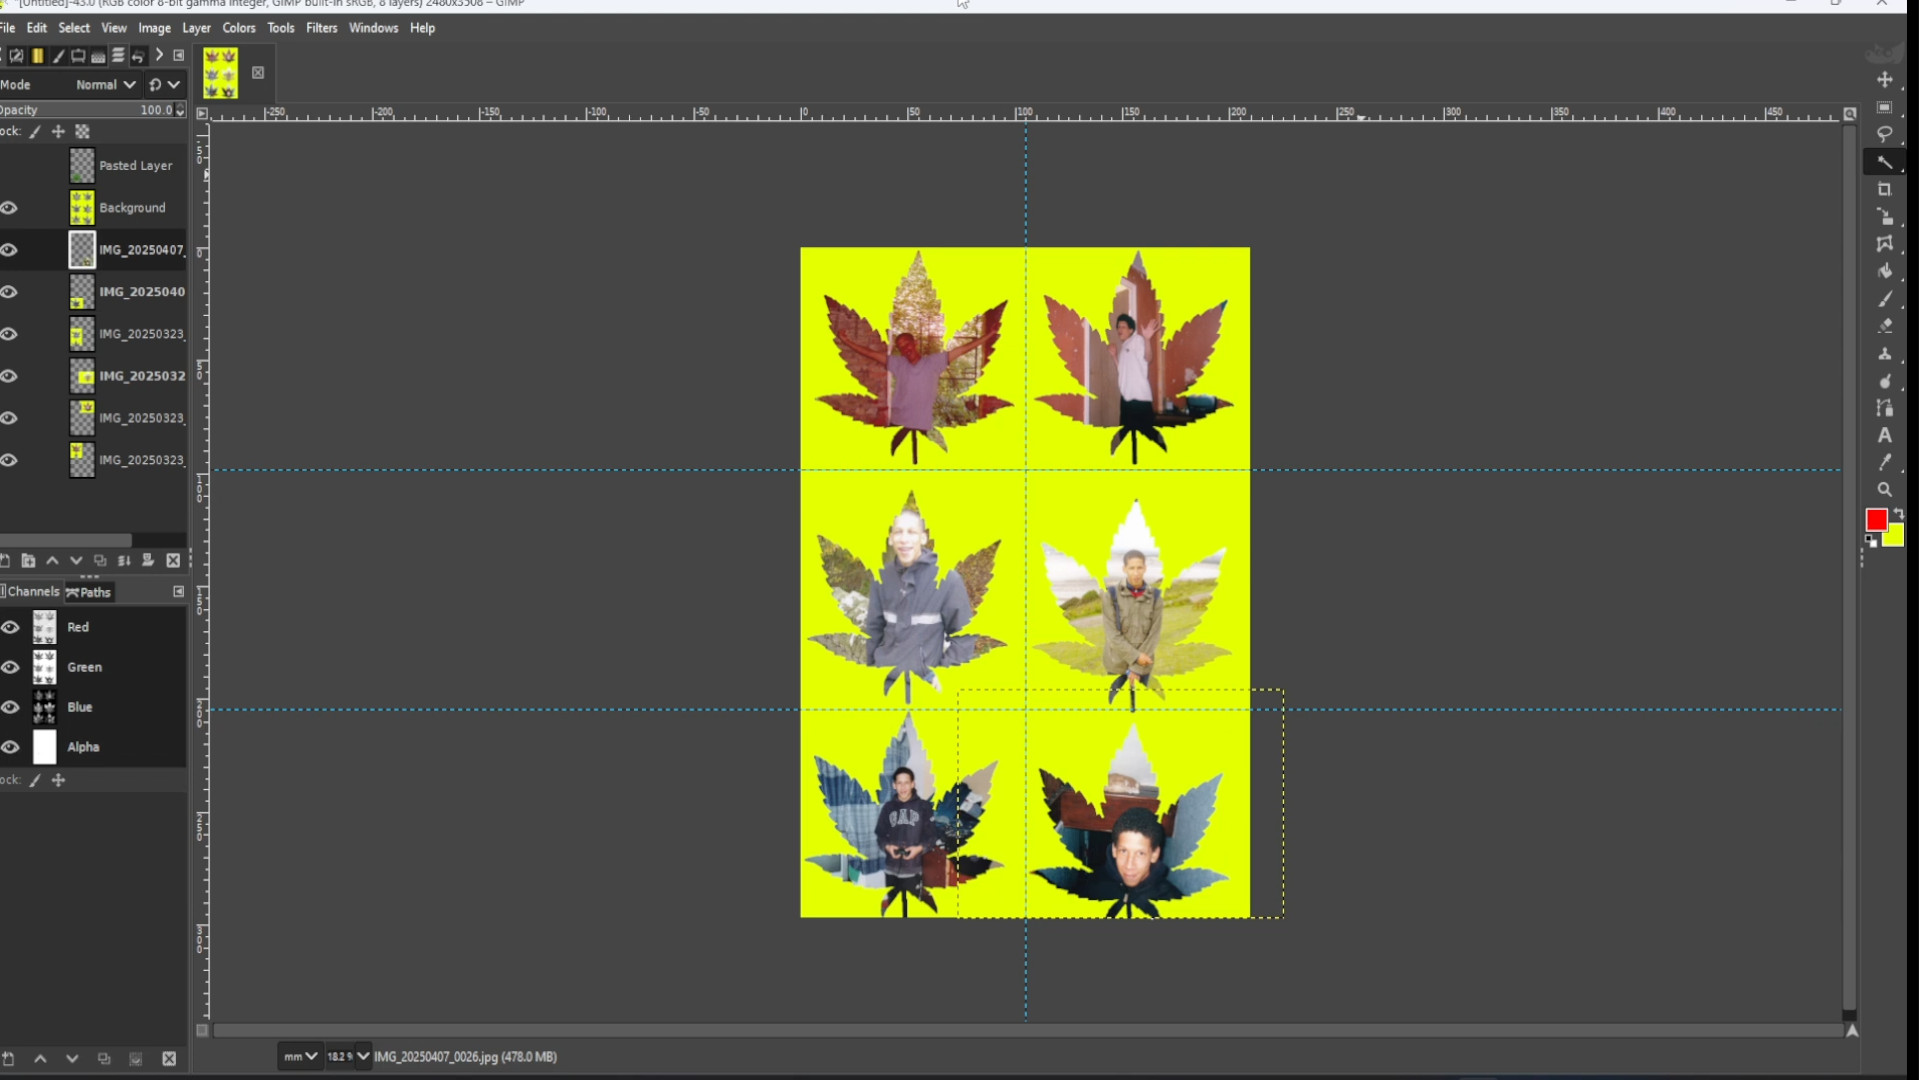
You may want to>>>SELECT THE BOTTOM LAYER and use the>>>LASSO and>>>RECTANGLE SELECT and the>>EDIT>>>CUT options to get rid of any unwanted bits that overlay in the next section below, above or left and right of the boxes. You may also need to>>>ADD ALPHA CHANNEL more than once for each bit if it doesn’t appear to be>>>TRANSPARENT. Also you may lose the>>>SHAPE so>>>UNHIDE the>>>TOP LAYER by>>>CLICKING on the>>>EYE in the>>>LEFT>>>HAND>>>SIDE>>>LAYERS>>>PANEL.>>>SELECT the>>>TOP LAYER>>>HIGHLIGHT it by using the>>>FUZZY TOOL>>>SELECT the>>>BACKGROUND PICTURE WITH SHAPES on in this case the>>>SECOND LAYER>>>FIT the>>>HOLE with the>>>PICTURE and use>>>EDIT>>>CUT to remove the background keeping the shape.
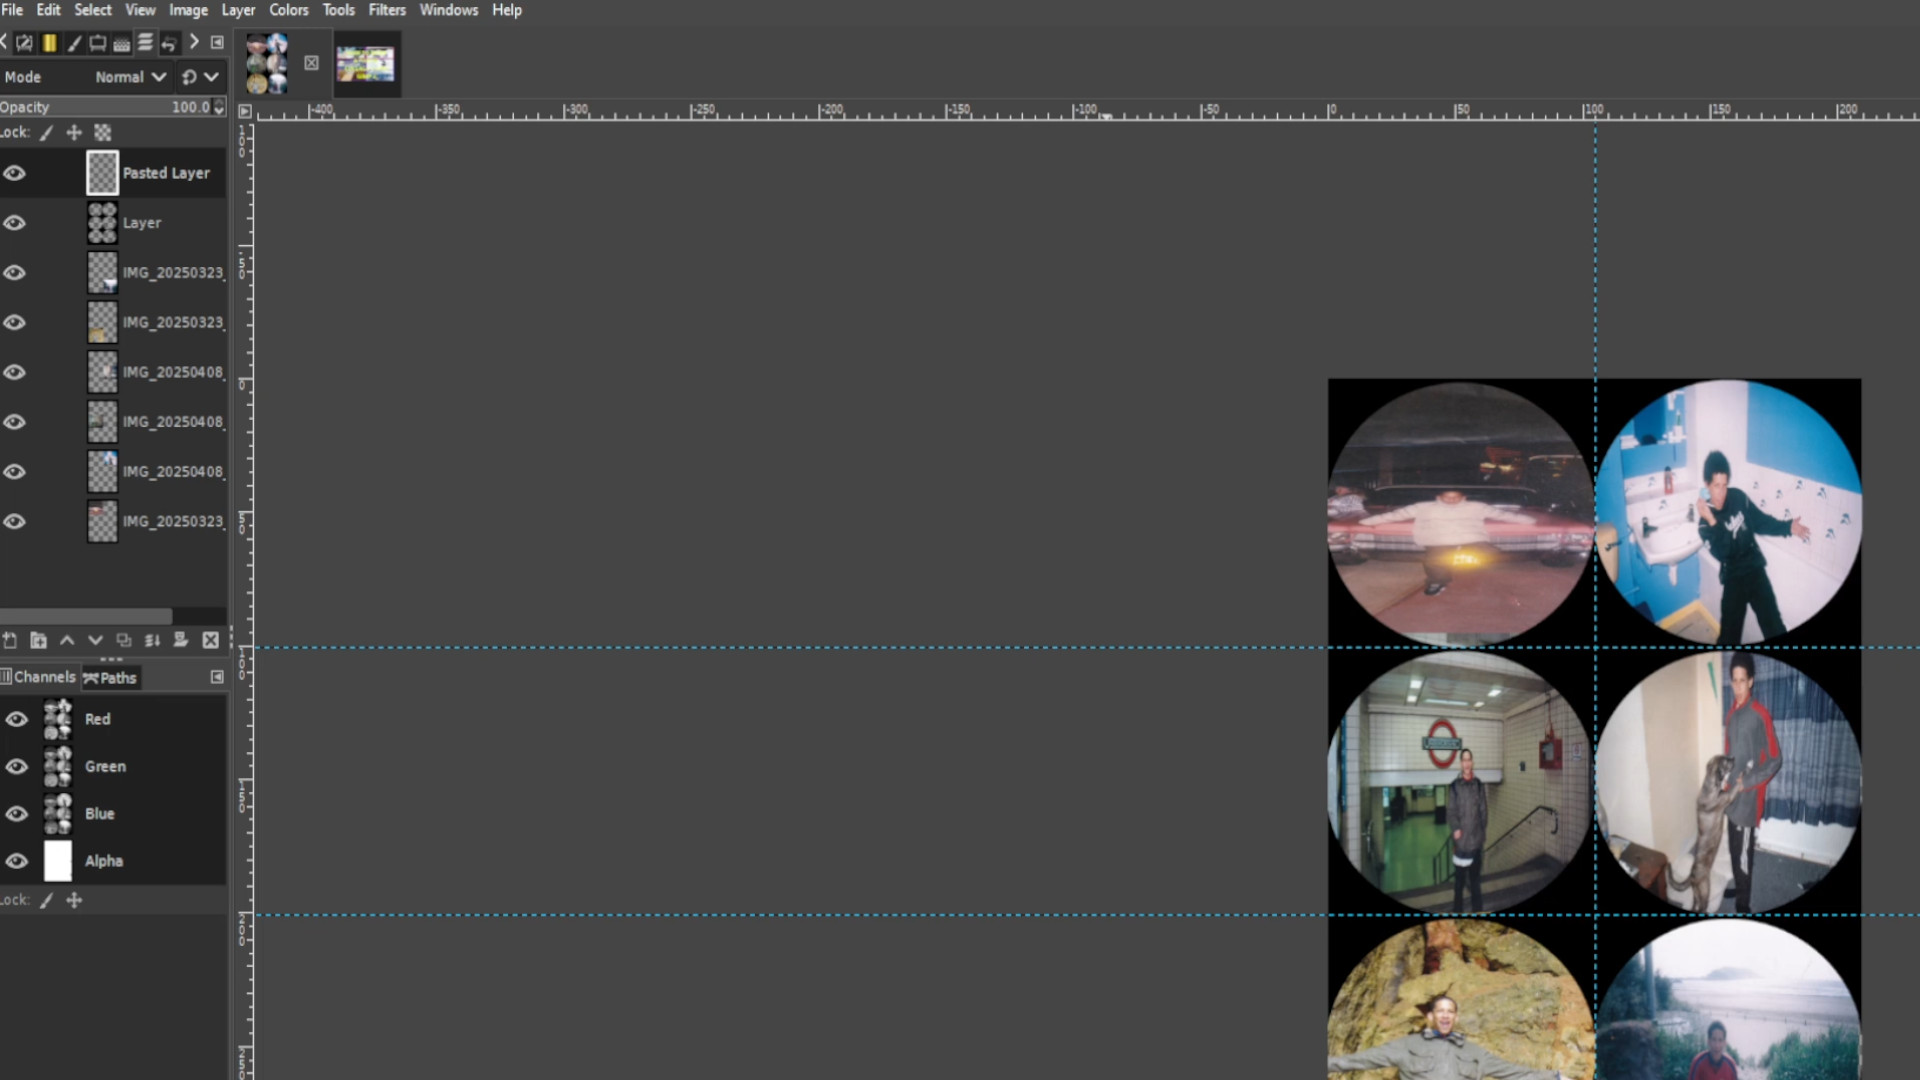
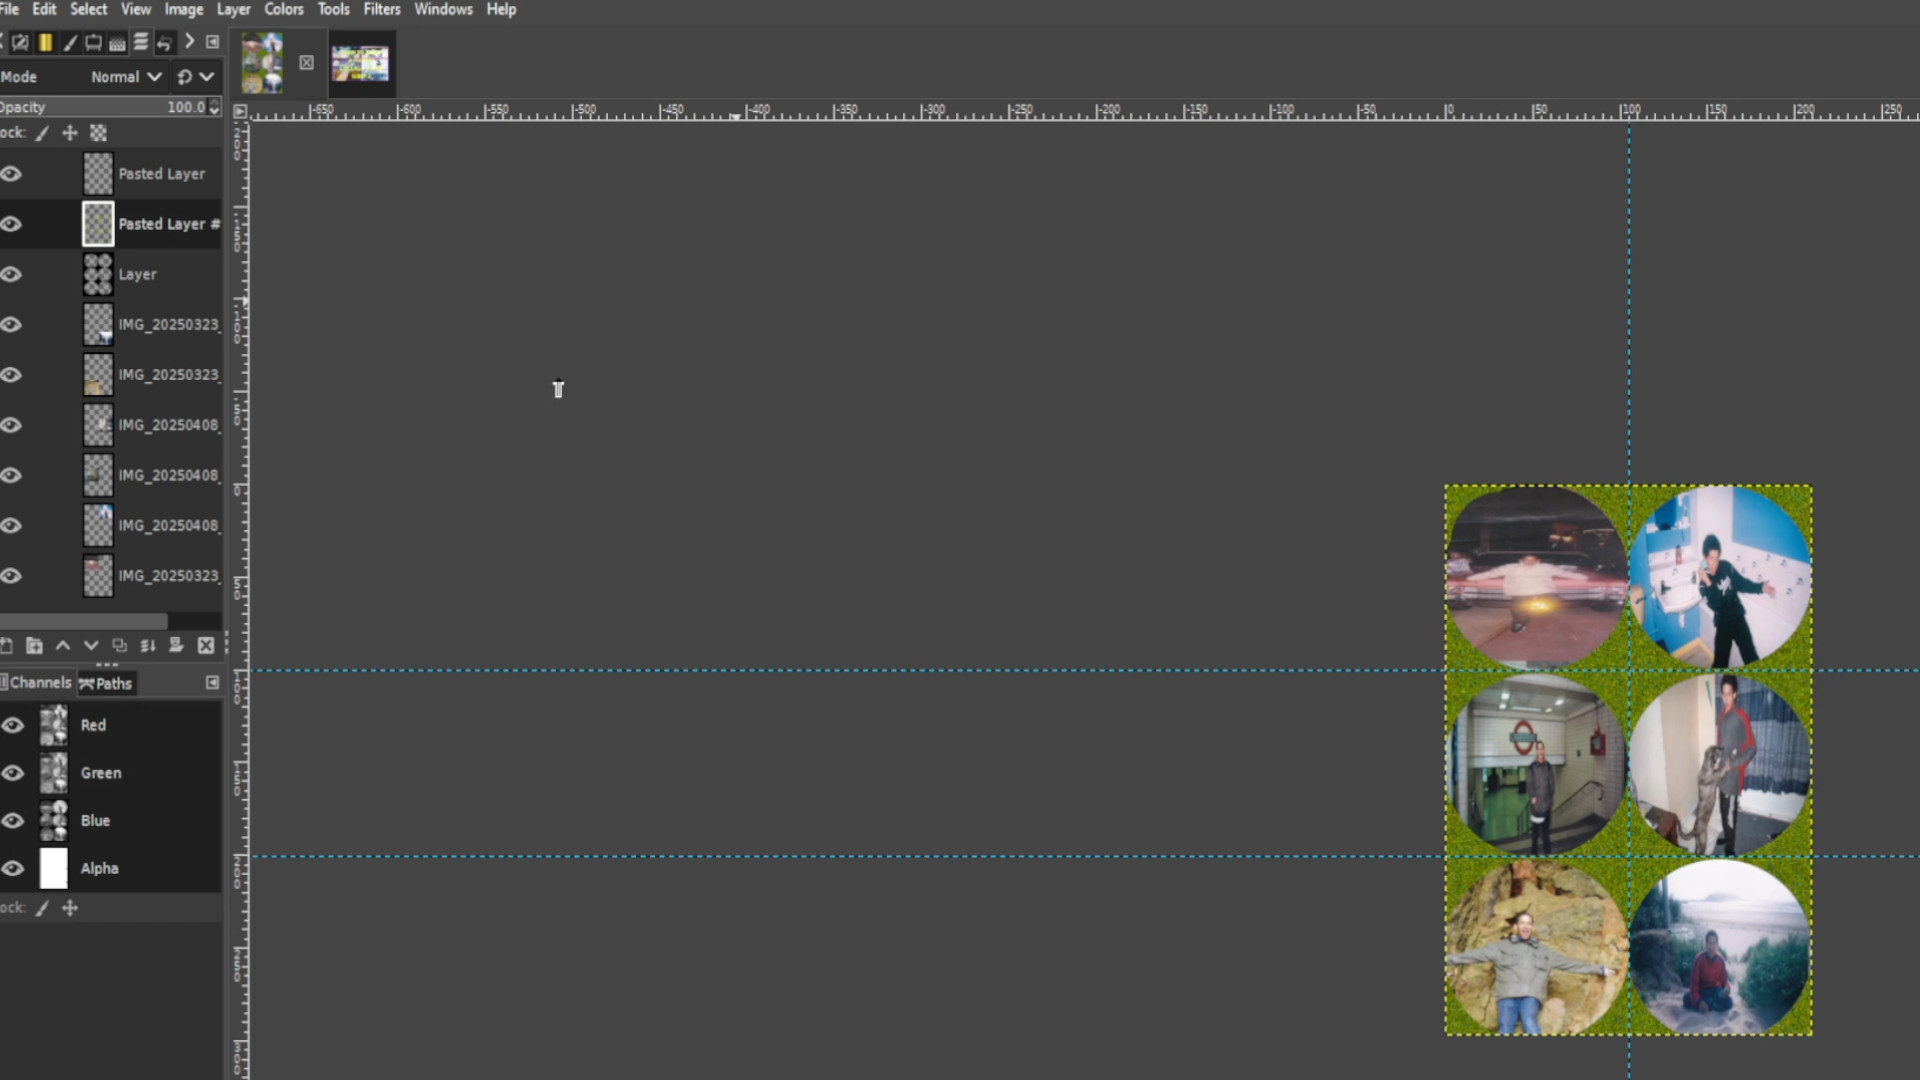
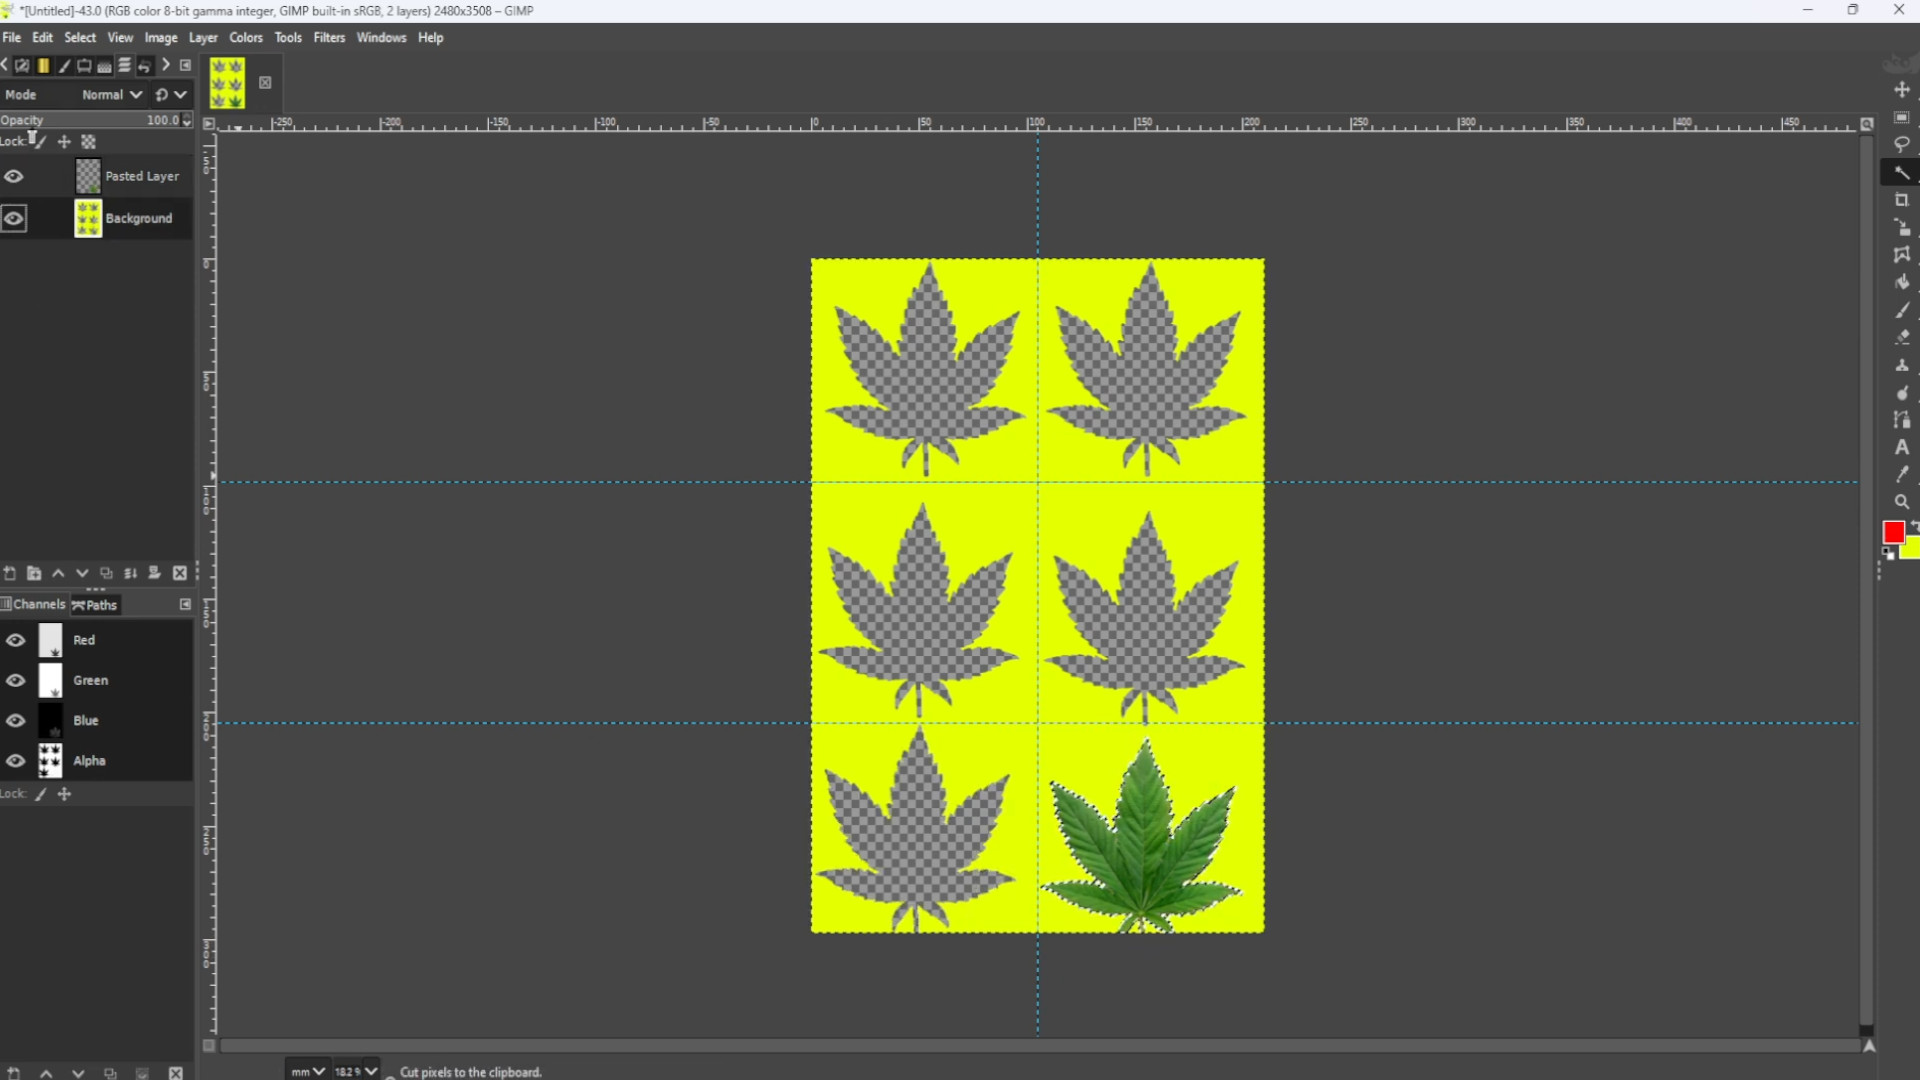
>>>REPEAT>>>STEPS 10-15 until you have all the images behind the frames making sure the>>>BACKGROUND is the>>>TOP LAYER>>>CUTTING any unwanted bits.

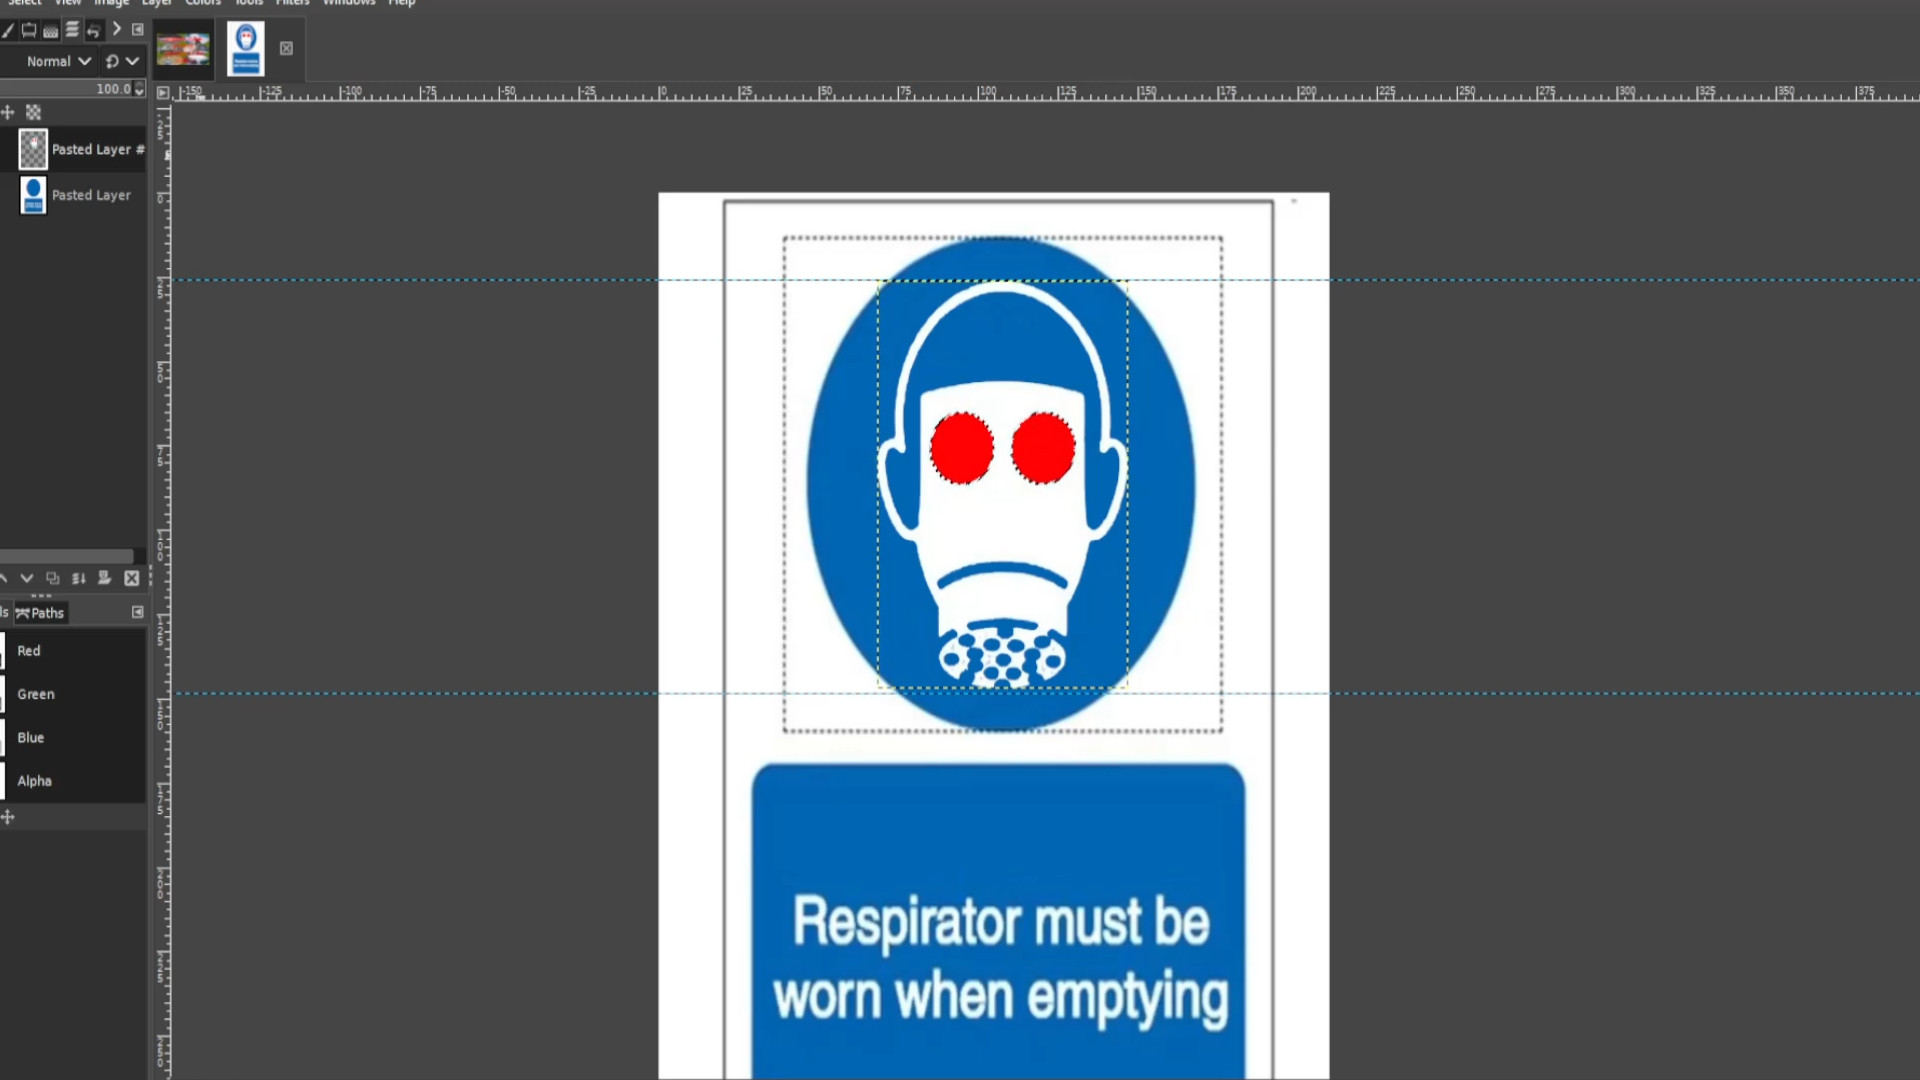
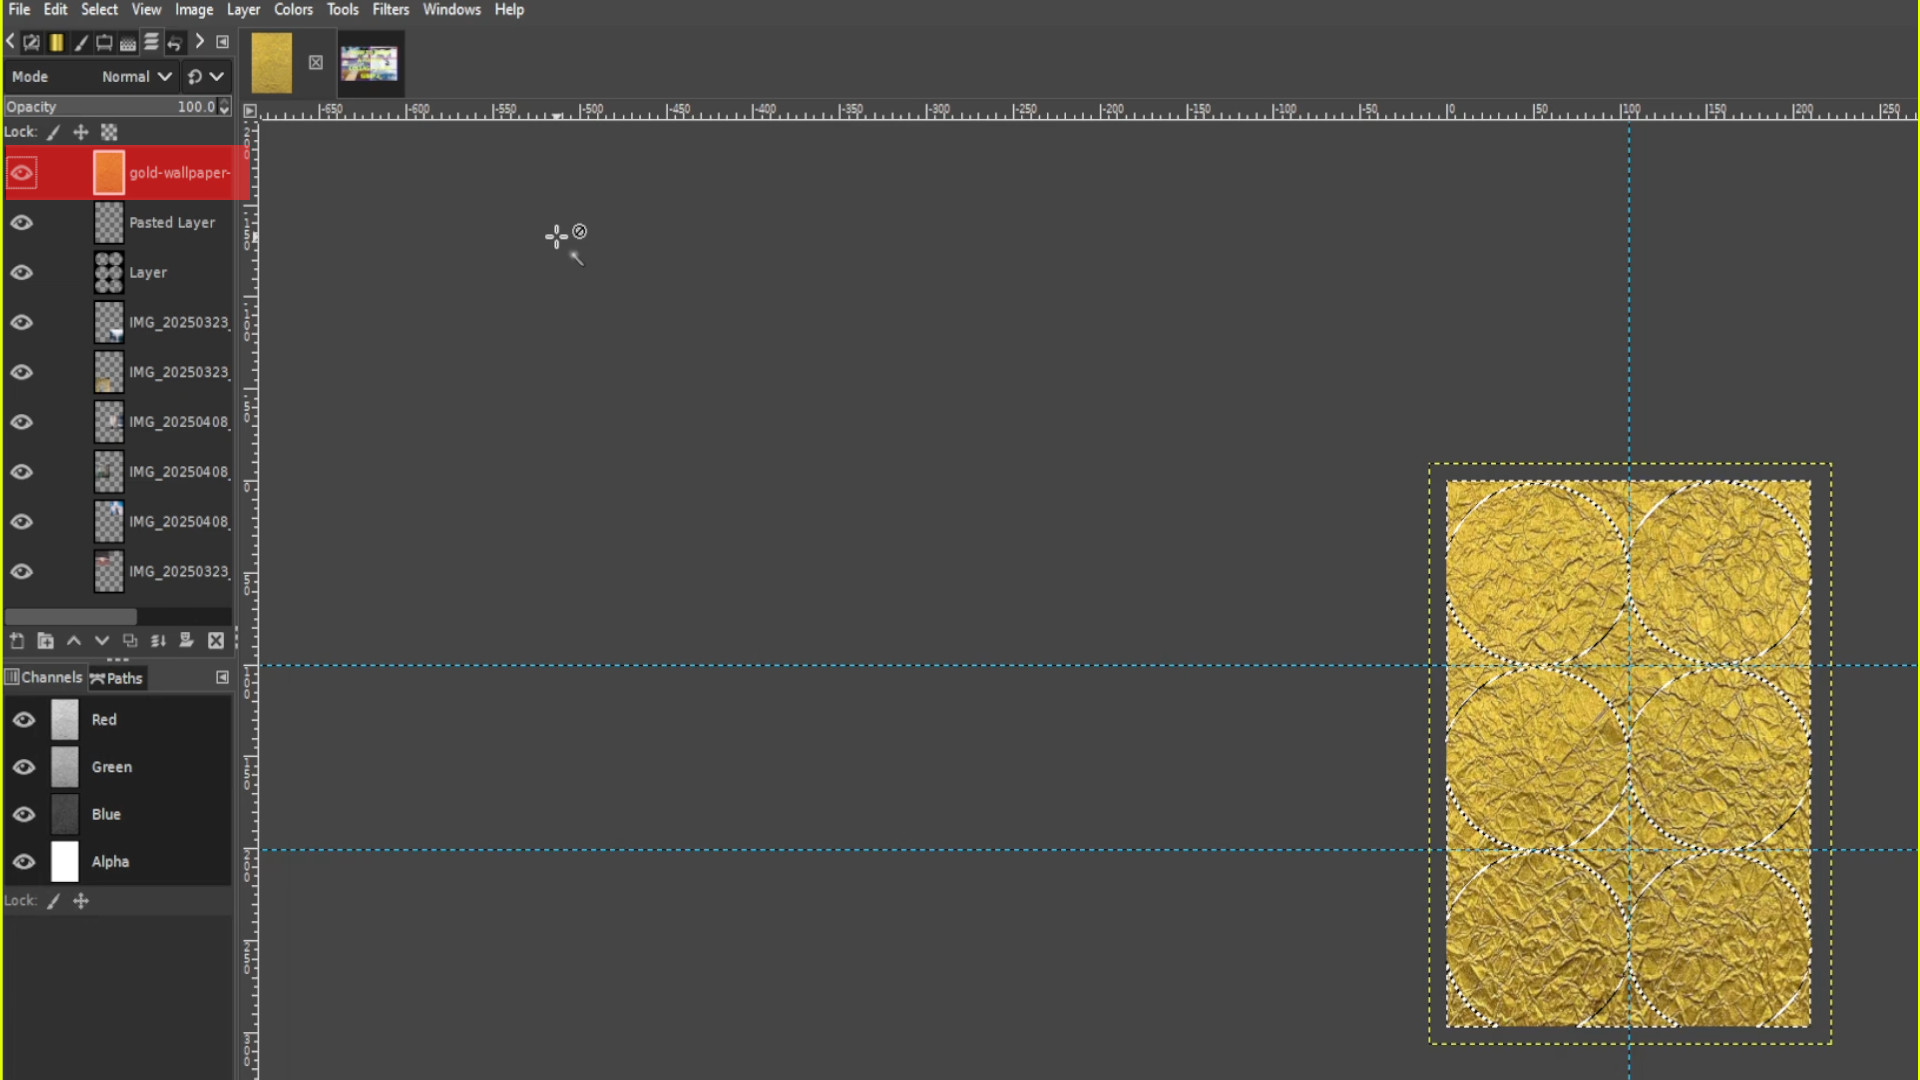
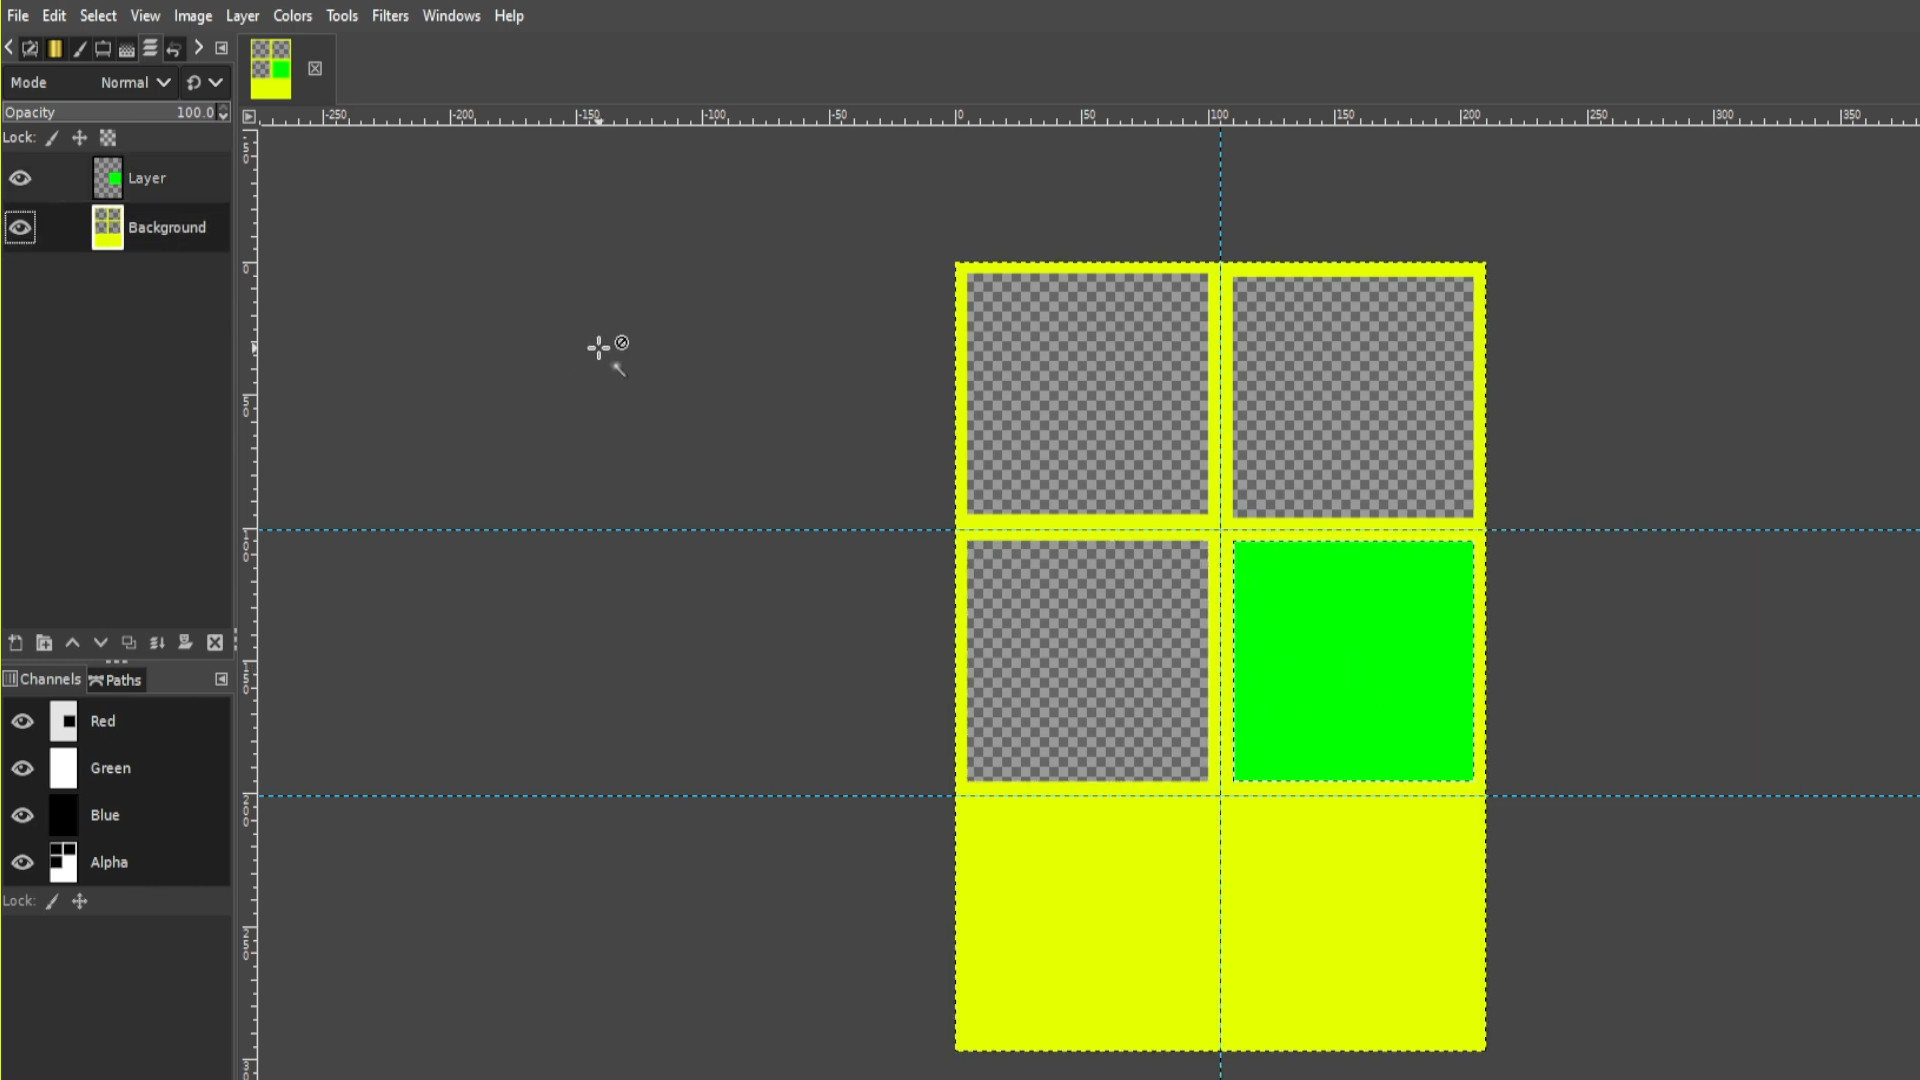
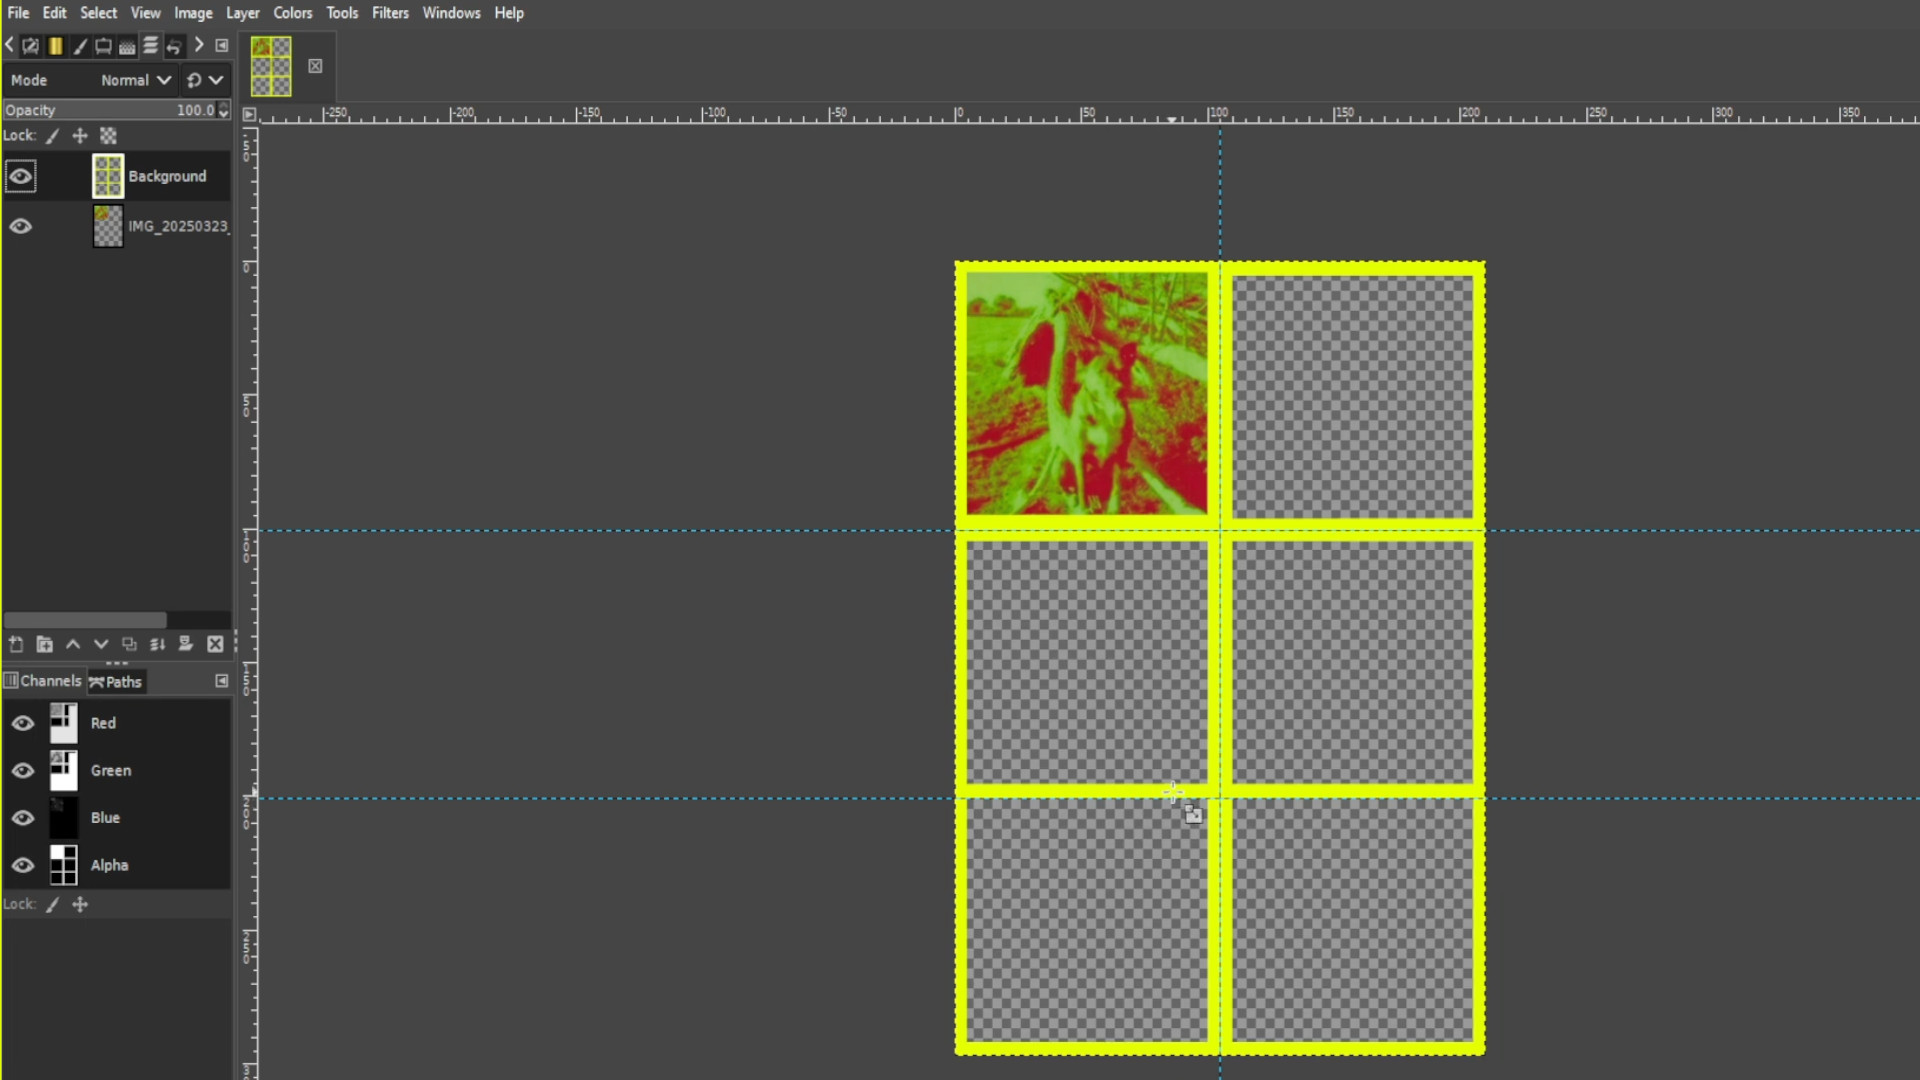
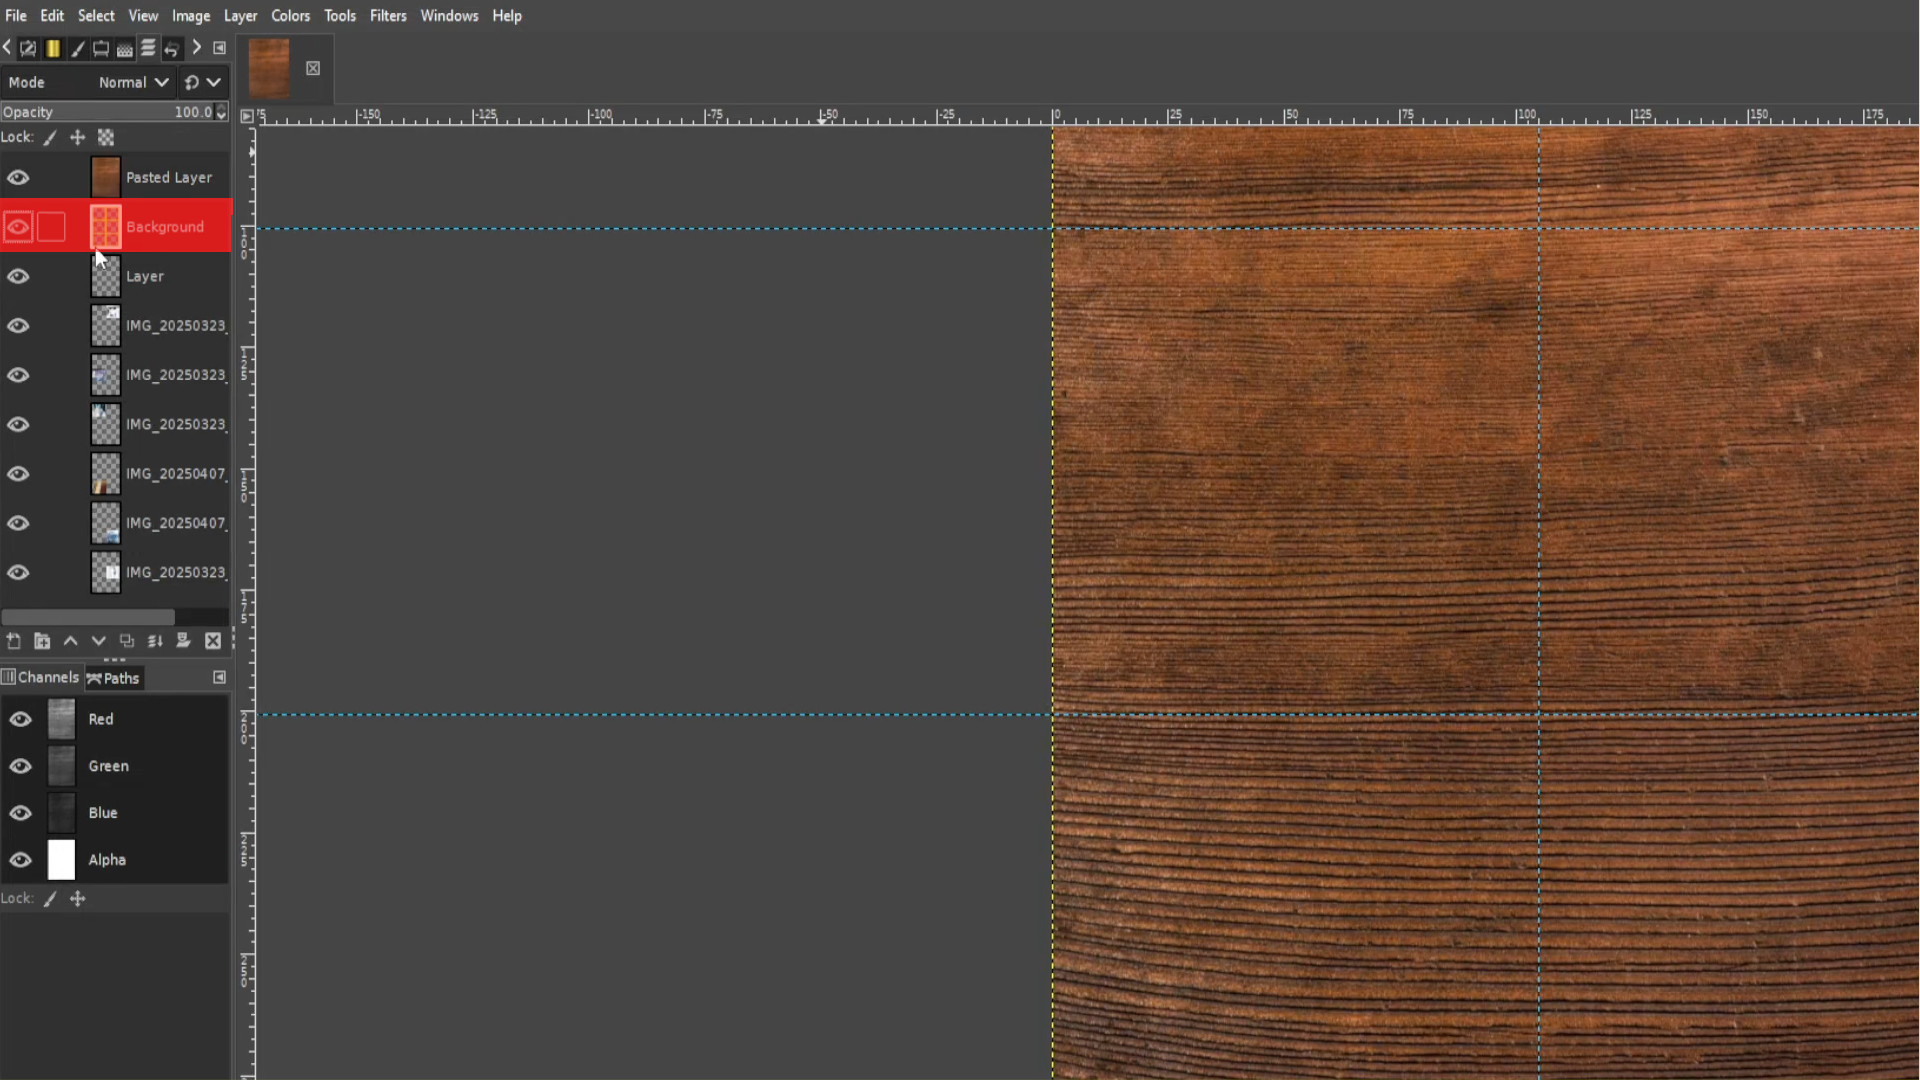
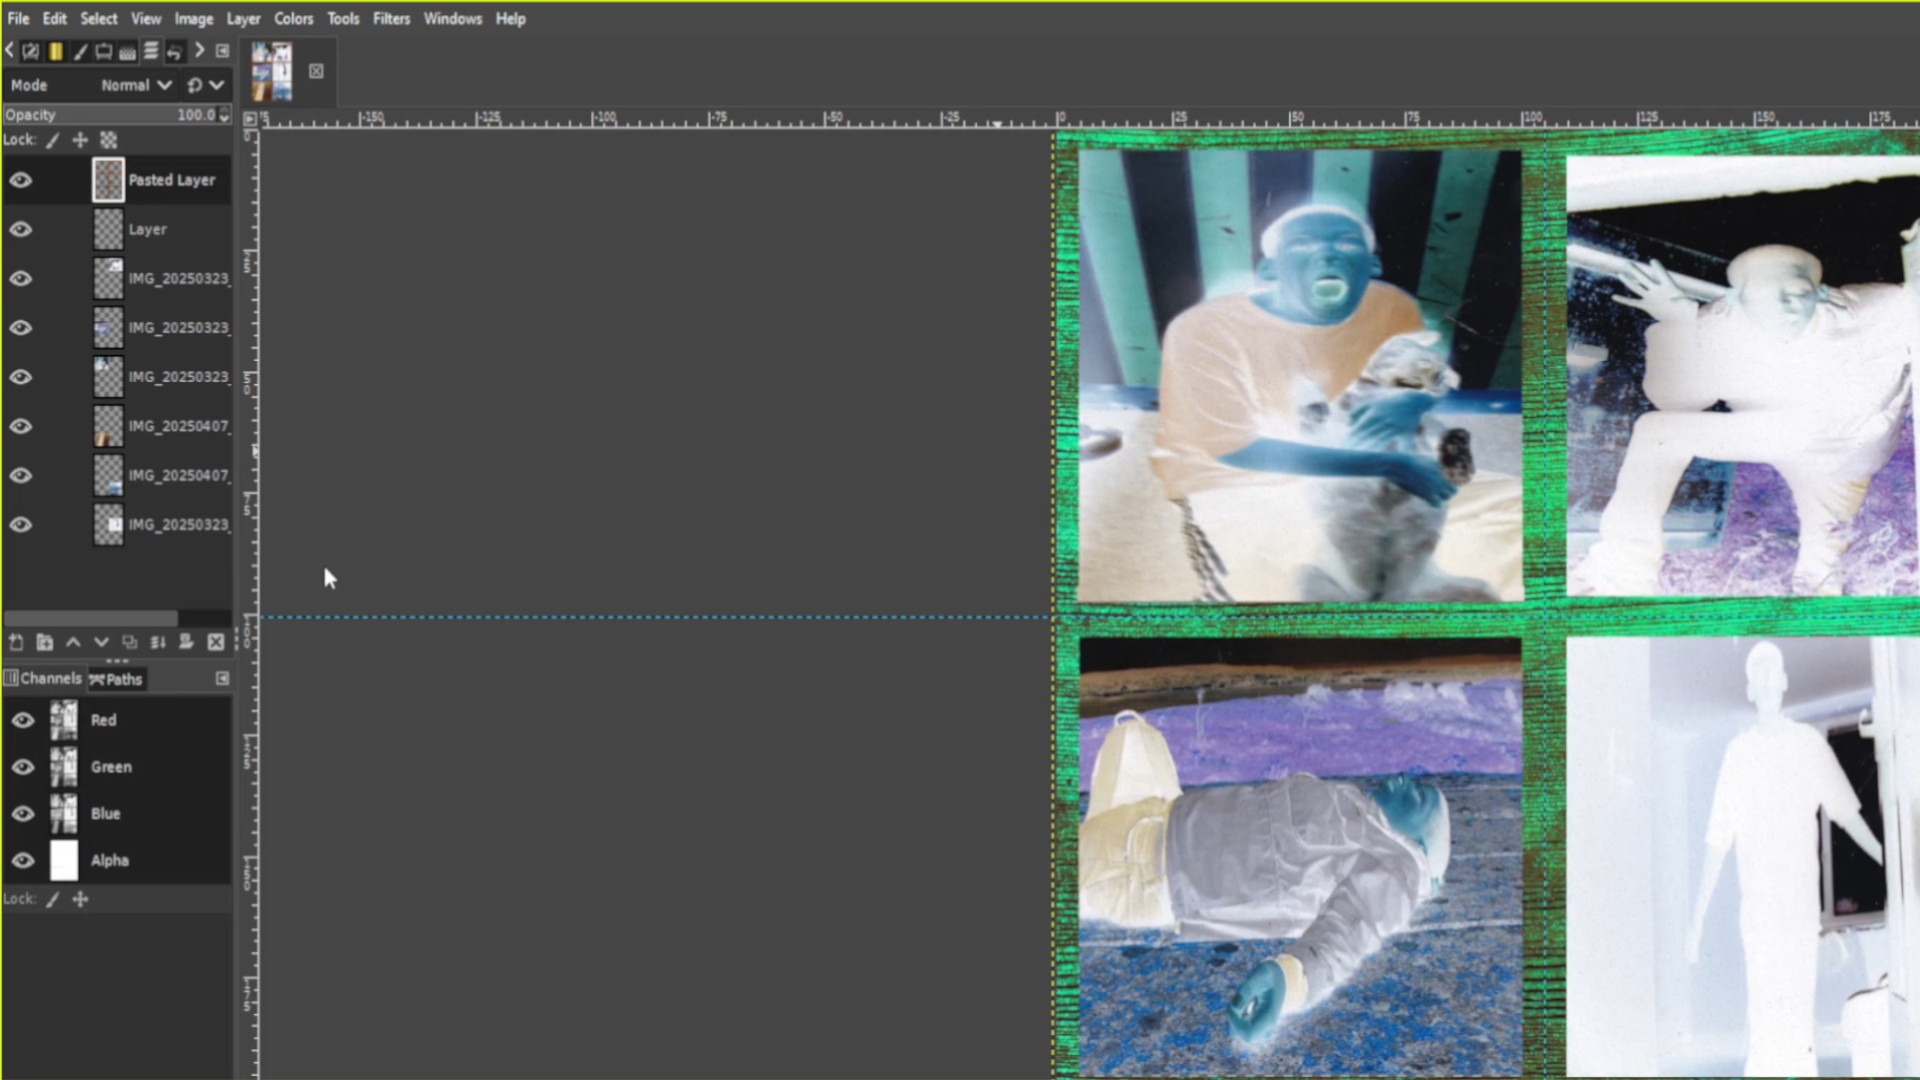
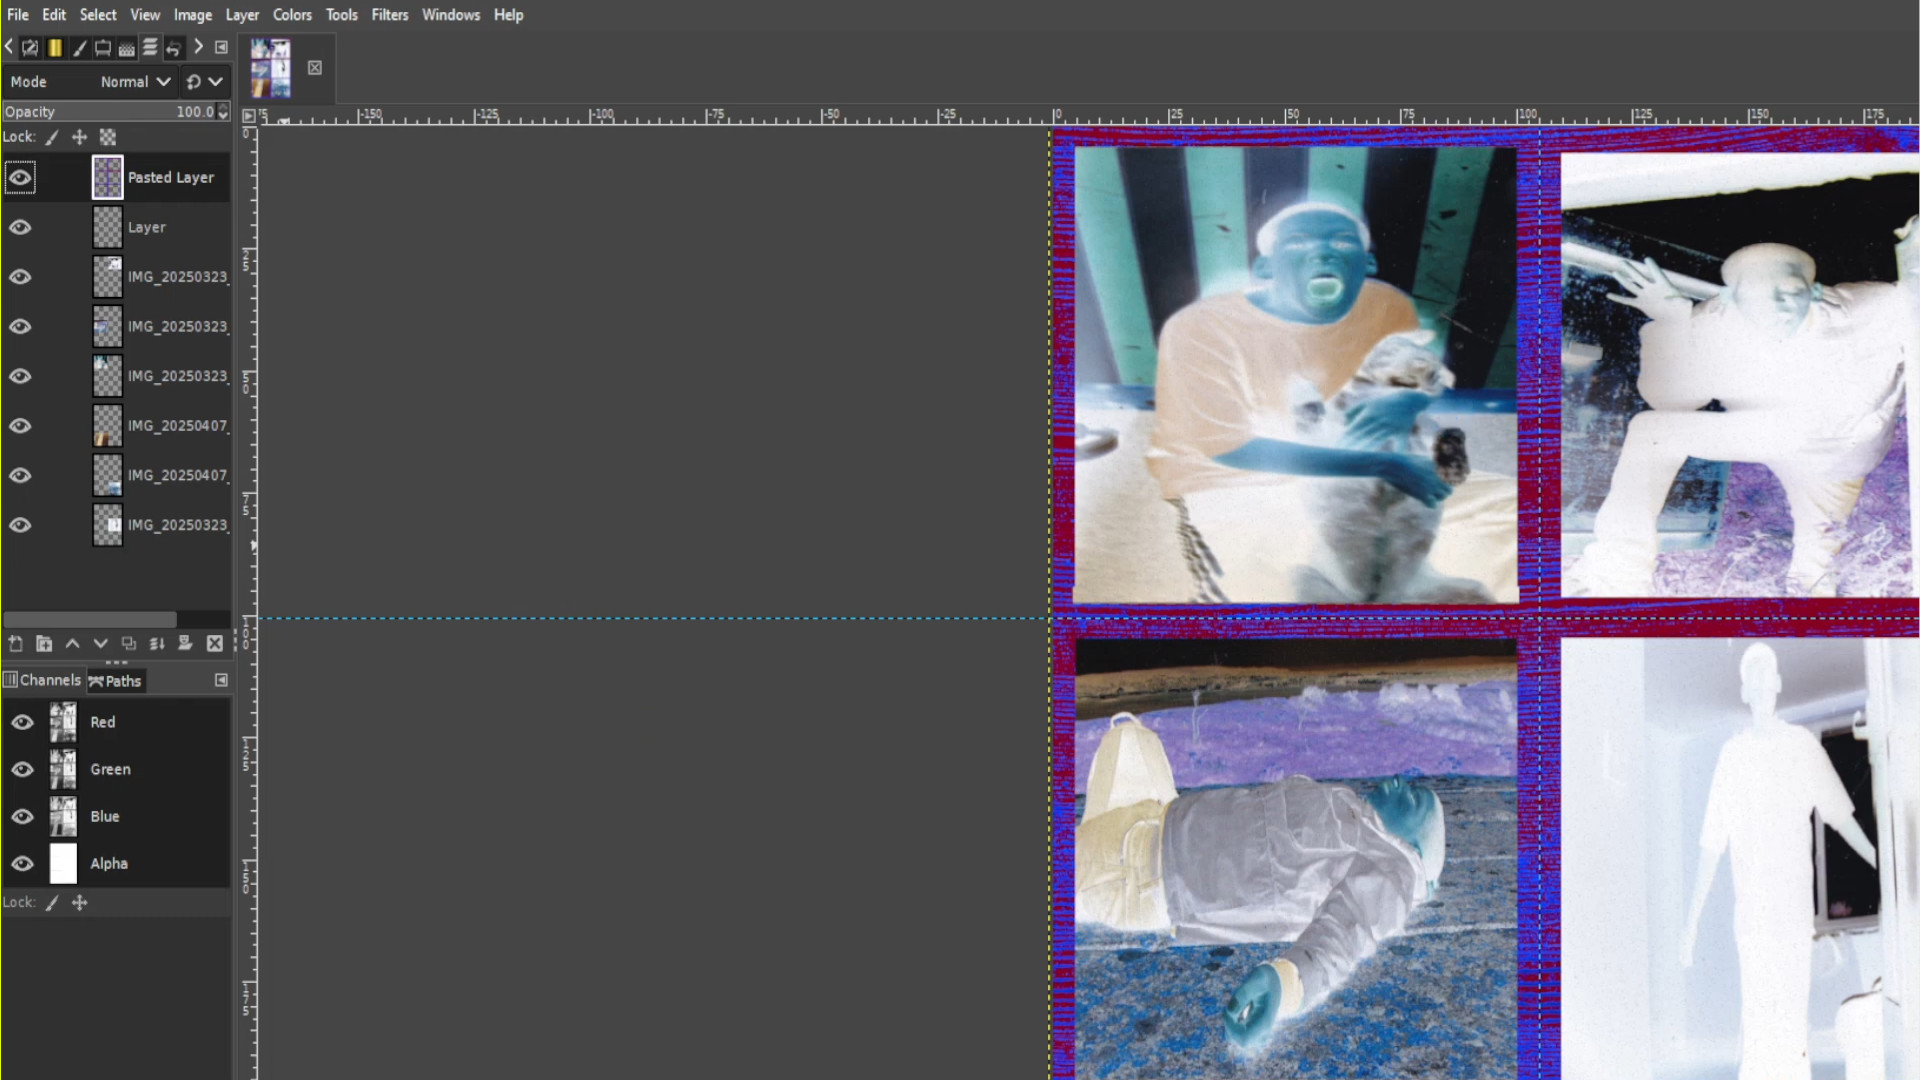
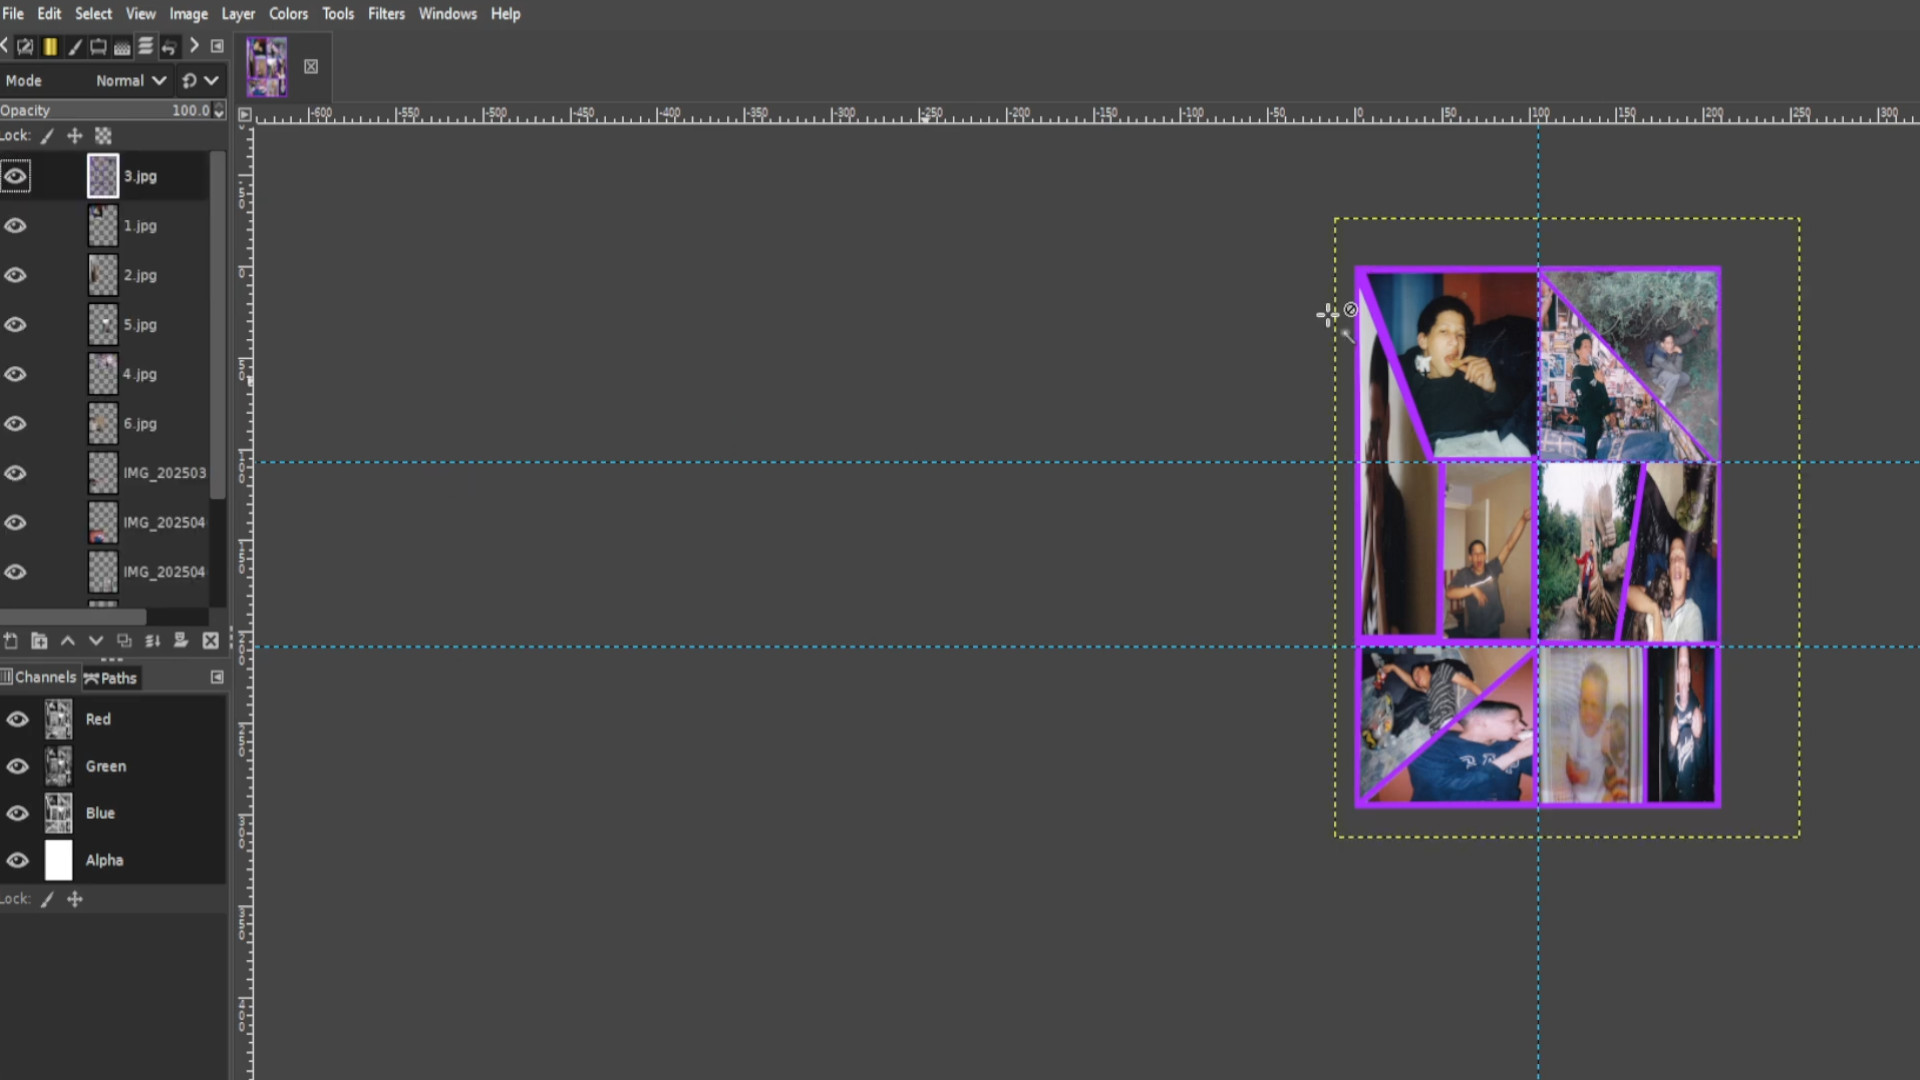
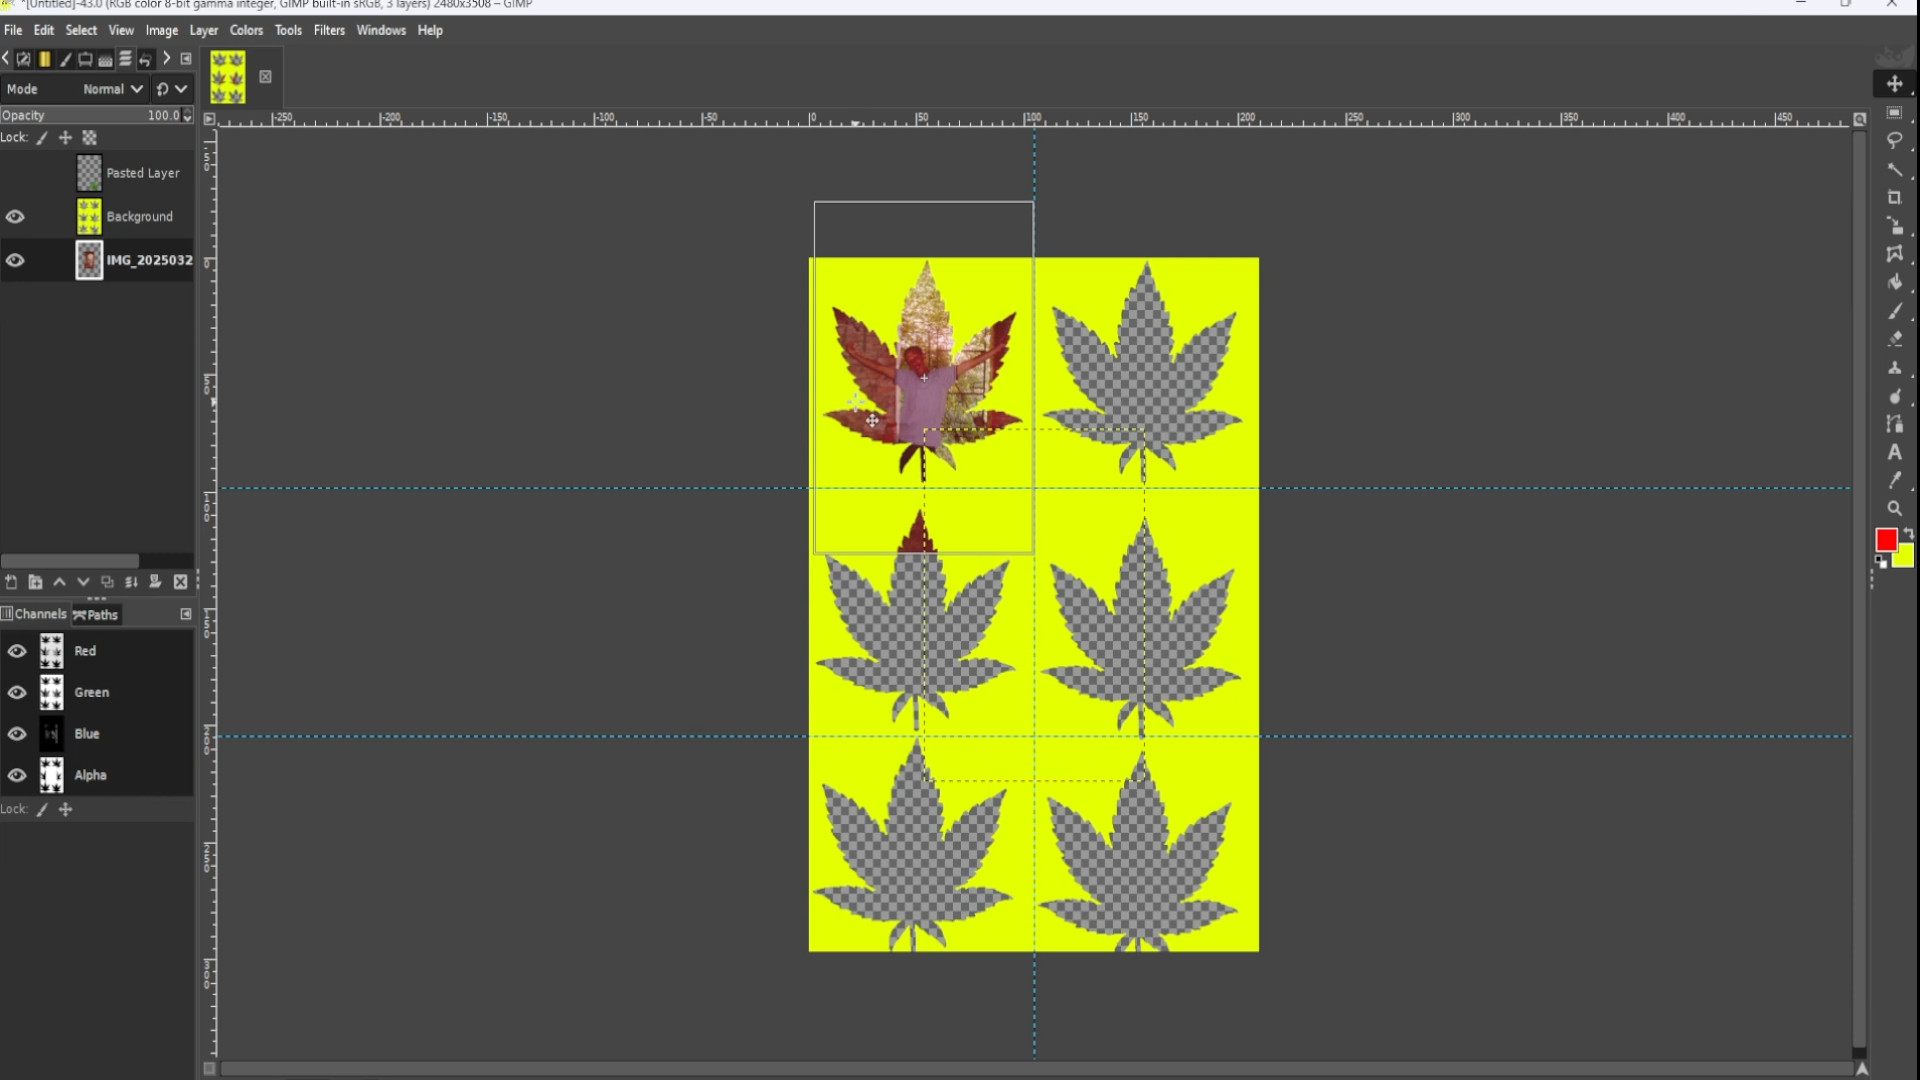
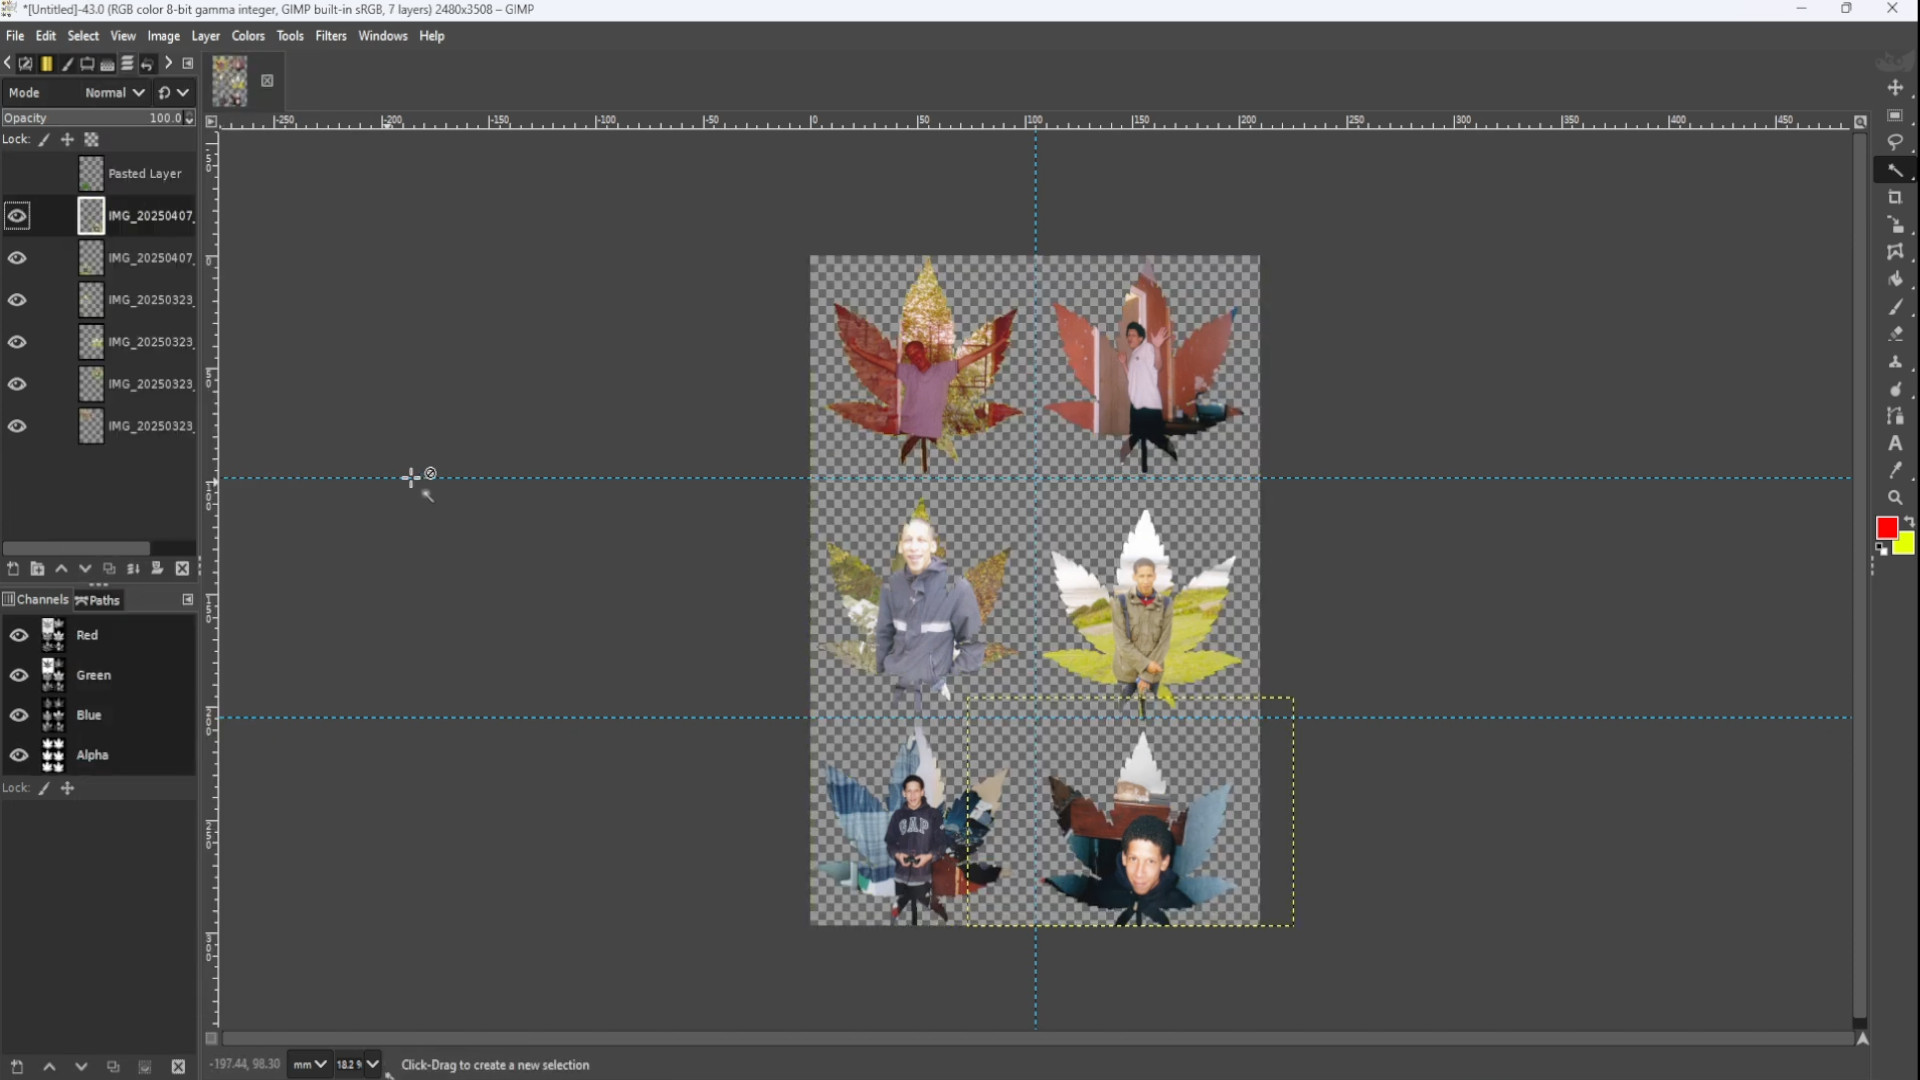
With the>>>BACKGROUND LAYER>>>SELECTED with the>>>SHAPES, in the>>>LEFT HAND SIDE>>>LAYERS PANEL the>>>SECOND LAYER in this case use the>>>FUZZY TOOL to>>>HIGHLIGHT the>>>SHAPE.
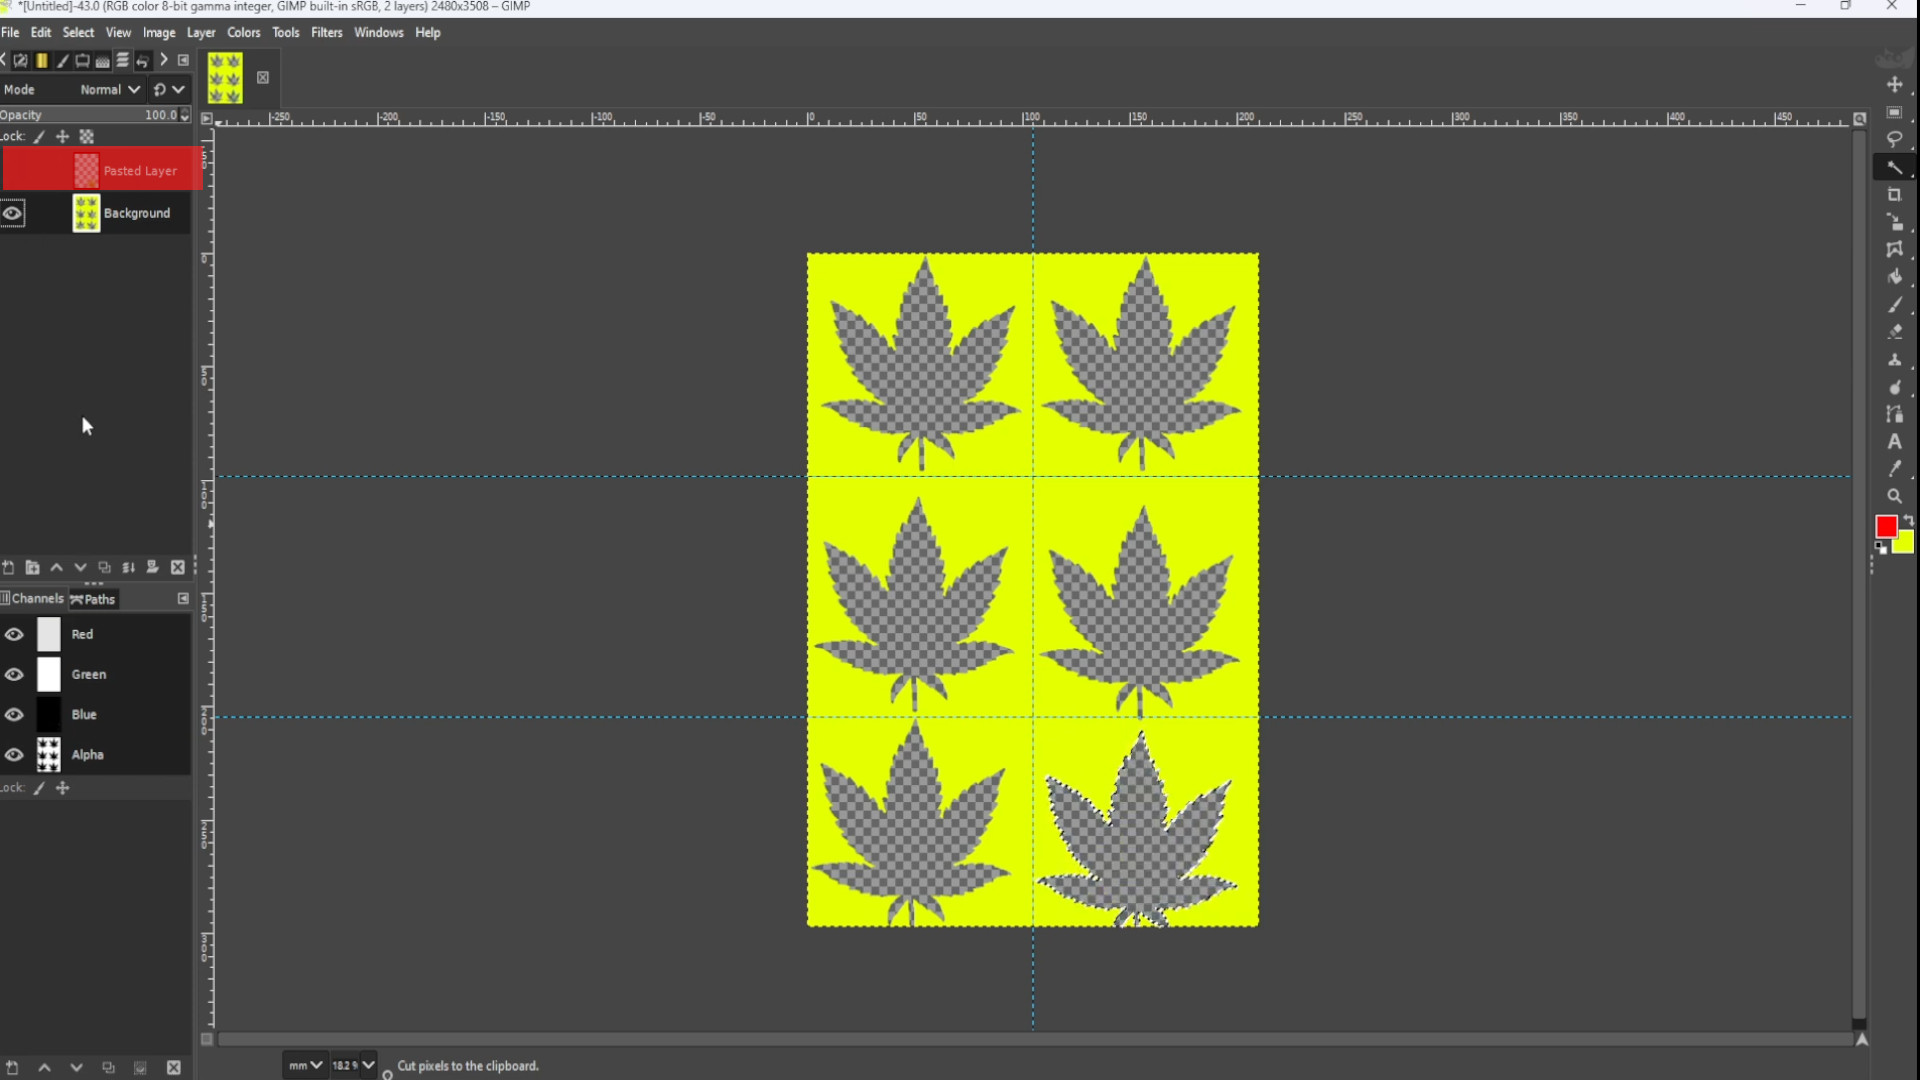
>>>TURN OFF the>>>LAYERS by>>>TURNING OFF the>>>EYE of the image layers in the>>>LEFT HAND SIDE>>>LAYERS PANEL one by one to determine what image to cut.
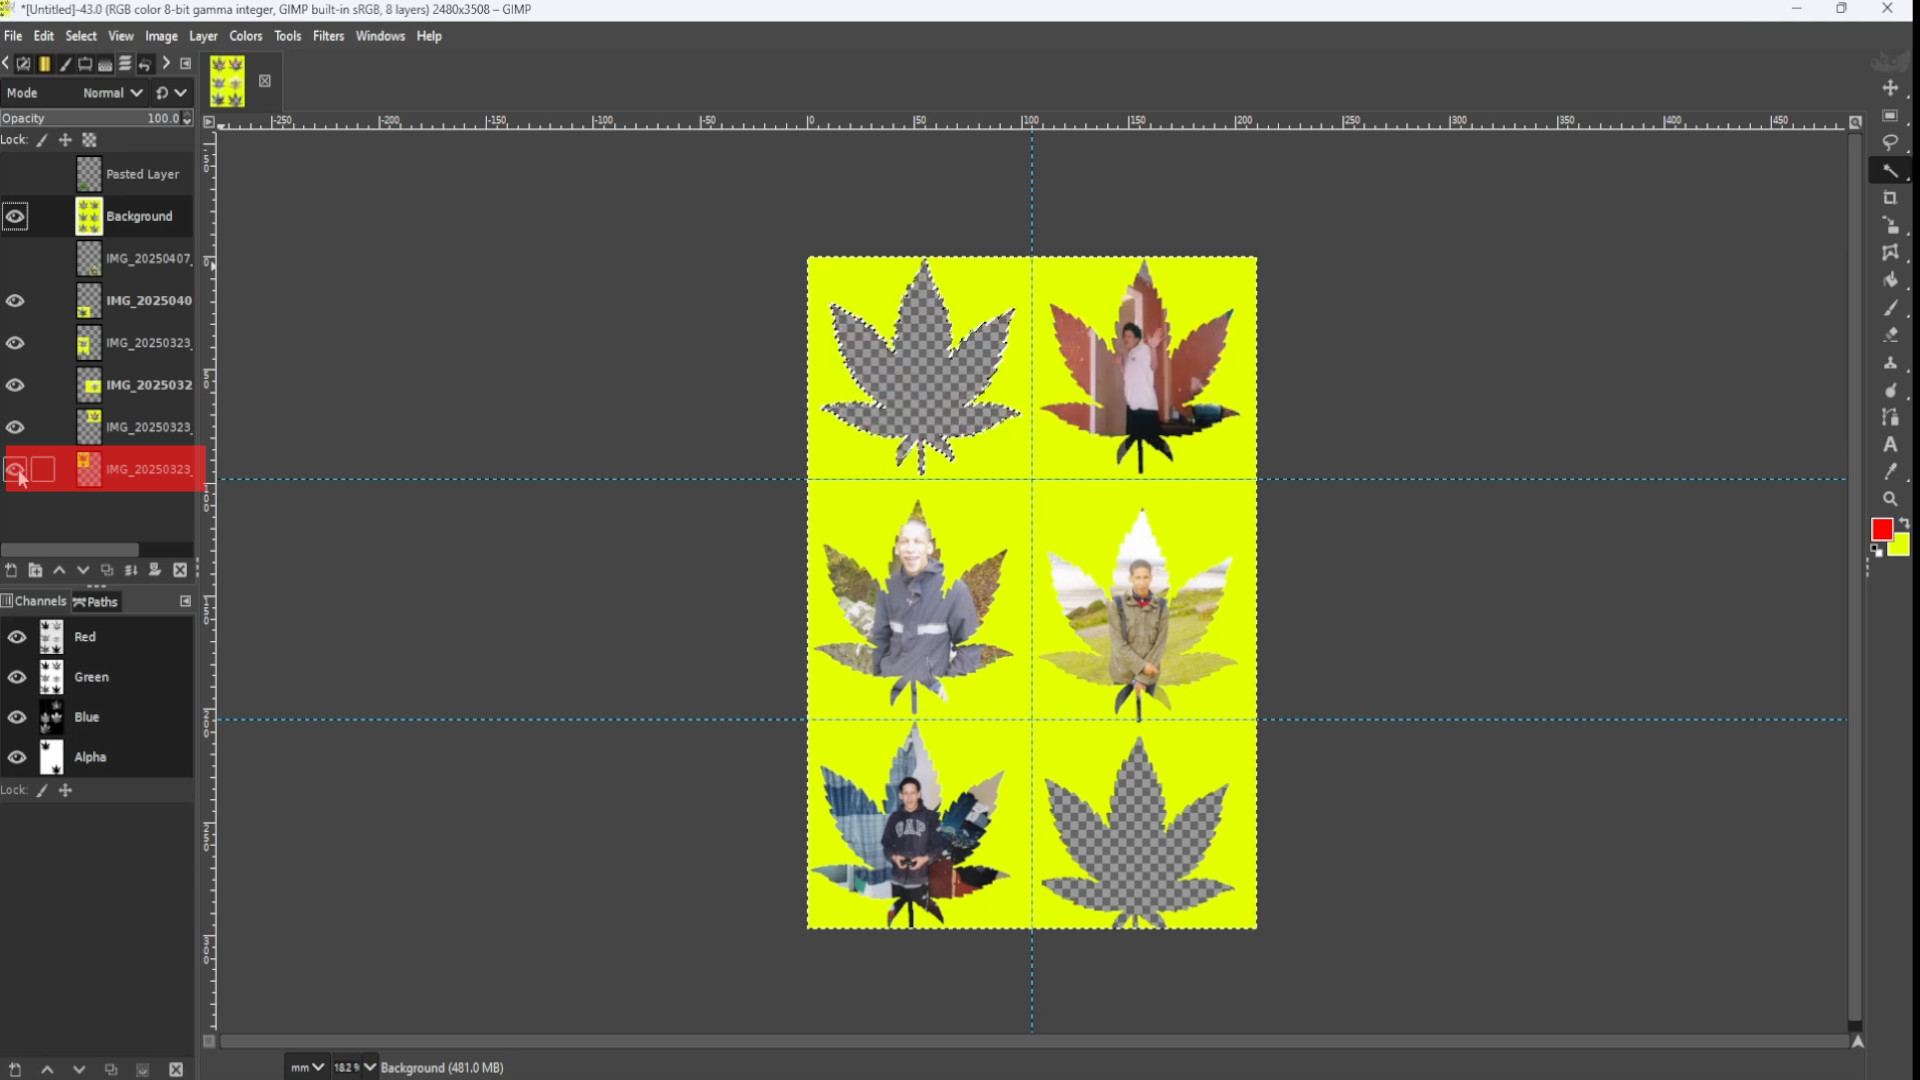
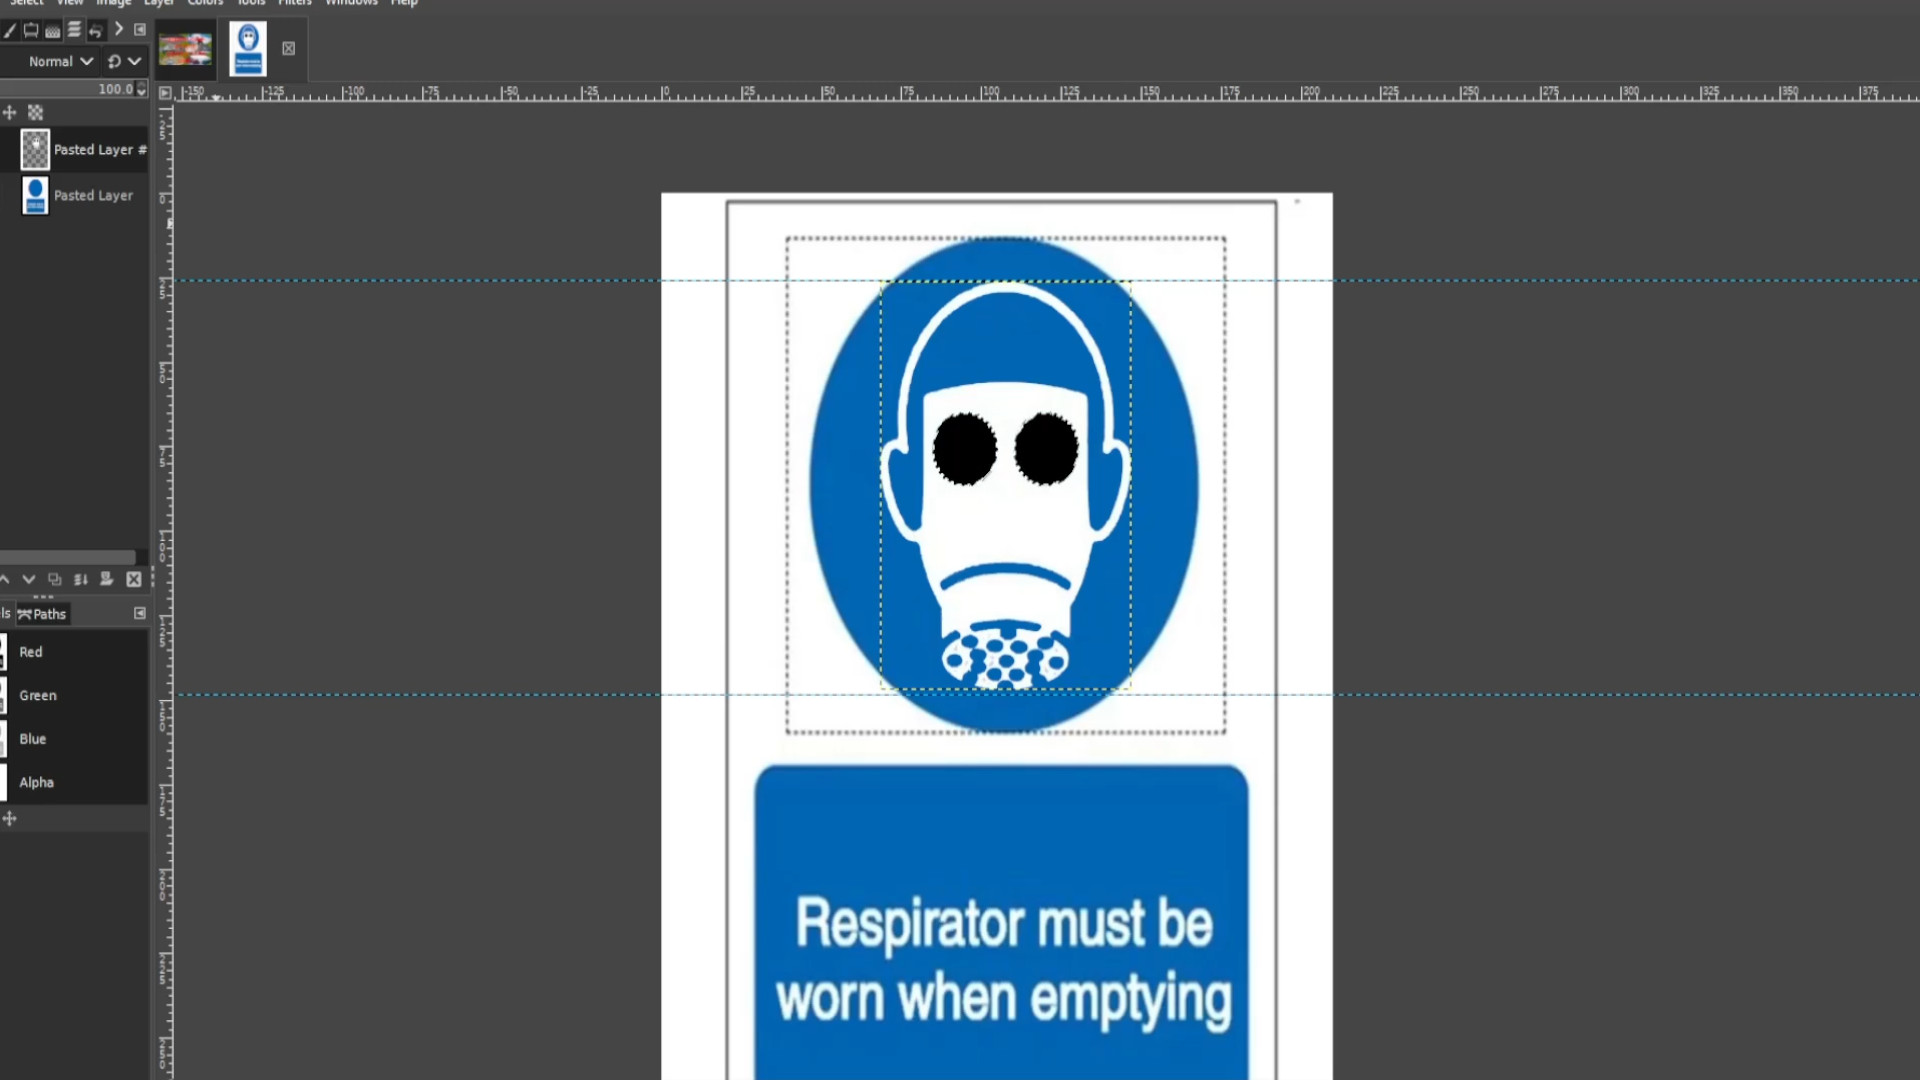
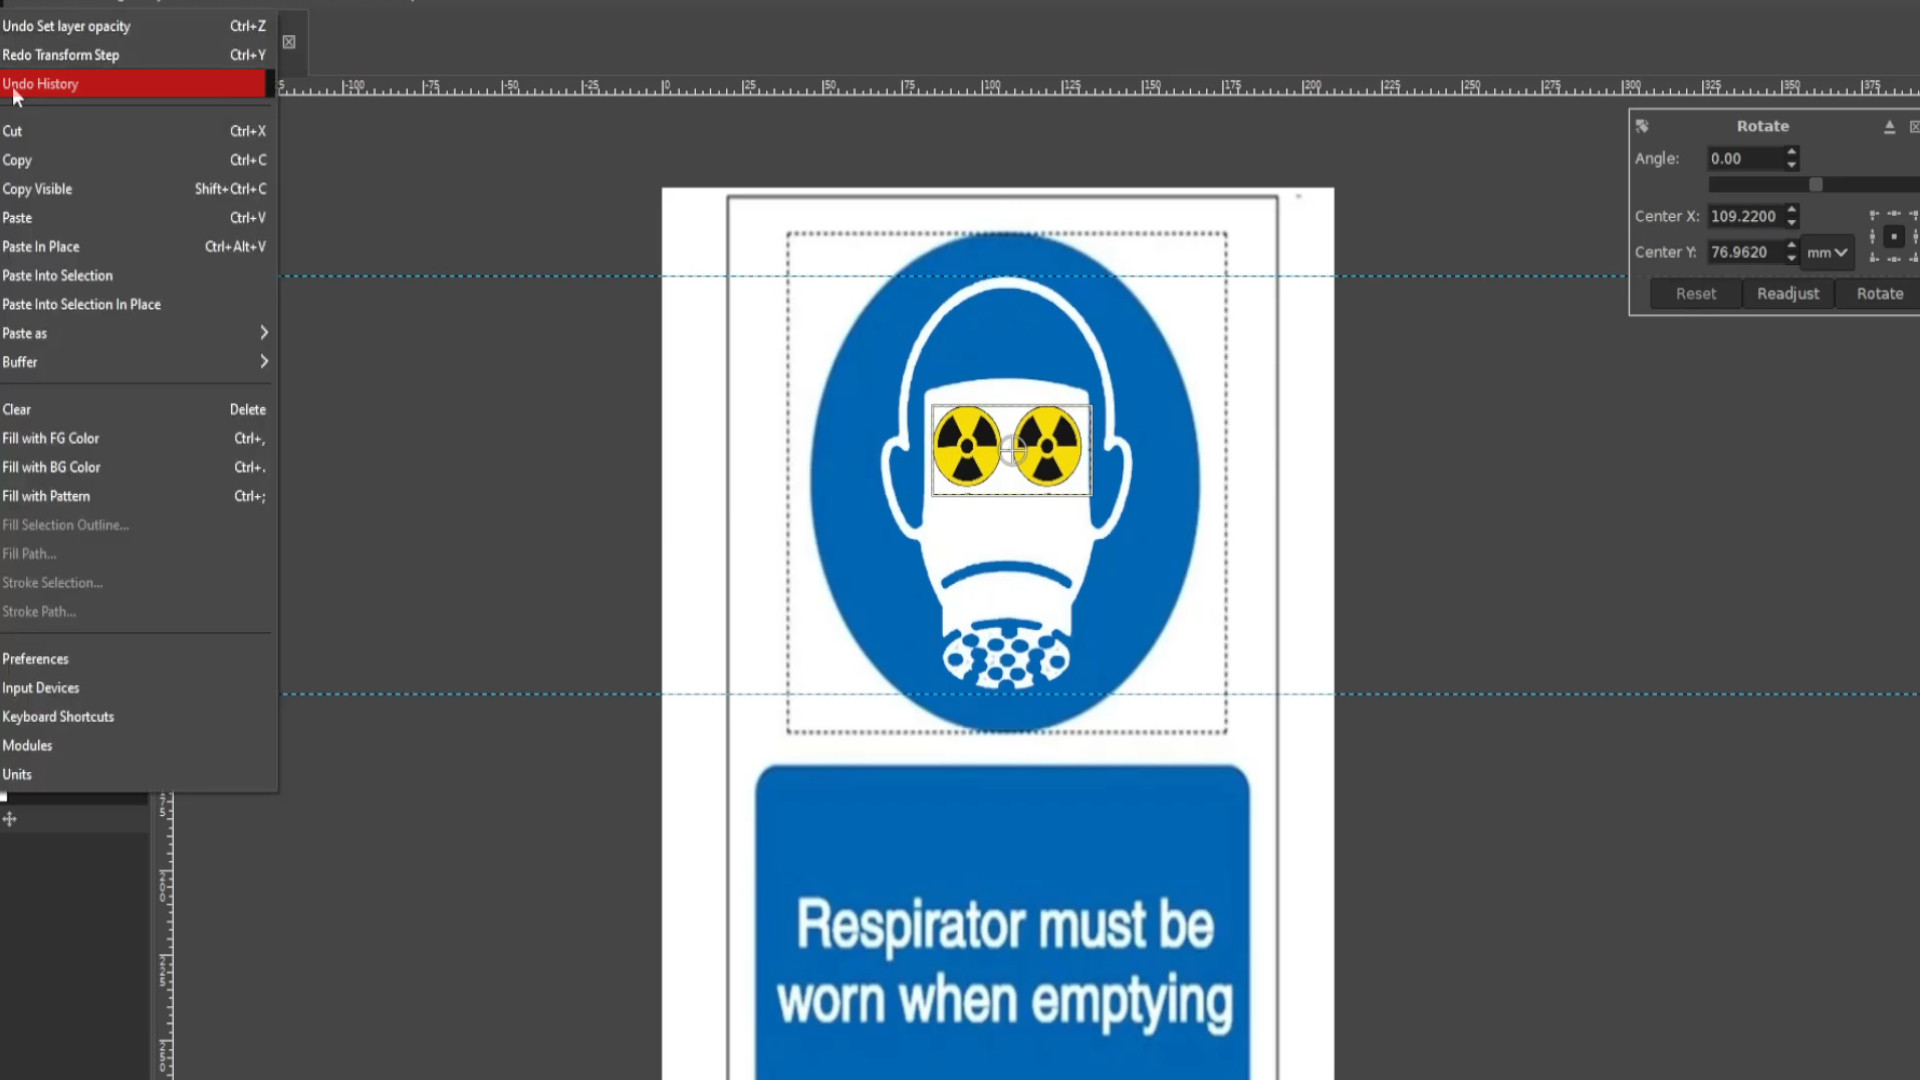
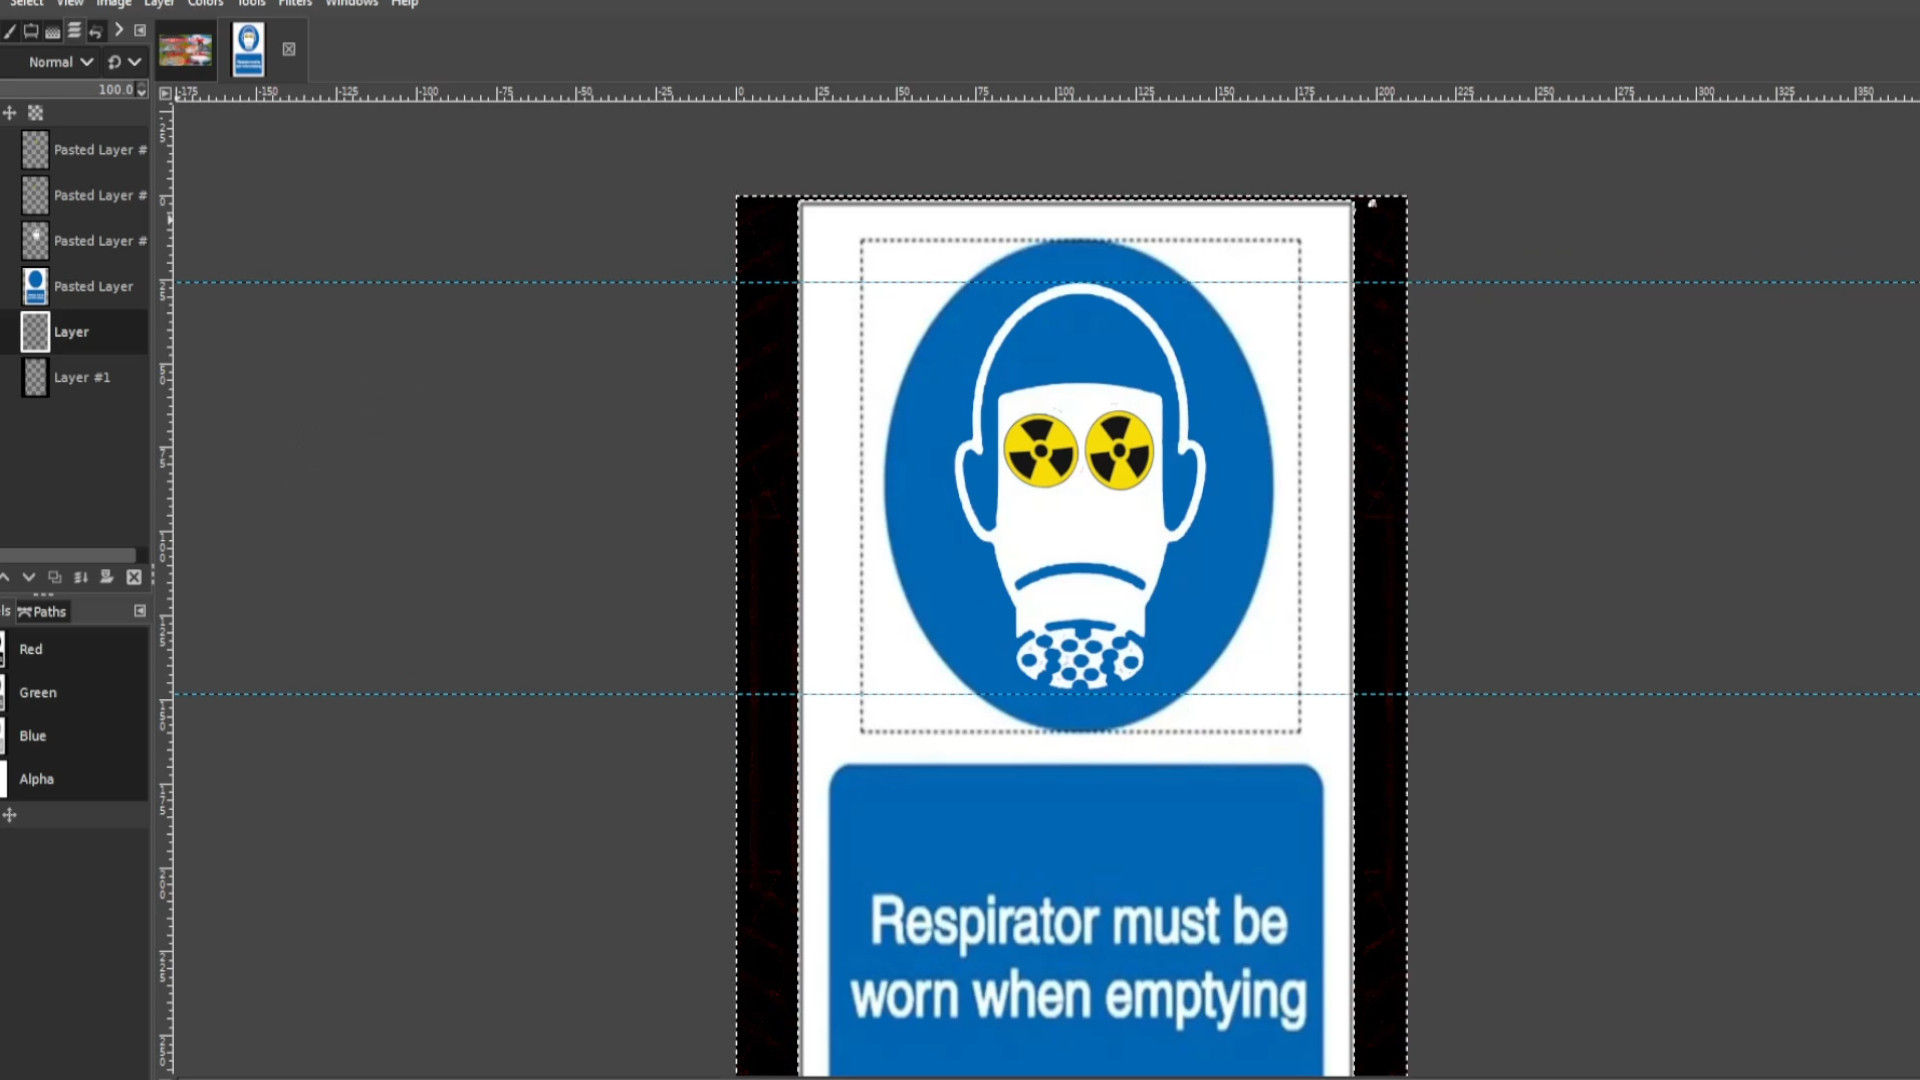
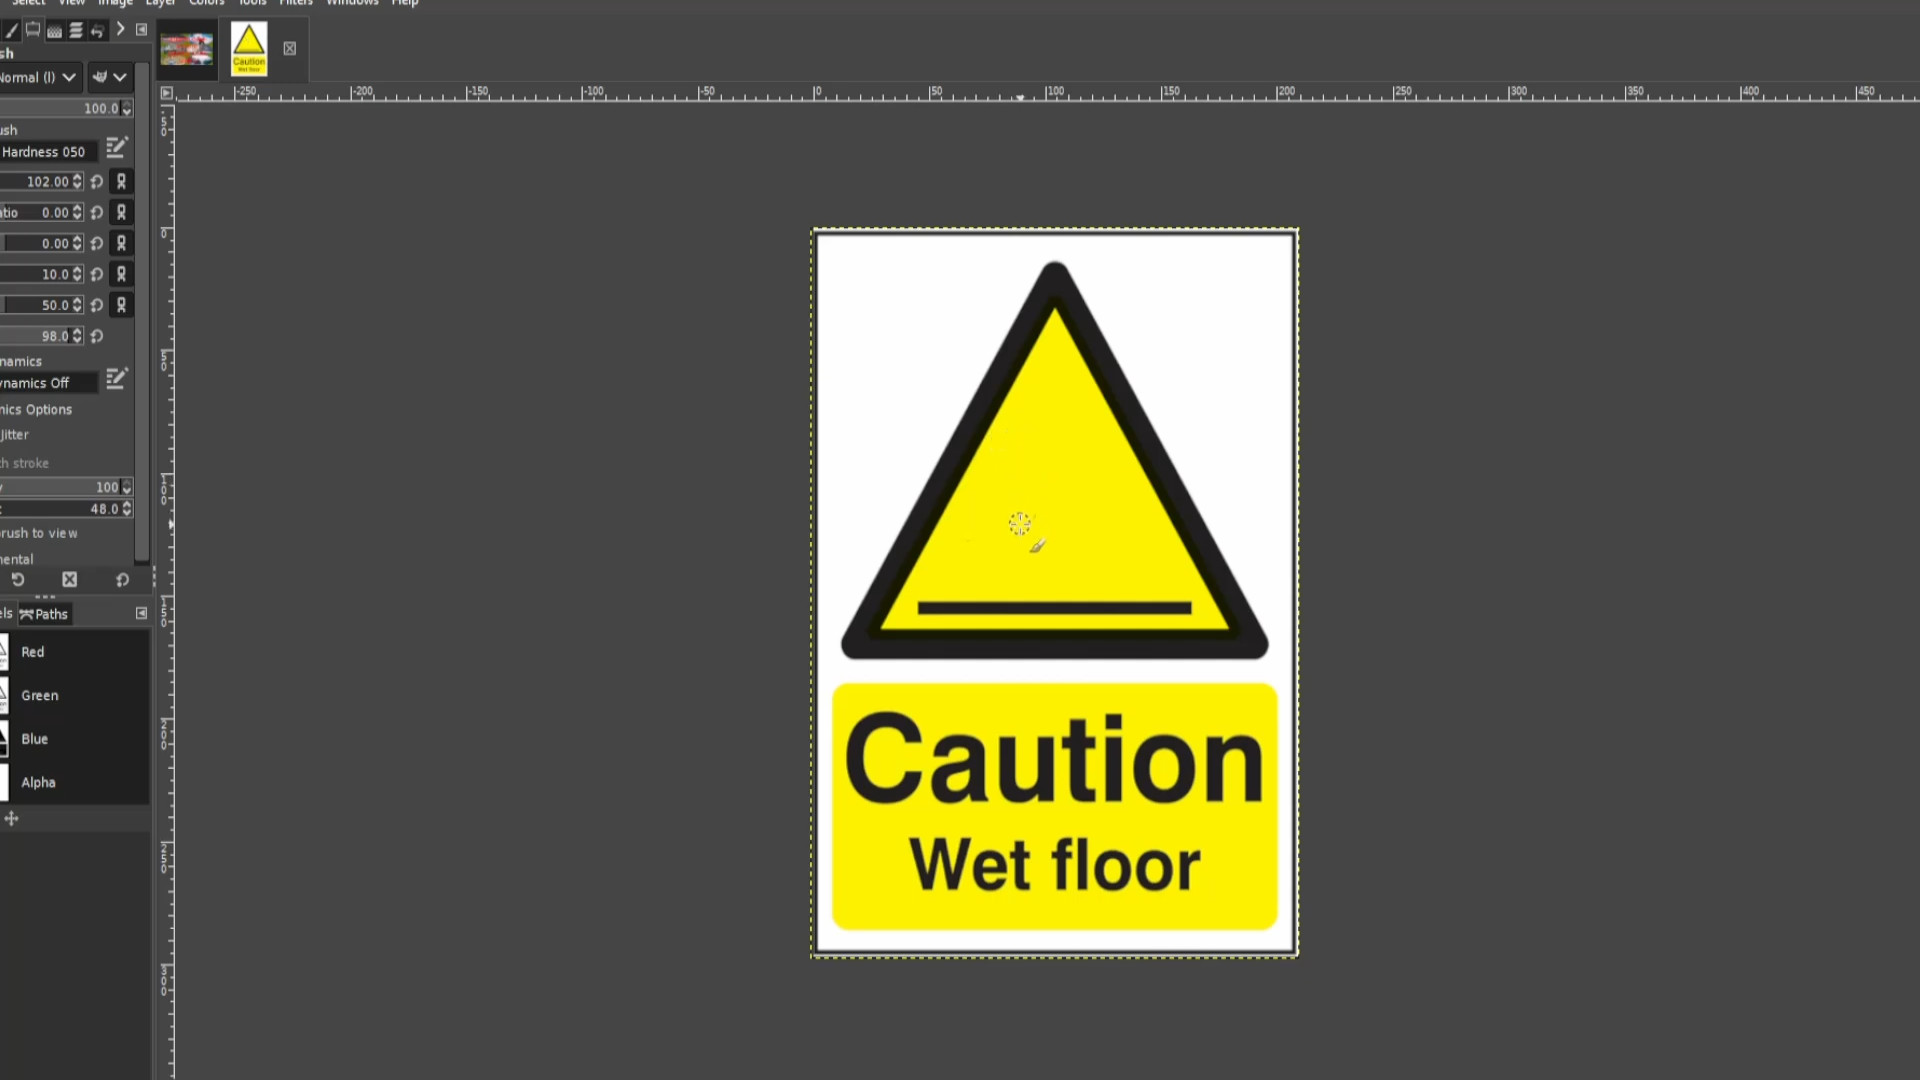
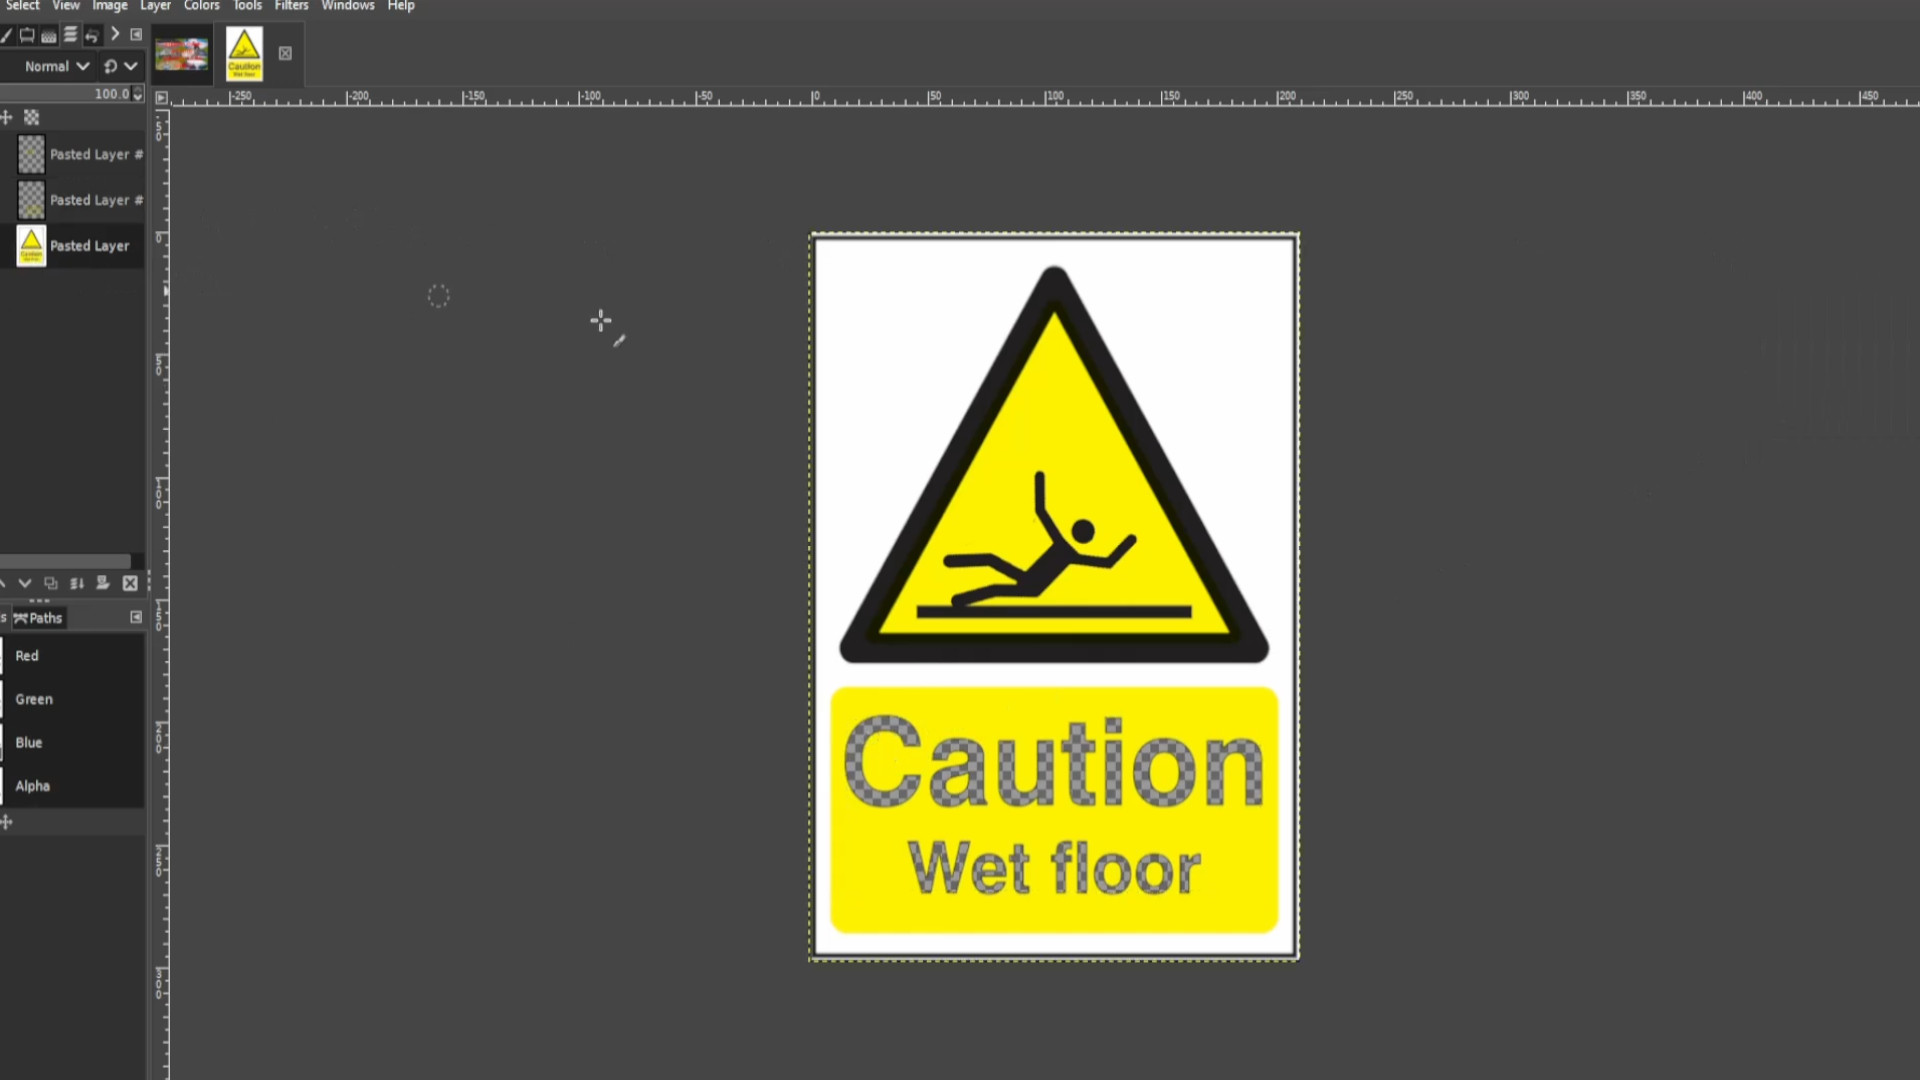
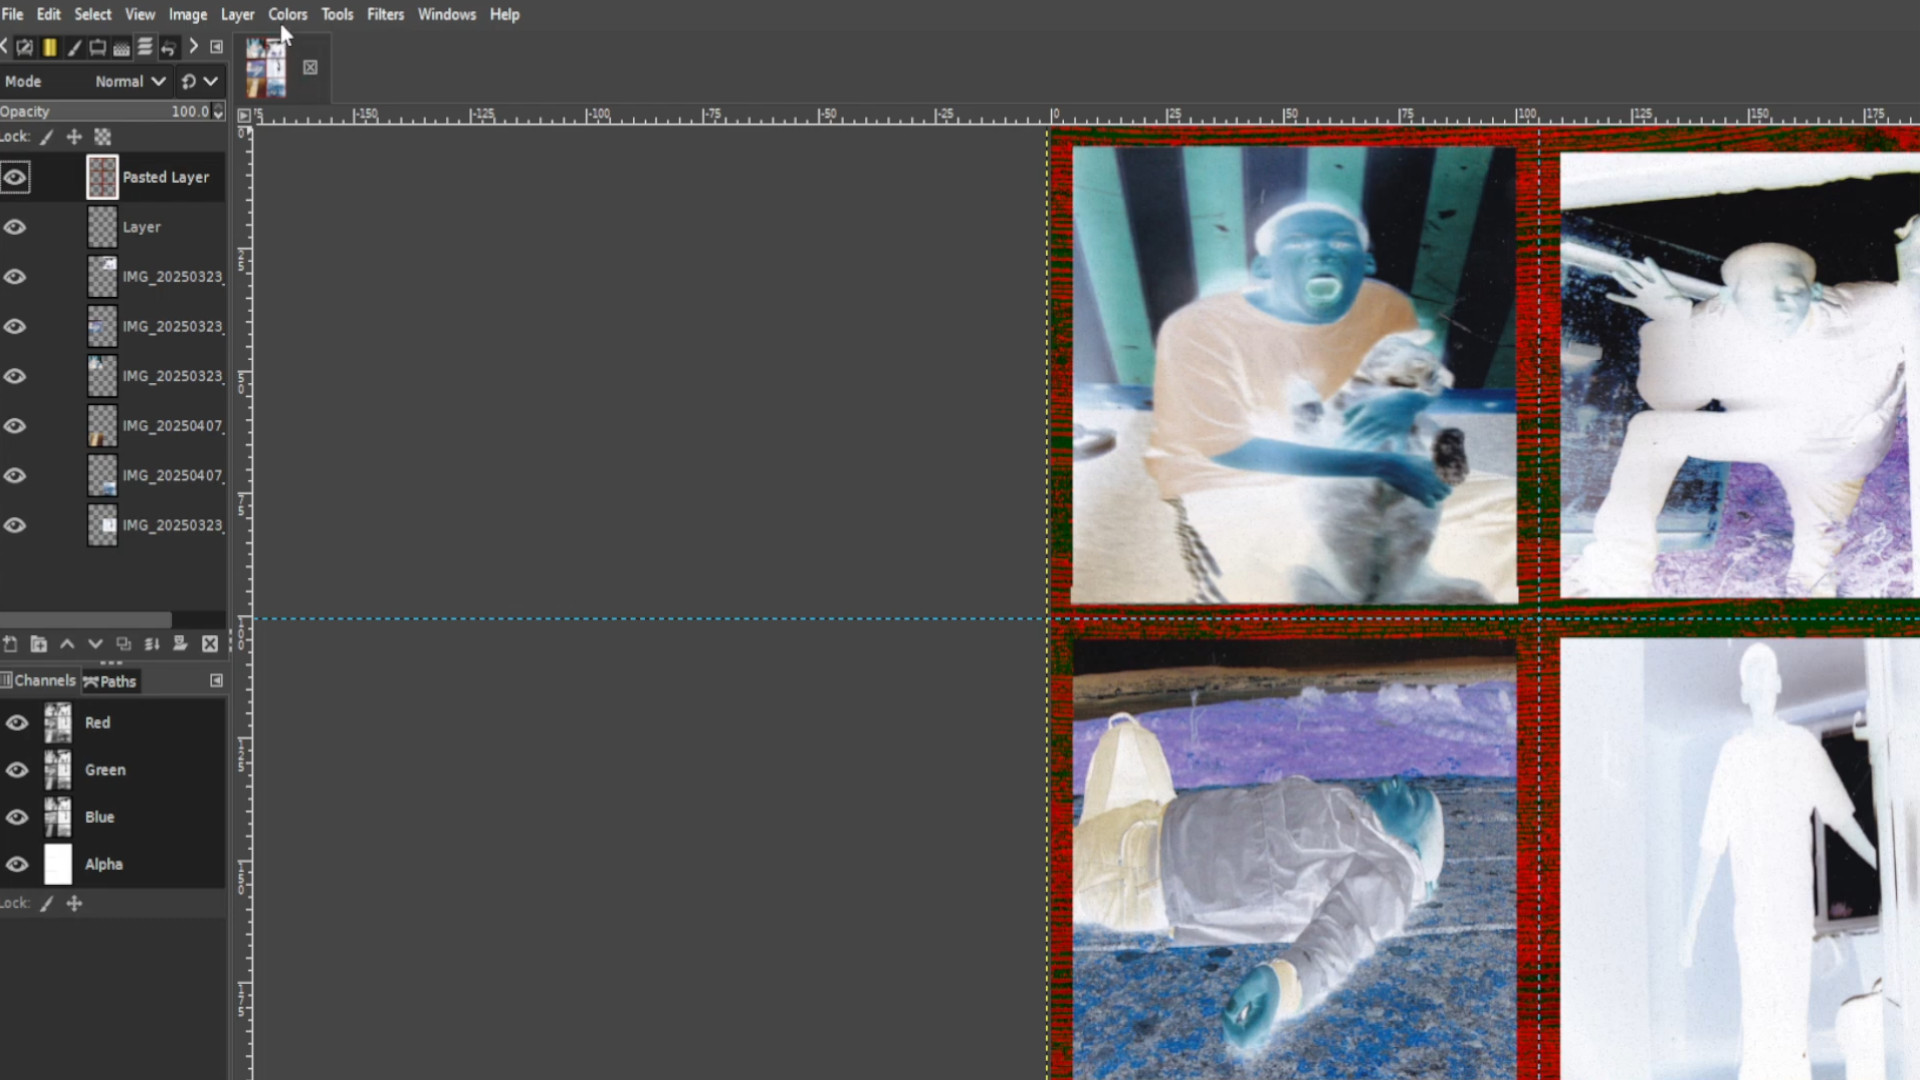
With the in this case>>>BOTTOM LAYER SELECTED and going to>>>SELECT>>>INVERT to invert and using the>>>RIGHT CLICK on any bit of>>>CANVAS and going to>>>EDIT>>>CUT to cut any of the unwanted bits or use the shortcut by>>>HOLDING DOWN>>>CTRL and>>>PRESSING>>>X so you get the shape for the image.

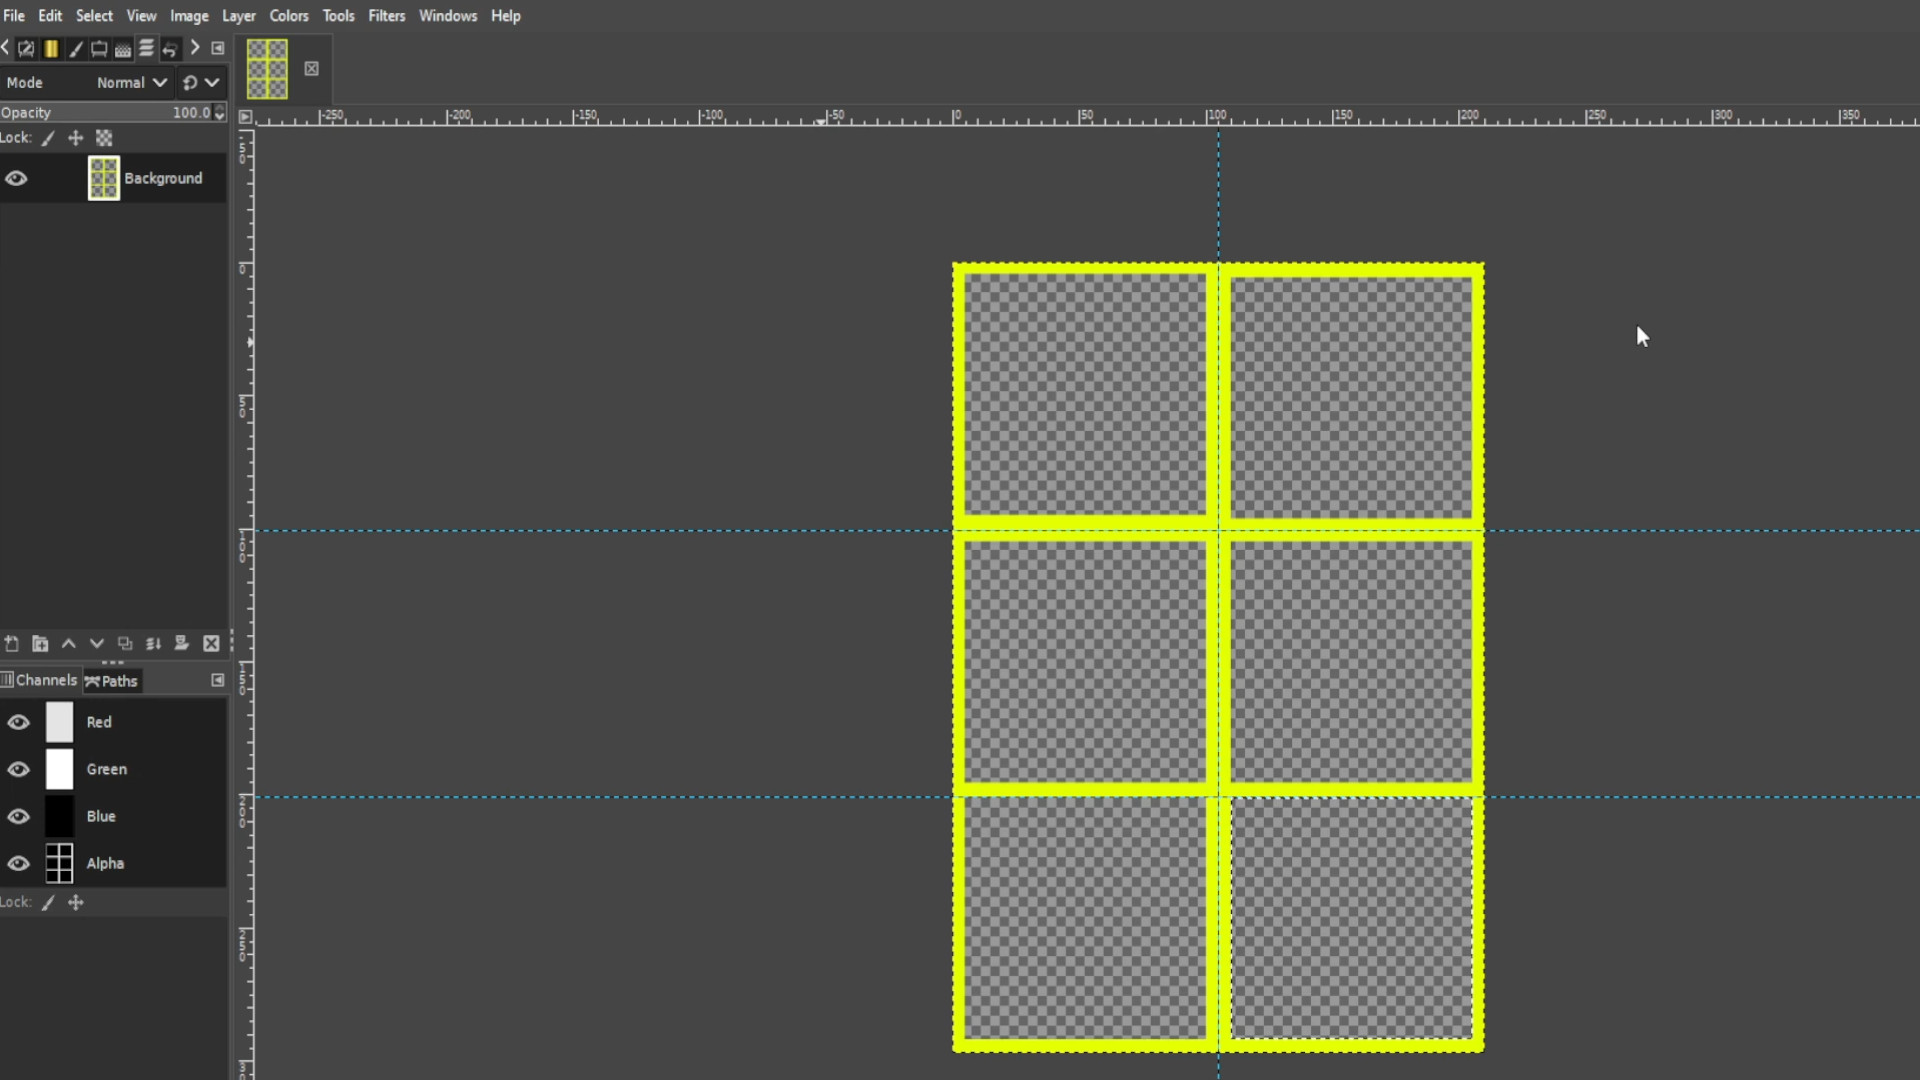
>>REPEAT>>>STEPS>>>16-19 until you cut out shapes for each image you laid down.
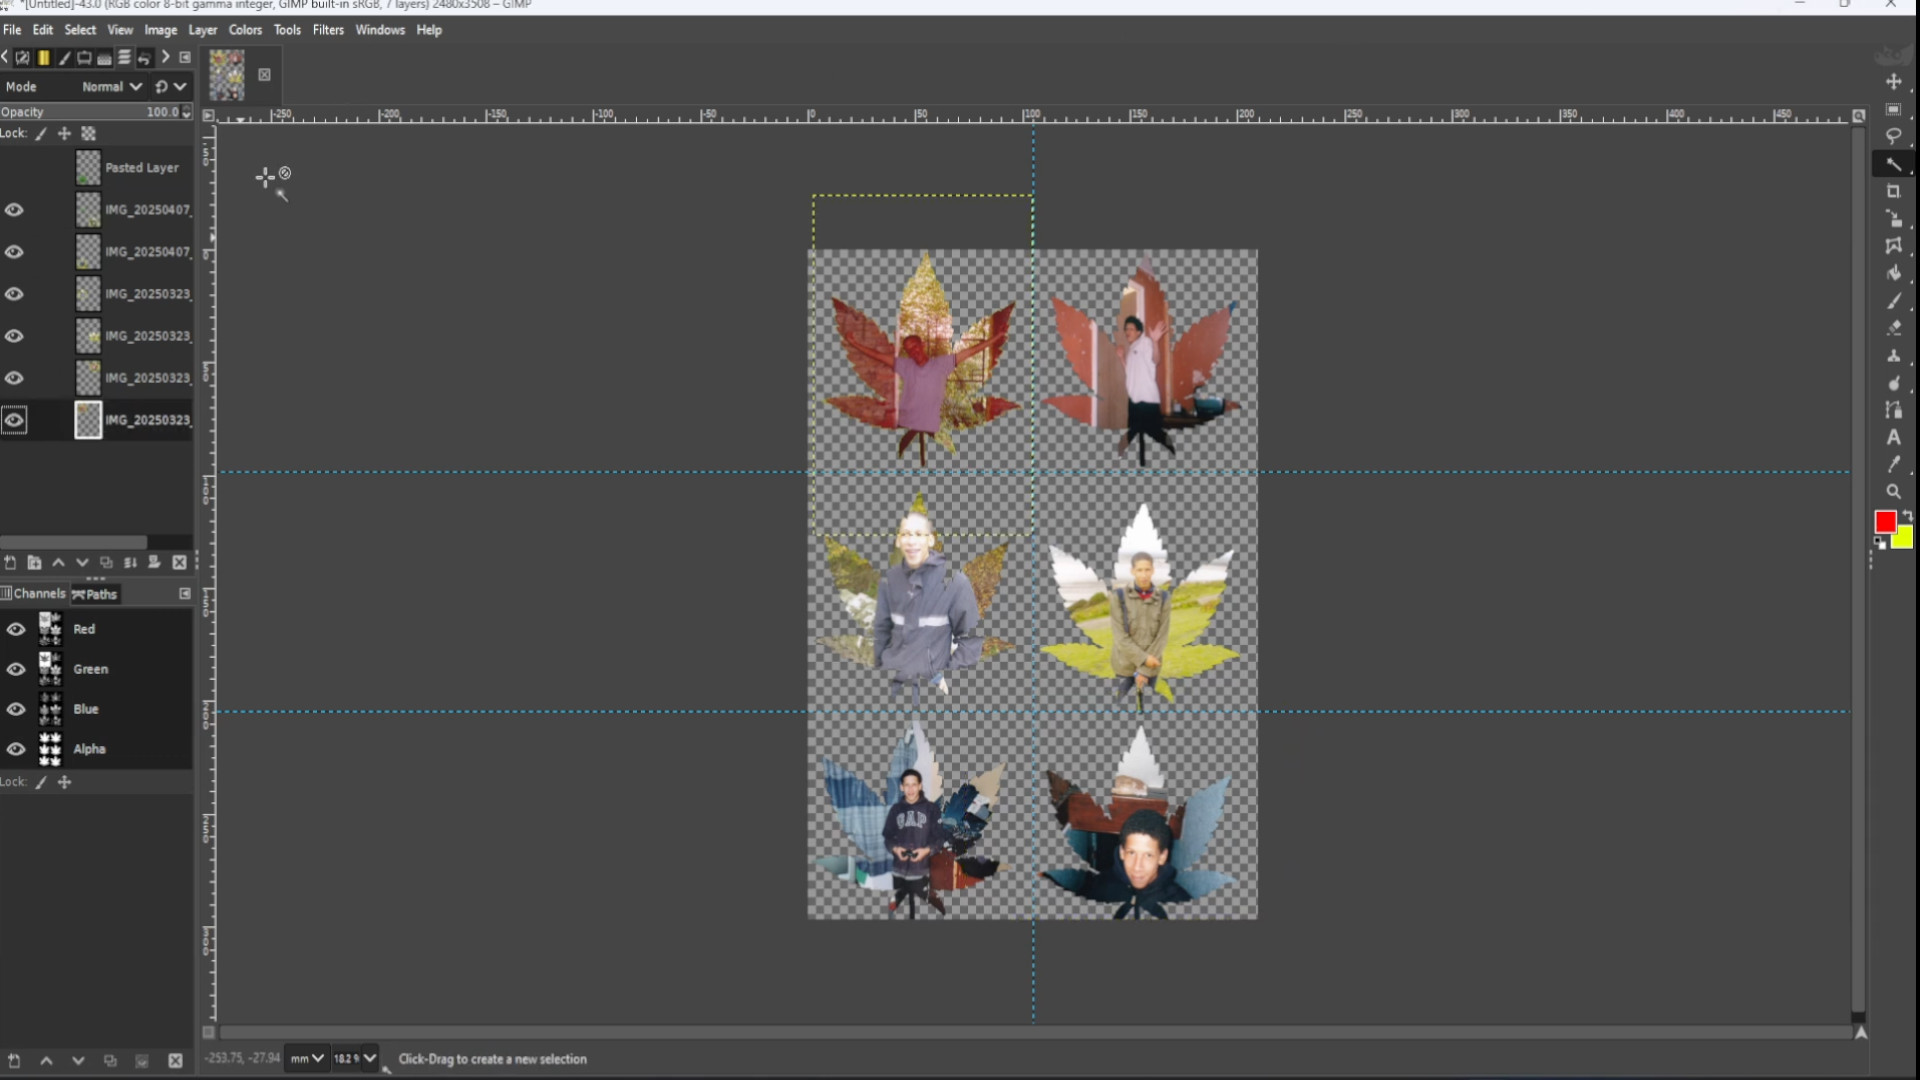
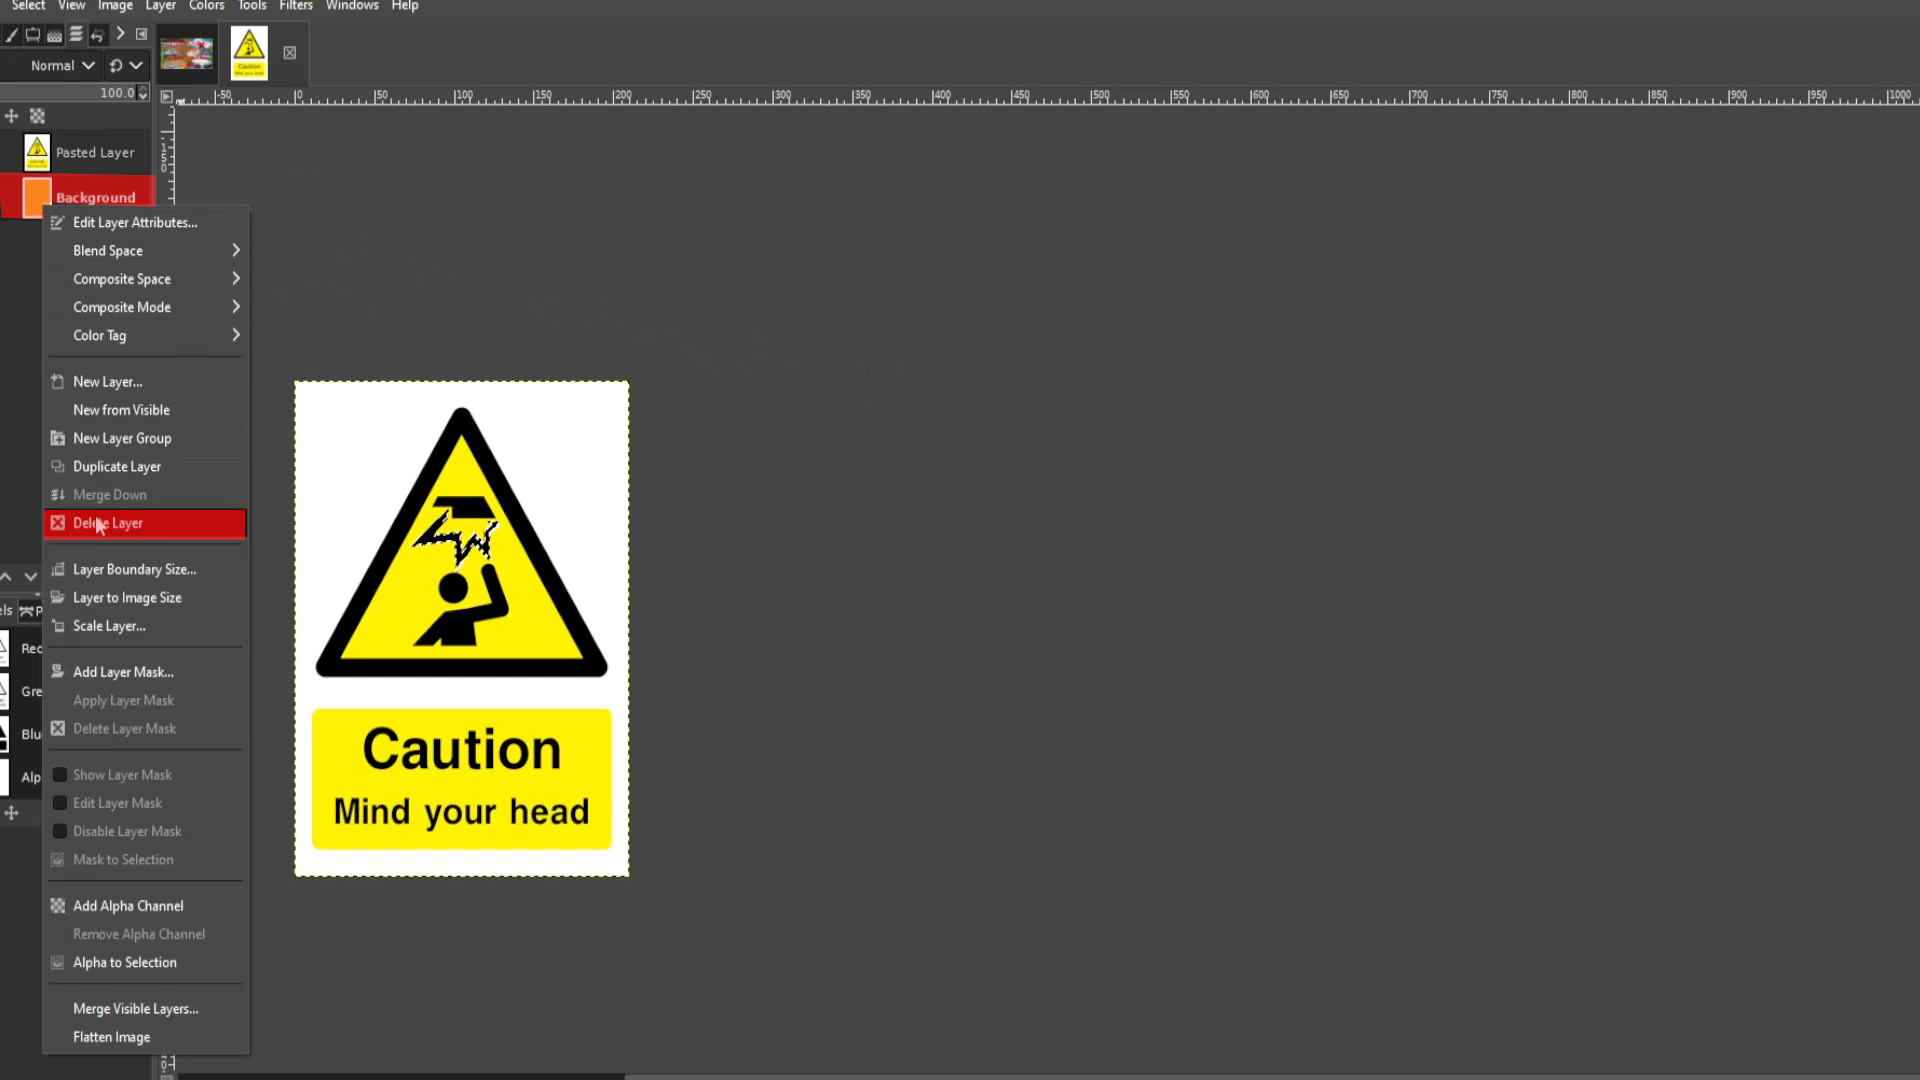
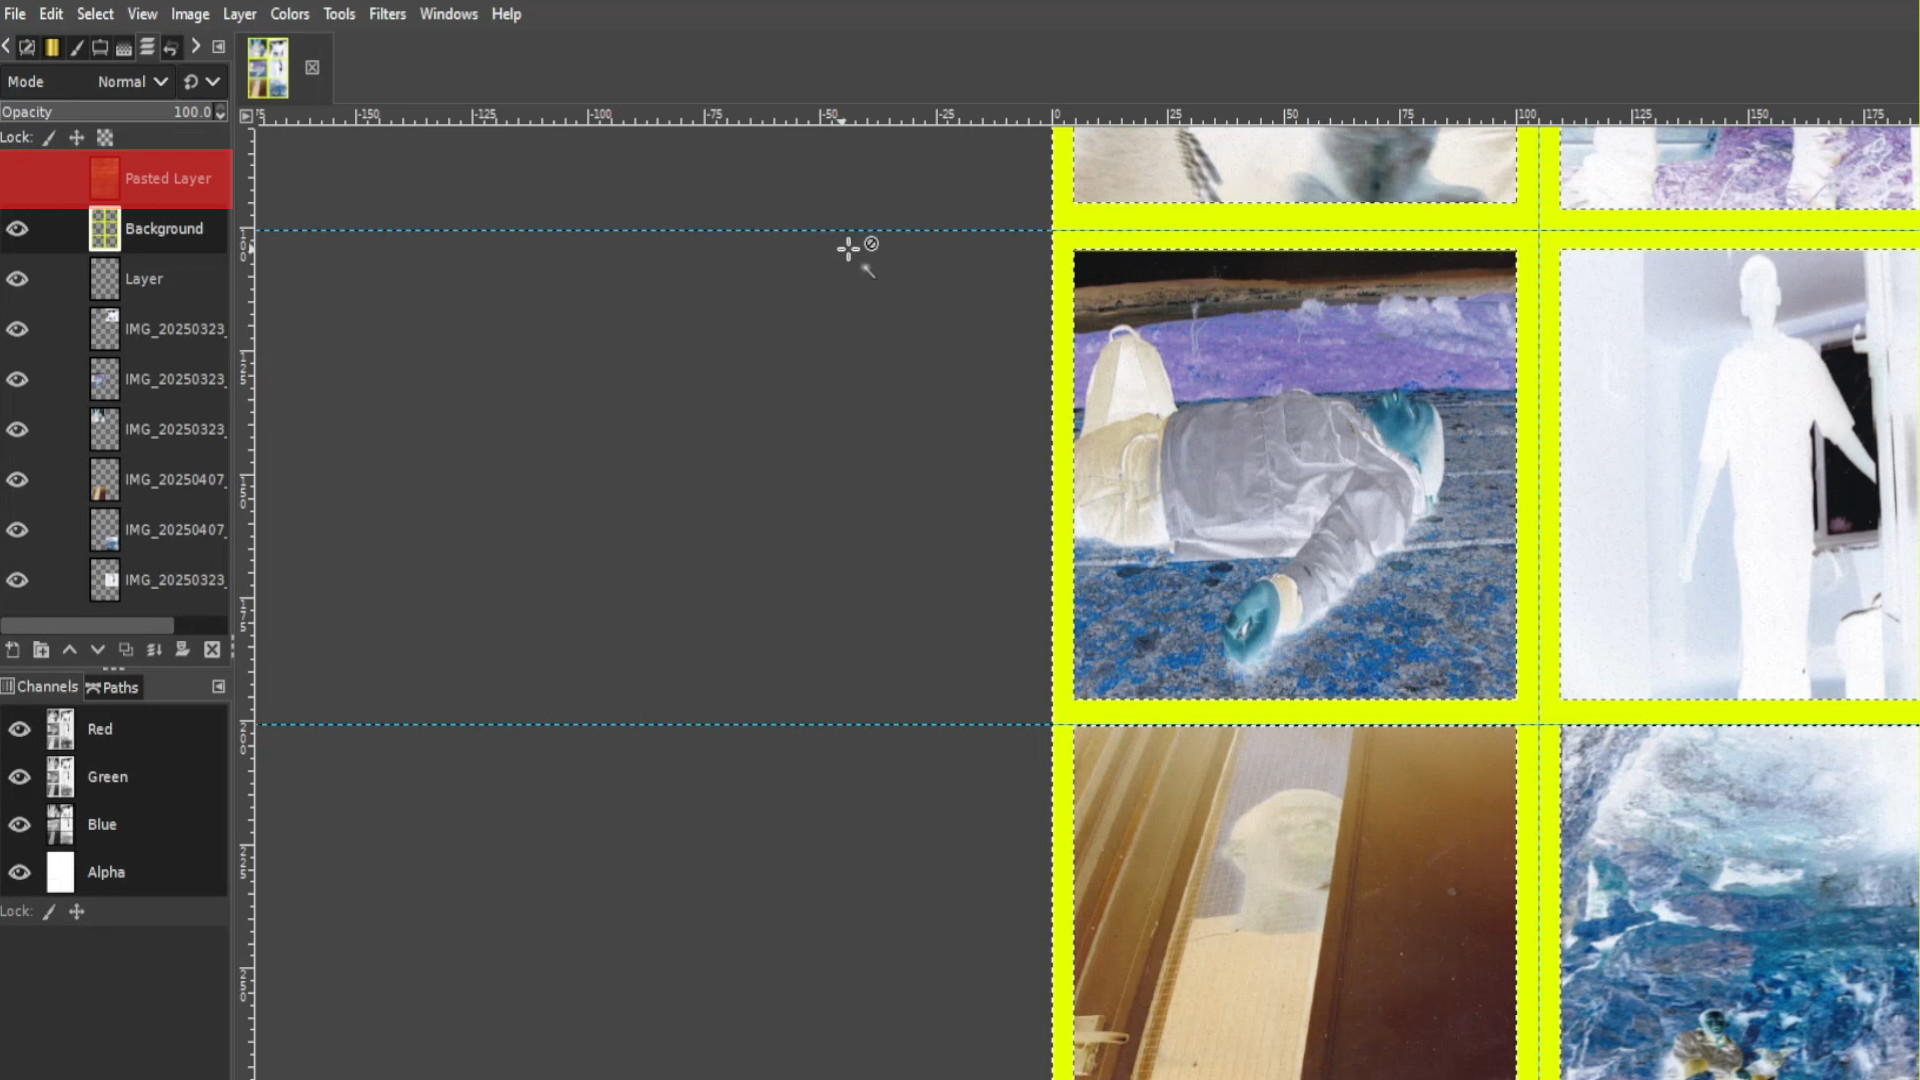
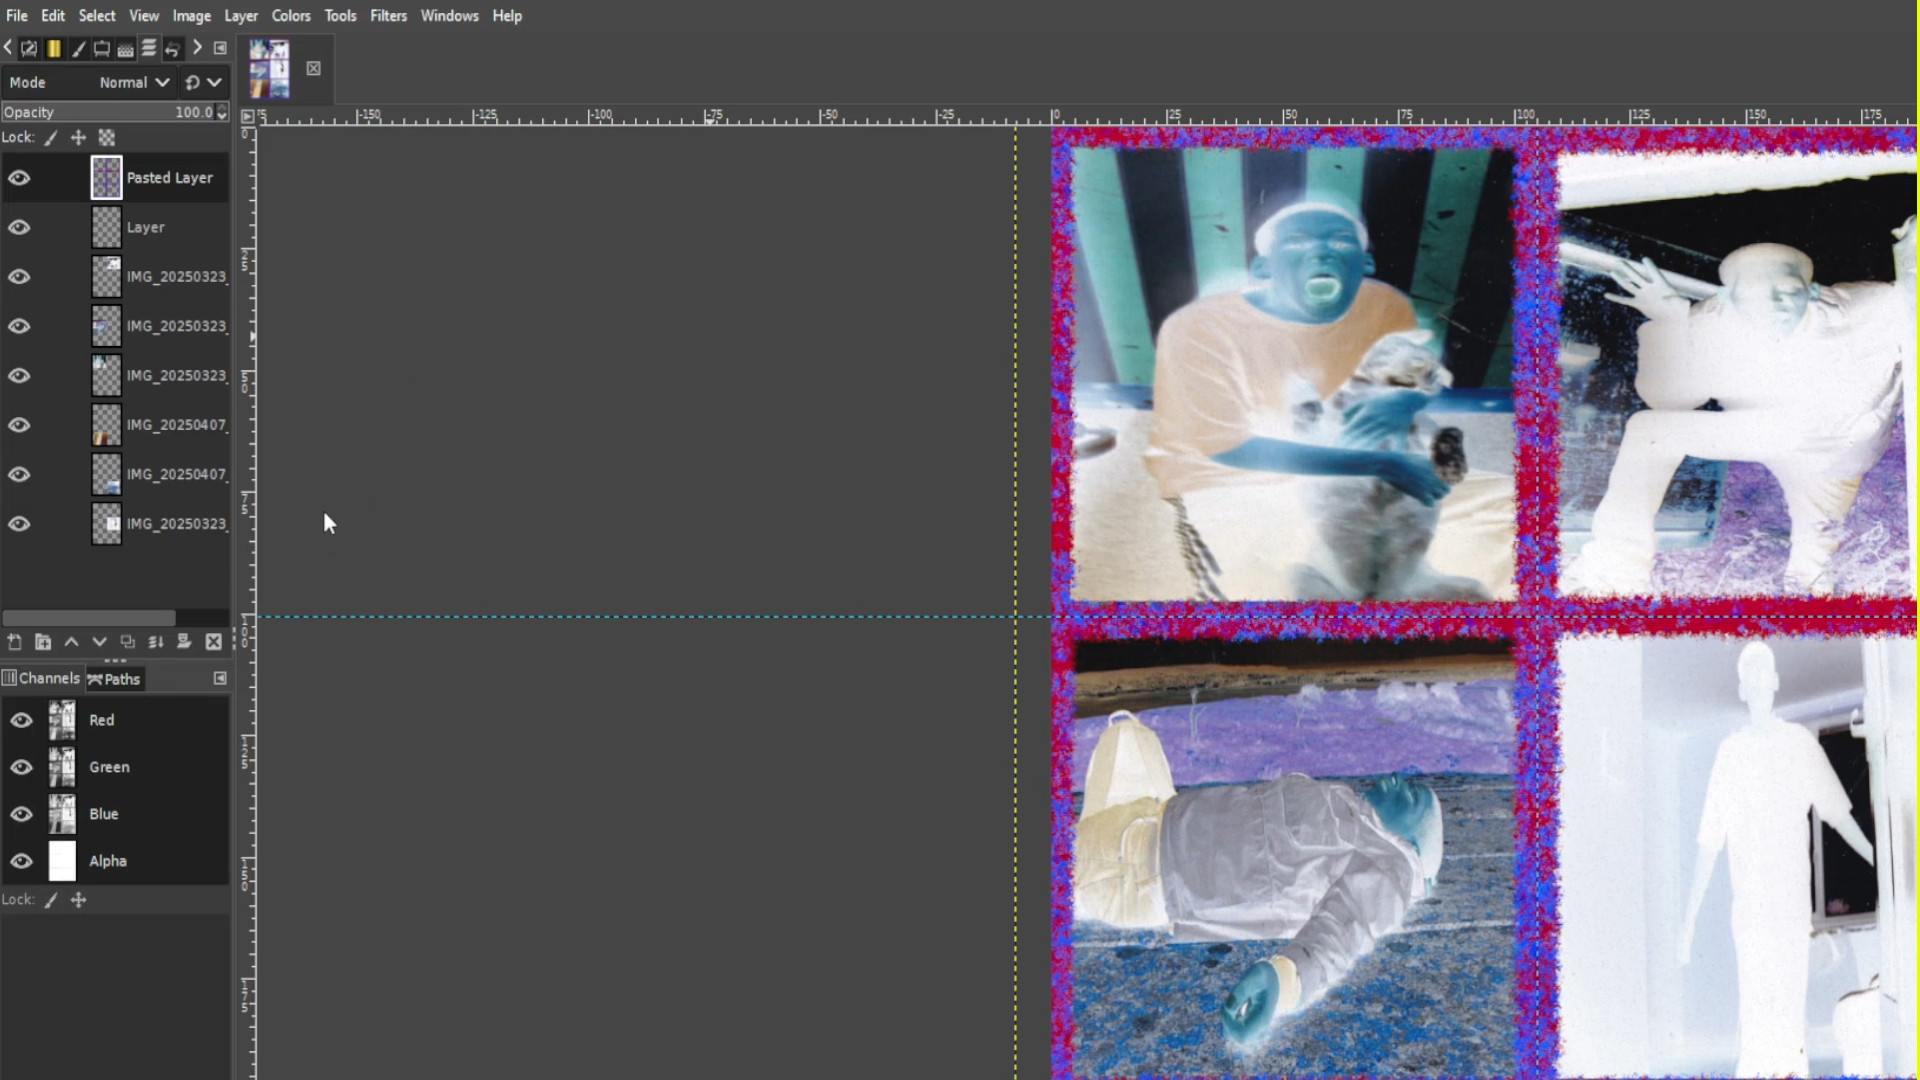
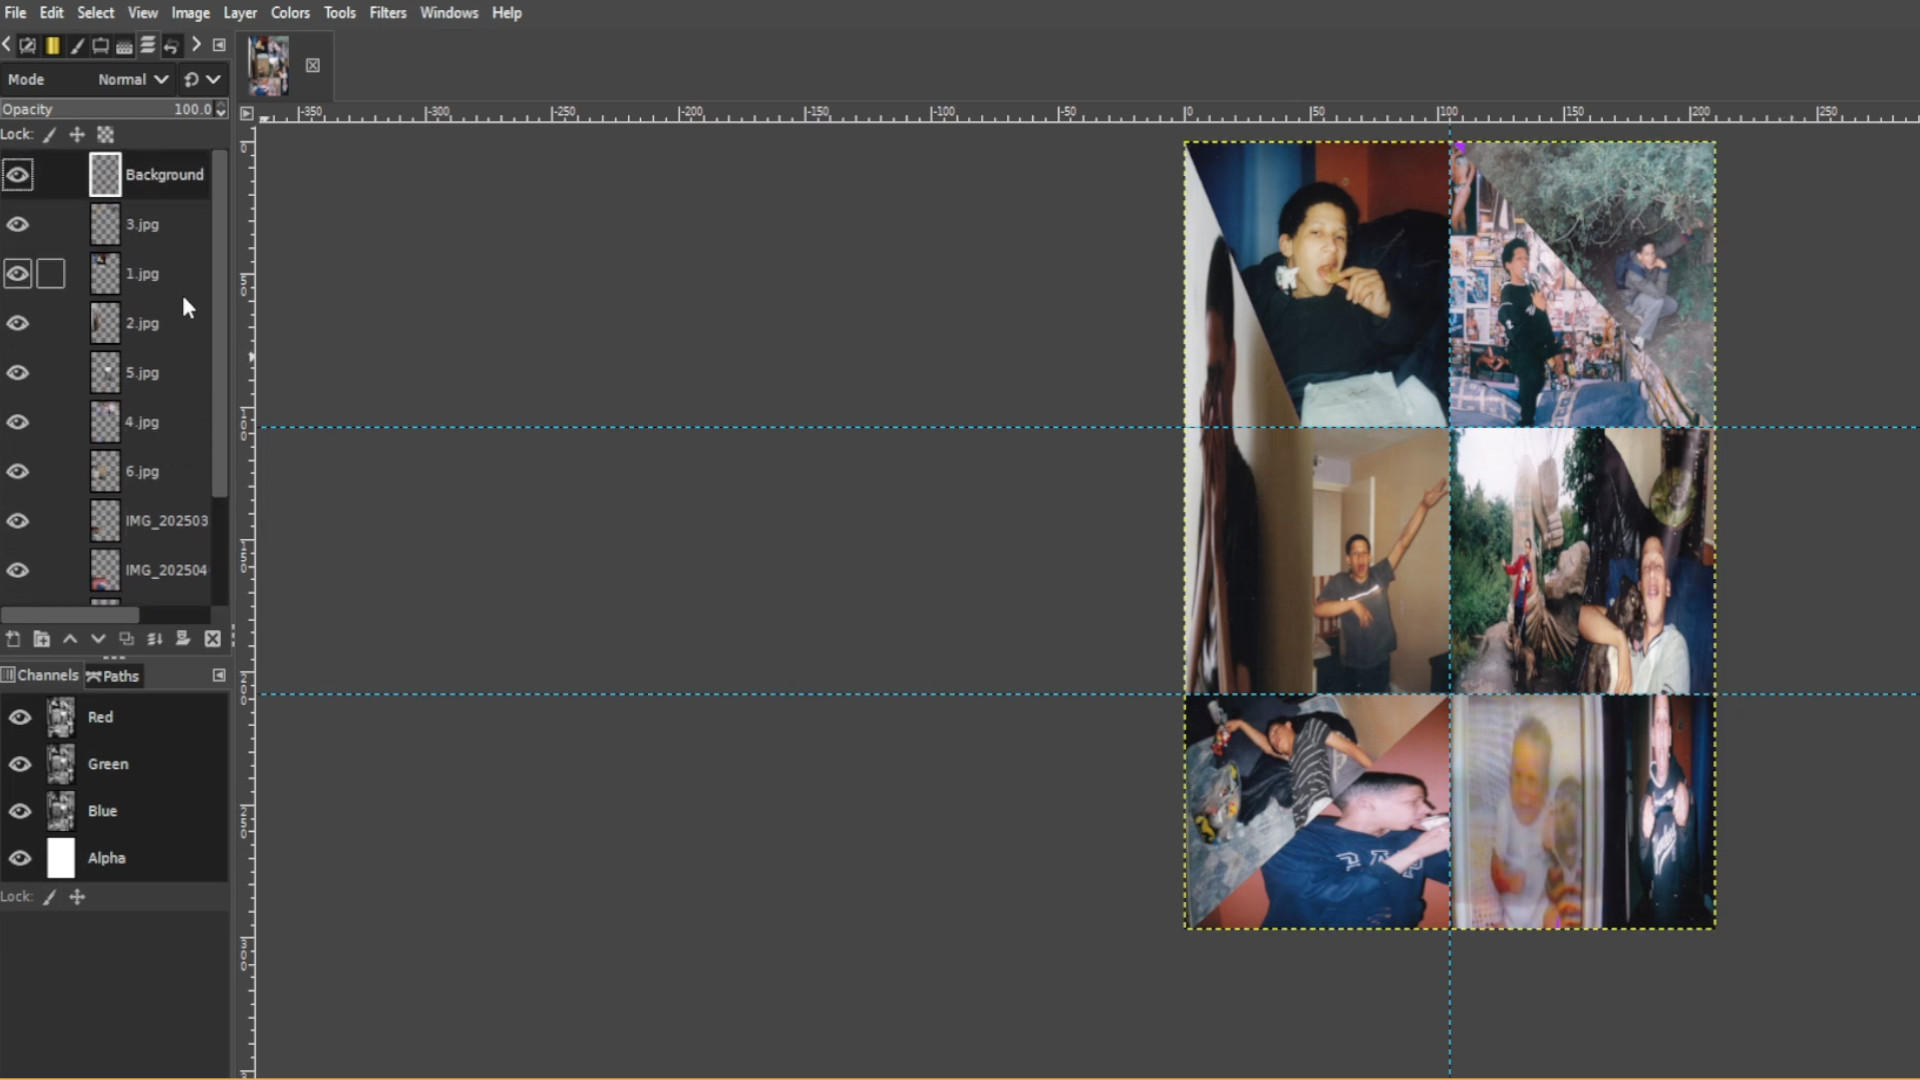
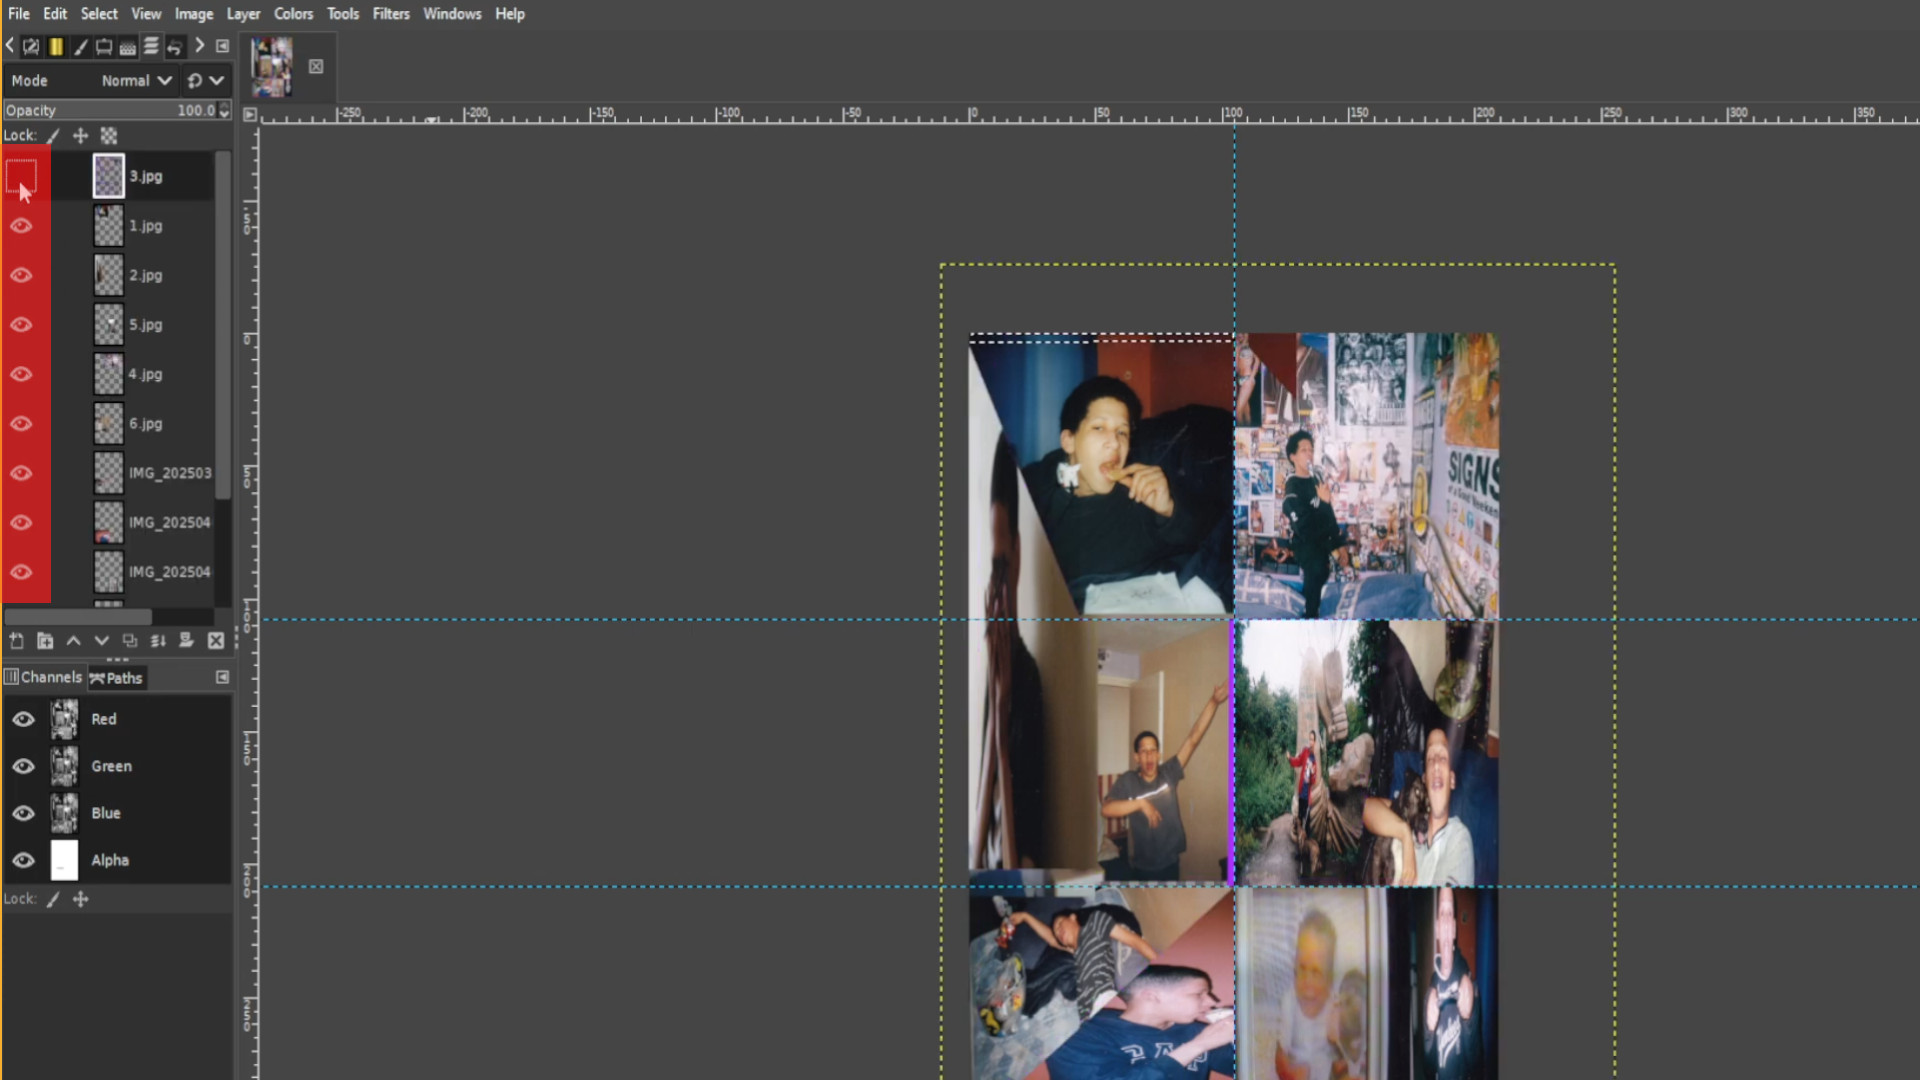
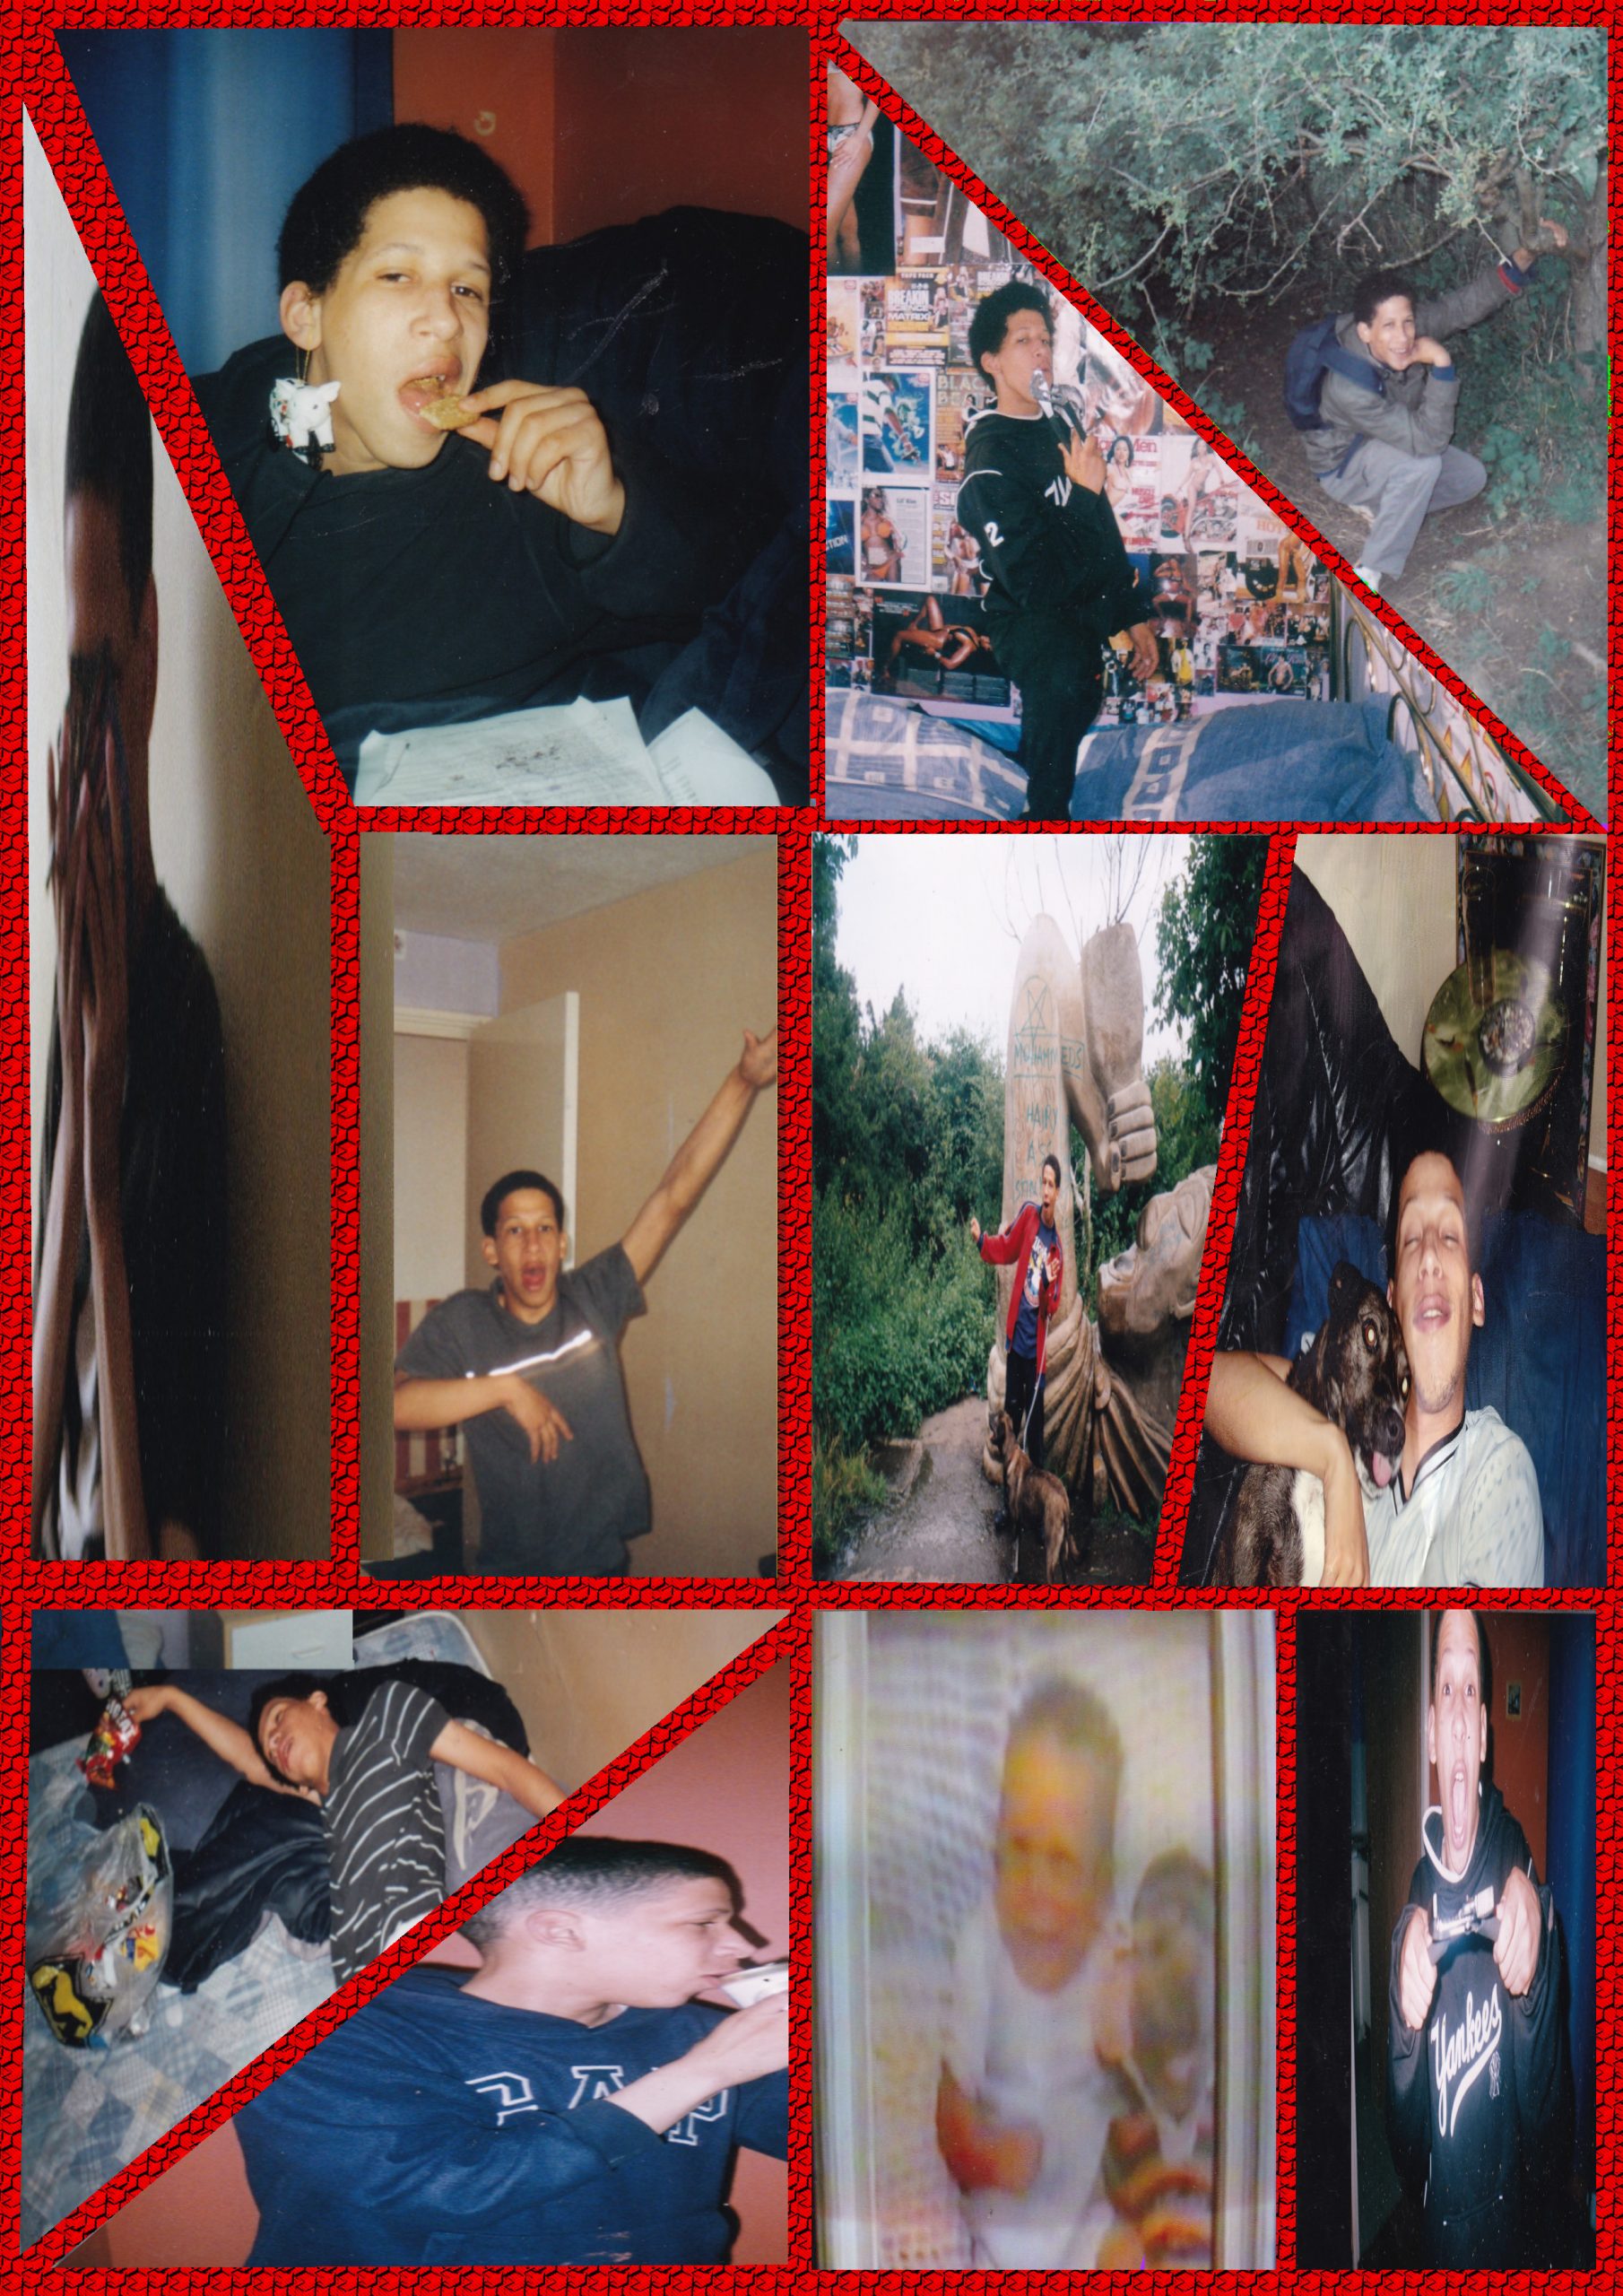
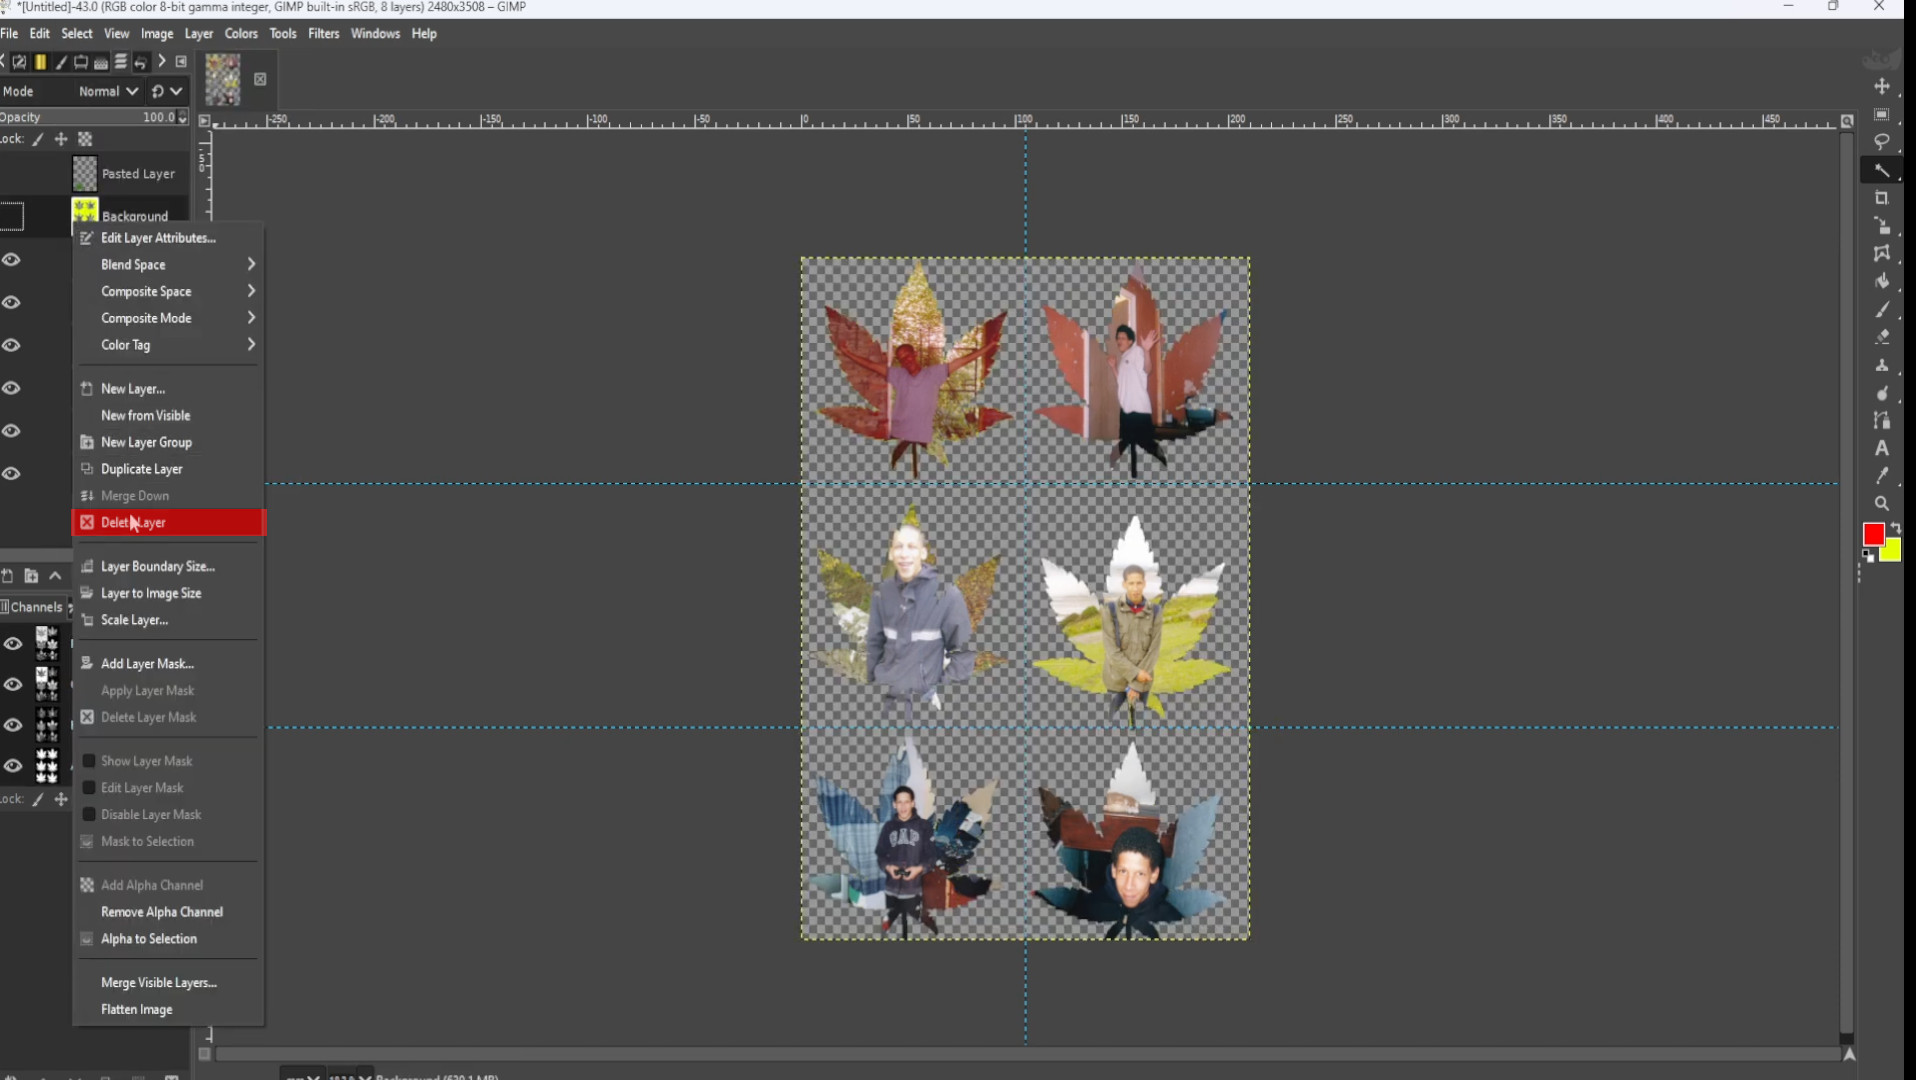
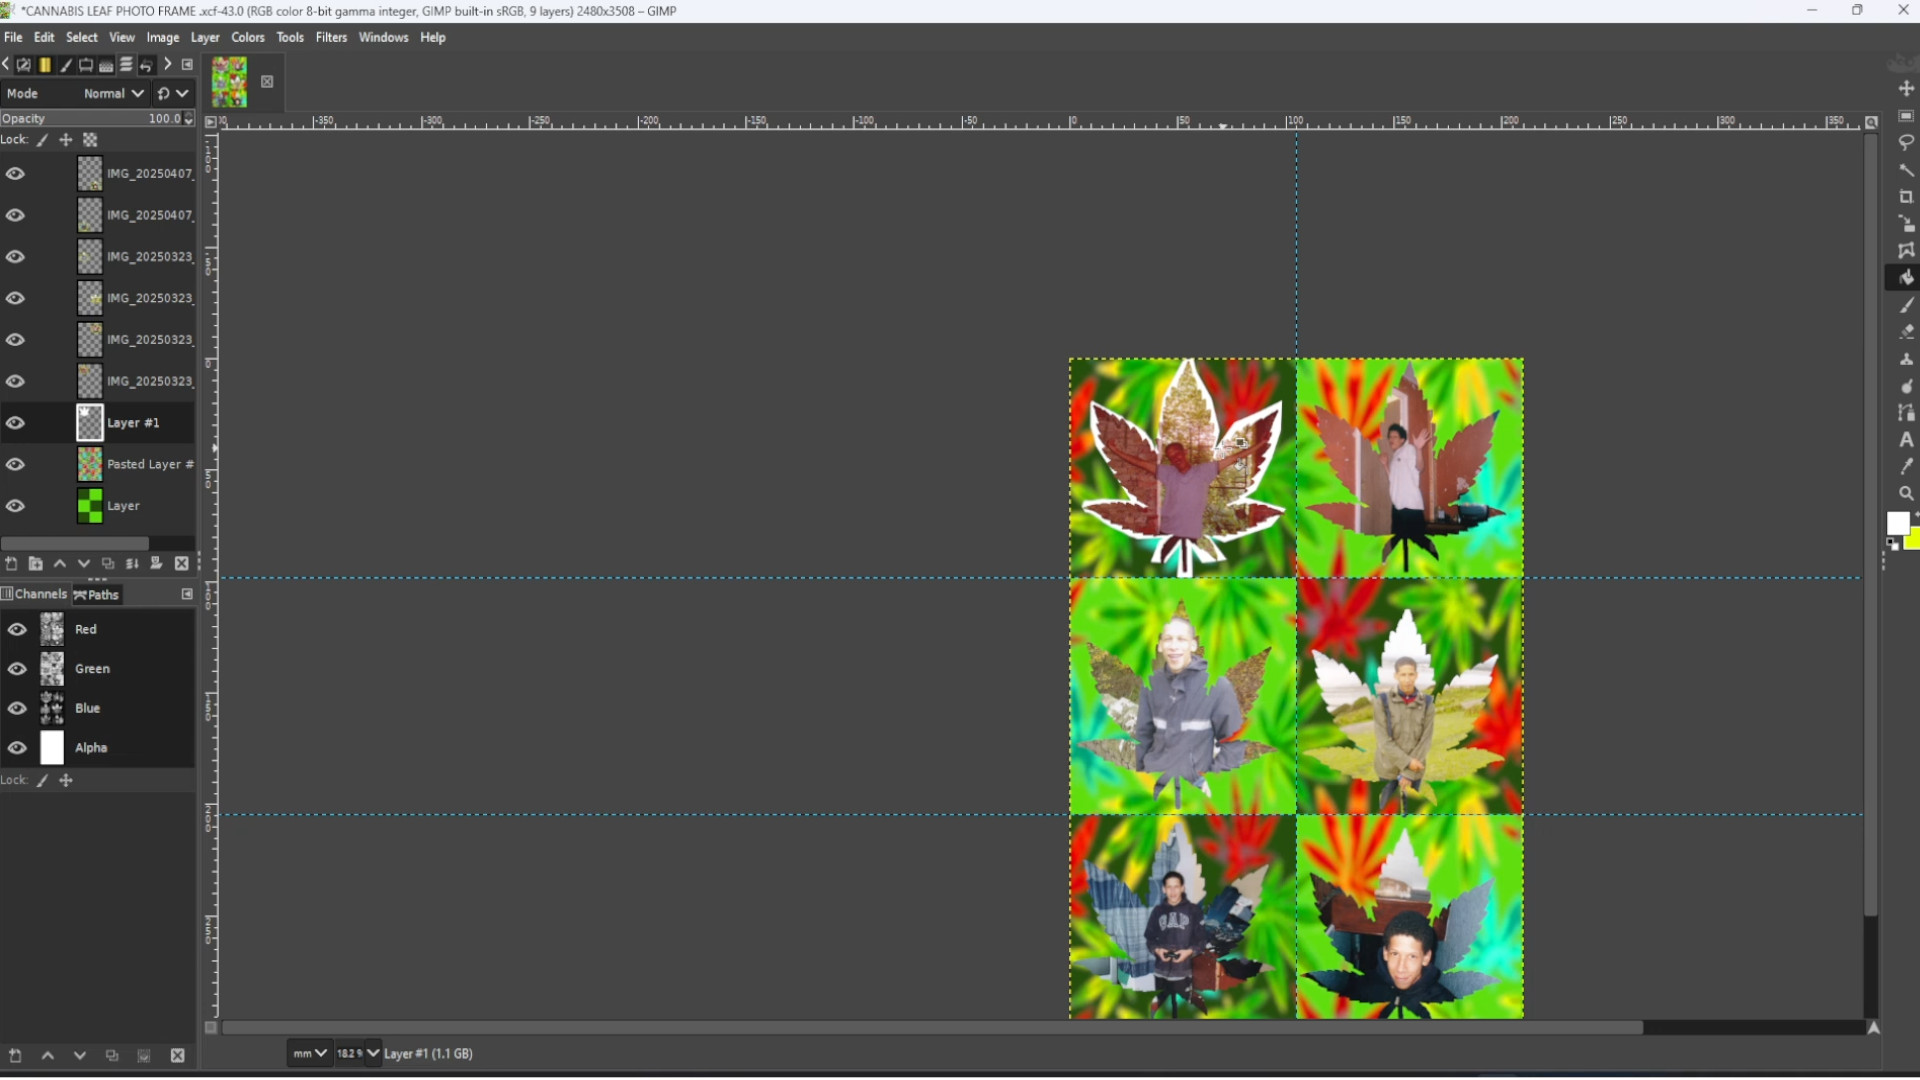
>>SELECT in this case the>>>SECOND LAYER the>>>BACKGROUND LAYER with>>>SHAPES on>>>RIGHT CLICK>>>ANYWHERE on the>>>CANVAS and>>>PRESS>>>DELETE LAYER to DELETE the>>>BACKGROUND leaving only the now shaped images.
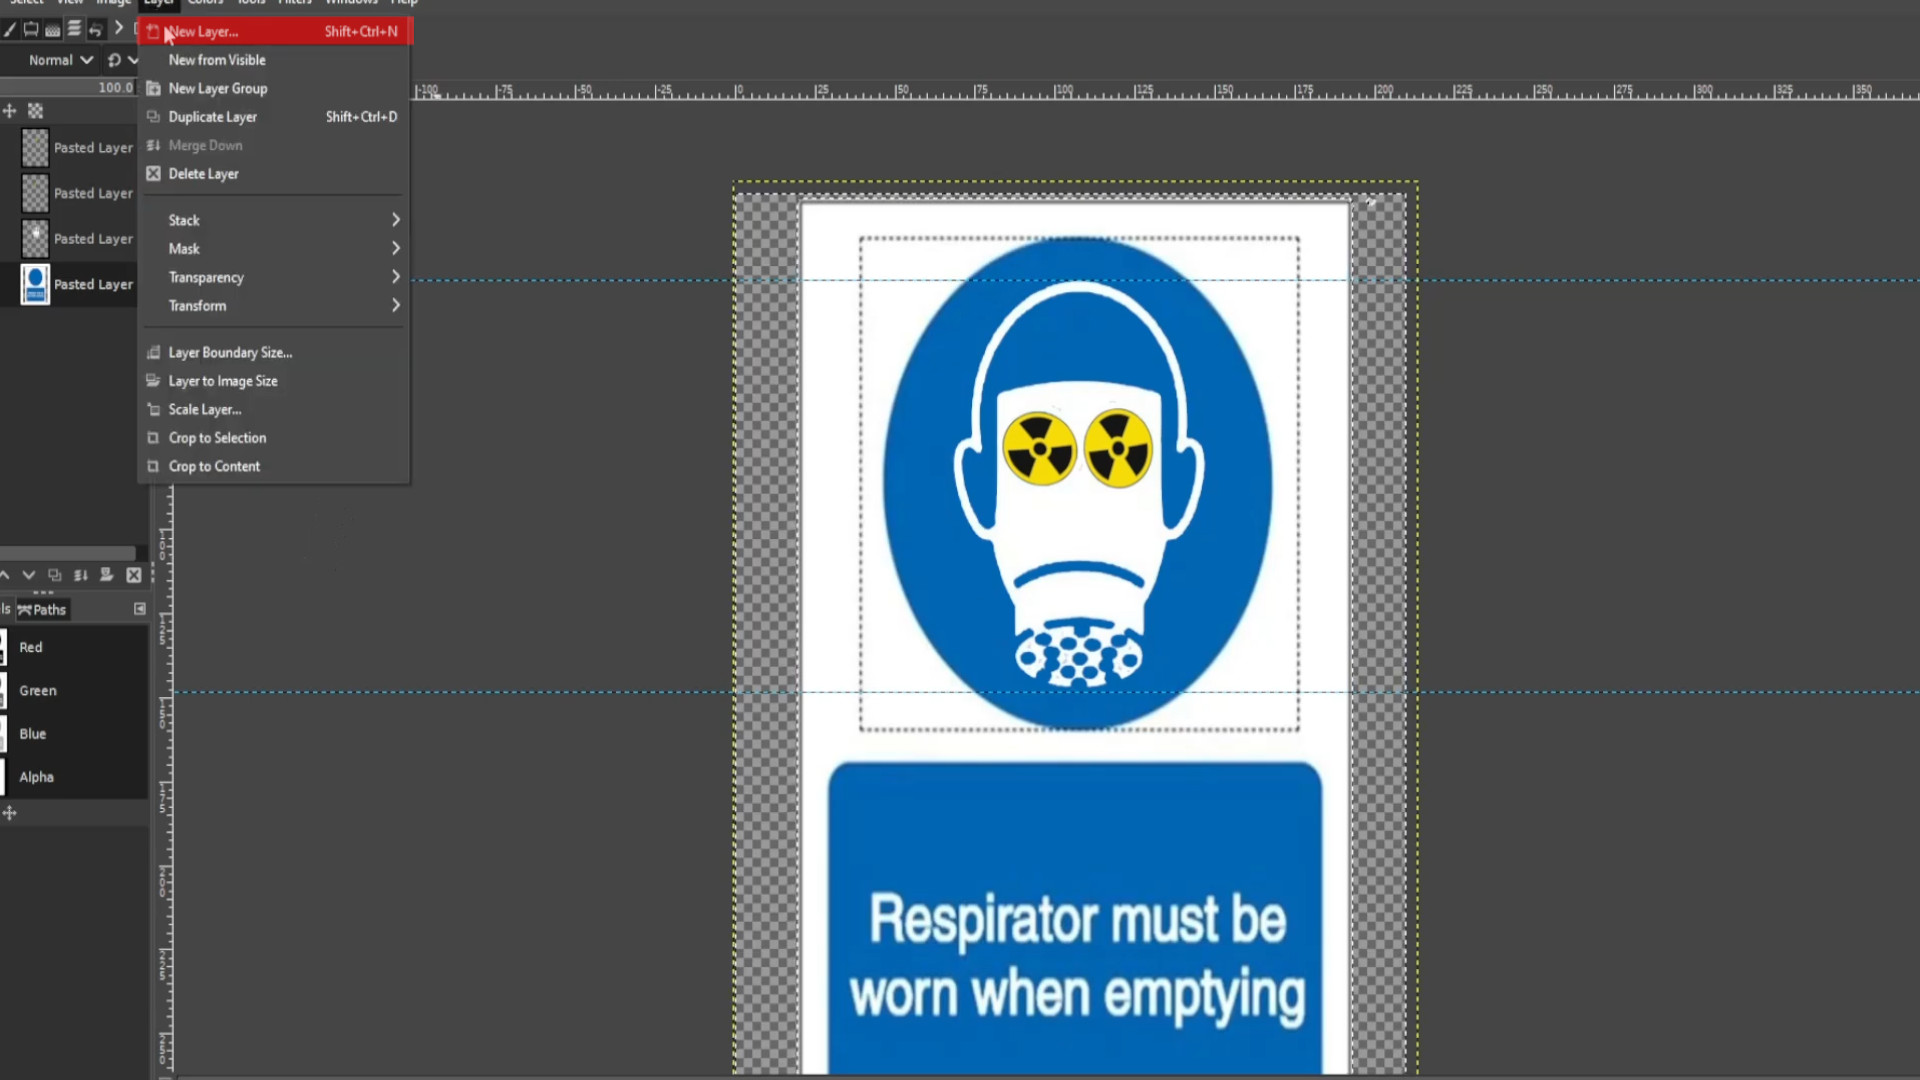
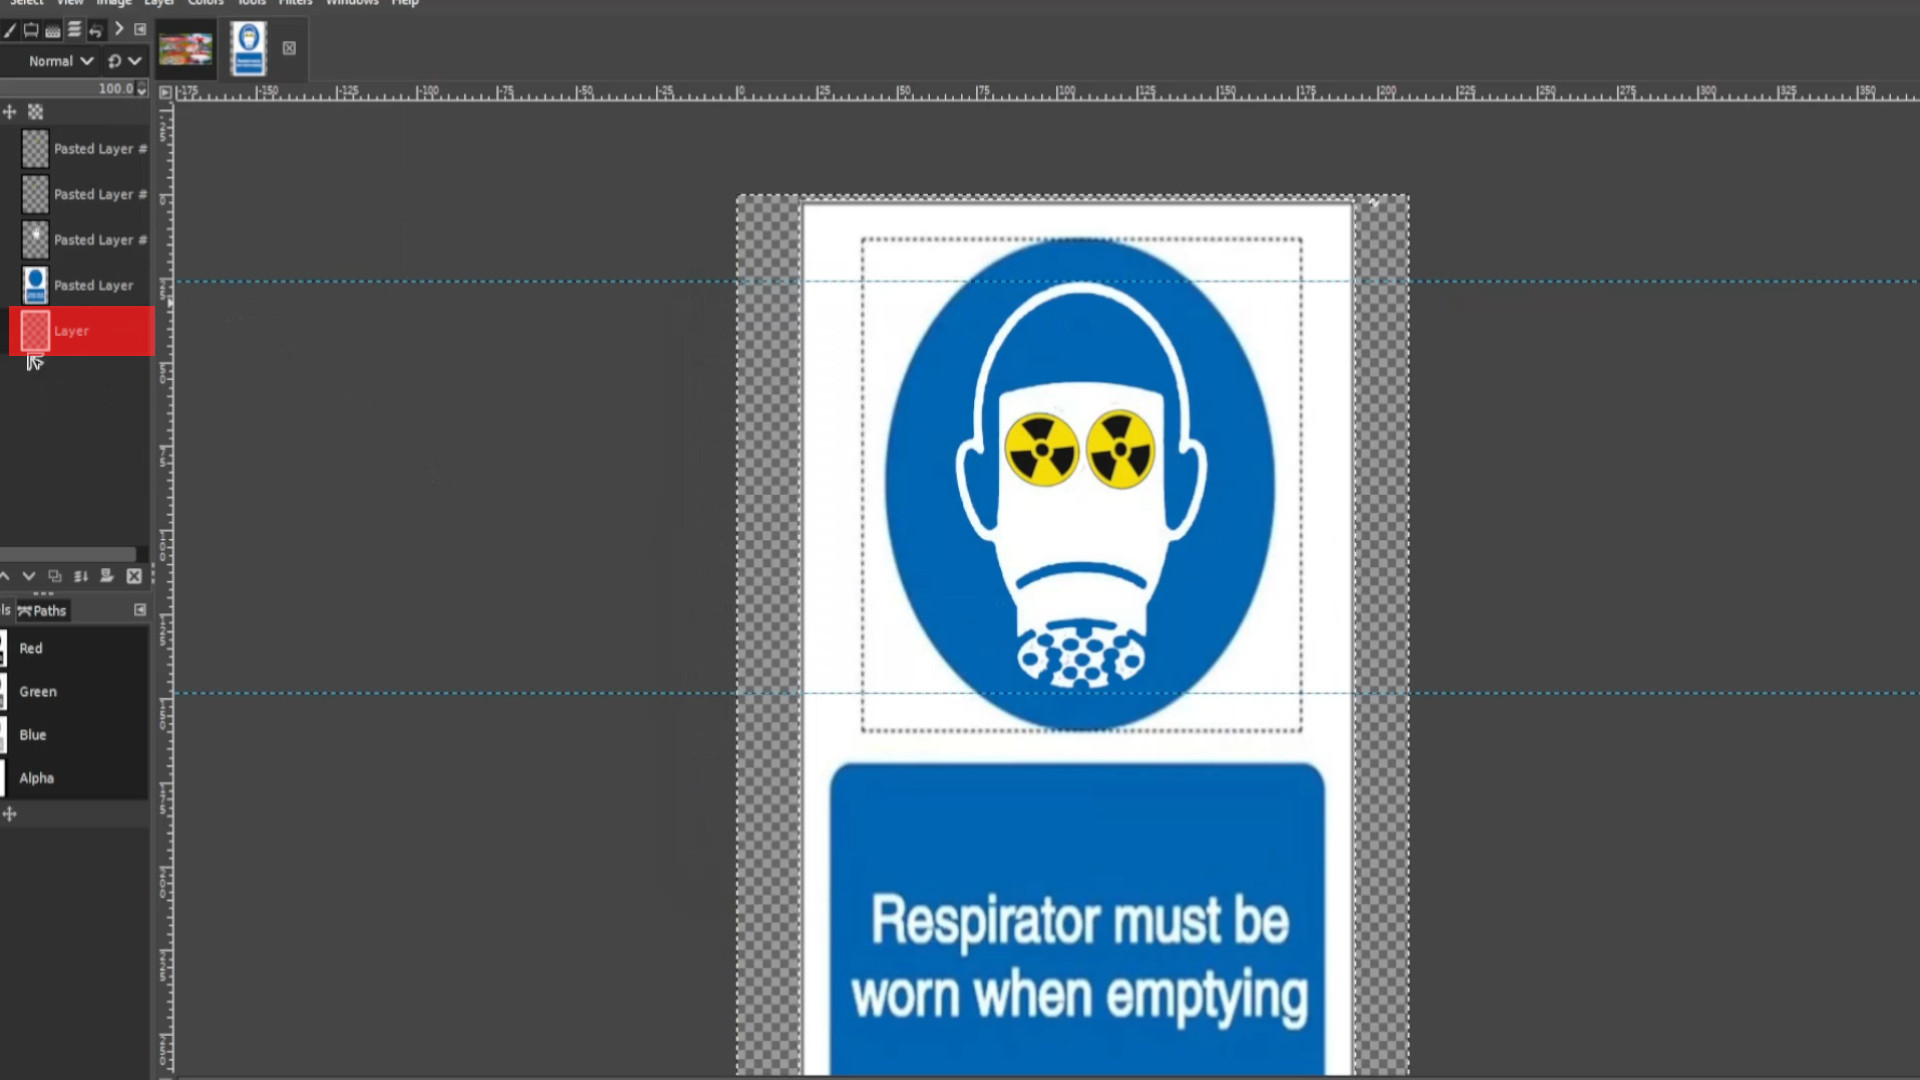
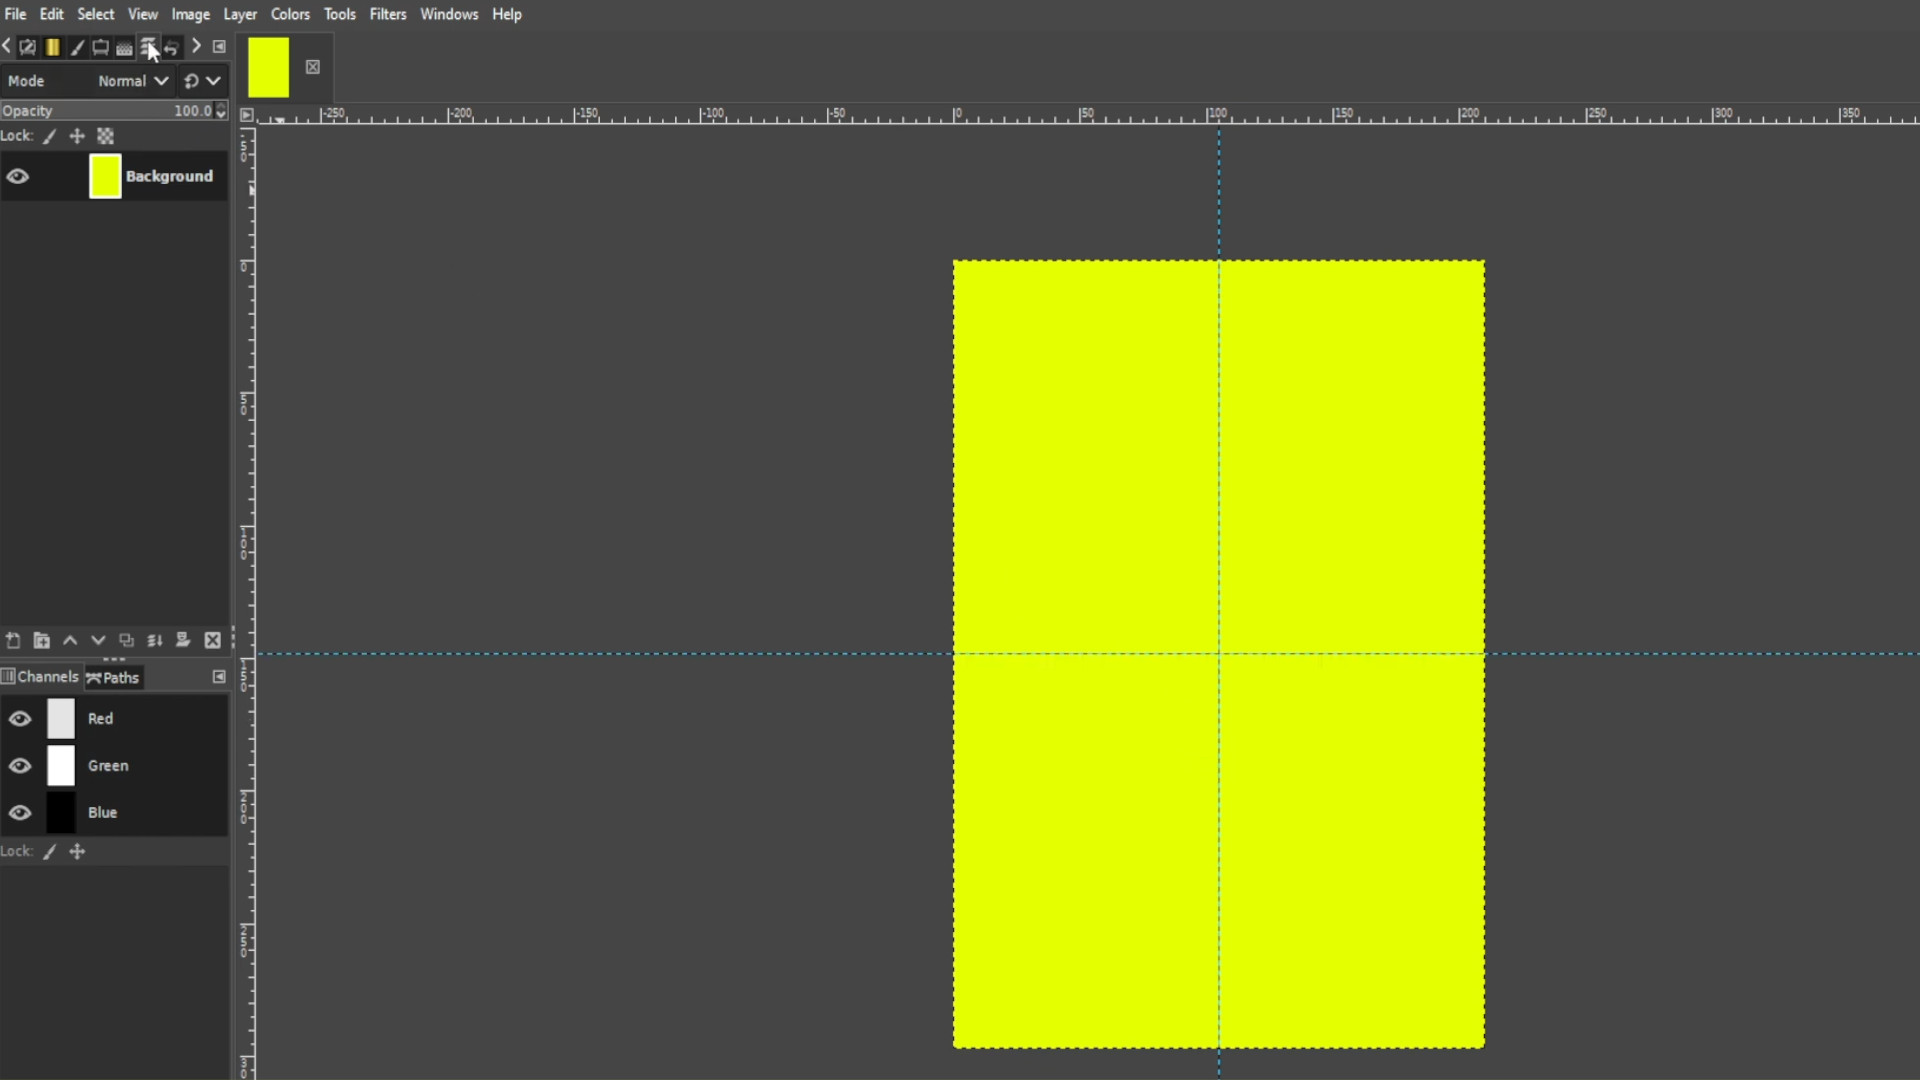
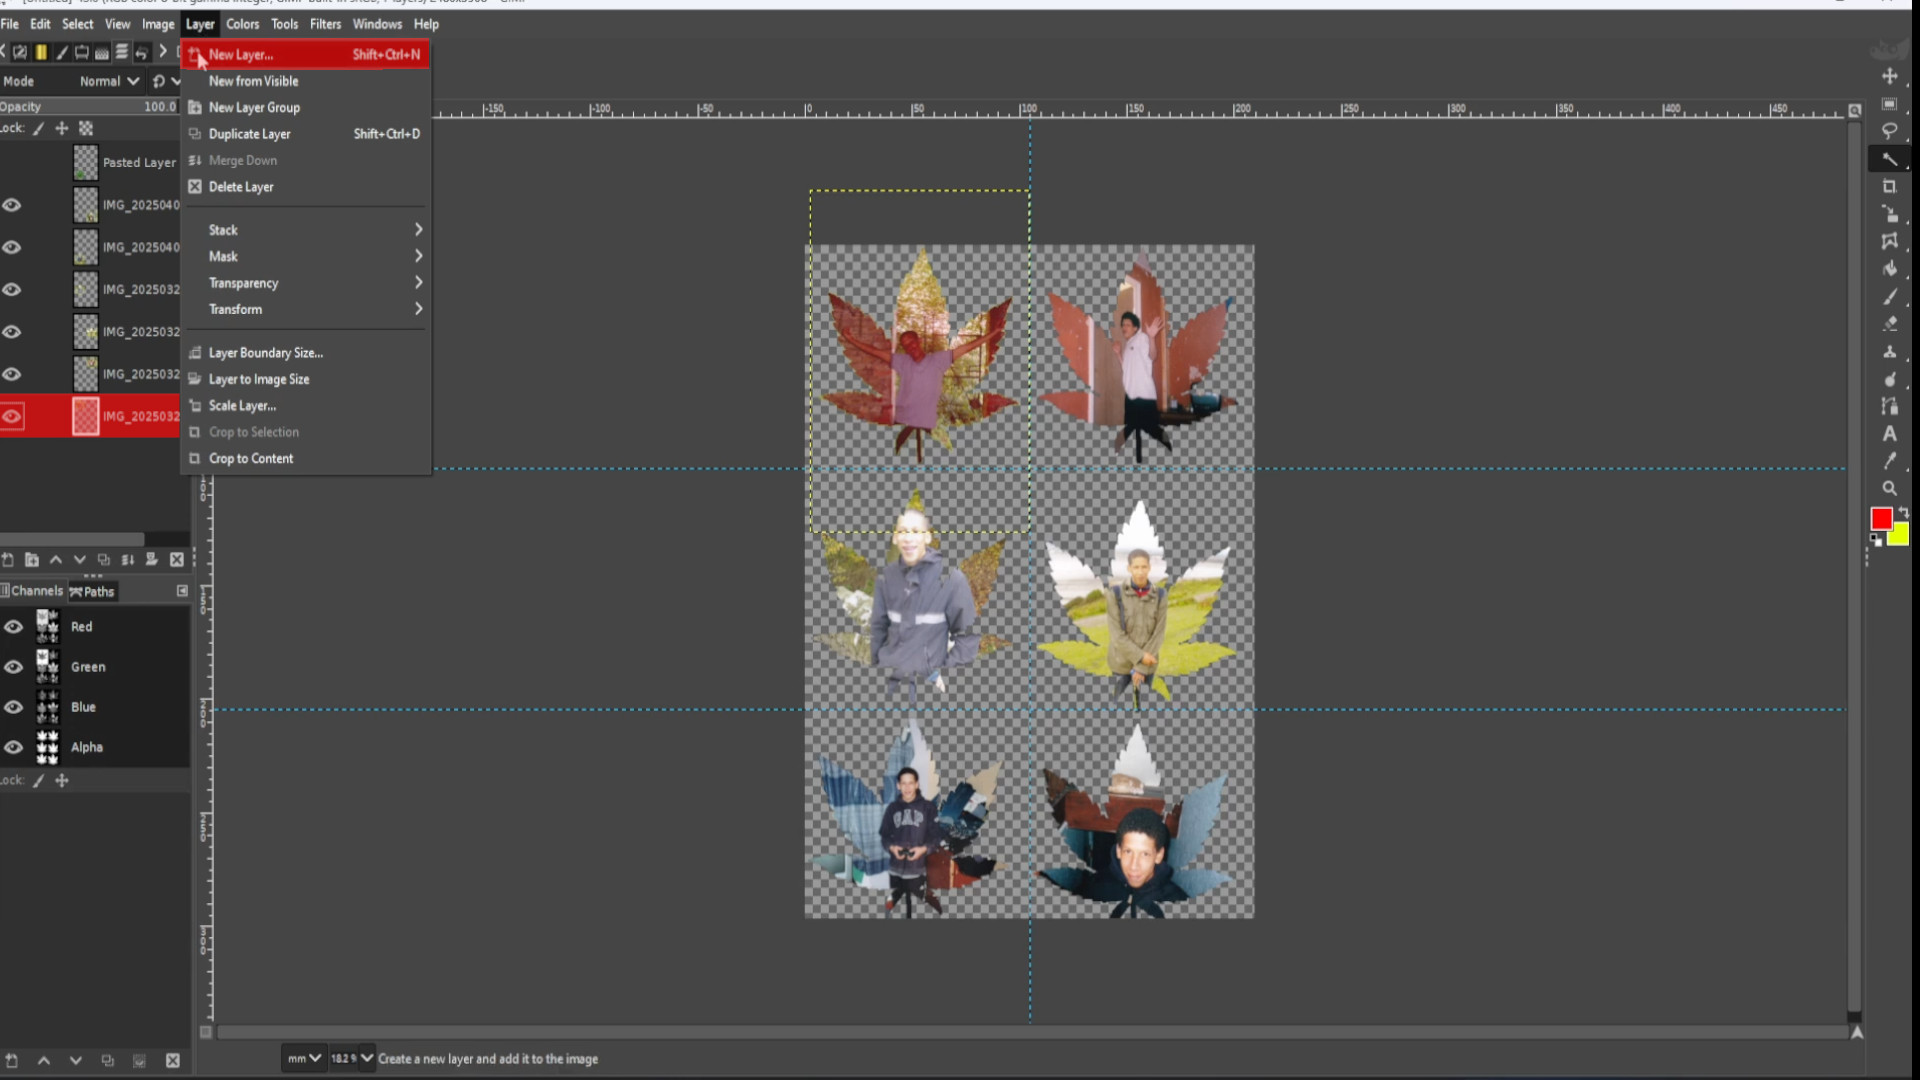
Go to>>>LAYER>>>ADD NEW LAYER and put it at the>>>BOTTOM of the LAYERS PILE on the>>>LEFT HAND SIDE LAYERS PANEL.
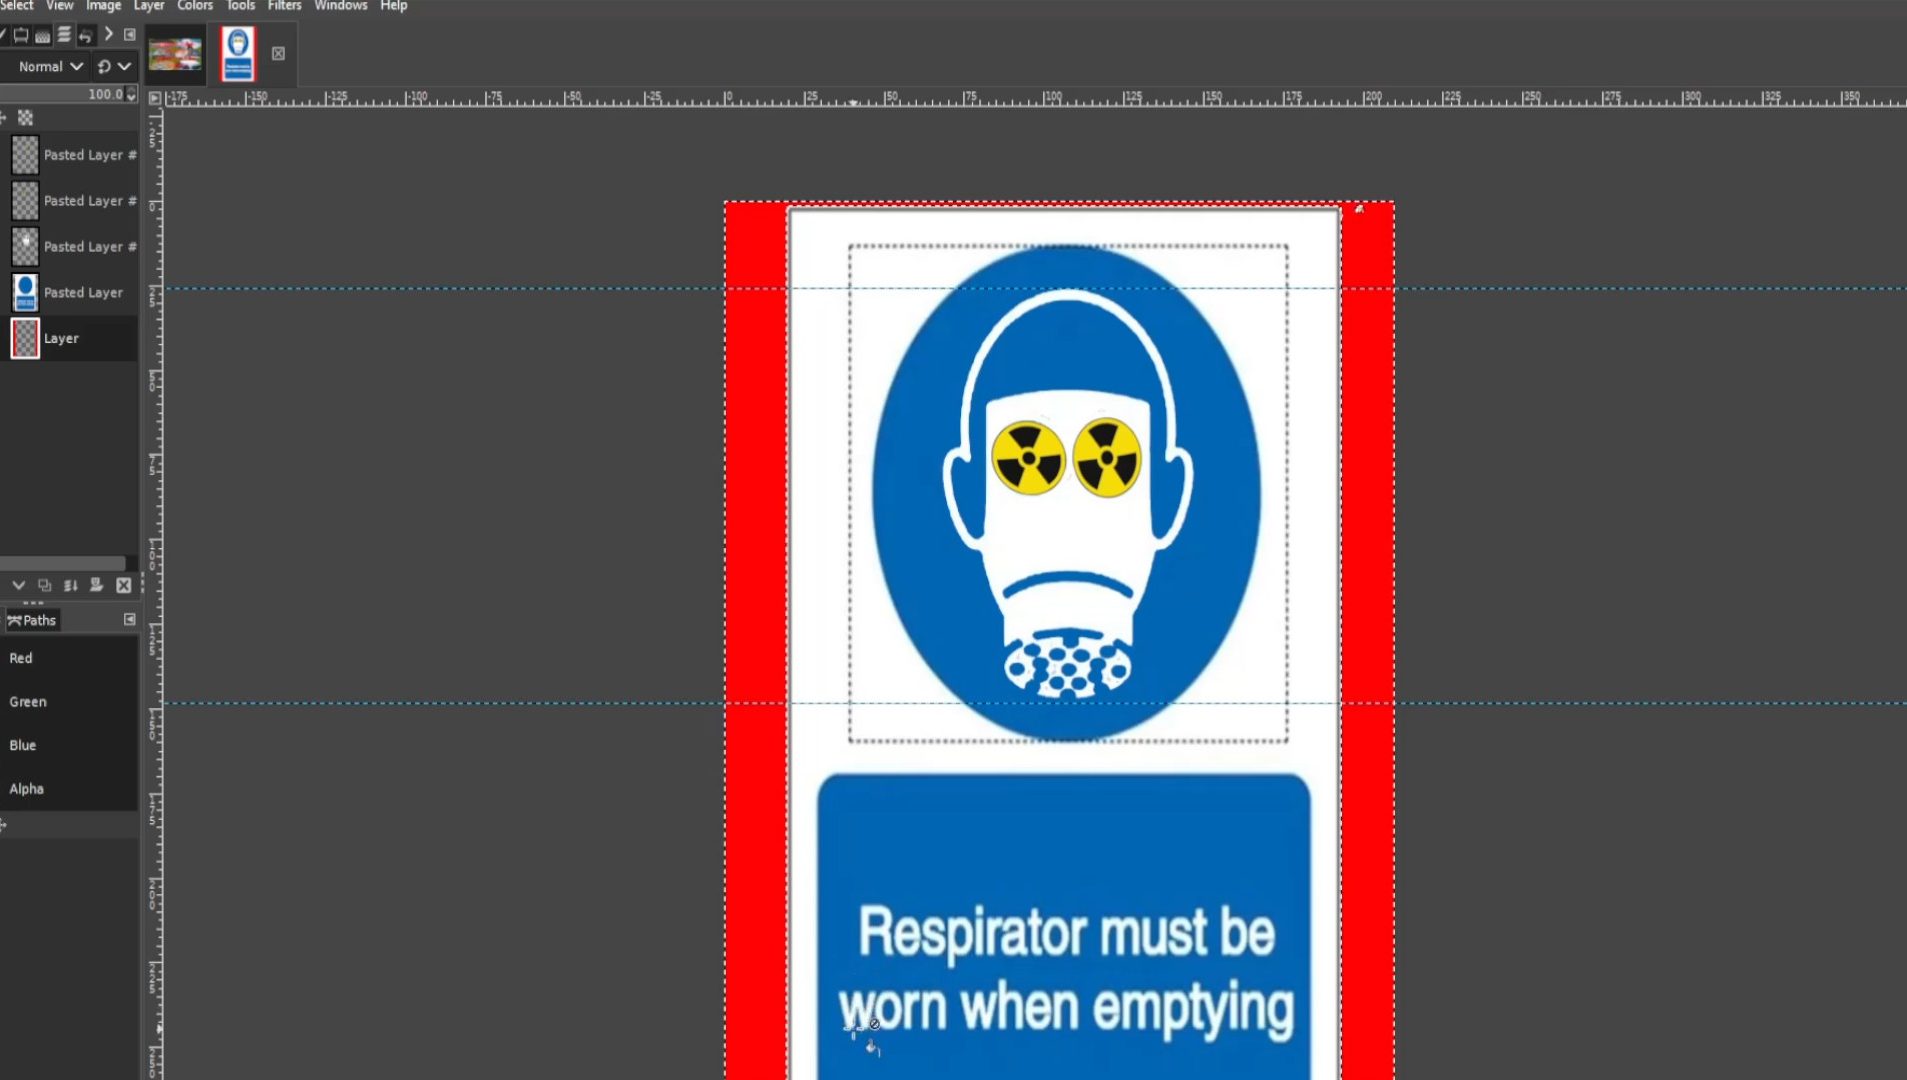
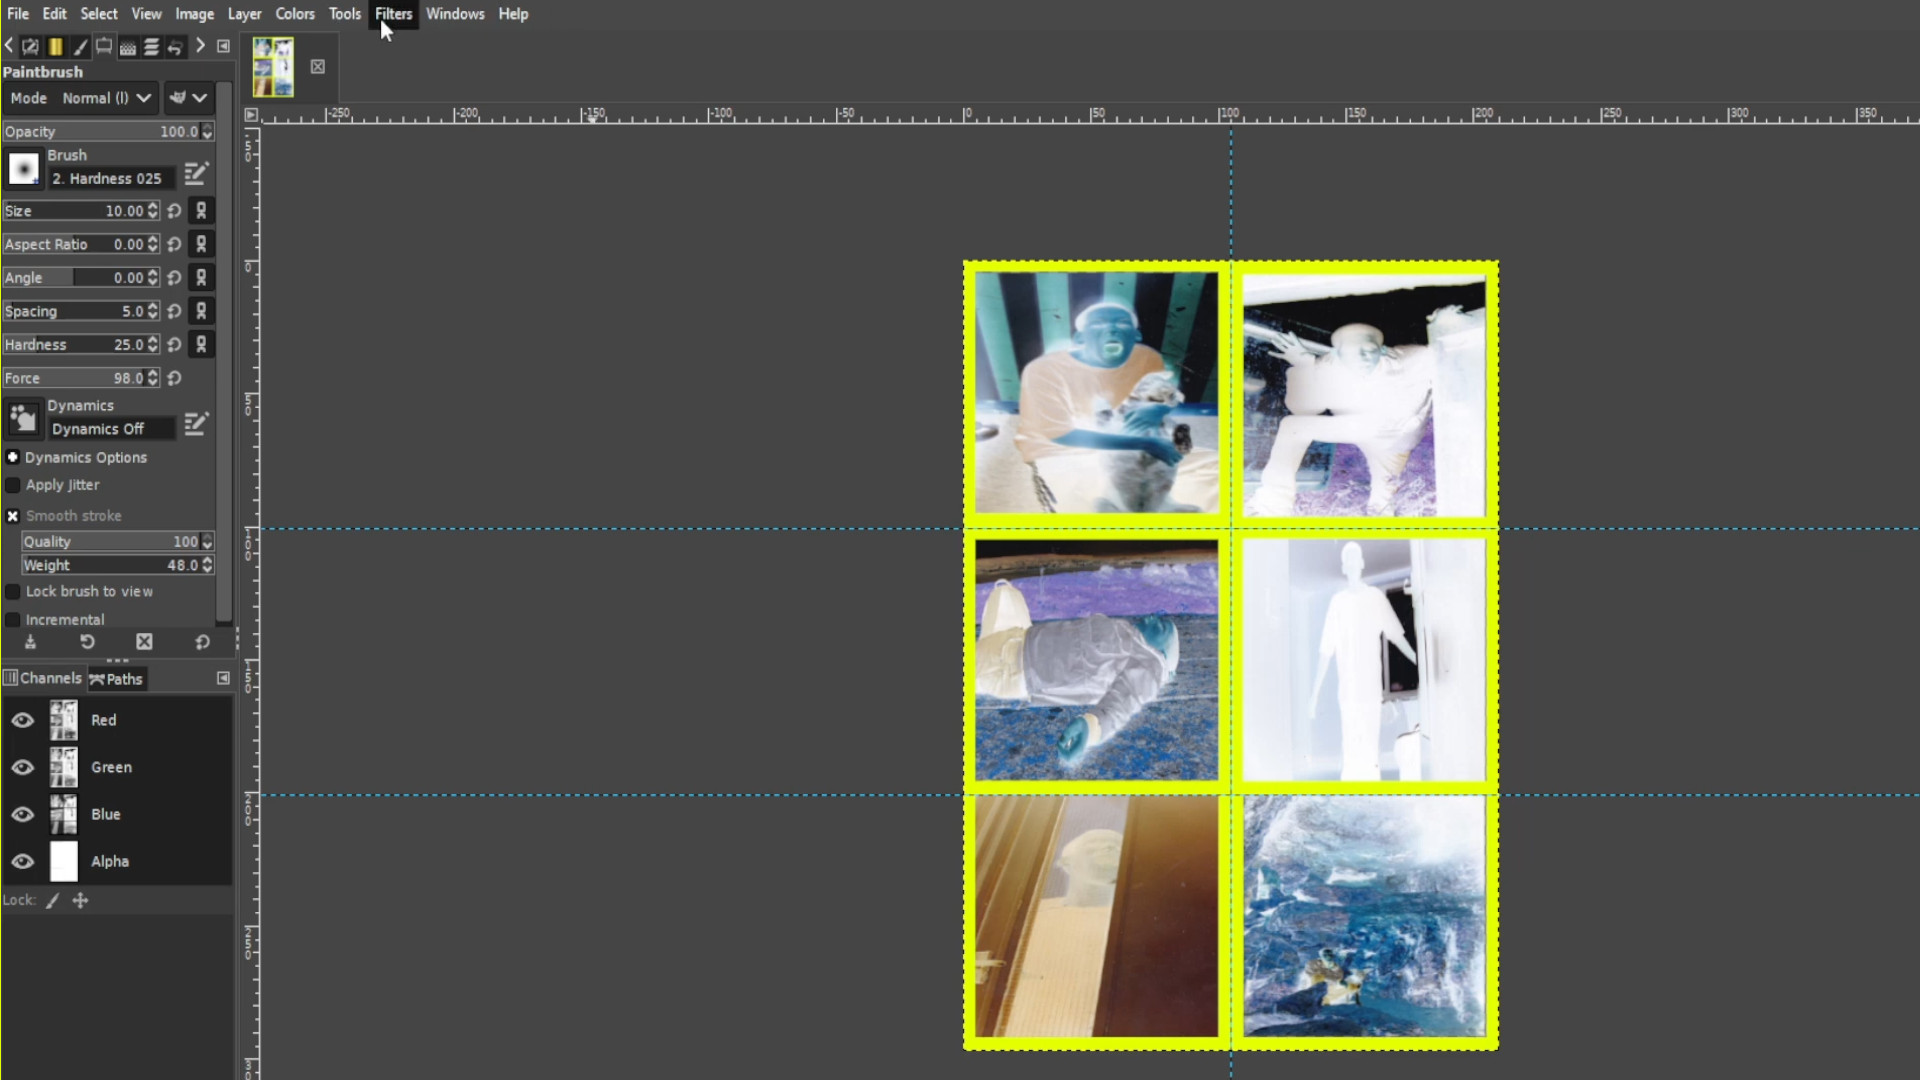
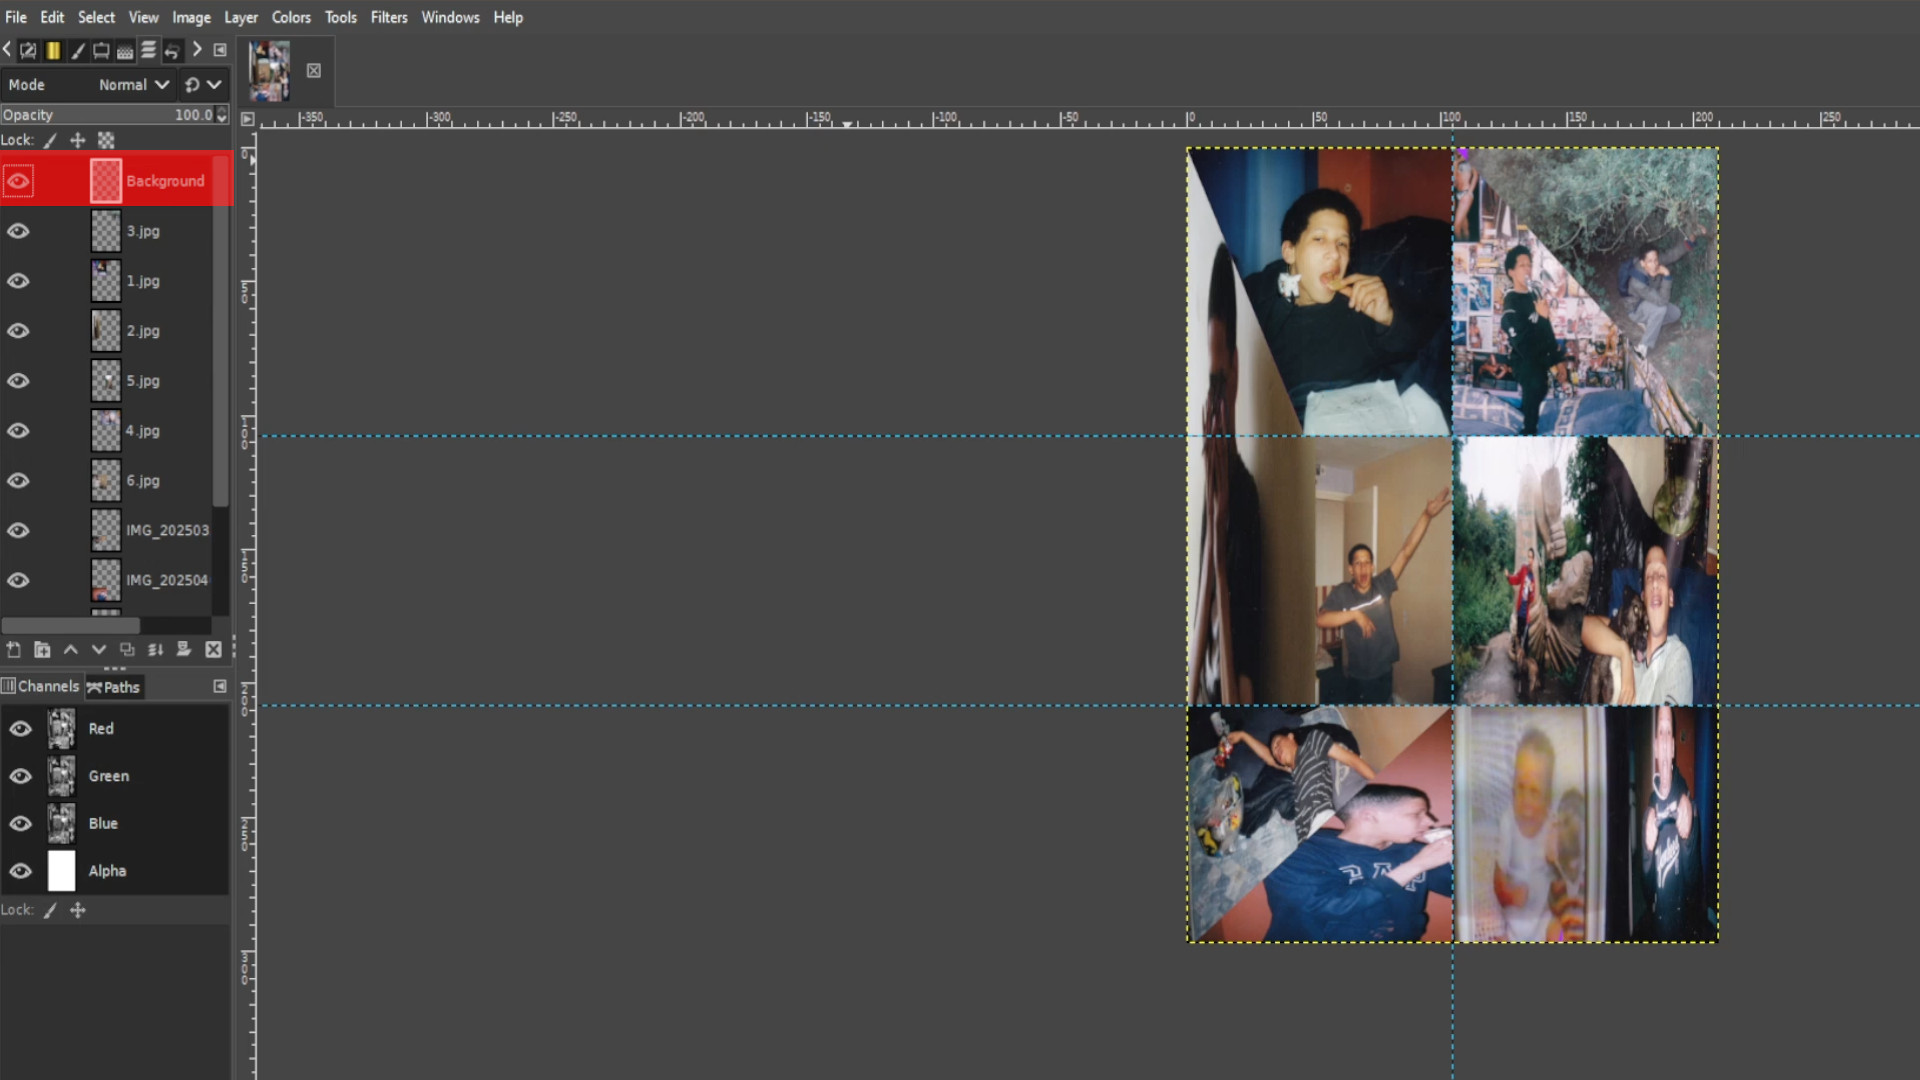
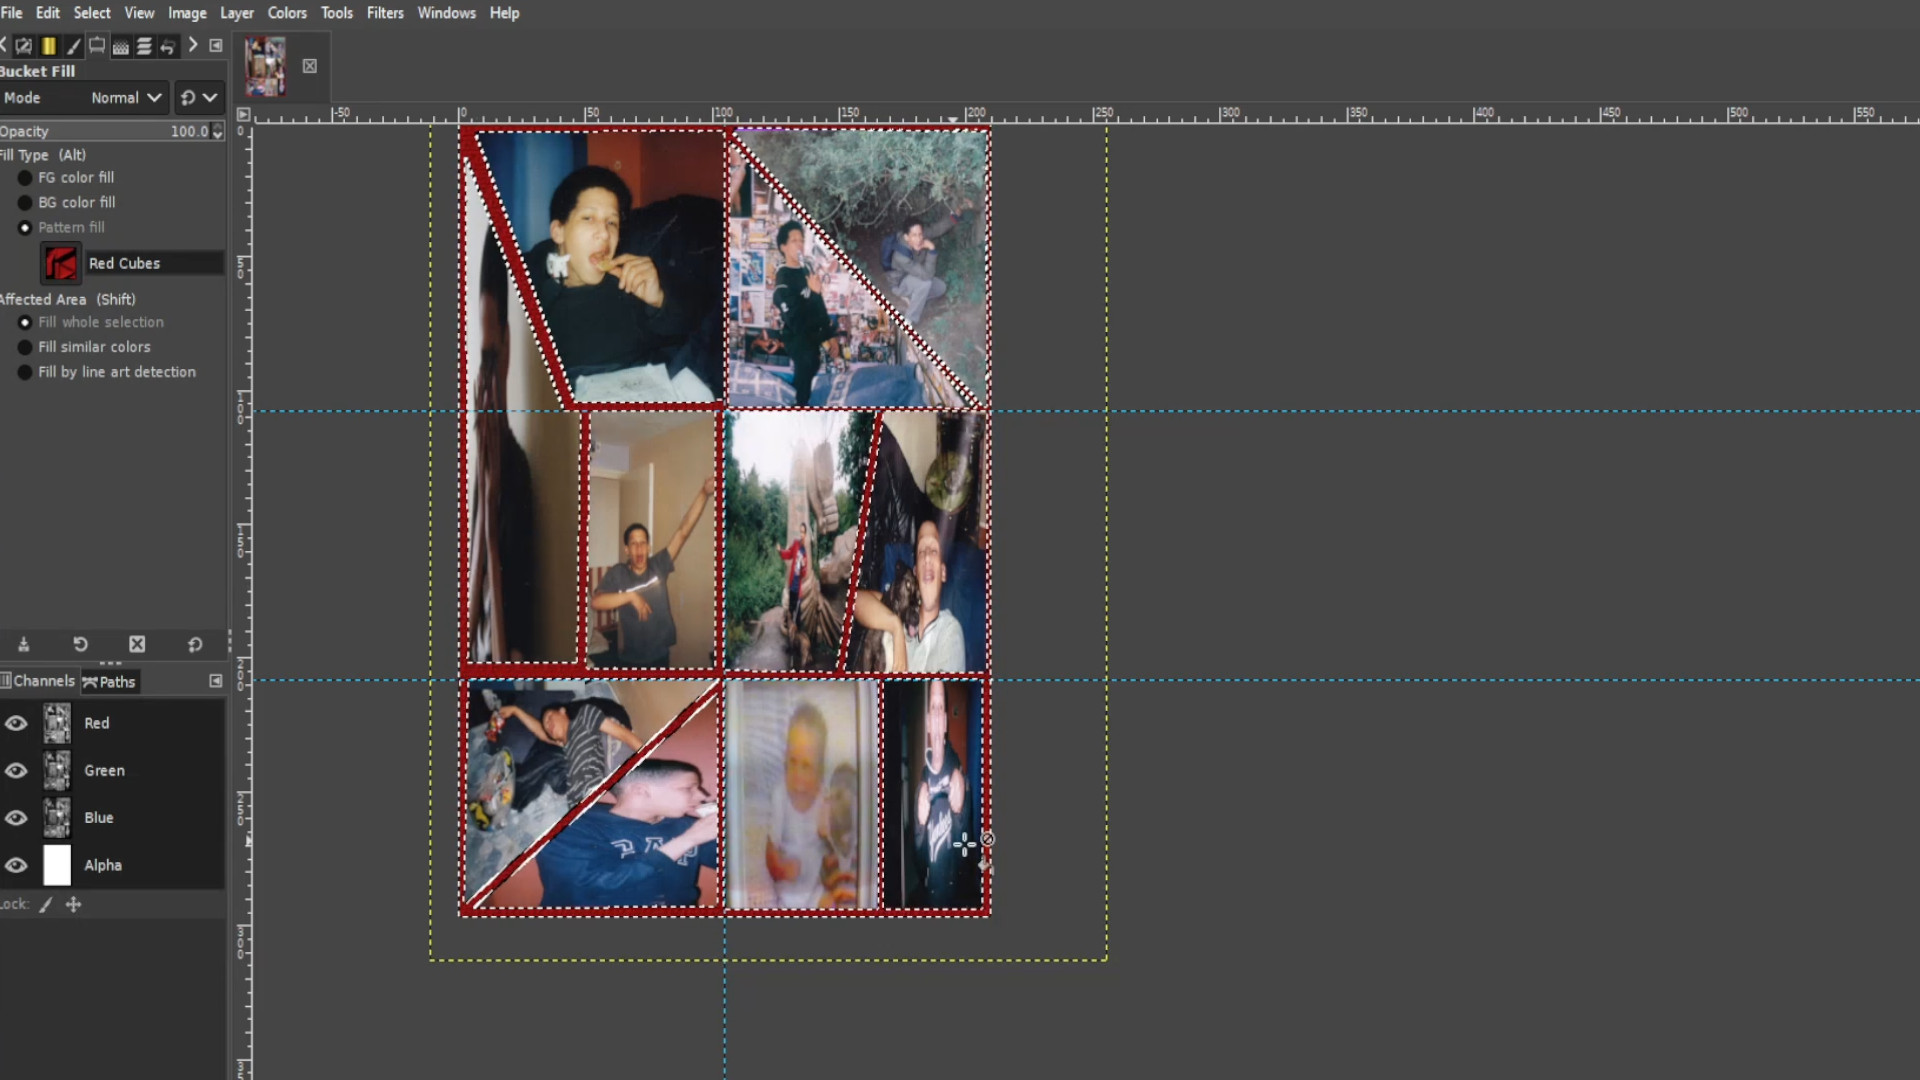
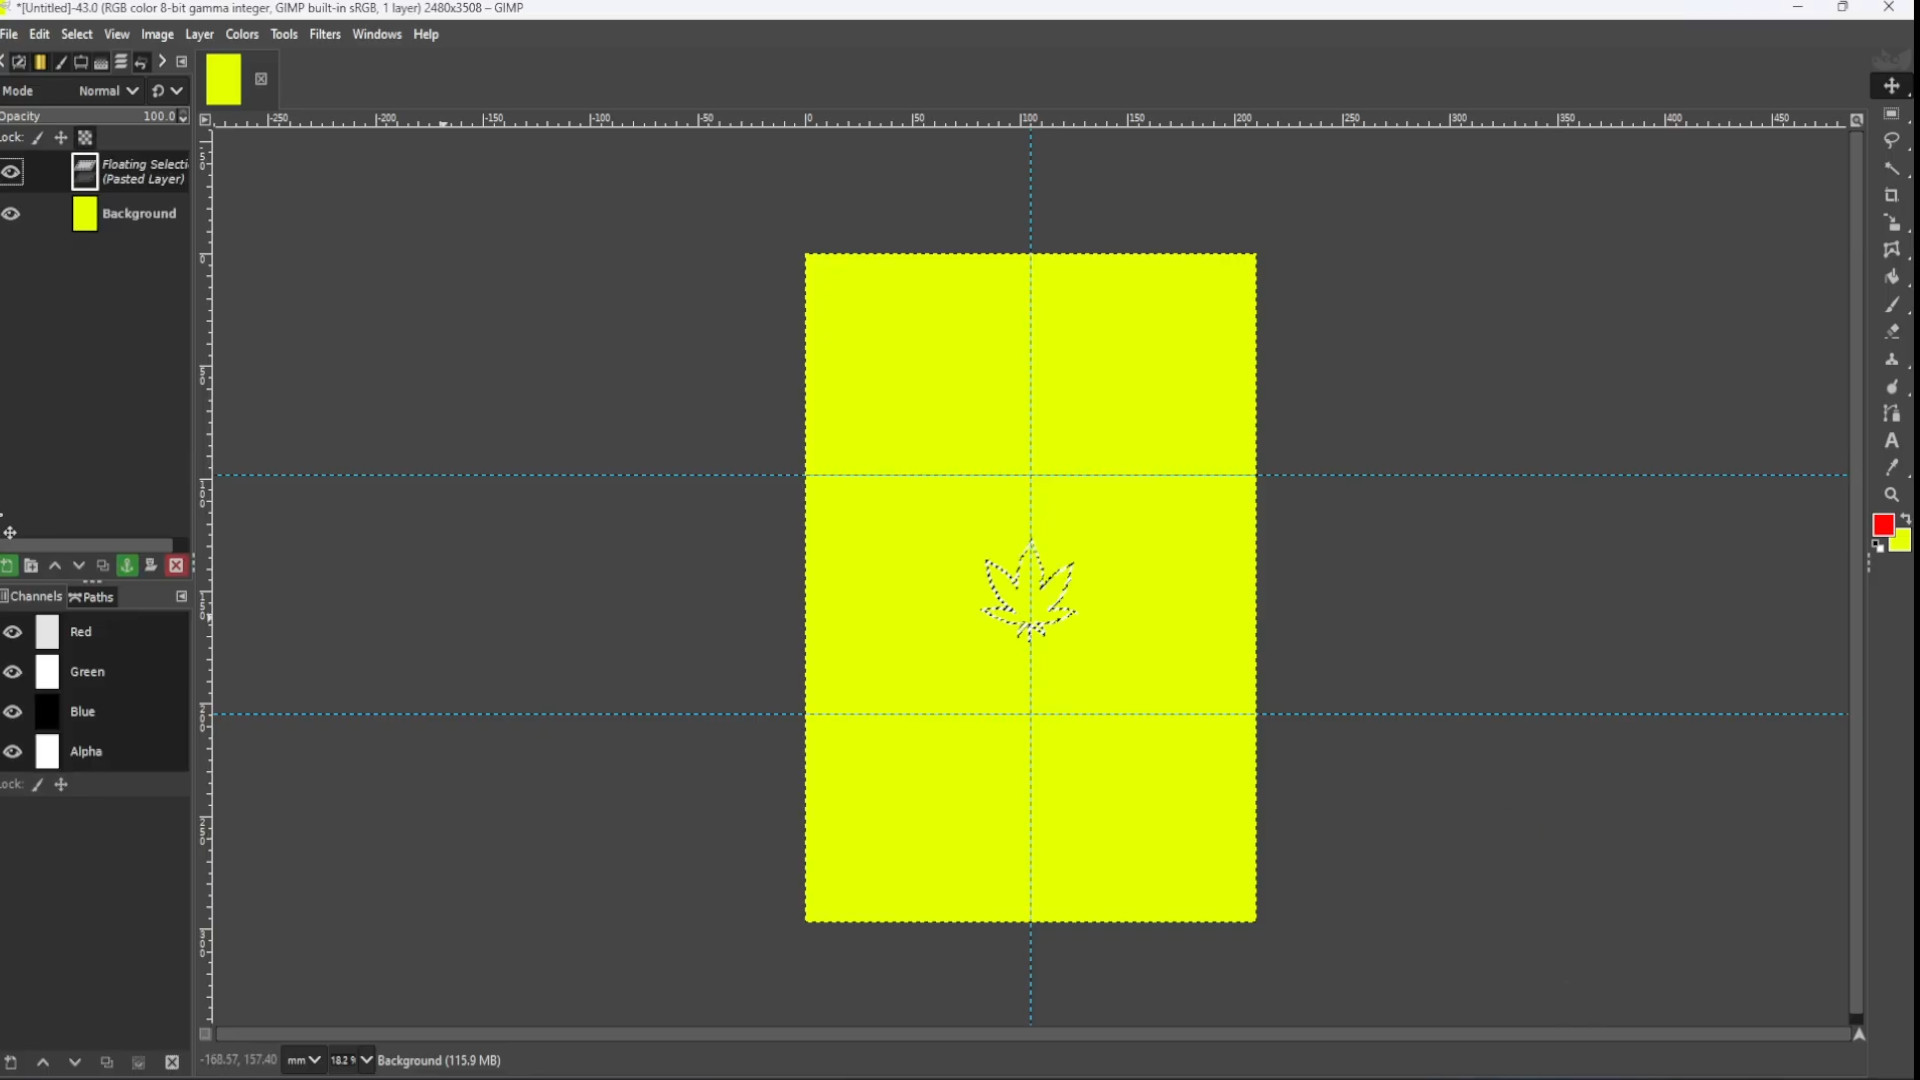
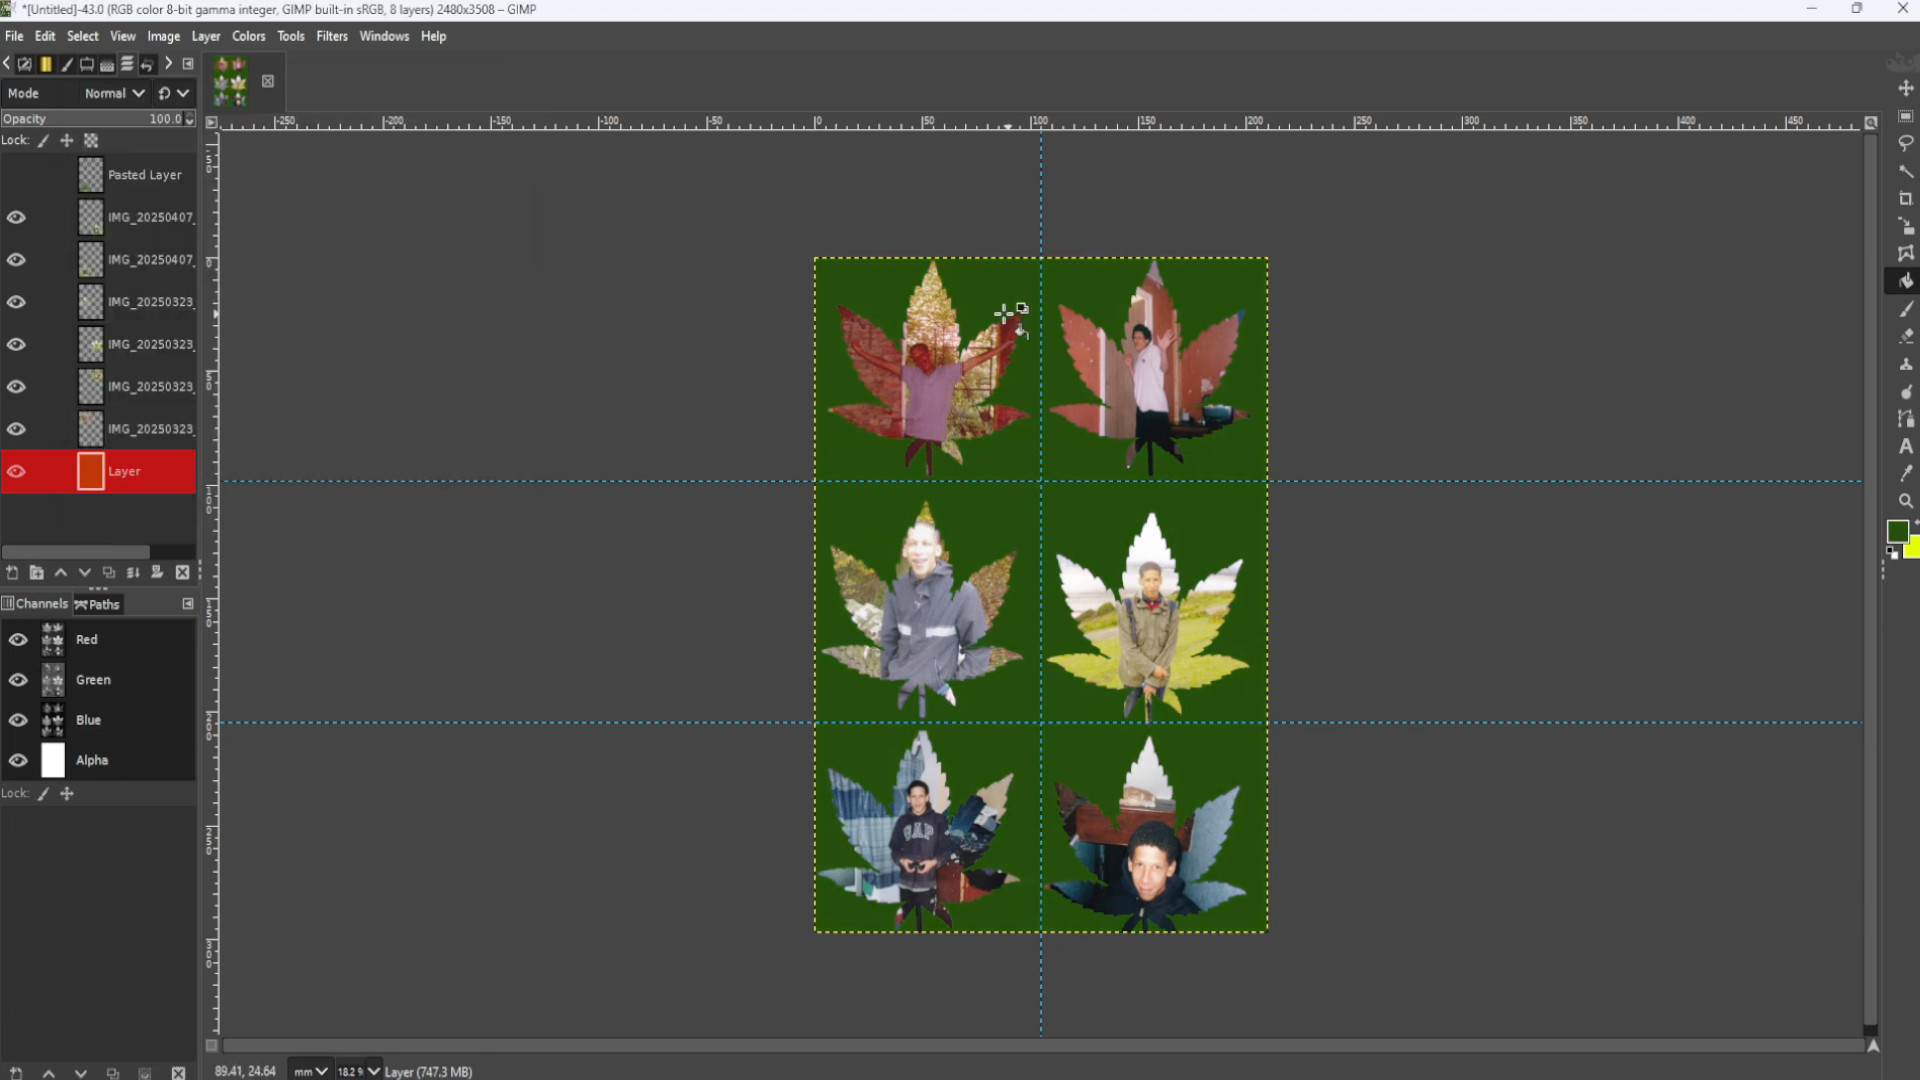
With the>>>BOTTOM LAYER>>>SELECTED >>>CHOSING a>>>COLOUR and using the>>>BUCKET FILL TOOL colour in the>>>BACKGROUND.
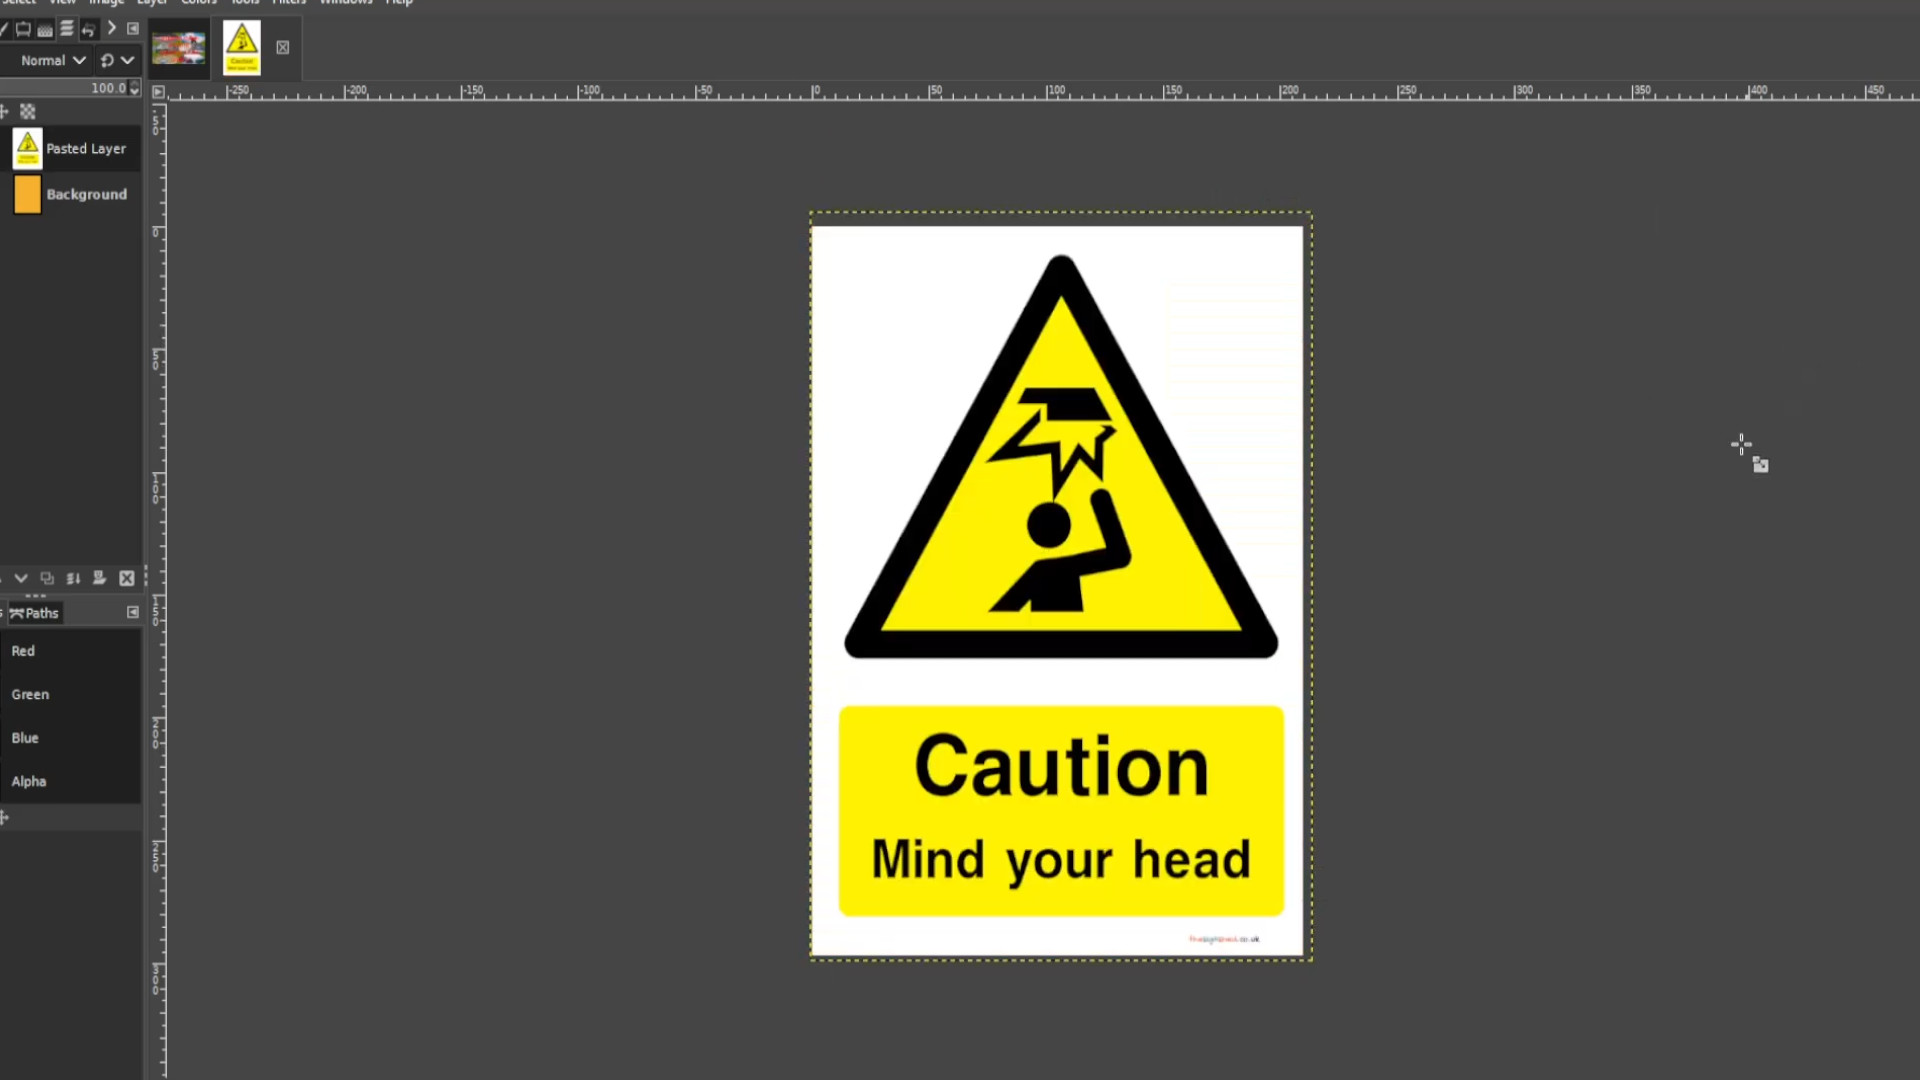
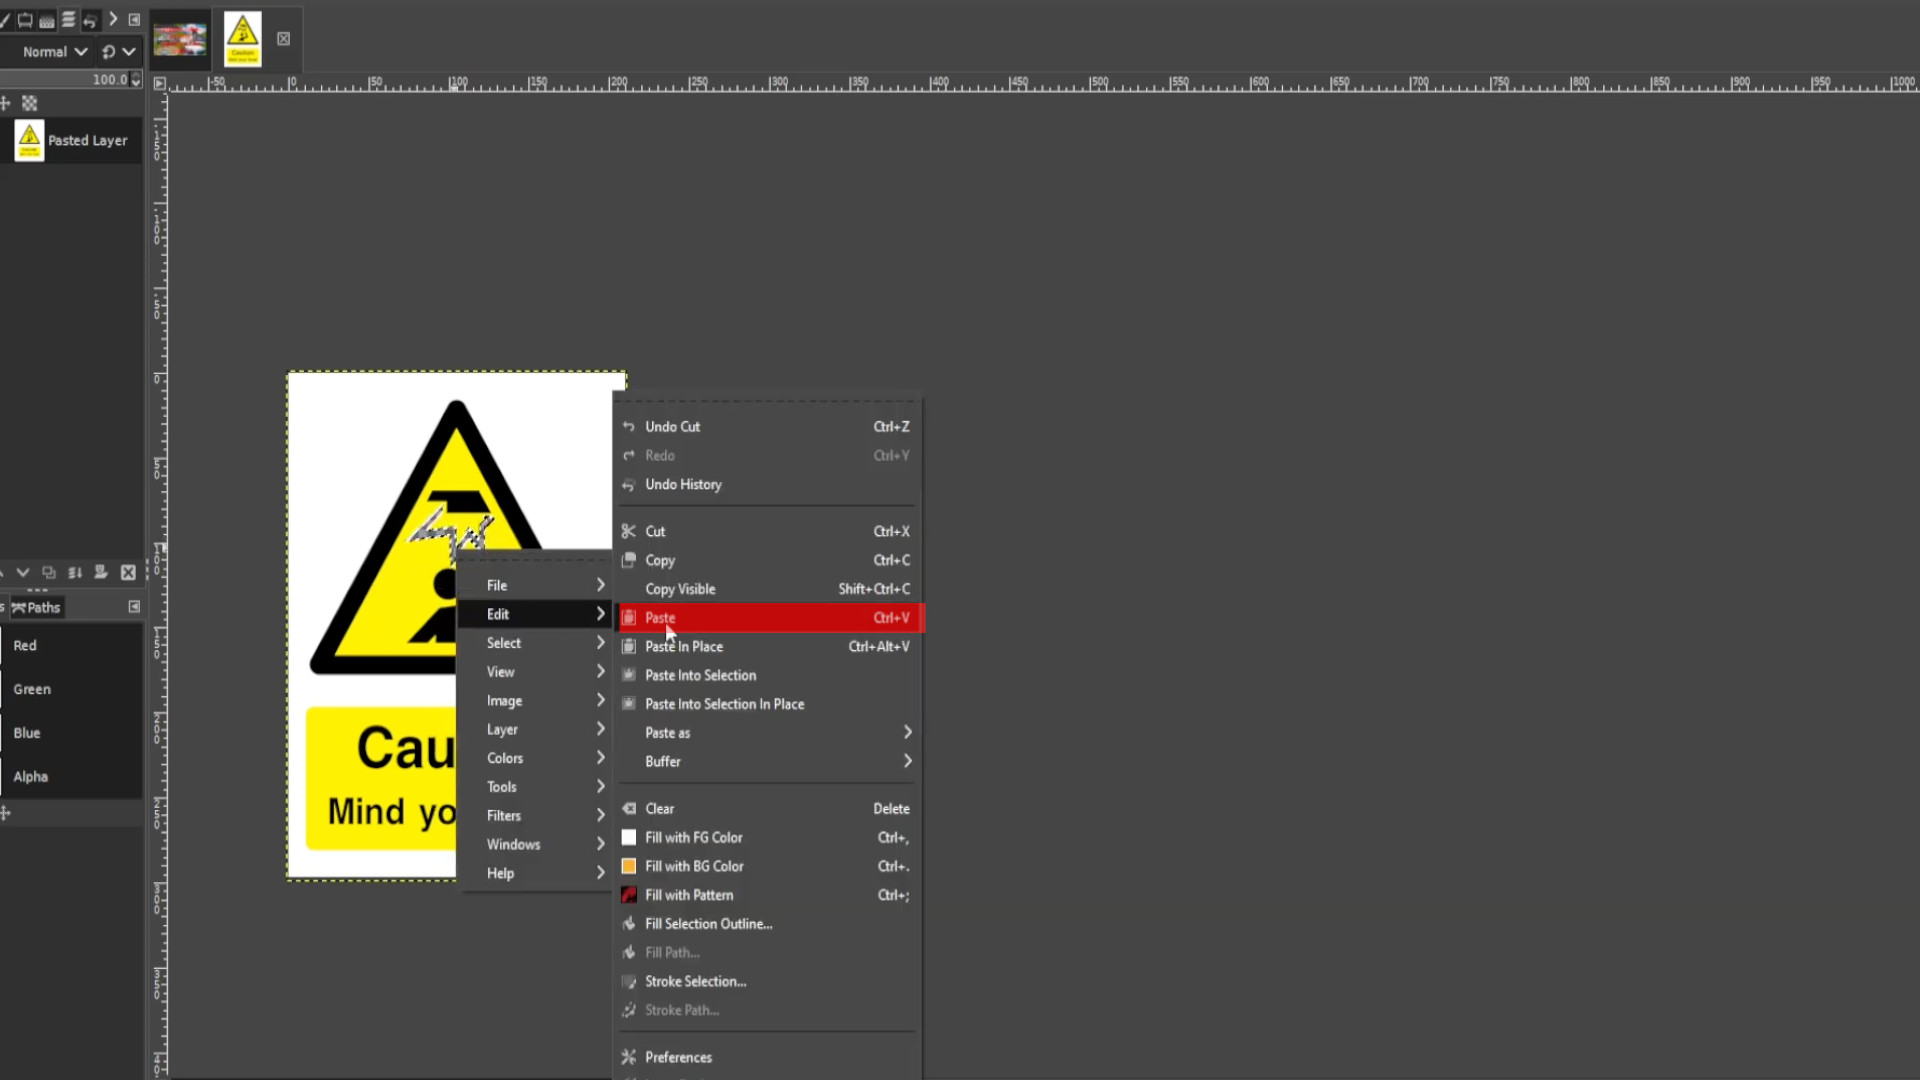
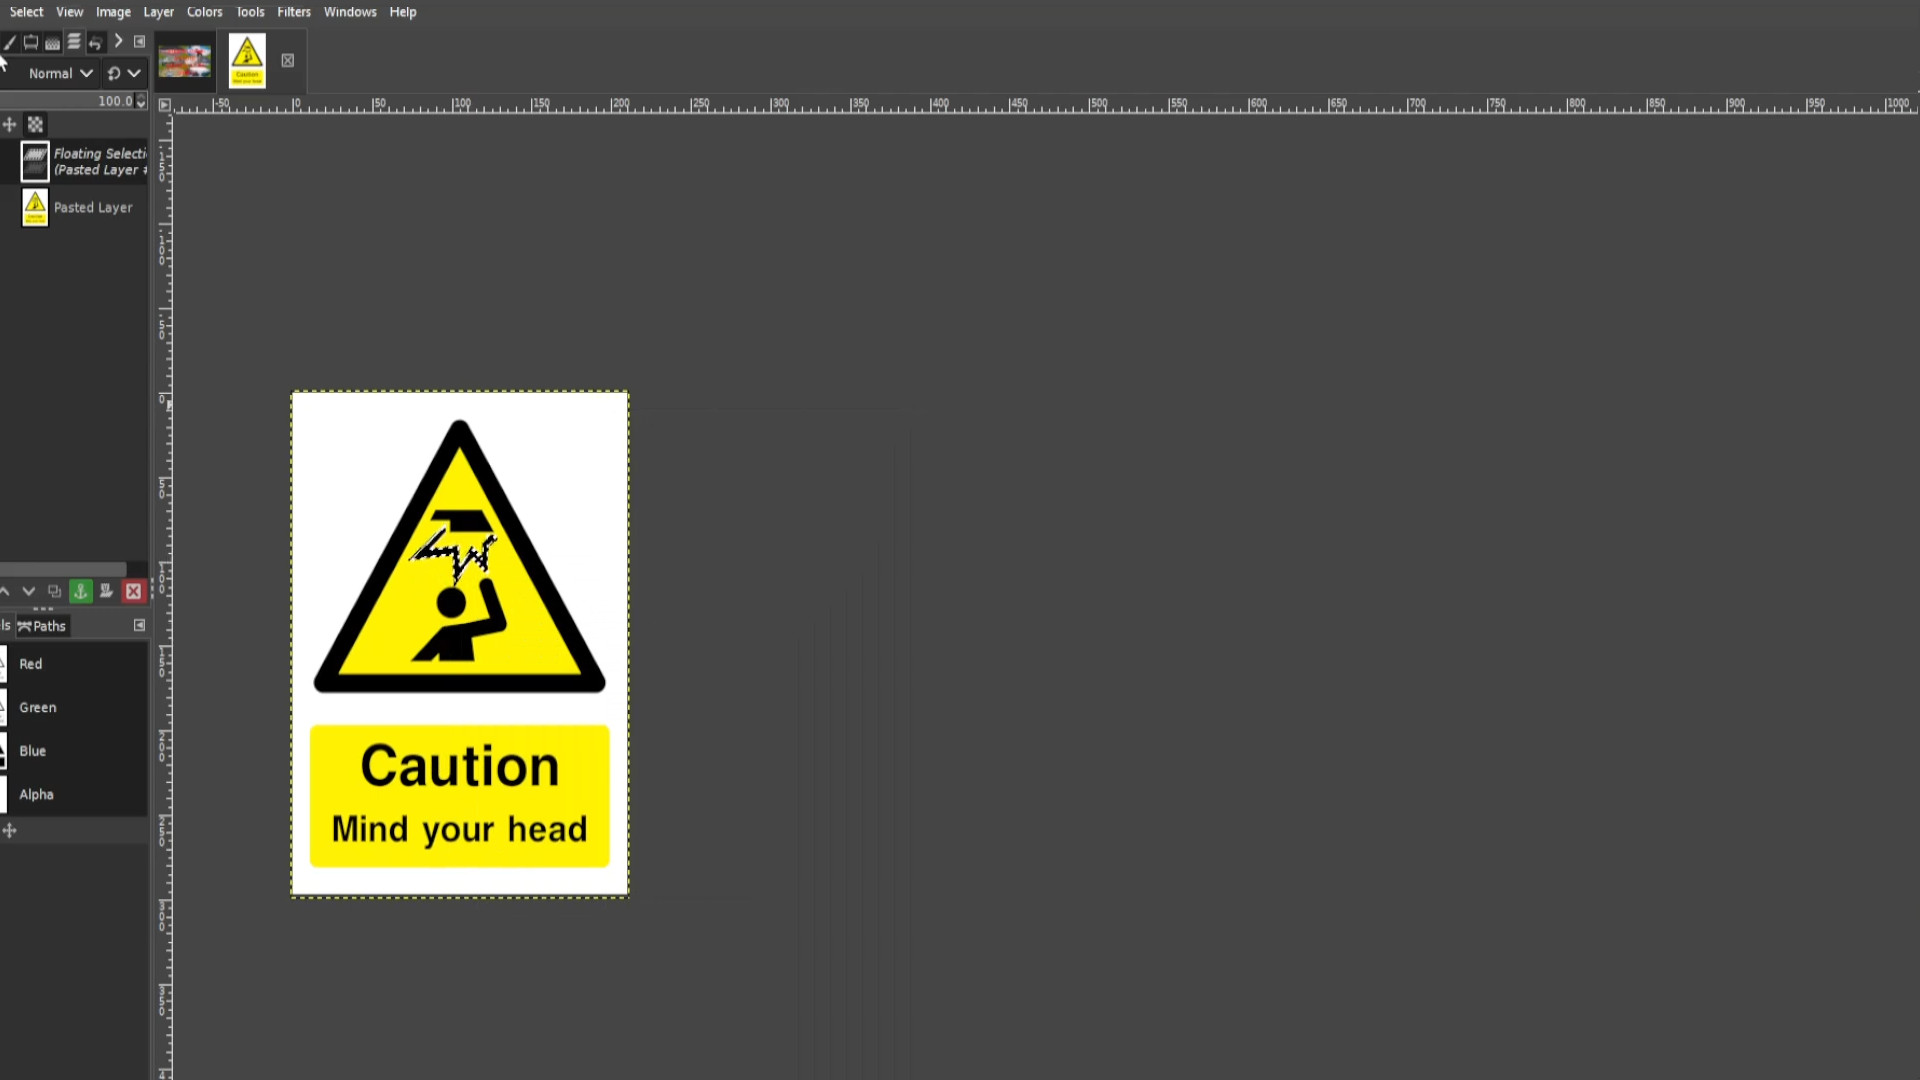
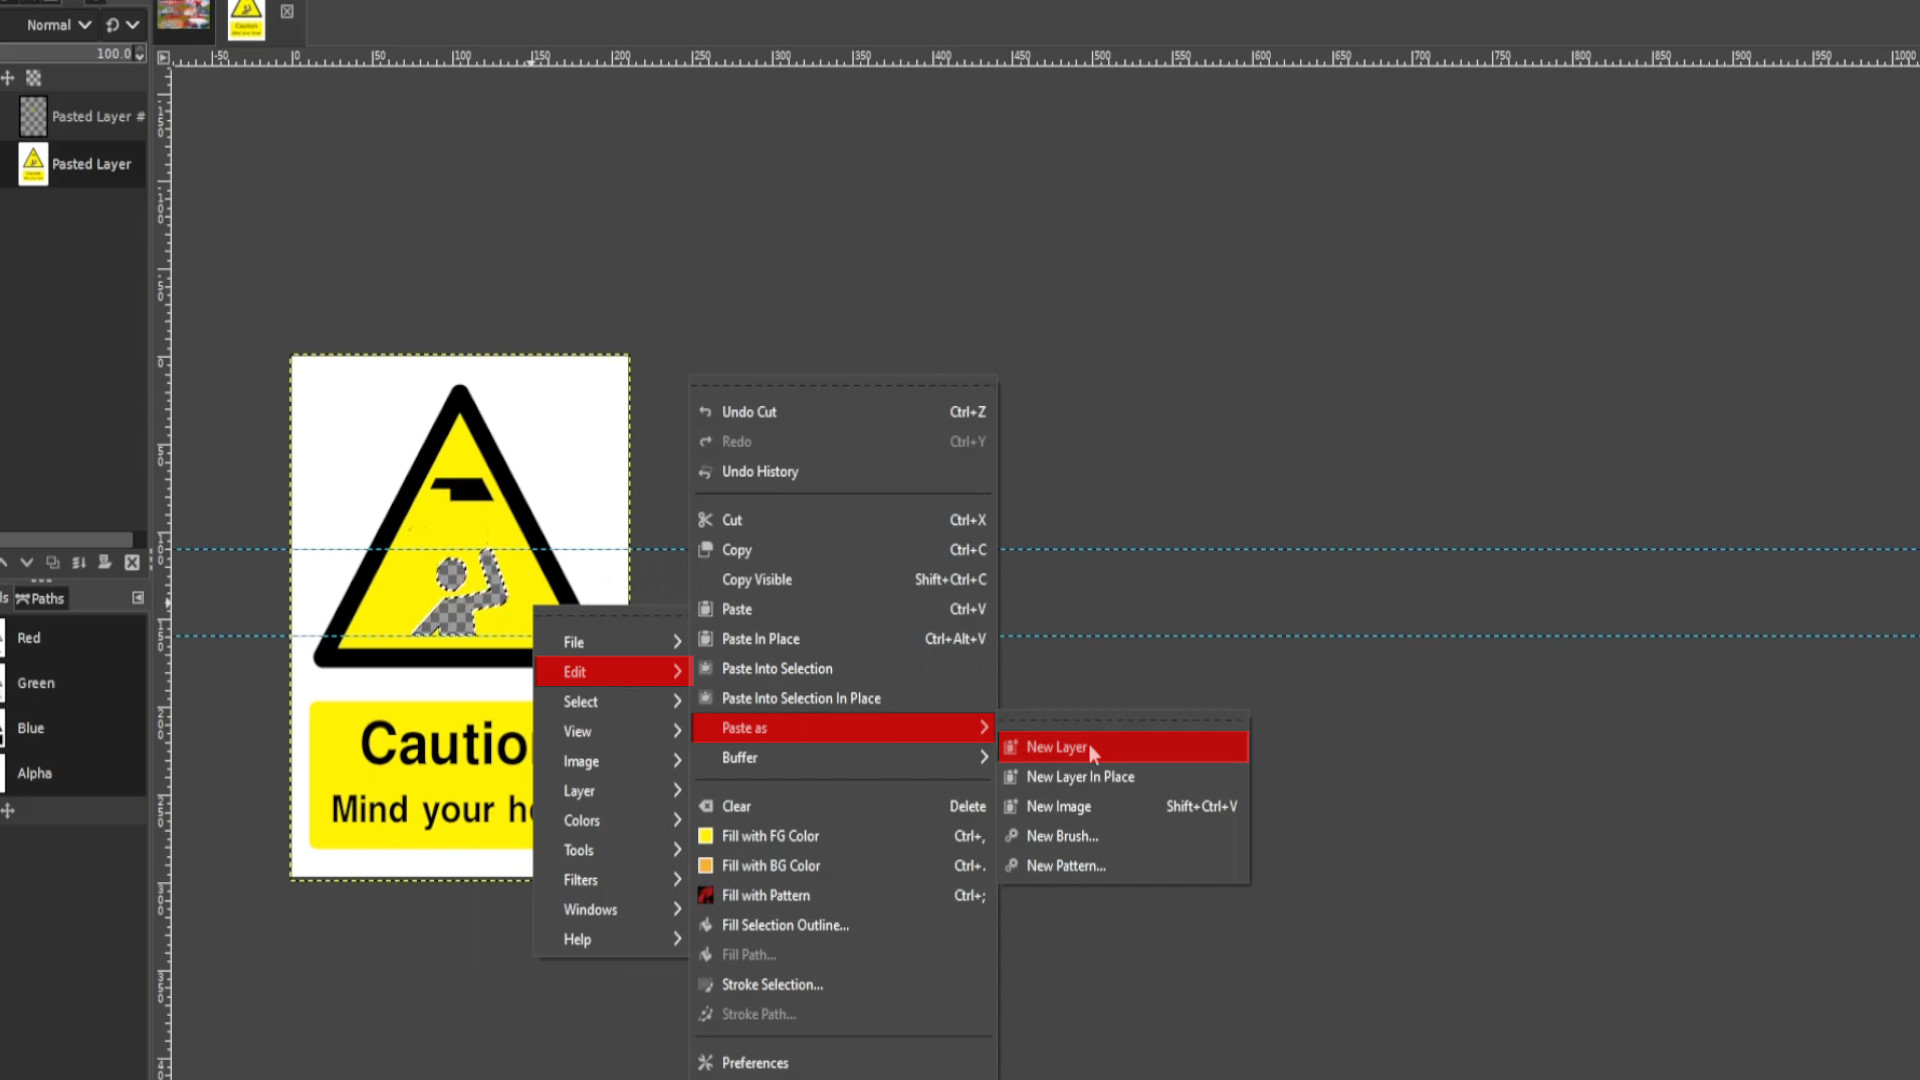
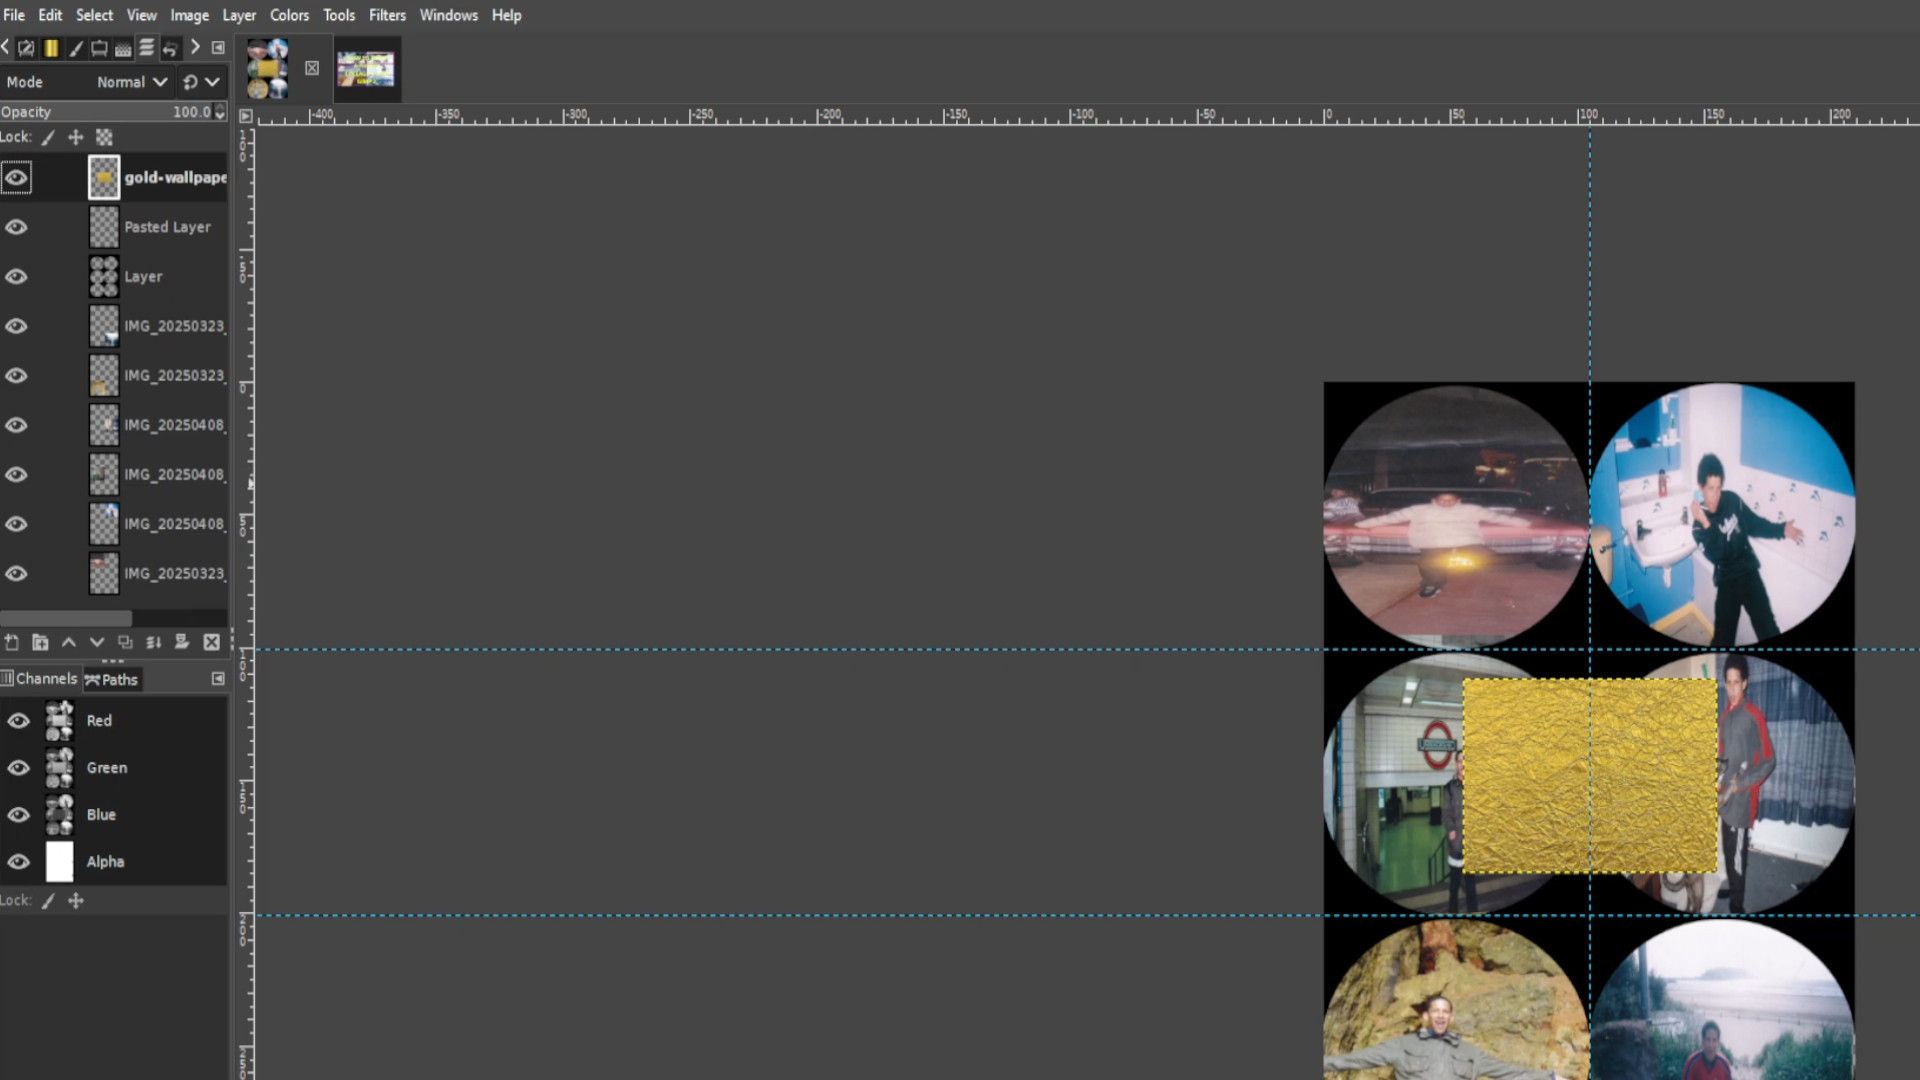
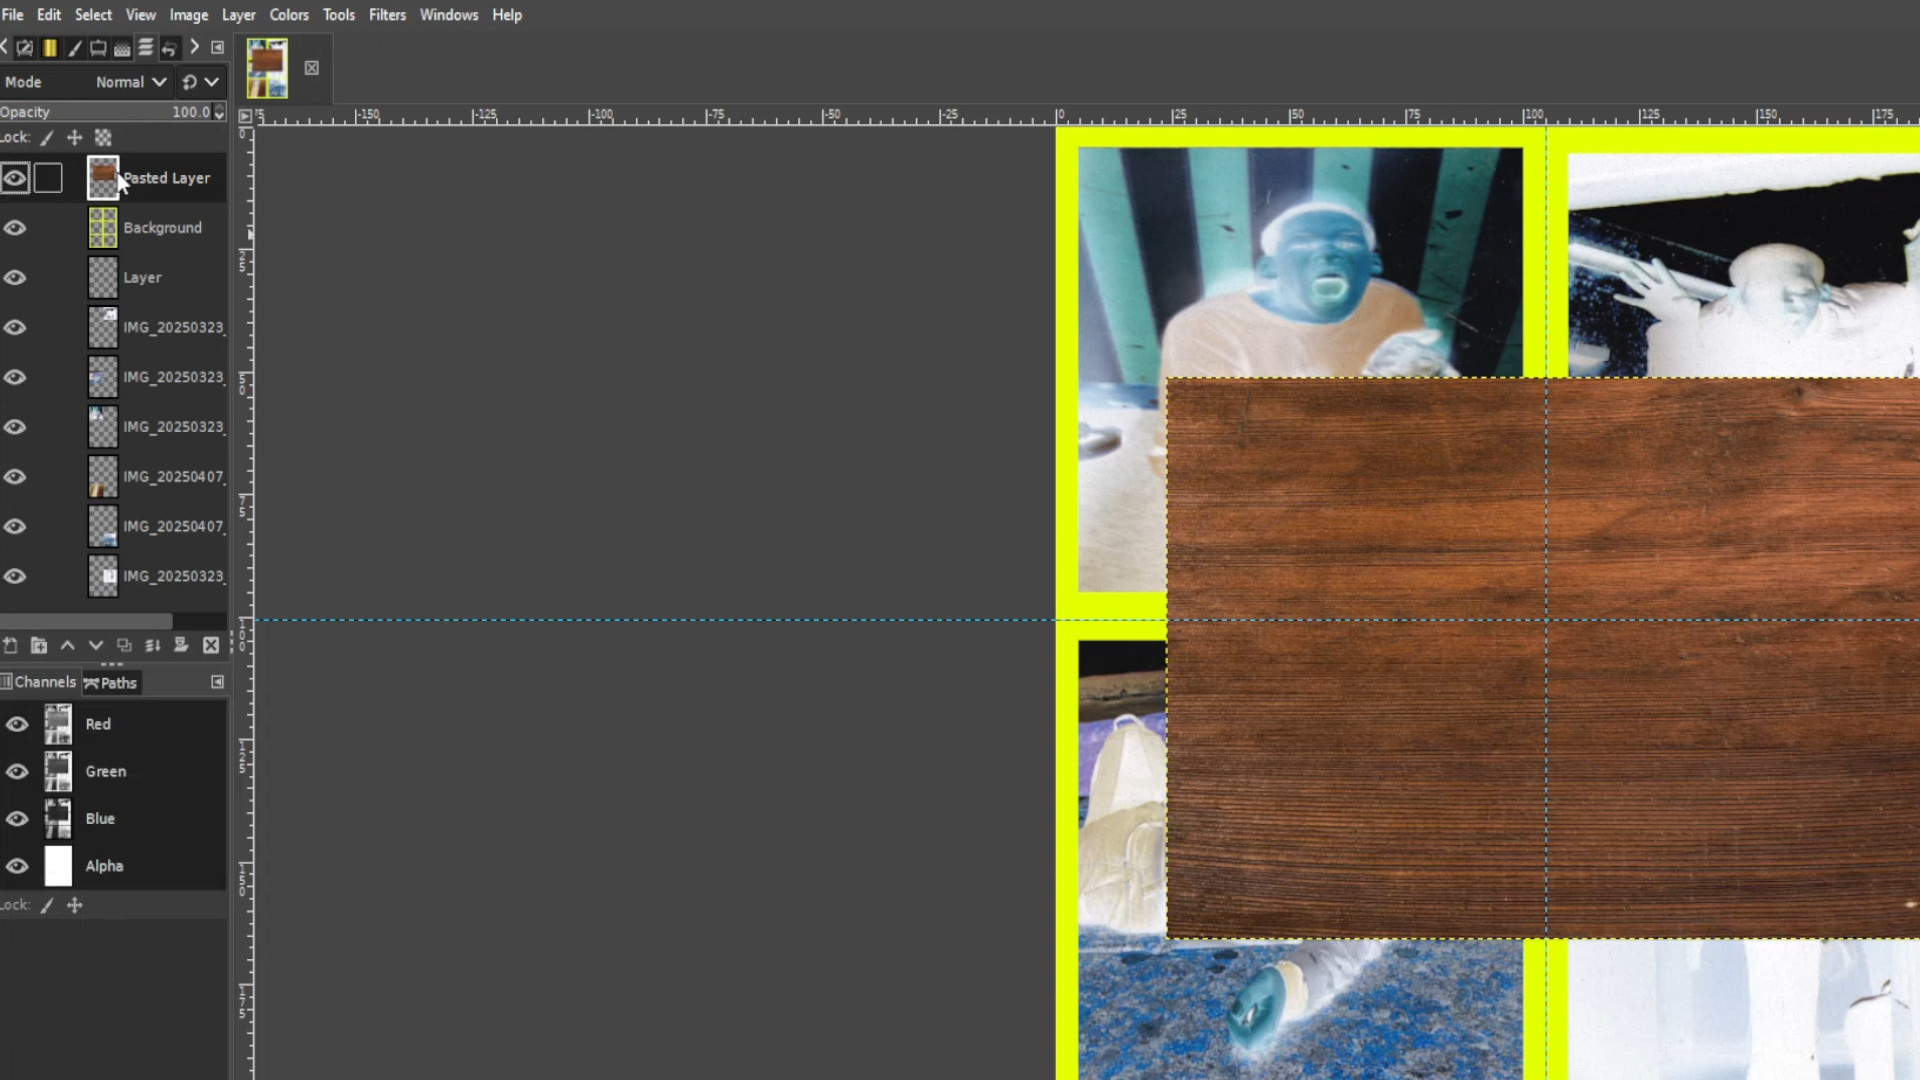
>>>ADD another file for the background by>>>OPENING AS NEW LAYER or>>>DRAGING AND DROPING into Gimp. If you see>>>FLOATING SELECTION in the>>>LAYERS TAB>>>RIGHT>>>CLICK on the>>>LAYER and >>>PRESS>>NEW LAYER.
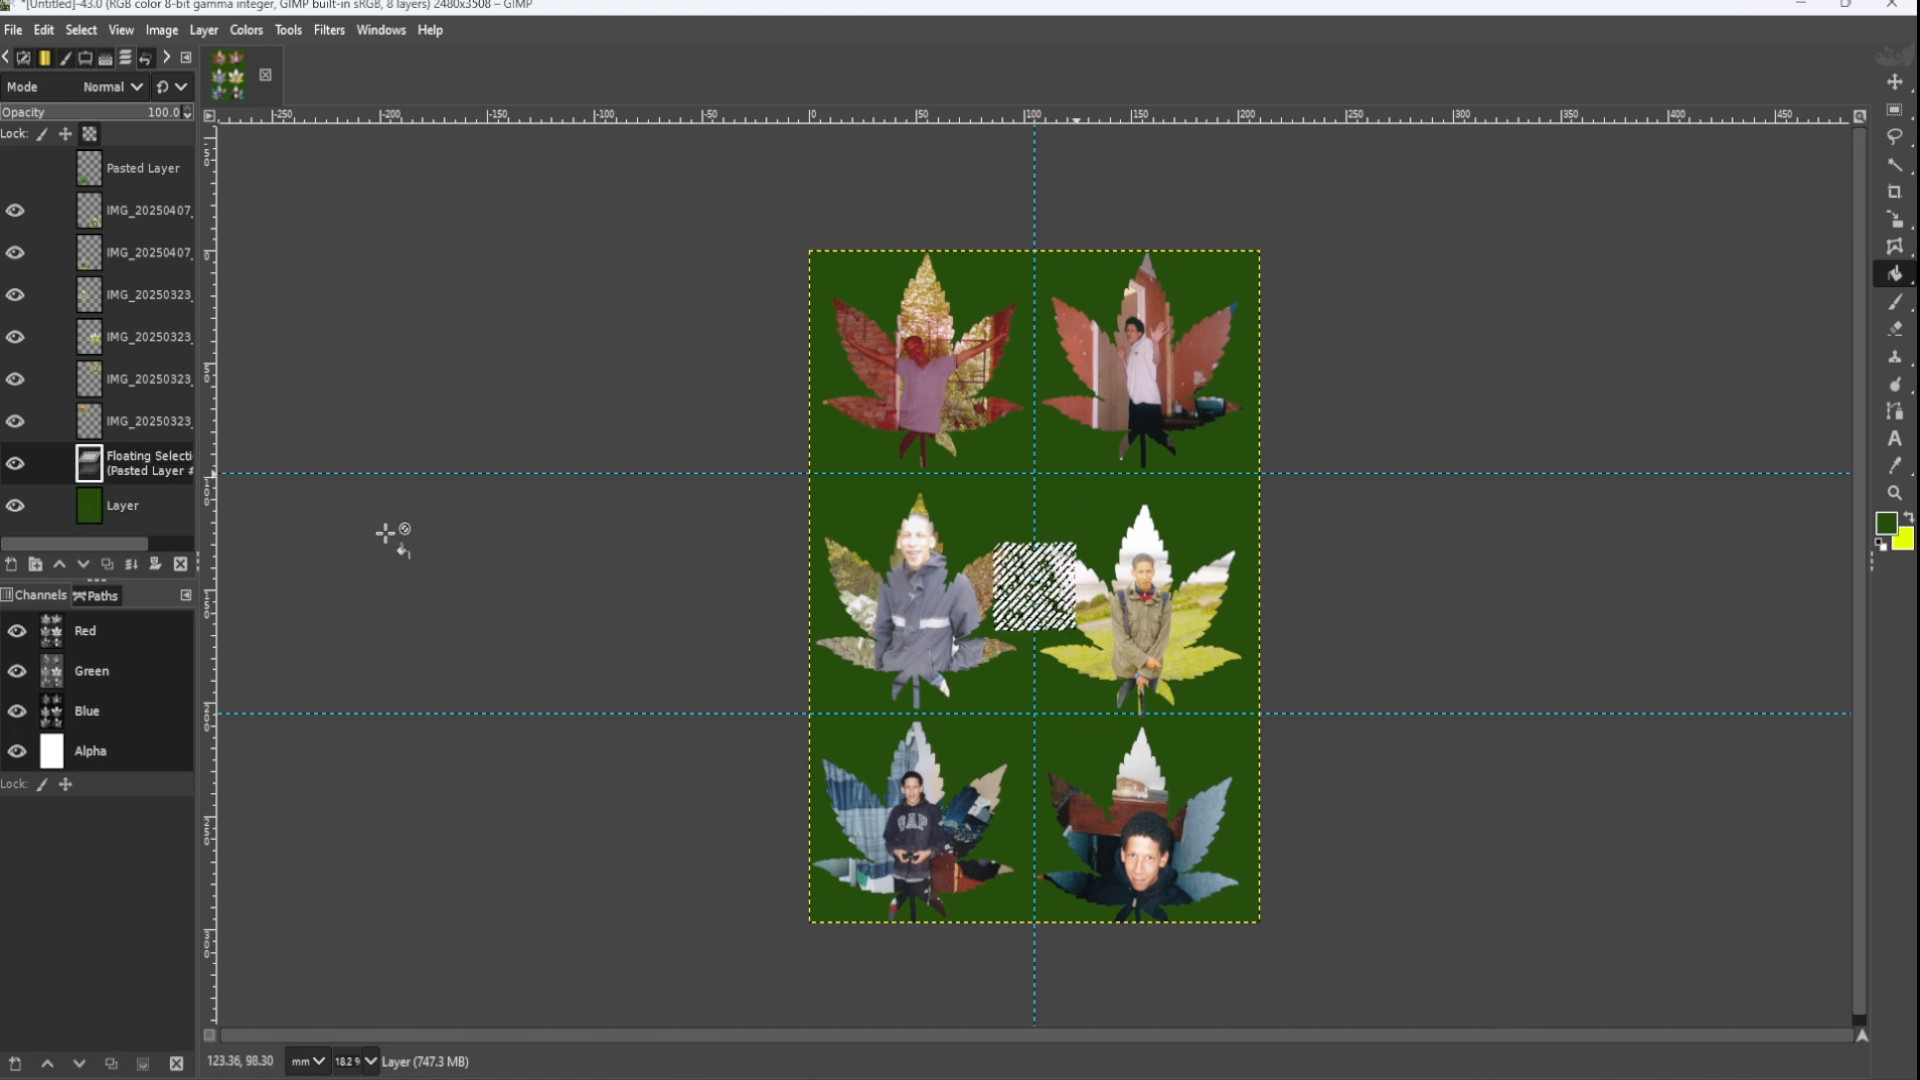
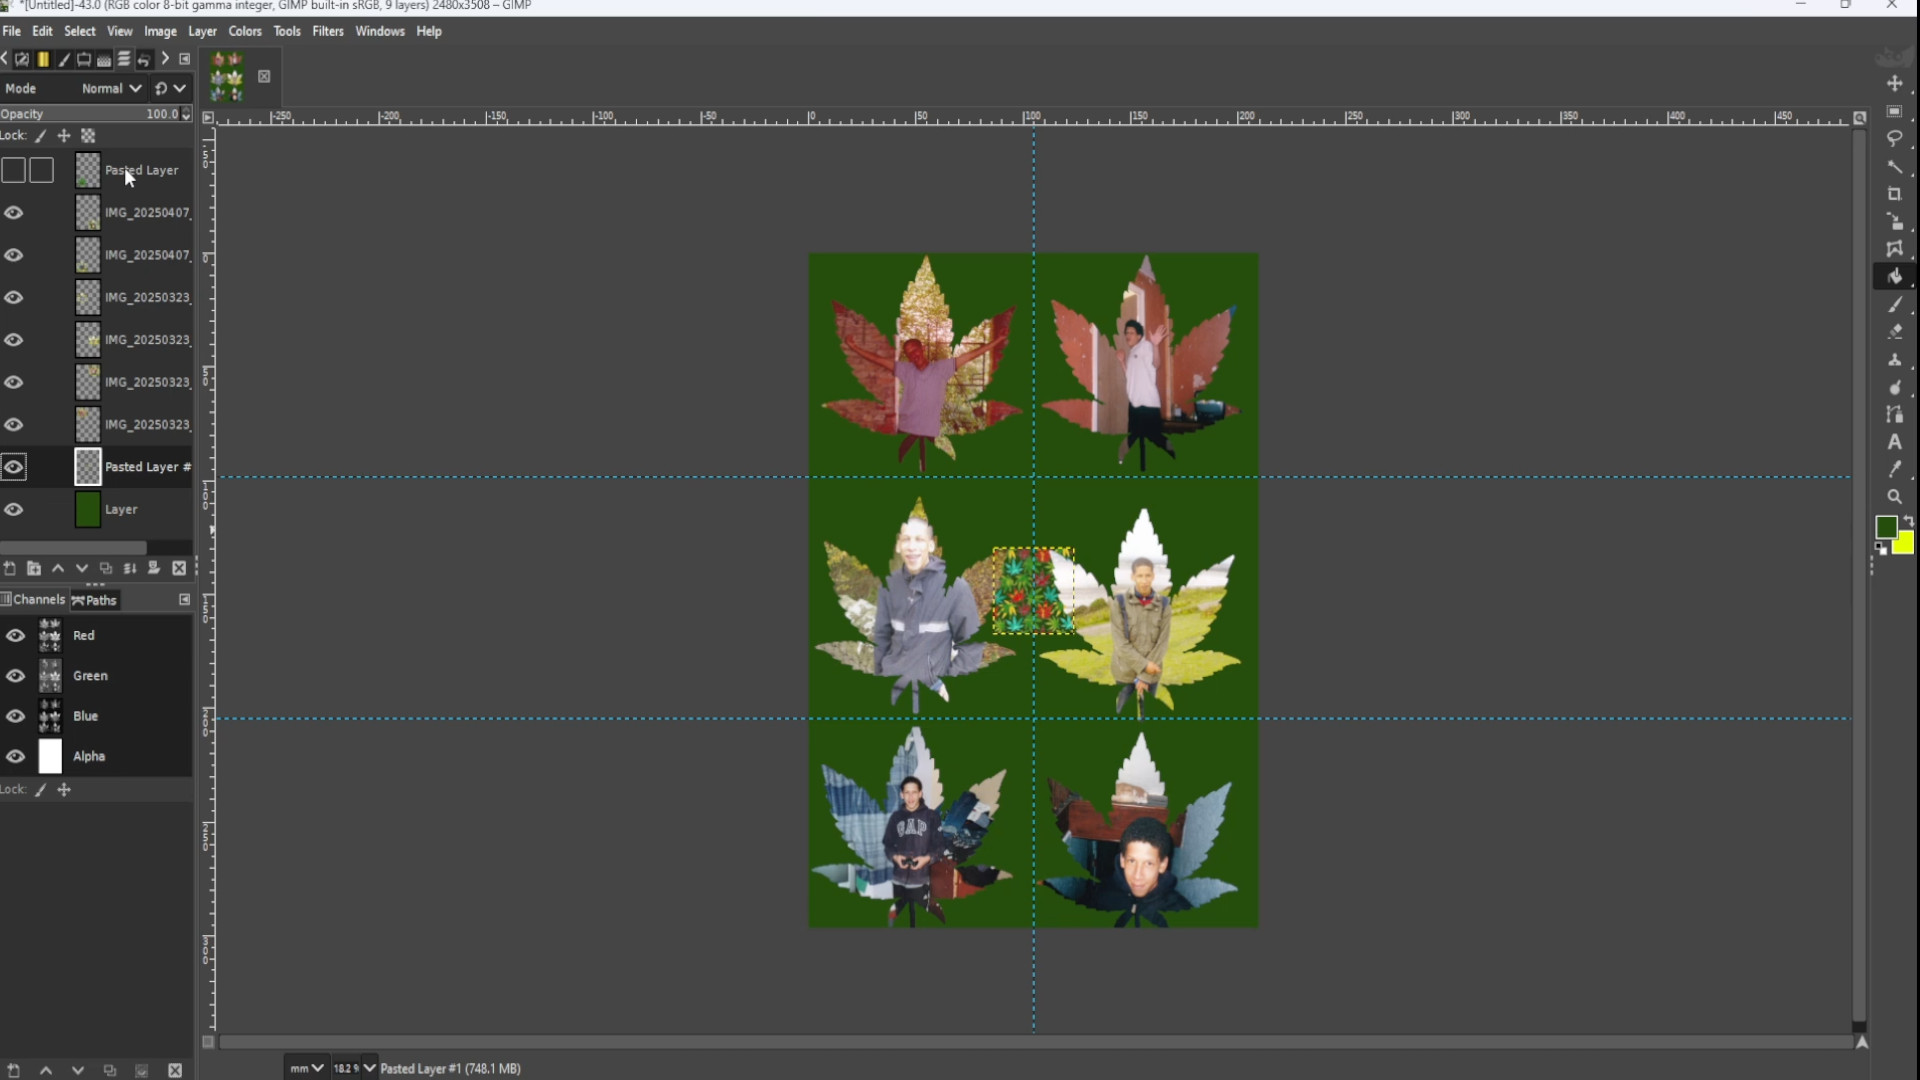
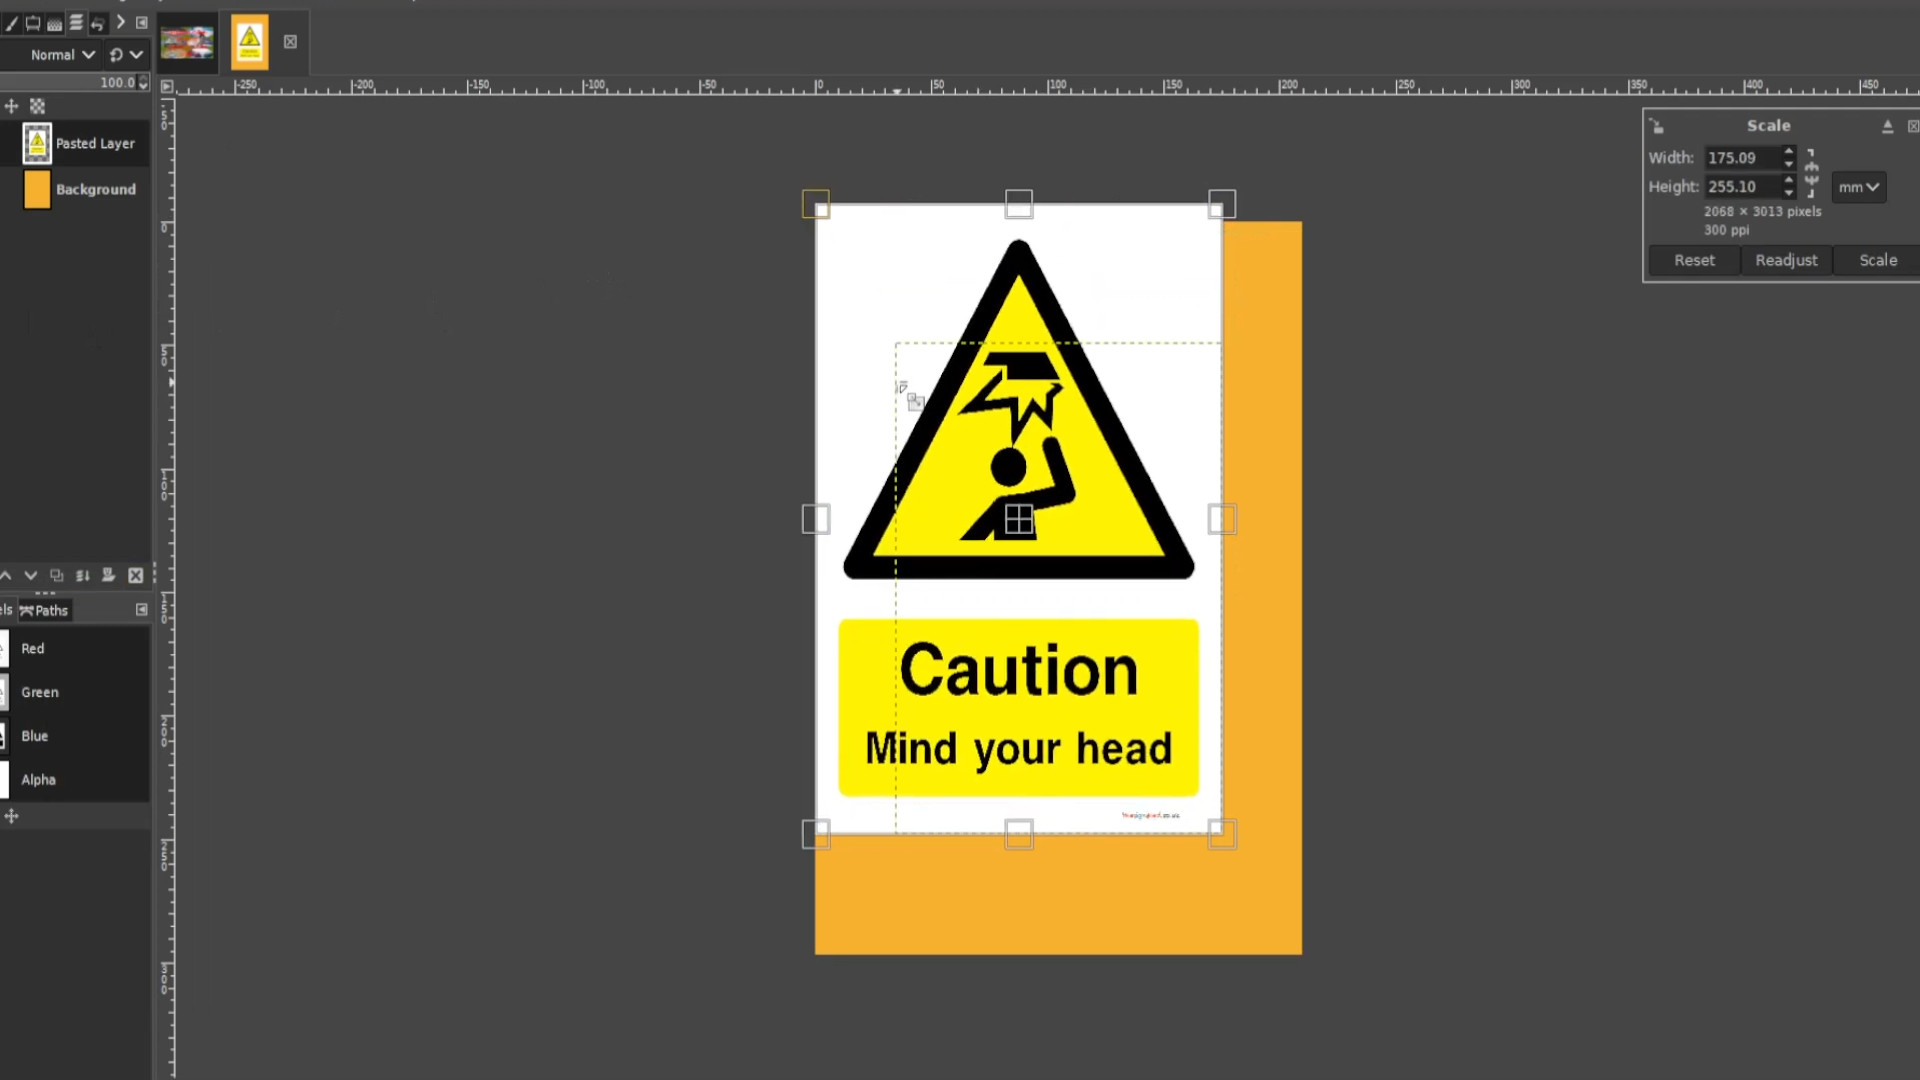
>>>SELECTING the in this case>>>SECOND from the>>>BOTTOM in the>>>LAYERS TAB Use the>>>SCALE TOOL to>>>RESIZE the image or use shortcut >>>HOLD>>>SHIFT> and>>>PRESS>>>S to get the scale options up.
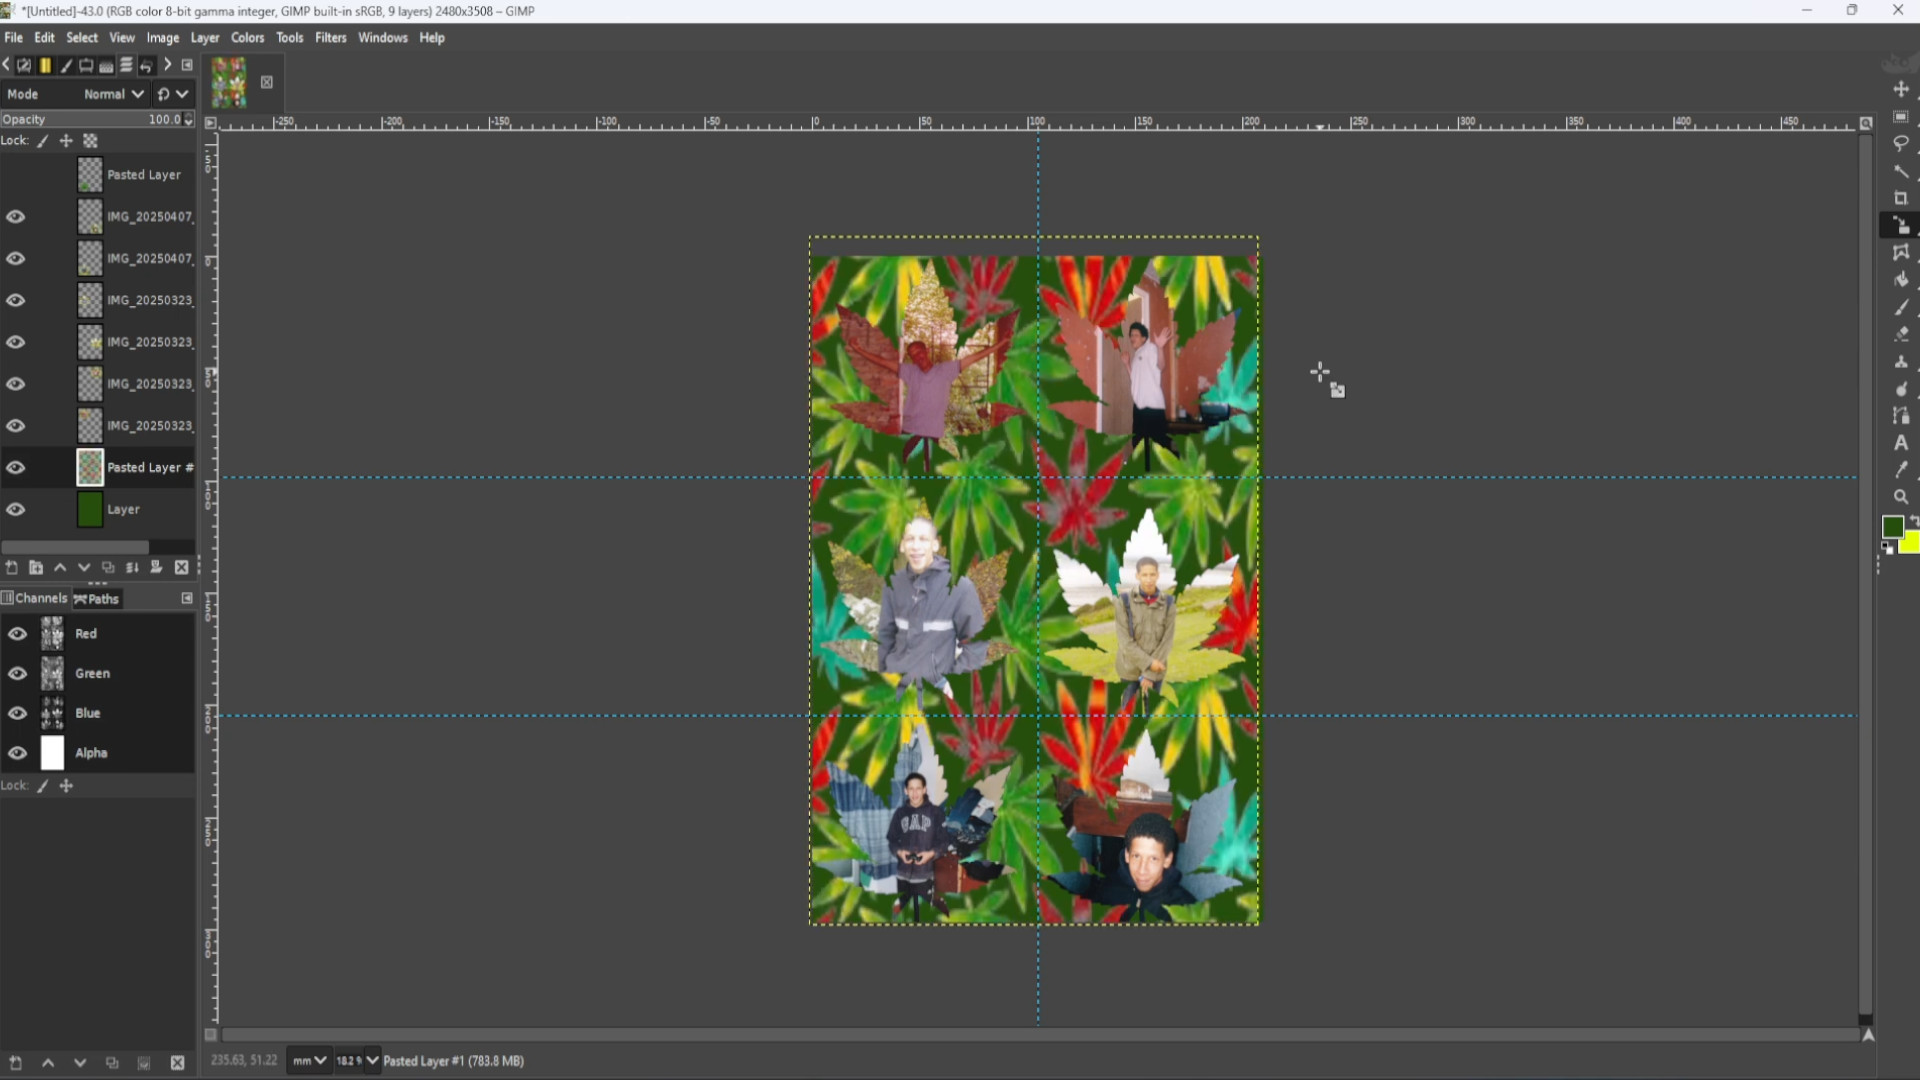
Experiment with>>>FILL BUCKET, TEXTURES, COLOURS and>>>FILTERS to taste.
Experiment with>>>FILL BUCKET, TEXTURES, COLOURS and>>>FILTERS to taste.
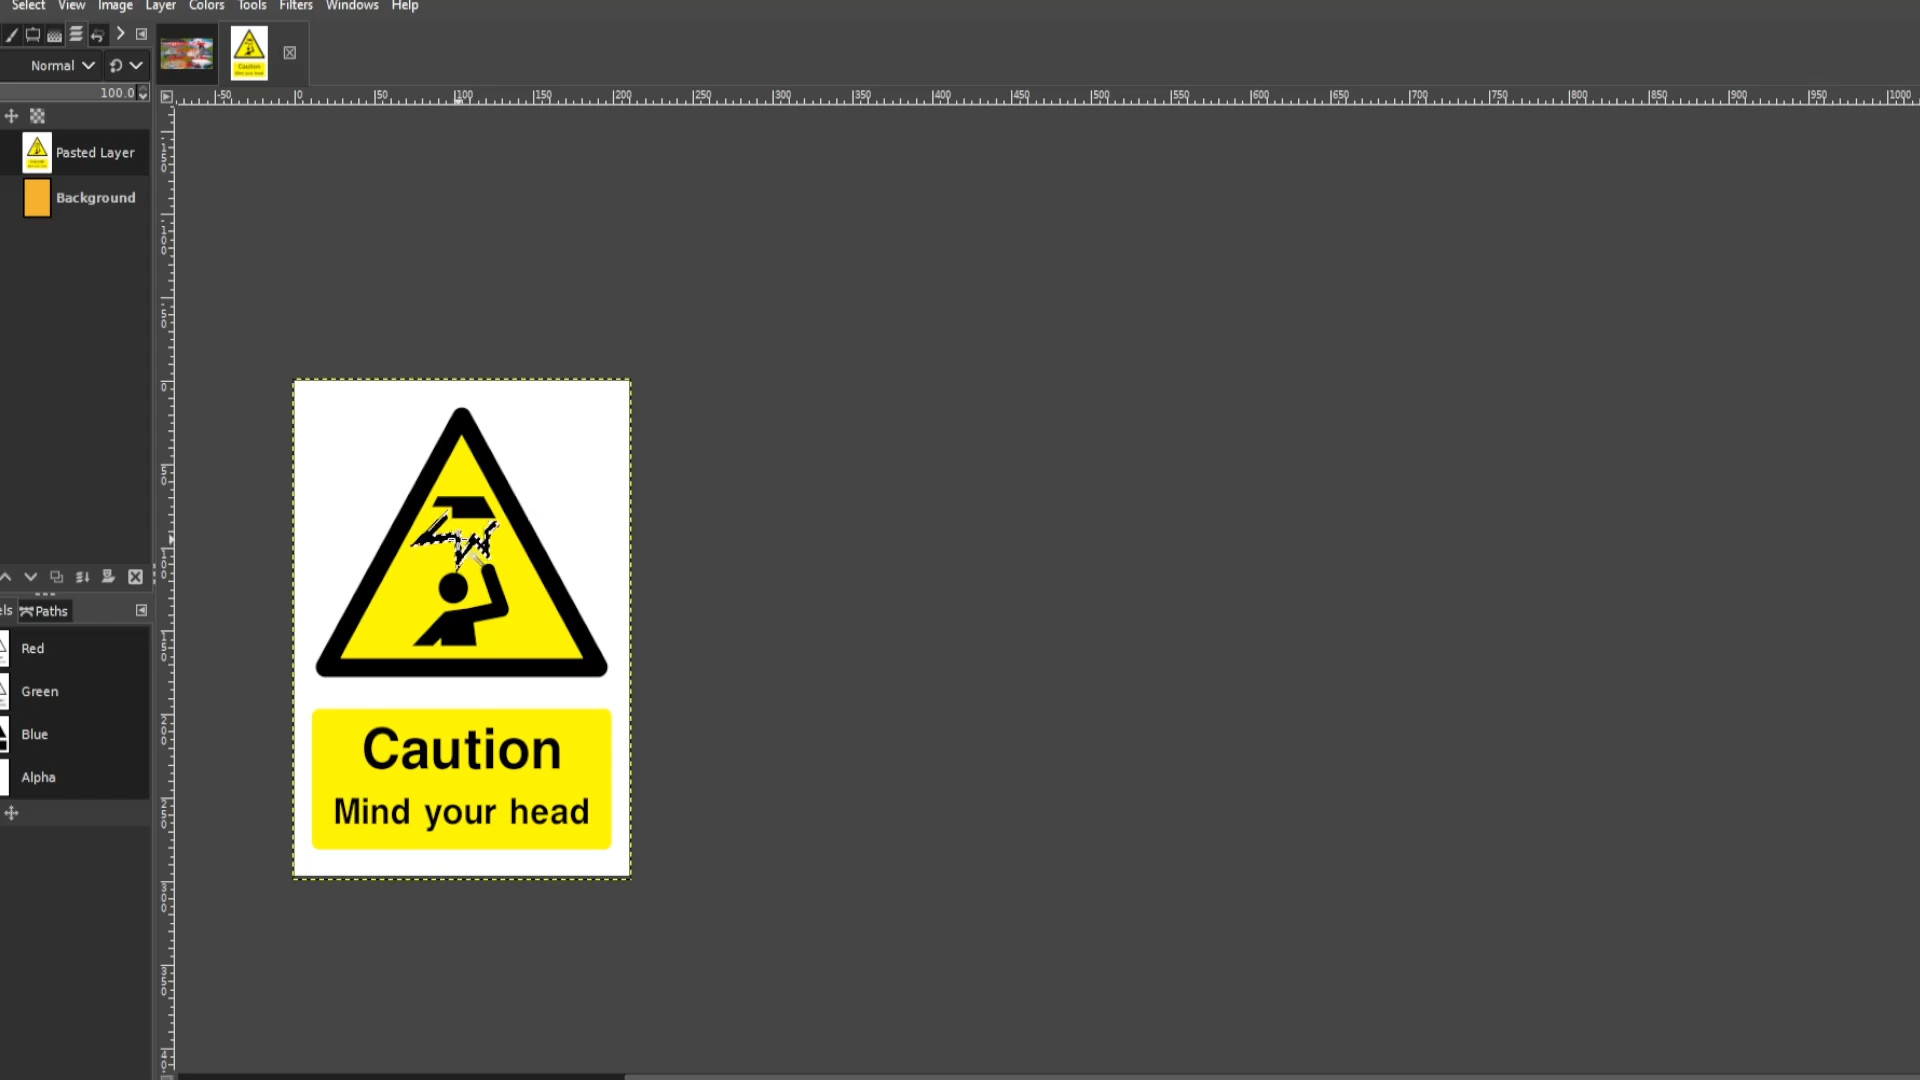
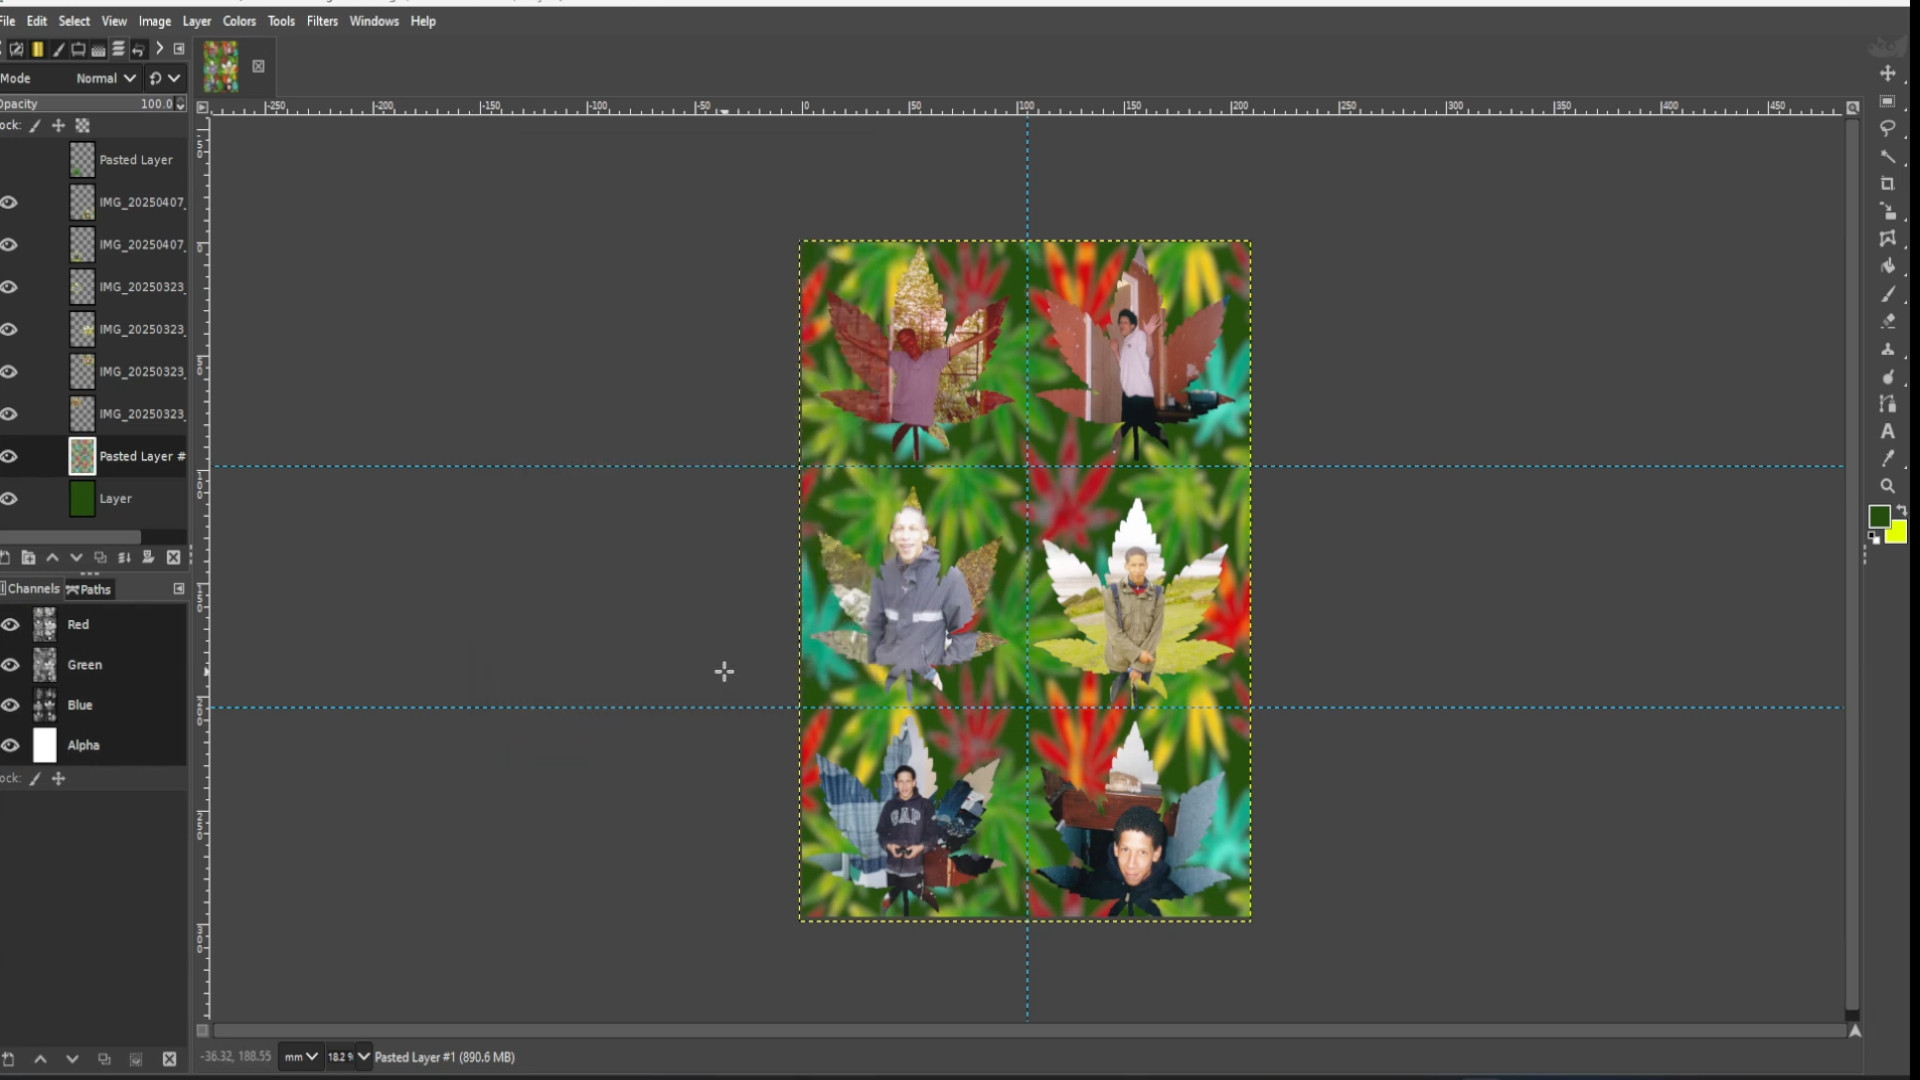
>>>SELECTING the>>>TOP LAYER use the>>>LASSO to draw around the now>>>LEAF PHOTO.
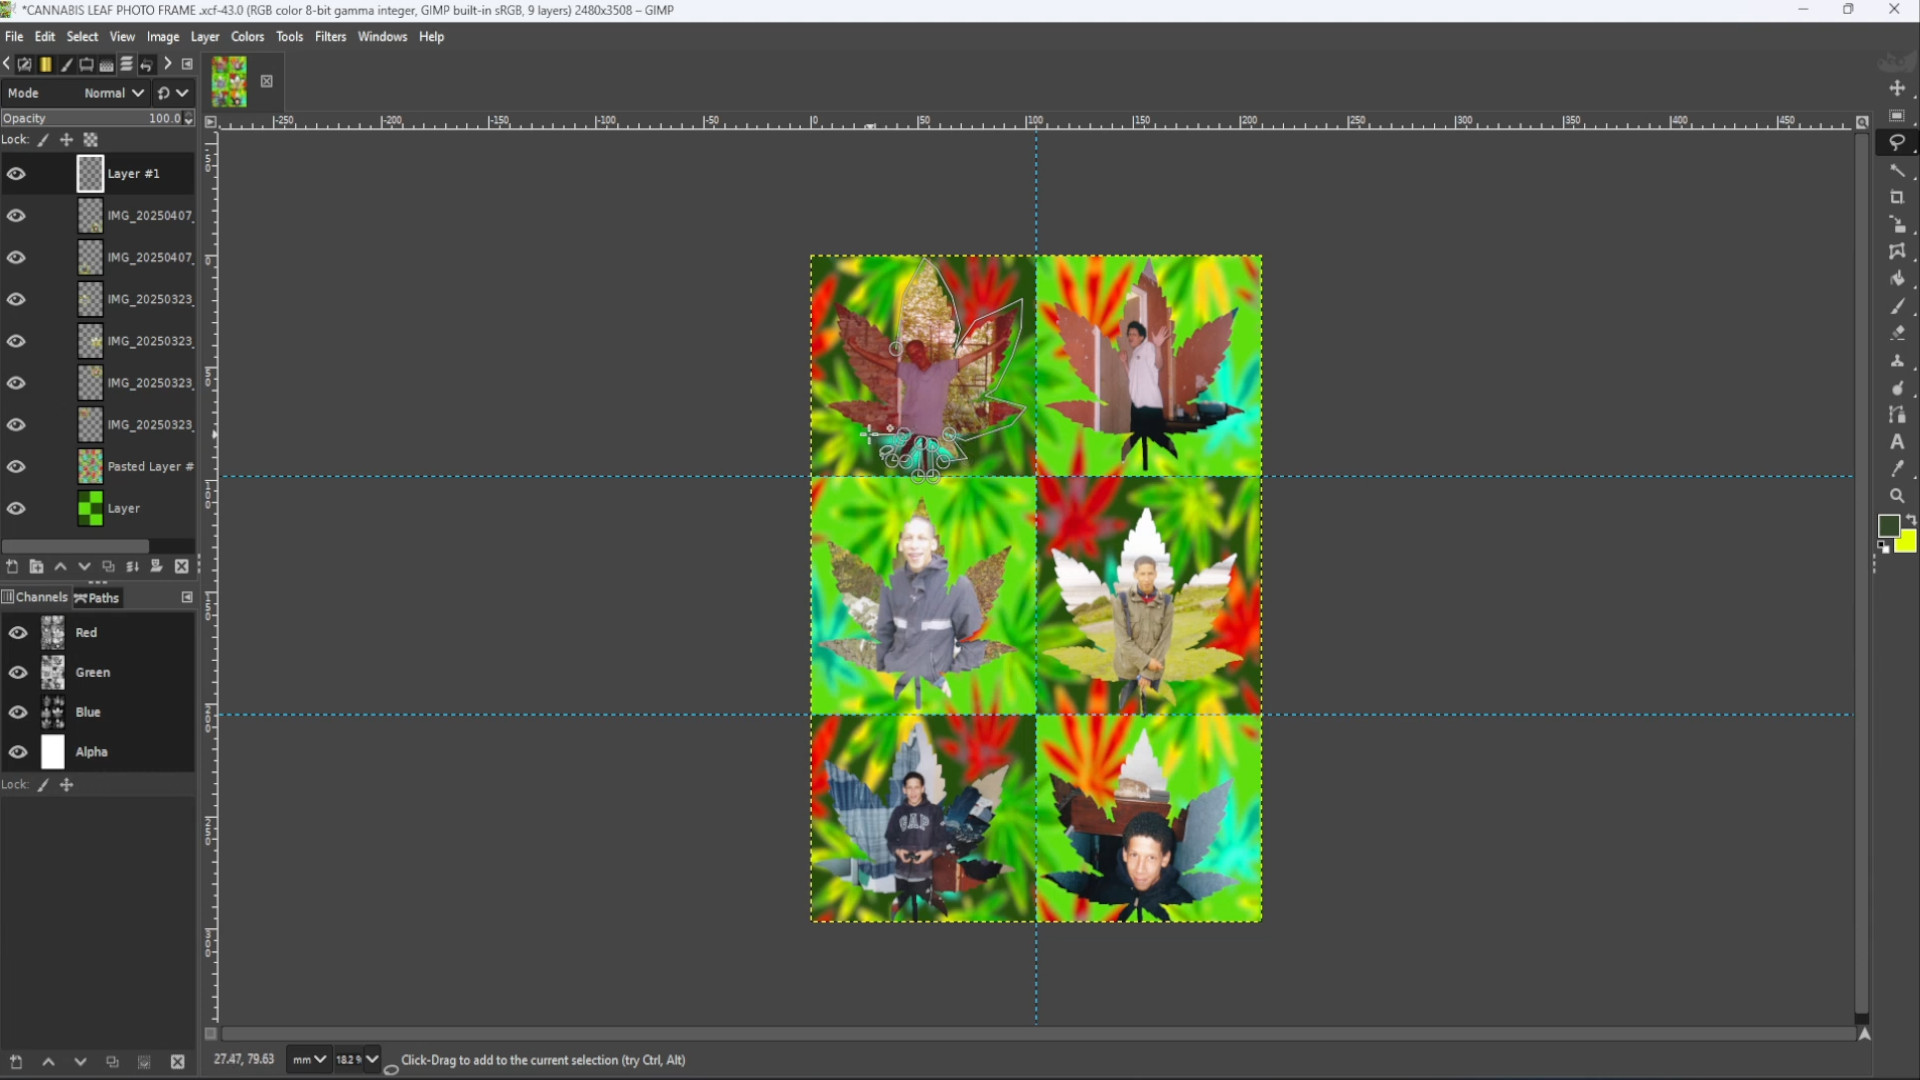
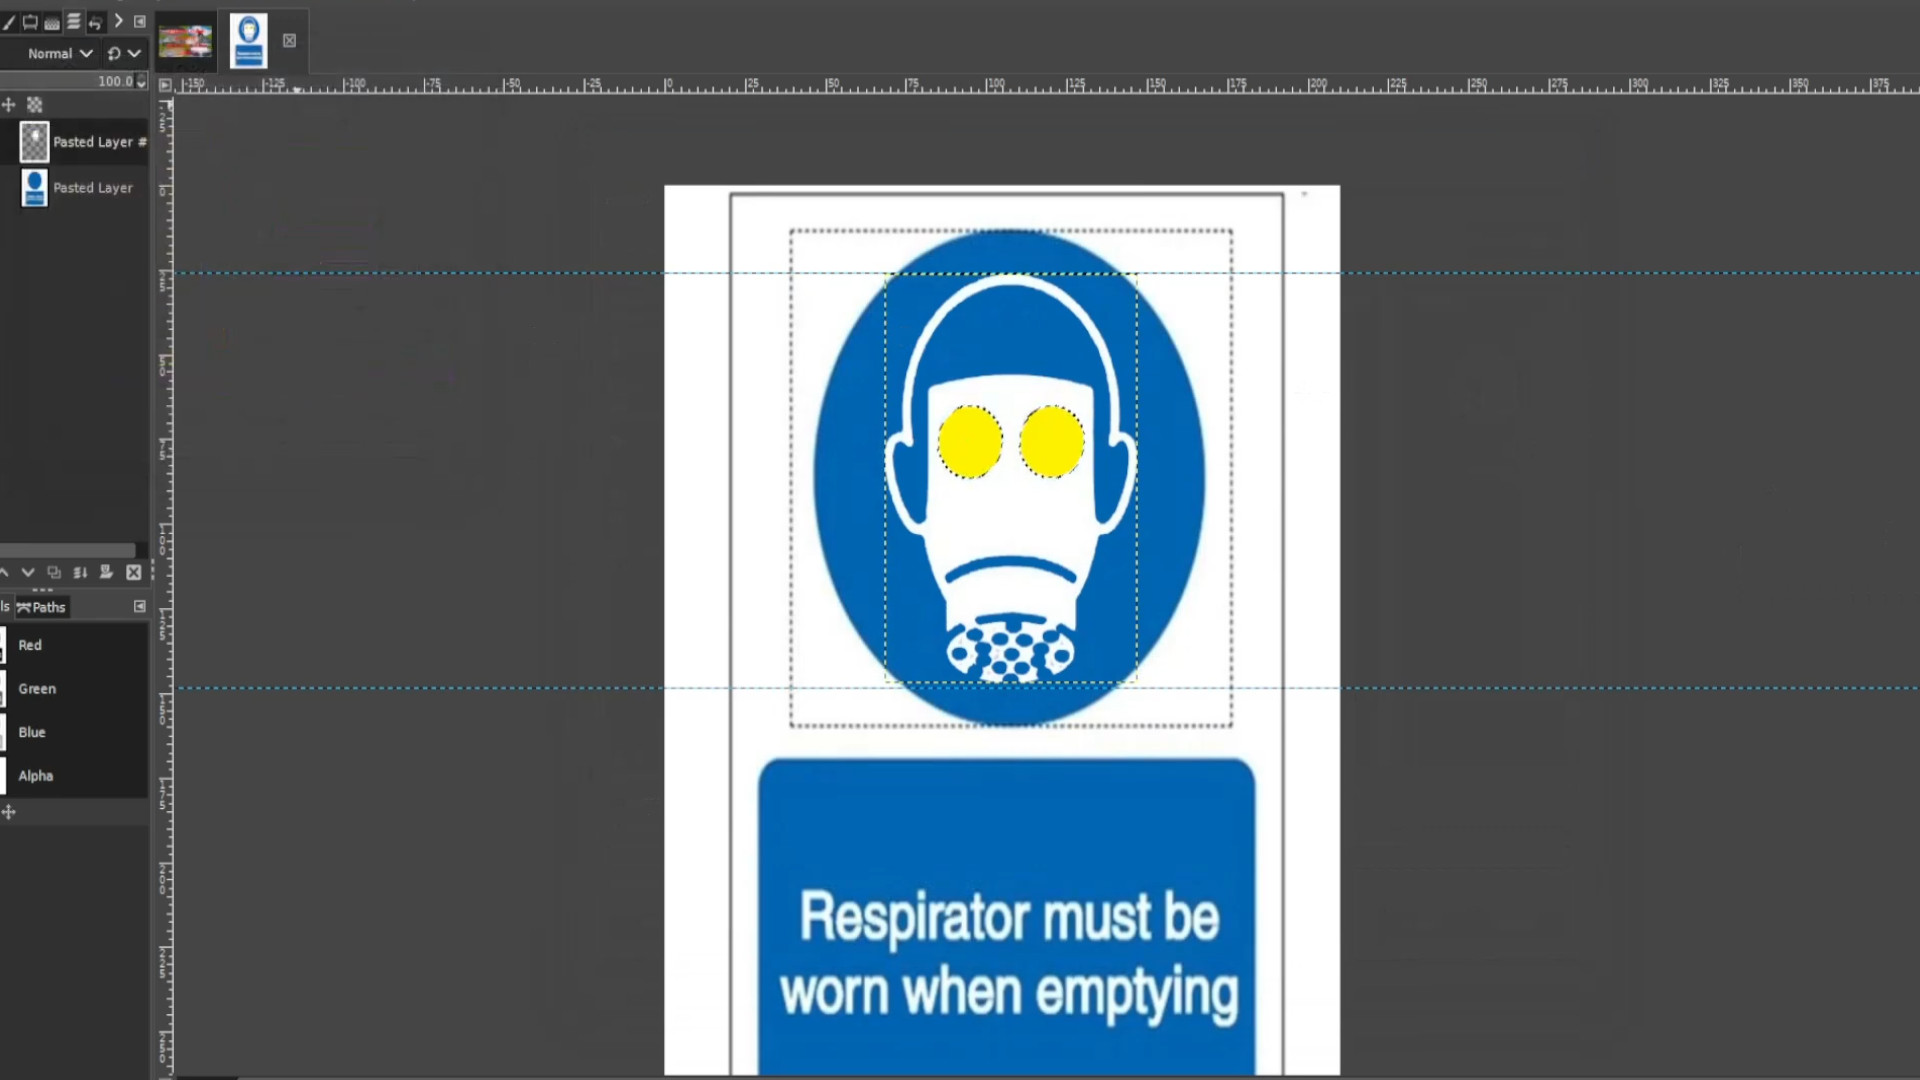
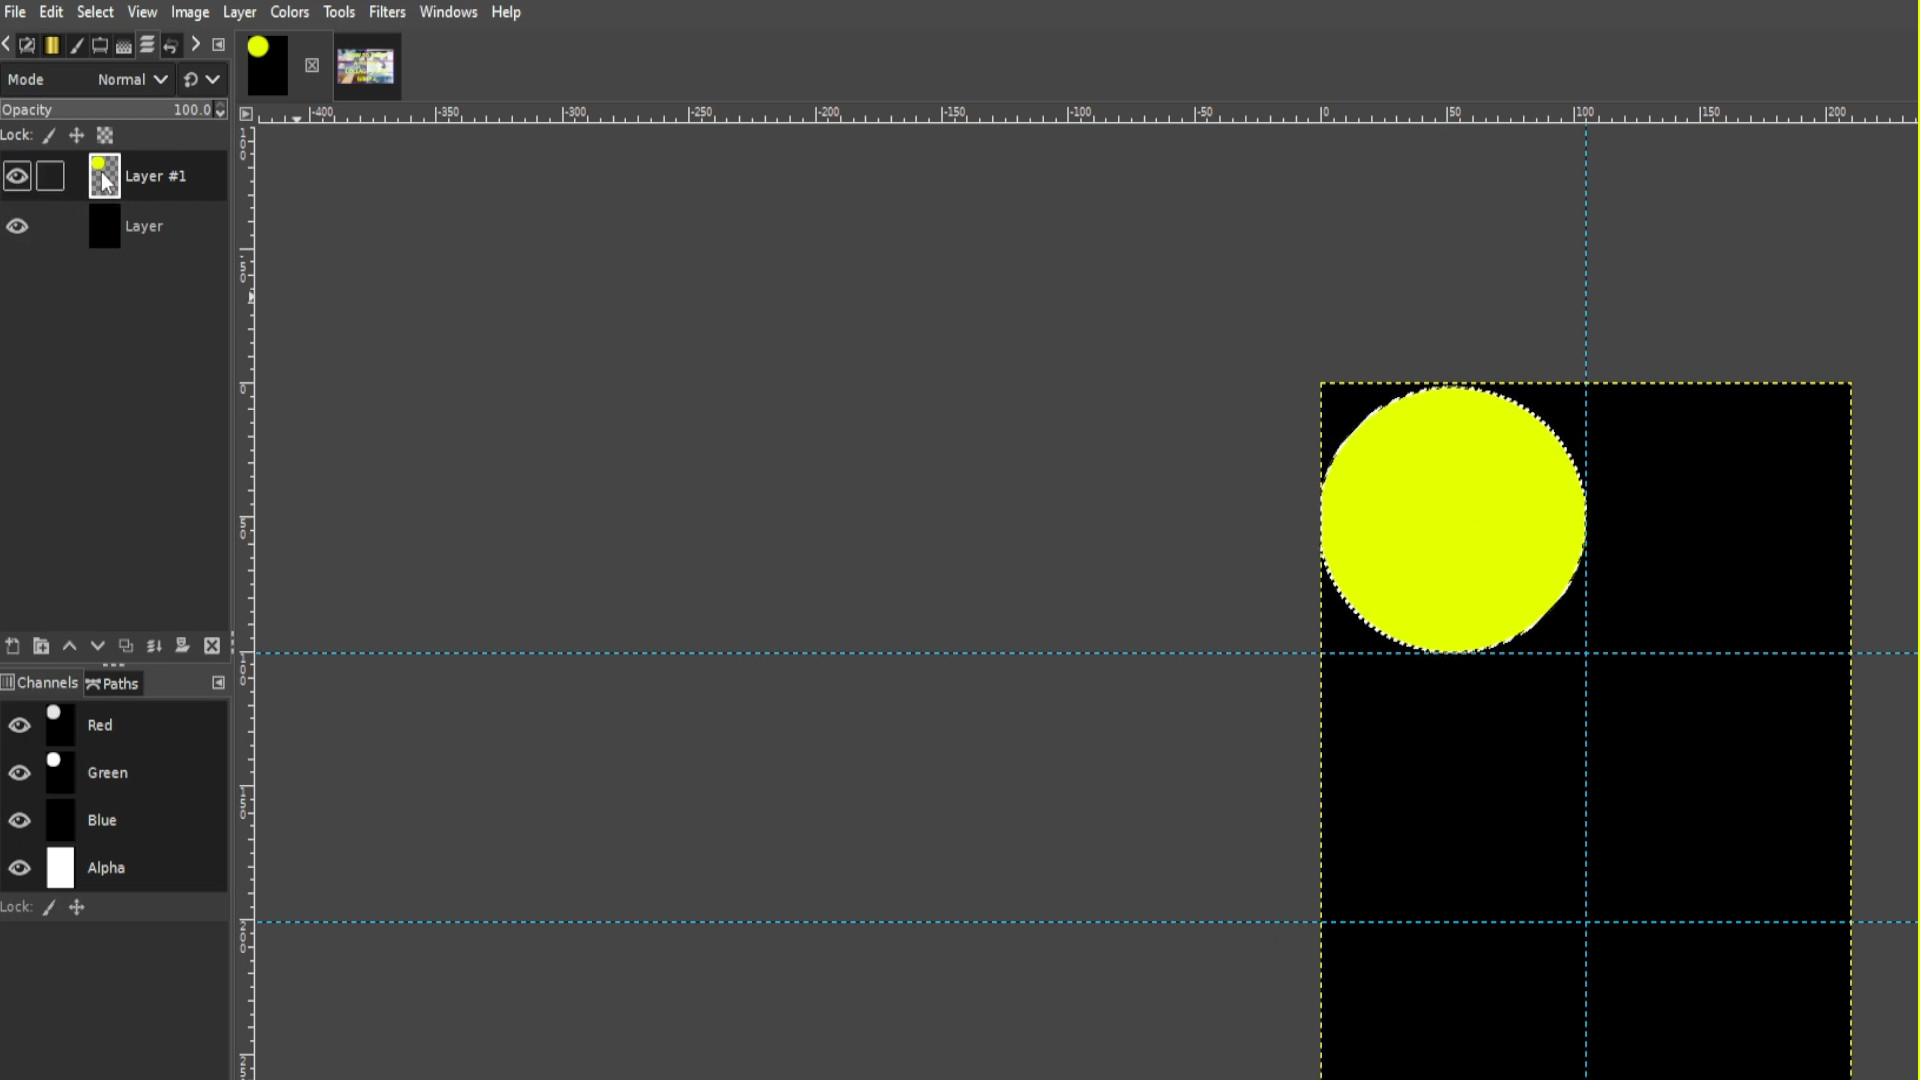
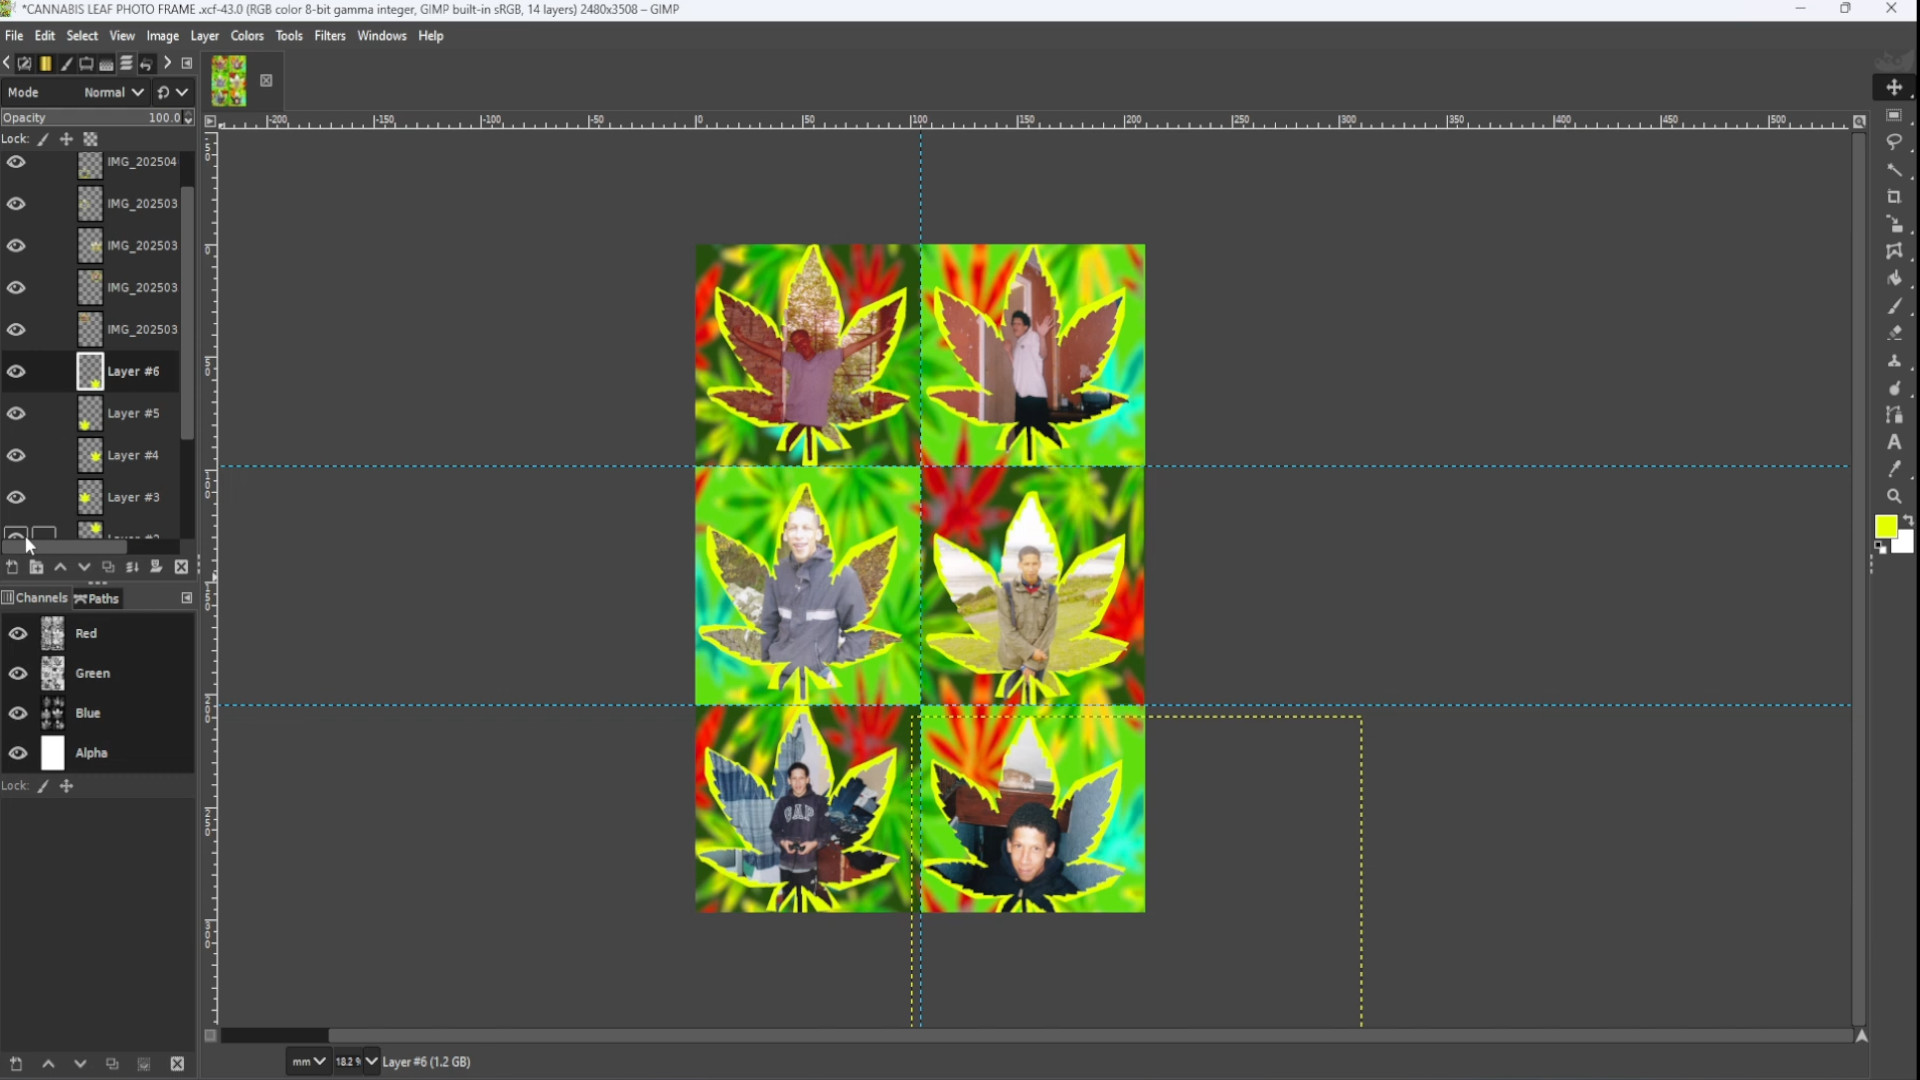
>>ADD NEW LAYER and place at the>>>TOP of the LAYERS.>>>SELECTING the>>>FIRST LEAF PHOTO use the>>>FUZZY SELECT TOOL to select the leaf photo and choosing a>>>COLOUR and SELECTING the>>>BUCKET FILL TOOL>>>FILL IN the>>>HIGHLIGHTED>>>SHAPE>>>EXPERIMENT with>>>COLOURS to change the>>>BACKGROUND>>>COLOUR and>>>SHAPE UP the shape if need be.

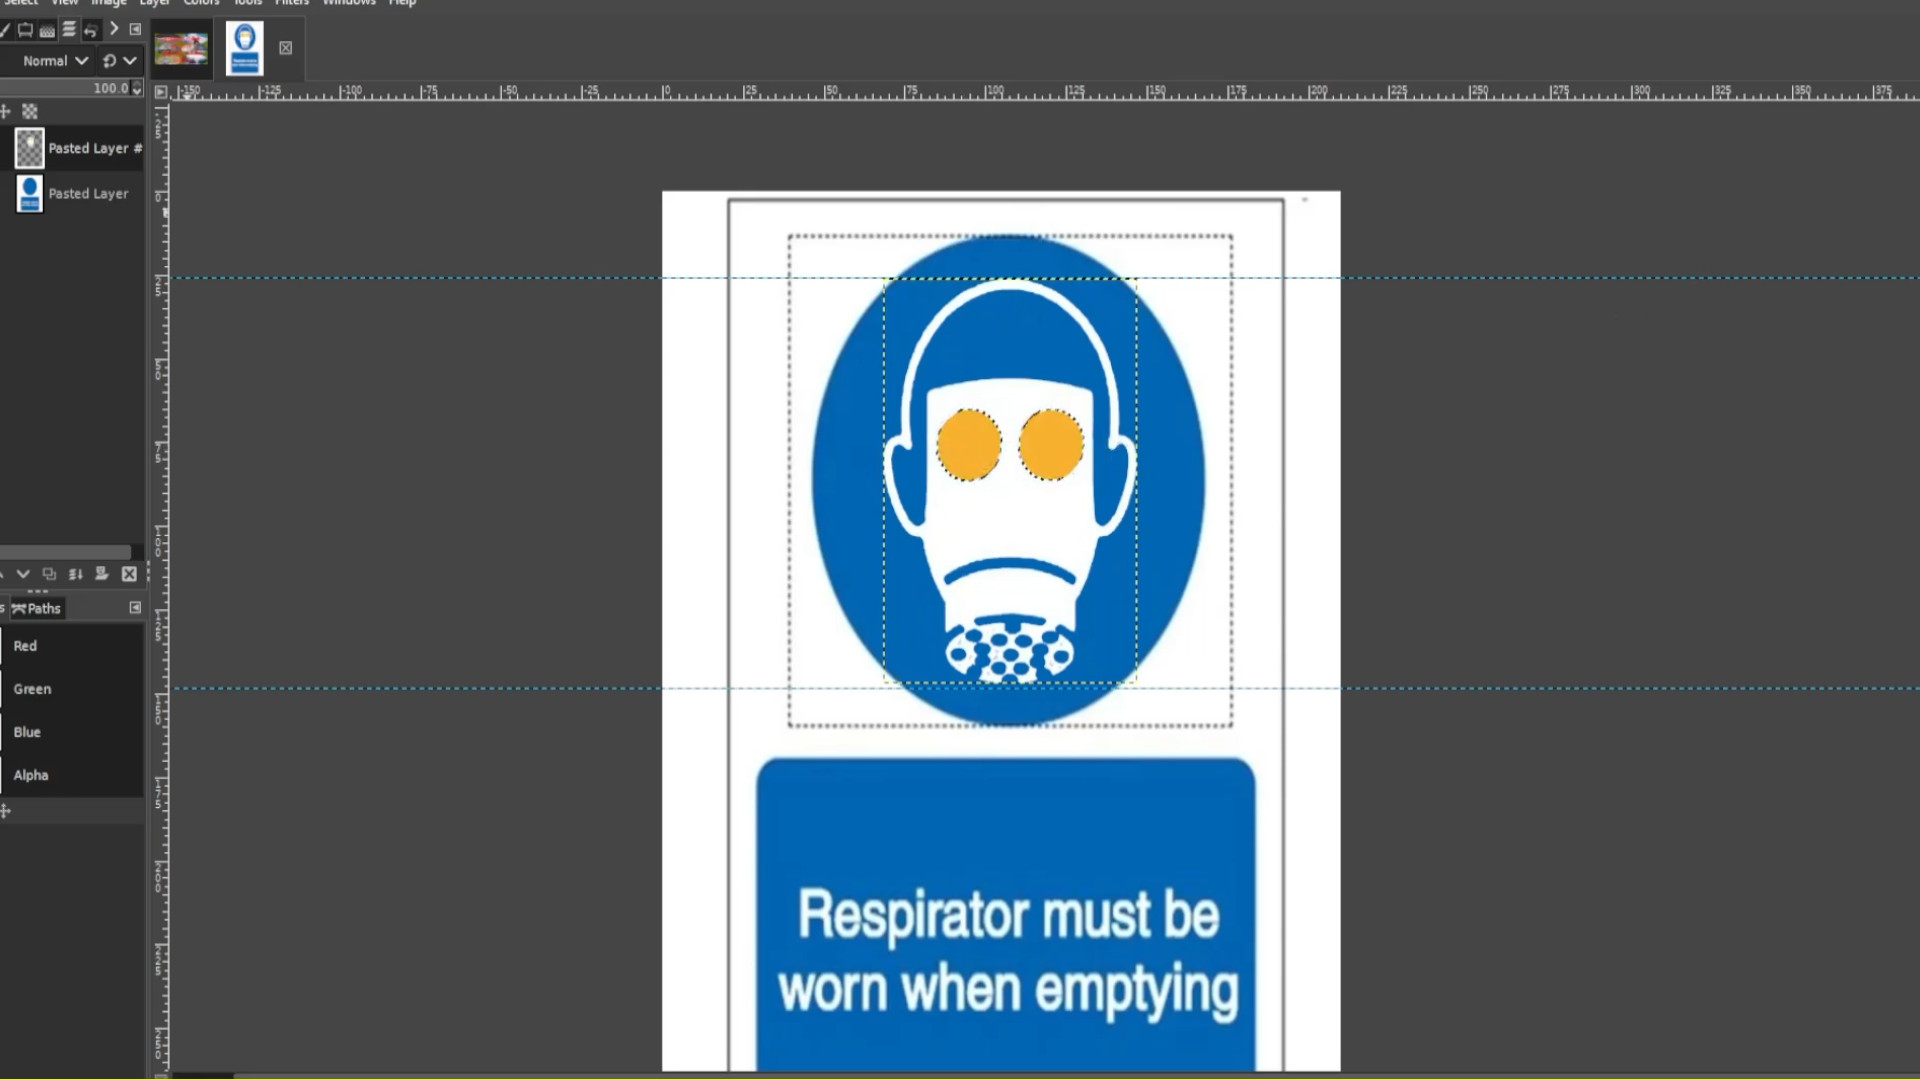
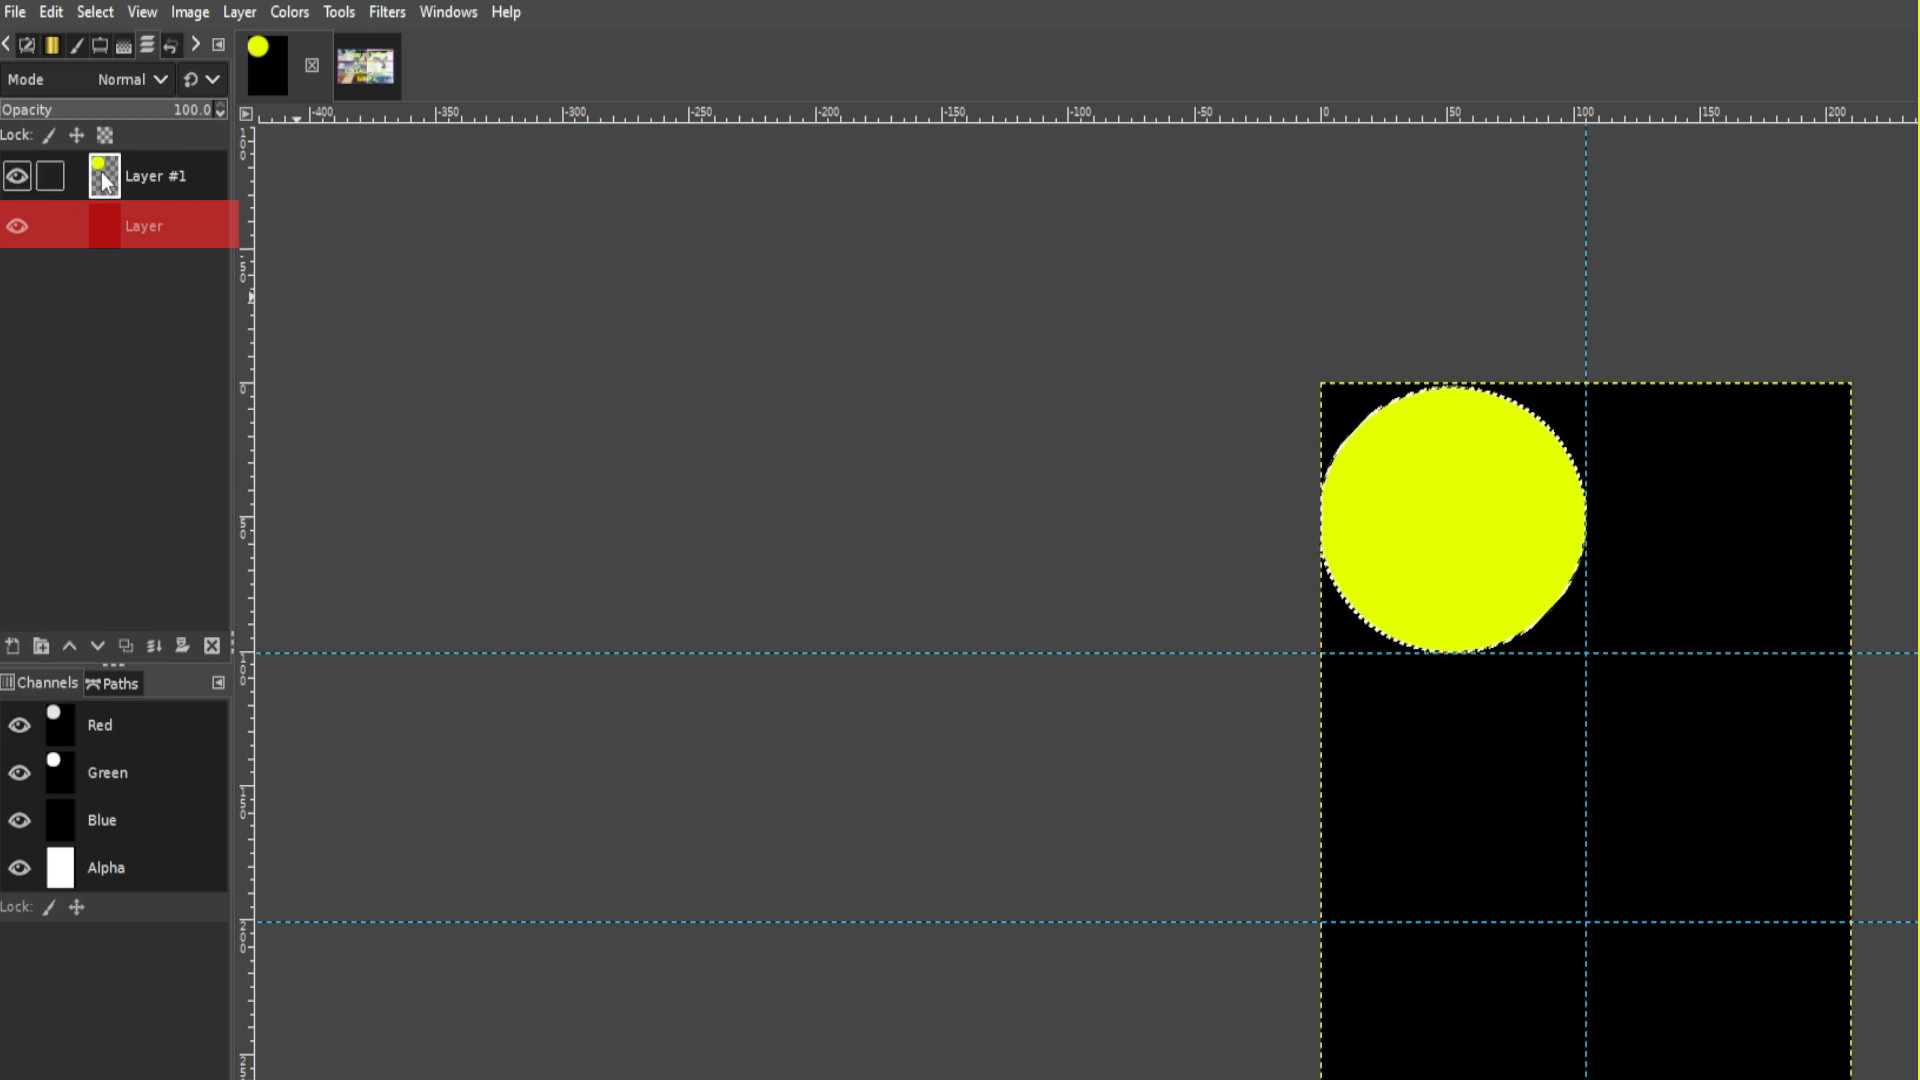
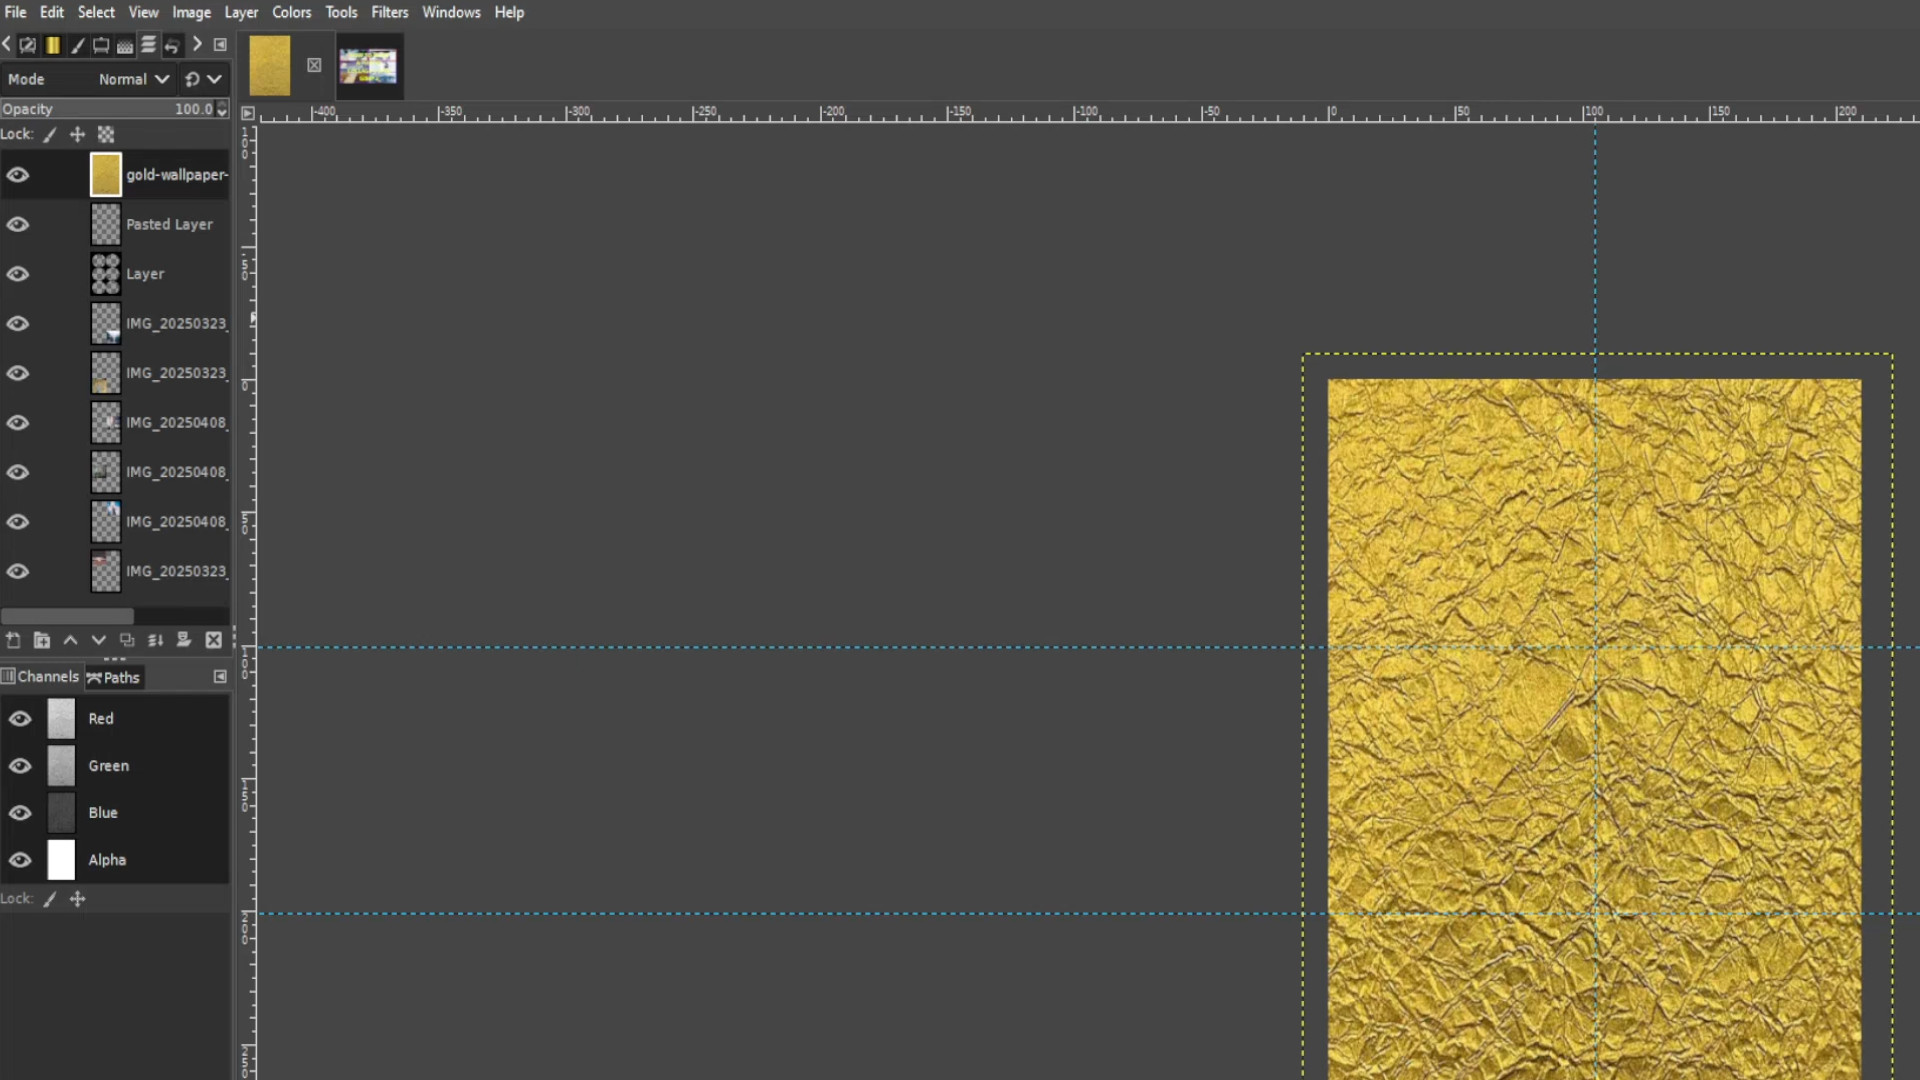
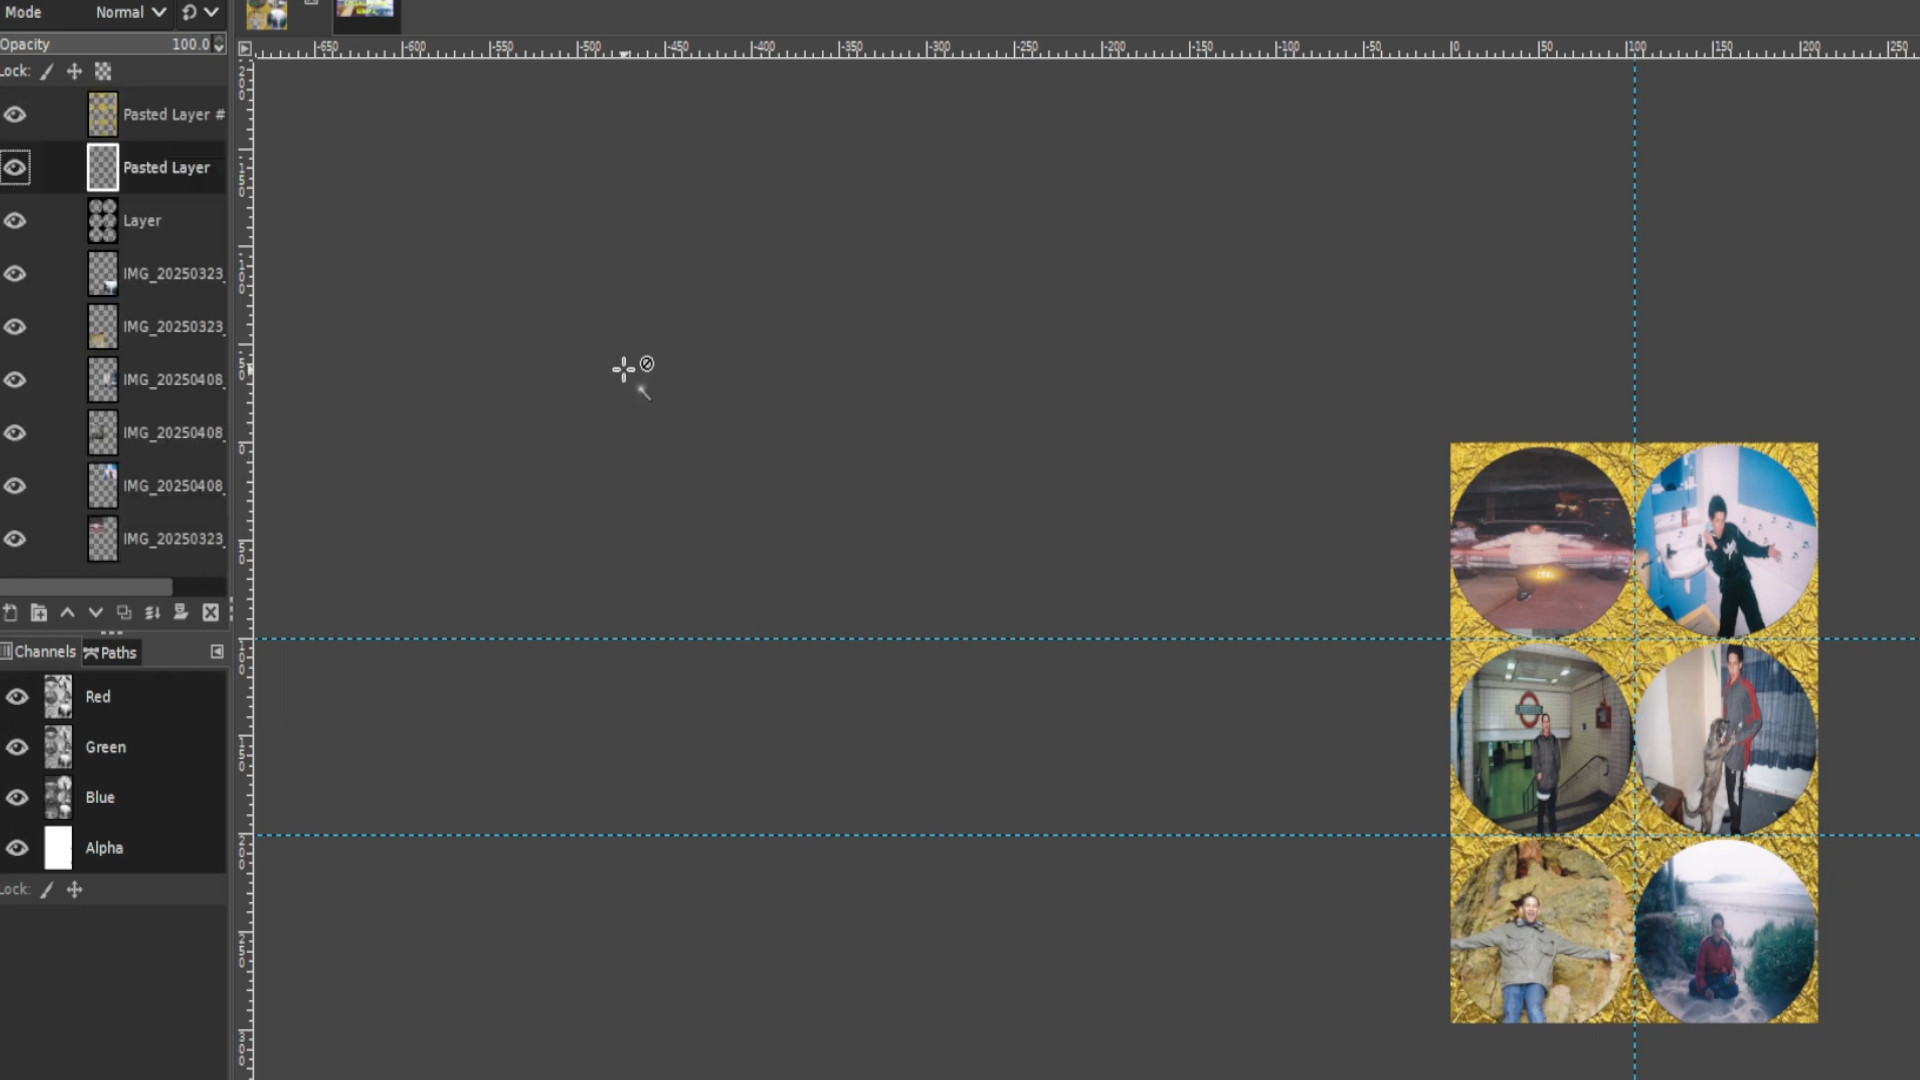
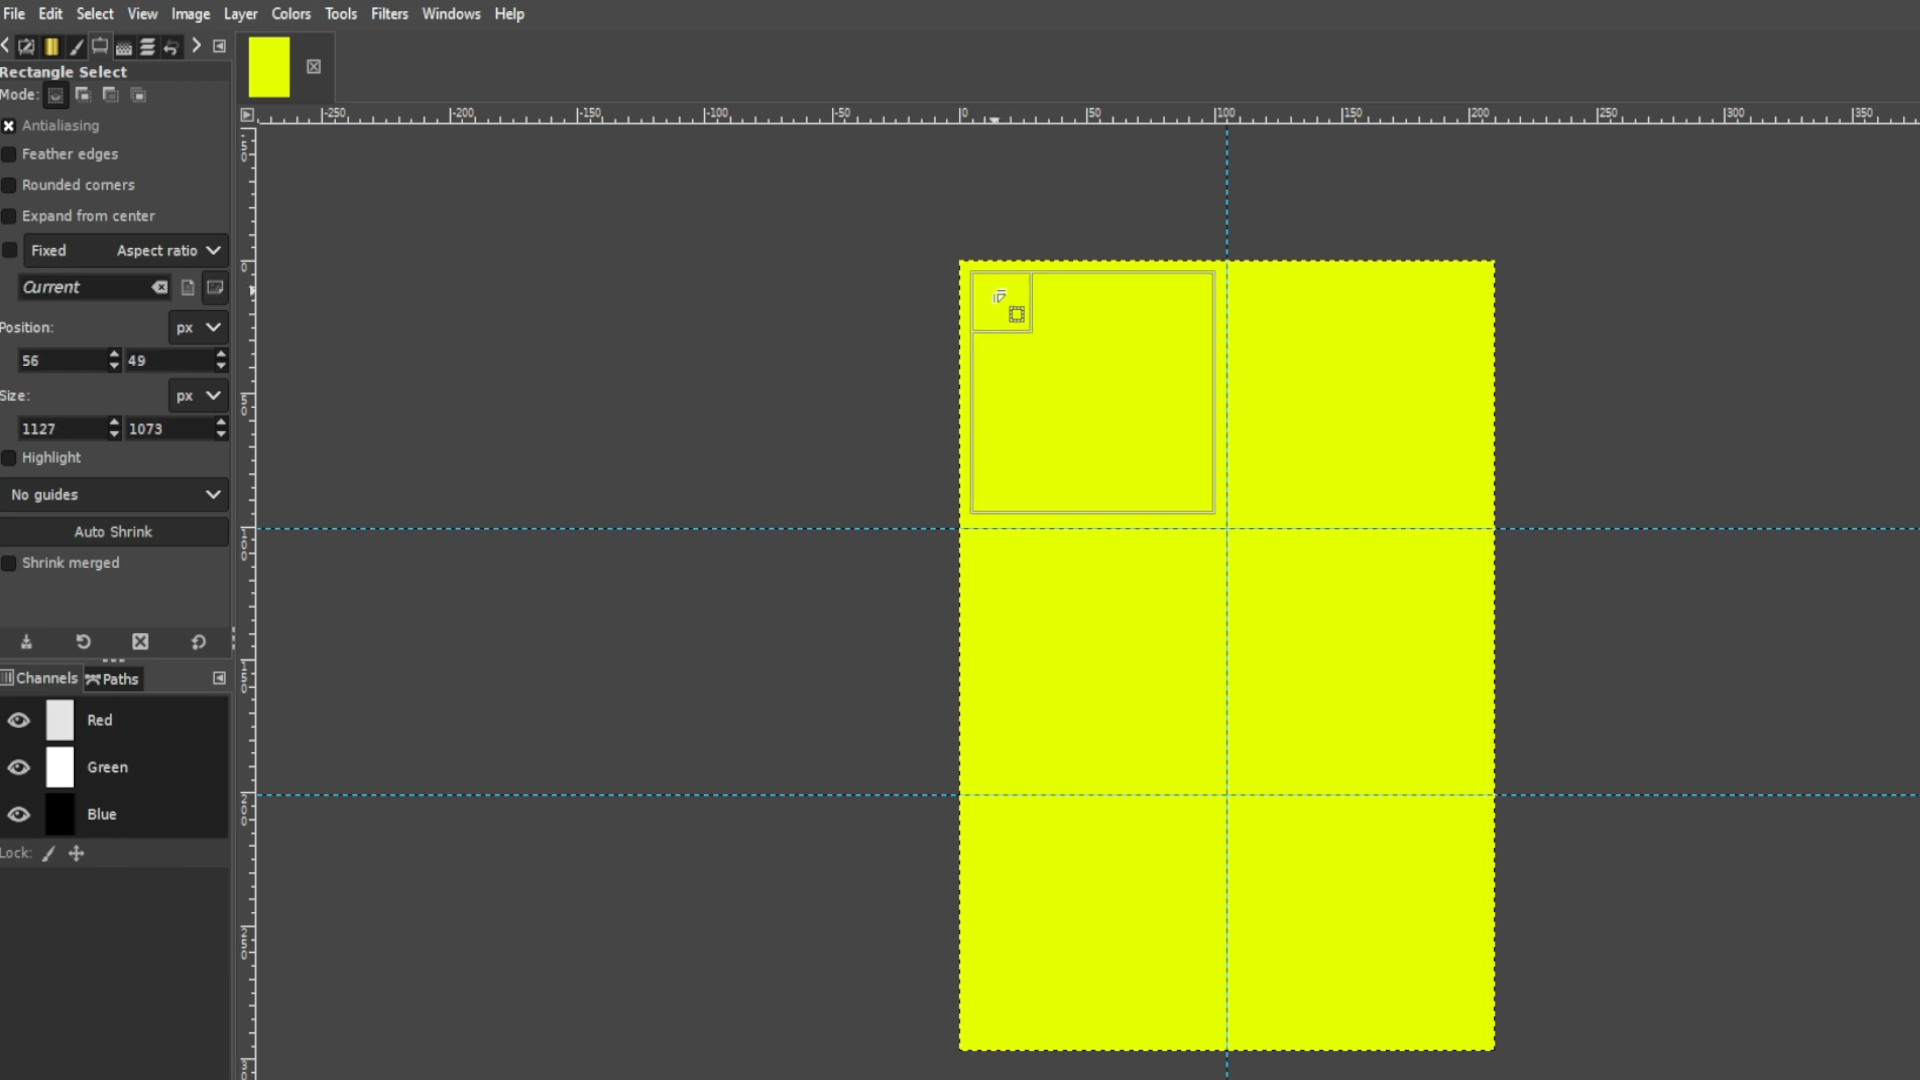
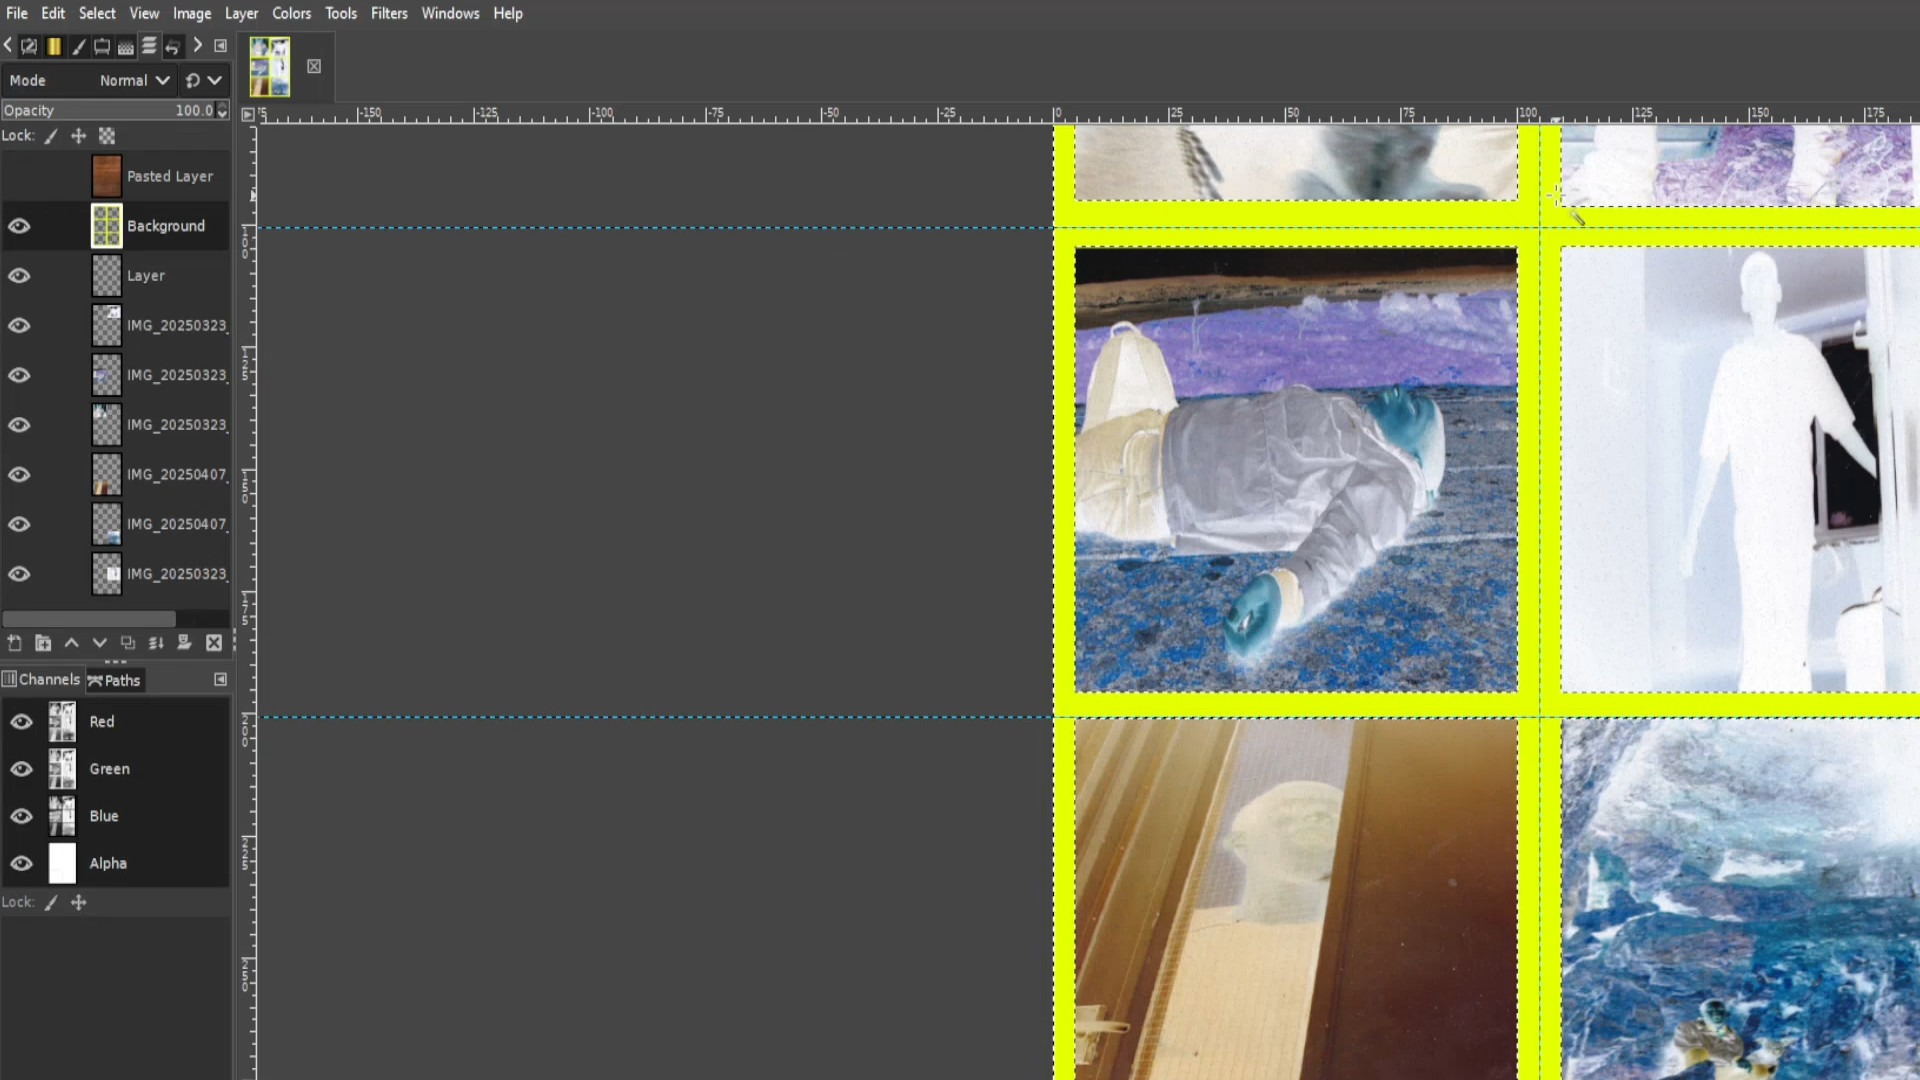
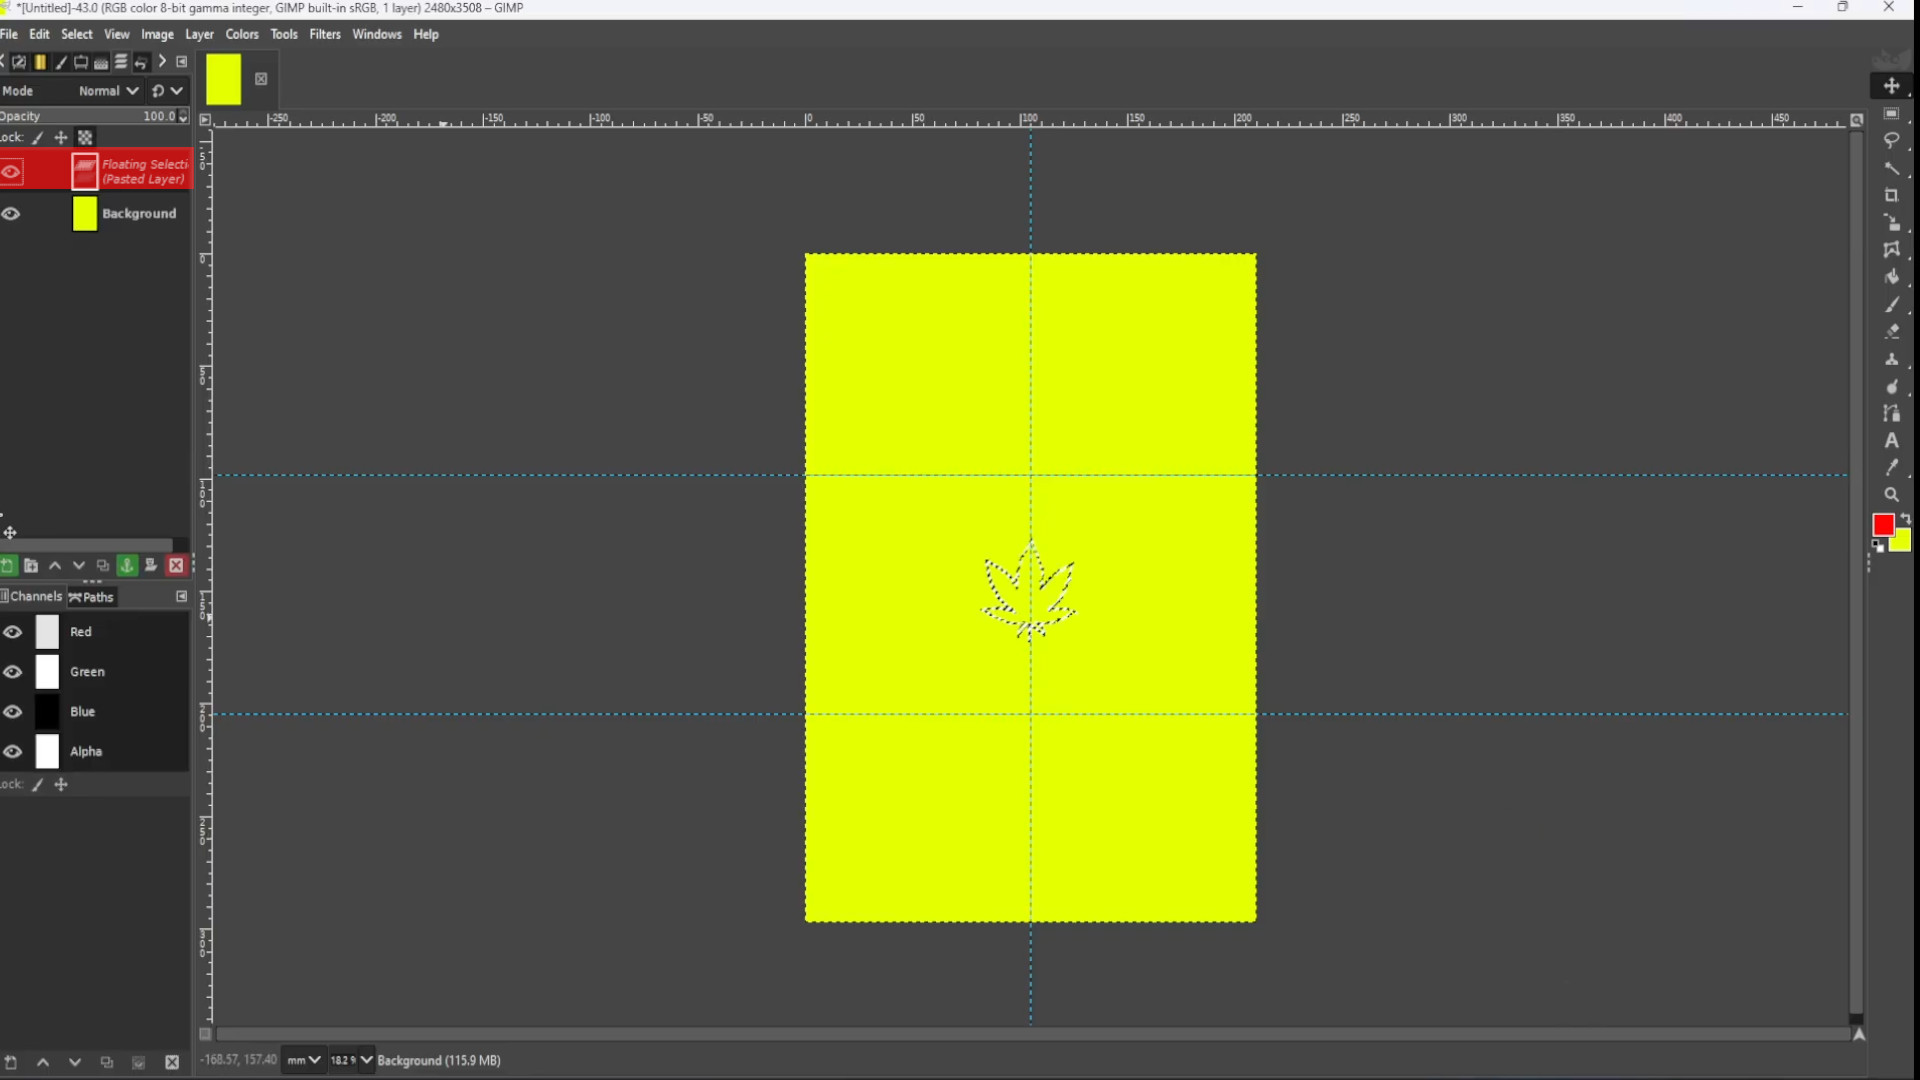
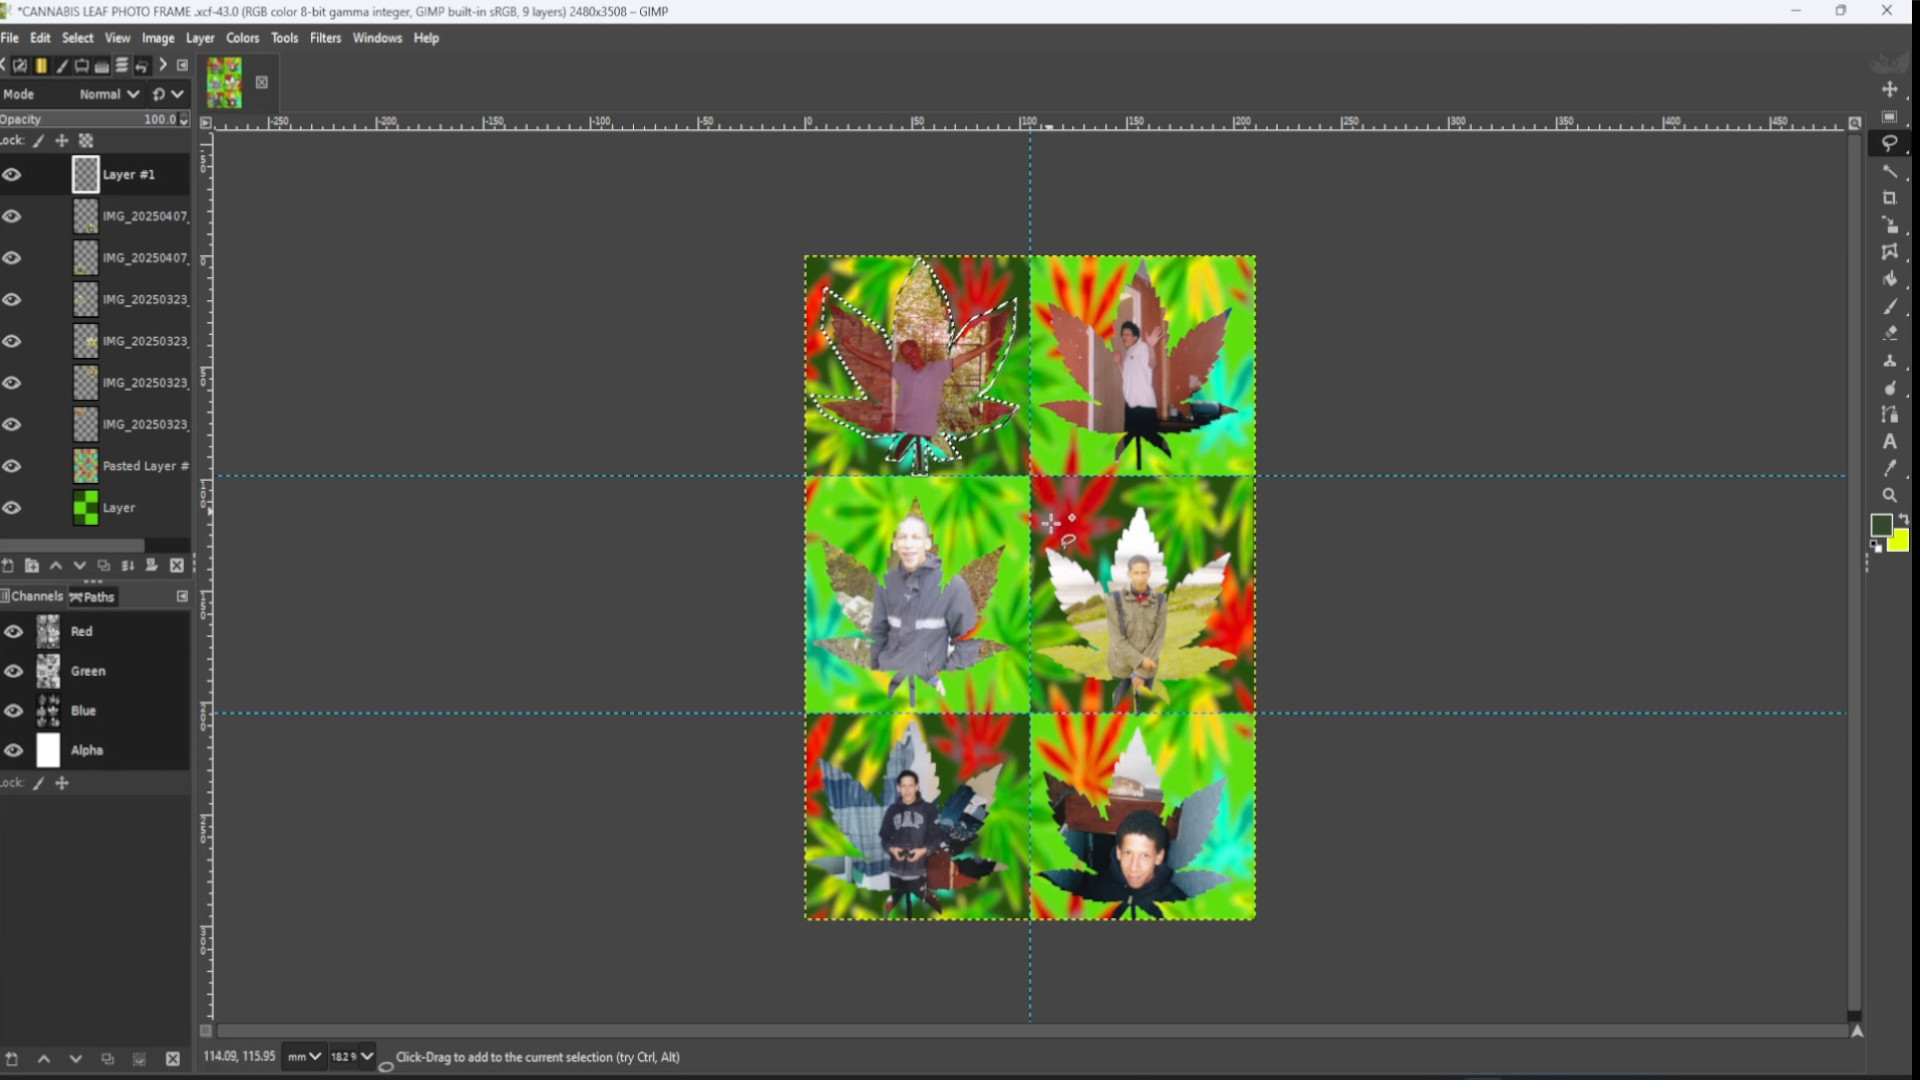
With the in this case>>>YELLOW>>>LAYER selected in the>>>LEFT HAND SIDE>>>LAYERS>>>PANEL the>>>THIRD LAYER from the BOTTOM in this case>>>RIGHT CLICK on the>>>LAYER and>>>DUPLICATE LAYER using the>>>MOVE TOOL to>>>MOVE to the next section.
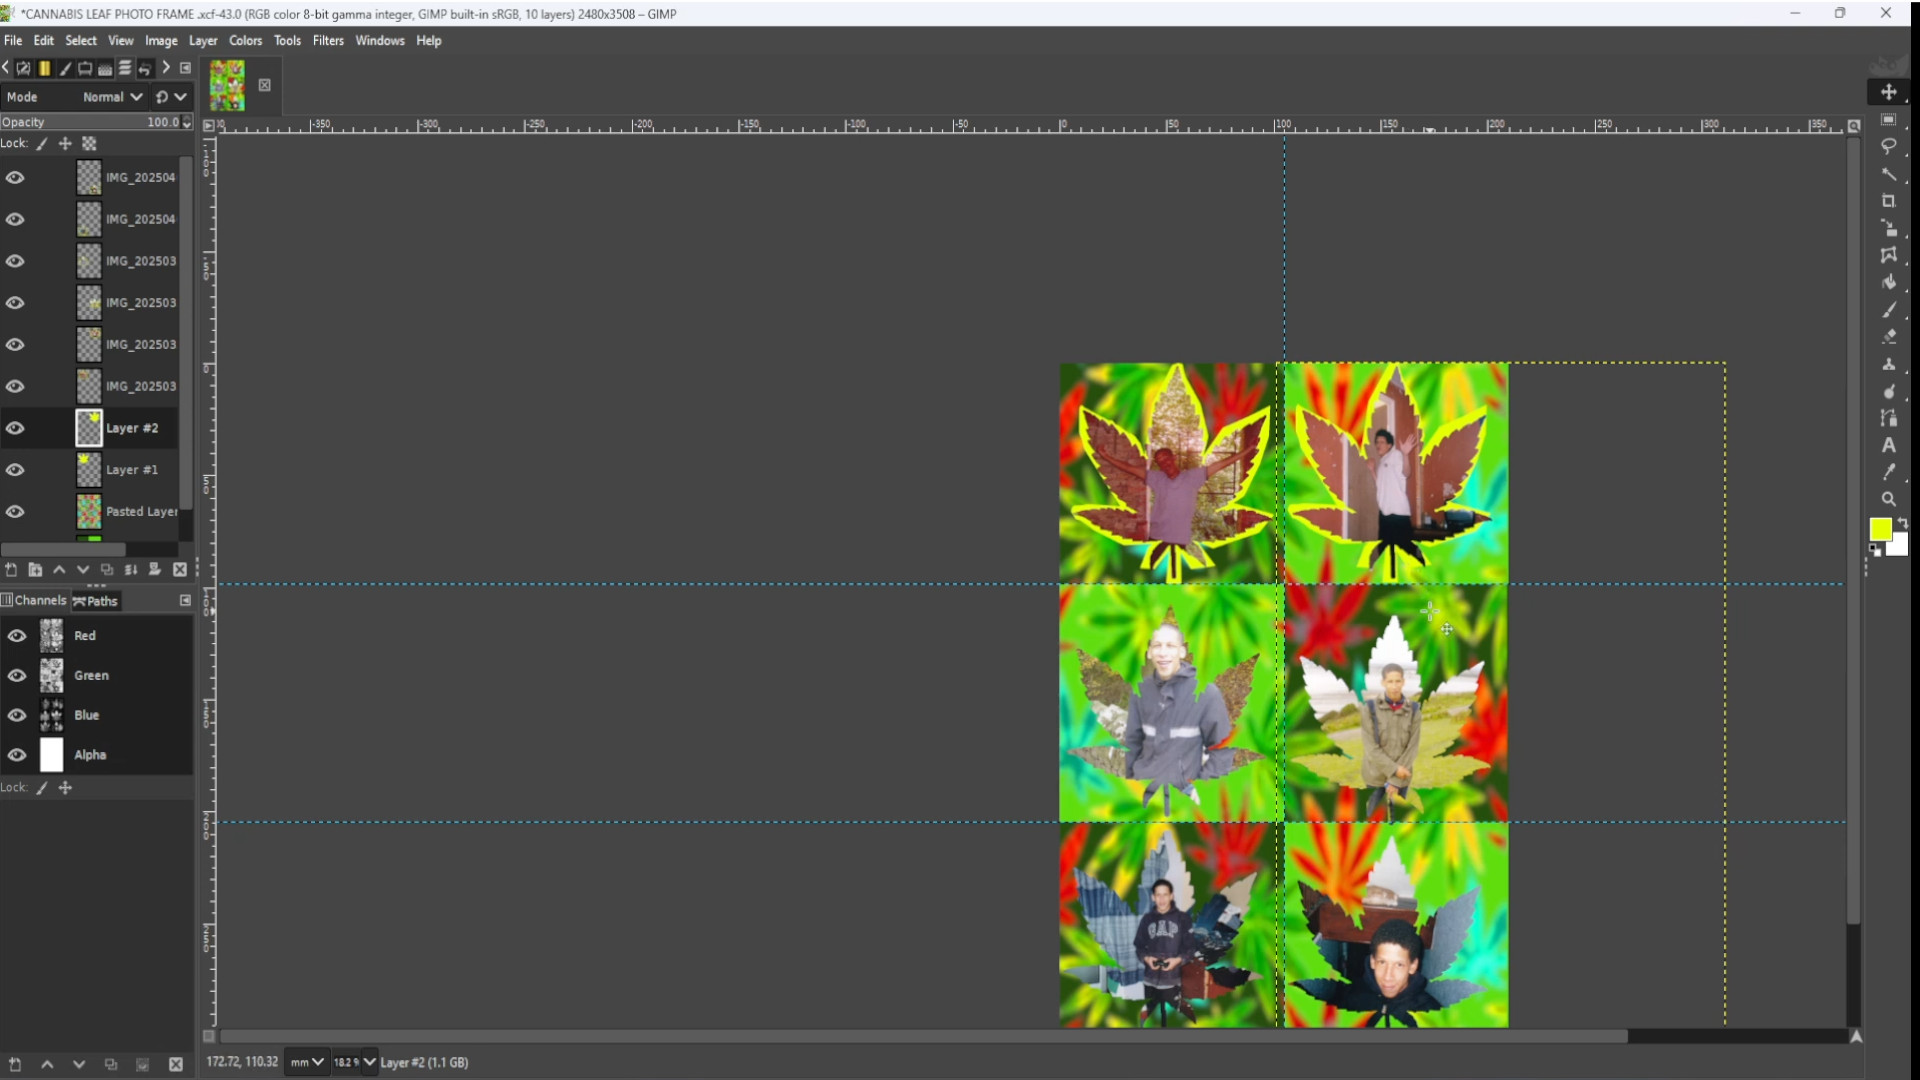
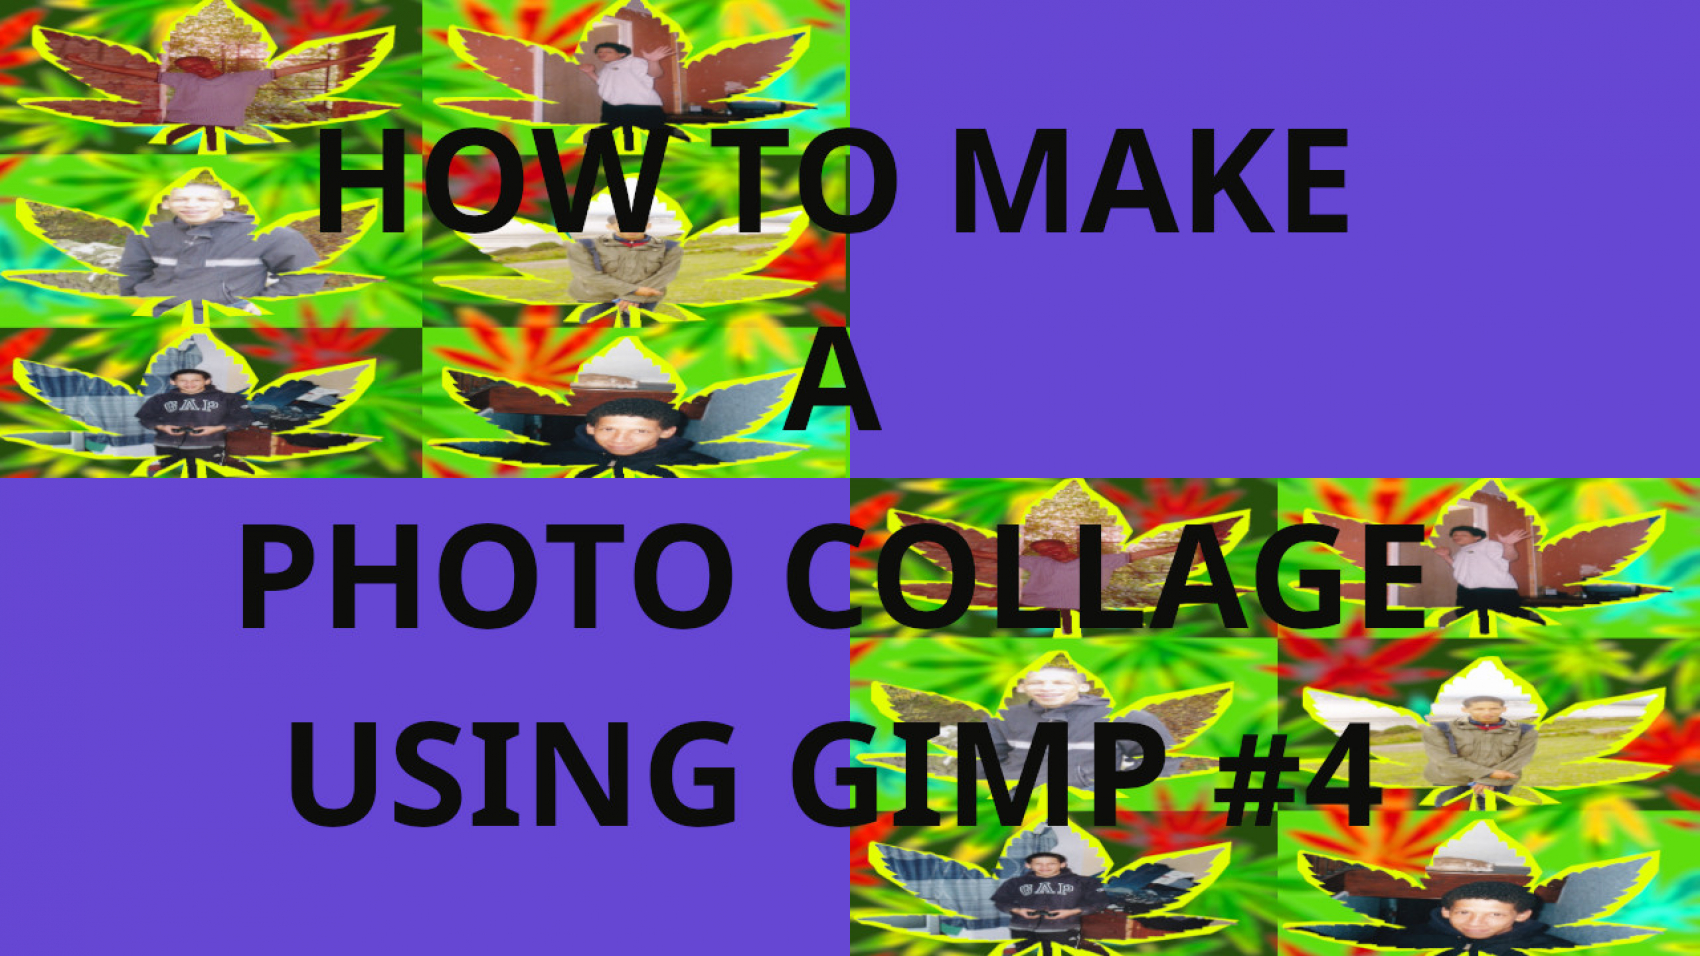
>REPEAT>>>STEP>>>29 until you have filled in all the outlines of the canvas and make sure in LAYERS they are near the bottom below>>ALL SHAPED IMAGES in this case a cannabis leaf.

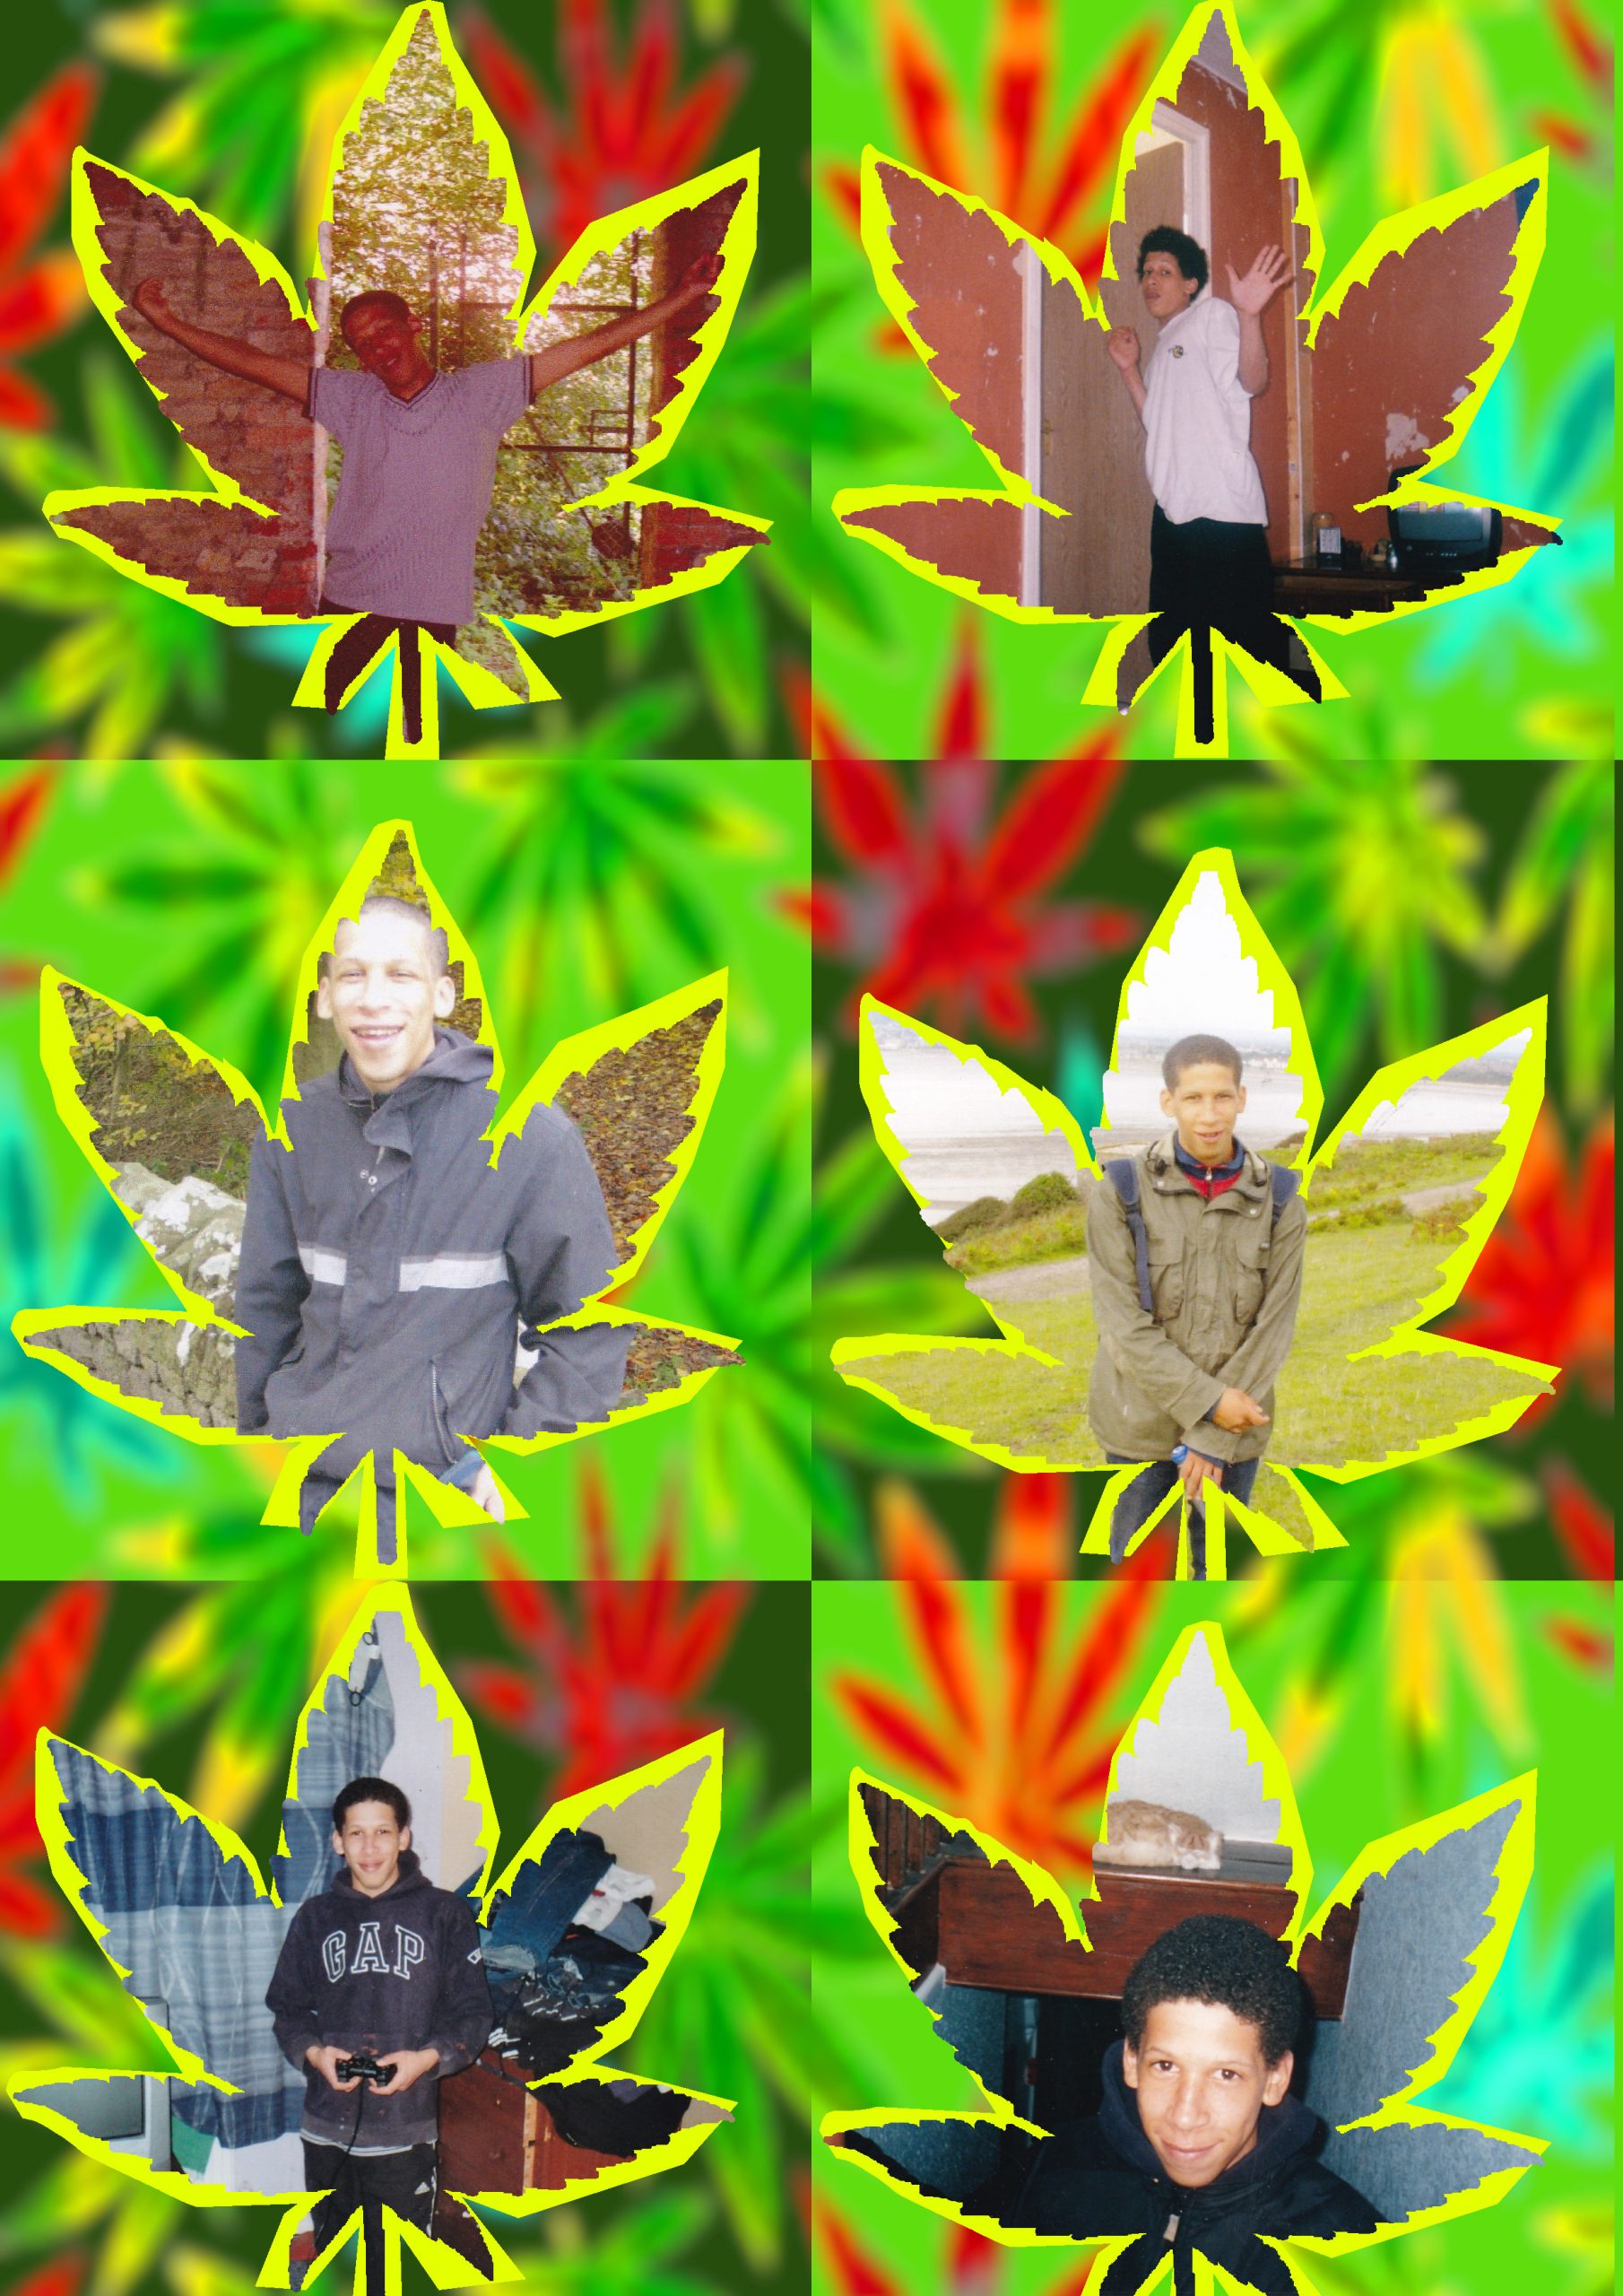
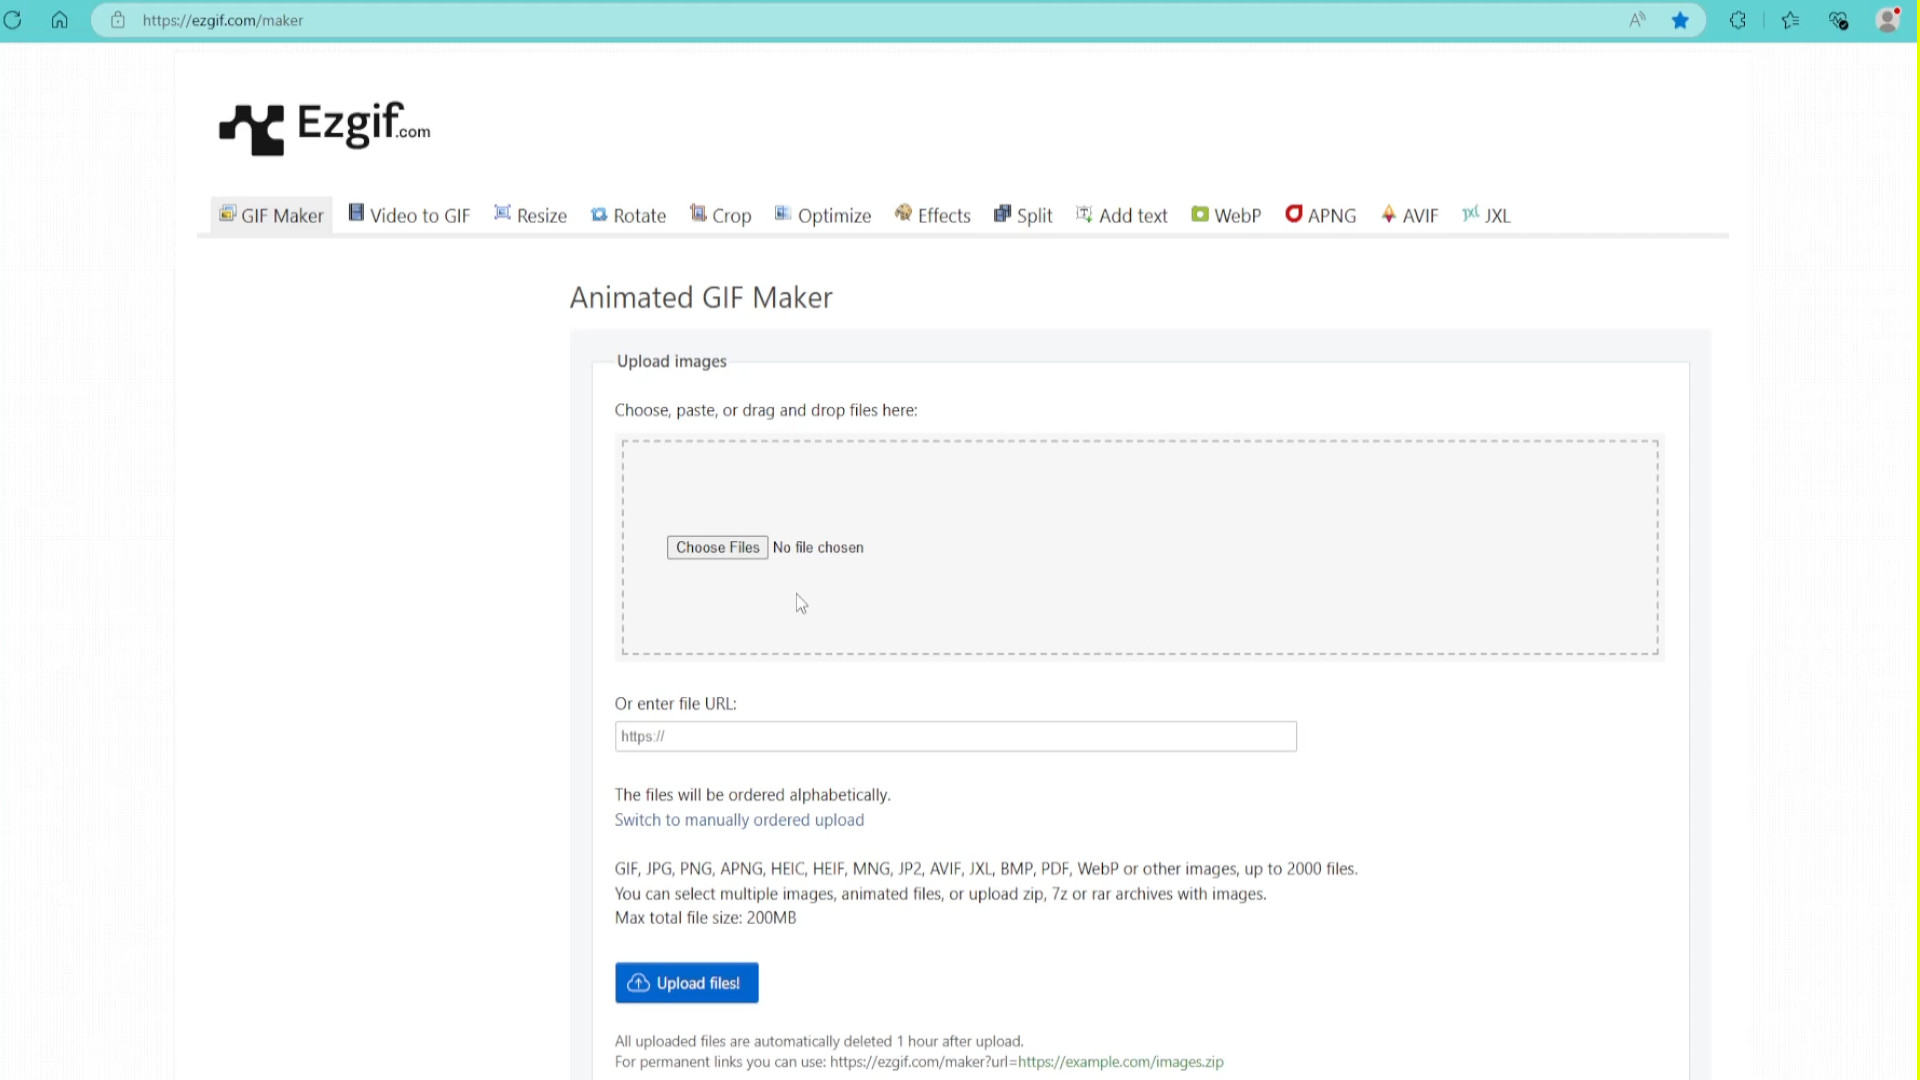
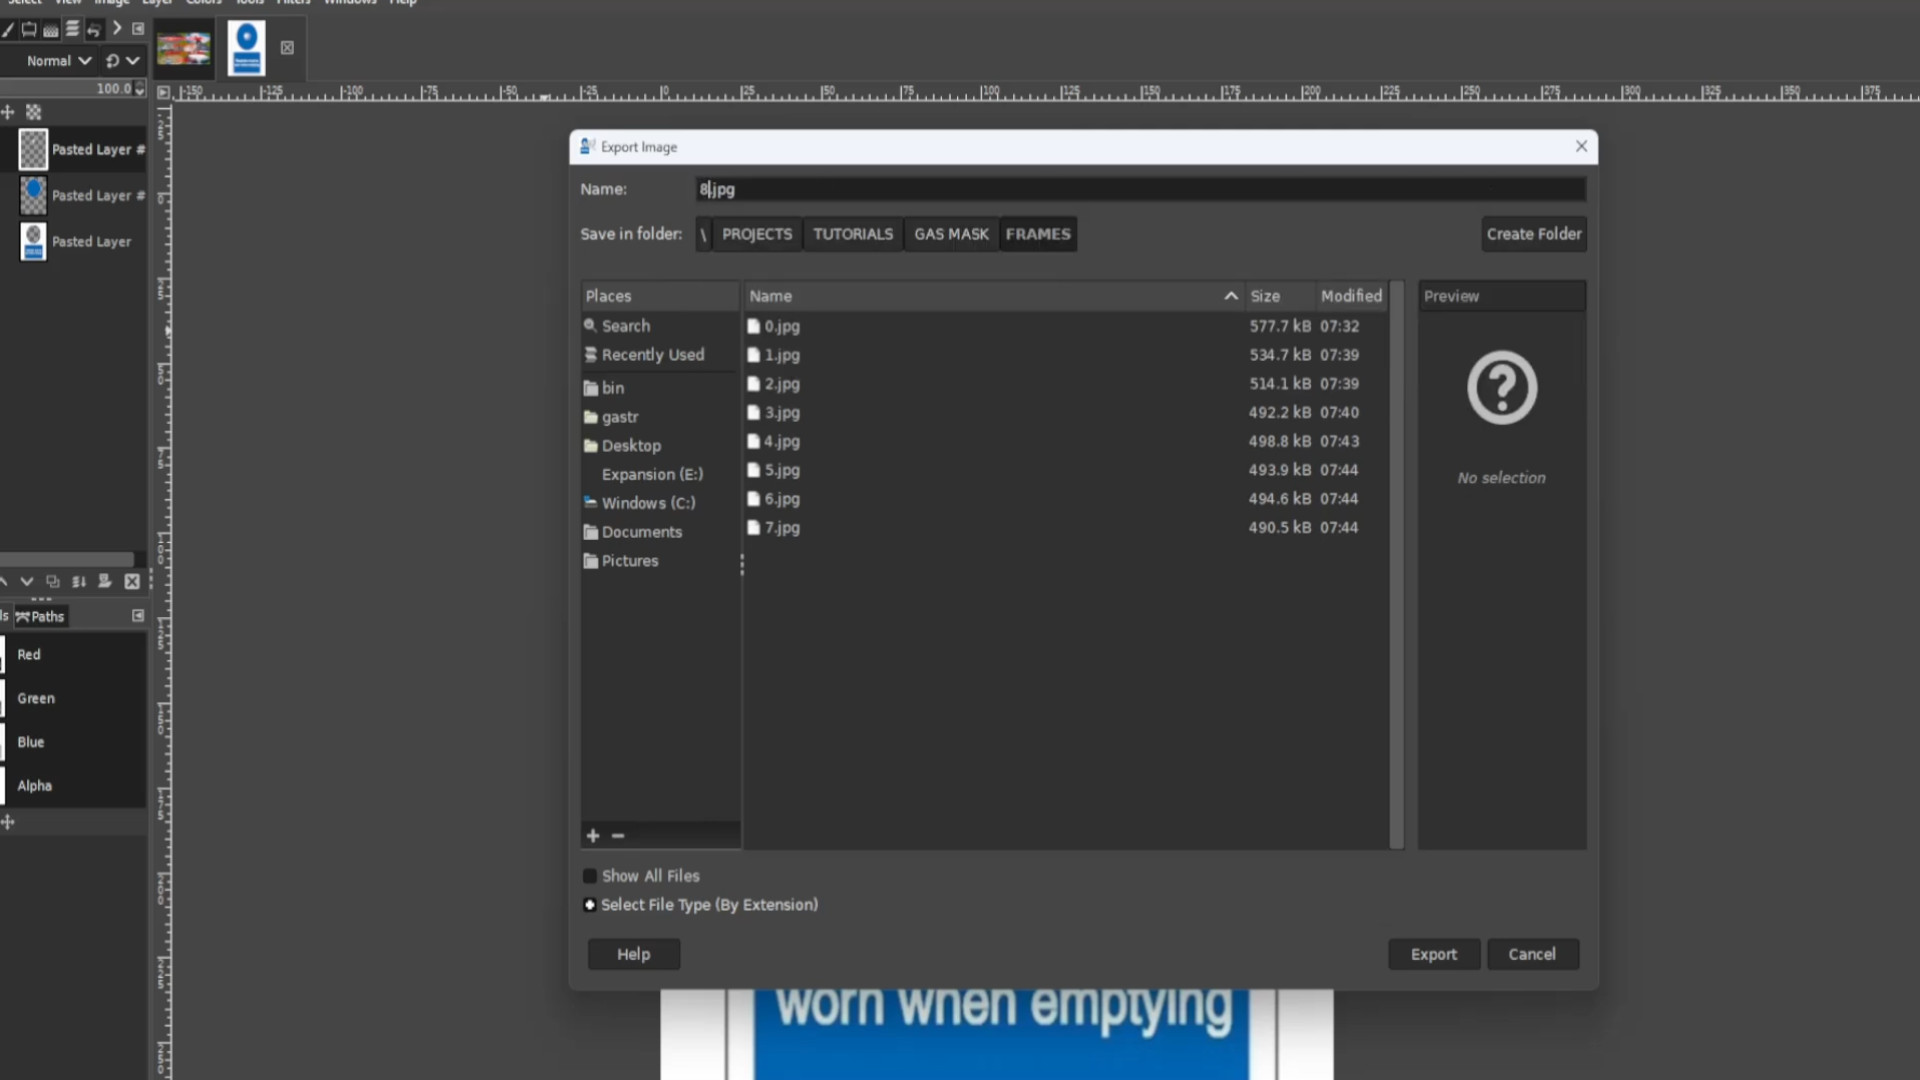
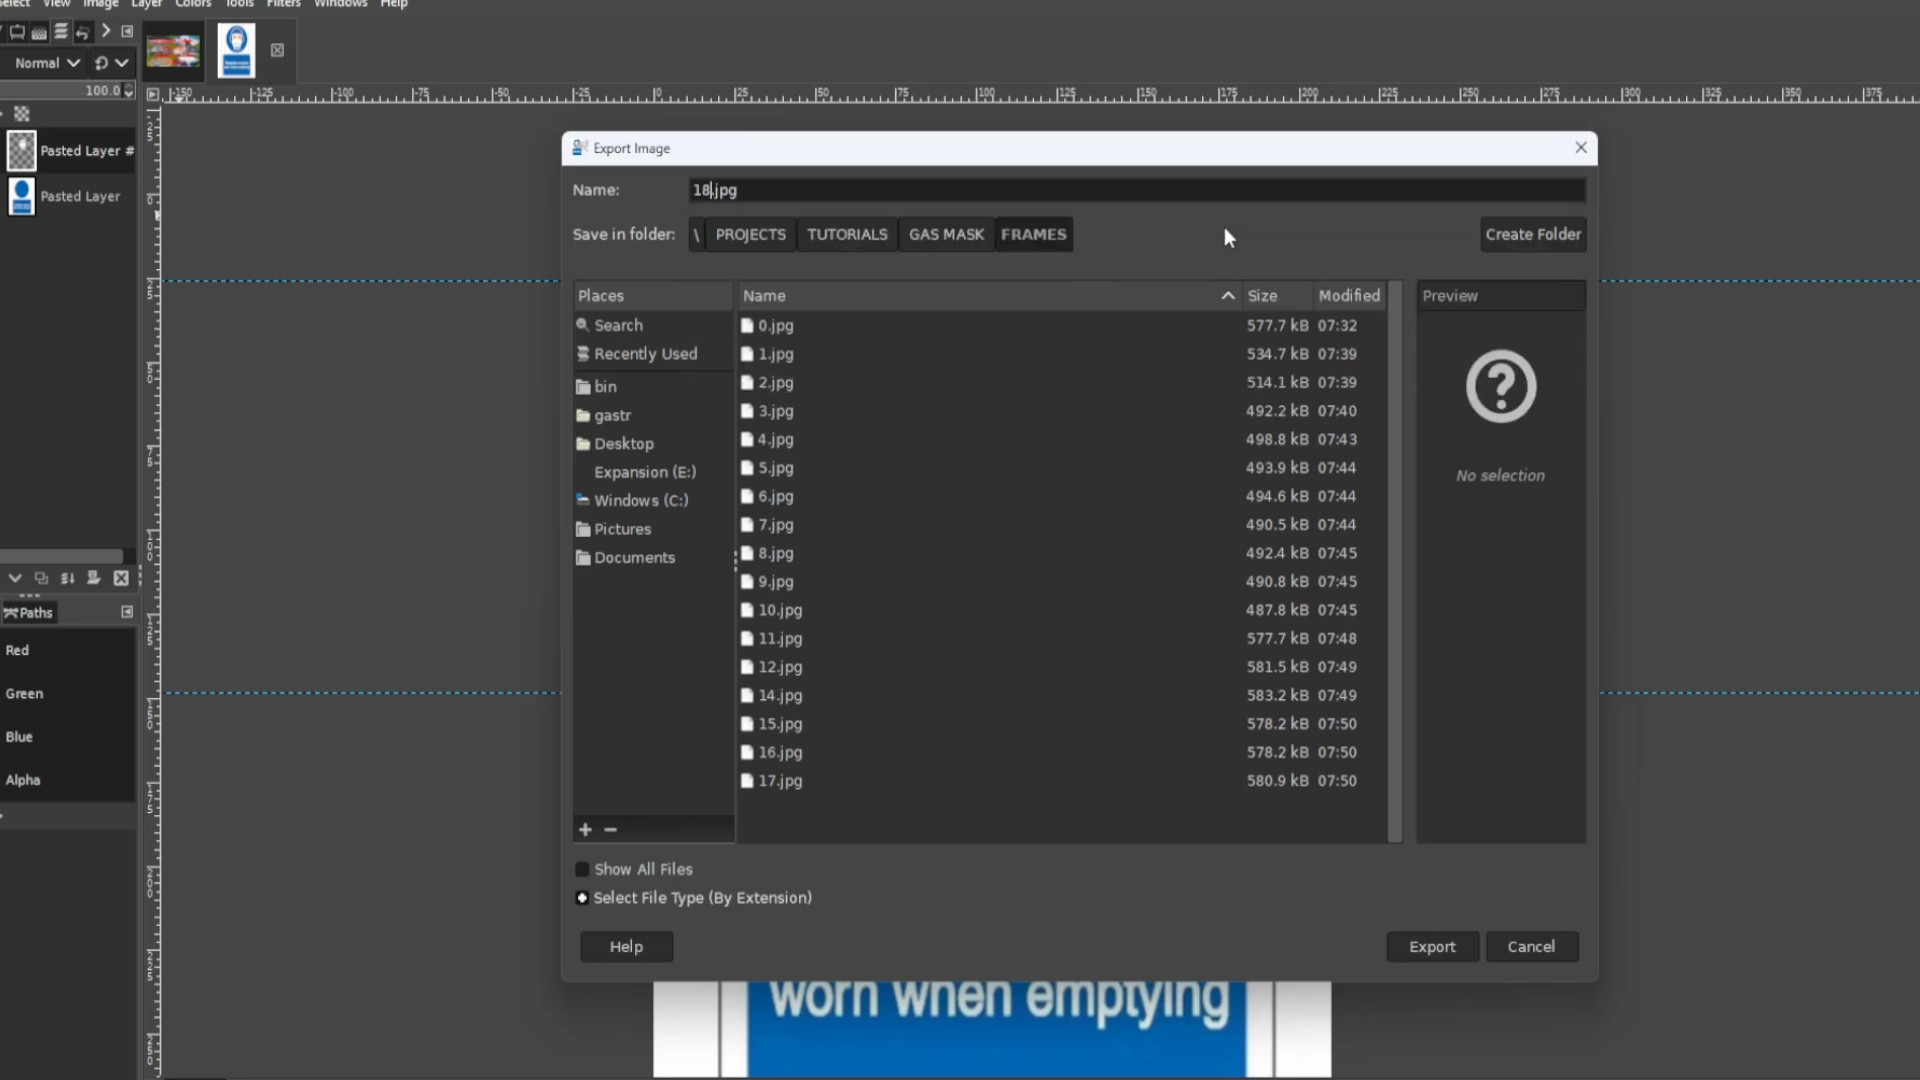
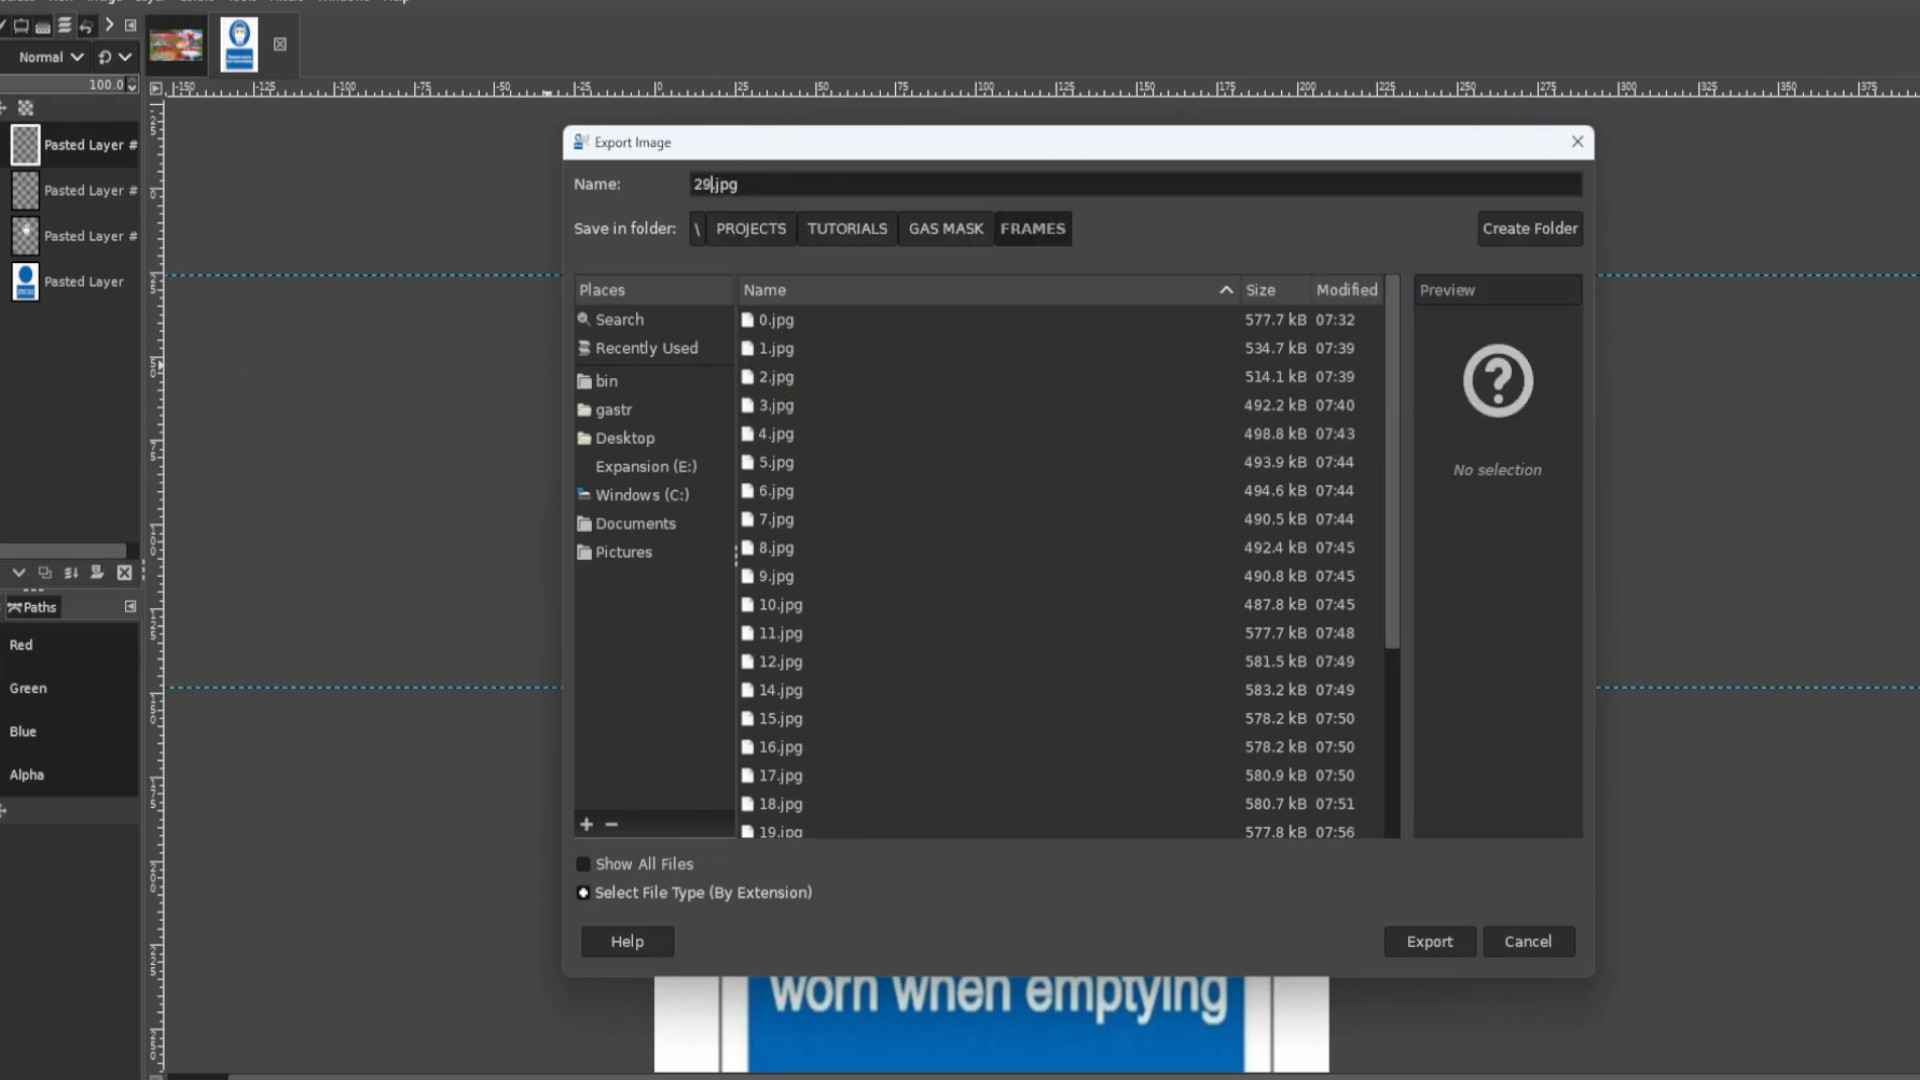
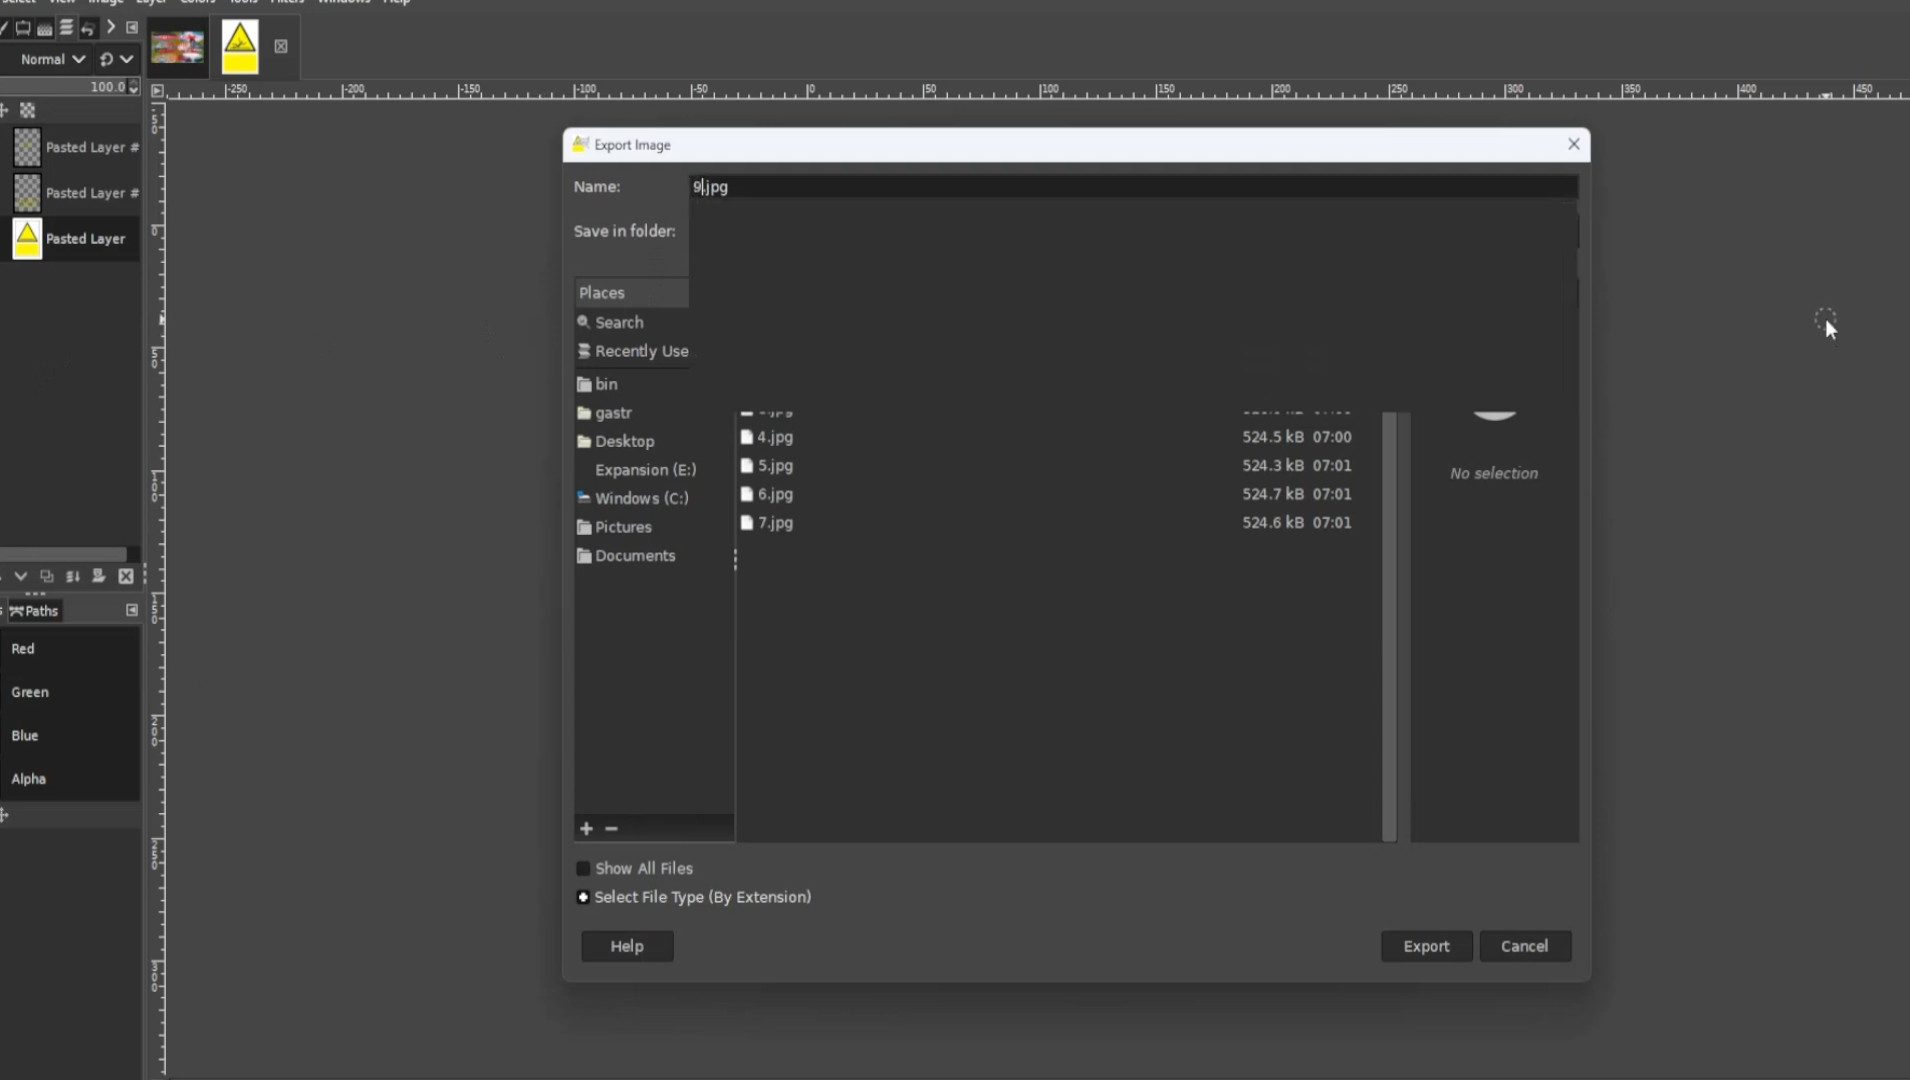
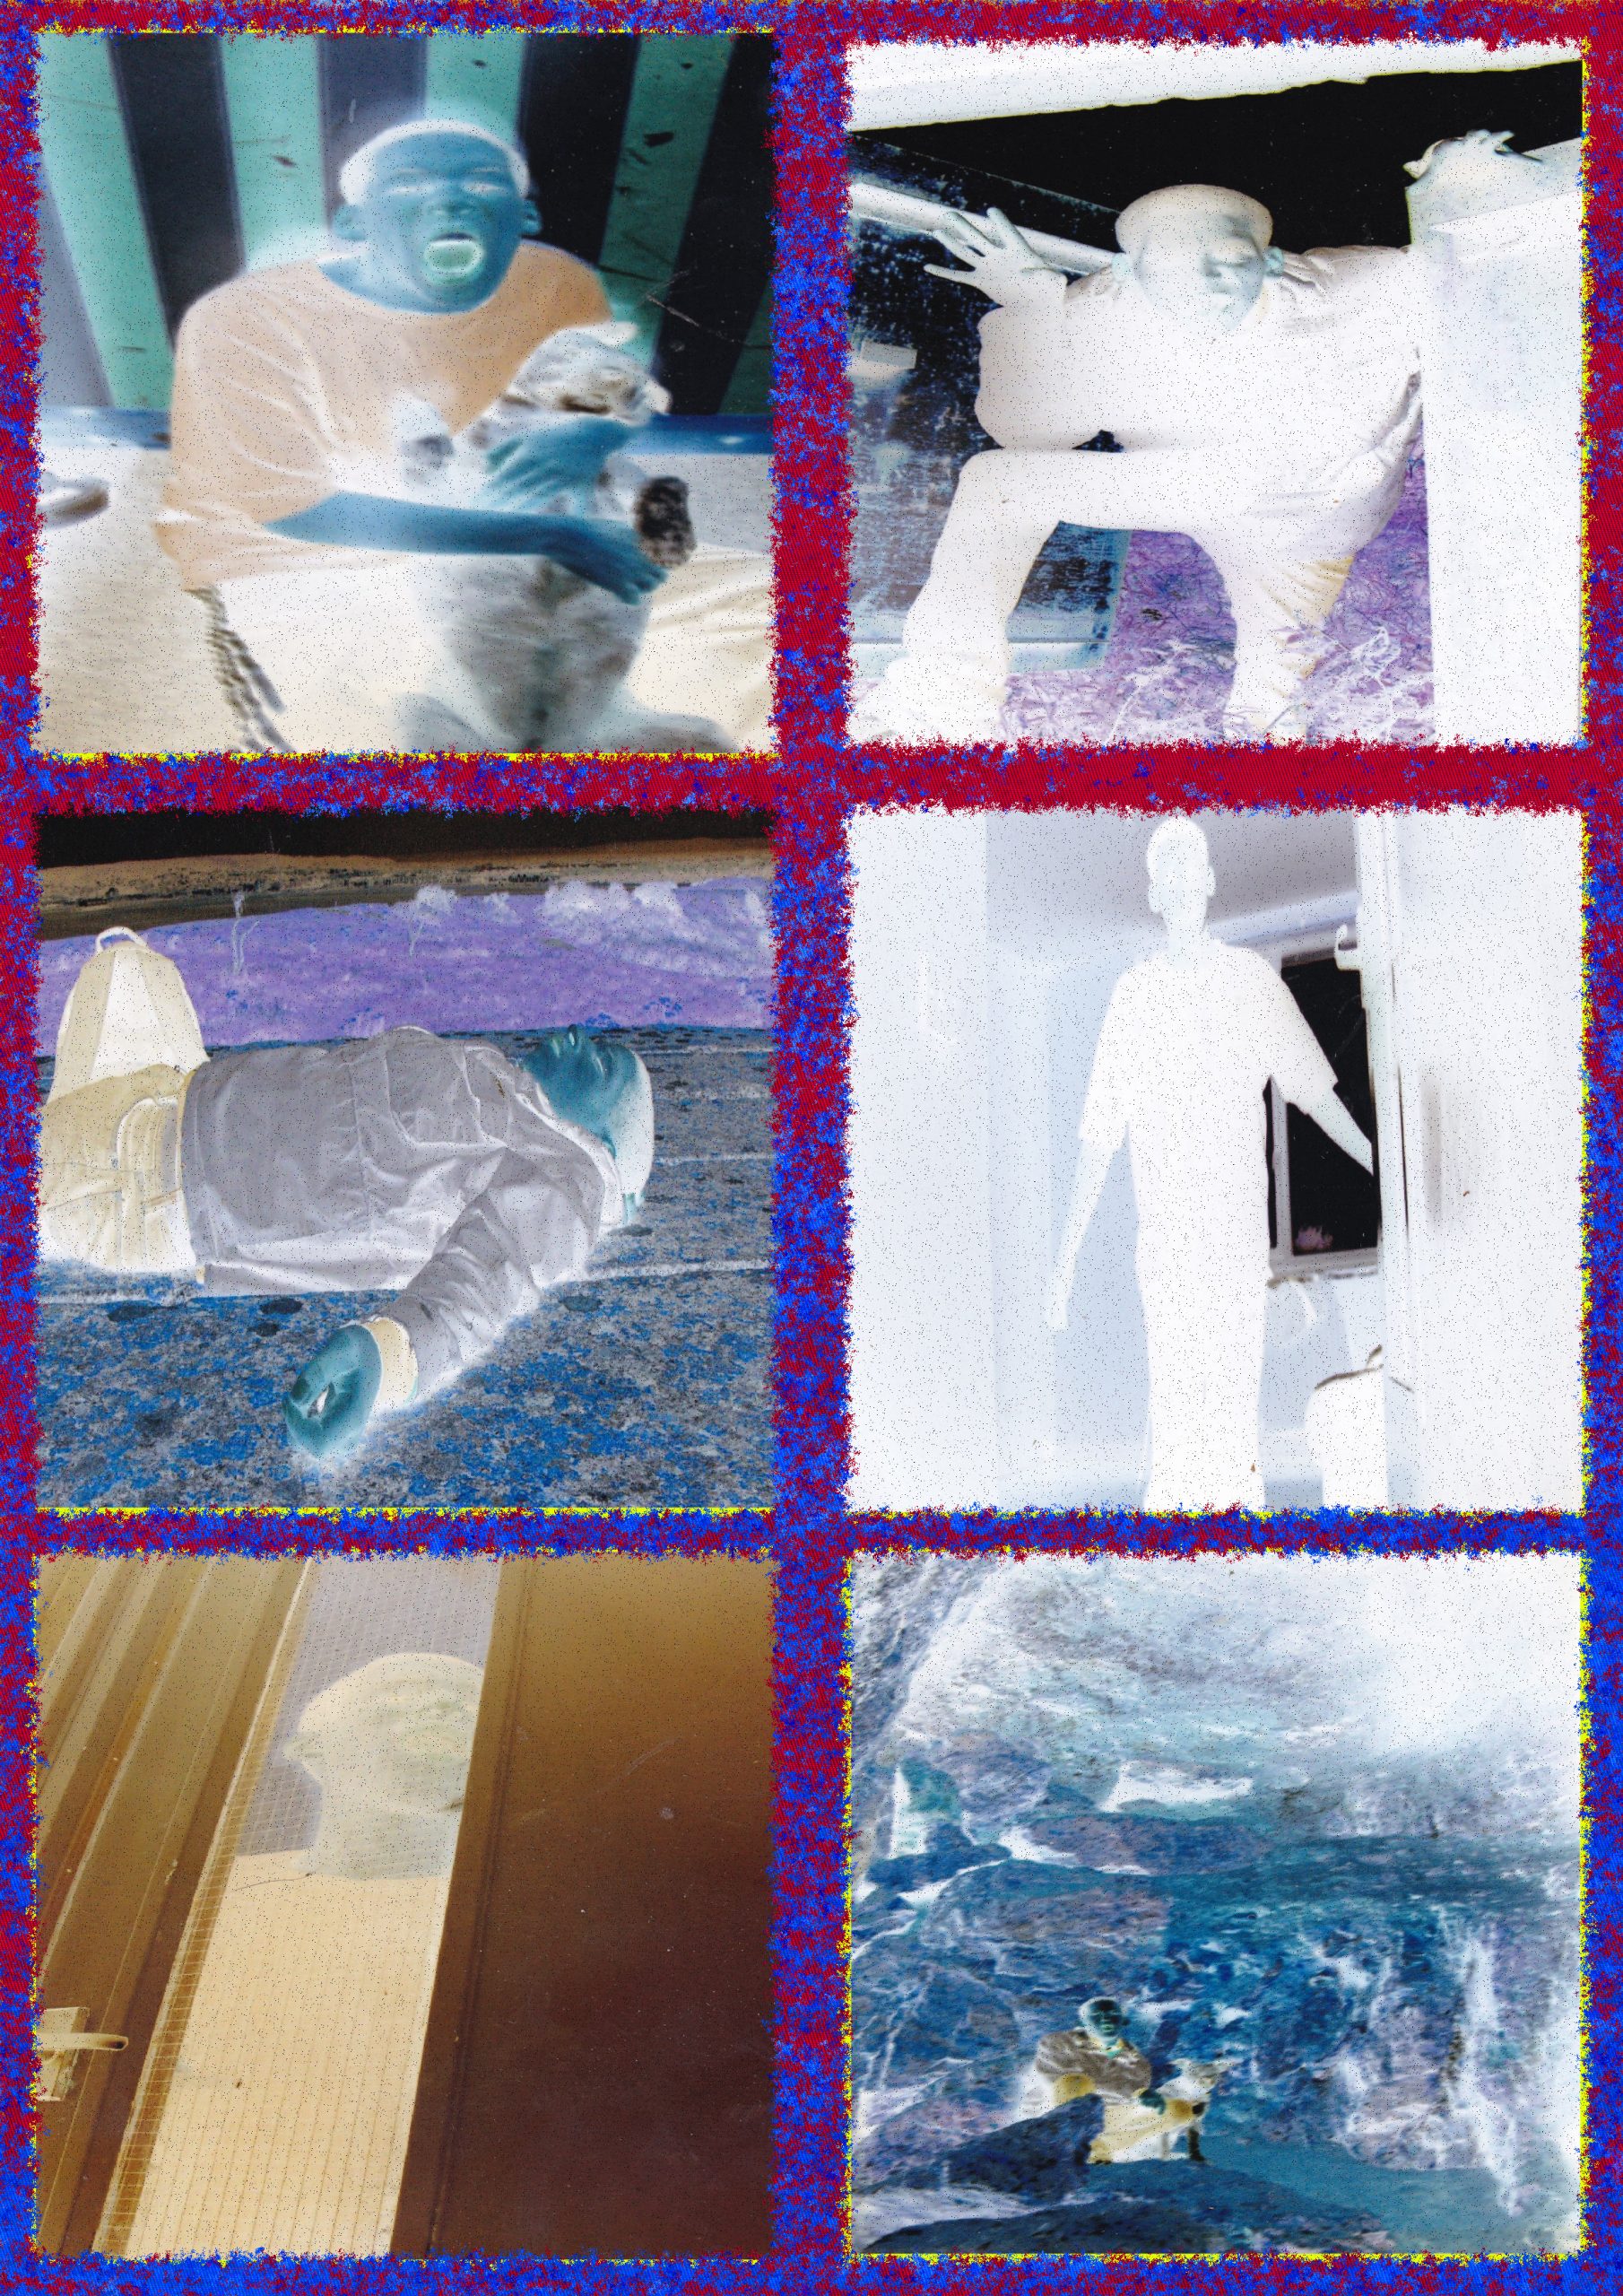
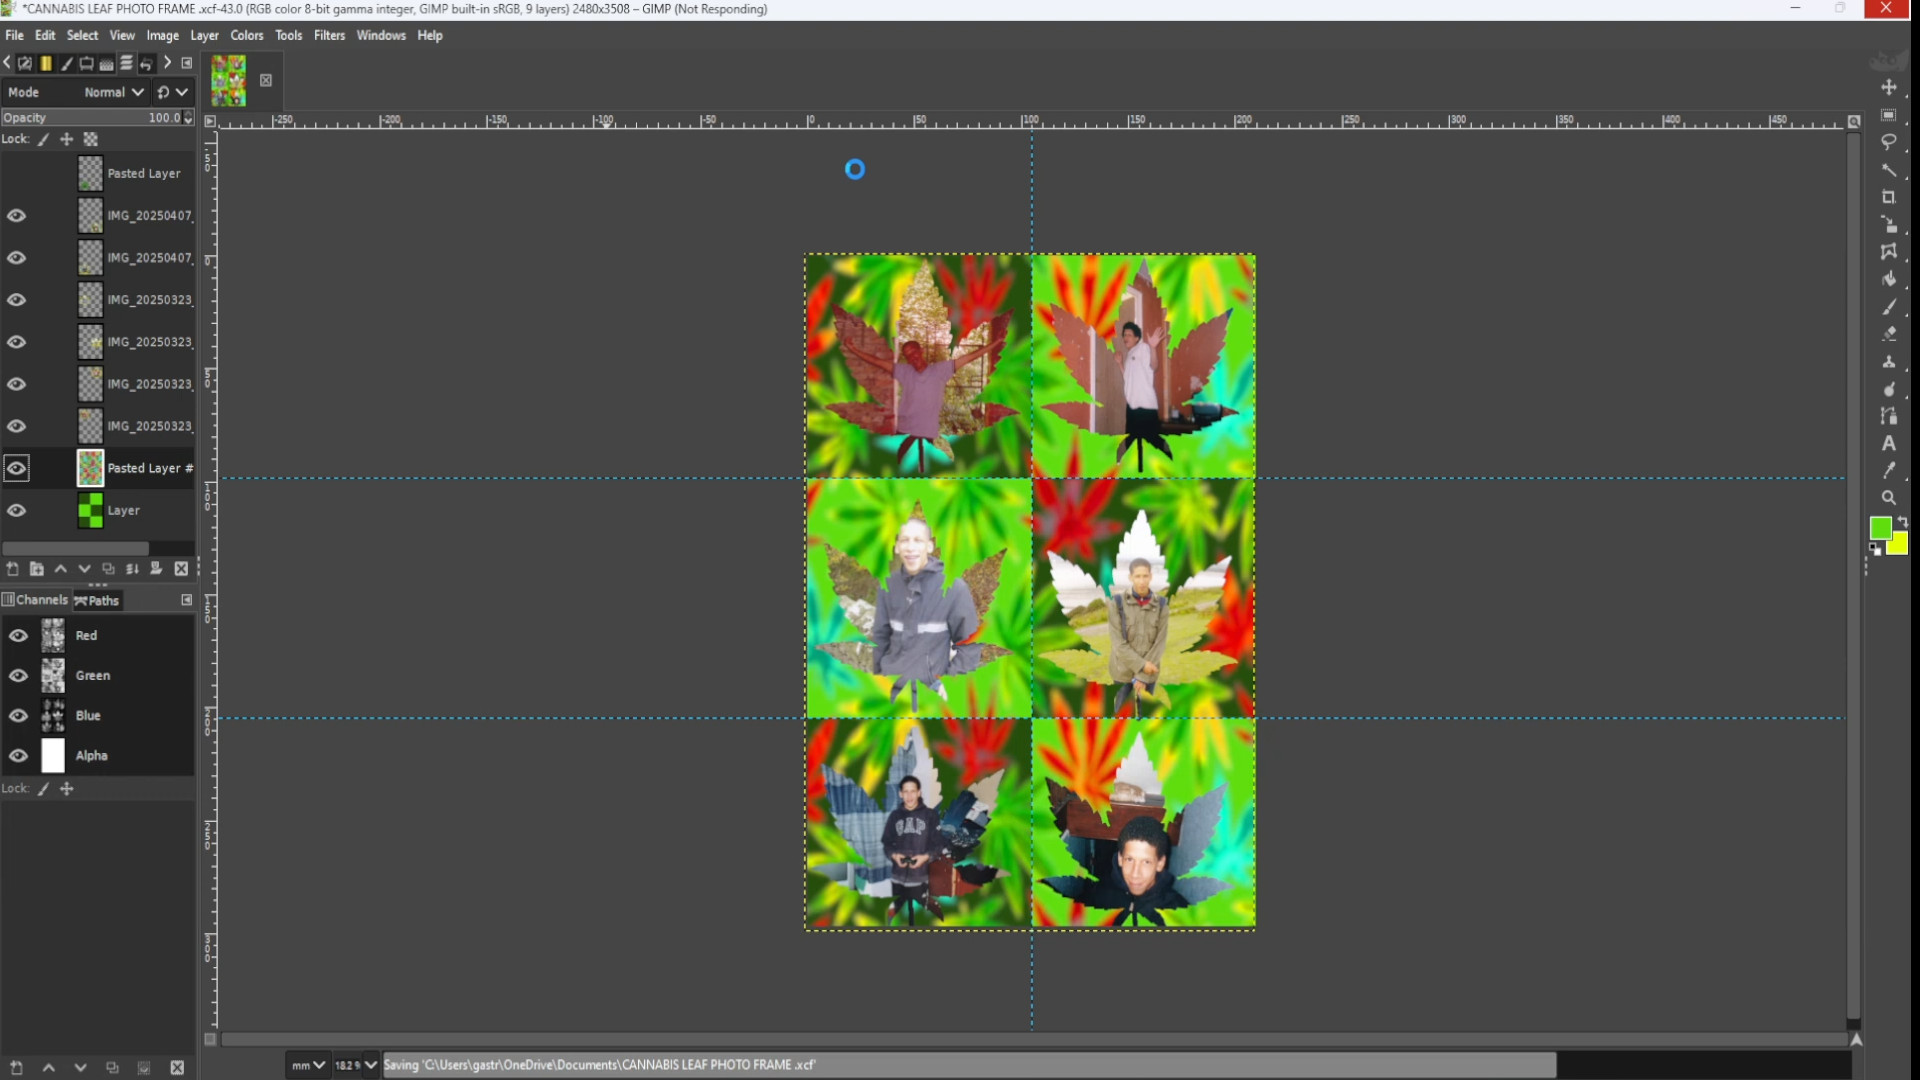
Export image by going to>>>FILE>>>EXPORT TO or>>>EXPORT AS and save with a JPG or PNG extension EG; COLLAGE__INSERT NUMBER.jpg or COLLAGE__INSERT NUMBER.png.